CS194-26 Final Project #1

Creating Fake Minituares

by Kimberly Kao, cs196-26-aas

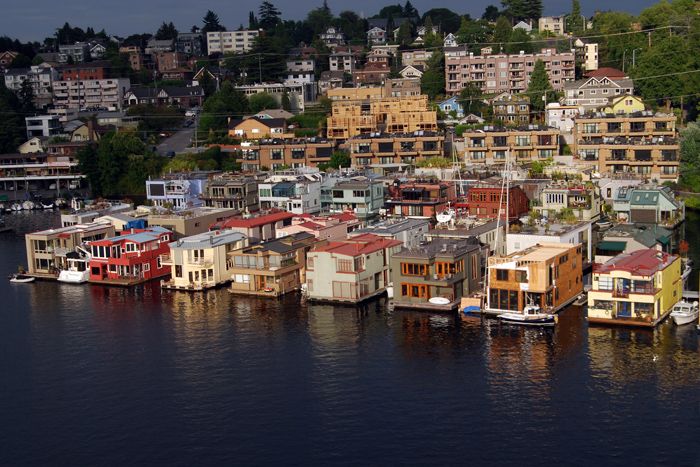
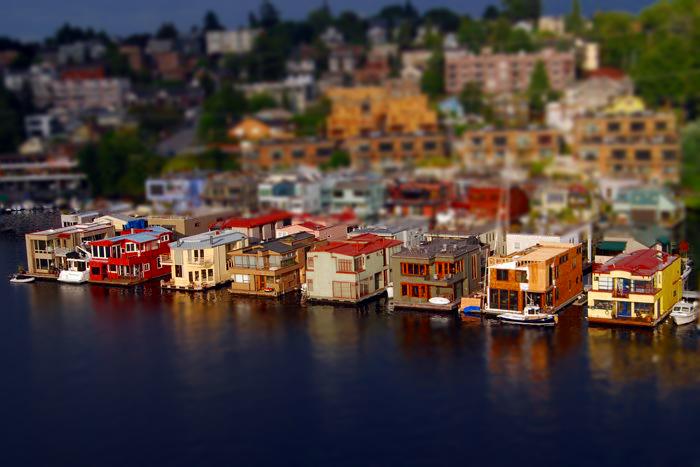
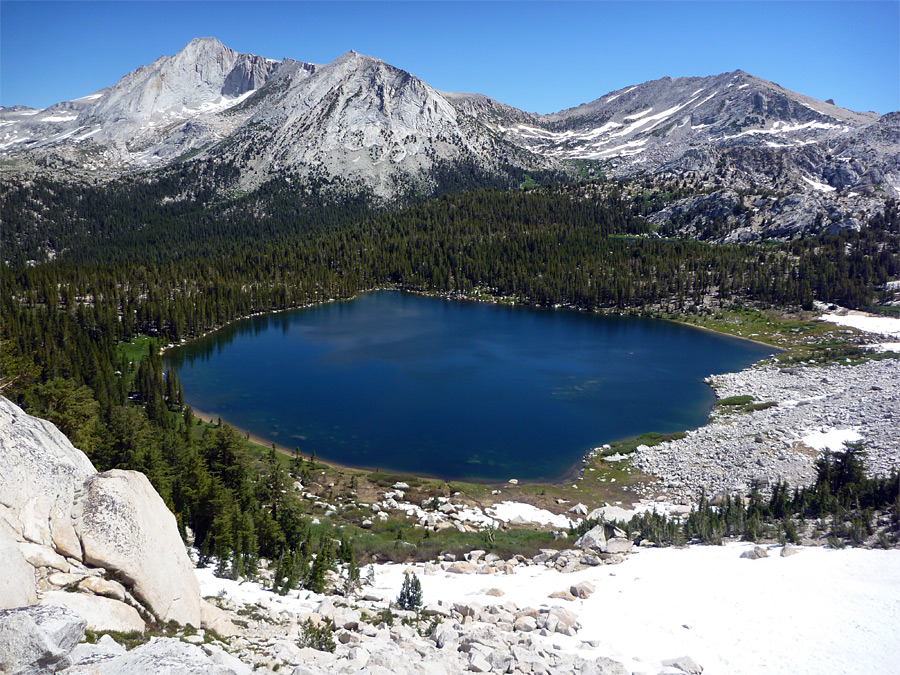
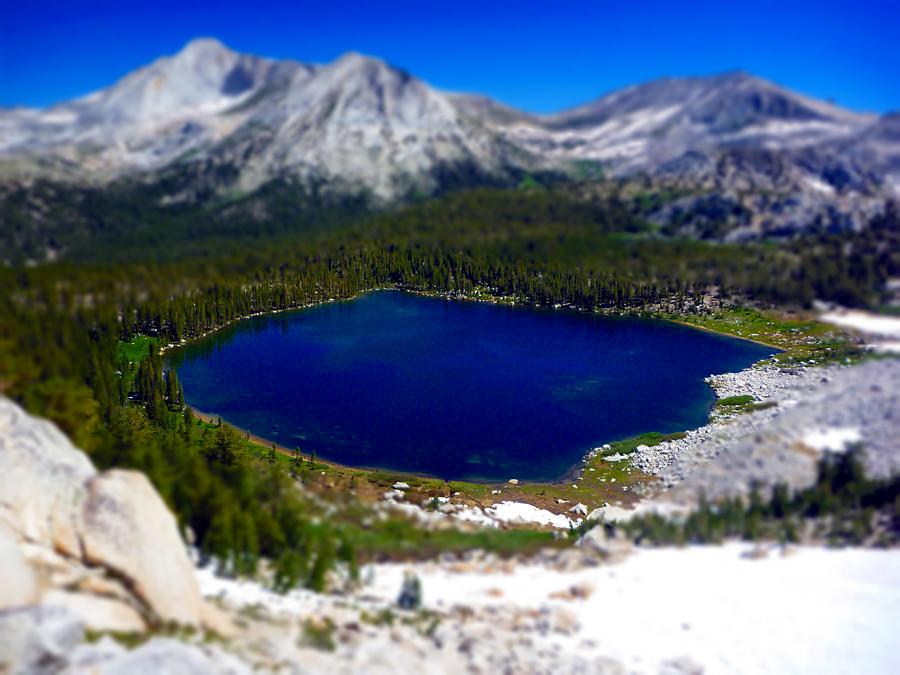
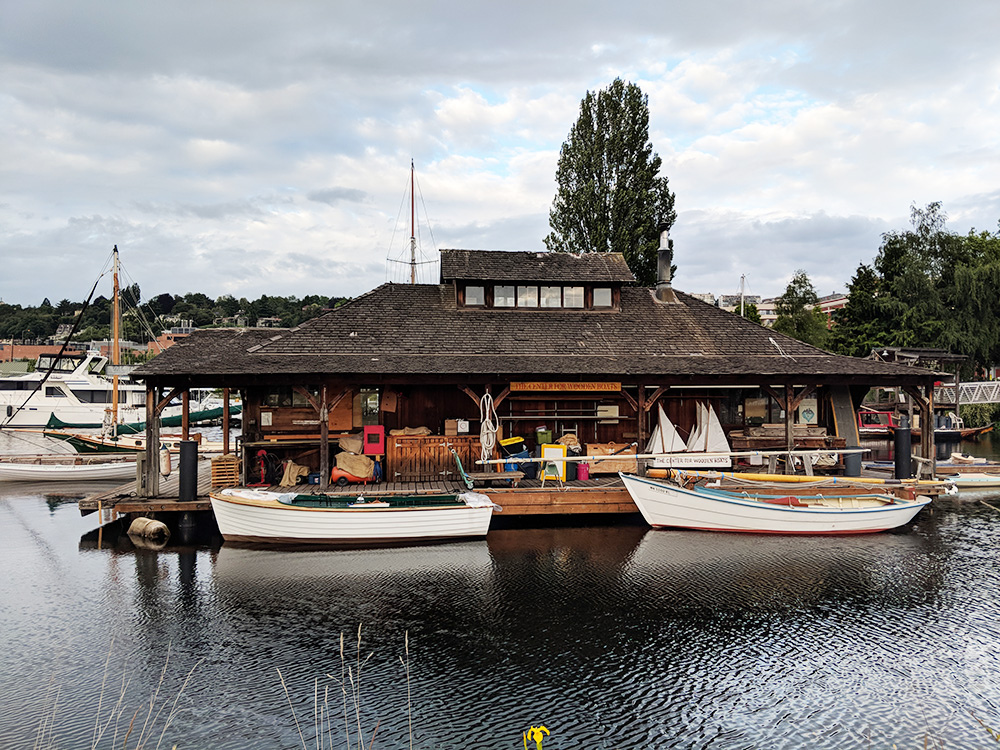
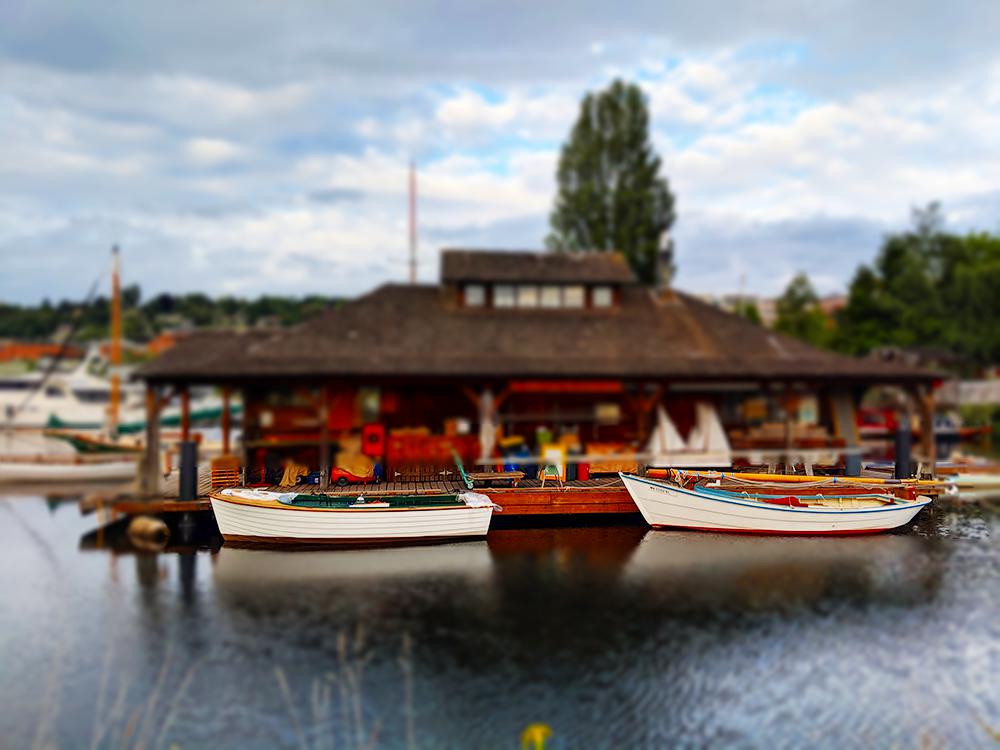
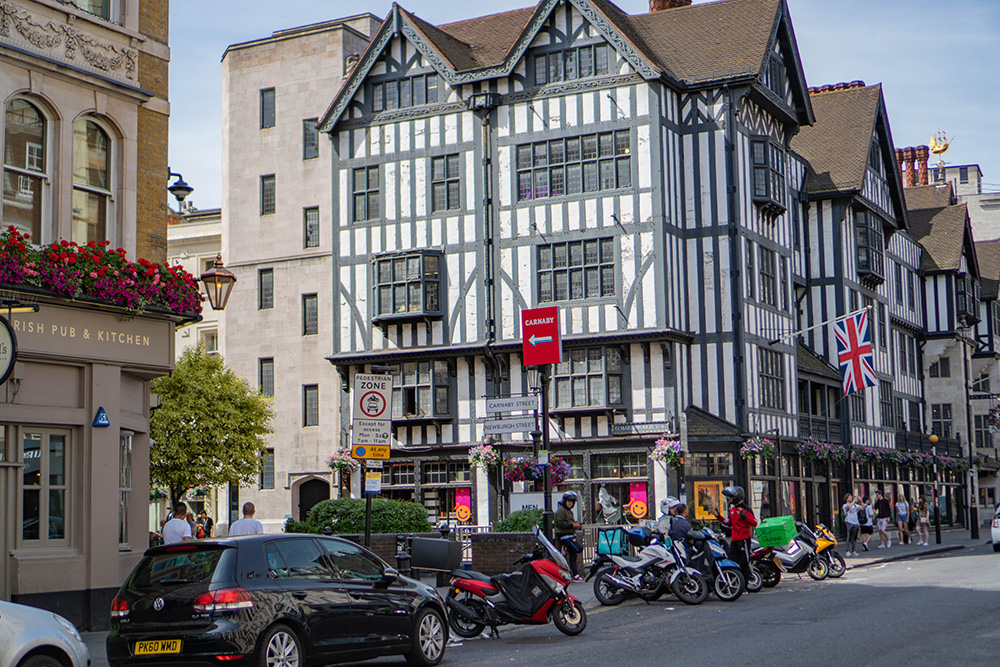
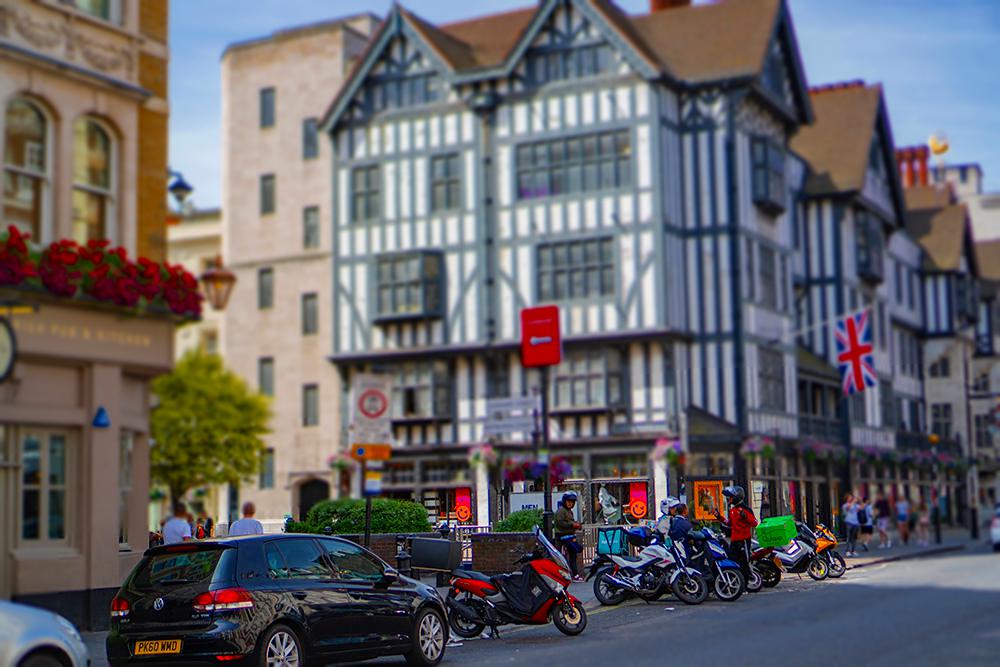
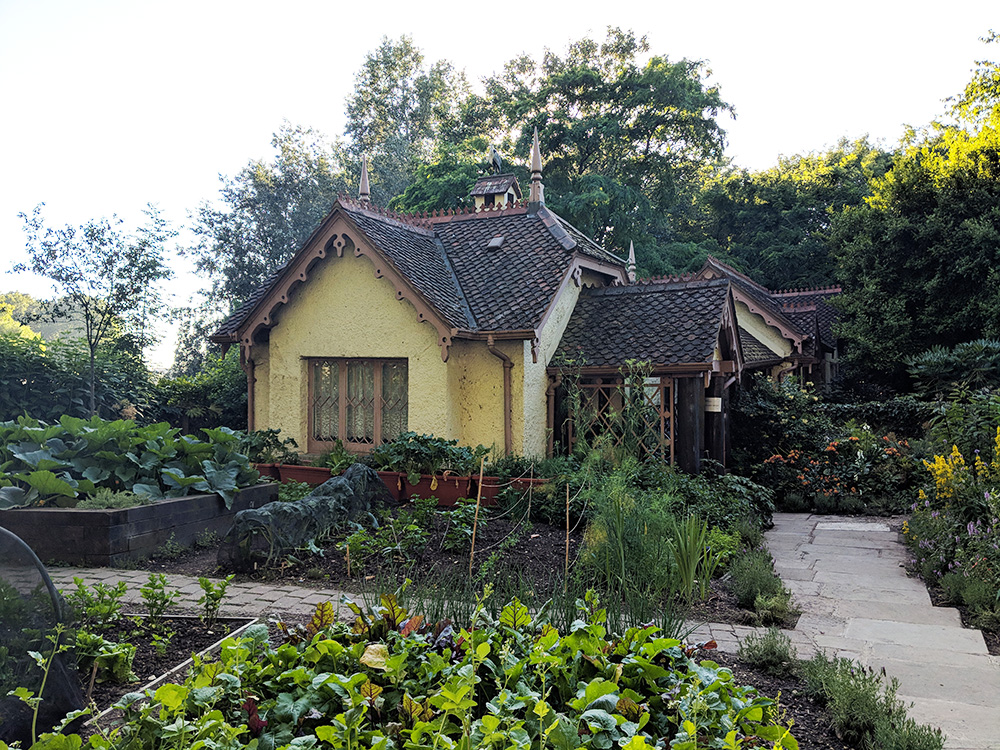
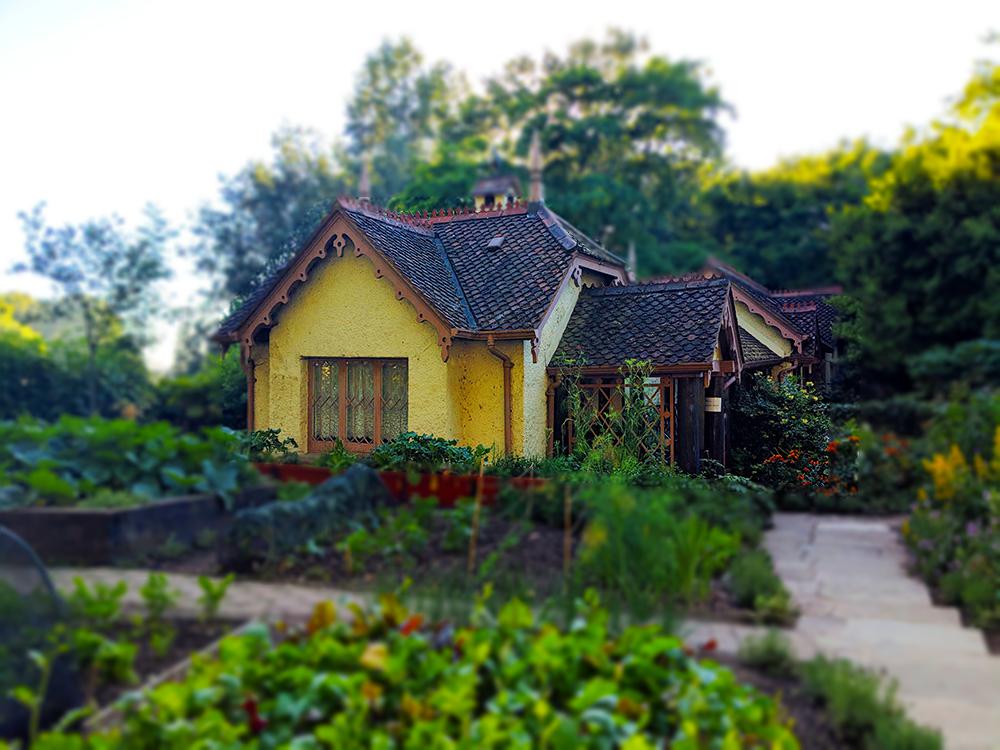
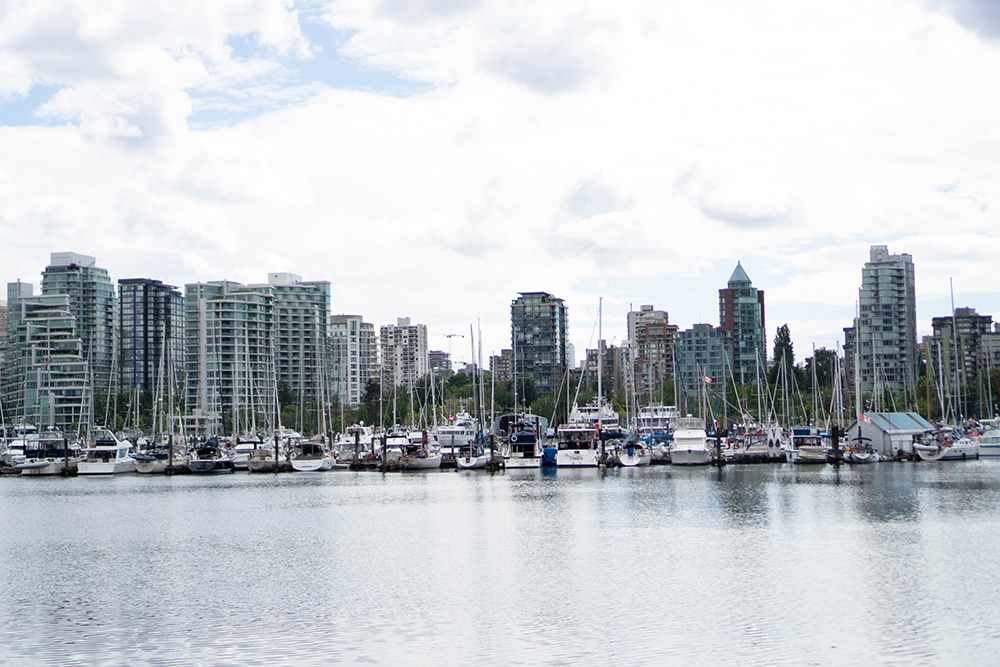
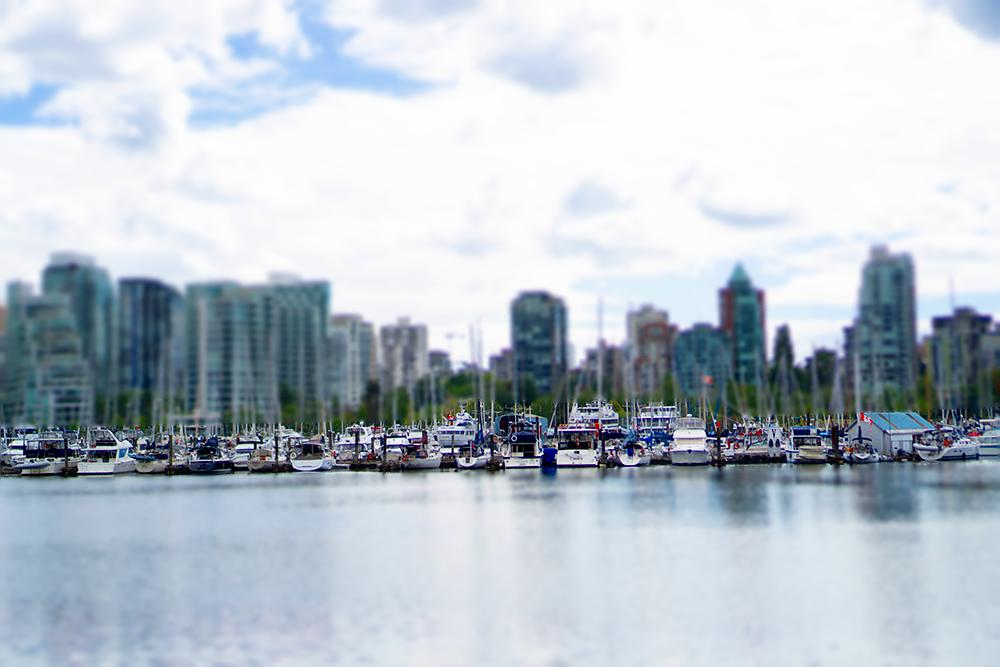
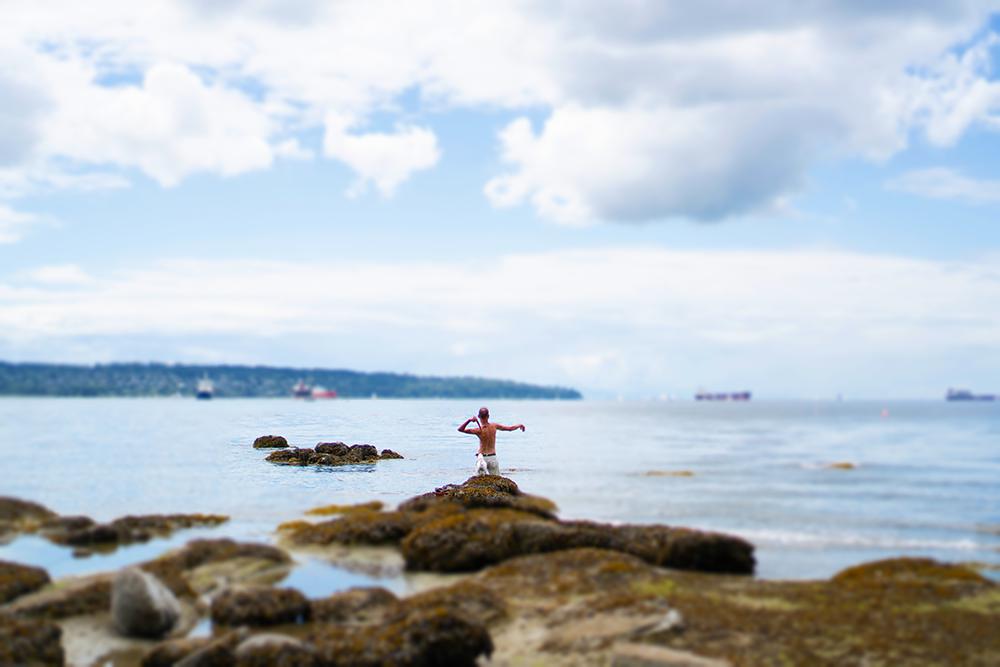
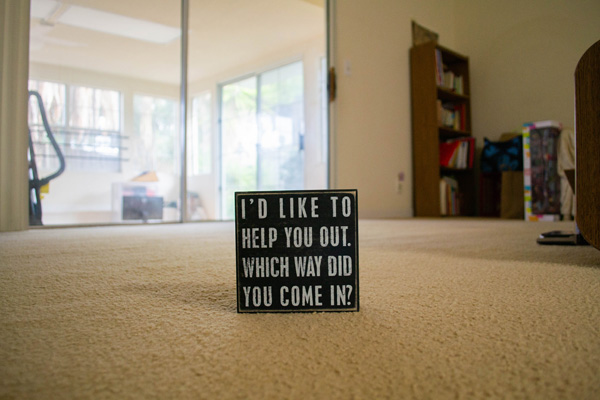
The goal of this project is to create fake tilt shift photos. The method is simple. First, choose the object you want in focus (this would be the depth of field). Then, blur the rest of the image. Finally, increase the saturation to make the minituare illusion pop!

Method:

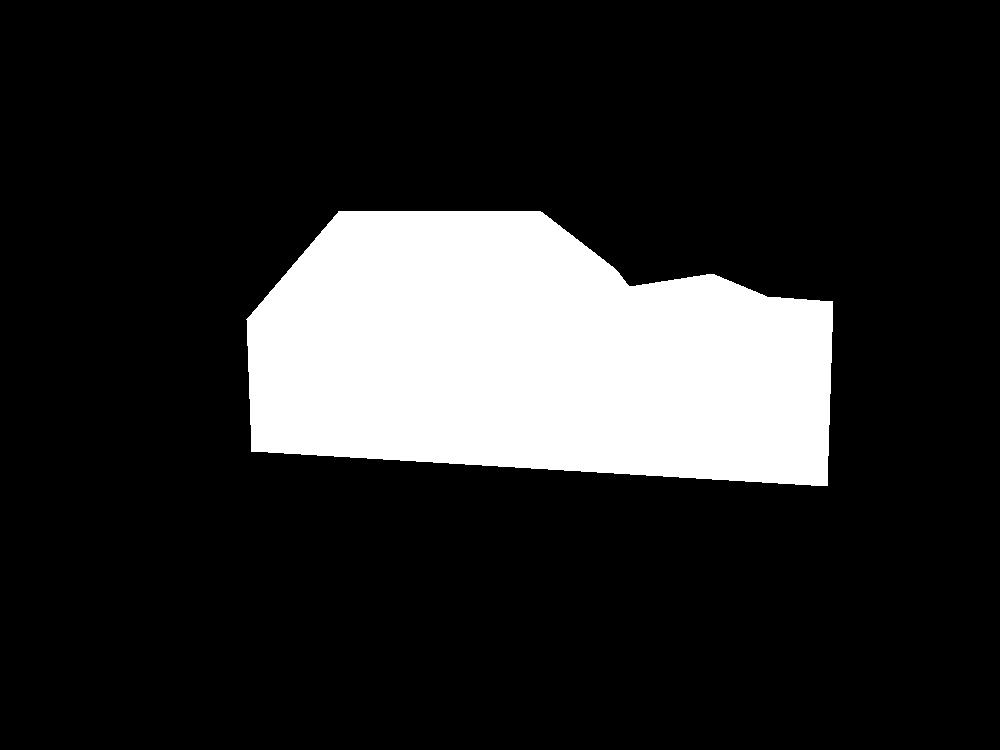
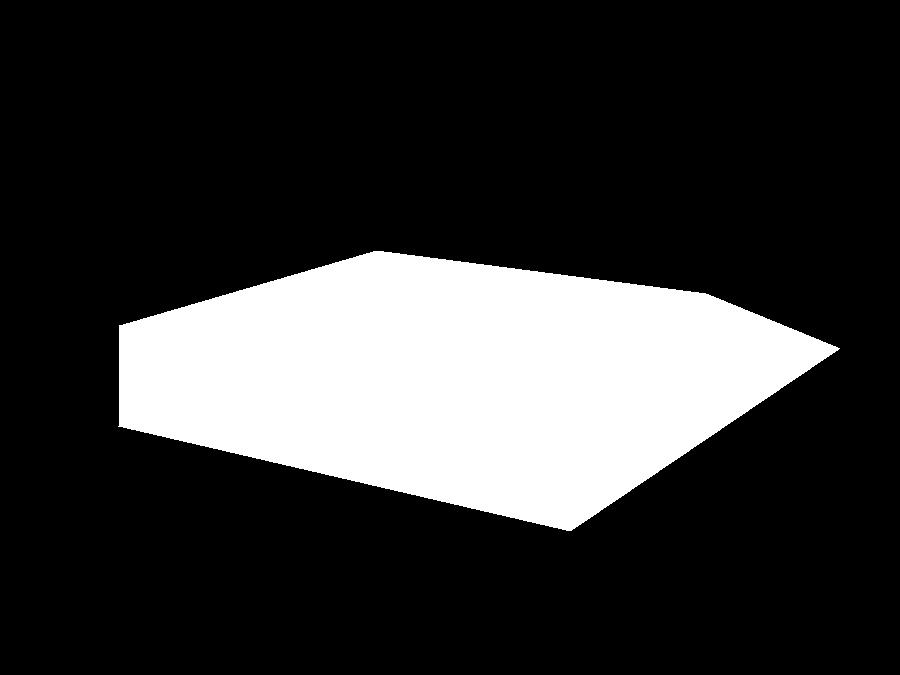
  1. Select the vertices of the polygon that encompasses the desired object(s) of focus. I use ginput to create such a polygon. This serves as our mask which is used to select pixels from the original image and the blurred image.
  2. Use a gaussian filter to blur the area of the image outside of the polygon, then use the mask to copy the appropriate pixels.
  3. We want to increasingly blur the image around the polygon to simulate the depth of field effect. To do so, repeatedly apply the gaussian filter while scaling the polygon mask. This results in points farther away from the depth of field area to be increasingly blurred.
  4. Finally, convert the image from RGB to HSV and increase the saturation by a desired factor (I usually used a value in [1.5-2]).

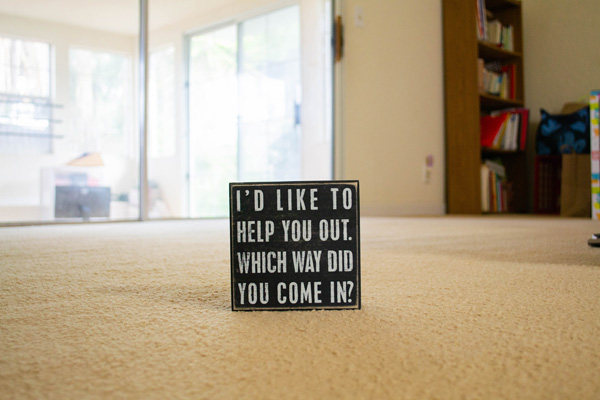
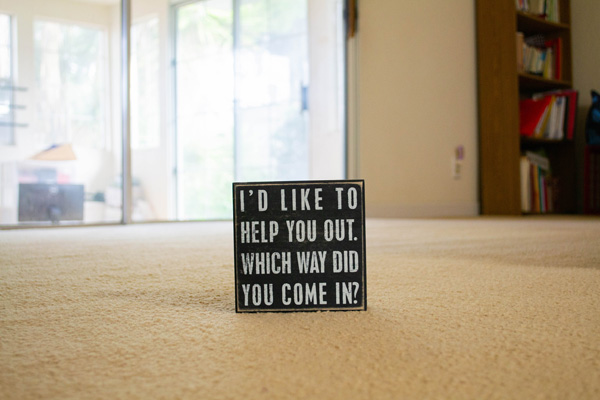
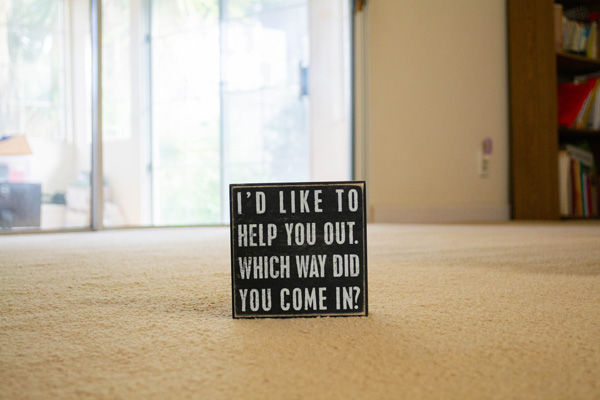
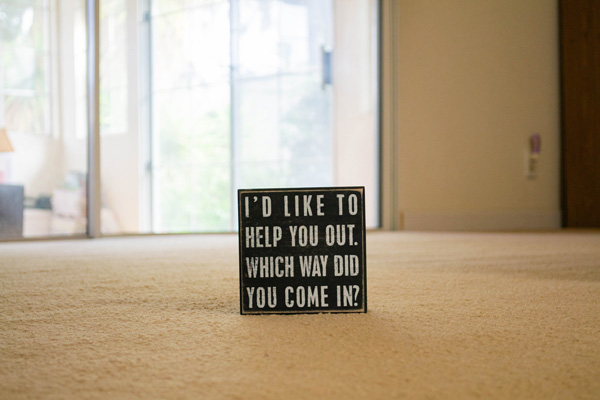
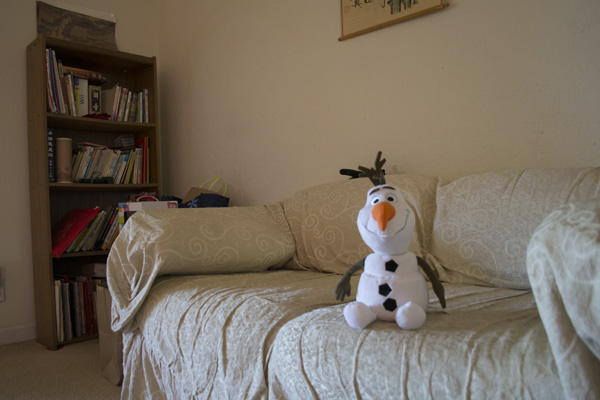
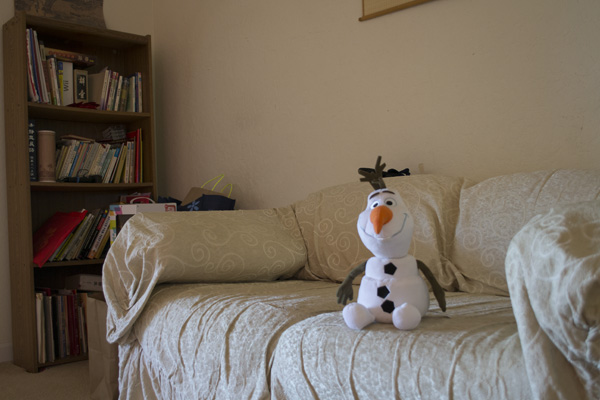
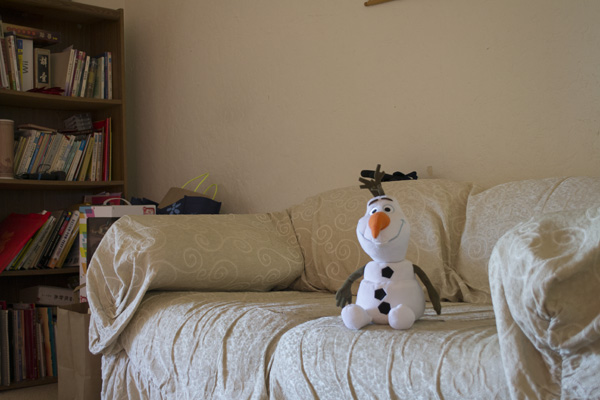
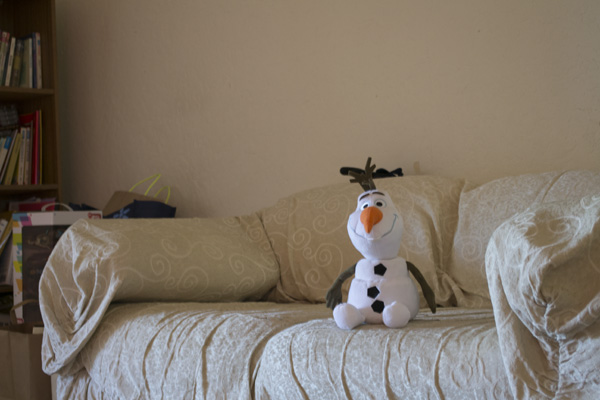
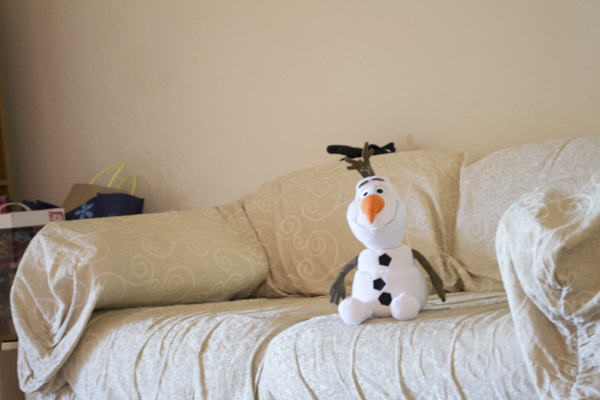
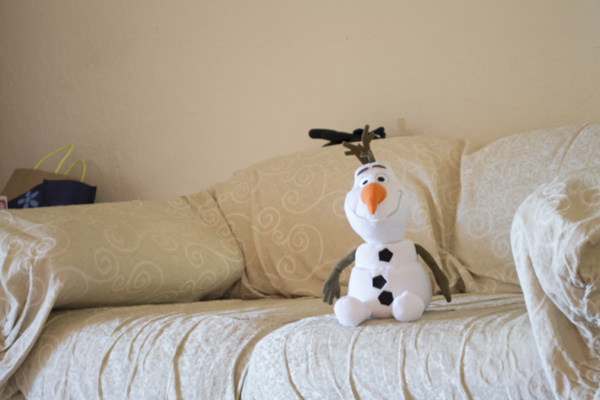
Some Results on Internet Images:

Photos from My Summer in Seattle, London, and Vancouver

Some Boats on South Lake Union, Seattle

A View of Carnaby Street, London

A Cozy Cottage, London

Boats at Vancouver Sea Wall, Canada

Man Throws Stick for Dog at Kerry Park, Vancouver, Canada

Bells and Whistles

All the masks used for the above images were created with ginput to allow for complex DOF regions. See below for the masks that were used for the Cottage (left) and Yosemite (right).

What I Learned

This was my first time learning about tilt-shift photography and to learn how to simulate this effect through code was very cool! It's fun to see how much we can manipulate images using just a Gaussian blur.

CS194-26 Final Project #2

Creating the Vertigo Shot

by Kimberly Kao, cs196-26-aas

Overview

Here, we create the dolly zoom effect by adjusting the FOV with a zoom lens. The camera moves toward or away from the subject while keeping the subject the same size in the frames. I used a Nikon D3100 with 18-55mm kit lens to take the following photos. I tried taking photos at locations with a visible depth of field in the background.

It was much easier to take Sequence #1 because of the flat ground on which I placed my camera. For Sequence #2, I had to use a combination of tripod and hand holding, which resulted in some subtle differences in the angle at which the pictures were taken, so Sequence #2 looks less smooth than Sequence #1.

Sequence #1: I'd Like to Help You Out

Sequence #2: Olaf Chilling

Bells and Whistles

Bells and Whistles #1: Sequence GIFs

Bells and Whistles #2: Trying Different Combos

Here, for Sequence #1, I experimented with moving the subject to create the zoom effect instead of zooming the camera lens. This was easier to take than moving the camera because it was easier to control the size of the subject by physically moving the subject.

Bells and Whistles #3: Calculating FOV

Using the equation FOV = 2 * arctan(d / 2f), where d = width of subject and f = distance from camera to subject, I calculated the following for Sequence #1.

Zoom Width of Subject Distance from Camera to Subject FOV
18 mm 5 in 18 in 15.814 degrees
55 mm 5 in 52 in 5.505 degrees

What I Learned

This was my first time learning about the Dolly effect as well. As a leisure photographer, I am always happy to learn about new ways of taking interesting photos.