Final Projects

For my final projects, I decided to duplicate the famous in-camera effect: The Dolly Zoom. I also decided to create fake miniatures by simulating the effect of selective focus cameras.
THE VERTIGO SHOT
Overview
In this project, we duplicate a famous in-camera effect known as the "The Dolly Zoom" Based on a famous Alfred Hitchcock movie, where this effect was first popularized, it also often referred to as the "Vertigo Shot". To immitate this effect, I had to use a camera with a zoom lens that allowed me to control precisely the amount of zoom applied to each image. For the project, I used an Cannon EOS 70D camera.

Method
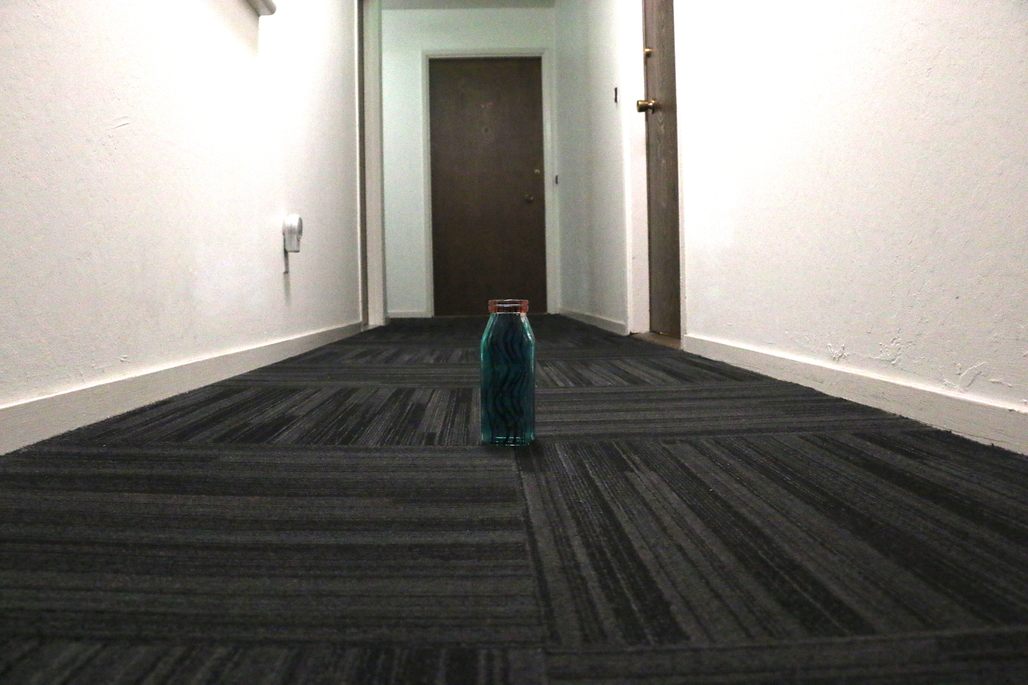
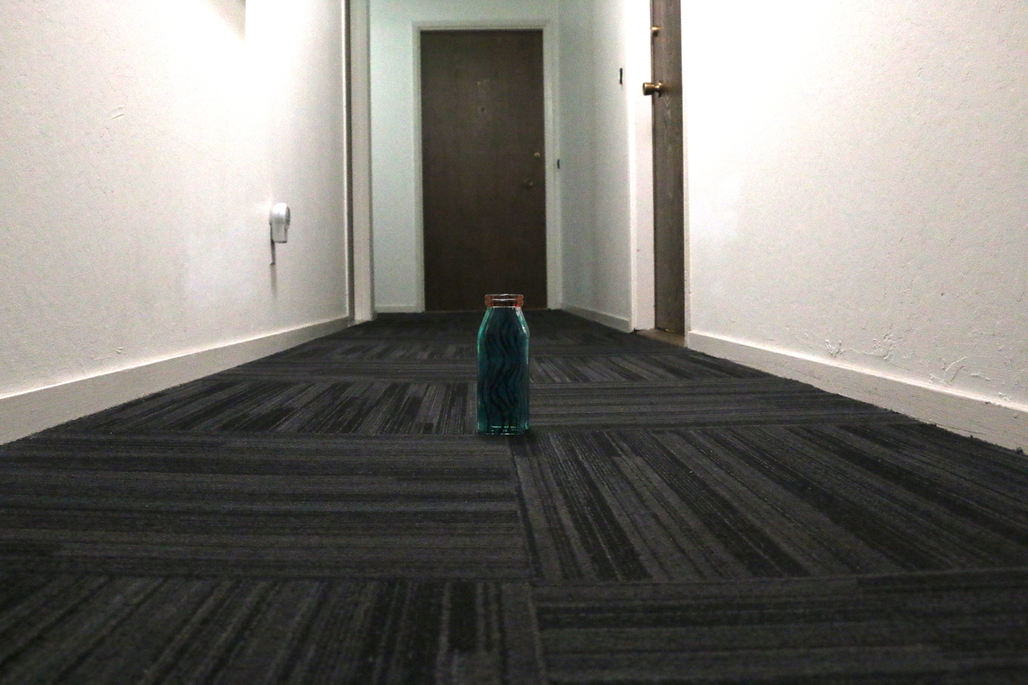
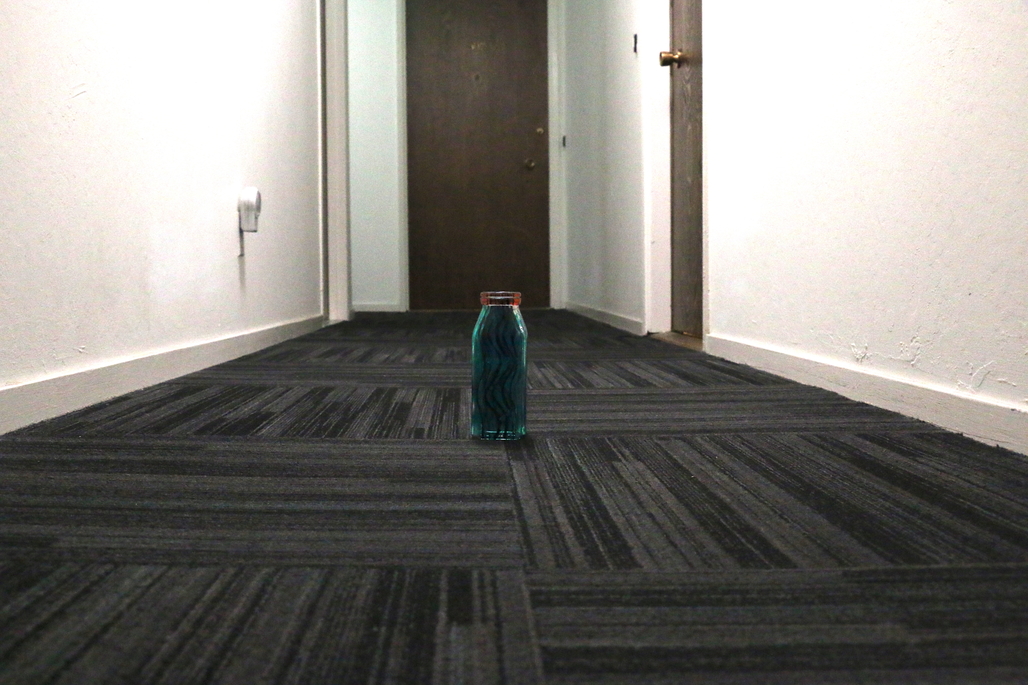
To create the vertigo shot, I adjust the FOV(zoom) as I move my camera towards an object. The camera was completely zoomed in when it was far away from the subject and completely zoomed in when it was close to a subject. By incrementally taking pictures, it gave some pretty cool image sequences!
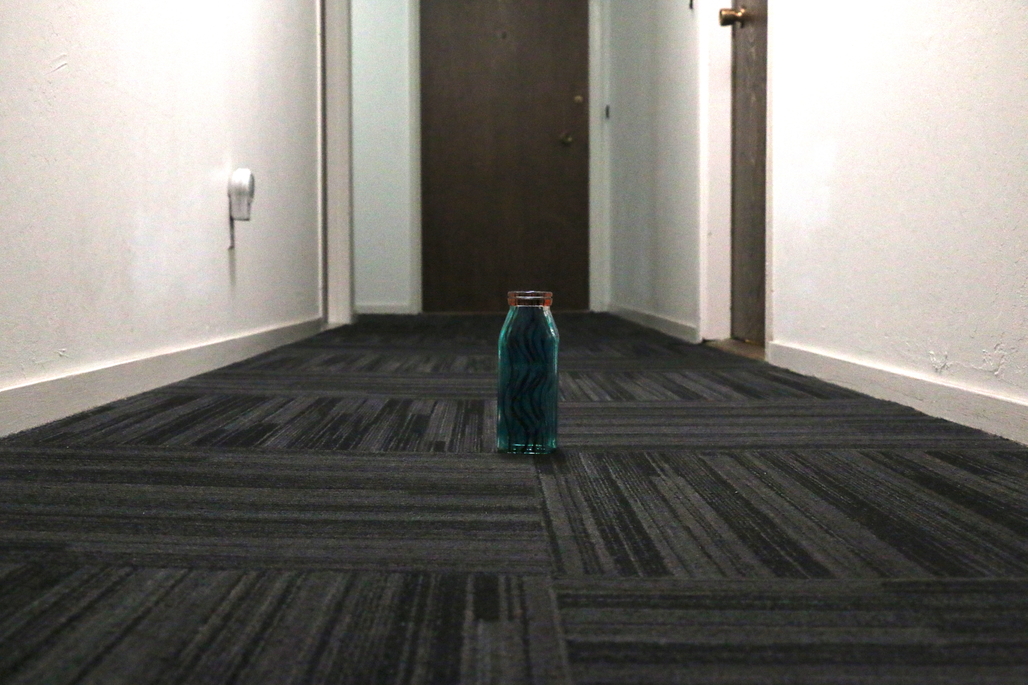
Sequence 1 - The Hallway
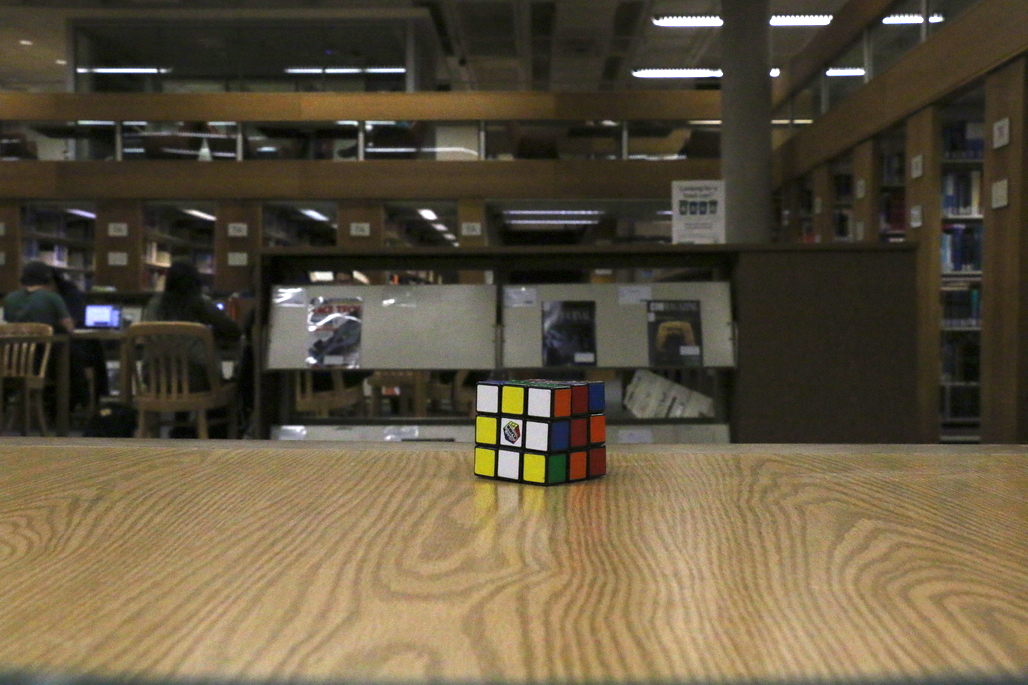
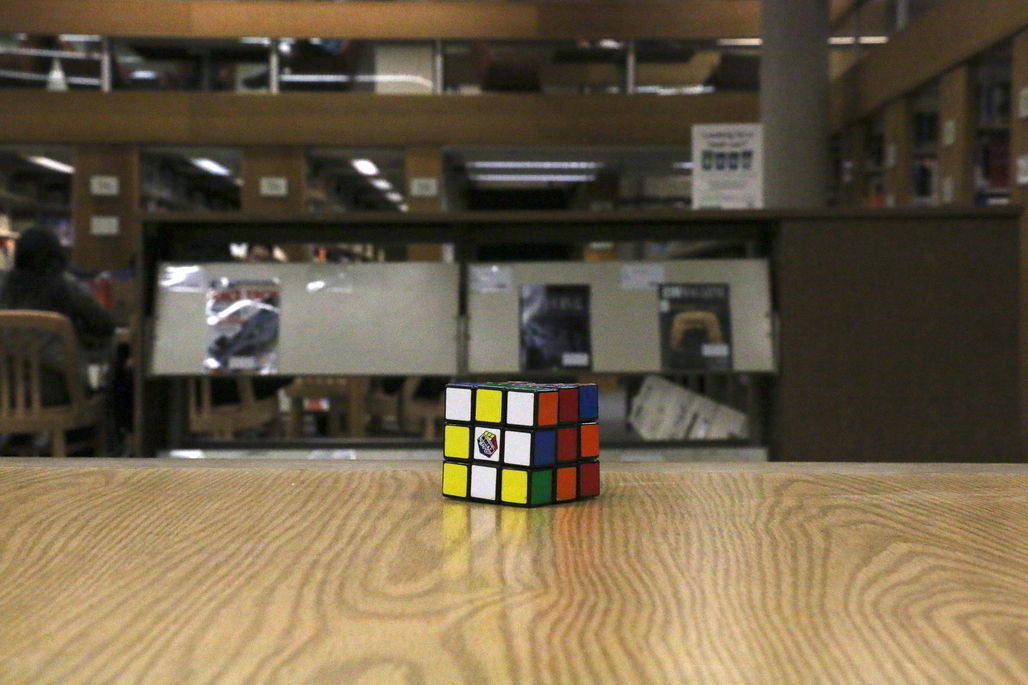
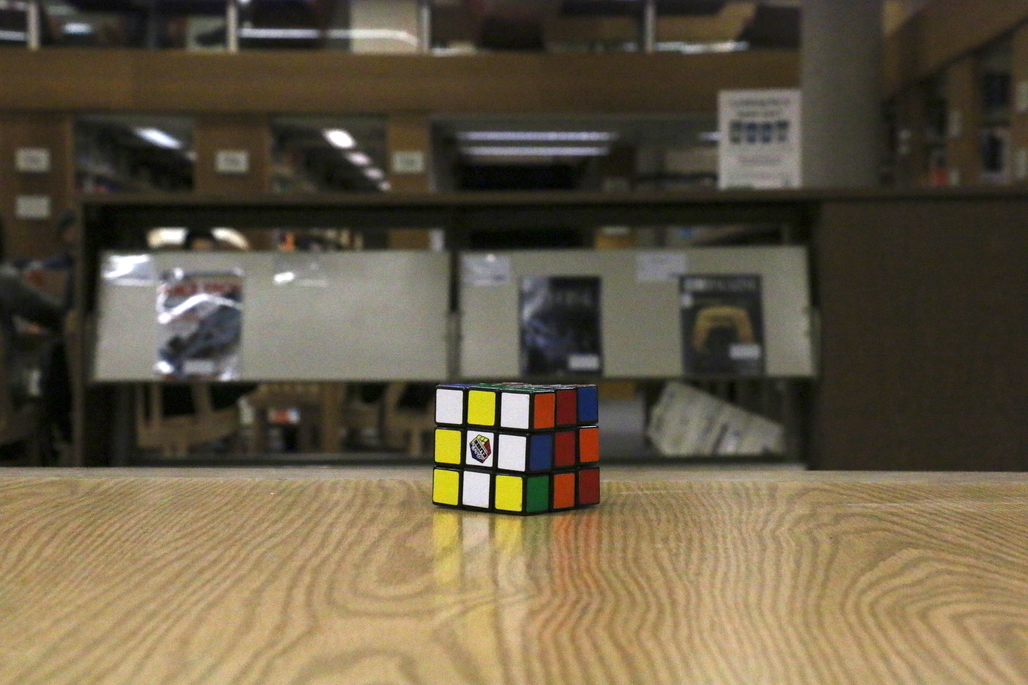
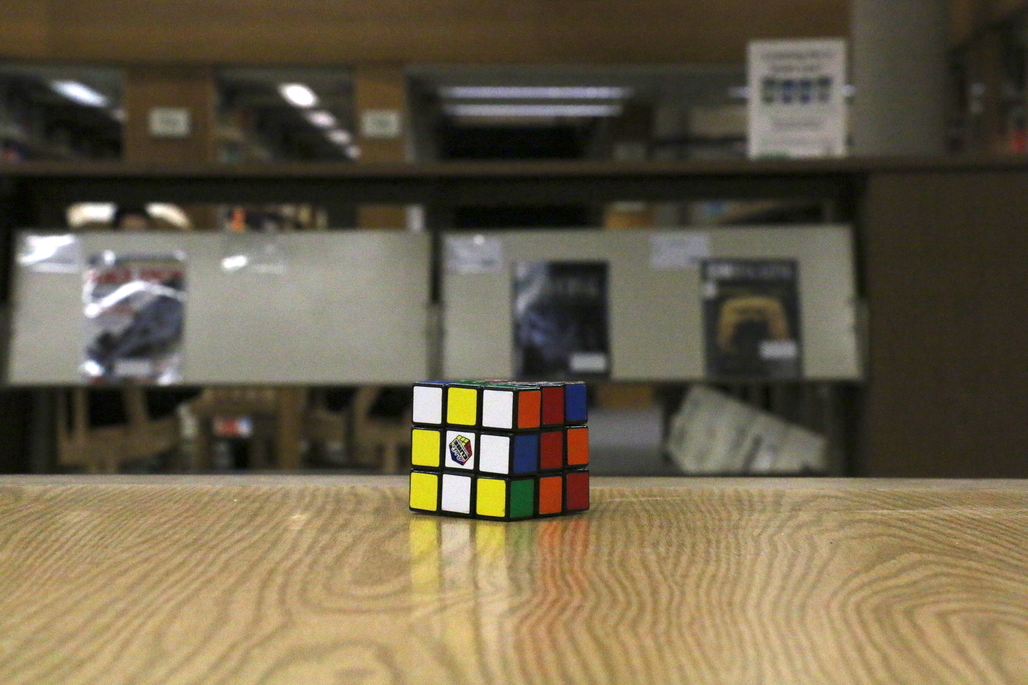
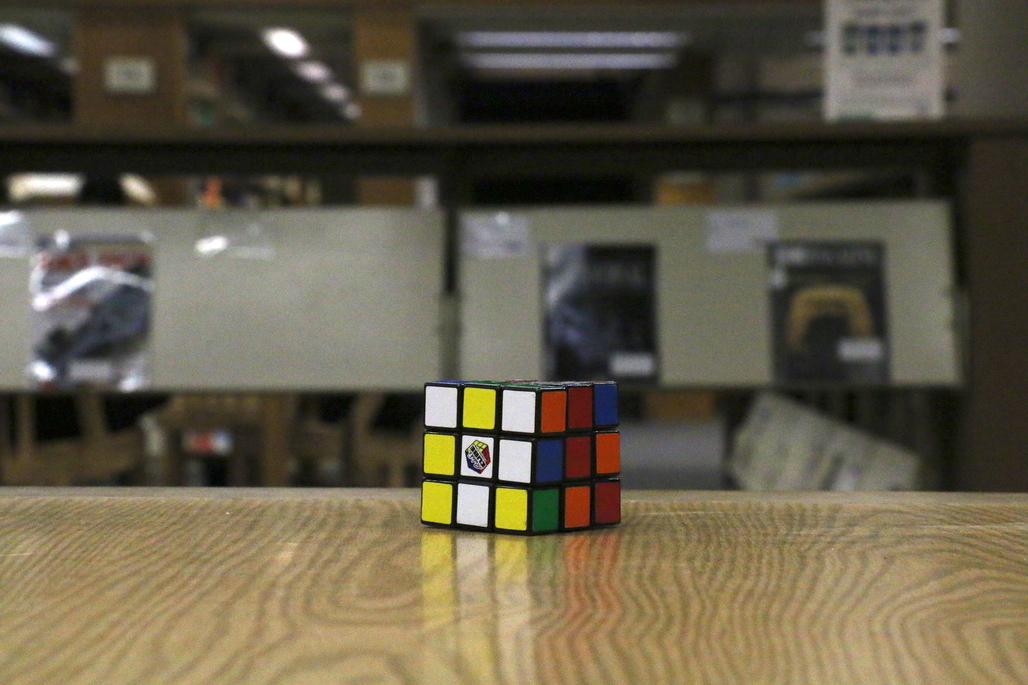
Sequence 2 - The Rubrik's Cube
Bells and Whistles
(A) Assemble your sequences into animated gifs
To create the GIFs for the sequences, I used an online tool called EZ GIF Maker.


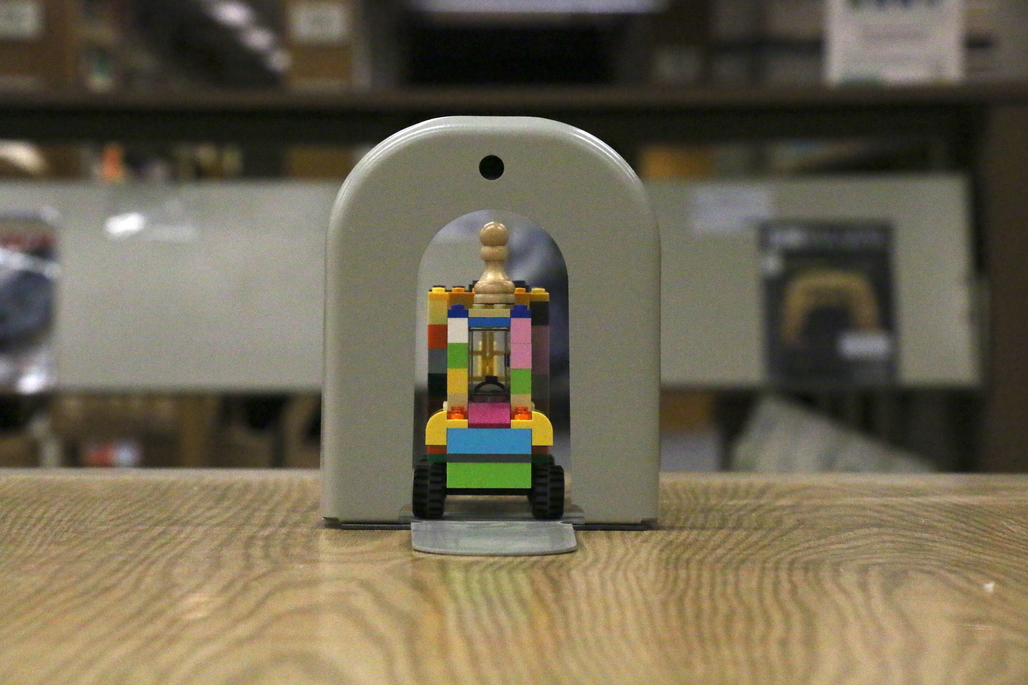
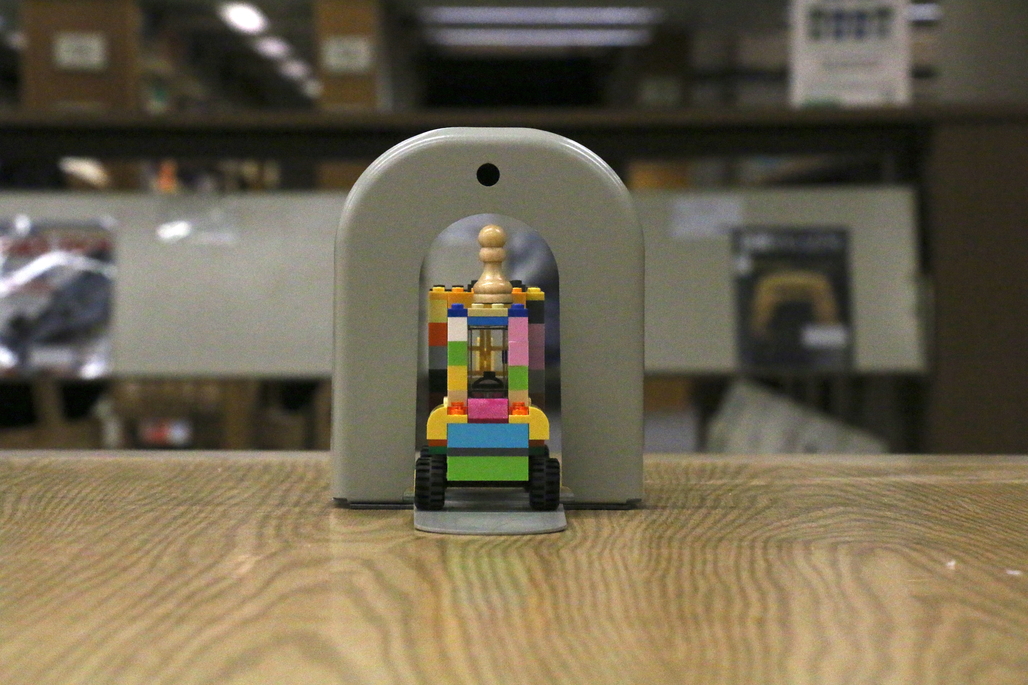
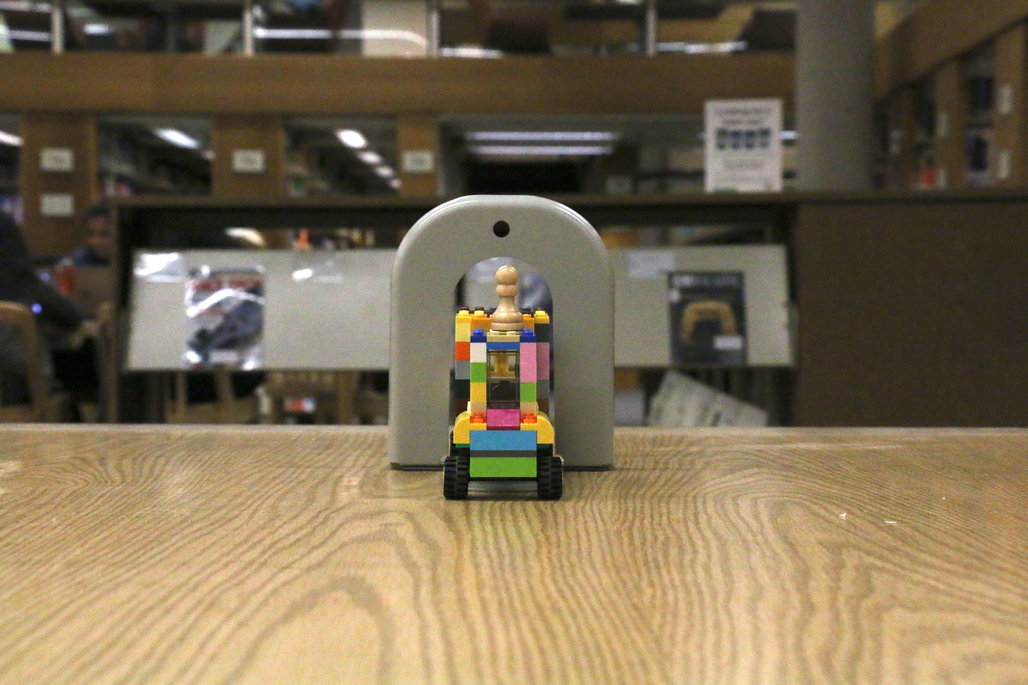
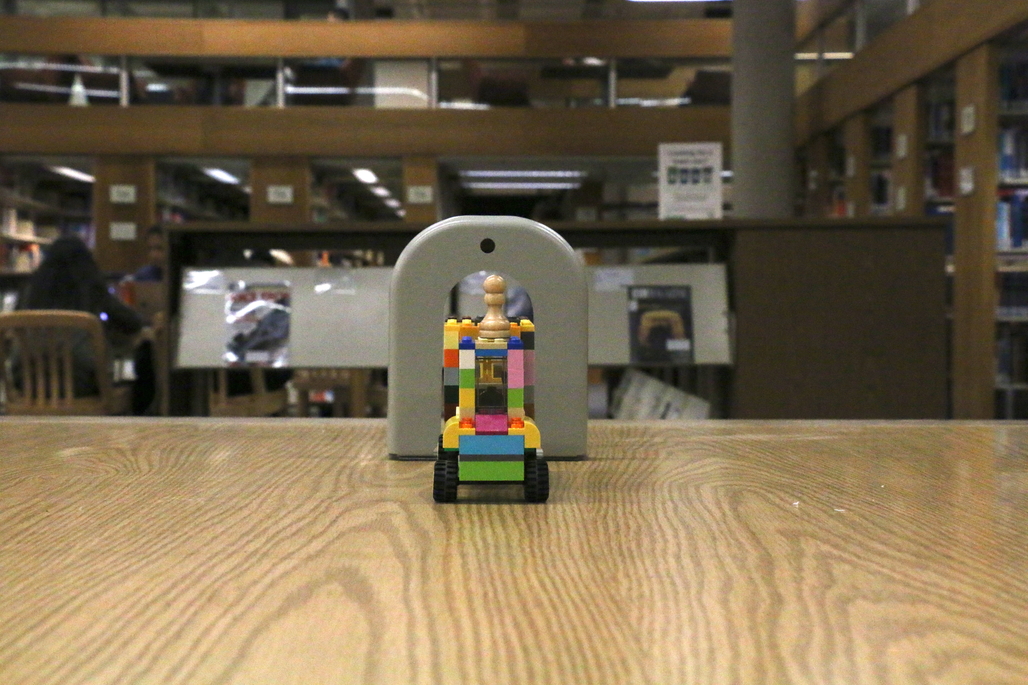
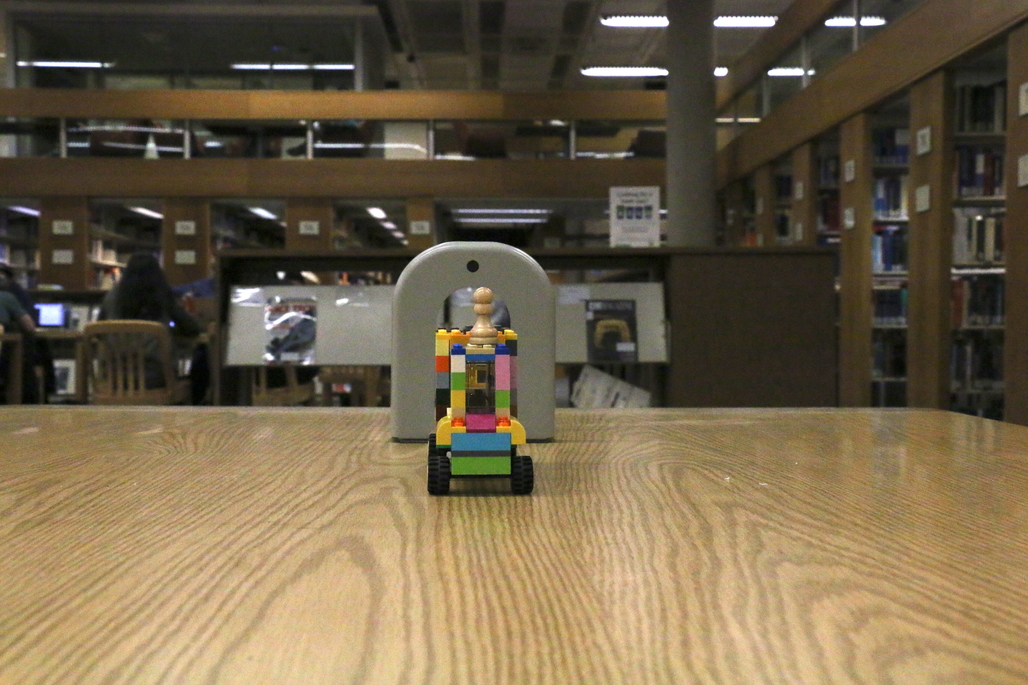
(B) Try different combinations of moving the subject and camera
I also tried to create combinations by moving both the subject and the camera. For the following image I moved a lego train through a bookholder(simulating a tunnel). To achieve the effect below I zoomed out as the train approached the camera.
(C) Compute the Field of View (FOV) of your camera at minimum and maximum zoom
The FOV will be derived from the following formula:
Solving this for FOV we get:
To compute the FOV of the Canon EOS 70D, I took the following two pictures of at my apartment. The picture on the left was taken with maximum zoom and the picture on the right was taken with minmum zoom respectively. The subject was the kitchen counter. I measured the width of it as well as the distances from the table to my camera. Here's my result:
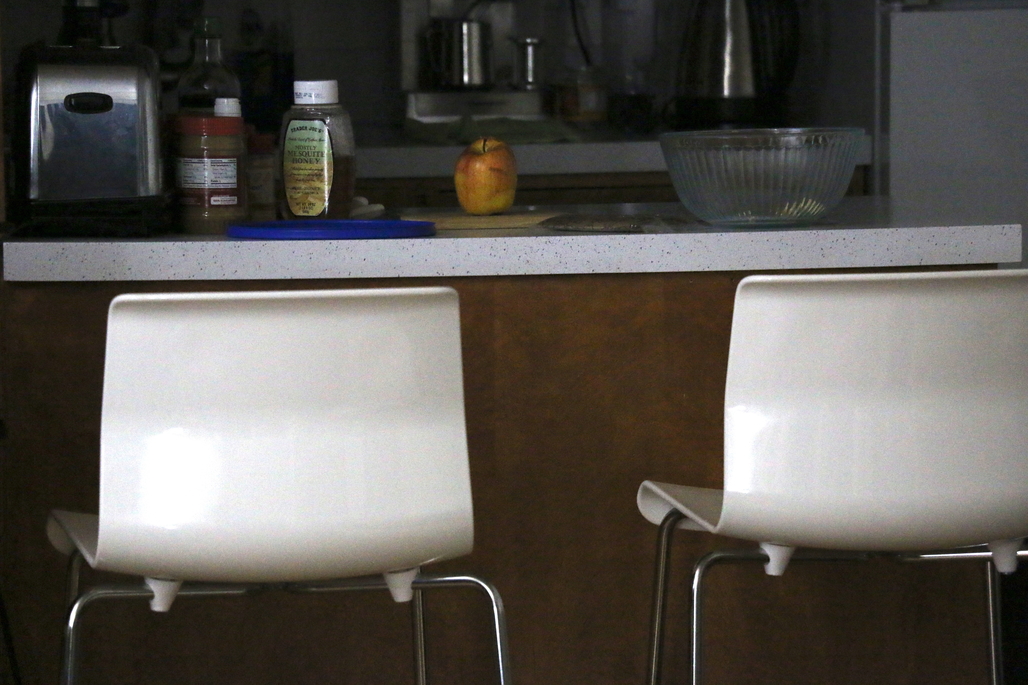
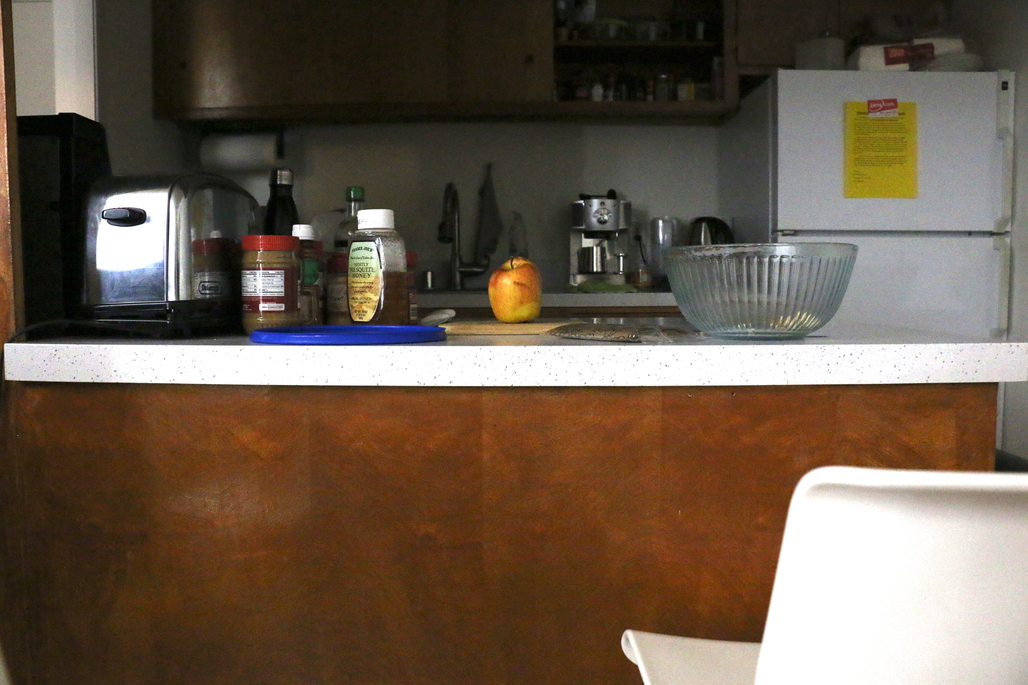
Solving the respective FOVs we get:
FOCUS ON MINIATURES
Overview
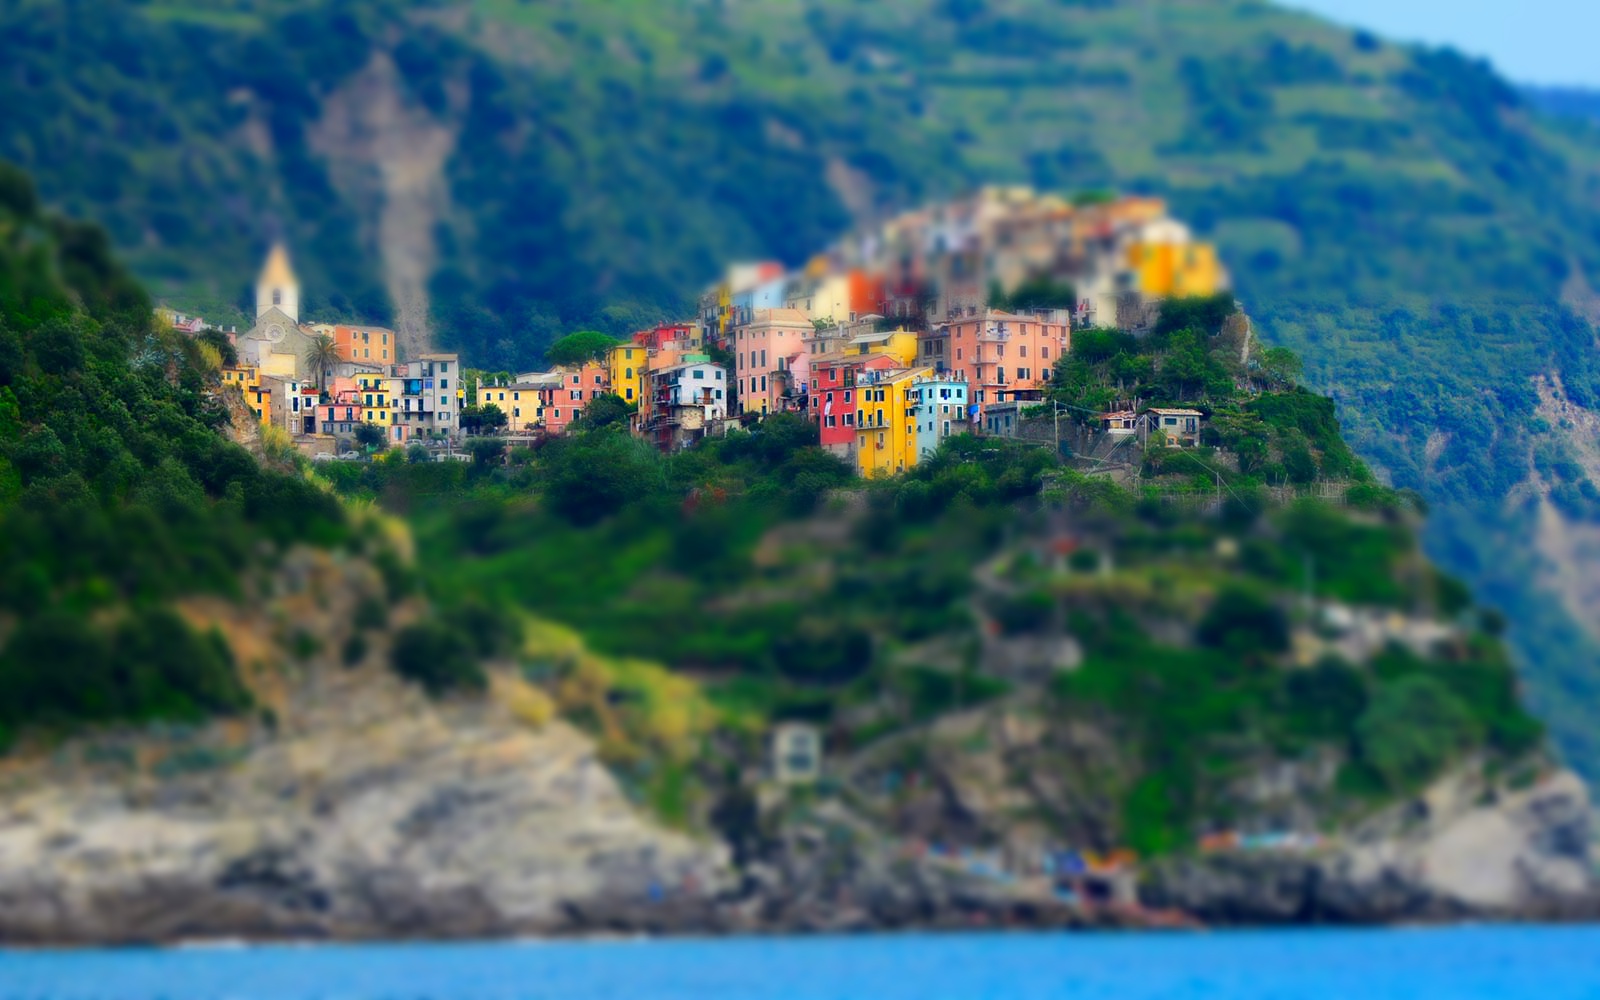
In this project, we create fake miniatures where a real photograph of a life size object is made to look like a miniature scale. This effect is achieved by focusing on a particular part of an image that selective focus cameras call Tilt Shift . The effect essentially narrows the perceived depth of field (DOF) making it seem like the camera was actually close to the object.
Method
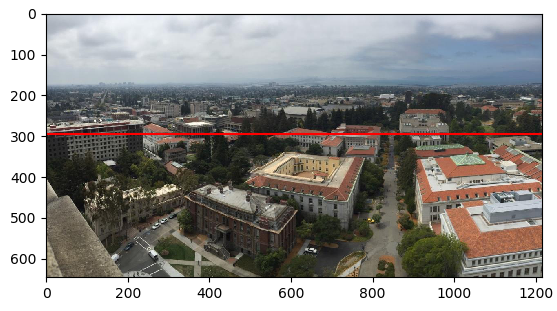
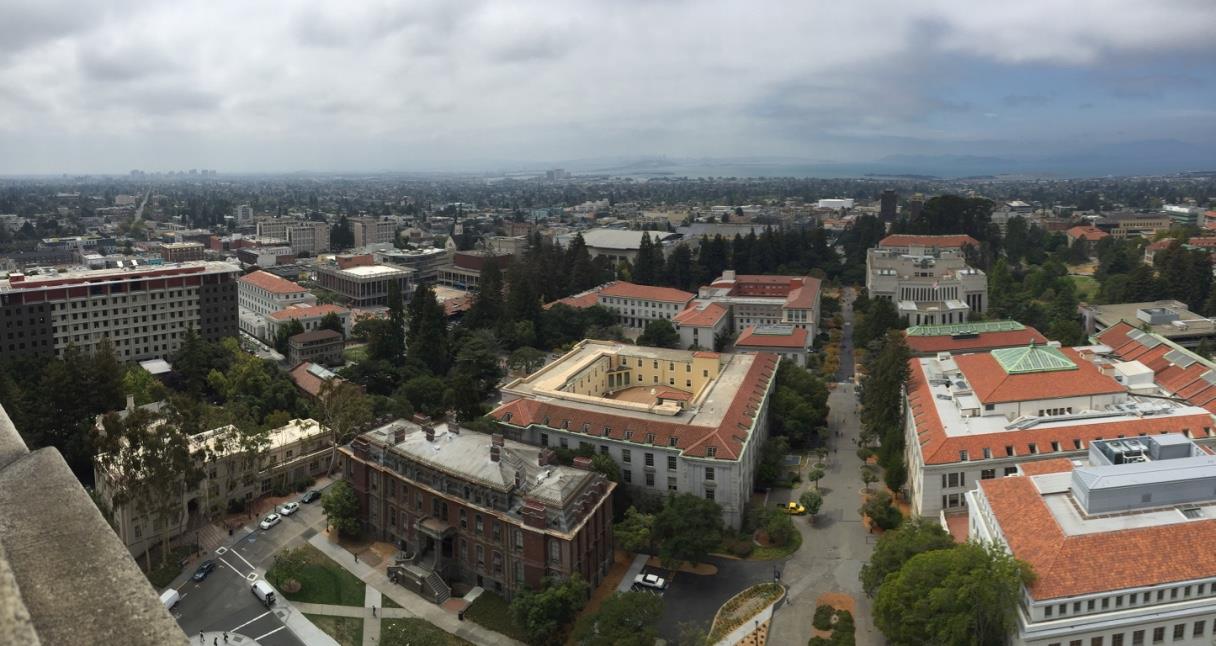
I will be using the example of the picture I took on top of the campanille as I walk throught the steps.
STEP 1
Set a focus line by drawing lines or selecting points in the image.
To do this, I used python's matplotlib and ginput() to allow the user to select a series of pts.
Then, I averaged the y values of the pts to get a y value and drew the corresponding line that will be the center of my focus.
STEP 2
Define the size of the fake depth of field (DOF) with respect to the focus plane as several pixels below and above.
To do this, I got inspired from ideas on people who have completed the project and decided to generate a mask.
The mask would appear white where it copied pixels from the original image and black where the image would be blurred.
Although this would bring focus to the area I had to smoothen the mask and the gray area would serve as my focus plane.
Here's the mask generated for the image above (hover over to see the original image below the mask):

STEP 3
Increase the image's blurr around the focus plane to simulate depth of field effect.
To do this, I used filter module's gaussian filter from the skimage library's.
By setting my sigma to 10, I was able to increase the blurr around the image.
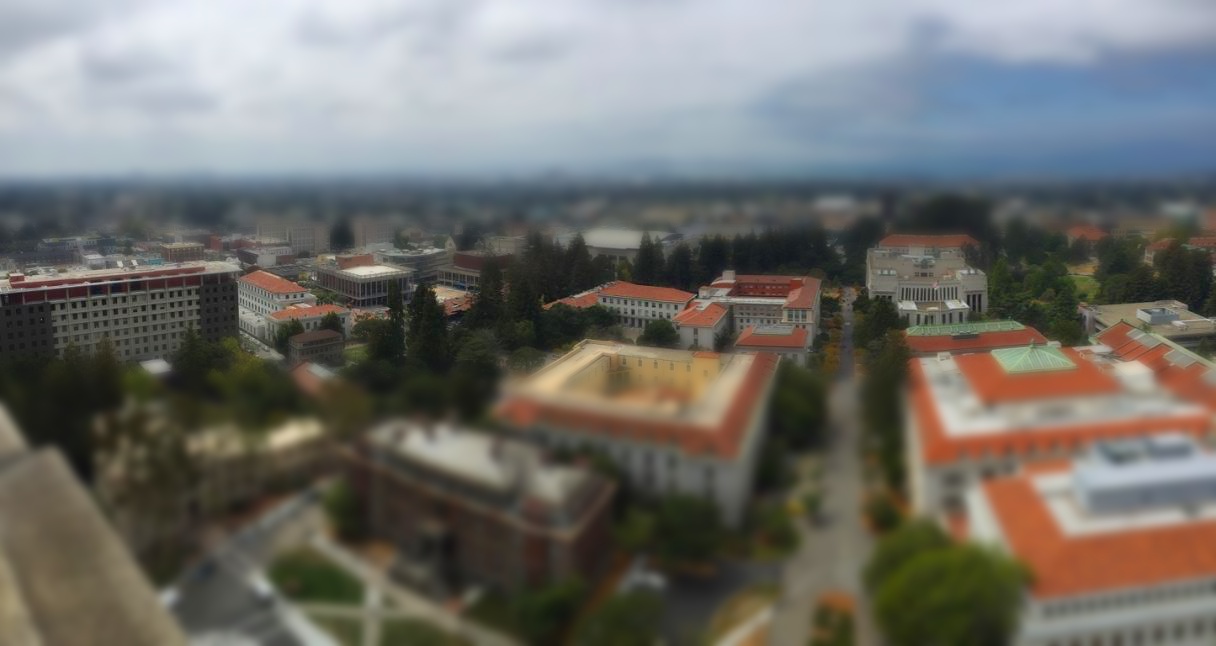
Then I combined my original image + mask + blurred image and got the following result:

STEP 4
For the final touch, we manipulated the colors of the images.
By drastically increasing the saturation of the images, it provides a better illusion of a miniature.
To do this, I first converted the image using the skimage.color module's rgb2hsv() function to convert the image into a hue saturation value.
Then I increased the saturation of the image by a factor of 1.3.
Finally, I converted the image back to its orginal form by using the skimage.color module's hsv2rgb() function.
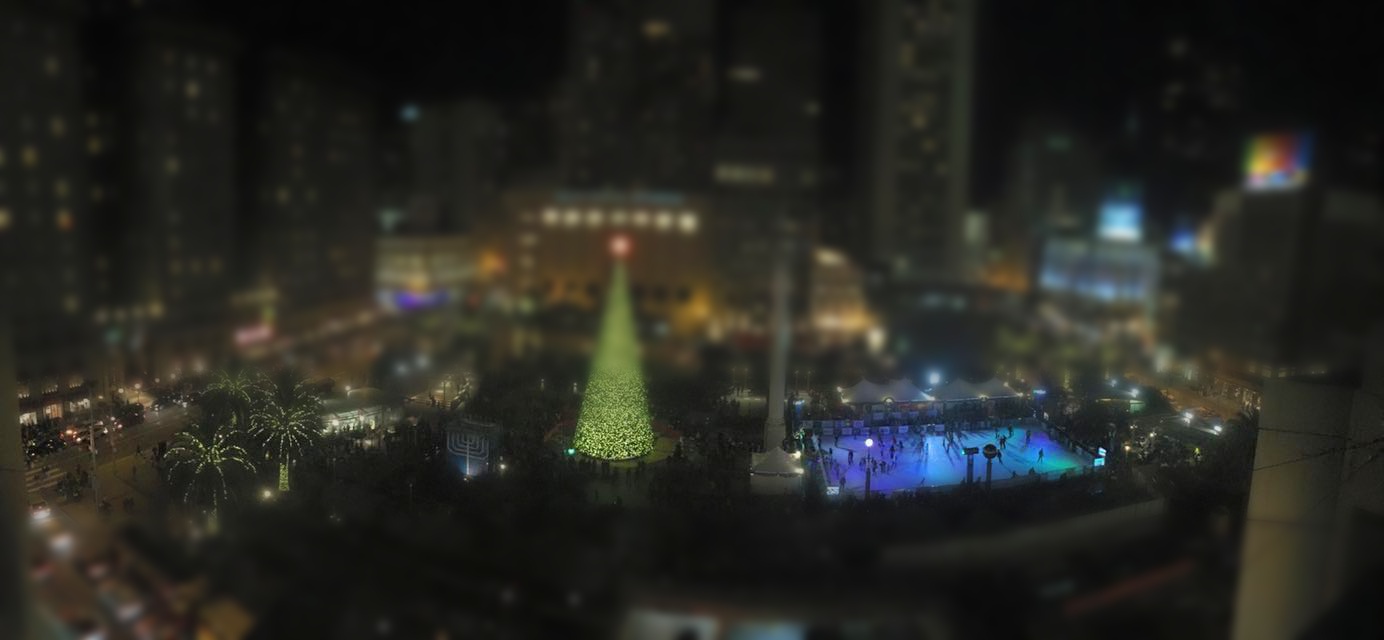
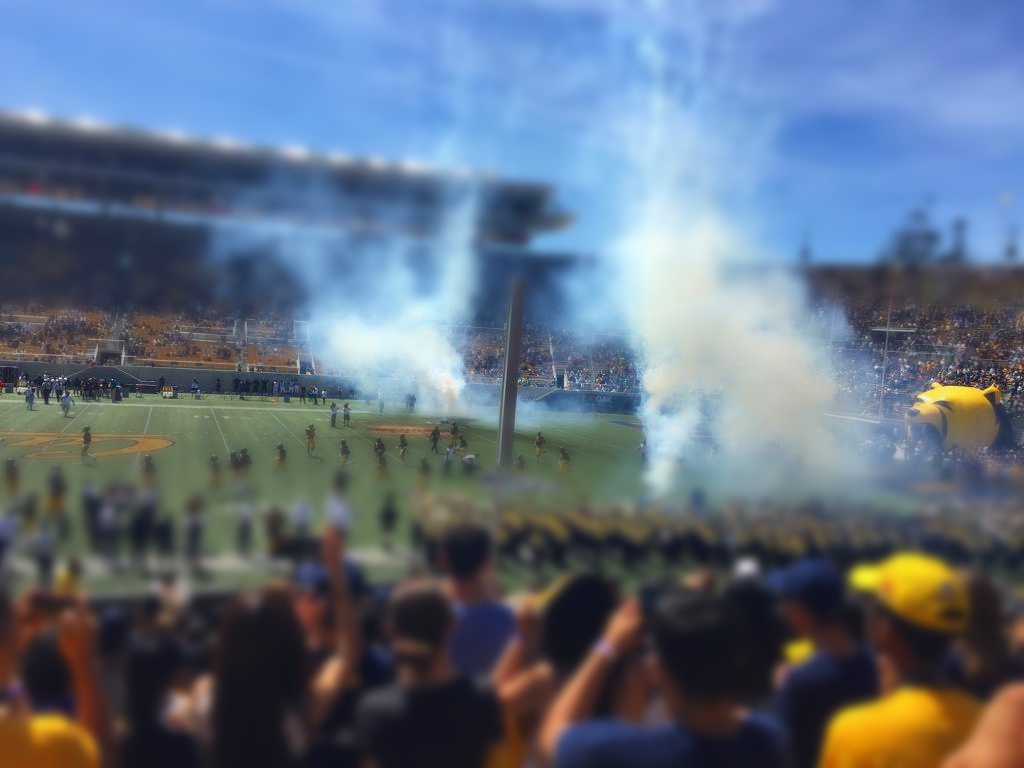
This, drastically improved the quality and simulated the intended "Fake Miniature Result":
RESULTS
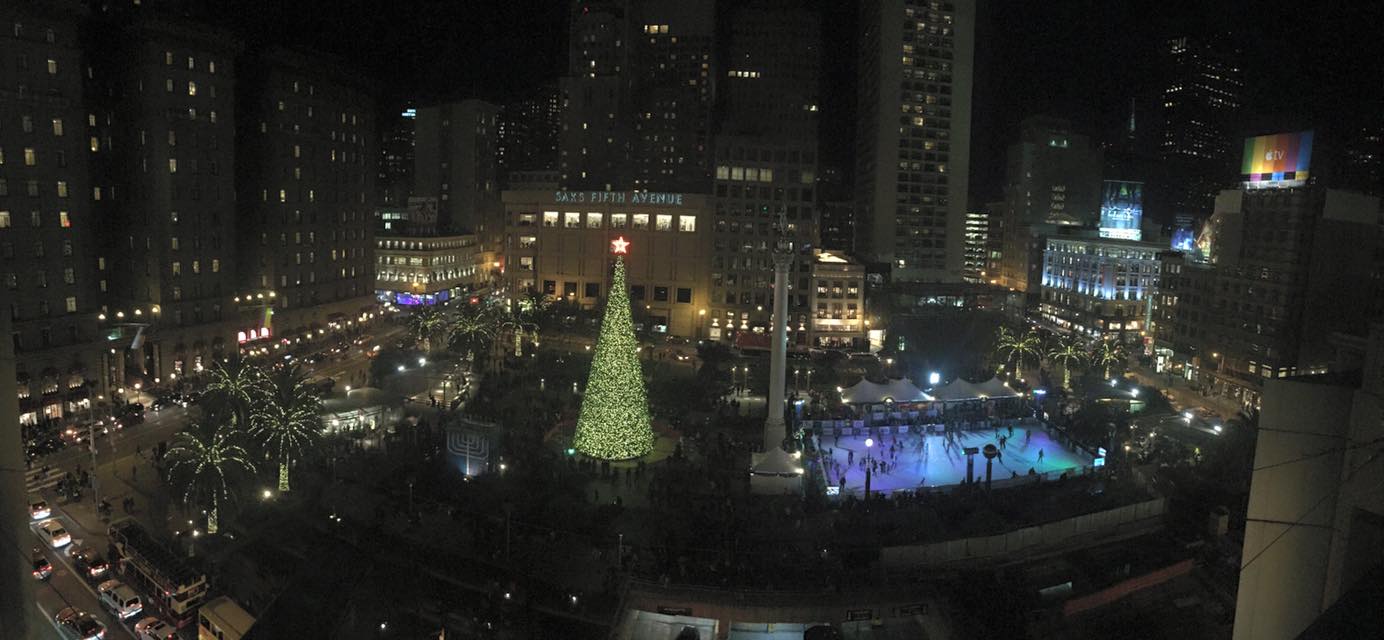
Tis' the Season (@Union Square 2k17)

Model Berkeley (@Campanille Tower)
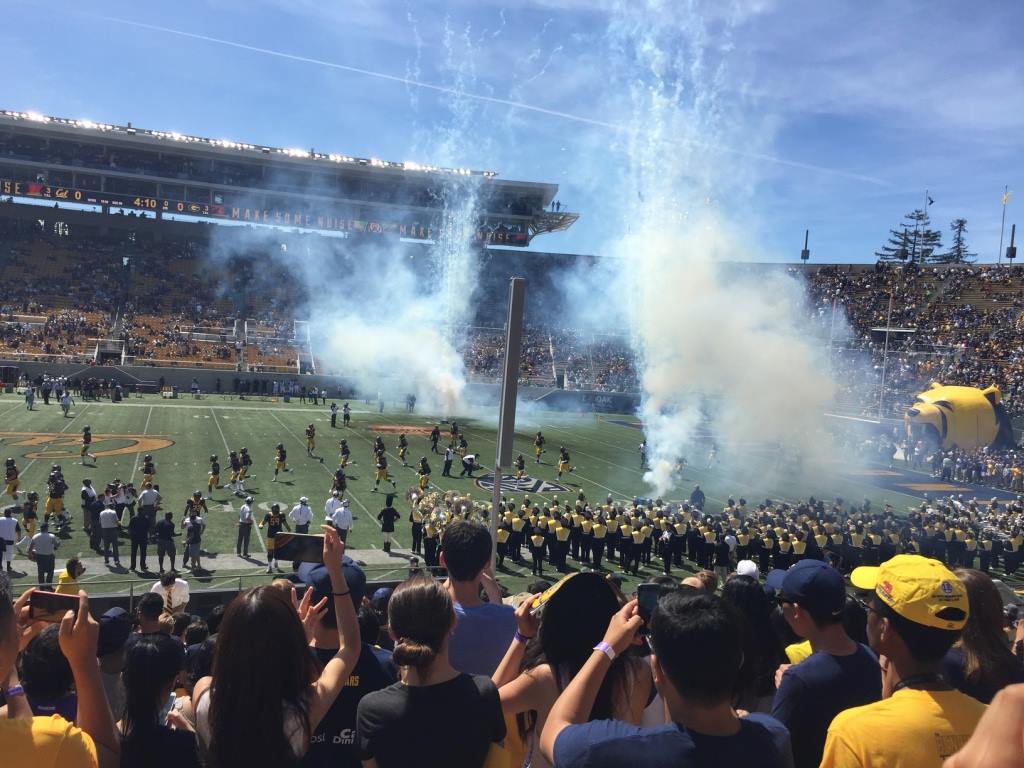
Game Day (@Memorial Stadium)

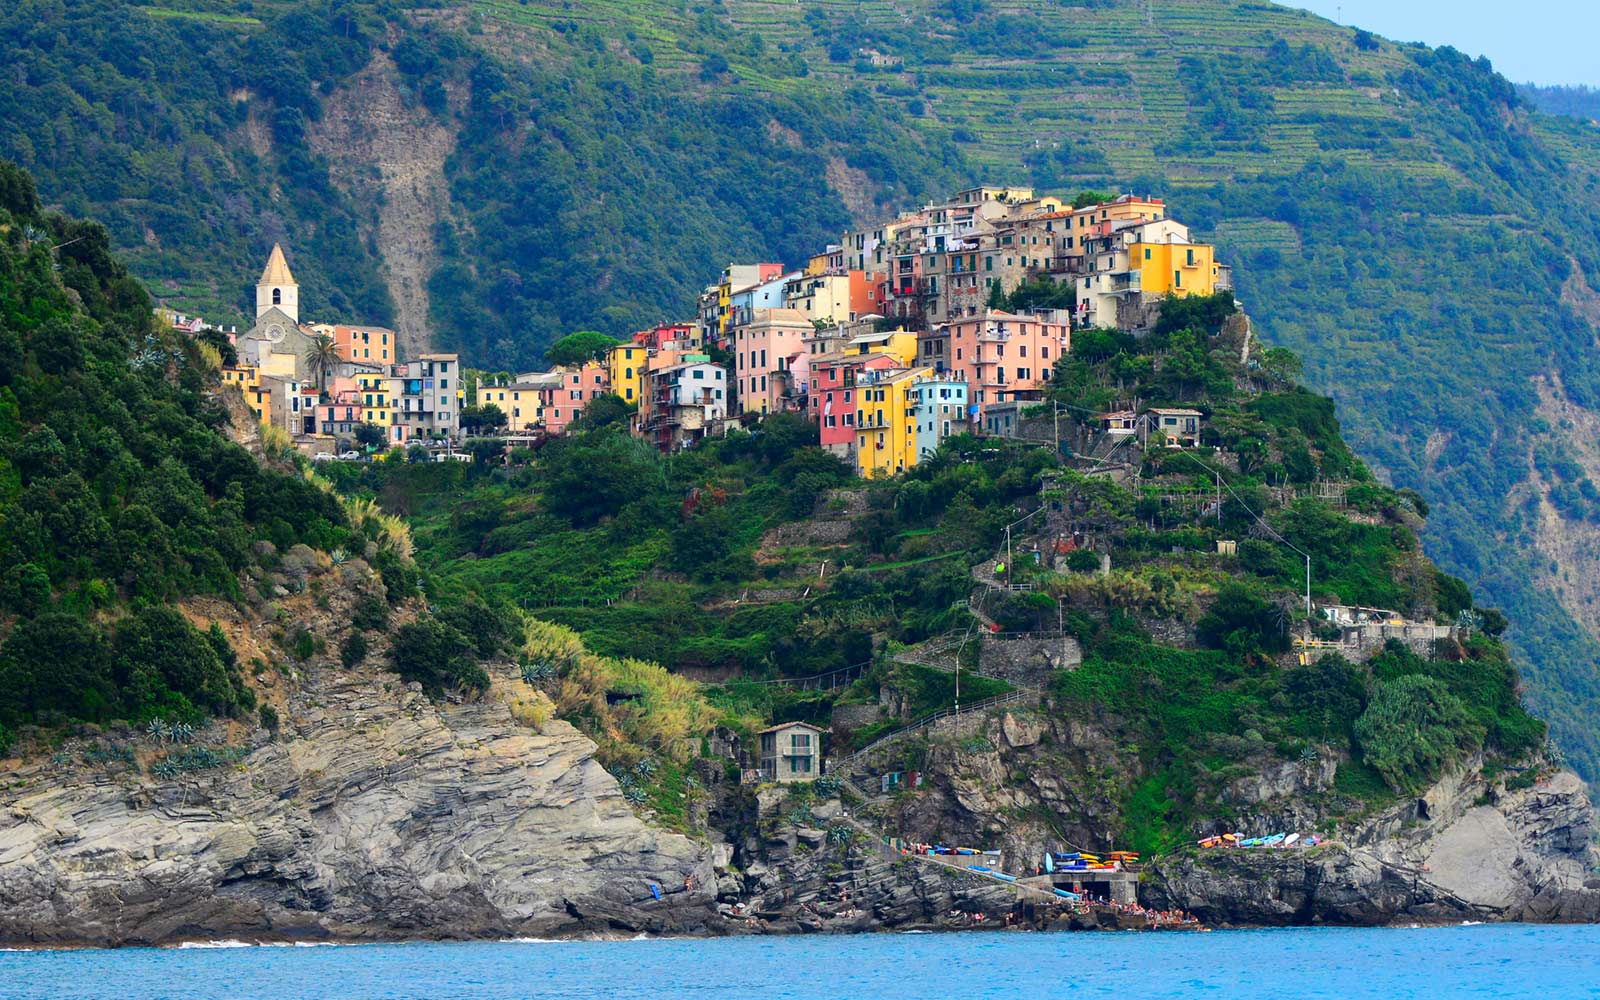
Cinque Terre (PC: Travel and Leisure Blog)

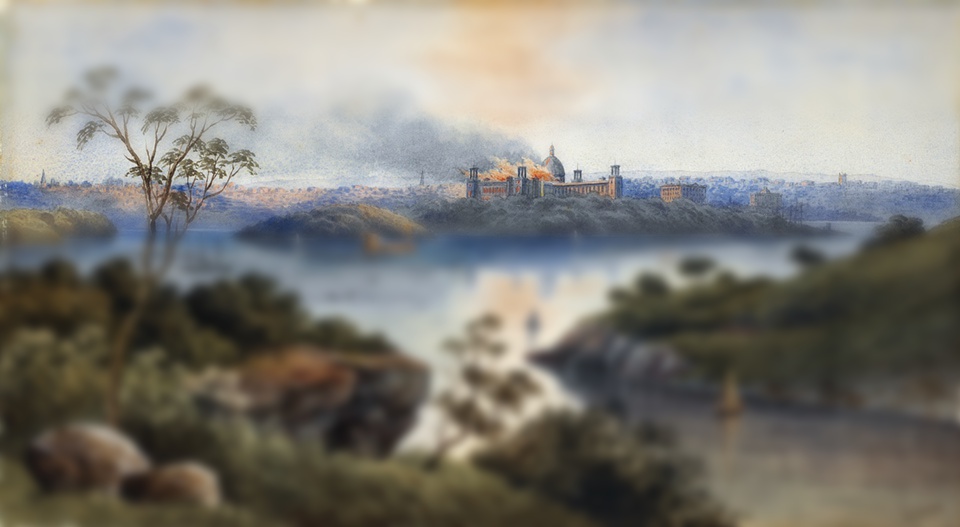
Garden Palace on Fire (Painting) (PC: New South Wales State Library)


Copyright © Mrinalini Sugosh 2018 (Template Credits)