Introduction
For my final project, I decided upon the two following pre-canned projects:
1. Single Image Haze Removal:
In the following paper, K. He, J. Sun, and X. Tang, proposed a unique dark channel prior approach to removing haze within a single image.
They found that in images that contain natural, outdoor setting, there must exist a minimum intensity pixel within one of the channels (RGB) that
is very close to 0. The channel that holds this minimum pixel is called the dark channel.
In order to model the haze, they use the commonly used function: $$I(x) = J(x)t(x) + A(1 - t(x))$$ where I is the haze image, J is the
scene radiance, t is the medium transmission (light that reaches camera), and A is the global atmospheric light. Therefore, using the computed dark channel
they estimate J, t, and A from I.
2. Dolly Zoom Effect:
The Dolly Zoom effect is a cinematic technique where you change the distance of the camera to the object as you adjust the zoom.
This creates an effect where the background changes (since zooming effects the FOV of the camera), while the center object seems to be stationary.
Part 1: Single Image Haze Removal
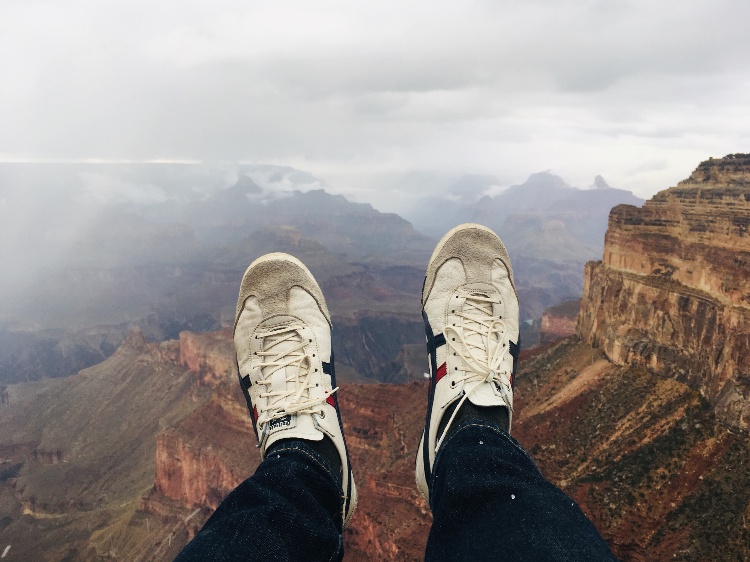
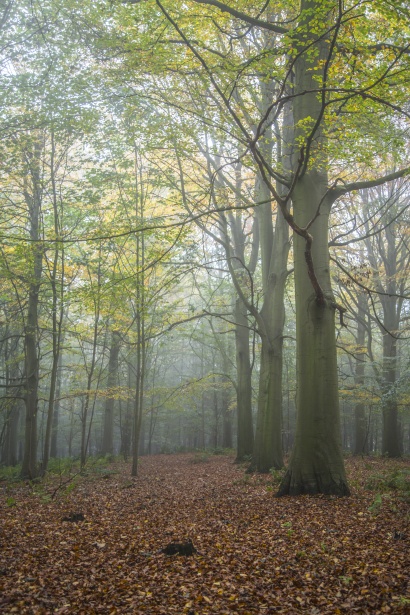
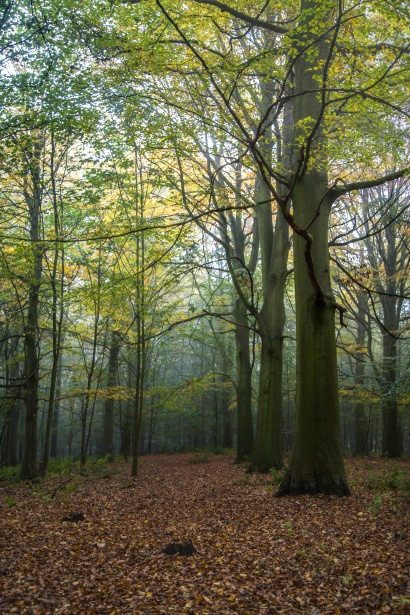
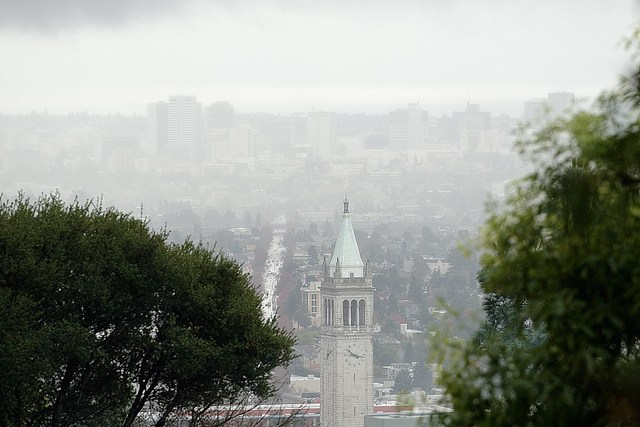
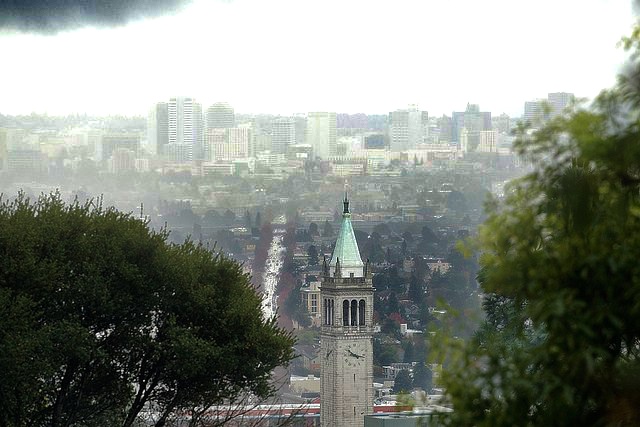
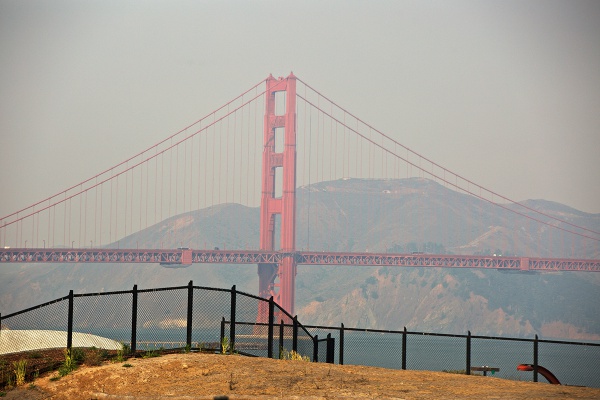
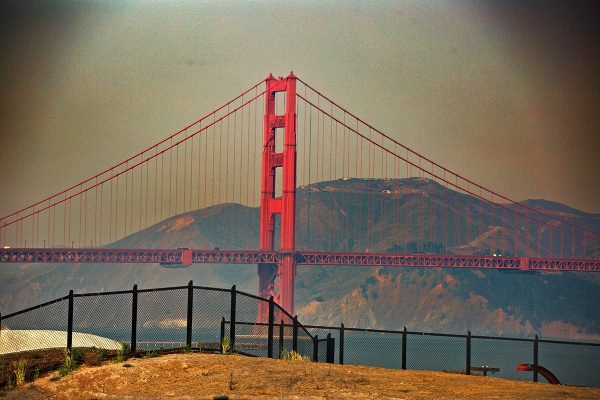
In the following sections, I will walk through the haze removal implementation, as decribed in the paper, using an image that my friend took at the Grand Canyon during the recent Thanksgiving Break.
The Algorithm
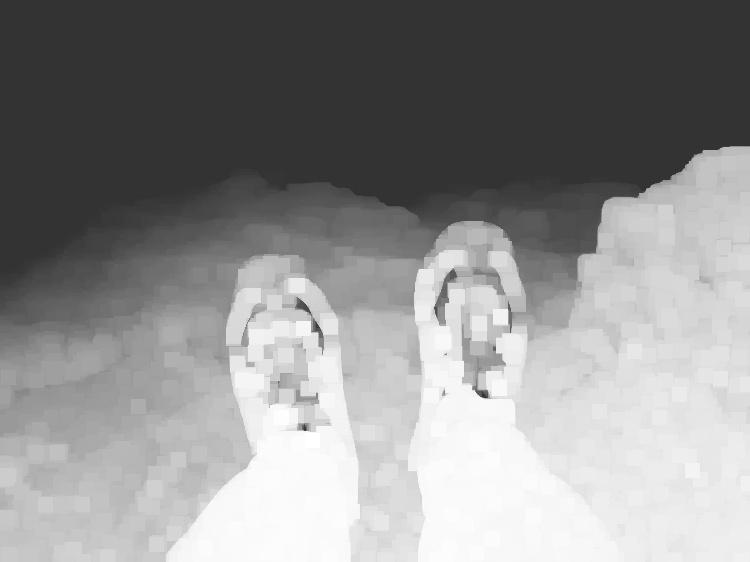
Step 1: Compute Dark Channel
As addressed in the paper, one of the channels will most likely contain patches of very low intensity, dark pixels. Therefore, we compute this by going through
every channel, c, with 15x15 patches centered at each pixel, i.

Step 2: Get Atmospheric Light
For each color channel, we select the top n lightest pixels, and compute the average intensity value. This average will represent the
atmopheric light for each channel.
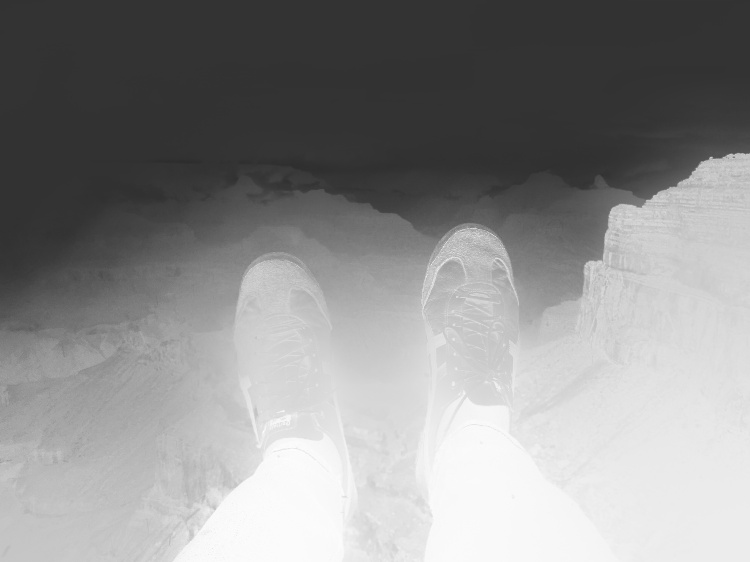
Step 3: Get Medium Transmission
Using the atmospheric light that we estimated from step 2, we can estimate the medium transmission using
equation (12) from the paper: $$t = {1 - w \min ( \min {Ic(y) \over Ac})} $$
In other words, this is 1 - omega (.95) * (dark channel of haze image) * (haze image normalized by atmospheric light estimate).
Step 4: Using Soft Matting Optimization
Next, we want to create a better, optimized transmission create a Mat Laplacian Matrix (L) in order to solve for the equation: $$(L+aU)t = at'$$
where a is a constant, t is the optimized transmission, and t' is the original transmission. We fill in the L matrix by looping over reach
3x3 window of the transmission image and calculate the RGB mean, Σ (to k), and covariance matrix, μk, to compute equation (14) of the paper: $$ Σ (δij− {1 \over |wk|}(1+(Ii−μk)^T (\sum_{i=0}^k+ {ε \over |wk|}U3)^{−1} (Ij−μk))) $$
where wk is the window, U3 is a 3x3 matrix, ε is a regularizing parameter, and |Wk| is the number of pixels.
Step 5: Obtaining Scene Radiance
Recall that the haze modeling function, equation (1) from the paper, is: $$I(x) = J(x)t(x) + A(1 − t(x))$$
from the previous steps, we have computed atmospheric light A and medium tranmission t, so we have enough variables to
solve for radiance J
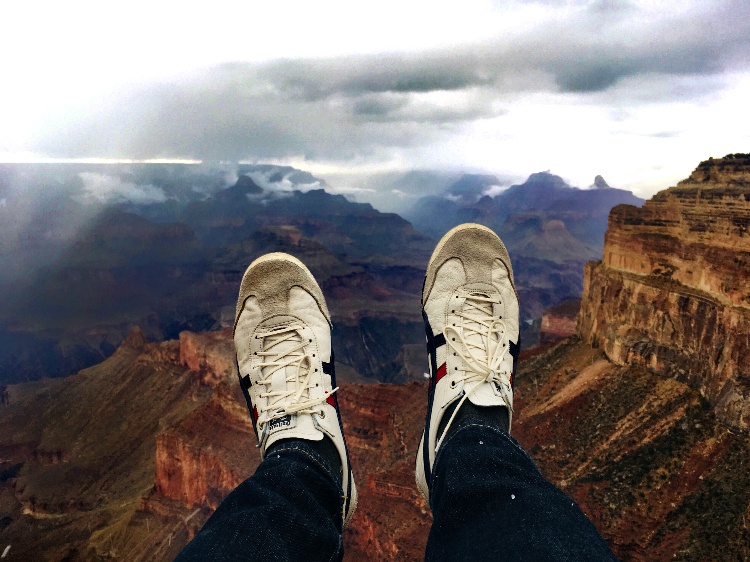
More Examples
Limitations
The main limitation of this algorithm is the fact that the dark channel prior is still statistic - in that it may not exist and work on all images. Mainly images that do not have naturally dark pixels from shadows and are inherently similar to atmopheric light.
Part 2: The Vertigo Effect
Materials & Approach
In the following videos above, I filmed with a Canon Rebel T1i. I did not utilize any other hardware devices such as tripods or other types of assistive devices. With the help of my friend, I was able to reproduce the dolly zoom effect using a DLSR camera I described in the materials section. For the most part, there was no strict approach I followed to create the effect, much of it was trial and error. In the videos above, I began with the lens zoomed in and as I walked towards my friend (who is representing the stationary object), I gradually reduce the zoom. This creates an effect where my friend remains the same size relative to the FOV, while the background changes.
Bells & Whistles
For my bells and whistles, I turned one of the videos into an animated GIF:
Difficulties
While the trick is simple, I found that performing a well done Dolly Zoom effect is pretty difficult. Especially without the help of assistive devices to keep the camera stabalized, I found that small movements can easily disrupt the dolly zoom effect. Furthermore, it takes many trial and error to get the correct walking speed with respect to the speed the camera FOV changes (or vice versa).
Conclusion
Overall, I found both projects very interesting. For the haze removal project, really fascinating to see how the authors took an intuitive observation and applied to a commonly used haze model. While relativley simple and straight forward prior observation, the results were pretty remarkable and effective. Lastly, the dolly zoom was an interesting project that played with the human eye and mechanics of camera lenses. It is great to see something very simple develop such a eye catching effect. Also, I use the term "simple" very lightly. After many attempts of trying to get a single decent dolly zoom video, I truly beleive the act of making the effect an art and skill that requires practice.