Project 1: Seam Carving
For my energy function, I used a function similar to the function e1 as described in "Seam Carving for Content-Aware Image Resizing." I found the x-gradient of a pixel at (x,y) by splitting the image into its RGB components and summing up the absolute value of the differences between the neighboring pixels (x+1, y) and (x-1, y) for each component. The y-gradient of a pixel can be found in a similar way.
After finding the energy of each pixel, I calculated the minimum energy seam using the DP algorithm described in the spec. For each pixel, the minimum energy seam to that pixel M(i, j) can be found using e(i, j) + min(M(i - 1, j - 1), M(i - 1, j), M(i - 1, j + 1)). While the size of the carved image is less than the desired size, I repeated this process of calculating the pixel energies, identifying the lowest energy seam, and removing it.
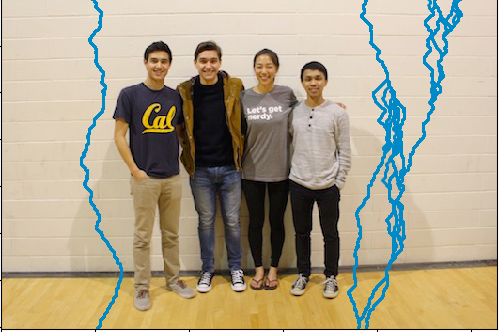
The seams shown are a little off because I find seams using the coordinates of the previous carved iteration of the image, but I display the seams on the original image. As a result, there is a lot of overlap in the displayed seam images because the lowest energy seams tend to be mostly in the same area. This is OK though because it gives a good enough general idea of where the seams are. I learned that shrubbery pixels have a lot of energy.
Success Images
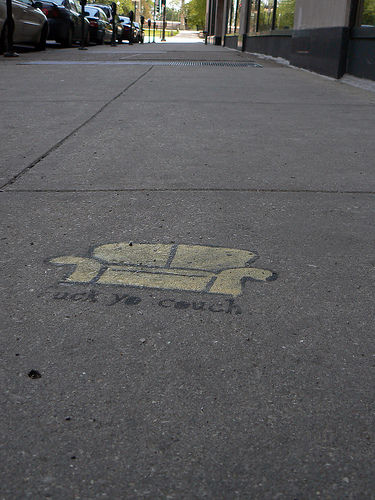
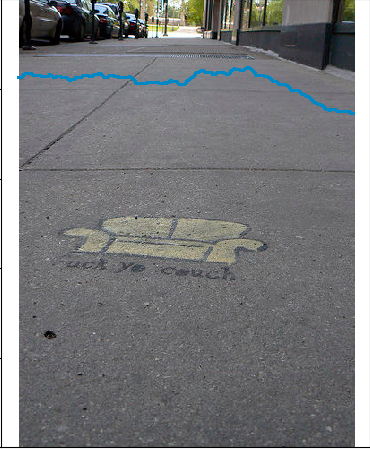
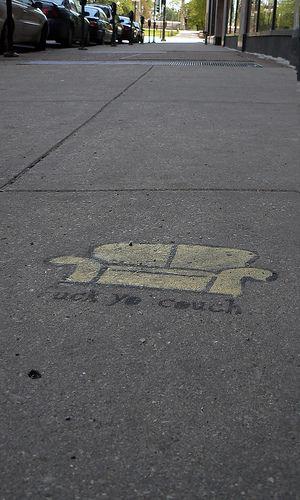
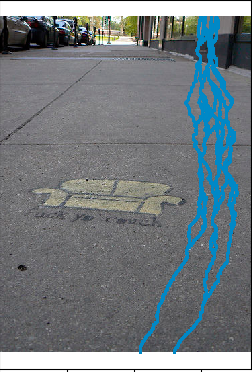
Couch
Here is the original image, the vertically resized image, and its seams. You can see some of the carve in the asphalt, but the couch is preserved, which is good!
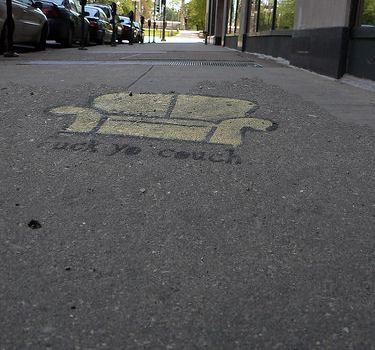
Here is the original image, the horizontally resized image, and its seams. No noticeable issues here.
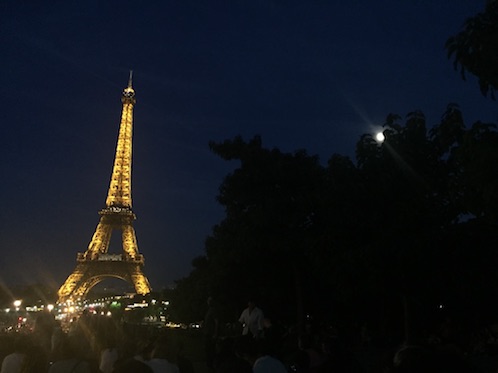
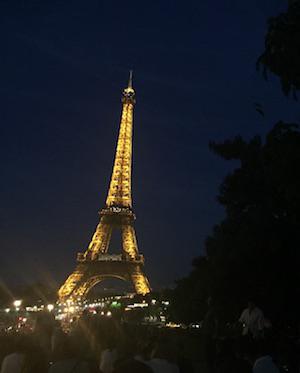
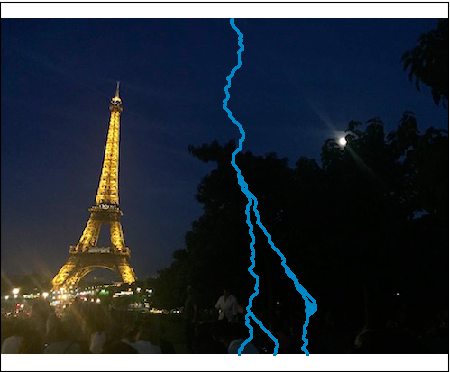
Eiffel Tower
Here is the original image, the horizontally resized image, and its seams. The Eiffel tower is preserved, which is good, but it would have been cool if the moon were preserved as well.
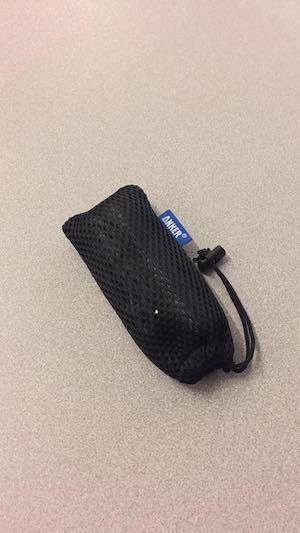
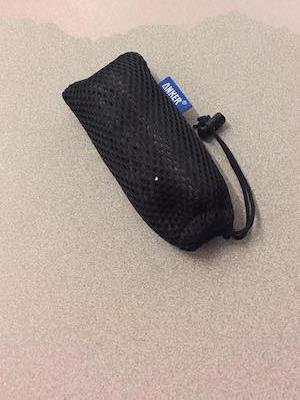
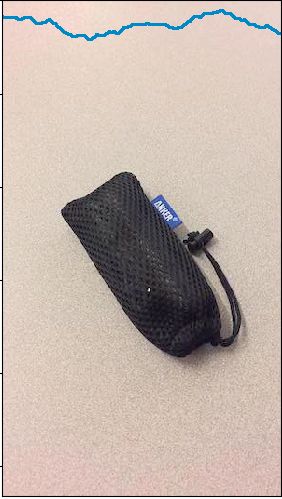
Textured Bag
Here is the original image, the vertically resized image, and its seams. The bag stayed intact. Like the asphalt, you can see the seam line because the top of the table is not the same color as the bottom of the table (because of lighting).
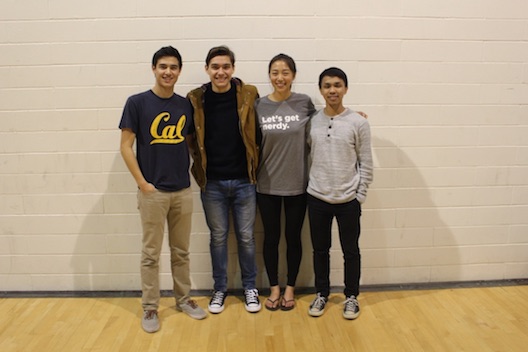
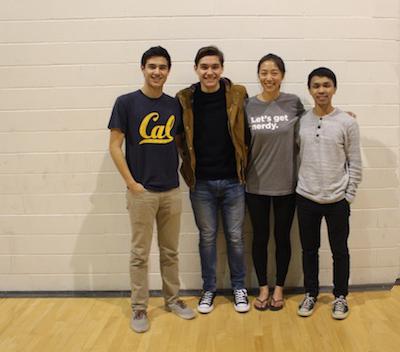
Cal Hacks
Here is the original image, the horizontally resized image, and its seams. Our faces/bodies are preserved, and the excess white background has been carved out on both sides. More of the seams were taken from the right side fo the image because the grooves in the wall are less noticeable due to the brighter light.
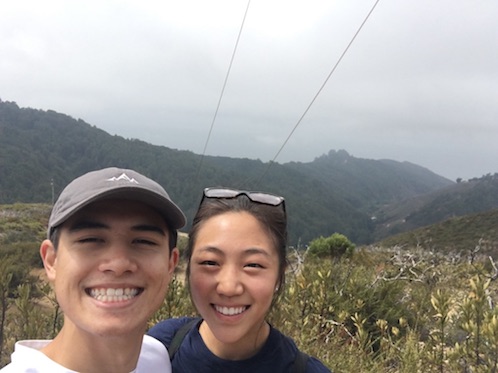
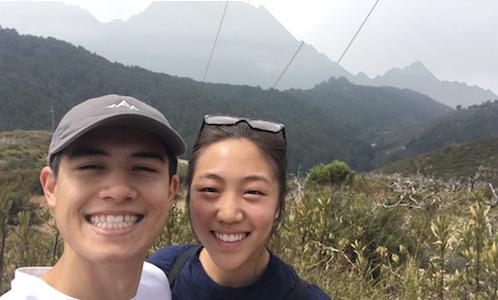
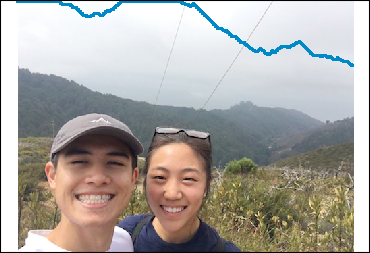
Mountains
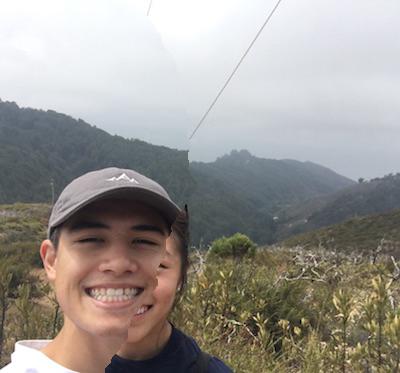
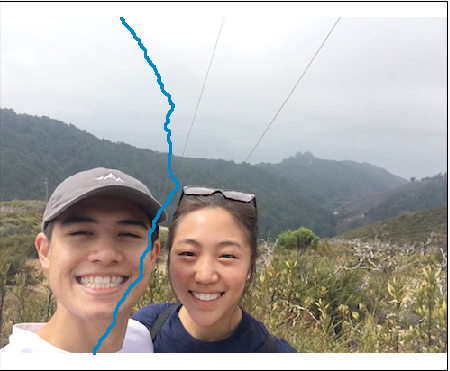
Here is the original image, the vertically resized image, and its seams. Our faces are preserved (good!), but the power lines have been noticeably distorted (bad!).
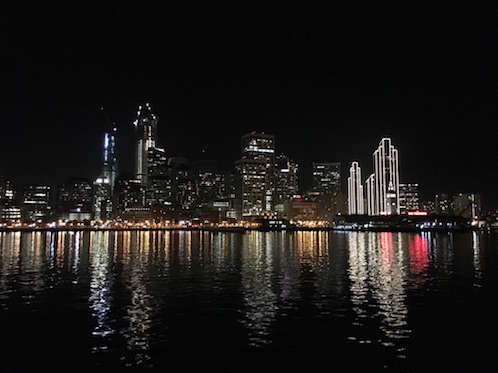
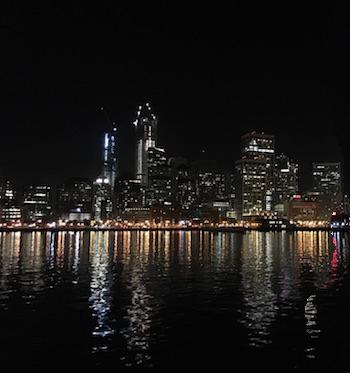
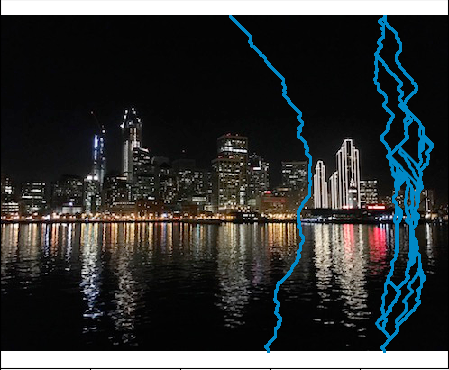
San Francisco
Here is the original image, the horizontally resized image, and its seams. At first glance, it looks like the image has just been cropped, but you can see some red reflection in the water in the right of the resized image that would not have been present if the image were just cropped.
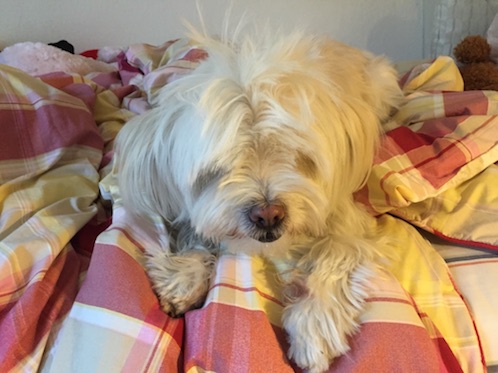
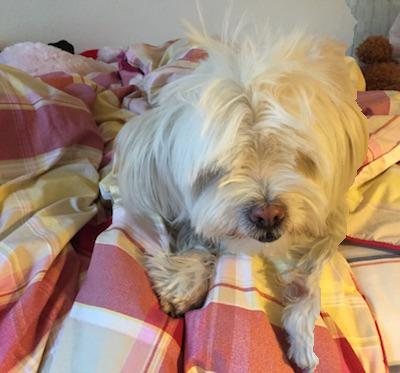
Butter
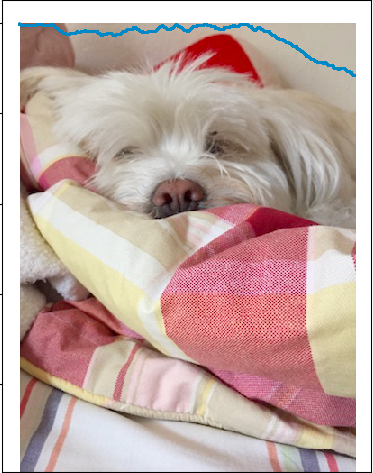
Here is the original image, the horizontally resized image, and its seams. Resized Butter still looks like a dog, just a little less fluffier.
Failure Images
Big Sur
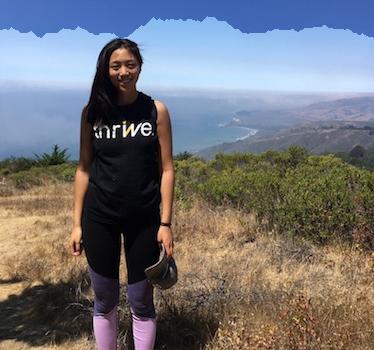
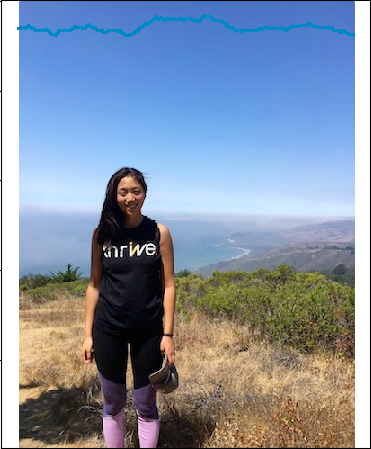
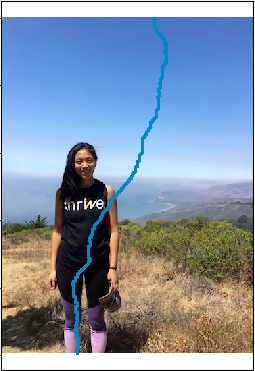
Here is the original image, the vertically resized image, and its seams. The seam is a little hard to see since it's blue and blends in with the blue sky, but it's there! Since the sky is an ombre blue instead of a constant blue, the resized image has a very clear distinction between the dark and light shades. Not good!
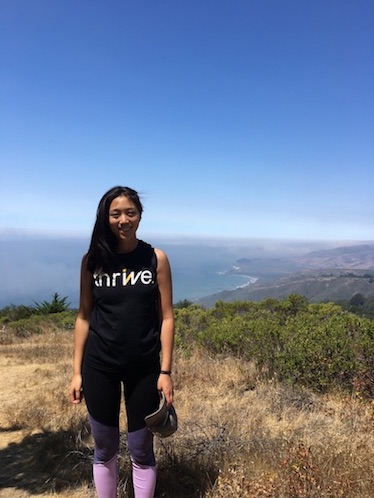
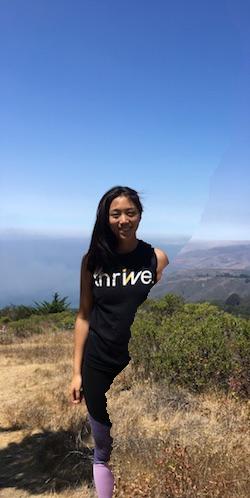
Here is the original image, the horizontally resized image, and its seams. Since the shrubbery next to me is very textured compared to my shirt, I got carved out instead. It is kind of cool that you can see the seam follow the black up from my leggings and across my shirt.
Mountains
Here is the original image, the horizontally resized image, and its seams. Again, it looks like there was more texture and energy in the grasses/plants next to us than in our faces.
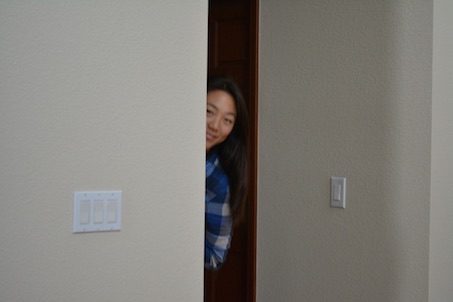
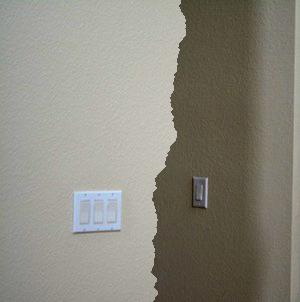
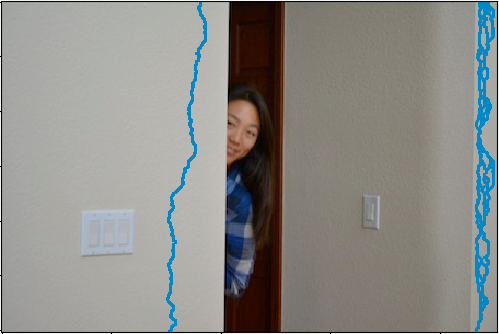
Henlo
Here is the original image, the horizontally resized image, and its seams. Not really sure why this didn't work. Too much wall texture perhaps?
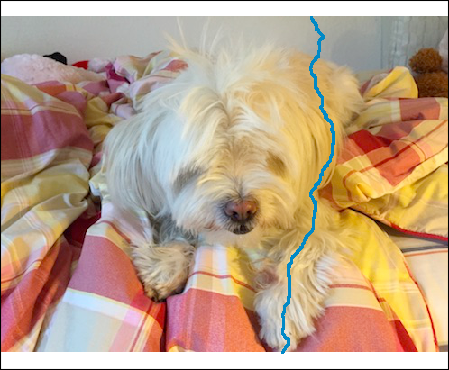
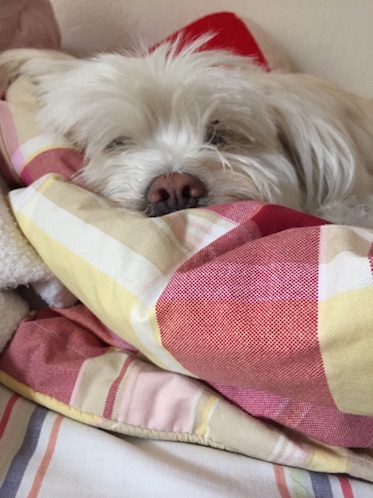
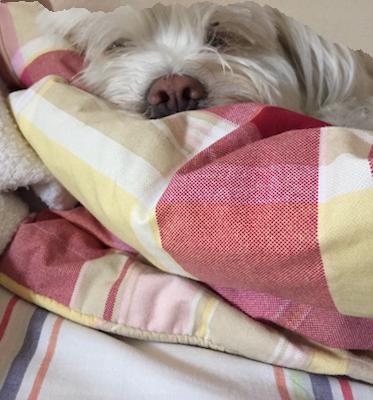
Butter
Here is the original image, the vertically resized image, and its seams. The colorful blanket had more energy than poor Butter.
Project 2: The Vertigo Shot
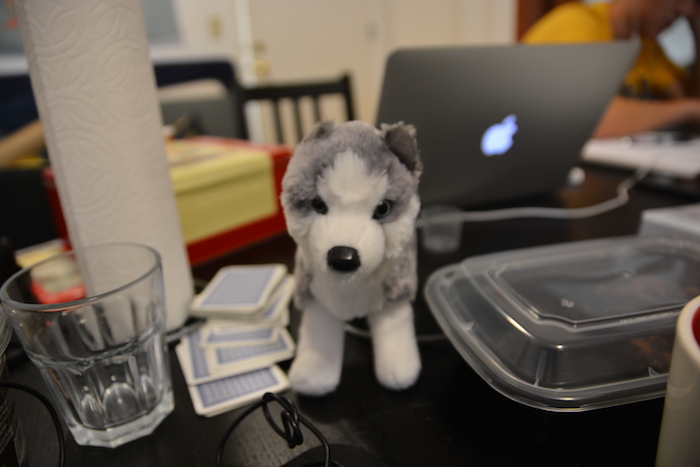
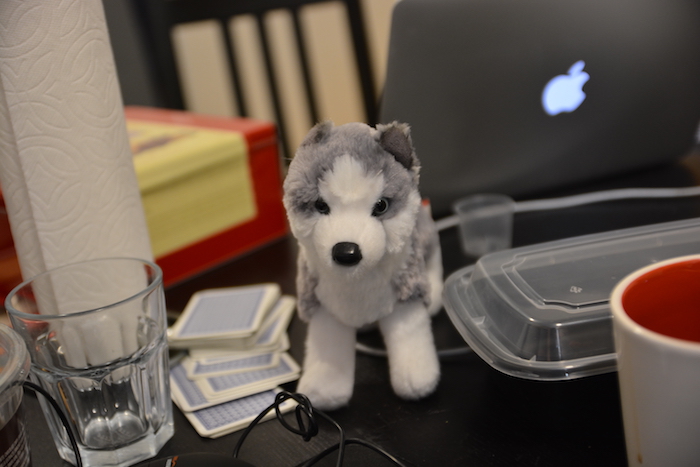
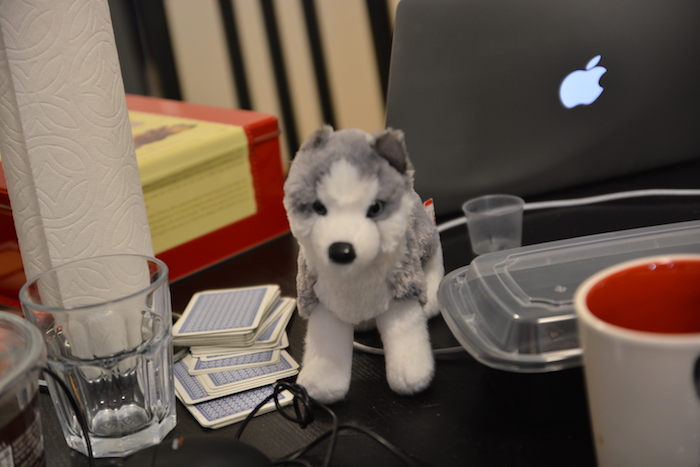
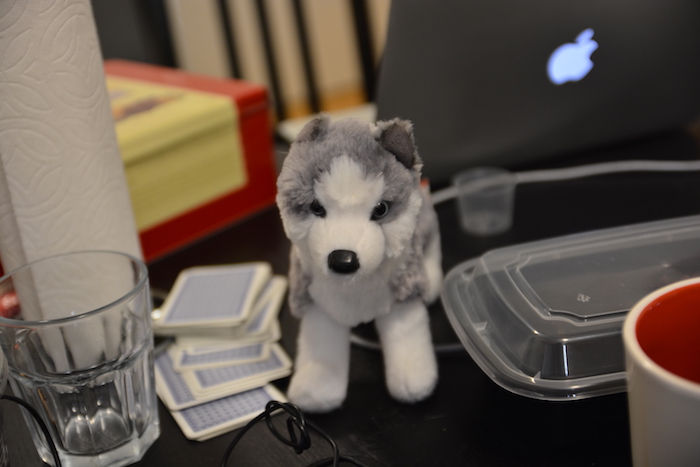
The dolly zoom is achieved by zooming in on a subject to adjust FOV while moving the camera to or away from the subject. The subject should remain the same size throughout. The effect is that the background changes perspective during the zoom. I mostly stepped away from subject while zooming in.
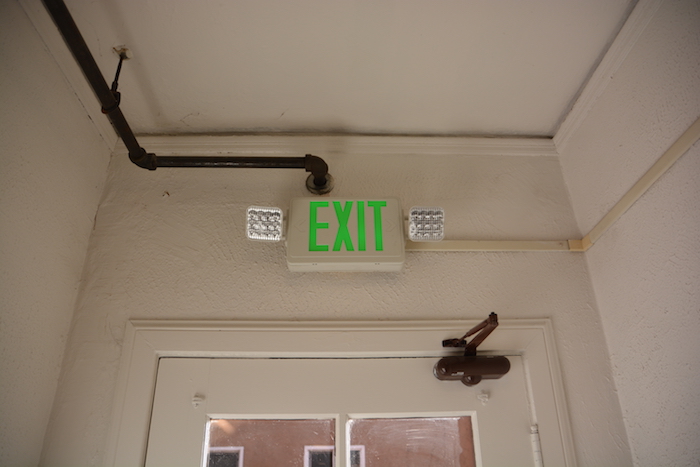
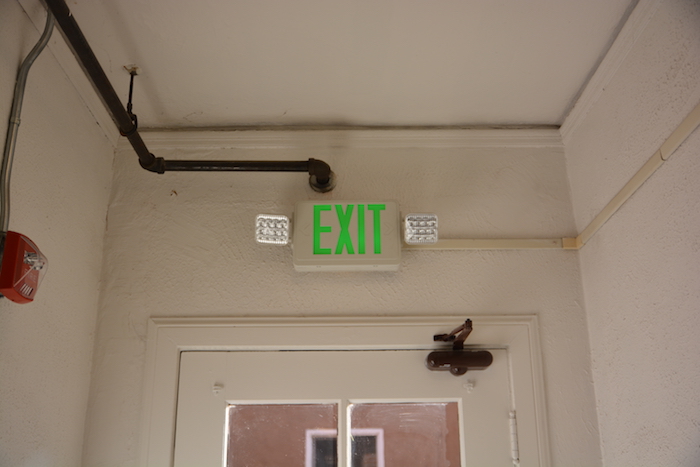
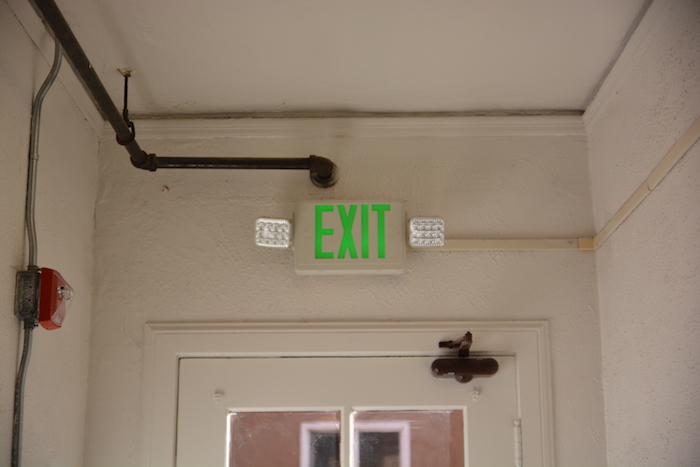
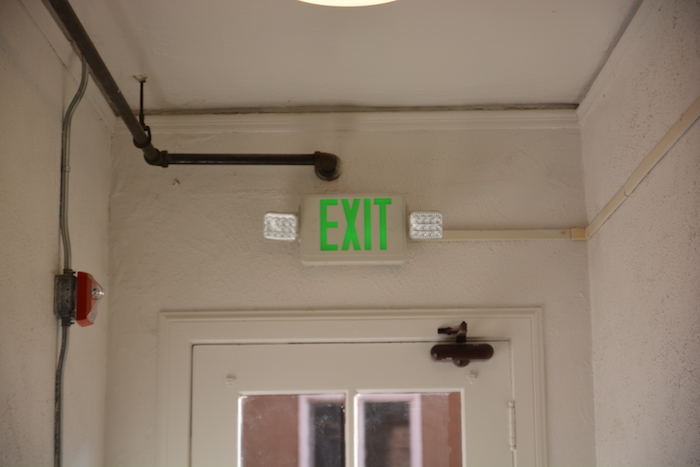
The camera that I used was a Nikon D7100 with a 17 - 50mm zoom lens. I shot most of these images in my apartment (hallway and dining room). It was difficult to keep the subject the same size and in the same location throughout all of the pictures since I had to move around and zoom in. As a result, some of the subjects move slightly. Another difficulty was keeping a constant angle of the subject (moving in an exact straight line backwards and not tilting from side to side). In the husky and exit sign examples, you can see that the orientation of the subject changes slightly, which was unintentional. In the exit sign example, I was too short to keep a constant angle in the very first image, so there is a slant that gets better as I step farther away from the sign. In the husky example, my angle changes slightly in each photo. The husky head stays pretty constant (since I was using the head as my reference point), but the body shifted around quite a bit as I moved.
Vertigo Shot Examples
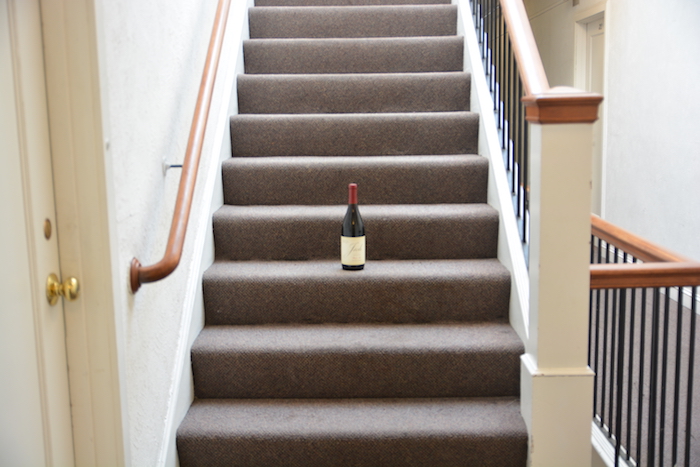
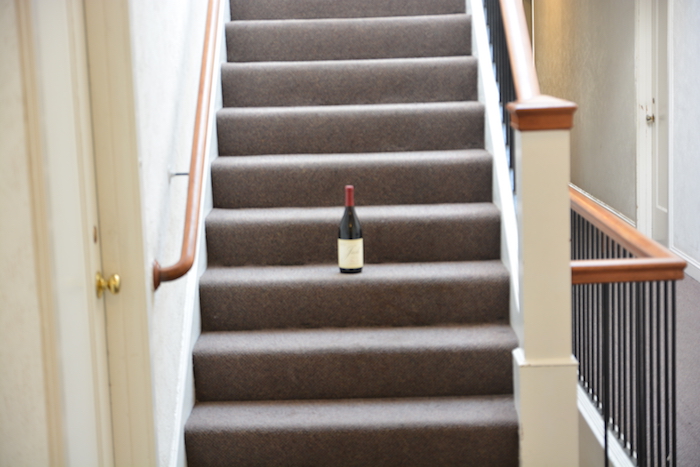
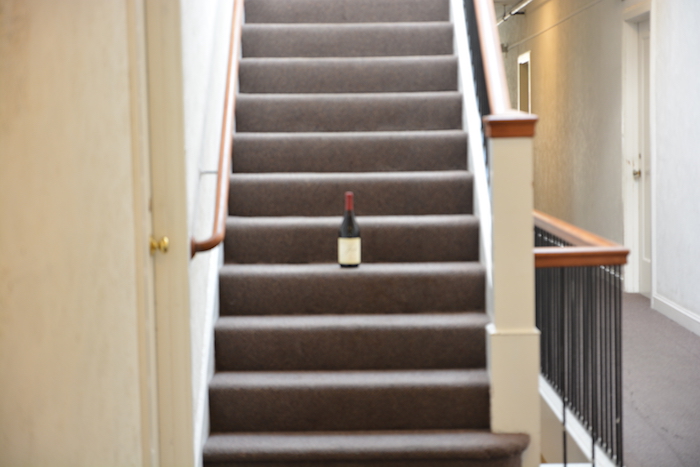
Wine on the Stairs

Exit
Husky
Bonus: Animated GIFS
Wine on the Stairs
Exit

Husky

Bonus: Moving Subject and Camera
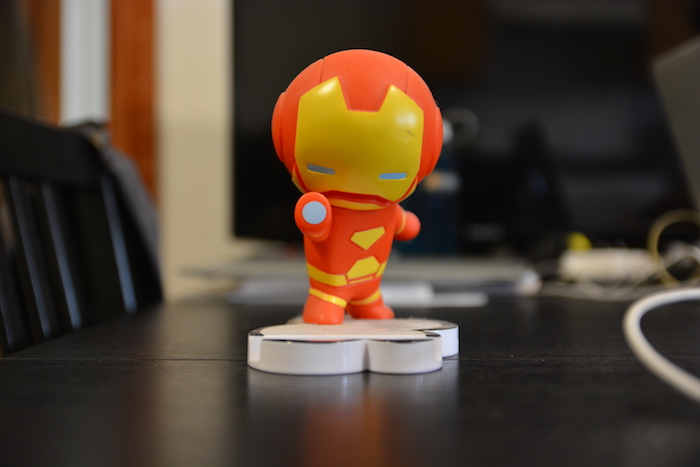
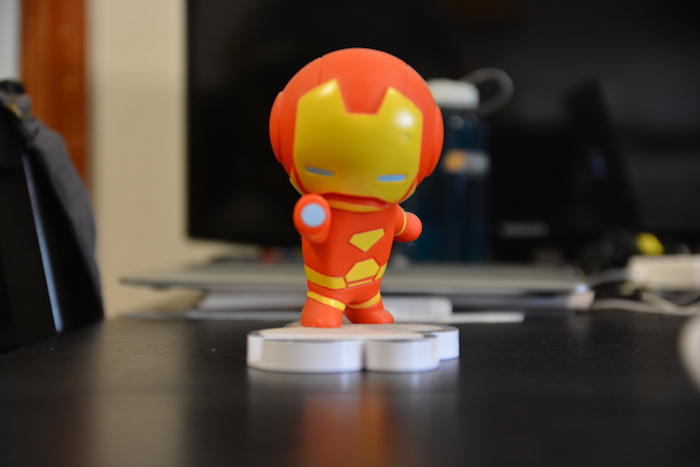
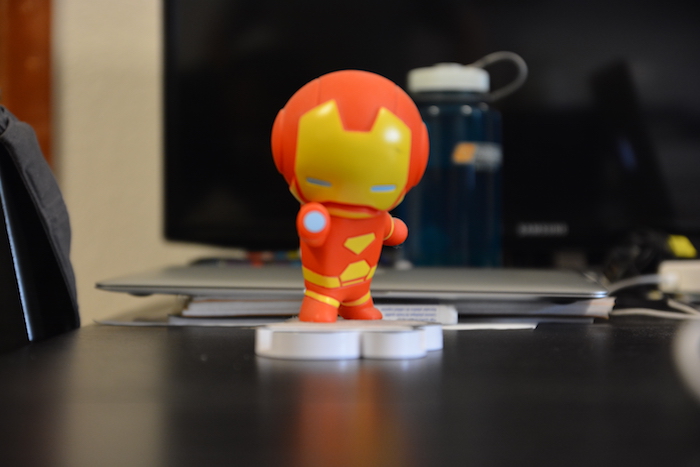
For the bonus, I also moved the Iron Man figurine backwards in addition to moving backwards and zooming in. In the still images, you can see the figurine getting closer to the monitor in the background.
Iron Man

And in GIF form: