CS196-24 FA18 // David Xiong (cs194-26-abr)
For the first part of my project, I implemented content-aware image resizing (AKA seam carving) using the techniques demonstrated in Avidan and Shamir's 2007 paper. Essentially, can crop
an image while preserving the important parts by repeatedly carving
uninterrupted seams from it.
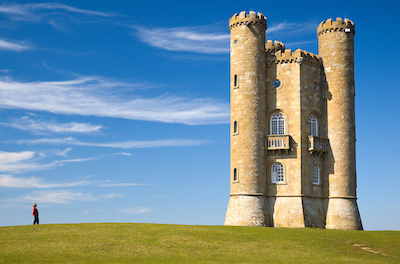
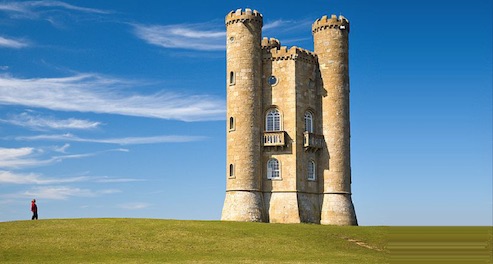
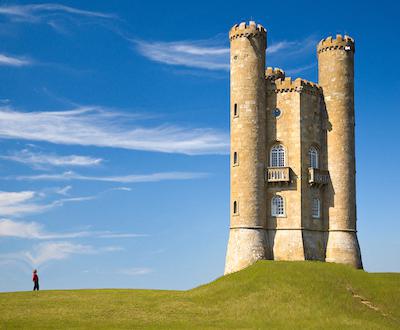
In order to demonstrate my process, I'll be using this picture of Broadway Tower in Worcestershire.
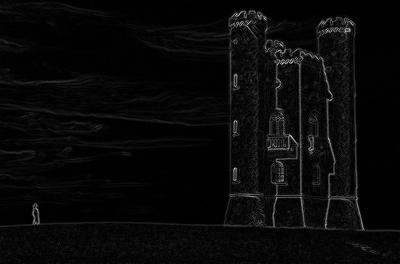
First, we need an energy function to define how different a pixel is from its neighbors. I tried using both gradient magnitude and the Sobel filter, as you can see below. I ended up using gradient magnitude for the simplicity and speed.
| Gradient Magnitude | Sobel Filter |
|---|---|
 |
 |
In order to compute the cost of each pixel, I used a bit of dynamic programming:
\[ C(i, j) = E(i, j) + \min\{C(i-1, j-1), C(i-1, j), C(i+1, j)\} \]
Where \(E\) represents the energy function defined above. Here's a visualization of the cost of each pixel in the original image. Lighter pixels are more costly than darker ones, and the more white a pixel is the more expensive it is.

As we can see, our image is most costly around where the woman and castle stand. We'll need to make sure we avoid those areas as much as possible in our final results.
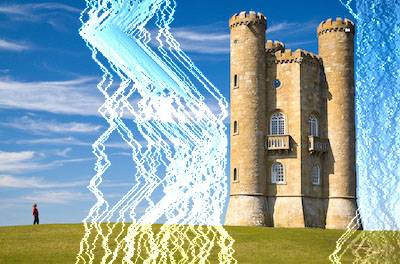
Now that we've computed the minimum energy for each pixel, we can find the optimal vertical seam - this can be done by taking the pixel with the smallest energy on the bottom row and backtracking. By only considering the three pixels above, we can define a single seam one pixel wide. Here's the minimum seam in the example photo:
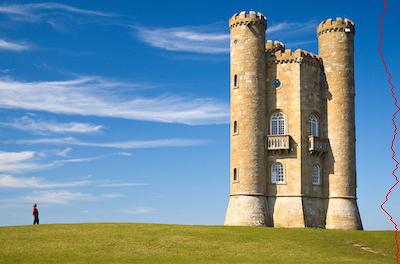
Removing this seam allows us to reduce our image's width by one pixel, and we repeat that for each pixel we want to reduce our image by!
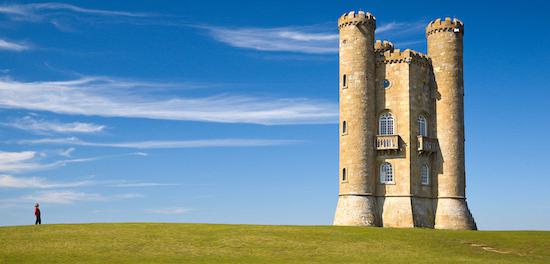
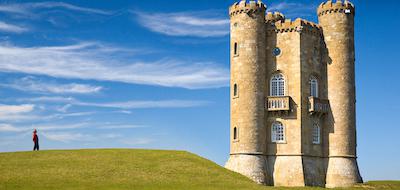
| Original (Width 400px) | Reduced (Width 250px) |
|---|---|
|
 |
Adding seams requires a bit more work. We aren't removing the minimum seam, so every time we run the backtracking function we will get the same seam, and extending the image by simply adding the smallest seam on multiple times frankly looks hideous:
Instead, we can calculate the top \(n\) seams where \(n\) is the difference needed to extend our image to the target size. We can do this by using a varient of our reduction function where we account for the gaps in seams afterwards.
Duplicating each of these seams once gives us a much better result:
| Original (Width 400px) | Extended (Width 550px) |
|---|---|
|
 |
So far, we've only addressed how to find and manipulate vertical seams, but in order to manipulate images vertically we'll need some way to find horizontal seams. Fortunately there's an easy solution: we can take the transpose of the image before processing, then we can use the functions we have already written for horizontal reducing and enlarging.
When we're done, we can take the transpose back to get the image right-side up.
| Original (Height 260px) | Reduced (Height 190px) | Extended (Height 330px) |
|---|---|---|
|
 |
 |
Here's an interactive demonstration of my results on the Broadway Tower image. Drag the slider to view the resized image.
(Please excuse the flickering the first time a new image loads, it takes a while to cache everything)
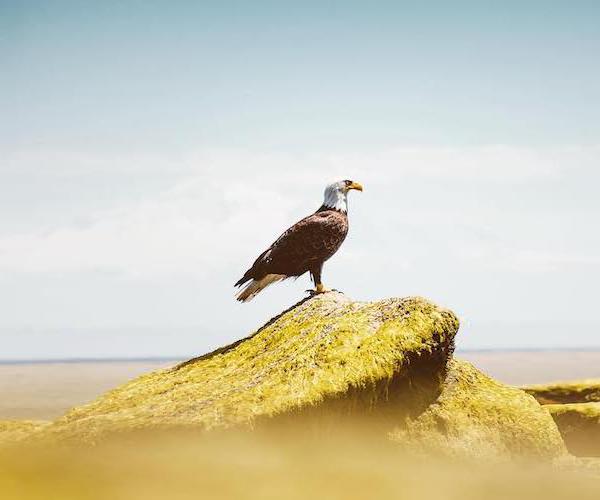
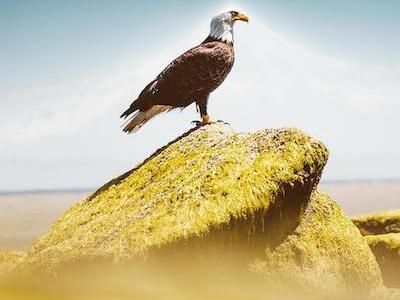
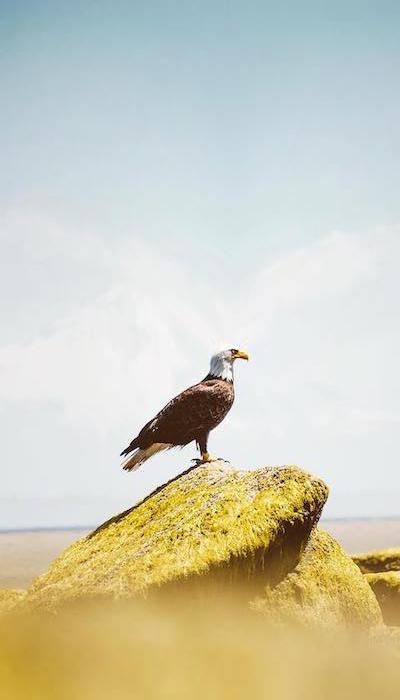
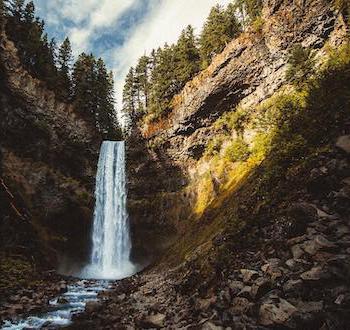
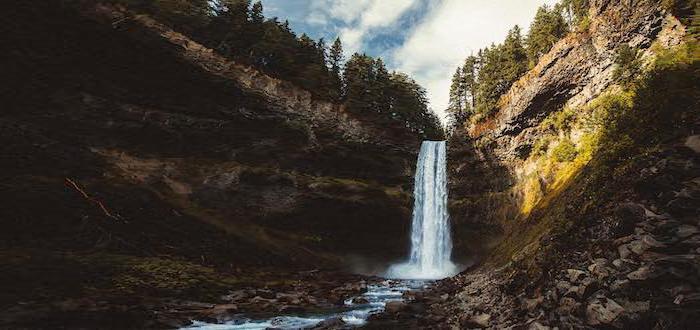
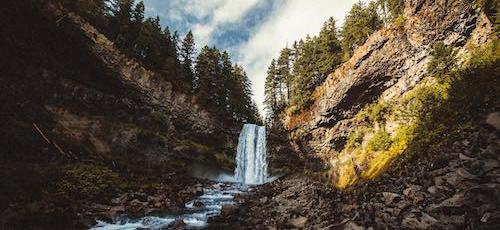
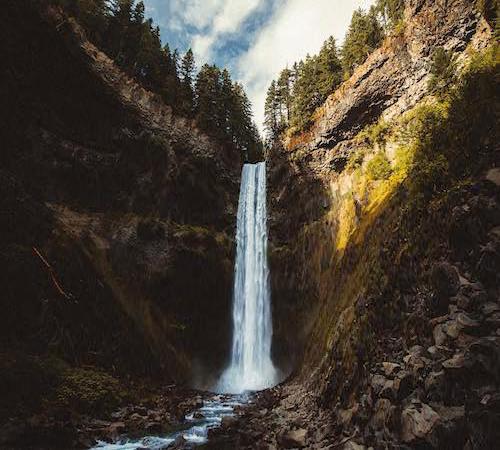
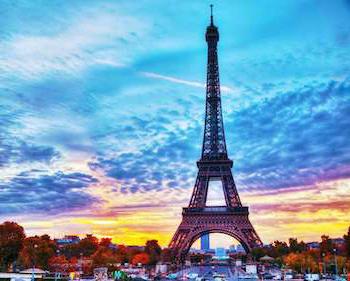
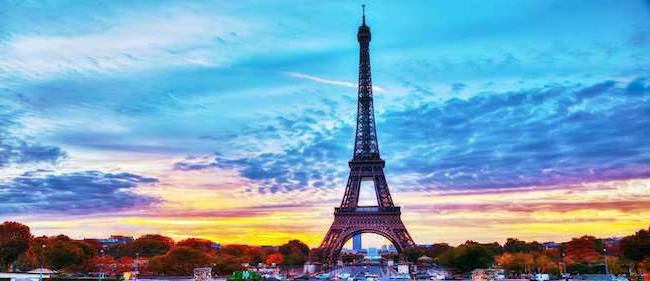
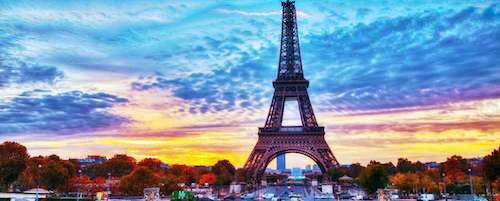
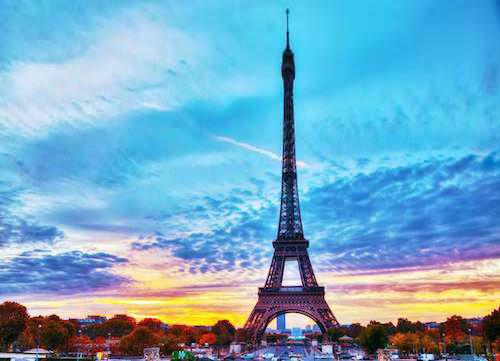
Here are some other pictures I was successfully able to run the seam carving algorithm on:
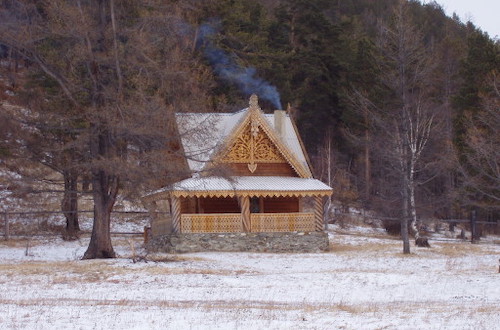
| Reduced (Width 200px) | Extended (Width 600px) |
|---|---|
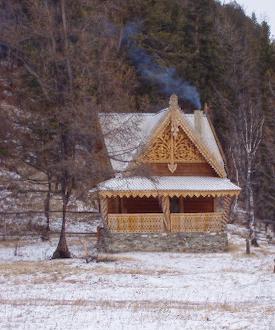 |
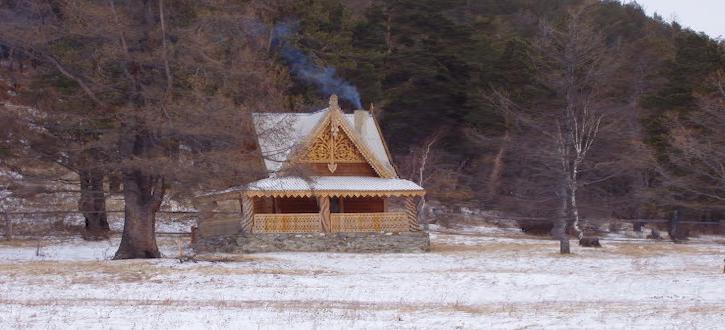 |
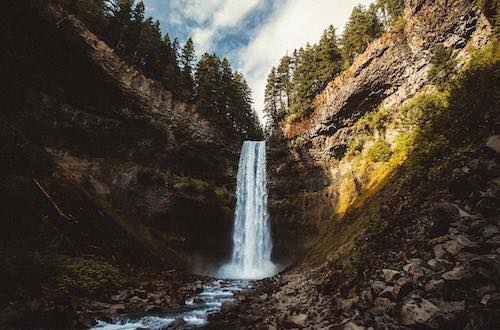
| Reduced (Height 300px) | Extended (Height 700px) |
|---|---|
 |
 |
| Reduced (Width 200px) | Extended (Width 600px) |
|---|---|
 |
 |
| Reduced (Height 300px) | Extended (Height 700px) |
|---|---|
 |
 |
| Reduced (Width 300px) | Extended (Width 600px) |
|---|---|
 |
 |
| Reduced (Height 200px) | Extended (Height 700px) |
|---|---|
 |
 |

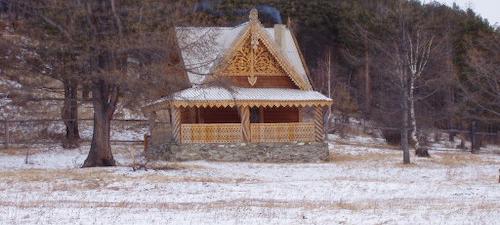
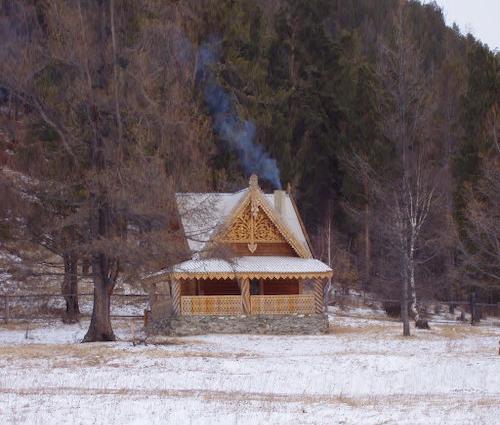
| Reduced (Width 350px) | Extended (Width 650px) |
|---|---|
 |
 |
| Reduced (Height 200px) | Extended (Height 360px) |
|---|---|
 |
 |
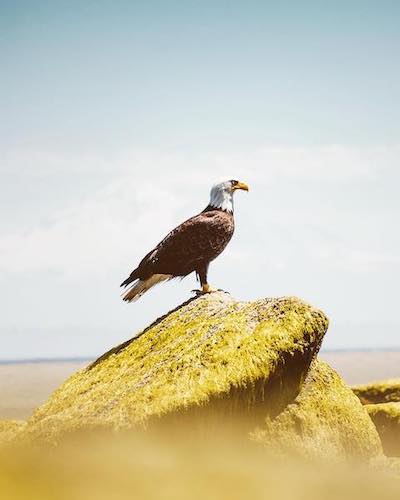
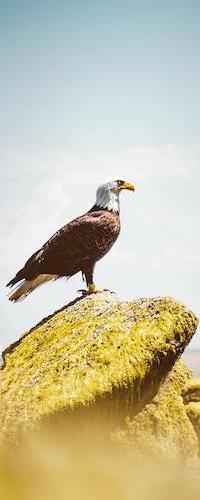
| Reduced (Width 350px) | Extended (Width 650px) |
|---|---|
 |
 |
| Reduced (Height 230px) | Extended (Height 430px) |
|---|---|
 |
 |
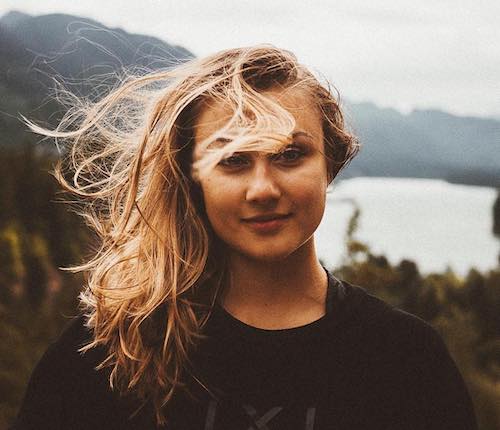
Here's an example that didn't work out too well:
| Original (Width 500px) | Reduced (Width 200px) |
|---|---|
 |
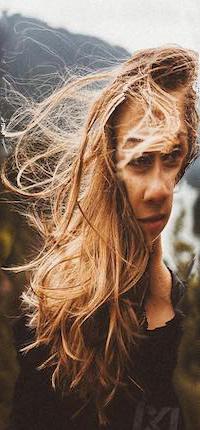 |
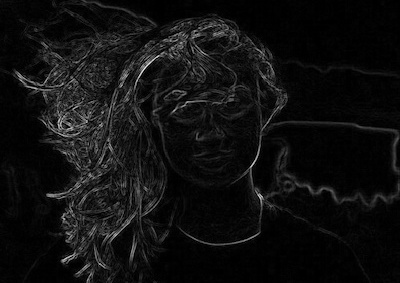
I found that generally complex scenes and scenes that include human faces don't work particularily well with seam carving. This may be because the brain is highly perceptive to what makes a face look natural, and our algorithm does not account for human faces. In this case it mostly attempts to remove paths traveling down the right of the face because the energy of pixels is much lower there (as we can see below)
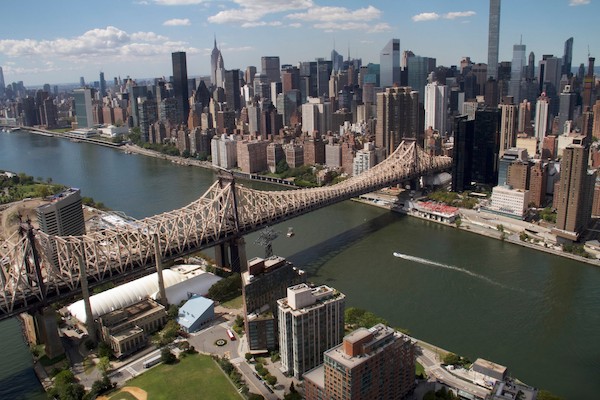
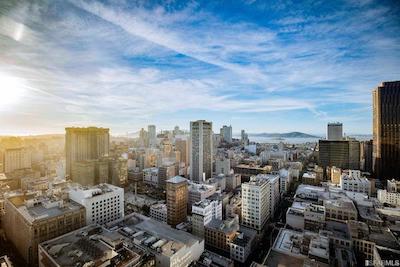
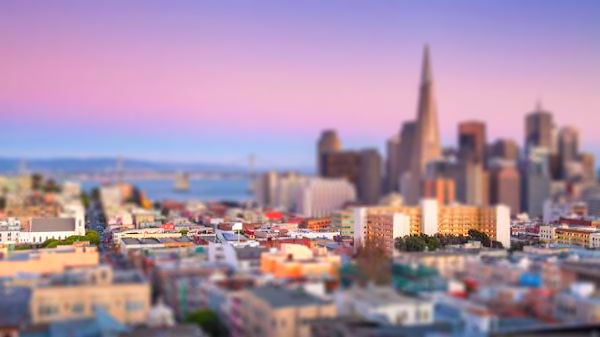
For the second part of this project, I attempted to recreate the miniatures
effect of tilt-shifted photography. Here is an example of a photo taken with a tilt-shifted lens:
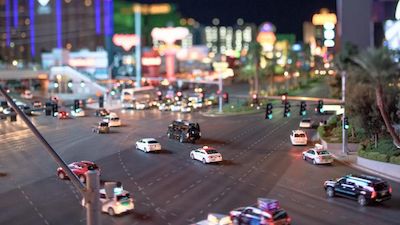
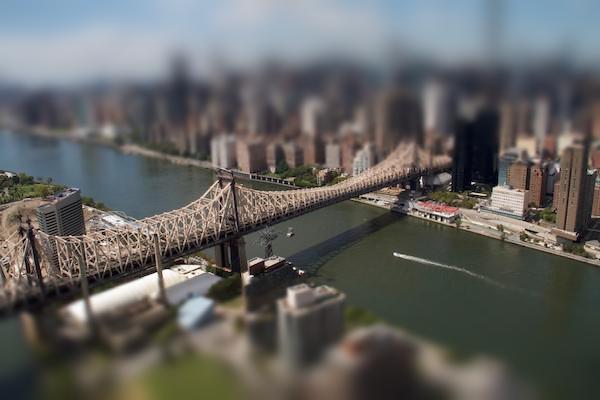
In tilt-shift, focus is quickly lost as the view leaves the plane of focus, because of the small scale. So, by blurring an angled image based on the distance from the object we want to focus on, we can create the illusion of a miniature.
To demonstrate the process, I'll be using this picture of a bridge in NYC:
The process of refocusing images is relatively simple. The user can select a point to focus on, and define a focus width and defocus gradient strength. Using this, we can generate a mask, such as this one:
 |
|---|
In this case, the whiter the region, the less it will be blurred. We turn up the exposure and saturation slightly, and calculate a gaussian stack corresponding to the intensity of how much each point will be blurred. Finally, we run through the image and merge the stacks together according to our mask.
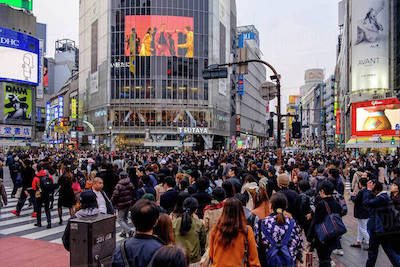
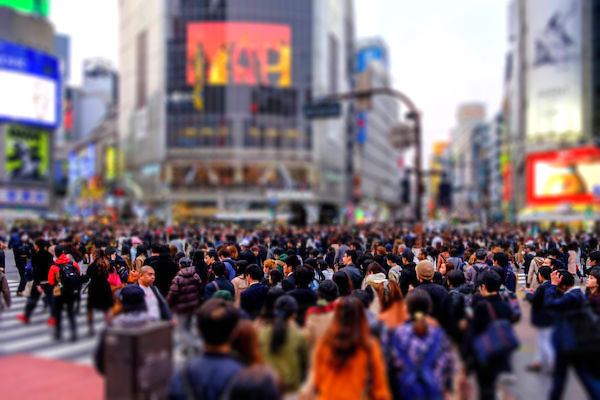
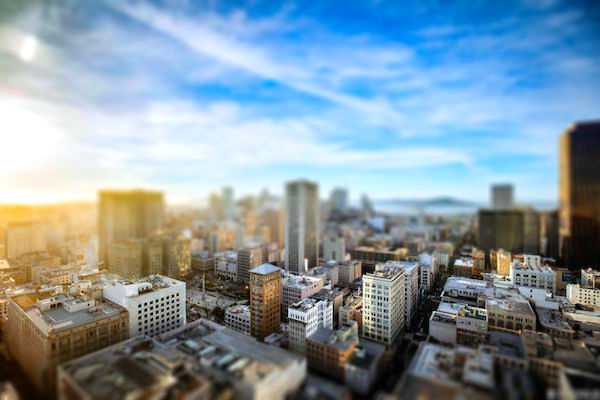
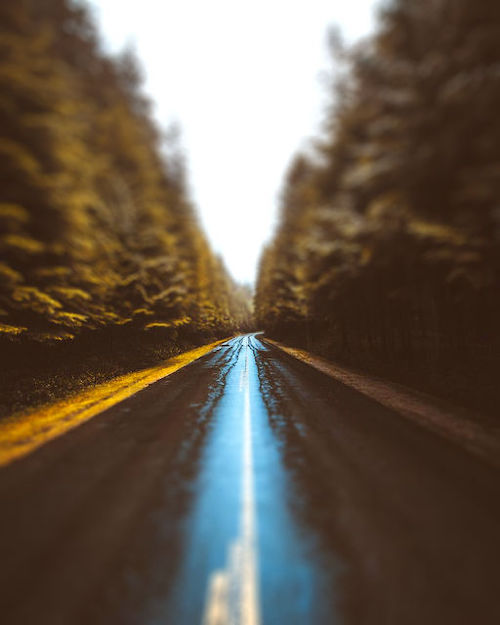
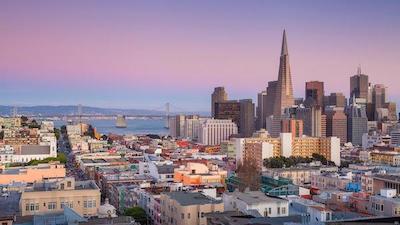
Here are some further examples of images processed using this technique. I've noticed that photos taken at a slight to moderate vertical angle tend to work best with this technique.
 |
|---|
 |
|---|
 |
|---|
 |
|---|
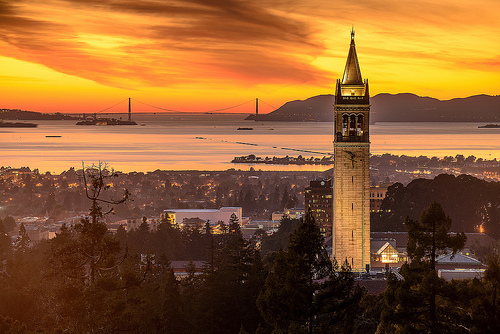
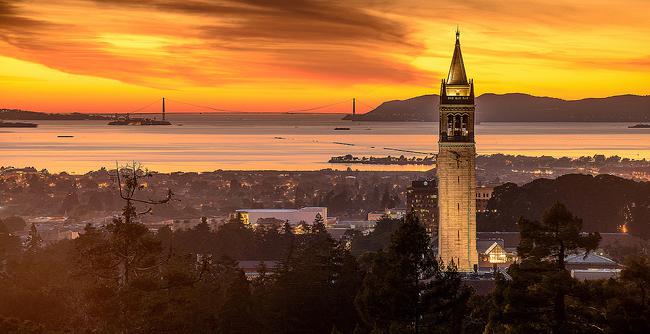
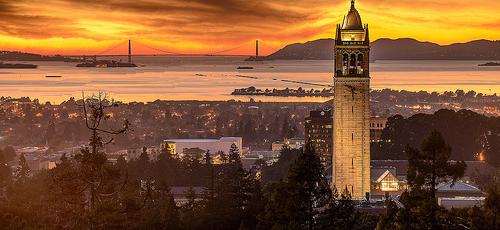
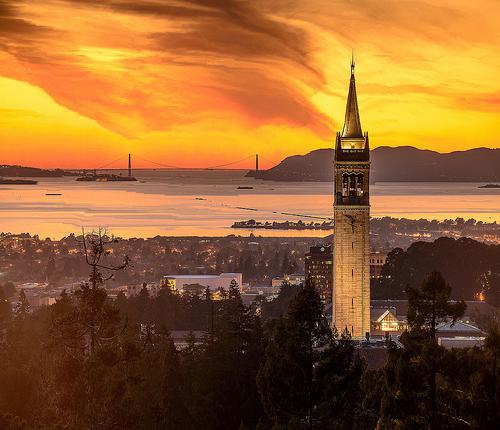
Using this technique, I was able to film some time lapses around the Berkeley campus and miniaturize
them. I used OpenCV to extract frames, and ffmpeg to encode the videos.
I was intrigued by just how much seam carving relies on gradients - I had expected calculating costs to be much more difficult, but in the end it essentially only relied on implementing an edge filter. It turns out that as humans we tend to look over minor details such as homogenous areas, and by carving out very specific patterns we're able to expand and shrink most images without disturbing the subject matter. Expanding images was slightly more difficult but it ultimately came down to being able to properly detect and manipulate many seams at once.
As for the fake miniatures, I found it very interesting how good use of Gaussian blur could give such profound effect to a picture. Being able to selectively blur images really gives us a lot of control over depth-of-field effects, much like we saw in the Lightfield Camera project!
Huge thanks to Prof. Alexei Efros, Taesung Park and Shiry Ginosar for leading CS194-26 this semester - I learned a lot about image processing techniques, and I look forward to exploring more after this class is over!
Writeup by David Xiong, for CS194-26 FA18 Image Manipulation and Computational Photography