Jonathan Fung, CS194-26-abs
Part 1. Miniatures
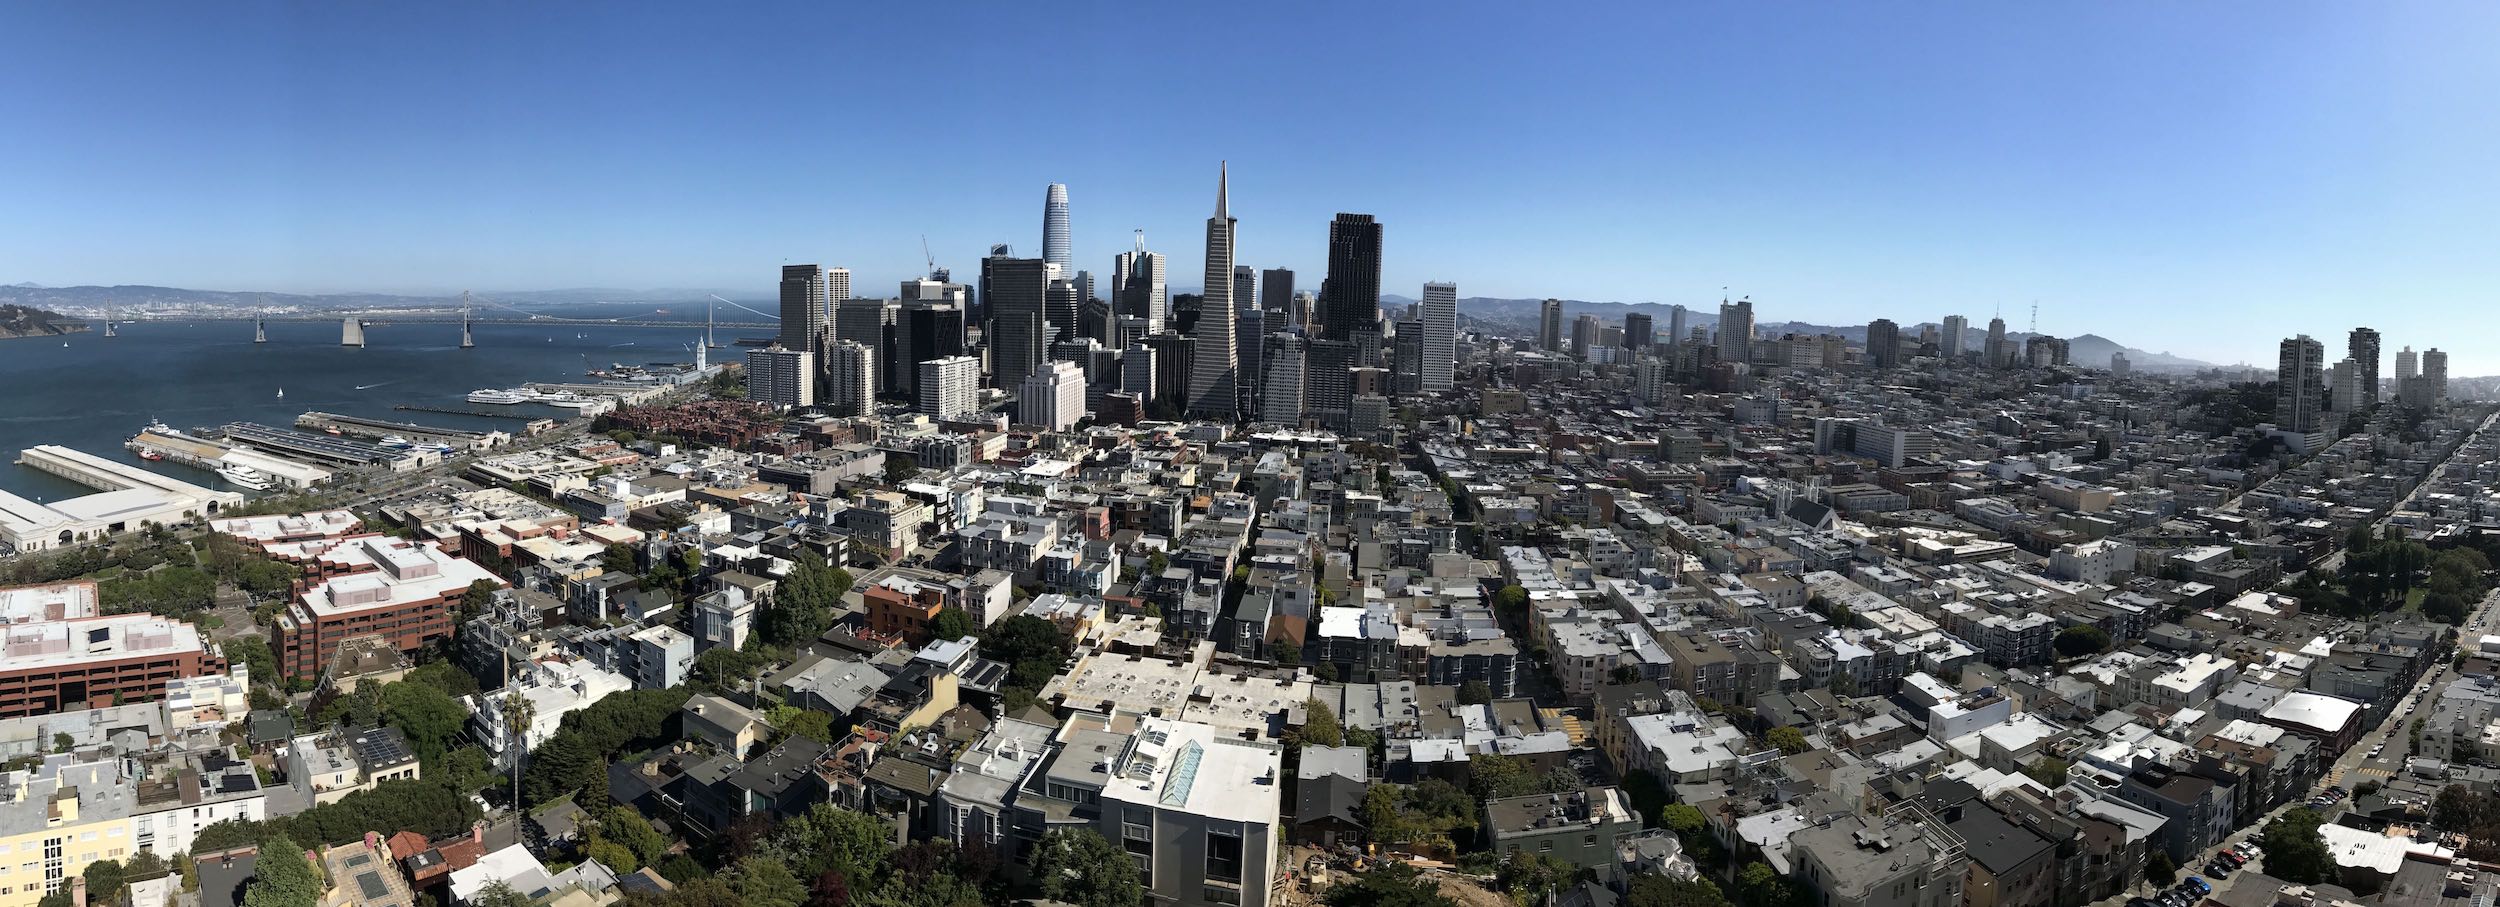
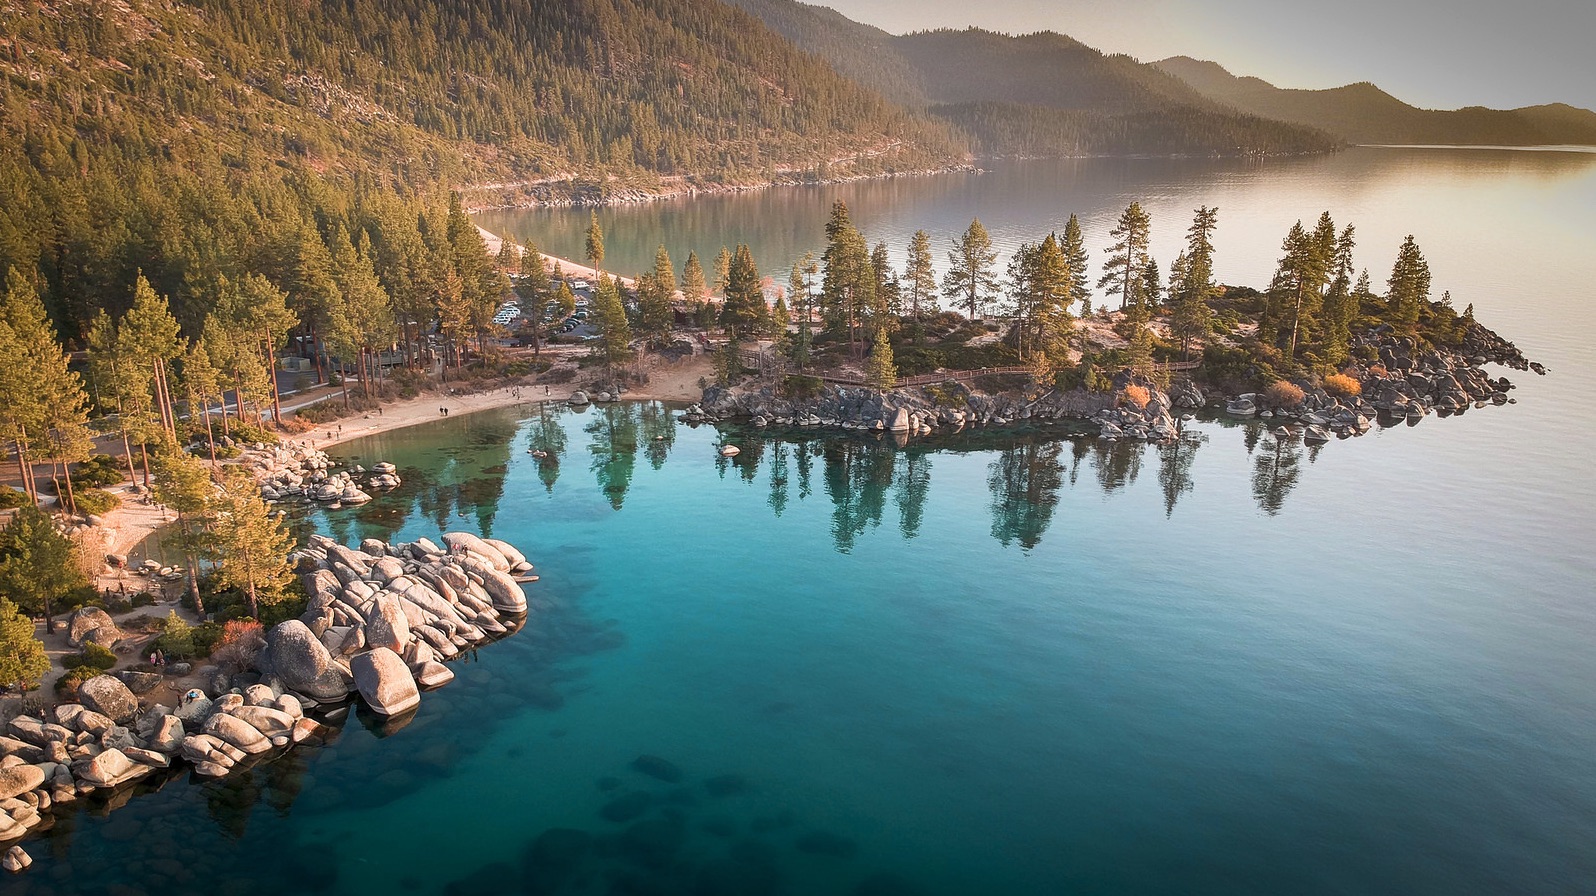
In this project, we attempt to recreate the tilt shift effect that cameras with specialized lenses can take. In this effect, selective parts of the photo are put in focus. This creates the effect that the depth of field in the photo is narrower than it is, making it seem like the subjects in the photo are "miniaturized" due to the lens being really close to the subject.
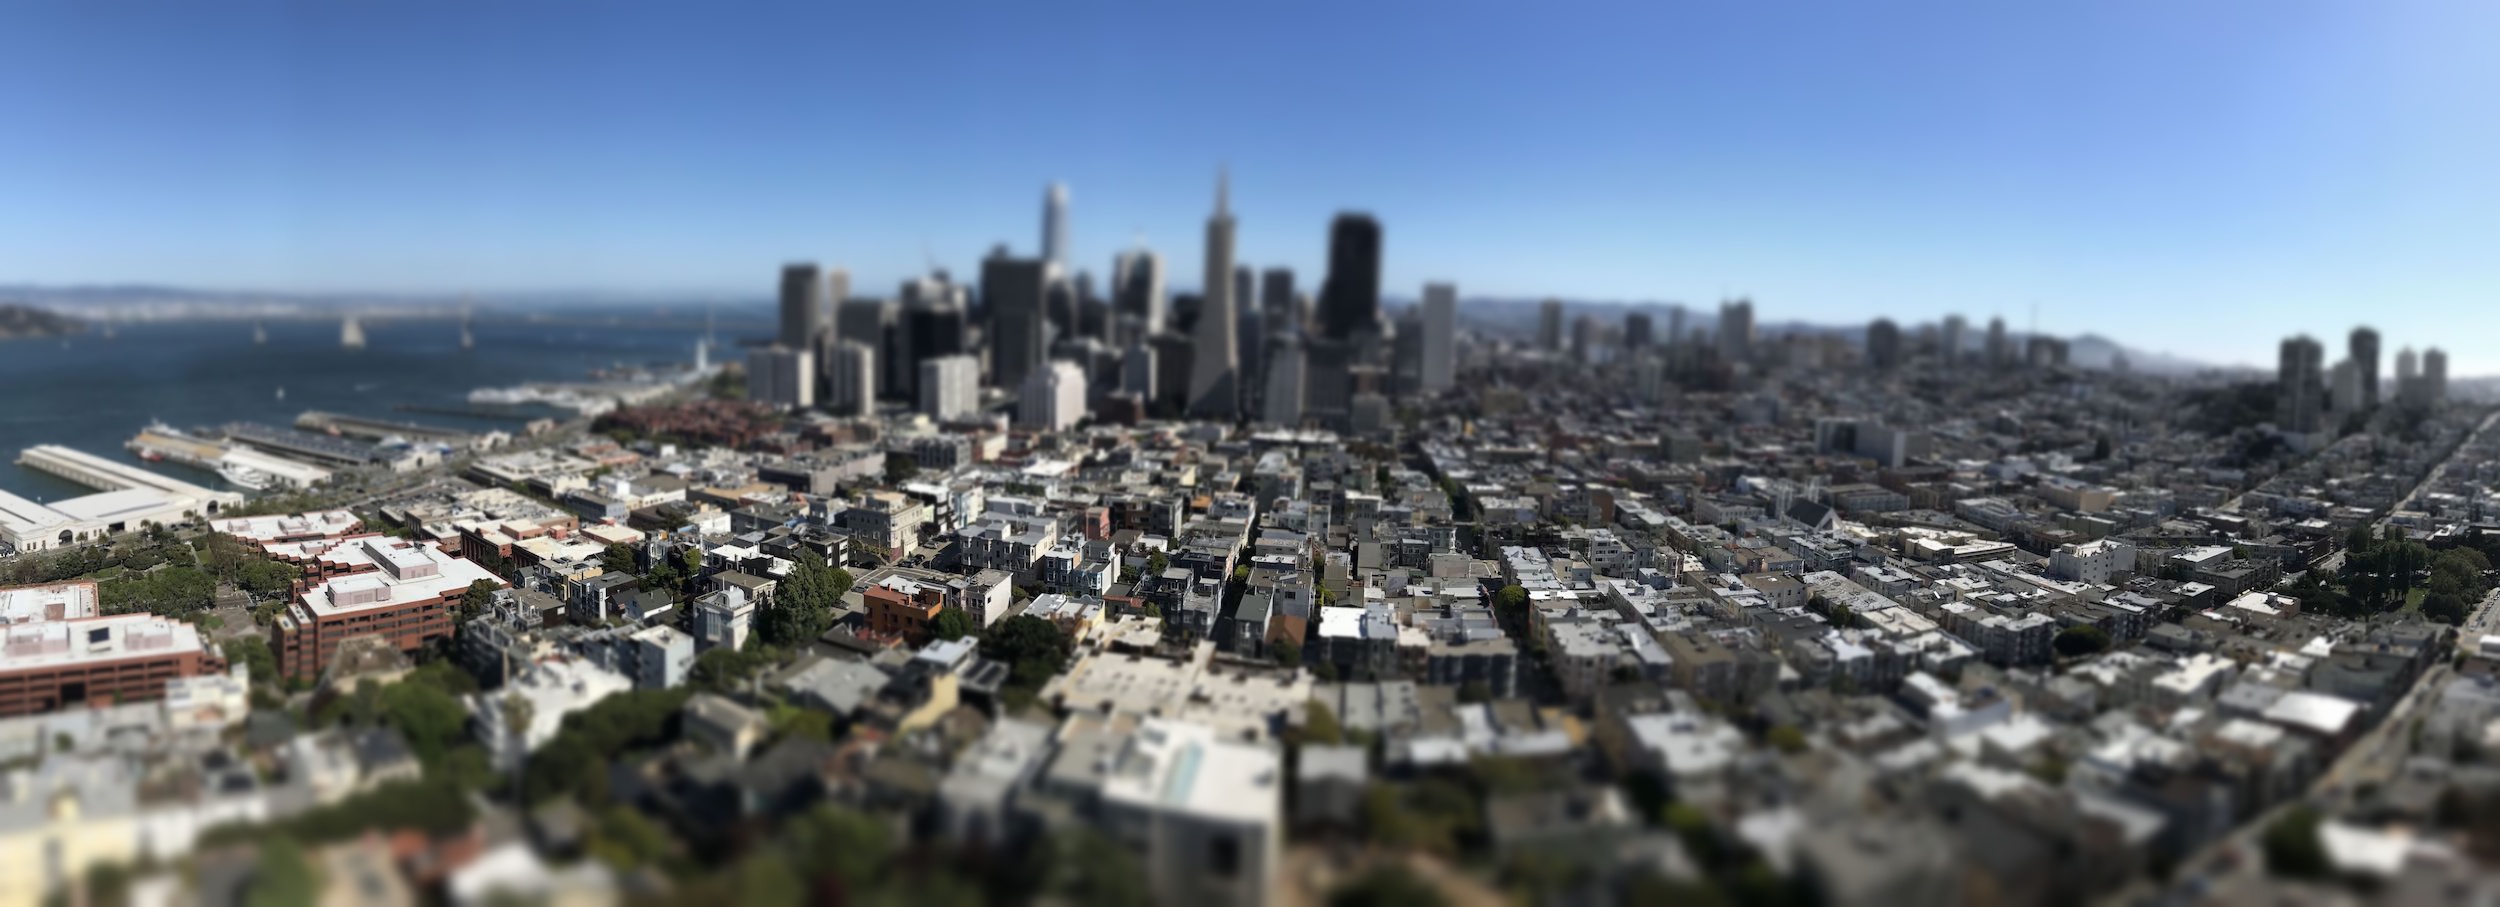
To start off, we select an area in the picture that we desire to be in focus, and generate a mask. We then blur the original photo with a gaussian filter to simulate areas of the photograph not in the mask to be out of focus. To simulate areas further away from the field of focus being more out of focus, we increase the strength (sigma) of the gaussian filter as we get further from the area of focus. Here is an example. NOTE: More Photos at Bottom, All photos are self-taken unless credited.

A San Francisco Photo from Coit Tower.
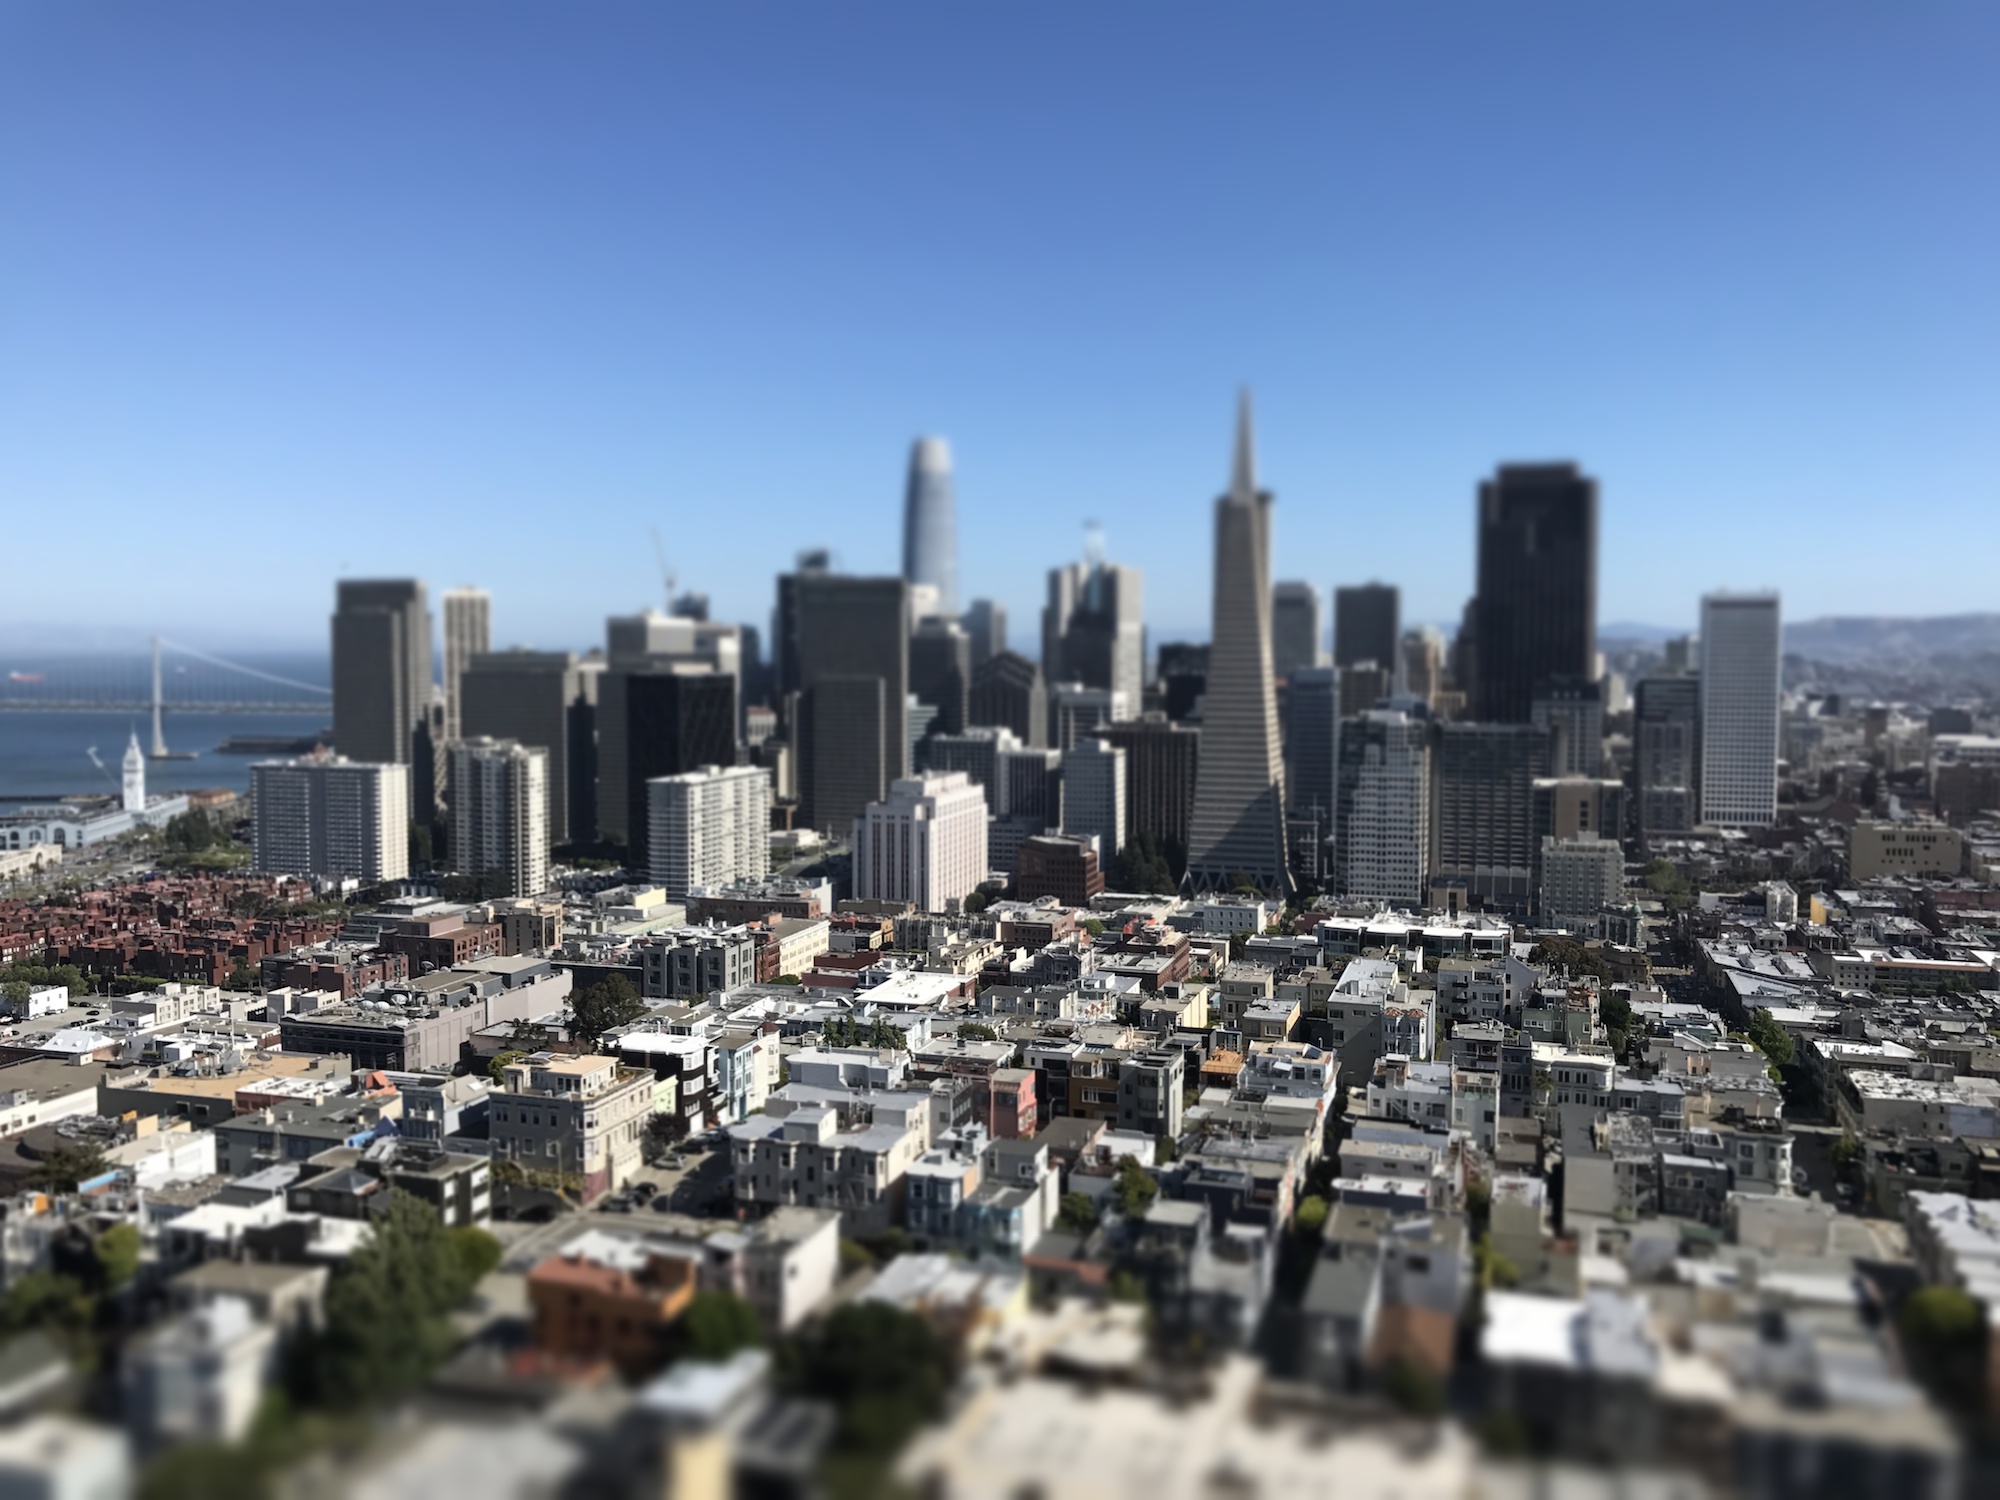
Tilt Shifted.

View of an ATT park baseball game.
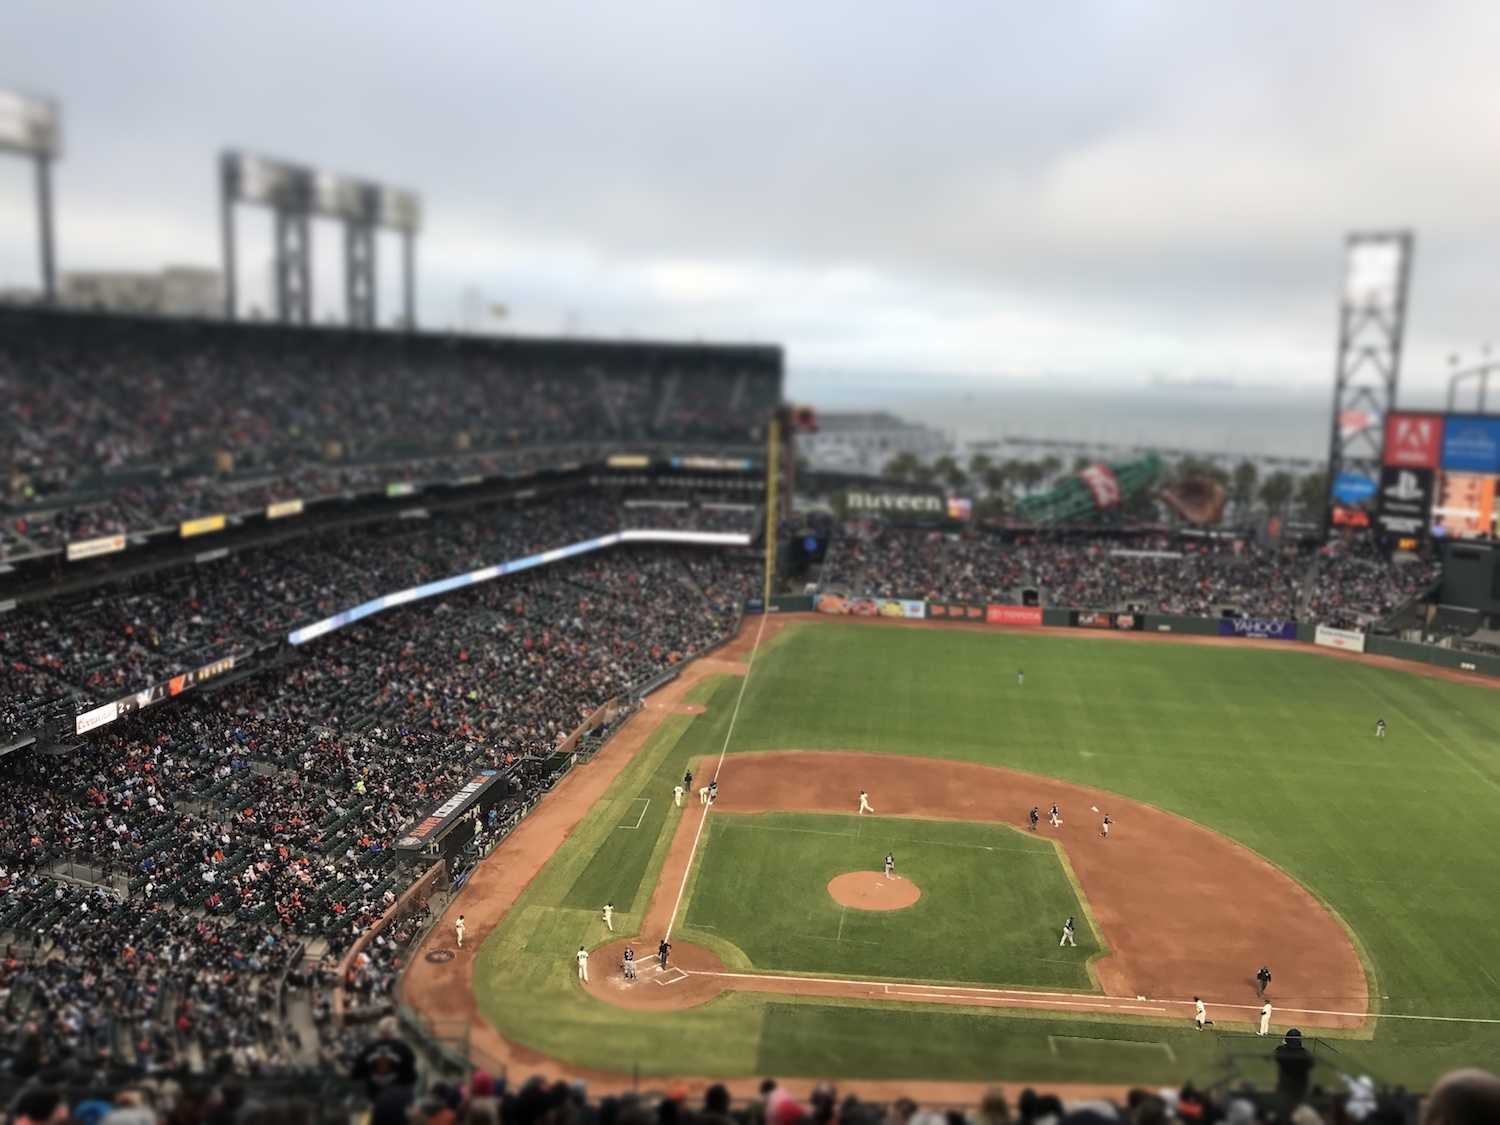
Miniatureized. Notice how the baseball players look minified. DOF is a mask, not linear.
Bells and Whistles 1: Made my own tilt shift lens!
I wanted to check out how this artificial tilt shift code compares towards a REAL tilt shift camera lens. Unfortunately, I did not have $2,500 to spend on a new tilt shift lens, so I created my own tilt shift lens!
A basic-functionality tilt shift lens can be created with a technique called freelensing. Normally, camera lens are firmly fastened onto the camera body, focusing the image light the perfect distance to the CMOS sensor. Freelensing involves moving the lens with your hand (further, closer, rotated, tilted) and not fastening it to the camera body. This creates some very interesting effects because the light is now not focused properly on the camera sensor, allowing us to simulate the effects of tilt shifting. Freelensing has the problem of light leaks because there is no proper seal between the sensor and the outside world. Thus, I made a lens hood out of cardboard and duct tape to prevent the light leaks.
The real tilt shifted photos have ring-like effects around the elements in the photograph, whereas the gaussian-blurred photograph generated by the computer is "smoother". Also, everything seems to be brighter in the real tilt shifted photographs, this may be due to my "makeshift" tilt shift lens not being a perfect seal for light -- the cardboard only worked so well. Additionally, the real tilt shifted photographs don't preserve the proportions of some building edges. This is probably because the real tiltshift lens doesn't focus all photograph elements directly on the CMOS sensor. However, these are pretty good results considering we saved $2500!
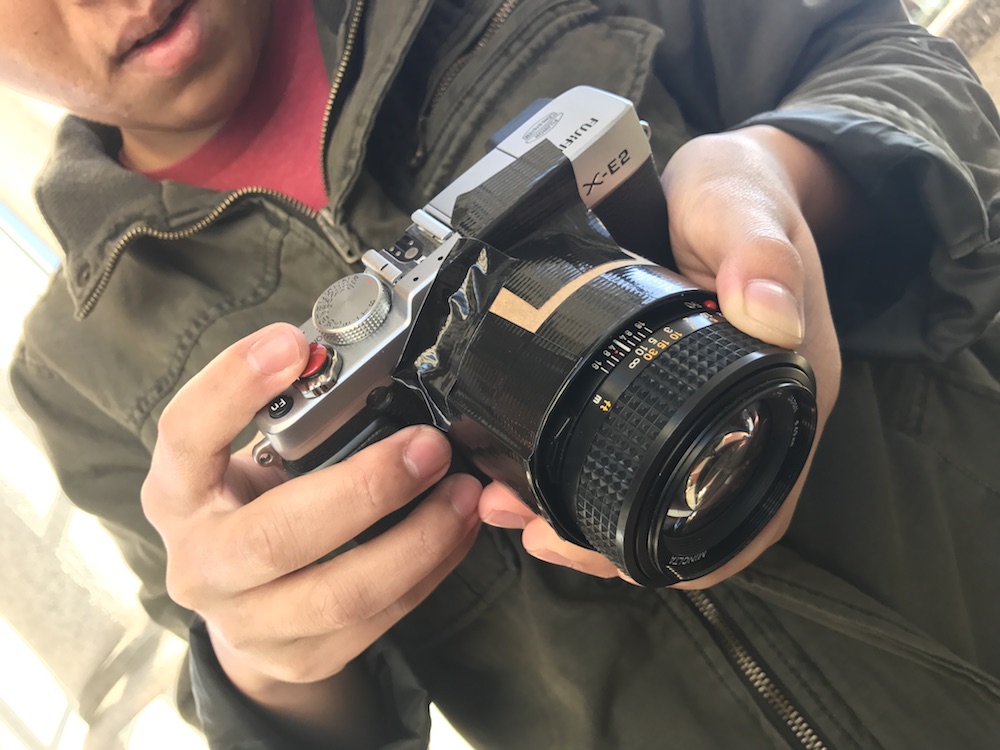
Freelensing, with the makeshift cardboard lens hood duct taped on a camera.
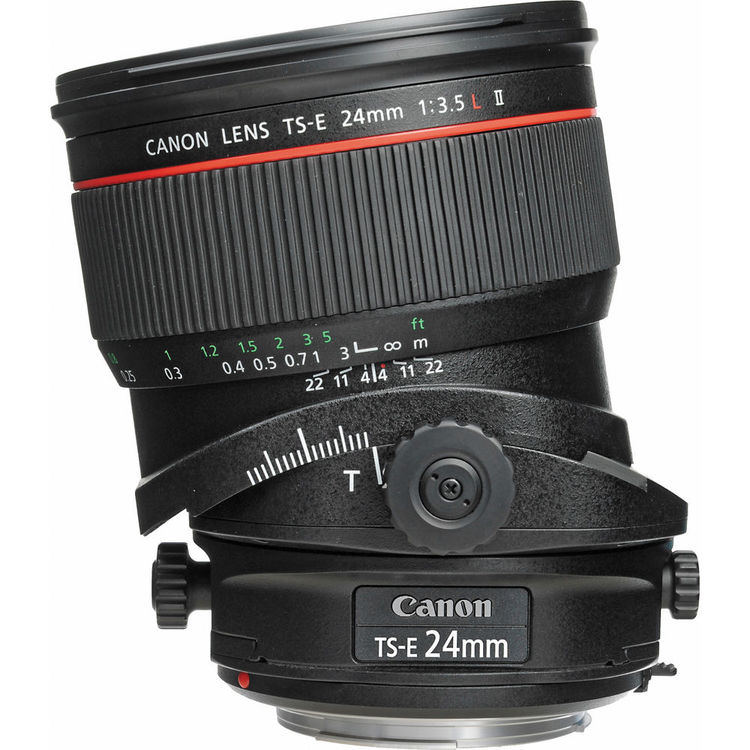
$2500 real tilt shift lens
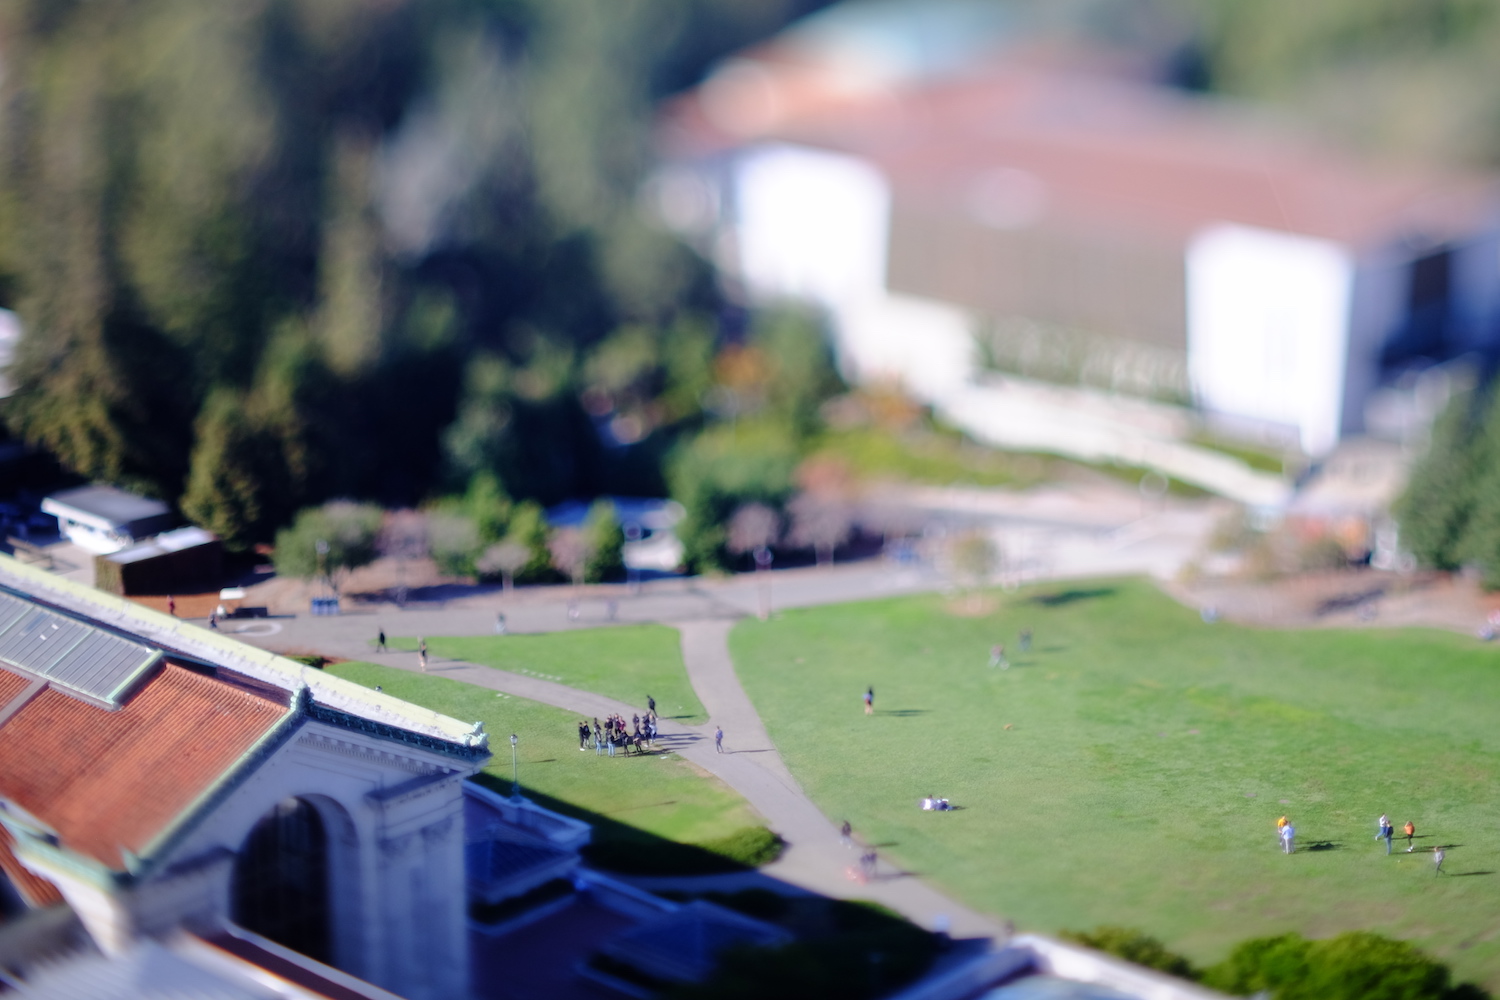
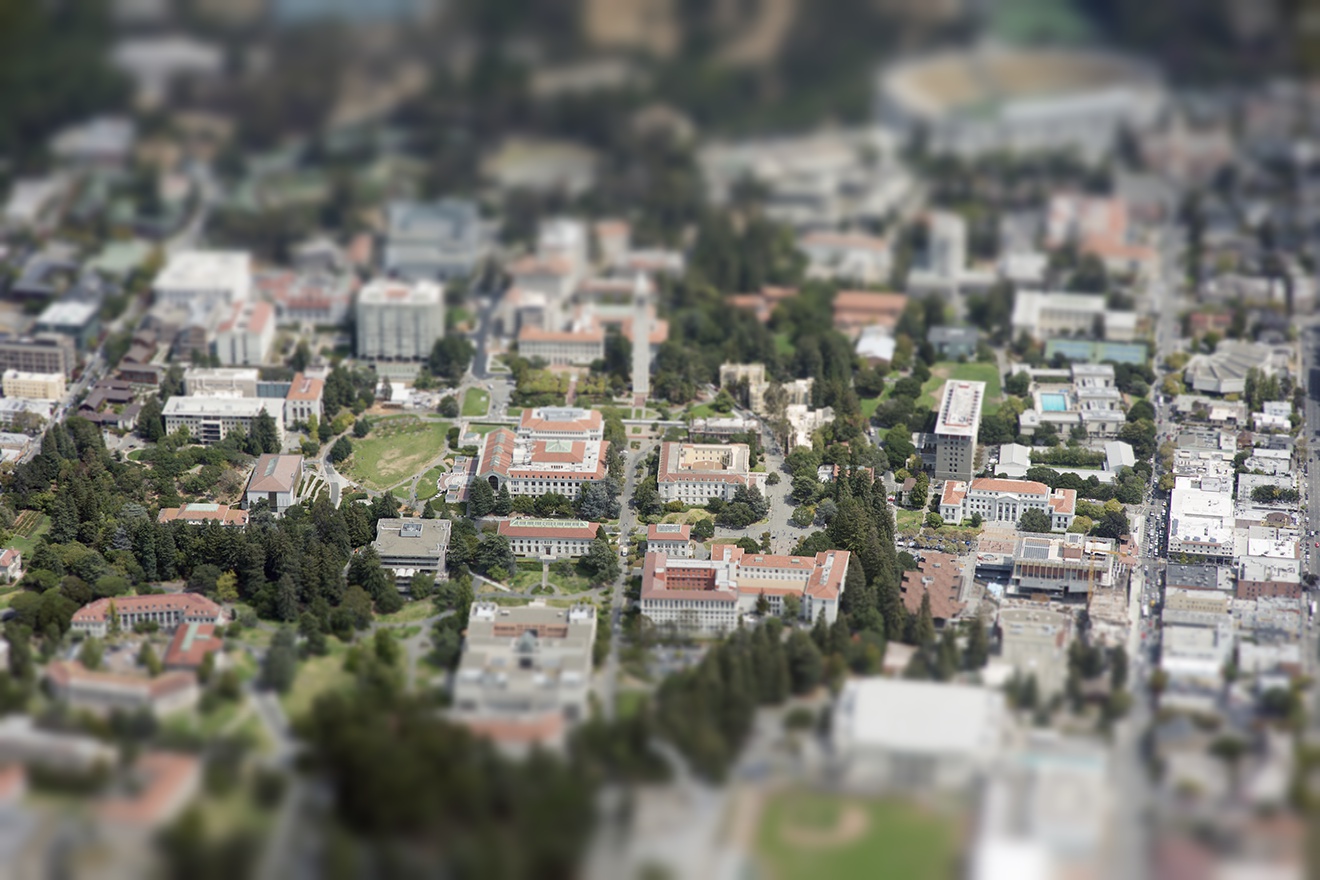
A Real Tilt shifted Memorial Glade
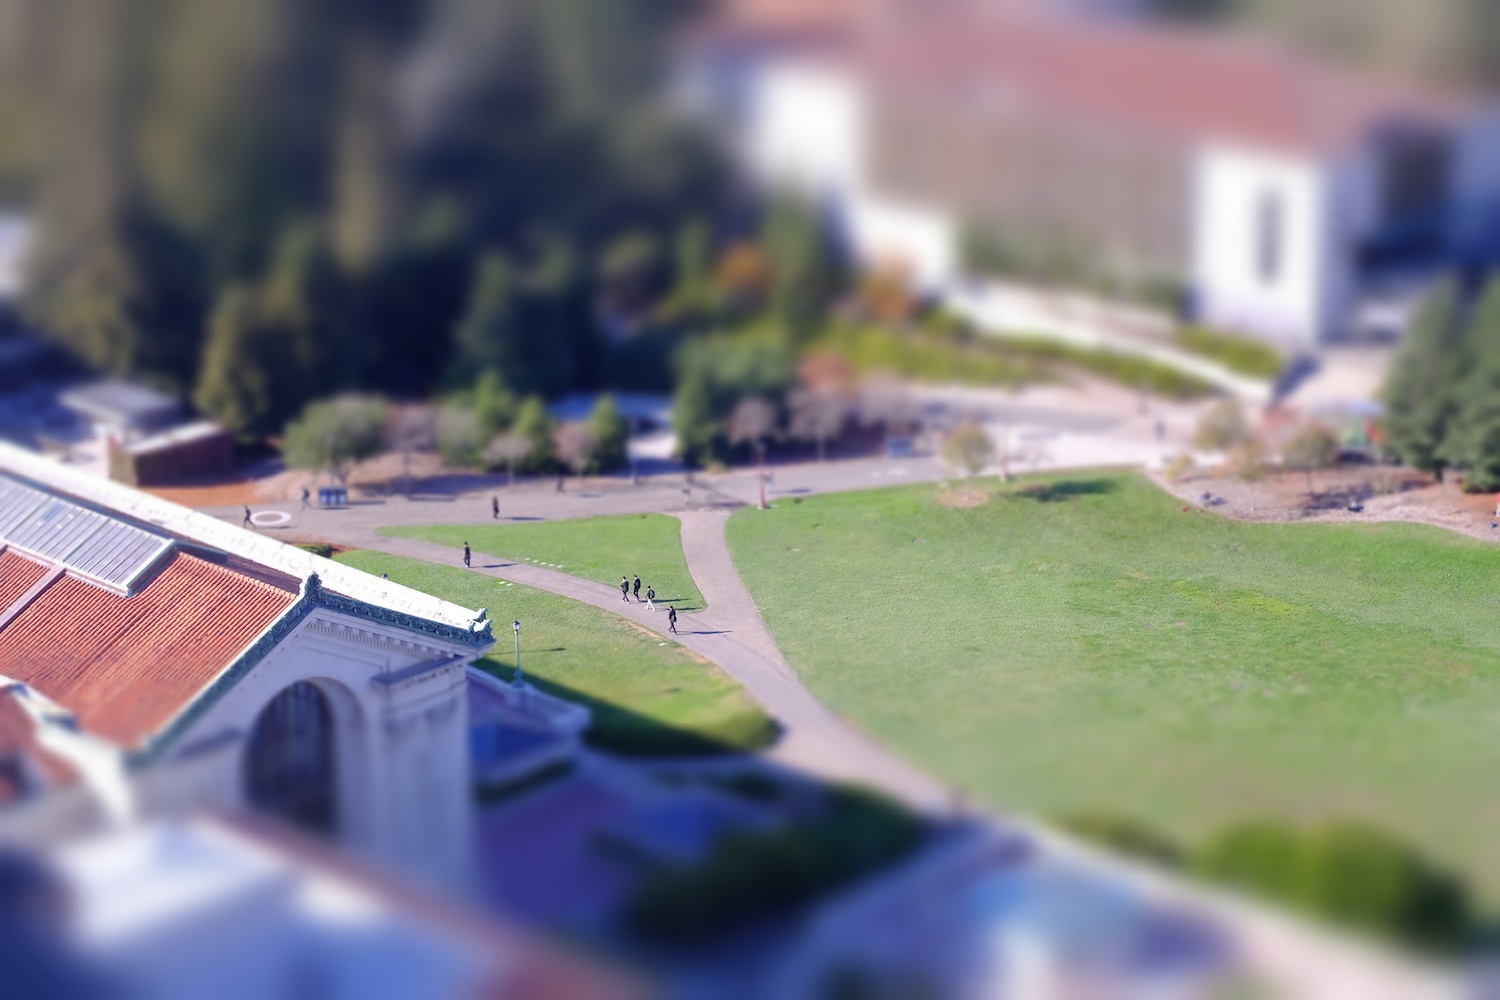
Tilt shifted with a computer.
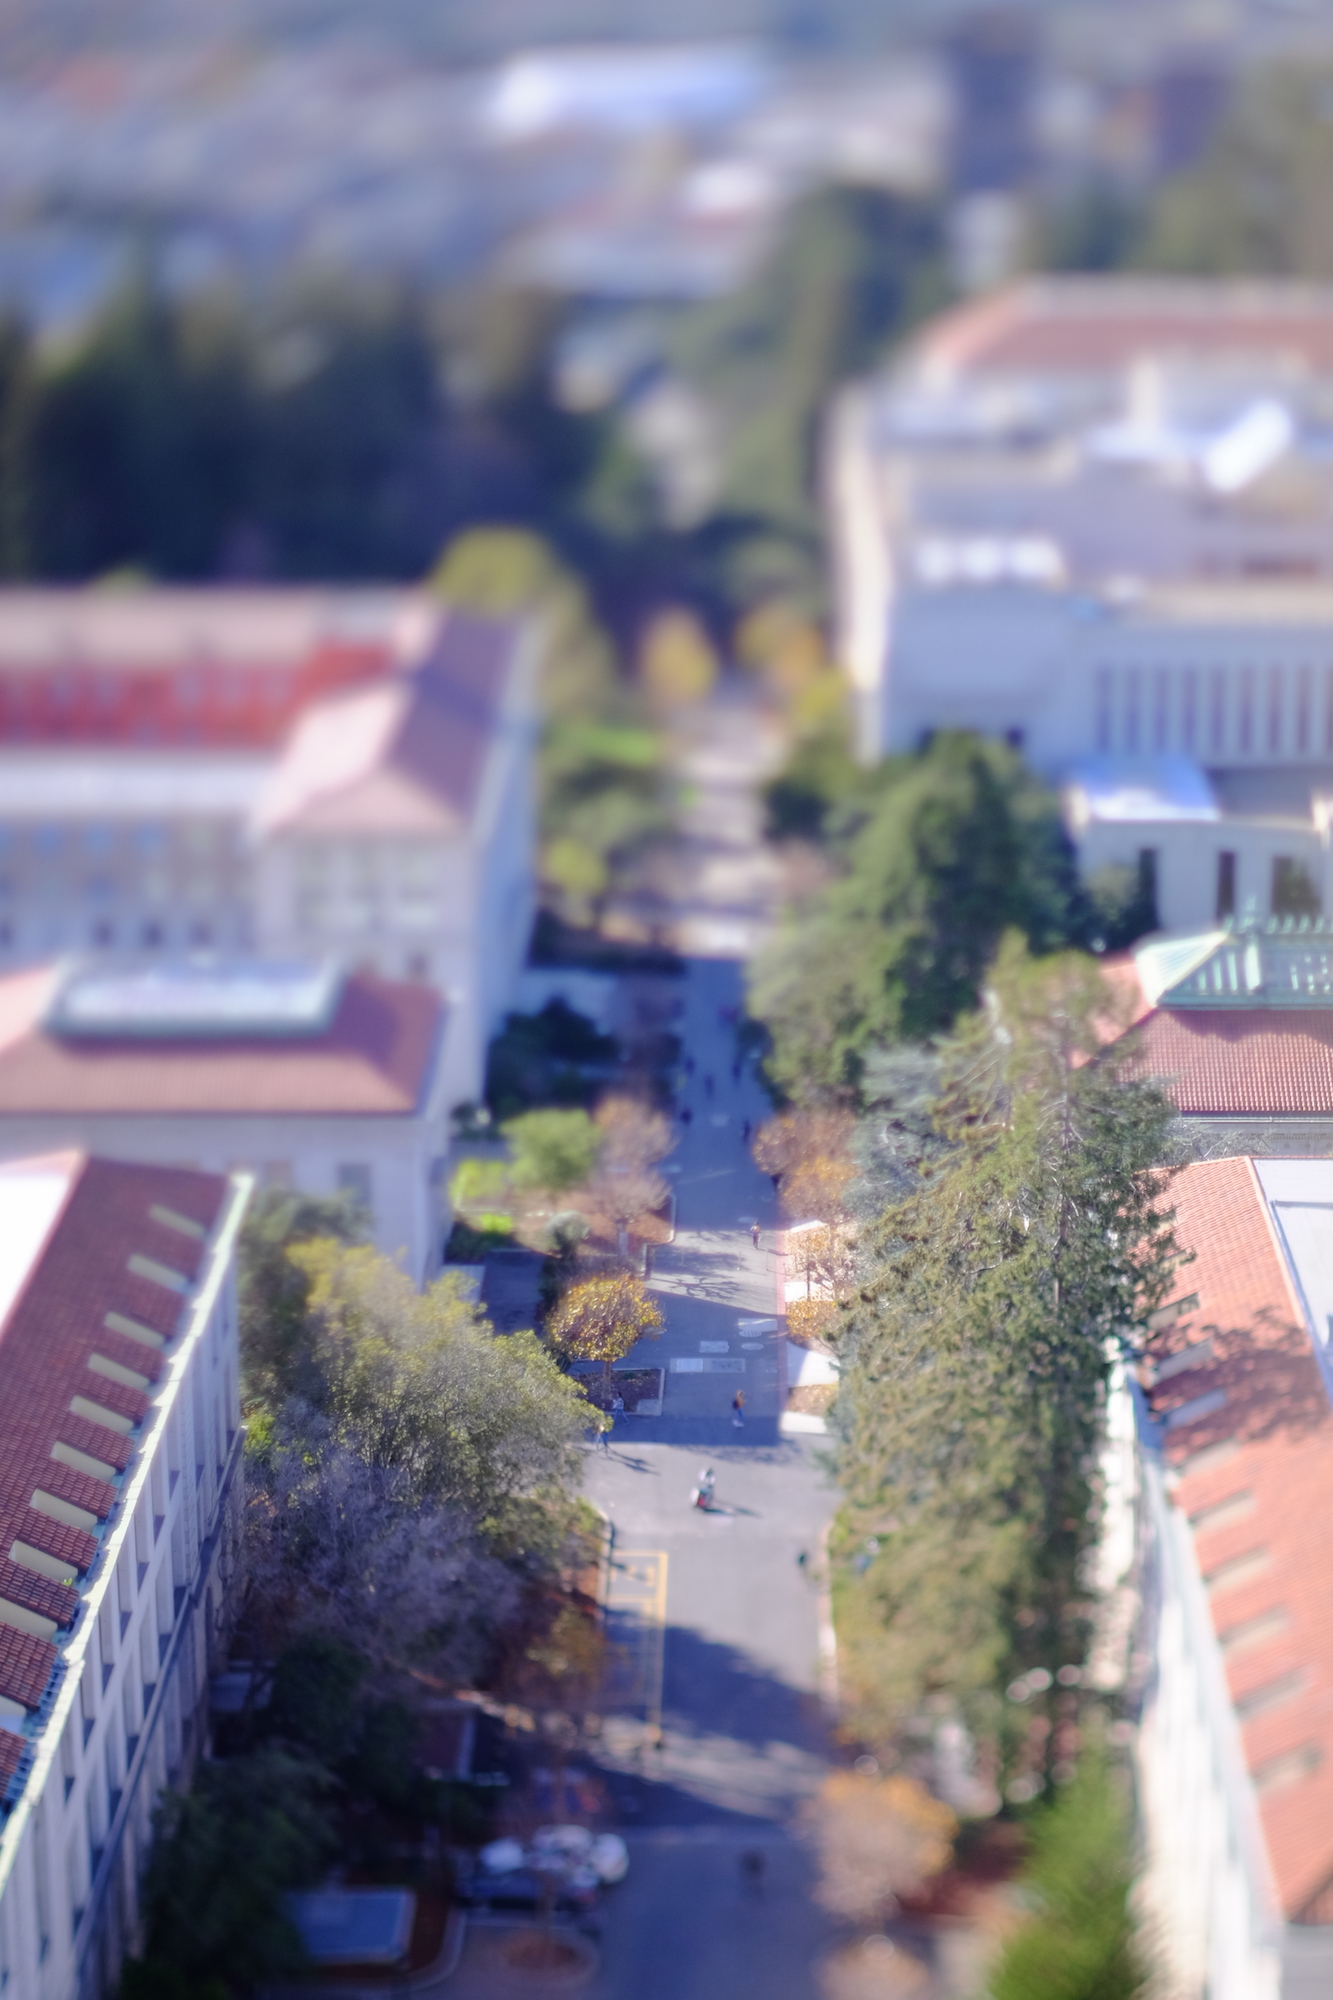
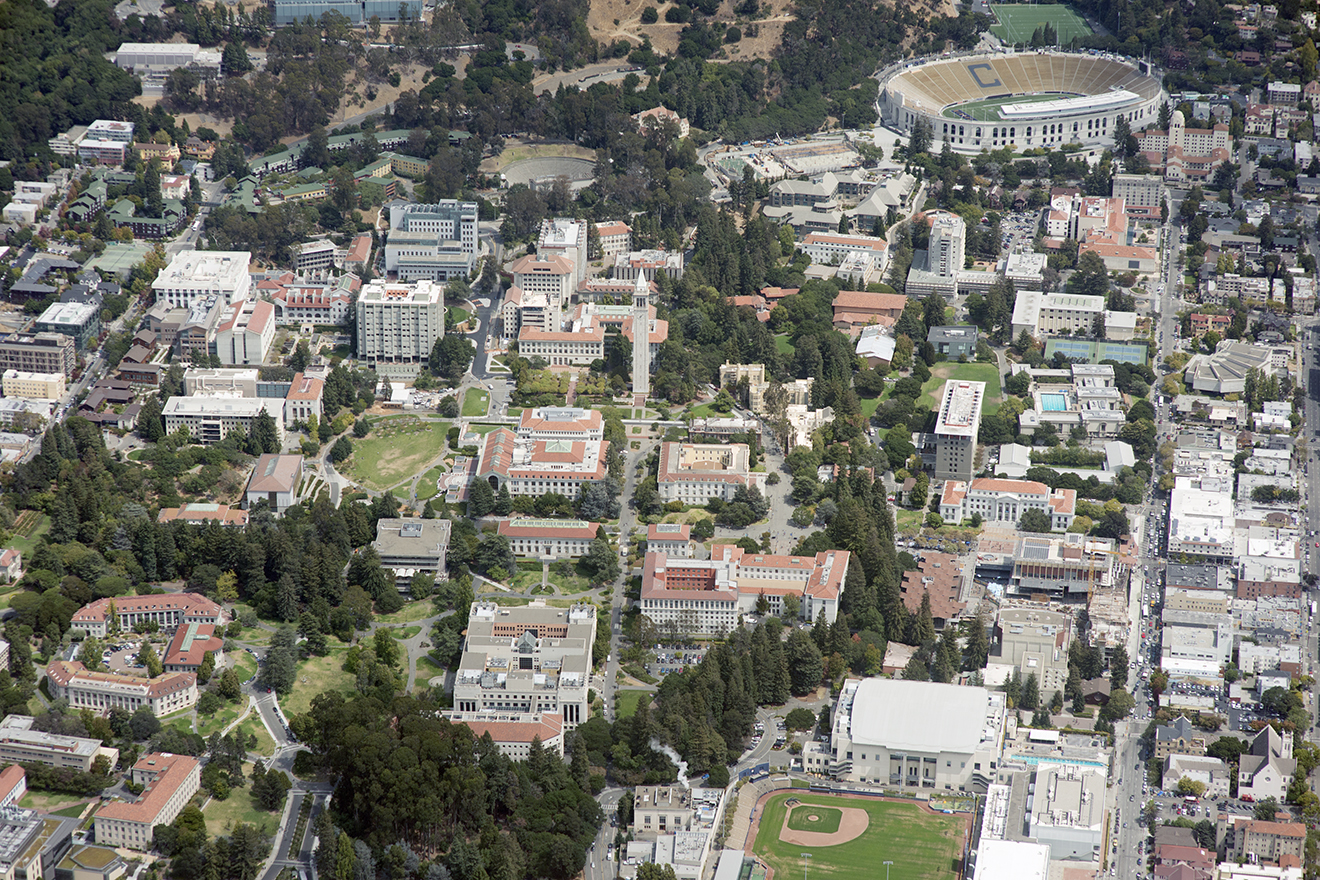
A Real Tilt shifted view from the Campanile.
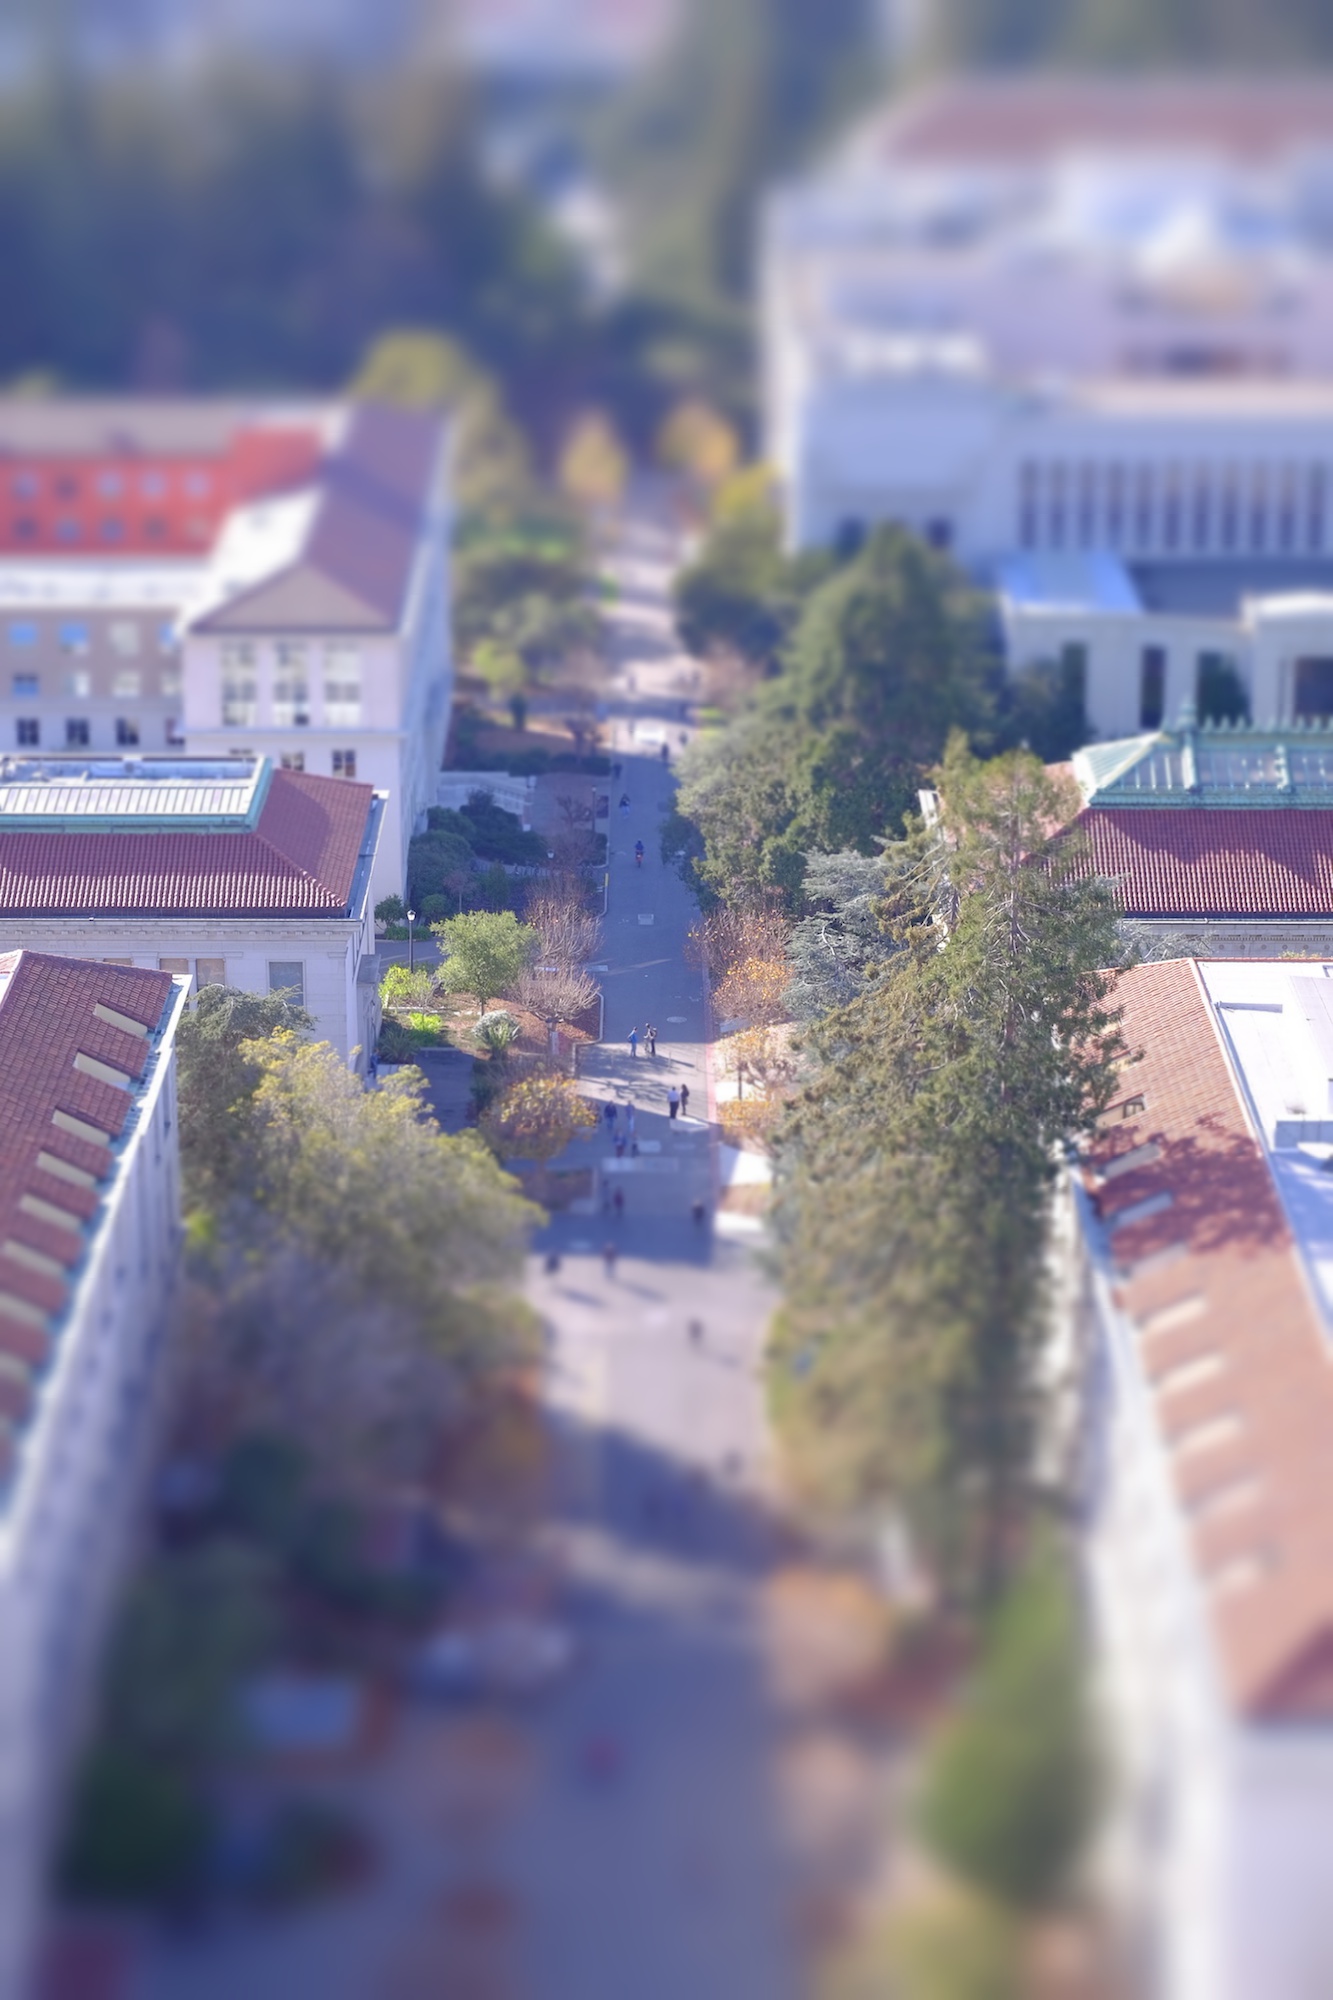
Computer Tilt Shifted view from Campanile.
Bells and Whistles 2: Stop Motion Film
Next, I took a ~2 minute time lapse of Memorial Glade and turned it into series of frames. I then tilt-shifted all 900 frames and put them back together in a video.
Bells and Whistles 3: Complex Depth of Focus Regions
Here, I use masks in order to focus nonlinear regions of images. By creating alpha masks, adjusting the strength of the gaussian blending, and blending the two parts together, I am able to focus on different DOFS.
My Panoramic of SF from Coit Tower
Linear Panoramic

Curved DOF panoramic. Notice how the curved street at the very right is still flat.
More of the foreground is in focus now, and the harbors to the right are more in focus.
Here are some more results.
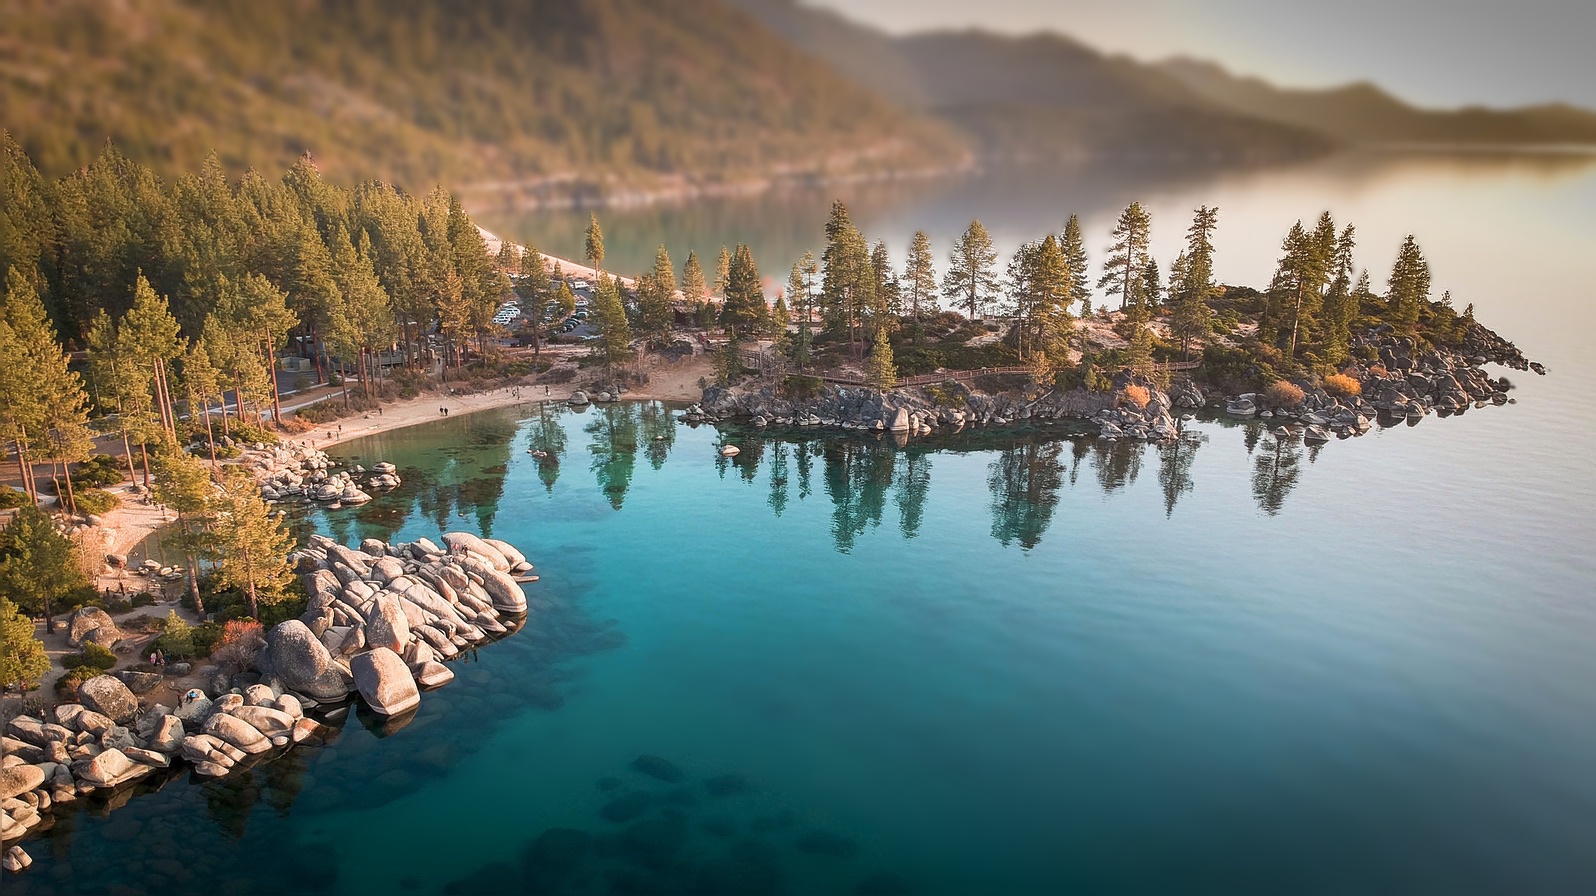
Tilt shifted. DOF edited so the background and the water is blurred.
Tilt shifted.
Part 2. Vertigo Shot
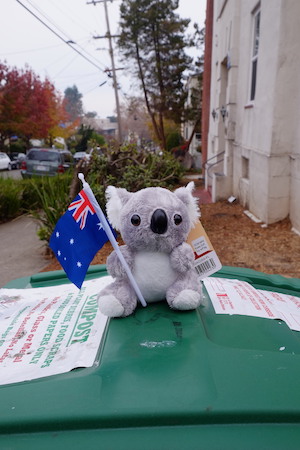
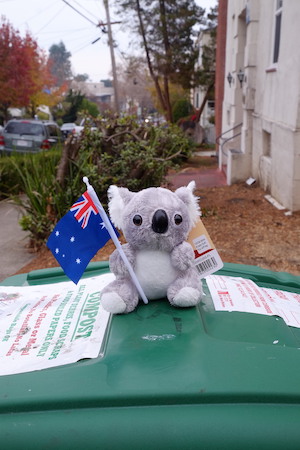
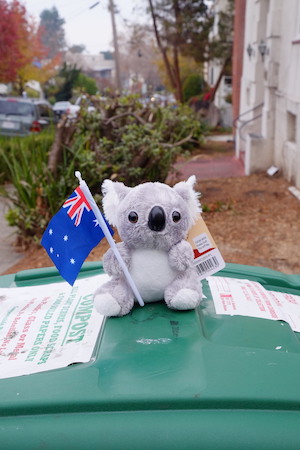
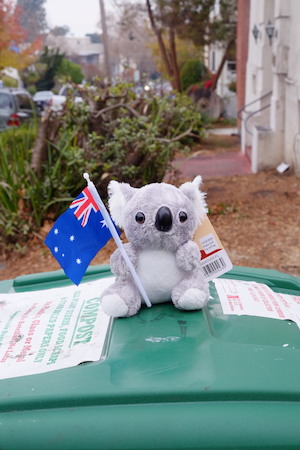
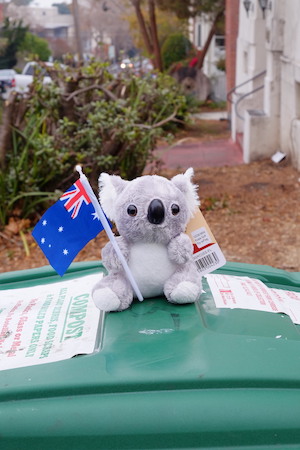
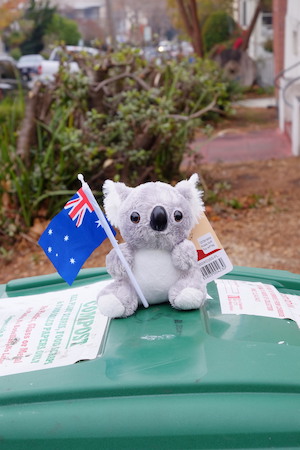
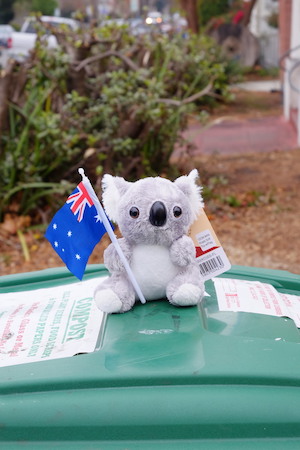
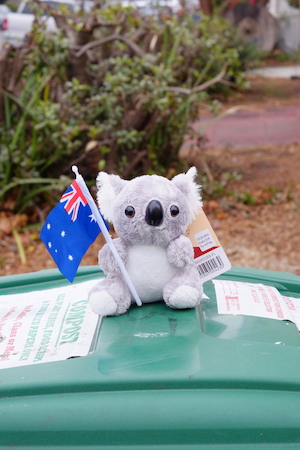
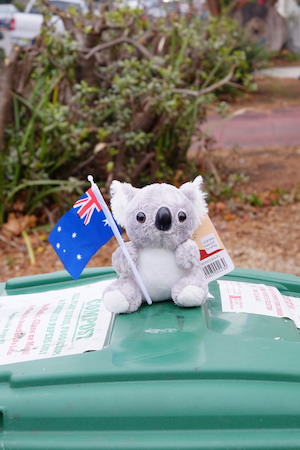
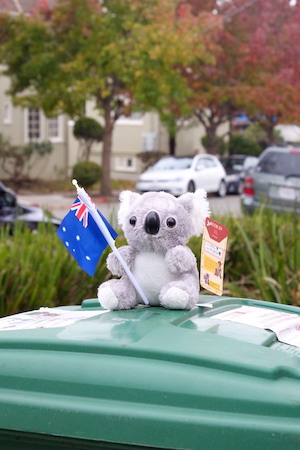
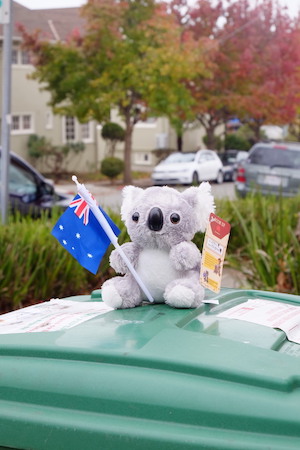
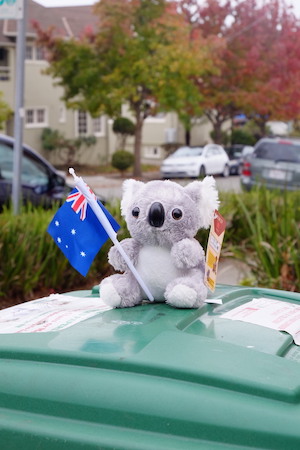
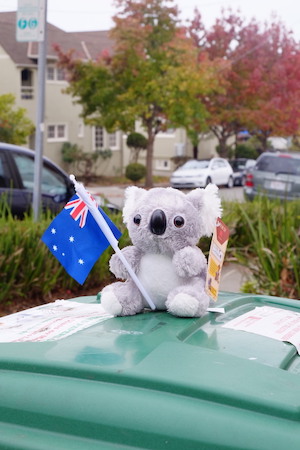
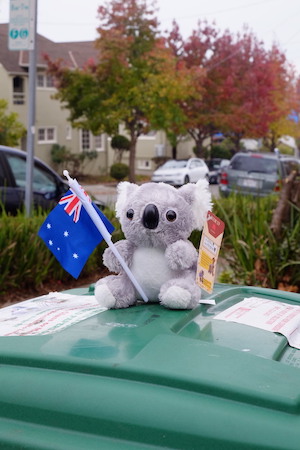
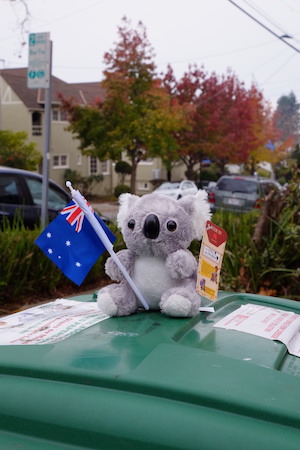
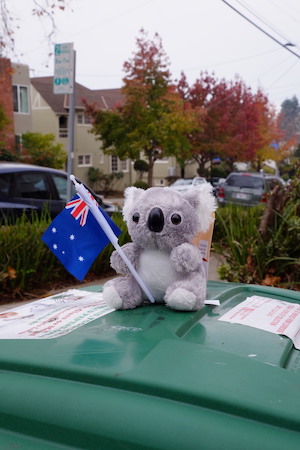
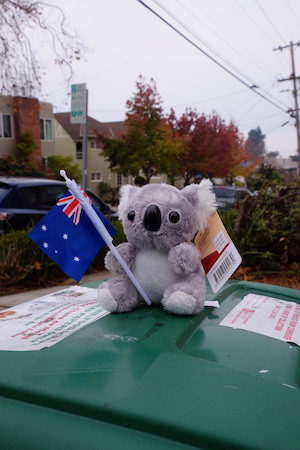
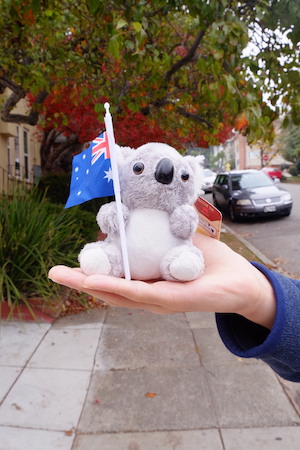
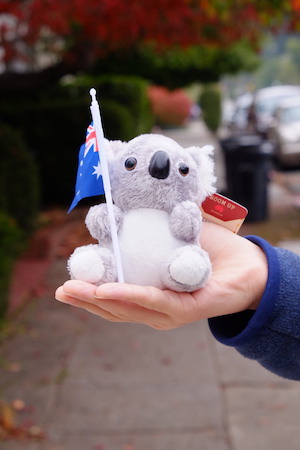
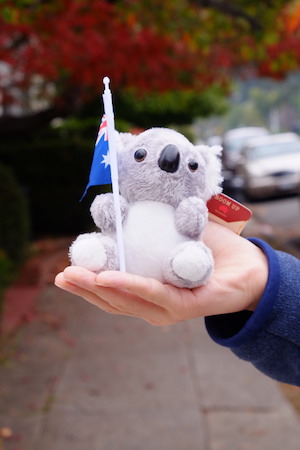
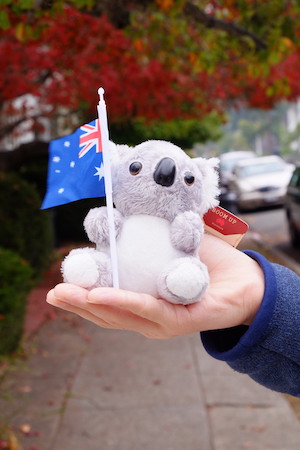
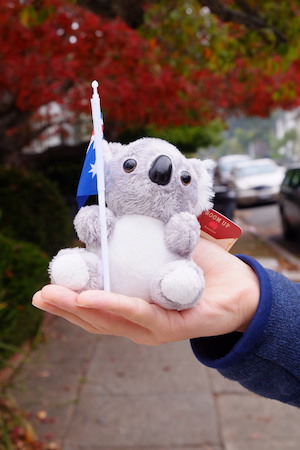
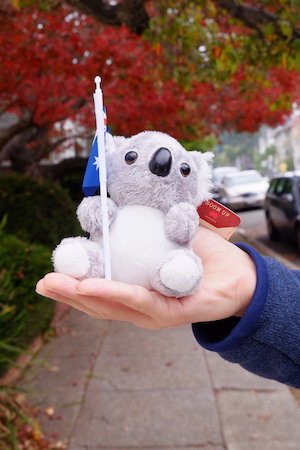
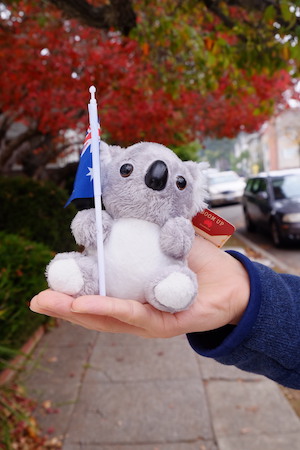
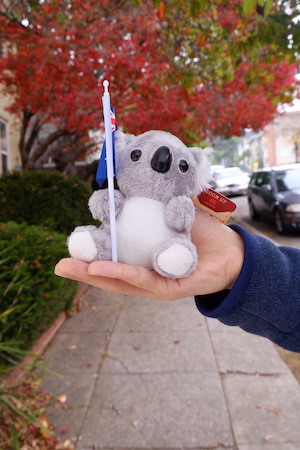
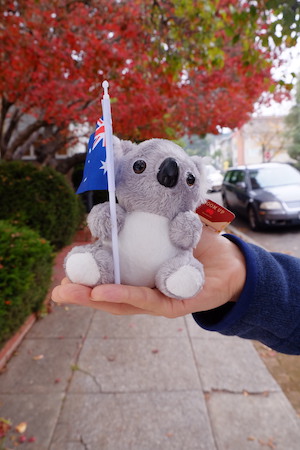
In the second part of this final project, I recreate the dolly zoom, which is a camera effect used in movies. In the dolly zoom effect, we focus on a target and move away from the target while simultaneously adjusting the field of view such that the target remains in focus while the features of the background is altered. For a normal zoom lens, we zoom inward as we walk backwards.
Photo sequences and Bells and Whistles gif sequences
For the first zoom sequence, I selected something with background details that were close up.

Resulting Gif sequence
Even though the koala was supposed to be the focus, the bush steals a little bit of the glory in the vertigo effect becuase it was so close.
For the second zoom sequence, I selected something with background details that were far away, to see if the vertigo effect was accentuated.


Resulting Gif sequence

Bells and Whistles 2: What if we moved the subject as well?
Here, I apply the dolly zoom effect while the Koala subject is moving backwards. I picked a background with a "tunnel-like" effect in order to make an effect where the koala is backtracking through a tunnel.

Bells and Whistles 3: Video
Here, I actually try making a video sequence with the dolly effect. It is a bit hard to keep everything aligned and zoom in and out at the correct rate.
I learned that a dolly zoom is pretty hard to execute in video form, becuase you have to keep zooming out at the same rate. A real dolly might help for this, however. I also learned that the dolly zoom is the most effective when there is just the target in the foreground and nothing much else in the foreground and midground, becuase that way, the most distortion happens to the background.
Part 1. Miniatures
In this project, we attempt to recreate the tilt shift effect that cameras with specialized lenses can take. In this effect, selective parts of the photo are put in focus. This creates the effect that the depth of field in the photo is narrower than it is, making it seem like the subjects in the photo are "miniaturized" due to the lens being really close to the subject.
To start off, we select an area in the picture that we desire to be in focus, and generate a mask. We then blur the original photo with a gaussian filter to simulate areas of the photograph not in the mask to be out of focus. To simulate areas further away from the field of focus being more out of focus, we increase the strength (sigma) of the gaussian filter as we get further from the area of focus. Here is an example. NOTE: More Photos at Bottom, All photos are self-taken unless credited.
|
|
|
|
|
|
Bells and Whistles 1: Made my own tilt shift lens!
I wanted to check out how this artificial tilt shift code compares towards a REAL tilt shift camera lens. Unfortunately, I did not have $2,500 to spend on a new tilt shift lens, so I created my own tilt shift lens!
A basic-functionality tilt shift lens can be created with a technique called freelensing. Normally, camera lens are firmly fastened onto the camera body, focusing the image light the perfect distance to the CMOS sensor. Freelensing involves moving the lens with your hand (further, closer, rotated, tilted) and not fastening it to the camera body. This creates some very interesting effects because the light is now not focused properly on the camera sensor, allowing us to simulate the effects of tilt shifting. Freelensing has the problem of light leaks because there is no proper seal between the sensor and the outside world. Thus, I made a lens hood out of cardboard and duct tape to prevent the light leaks.
The real tilt shifted photos have ring-like effects around the elements in the photograph, whereas the gaussian-blurred photograph generated by the computer is "smoother". Also, everything seems to be brighter in the real tilt shifted photographs, this may be due to my "makeshift" tilt shift lens not being a perfect seal for light -- the cardboard only worked so well. Additionally, the real tilt shifted photographs don't preserve the proportions of some building edges. This is probably because the real tiltshift lens doesn't focus all photograph elements directly on the CMOS sensor. However, these are pretty good results considering we saved $2500!
|
|
|
|
|
|
|
|
|
Bells and Whistles 2: Stop Motion Film
Next, I took a ~2 minute time lapse of Memorial Glade and turned it into series of frames. I then tilt-shifted all 900 frames and put them back together in a video.
Bells and Whistles 3: Complex Depth of Focus Regions
Here, I use masks in order to focus nonlinear regions of images. By creating alpha masks, adjusting the strength of the gaussian blending, and blending the two parts together, I am able to focus on different DOFS.
|
|
|
|
|
|
Here are some more results.
|
|
|
|
Part 2. Vertigo Shot
In the second part of this final project, I recreate the dolly zoom, which is a camera effect used in movies. In the dolly zoom effect, we focus on a target and move away from the target while simultaneously adjusting the field of view such that the target remains in focus while the features of the background is altered. For a normal zoom lens, we zoom inward as we walk backwards.
Photo sequences and Bells and Whistles gif sequences
For the first zoom sequence, I selected something with background details that were close up.
|
|
|
|
|
|
|
|
|
|
|
|
Resulting Gif sequence
|
|
Even though the koala was supposed to be the focus, the bush steals a little bit of the glory in the vertigo effect becuase it was so close.
For the second zoom sequence, I selected something with background details that were far away, to see if the vertigo effect was accentuated.
|
|
|
|
|
|
|
|
|
|
|
|
|
|
Resulting Gif sequence
|
|
Bells and Whistles 2: What if we moved the subject as well?
Here, I apply the dolly zoom effect while the Koala subject is moving backwards. I picked a background with a "tunnel-like" effect in order to make an effect where the koala is backtracking through a tunnel.
|
|
|
|
|
|
|
|
|
|
|
|
Bells and Whistles 3: Video
Here, I actually try making a video sequence with the dolly effect. It is a bit hard to keep everything aligned and zoom in and out at the correct rate.
I learned that a dolly zoom is pretty hard to execute in video form, becuase you have to keep zooming out at the same rate. A real dolly might help for this, however. I also learned that the dolly zoom is the most effective when there is just the target in the foreground and nothing much else in the foreground and midground, becuase that way, the most distortion happens to the background.