Seam Carving
In this project, I implemented seam carving, which is the removal of "seams" from an image so that it can be resized
by a certain amount. For vertical seam removal, we first compute an energy value for each pixel and place all
the values in a matrix. In our case, the energy function is just the sum of the squared differences of the pixel
to the right and left, and top and bottom. After we have calculated this energy matrix, we construct a dynamic
programming matrix that is the same size as the image. Each value in the DP matrix is the minimum energy value
out of the top left, top, and top right pixel, plus the energy value of the pixel under consideration. We can
then find the seam with minimum energy by taking the minimum value in the last row of the DP matrix and tracing
our way back to the top by selecting the minimum value out of the top left, top, and top right entries. We then
remove this seam, and repeat the entire process over for however many pixels we want to shrink by. To remove
a horizontal seam, we transpose the matrix, perform the above algorithm to remove vertical seams, and then transpose
the image again.
Examples
Below are some examples of horizontal and vertical seam removal.
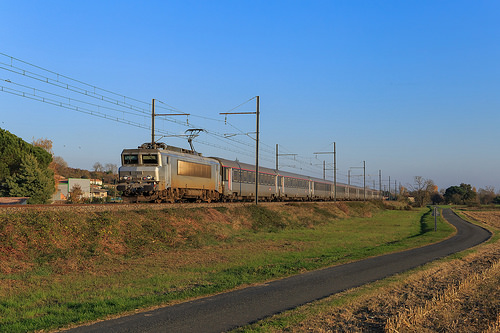 Train.
|
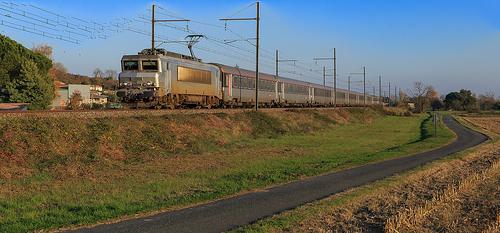
 Horizontally carved train.
|
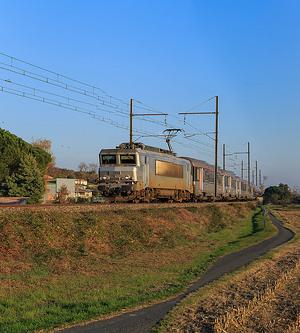
 Vertically carved train.
|
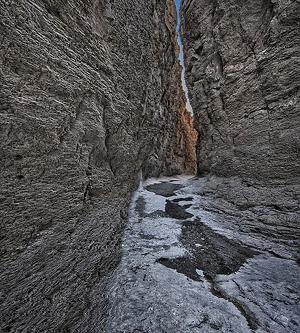
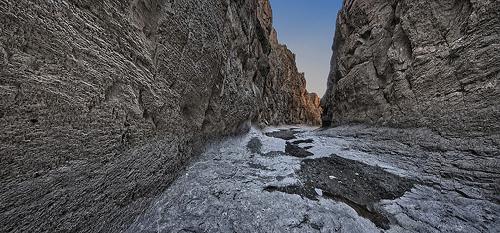
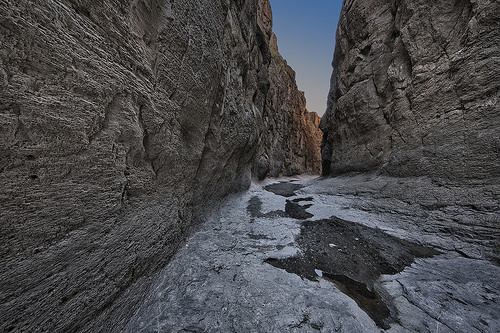 Path.
Path.
|
 Horizontally carved path.
|
 Vertically carved path.
|
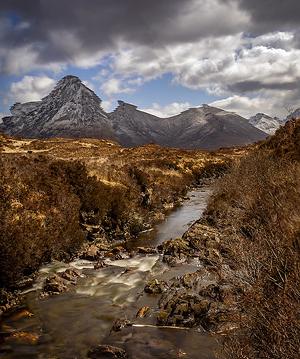
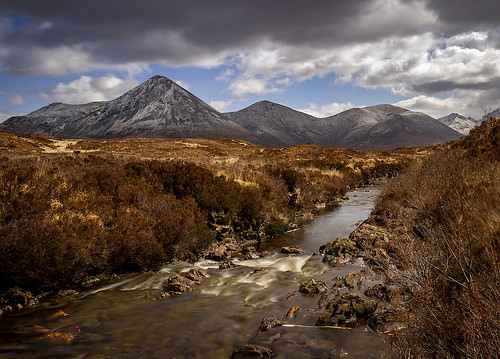 Mountains.
|
 Horizontally carved mountains.
|
 Vertically carved mountains.
|
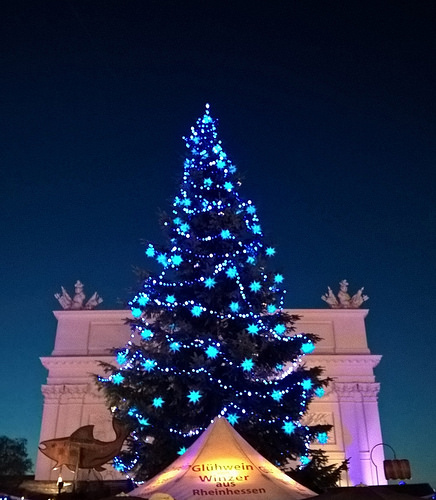 Tree.
Tree.
|
 Horizontally carved tree.
|
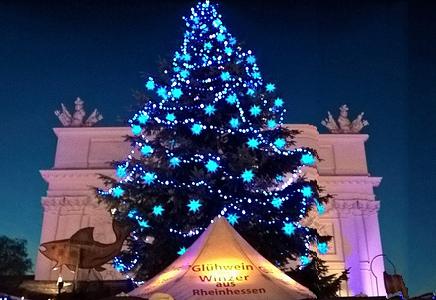 Vertically carved tree.
|
 Boat.
Boat.
|
 Horizontally carved boat.
|
 Vertically carved boat.
|
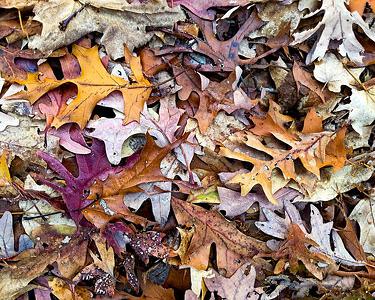
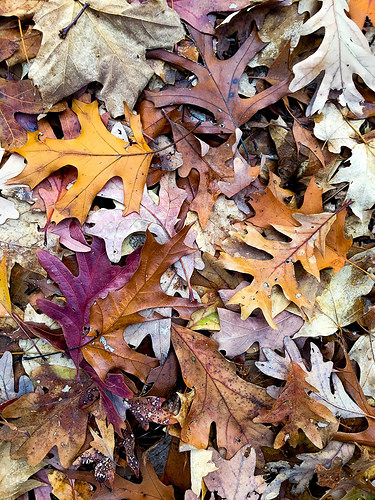 Leaves.
|
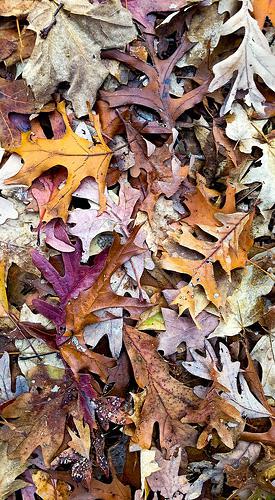 Horizontally carved leaves.
|
 Vertically carved leaves.
|
Failures
Below are some examples of some undesired artifacts due to seam carving. In the first example, the heart becomes
distorted, and in the second example, the many lines in the image become distorted.
 Red.
Red.
|
 Horizontally carved red.
|
 Vertically carved red.
|
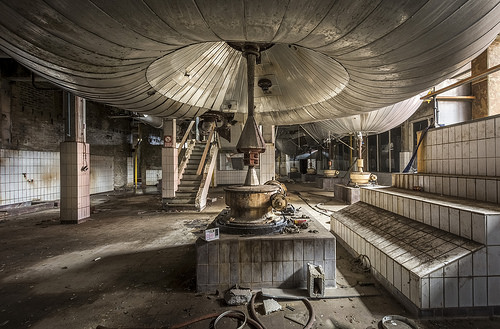 Brewery.
|
 Horizontally carved brewery.
|
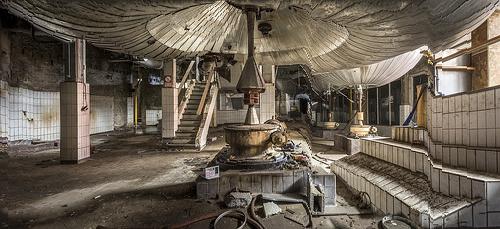 Vertically carved brewery.
|
Fake Miniatures
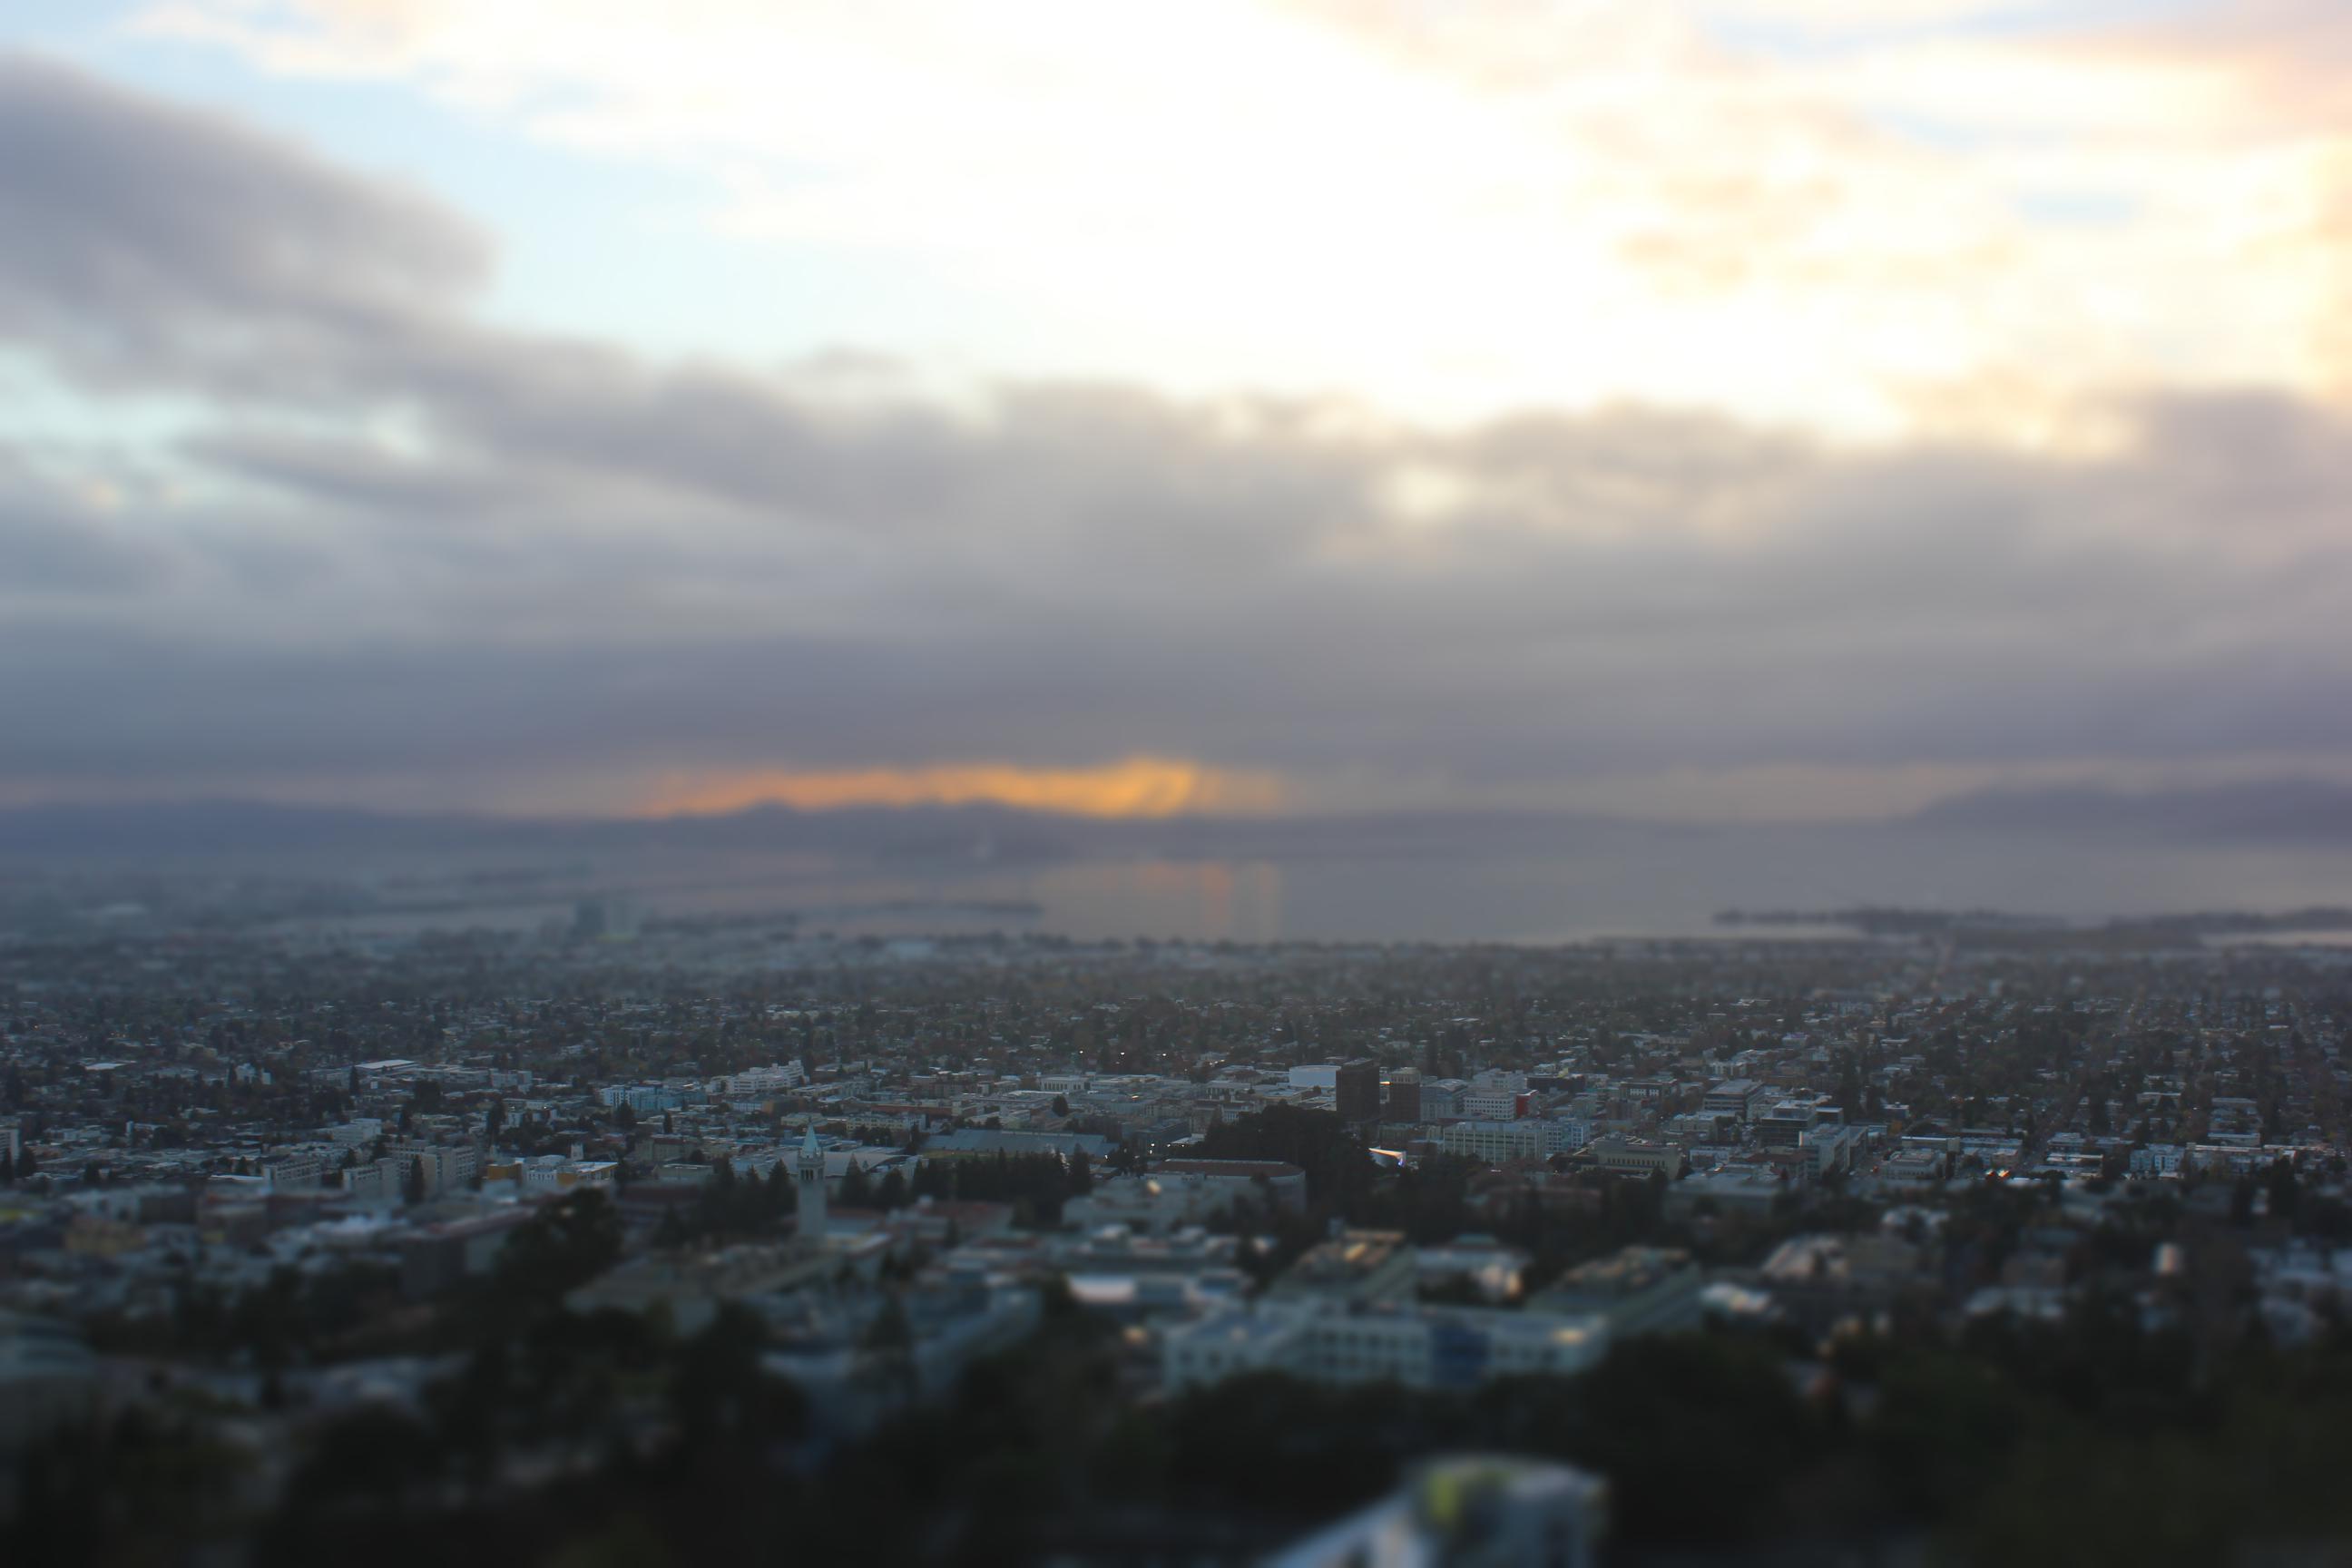
In this project, I implemented tilt shifting, which makes an image appear as if it had been taken from close up,
to a miniature version of an object or surroundings. First, we chose a focus line that we center our image around
- this the rectangle that is in focus and our estimate for objects at the same depth. We then repeatedly apply
gaussian filters with higher sigma values to the pixels surrounding the focus line to obtain the tilt shift effect.
Own pictures
Below are some images that I took with the tilt shift effect applied.
Berkeley
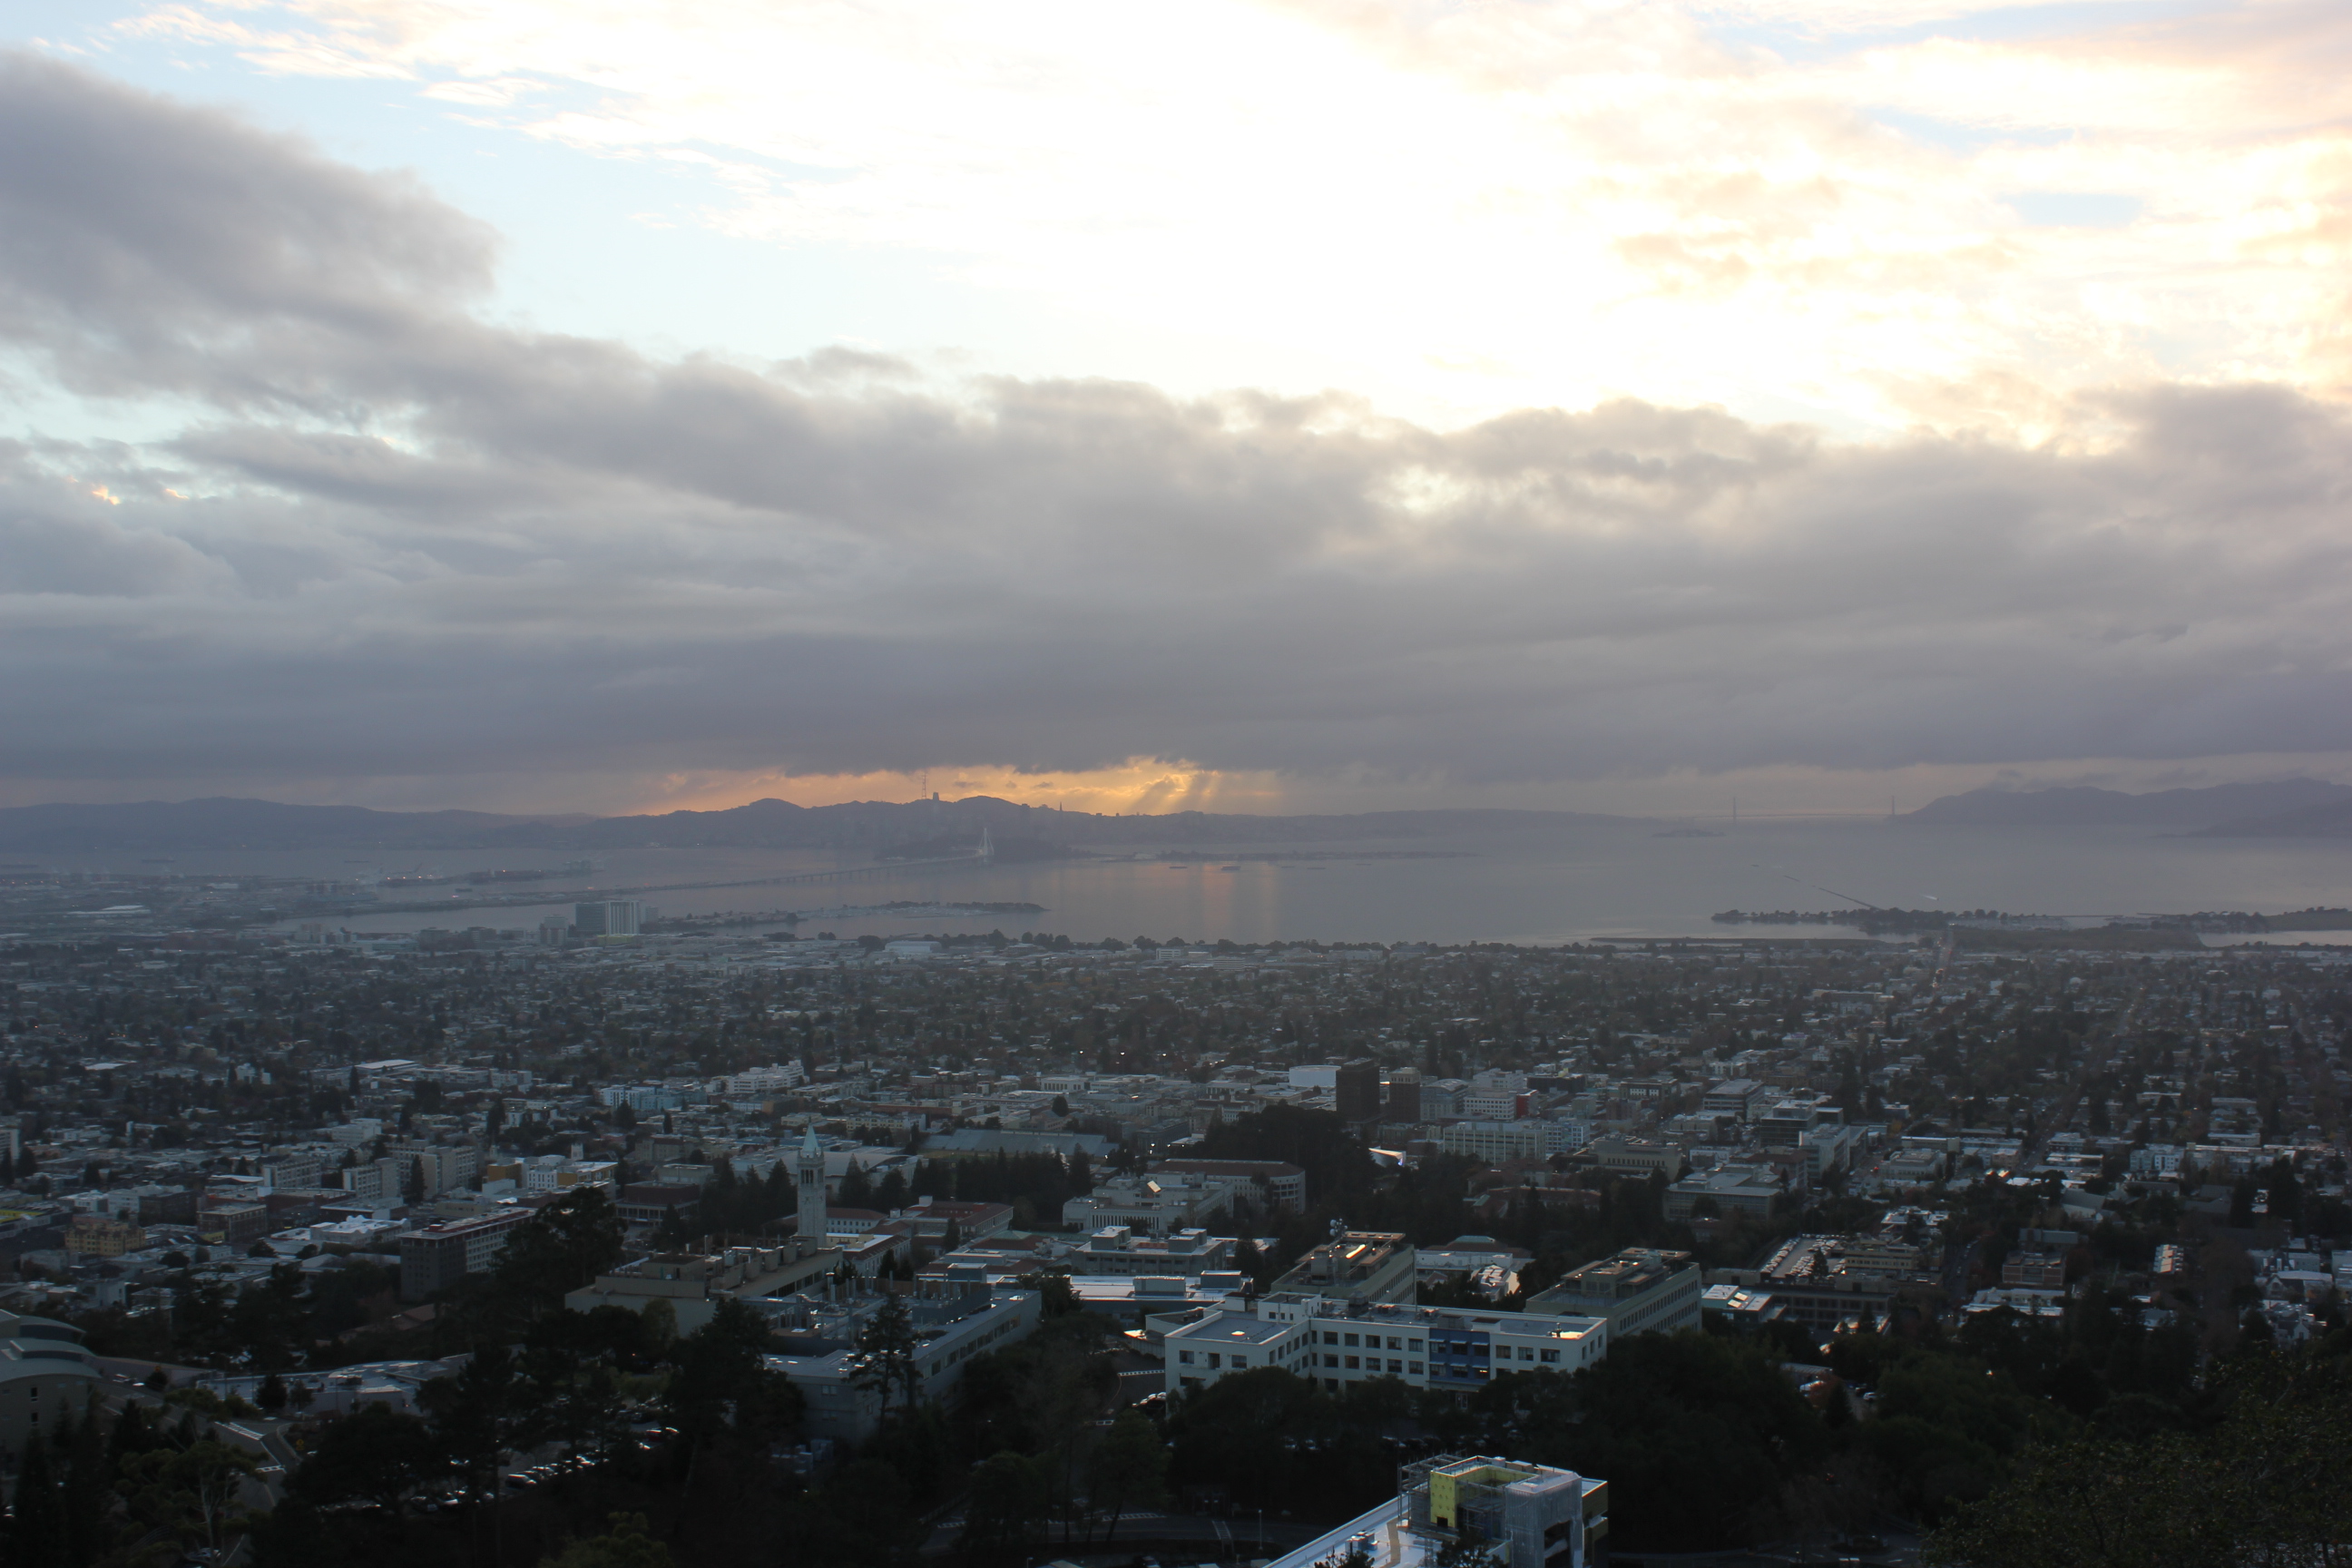 Berkeley.
|
 Berkeley with horizontal tilt shift.
|
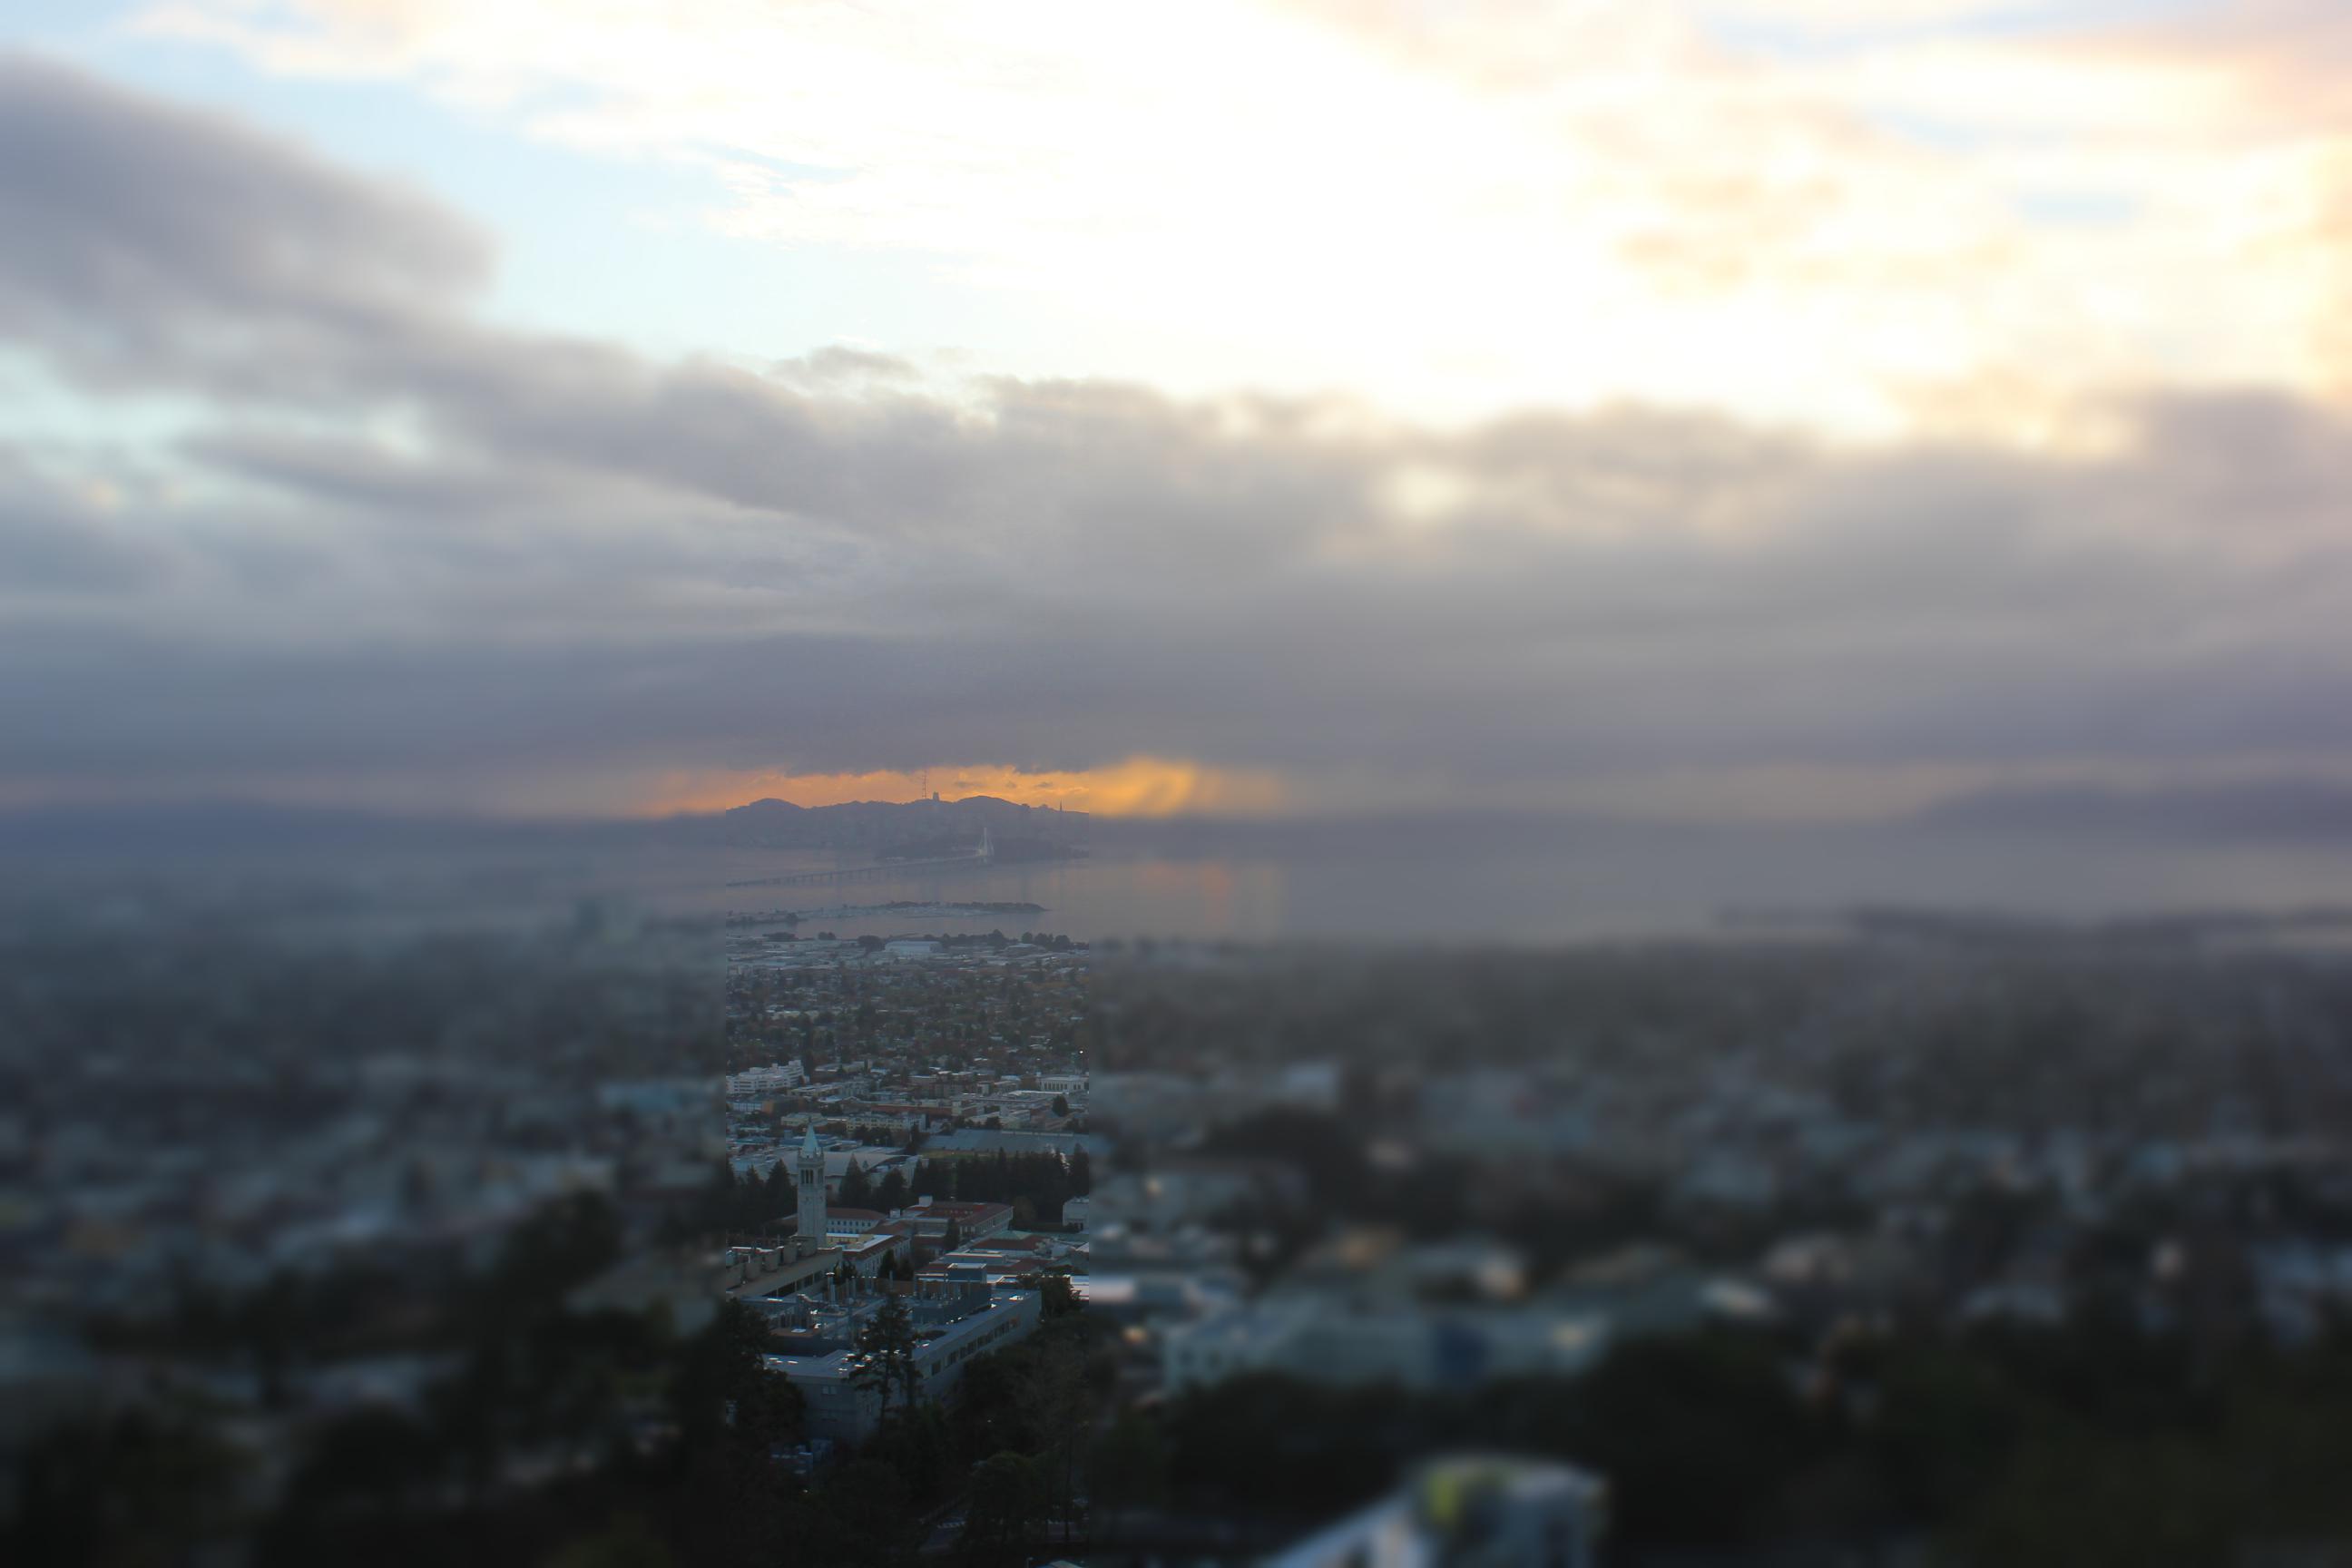 Berkeley with vertical tilt shift.
|
New York
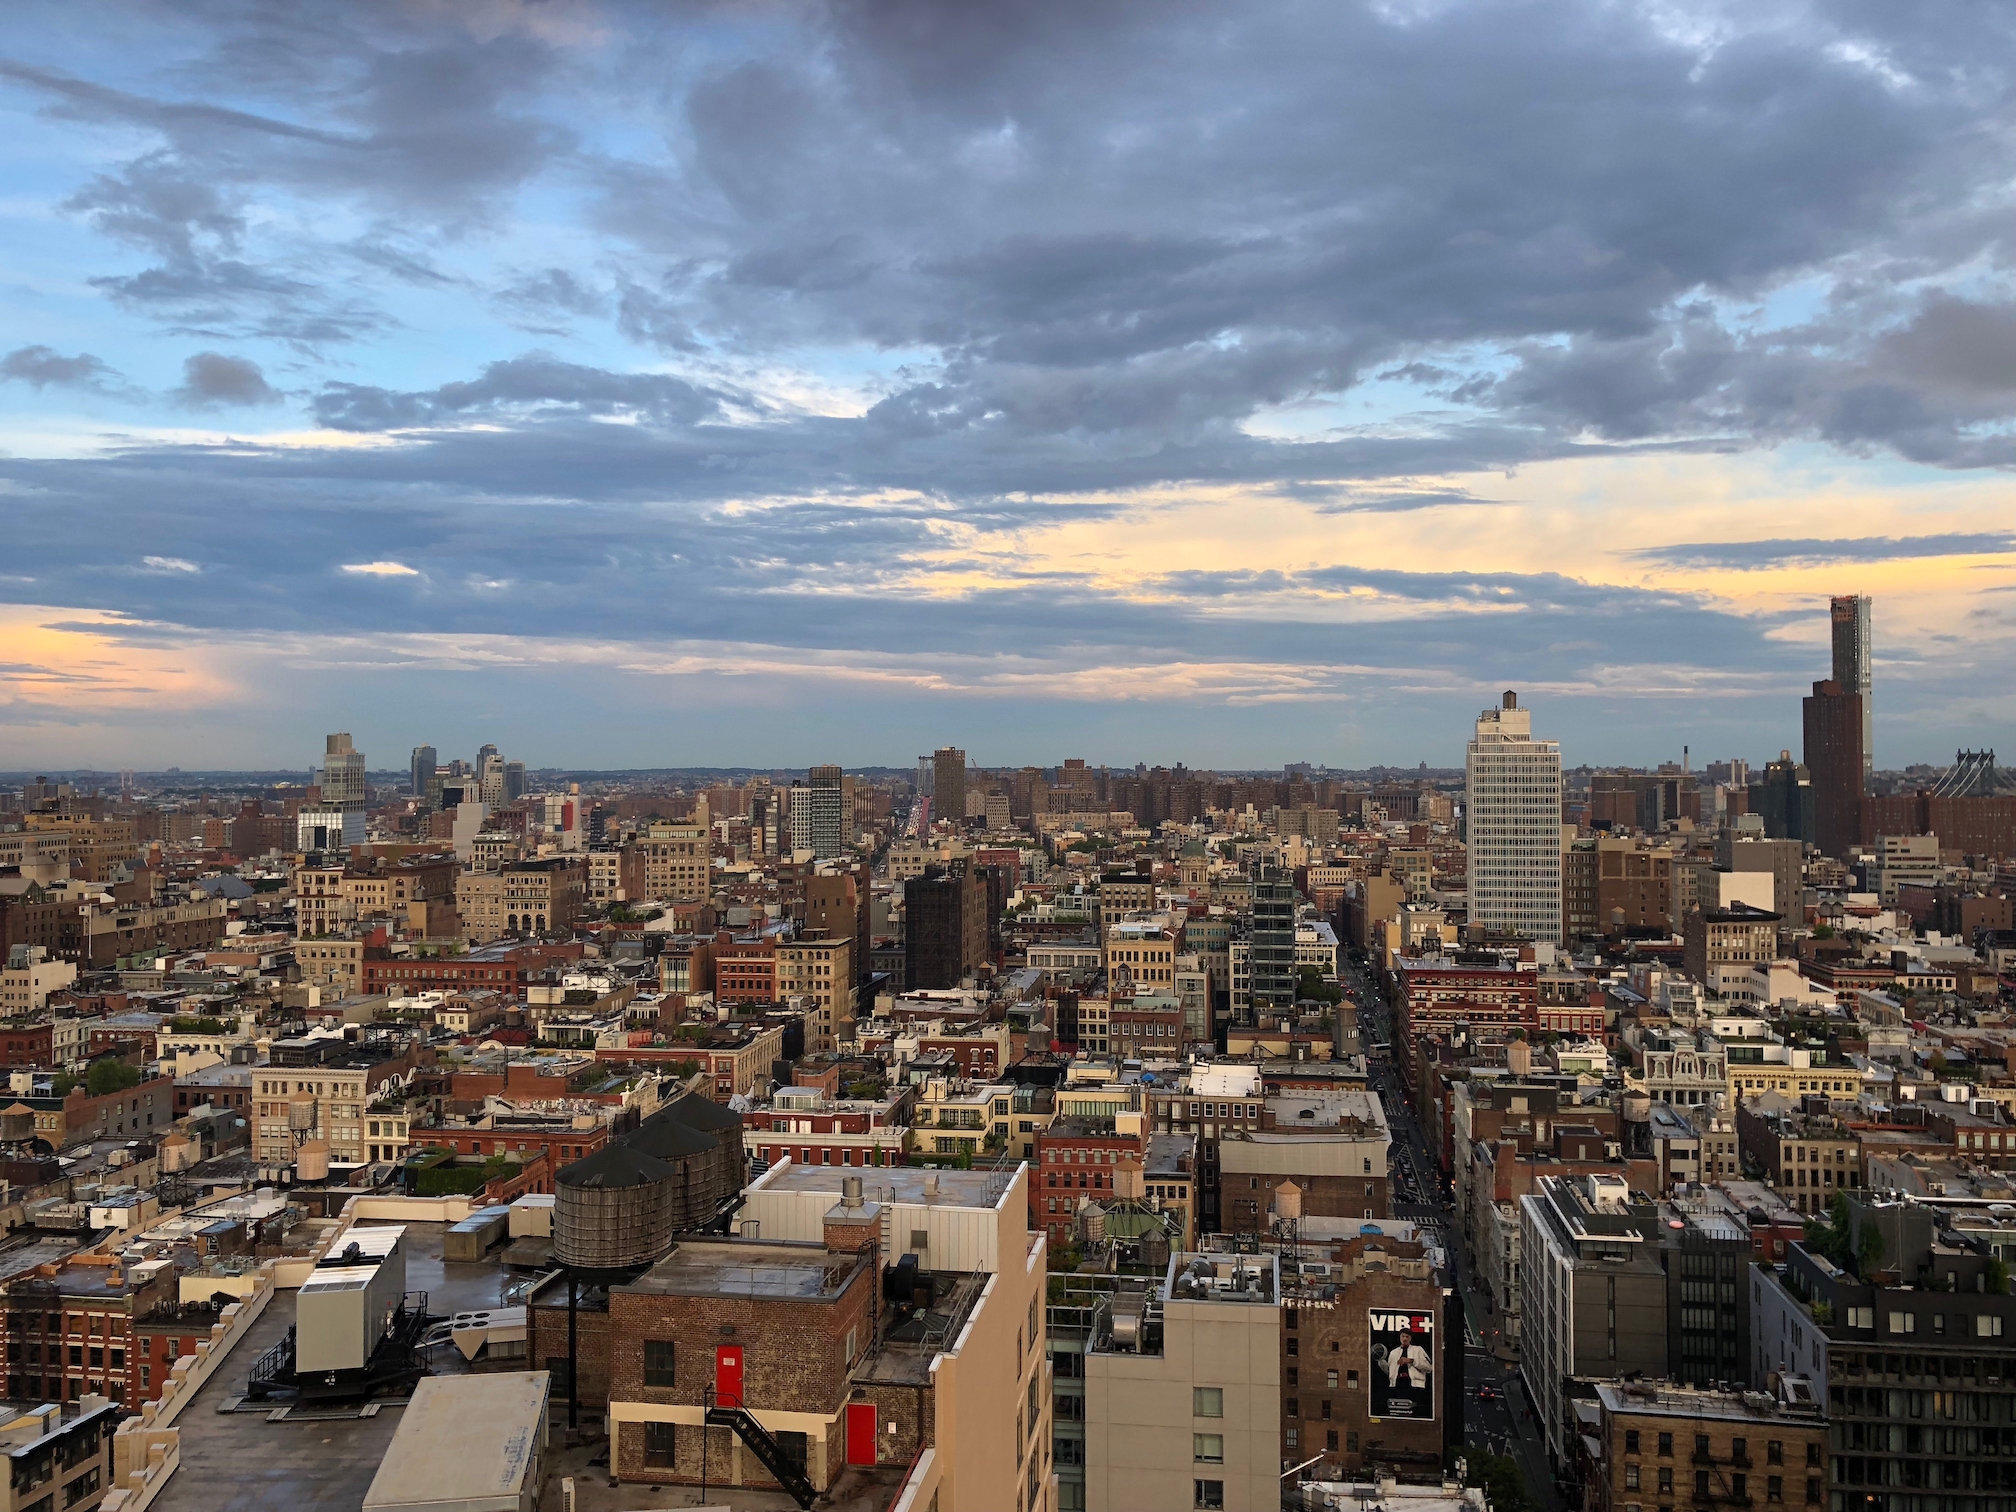 New York.
|
 New York with horizontal tilt shift.
|
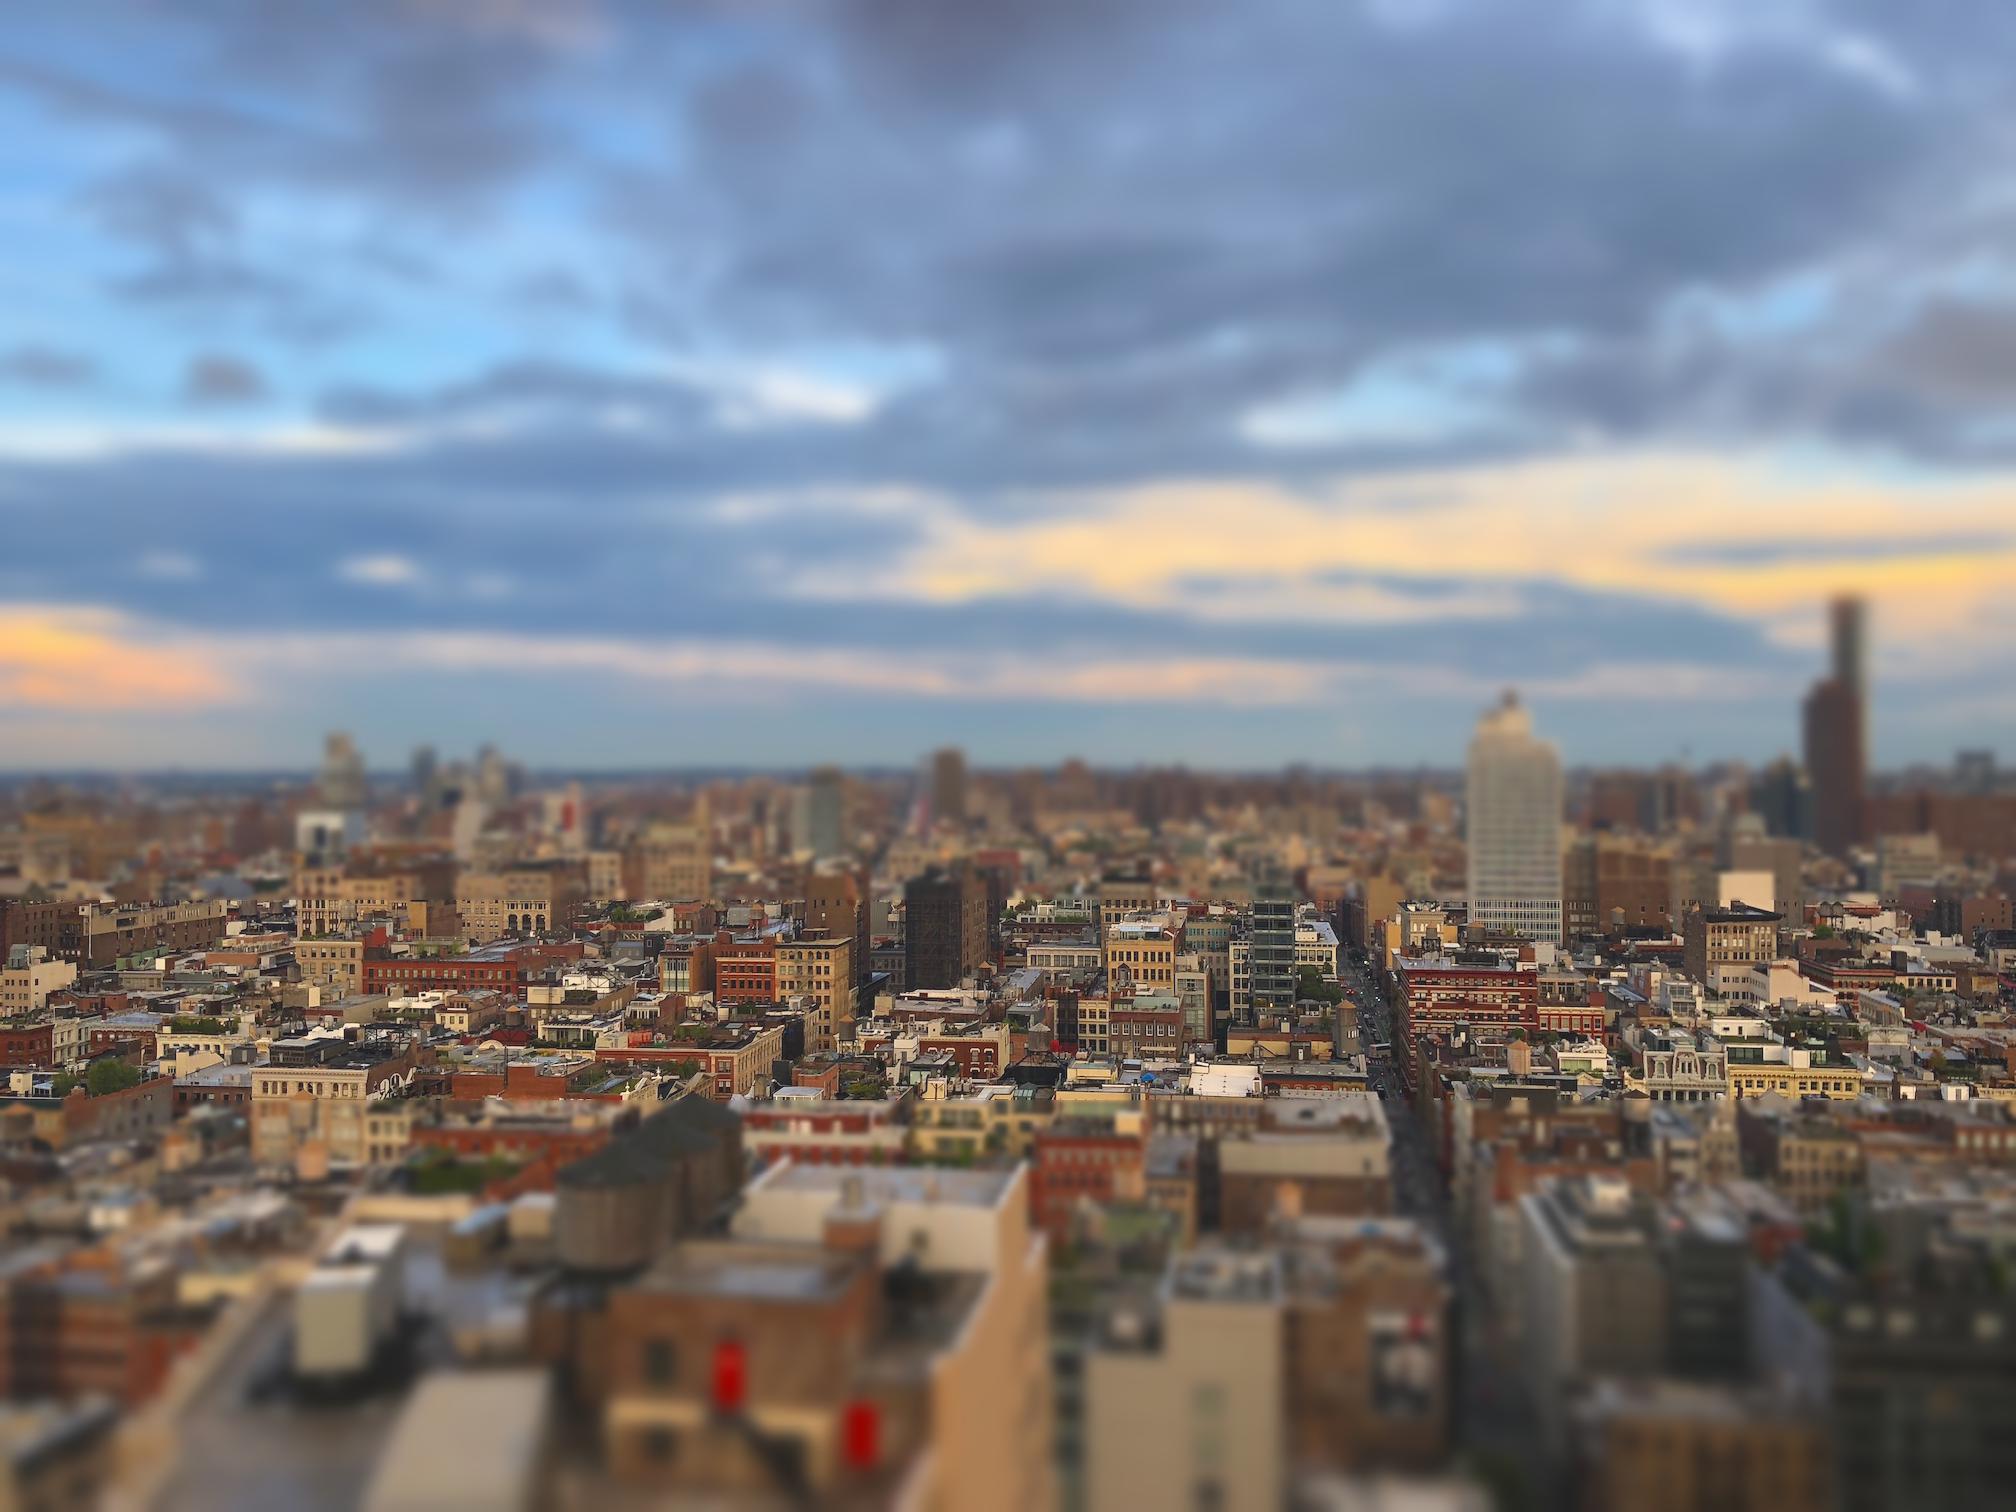
 New York with vertical tilt shift.
|
Seattle
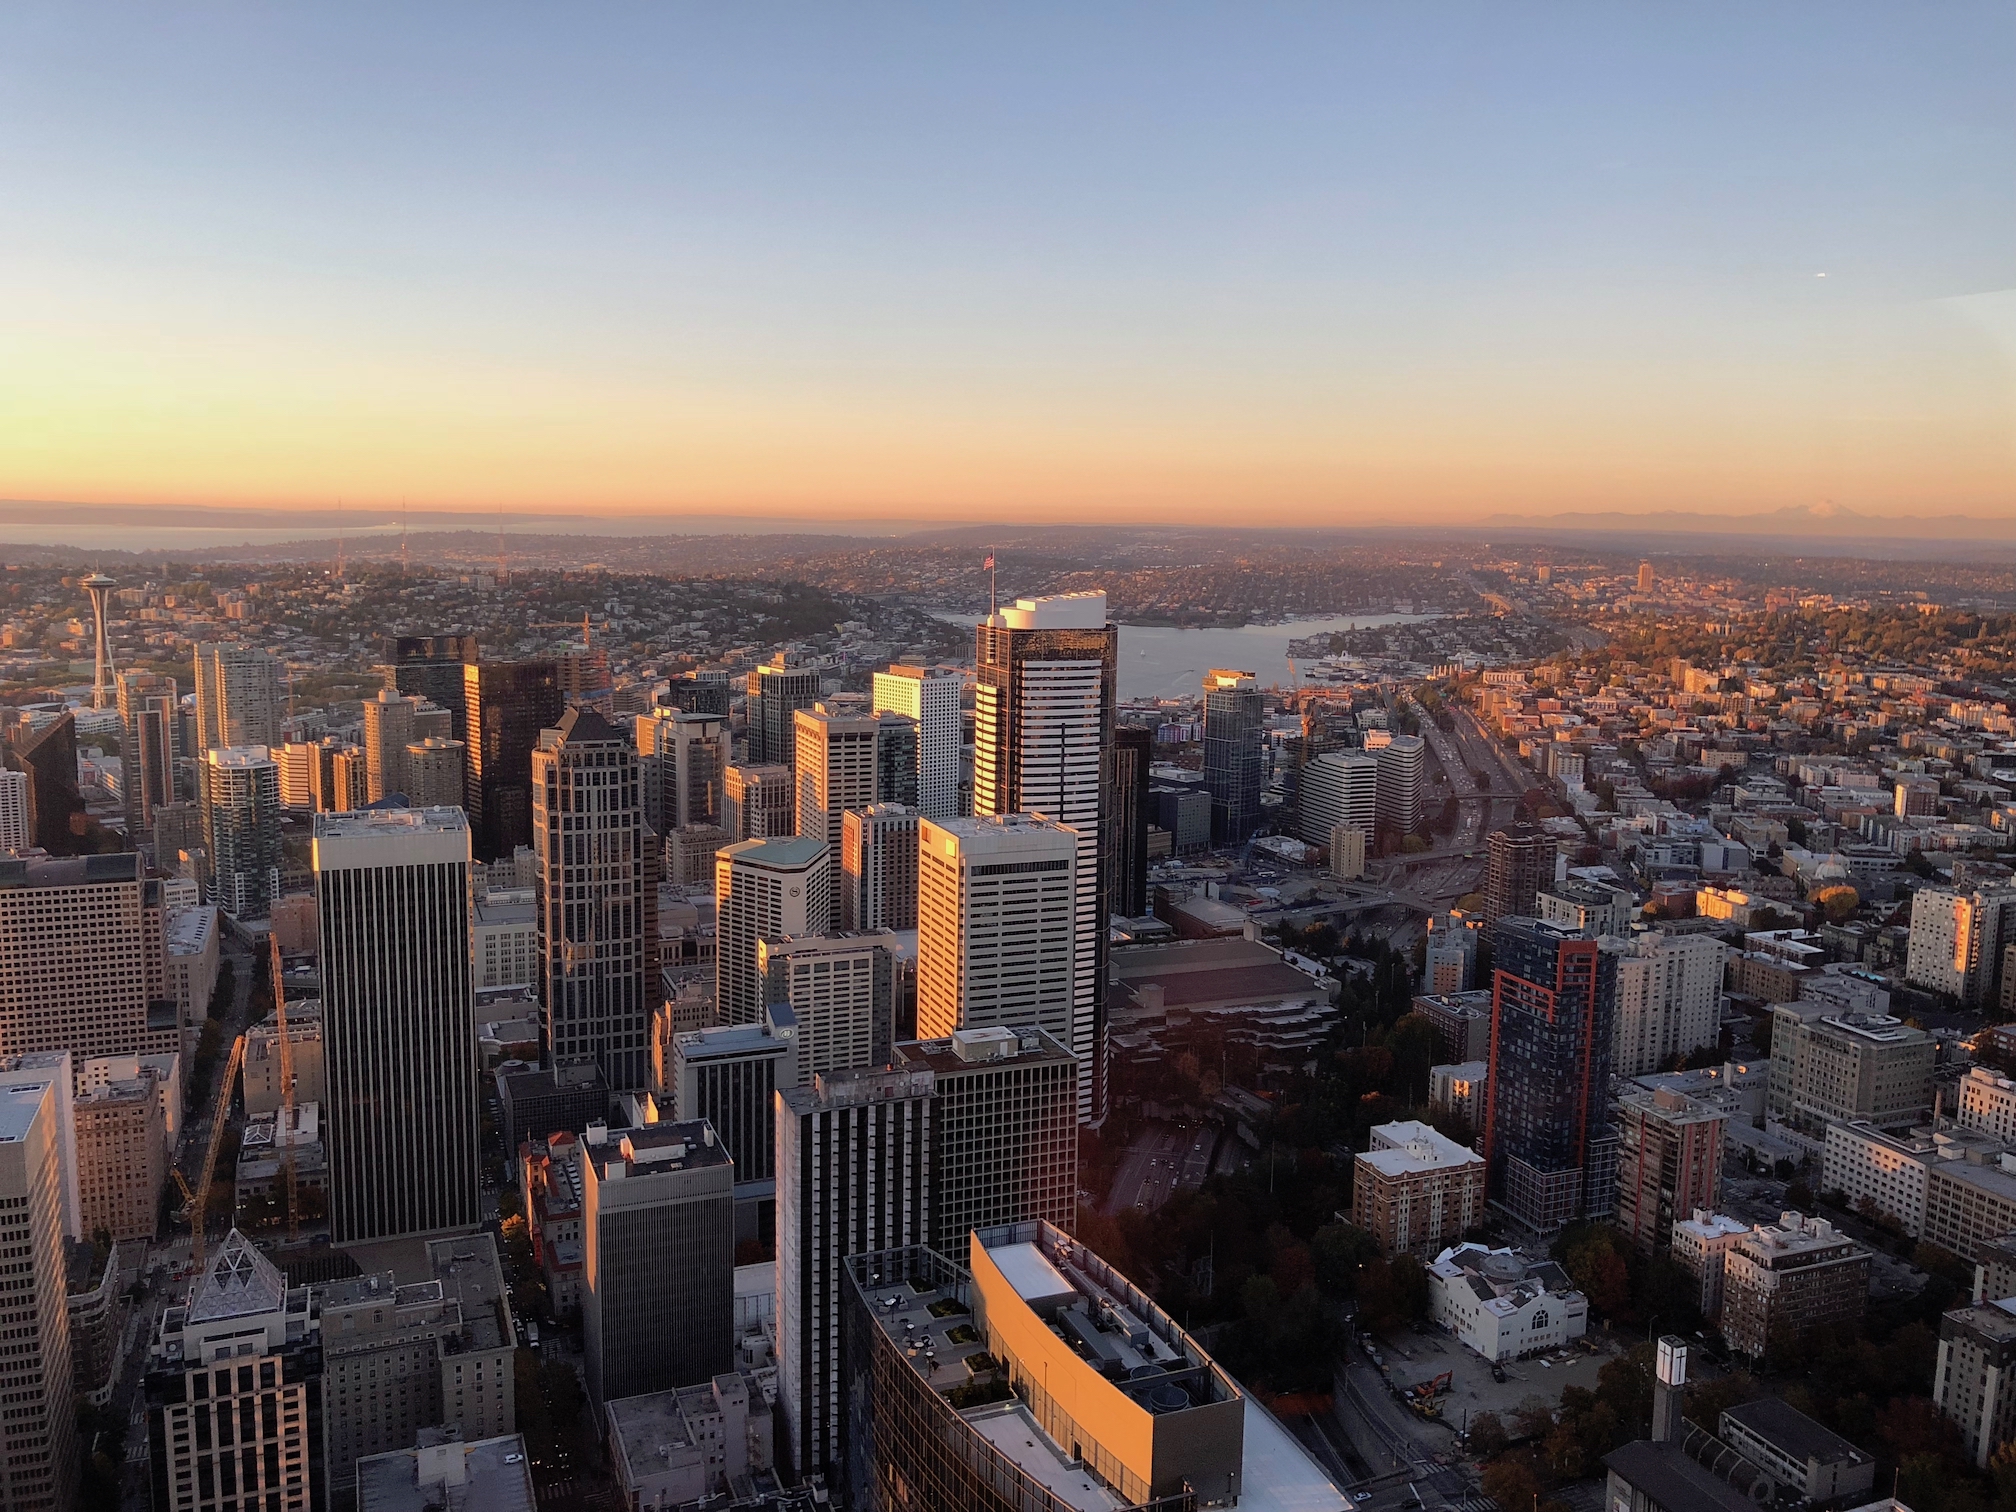 Seattle.
|
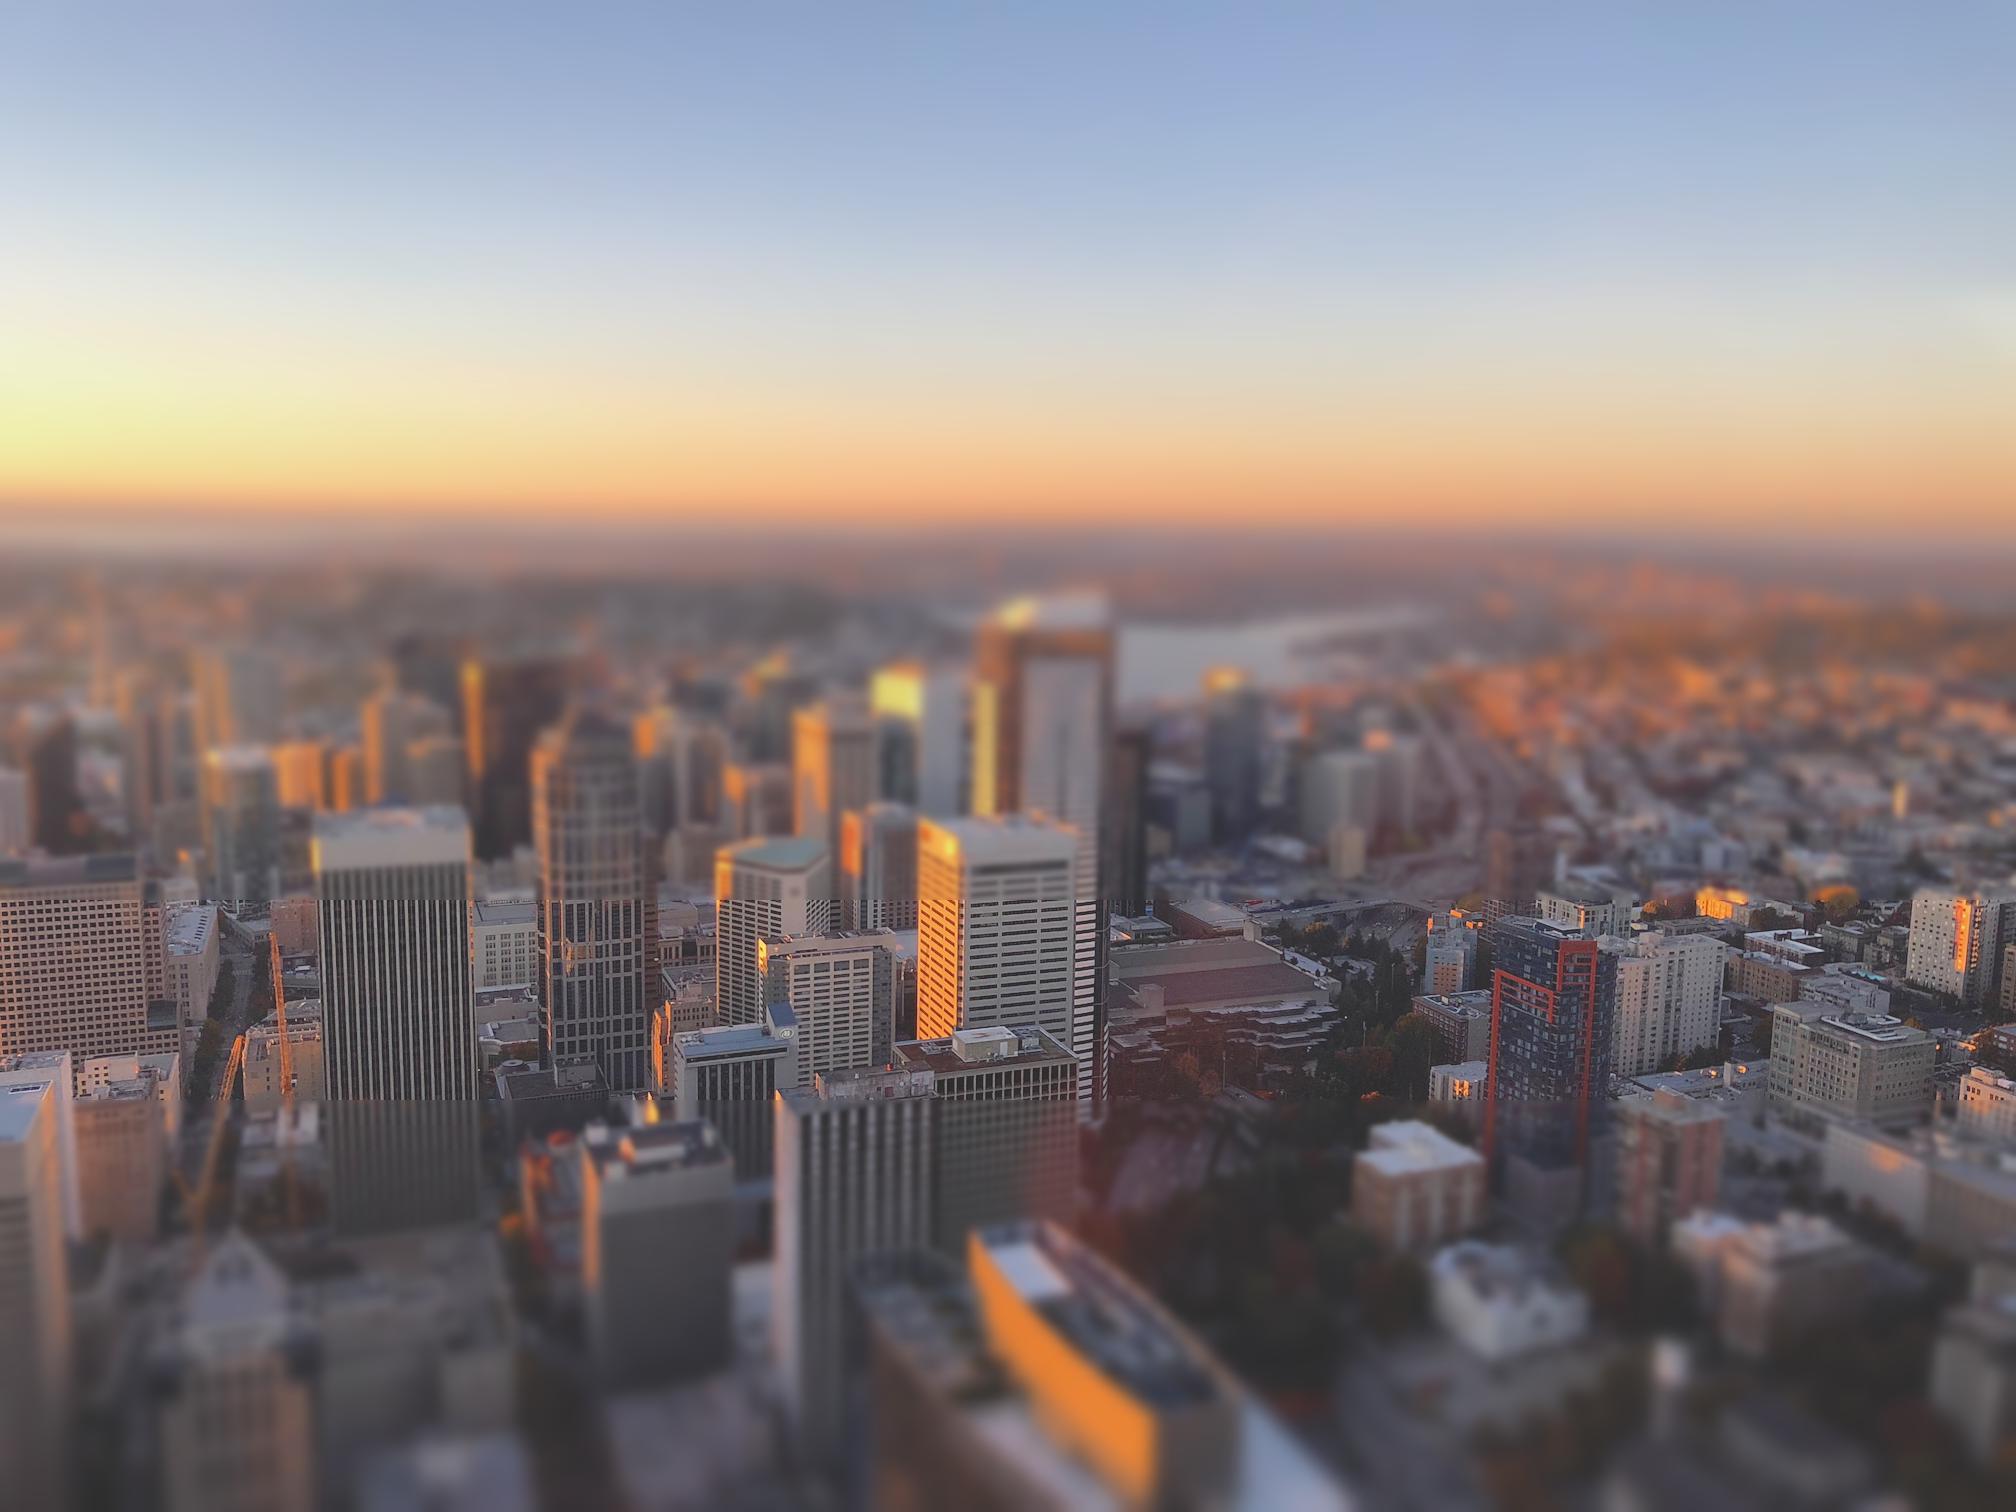 Seattle with horizontal tilt shift.
|
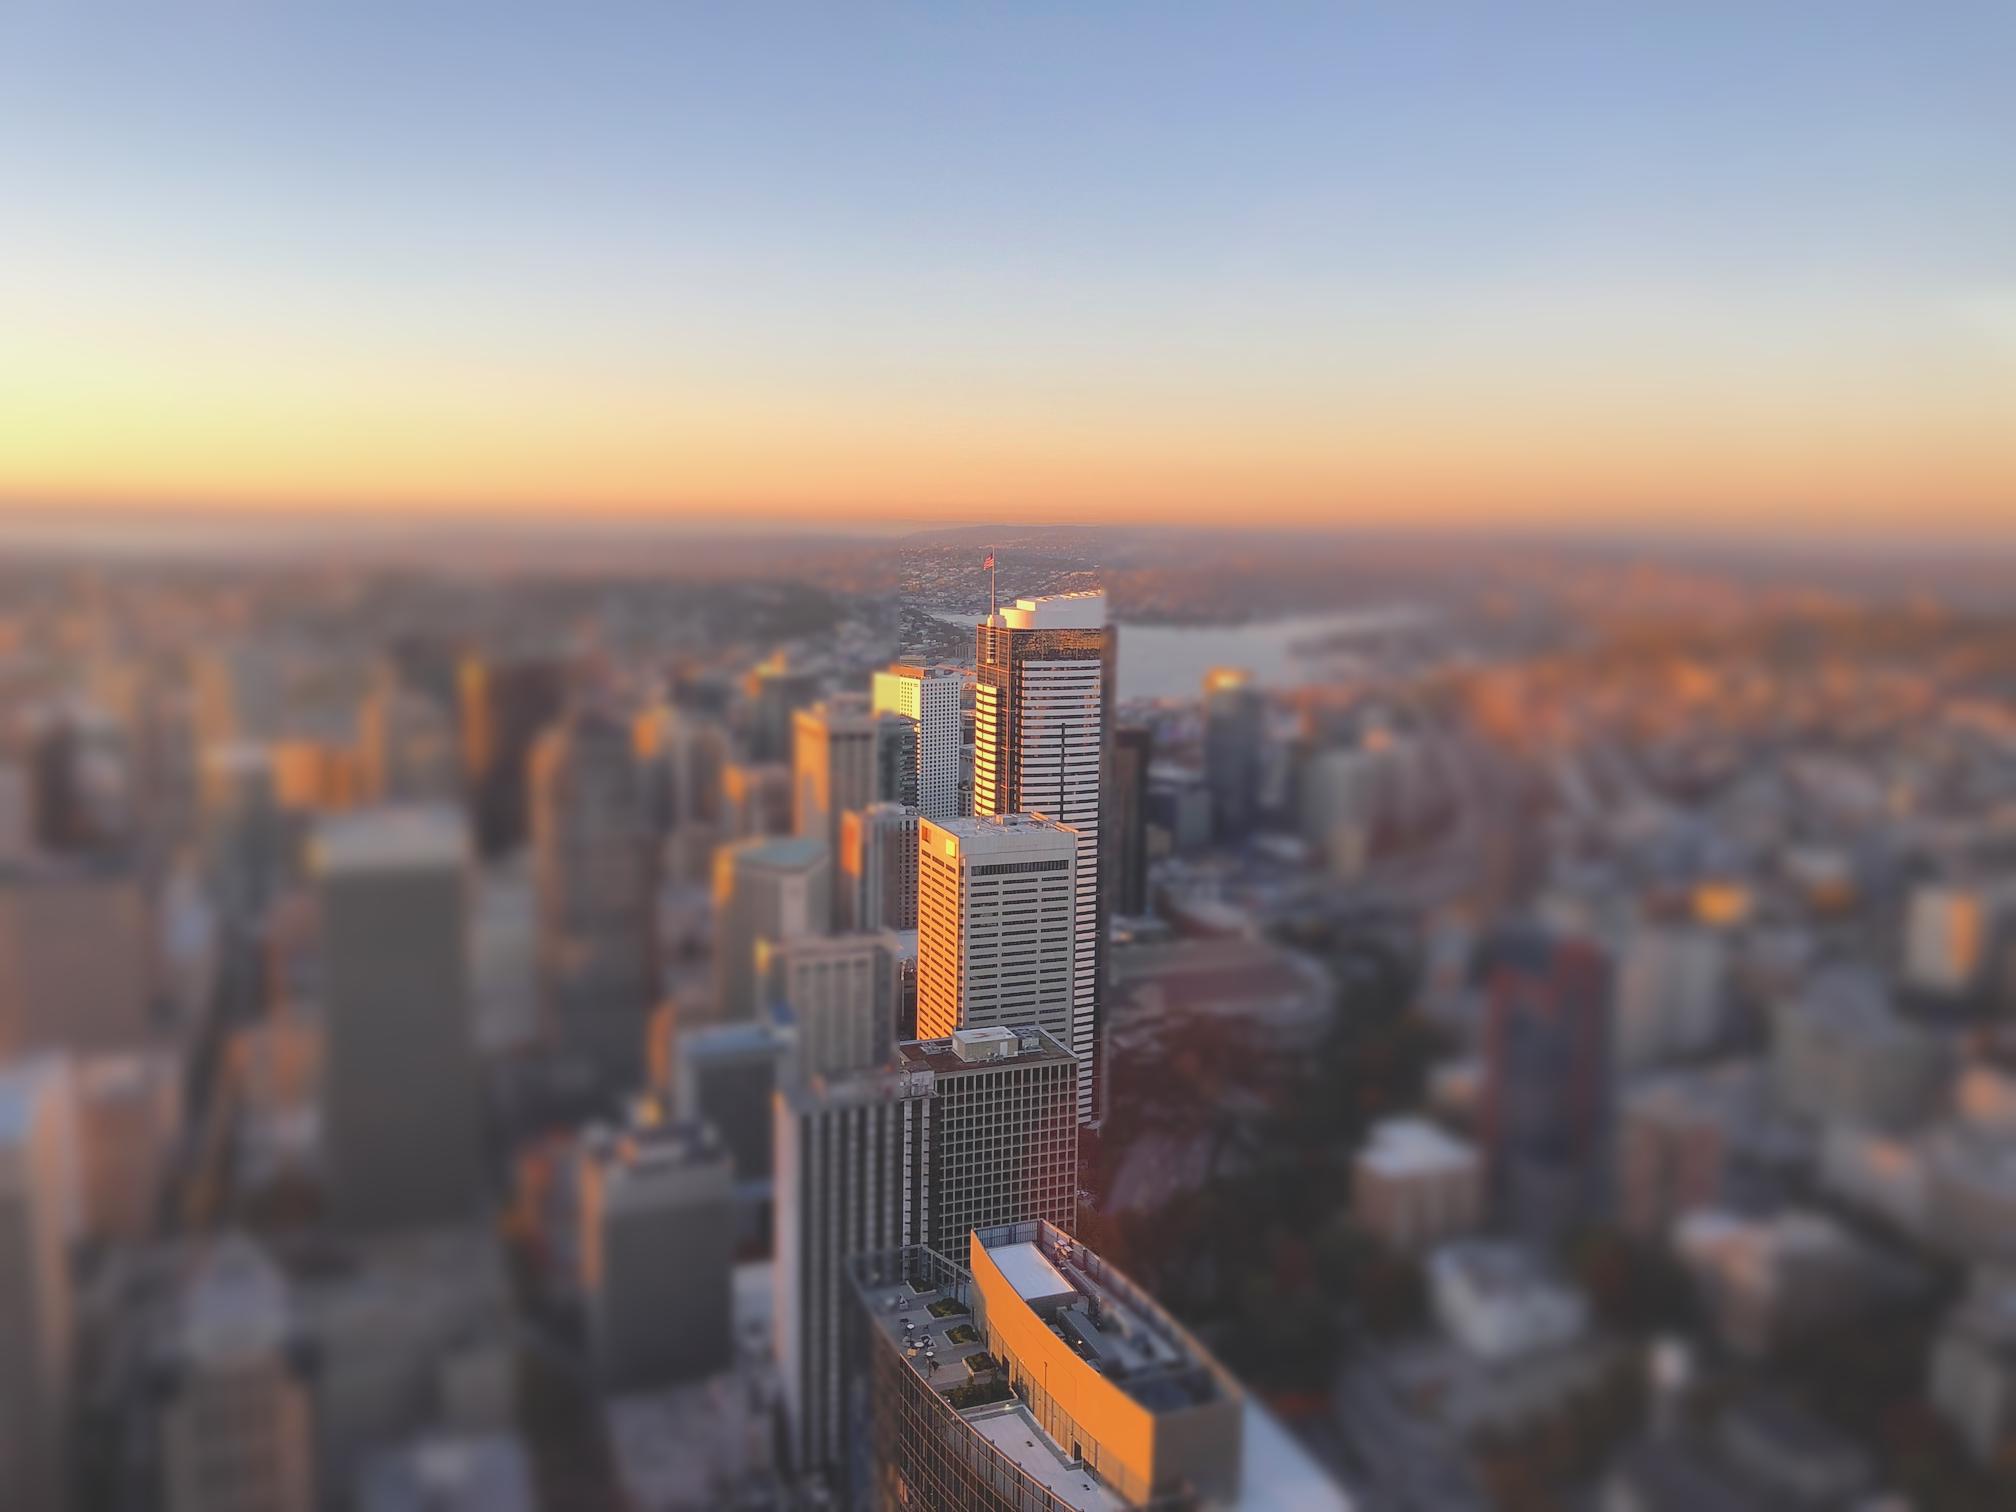 Seattle with vertical tilt shift.
|
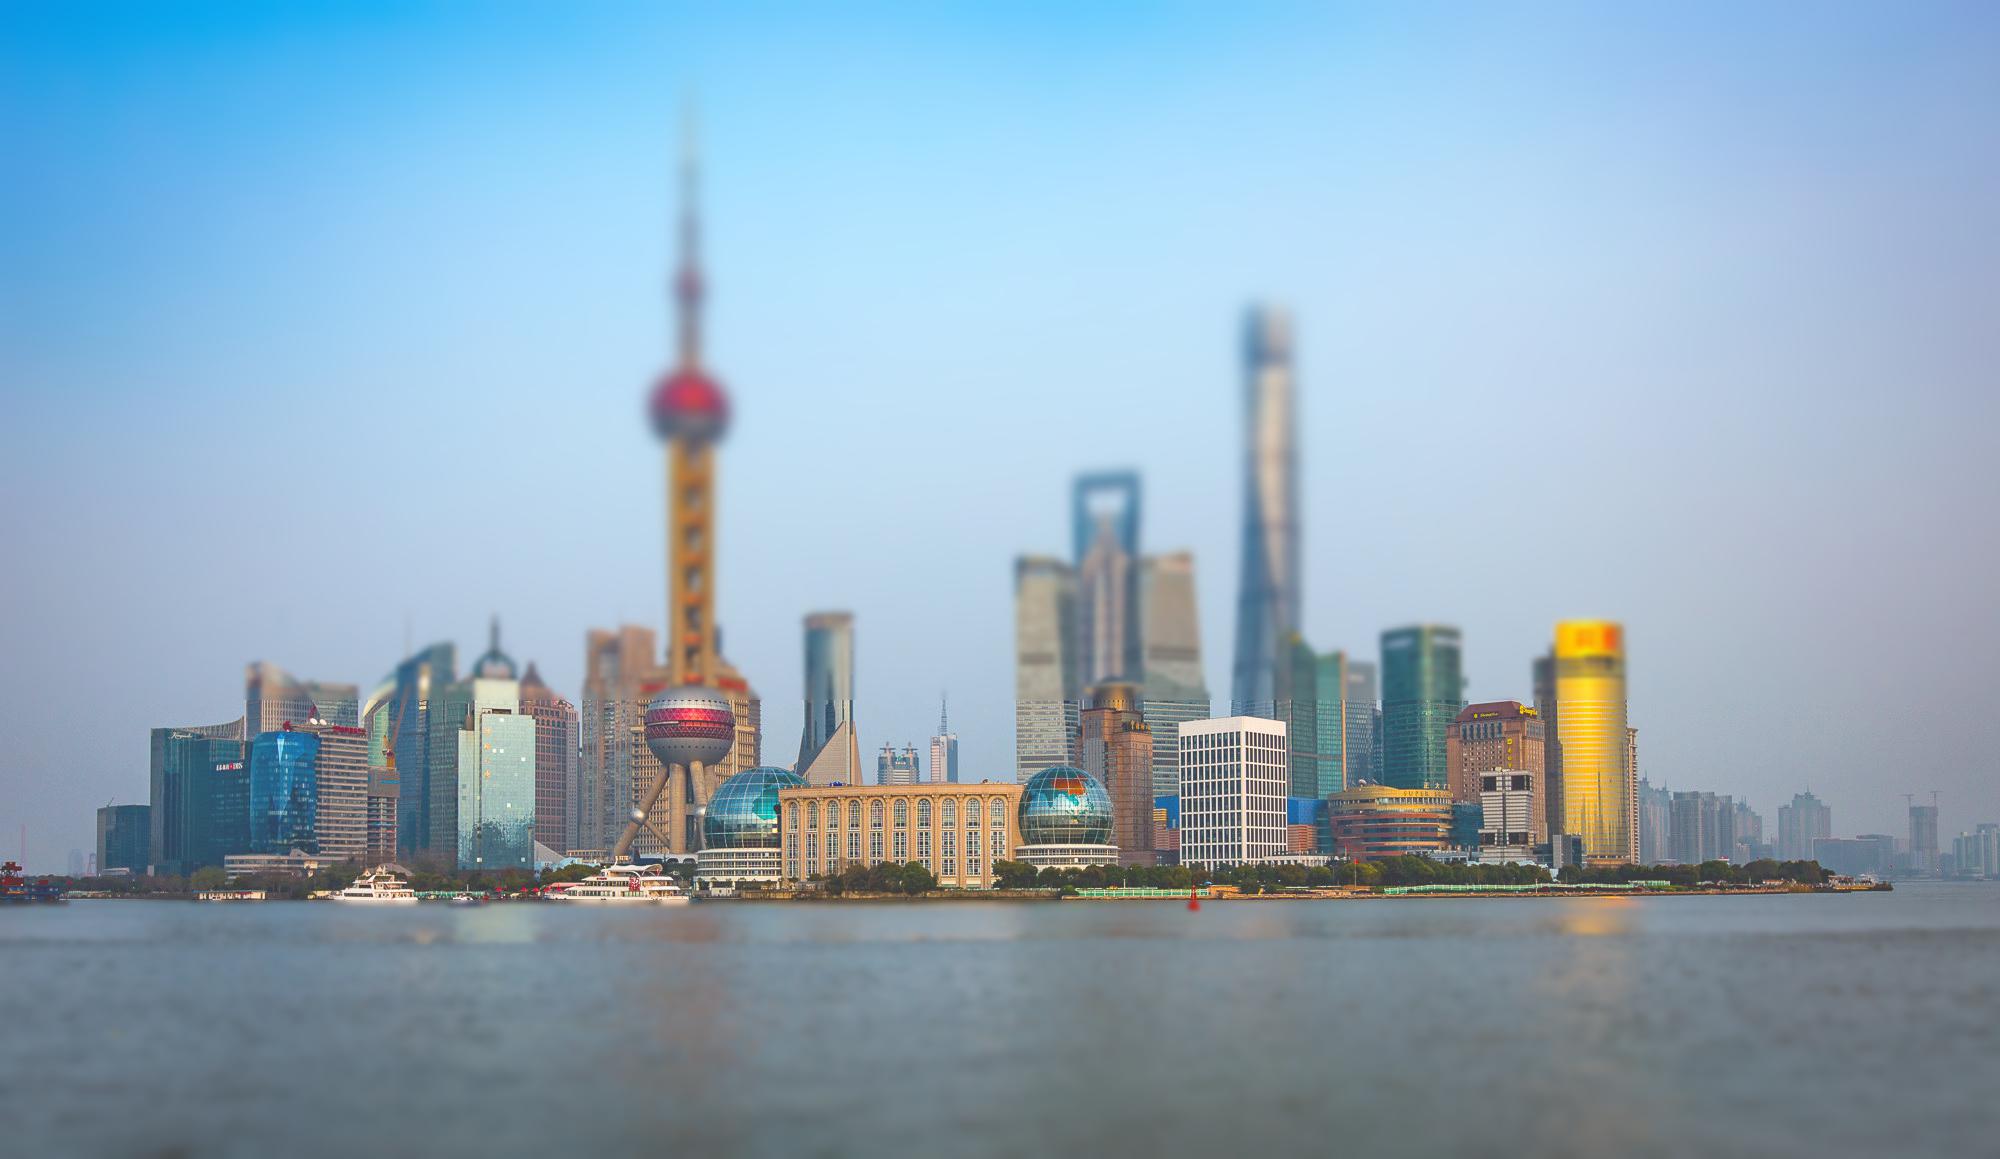
Internet images
Below are a couple images from Flickr with the tilt shift effect applied.
Shanghai
 Shanghai.
|
 Shanghai with horizontal tilt shift.
|
 Shanghai with vertical tilt shift.
|
Paris
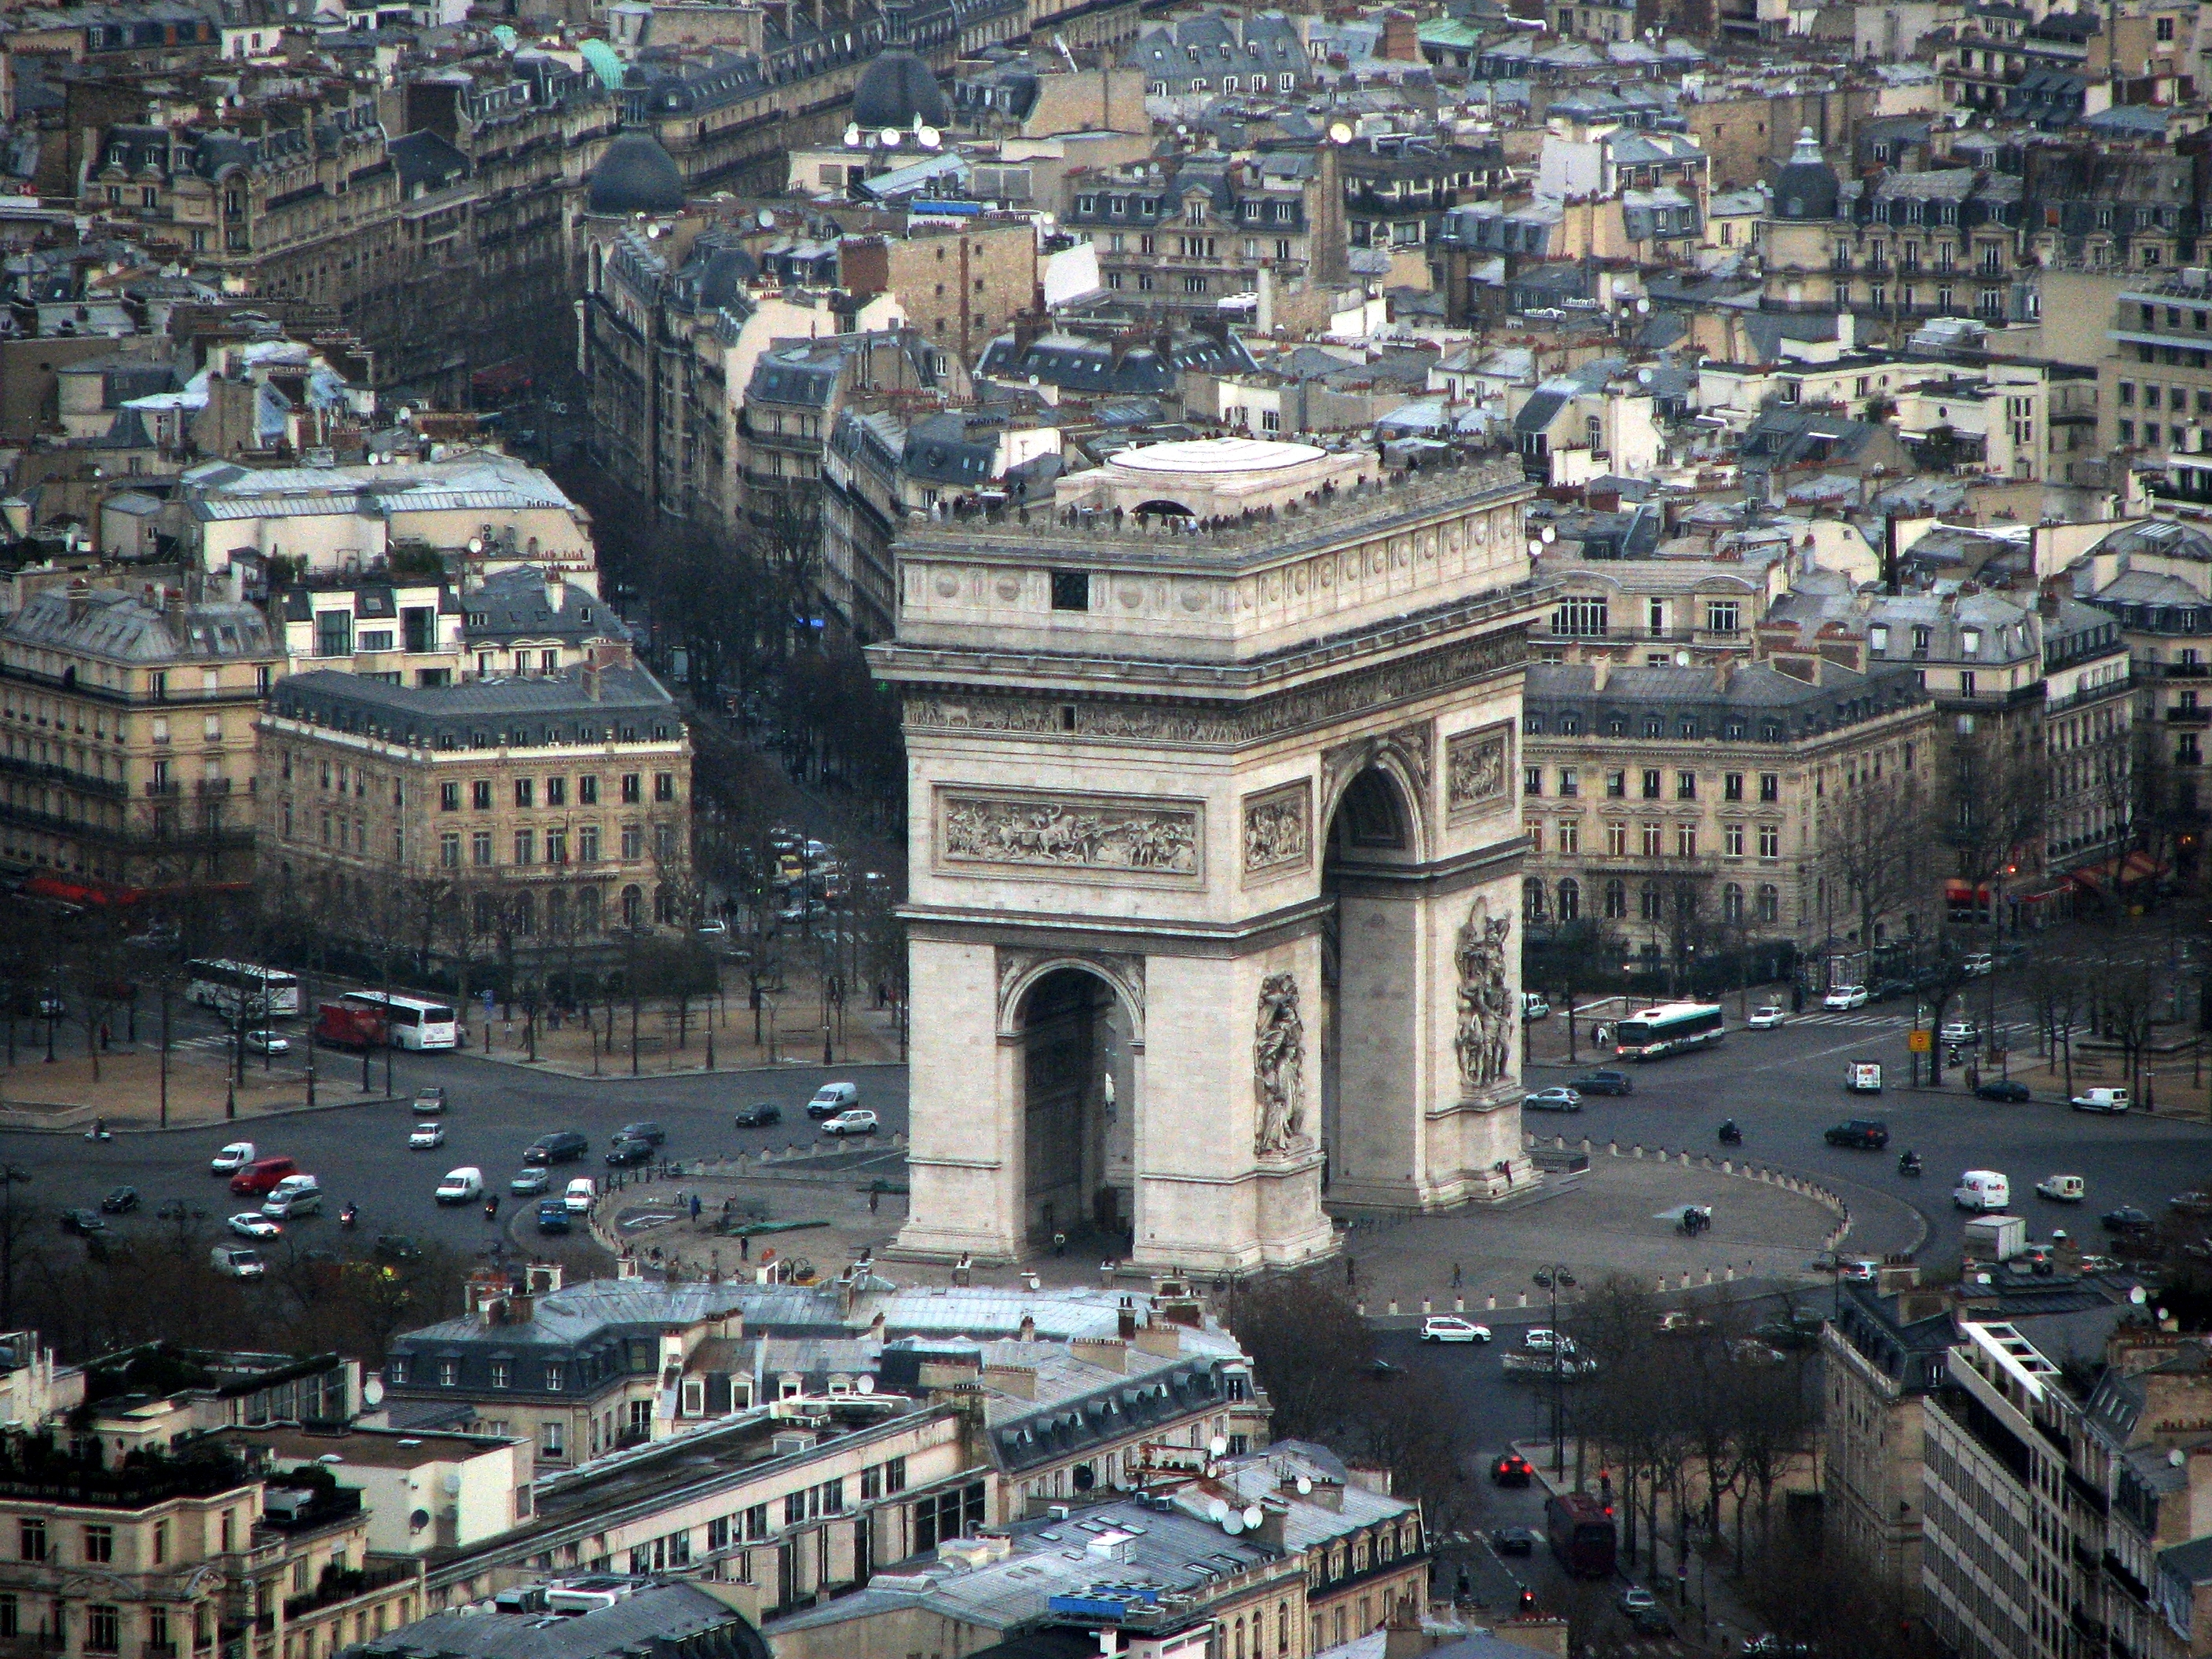 Paris
Paris
|
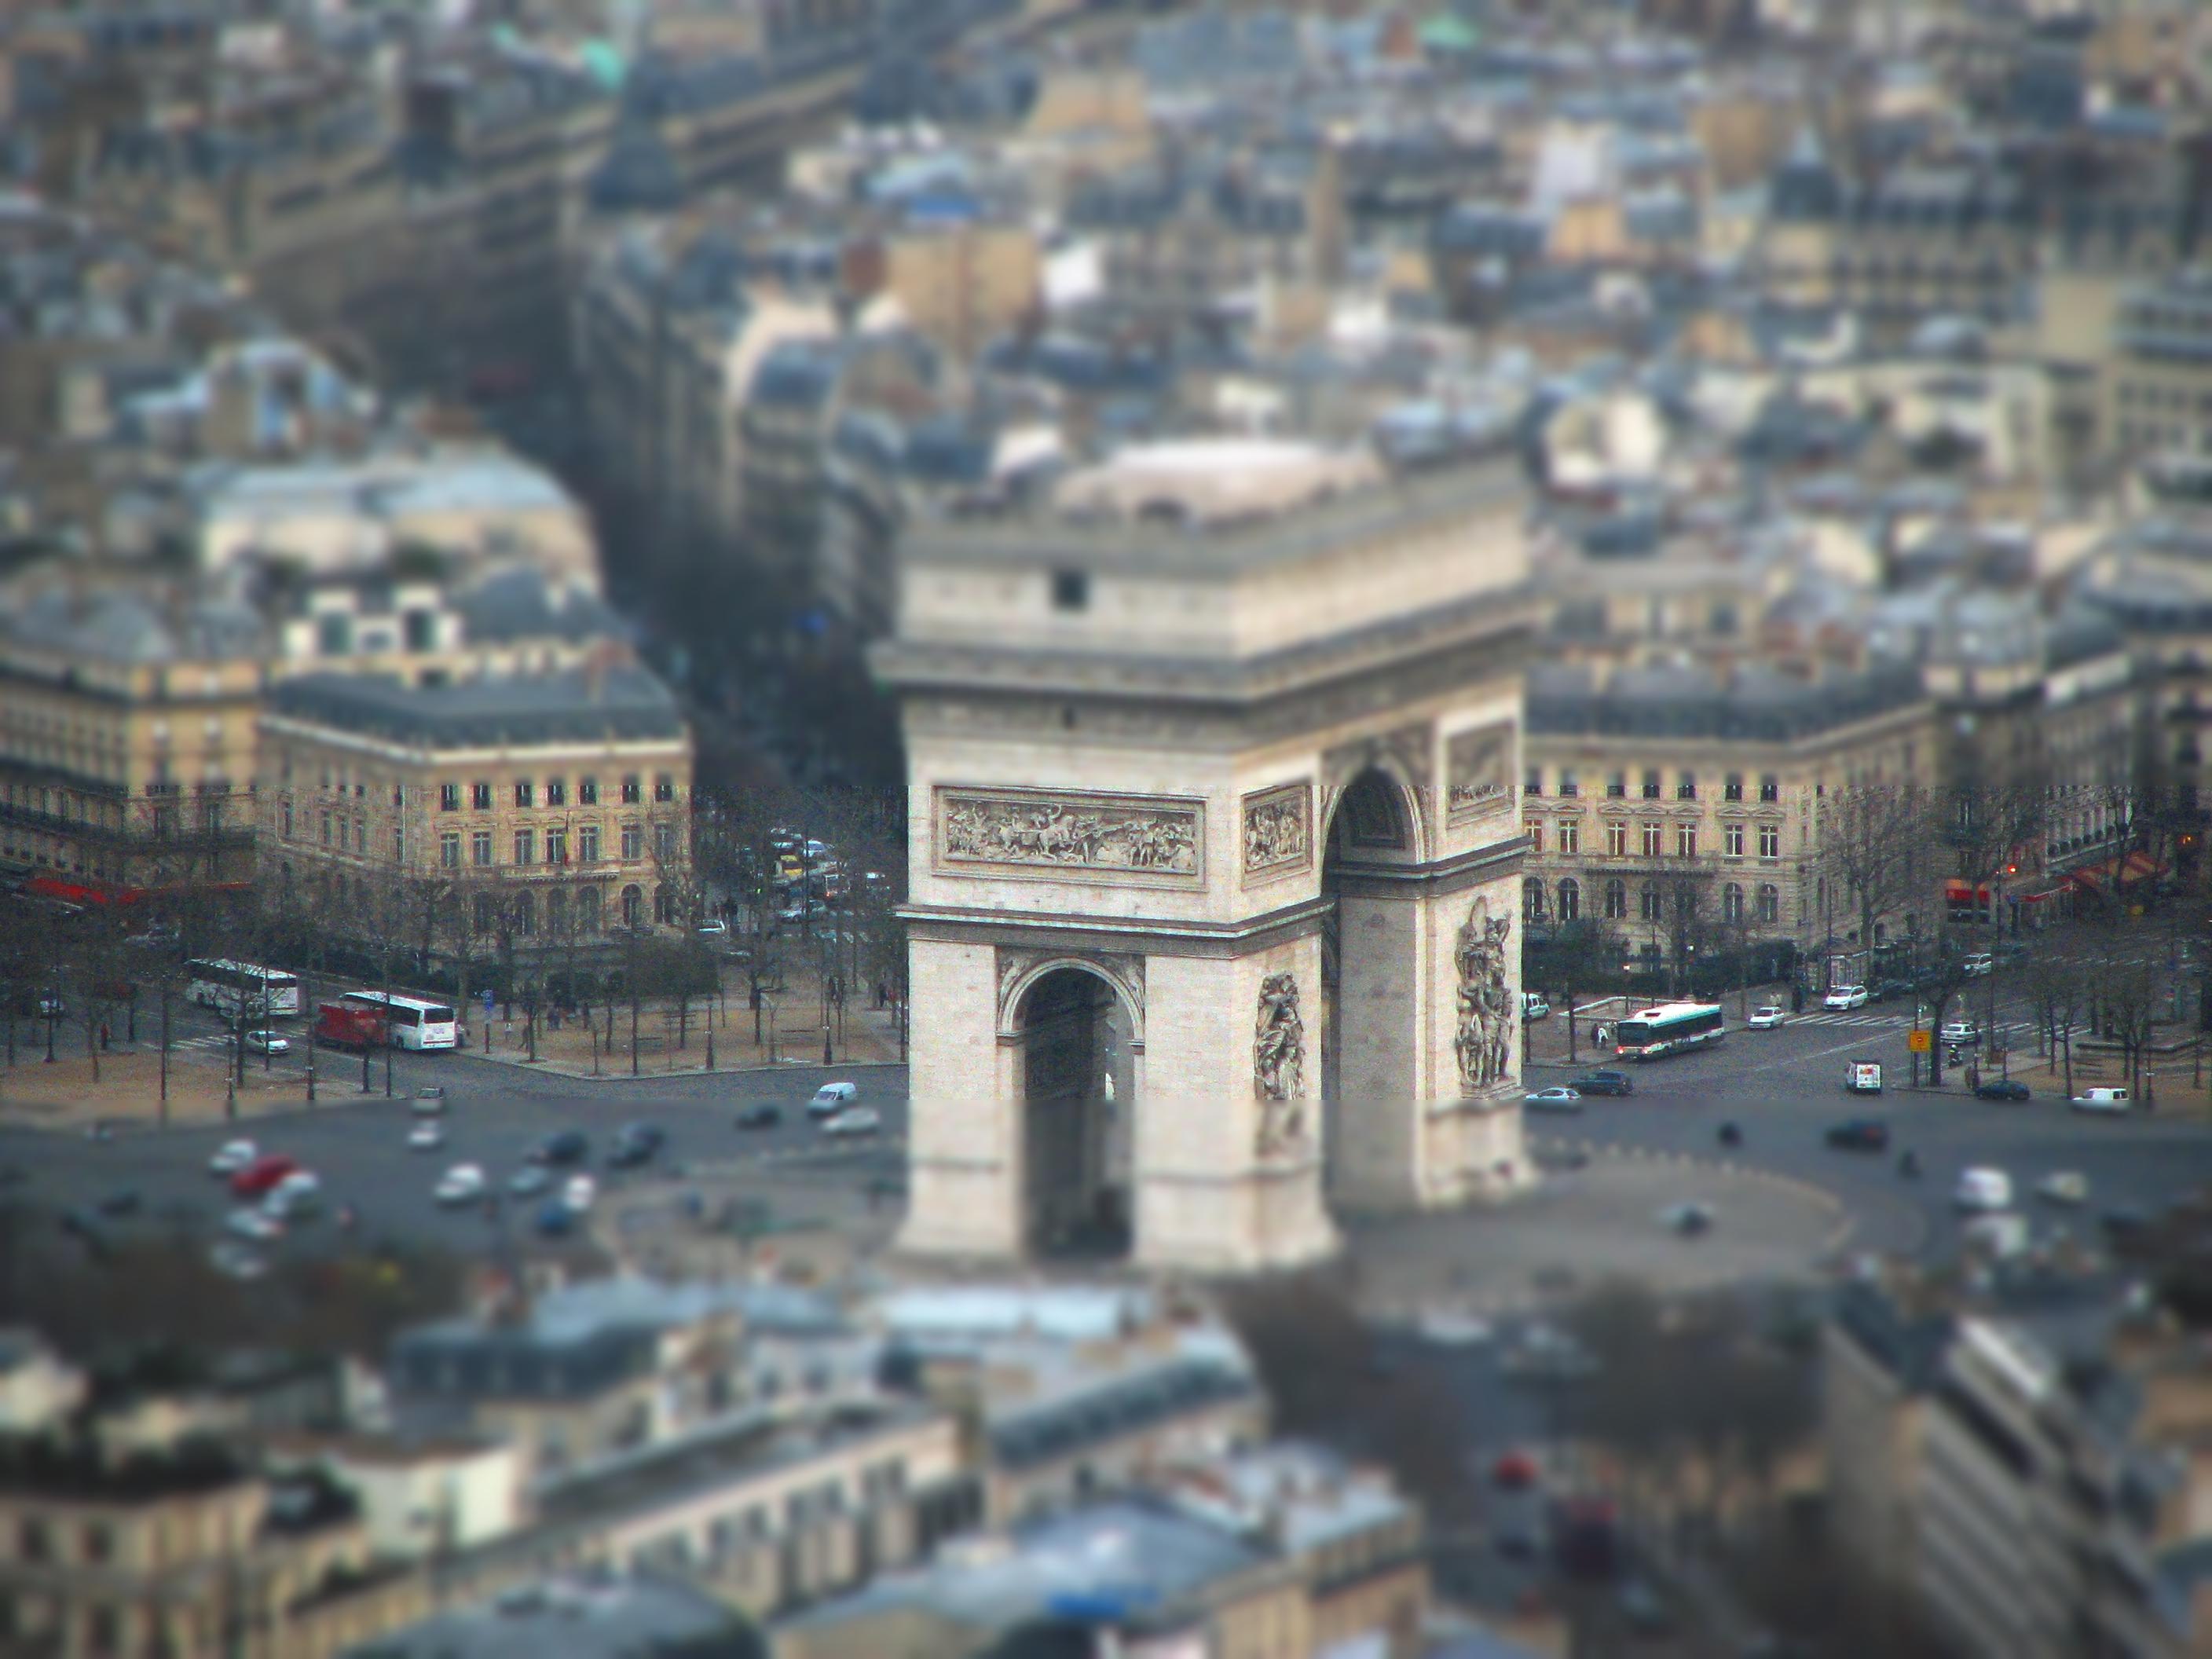 Paris with horizontal tilt shift.
|
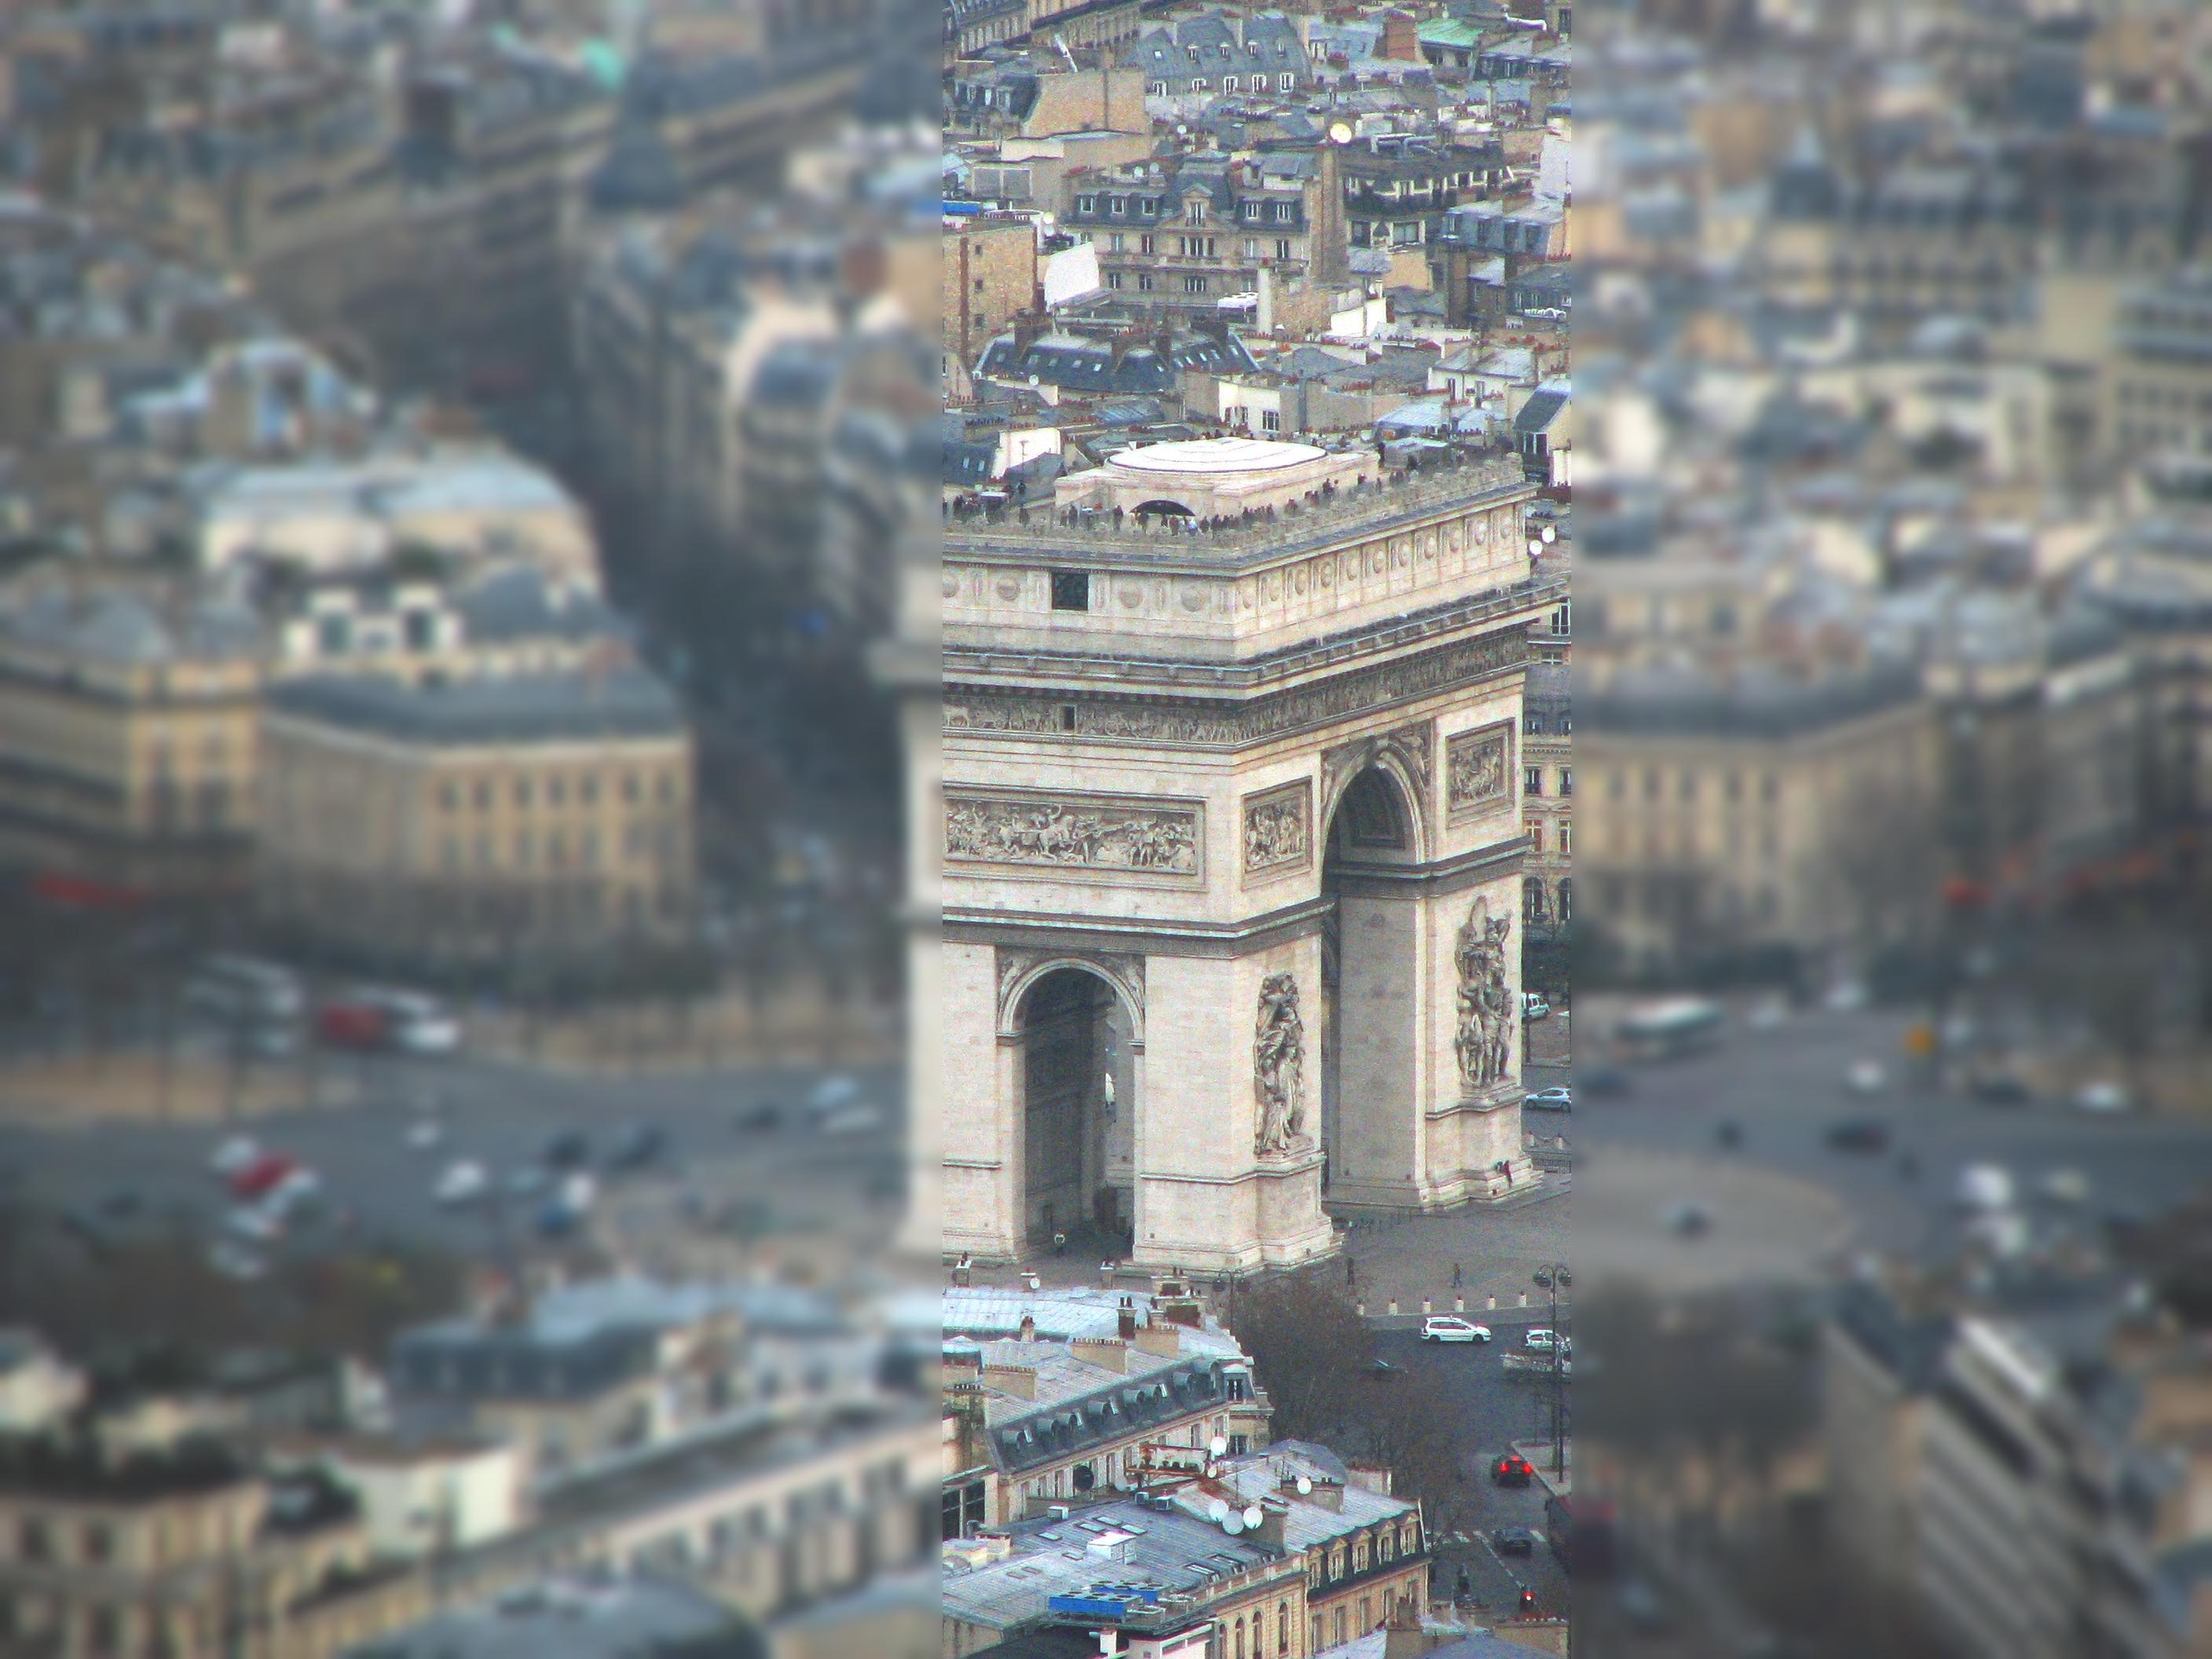 Paris with vertical tilt shift.
|