CS194-26:
Image Manipulation and Computational Photography
Grace Park
SID: 3032341209
cs194-26-acd
Final Project: Seam Carving and Vertigo Shot
Part1: Seam Carving
Part 1.0: Overview
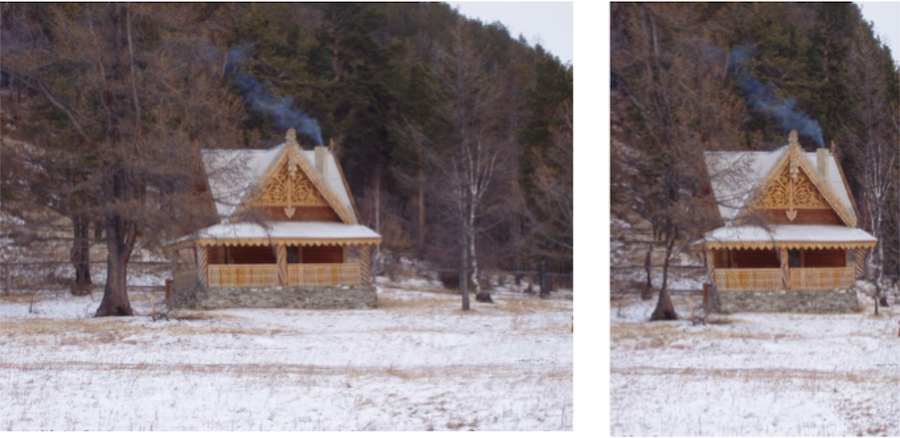
The purpose of seam carving is to make the image either vertically or horizontally smaller than the original image while keeping important data. The way that the algorithm is implemented is by using the ideas from the following paper: Seam Carving for Content-Aware Image ResizingIn order to determine which part of the image is 'important' or 'relevant', for each pixel of the image, energy value is calculated. Afterwards, using dynamic programming, a vertical seam is calculated by following the minimum energy data for each row of the image. When the vertical seam is calculated, it can be removed from the image to decrease the image size by one pixel. Depending on what size you want the final image to be, this process of calculating energy grid, vertical seam, and removing vertical seam can be repeated multiple times.
Part 1.1: Computing Energy Grid
The first part of seam carving is to find a good energy grid for the image that would give high energy values for relevant pixels of the image.

Figure above shows the energy grid for the image "house.png". The way that the energy of each pixel is calculated is by summing up the horizontal and vertical derivatives of RGB. The greater the derivative sum is, the greater the energy is of that pixel. This can be seen from the above energy grid as the outline of the house can be seen, which means that the house is important for the image.
Part 1.2: Finding Vertical Seam
After the energy grid is calculated, a vertical seam is computed using dynamic programming. The dynamic programming equation is the one from the paper:

Using this equation, a minimum cumulative energy value is calculated for each pixel.
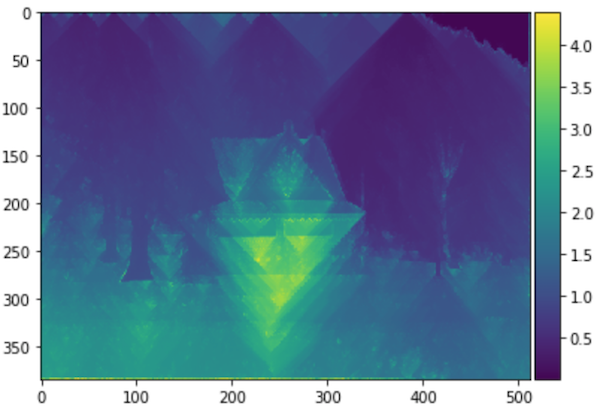
Above is an image that shows the cumulative energy value for each pixel. You can see that the vertical seam that is crossing through the house has high cumulative energy value, which means that those pixels would not be picked to be in the vertical seam.
Part 1.3: Final Result
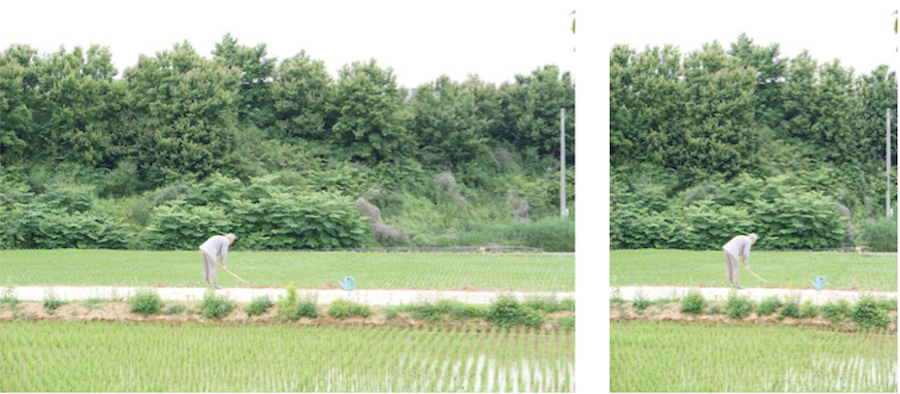
Next step is repeating the process of computing veritcal seam until your image is reduced to the size that you want. Below are six example images of both horizontal and vertical carving. Left is the original image and right is the image after seam carving. Each images are reduced to half the width or height.
Horizontal Carving
Vertical Carving
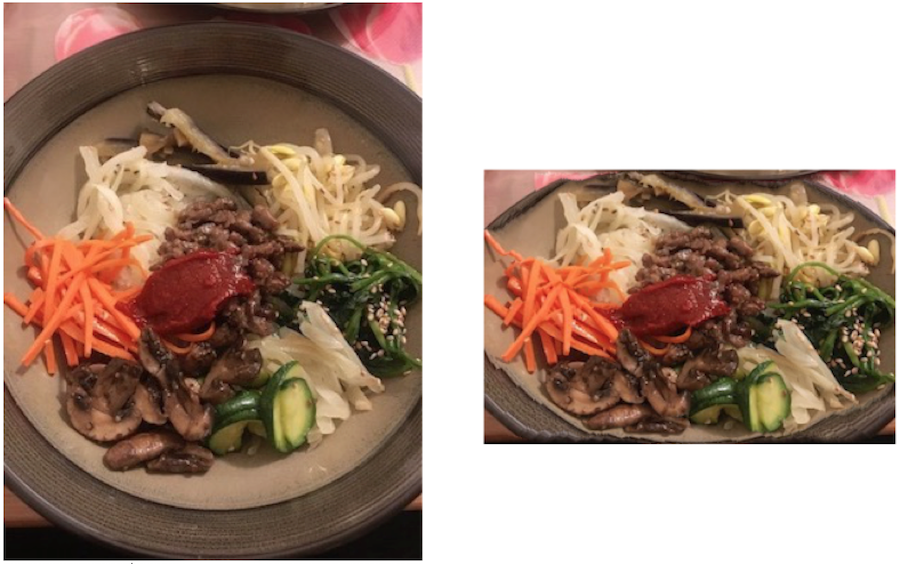
You can see that the results are pretty successful by keeping the relevant data in the processed photo.
Part 1.4: Failed Images
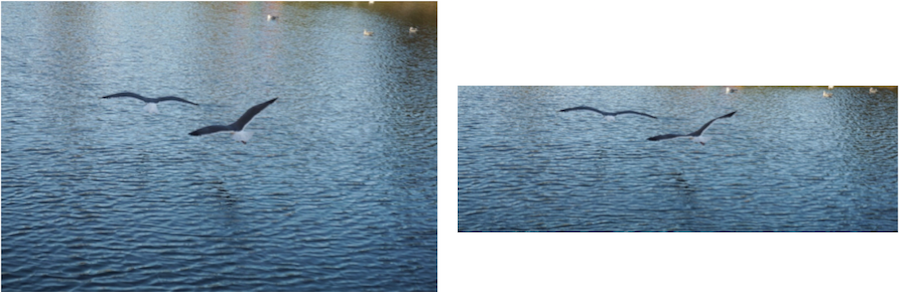
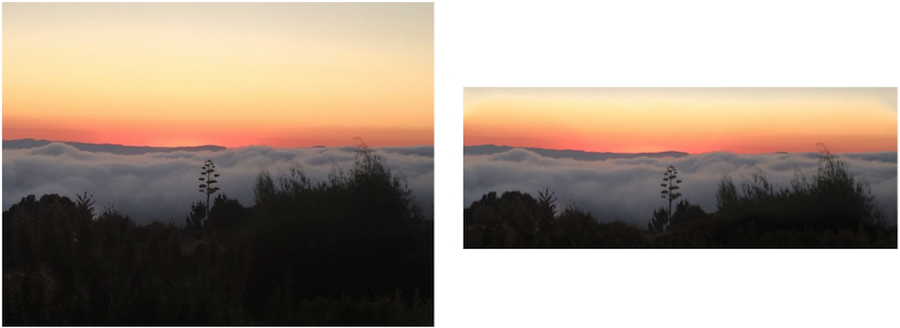
Not all images had successful result like the ones above. The below three images are the ones where seam craving didn't work.
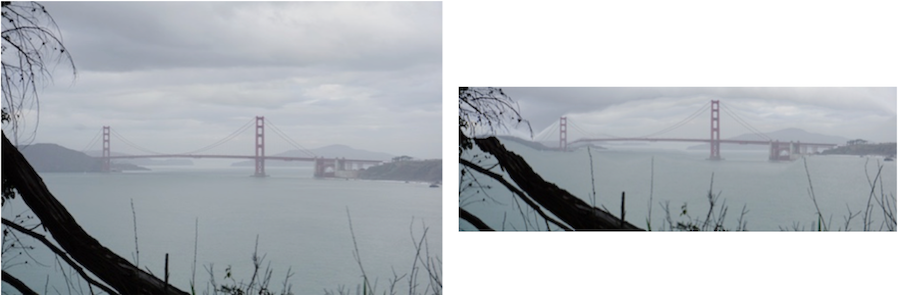
Although the resulting image does have the important thing in the photo, which is the bridge, the left side of the bridge is distorted because of the tree on the photo. Because the tree is also a defining feature of the photo, seam carving does not give a good result.
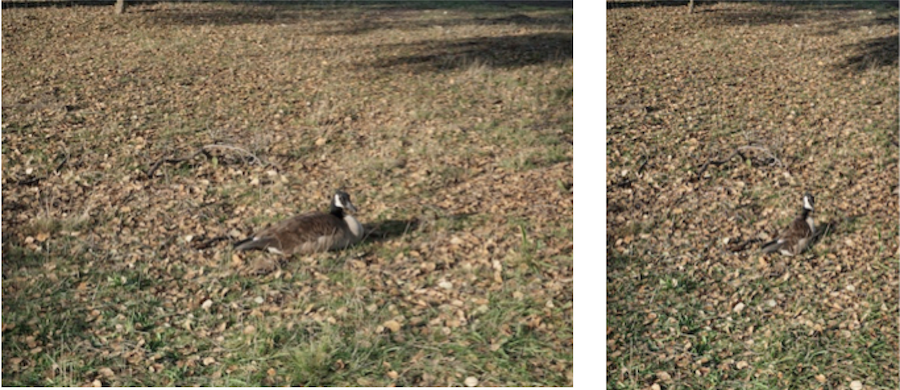
Because the image has a lot of data, such as the leaves on the ground, the body of the goose is deleted as a result. Therefore, the important thing in the photo was not calculated by the energy grid.
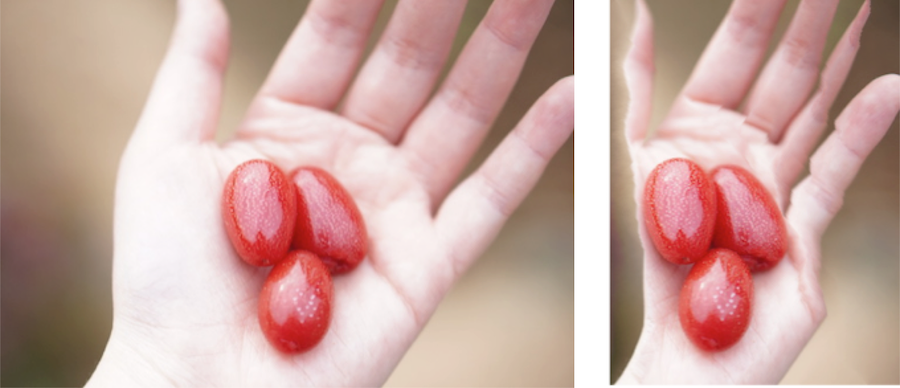
For an image that has features that we know well, like the shape of the hand for the above example, the seam craving doesn't produce good result. You can see that the result keeps the relevant data, which are the red berries, but distorts the hand too much.
Part 1.5: What I've learned
In this project, I learned how to do seam carving. What was surprising to me was the fact that the resulting image was pretty good! For some reason, I didn't expect the result to look realistic, but even with reducing the photo to 1/2 its with or height, the resulting images are good. Also it was nice to way to actually apply dynamic programming into coding because I learned dynamic programming in CS170 (Algorithm) but never had a chace to implement it. Overall, it was a successful project!
Part2: Vertigo Shot
Part 2.0: Overview
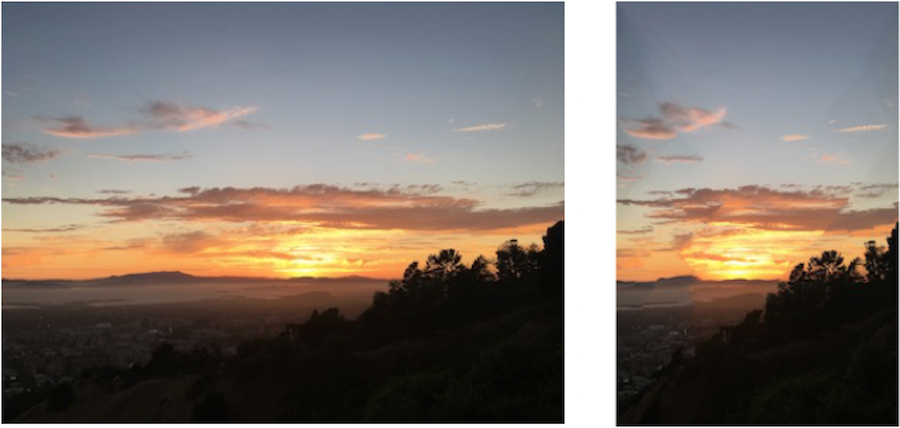
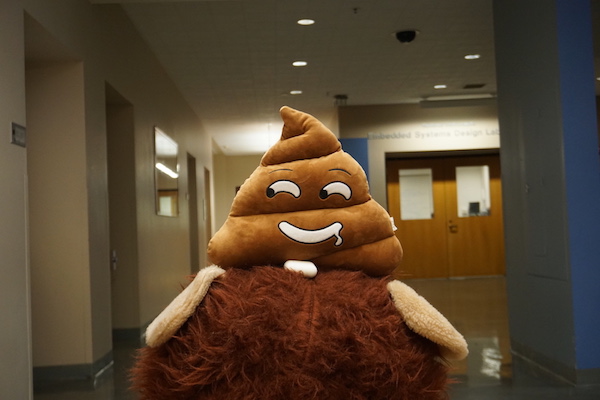
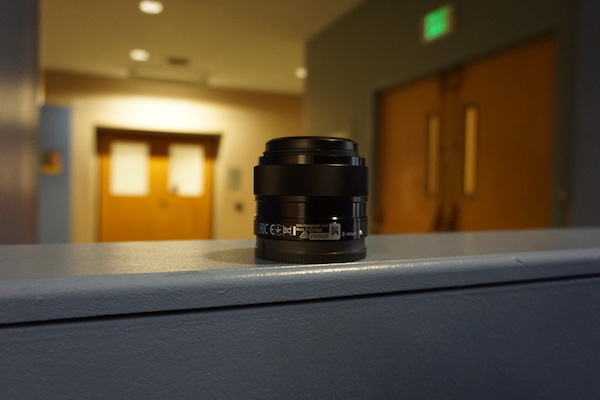
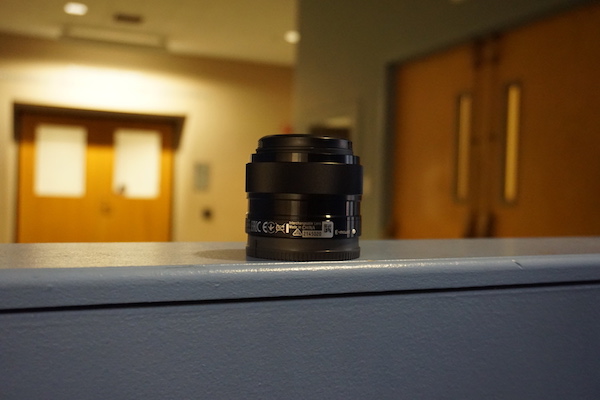
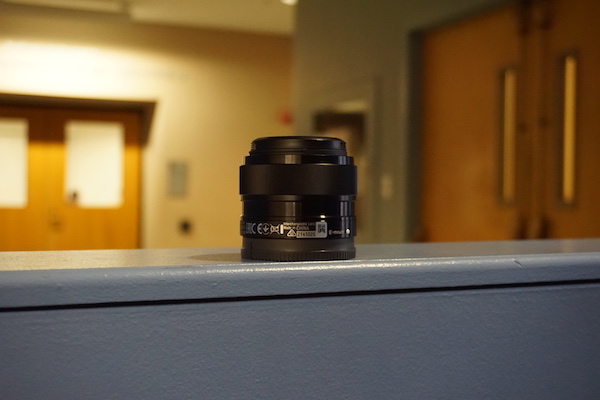
In this project, the gaol is to create a dolly zoom, also known as vertigo shot. The vertigo shot is done by having the object in front be the same size while the background changes. This is done by moving the distance between the camera and the object while zooming in the lens.
Part 2.1: Camera and Lens
The first part of doing a vertigo shot is having a camera with a zomm lens. I used my Sony a6000 with the lens that came with it. Also, I used a tripod because without it, the photos were not aligned correctly and the result looked terrible.
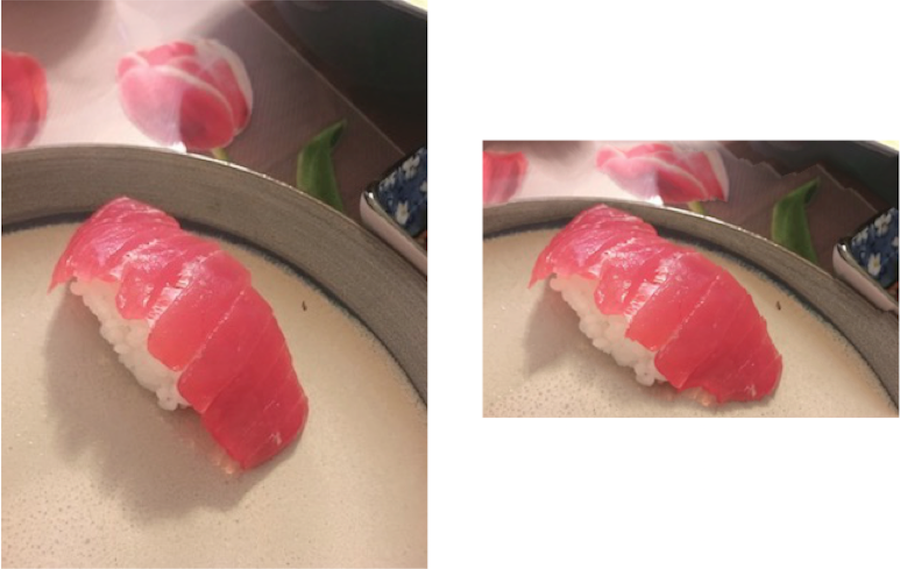
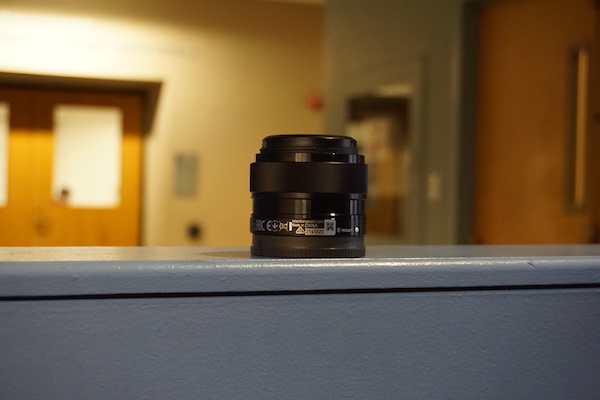
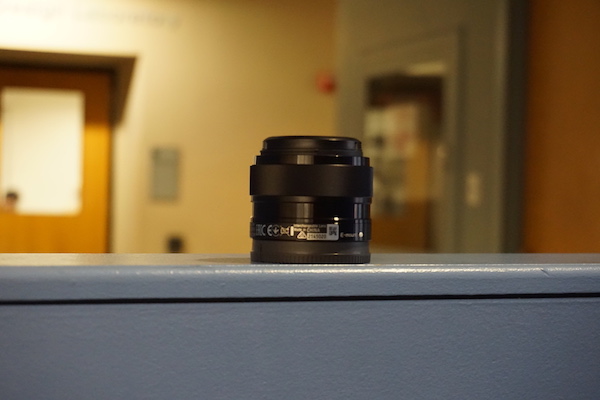
Part 2.2: Result
Below are the two vertigo shots I took.
Vertigo Shot 1


Vertigo Shot 2

Part 2.3: Bells and Whistles - animated gif
Animated version of the two vertigo shots above.
Part 2.4: What I've learned
In this project, I learned how to create vertigo shots. Making a vertigo shot that looked cool was harder than I thought. When I was taking photos from multiple distances, the color of the photo changed, and there were other components that made the photo look very different between the shots. After multiple tries, the two that I have provided were my best ones. It was a fun project because I had a chance to use my camera in a way that I haven't done before.
Last Edit: 12/10/2018