The goal of this assignment is to implement the Seam Carving algorithm presented in SIGGRAPH paper for Content-Aware Image Resizing by Shai Avidan and Ariel Shamir. With this program, which can shrink an image (either horizontally or vertically) to a given dimension.
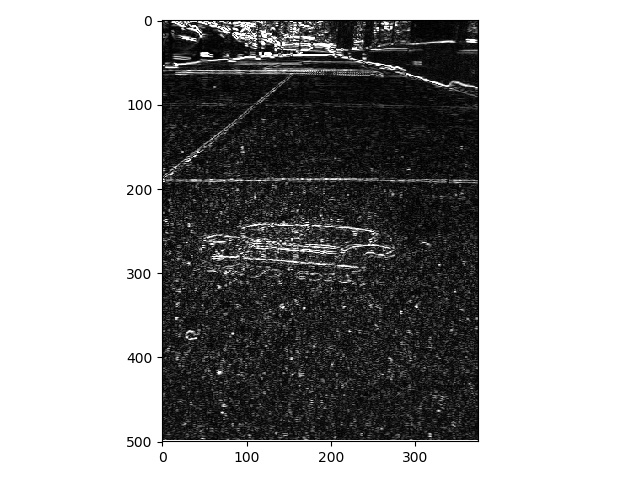
The first part of this function was defining an energy that determines the 'importance' each pixel in a picture. There are many ways to define such a function, but the norm of the gradient was recommended in the Siggraph paper. To get the norm, I convolved each image with and x and y derivative filters, squared each, added them together, and then taking a square root. Below is and example of how this energy function would look on the provided House image:
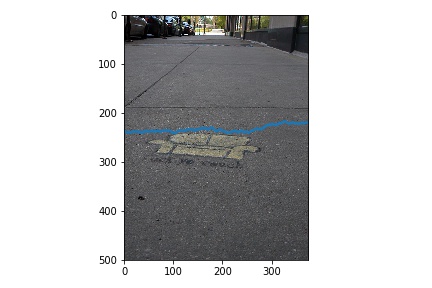
After defining an energy function, we can determine the lowest cost seam. In the Seam Carving Paper a horizontal seam is defined as a path of pixels from top to bottom in the image, containing one, and only one, pixel in each row of the image:

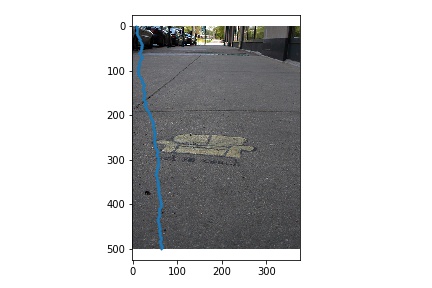
And a vertical seam is defined as a path of pixels from left to right in the image, containing one, and only one, pixel in each column of the image:

We can find the lowest cost seam using dynamic programing. For a vertical seam, we iterate over rows and then by columns of the image, and each iteration of the columns is computed via the following recursive relation:

We compute a horizontal seam by transposing the image before running our carving algorithm, then transposing again afterwards. Below are images of what a horizontal and vertical seam would look like:
To carve an image into a desired dimension, we repeated find the lowest cost seam and remove it from the image until we achieve a desired dimension.
First, I run my algorithm to veritally carve the house image by 100 pixels, and horizontally carve it by 200 pixels.
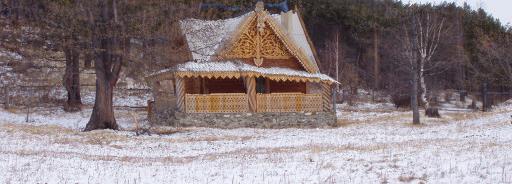
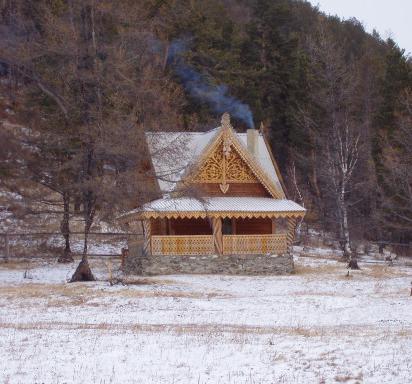
While the horizontally carved image's roof is no longer straight, both carved images look surprisingly nice.
Then I run my algorithm to veritally carve the yo couch image by 75 pixels, and horizontally carve it by 300 pixels.
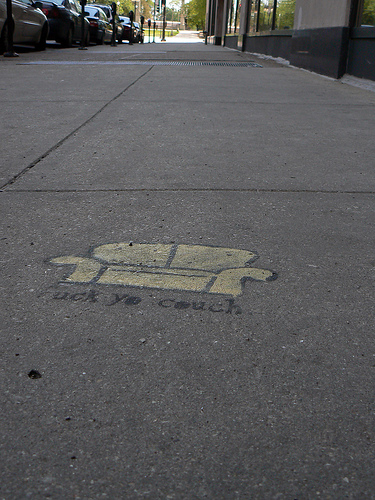
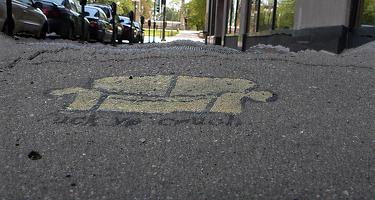
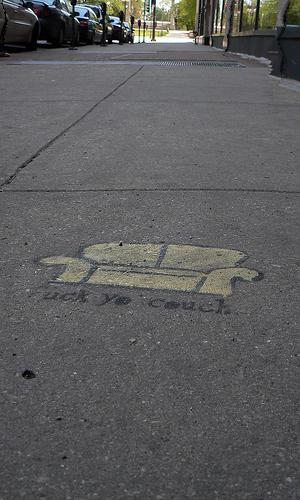
While slightly warped, the results are turn out well.
I also run my algorithm to veritally carve the a picture I took on my old apartment's roof by 200 pixels, and horizontally carve it by 150 pixels.
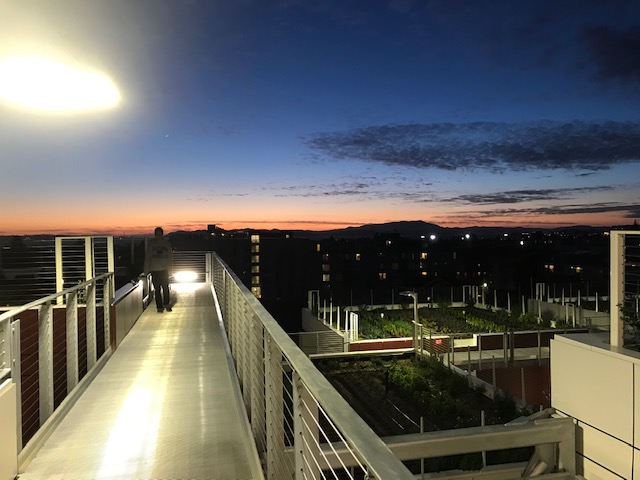
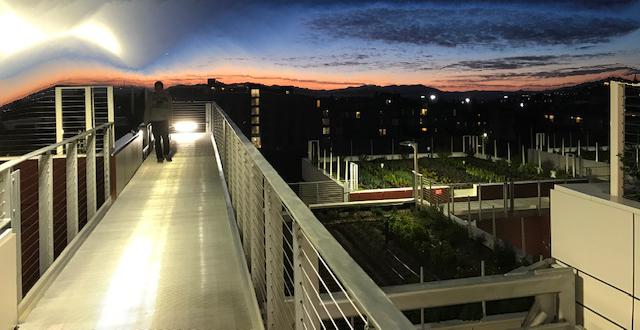
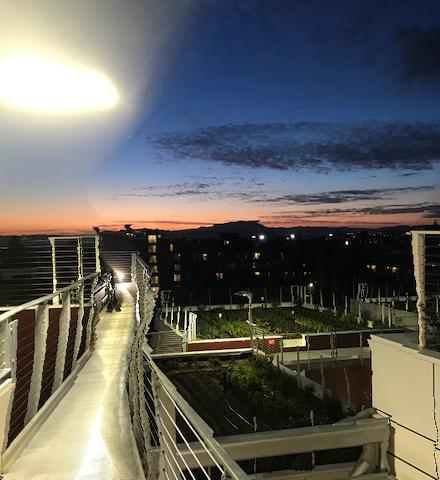
The horizontally carved image looks really cool; however, the vertically carved image turns out bad.
Next I run my algorithm to veritally carve the a picture of a pike in the rain I took by 150 pixels, and horizontally carve it by 200 pixels.
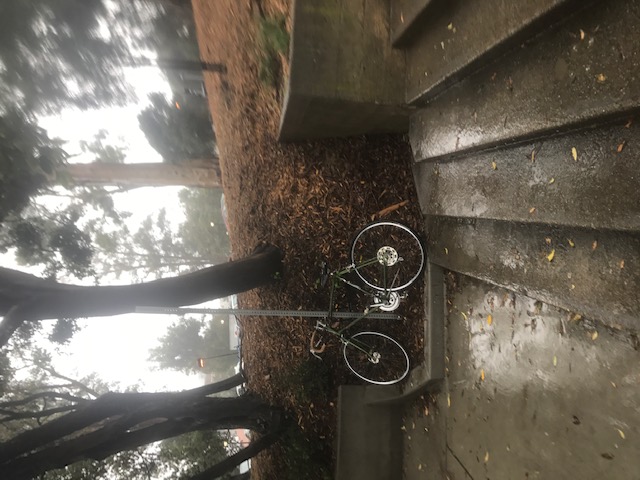
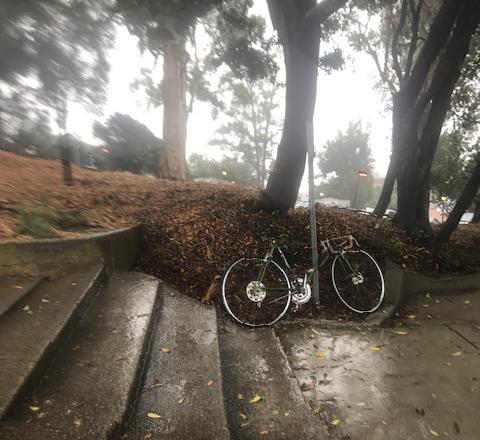
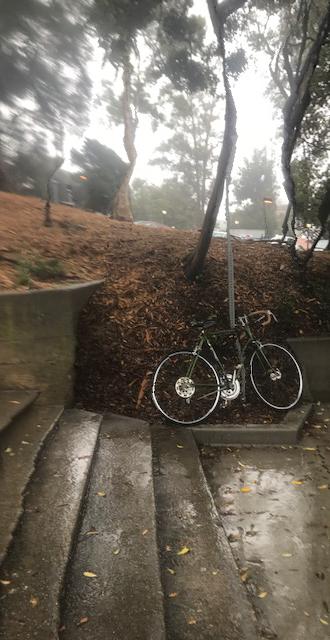
The horizontally carved looks fine for the most part; however, the vertically carved image carves out a tree.
Next I run my algorithm to carve an image of the sky after a test missle was launched:
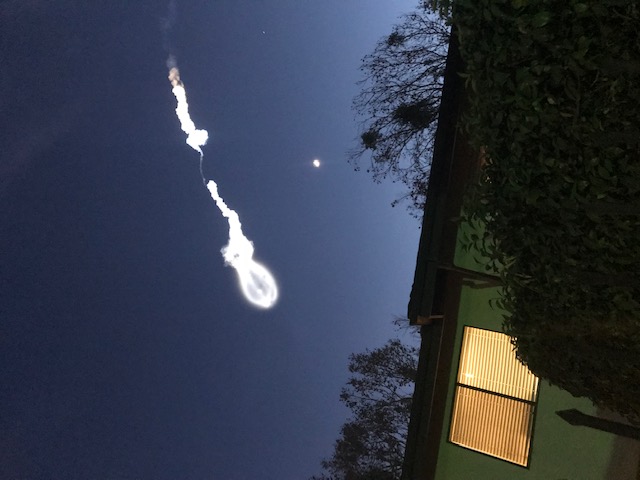
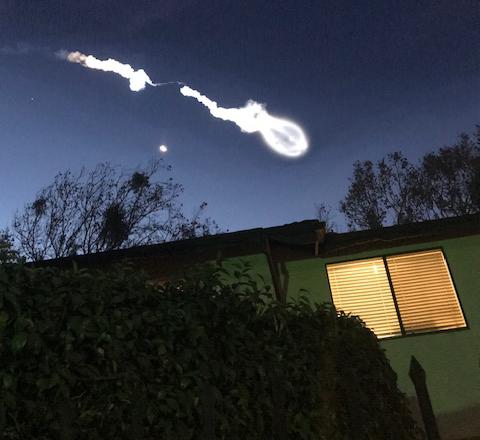
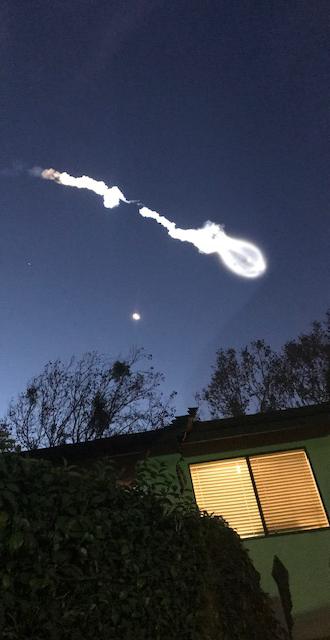
Because they is a wide clear sky, the horizontal carved image turns out nice. There isn't much going on in the picture, so the vertical carving also turns out good.
Last year I took a picture of a street while I was West Berkeley. I proceed with the same carving dimensions as my previous images:
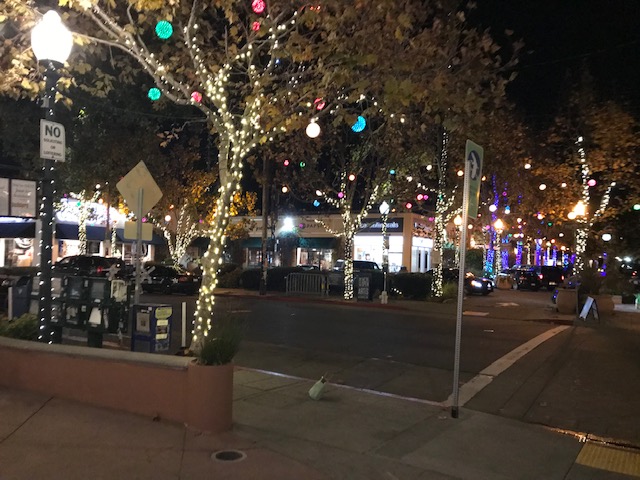
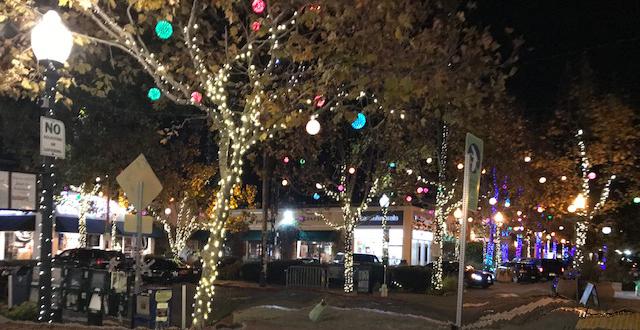
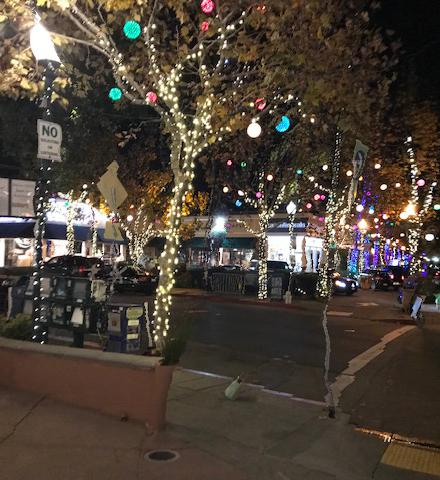
There is alot going on in this image, but much less near the bottom of the image (sidewalk and road), so it looks like a large porition of the bottom of the image was removed in the horizontal carving; the result doesn't look too bad because lots of the Christmas lights were preserved. The vertically carved image is much less impressive - perhaps I should have carved off less of the image.
Finally, here is a picture I took of the Mexico-US border in San Diego:
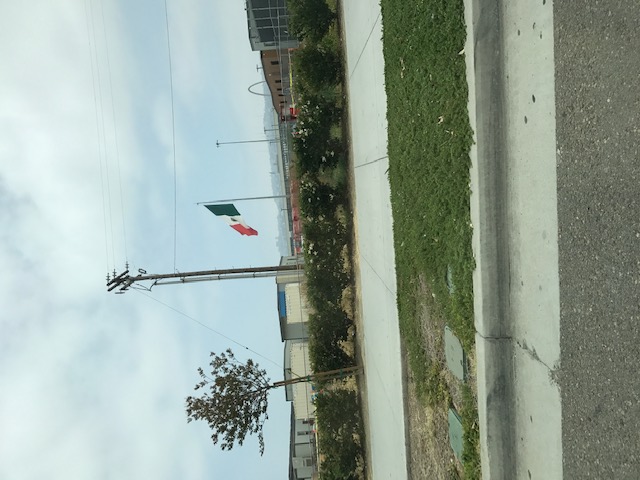
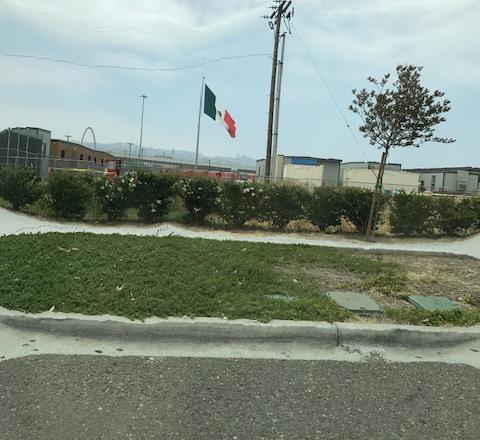
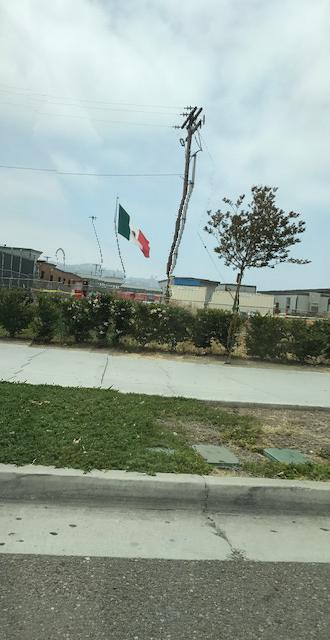
When horizontally carving the image, the seam carving algorithm goes a nice job of removing constant areas like the grey sidewalk, but chooses the white cloudy sky to remove seams from before the asfalt street, most likely due to the high gradient it has, but nonetheless does a good job. The vertically carved image results are once again much less impressive.
In conclusion, being able to reduce image dimensions beyond using naive subsampling was really cool. The seam carving algorithm worked really well when it came to removing uninteresting seams in the image. For images with alot of simple backrounds, the algorithm performed really well. However, when images had alot going on, the algorithms results were much less impressive. For the most part, it seemed that low energy horizontal seams seemed to effect the image much less than low energy vertical seems. This is probably because things like the sky are pretty common to pictures. I am definely satisfied with the results of this algorithm.
The goal of this assignment is to duplicate the famous in-camera effect: the dolly zoom. To produce this effect, we just need to take a series of pictures of a subject, changing the FOV with zoom as the distance to the subject increases.
For example, I took the following series of pictures of a Dorm hallway on my Iphone (hence why the quality isn't the best):
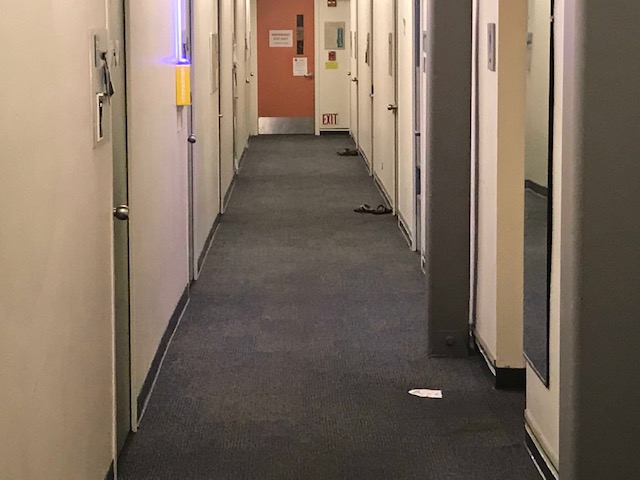
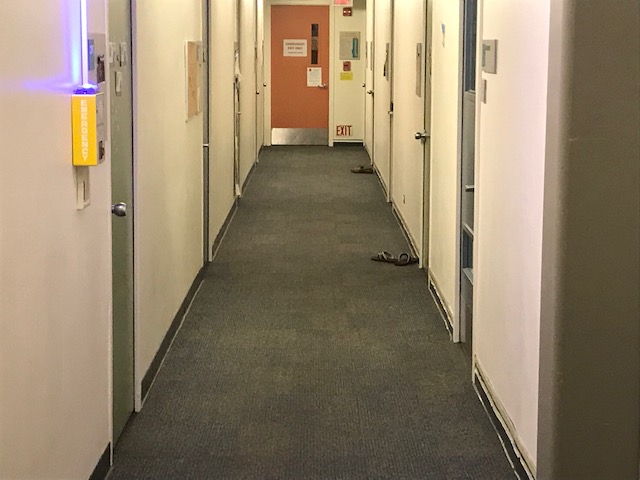
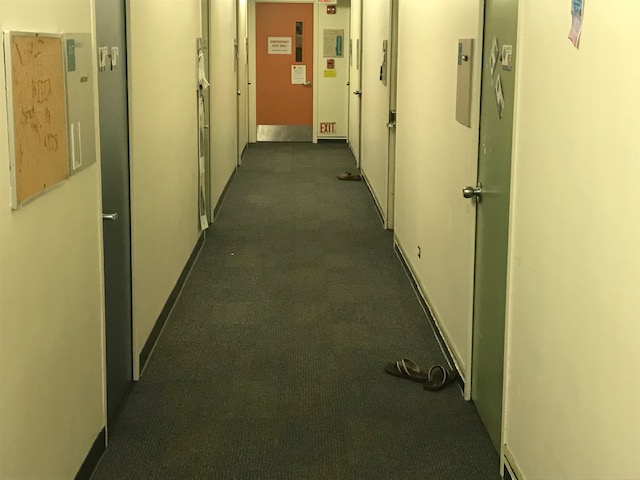
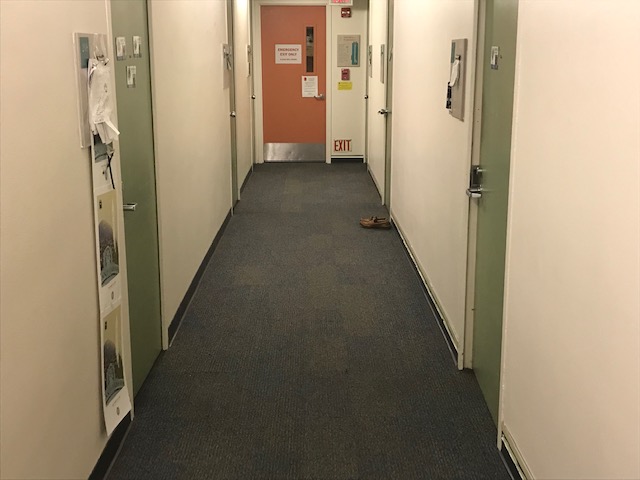
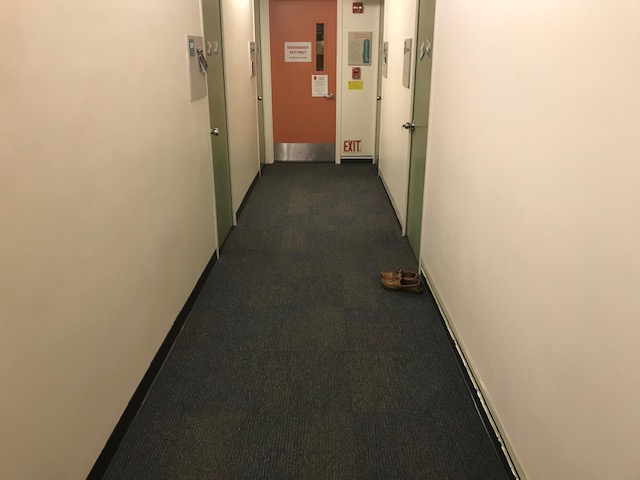
Playing these images in a sequence produces a vertigo like effect that actually makes me quiet dizzy to look at:
Then I look a picture of my 1-am Finals Week Study Break Taco Bell Study run:
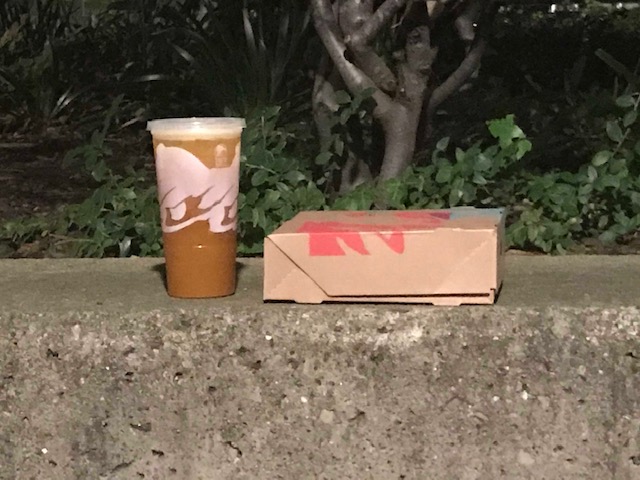
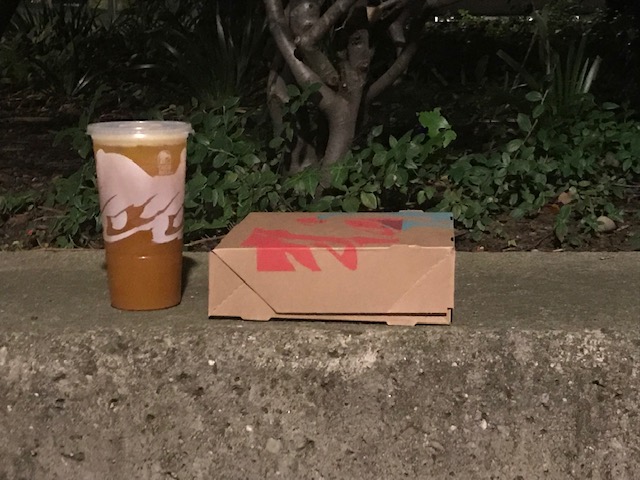
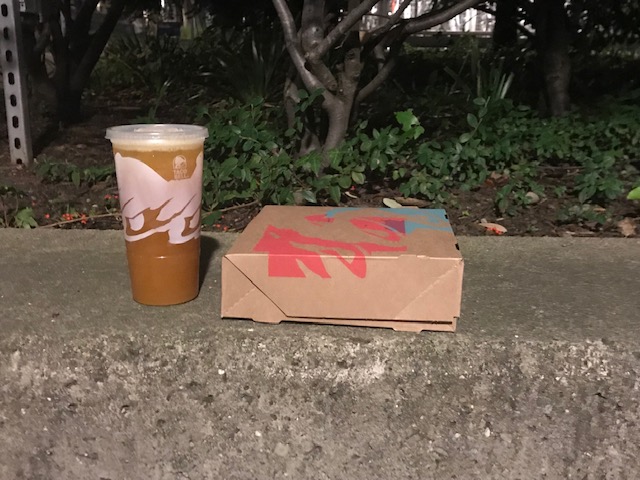
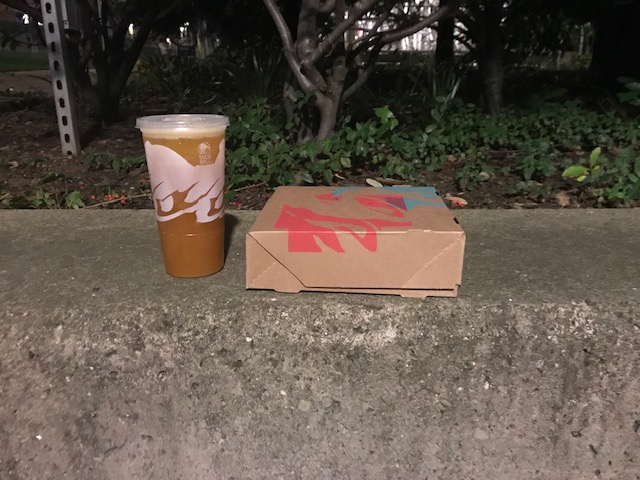
And producd the follow gif:
In conclusion, taking a series of pictures with an increasing field of view while trying to allign the subject was alot more difficult than I initially thought it would be. I think I still produced results that were sufficient - considering I didn't use a camera with real zoom (Iphone 7), and didn't have a tripod to hold my phone in place. I wanted to tackle this project vs the other pre-canned because it sounded more fun. Like the Shoebox Camera project, this project seemed more hands-on, which is a nice mixure considering every other project in the class involved some sort of coding.