Energy Function - Gradient Magnitude
Everyone knows how to crop an image in order to decrease its size. However, what if we want to decrease the size of the image, but also preserve the image’s key artifacts? This is where seam carving comes in. Rather than simply eliminating columns on the edges, we eliminate seams of pixels that we determine to be least relevant in the picture. These seams do not have to be straight rows or columns, but instead can curve in order to find the pixels with the least energy. Once we have identified the seam that has the least energy, we can remove this seam from the image, shifting the image over to account for its loss in dimension. We can iteratively do this in order to trim an image by a select amount, either in the horizontal or vertical direction.
Energy Function - Gradient Magnitude
One of the most important parts of seam carving is defining an energy function that can assign an energy to each pixel in the image. For my energy function, I used the gradient magnitude of the image. Thus, the pixels that have a lot of detail will have a higher gradient magnitude, and thus more energy. The pixels that have very little change, or low gradient magnitude, are less important in the scope of the entire image and will be assigned a lower energy. Furthermore, I implemented my energy function so that it can either smooth the image via a gaussian before finding the gradient, or just take the gradient of the original image. I found that smoothing before taking the gradient gave better results.
Once we have an energy matrix that defines the energy of each pixel, we solve a dynamic programming exercise in order to find the seams with the lowest energy in the image. A vertical seam stretches from the top of the image to the bottom, while a horizontal seam stretches from the left side of the image to the right. Fortunately, my implementation only finds vertical seams, and to find horizontal seams, I simply transpose the image for efficiency.
In order to find a seam, I start at the top of the image with the cost of the seam being the energy of the pixels in the topmost row. From each of these pixels, I check the three pixels that are below it - directly below as well as pixels offsetted by one column - and find which one has the lowest energy cost. I then add that pixel to the seam and progress. We can find the lowest cost seam by checking the final cost of the bottommost pixels, which cumulate the cost of the pixels that it traversed. By saving a path matrix, we can trace this seam back up to the top.
Finally, to crop an image we remove the seam with the lowest energy and reshape the image. We then iteratively find the next seam with the lowest energy and remove that one. We progress until we reach the desired dimensions.
Here are a few of my succesful results!
Original - Glade (672x504)
Carved by Width (572x504)

Carved by Height (672x404)
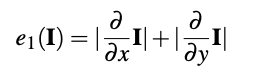
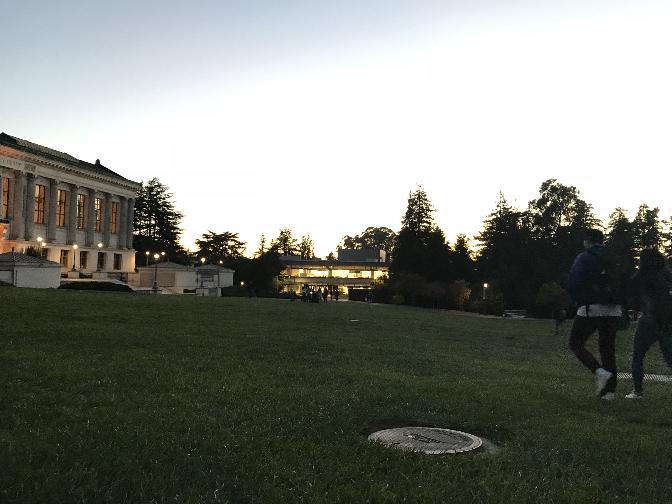
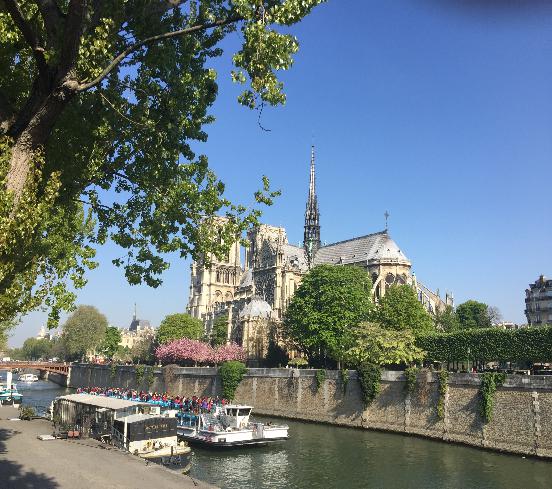
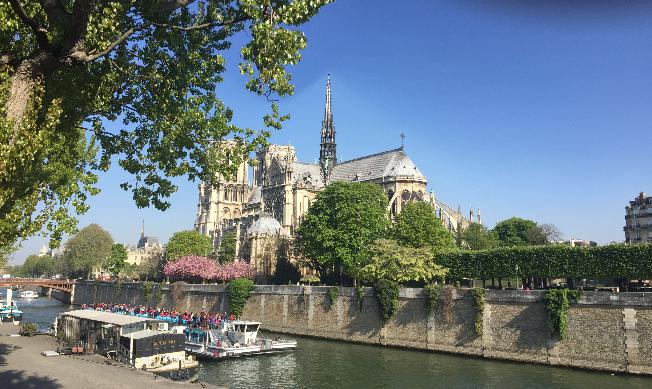
Original - Notre Dame (652x489)
Carved by Width (552x489)
Carved by Height (652x389)
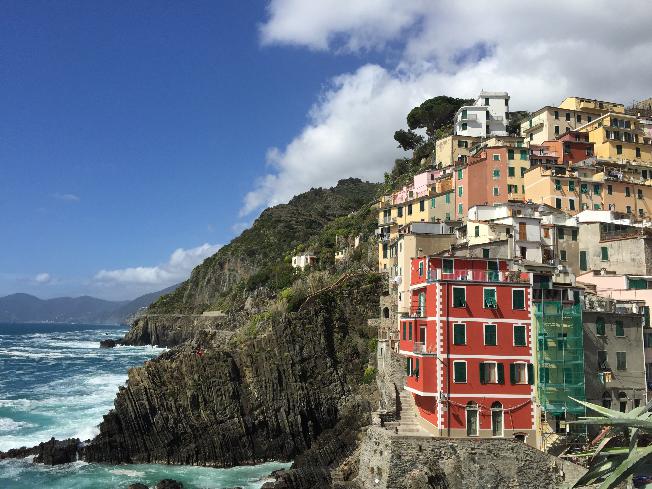
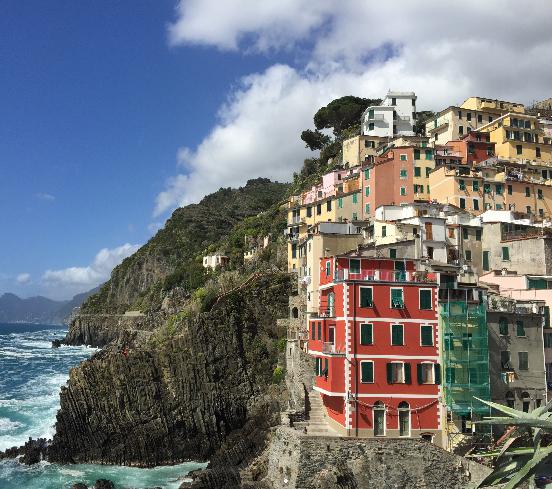
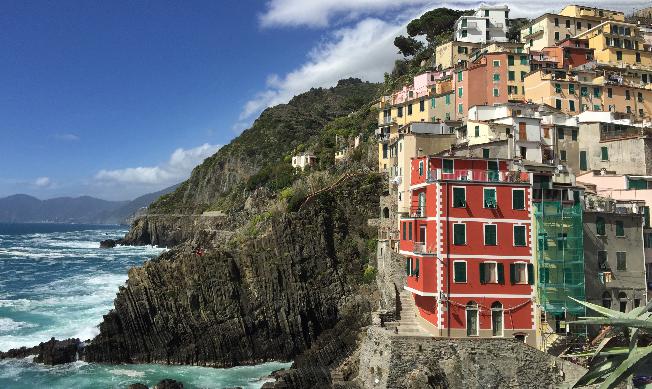
Original - Italy (652x489)
Carved by Width (552x489)
Carved by Height (652x389)
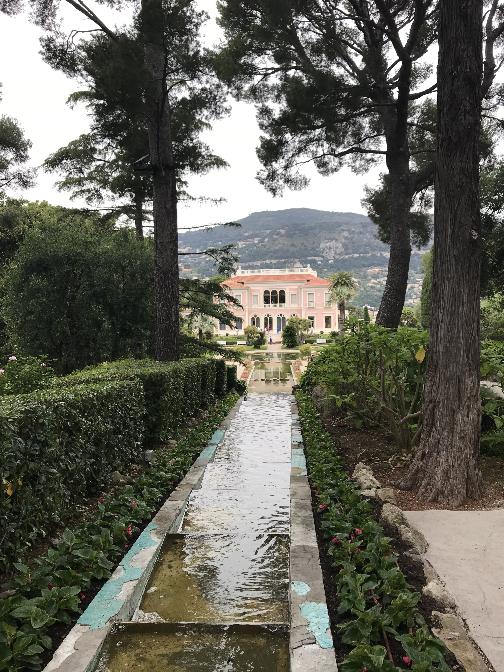
Original - Villa (504x672)
Carved by Width (404x672)
Carved by Height (504x572)
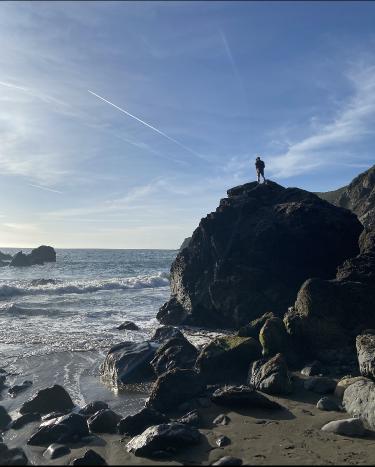
In the ocean carving below, it is very interesting to note that when carving in the height direction, we eliminate all of the black borders from the image, as they have the lowest energy. Automatic border removal!
Original - Ocean (375x667)
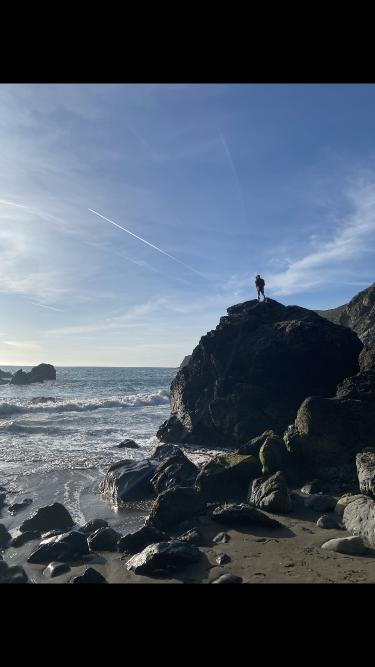
Carved by Width (315x667)
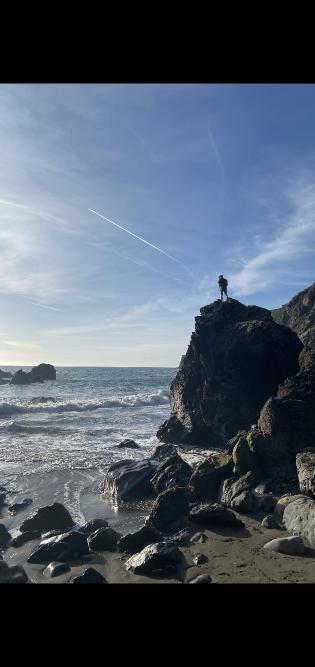
Carved by Height (375x467)
Original - Bay (652x489)
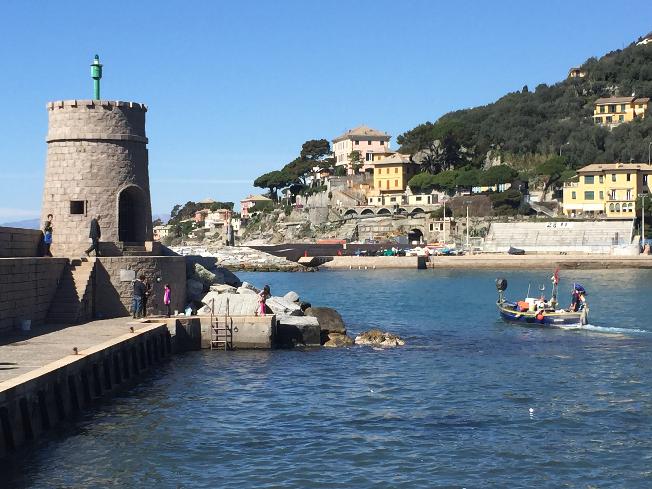
Carved by Width (552x489)
Carved by Height (652x389)
Here I show some cases where seam carving fails. Specifically, seam carving is known to fail on faces as it can cause distortion. Also, when carving some scenery that has hard lines, say the edges of a building or lines of a road, we can often distort these edges and lose some composition.
Original - Myself (464x617)
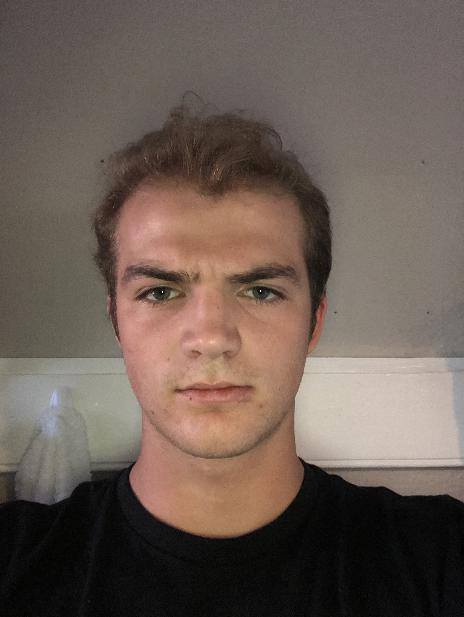
Carved by Width (214x617)
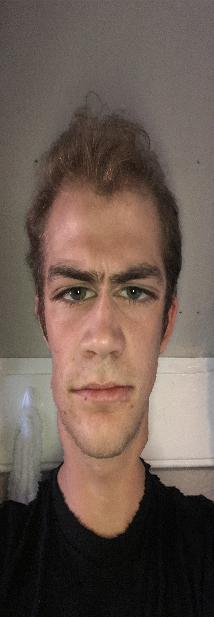
Carved by Height (464x367)
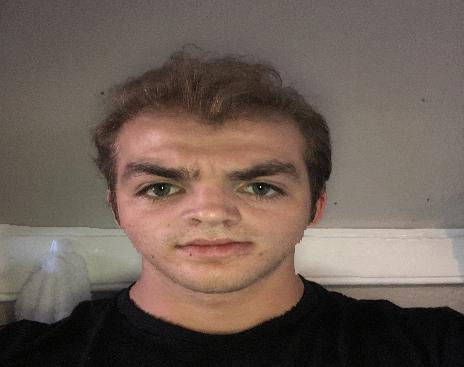
Although carving by height works well here, carving by width causes the image to lose a lot of integrity.
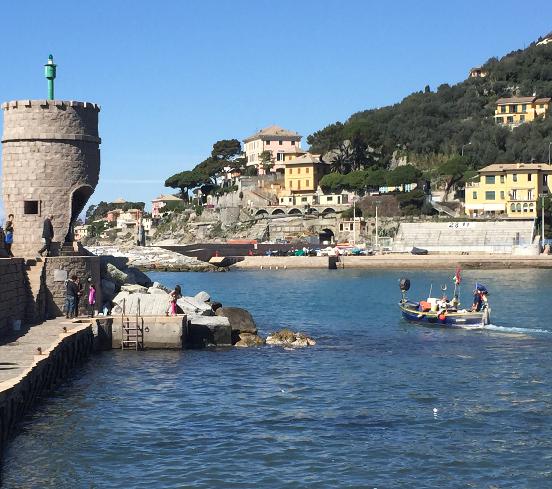
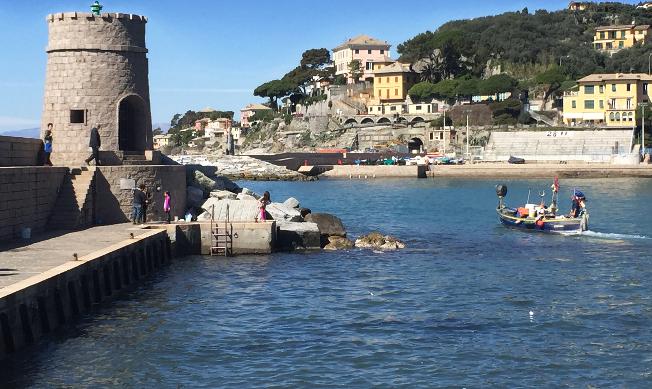
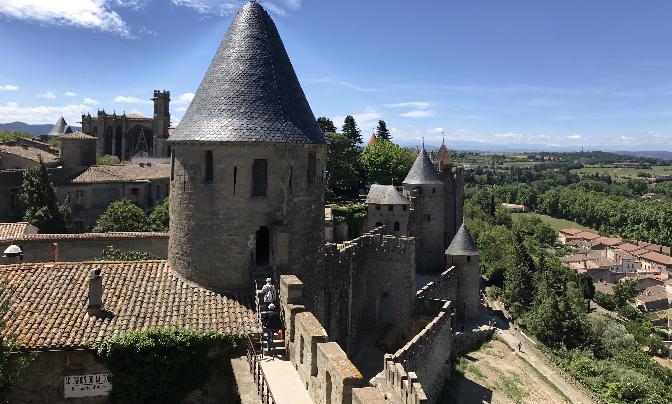
Original - Castle (672x504)
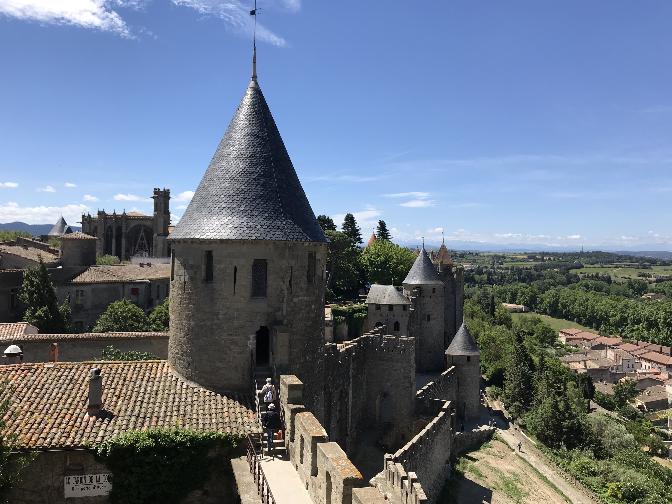
Carved by Width (472x504)
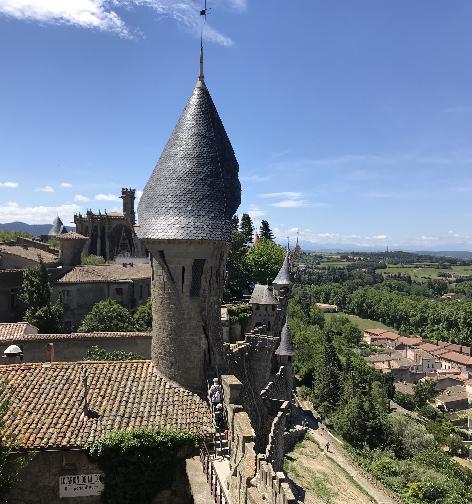
Carved by Height (672x404)
This project was very fun to carry out a great dynamic programming exercise. It’s cool to see how we can manipulate images in different ways and also find a new way to crop images that preserves the image’s integrity! I will definitely use this in the future.
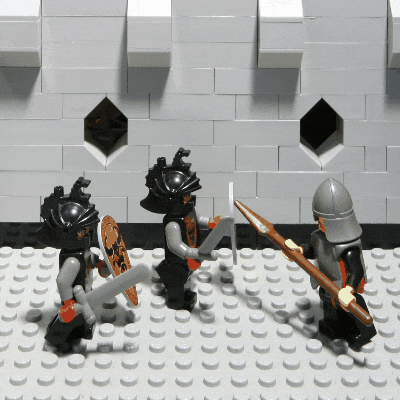
By capturing multiple images of the same scene in the plane orthogonal to the optical axis, we can recreate effects that mimic that of a camera. These images are typically taken in a grid-like fashion, like those in the Stanford Light Field Archive, so that we can find all the data needed to reveal camera settings. Some of these effects include aperture adjustment as well as focusing at varying depth levels. For my project, I used the Lego Knight dataset, which includes 289 images of a Lego Knight scene, taken from different offsets.
Here you can see a gif of the dataset showing all the possible angles and grid locations that the scene was taken from. It is also very important to note that the dataset specifies the center coords, so we know where the image was taken from. This allows us to recreate the effects mentioned above.
Lego Knight Data Set
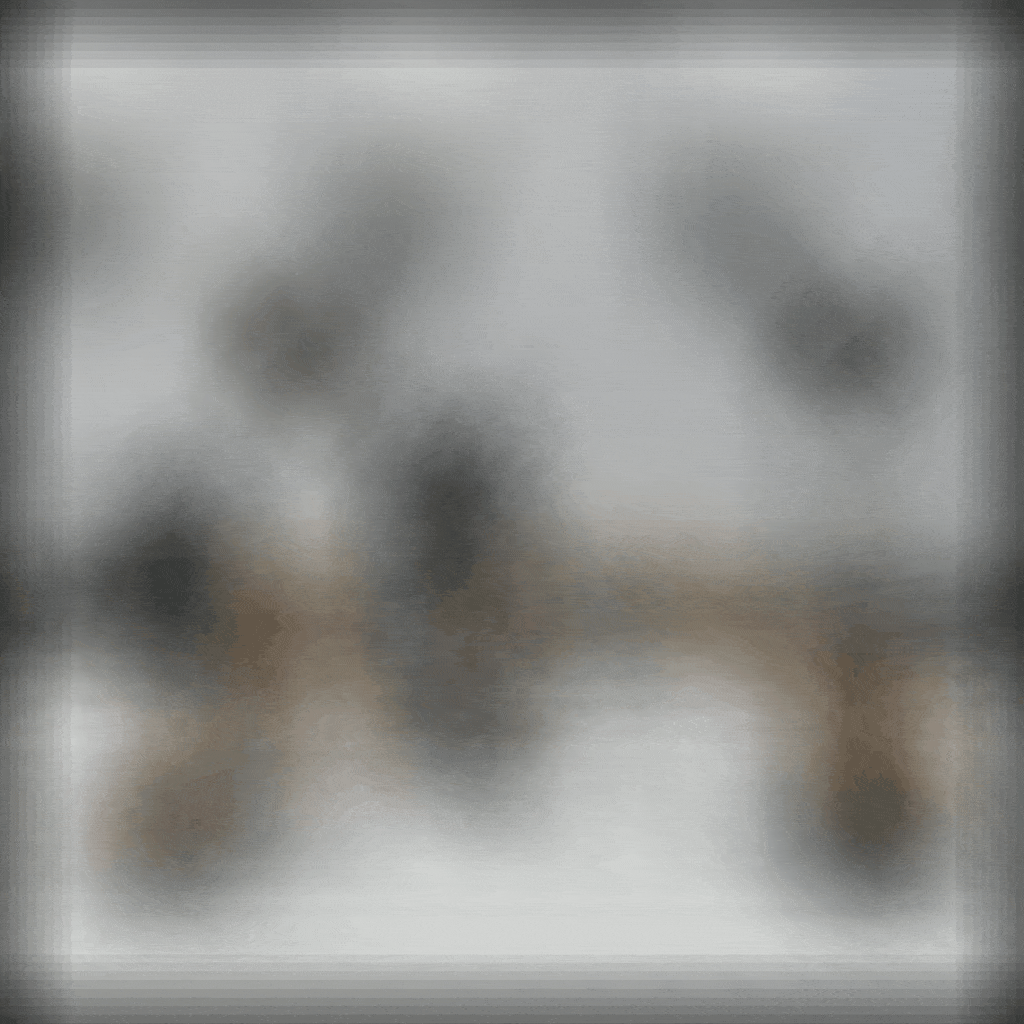
In order to create variations in the depth focus of the image, we can average all images in the dataset. By averaging the images in the dataset together, we can show sharp edges around the far away objects, as far away objects are less likely to be shifted by a different view of the camera, and blurry nearby objects which will be shifted by different views of the camera. By shifting the images before averaging them together, we can thus produce different variations of the scene and different depths!
For my implementation, I simply shifted by different scaled amounts and then averaged all the pictures together, after being shifted, to create different depth scenes. I used scaled values from -1 to 1, with increments of 0.2. I then compiled all of these shifts into a gif to show how the depth refocusing varies with different shifts. My results are below.
Depth Refocusing
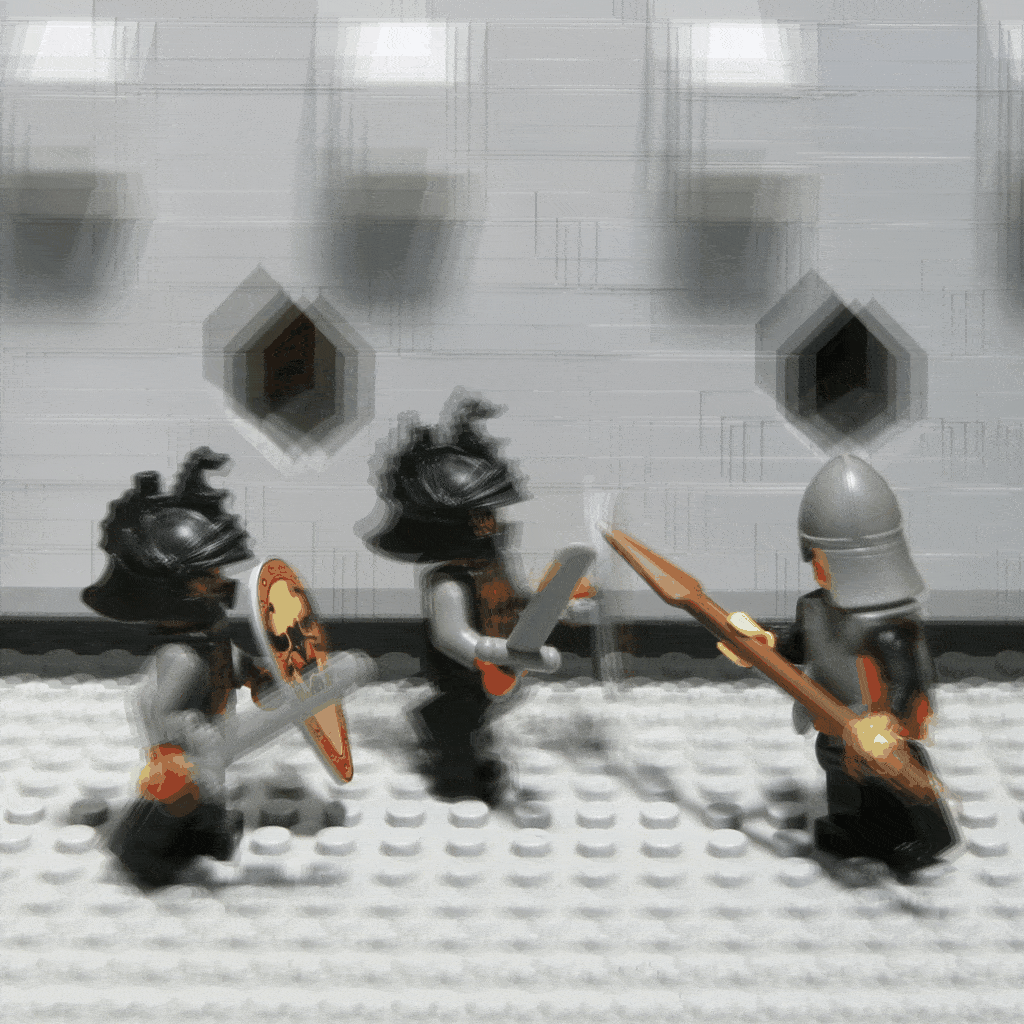
In order to recreate aperture adjustments, we average only a select few photos, depending on where the photos were taken on the grid mentioned above. If they are within a threshold distance to the picture that was taken at the center of the grid, we average that picture with others that are also within the threshold. By iterating through different thresholds, we can average different numbers of pictures and thus get different aperture adjustments. I combined these varying aperture adjustments in a gif for visualization purposes. Please see below!
Aperture Adjustment
It was very cool to see that by taking multiple photos, we can recreate and visualize a scene as a camera would. Thus, we can modify our image to be viewed at different depths and apertures. This was a fun project!