CS194-26 Final Project: Seam Carving & Fake
Miniatures
Michael
Weymouth (cs194-26-adc)
Seam Carving
For
this project, we implemented the paper Seam
Carving for Content-Aware Image Resizing to intelligently remove
seams from an image and shrink its size. This is done by using an energy
function to compute a minimum energy path through the image (left-to-right for
vertical resizing and top-to-bottom for horizontal resizing), then removing all
of the pixels on that path and outputting the new image. This process is repeated
until the selected dimension is at the desired size in pixels.
I
present below a select few success and failure examples of horizontal and vertical
resizing, with the original image on the left and the carved result on the
right. All photos are my own.
Successful
Horizontal Resizing
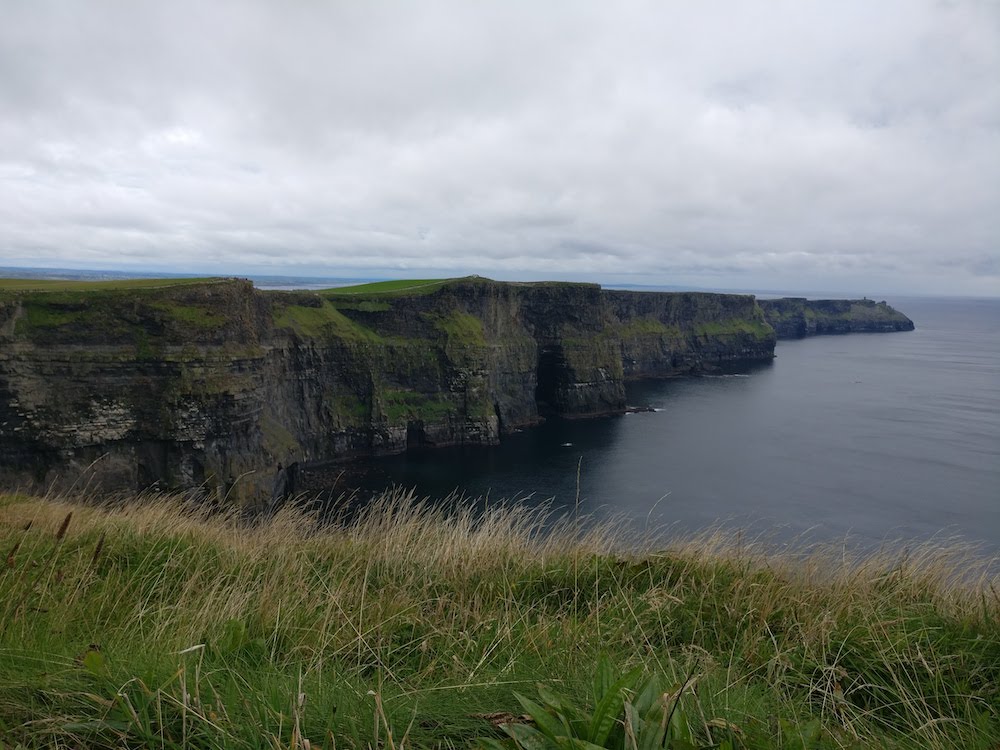
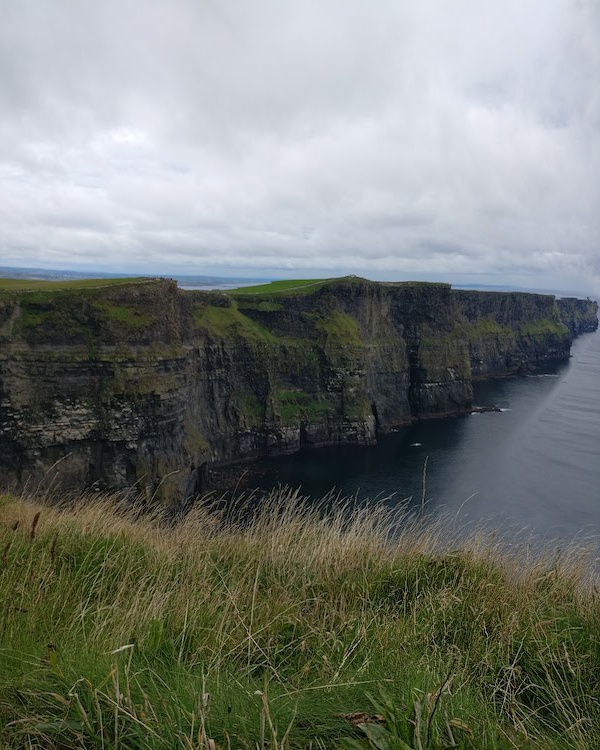
The Cliffs of Moher, Ireland
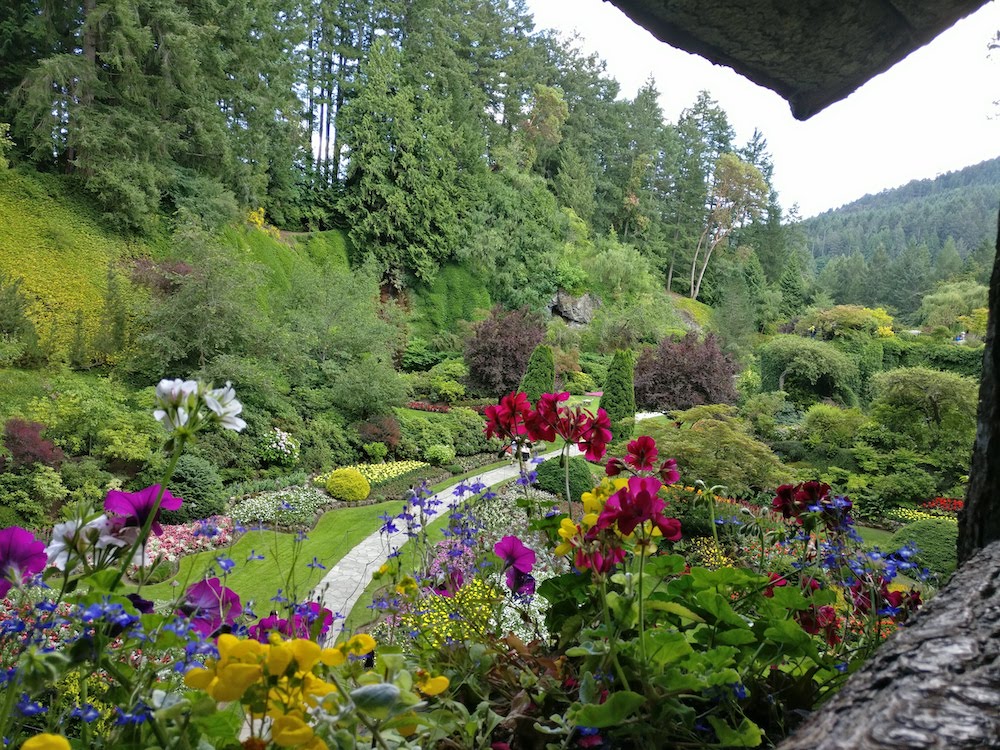
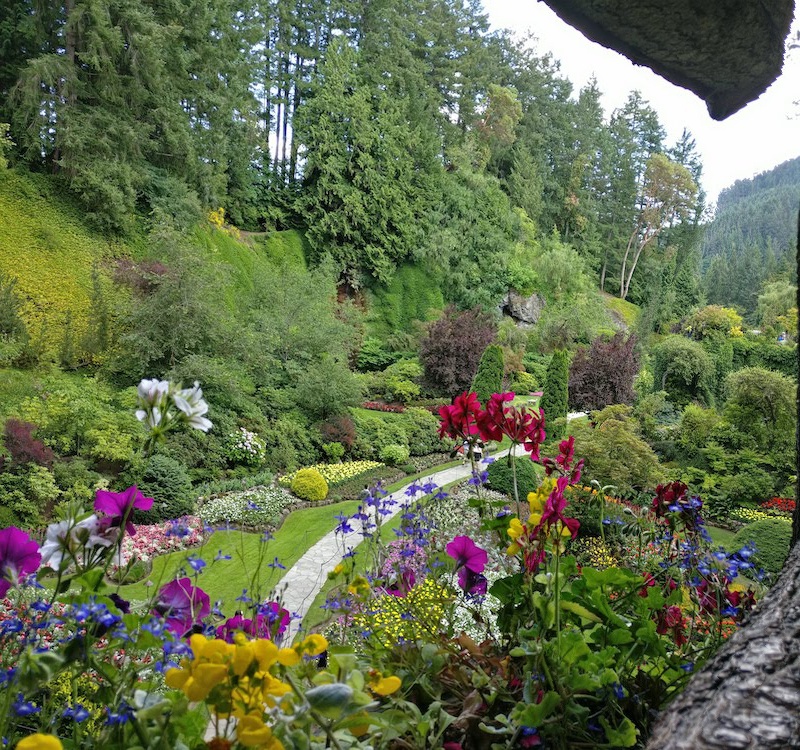
The Butchart Gardens, British Columbia,
Canada
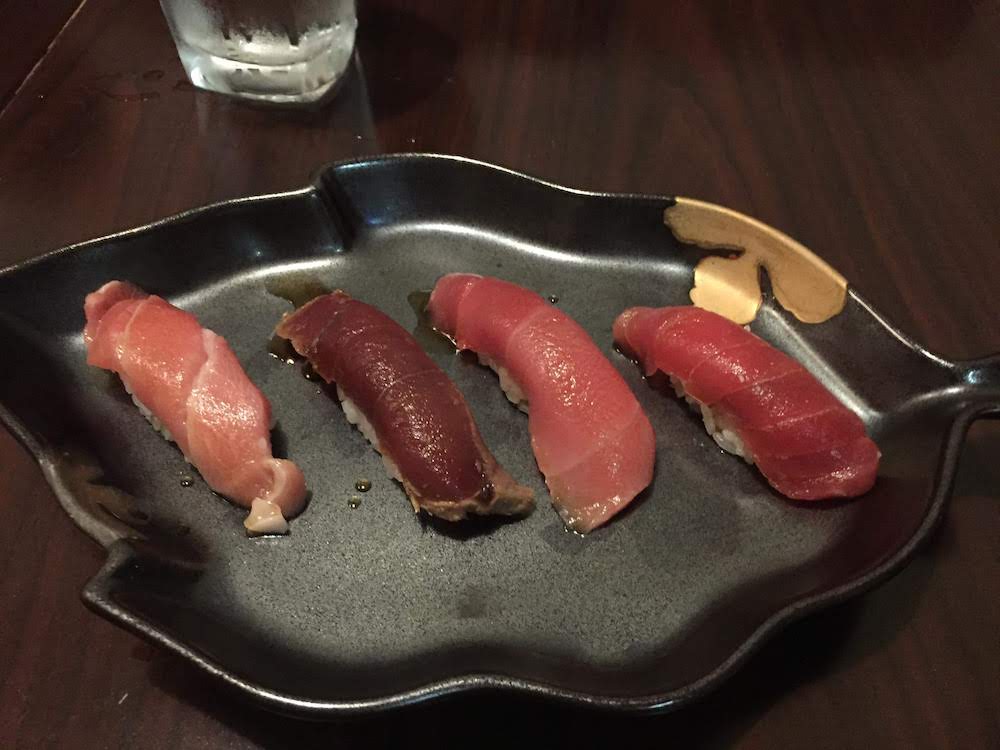
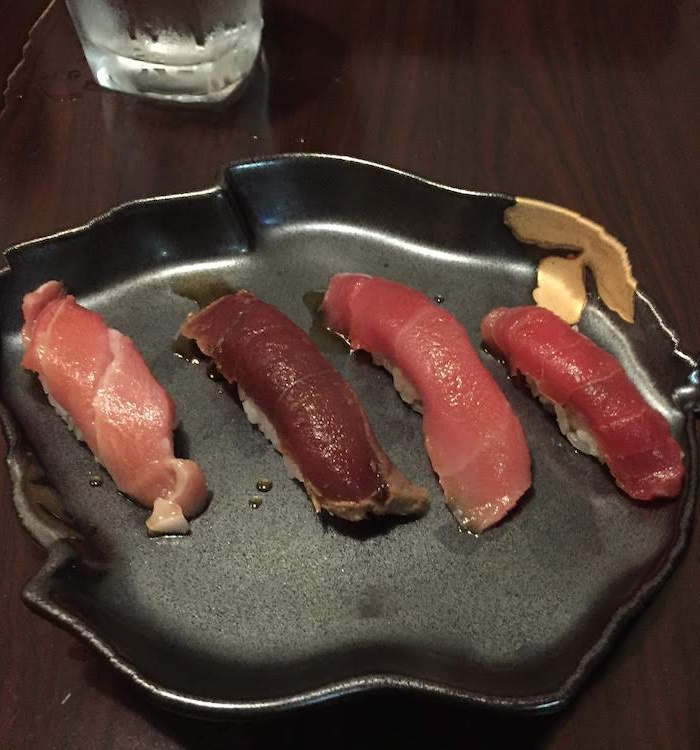
Delicious Sushi
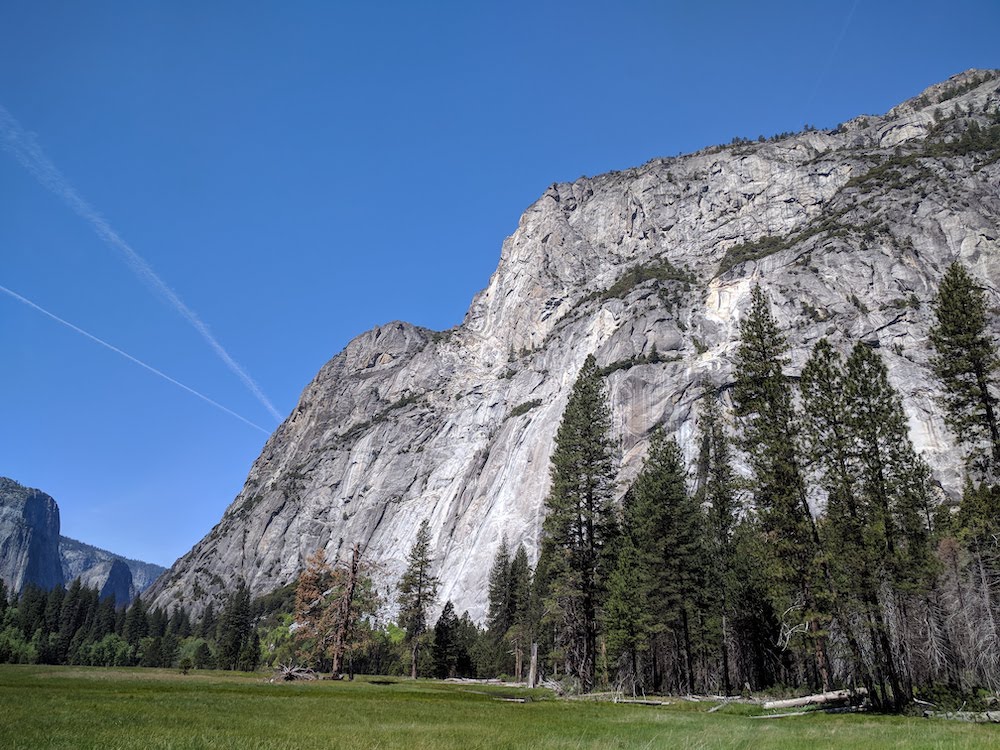
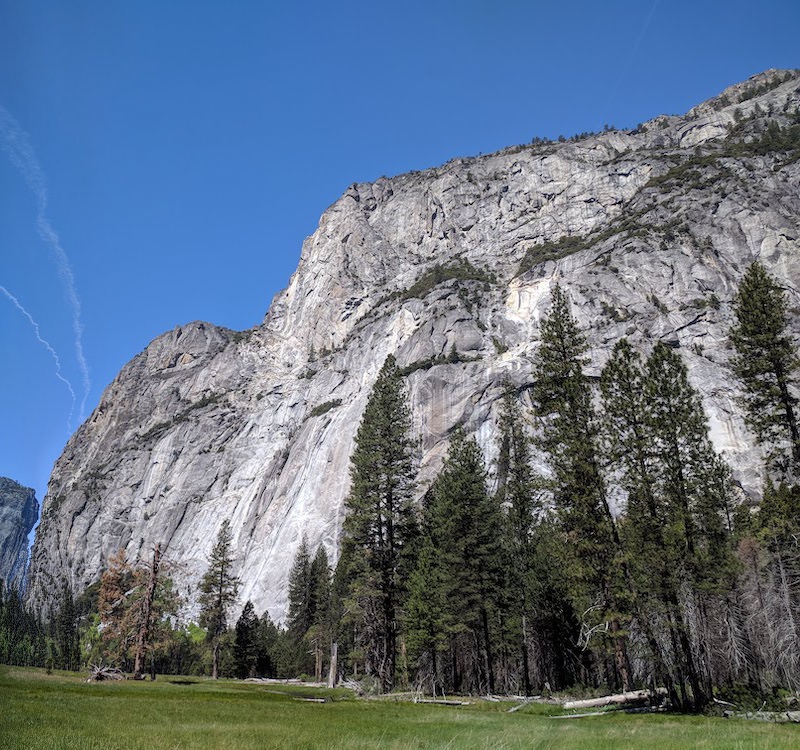
Yosemite National Park, California
Successful
Vertical Resizing
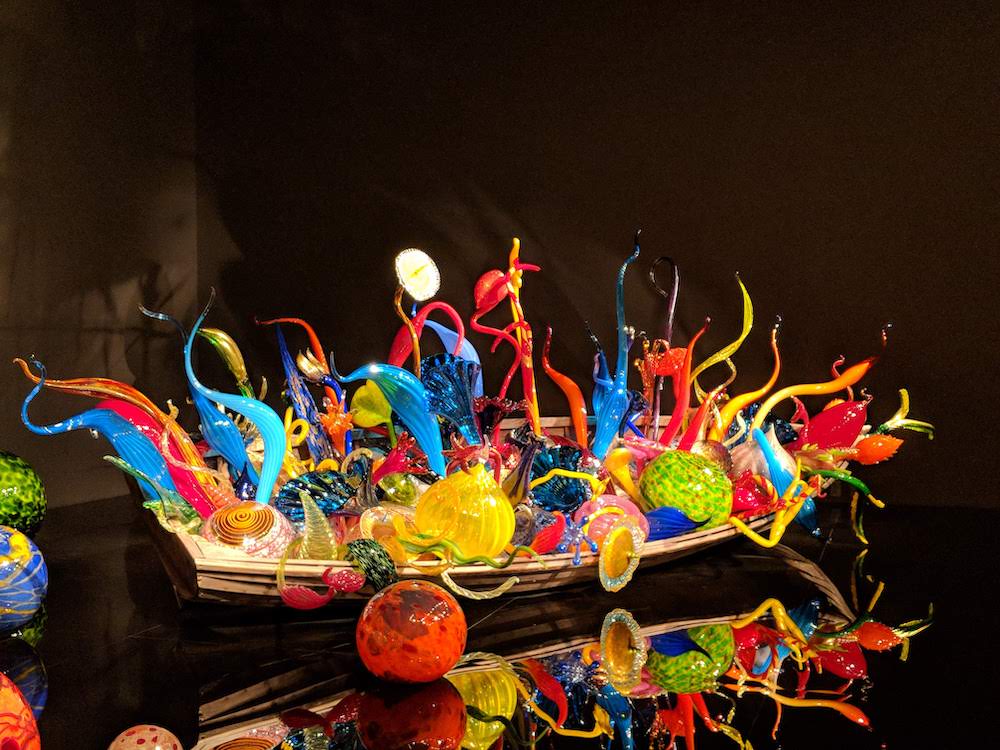
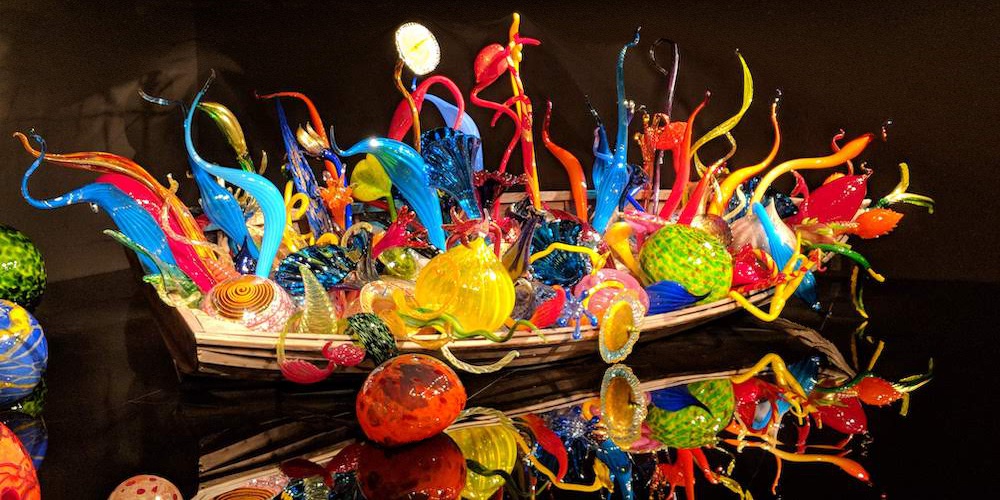
Chihuly Garden and Glass, Seattle, WA
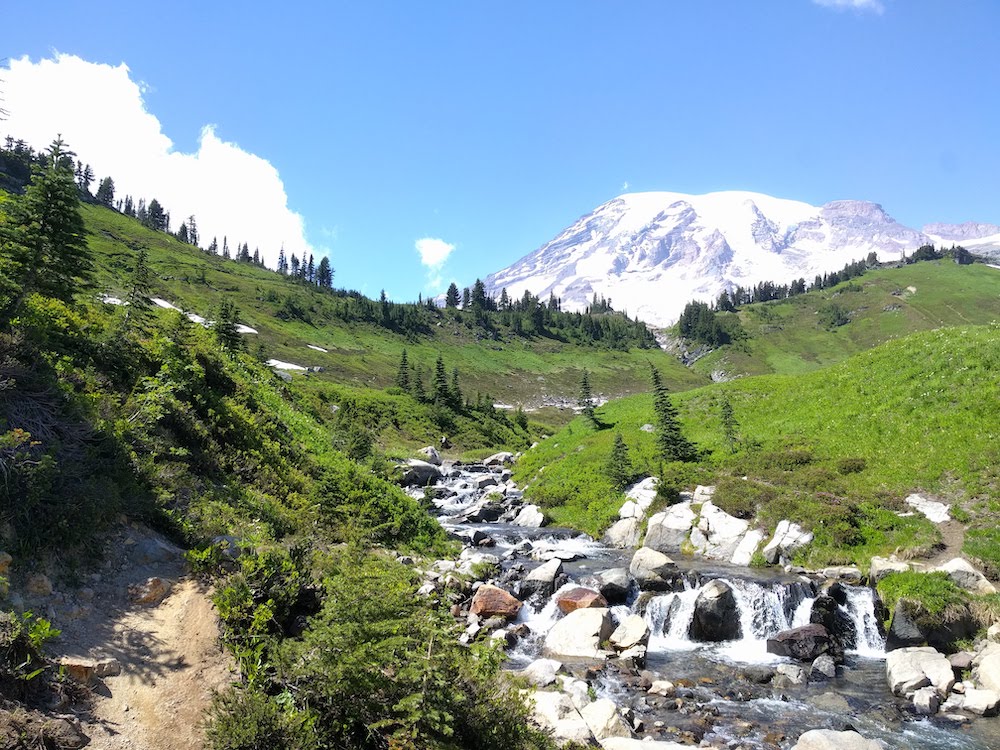
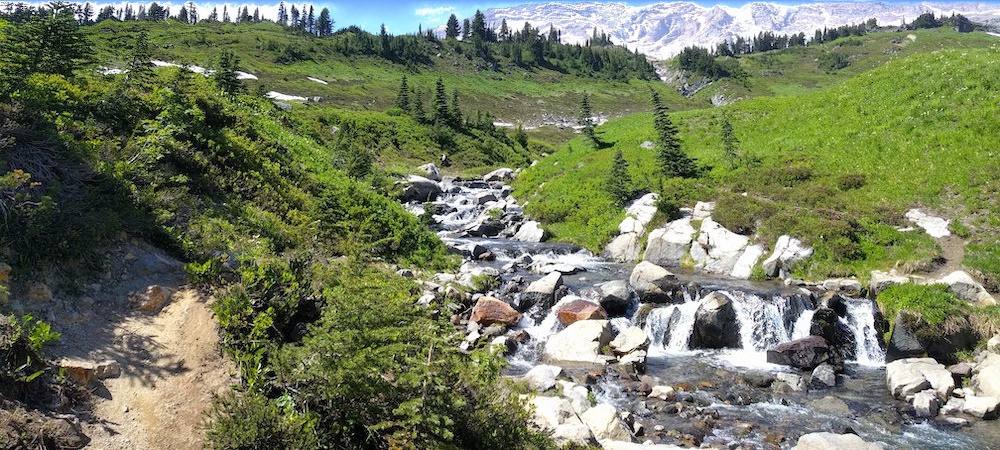
Paradise, Mount Rainier National Park,
WA
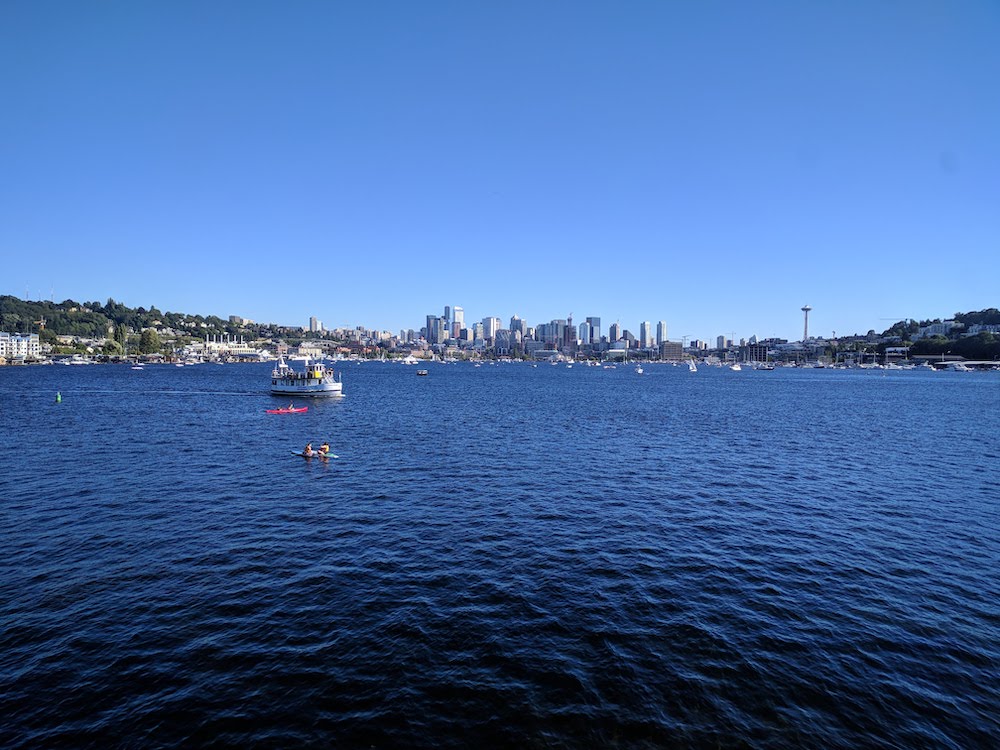
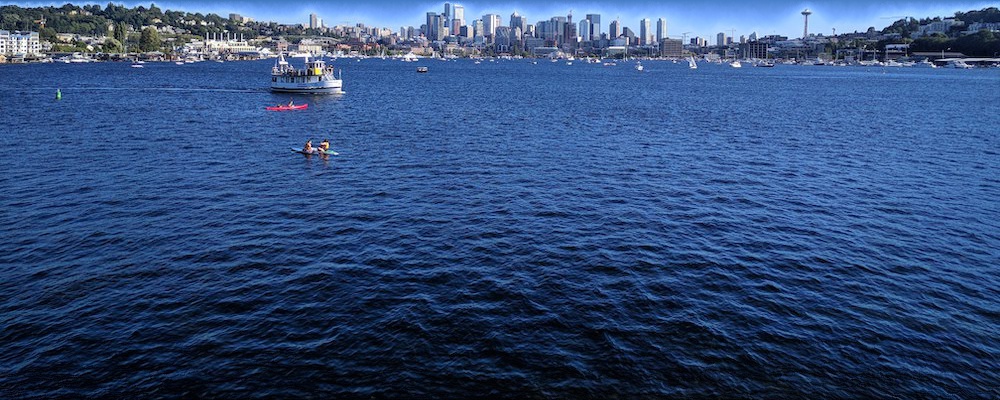
Seattle, WA
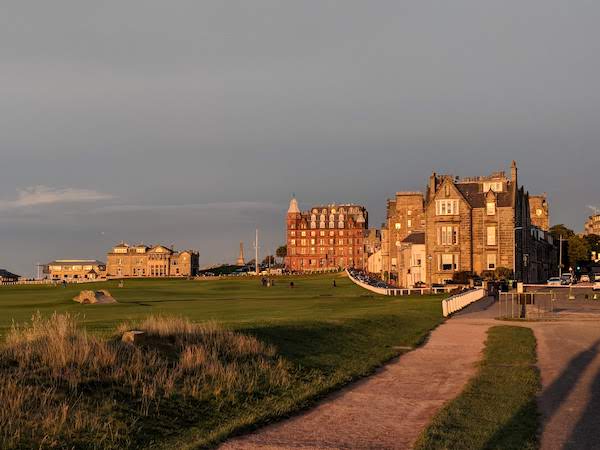
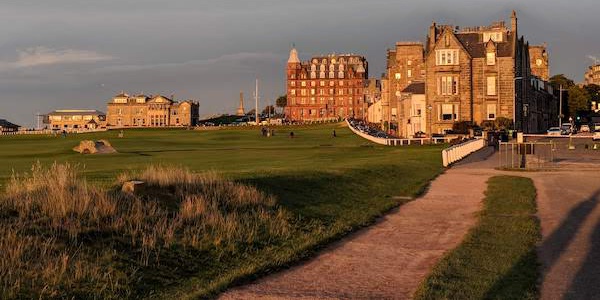
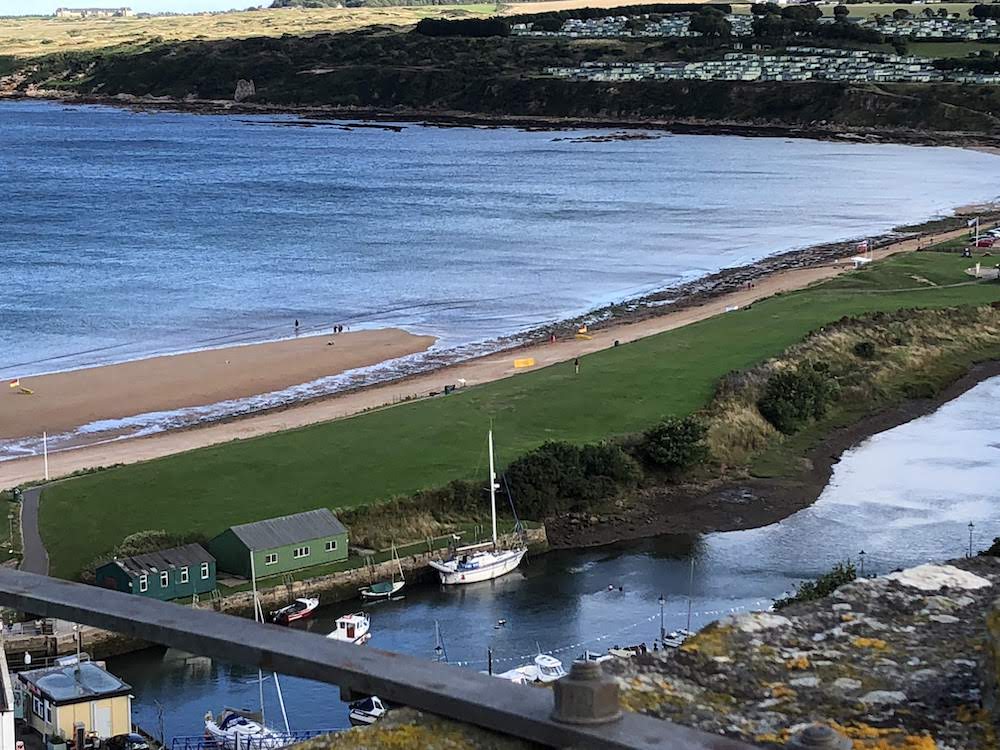
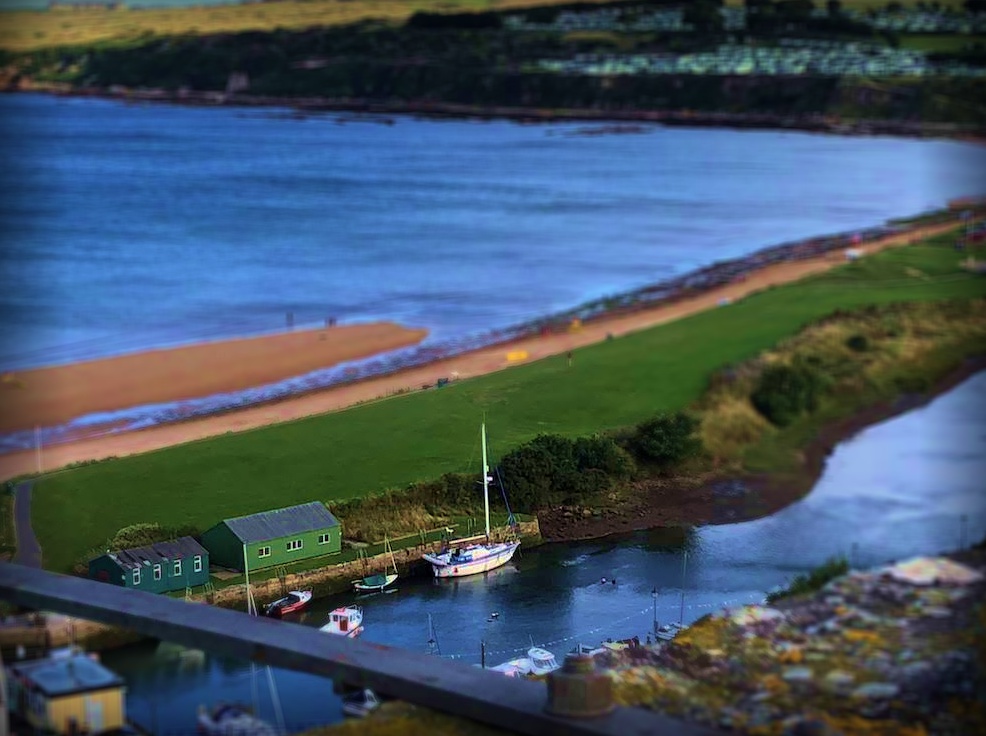
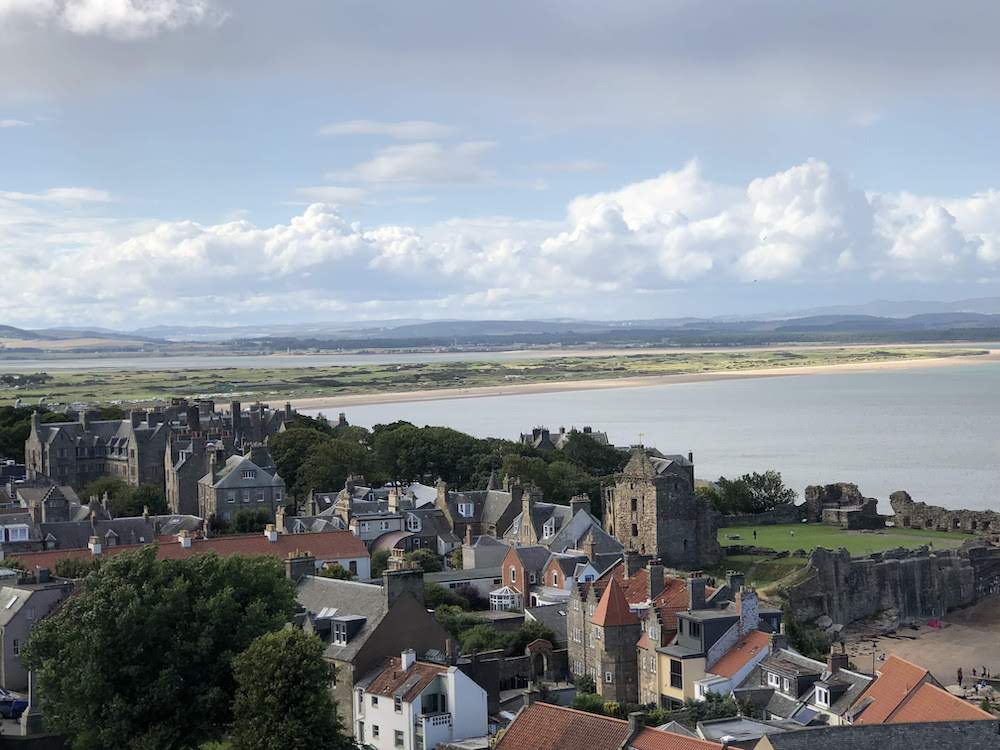
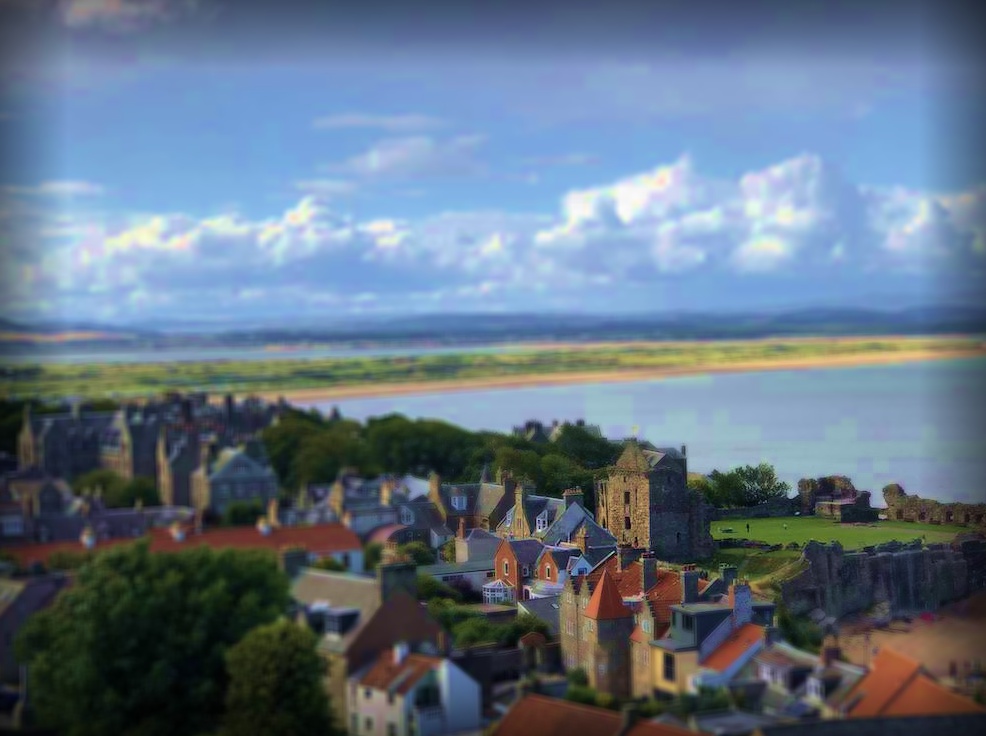
St. Andrews, Scotland, UK
Unsuccessful
Horizontal Resizing
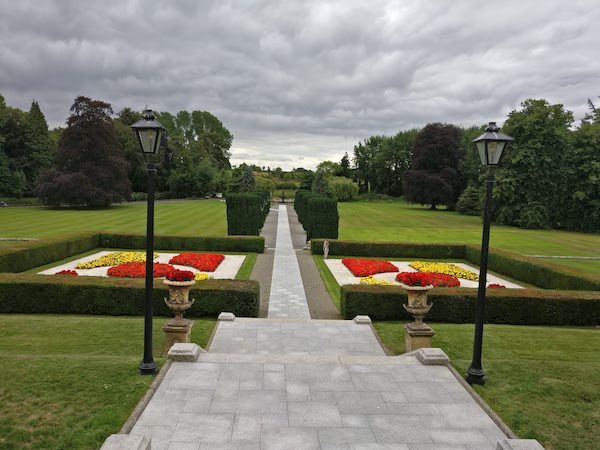
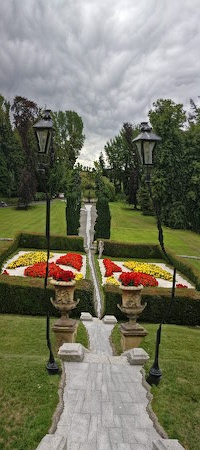
The K Club, County Kildare, Ireland
Unsuccessful
Vertical Resizing
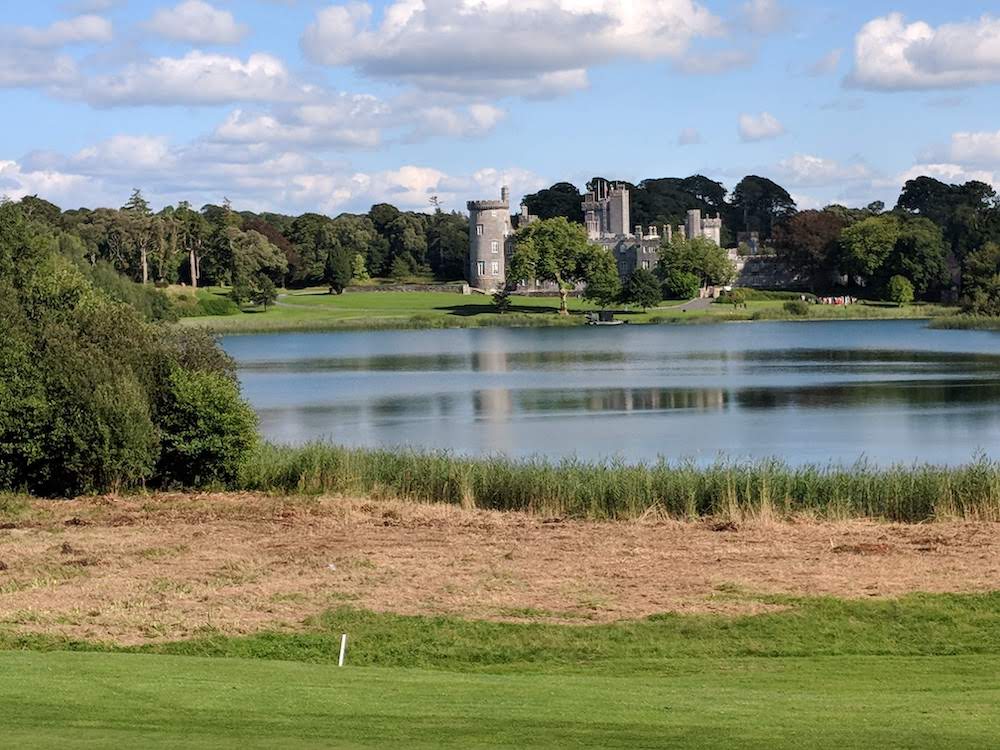
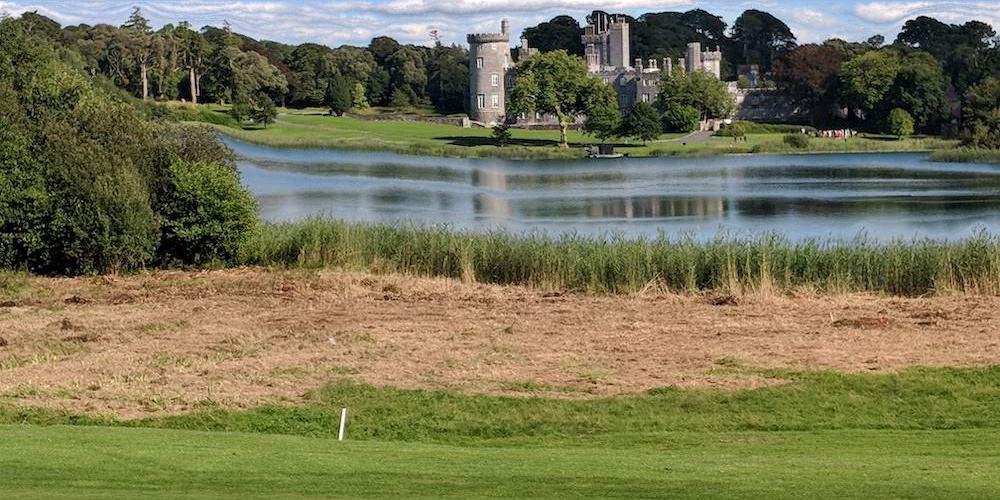
Dromoland Castle,
County Clare, Ireland
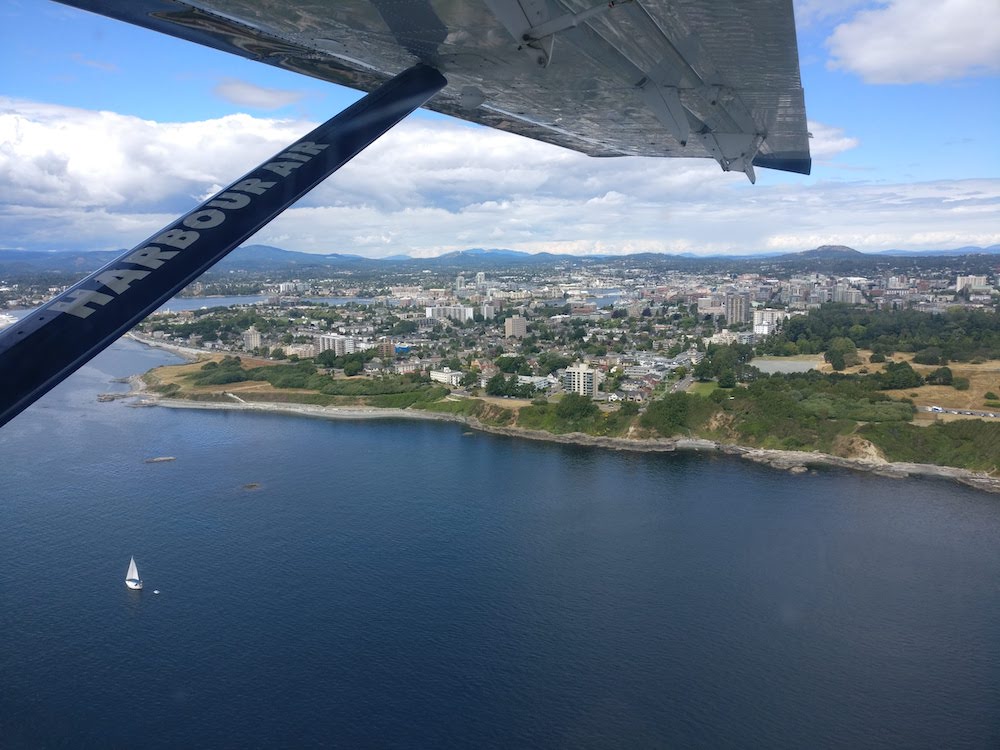
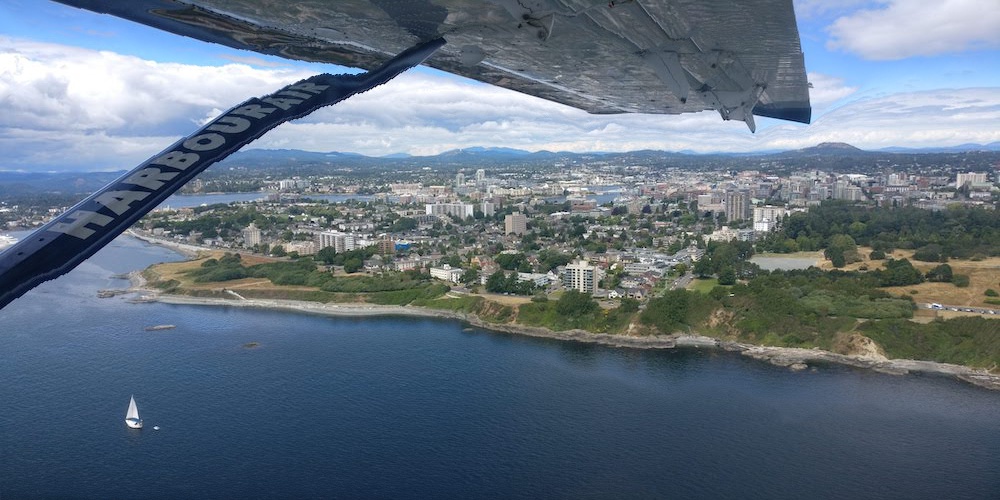
Victoria, British Columbia, Canada
Bells
& Whistles: Visual Mode
For
Bells & Whistles, I implemented a visual
mode which displays the seams that the algorithm is removing as the program
runs. This is extremely helpful for visualizing the seams that the algorithm
chooses and evaluating different energy functions while refining the program.
Below is a demonstration of this mode in action.
Most
important thing I learned?
The
most important thing I learned from this project was how to judge whether or
not an image would work well for seam carving. An image with a clear path
across in the desired direction works best, and being able to spot this quickly
became an extremely valuable skill. Admittedly this is not a perfect heuristic,
as the failure image The K Club above
shows, but it was good enough to be helpful.
Fake Miniatures
For this project, we turned
regular photographs into fake miniature scenes. This is done as follows: first,
we take the square root of the saturation of the image to increase this value
while preventing it from clipping. Then, we define a polygon on the image with
a set of points to specify the area of perfect focus. We “expand” the polygon
outwards from its center in successive steps to generate a set of blurred delta
masks which represent the increase in distance from the region of focus. These
blurred masks create a gentle transition between the regions of decreasing
focus. At each step, we also blur the image using a Gaussian filter with
increasing variance to simulate the image losing focus at farther distances
from the focus area. Finally, we blend the images of increasing blur using the
corresponding delta masks.
I present below a selection
of several miniaturized images. The photo on the left is the original, while
the image on the right is the miniaturized version. Except where otherwise
specified, the images below are my own.
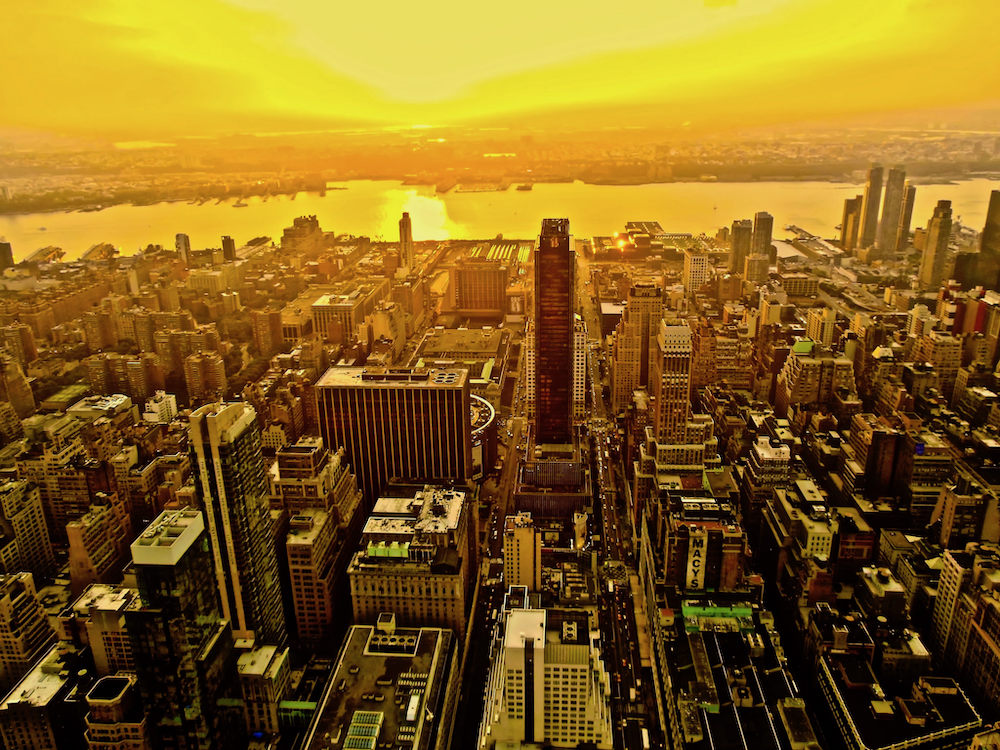
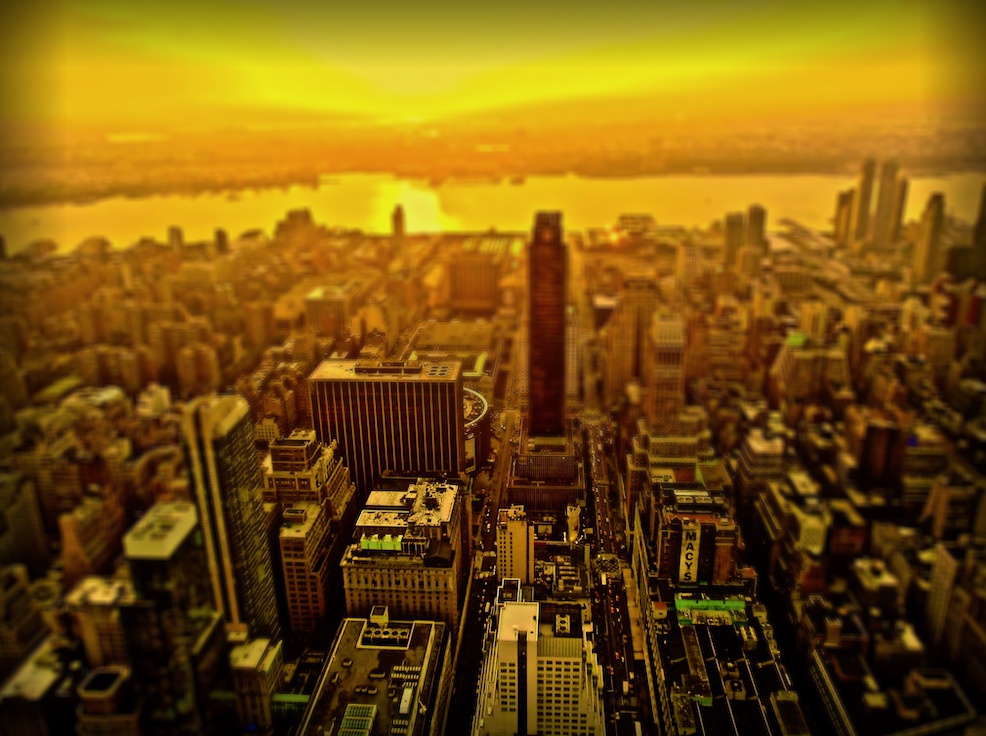
Manhattan Sunset #2 – New York City Skyline (Source)
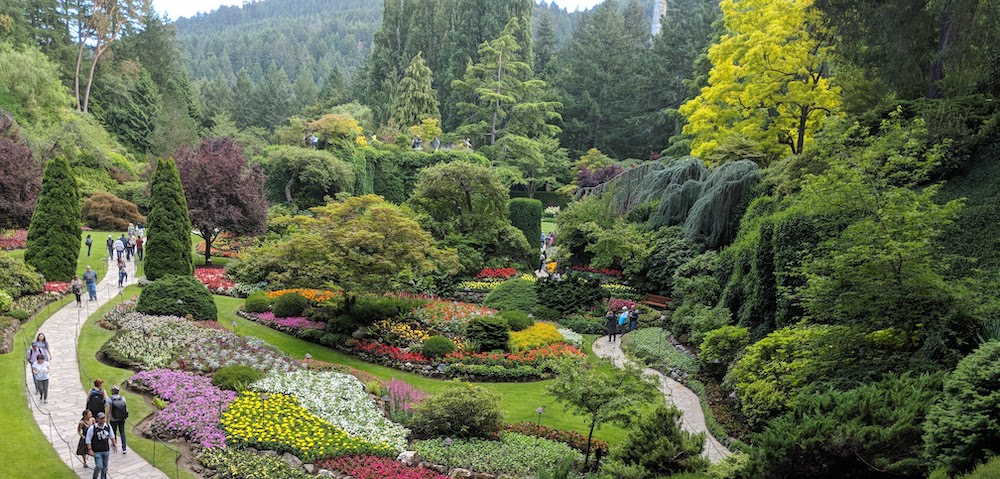
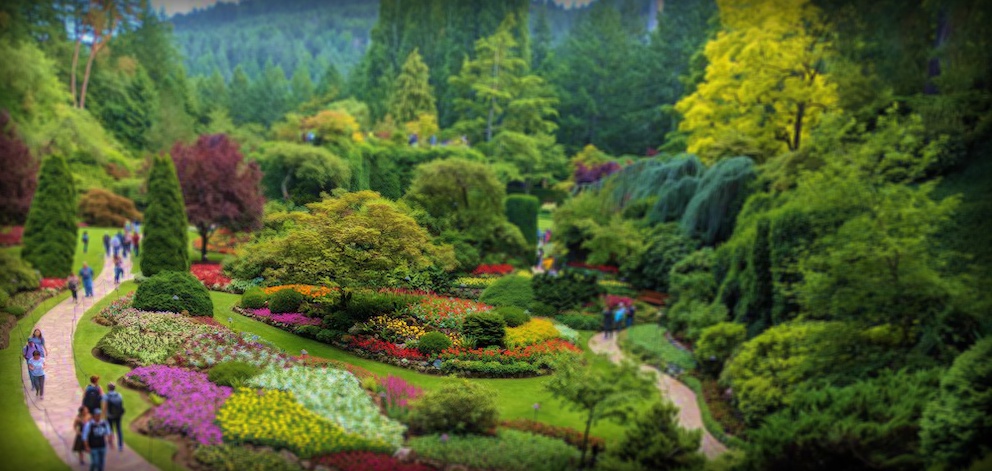
The Butchart Gardens, British Columbia, Canada
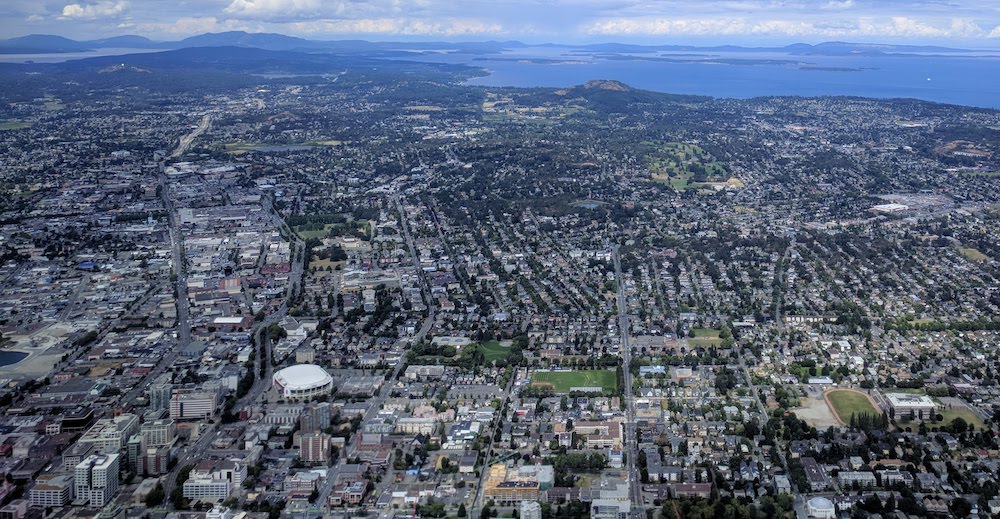
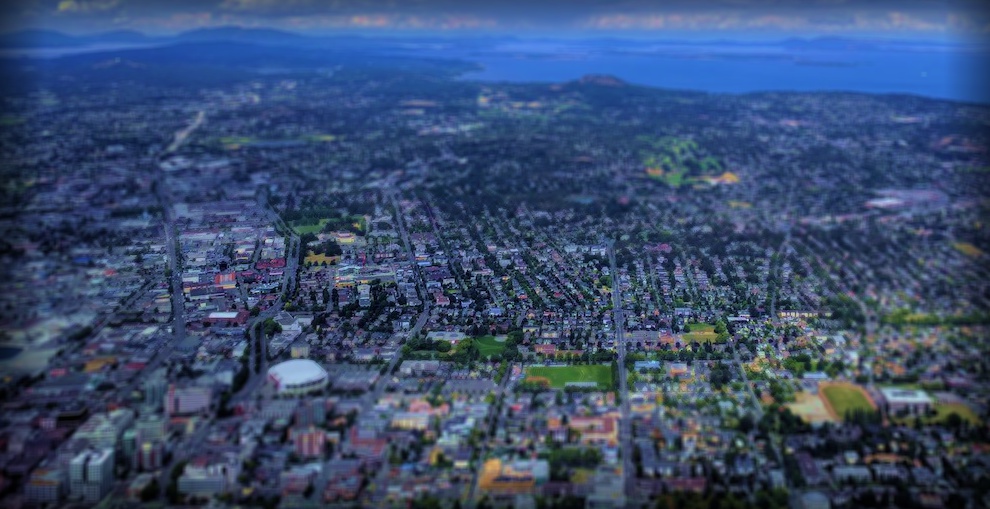
Victoria, British Columbia, Canada
St. Andrews, Scotland, UK
St. Andrews, Scotland, UK
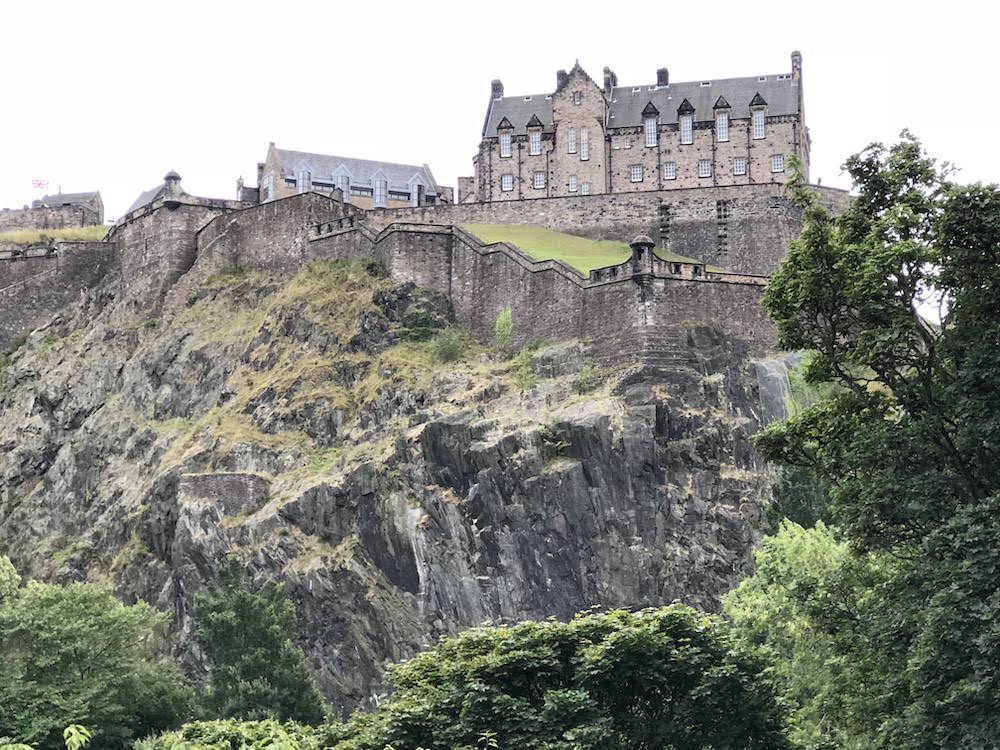
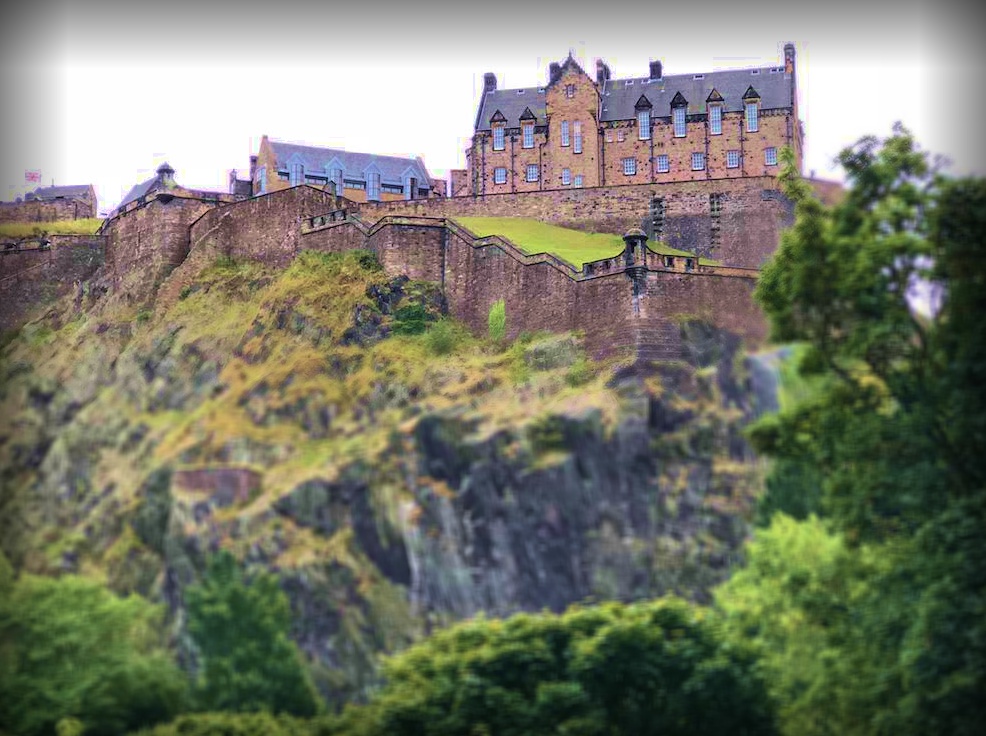
Edinburgh, Scotland, UK
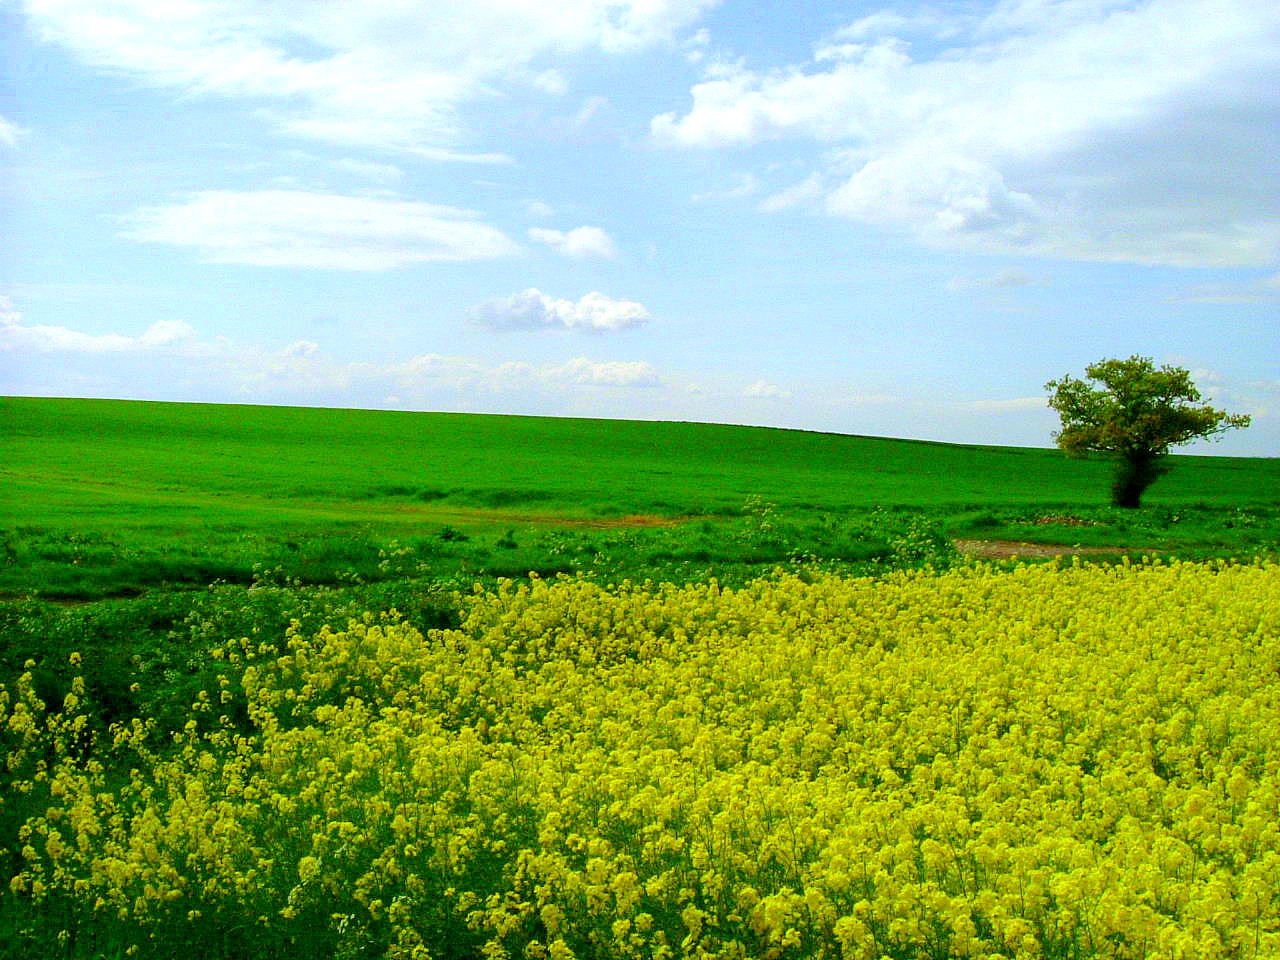
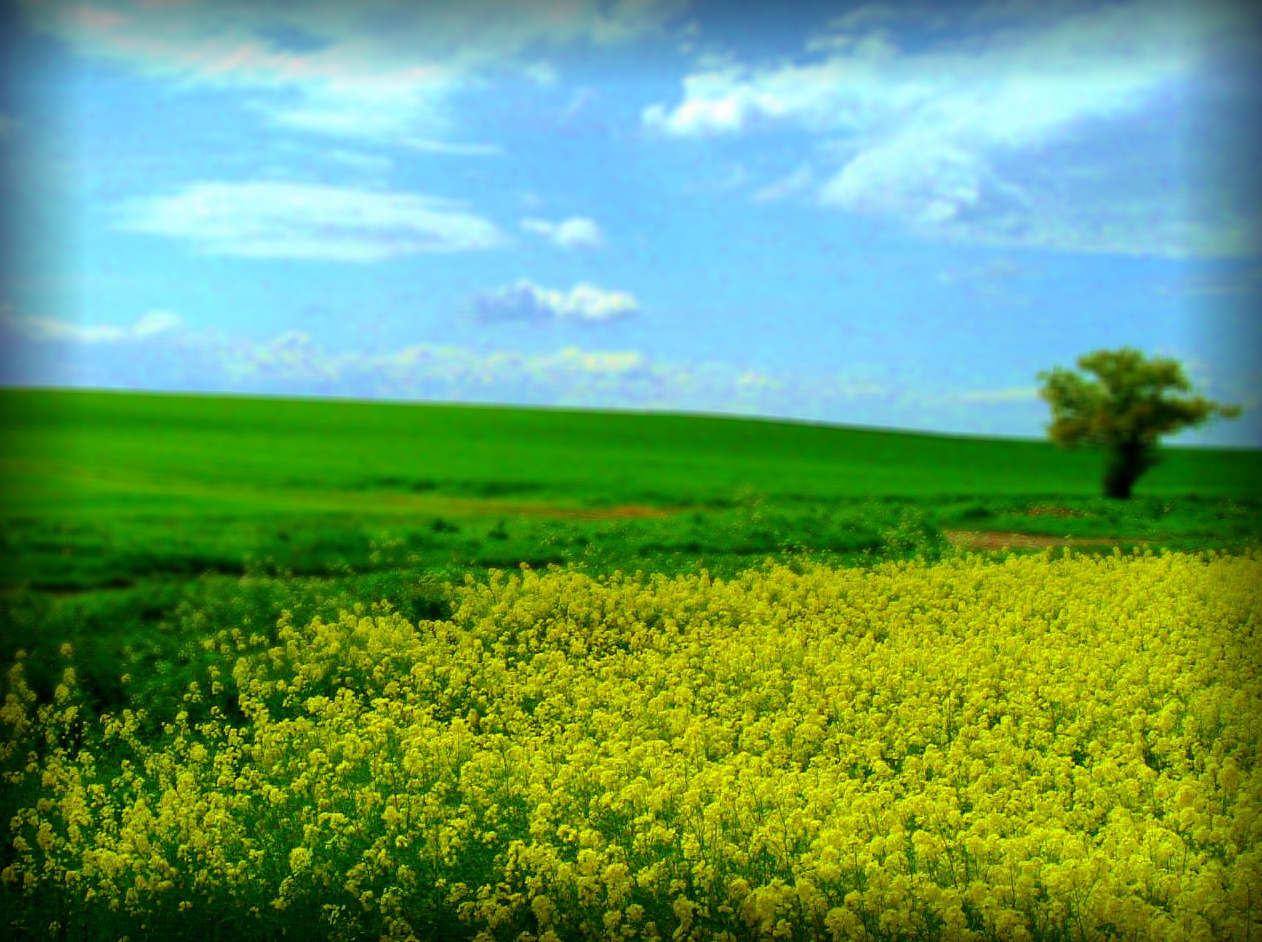
Field (Source)
Bells & Whistles
As described above, I chose
to implement complex DOF regions using object masks. These masks are generated
by selecting a set of points to define a polygon on the original image. This
method allowed for much more
realistic results, so it was used for all of the results above.