Final Project
CS194-26 Fall 2018
Andrew Campbell, cs194-26-adf
Project 1: Seam Carving

Seam carving is an algorithm for content-aware image resizing. It works by finding a number of seams, or paths of least importance, in an image and automatically removing them to reduce image dimensions or inserting them to extend the image. Seam carving also allows manually defining areas in which pixels may not be modified, and features the ability to remove whole objects from photographs.
The algorithm was introduced in Seam Carving for Content-Aware Image Resizing (2007) and refined in Improved Seam Carving for Video Retargeting (2008).
Algorithm Overview
We first need a metric of which regions in an image are unimportant. The purpose of an energy function is to assign to each pixel a value, , indicating its importance to the image. Unnoticeable pixels that blend with their surroundings should have low energy values. The energy function presented in the original seam carving paper is the simple gradient magnitude:
Below we see an image and its “energy map”, which is the gradient magnitude - computed with a simple convolution operation.

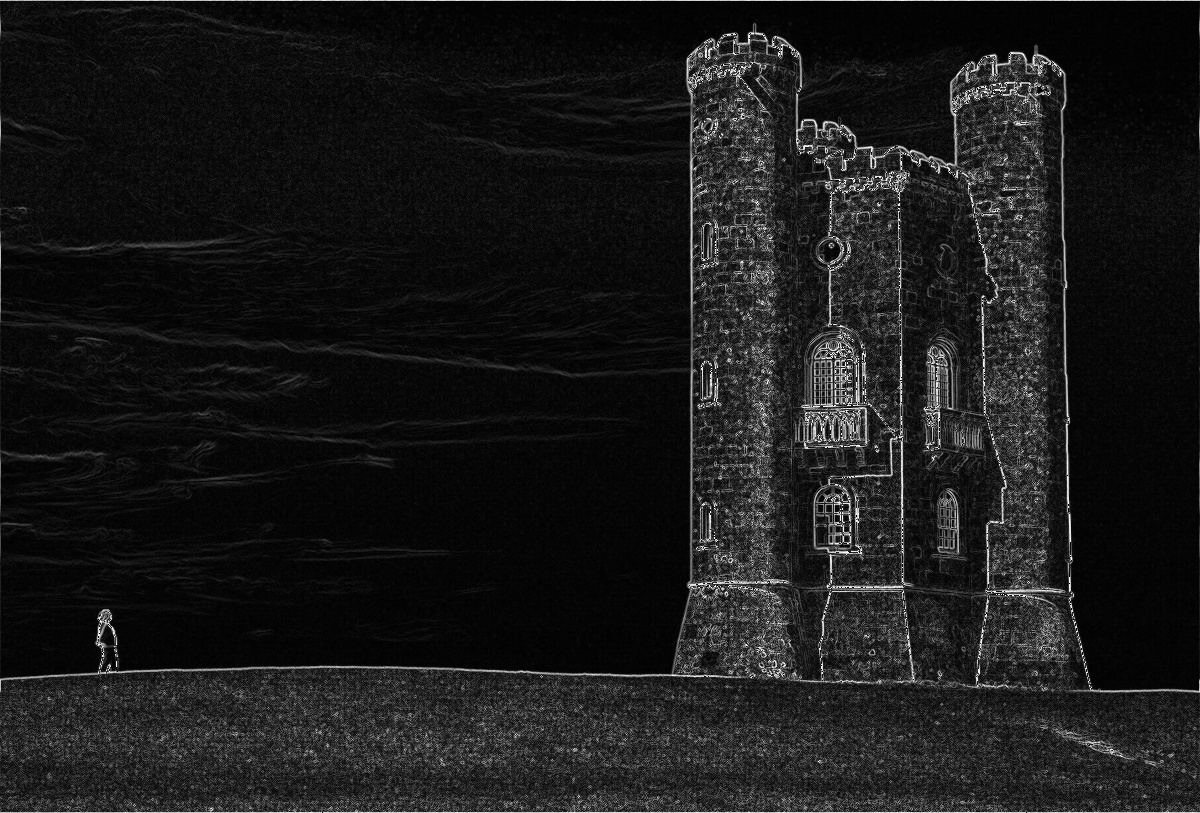
We will soon see a more sophisticated energy map, but for now the gradient magnitude gives satisfactory results.
Define a vertical seam to be a 8-connected path of pixels in the image from top to bottom, containing exactly one pixel in each row of the image. Similarly, a horizontal seam is a path from right to left, containing exactly one pixel in each column of the image. The effect of removing a seam is to shift pixels up (or left) to compensate for the missing path. By repeatedly carving out or inserting seams, we can retarget the image to a new size.
The energy map helps us determine which seam to remove. Defining the cost of a seam as the sum of the energy values along the pixels in the seam, we look for the optimal seam which minimizes this seam cost.
Finding the optimal seam is a simple dynamic programming exercise. The first step is to traverse the image from the second row to the last row and compute the cumulative minimum energy for all possible connected seams for each entry :
After filling in , the minimum value of the last row in will indicate the end of the minimal connected vertical seam. We can then backtrack from this minimum entry on to find the path of the optimal seam.
Seam Removal
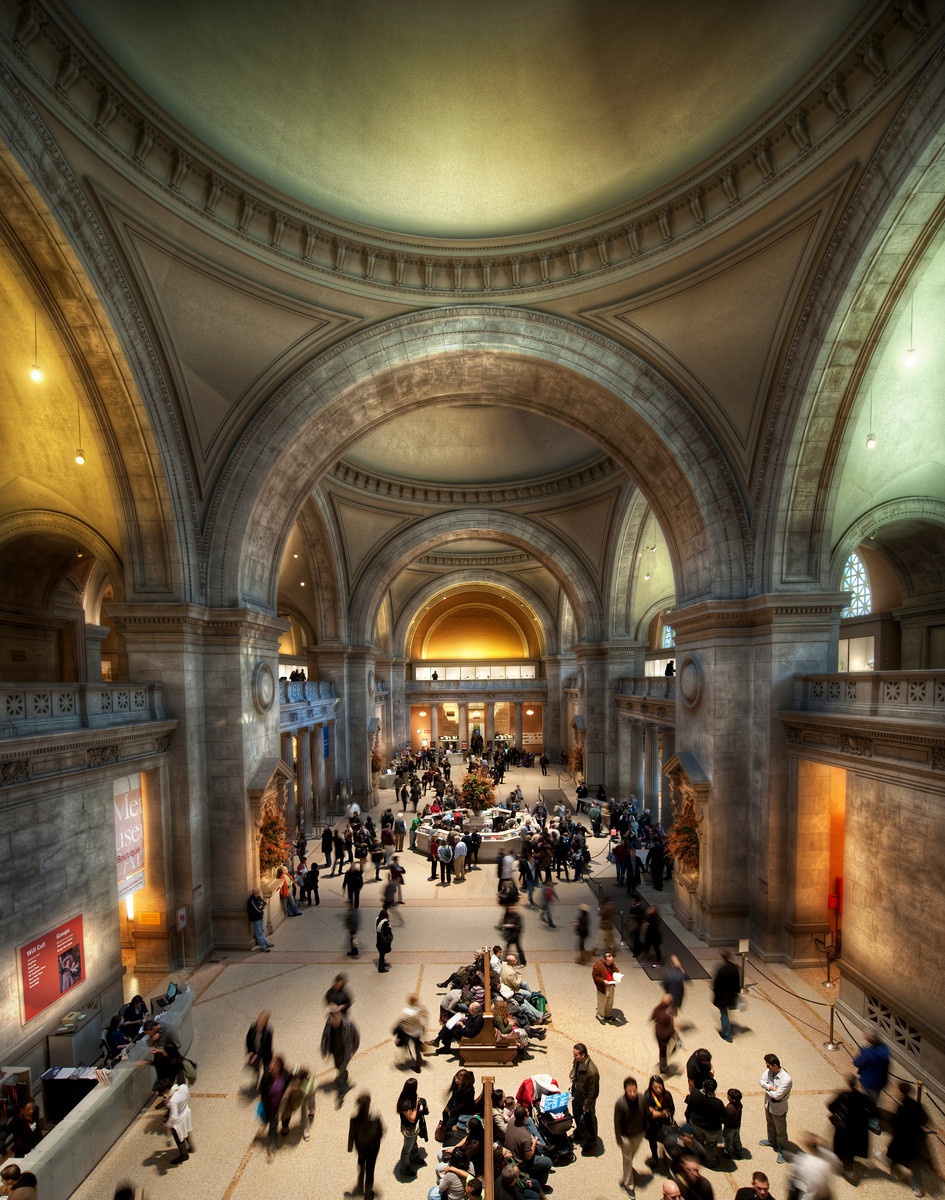
We’ll use the image below as our input.

Running vertical seam removal to reduce the image width by half, we get the following:

As we can see, most of the important landmarks in the image have been left intact. The algorithm removed some of the trees and rock formations that contributed the least to the image.
More examples are shown below.


We can also perform horizontal seam removal by simply rotating the image prior to applying the algorithm.

Bells & Whistles: Protective Masking
Sometimes we would like to specify regions in the image that should not be modified. This can be accomplished by providing a binary mask to the removal algorithm. White areas of the mask can be given large positive energy values in the corresponding energy map to strongly discourage the optimal seam from passing through the region.
Below we show an input image and its protective mask.


The protected regions are left intact by the seam removal process. As an implementation detail, it is important to update both the image and the mask with seam removals so as to keep them consistent.

Bells & Whistles: Seam Insertion
We can also perform seam insertion with a simple modification to the removal process. We follow the technique described in the original paper: to enlarge an image by , we find the first seams for removal. Then we add them back to the image in reverse order by averaging the pixel values across the seam. Some examples are shown below; the orignal is on the left and the resized image is on the right.


Bells & Whistles: Object Removal
We can use the same masking technique from before to select regions for removal; instead of giving the corresponding energy map region a large positive energy, we give the region a large negative energy. By repeatedly removing seams until the removal mask is empty, we can remove the object from the image.
We can use both object removal masks and protective masks together, as seen in the example below.

We can additionally perform seam insertion after object removal to preserve the aspect ratio, if desired.


The process is illustrated below.

The choice of whether to perform vertical or horizontal seam removal depends on the context of the image and is left as an optional argument to the program (by default, vertical seams are removed).
Bells & Whistles: New Energy Function
One year after the original seam carving paper, the authors introduced an improved energy function called forward energy. The original gradient magnitude energy function ignores energy that is inserted into the retargeted image. The inserted energy is due to new edges created by previously non adjacent pixels that become neighbors once the seam is removed. We call the original energy function “backward energy” and the new energy function “forward energy” because the new criterion looks forward at the resulting image instead of backward at the image before removing the seam.
The main idea of forward energy is shown in the figure below (taken from the paper):

Calculating the three possible vertical seam step costs for pixel using forward energy. After removing the seam, new neighbors (in gray) and new pixel edges (in red) are created. In each case the cost is defined by the forward difference in the newly created pixel edges.
Forward energy almost always gives better results than backwards energy. Shown below are some examples with the input image (left) and the result of resizing using backward energy (center) and forward energy (right).


Failures
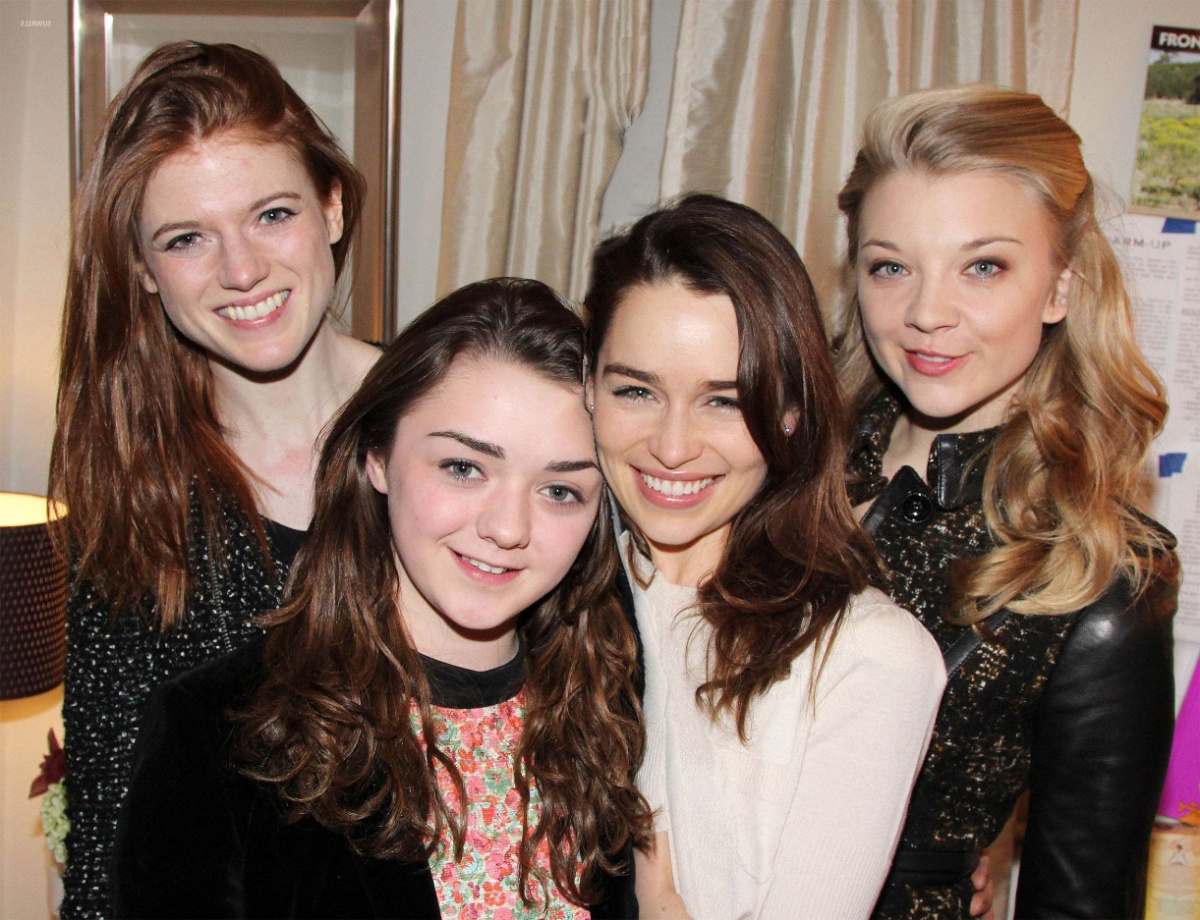
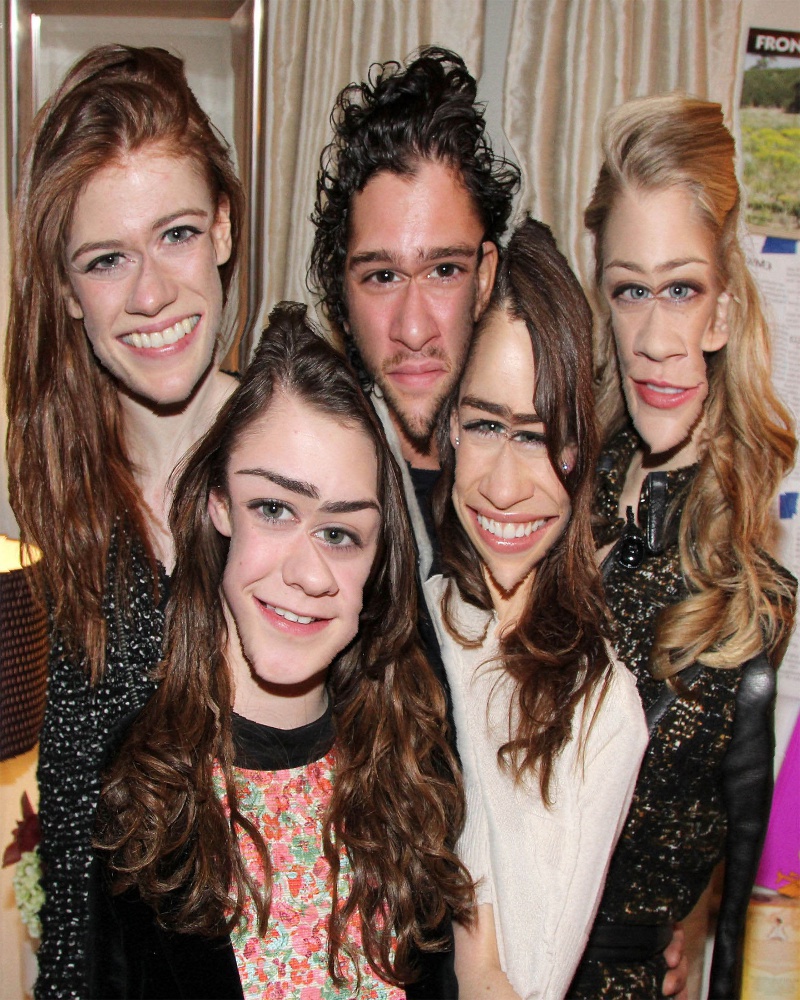
No matter how good the energy function is, images simply cannot be resized indefinetely without creating strong artifacts. Excessive seam removal will cause human faces, for example, to suffer, resulting in rather amusing Picasso-esque features.
Excessive seam insertion will cause noticeable streching artifacts:


Object removal where the image halves do not blend well will result in noticeable distortions:


What I learned
Seam carving is definitely my favorite example of dynamic programming. Despite its simplicity, the algorithm produces great-looking results for the most part. I learned that the choice of energy function is perhaps the most important part of the algorithm and is key to getting results that match our intuitive understanding of the scene.
Project 2: Fake Miniatures
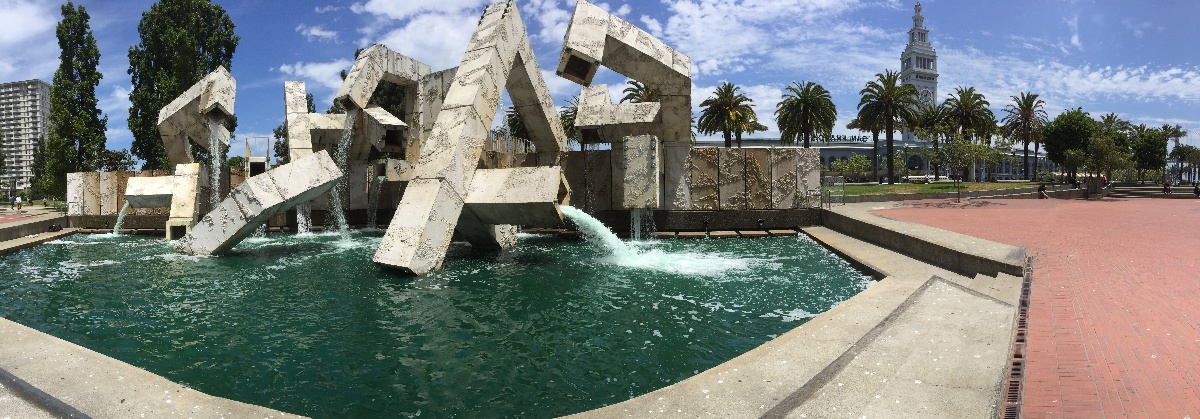
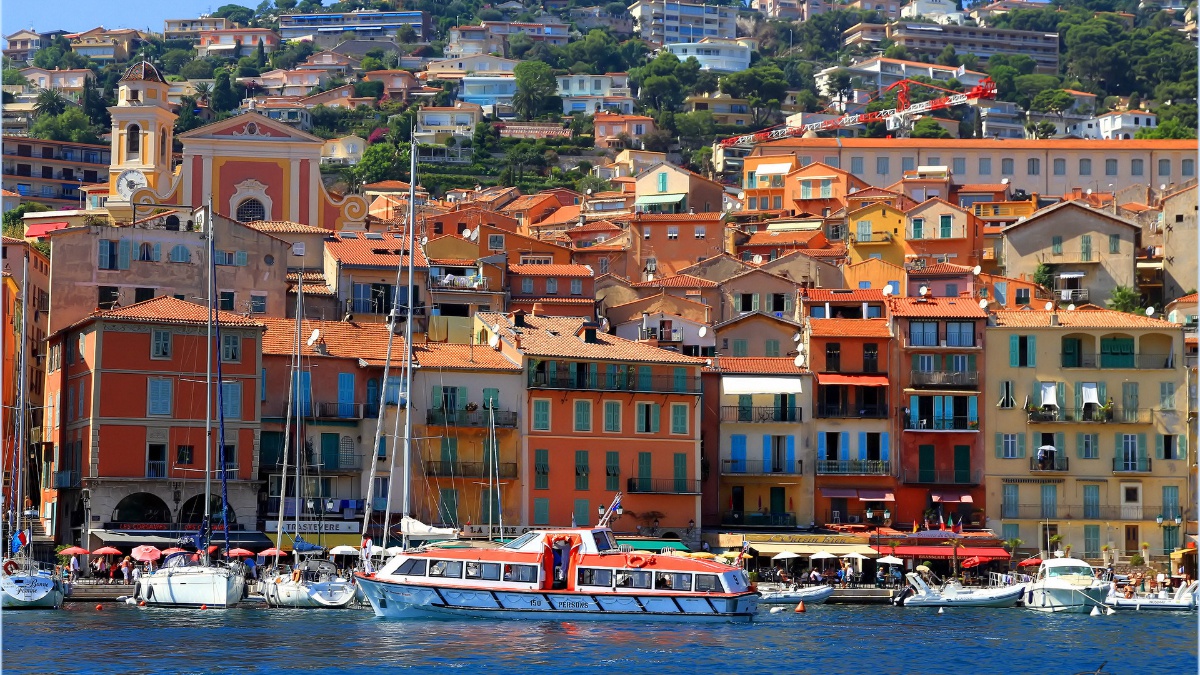
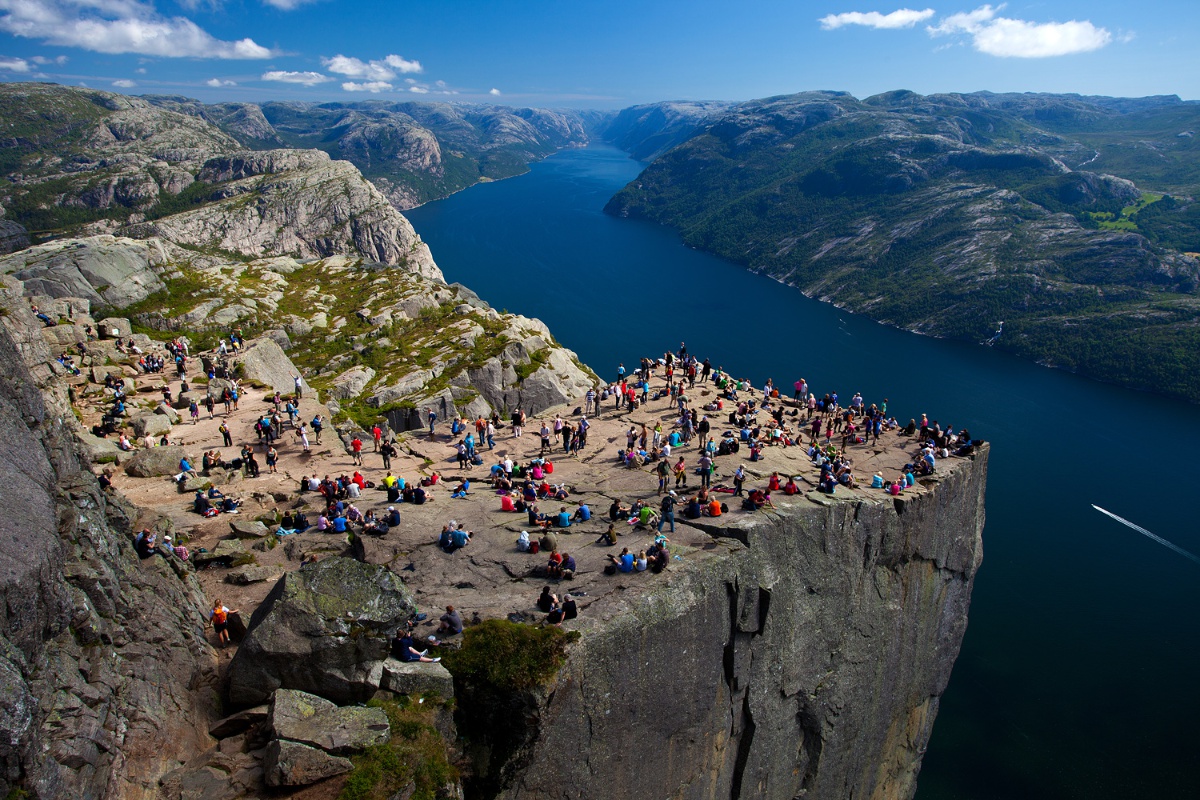
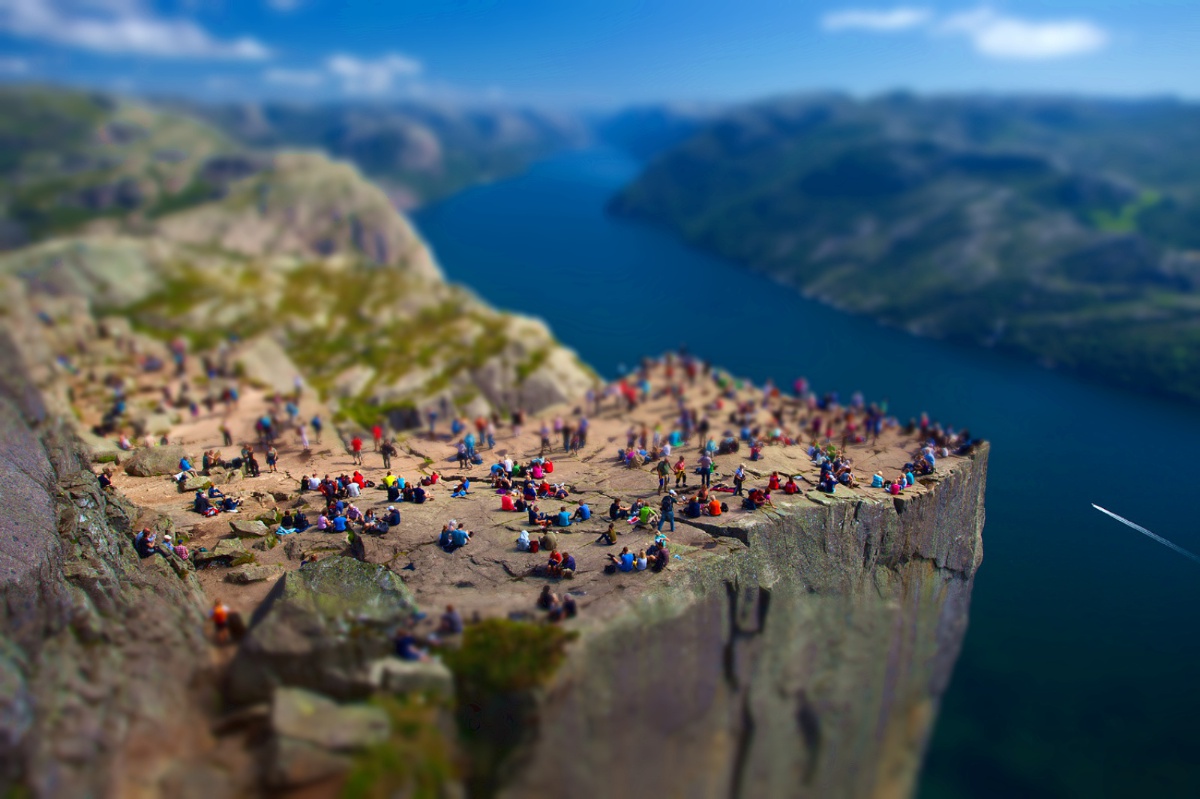
Miniature faking is the process of blurring parts of an image to simulate a shallow depth of field normally encountered in close-up photography, making the scene seem much smaller than it actually is. The process is often associated with tilt-shift photography because miniatures can be simulated optically by using tilt-shift lens.
Implementation
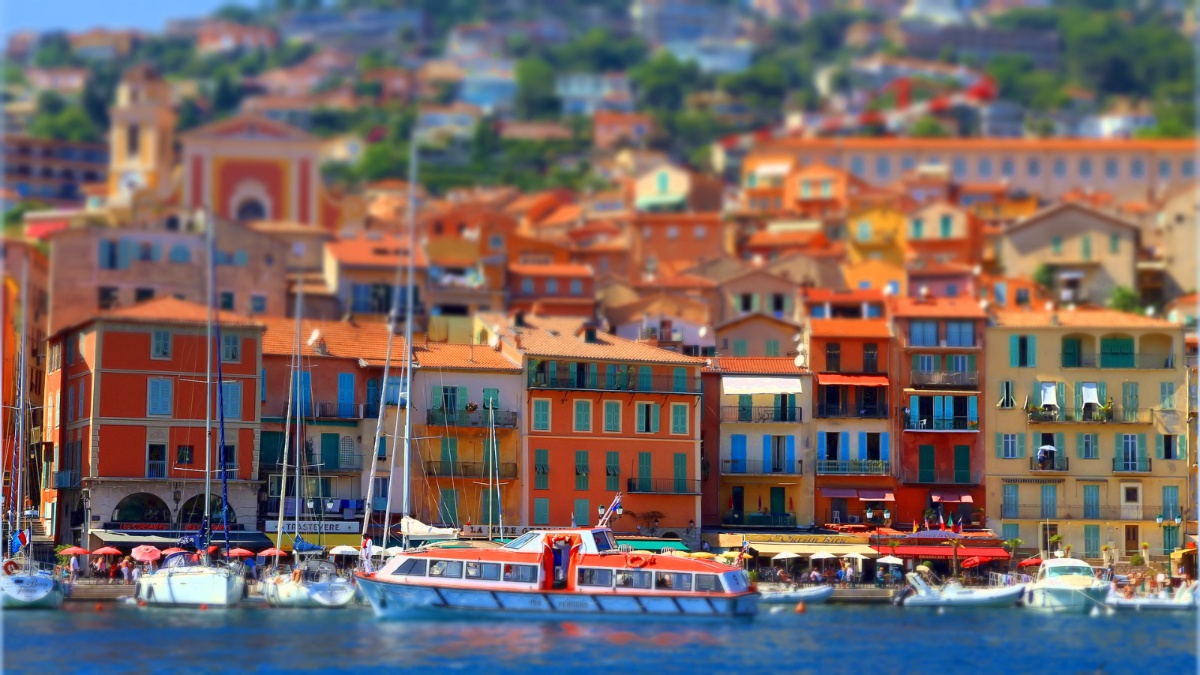
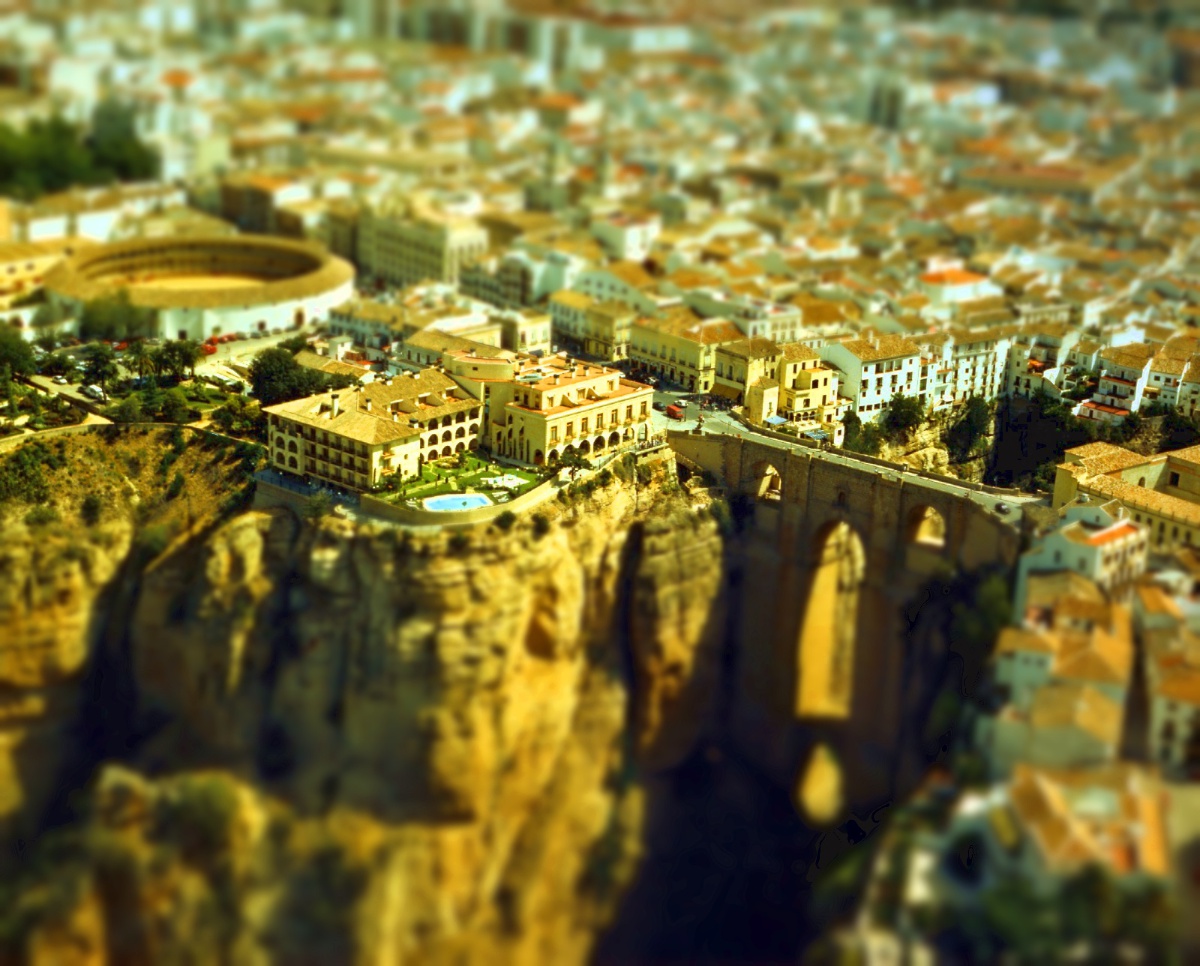
The goal is to programmatically simulate a tilt-shift effect to create a fake miniature look. We start by having the user choose a point in the image to represent the height of a horizontal focus line. We take a range of pixels (the simulated “DOF”) above and below this line to be in focus (i.e. not blurred), and increasingly blur regions farther away from this focus line. The heuristic is that objects on the same straight line are at the same depth.
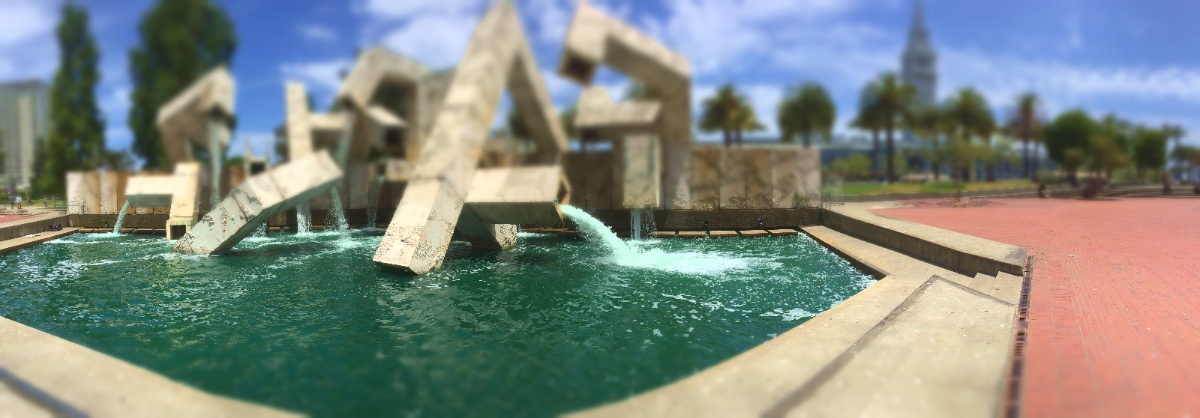
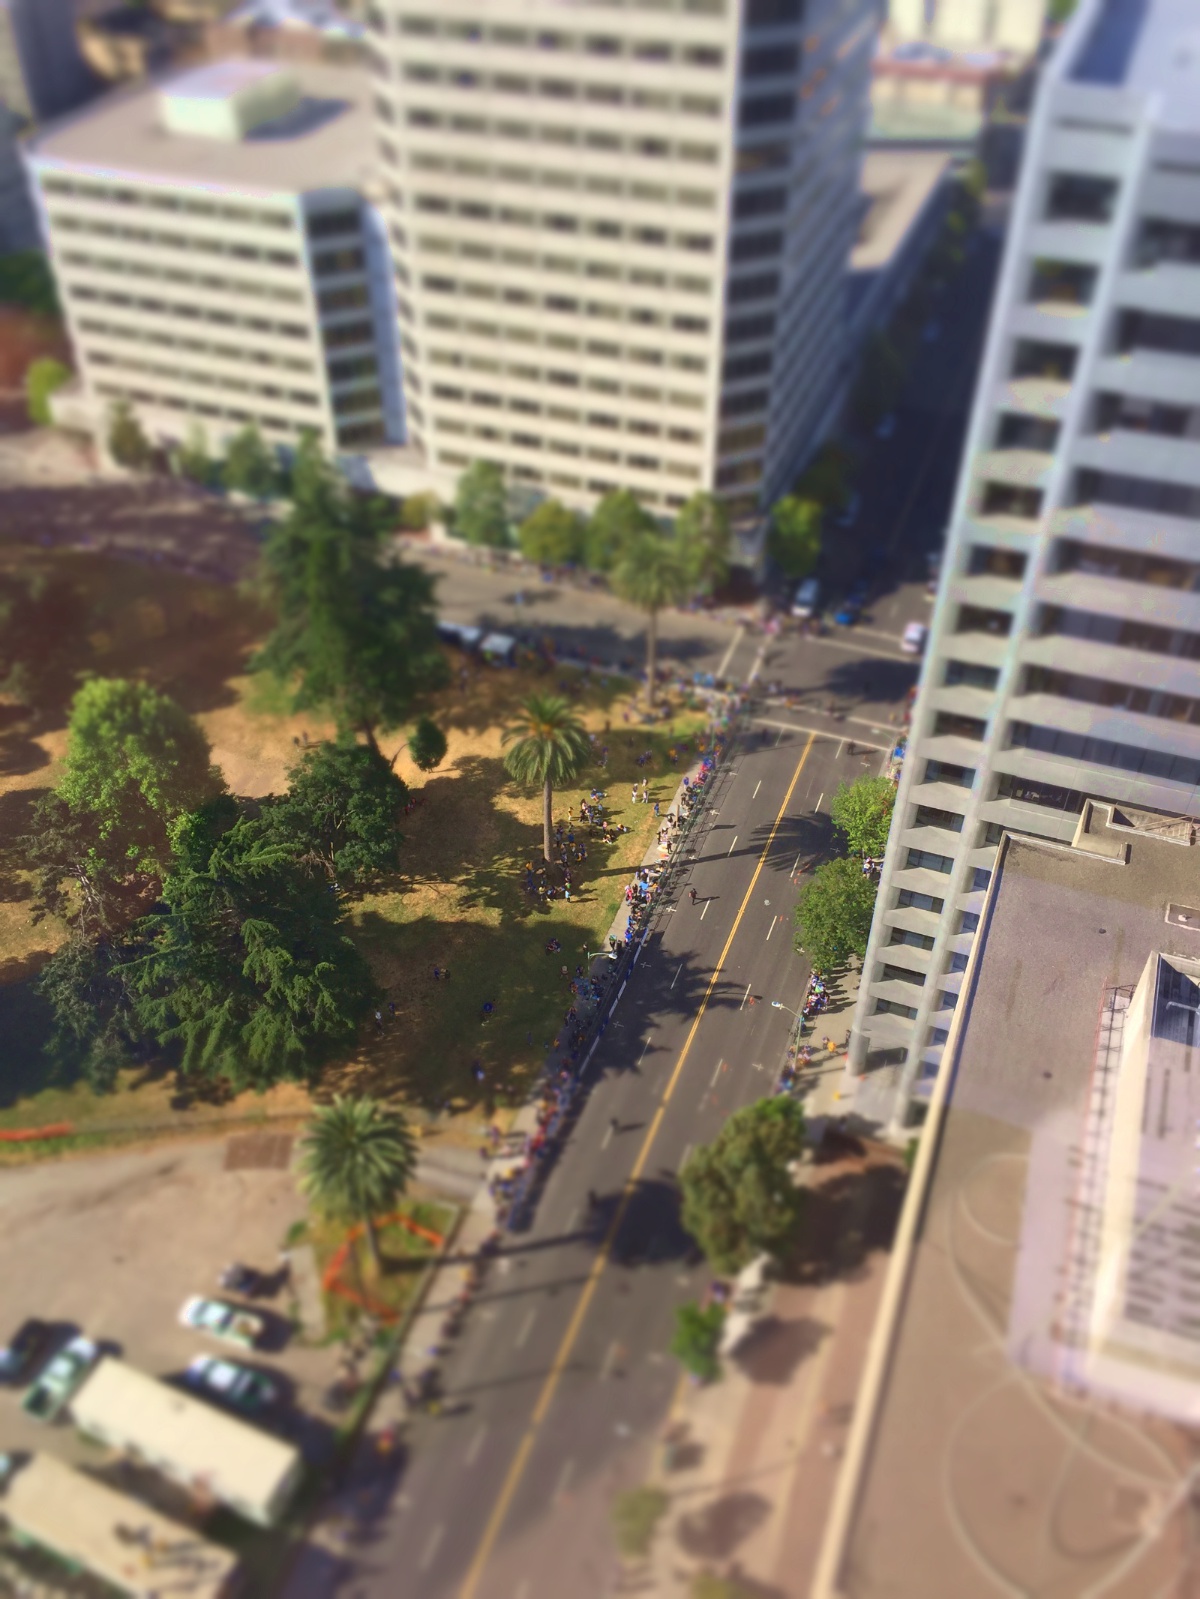
We also increase the saturation and brightness of the image to increase the illusion of a miniature.
Example Results
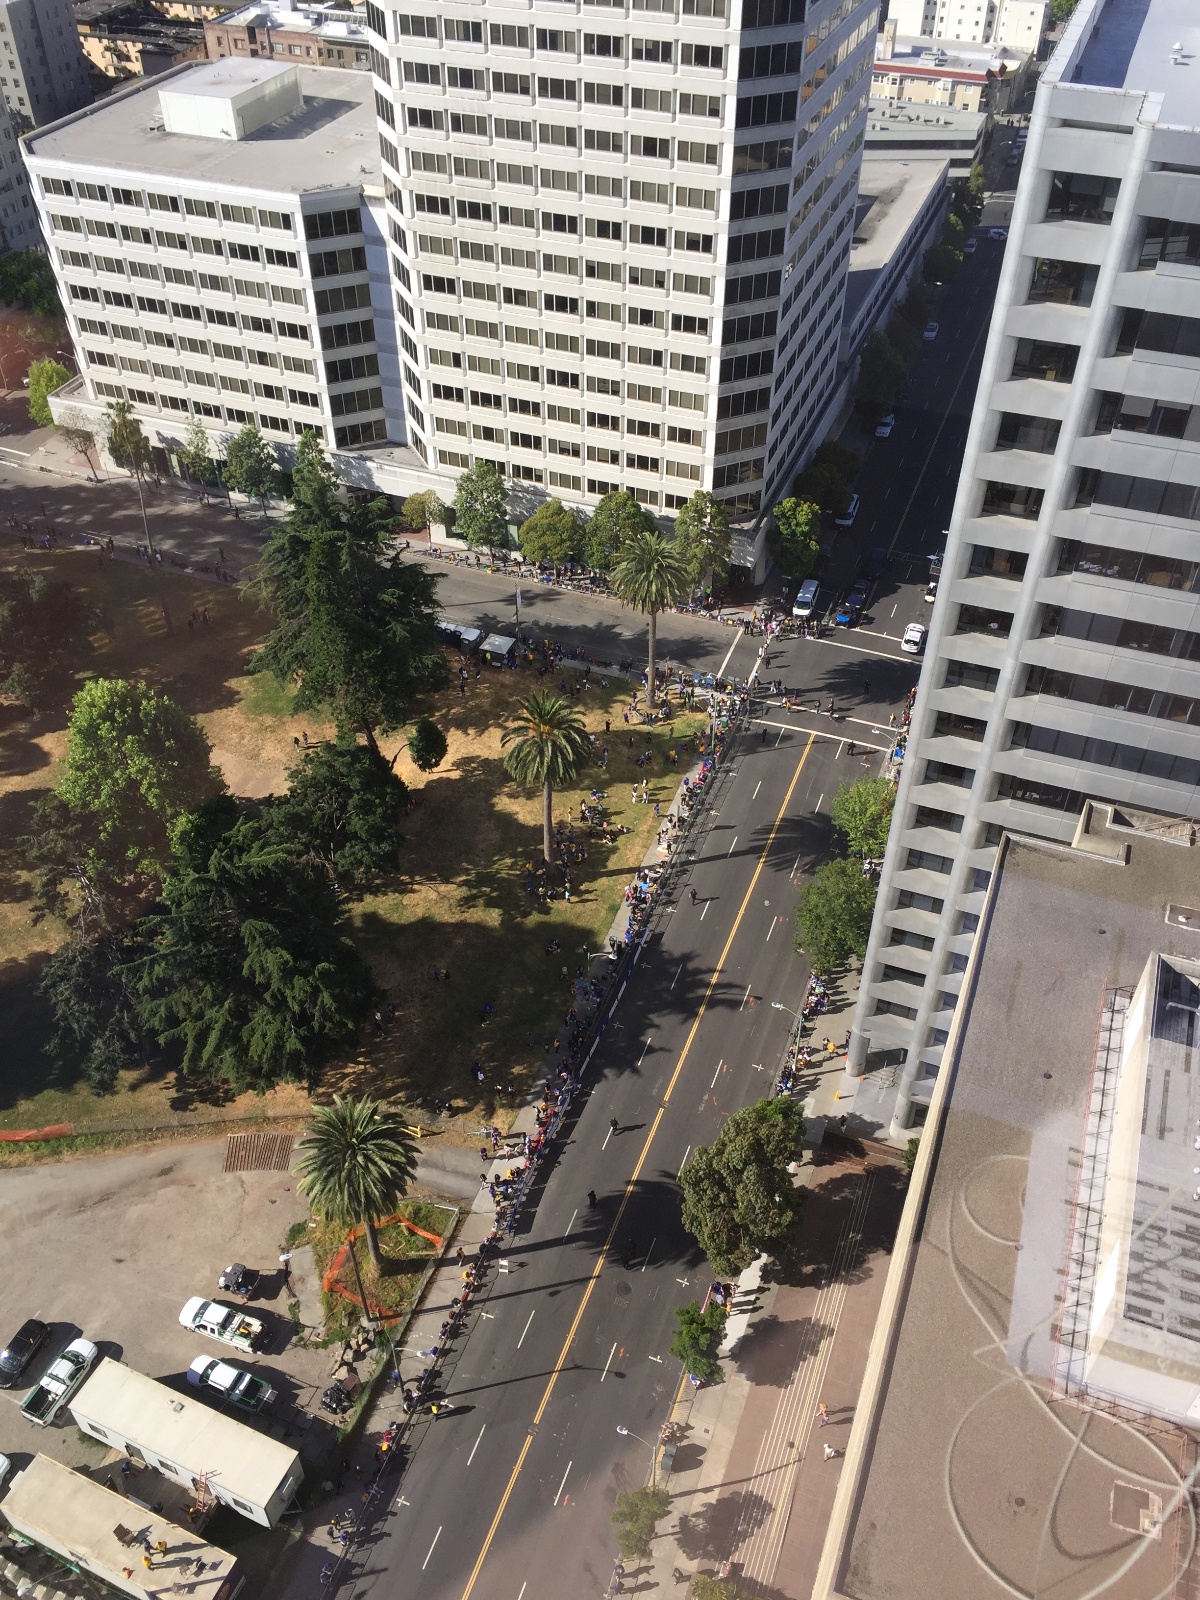
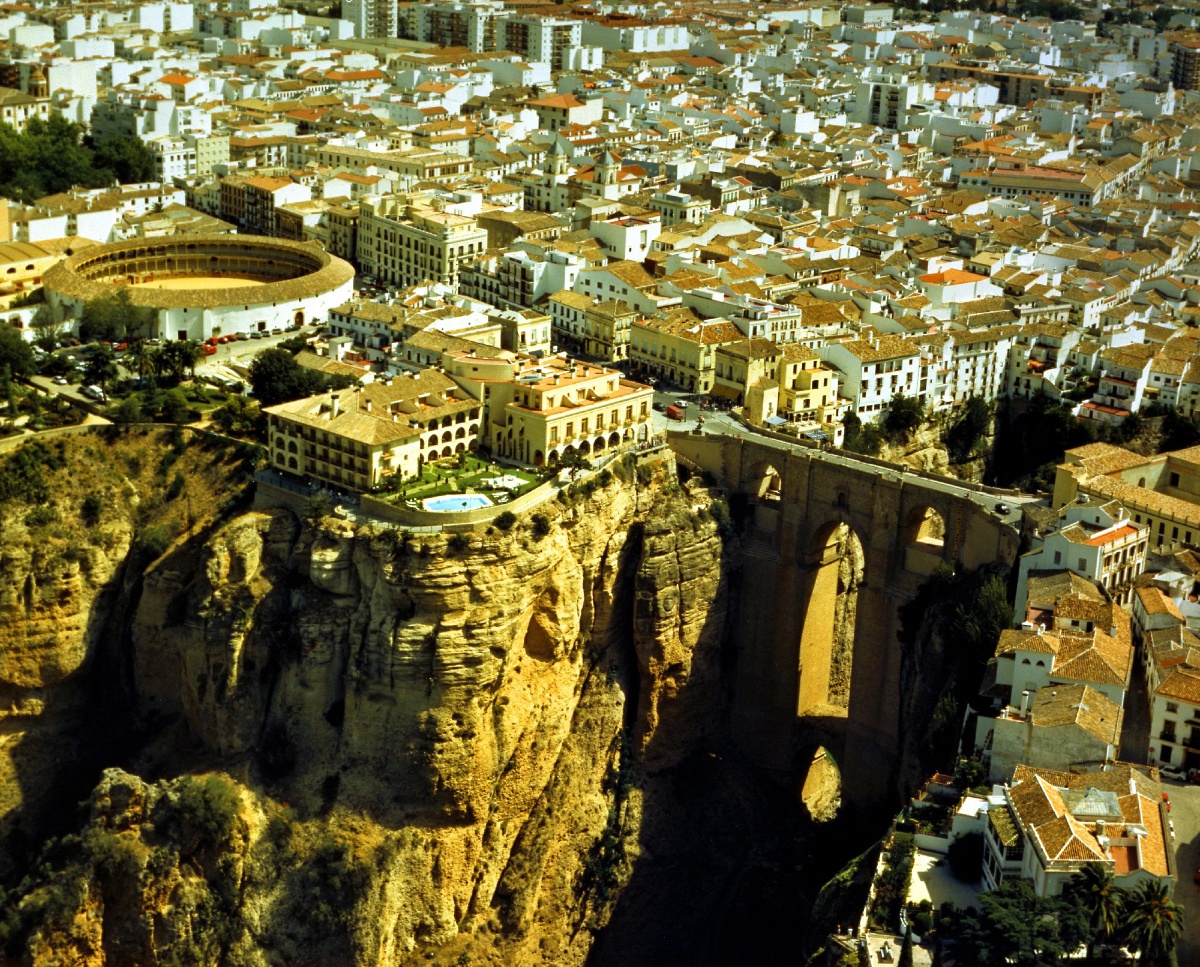
The effect works best on scenes with multiple, clearly delineated depth planes. Here are some example results on my own images.


Here are more results from images on the Internet.


Bells & Whistles: Fake stop-motion animation
We can apply the fake miniature effect to every frame in a video to get a stop-motion effect. The following video was created using timelapse clips from RIO - 8K and EuroLapse.