Final Project Submission
Name: Rohan Murthy(cs194-26-adk)
Miniature Fakes
Overview: Miniature Fakes
This project involved using the power of gaussian filters to bring focus to a specific region
of an image between two horizontal lines. Once this focus is made, it appears that the image is of
a fake object that is really tiny.
To do this, I first found the two y coordinate points for the focus region in the image.
Note that the entire focus region is all the rows of the image between these two y coordinates
(essentially imaginary horizontal lines).
I then use a gaussian blur with sigma of 2 to blur everything outside of the focus region. I
continue to blur, using a sigma of 2, the image such that the farther from the focus region
the more blurred the image gets. Also, for the images I increased the saturation to manipulate
the colors, as was suggested in the project spec, and the results came out great!
The original image of SF and the miniature fake:

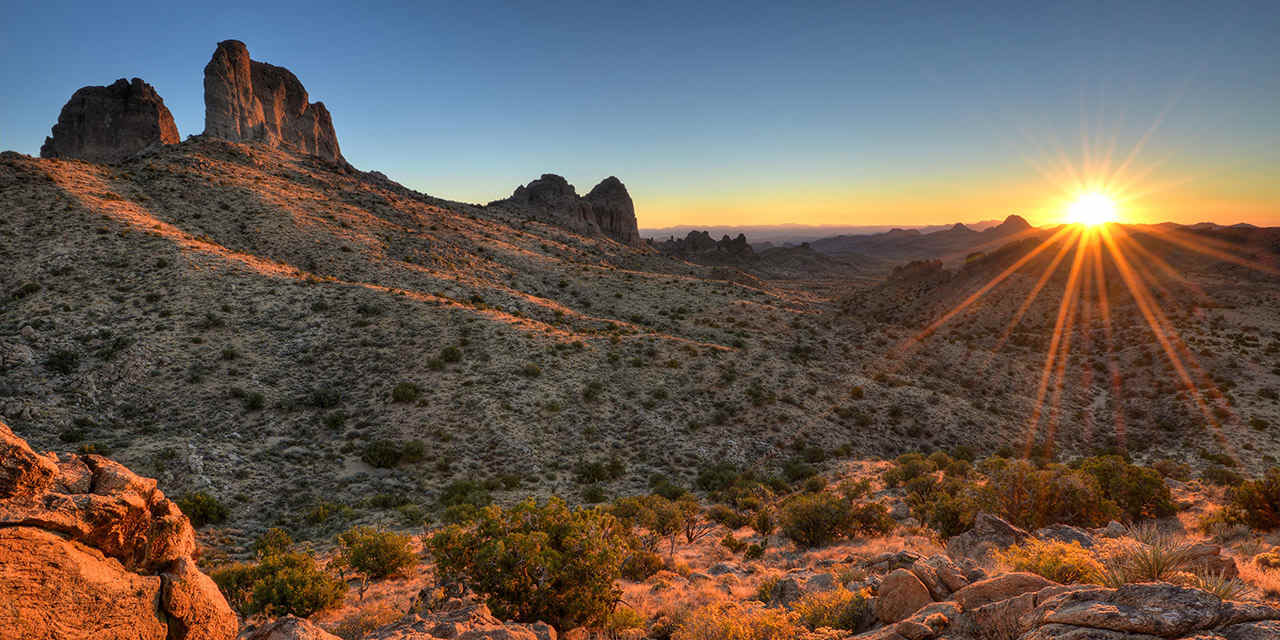
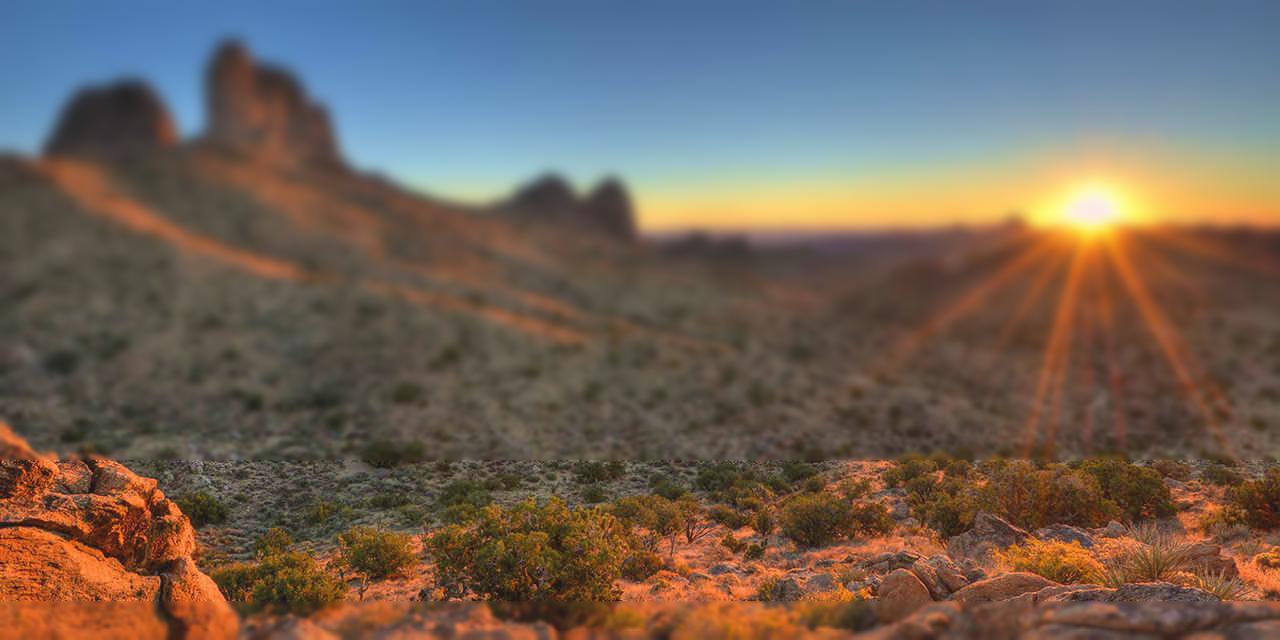
 The original image of desert and the miniature fake:
 The original image of Italy and the miniature fake:

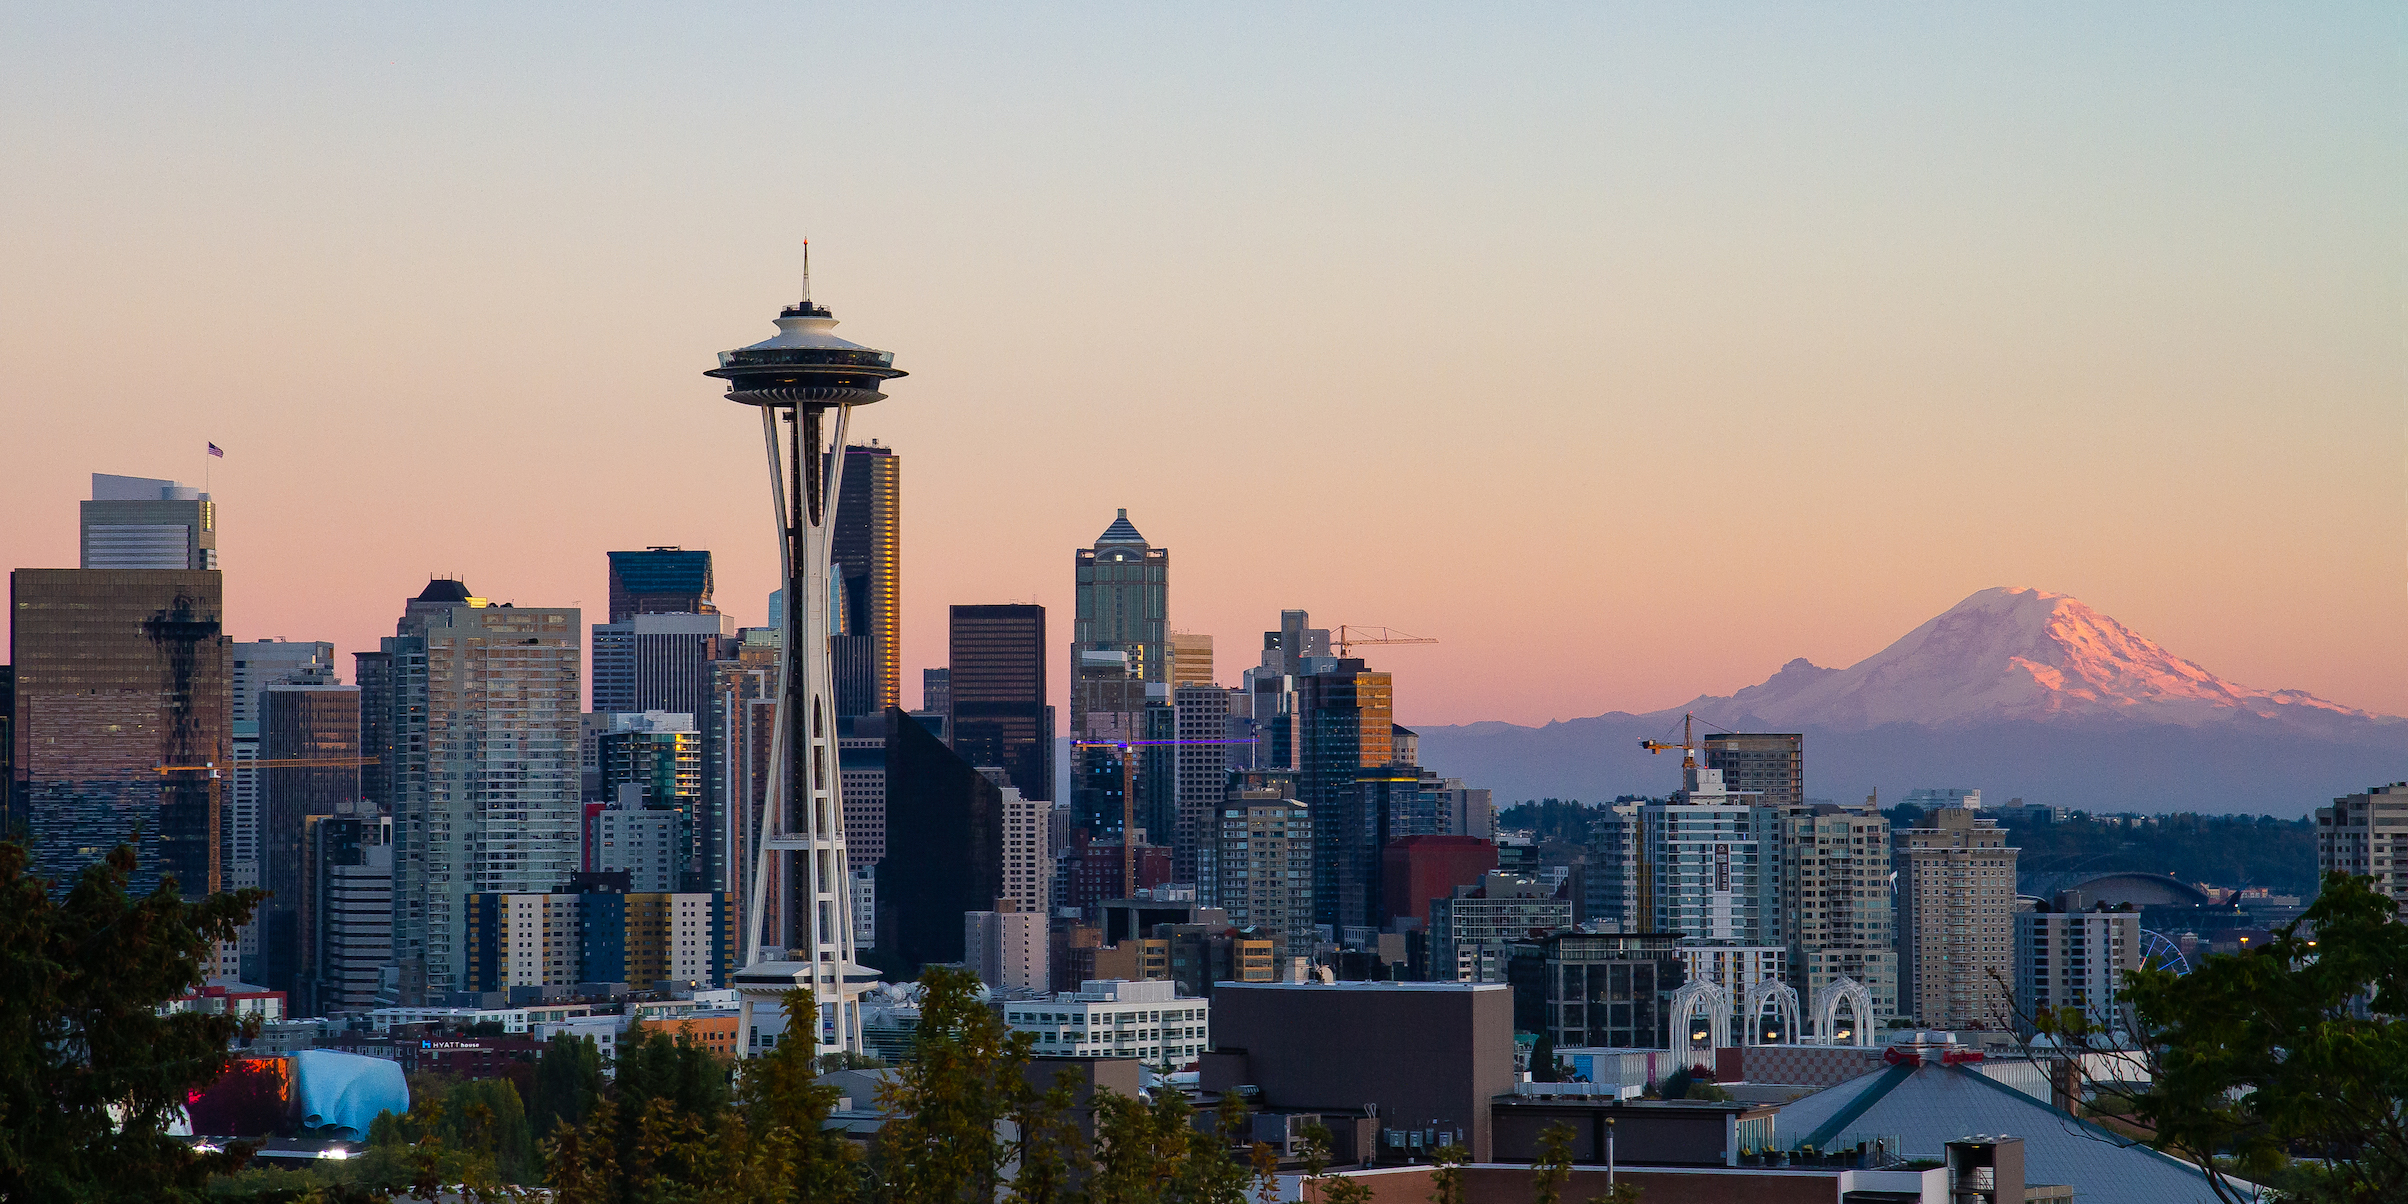
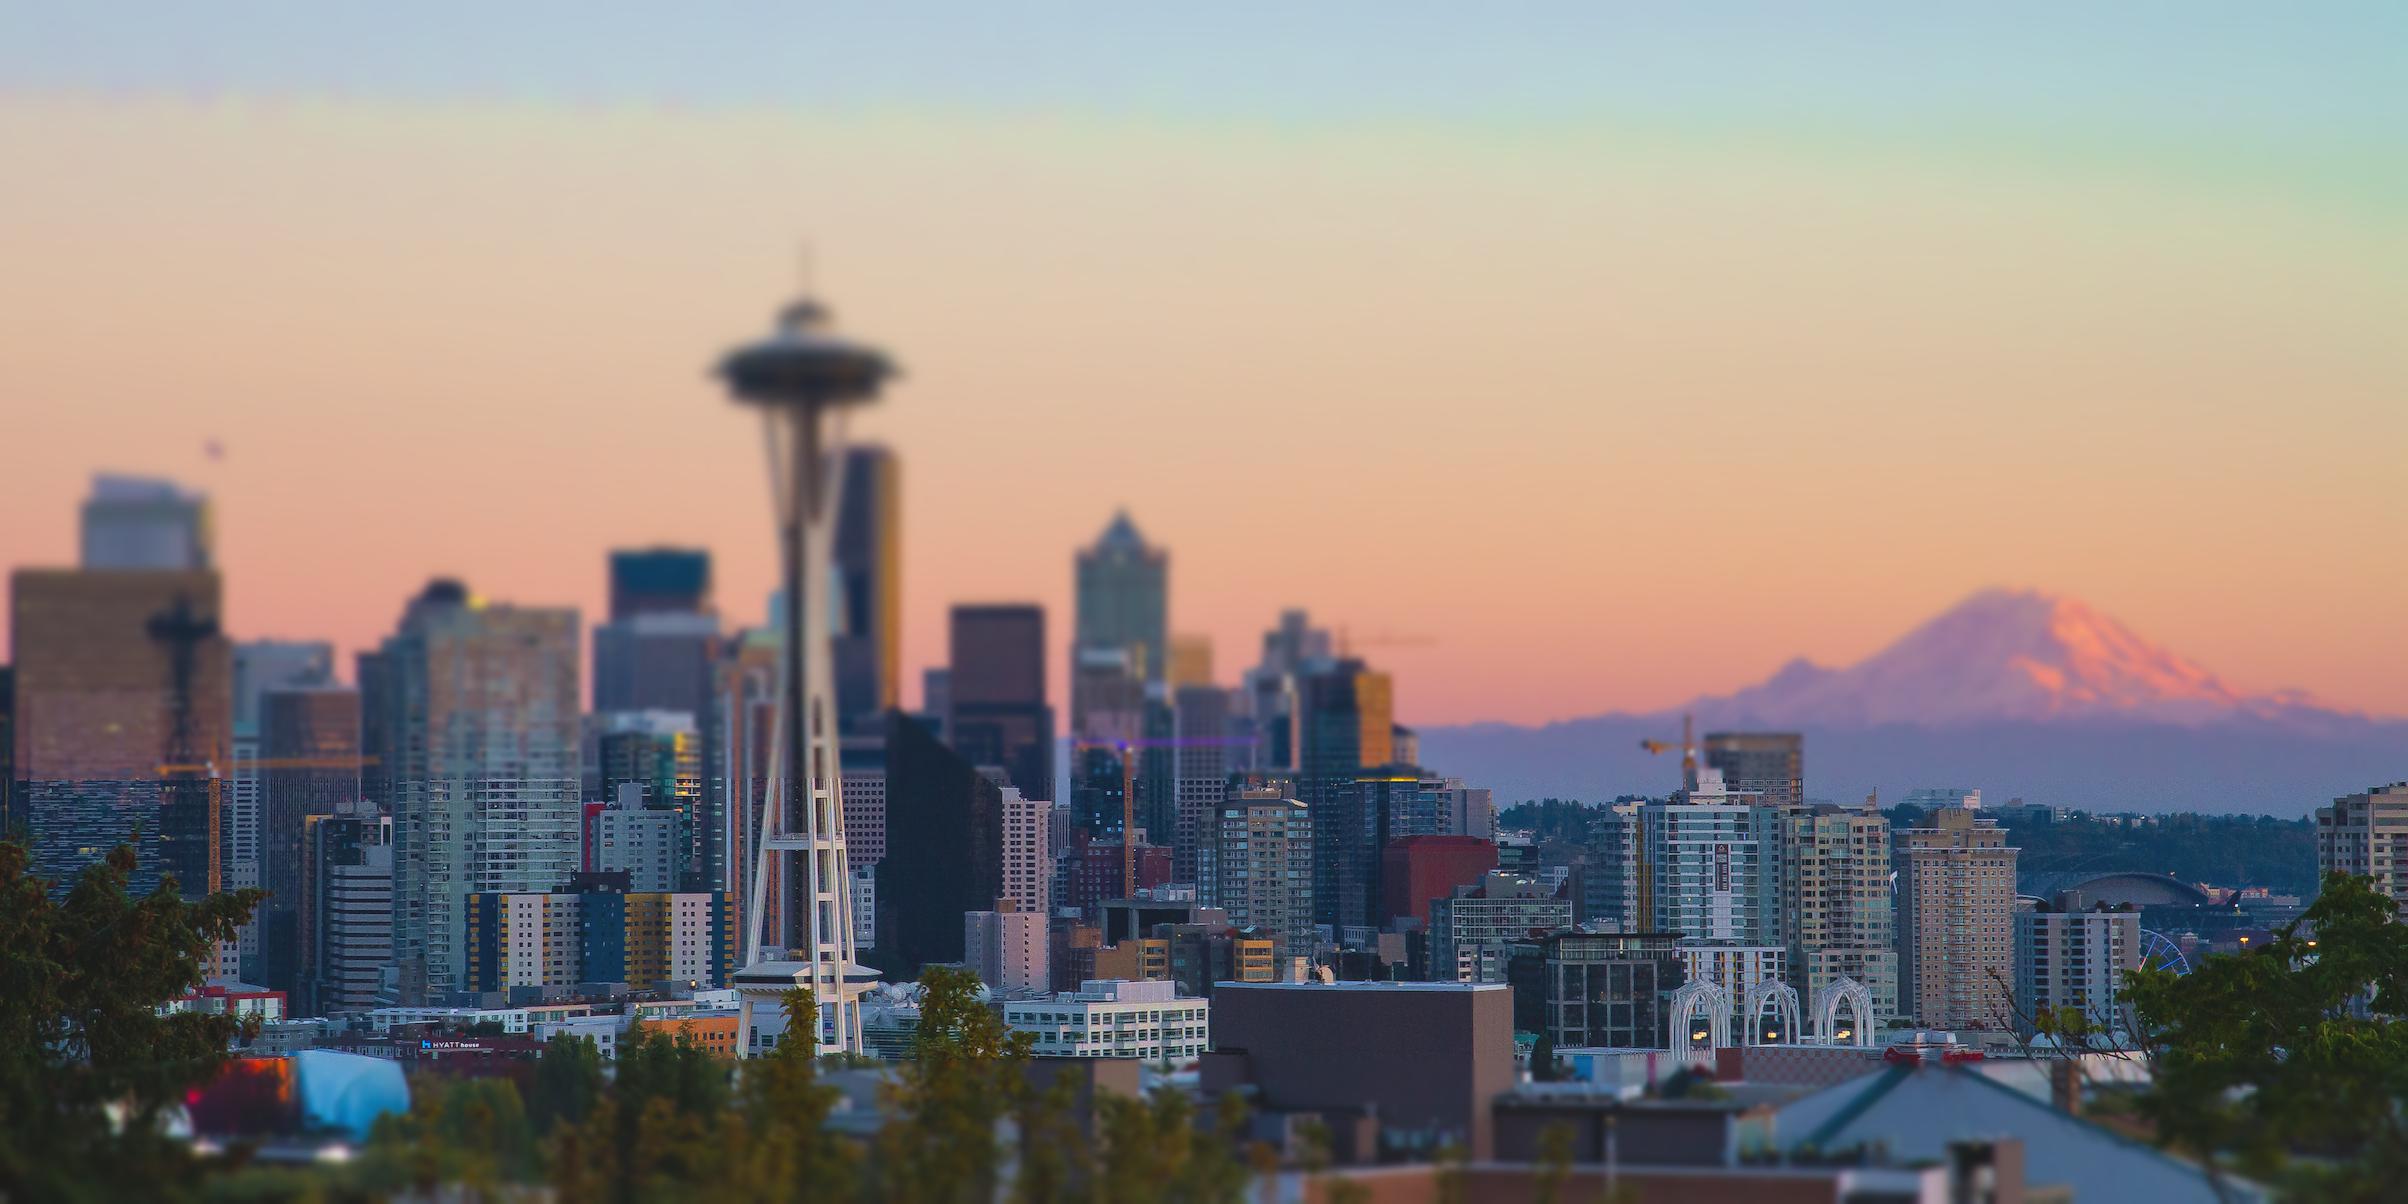
 The original image of Seattle and the miniature fake:
Images taken by me!:
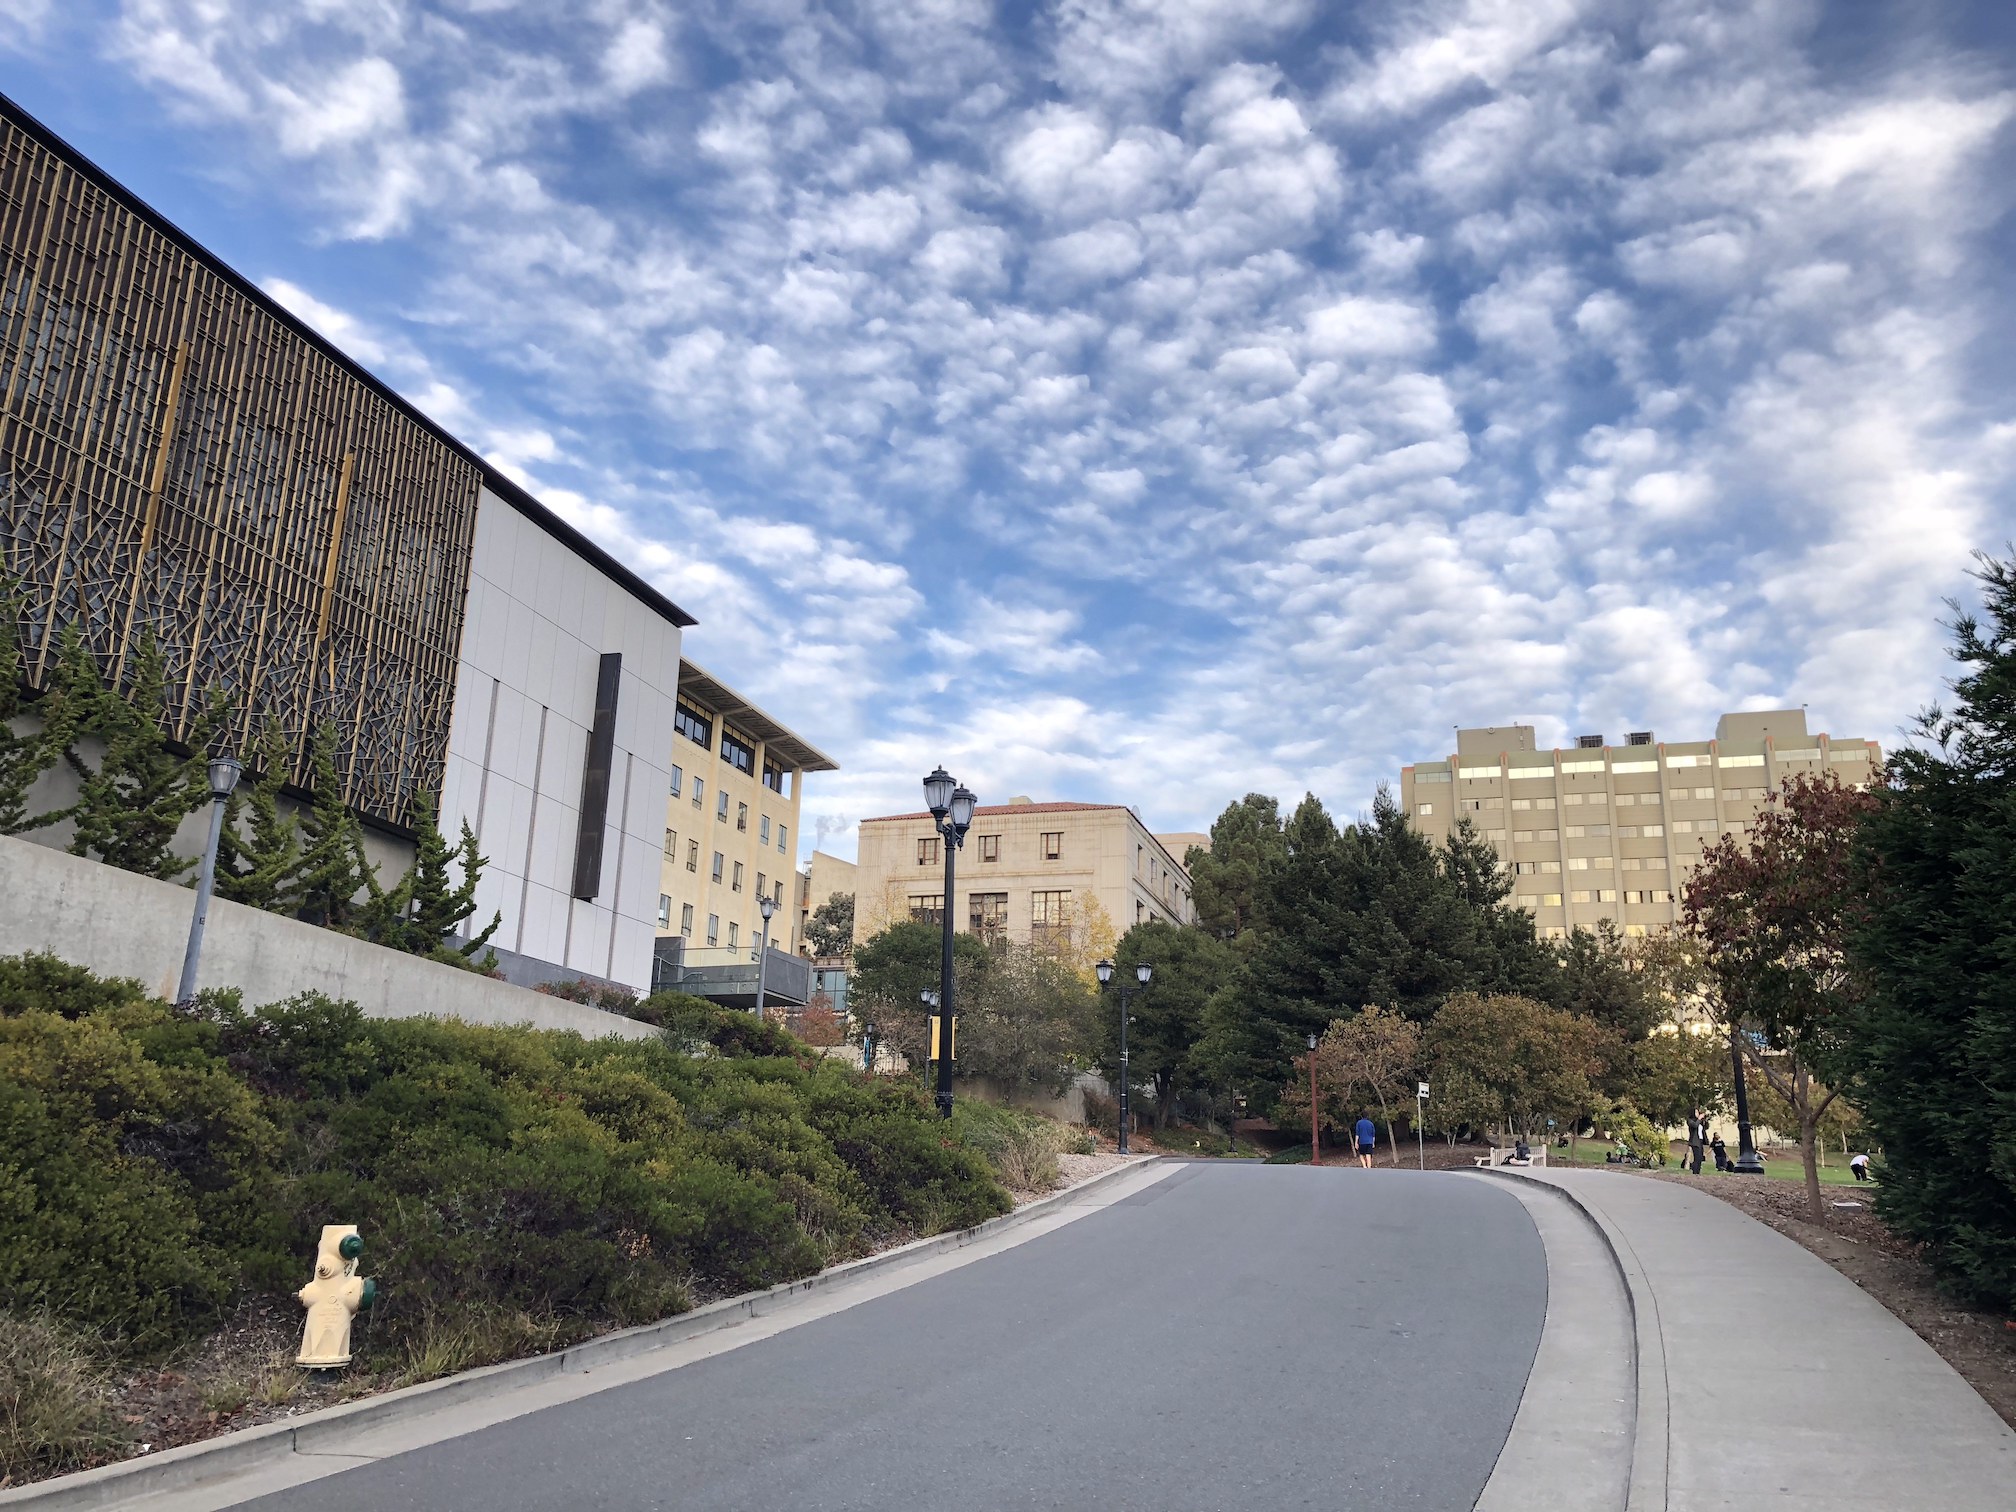
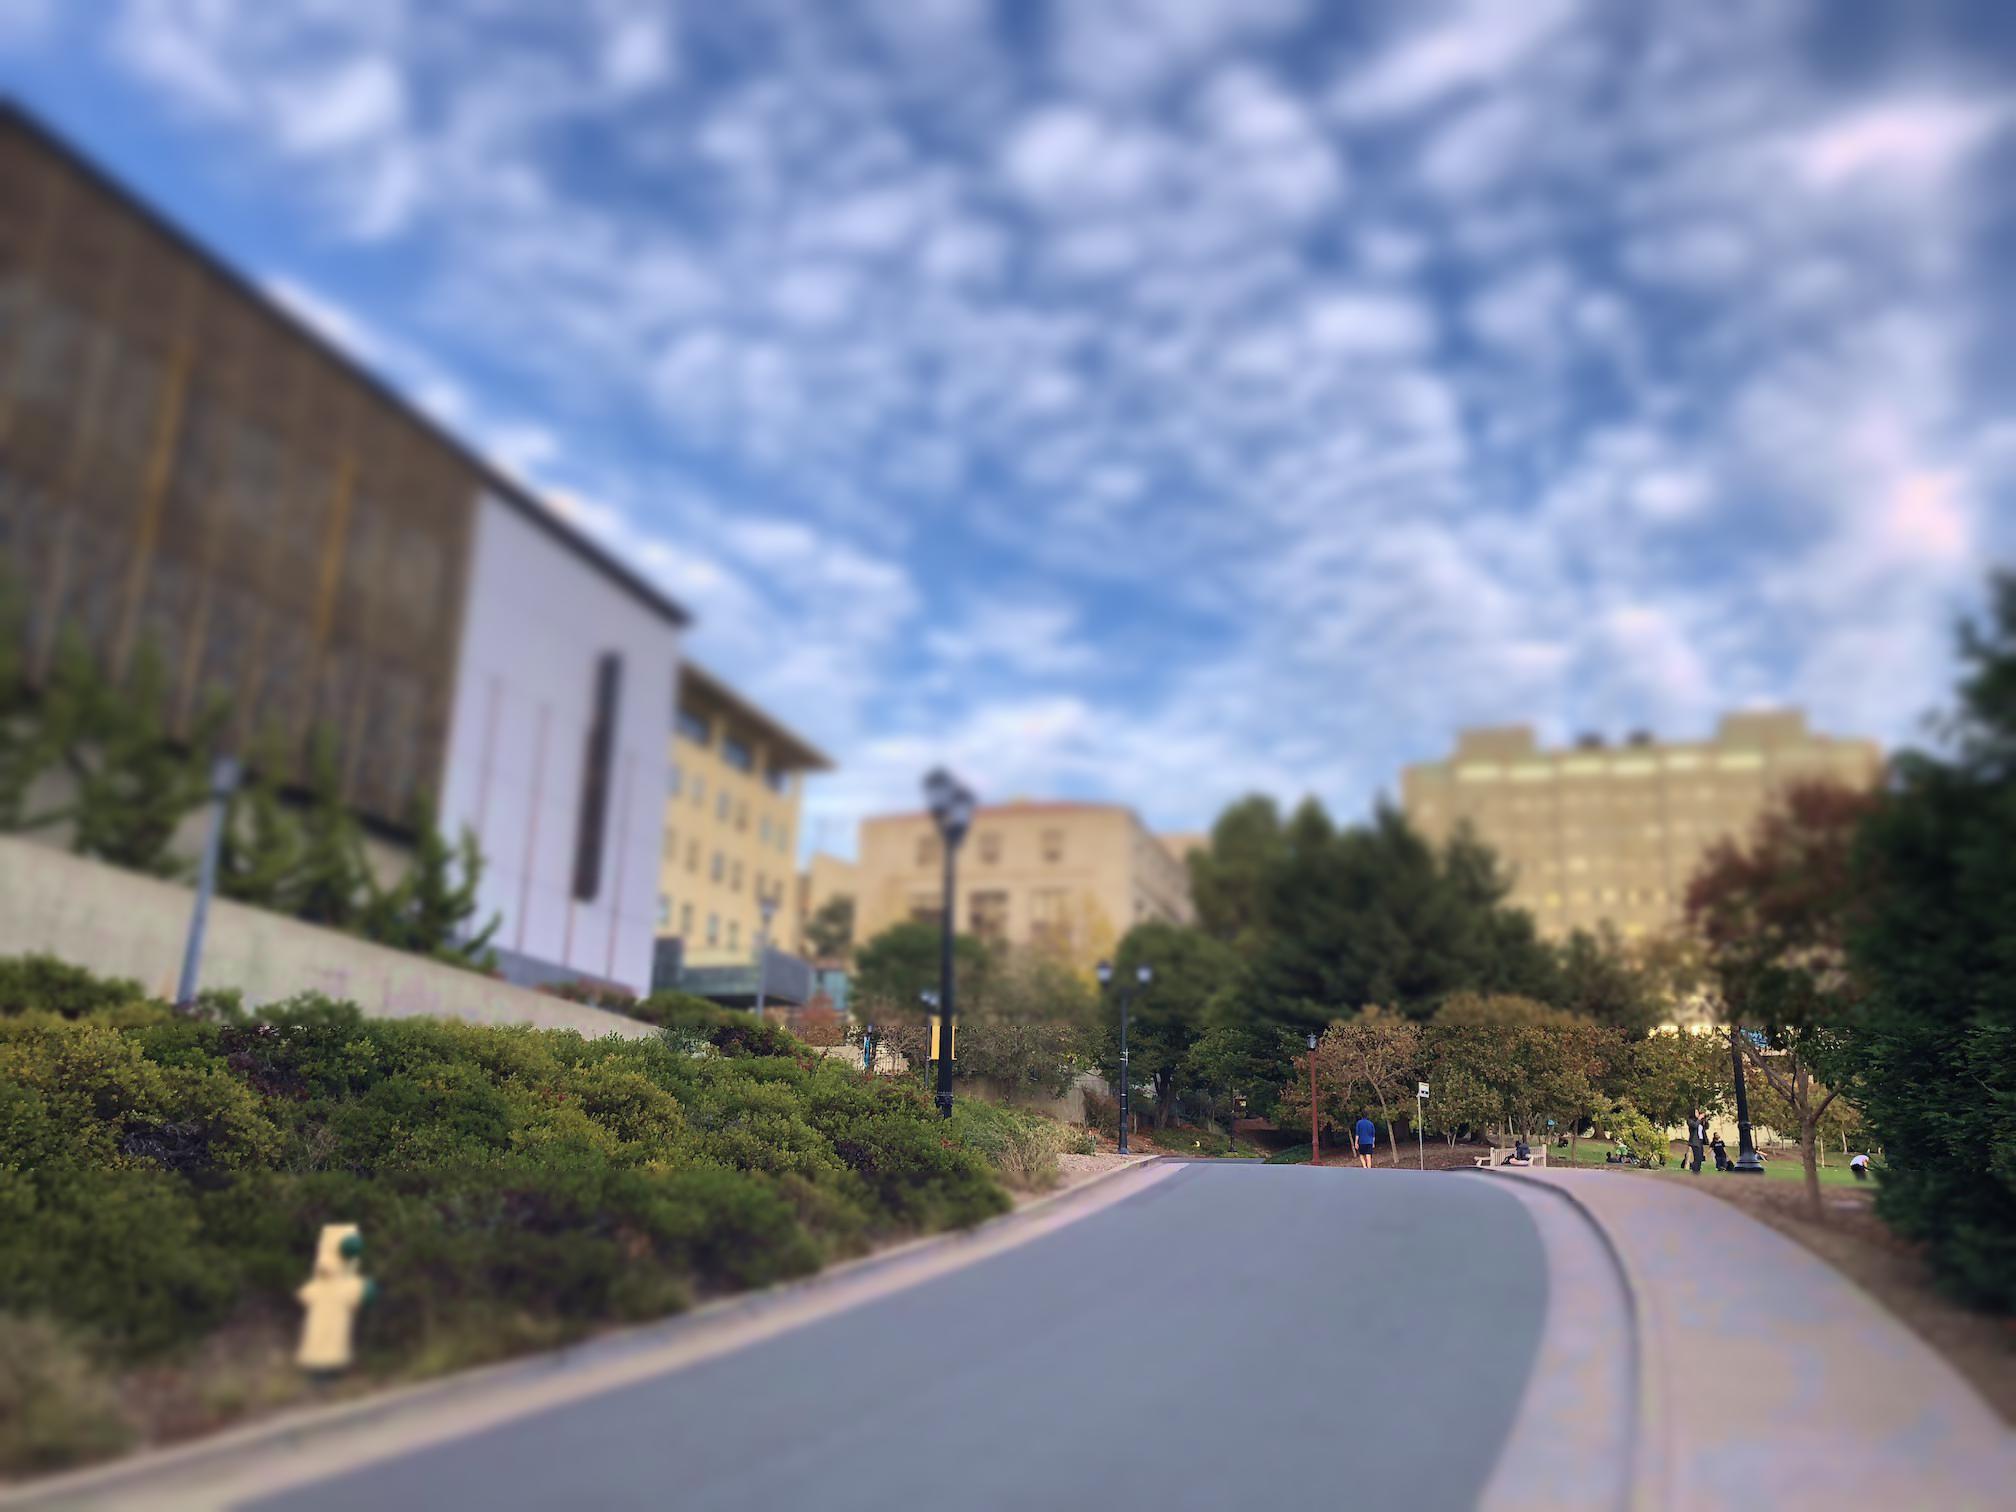
The original image of campus and the miniature fake:
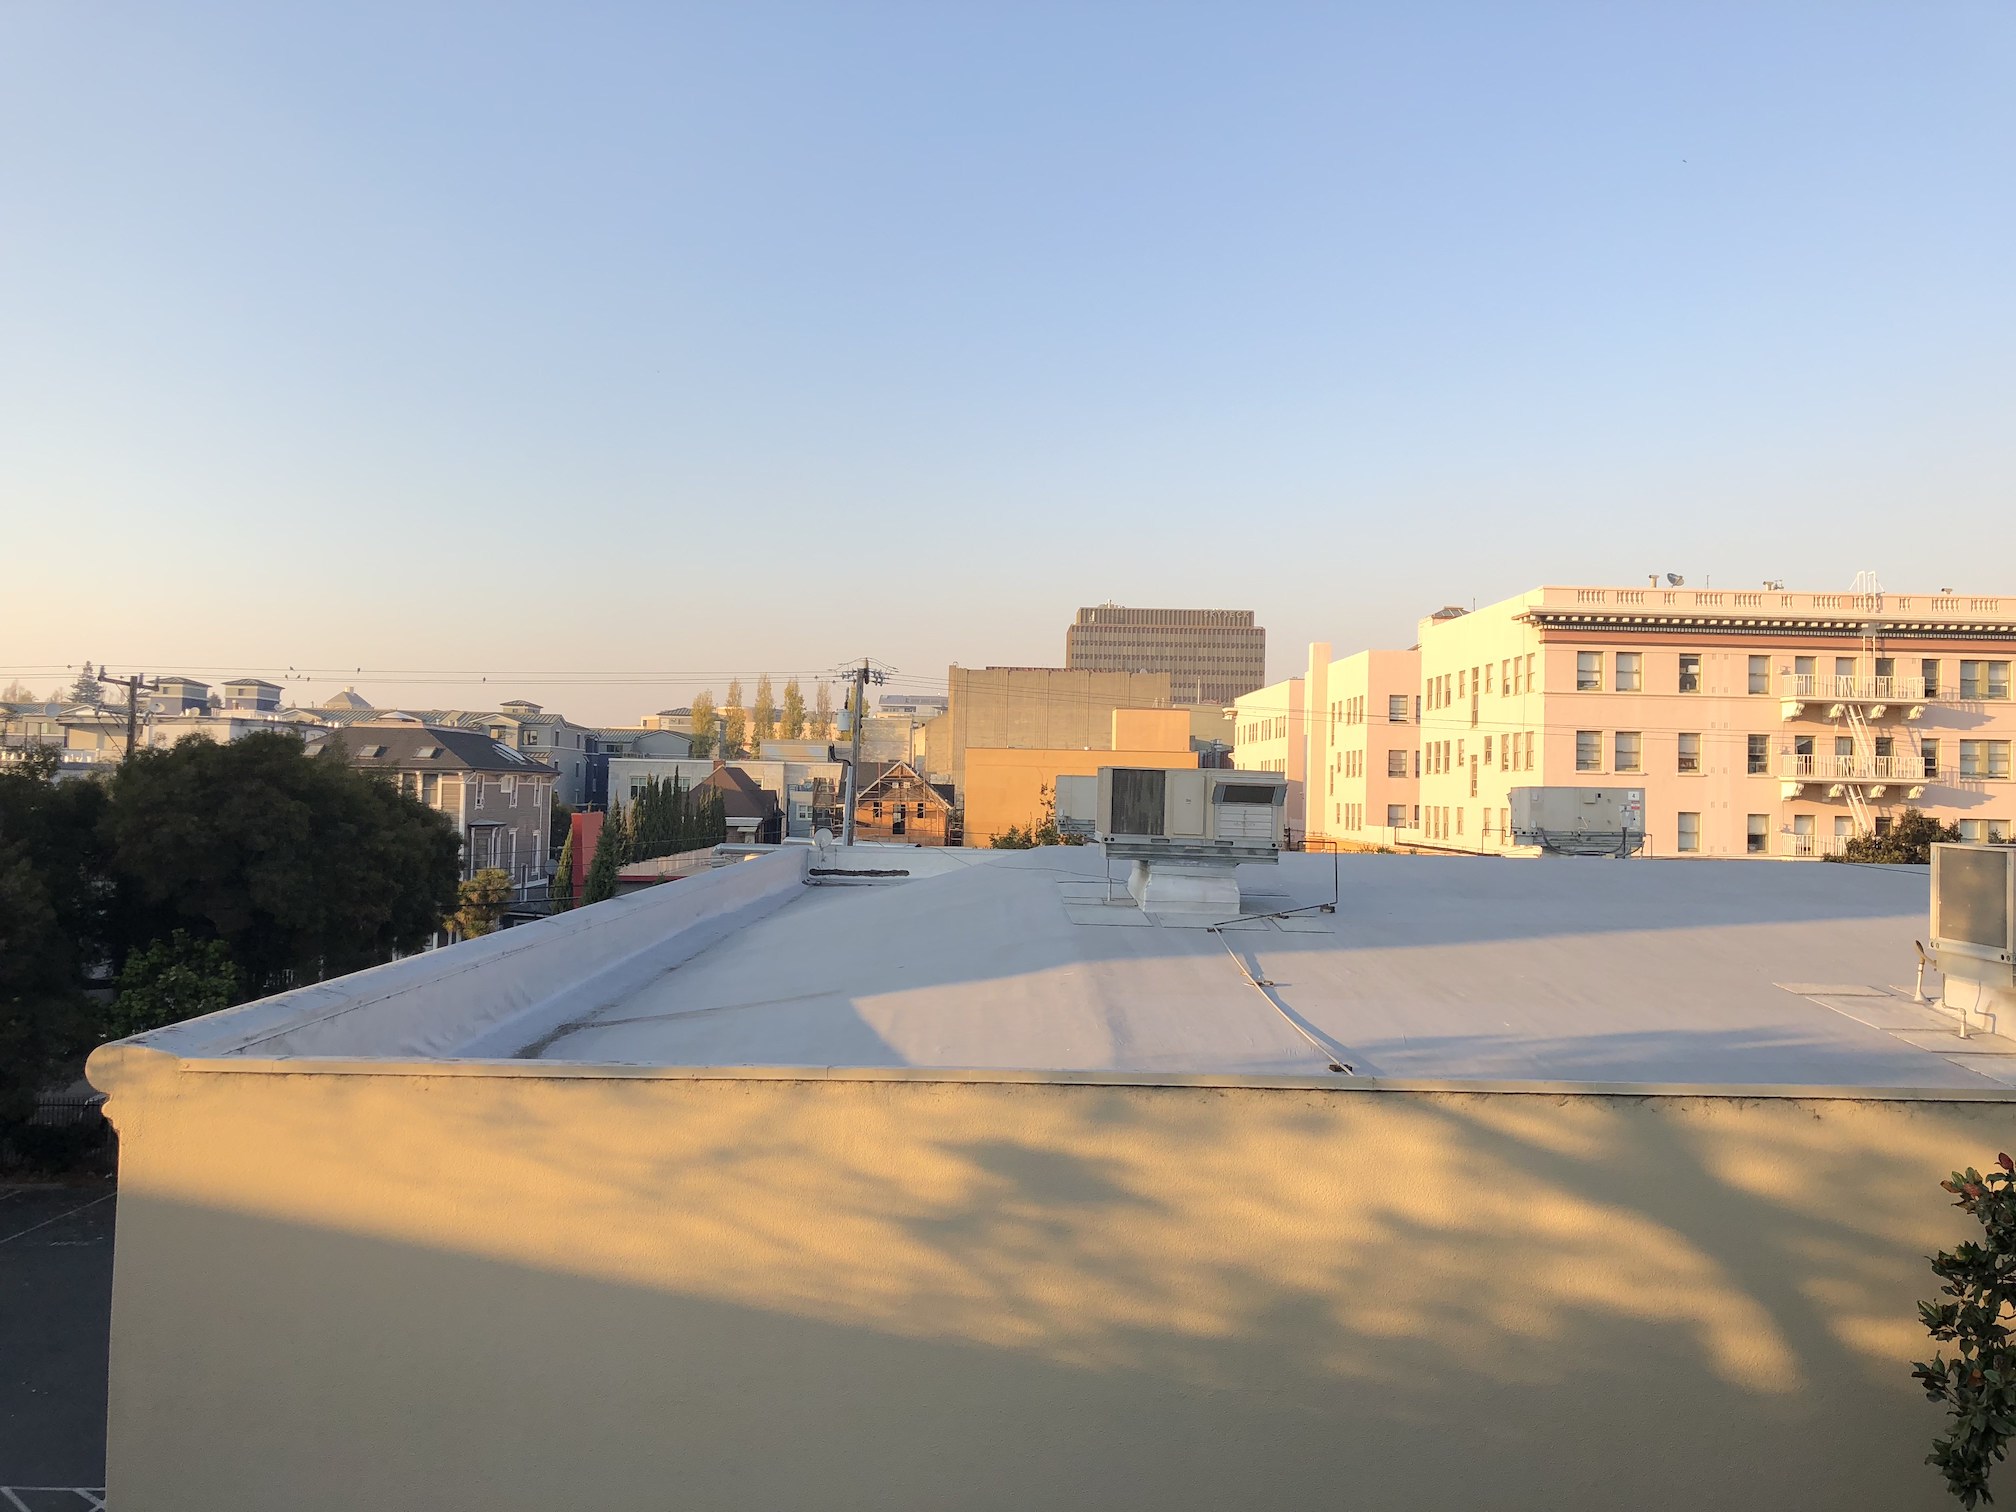
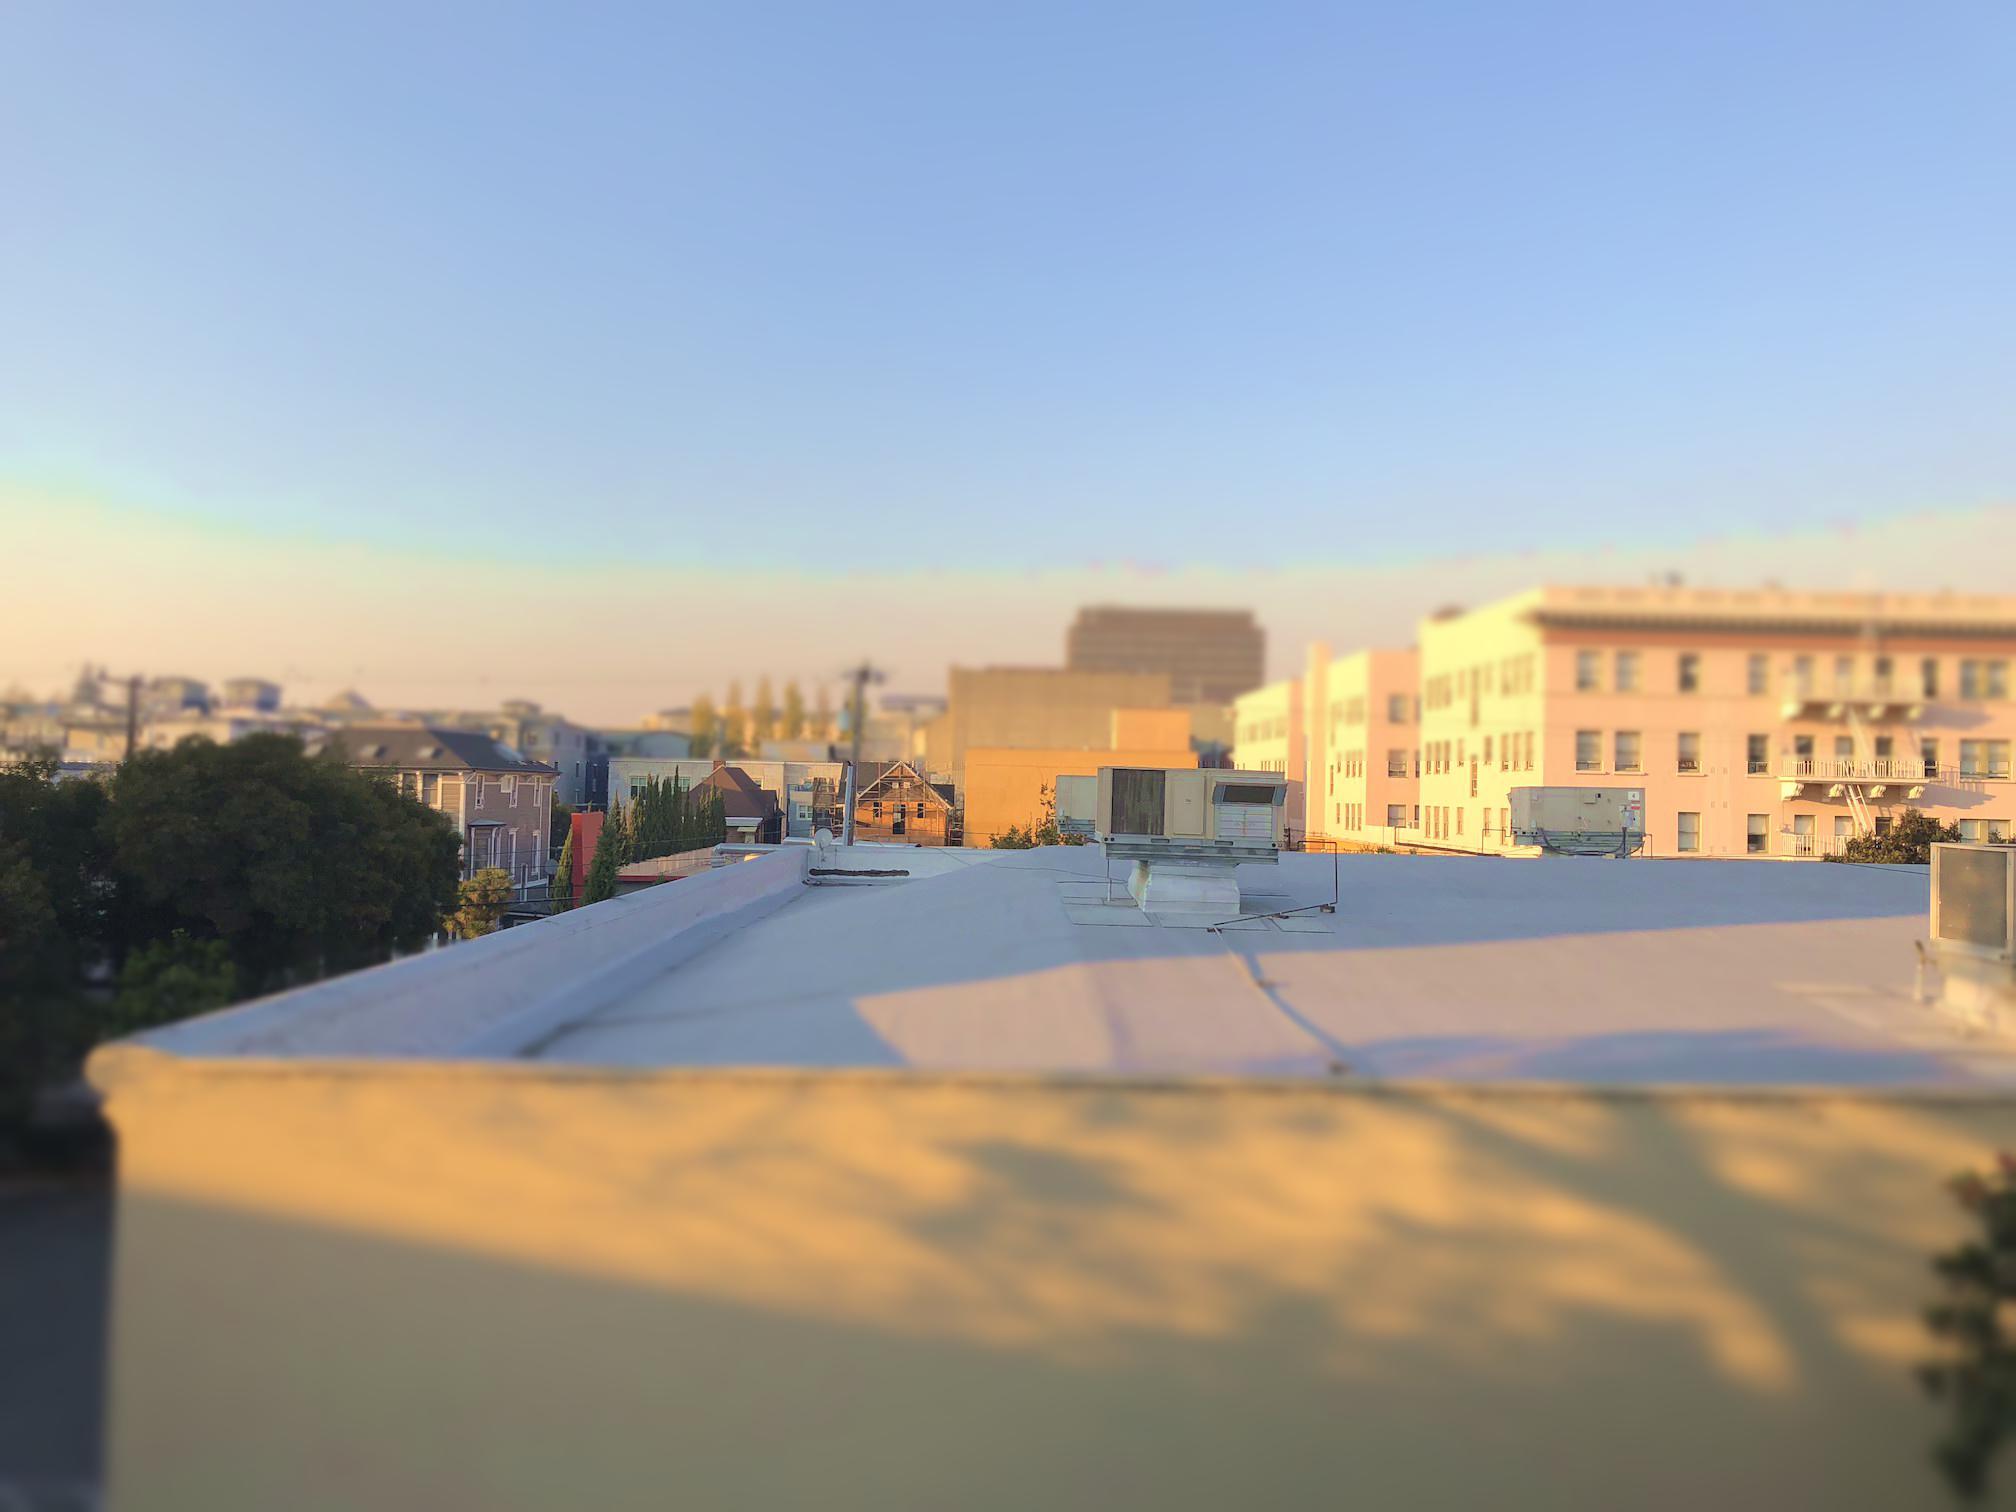
 The original image from my apartment and the miniature fake:
 This saturation color adjustment
gives the result an even better feel that this is a fake miniature. The results
were definitely better when the foreground of the focus region was in a place that had
a lot of edges(non-smooth parts) around it.
The reason this is is that if there are many edges around, then when
these edges are blurred they give more focus on the focus region.
The results didn't come out as good when I had images that didn't have too many edges
in the image below and above the focus region. This is because when these parts of the image
are blurred they won't look like will have changed a lot in the grand scheme of the image.
This saturation color adjustment
gives the result an even better feel that this is a fake miniature. The results
were definitely better when the foreground of the focus region was in a place that had
a lot of edges(non-smooth parts) around it.
The reason this is is that if there are many edges around, then when
these edges are blurred they give more focus on the focus region.
The results didn't come out as good when I had images that didn't have too many edges
in the image below and above the focus region. This is because when these parts of the image
are blurred they won't look like will have changed a lot in the grand scheme of the image.
Seam Carving
Overview: Seam Carving
Please see this
paper
, as is also noted in the project spec.
The goal of seam carving is to resize images and, in doing so, make sure that the parts
that are taken away during resizing are unimportant. The way that "importance" is judged is
based on the energy of the image. In mathematical terms the energy of an image I is:
E(I) = |(d/dx)I| + |(d/dy)I|. In words, this is essentially the gradient image of the original
image. For creating this energy image, I used the Sobel matrices for the x and y derivatives.
The Sobel matrix for the x dervative is [[-1, 0, 1], [-2, 0, 2], [-1, 0, 1]] and
the Sobel matrix for the y derivative is [[1, 2, 1], [0, 0, 0], [-1, -2, -1]].
After finding the energy image I find the most unimportant seam by solving the dynamic programming
problem shown in lecture. In the case of finding the vertical seam, the
dynamic programming problem is M(i, j) = E(i, j) + min(M(i-1, j-1), M(i-1, j), M(i-1, j+1))
where M is the resulting matrix and E is the energy image. As was also explained in lecture,
I then backtrack on this M matrix and, in the case of finding the vertical seam, I find the minimum
seam pixels that go from bottom to top. While this seam is being found I remove the pixels in this
seam from the original image. Thus, the most unimportant seam is removed.
I repeat this entire process N number of times. For a lot of my images
I did this process 100 times, and got good results.
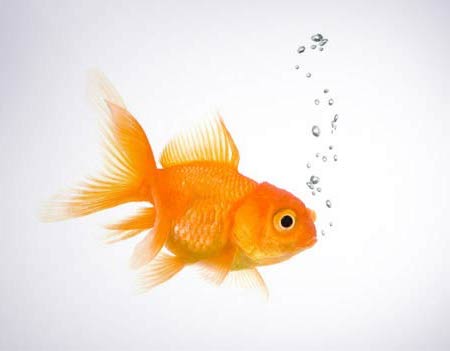
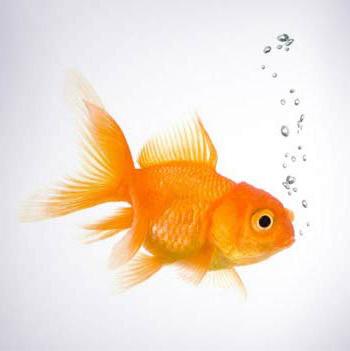
The original image of goldfish and the image after carving 100 vertical seams:
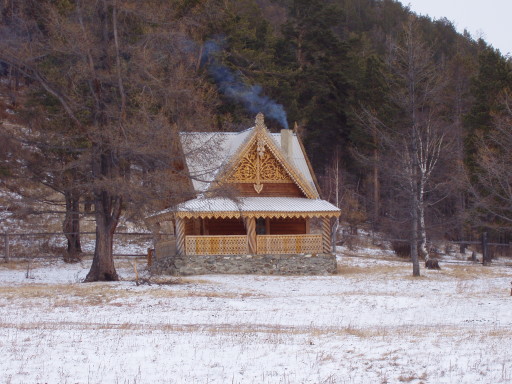
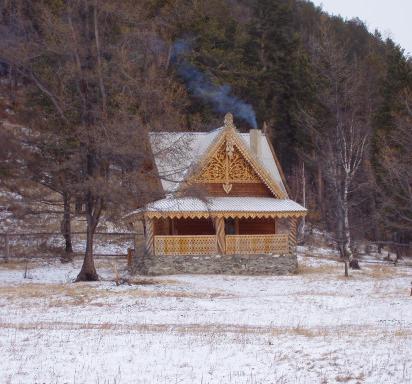
 The original image of house and the image after carving 100 vertical seams:
 The original image of campus and the image after carving 50 horizontal seams:

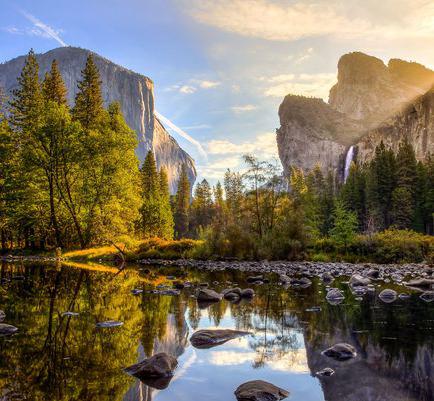
 The original image of Yosemite and the image after carving 100 vertical seams:

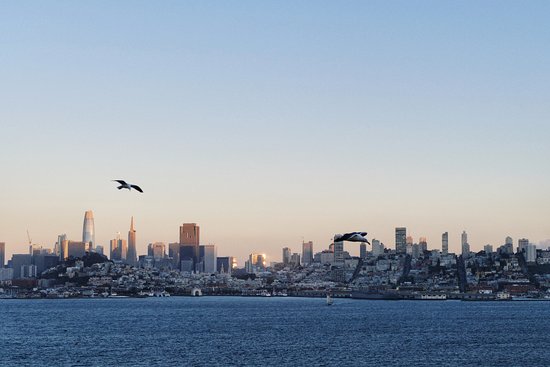
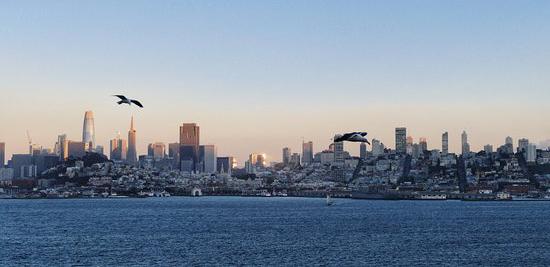
 The original image of SF and the image after carving 100 horizontal seams:
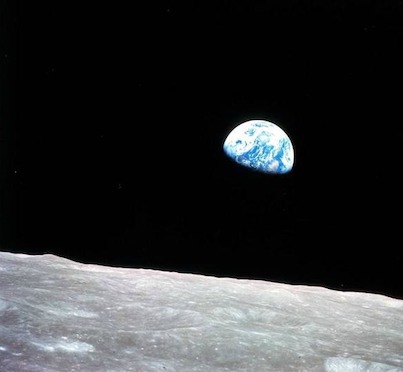
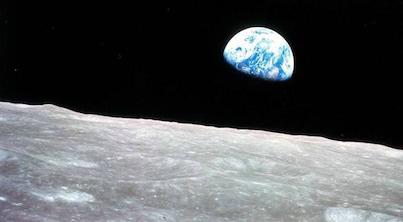
 The original image of Earth from the Moon and the image after carving 150 horizontal seams:
 These results came out really great because they all had some foreground and a background that
was clear and not riddled with edges. Because of this, the seams that were removed didn't include
many edges and were smooth parts of the images that were removed.
These results came out really great because they all had some foreground and a background that
was clear and not riddled with edges. Because of this, the seams that were removed didn't include
many edges and were smooth parts of the images that were removed.
Some bad examples of seam carving:
The original image of NYC and the image after carving 100 horizontal seams:

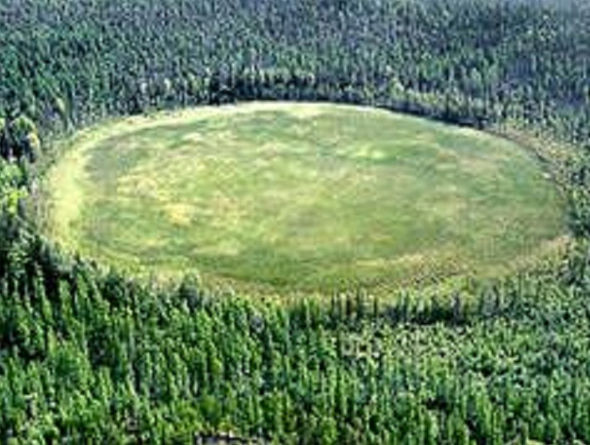
 The original image of forest and the image after carving 100 horizontal seams:
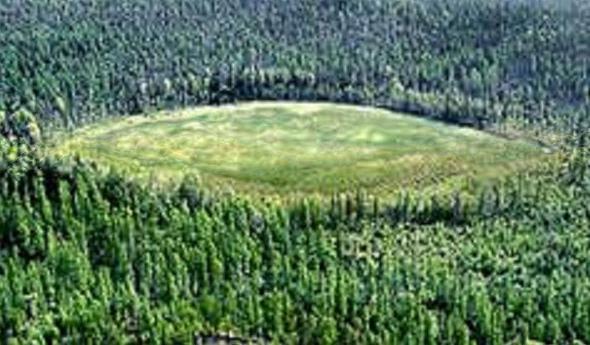
 These two examples weren't that very good because the first image of NYC had really high gradients all across
the image, so the unnoticeable/unimportant seams that were removed
weren't really unnoticeable because
almost everywhere in the image were sharp edges
(with the buildings and such) and there wasn't much sky
(a part of the image that would be easy to remove without causing too many problems).
The second image of the forest produced a pretty bad image because the main focus of the image/foreground
of the image didn't have a lot of edges/gradients, so unfortunately the horizontal seams that were removed
were seams that went through this foreground.
These two examples weren't that very good because the first image of NYC had really high gradients all across
the image, so the unnoticeable/unimportant seams that were removed
weren't really unnoticeable because
almost everywhere in the image were sharp edges
(with the buildings and such) and there wasn't much sky
(a part of the image that would be easy to remove without causing too many problems).
The second image of the forest produced a pretty bad image because the main focus of the image/foreground
of the image didn't have a lot of edges/gradients, so unfortunately the horizontal seams that were removed
were seams that went through this foreground.
Most important thing I learned
The most important thing I learned from this project is the power of dynamic programming and how,
relatively, fast it is. Dynamic programming offered an incredible solution to this problem
and was great in being able to find the seam that was most optimal to cut from the image.
I think that it is amazing that you are able to preserve important information
despite wanting to cut down on the size of the image.