1. Mitigating Failures: Different Energy Functions
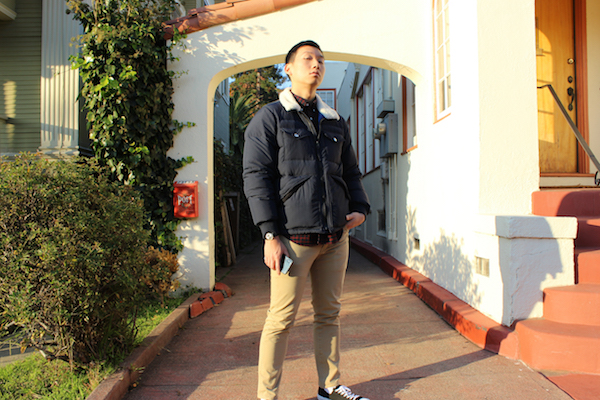
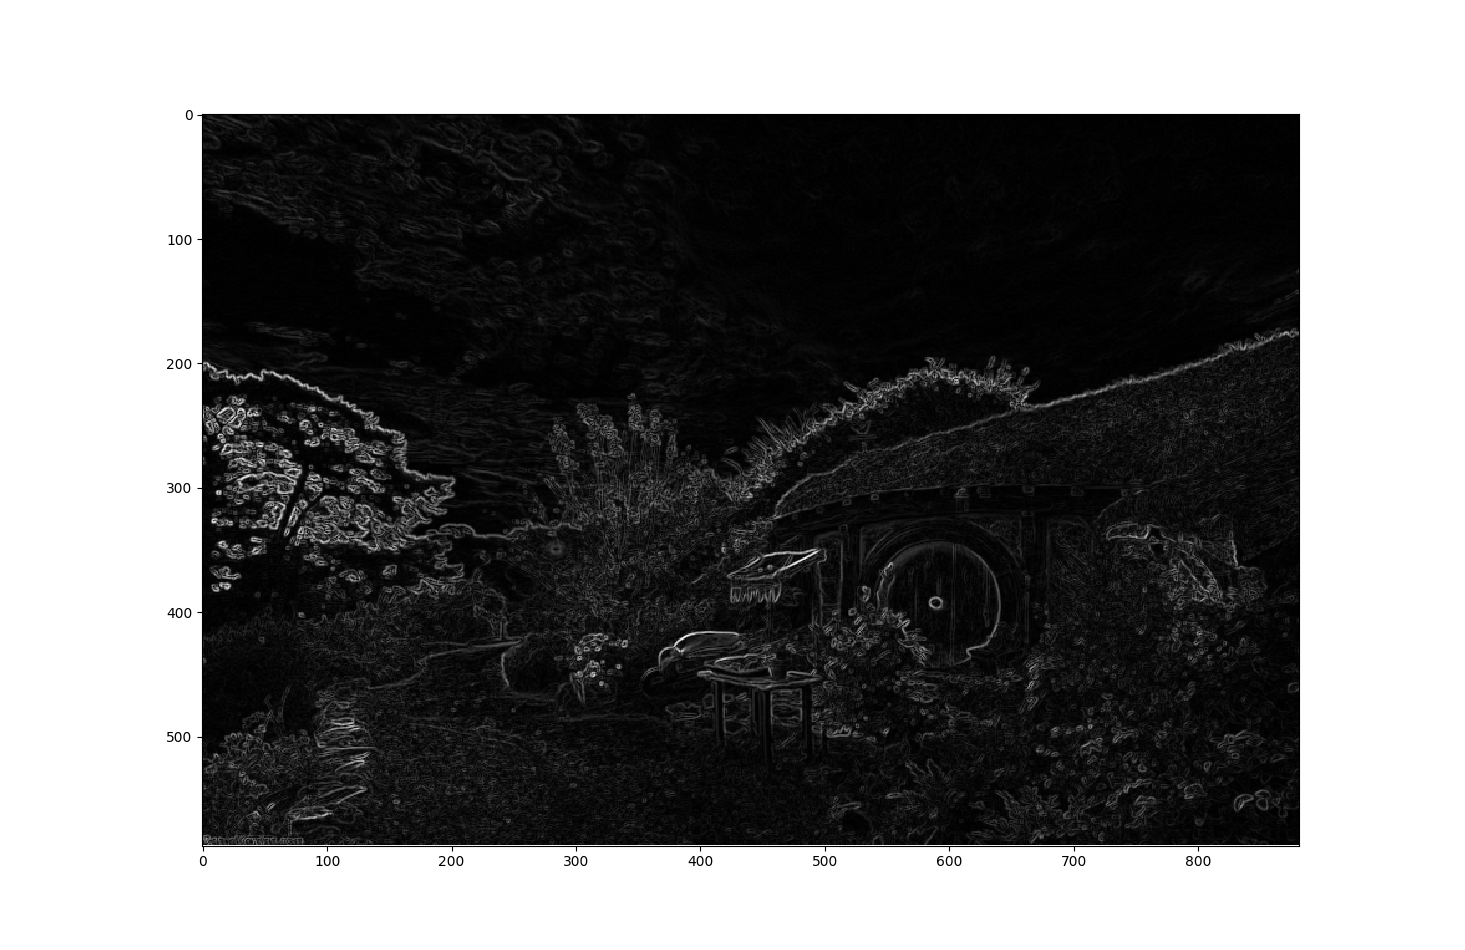
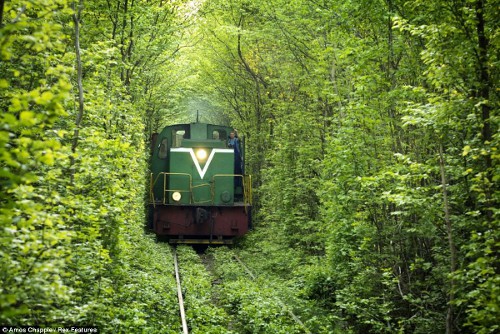
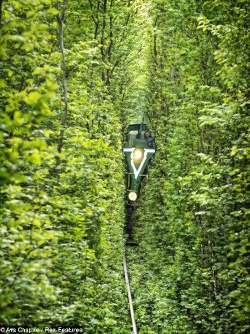
I will focus on mitigating the failure caused by textured backgrounds, which was the most common
failure case for my input images. I will do so by introducing different energy function. I hypothesize
that the high energy of the foliage texture in the backgrounds of my failure images led to the poor seam carving.
To mitigate this, I will first apply a gaussian filter on the image with sigma=1.5 and sigma=2.5.
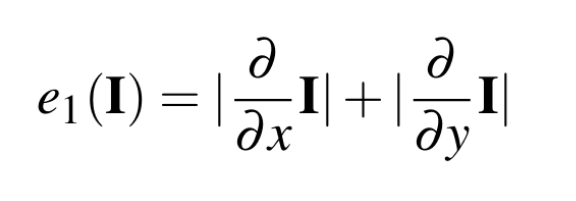
Then, I take the derivative of the gaussian filtered image as in my simple e1 energy measure.
I believe that it will lead to a better result because applying a Gaussian filter first will smooth
texture of the background and decrease the energy of these areas in an image. Below are the comparisons
between using the e1 energy function and gaussian derivative energy function .
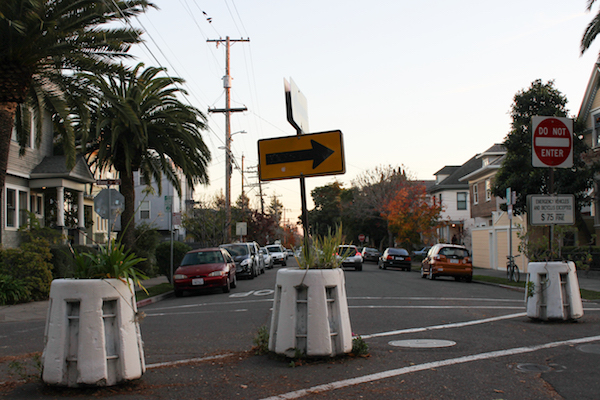
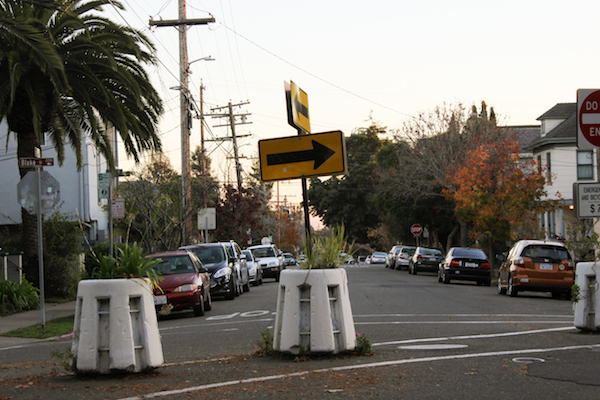
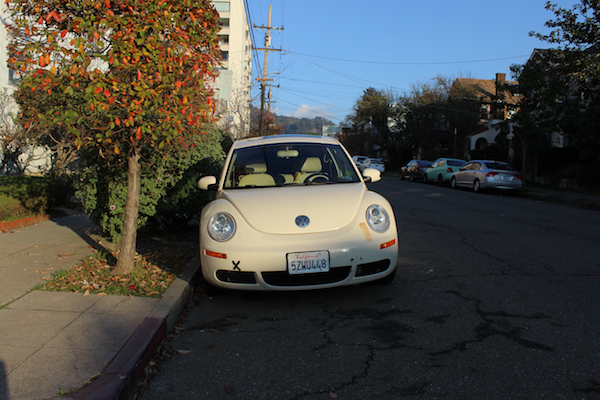
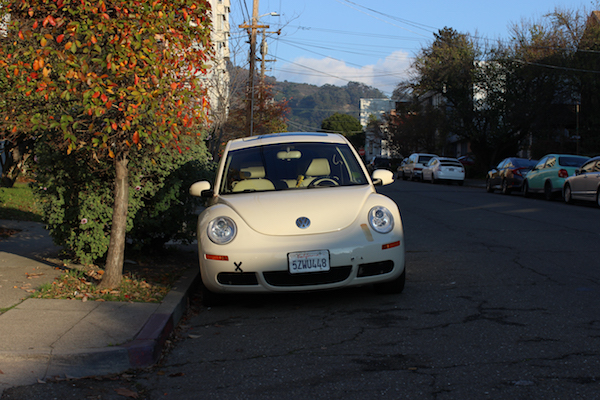
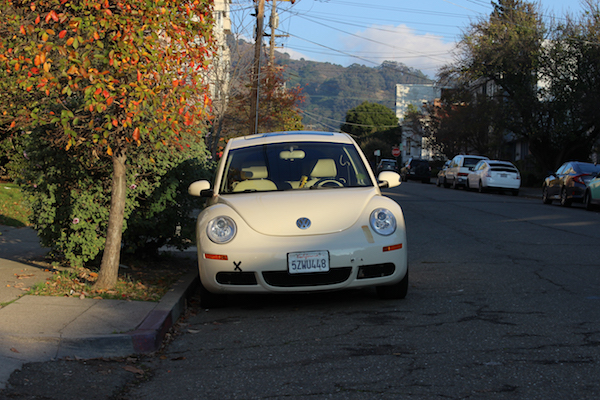
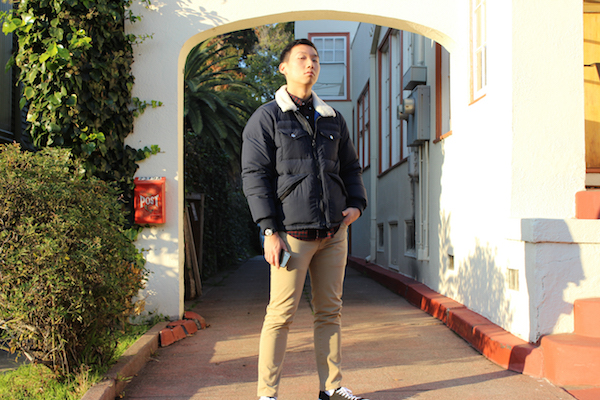
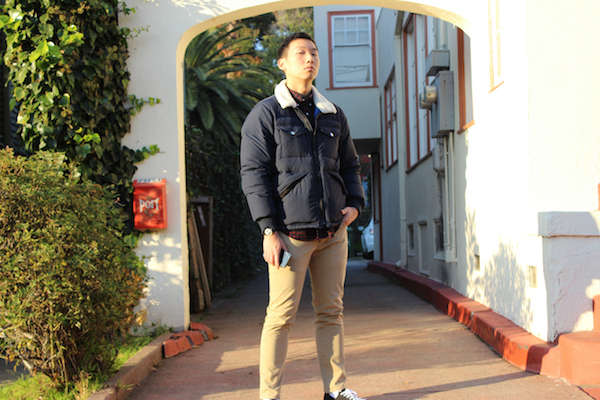
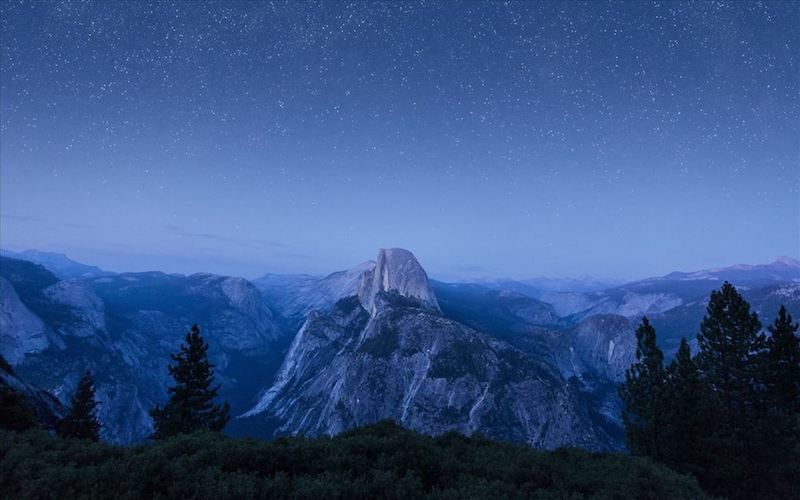
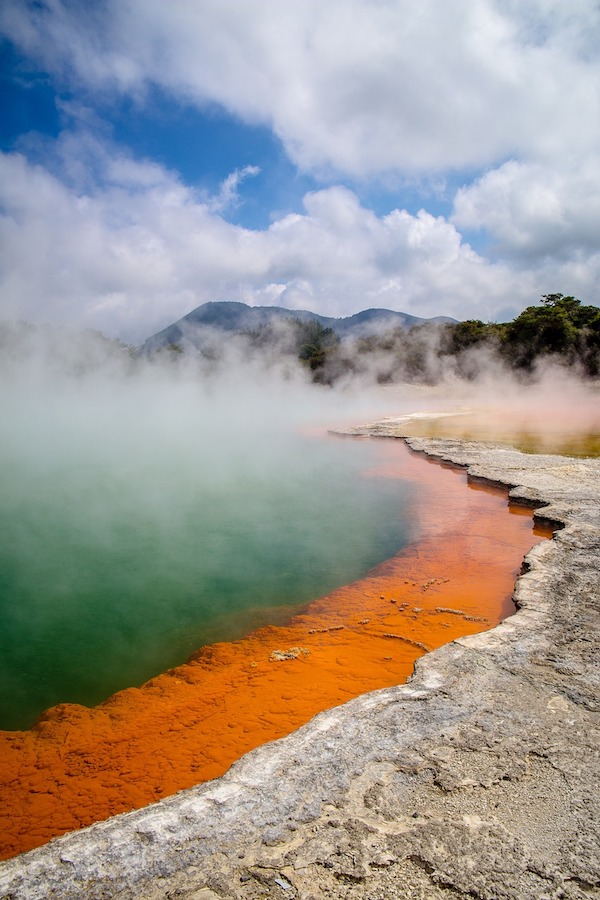
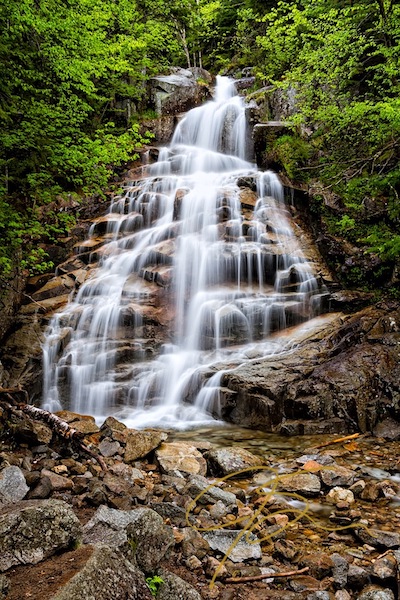
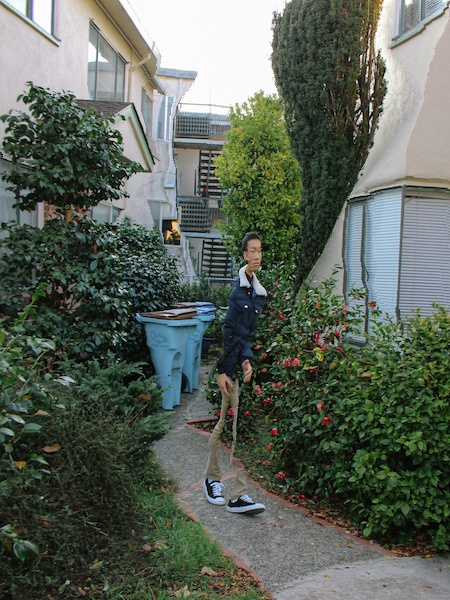
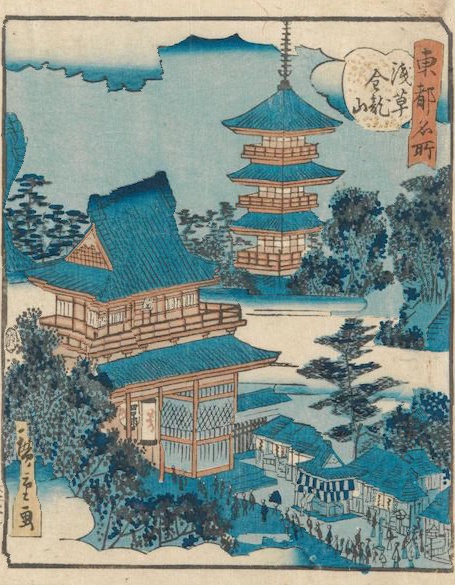
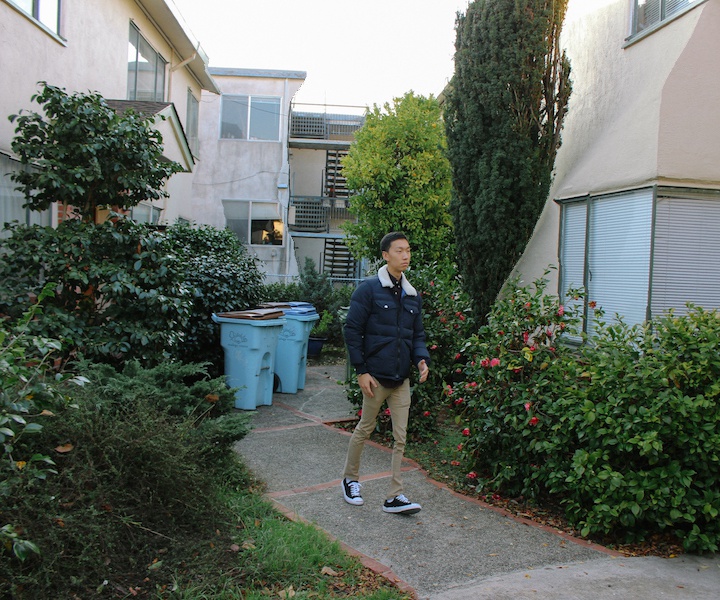
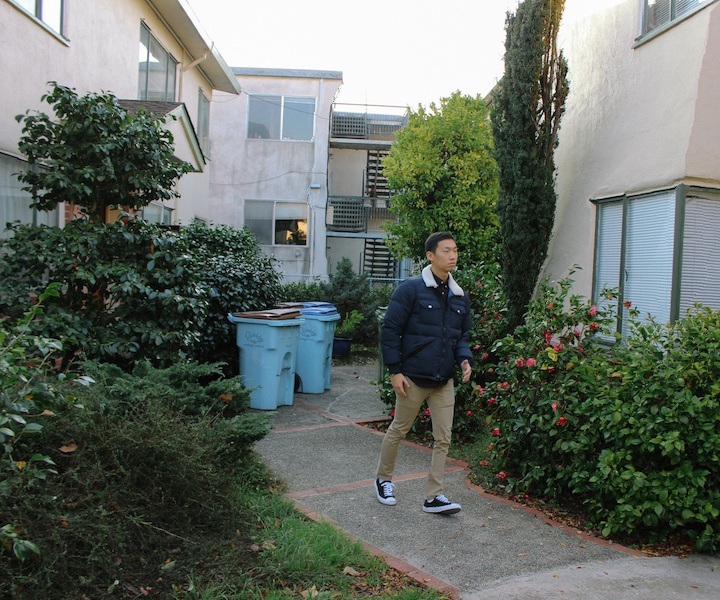
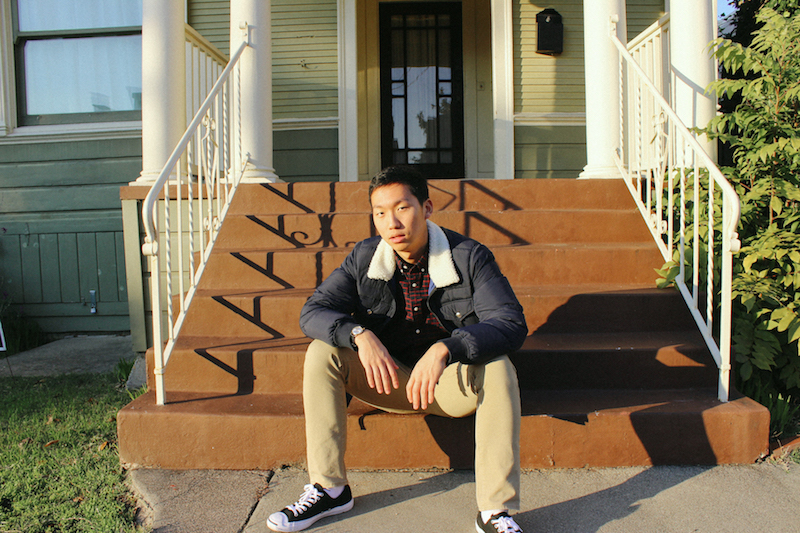
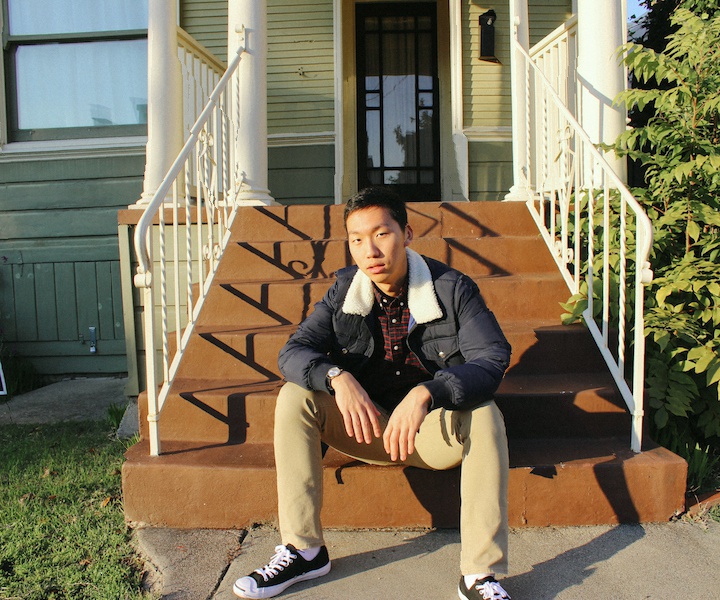
 Original Photo (shot by me)
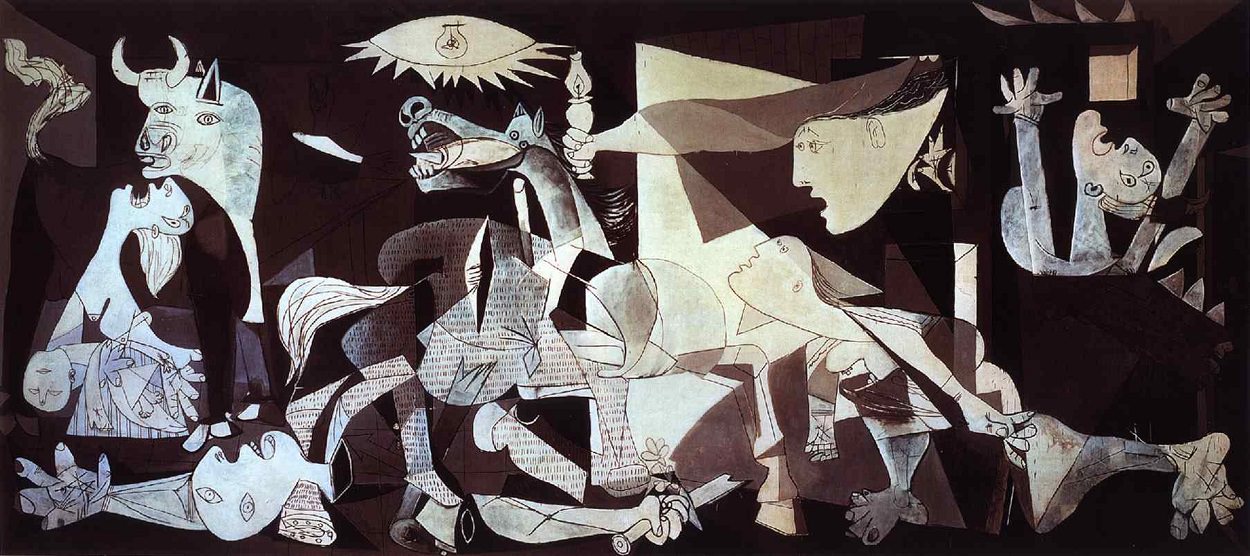
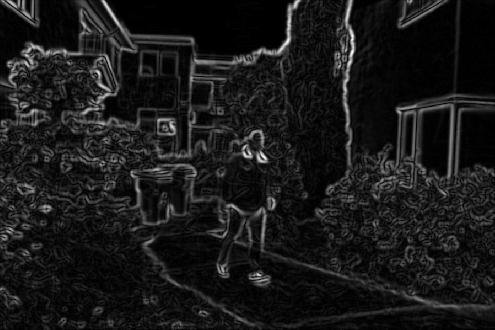
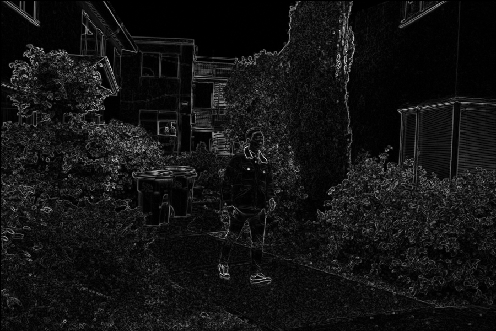 e1 energy visualization
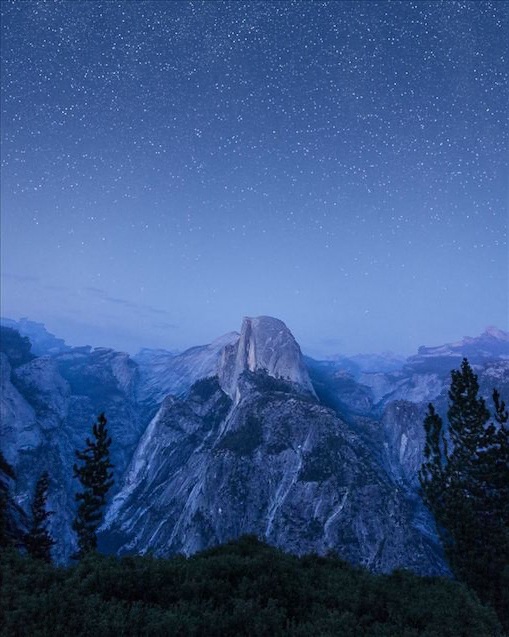
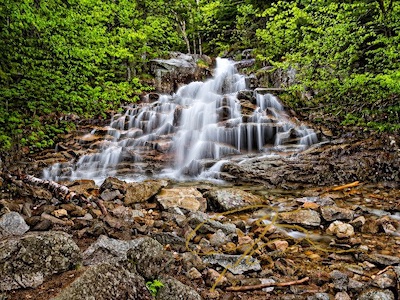
 Width Reduced to 80%
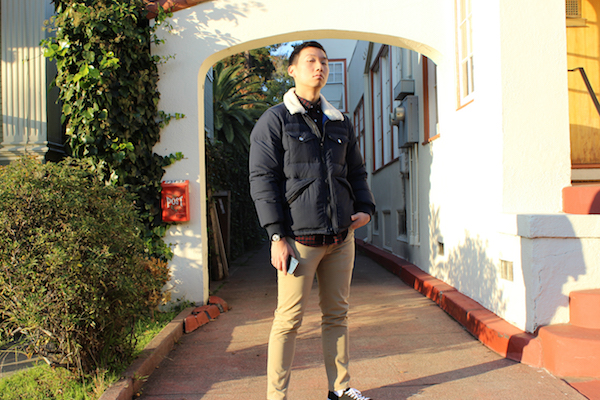
As you can see, the subject is distorted, as well as the building on the right.
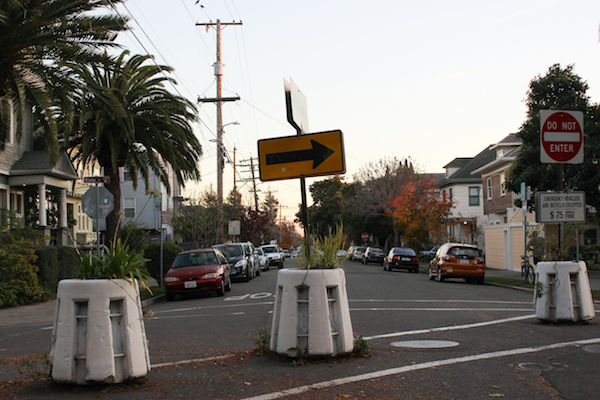
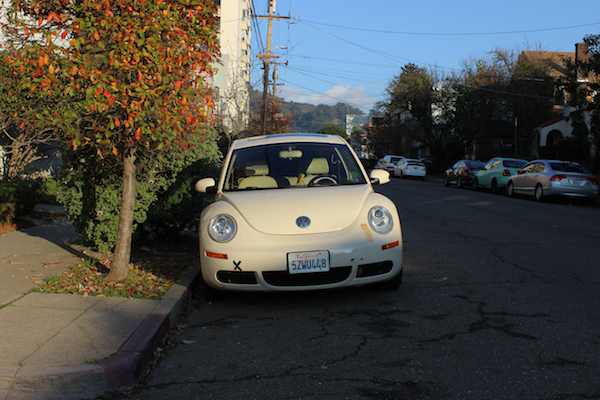
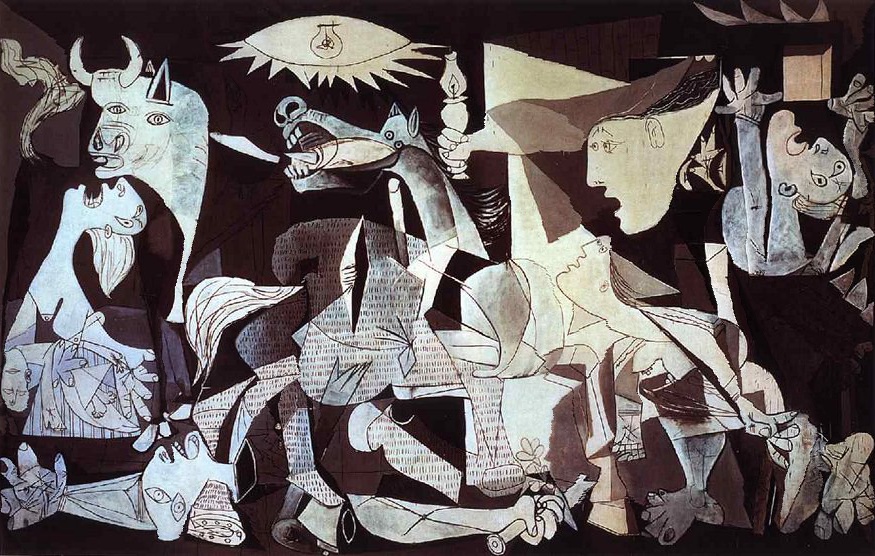
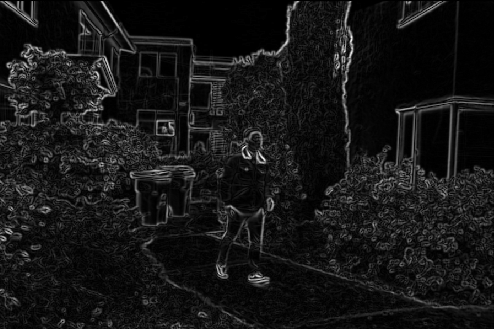 Gaussian derivative energy visualization (sigma=1.5)
 Width Reduced to 80%
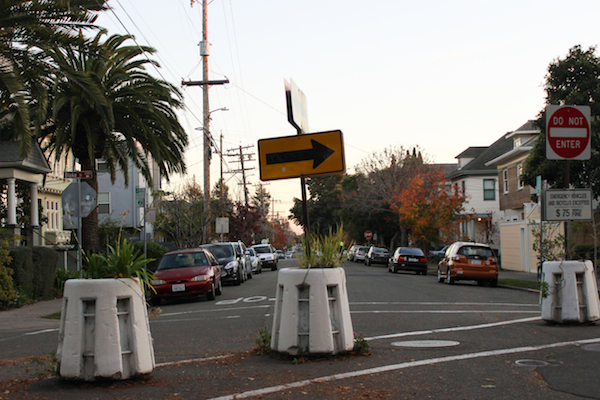
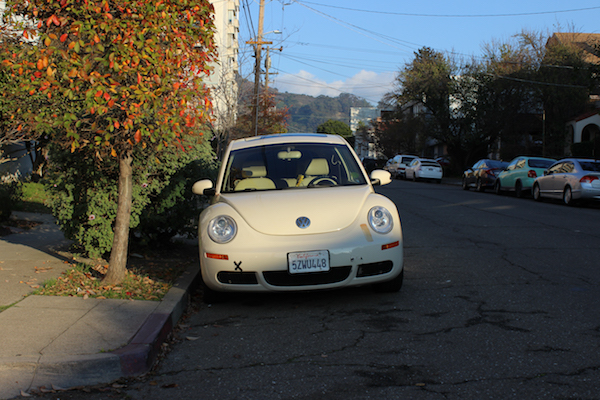
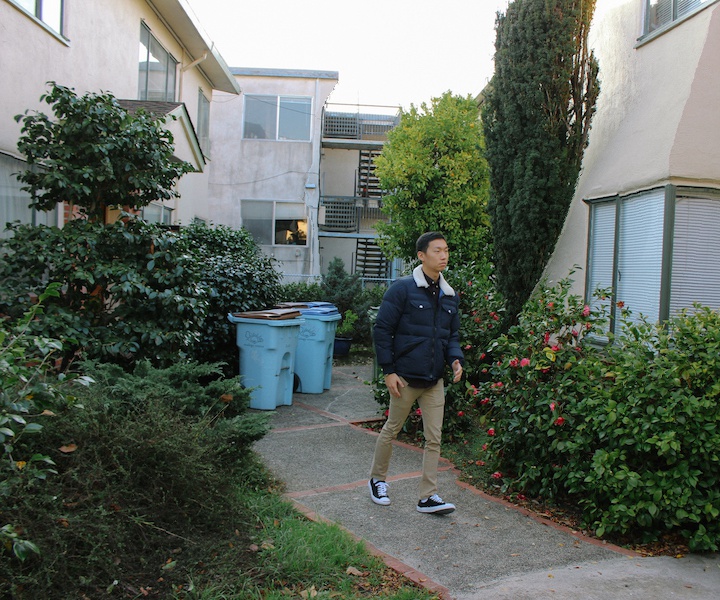
 Gaussian derivative energy visualization (sigma=2.5)
 Width Reduced to 80%
Even with a higher smoothing filter, the photo is not perfect - which suggests a lot
more work to be done to mitigate the failures in this case. However, we can clearly
see the result becomes a lot less distorted when we simply smooth the image first with a Gaussian filter.
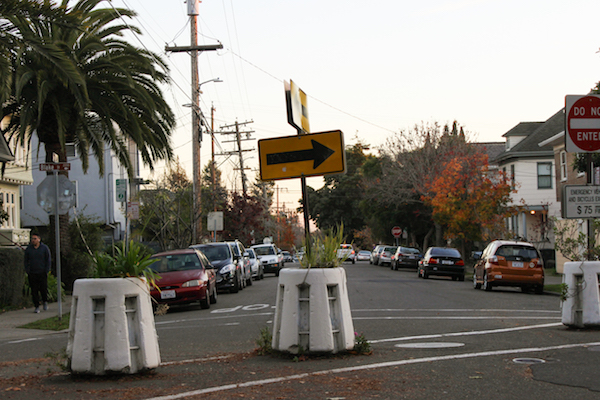
Hence, one heuristic for determining whether to use Gaussian derivative over the e1 energy function
is the amount of texture in the background of an image. The greater the amount of texture in the background, the
more you will need to smooth the photo beforehand to prevent noise from affecting the result.
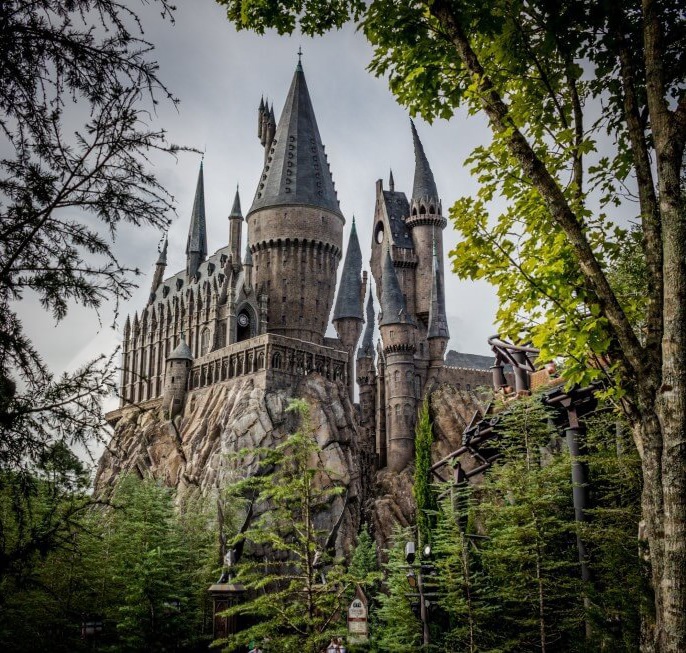
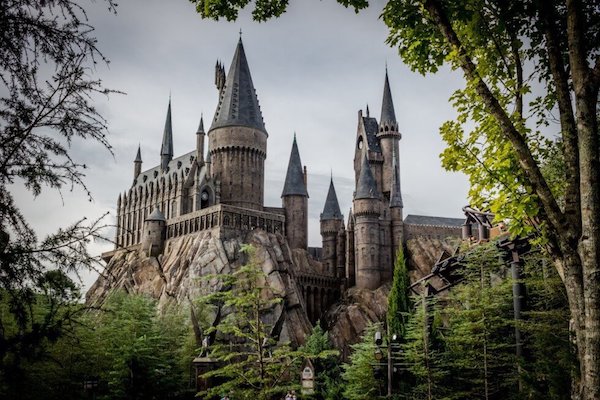 Original Photo of Hogwarts
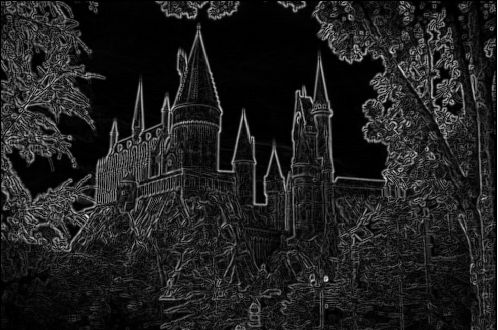
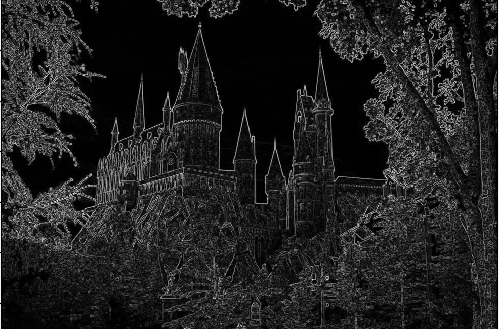 e1 energy visualization
 Width Reduced to 70%
As you can see, the castle subject is distorted as described in the previous section.
 Gaussian derivative energy visualization (sigma=1.5)
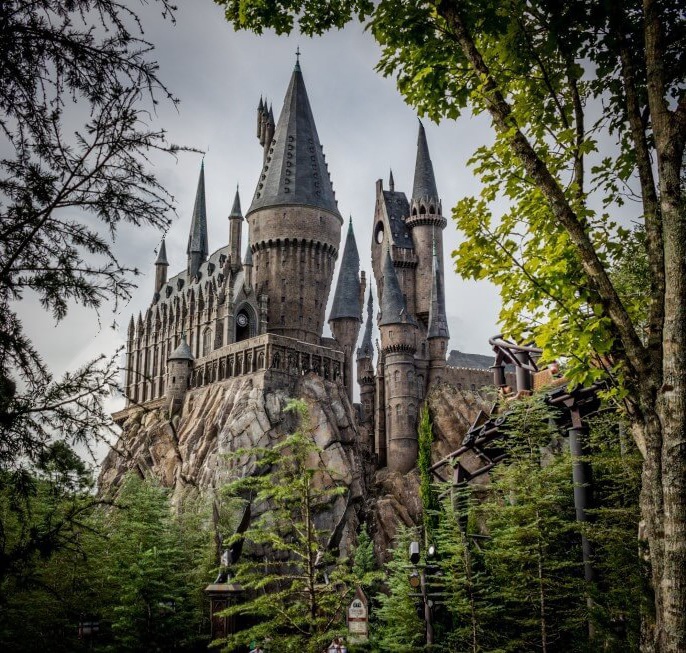 Width Reduced to 70%
Although there are still obvious artifacts in the photo, as can be seen by the distorted
angles of the castle, the distortion is less significant.
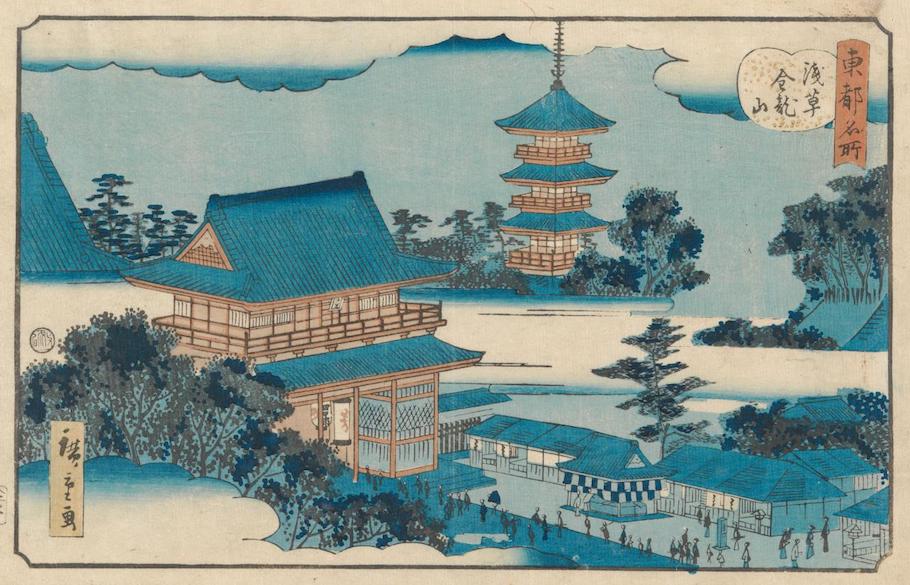
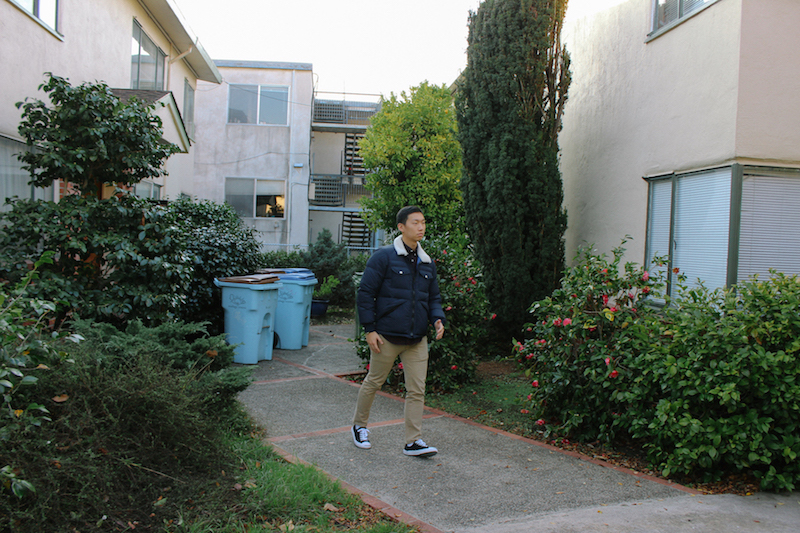
2. My Own Composition: Seam Carved
 Original Photo
 Width Reduced to 80%