For this project we are tasked with replicating a dolly zoom. The dolly zoom involves moving the camera away from or towards an object
and using the zoom to keep the object the same size amongst all the frames. Since zooming in reduces the field of view, this creates an
effect of the background "closing in on" the foreground. Filmakers use this effect to create tention in a scene. For this project, I used an
iPhone 6S camera because I do not own a camera with a zoom lens. Of course, there is limited optical zoom capability in this phone, so most of the zoom comes from digital zoom. However, since the
image resolution is high, the end result still looks quite good.
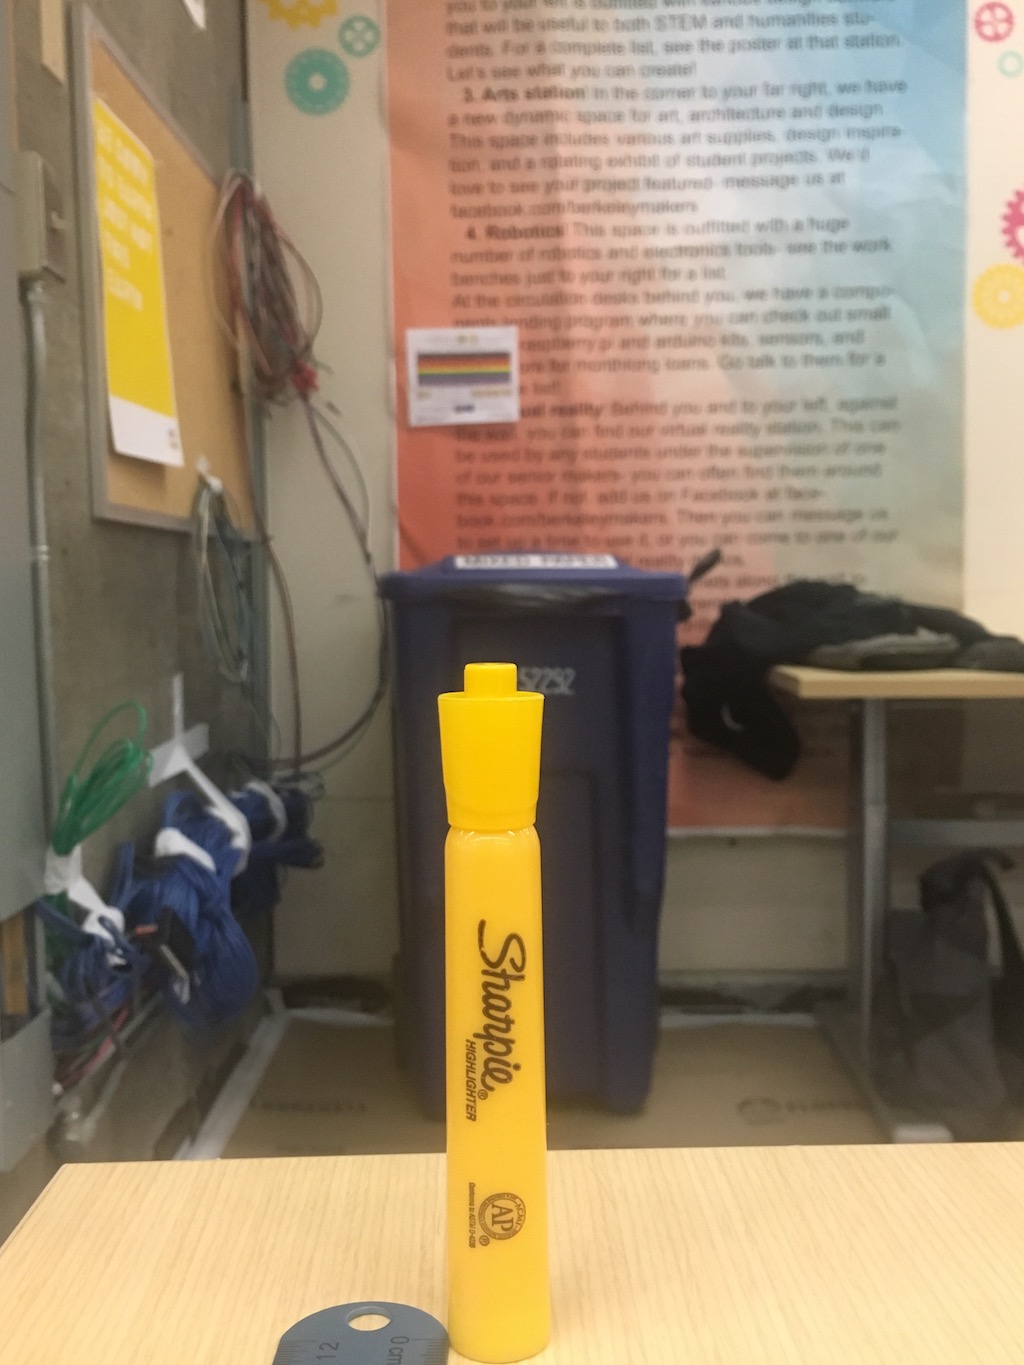
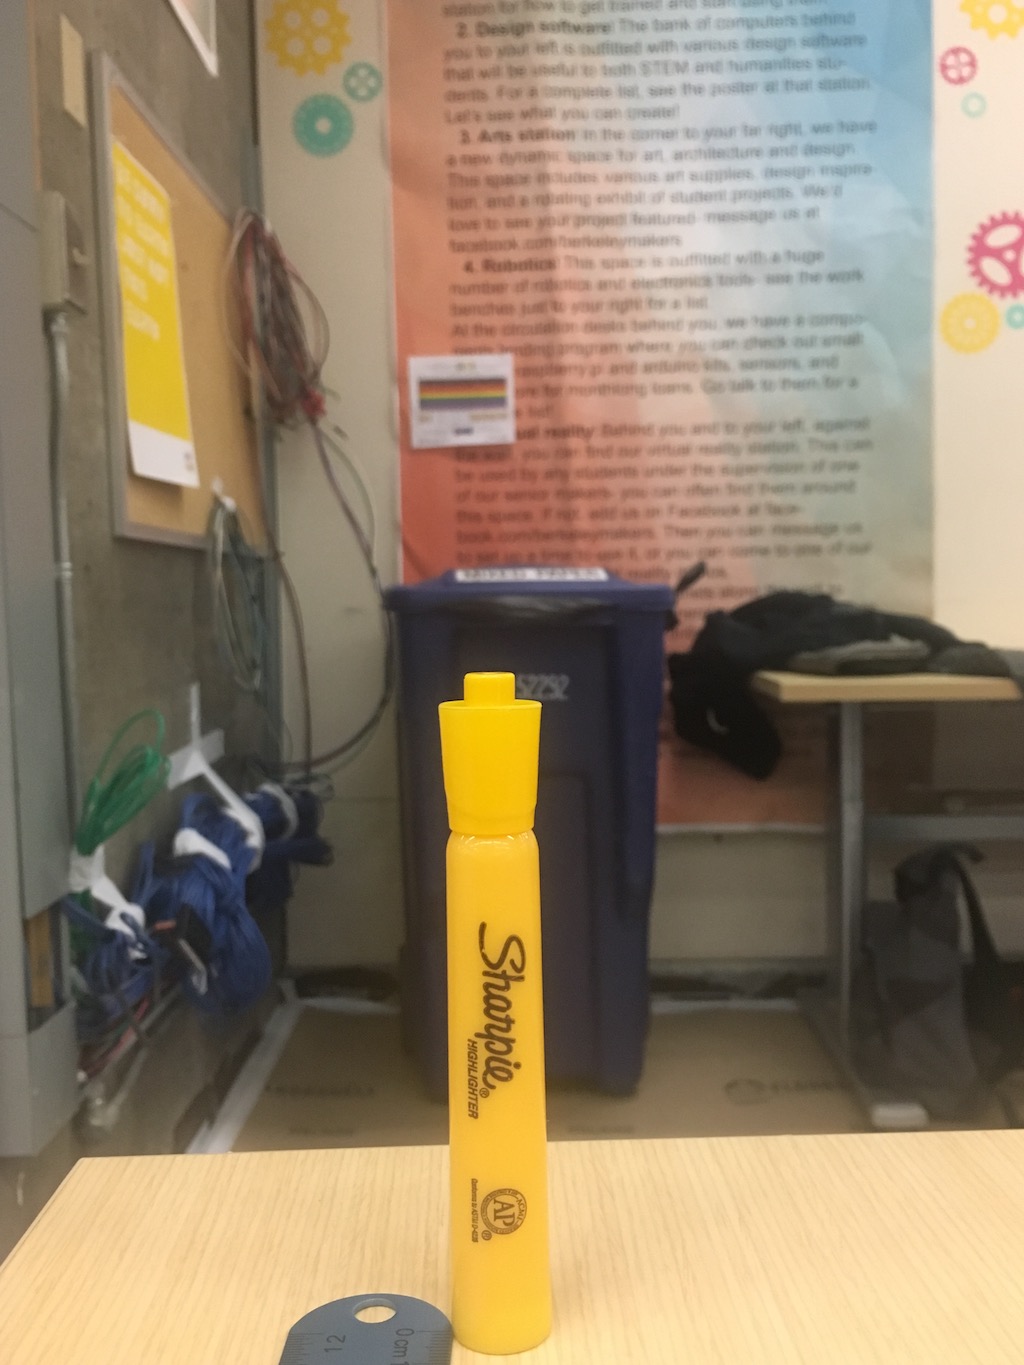
First Vertigo Shot
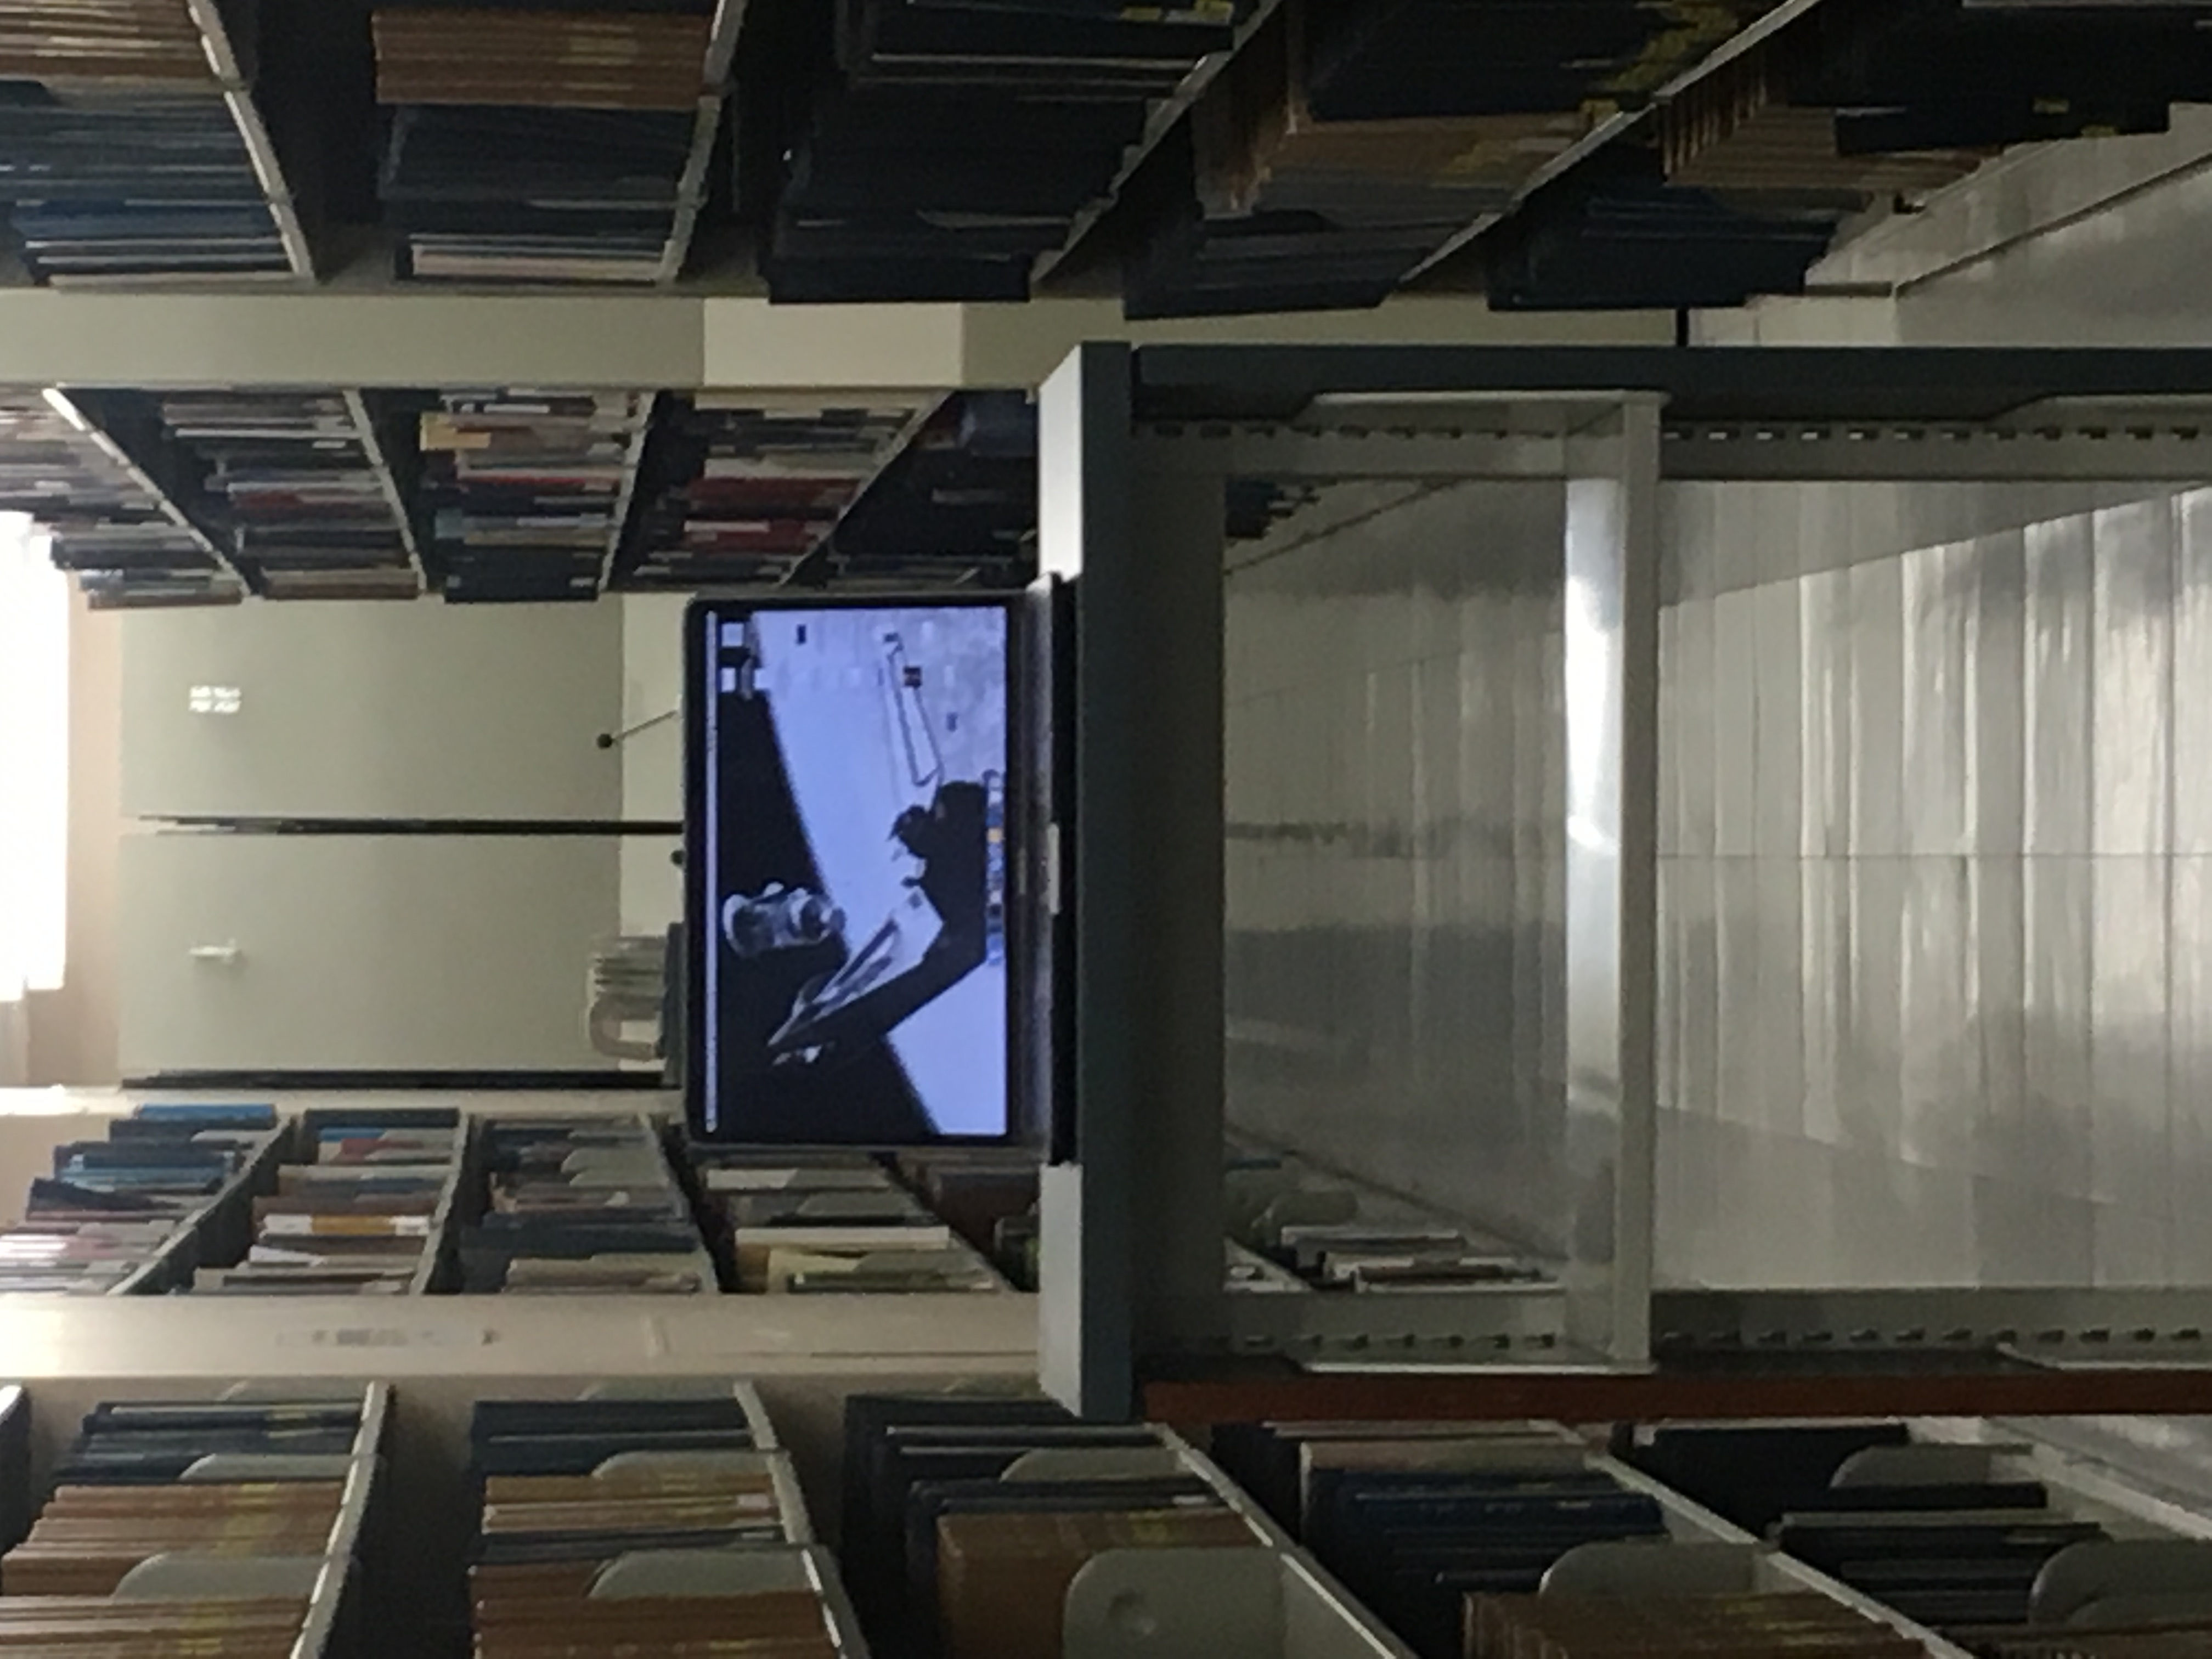
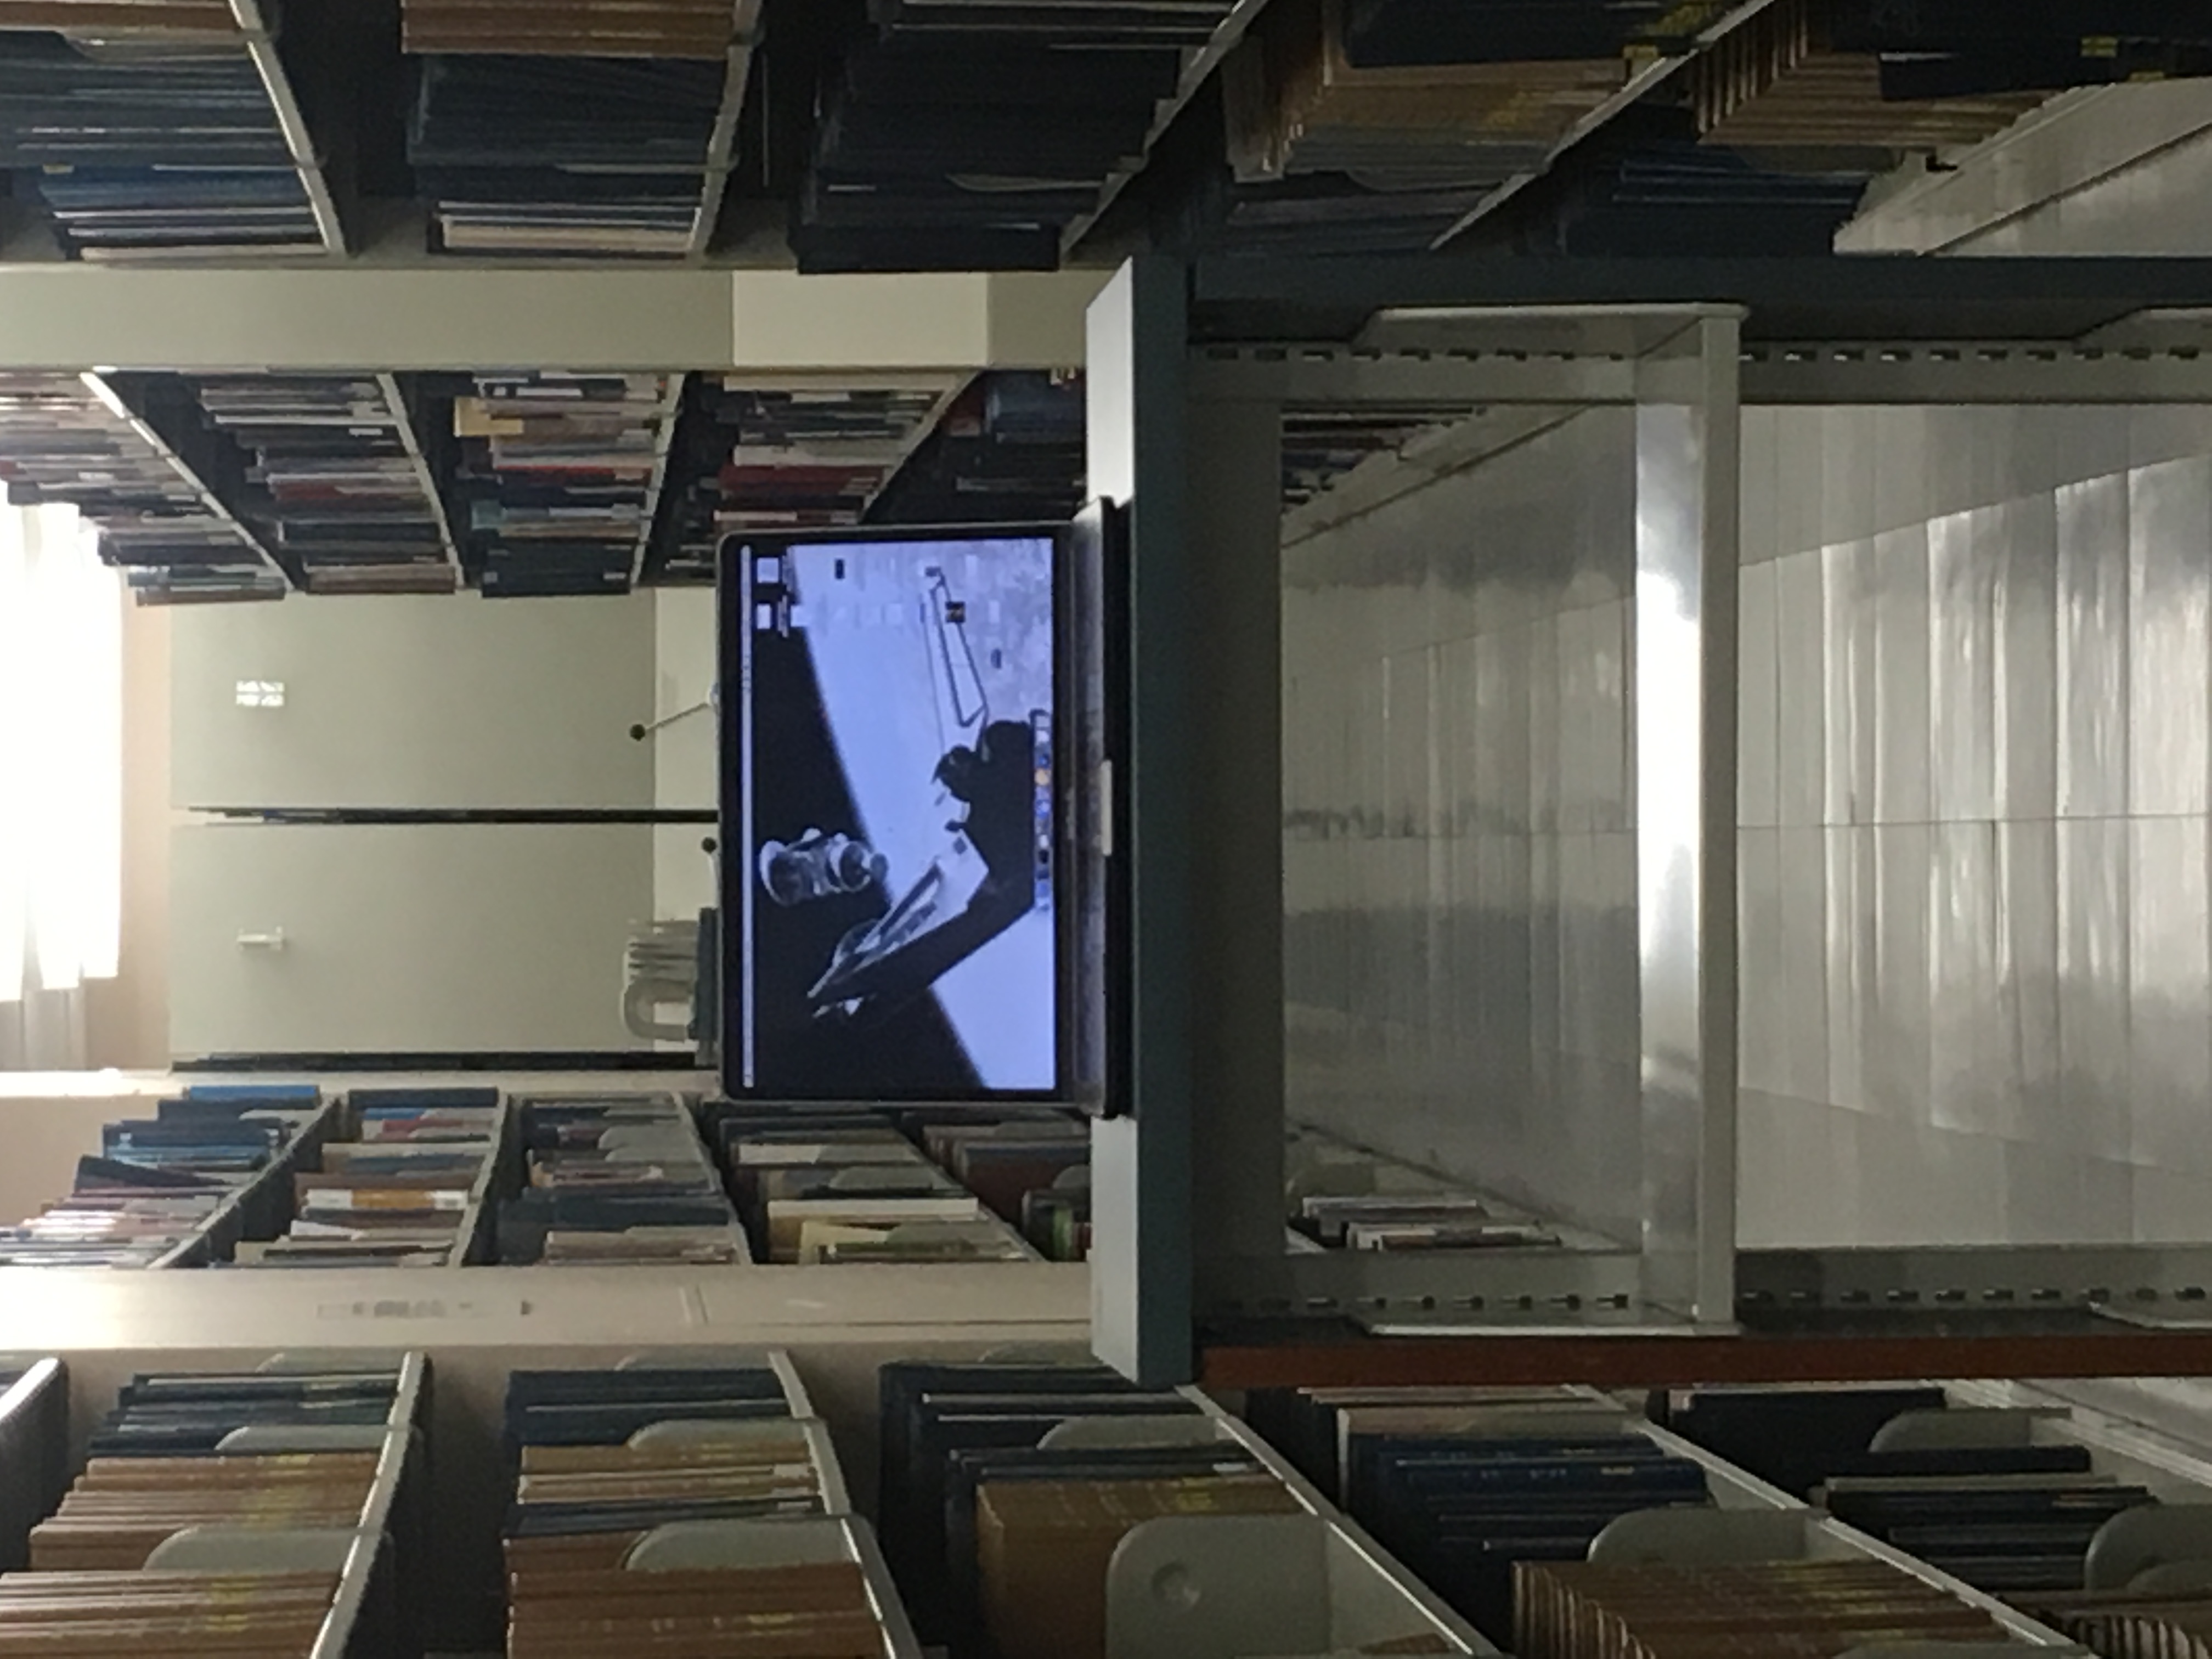
Second Vertigo Shot
Vertigo Shot using a Video
Summary
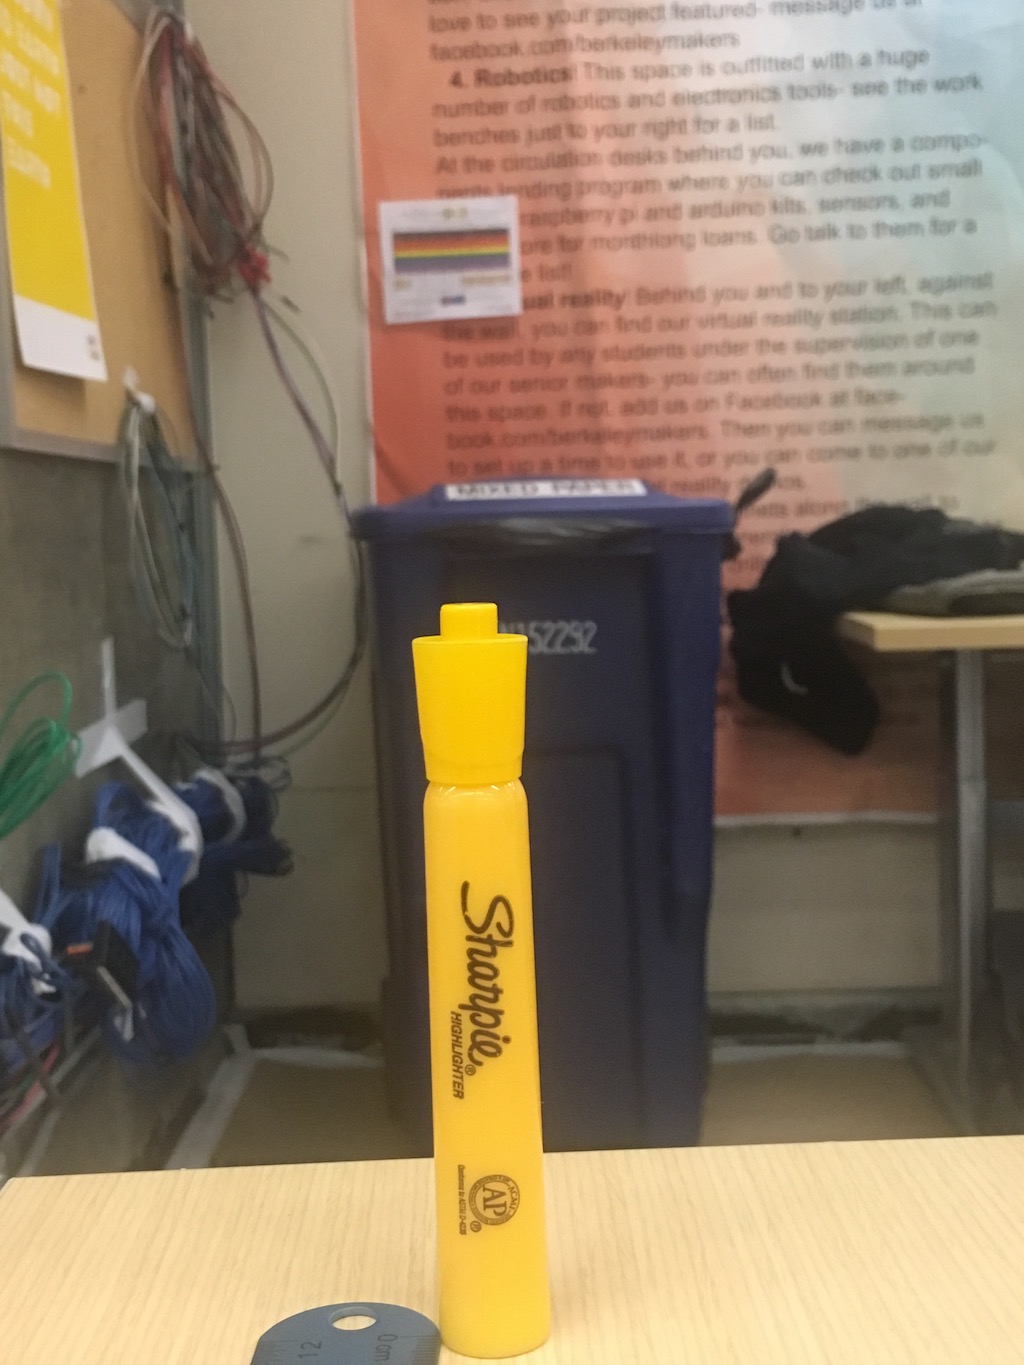
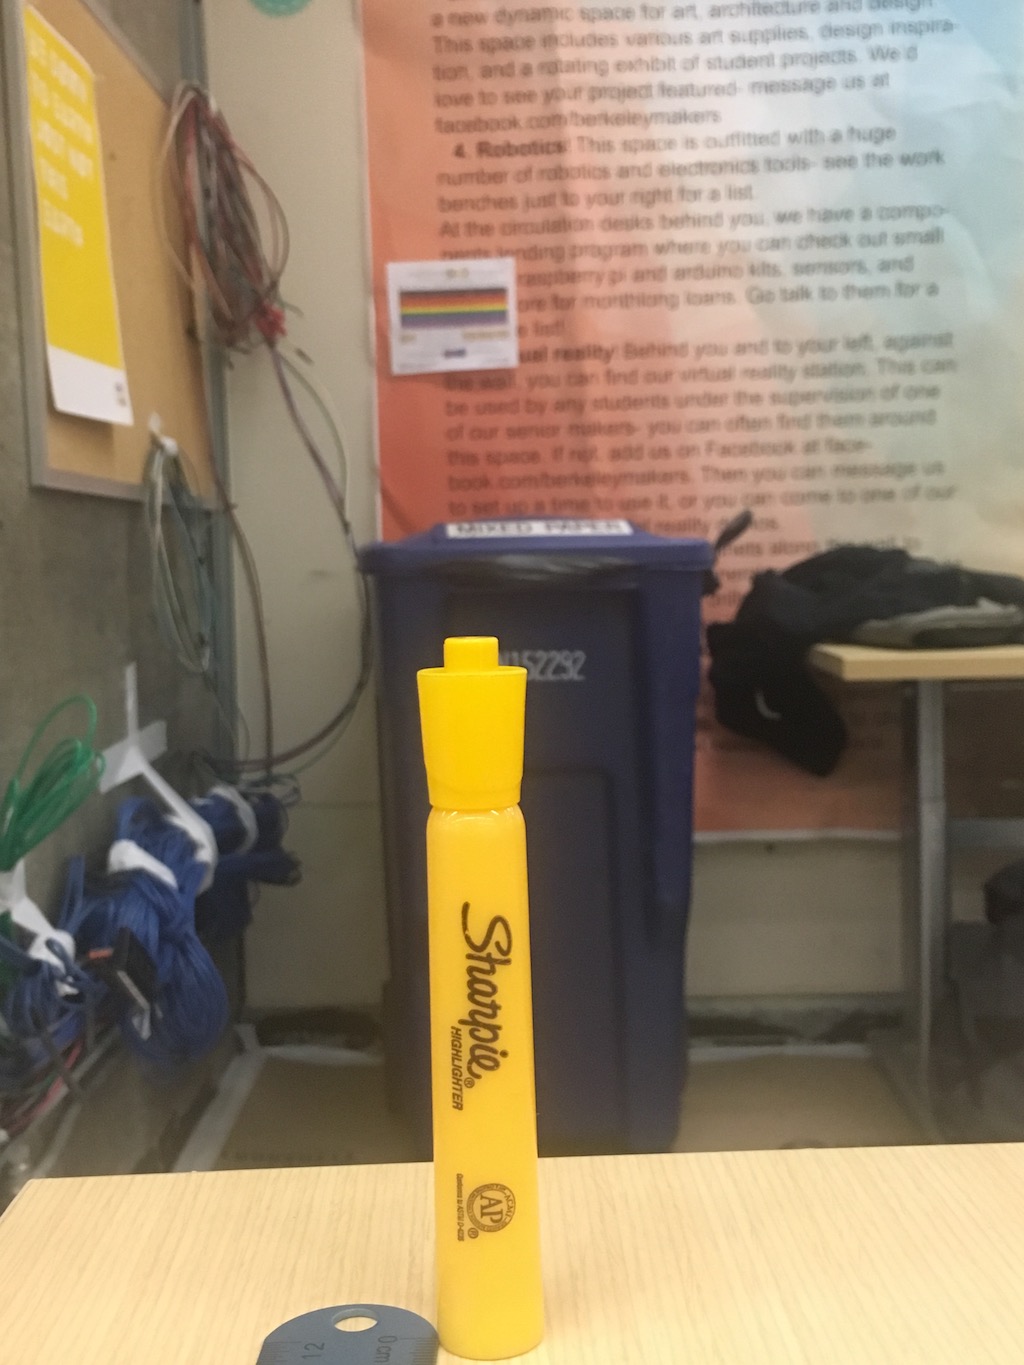
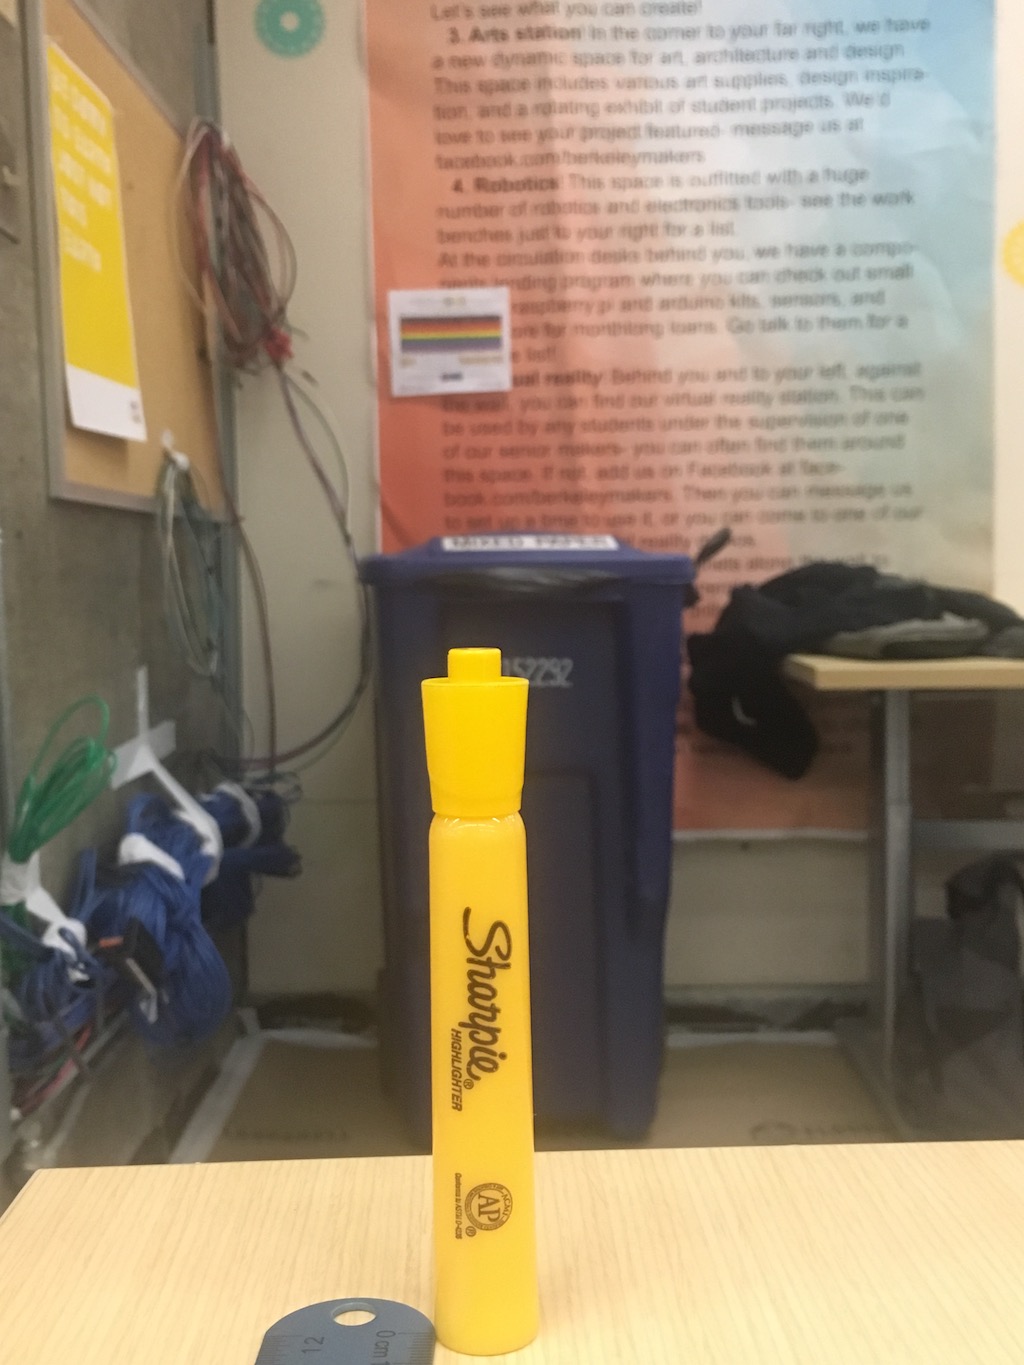
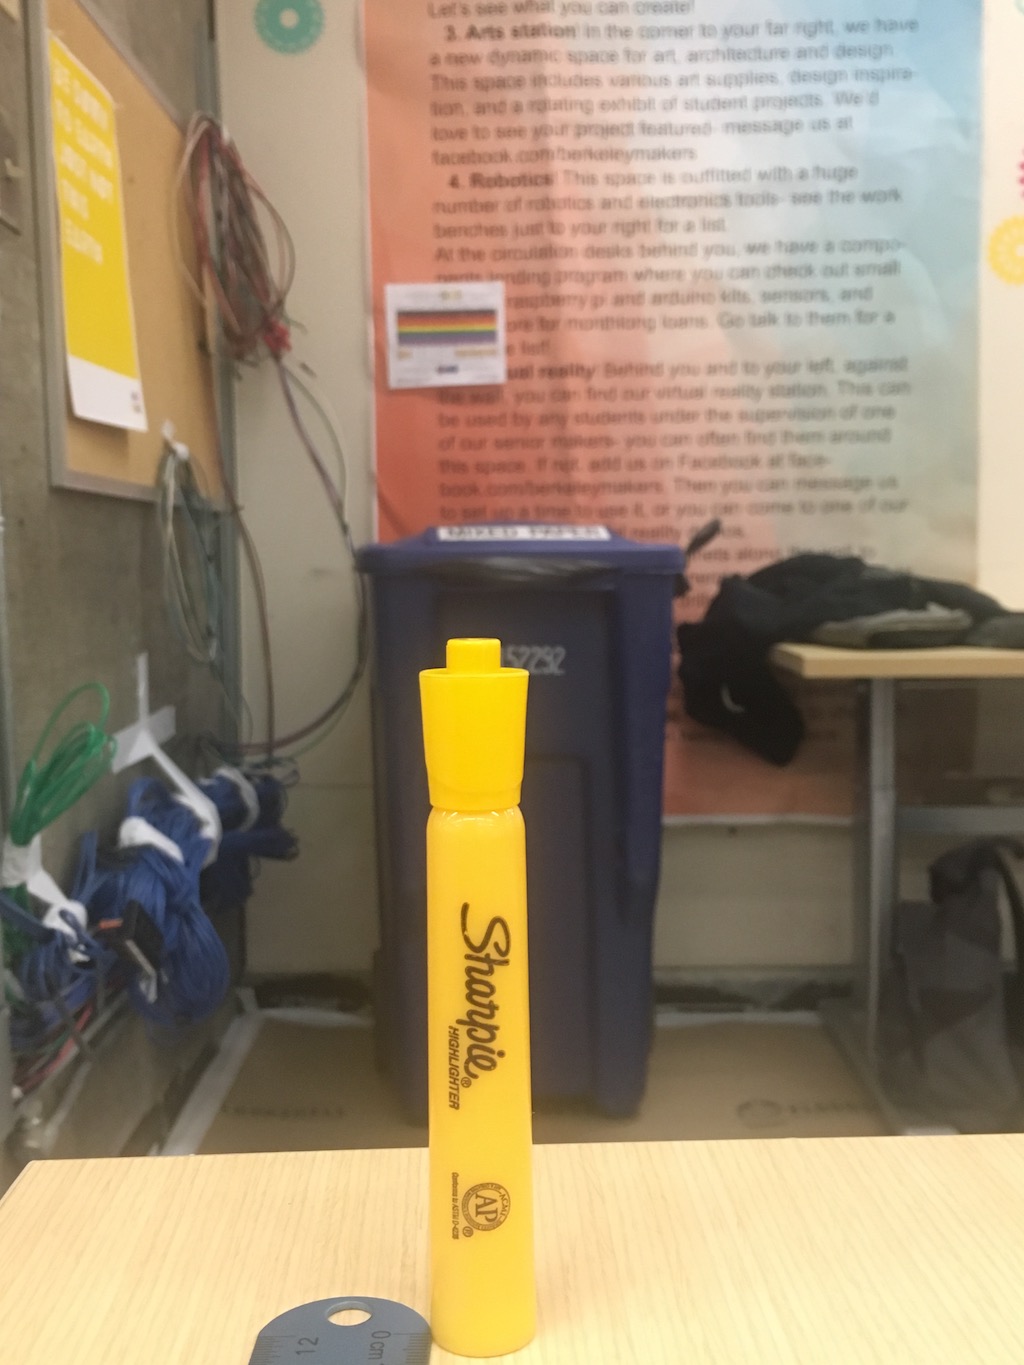
I chose locations that had a fair amount of interesting background. You can imagine that if the background was plain, there would be no apparent
effect of the vertigo shot. So, I went to the library to take some photos. The first vertigo shot with the highlighter is taken in 1st floor moffit.
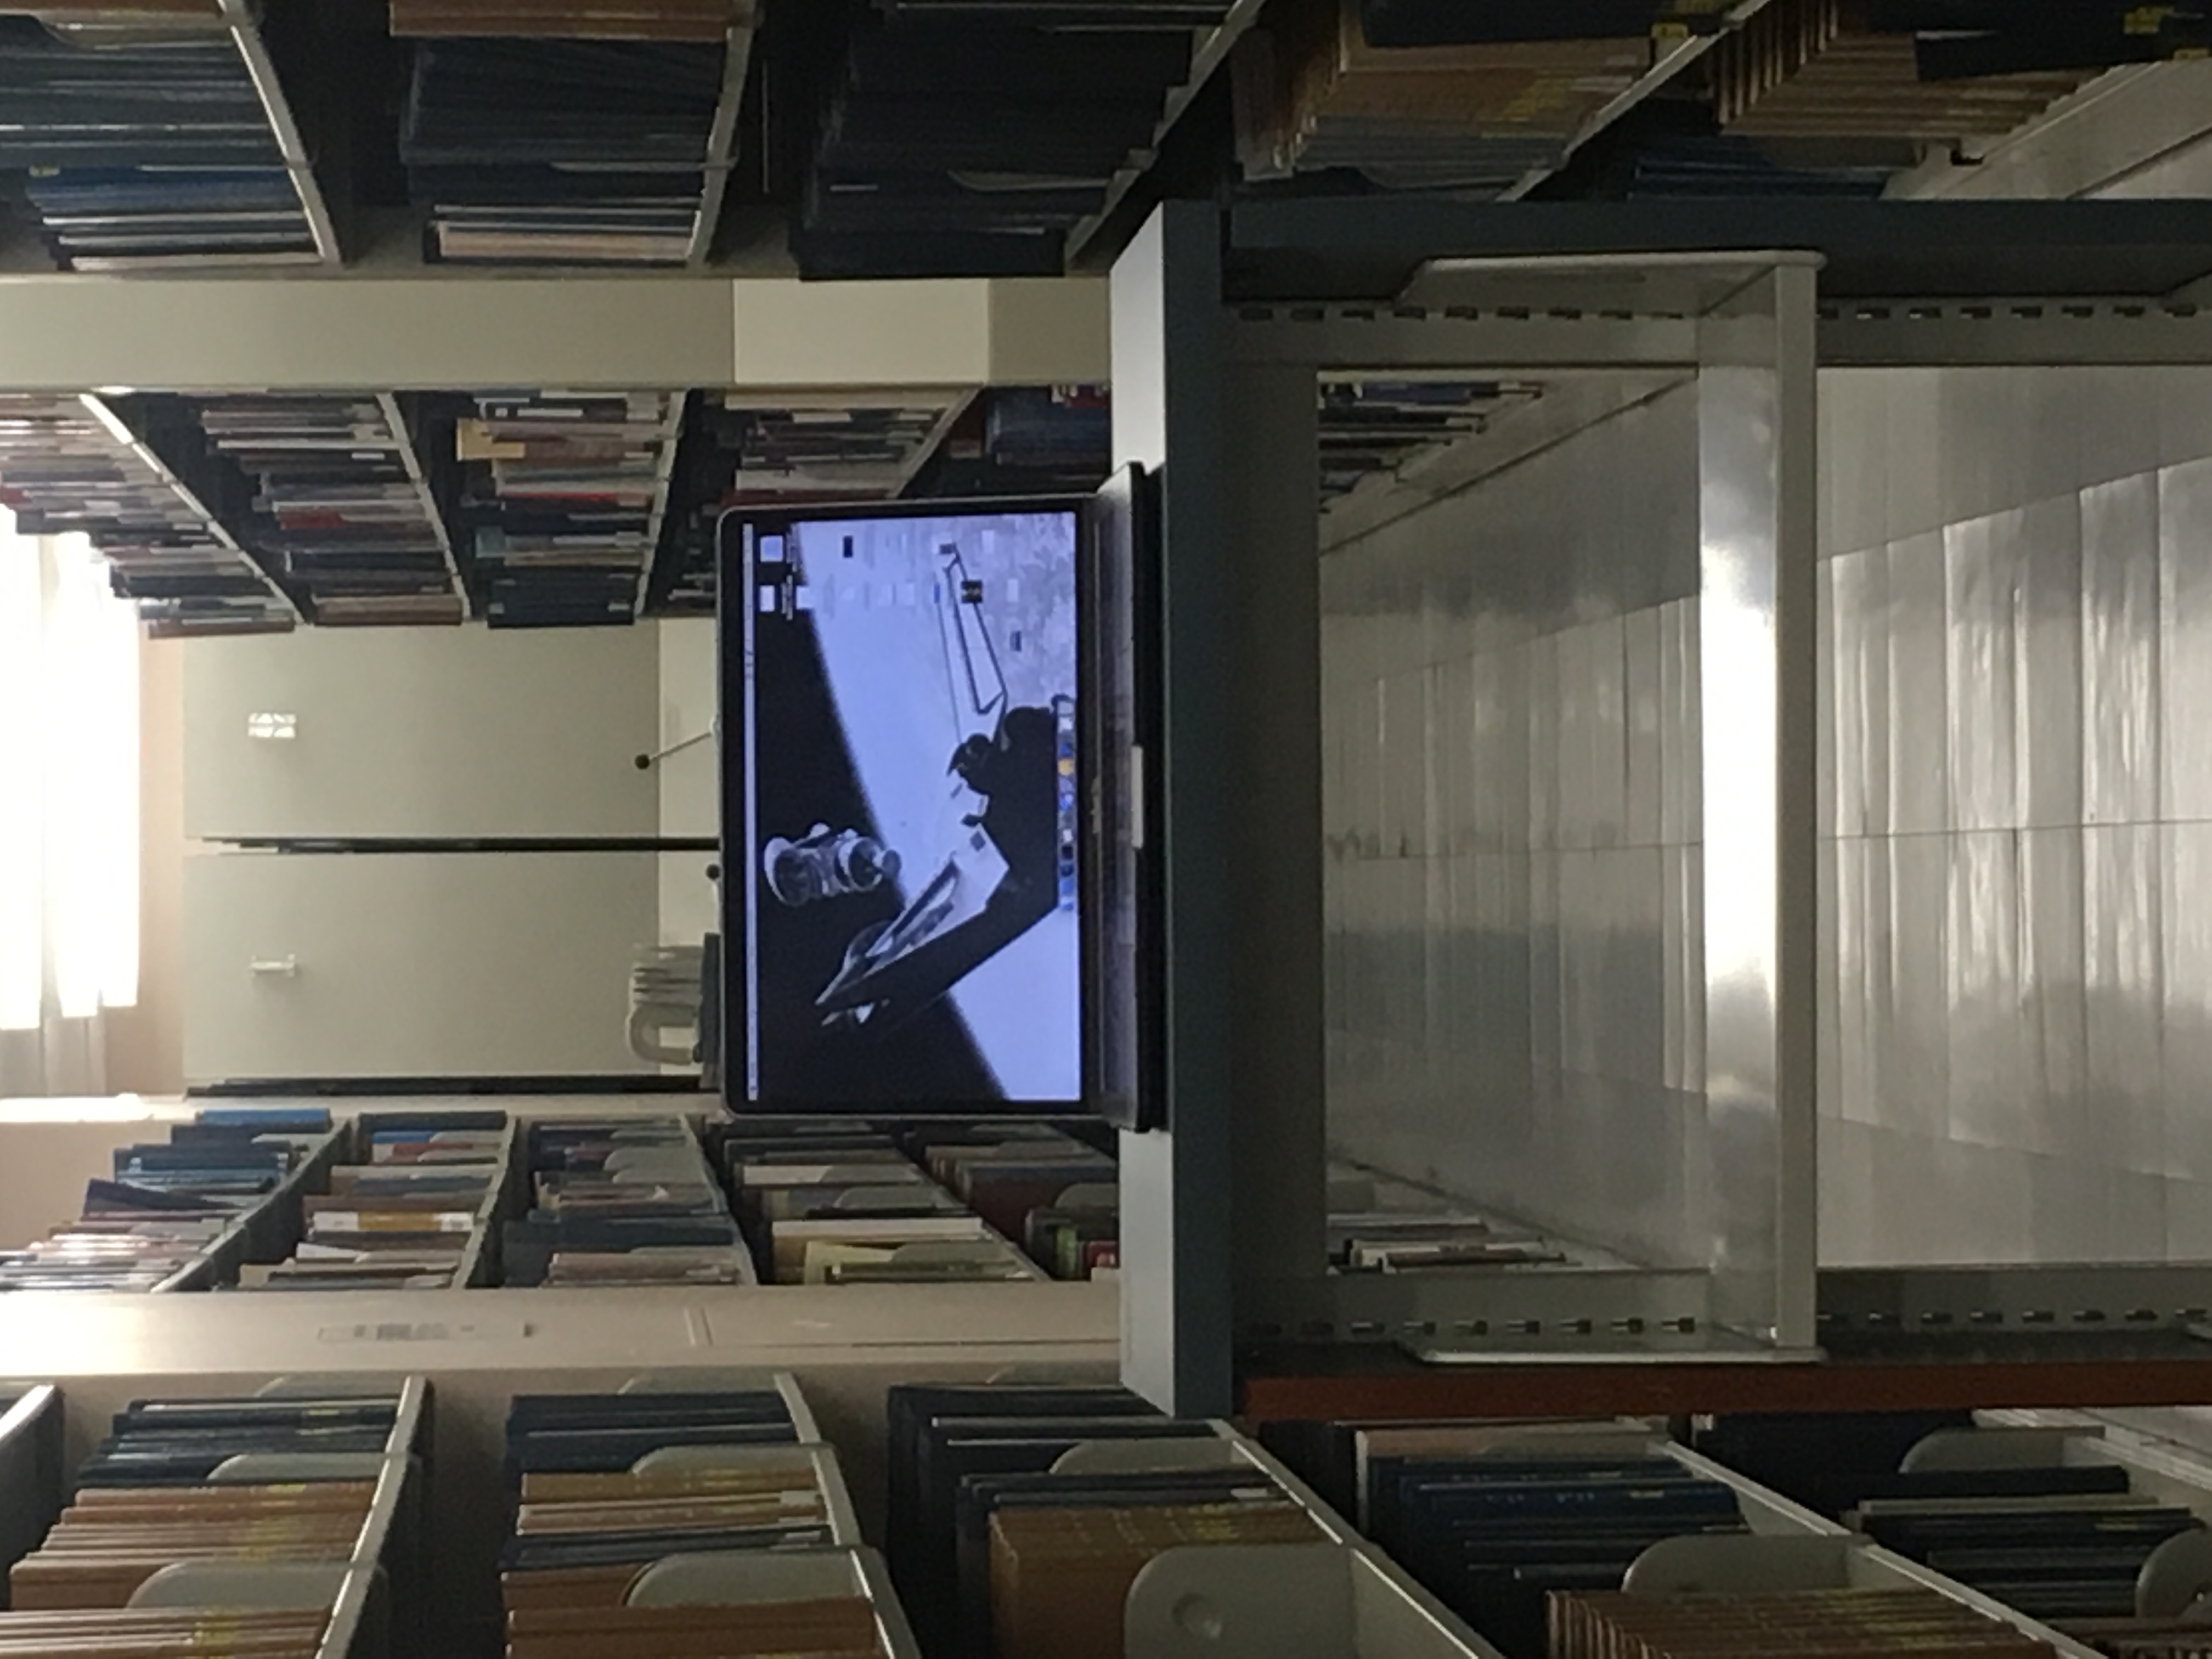
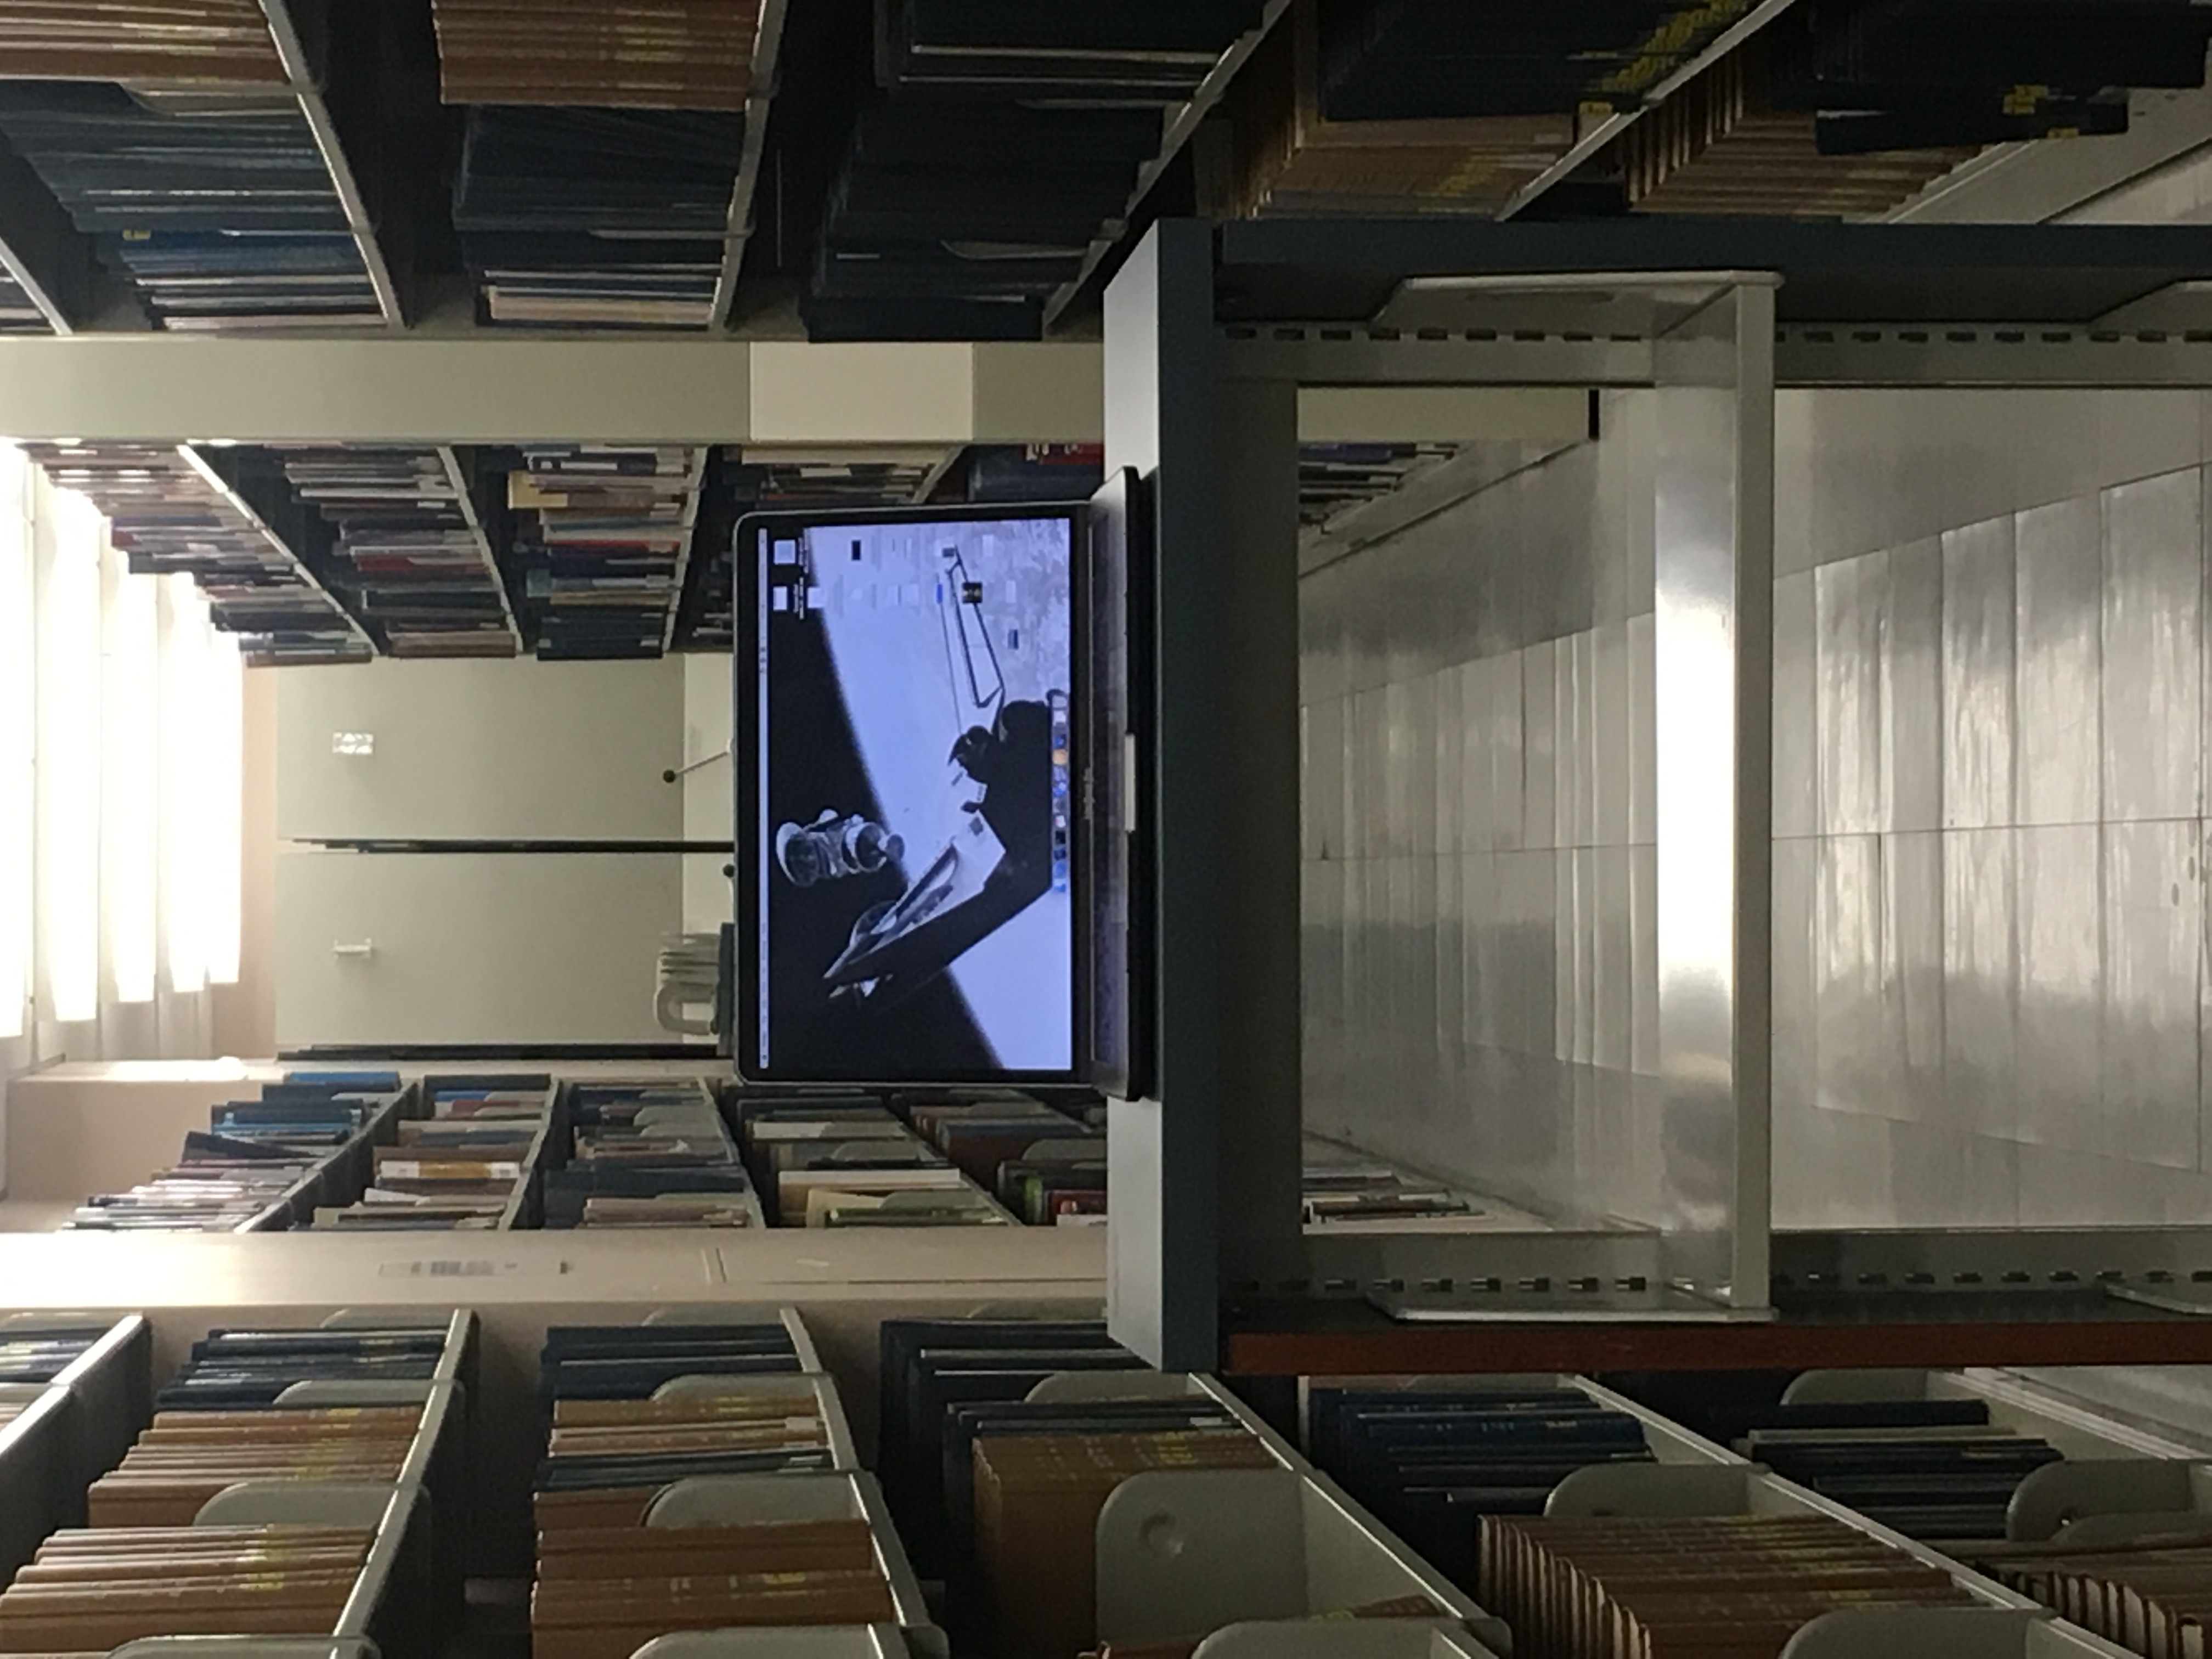
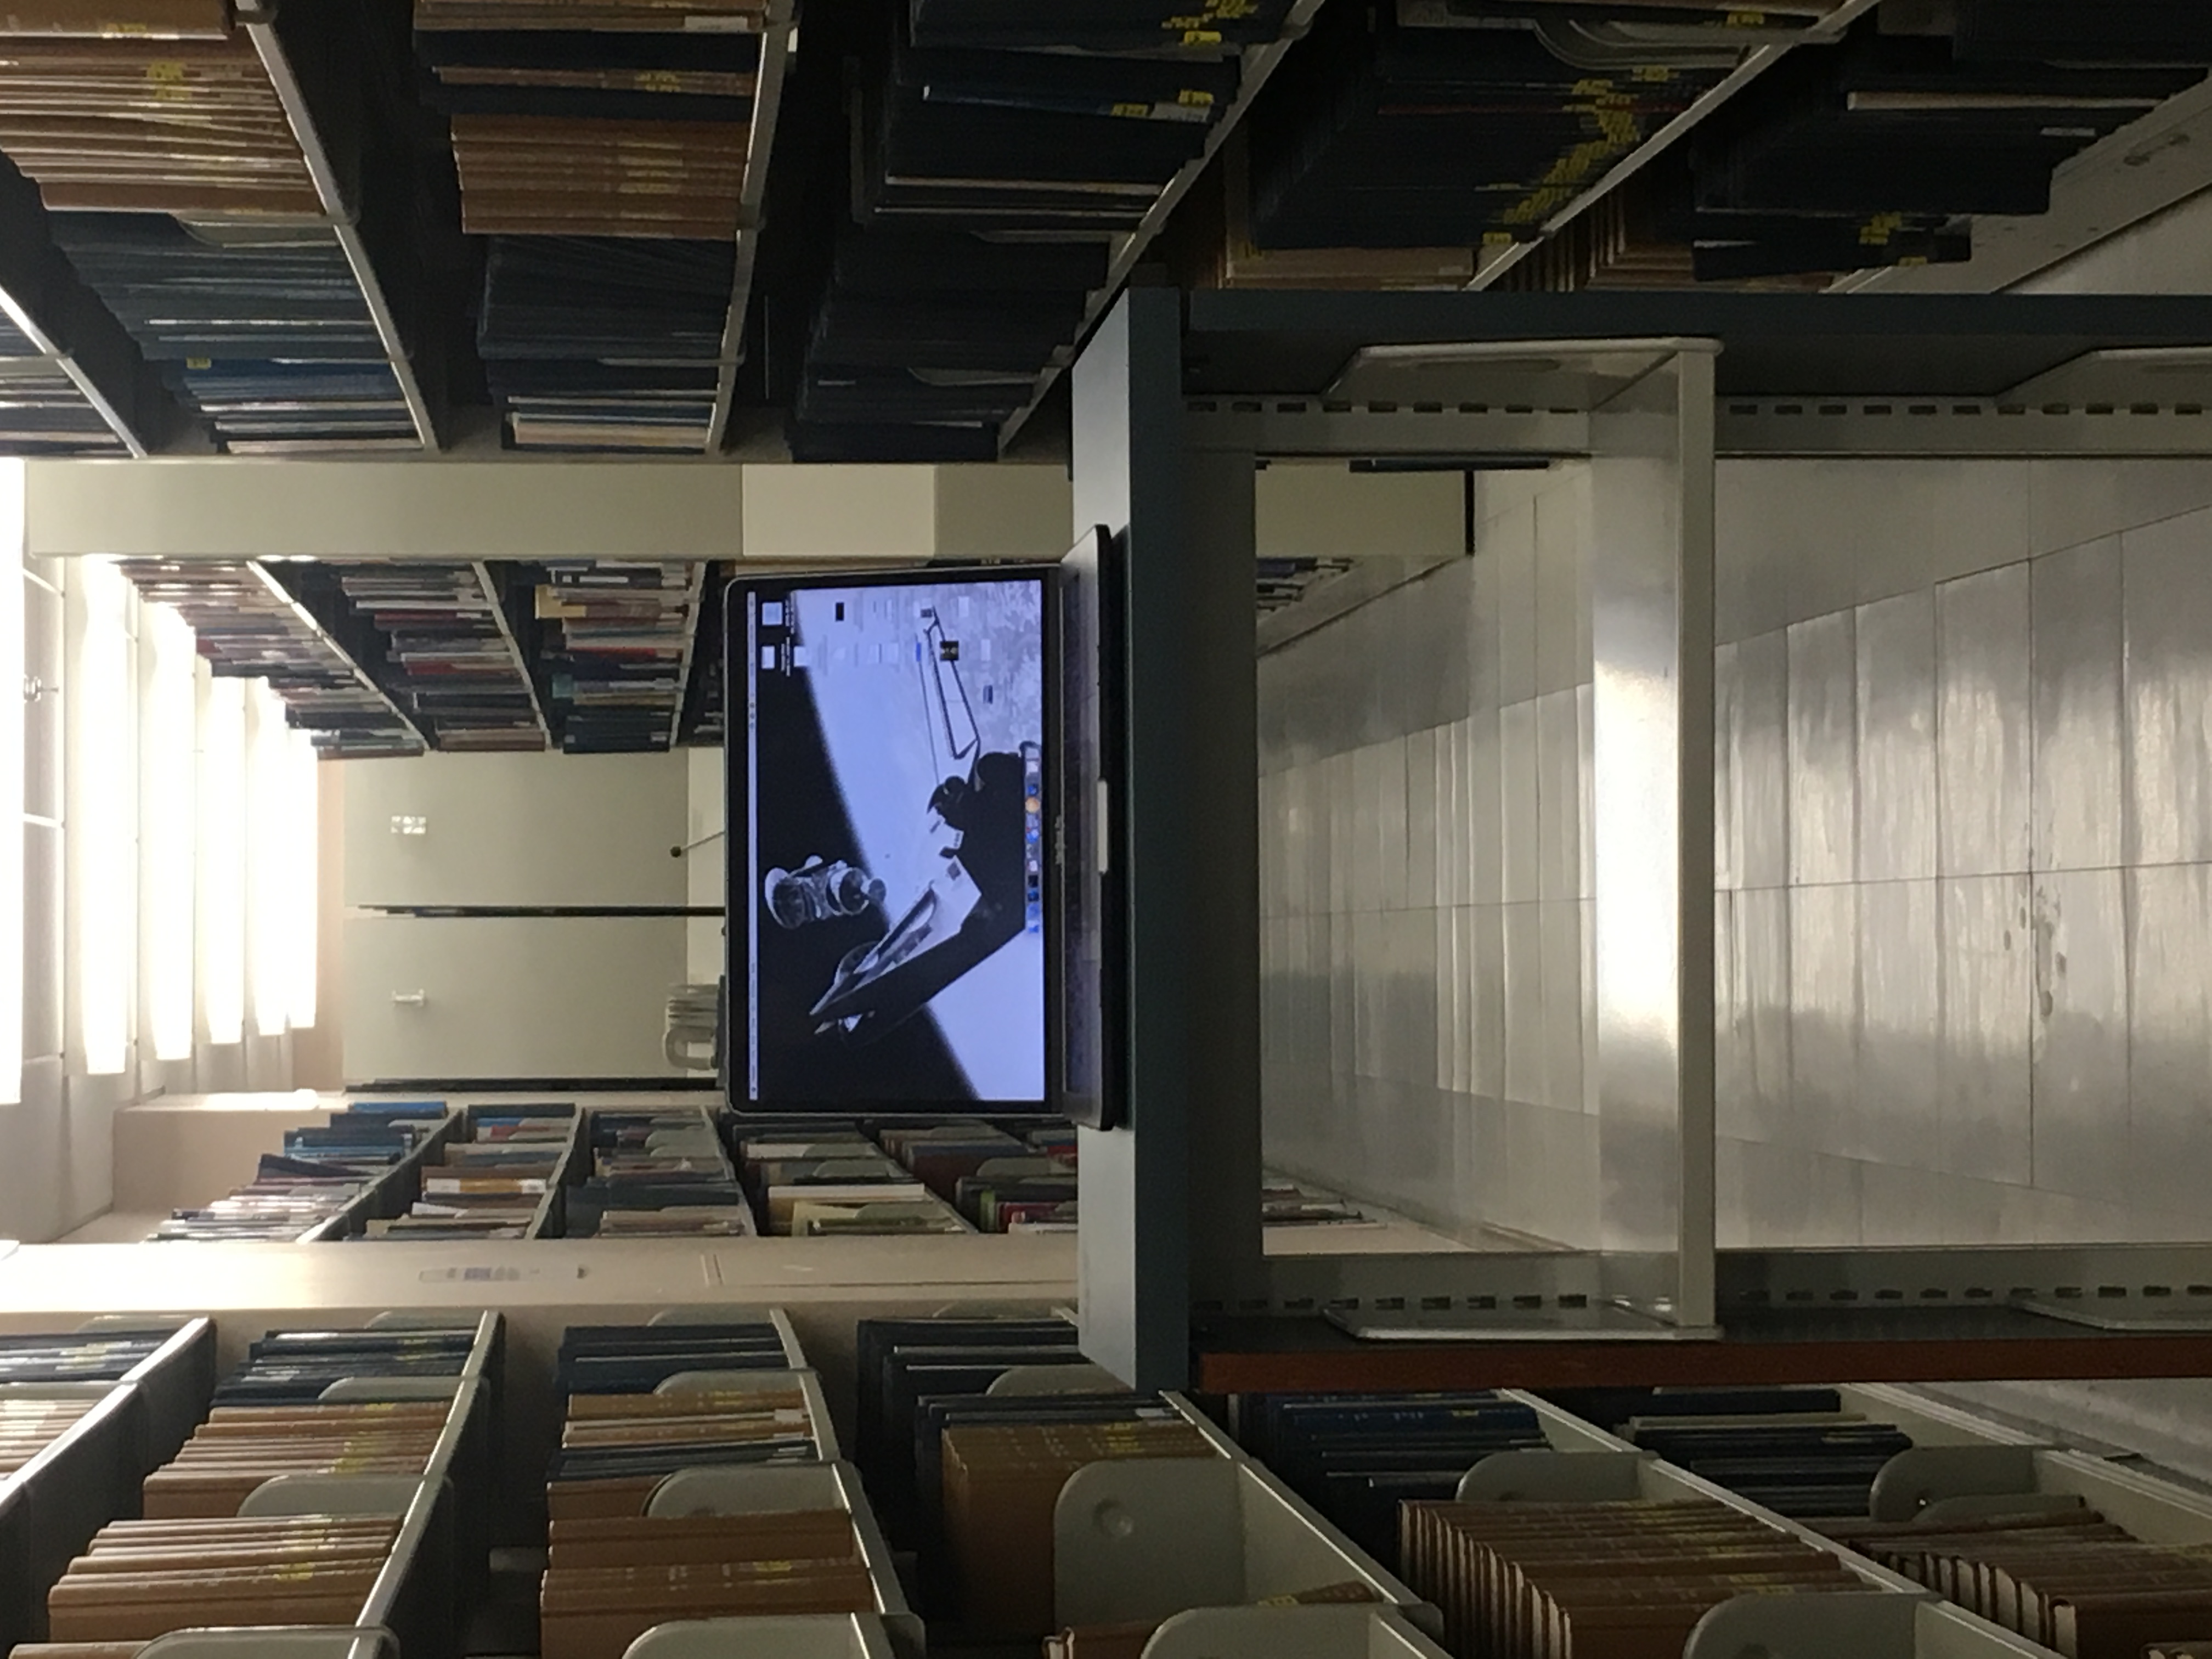
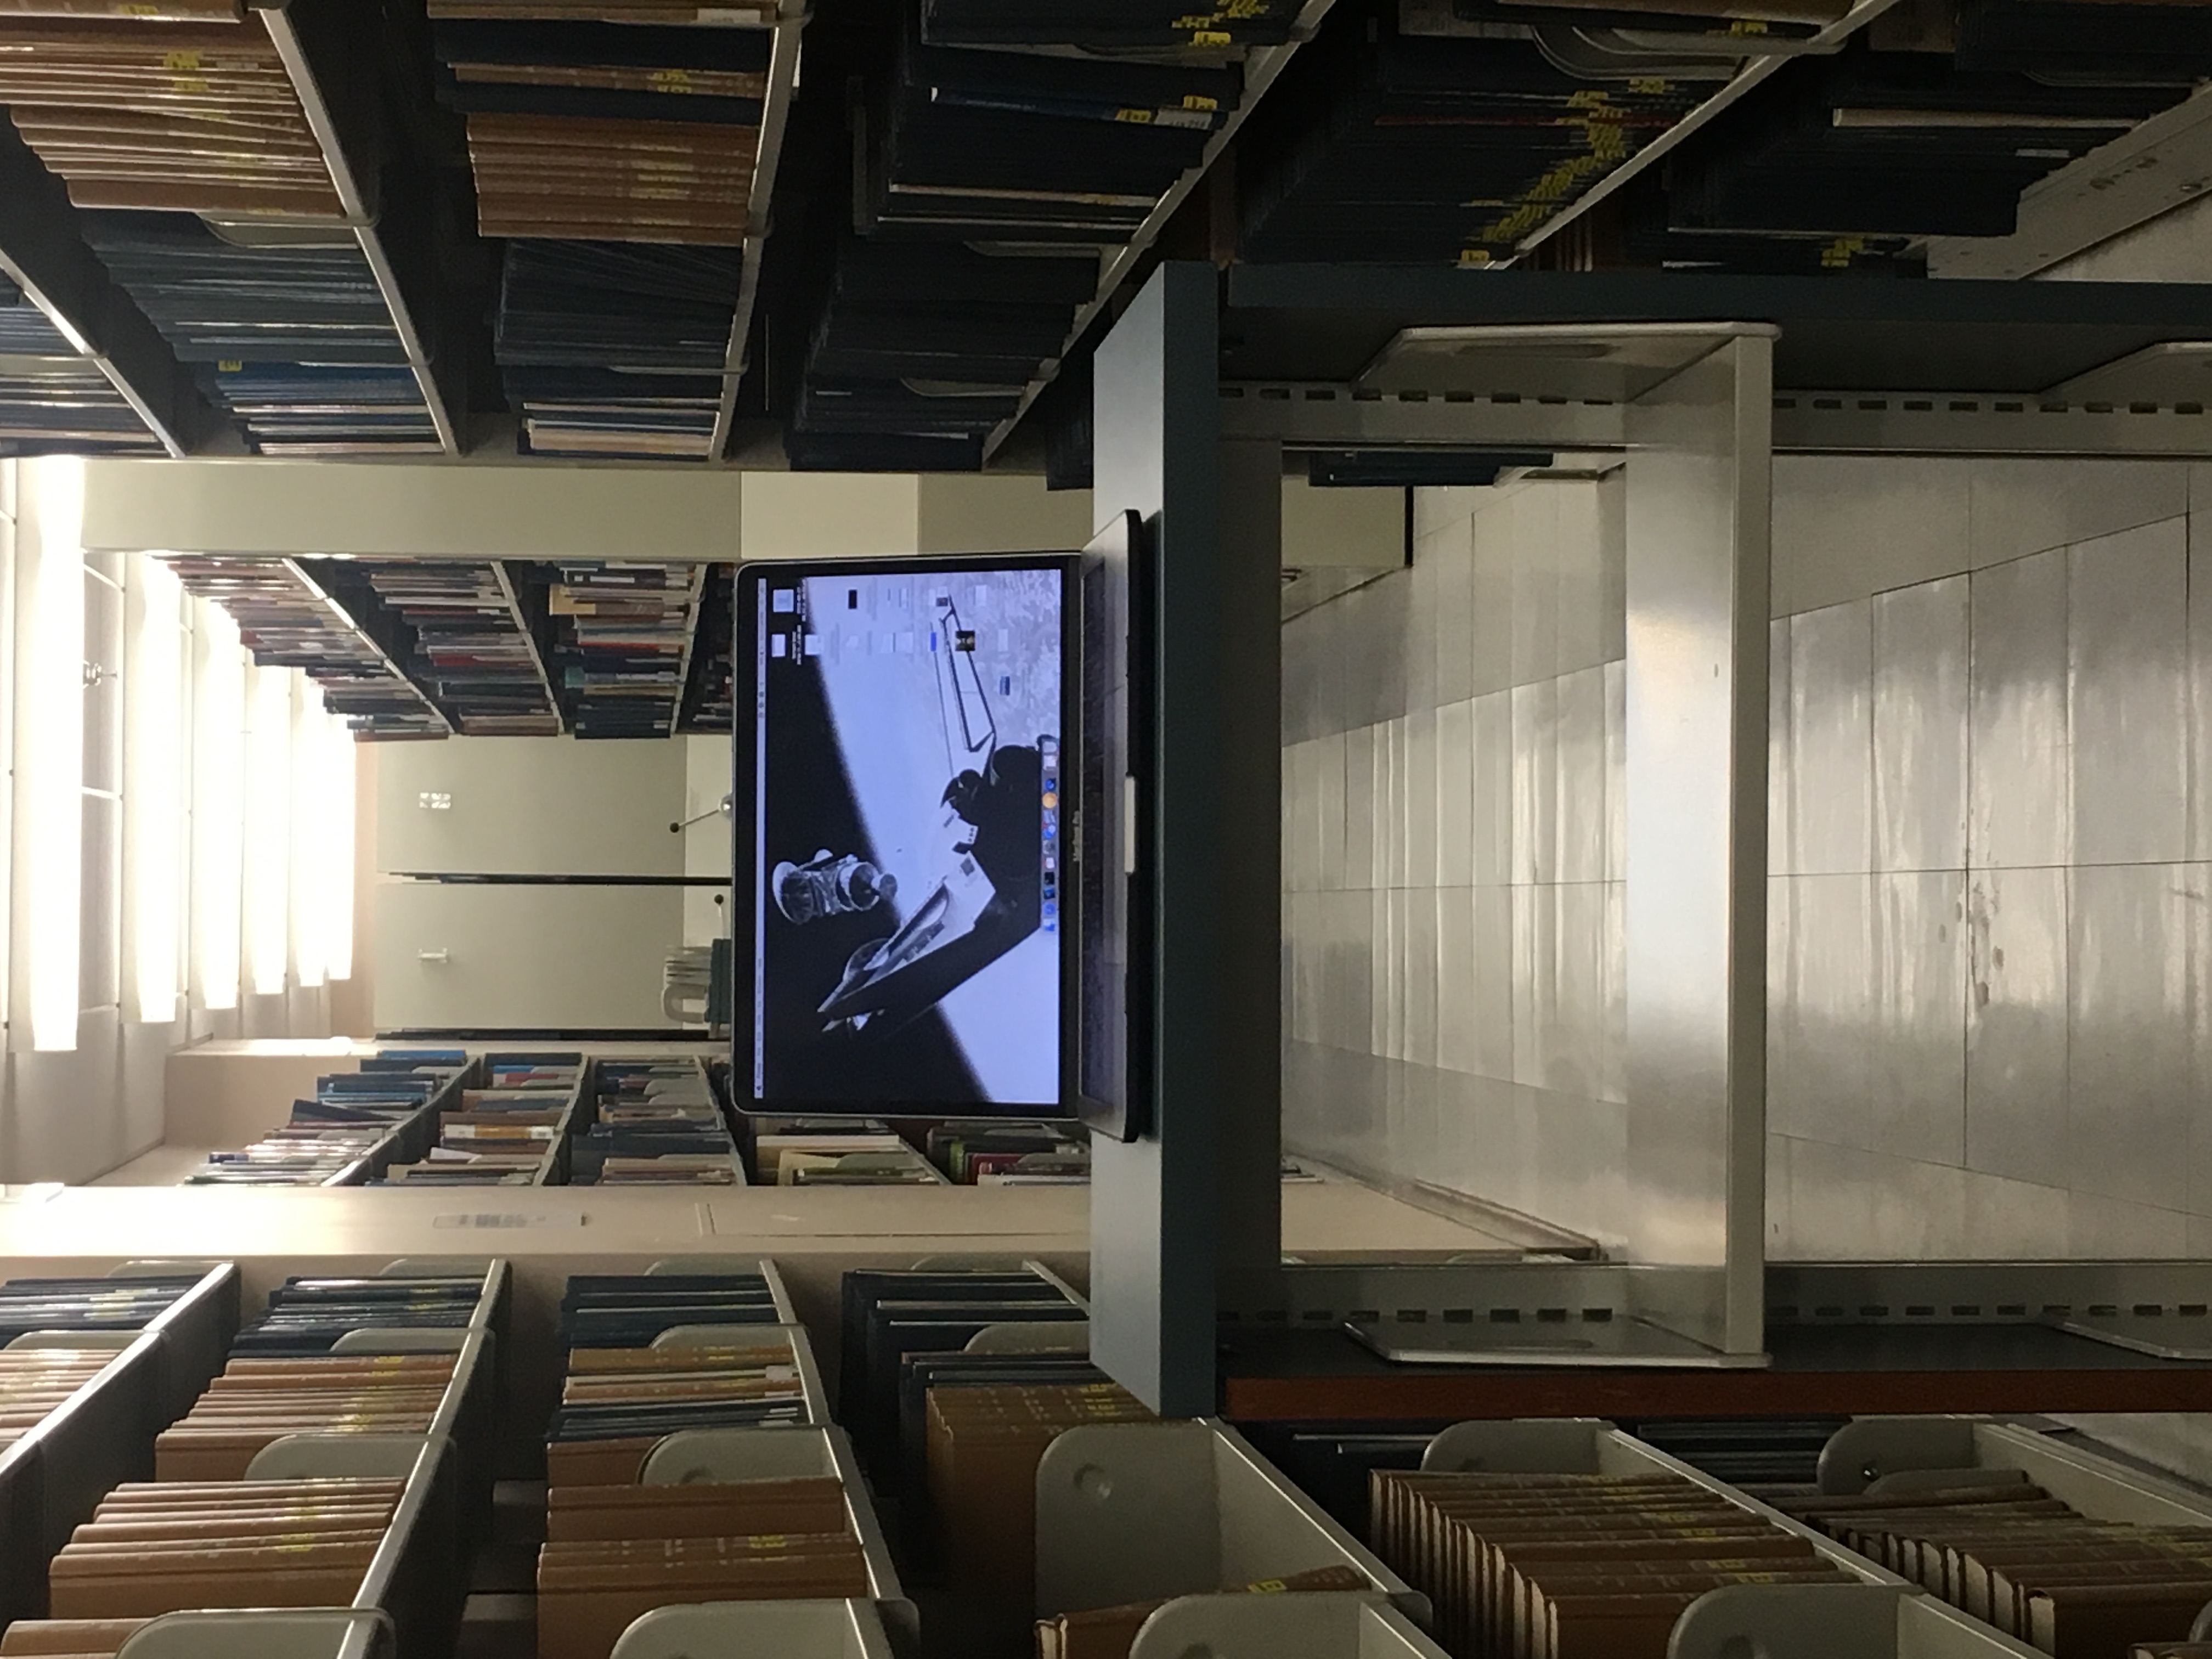
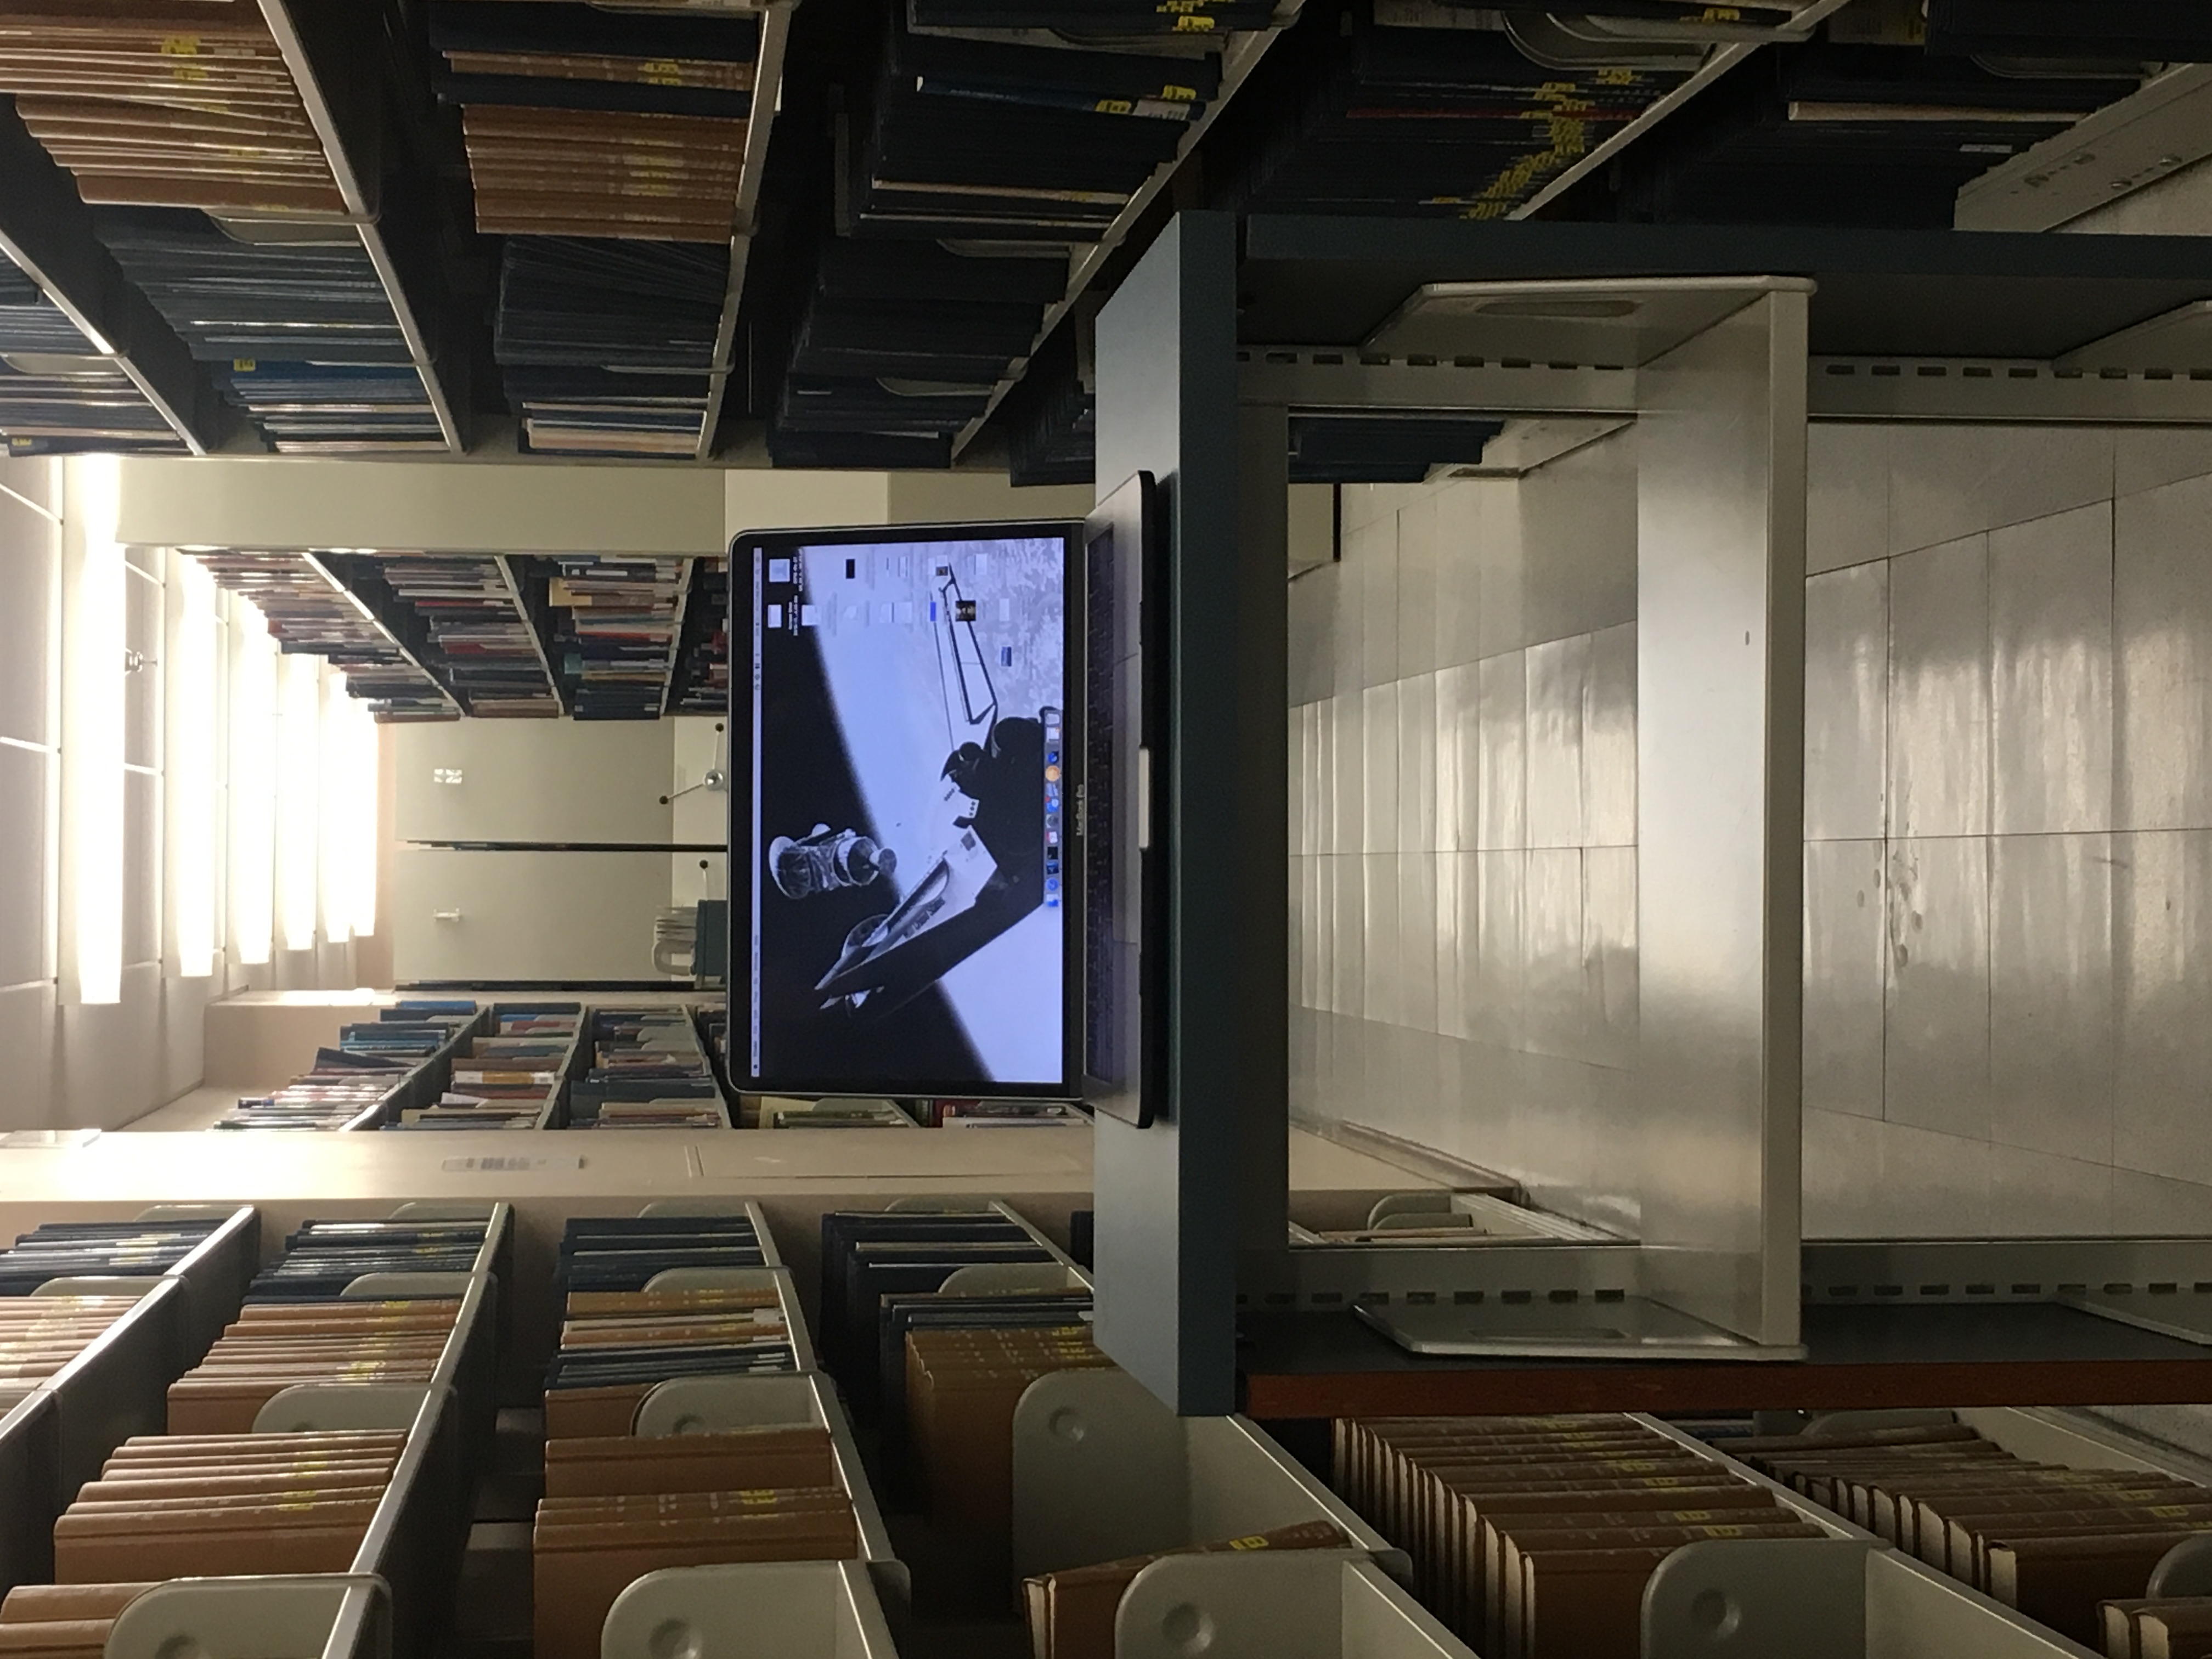
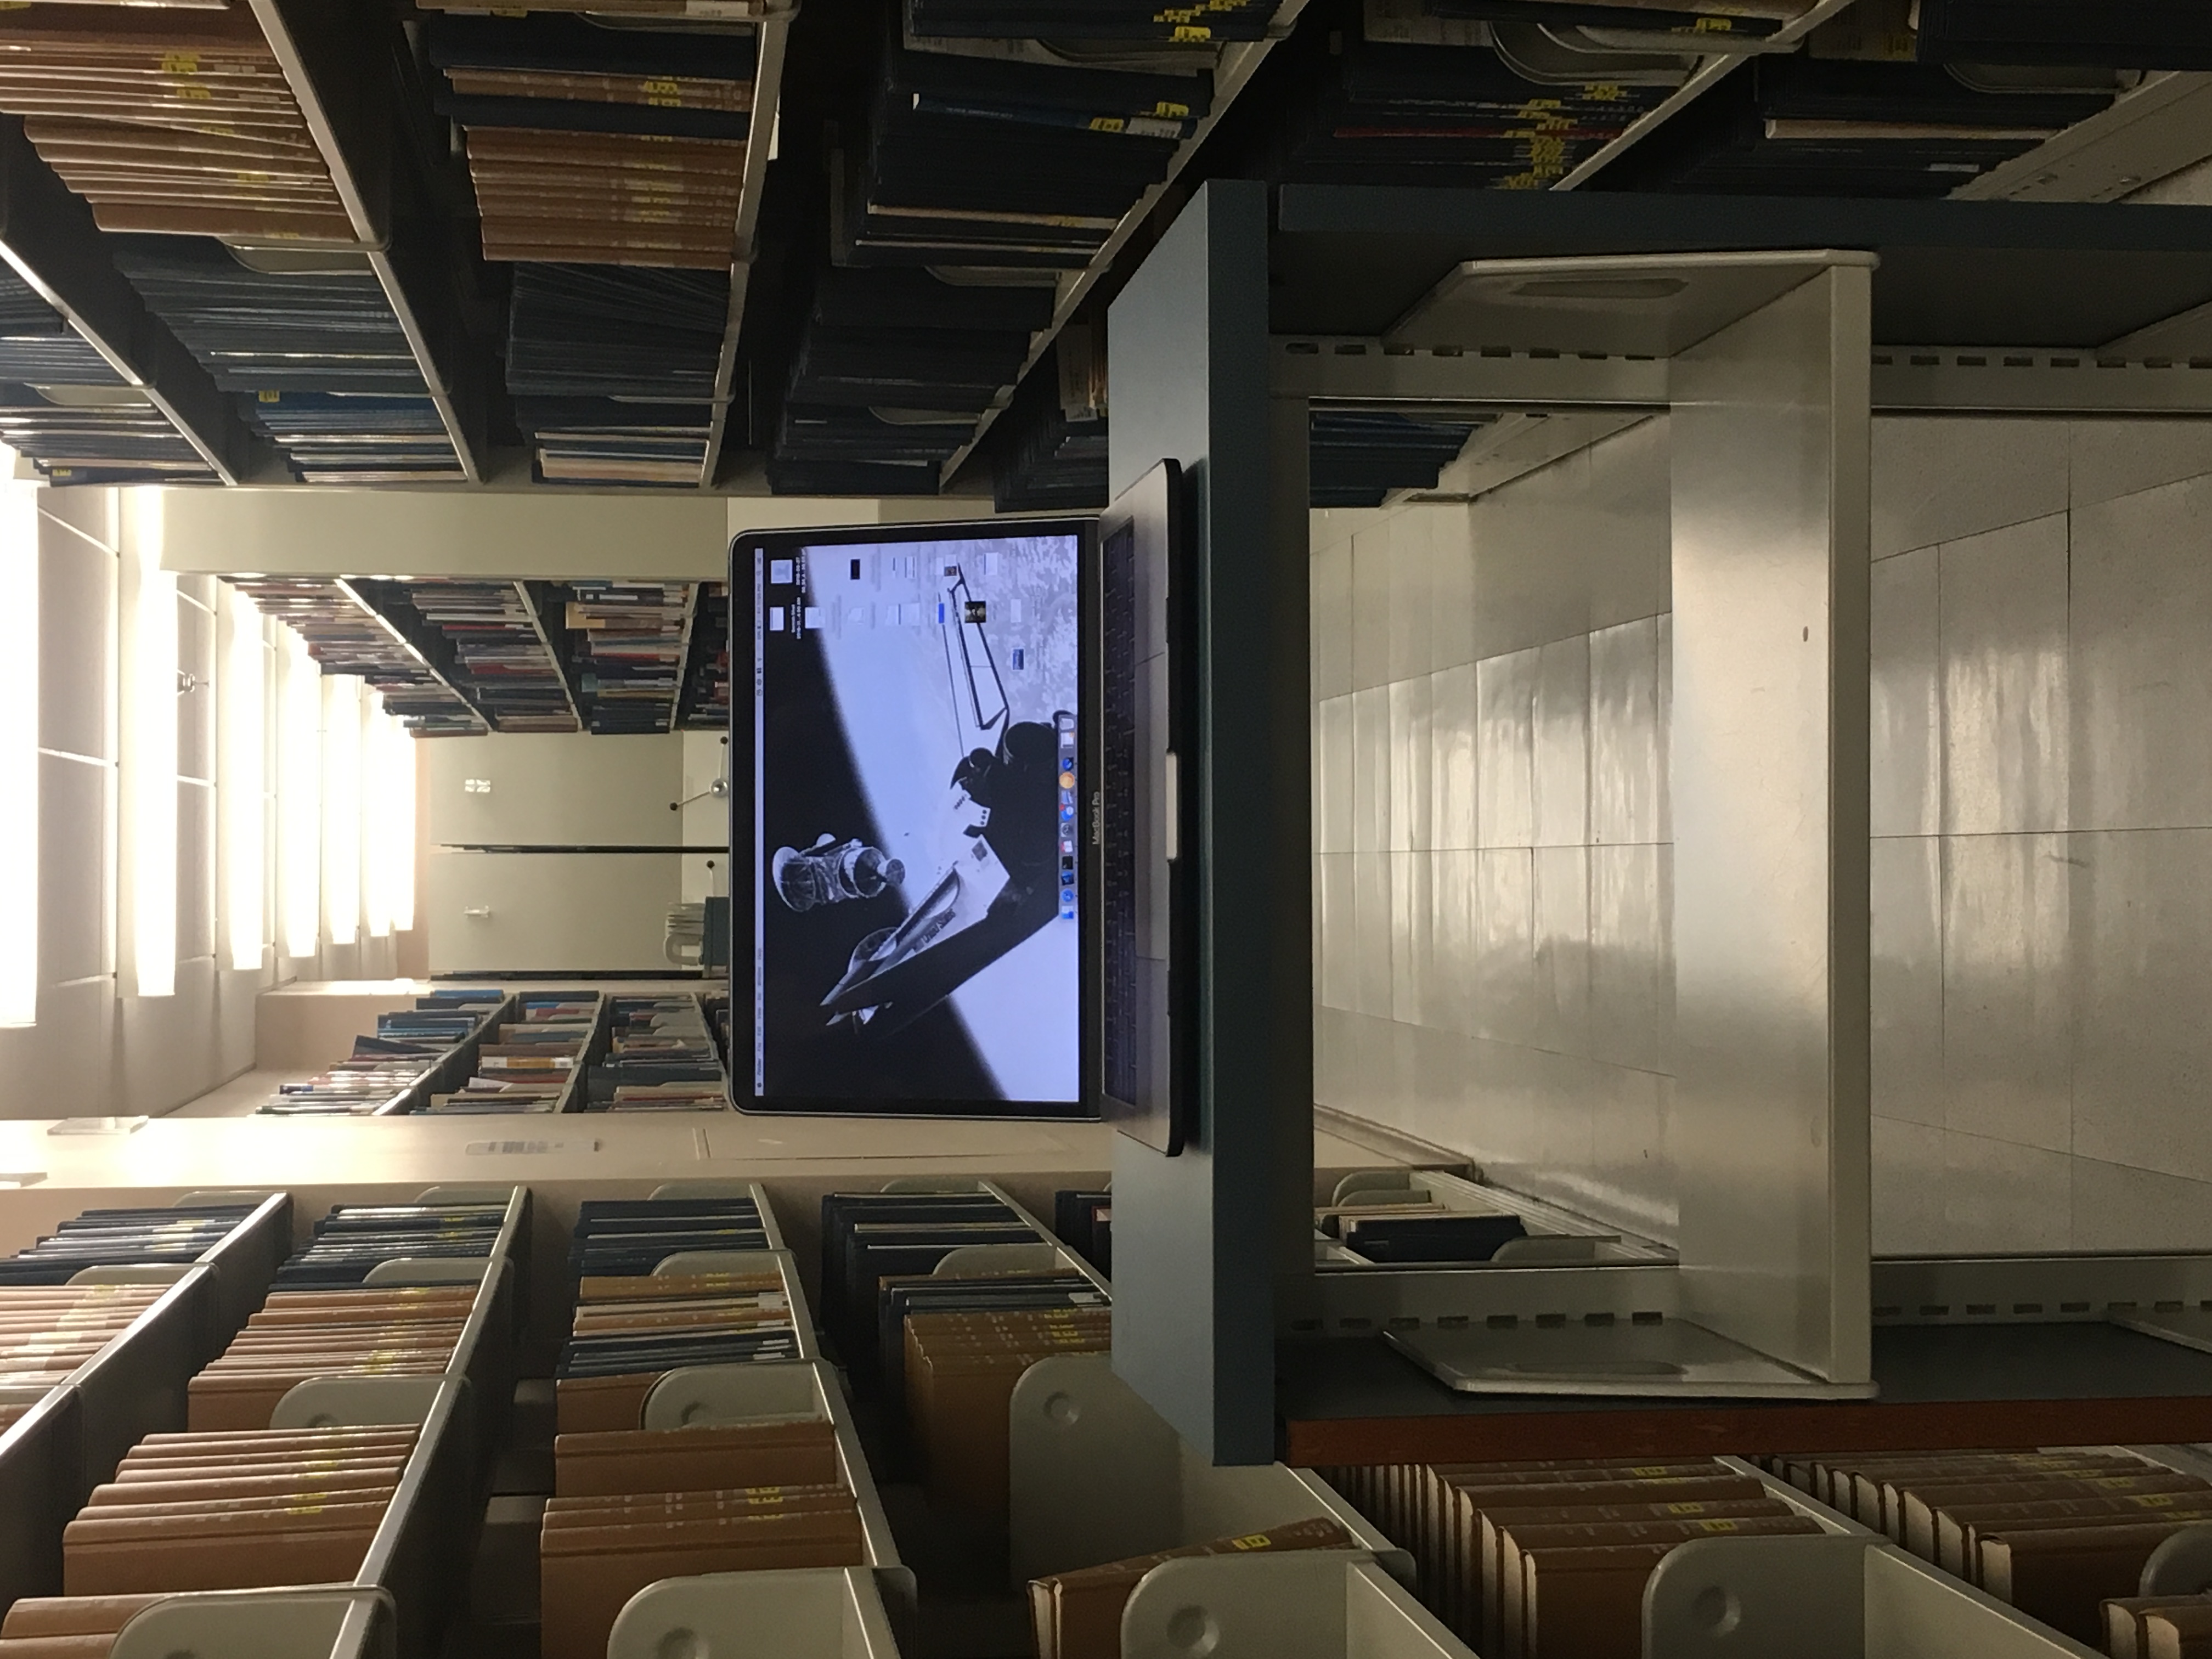
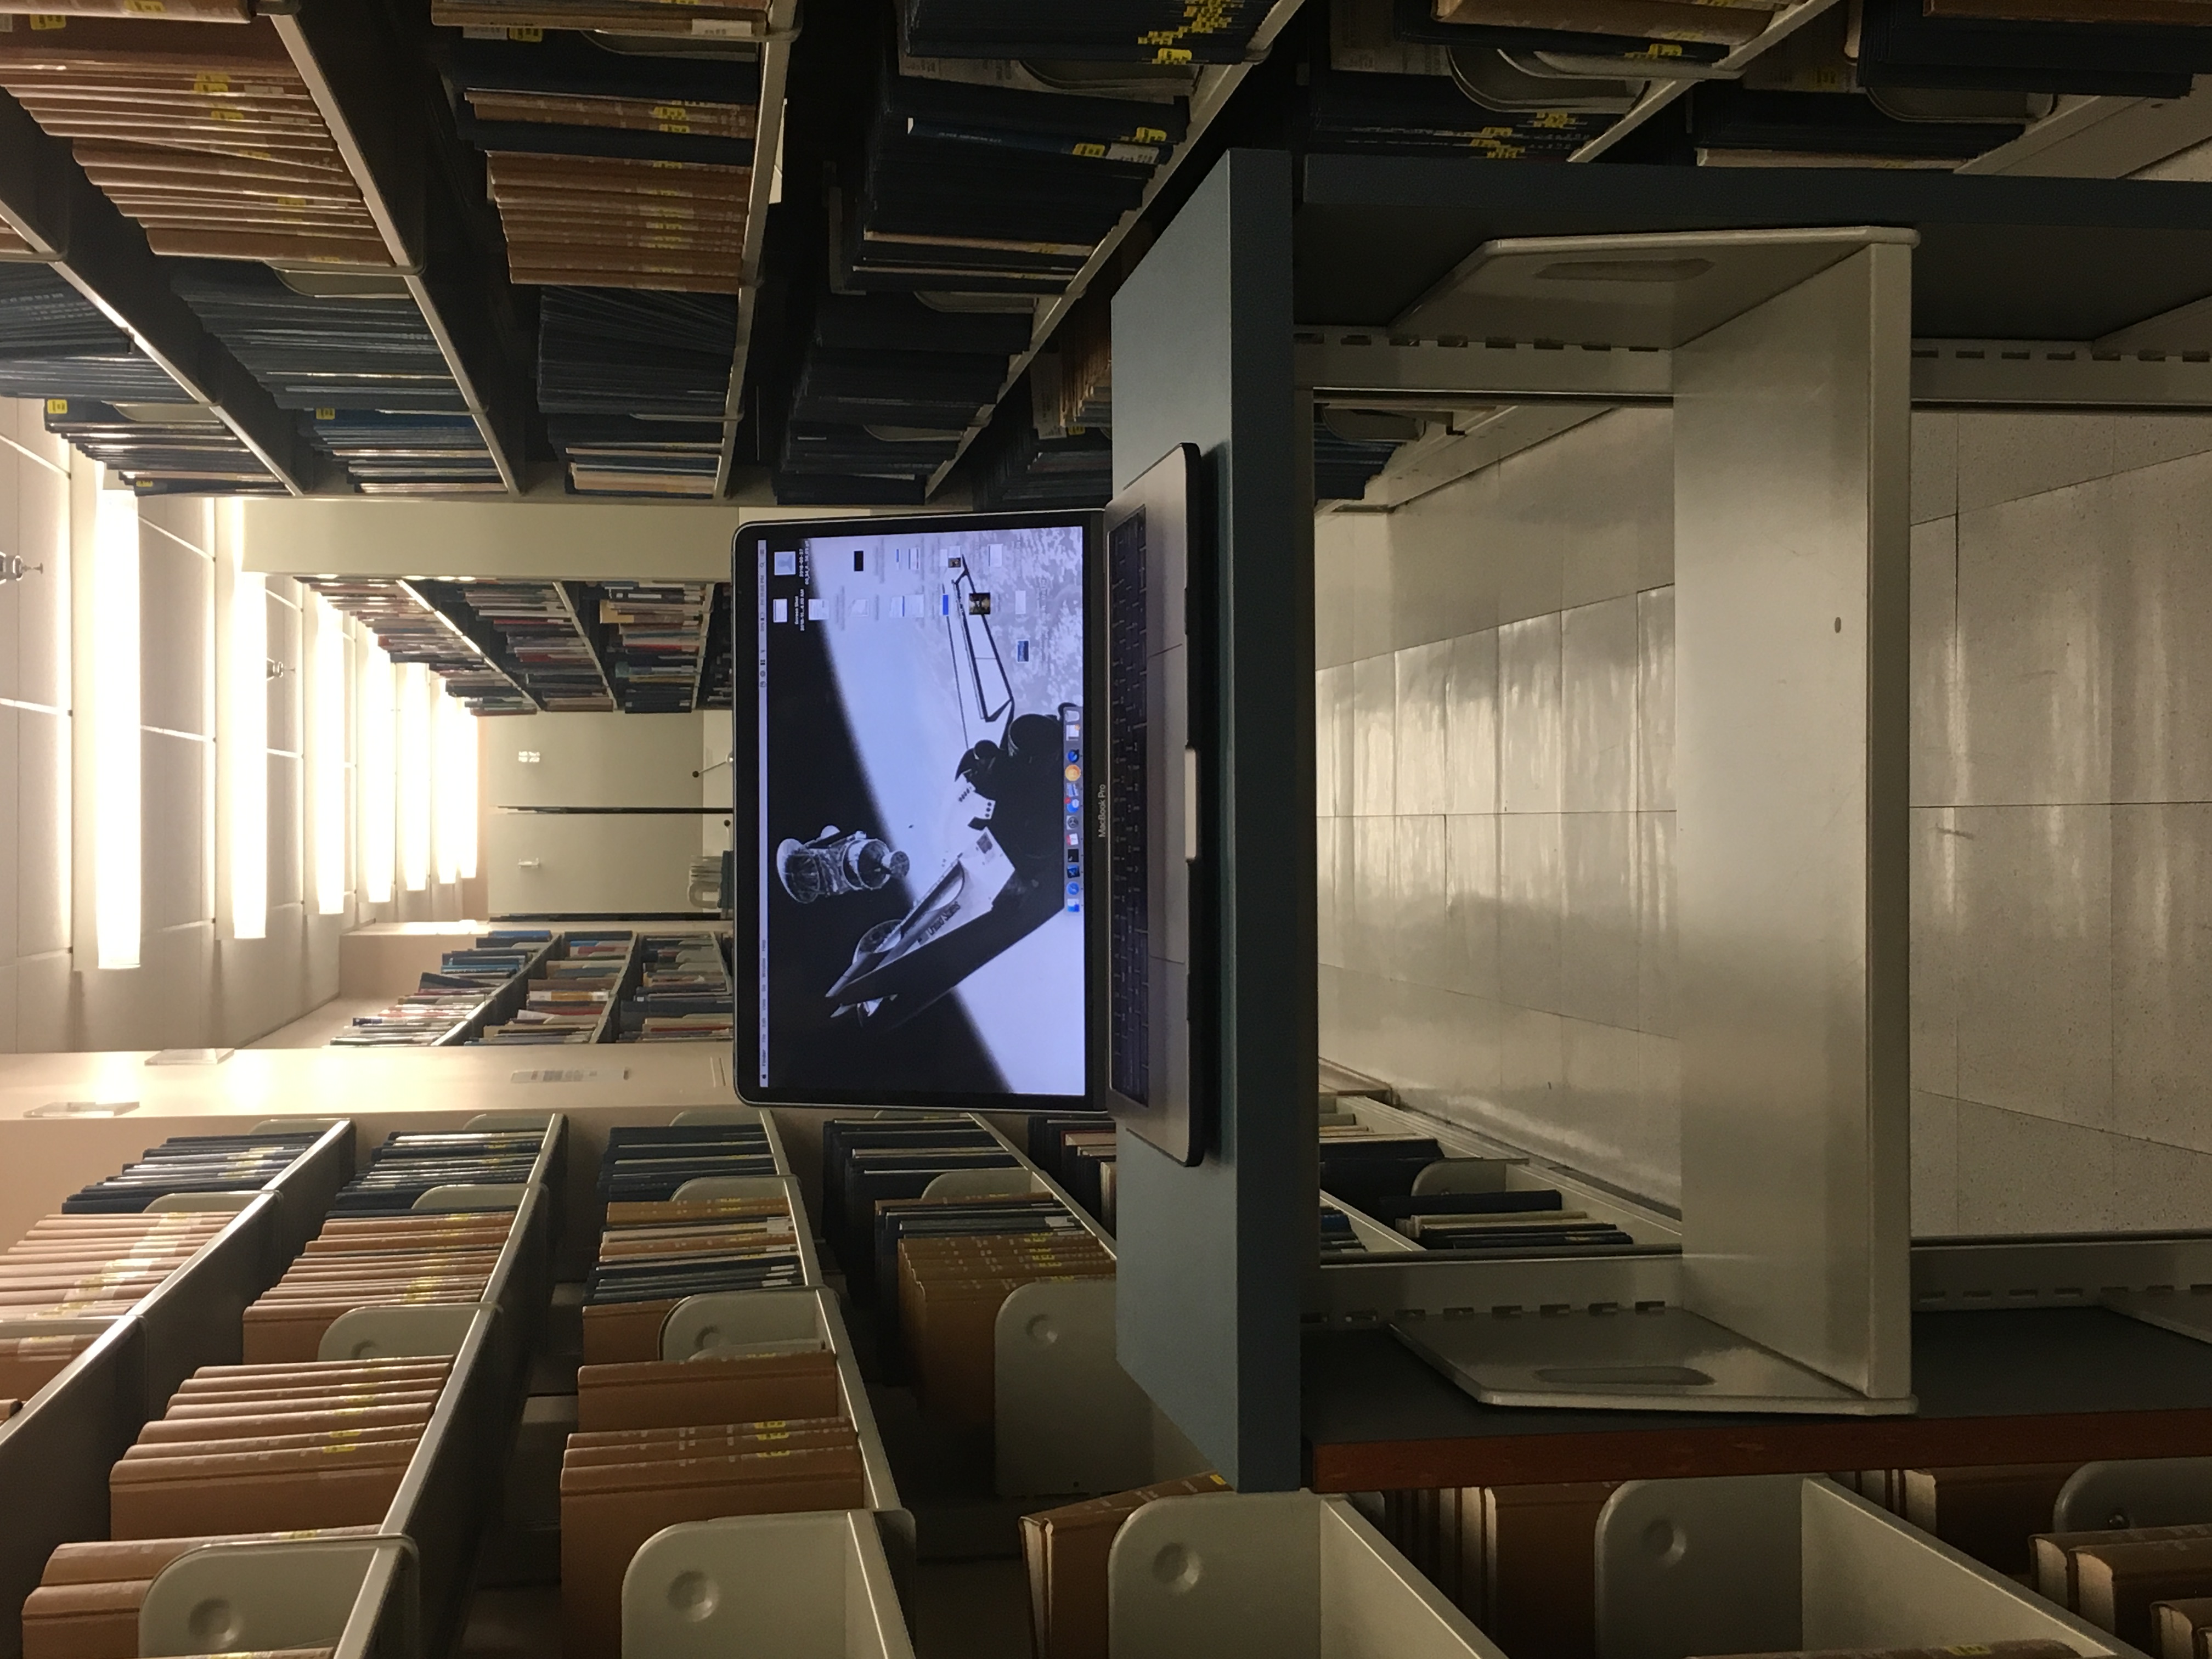
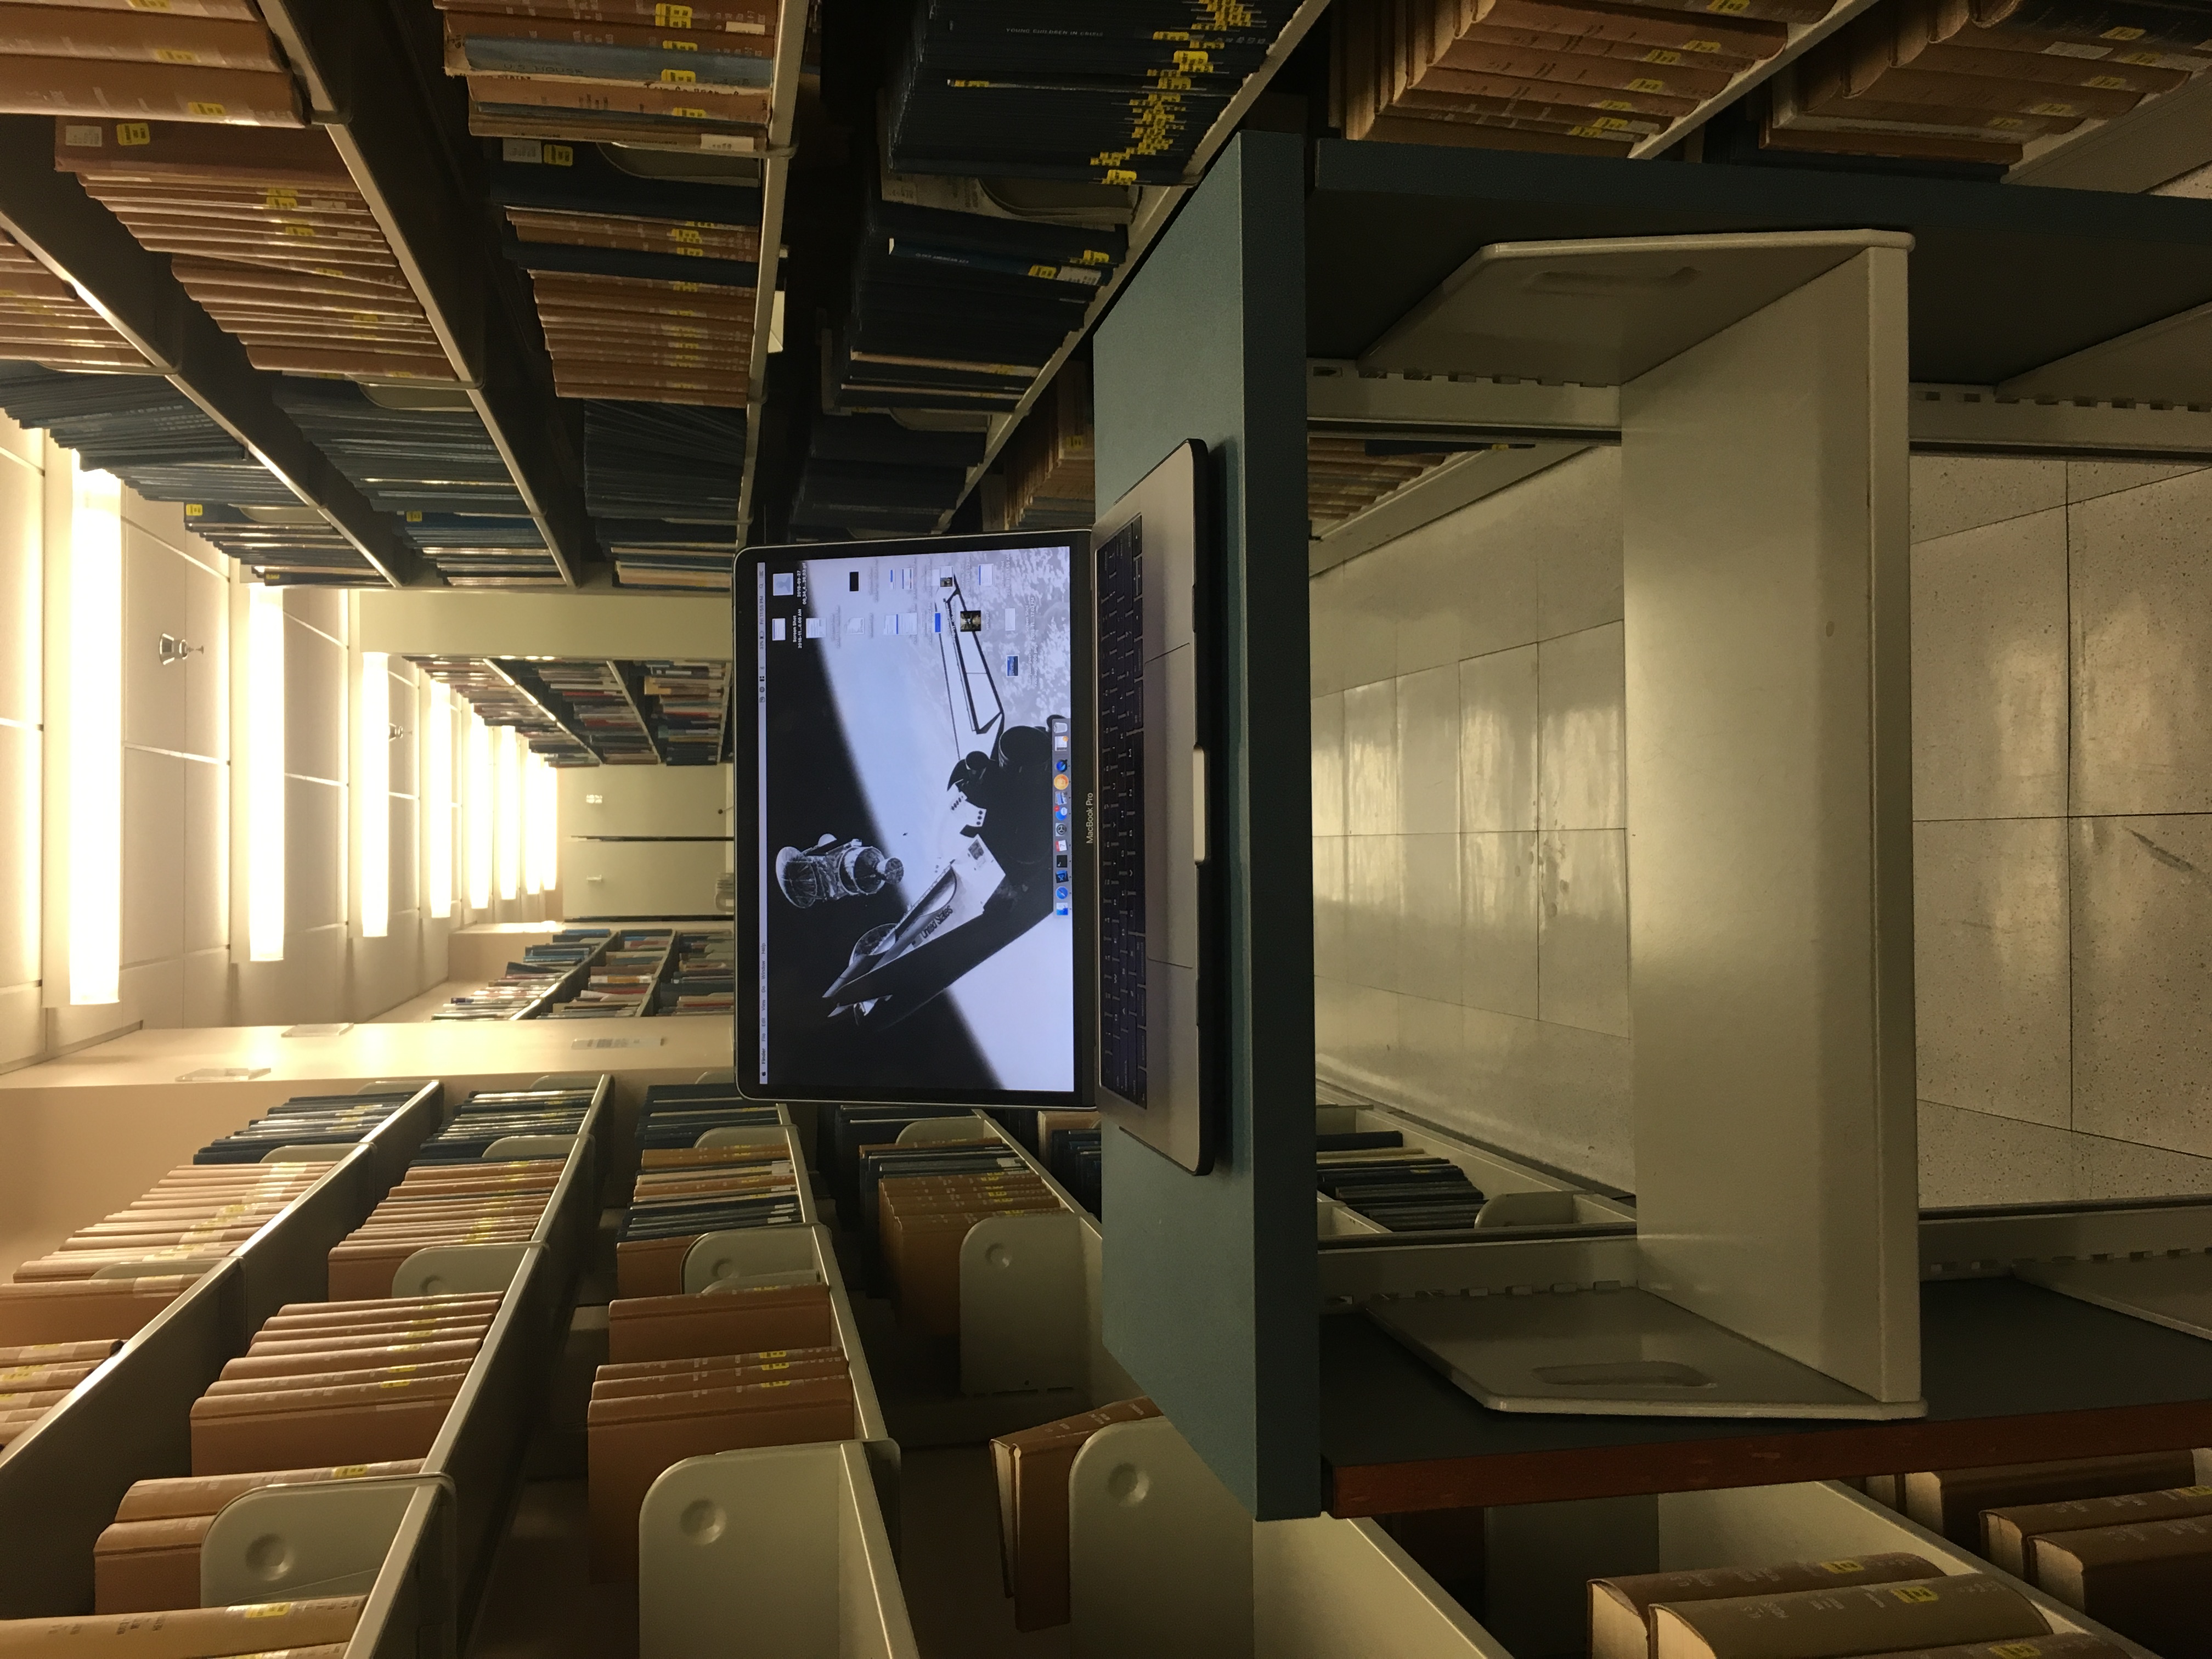
The second vertigo shot is taken in Main Stacks. I like the second one a lot because the bookshelves already provide some perspective for the scene.
The most difficult part of the project was keeping the camera still. Shakiness is very apparent in stop motion style videos, reducing its quality. I noticed
that we can "smooth" out shakiness by taking more photos at smaller displacements. Another difficult part of the project was ensuring that the object we are focusing
on remains the same size among subsequent captures. I tried using the guidelines in the Camera app but they weren't enough to determine the correct zoom level.
B&W FOV Calcualations
We are asked to compute the field of view of the camera at minimum and maximum zoom using the width of the subject and the
distance from the camera. In order to do this, I first related FOV to focal length and then used similar triangles to express FOV
in terms of the image dimensions in pixels, the object width, the distance from the object to camera, and the width of the object in pixels.
I used my iPhone 6S camera to capture the images of the yellow highlighter shown above. Therefore, these measurements are based on digital zoom
and are not representative of the actual focal length of the camera changing. Also note that if the vertigo shot was executed perfectly, the marker width in pixels
shouldn't change. Unfortunately, this is hard to control by hand. However, I trust that my derivation above is correct and we can use it to
approximate some ballpark values.
The set up of this experiment involved moving the phone along a ruler in 1cm increments. Here's some data
It makes sense that the field of view decreases as zoom increases. I looked up the actual FOV of the iPhone 6S camera
which works out to be 63.4 deg. Even with very coarse measurements, I was able to get a ballpark estimate of the field of view with ~51 deg.
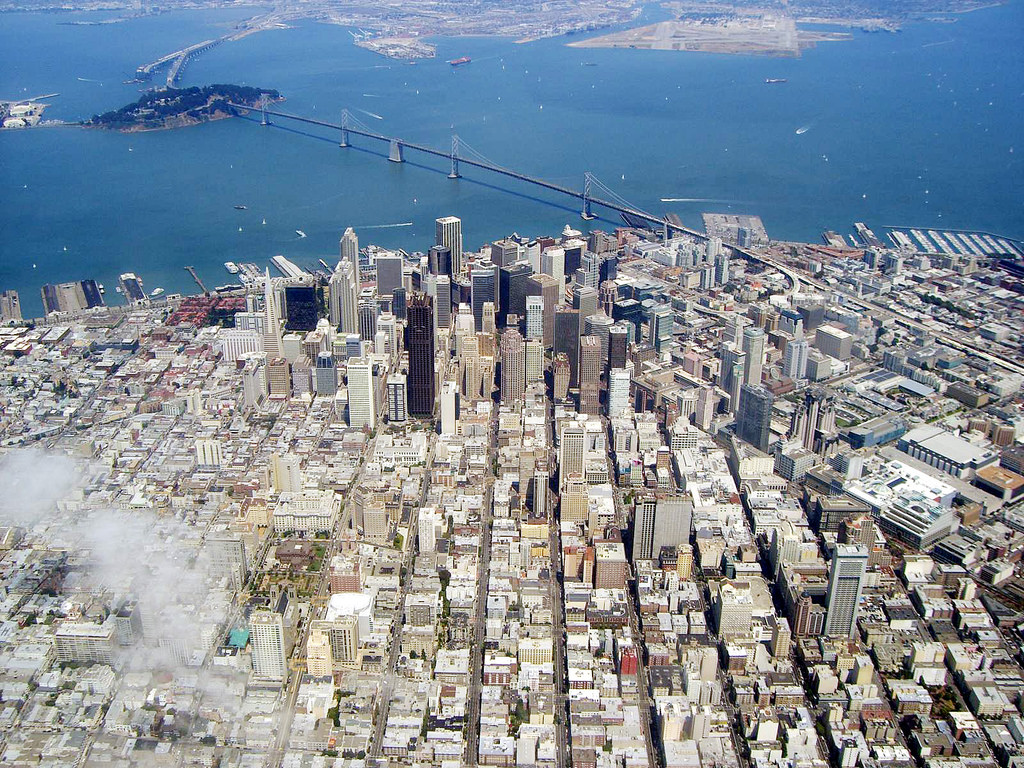
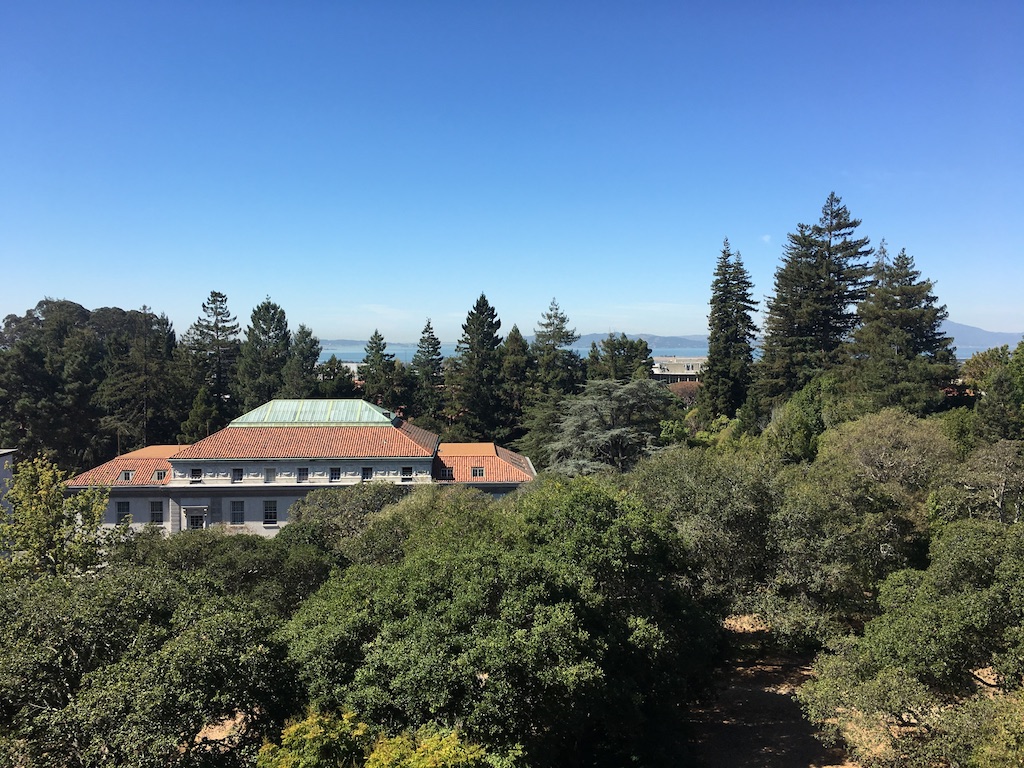
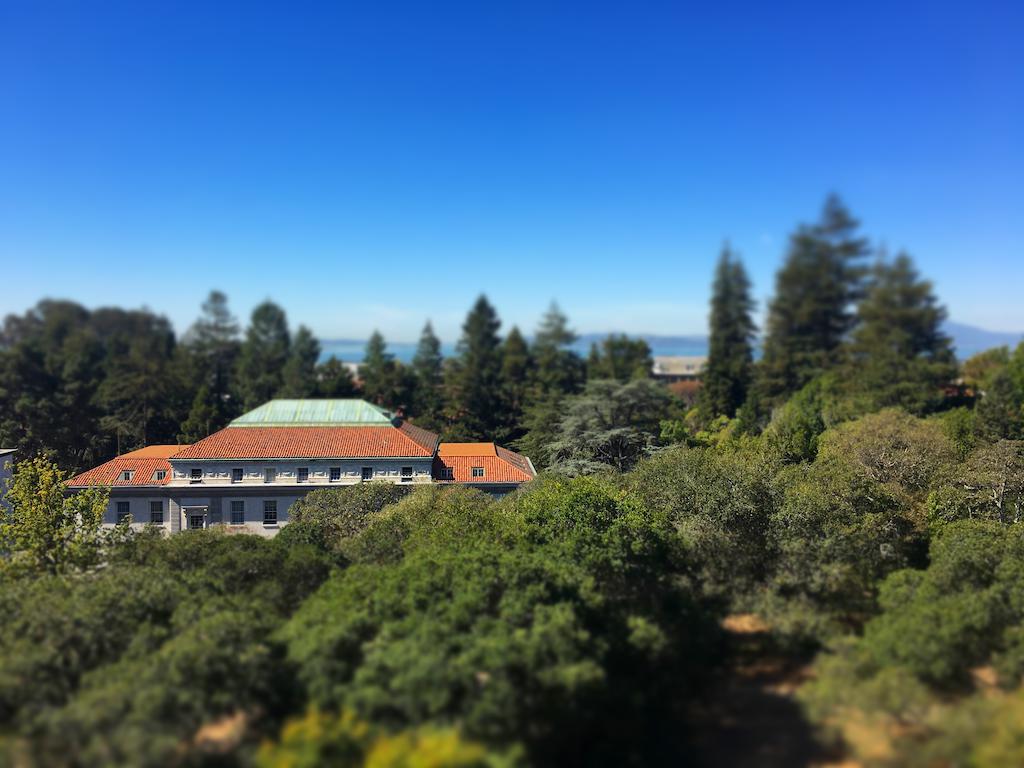
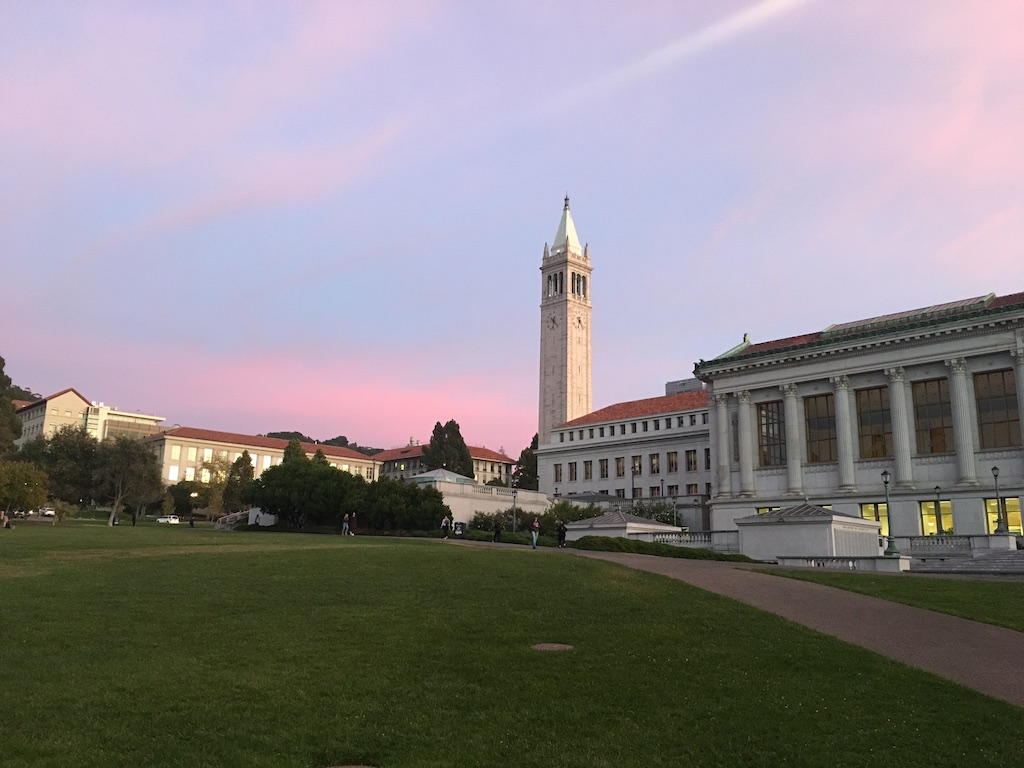
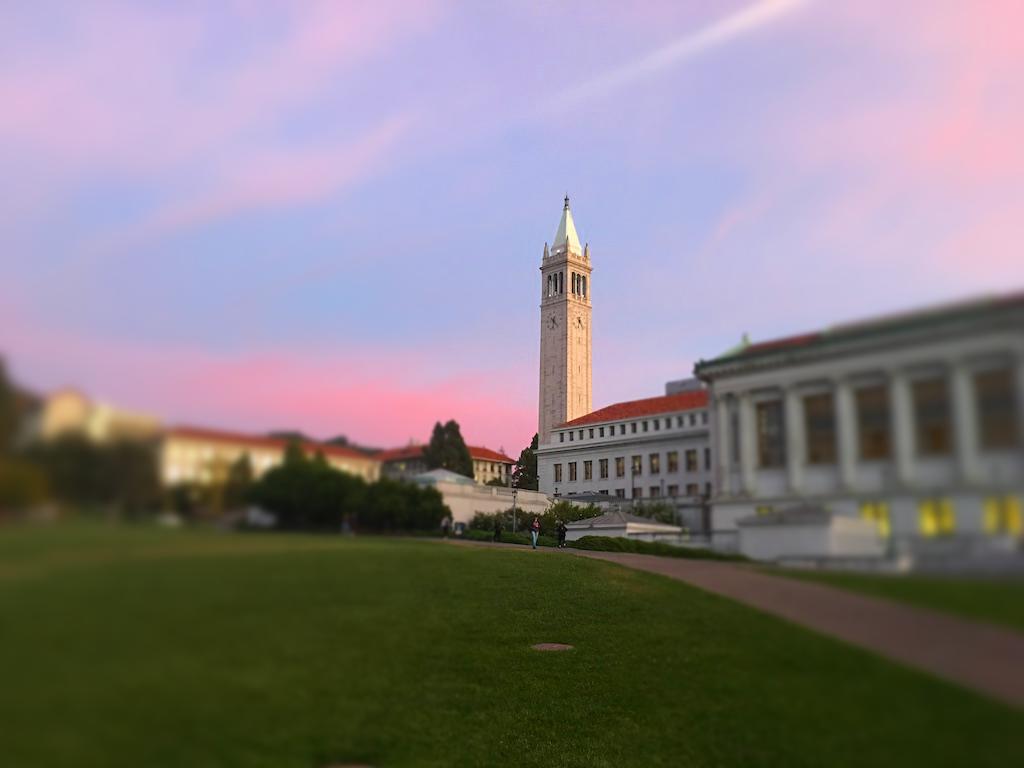
Fake Miniatures
Overview
When a camera focuses on a tiny object the depth of field is very narrow, causing a heavy bokeh effect around the object in question. Our eyes and brain seem to be
accustomed to this fact so it's very easy to trick them into thinking that any object is a miniature just by playing around with the perceived depth of field. In order to
create this optical illusion, a user defines a horizontal or vertical "focus line". We make the (big) assumption that all the objects on the focus line are at the same depth.
Then, we increasingly blur the region of the image around the focus region. Features in the focus region are not blurred but features furthest away from the focus region are
maximally blurred. I also increase the saturation to make the image seem more like a toy or a model.
Algorithm
A user selects either a horizontal or vertical focus line. To keep the algorithm description simple, we will assume a horizontal focus line
The focus line will be centered at y_avg = (y1 + y2)/2
A user specifies the height (in pixels) defining the region above and below the focus line that should be in focus
The top of the focus region has a y-coordinate y_avg - height/2 and the buttom of the focus region has y-coordinate y_avg + height/2
For each row i of the source image
If the row is in the focus region, its weight is 0
If the row is not in the focus region, compute a weight min(abs(i - mask_top), abs(i - mask_bot))
Normalize the weights
Each row in the source image has a weight which is the normalized distance [0, 1]. Rows further away from the focus region have a higher weight
For each row i of the source image
Apply a Gaussian filter to the region around it with sigma 7 * weight[i] and copy the filtered row into the destination image. The coefficient 7 was chosen experimentally
Finally, convert the blurred image to HSV, increase the saturation by some user specified amount, and convert back to RGB
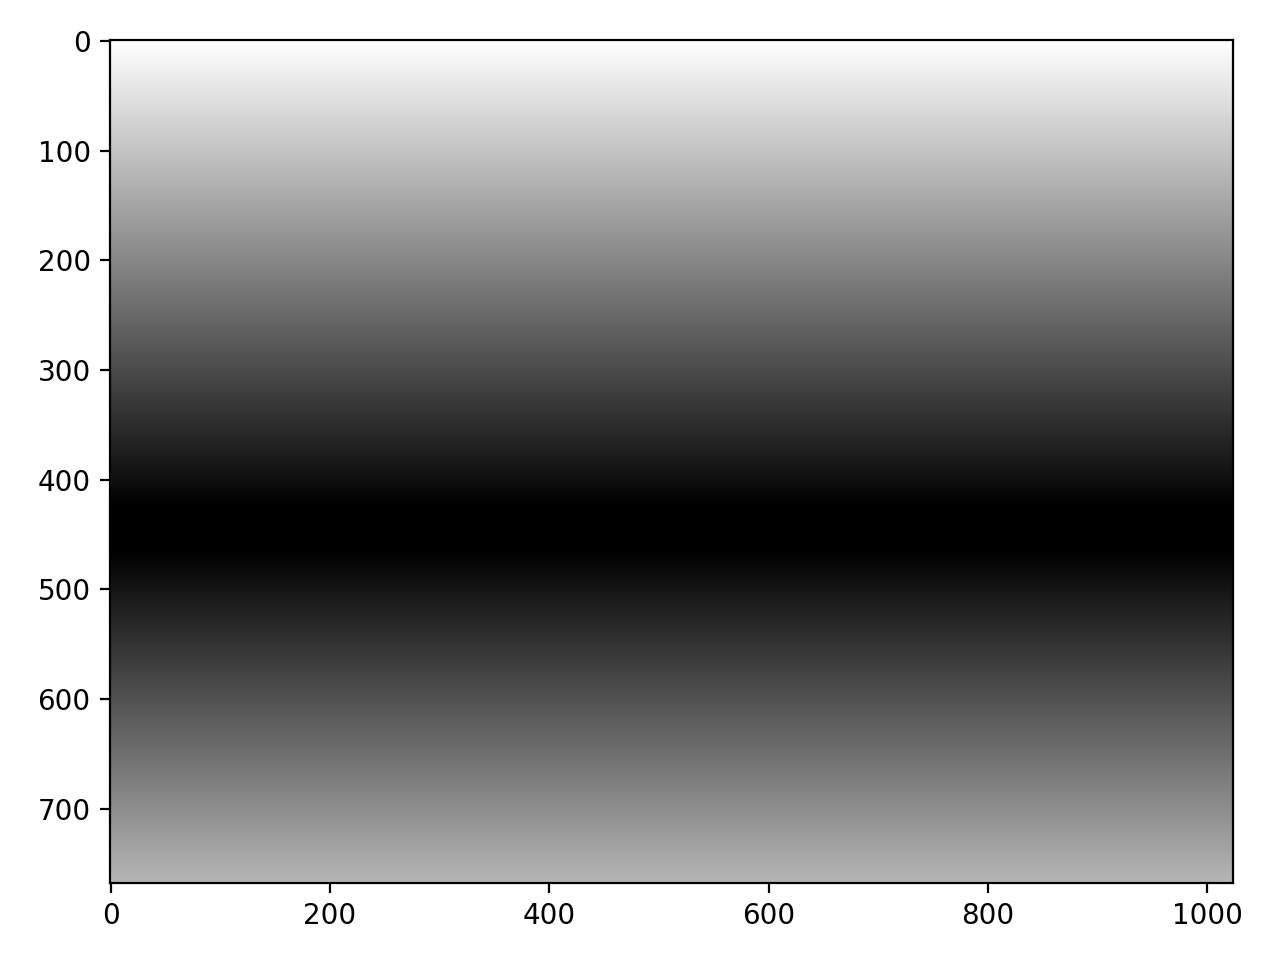
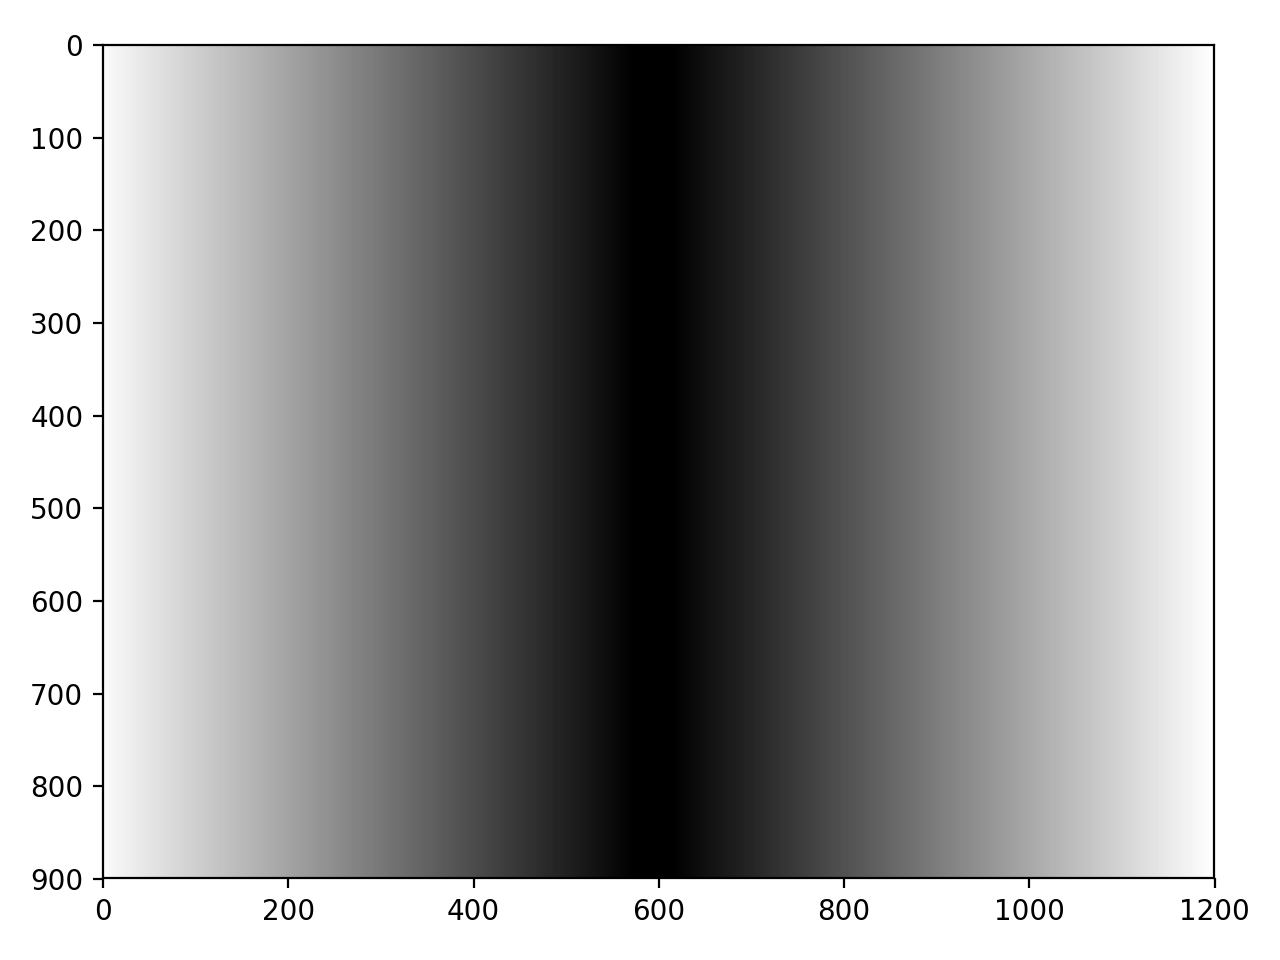
Here's a visualization of the row weights and column weights for a horizontal and vertical focus line respectively. Notice how they feather out towards the focus region, which creates a smooth blurring effect when the Gaussian filter is
actually applied.
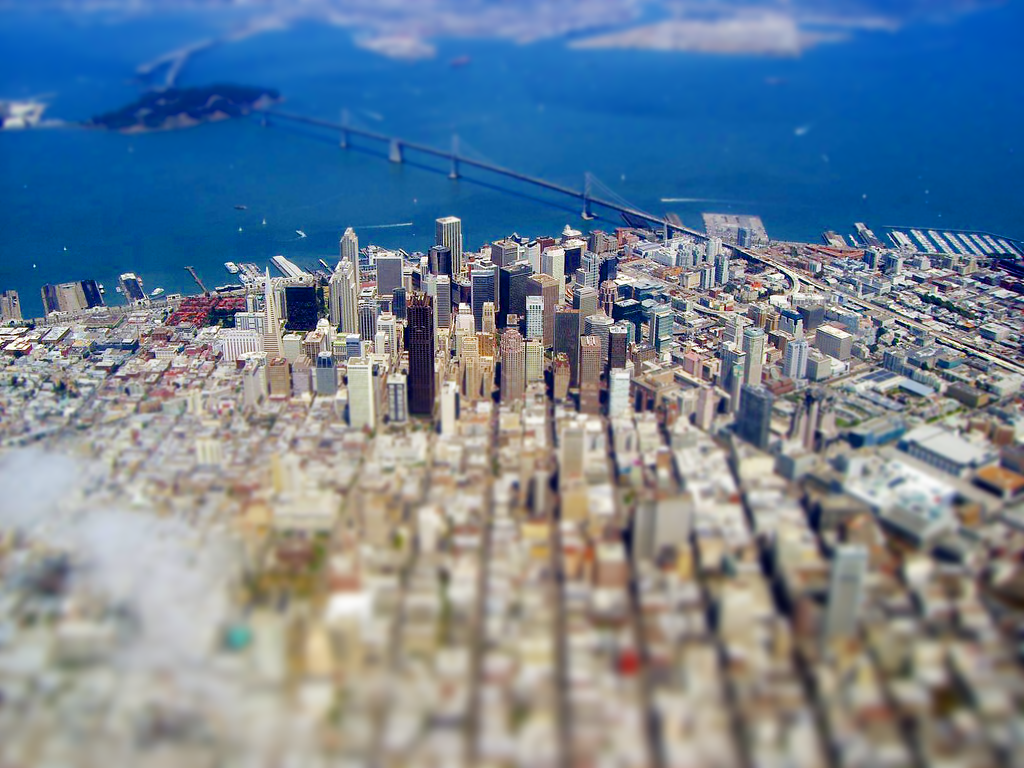
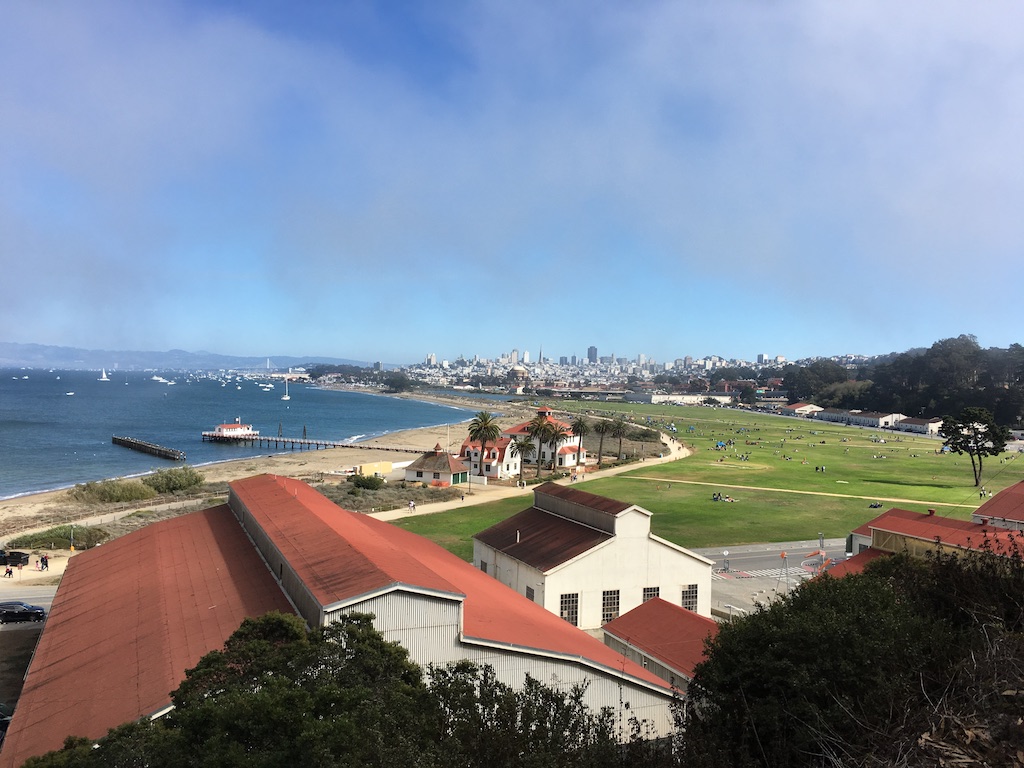
Results
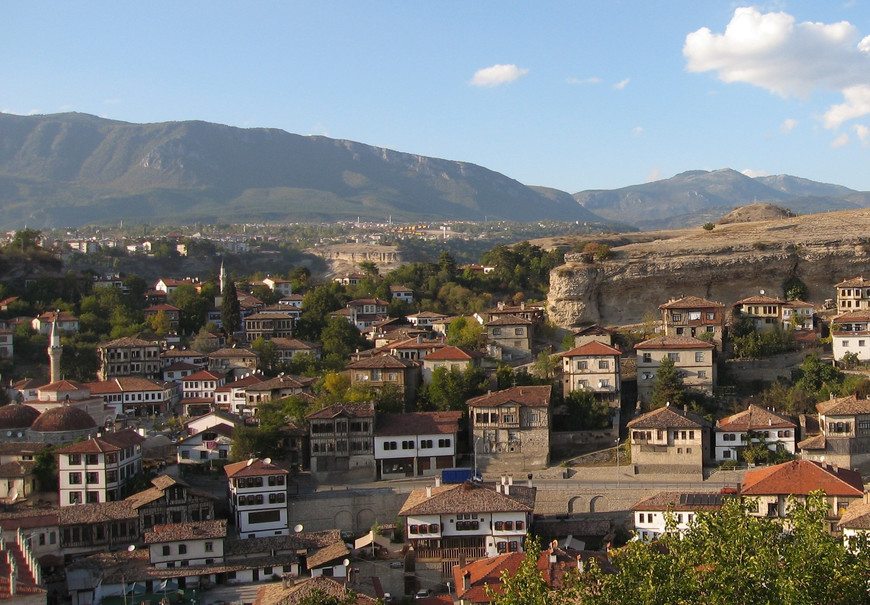
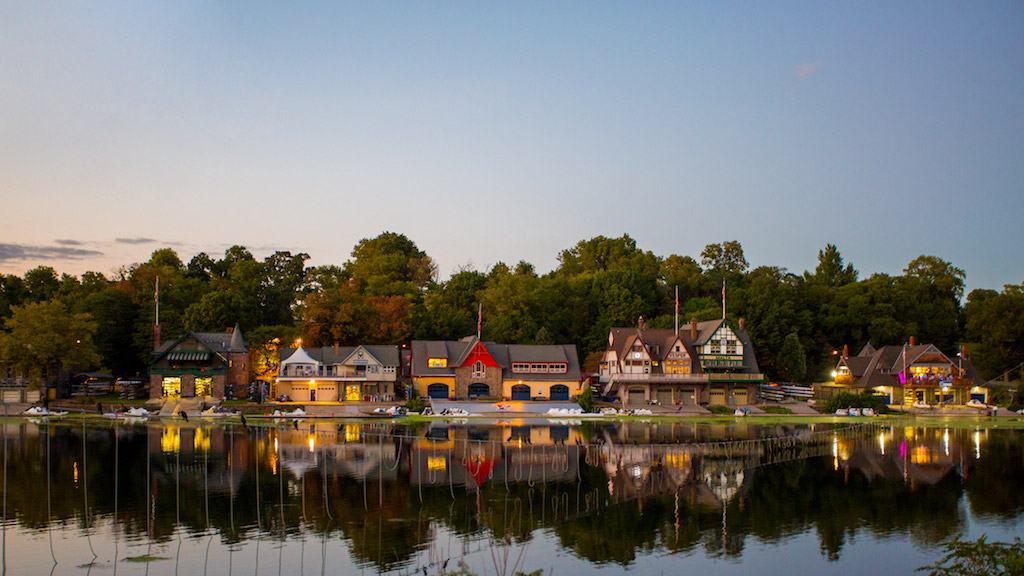
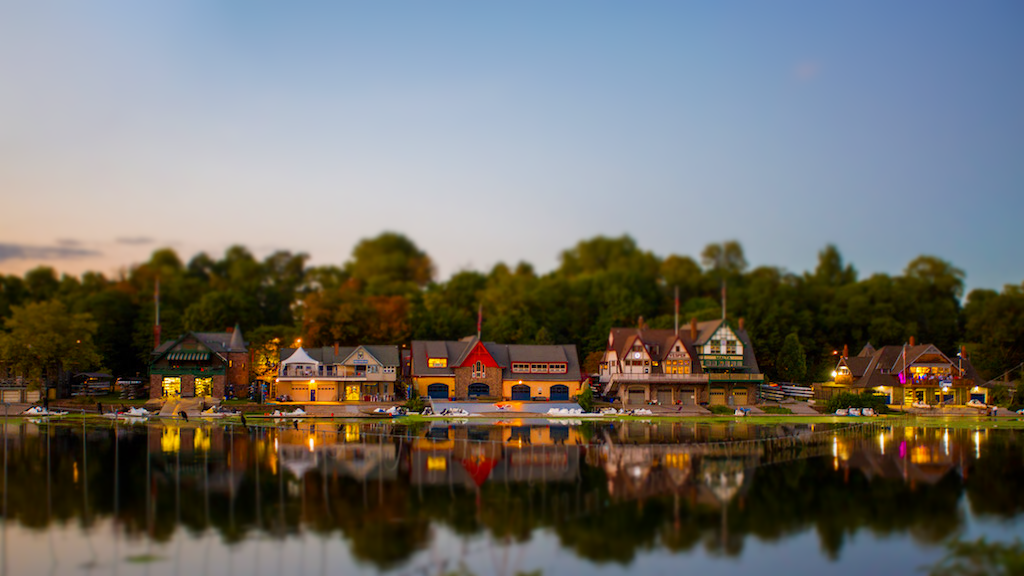
Village (Horizontal)
Source I used Tiltshift Maker's sample image to compare my algorithm against theirs.
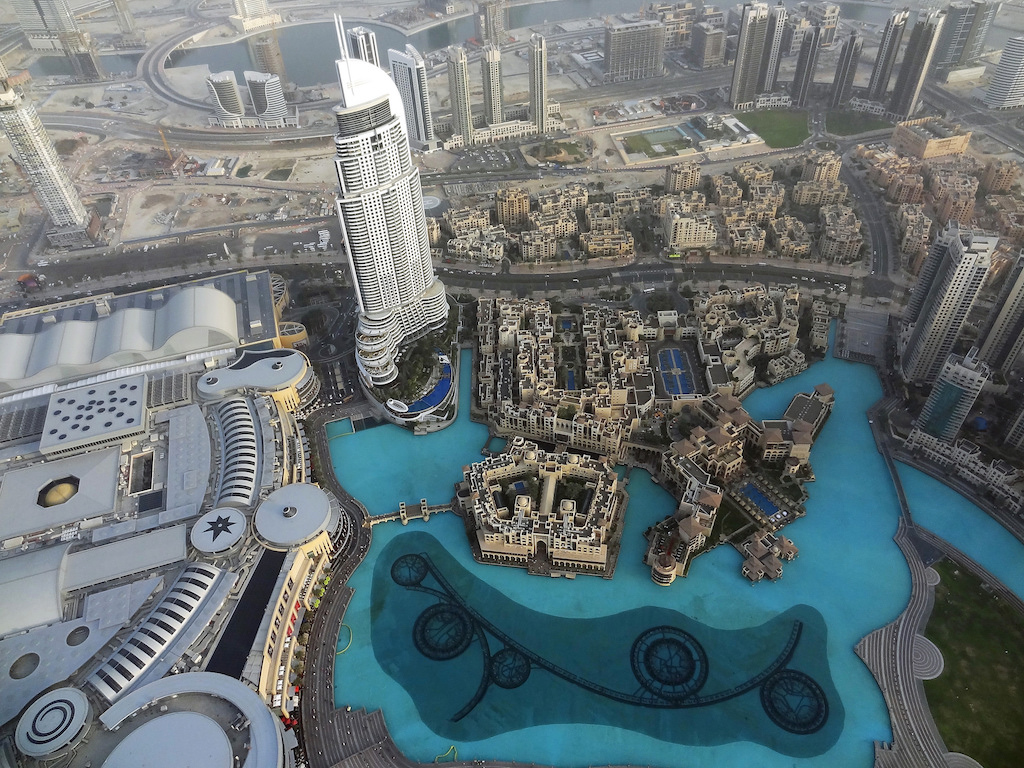
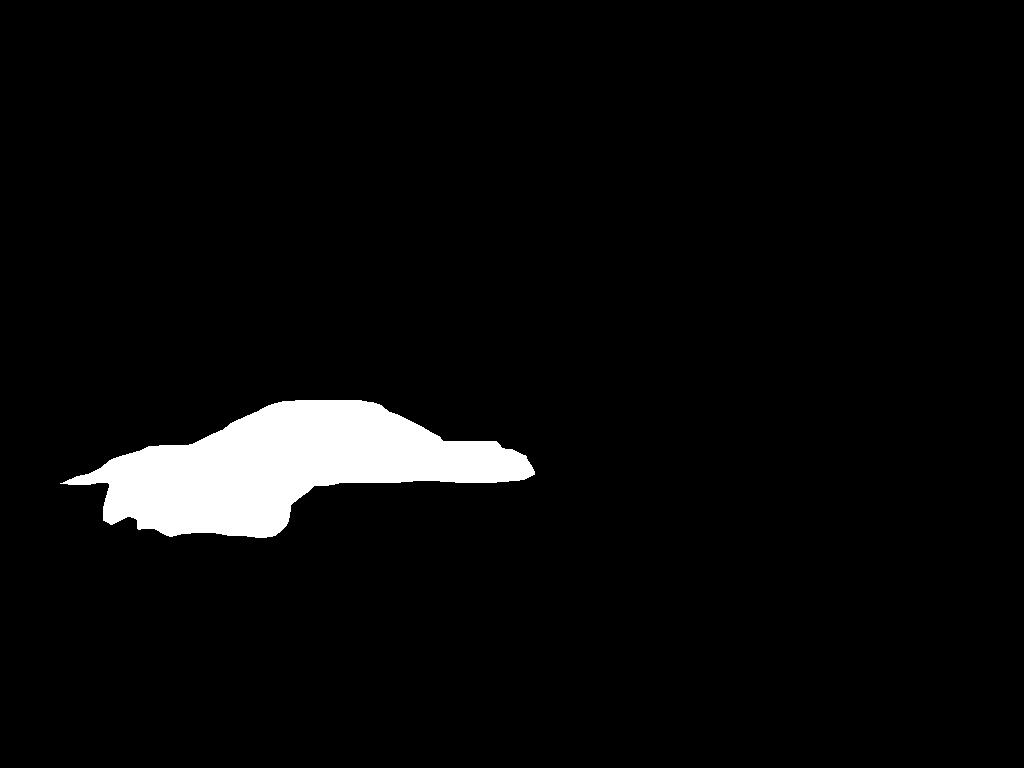
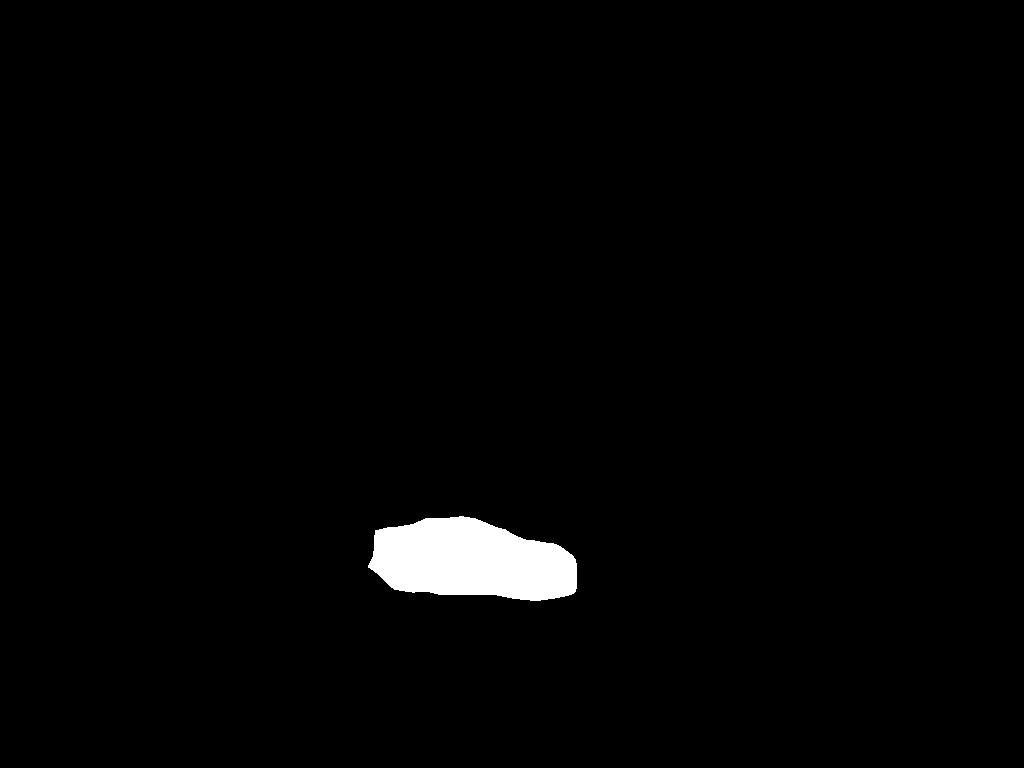
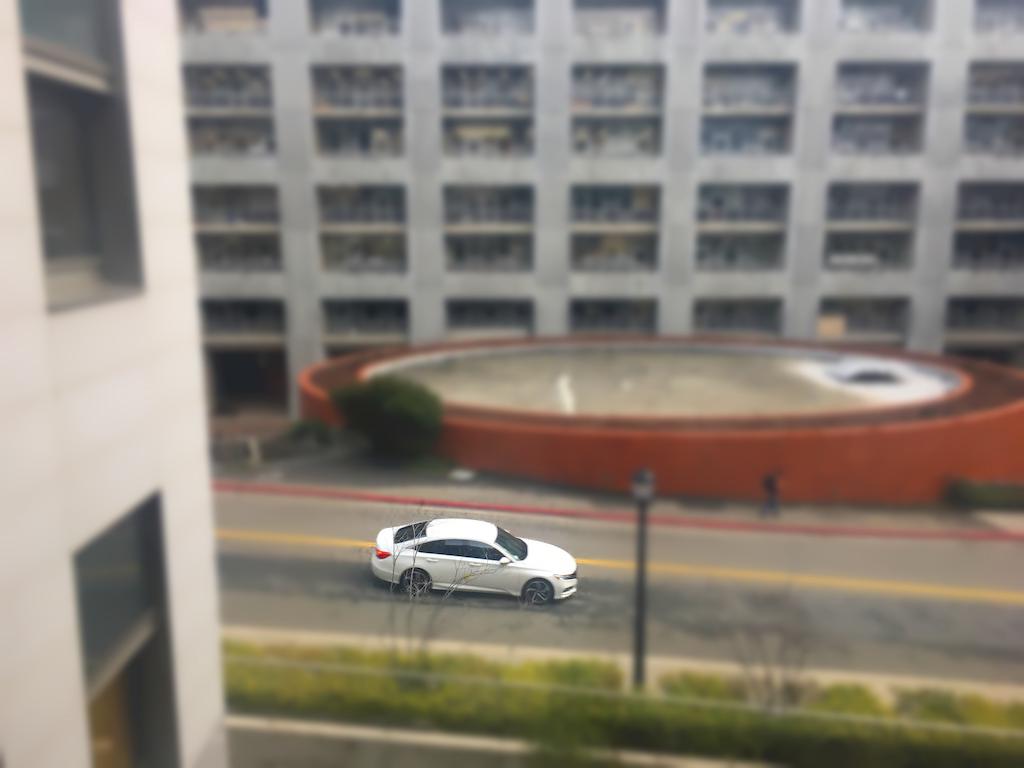
You may have noticed that some images above don't work too well with just a rectangle focus region. Instead, they may benefit from
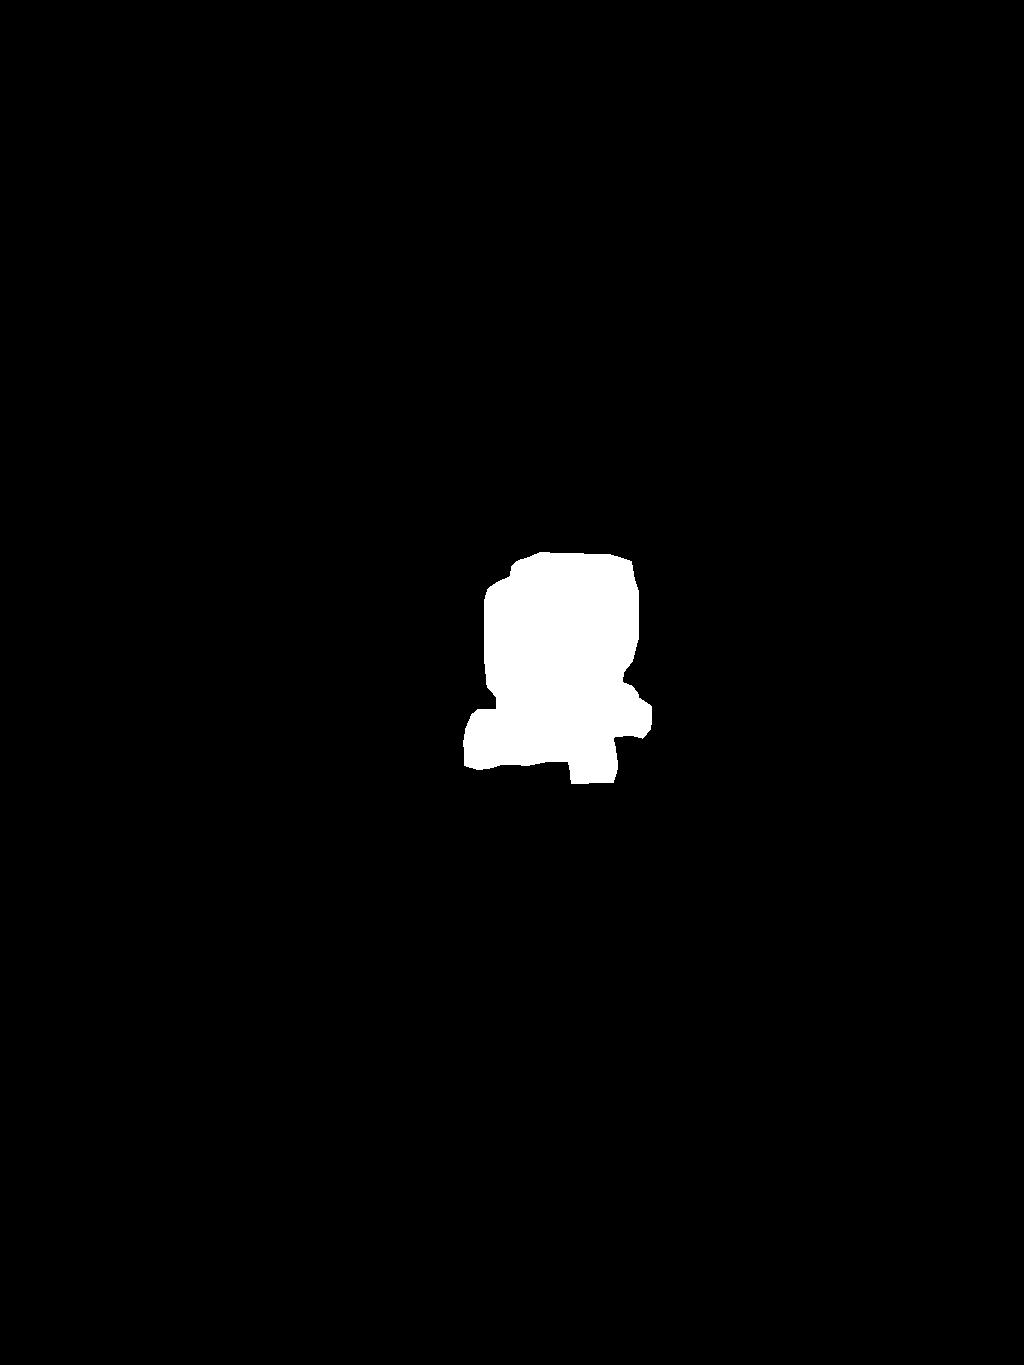
having a focus region that has roughly the same shape as the object we are focusing on. In order to do this, I have the user select some points
around the region of the image they want in focus. We can create a polygon mask using these points. My previous approach of finding the distance
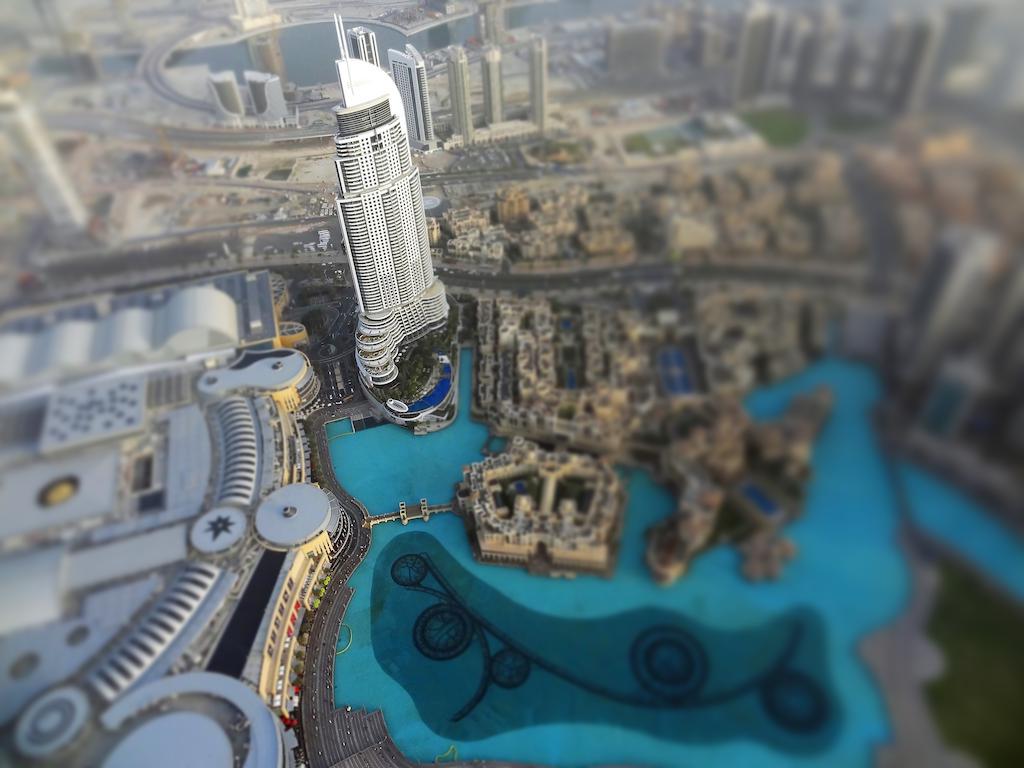
to the nearest focus region border would be too slow for irregular masks since we cannot consider only rows or only columns. Therefore, I simply grew
the mask to create defocus blur further and further away from the focus region. Here's an animation of the algorithm in action.
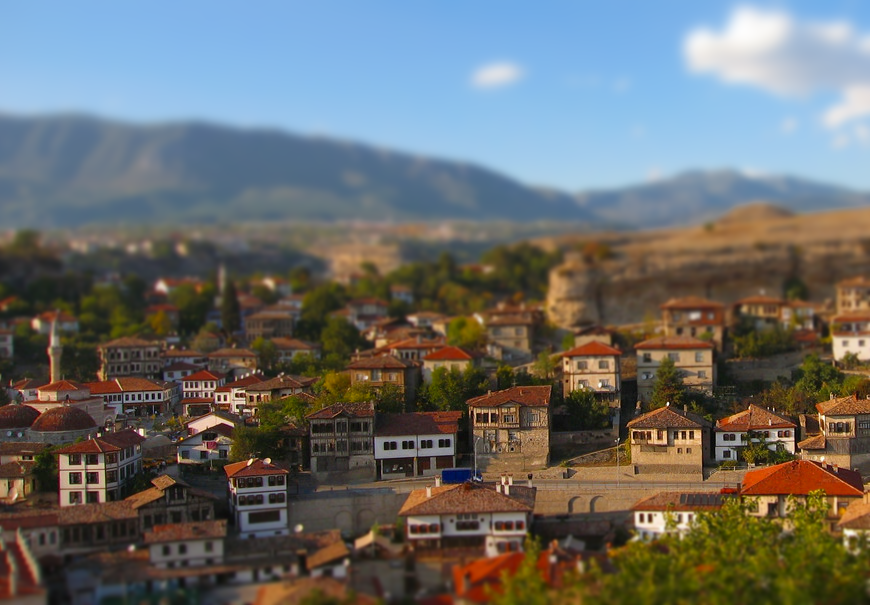
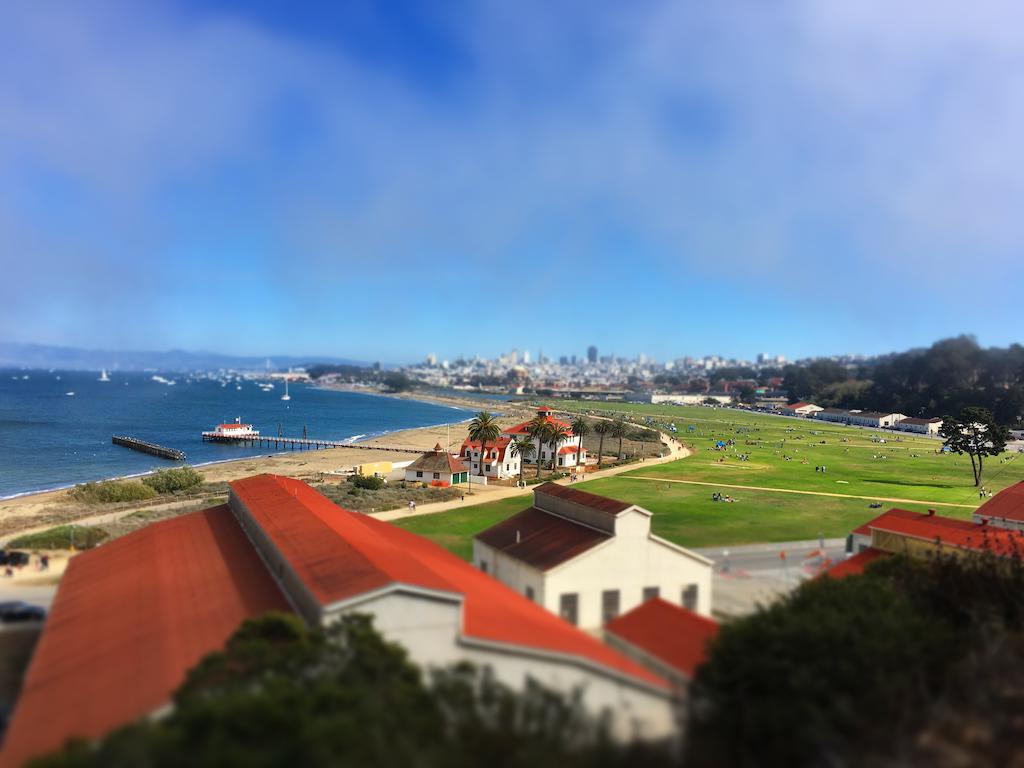
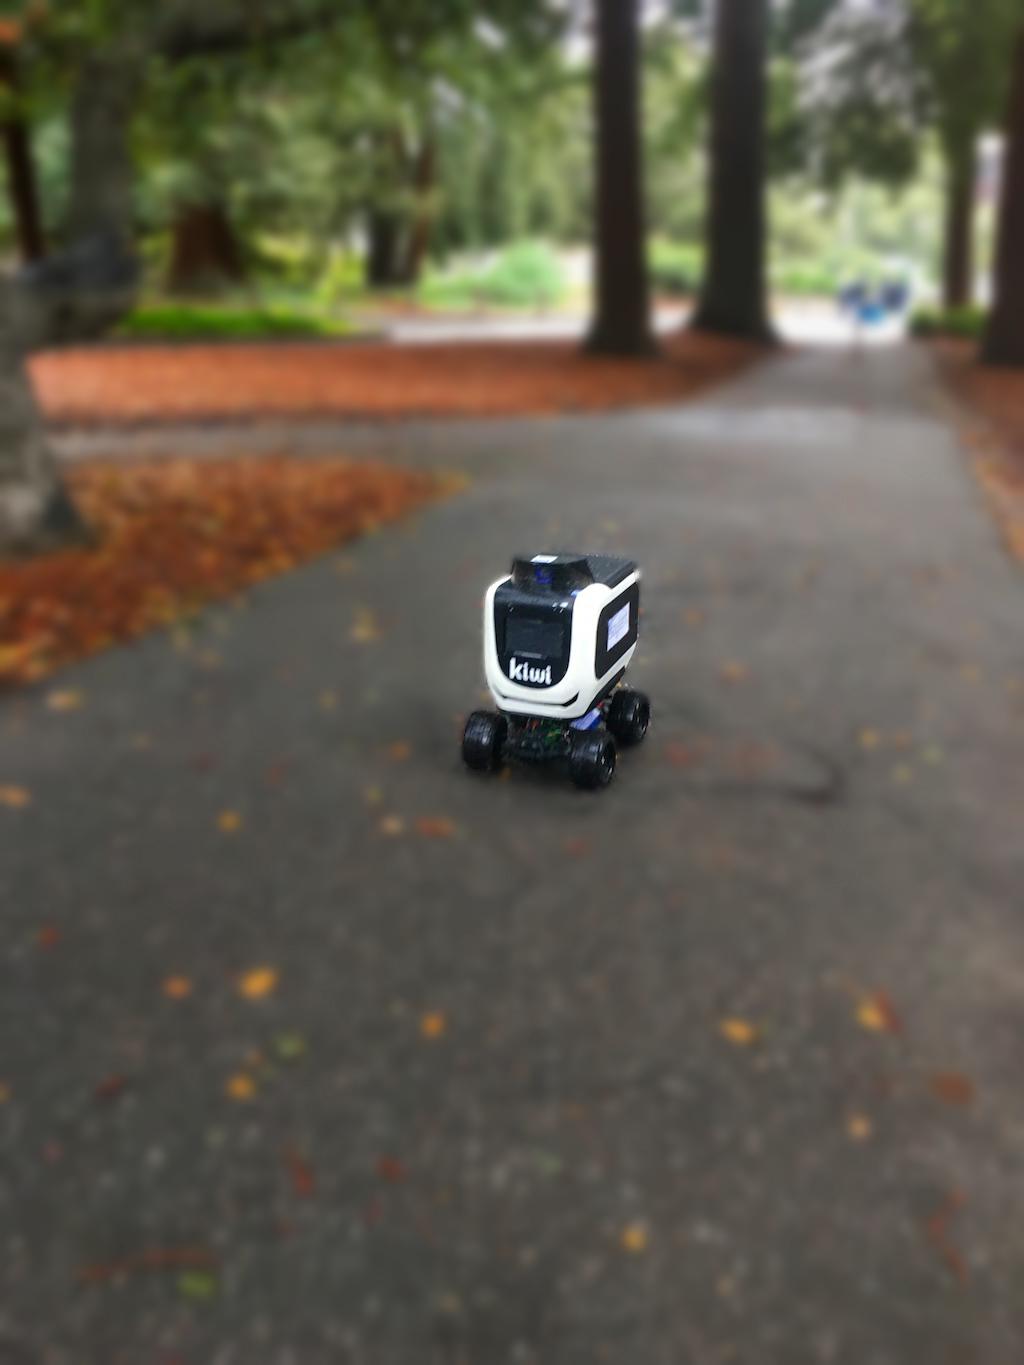
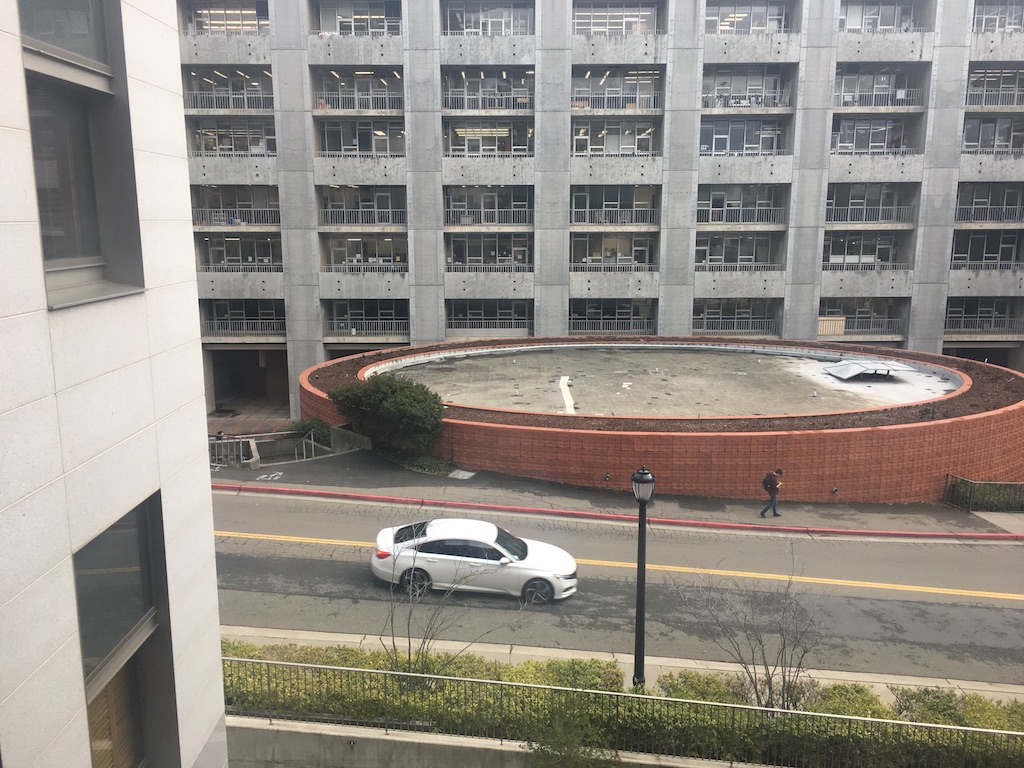
Results
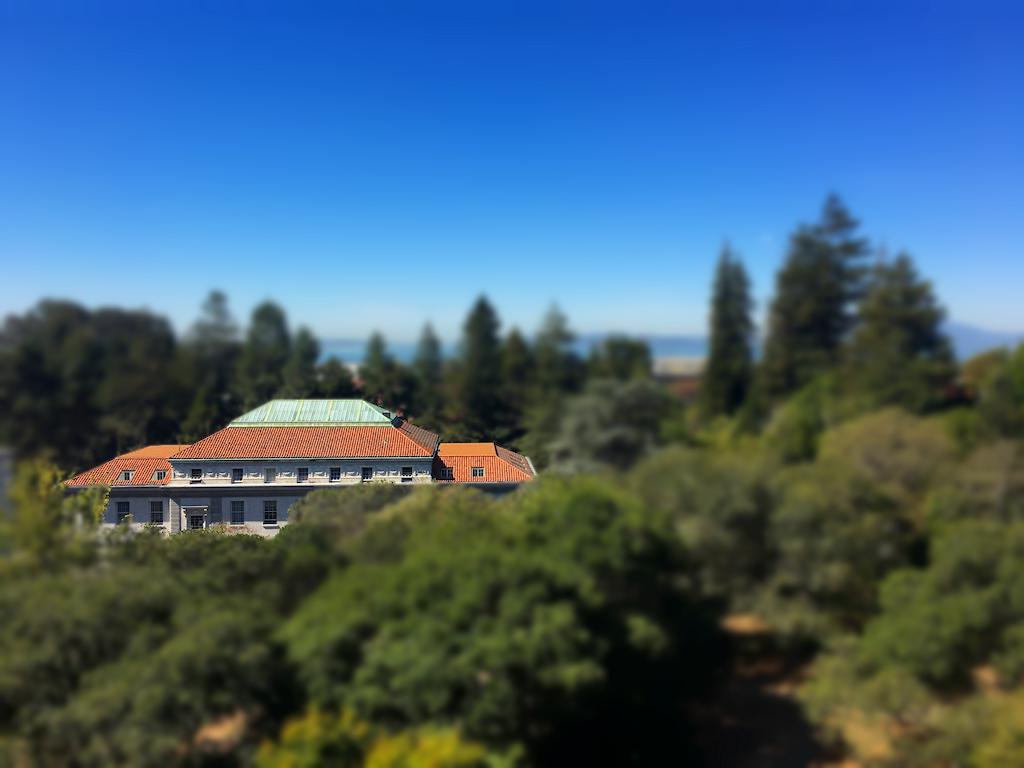
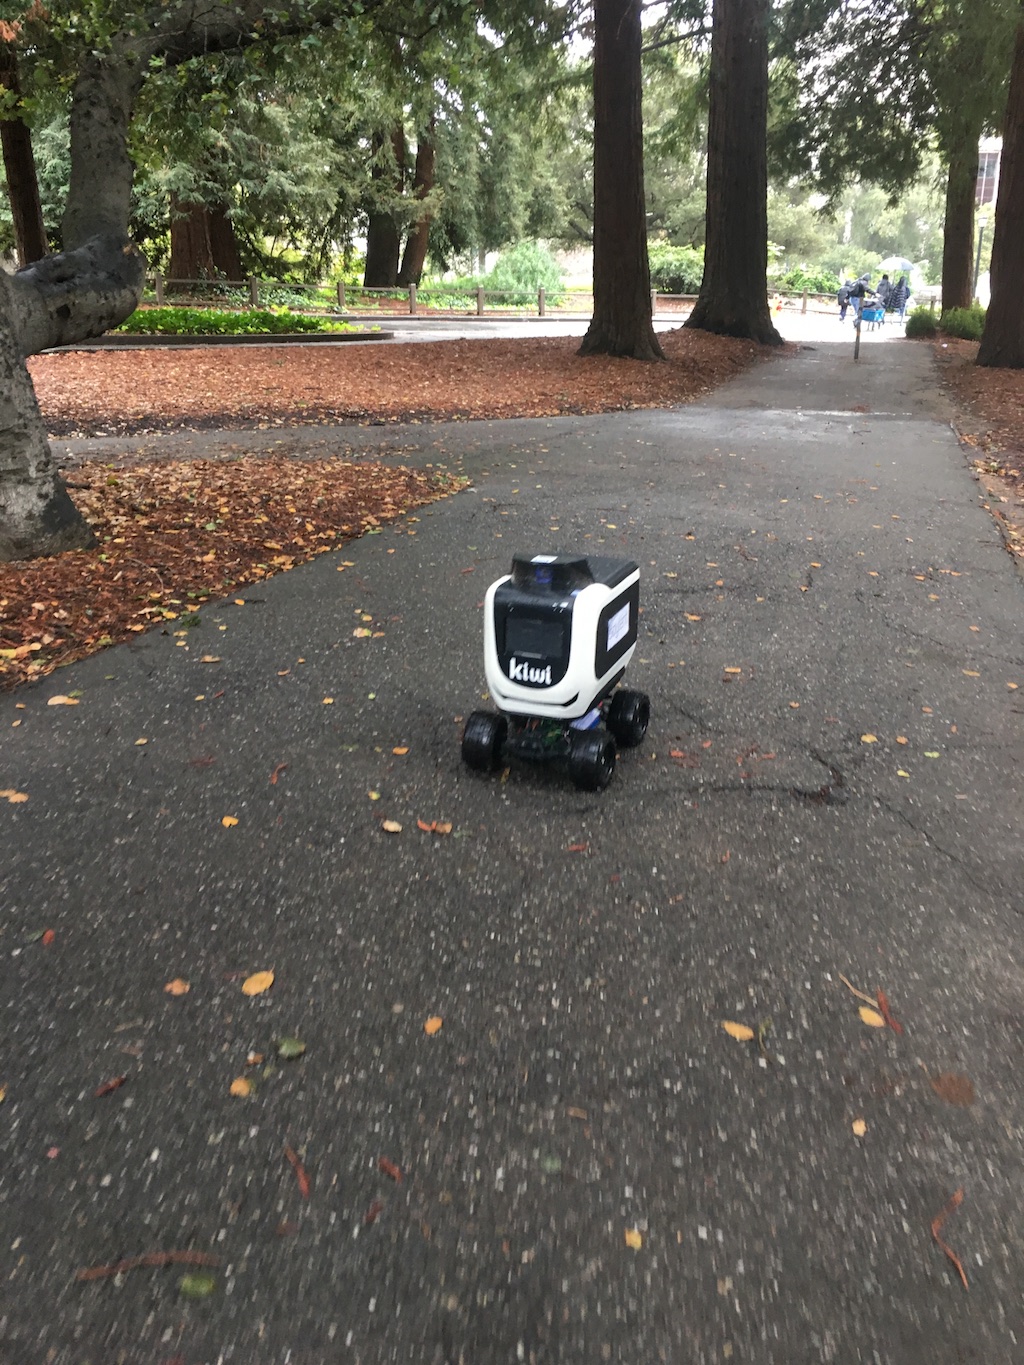
Each result is displayed in the order of original, mask, miniature. All images are my own.
Summary
In this project I learned about what why images of toys and miniatures look the way they do, and how we can simulate them
with a simple algorithm. I also learned about how to manipulate images in HSV color space, which I hadn't done before.