CS 194-26 Final Project: Seam Carving and Vertigo Shots
Name: Andrew Oeung
Instructional Account: cs194-26-adz
Seam Carving:
In this project we will implement seam carving, which will allow us to resize images while minimizing information lost. To do this, we need to have a way of quantifying what is important in a picture. We will use an energy function to determine the relative importance of any given pixel in the image. Then we use a dynamic programming recurrence relation to find all possible paths in a picture from the top of the image to the bottom of the image. The energy function will be this:
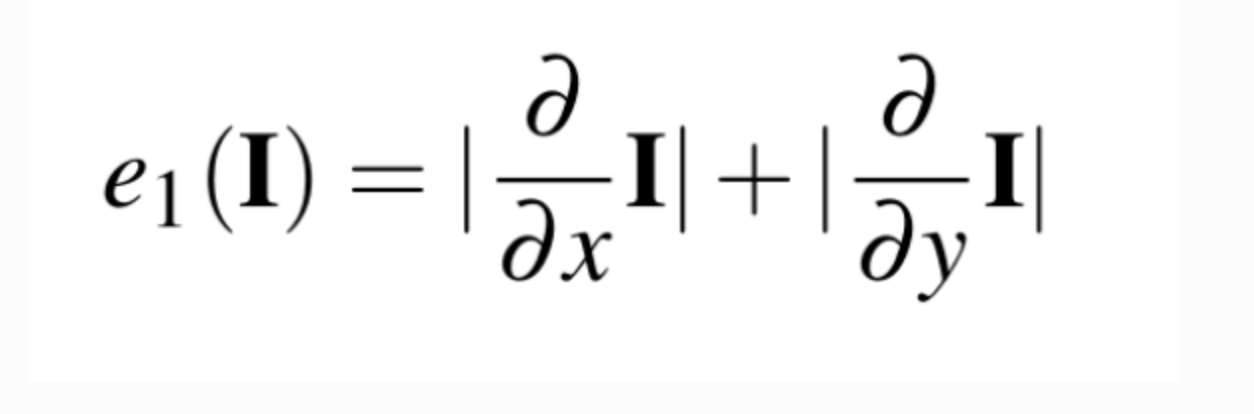
In other words, we sum the absolute values of a pixel p's partial derivative in the x axis and partial derivative in the
y axis. I use the sobel filters we learned about in the beginning of class to accomplish this.
The dynamic programming recurrence relation for each pixel (i, j) is this:

Vertical Seam Carving:
Here are some successful examples of vertical seam carving.
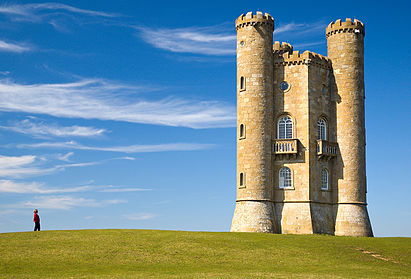
Castle
|
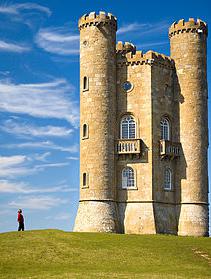
Resized Castle
|
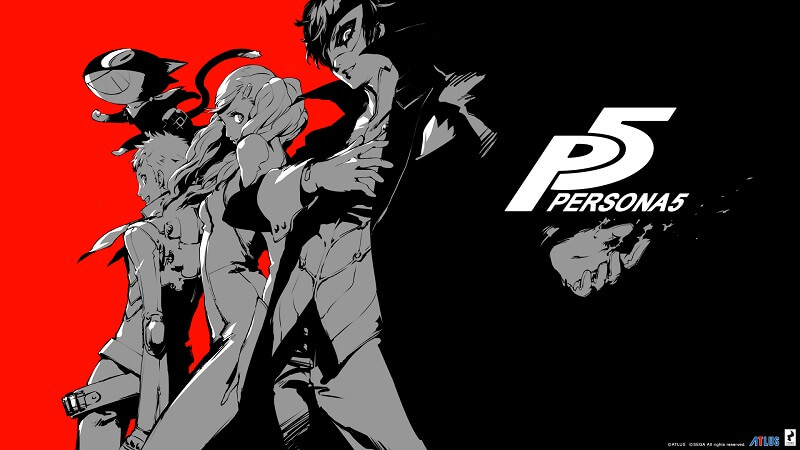
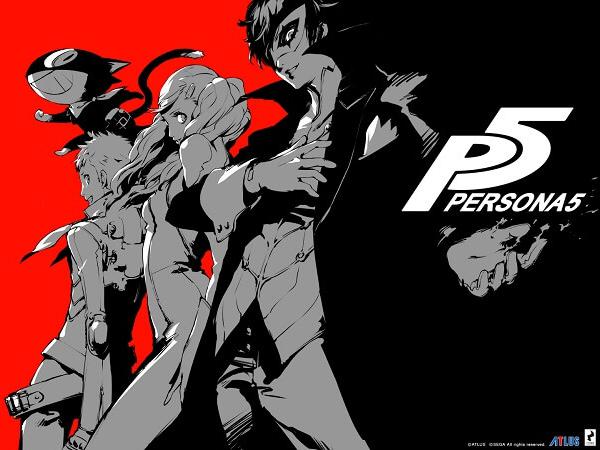
Persona 5 Cover
|
Resized Persona 5 Cover
|

Xenoblade Cover
|

Resized Xenoblade Cover
|

Lake Tahoe
|

Resized Lake Tahoe
|

Redwoods
|

Resized Redwoods
|
Horizontal Seam Carving:
Here are some successful examples of horizontal seam carving.

Mountains
|

Resized Mountains
|
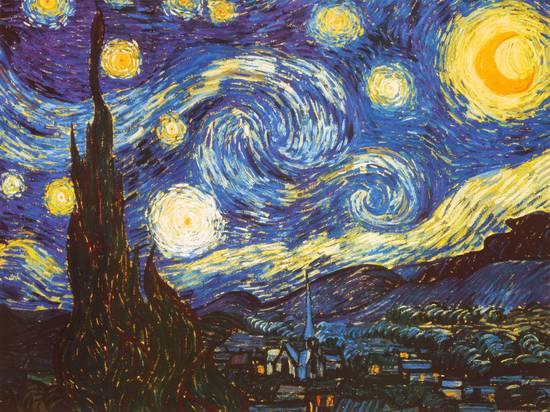
Starry Night
|
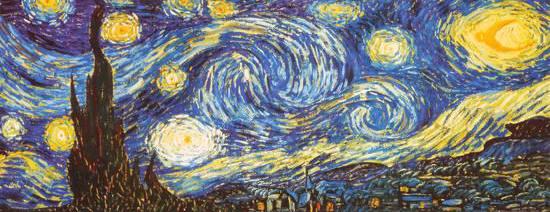
Resized Starry Night
|

Bridge
|

Resized Bridge
|
Bad Examples
Here are some unsuccessful examples. In particular, seam carving did not perform well with images of people. Every time, human bodies would get distorted if any part of them was removed.
Persona 4 Cover
|
Resized Persona 4 Cover
|
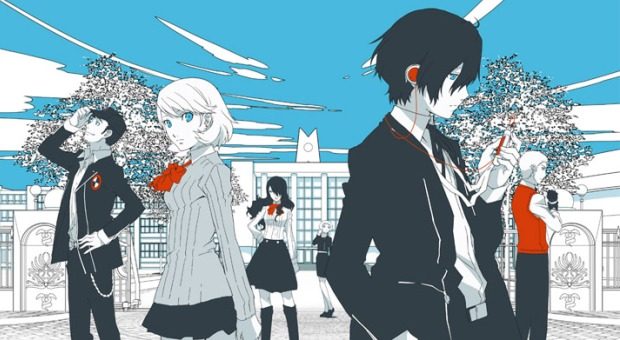
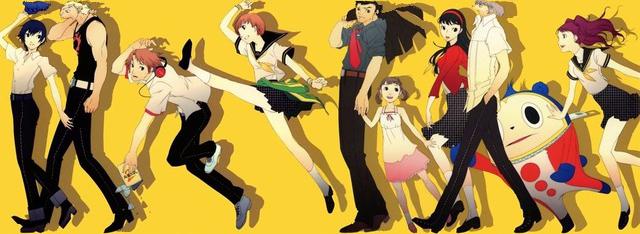
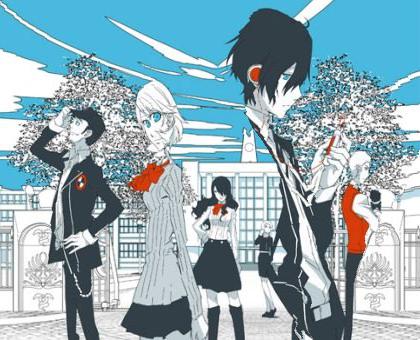
Persona 3 Cover
|
Resized Persona 3 Cover (terrible)
|

Fireworks Background
|
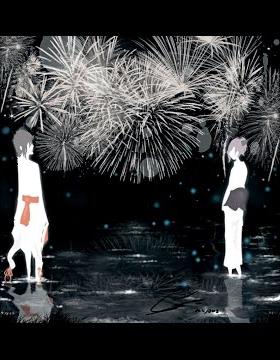
Resized Fireworks Background
|

Tales of Vesperia Cover
|
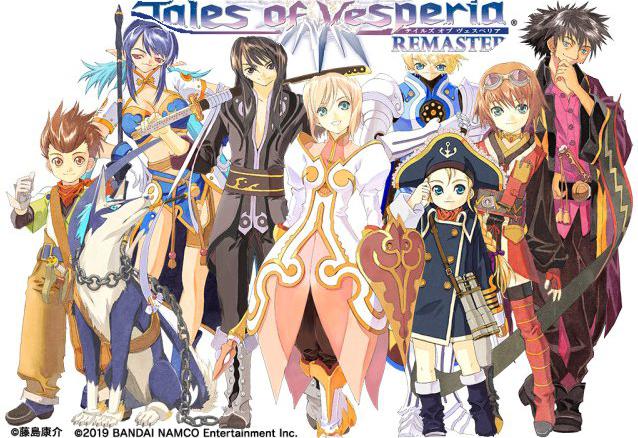
Resized Tales of Vesperia Cover
|
Seam Carving Reflection:
Overall, the most important thing I learned is that pictures with patterns can be resized, and it's difficult for the human eye to discern the difference. Conversely, pictures without patterns look really odd and distorted when you attempt to remove seams from them, and there's not much you can do if there's no "filler" in the picture, so to speak.
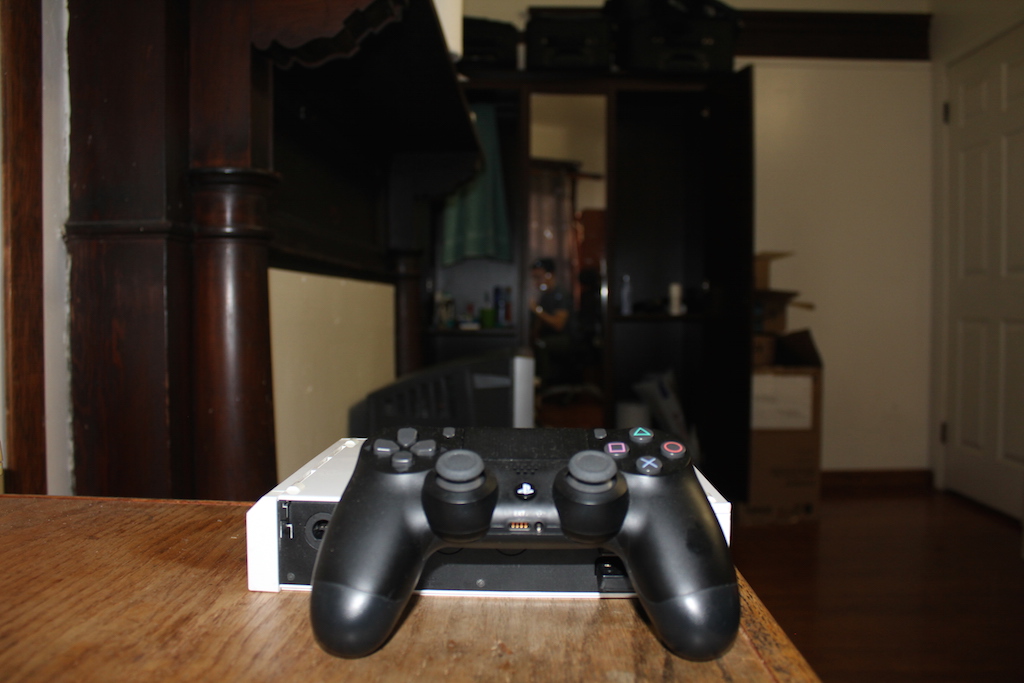
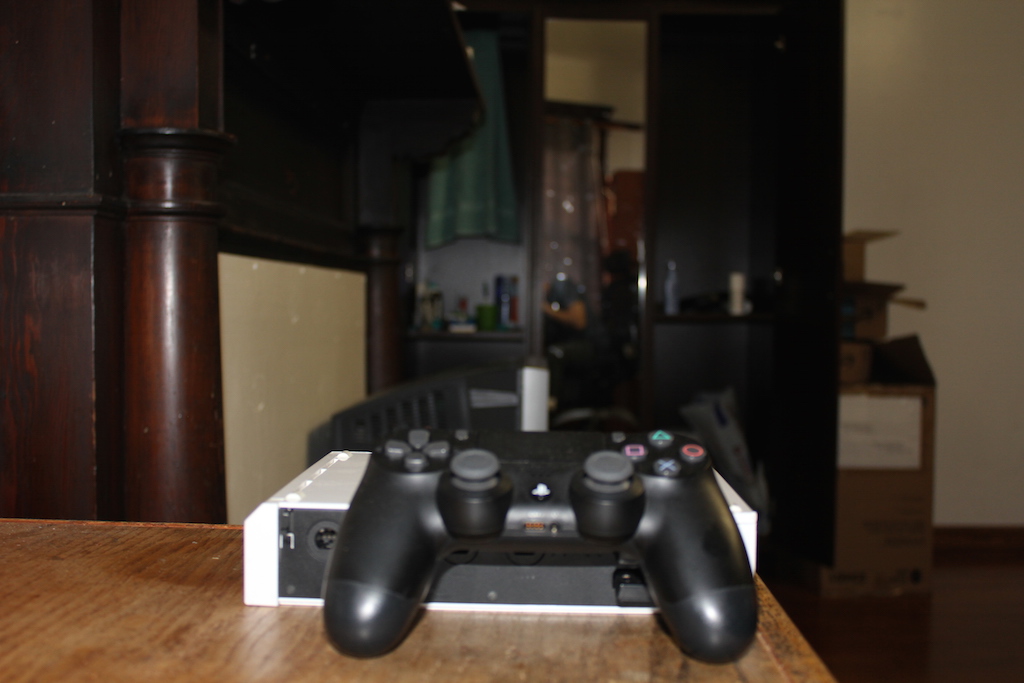
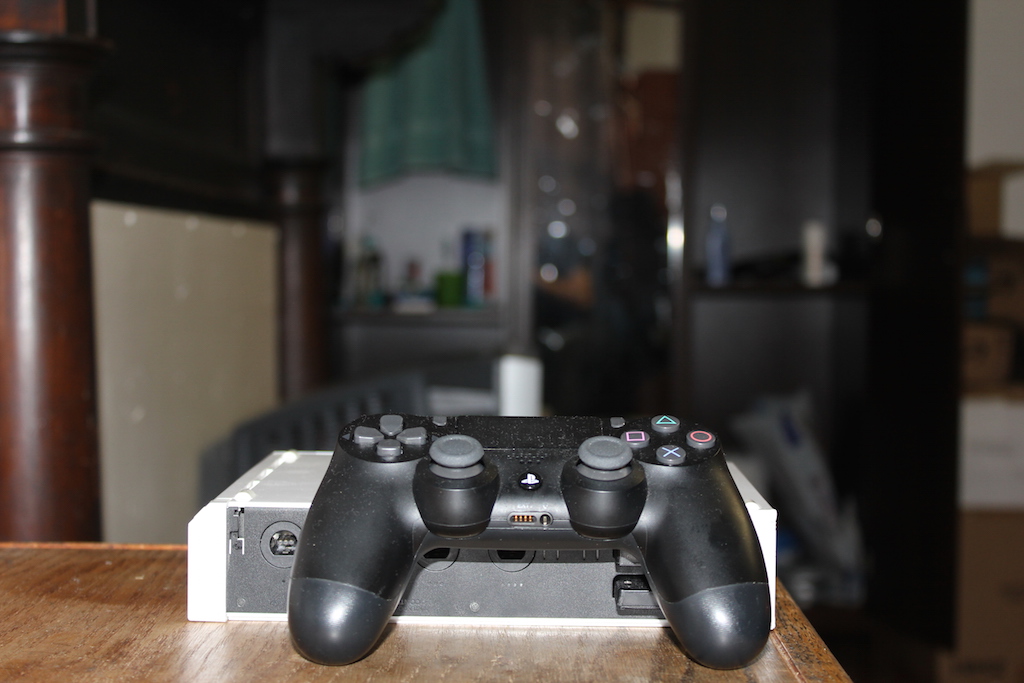
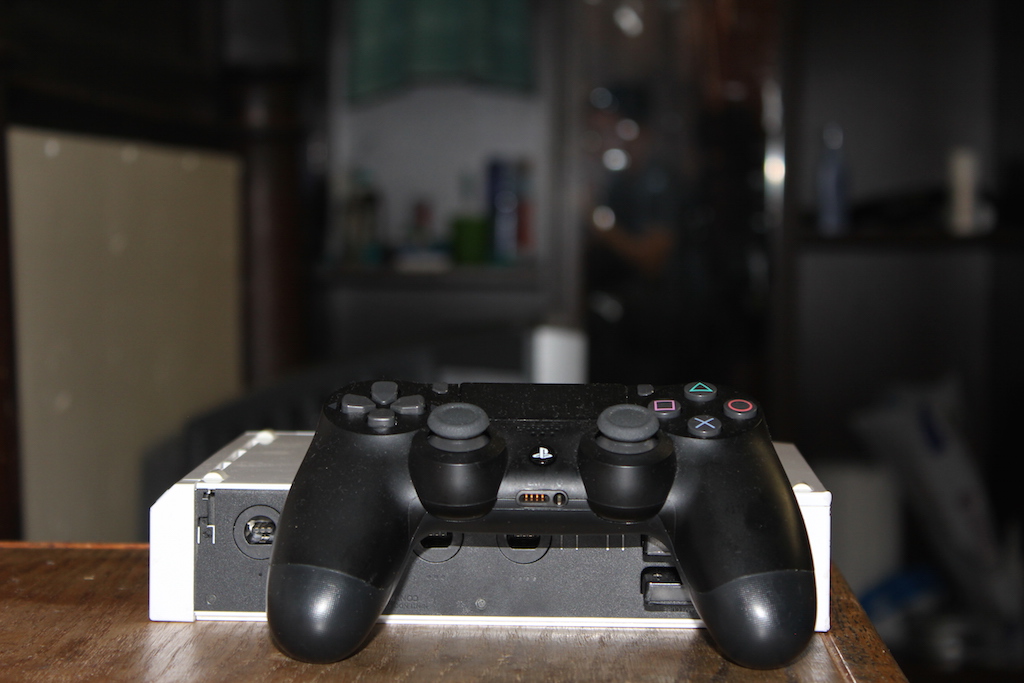
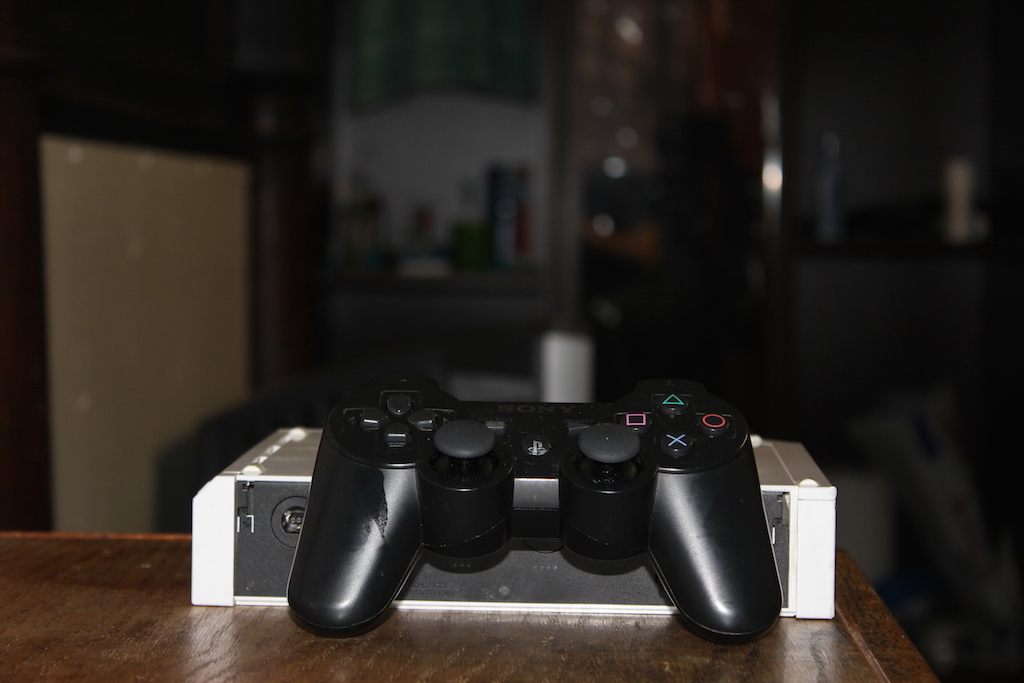
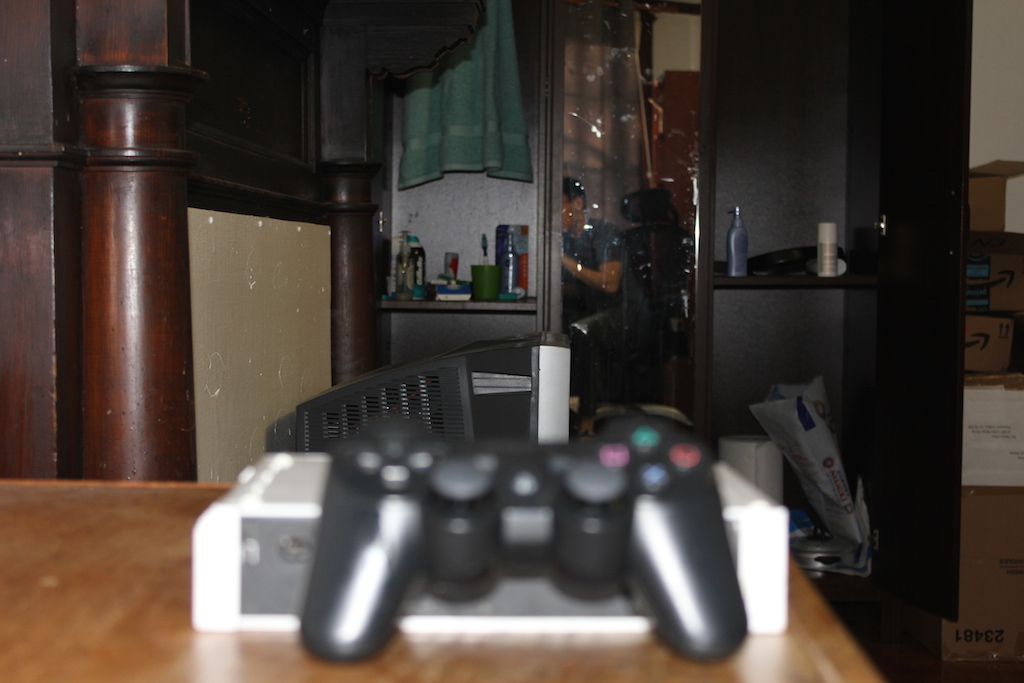
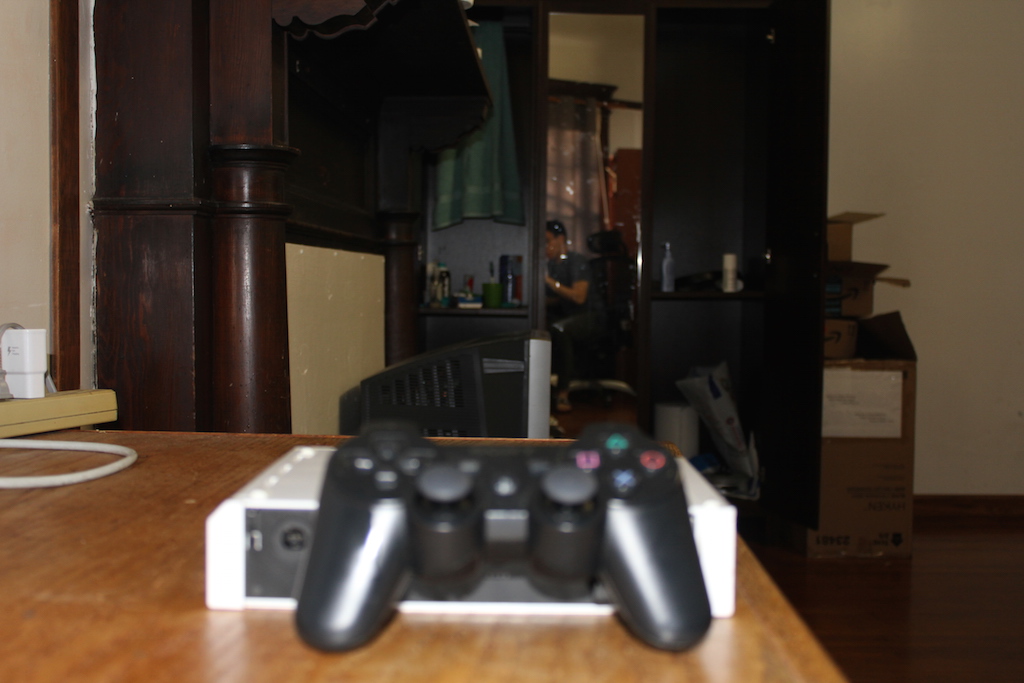
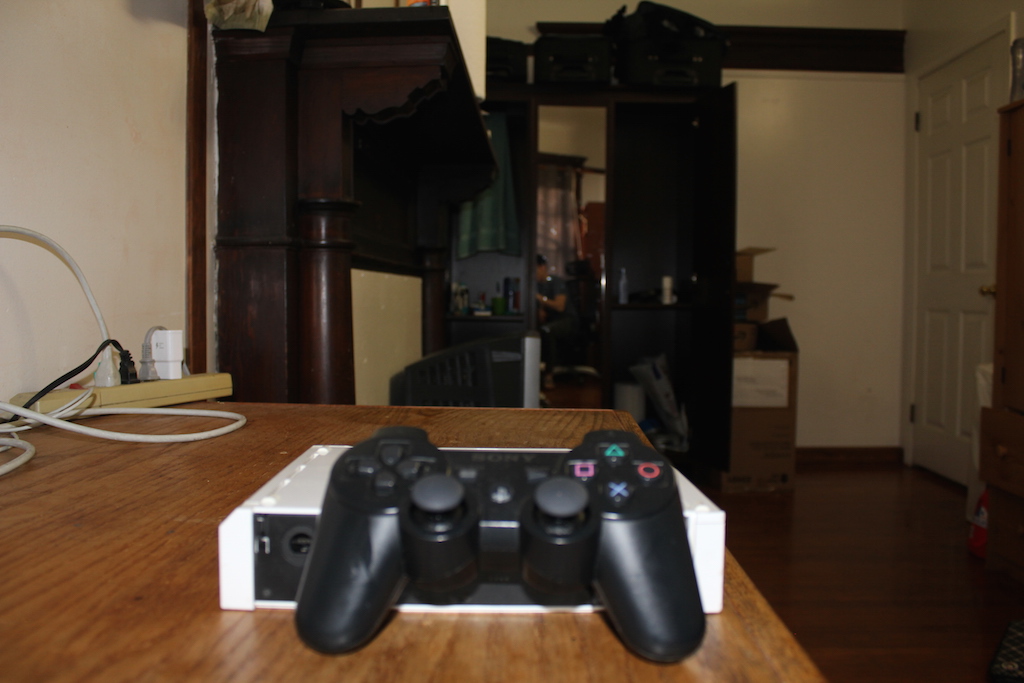
Vertigo Shots:
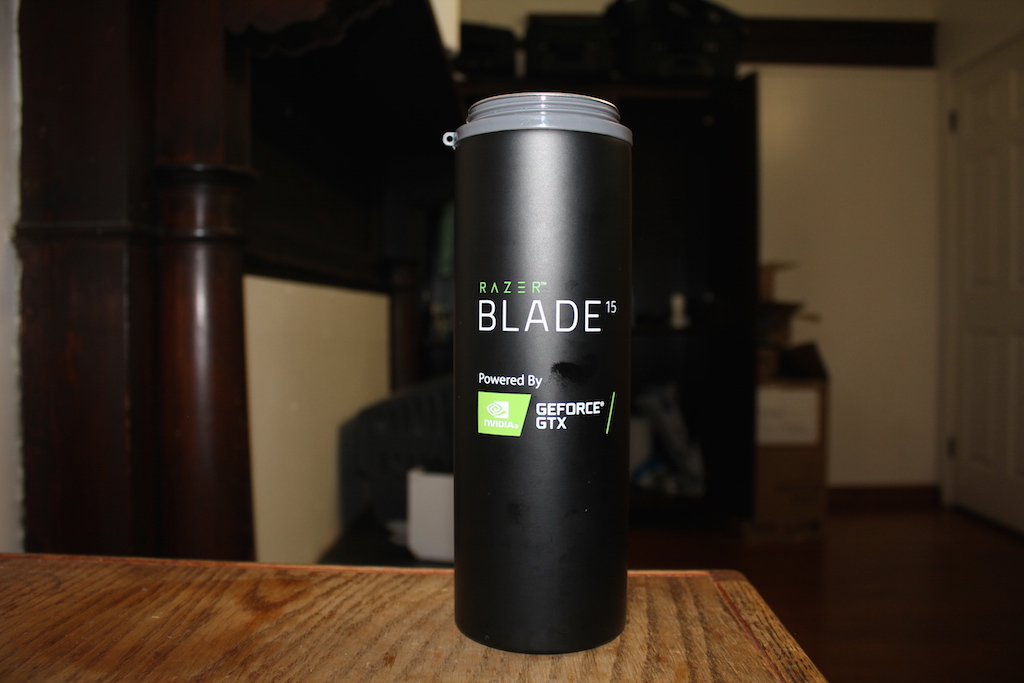
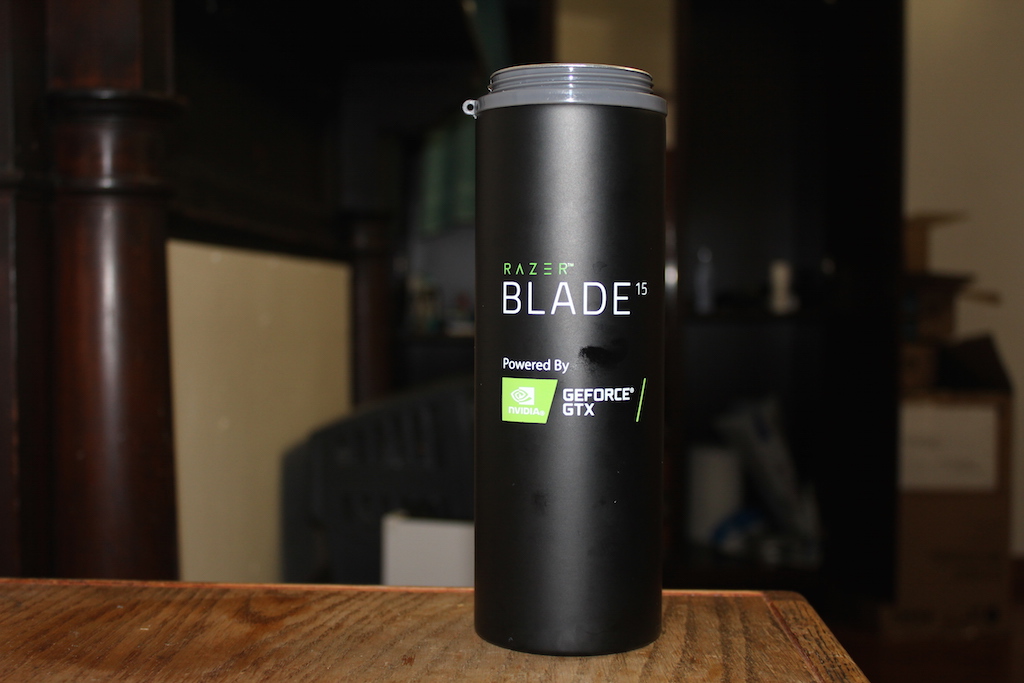
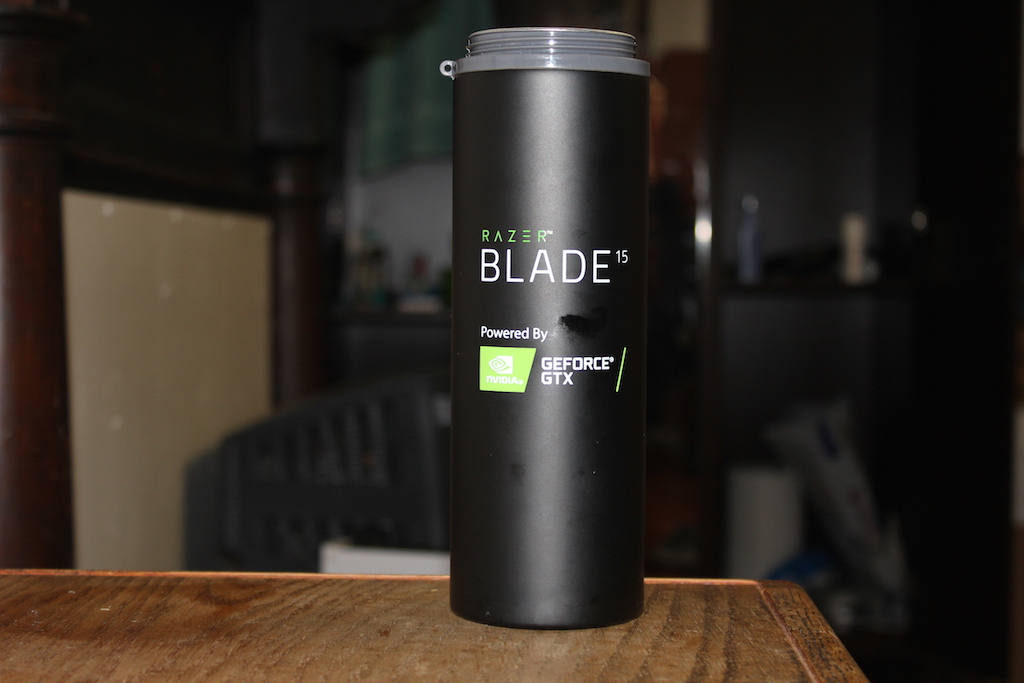
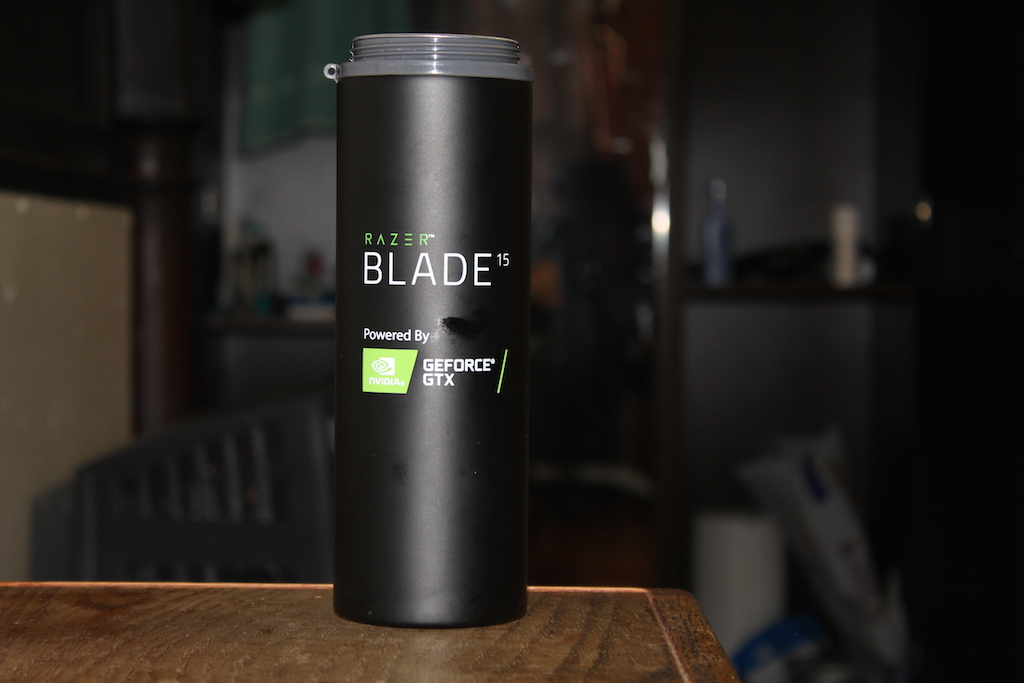
The dolly zoom, or vertigo shot, involves zooming a zoom lens to adjust the field of view while the camera moves toward or away from the subject, but in such a way that the speaker stays the same size. During the zoom, the perspective will distort as the background changes in size relative to the subject. I used a Canon EOS Rebel T2i 18 megapixel camera to take my photos. I chose my room because I did not have a tripod, so I was fairly limited in how I could take shots without a raised platform to move my camera on. I encountered difficulties with using the camera, because I was only borrowing it from a friend. I also encountered difficulties between shots, since the subject has to be in the same spot, so positioning needs to be precise. This is most easily seen in my Razer bottle images, where the bottle shifts from left to right, but I didn't notice that while taking the shot. Fortunately, my other photos do not really have this issue.
Bells and Whistles:
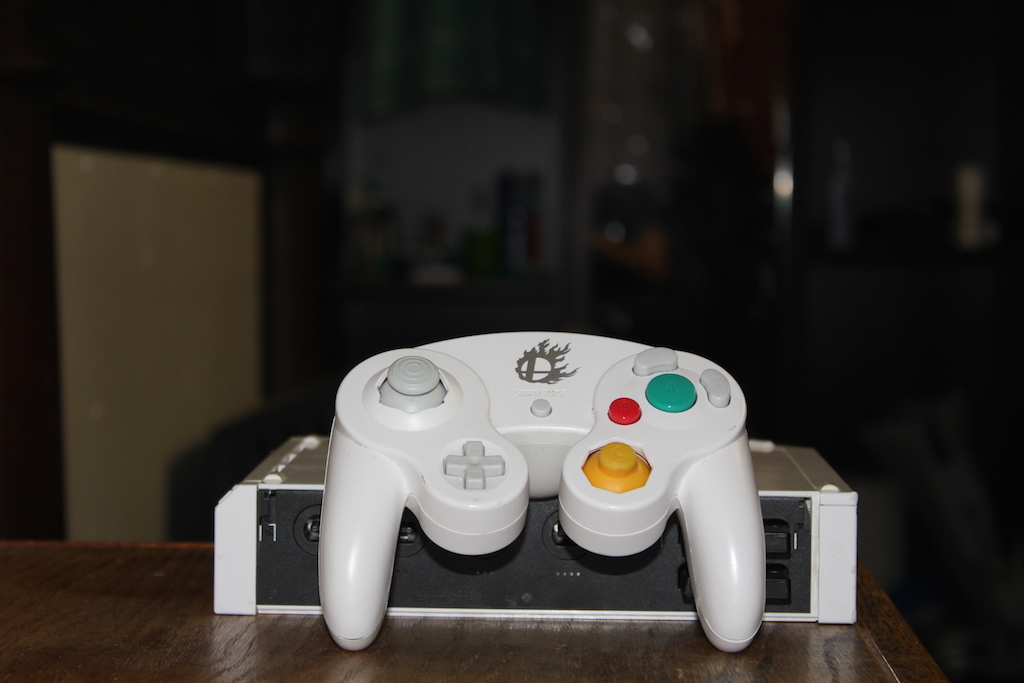
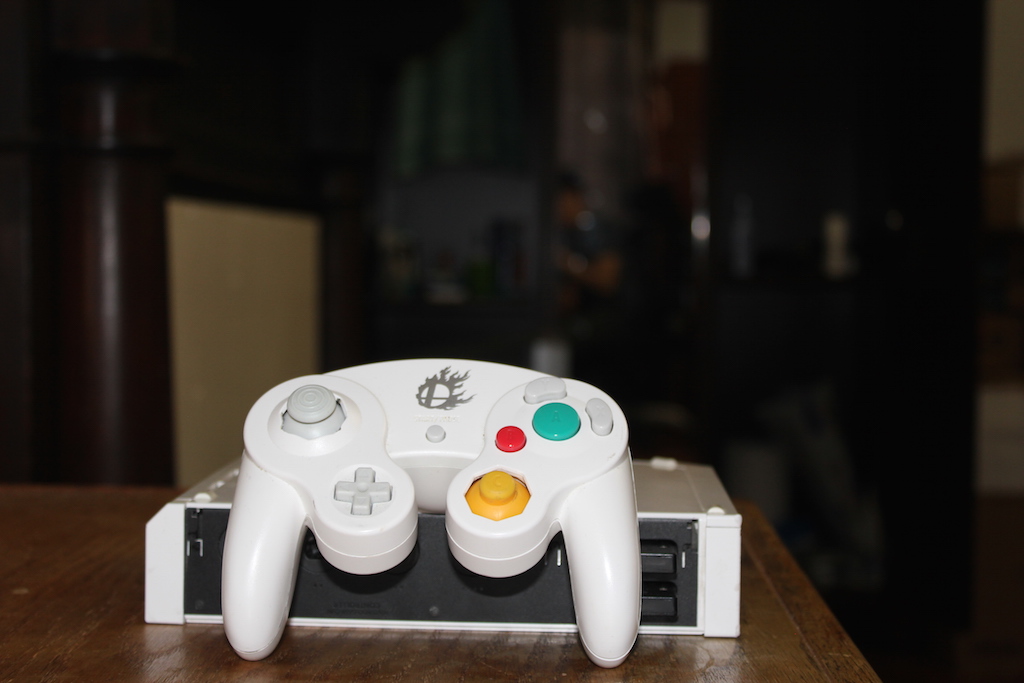
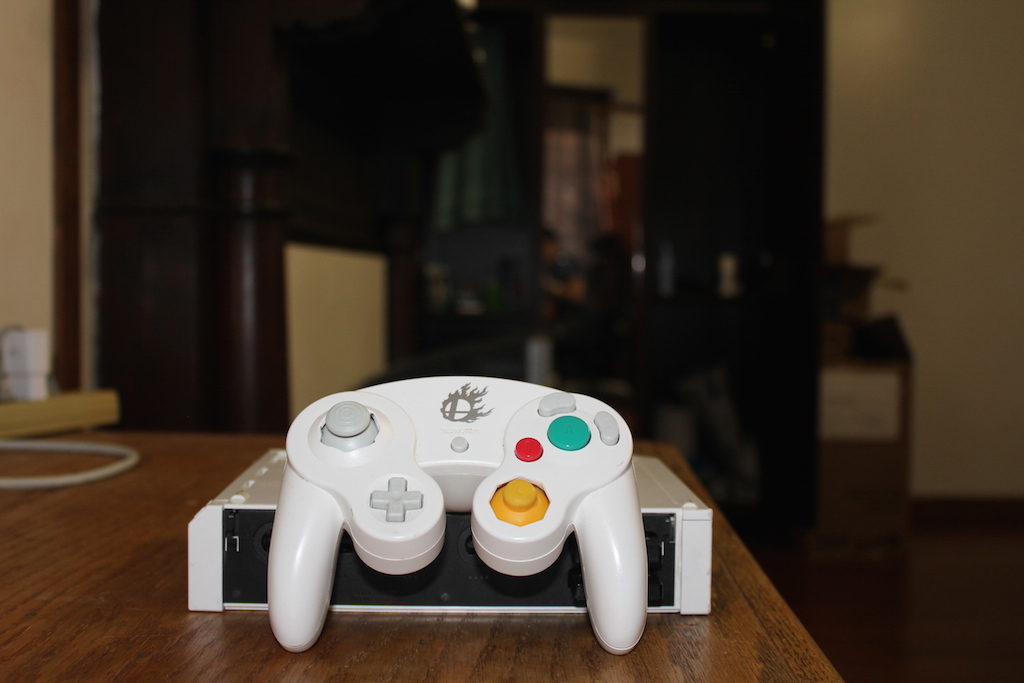
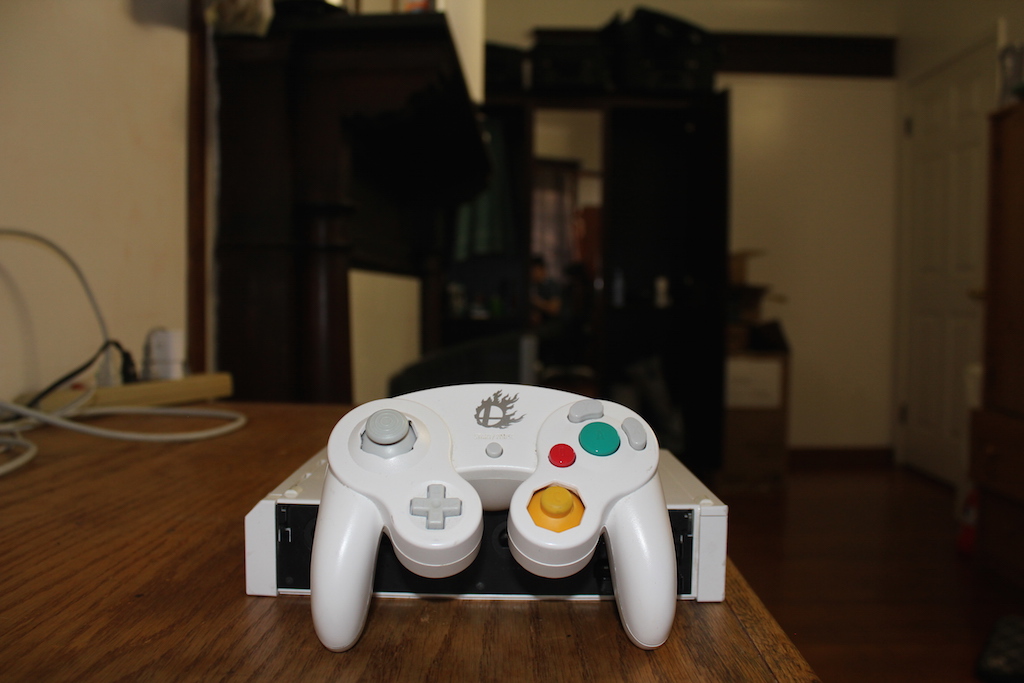
I also tried different combinations of moving the subject and the camera. For the first and third gif (PS4 controller and Razer bottle), I walked away from the subject while zooming in, and left the subject stationary. For the second and fourth gif (Gamecube controller and PS3 controller), I moved the subject towards the camera while zooming out. Here are the images as well as the corresponding gifs.
")
")
")
")
Vertigo Shots Reflection:
I never watch horror movies, so seeing this camera effect for the first time was really cool to me. This camera effect, among all the other photography-related phenomenons we've learned, have shown me that I'm a photography dunce. I should really research the finer aspects of photography, because I've only ever taken pictures of nature with my smartphone.