Final project: CS194-26 Fall 2018: Seam Carving and Eulerian Video Magnification.
Nikhil Uday Shinde (cs194-26-aea)
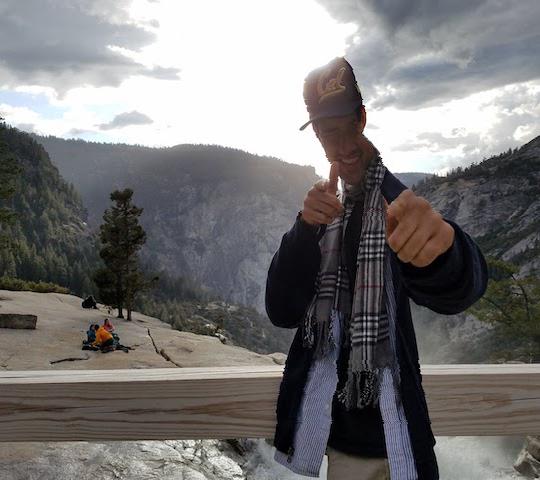
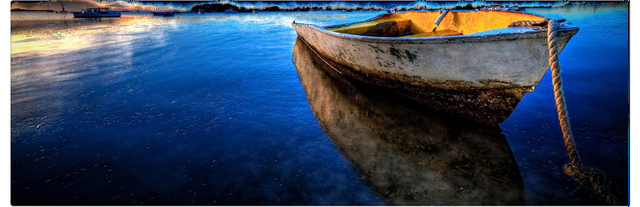
Bad seam carving result
Eulerian video Magnification
Seam Carving
Project Outline
The purpose of this project was to implement the basic algorithm for "Seam Carving for Content-Aware Image Resizing". The normal way we scale images is to proportionally resize the images, or crop the images. When proportionally scaling the dimensions of an image objects in the image may begin to be distorted. When cropping images we tend to lose a large amount of information in our images. In this project we implement an intelligent way of resizing images that is "aware" of the content in the images. This allows us to resize our images without losing too much information!
Implementation
The Algorithm for seam carving consists of two parts
First we have to determine the 'importance' of each pixel in our image. This will be done using an energy function. For the energy function I used the simple energy function used in the paper: x derivative of the image + y derivative of the image. By determining the importance of each pixel the energy function tells us which pixels we should keep in the image and which pixels are safe to throw out.
Once we have calculated the image's energy function we repeat the following until the image has shrunk to the desired size:
Find the lowest importance seam in the image (either row wise or column wise).
Remove the lowest importance seam.
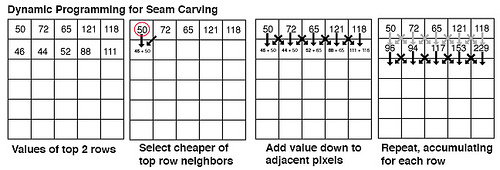
We can find the lowest importance seam by adopting a dynamic program approach. Here I refer to how to do it for removing columns. Then we start at the top of the image and go through every pixel row by row in the image. For all subsequent rows after the top row as we go through each pixel, we take the minimum energy of the pixels in the same column and the columns to the right and left of the row above it and add it to the the current pixel value. We do this until the bottom of the image. This gives us a cumulative energy image that is useful for extracting low energy seams. This is illustrated in the image below:
After calculating this we start at the bottom row and backtrack. We choose the minimum pixel in the bottom row then we move to the row above it and chose the minimum pixel in the same, right or left columns as the pixel we just chose in the row below. We repeat this process till we get to the top of the image. These chosen pixels give us the low energy seam that we remove from the image.
For this project I wrote the algorithm to remove columns. For removing rows I simply repeated the algorithms to remove columns on the transpose of the image!
Some successful results of seam carving!
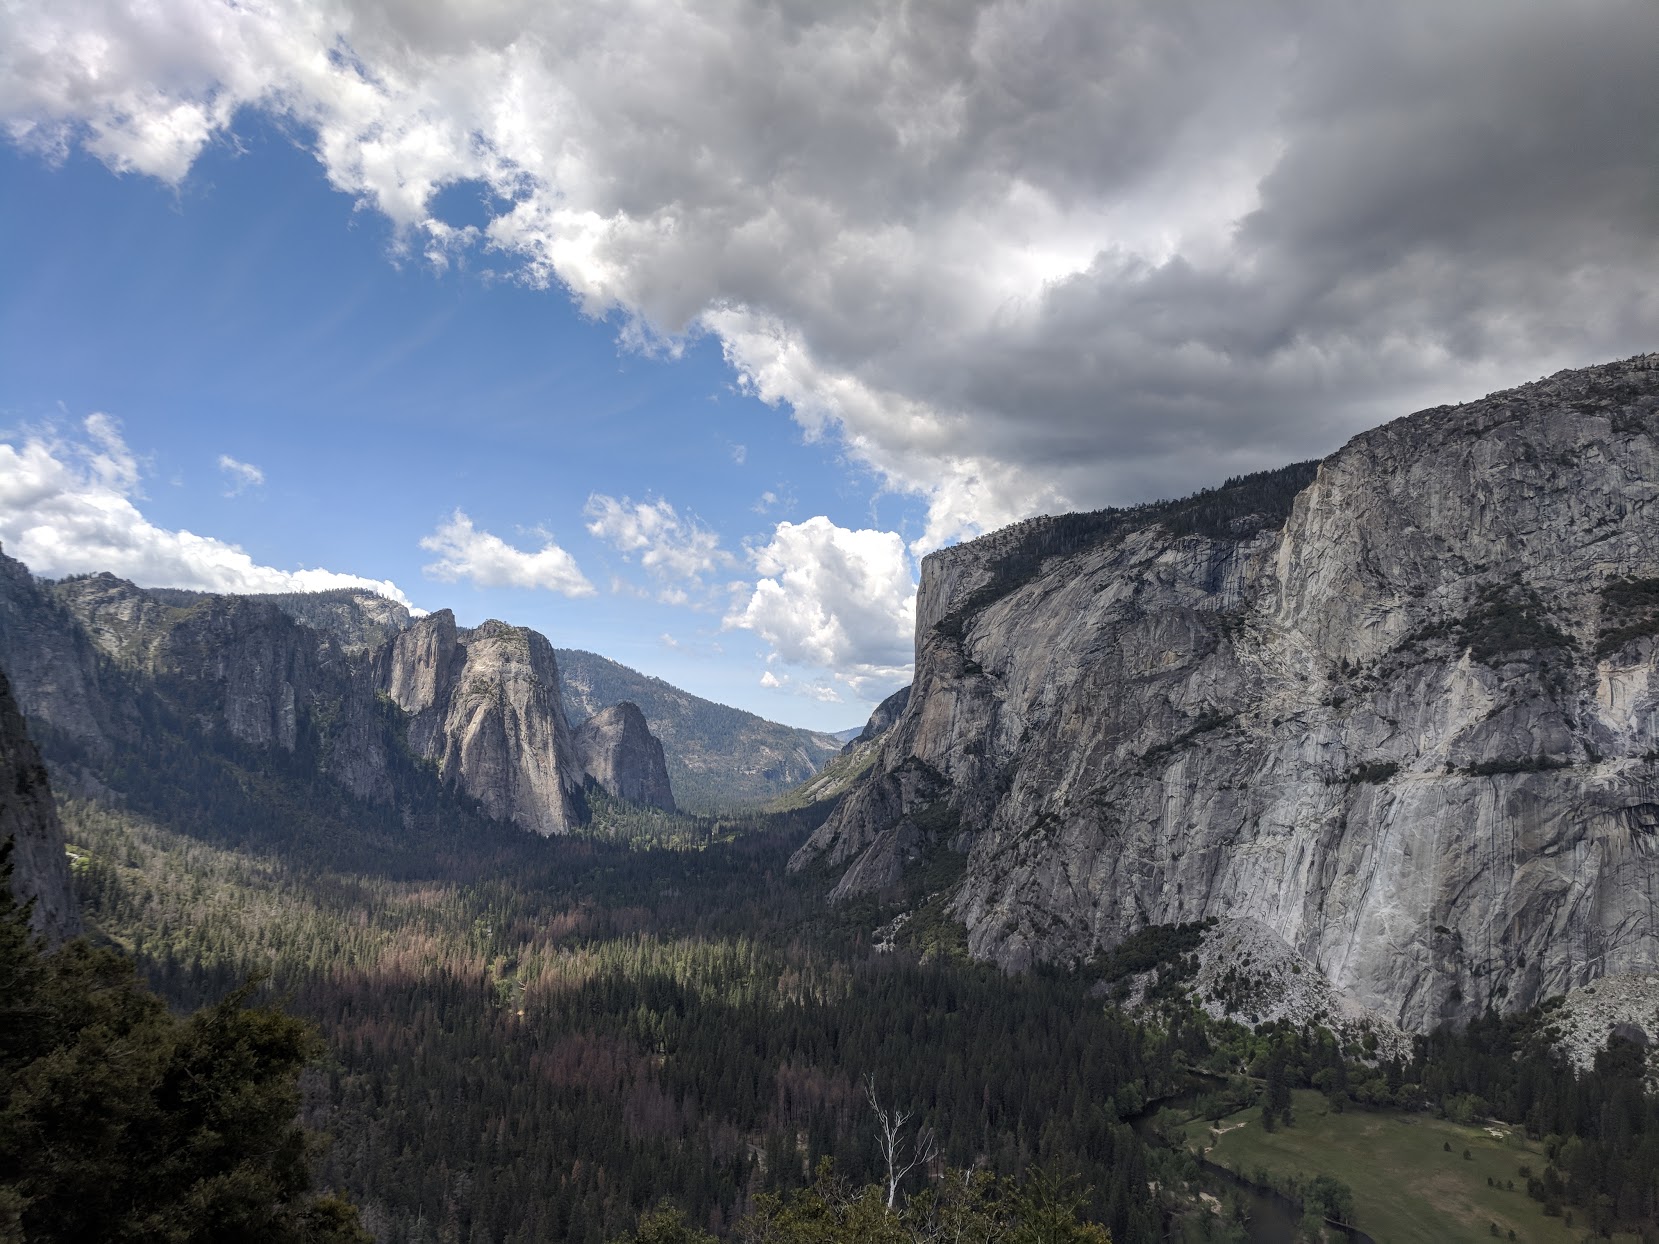
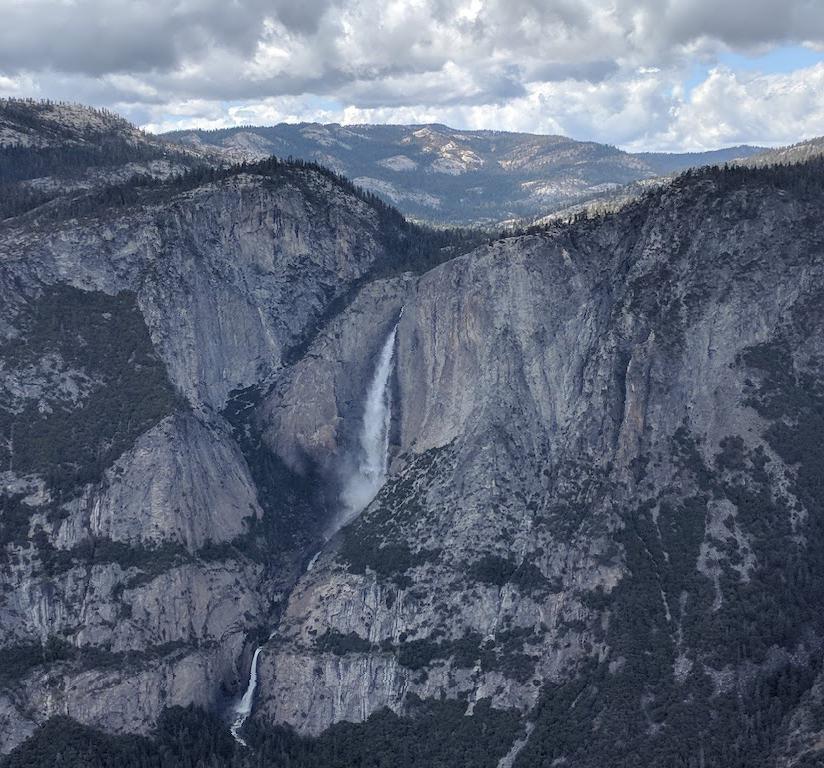
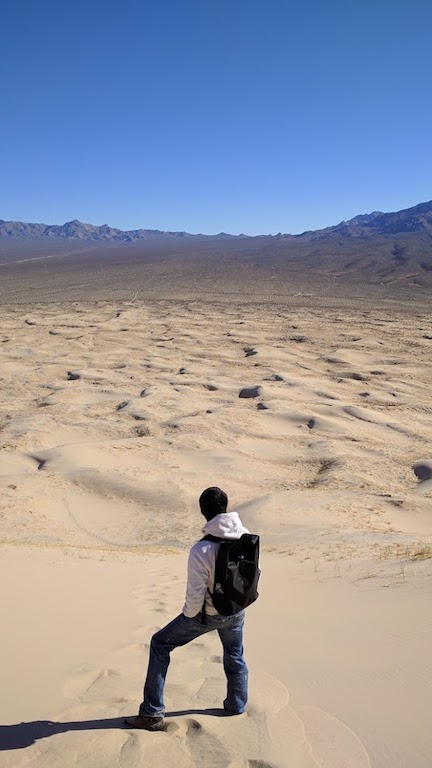
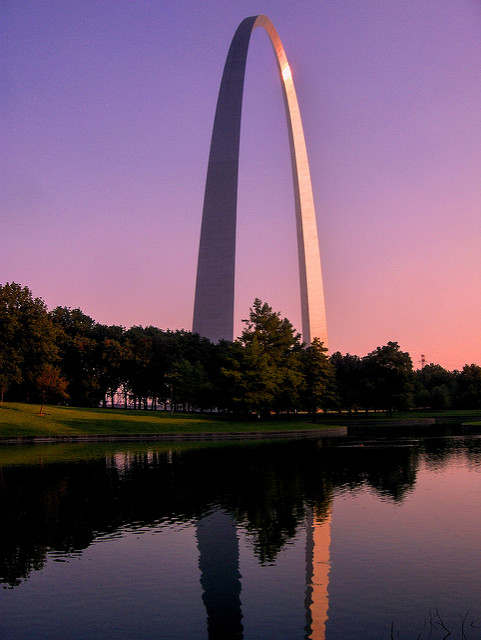
Original
Carved
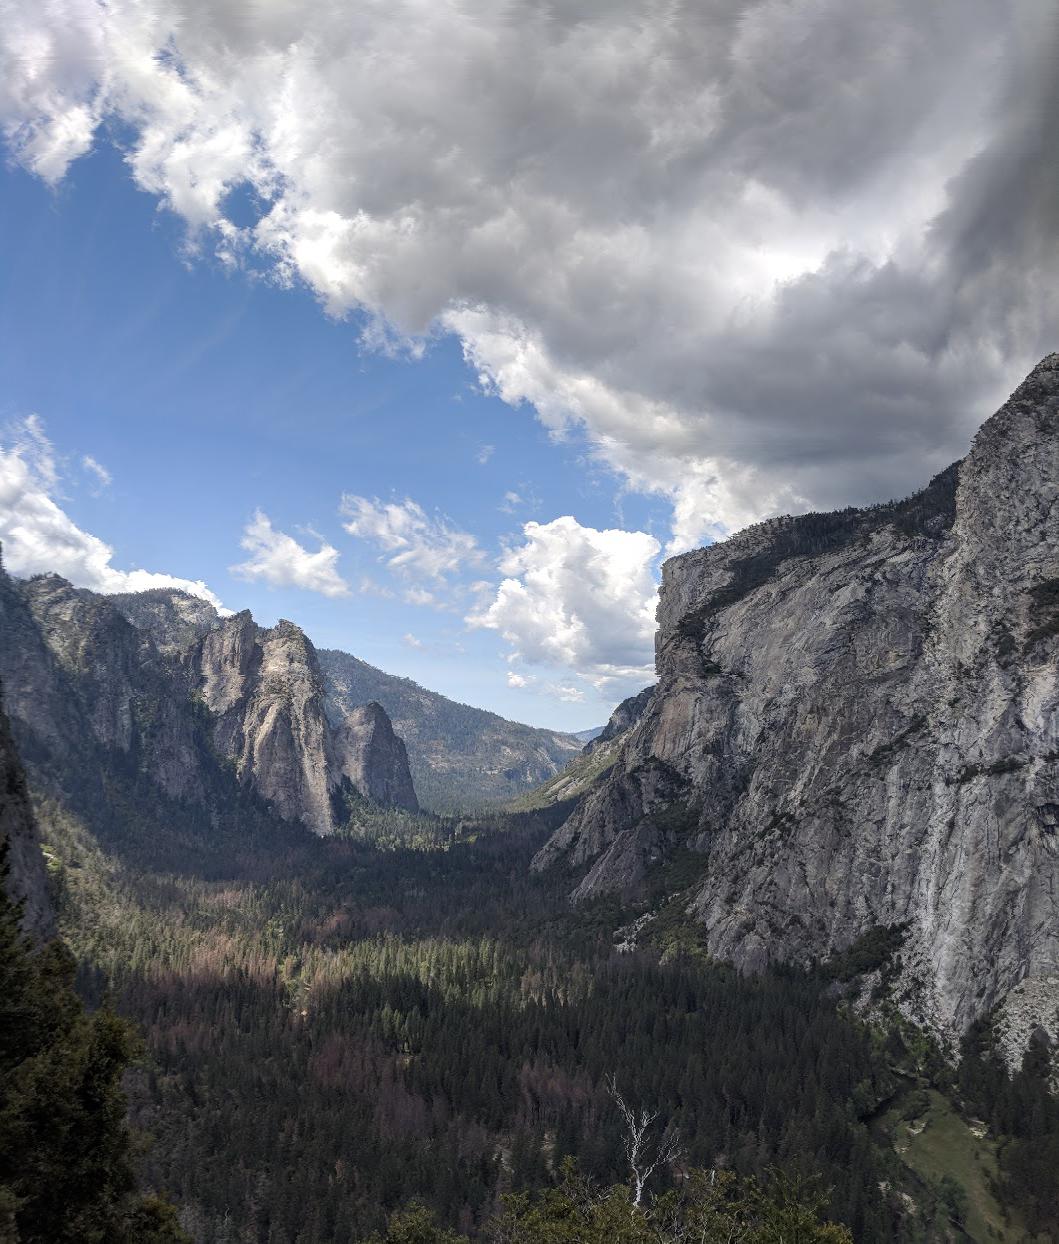
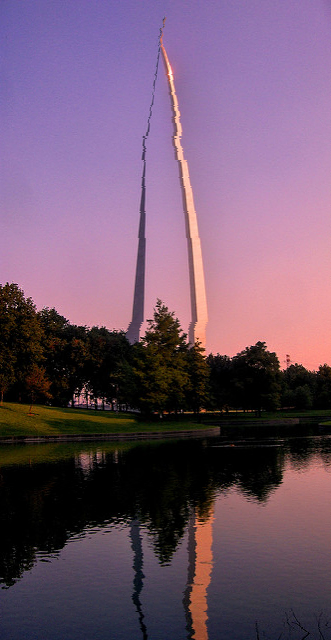
Original
Carved
Original
Carved
Original
Carved
Original
Carved
Original
Carved
Original
Carved
Original
Carved
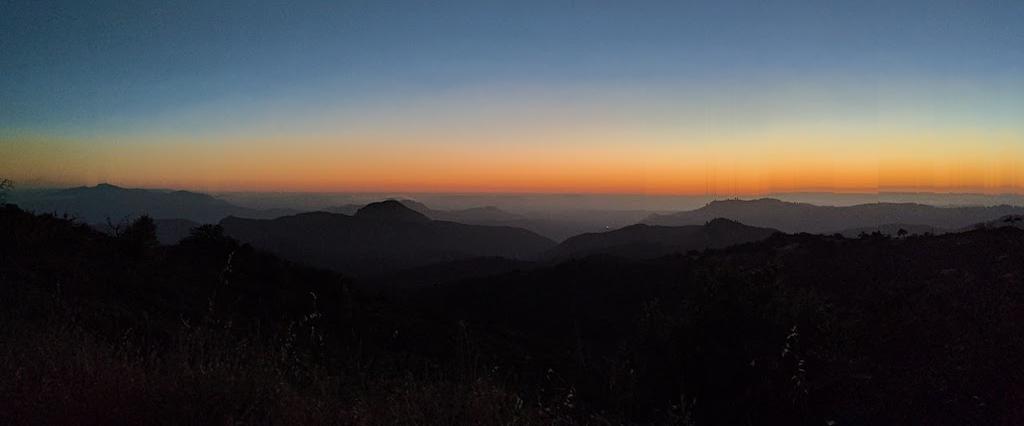
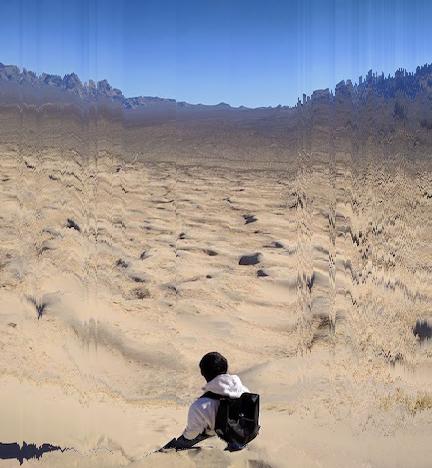
Some Unsuccessful results of seam carving.
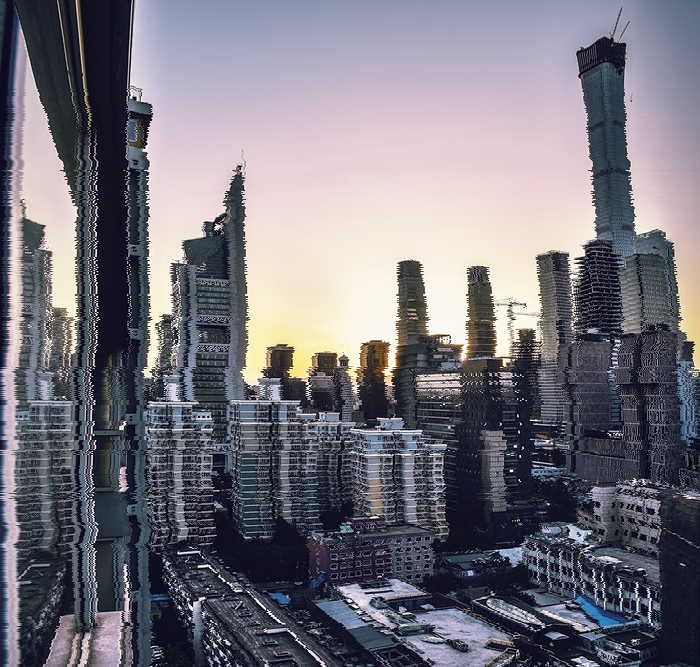
Original
Carved
Original
Carved
Original
Carved
Original
Carved
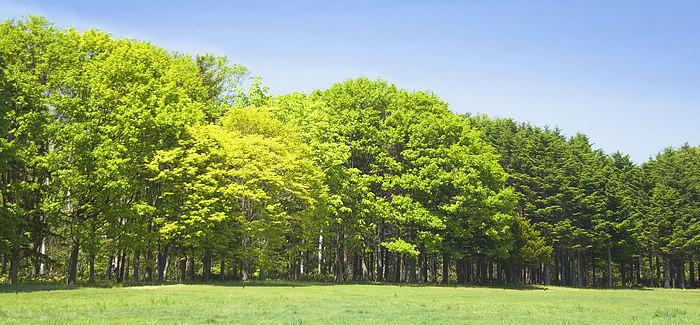
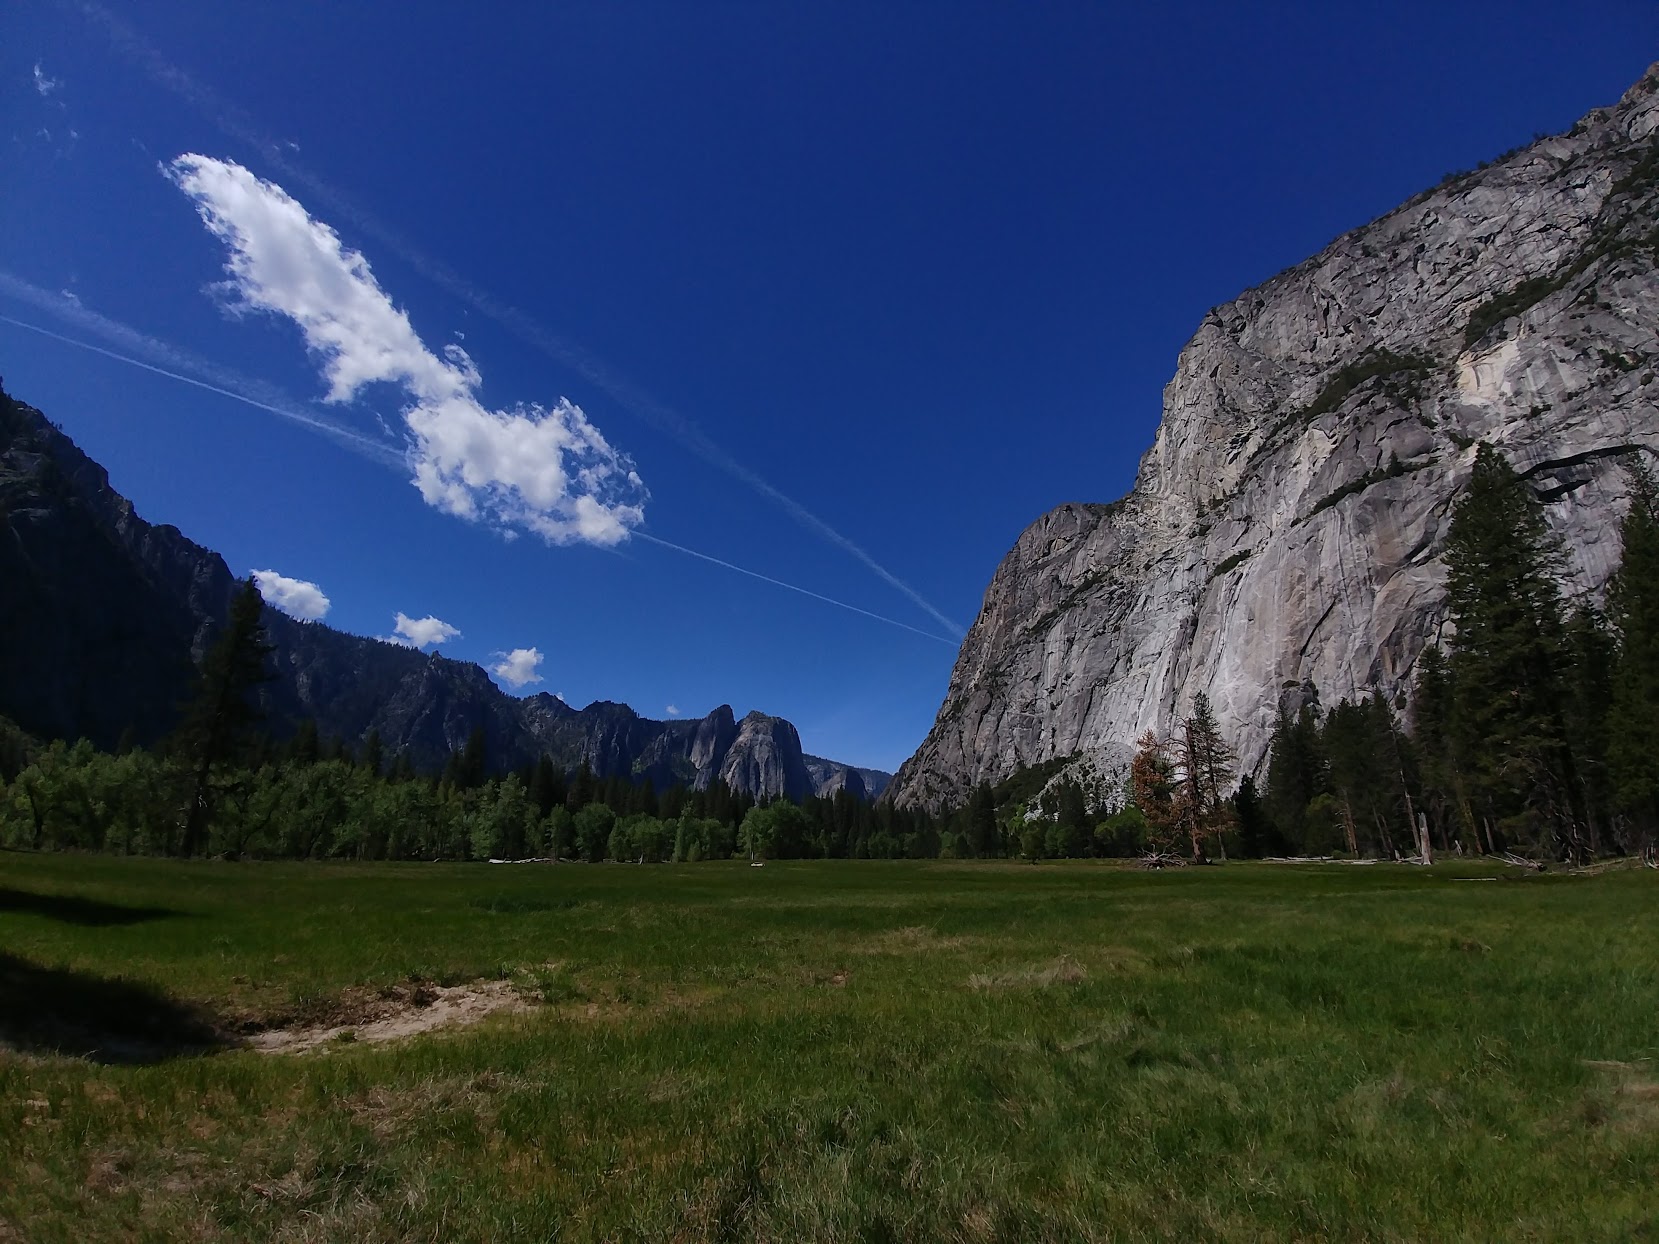
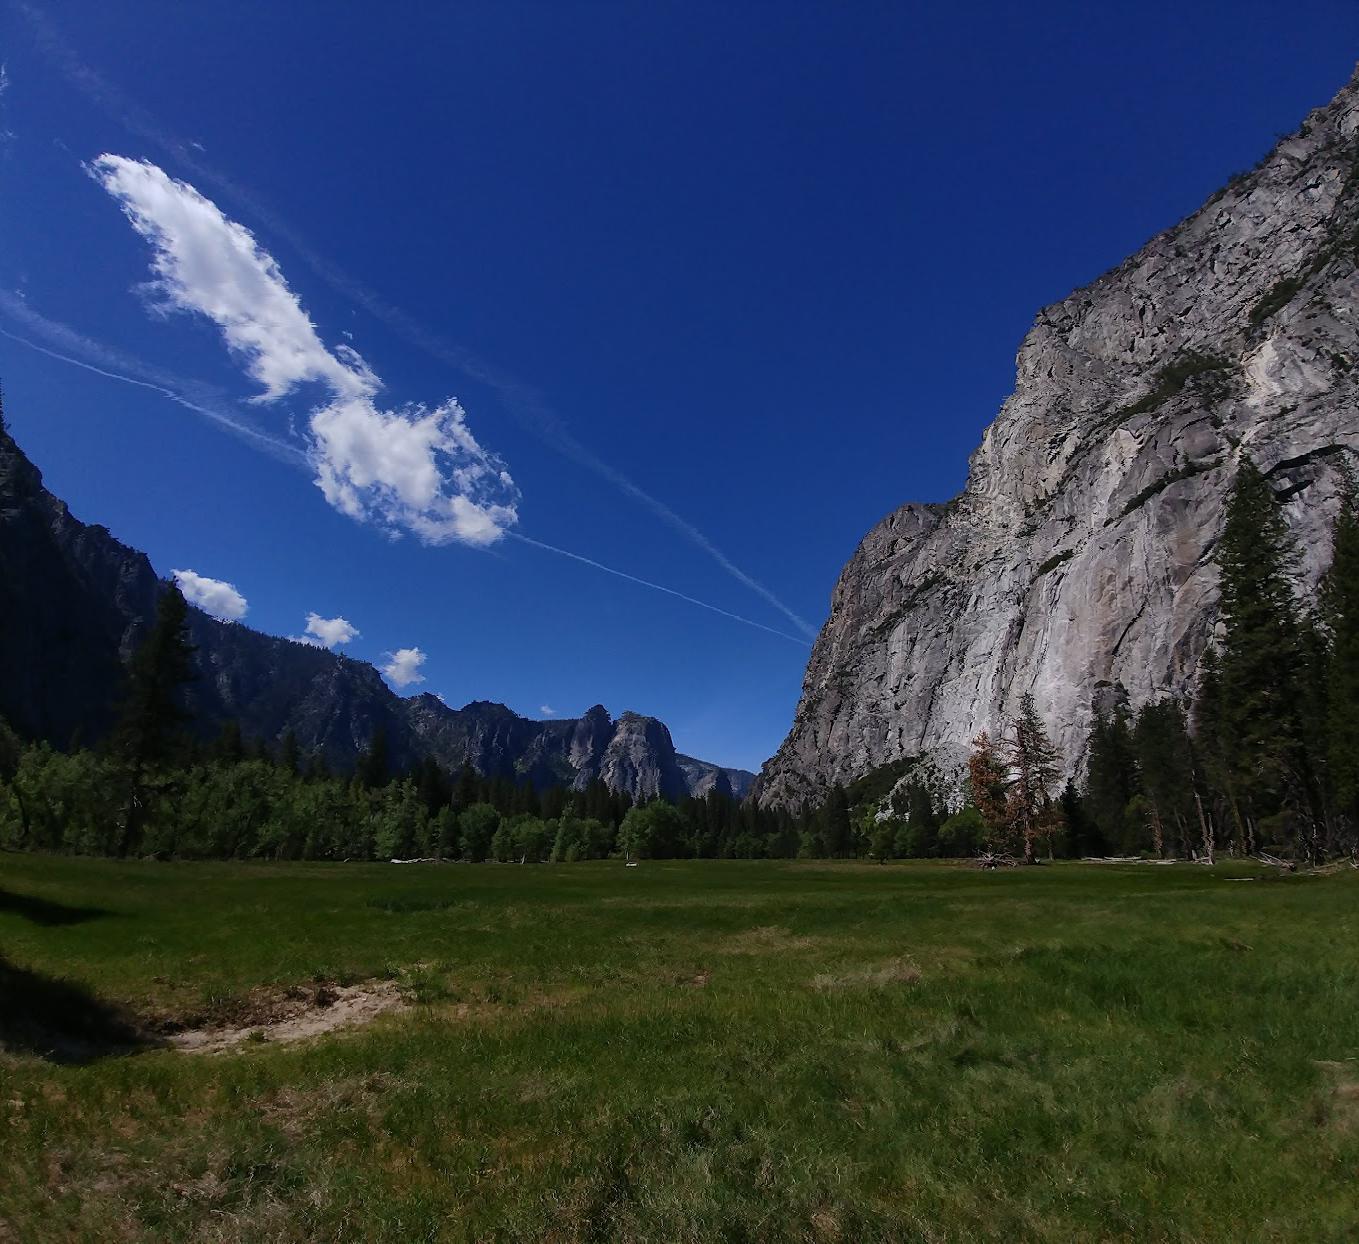
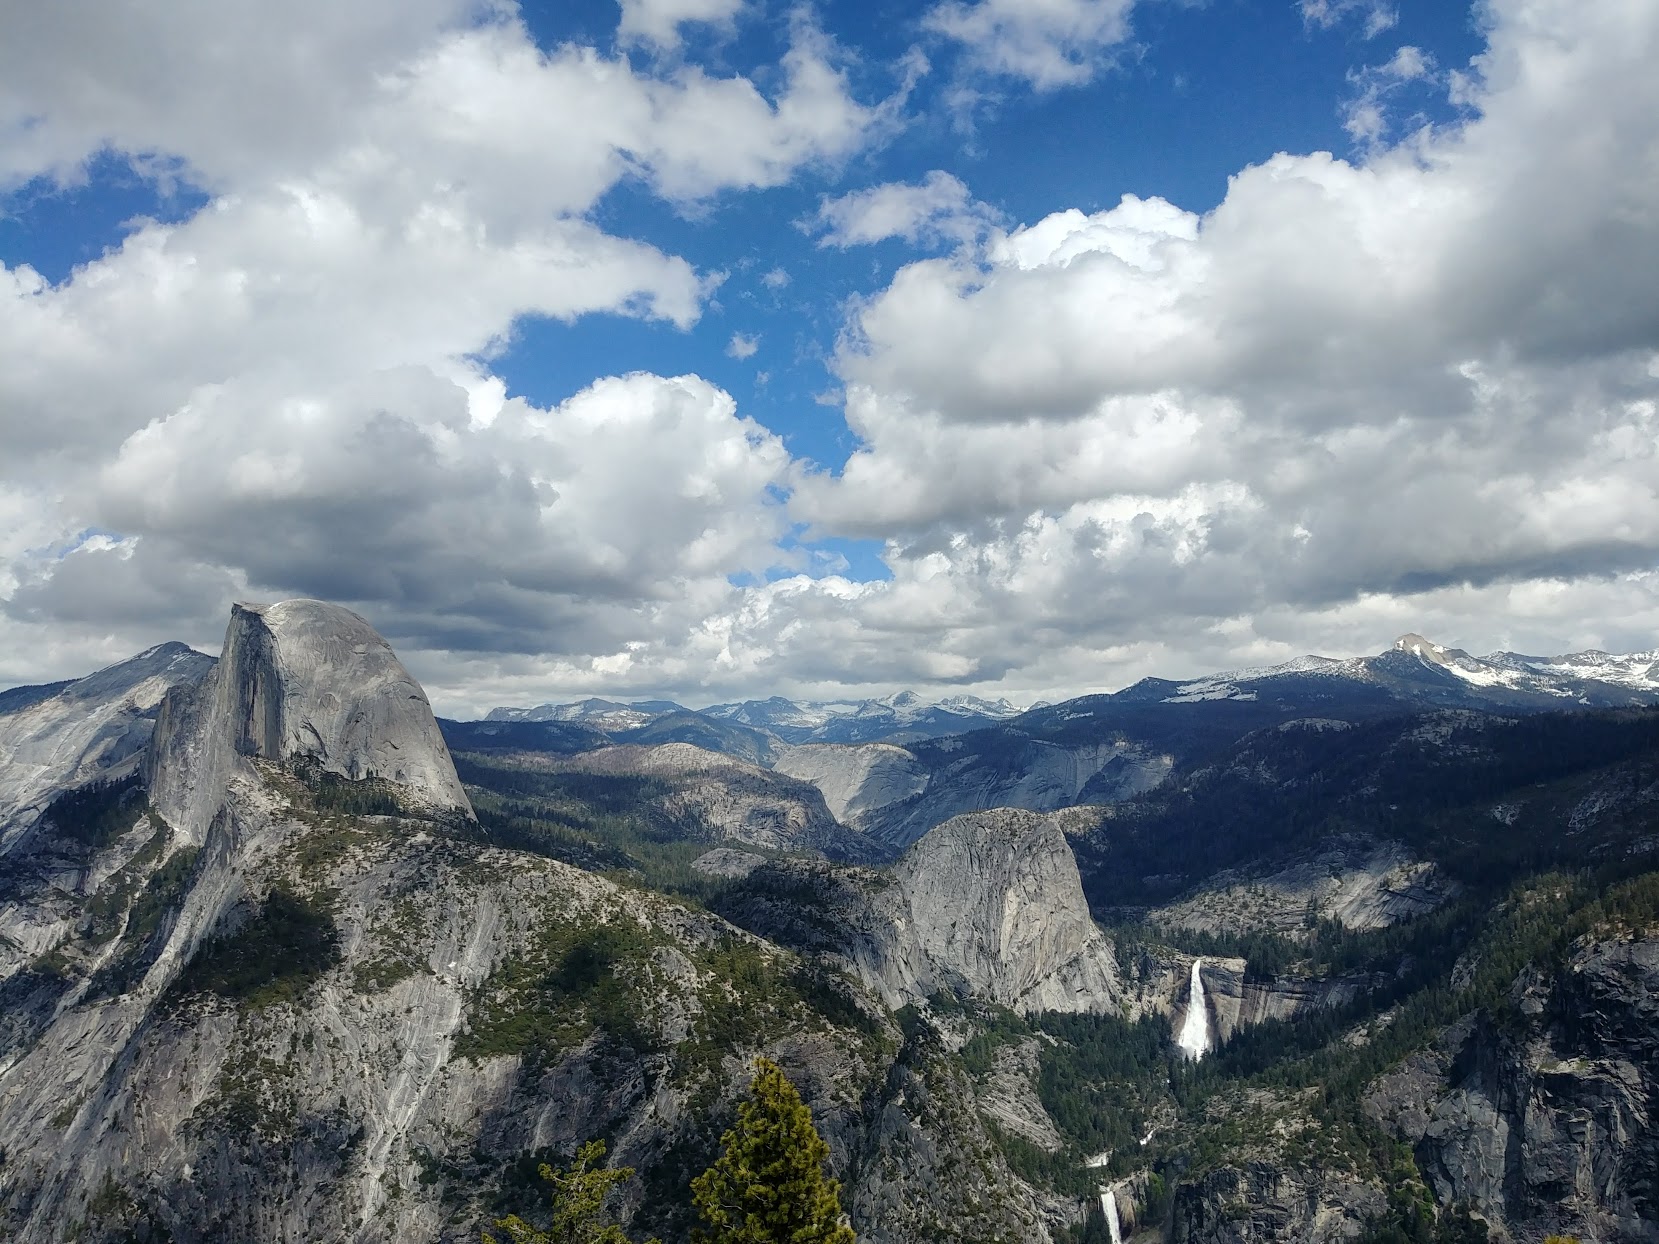
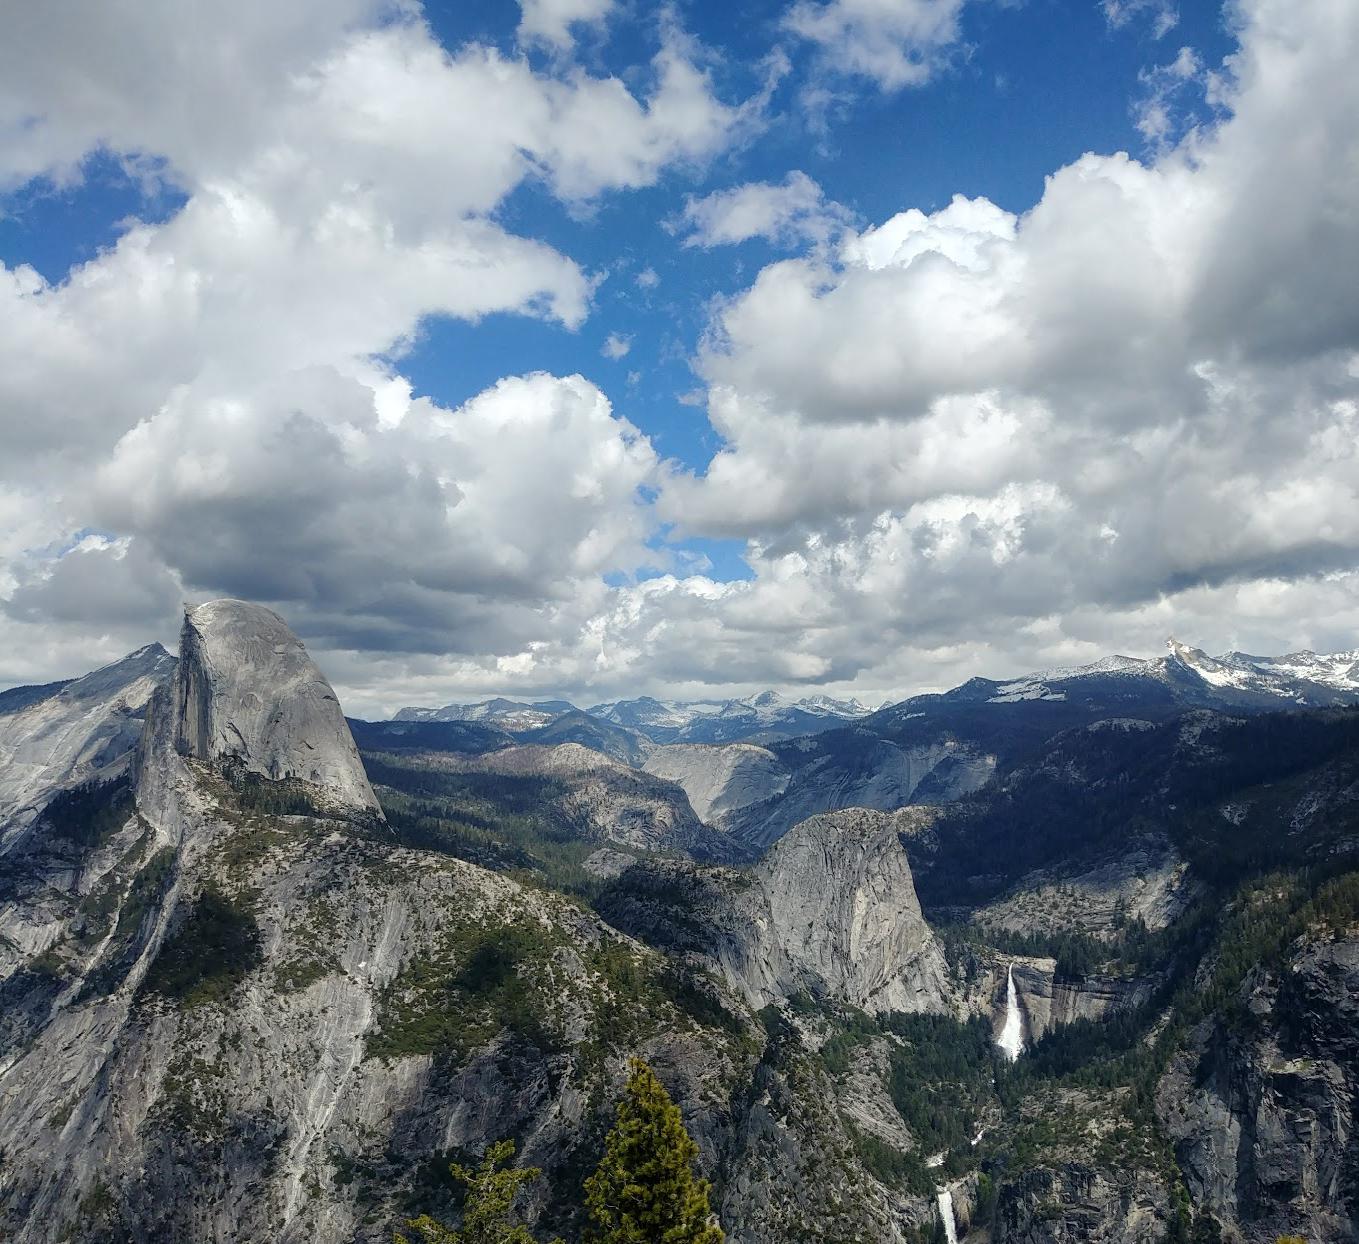
A lot of the images that have issues are those that have people or scenes that are highly structured like the city scape shown above. The images that turned out well were the ones that had some textured environments with simple backgrounds like all the pictures of yosemite with blue sky backgrounds did fairly well.
What I learned
One of the most important things that I learned through this project was an interesting practical application of dynamic programming. I also learned how to program an interesting algorithm for image rescaling!
Eulerian Video Magnification
Project Outline
The purpose of this project was to implement Eulerian Video Magnification to reveal acute temporal image variations that are difficult to visualize.
Implementation
To implement eulerian video magnification we execute the following steps:
We start by using a laplacian pyramid in order to decompose our images into different spatial frequency bands. To create the laplacian pyramid we start by creating a gaussian pyramid: For each level we take the previous level and blur it using a gaussian filter, we then downsample the blurred image by some downsampling factor (here we use 2). The first layer of the gaussian pyramid is the original image. This gives us layers: G1, G2, G3, G4 for a 4 layer gaussian transform. To calculate the laplacian pyramid we take the difference between layers of the gaussian pyramid, upsampling the smaller layer to be the same size of the layer we are subtracting from. The final layer of the laplacian pyramid will the the same as the last layer of the gaussian pyramid.
The time series of each pixel as at each level of the pyramid makes a time series of values. These values can then be bandpass filtered in order to find pixels frequency bands of interest.
Once we extract the desired frequency bands we an amplify them by multiplying them by some factor and add them back into the original signals. This makes the changes in the desired frequency more apparent.
We do the above 2 steps for each spatial dimension that has a nonzero amplifcation factor specified. Once this is done we compose the laplacian pyramid back into images to get our final output. This is done by upsampling the required levels and simply adding together the upsampled levels of the laplacian pyramid. You start at the lowest level upsample and add it to the previous level. You then take this result upsample and add it to the previous level and continue this for all levels to get your original image with proper magnification.
These steps are repeated for each color channel that the video is composed of: In my case the R,G and B channels.
Temporal Filtering:
For temporal filtering we get the time sequence for each pixel in the image. We then take the FFT (fast fourier tranform) of the time sequence, setting to zero the DFT (discrete fourier transform) coefficients whose absolute value is not between a specified range. For the two of the three videos that I made I used 0.833 as the lower bound and 1 as the higher bound of the DFT coefficients that I kept. The other (the baby2 video) had 2.33 and 2.67 as the bounds on the absolute value of coefficients that I kept. Once I did this I took the inverse FFT of the resulting DFT giving us back a time sequence of the bandpassed signal. This bandpassed signal is then multiplied by some scaling factor and then added to the original signal to give the desired amplification effect. The laplacian pyramid is then composed into frames as described above. Sampling frequency is accounted for during this.
Here are some results:
Magnification of the face video from the MIT paper
Original video
Eulerian video Magnification
The Image was split into 3 laplacian layers. DFT coefficients with absolute value between 0.833 and 1 were kept after bandpass filtering. The filtering and amplification was applied to only the last layer of the laplacian pyramid and the amplification factor was 20.
Magnification of the face video from the MIT paper with a higher amplification factor
Eulerian video Magnification
This video was processed with the same parameters as the video above except the amplification factor used here was 35 instead of 20.
Magnification of the baby2 video from the MIT paper
Original video
Baby2 Magnification
The Image was split into 3 laplacian layers. DFT coefficients with absolute value between 2.33 and 2.67 were kept after bandpass filtering. The filtering and amplification was applied to only the last layer of the laplacian pyramid and the amplification factor was 50.
Magnification of the baby2 video from the MIT paper with a higher amplification factor
Eulerian video Magnification
This video was processed with the same parameters as the video above except the amplification factor used here was 60 instead of 50.
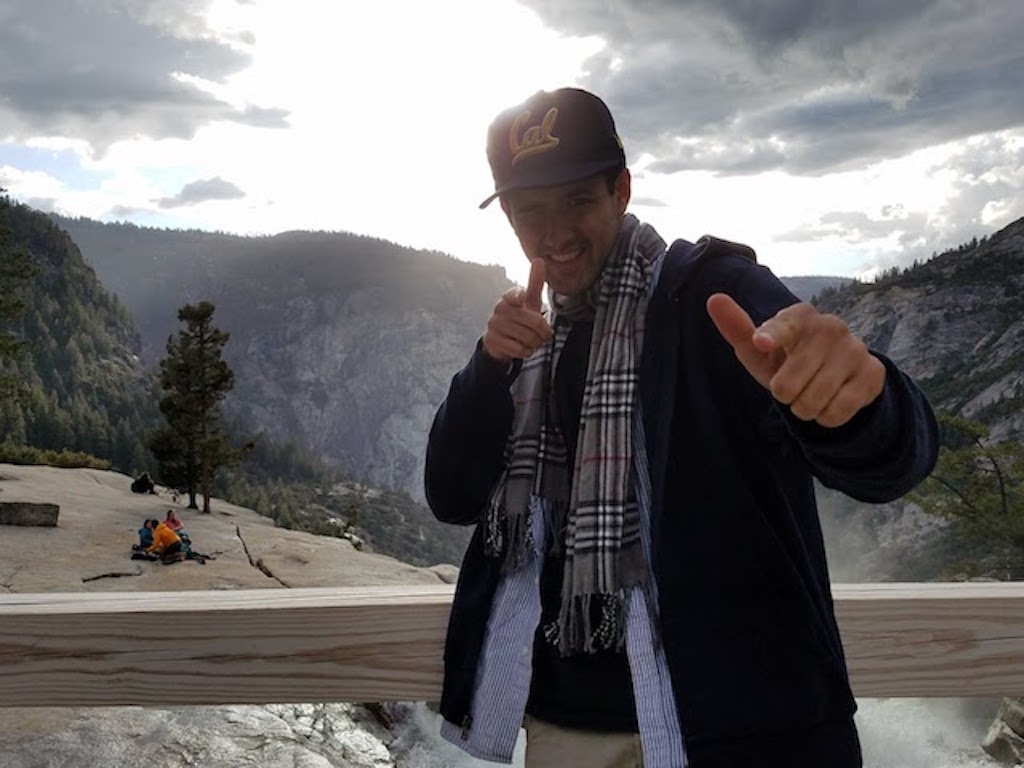
Magnification of the Nikhil video: A video of me!
Original video
Nikhil Magnification
The Image was split into 3 laplacian layers. DFT coefficients with absolute value between 0.833 and 1 were kept after bandpass filtering. The filtering and amplification was applied to only the last layer of the laplacian pyramid and the amplification factor was 35.
In the last video the pulse is most noticeable when looking at the lips as they turn much redder than the rest of my face. The result with the remainder of the face matches the results that the MIT paper had with people with darker skin. Though it appears the lips are moving throughout the video that is just the effect of the color fluctuations in the middle of the video you can see when I actually move my lips.
Difficulties and bad results
It was difficult to find good amplification factors for the videos. I had to try multiple different amplification factors before finding one that gave visually pleasing results. I also had to tune the play with the lower and upper bounds for which DFT coefficients that I wanted to keep in order to get good results. Not being in the correct range would not amplify the desired effects while bandpassing too large of a range would amplify too many things leading to results that were not visually appealing. Other difficulties came from having to work videos.
Bells and Whistles! Augmenting low-amplitude motion
When amplifying color changes of certain frequencies we focused on the lowest layer of the laplacian pyramid. This is the layer of the pyramid that we bandpass did a temporal bandpass filter on, amplified and added back to the original signal. However this is not what we want to do for motion amplification. In order to amplify motion better we want to bandpass filter and amplify the video at different levels of the laplacian pyramid at a lower amplification factor over a much broader range of frequencies. We can see the results of doing this on the baby video included in the MIT paper below. Here I followed the parameters they used bandpassing signals between 0.4 and 3 hertz (throwing out DFT coefficients that were outside of this range). I divided the laplacian stack into 3 layers: [original, g1, g2,g3] and I amplified each layer with the following amplification factors after bandpassing: [0, 4, 8, 10] to get the best results. Notice in the video below how the motion of the baby's chest is much more amplified!
Motion magnification of baby
Original video
Baby Motion Magnification
Things I learned
I learned how to implement bandpass filters and apply them to images. I learned how to work with pixel values in the frequency domain in a practical and interesting way!