CS194-26
Final Project: Seam Carving And Miniatures
Sharabesh Ramesh
Introduction
For the CS-194 Final project, I decided to investigate several interesting
applications of computational photography, namely:
- Content-Aware Resizing Using Seam Carving
- Fake Miniatures
Content-Aware resizing is a method to downscale and upscale images without
substantially degrading the image. Rather than simply crop an image which could
remove important components we follow an approach described Here.
Fundamentally this approach relies on filtering out the regions
of the image where we expect the least data to be lost as a result of the procedure.
Fake Miniatures is an effort to "simulate the effect of a selective focus camera known as tilt shifts".
This procedure narrows the apparent depth of field in a given scene in order to create an illusion
that we are much closer to the target region than we actually are.
Seam Carving
The Seam Carving Algorithm was comprised of the following major components:
-
Generating an "energy" for each pixel corresponding to its importance to the image. This
energy function was given by
e1(I) = | d/dx I | + | d/dy I |
-
Given the energy function we can then use the following recurrence relation
to generate a dynamic programming table:
M(i,j) = e(i,j) + min(M(i- 1, j-1), M(i -1, j), M(i - 1, j + 1))
-
We could then use this table to determine the mininimum value seam across an image
which we subsequently removed.
In the following illustrations of the generated results, note that the carved seams
are not necessarily the seams that were removed using the algorithm; rather they
are used mainly for illustration purposes. The carved seam images
are generated using a slightly different procedure which isn't necessarily accurate.
Here are some results
A brick house - Horizontal Seam Carving: Taken from the CS194 Course Website
 The Original Image
|
 House with Sample Seams Highlighted in White
|
 House with 100 Seams Removed
|
 House with 200 Seams Removed
|
 House with 400 Seams Removed
|
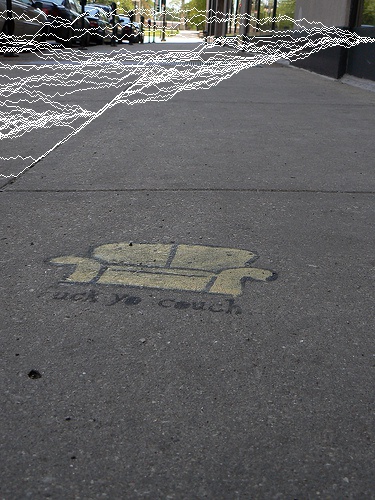
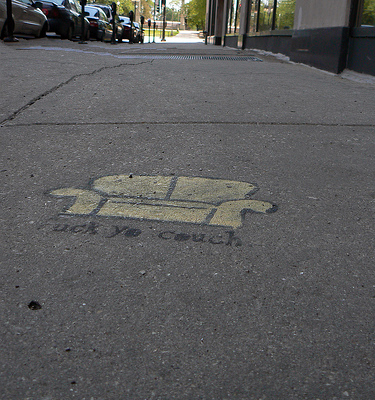
The couch - Vertical Seam Carving: Taken from the CS194 Course Website
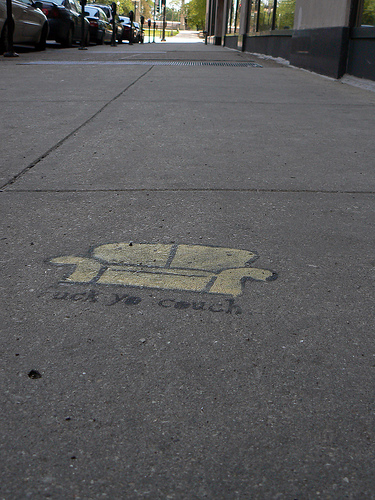 The Original Image
|
 The Original Image
|
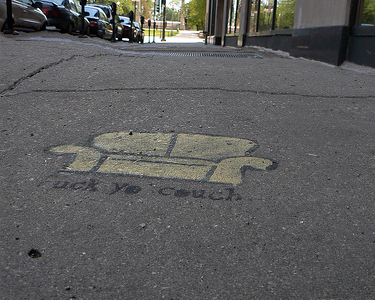
 House with 100 Seams Removed
|
 House with 200 Seams Removed
|
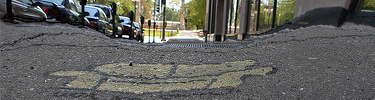 House with 400 Seams Removed
|
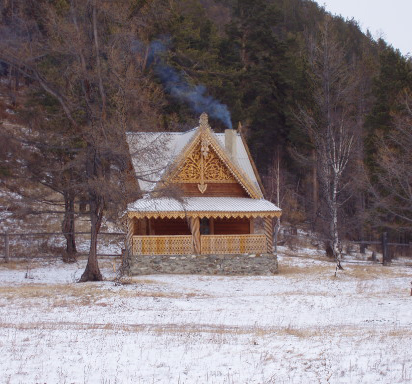
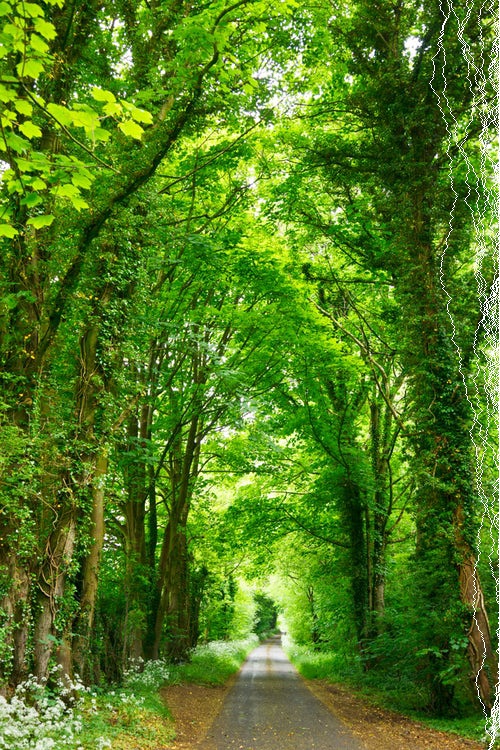
Forest - Vertical Seam Carving - Notice How thin the trees get
Image Source: Studio Dekorasyon
 The Original Image
|
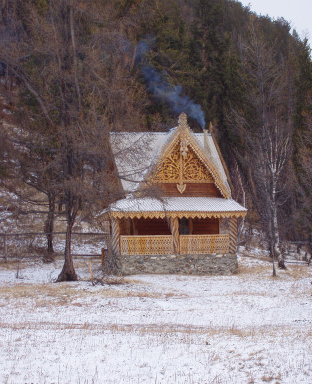
 Sample Seam Carving Taken From Forest - Note Concentration Around the Right Side
|
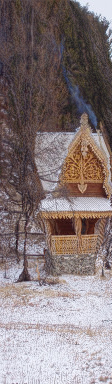
 trees with 100 Seams Removed
|
 trees with 200 Seams Removed
|
 trees with 300 Seams Removed
|
A lake - Horizontal Seam Carving
Image source
 The Original Image
|
 Sample Carved Seams
|
 lake with 100 Seams Removed
|
 lake with 200 Seams Removed
|
 lake with 300 Seams Removed
|
An ocean - Horizontal Seam Carving
Image Source
 The Original Image
|
 Some Example Seams Carved From the Image
|
 ocean with 100 Seams Removed
|
 ocean with 200 Seams Removed
|
 ocean with 300 Seams Removed
|
Failure Cases
A mountain - Vertical Seam Carving
Image Source
In this example it appears there is simply too much variance within the image
for the seam carving algorithm to slice out a seam without noticing.
Thus we see occurances where the person is actually sliced out in order
to preserve other parts of the scene.
 The Original Image
|
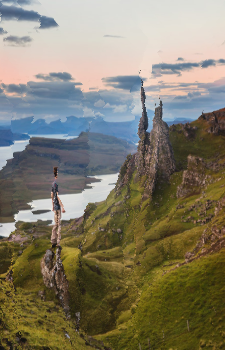
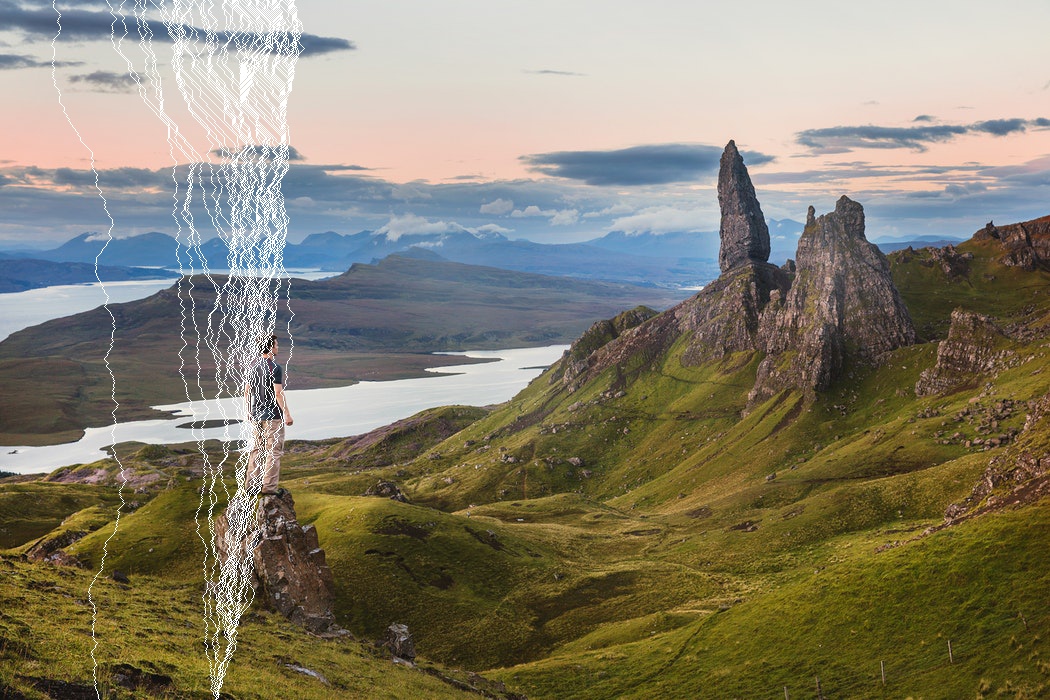 Image with Carved Seams
|
 mountain with 100 Seams Removed
|
 mountain with 200 Seams Removed
|
 mountain with 300 Seams Removed
|
A Stock Photo - Vertical Seam Carving>
Image Source
In this example there is a lot of structure in the the faces. When Vertical
Seam Carving is applied the middle and left-most faces look substantially different.
In the last extreme example most of the structure in the faces has been entirely removed.
 The Original Image
|
 stock with 100 Seams Removed
|
 stock with 200 Seams Removed
|
 stock with 300 Seams Removed
|
 stock with 500 Seams Removed
|
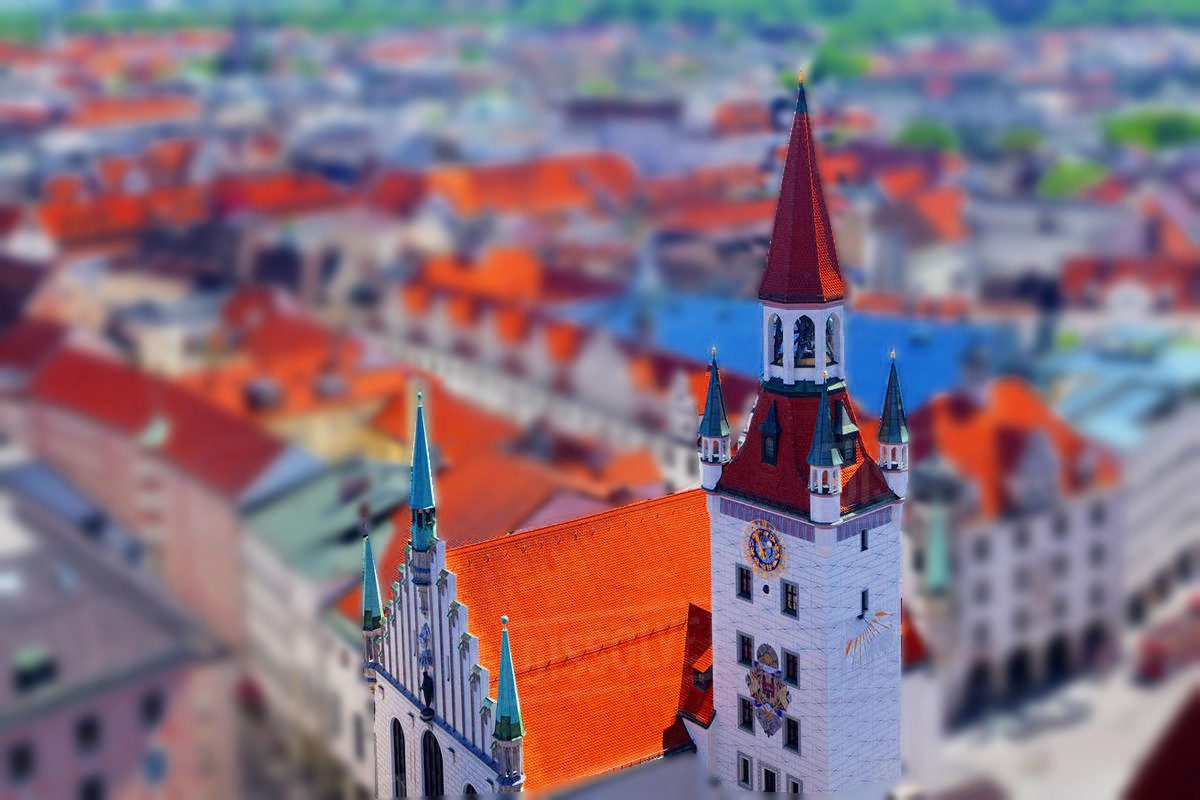
Fake Miniatures
The fake miniature algorithm relied on 3 major components:
-
Creating a mask from manually selected user inputs thus
defining a focus area.
-
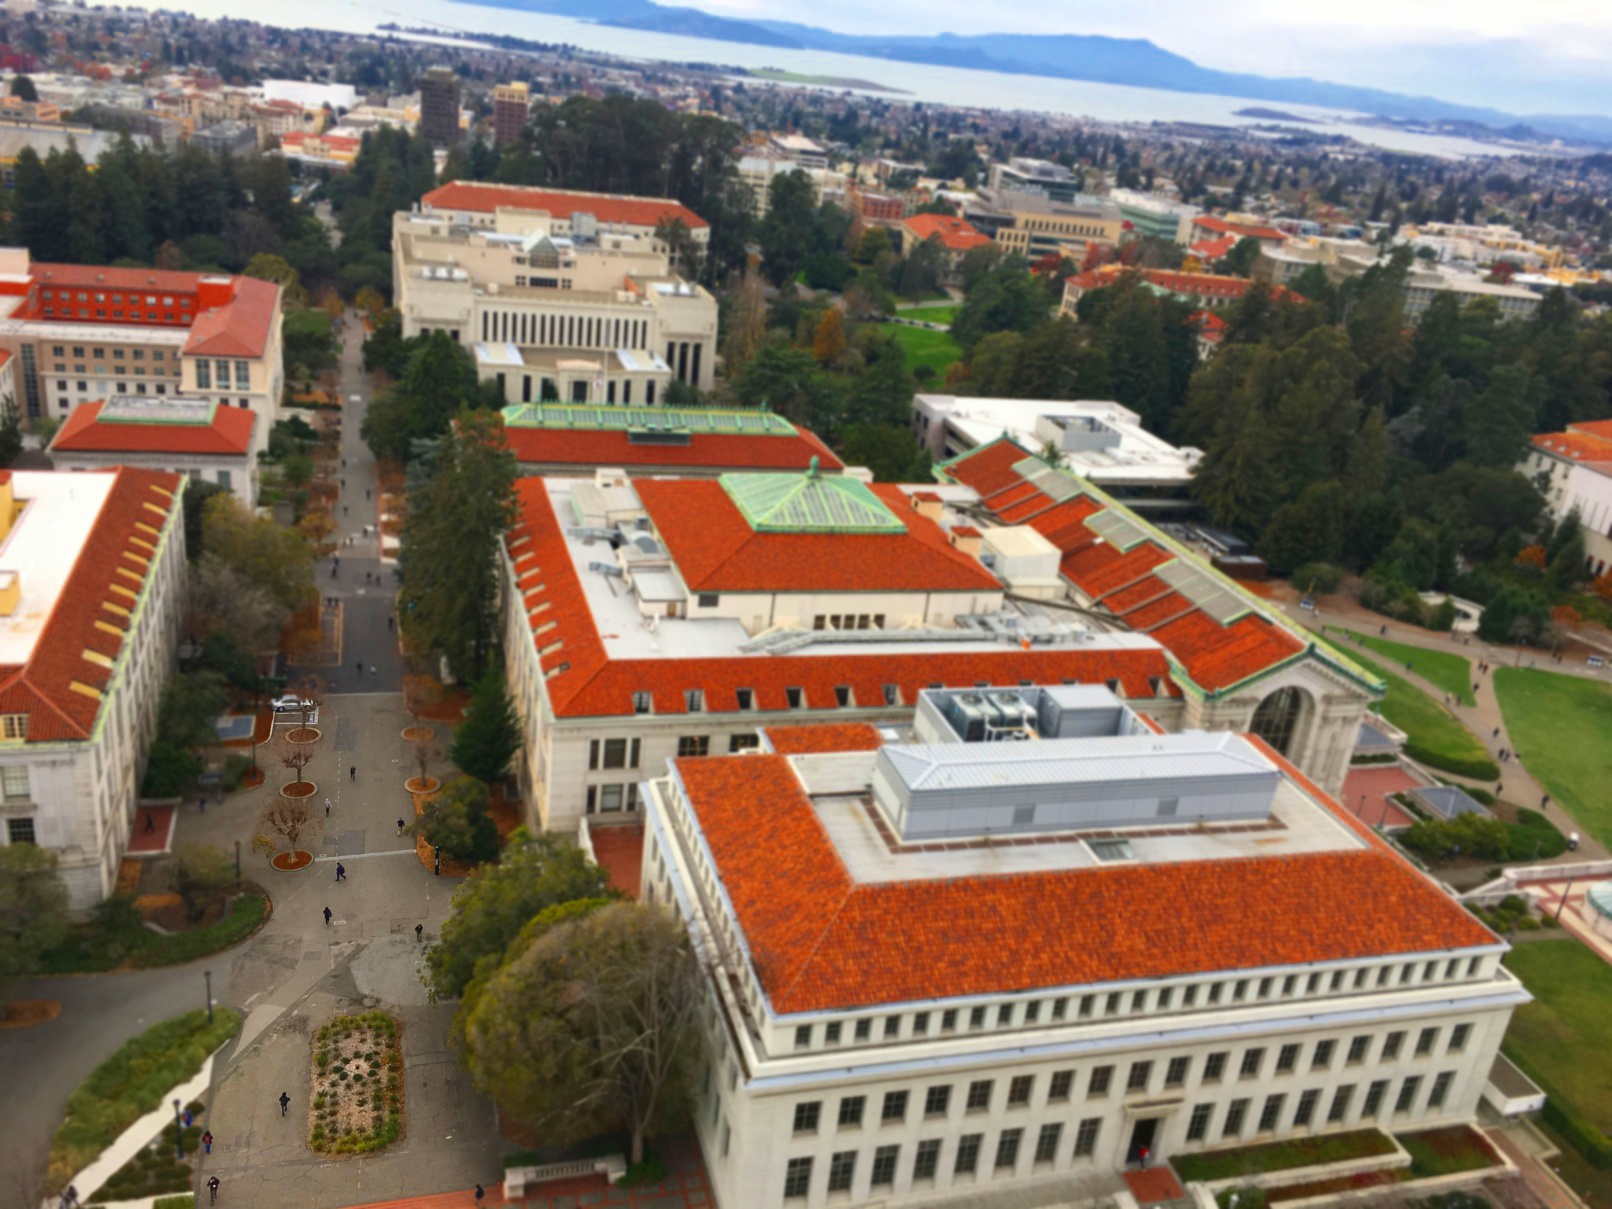
Increasingly blur the regions around the focus plane
in order to simulate the depth of field effect.
This blur is more dramatic far away from the target
mask than near the center to ensure a gradual transition.
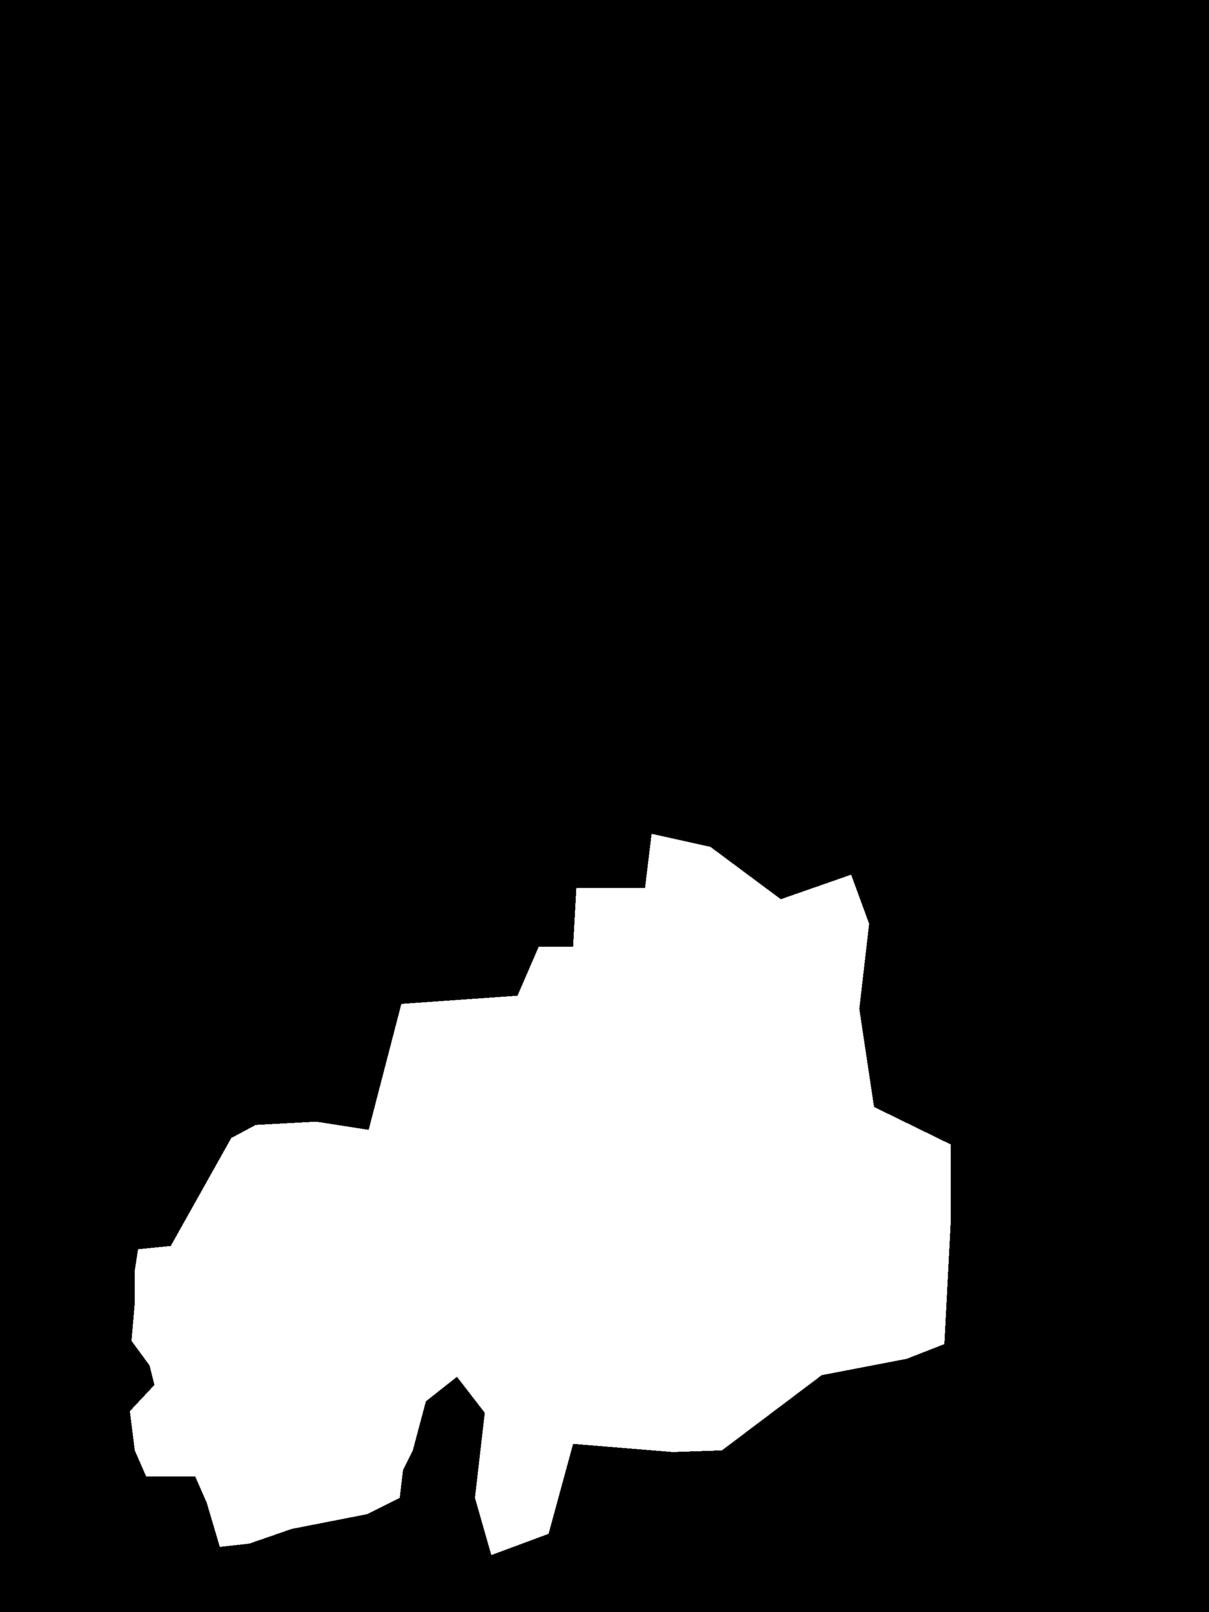
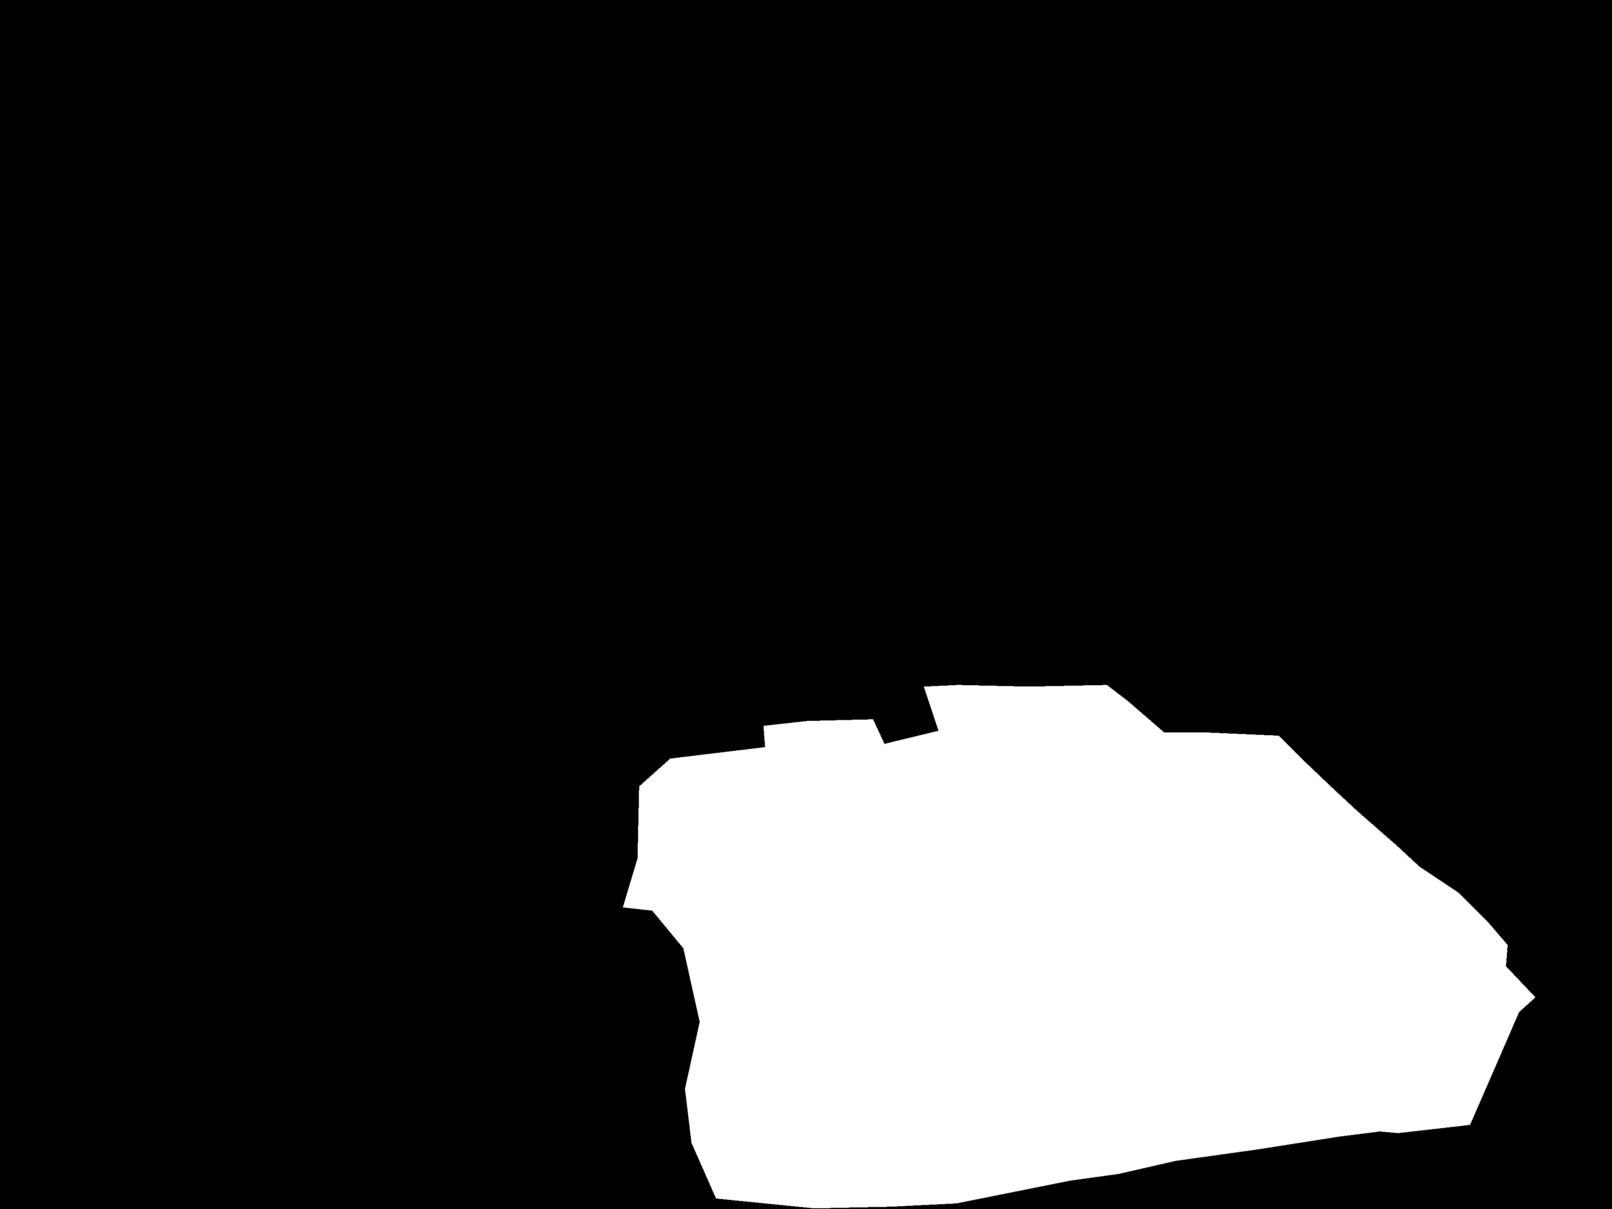
Note that I also completed the Irregular DOF Objects "Bells and Whistles"
in order to create irregular masks. The Masks are displayed above each set of results.
I also manipulated the colors for the final version of the images
by updating the saturation field by 60%.
The following are some of the outputs:
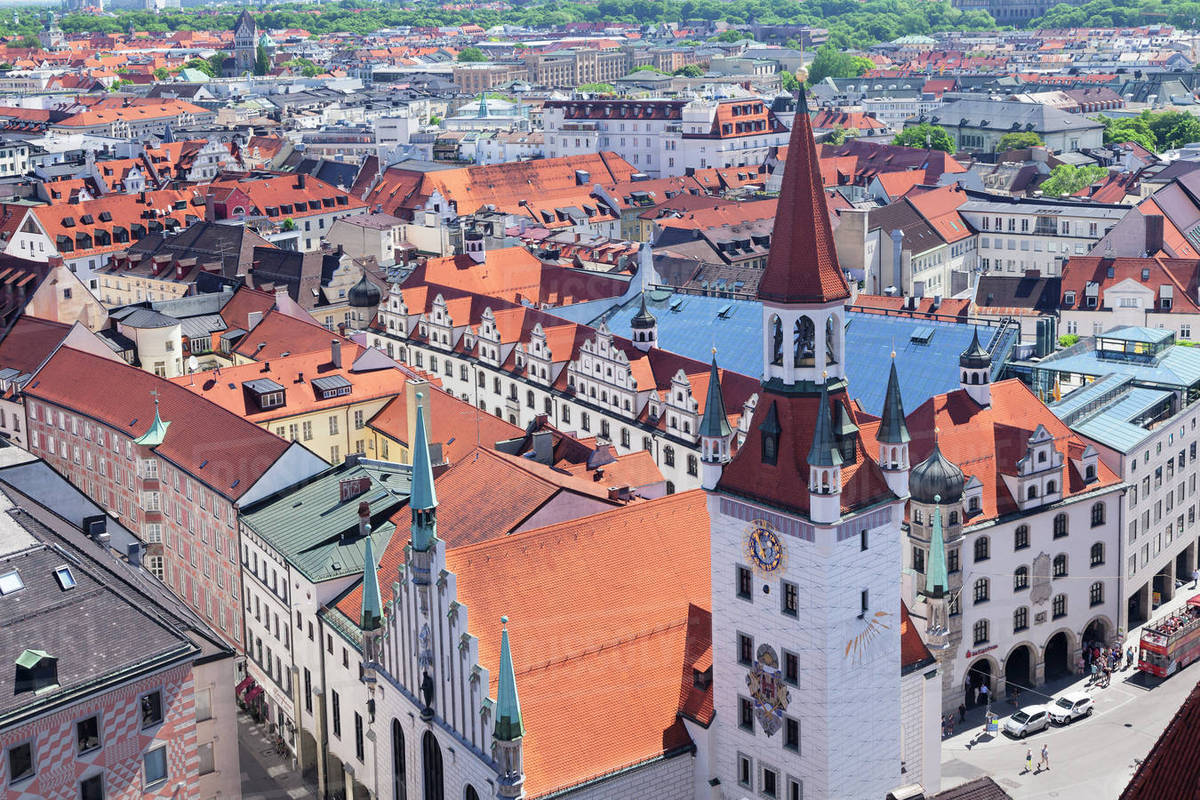
Some Buildings from the Internet: With Varied levels of blur: From the CS194 Course Site
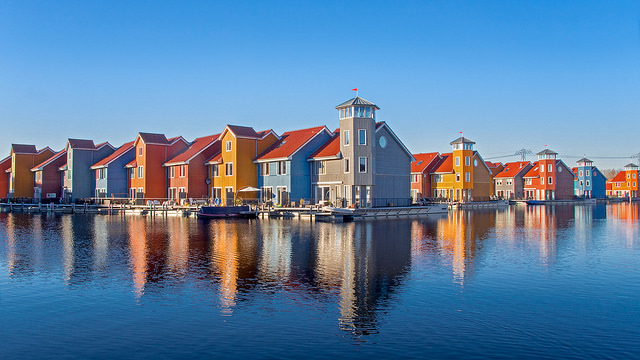 The Original Image
|
 Used Mask for Image
|
 Miniature with Sigma = 1
|
 Miniature with Sigma = 1.5
|
 Miniature with Sigma = 2
|
 Miniature with Sigma = 4 (Extreme Example)
|
 The Original Image
|
 Used Mask for Image
|
 Miniature with Sigma = 2
|
 Miniature with Sigma = 3
|
 Miniature with Sigma = 4
|
 Miniature with Sigma = 7 (Extreme Example)
|
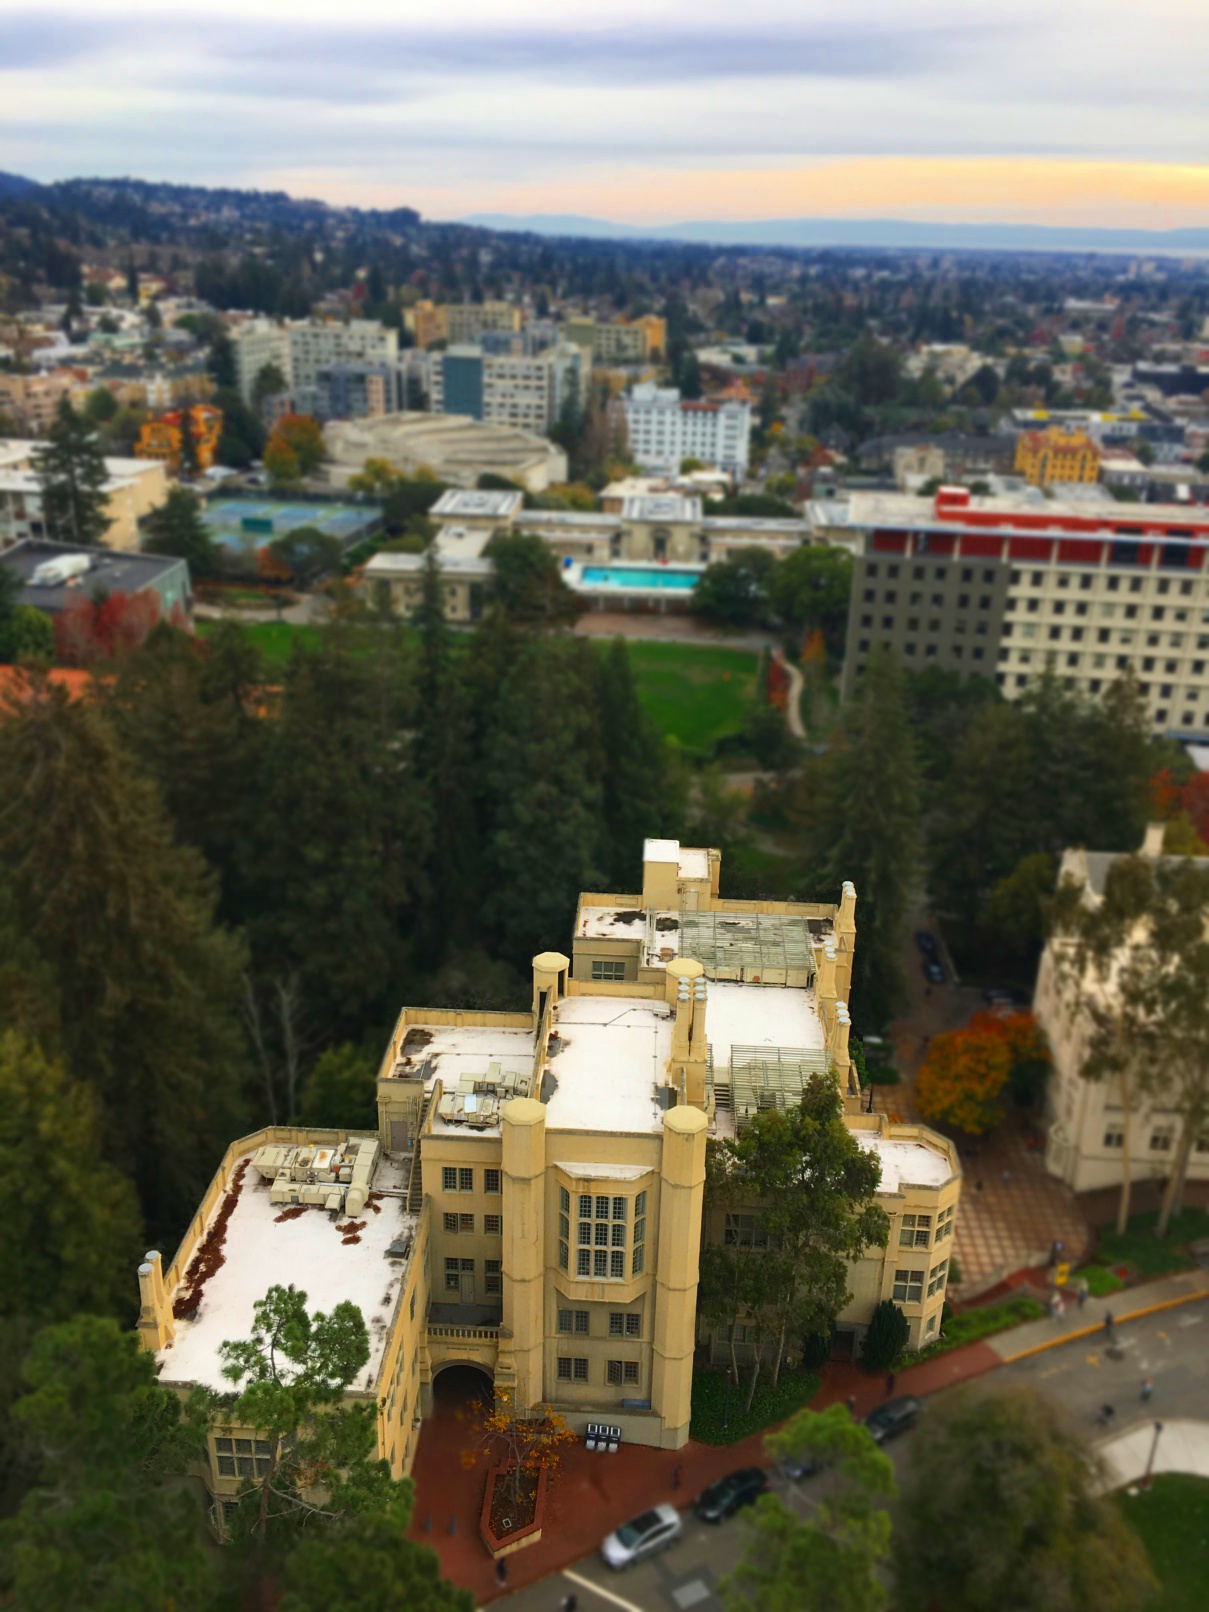
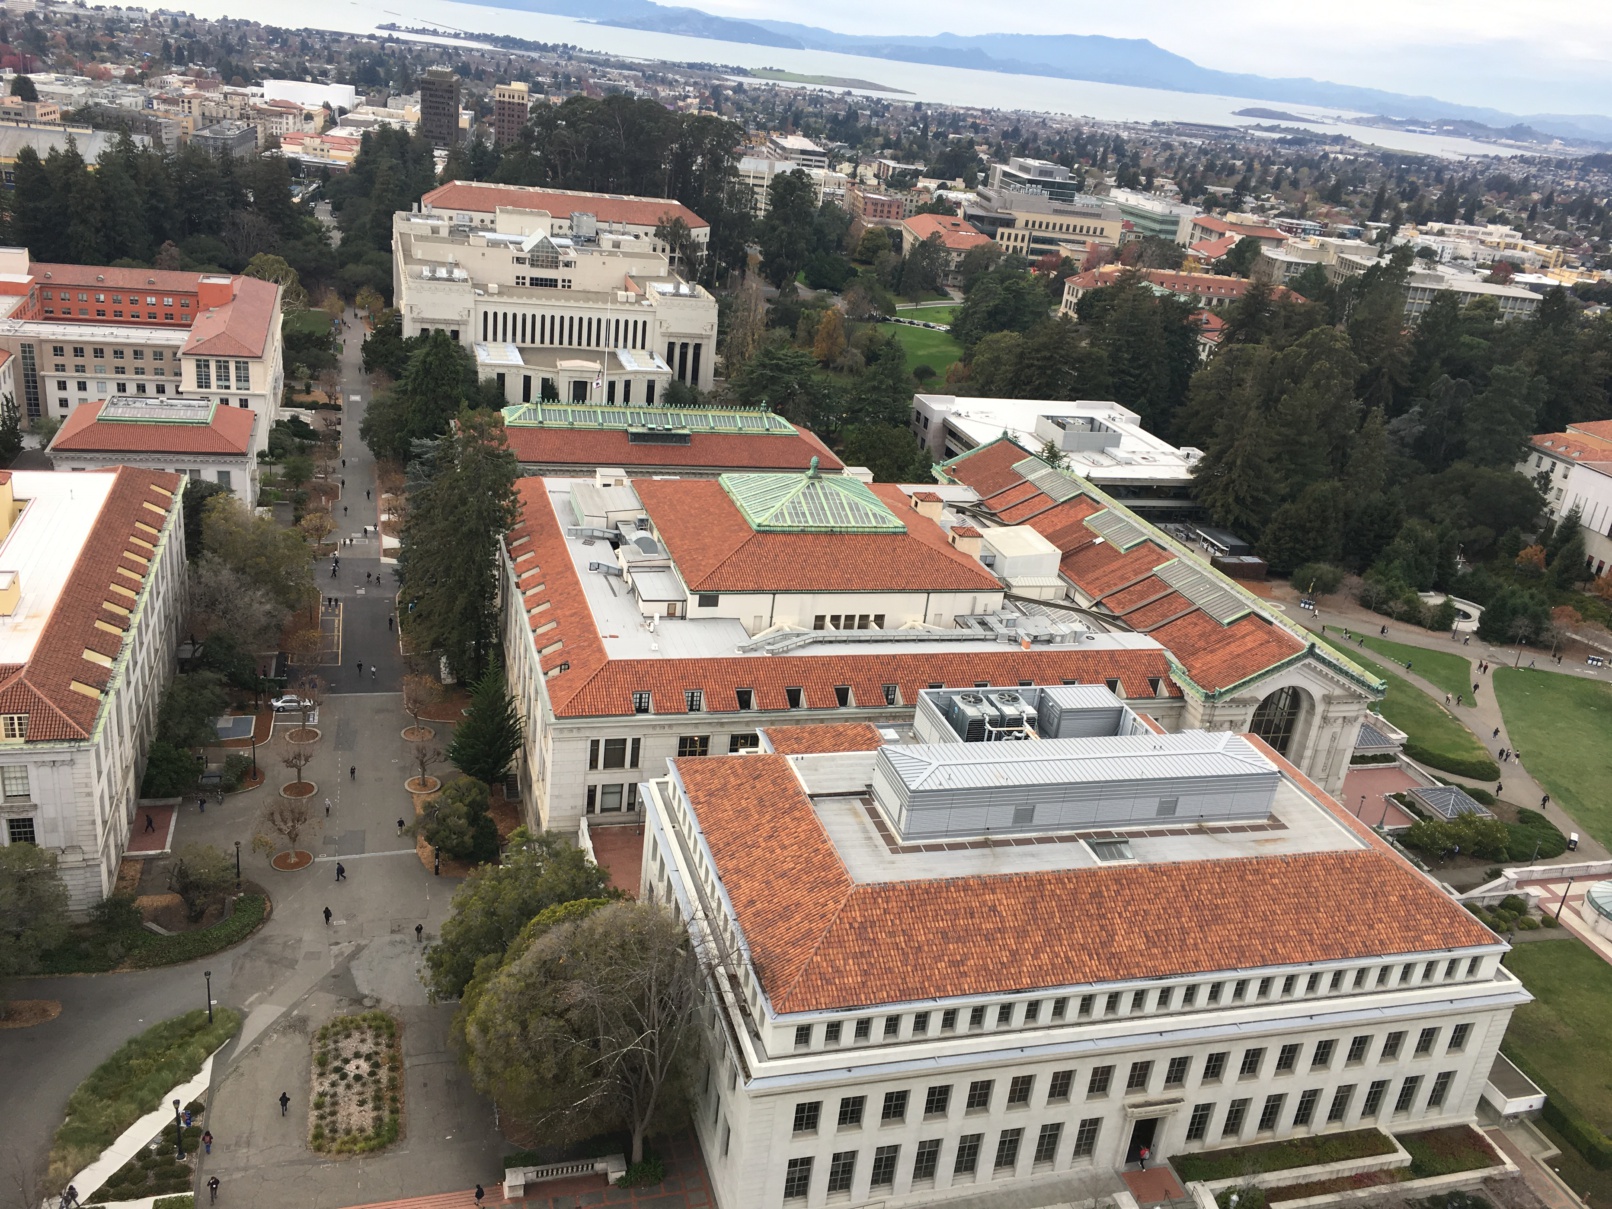
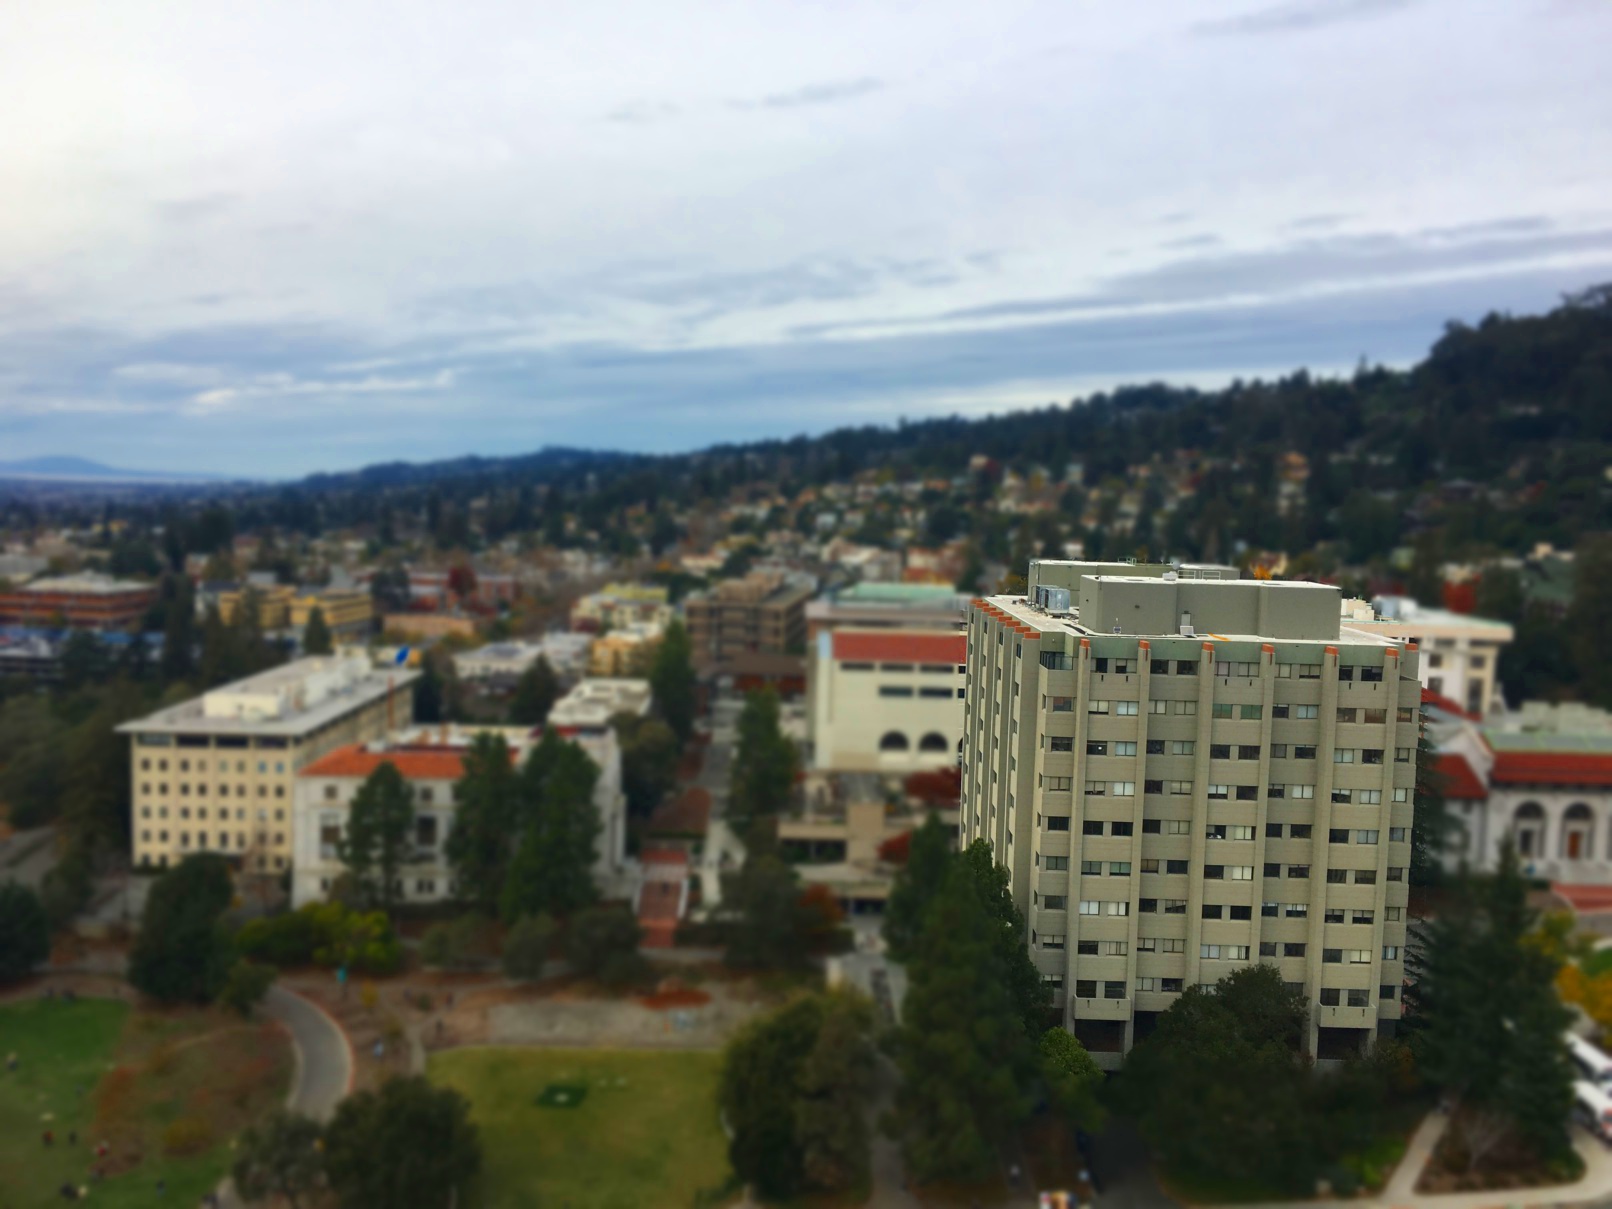
View from the Campanille: Taken by Me
 The Original Image
|
 Used Mask for Image
|
 Miniature with Sigma = 2
|
 Miniature with Sigma = 3
|
 Miniature with Sigma = 4
|
 Miniature with Sigma = 7 (Extreme Example)
|
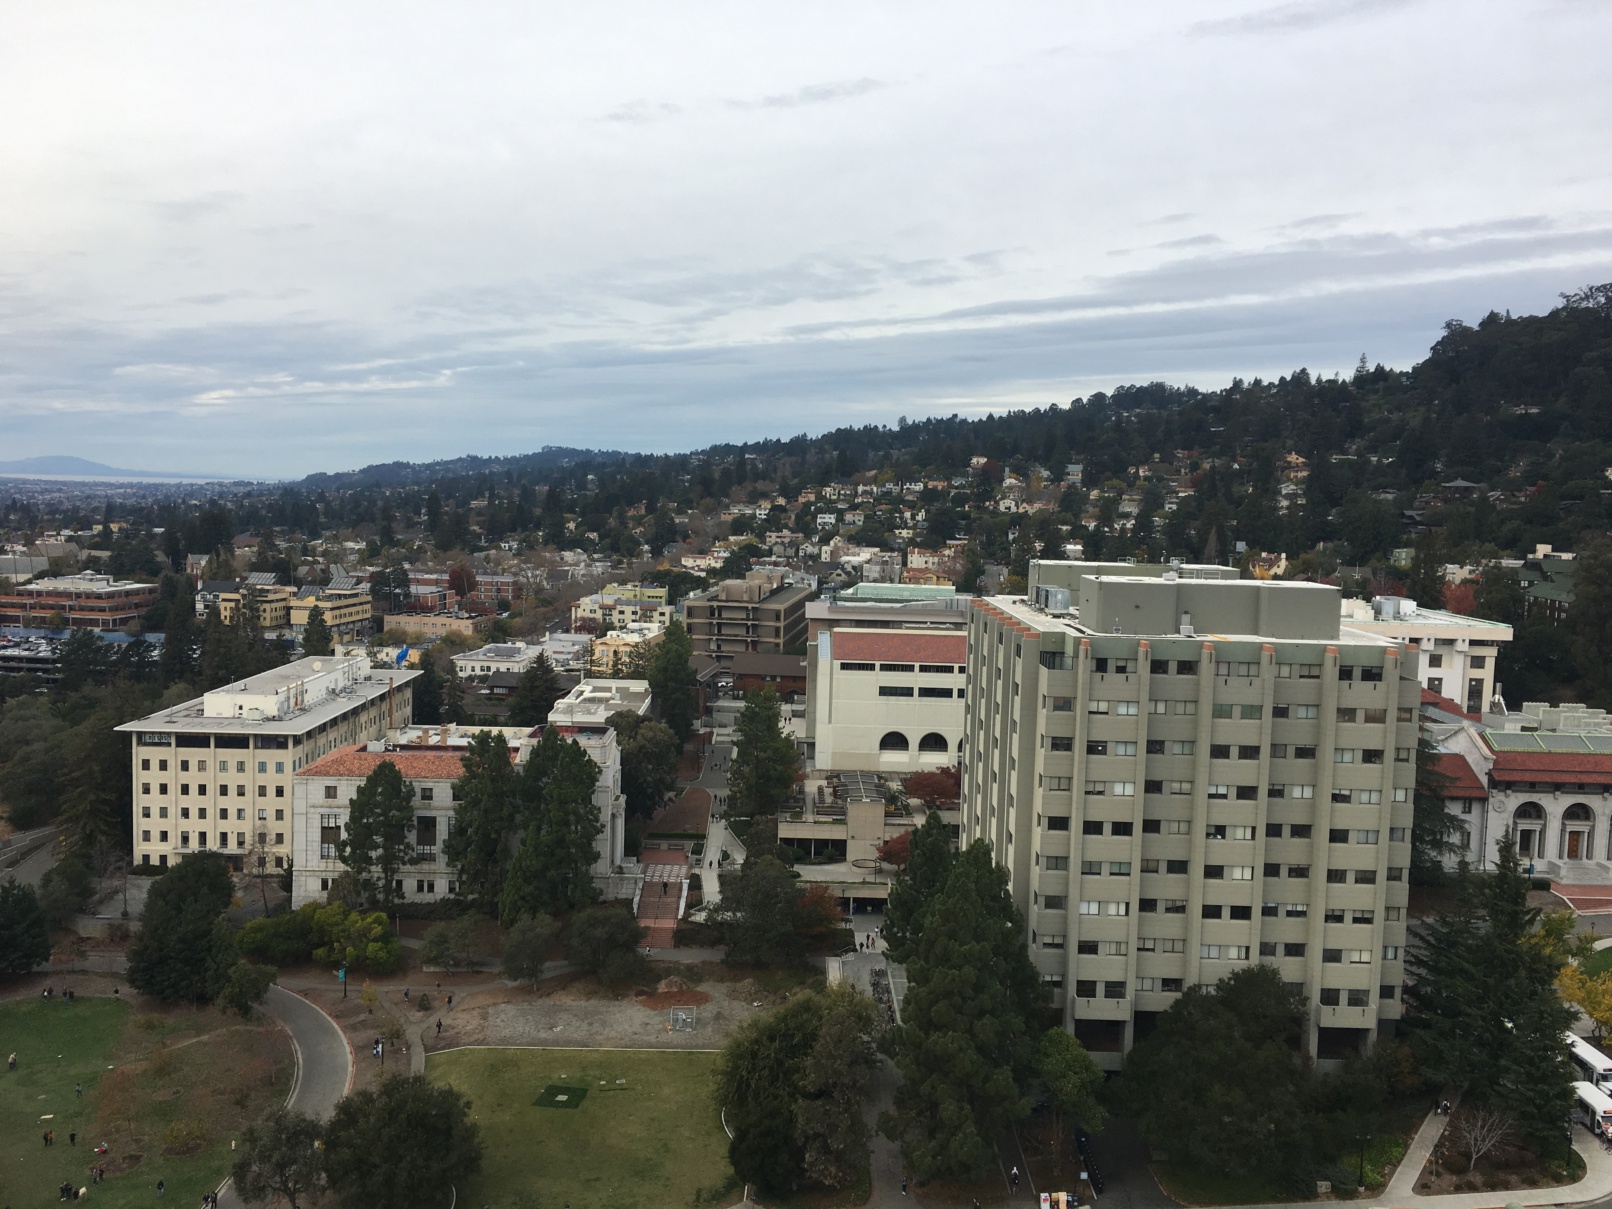
View of Hearst: Also taken by me
 The Original Image
|
 Used Mask for Image
|
 Miniature with Sigma = 2
|
 Miniature with Sigma = 3
|
 Miniature with Sigma = 4
|
 Miniature with Sigma = 7 (Extreme Example)
|
View of Evans: Also taken by me
 The Original Image
|
 Used Mask for Image
|
 Miniature with Sigma = 2
|
 Miniature with Sigma = 3
|
 Miniature with Sigma = 4
|
 Miniature with Sigma = 7 (Extreme Example)
|
Summary
Overall, I learned a lot from this project. It was interesting to see
how difficult it was to find a difference in the removal of certain seams
thanks to the DP algorithm. The fake miniature algorithm also explained
a lot about how we percieve depth and focus on large scenes.