Alex Jiang
CS 194-26: Final Project
Focus on Miniatures | The Vertigo Shot
Sub-Project 1: Focus on Miniatures
Overview
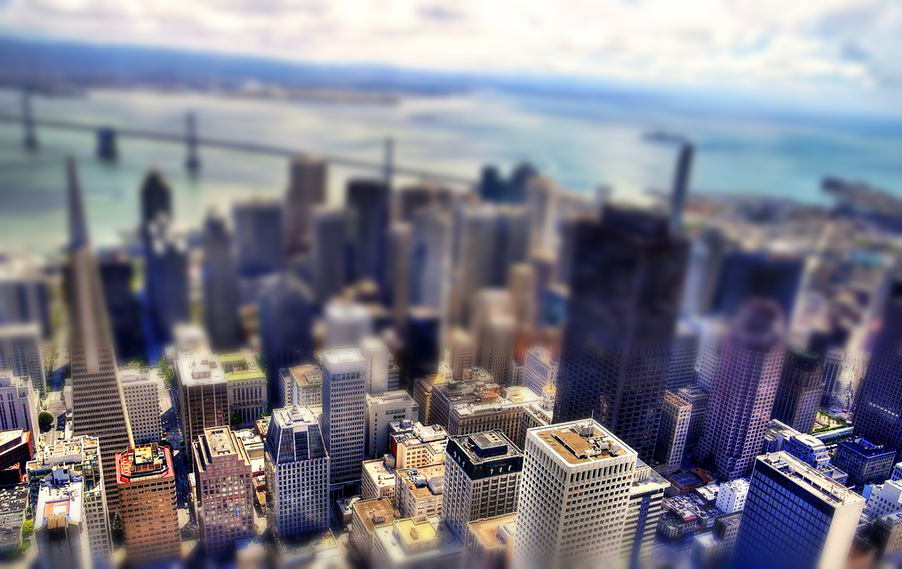
In this project, we manipulate images in order to simulate a depth of field effect. Often called Tilt Shift Fakes, this visual phenomenon, as the name suggests, aims to simulate the tilt shift effect, which is used in practice to transition between miniature and normal views (particularly for fields like landscaping and panoramics). This also conveys a feeling of the in-focus object being smaller, hence another alias, “Fake Miniatures.” This is because, due to artificial blurring, the viewer perceives the in-focus objects as being significant closer than the blurred ones; as such, the mind assumes that the focused range must be much smaller than it is for the scale to make sense. Here, we implement an algorithm that can achieve this effect in an image in post, rather than at the time of taking the photo.
Algorithm
There are three primary steps for any algorithm to achieve the fake miniature effect, as follows:
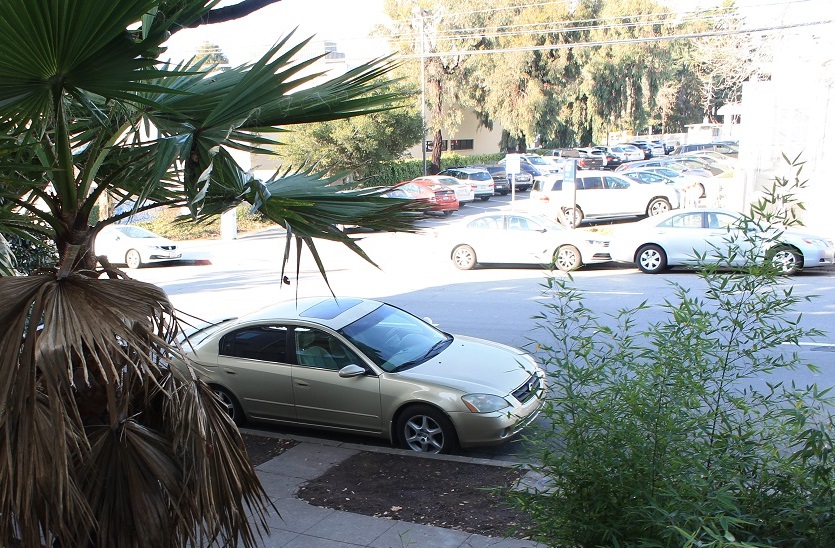
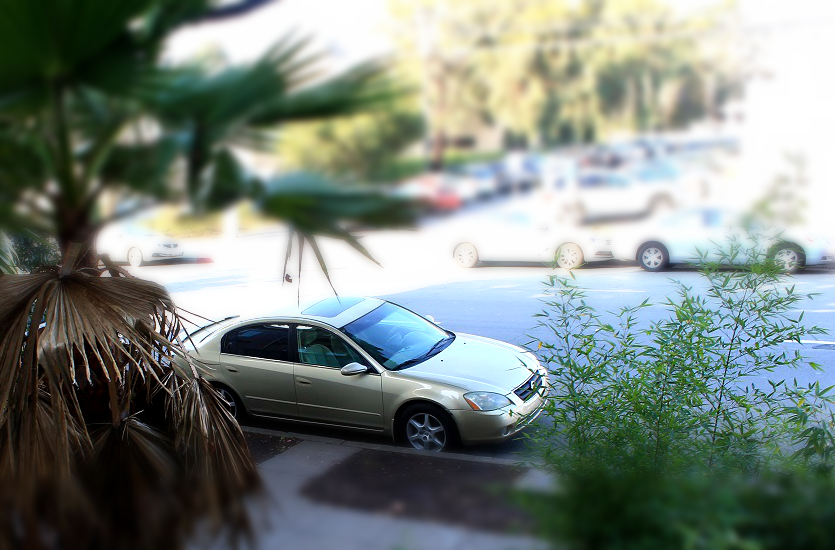
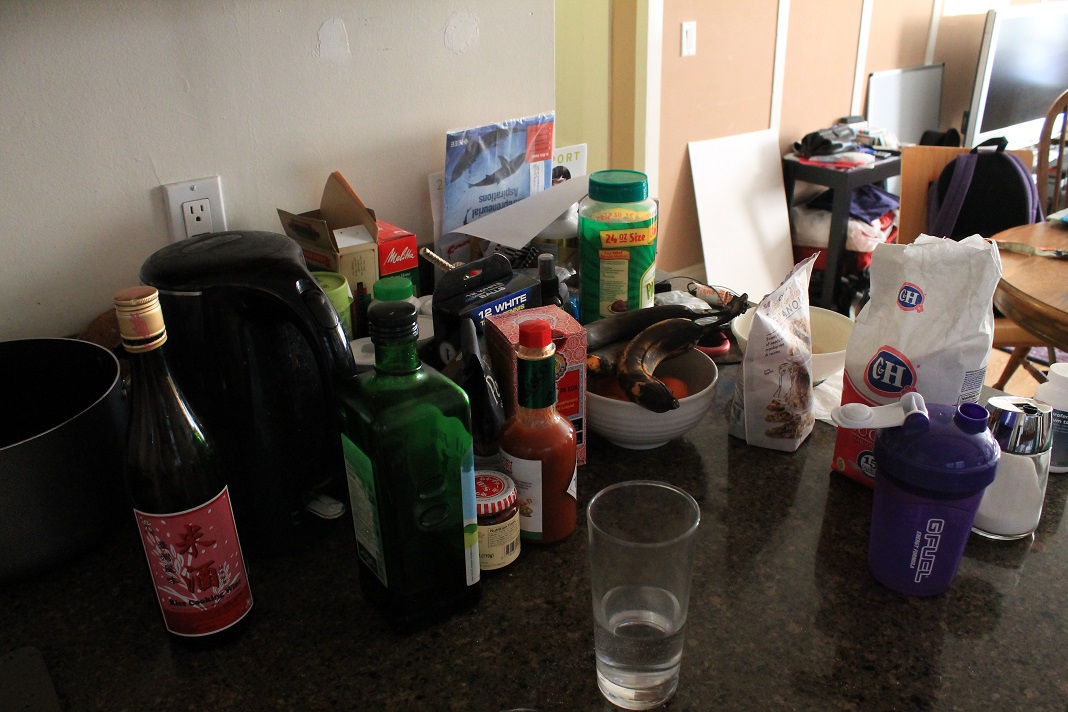
In my algorithm, I begin by first multiplying the contrast and color magnitudes by 1.2 each; this creates a surreal sort of feeling, which in my experience helped the brain assume that the scales were different (since, for example, tiny cars on the street don’t make inherent realistic sense). This also helps the blur feel more natural. After the user manually selects a point for the focus line to build off of, we generate a mask accordingly. We blend the outside areas using a basic Gaussian mask, scaling from very blurred at the edges to completely clear in the focus area; then, we are done. The results of my algorithm on the provided example, as well as others, are given below:
Originals | Tilt-Shift Fakes | |
Provided Example Image (Result is still mine) | ||
San Francisco (Taken by TIA International Photography) | ||
Durant Avenue (Taken by me) | ||
Kitchen Counter (Taken by me) | ||
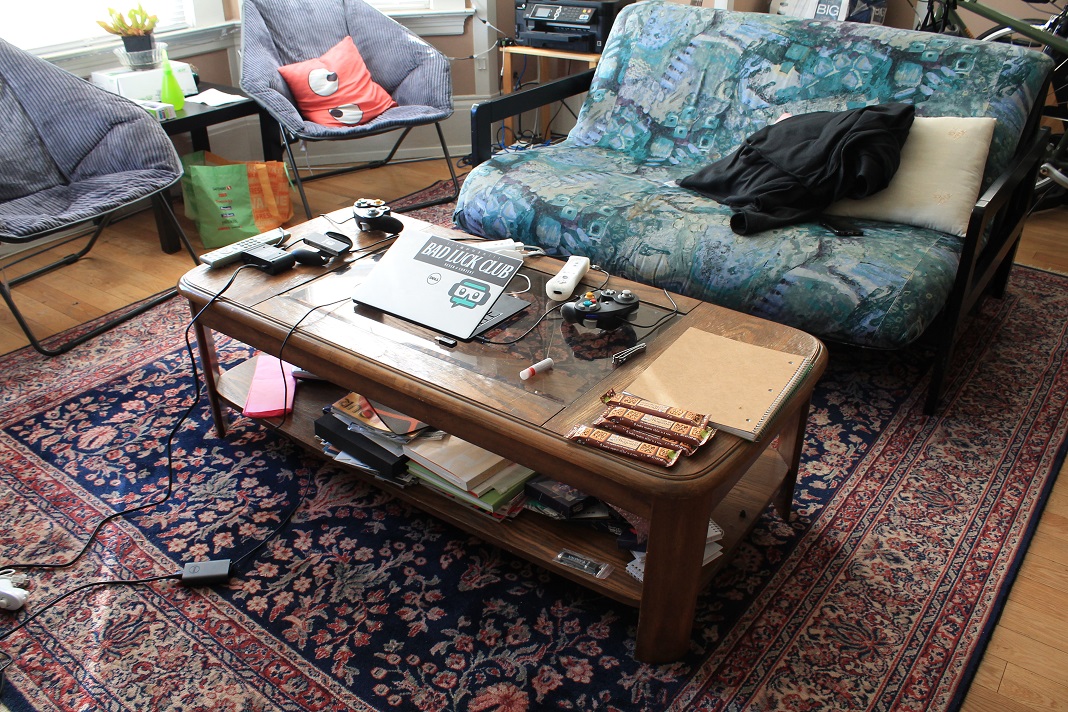
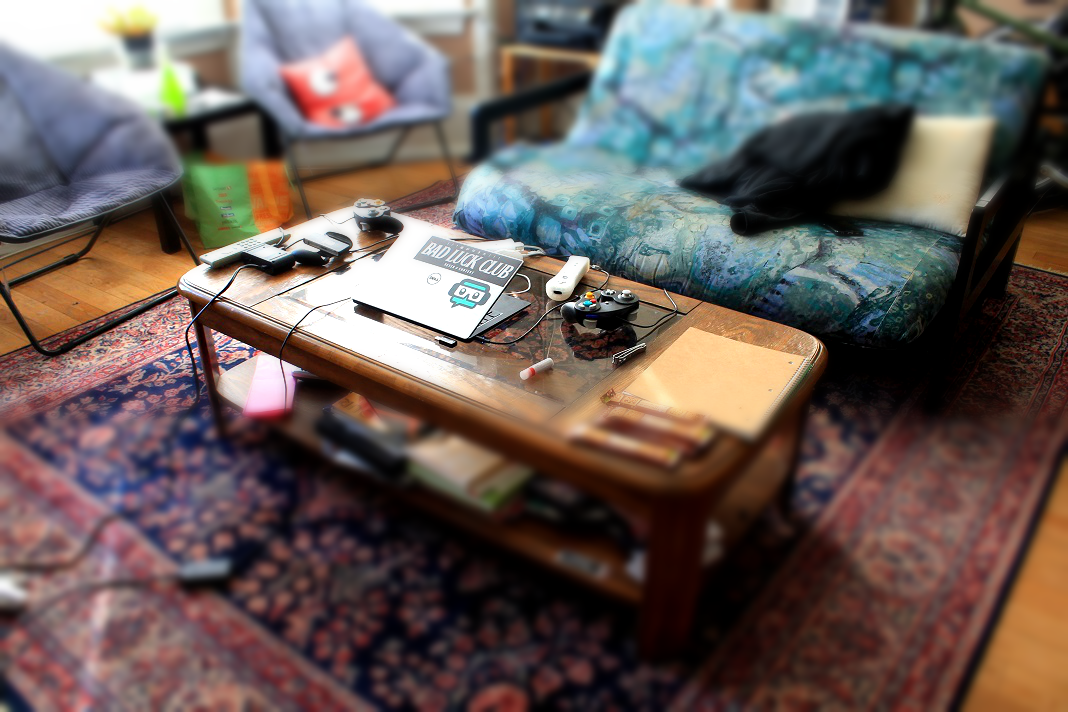
Living Room (Taken by me) | ||
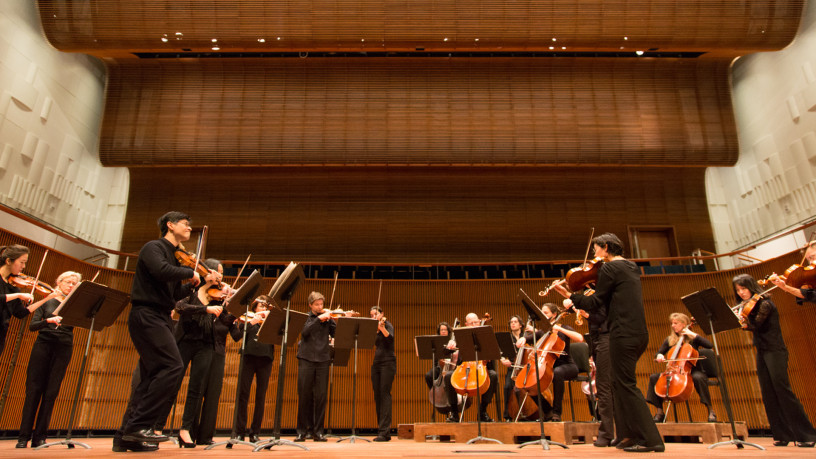
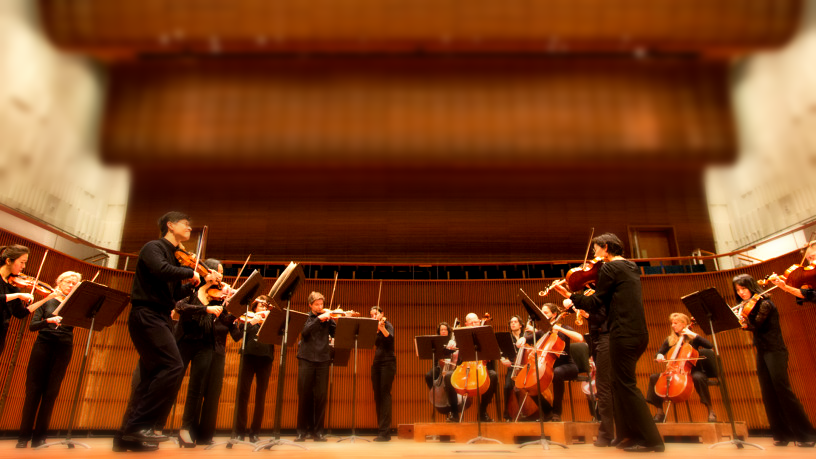
St. Paul Ordway Concert Hall (Taken by the St. Paul Chamber Orchestra) |
Reflection
The concept behind this project was very intriguing to me, since I never knew about this visual effect and even first looking at the examples was really cool. Seeing how relatively simple blur could make a vast city look like a tiny model town was mind-boggling, and implementing it was fun as well. Some images did turn out better than others, mostly due to how objects were distributed and especially the viewing angle. The concert hall image, for example, still achieves the intended effect to some degree, but it feels less pronounced because of the awkward perspective. Still, I feel that my results turned out well as a whole, and I had a lot of fun!
Sub-Project 2: The Vertigo Shot
Overview
In this project, we “manipulate” images in the most direct way possible: by taking them! Rather than working with after-the-fact algorithms to achieve our effects, we were tasked with taking them in a particular fashion to do so. As someone who finds himself coding far more than taking photographs, this was an interesting challenge for me from that aspect alone. Here, we implement the dolly zoom, also known as the Vertigo Shot, due to its famous use in the movie Vertigo. To create this effect, the photographer moves towards or away from the subject while adjusting the field of view (via a zoom lens) in the opposite direction, in order to keep the subject’s size steady. For example, if one was moving away from the subject, the zoom would be made to increase. This creates a very interesting visual phenomenon in which the subject remains mostly static, while its surroundings change dramatically. This messes with the mind a little bit to create an almost intimidating effect, albeit considered slightly overdramatic for modern cinematography. Regardless, the effect itself is popular and unique, so I gave it a shot! The camera used was a Canon EOS Rebel T3 Digital SLR, with an EFS 18-55mm zoom lens. The results in image form are shown below, with the animated versions in the subsequent section.
Still Images
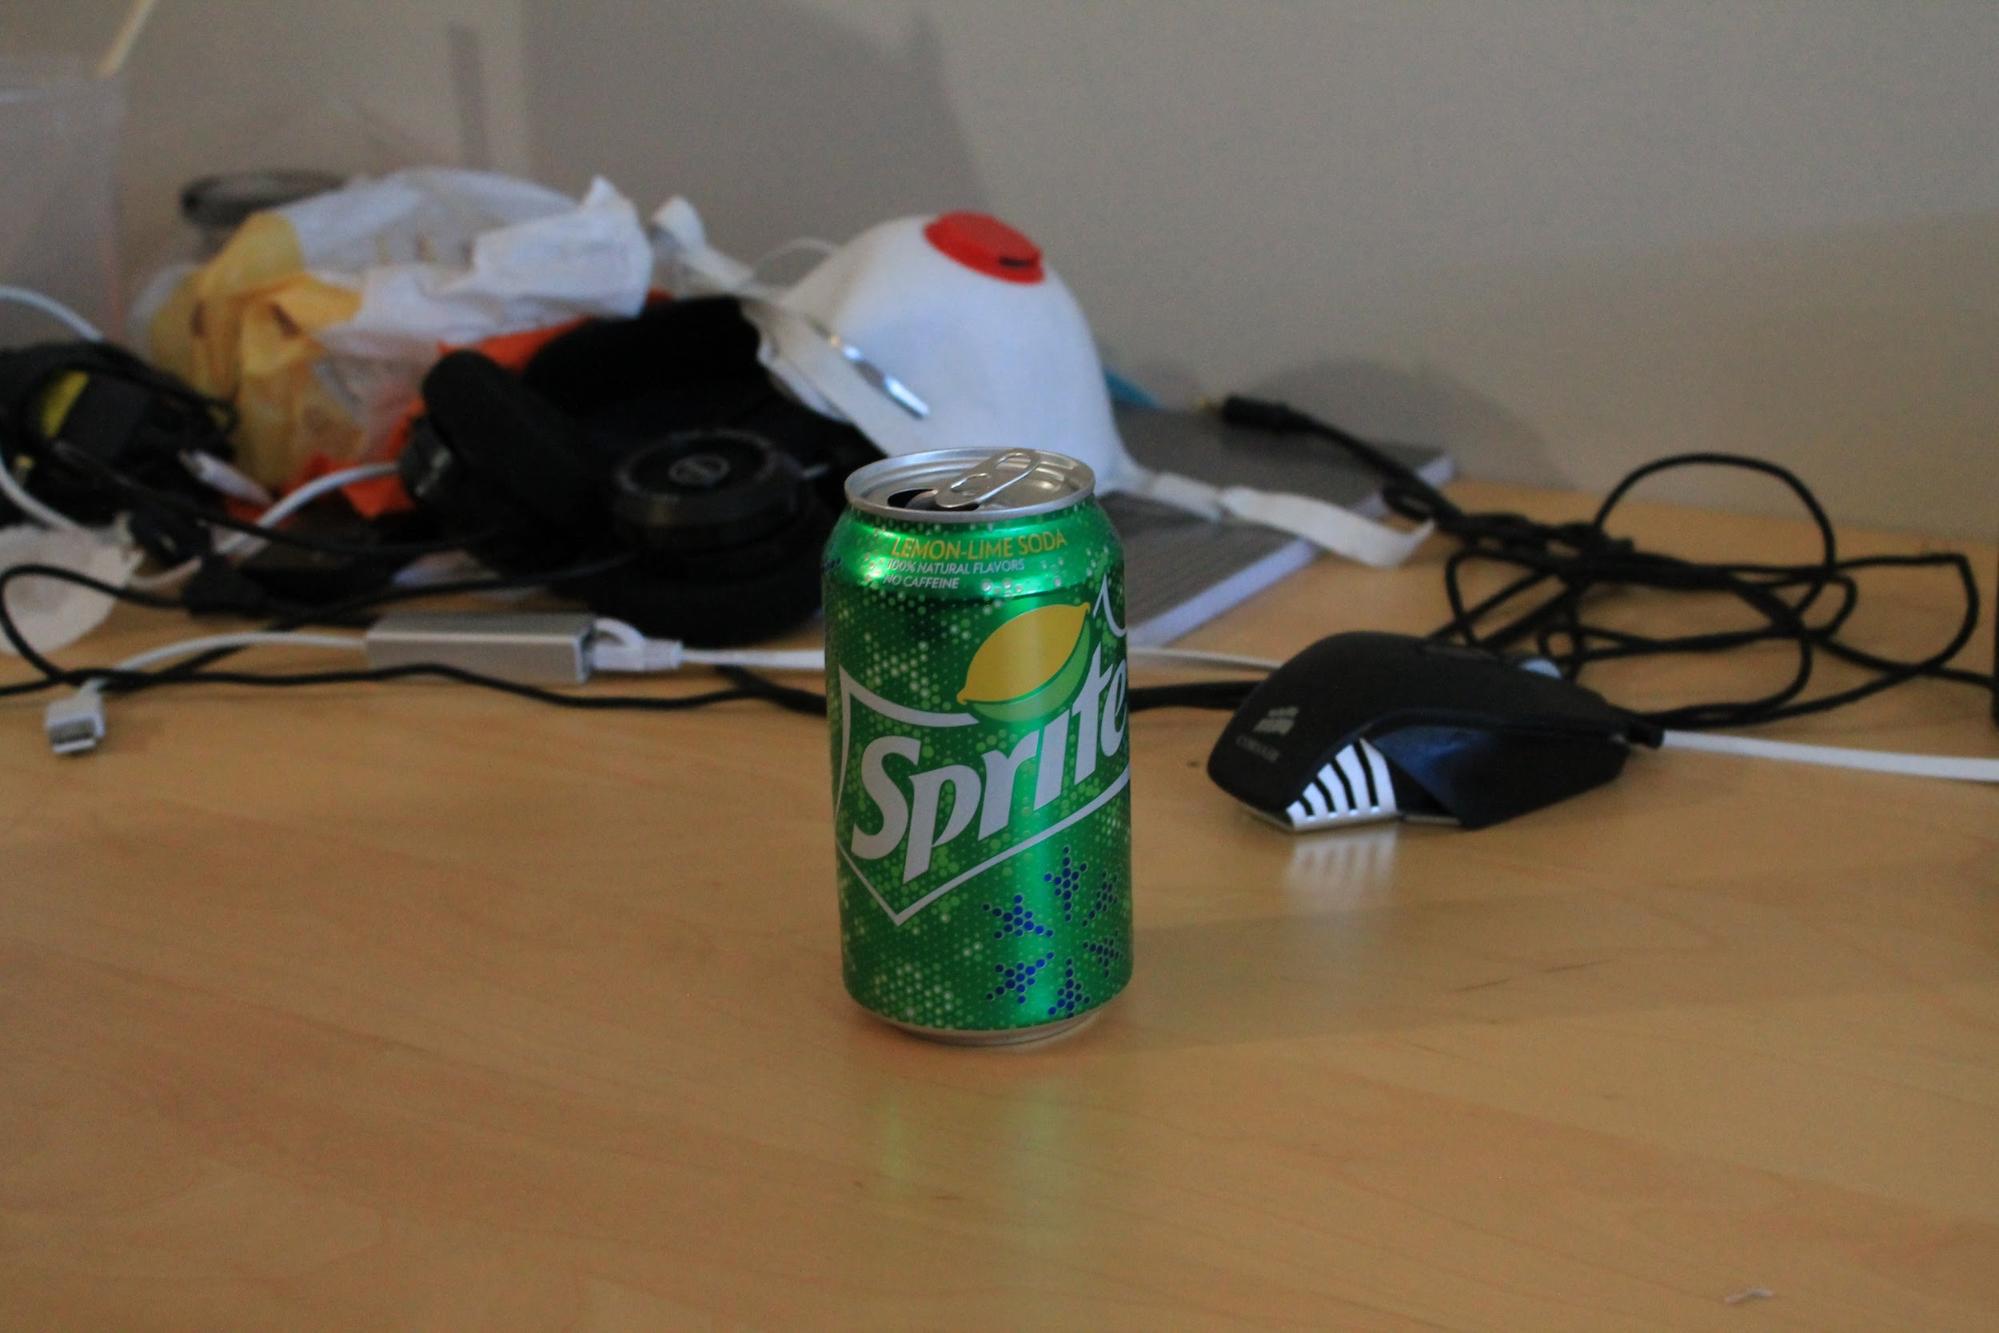
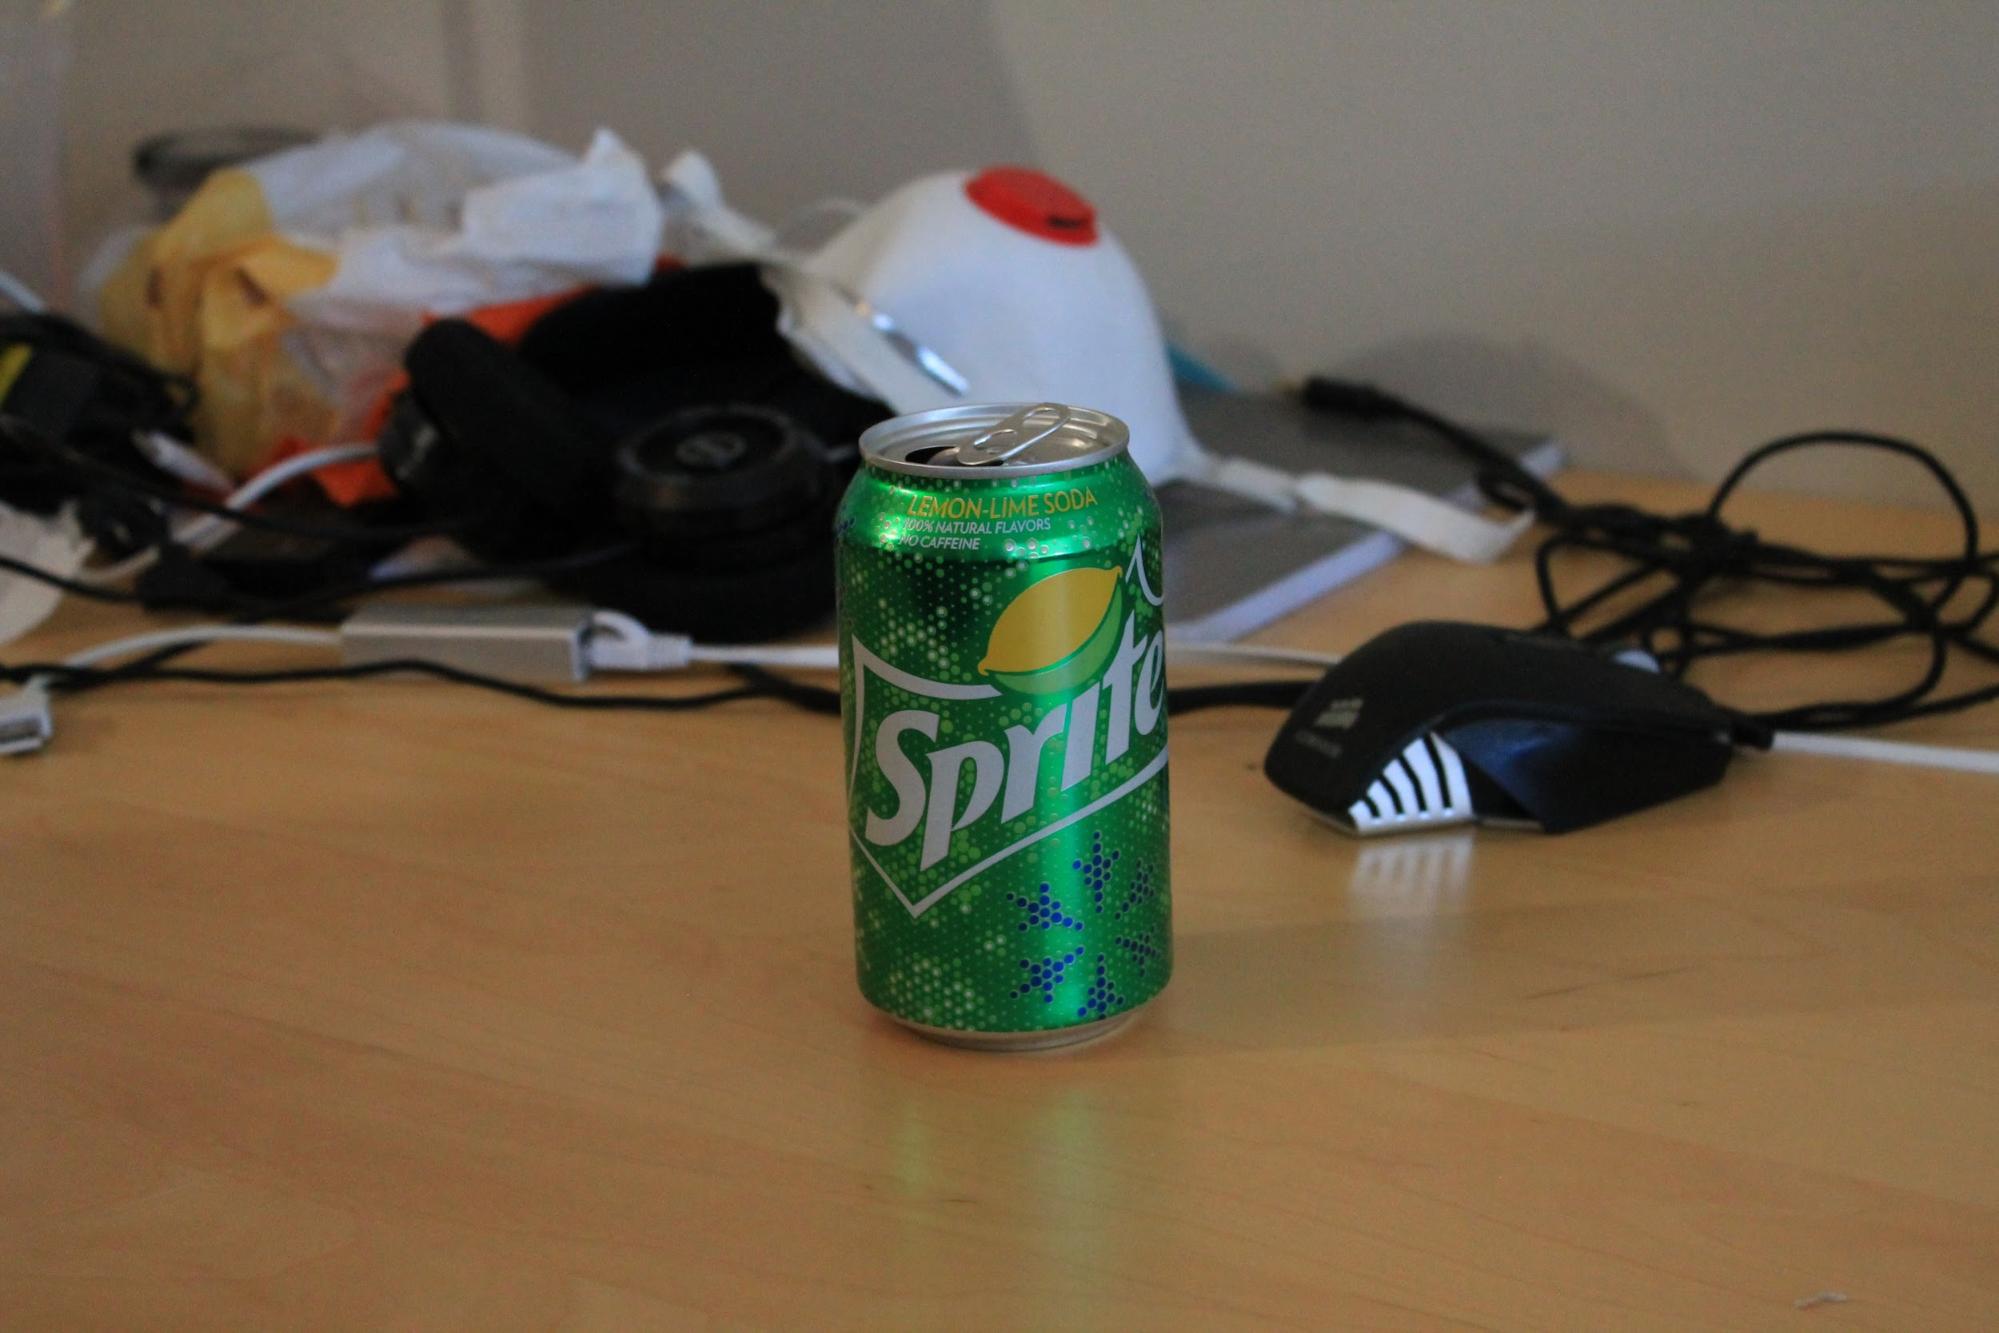
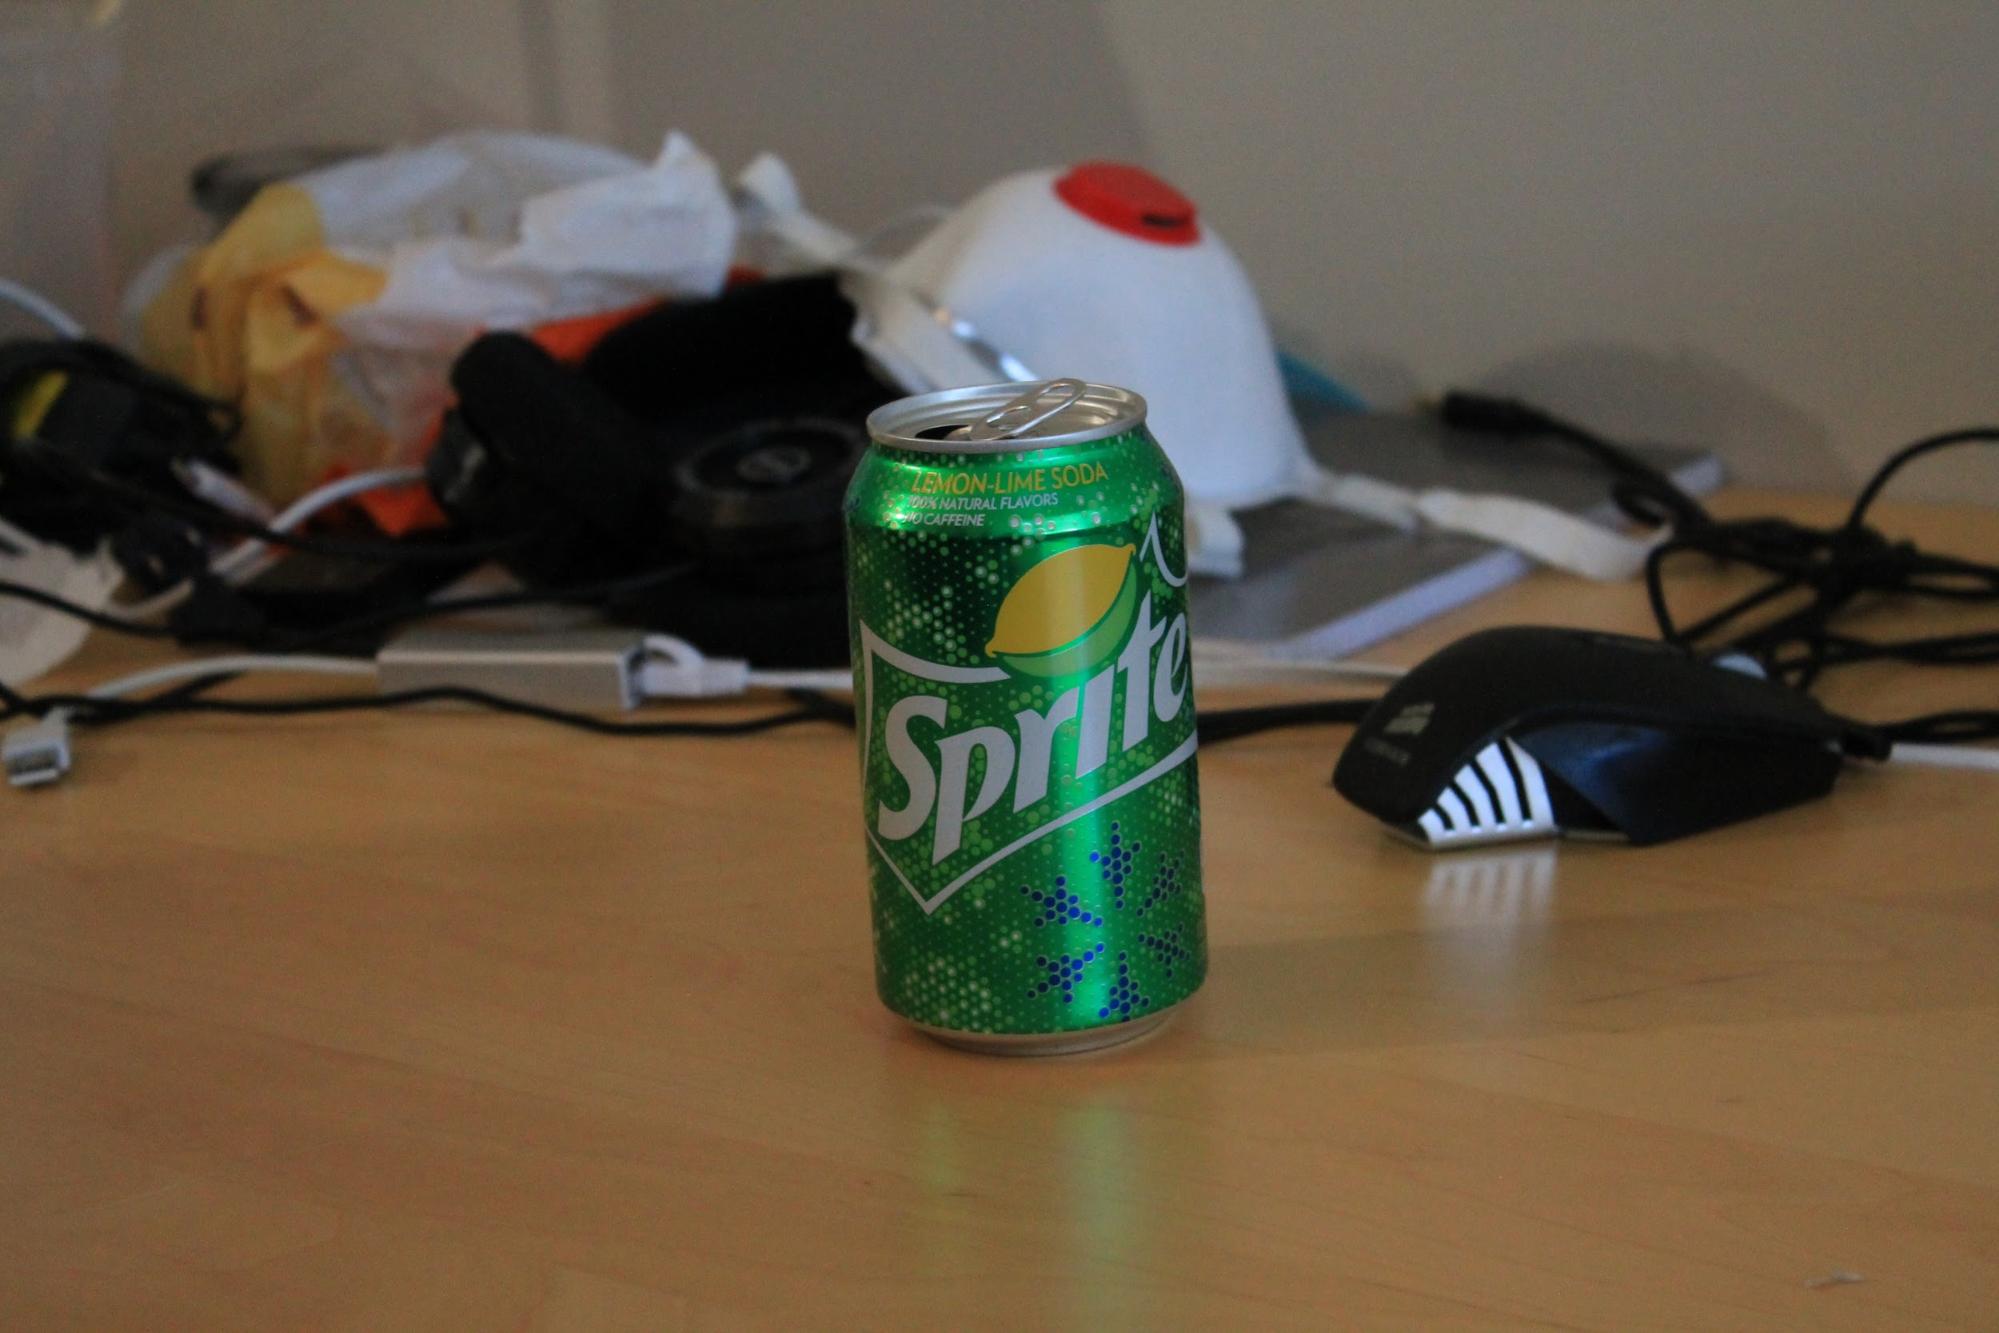
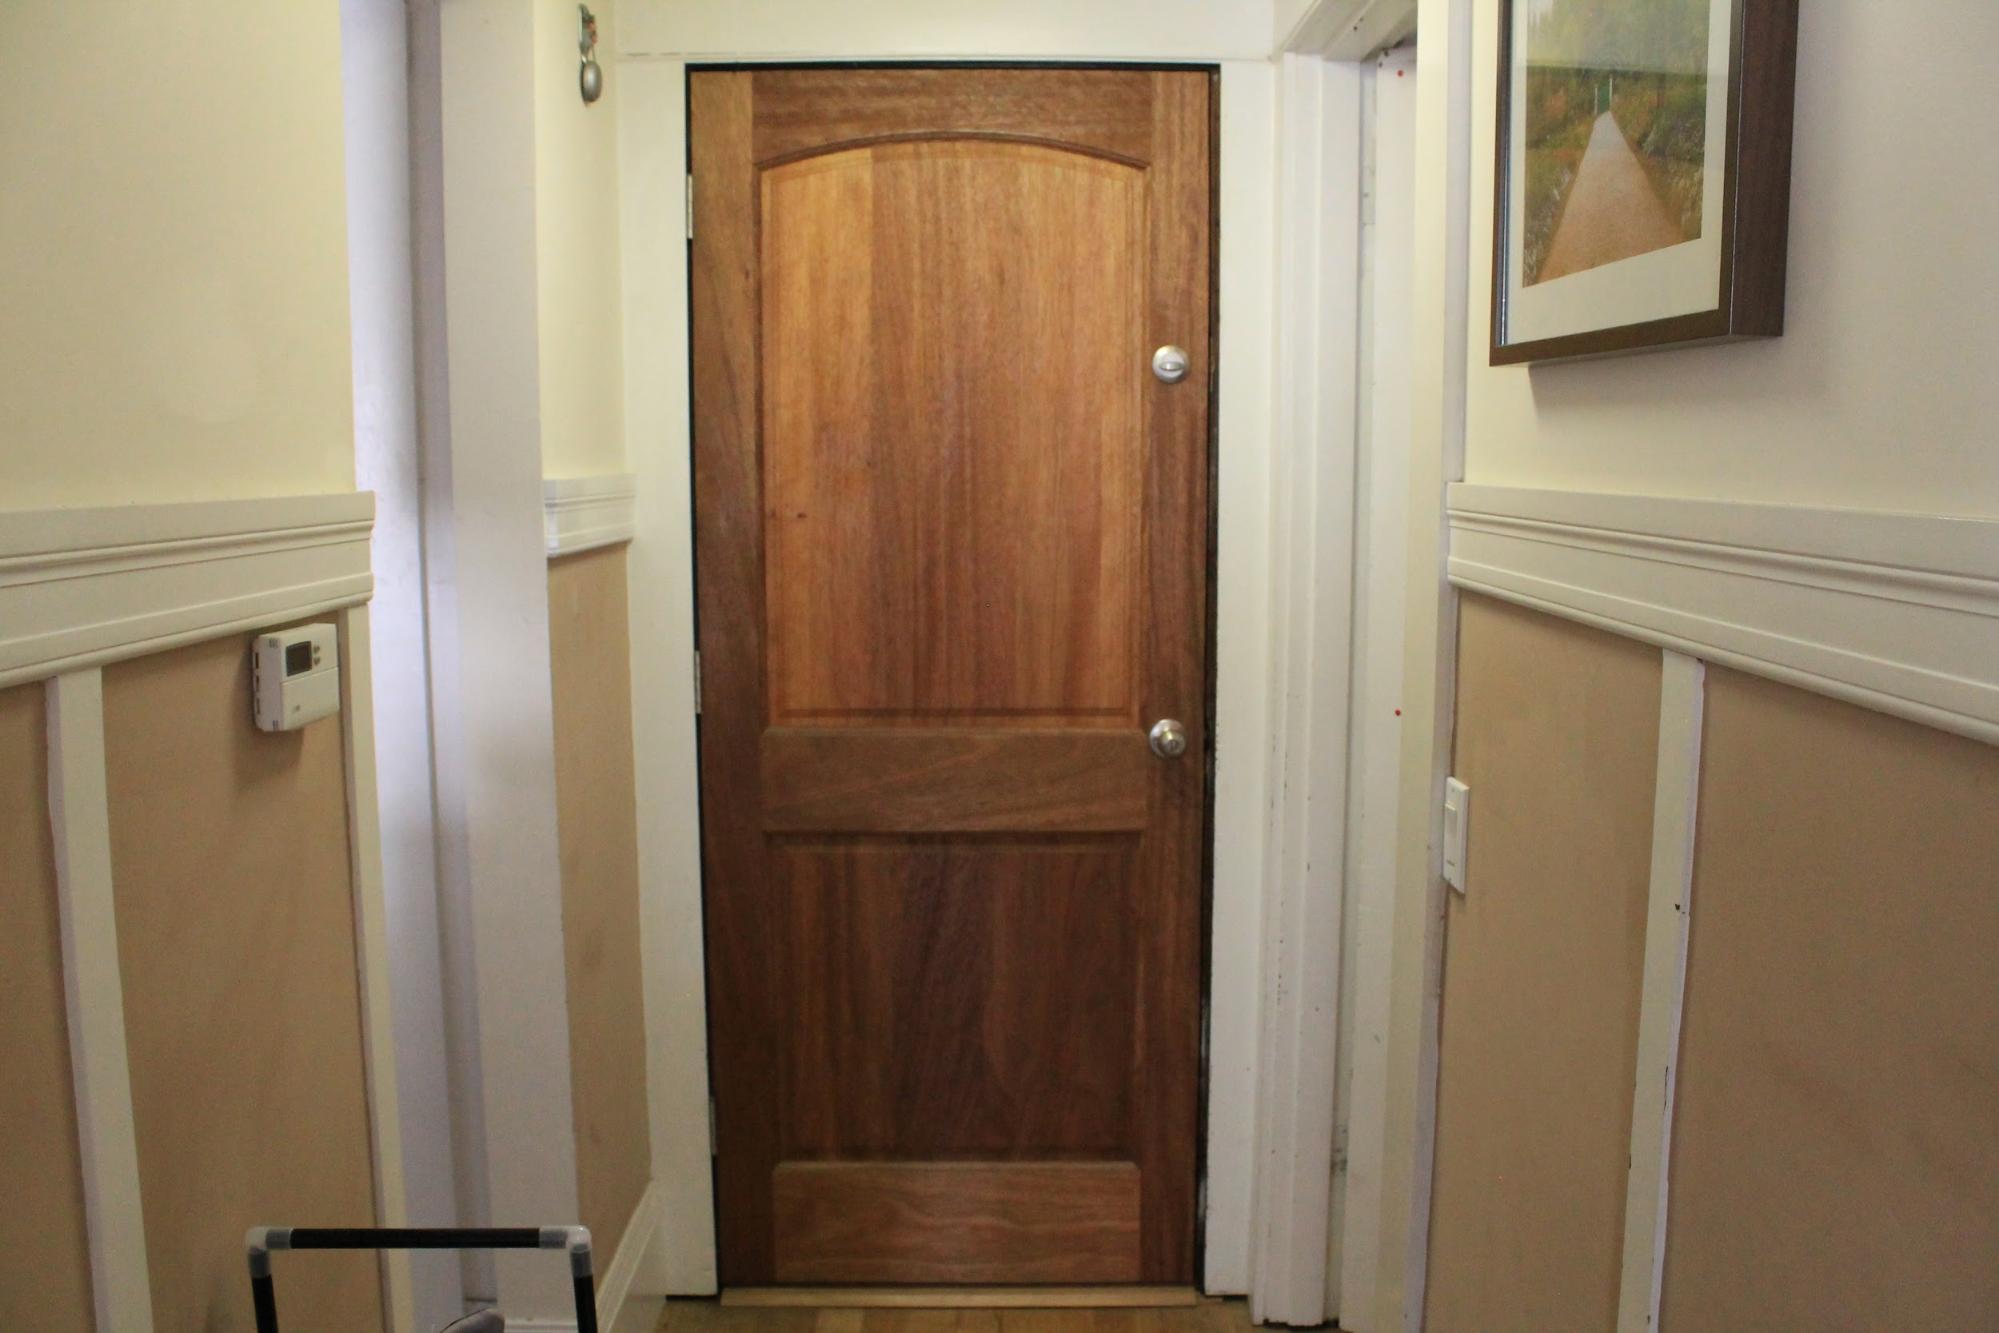
Here are all the still images I collected, using a variety of different styles, ranging from change of perspective to pure distance, or both. Some examples use a long set of images, while others use very few, in order to judge the difference in perception of the effect (see the animated portion for a better understanding of that). Additionally, I tested the concept of over-exaggerating the vertigo shot effect in the opposite direction, in which the shift becomes even more jarring as the subject differs in size. Although this is technically defying the original form of the dolly zoom, it does create an interesting sensation that I figured was worth including. Again, see the animated portion to see how that manifests. All photos were taken by me.
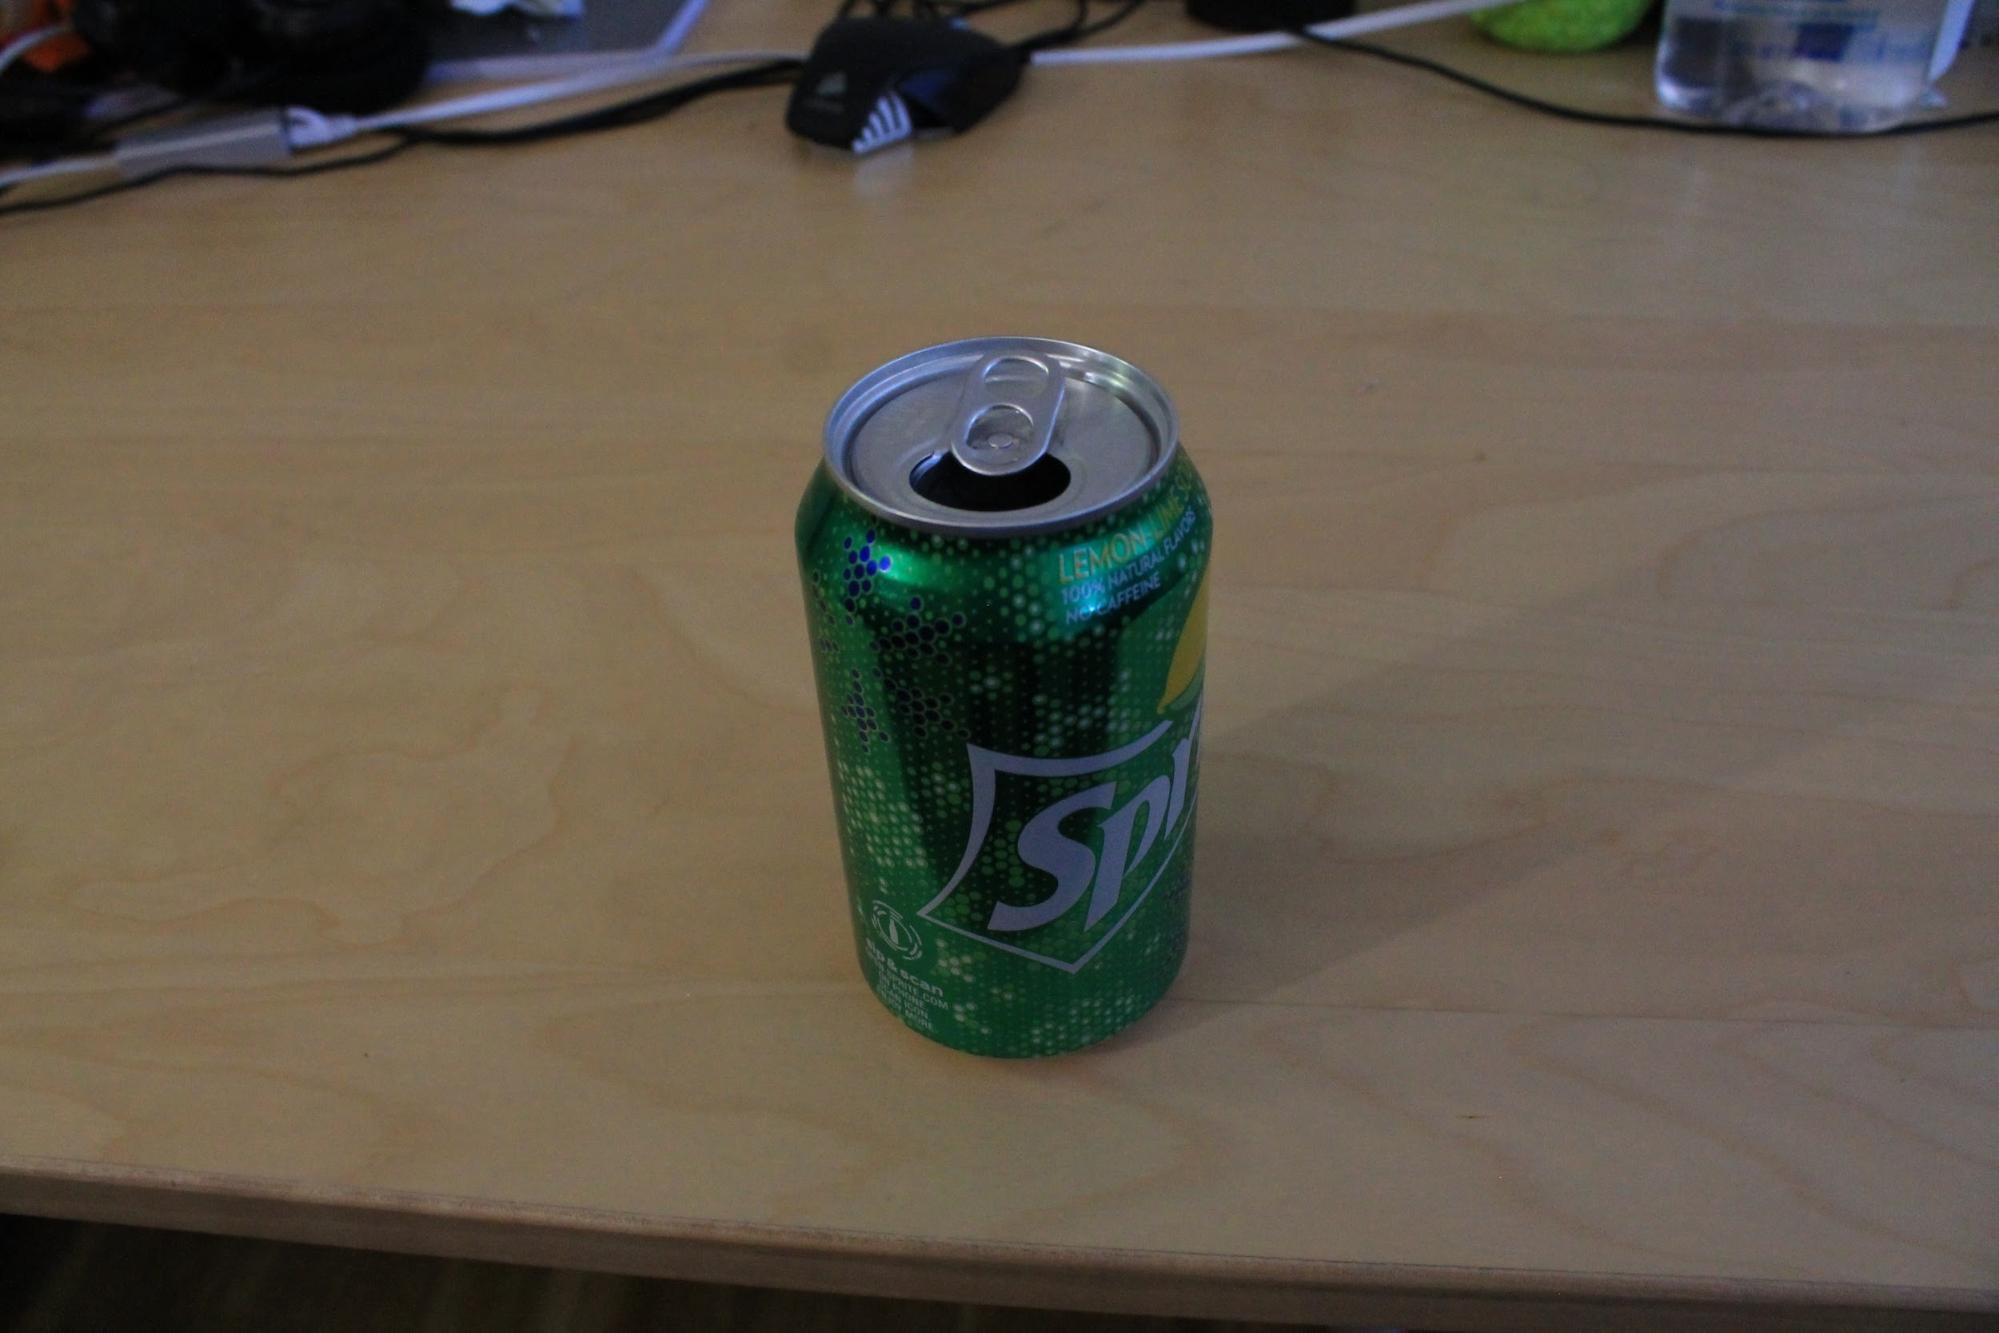
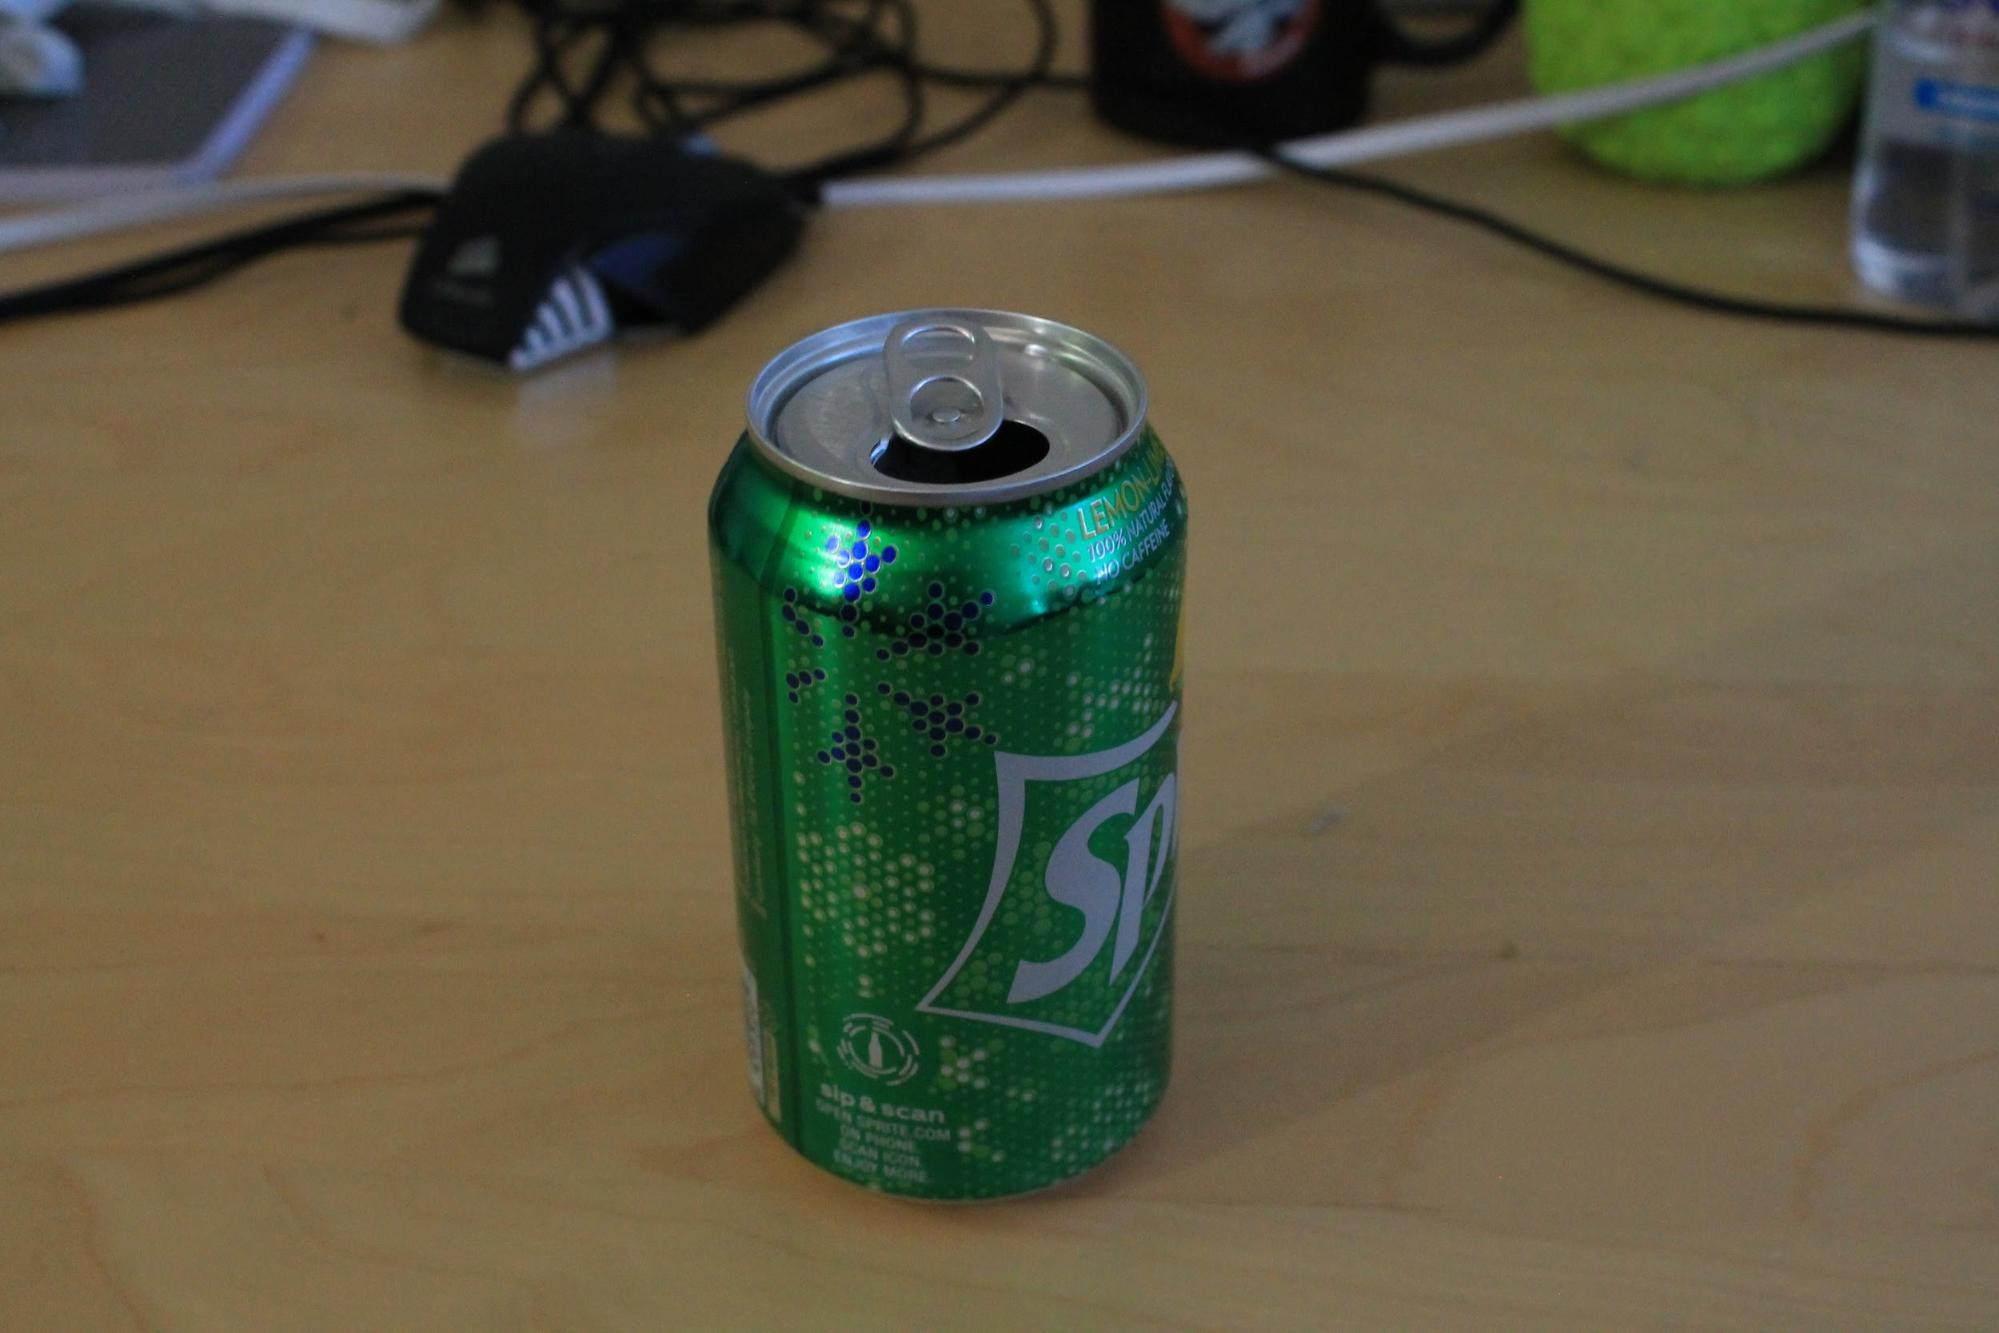
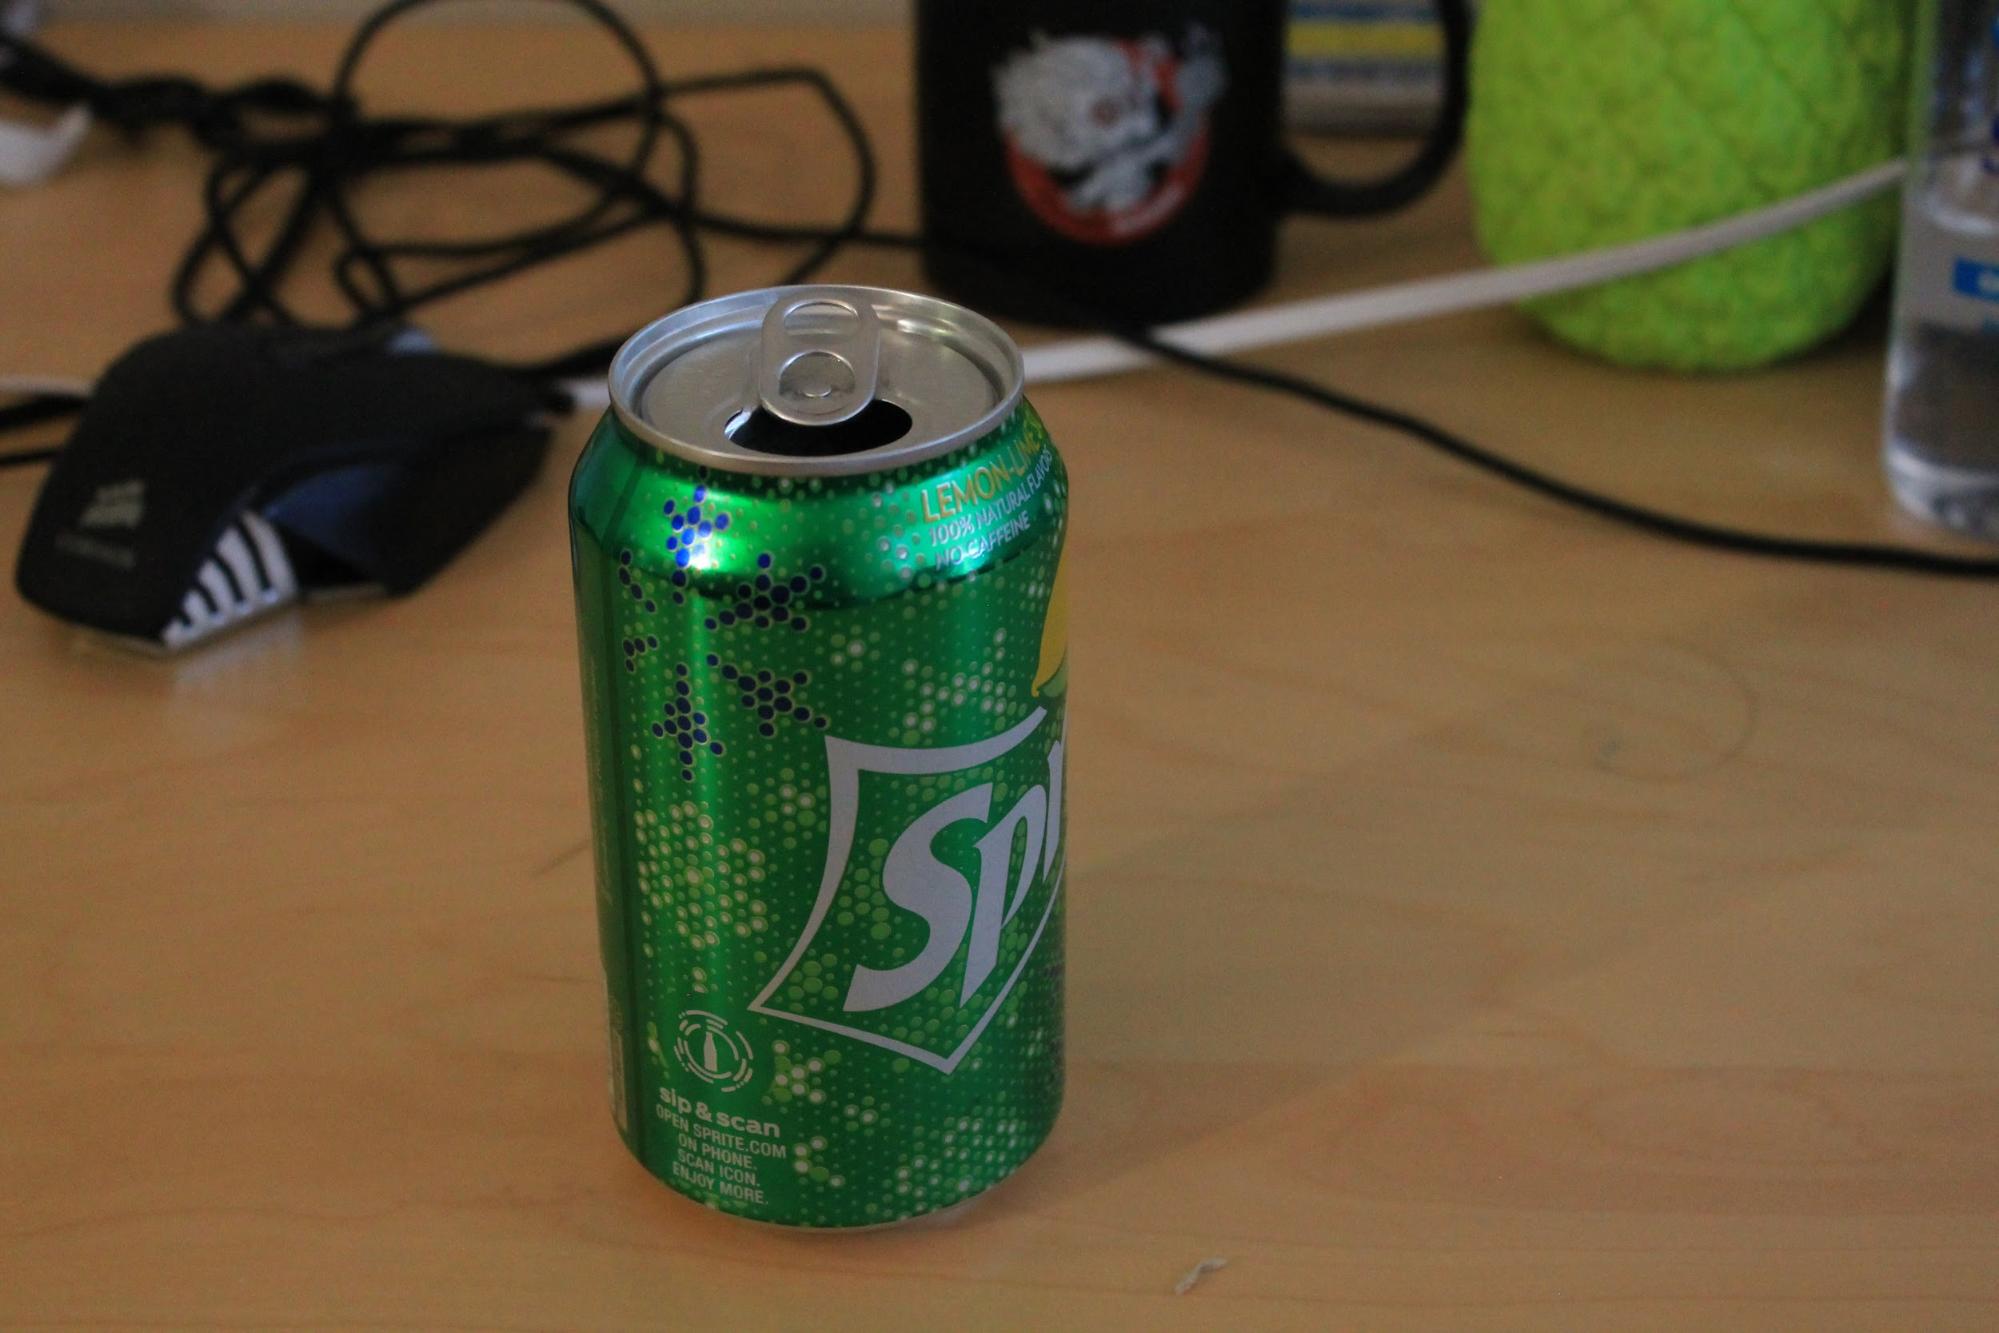
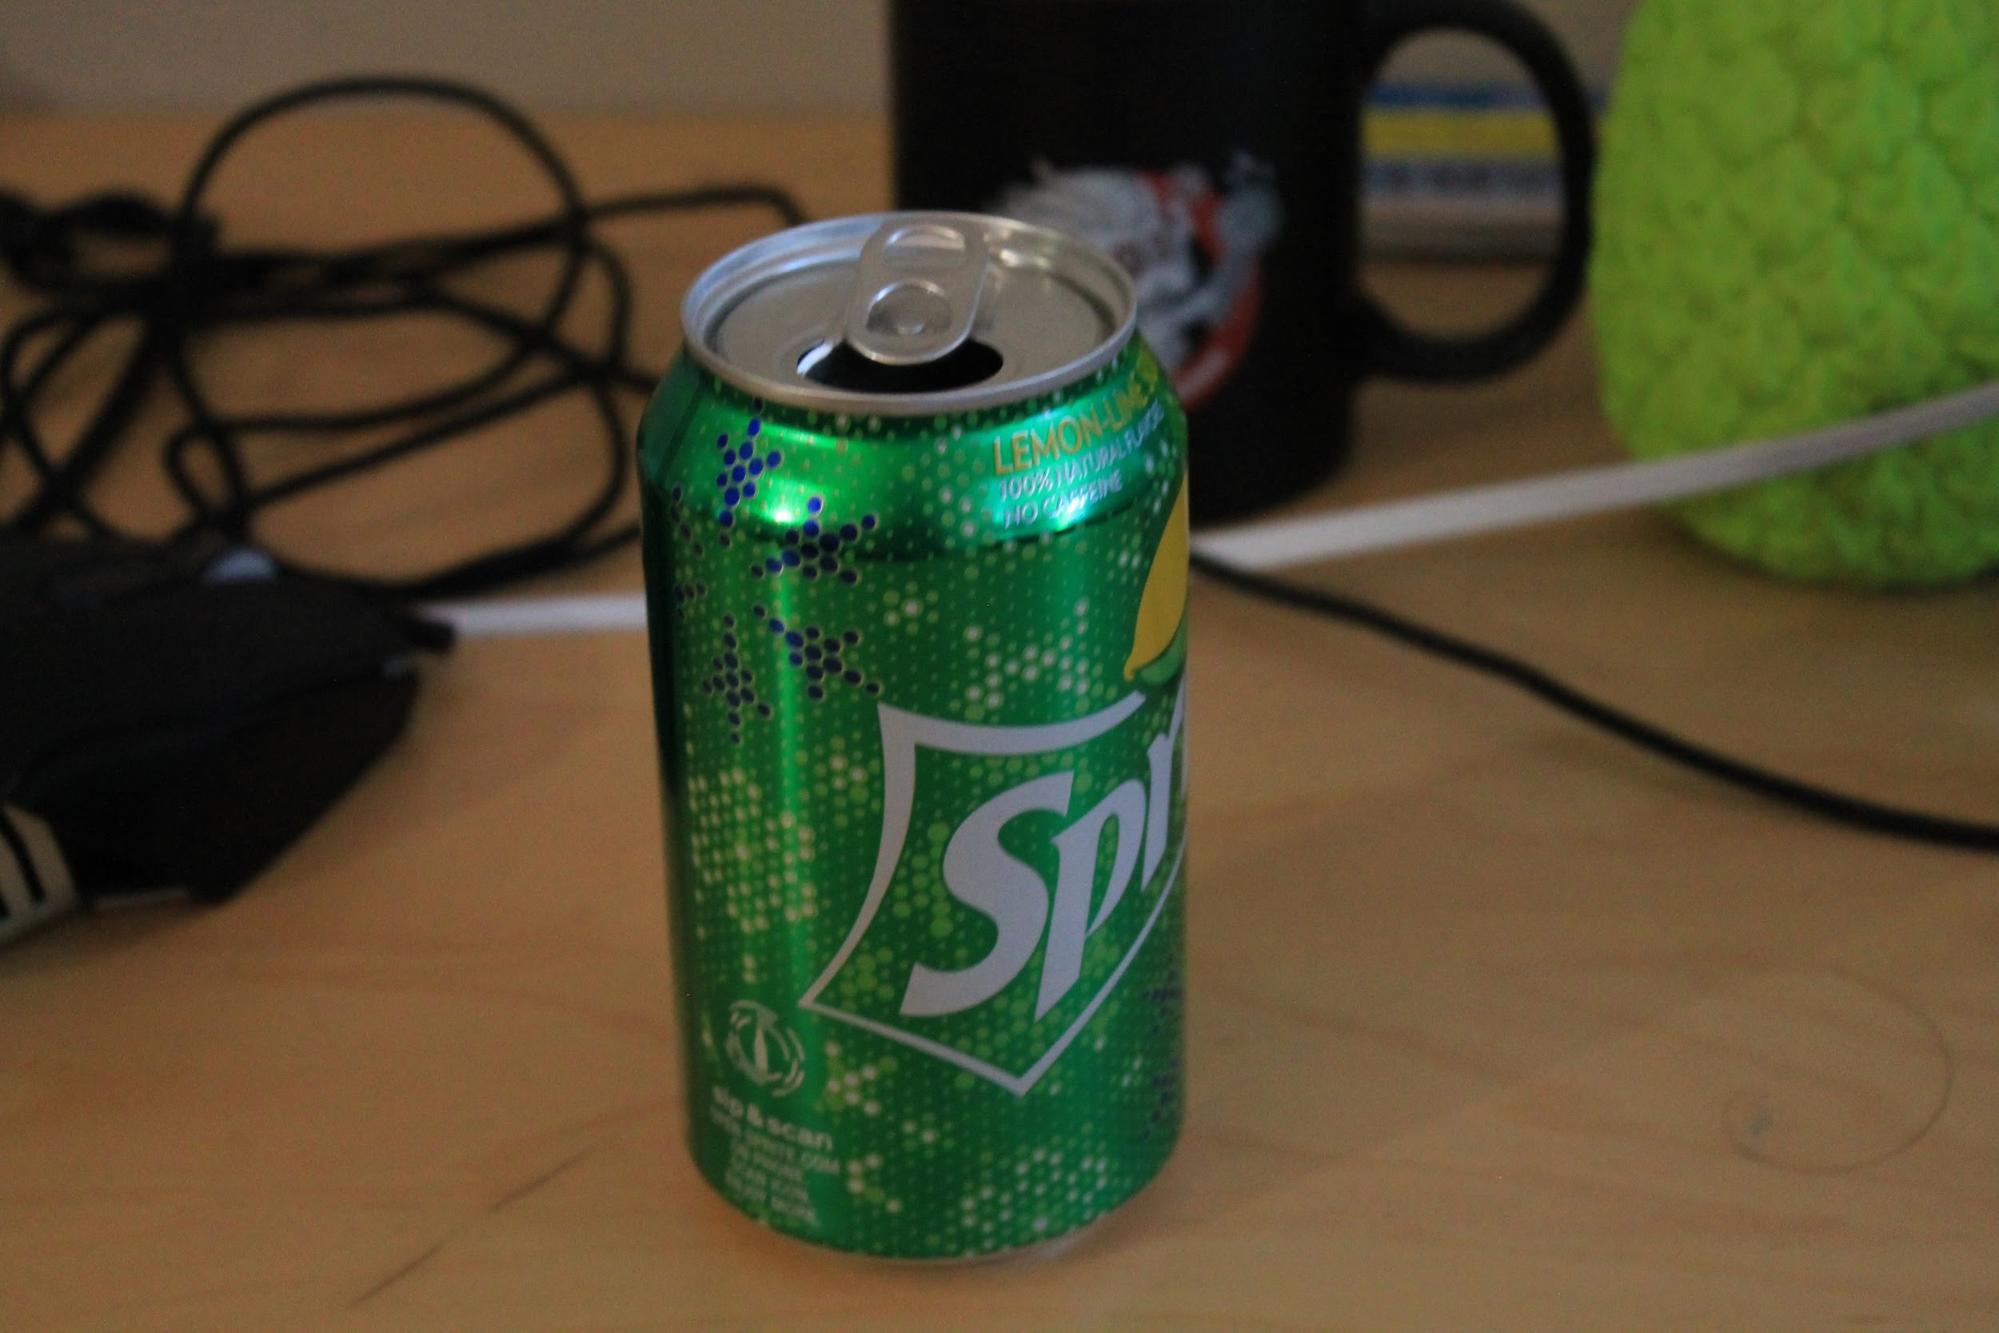
Sprite Can
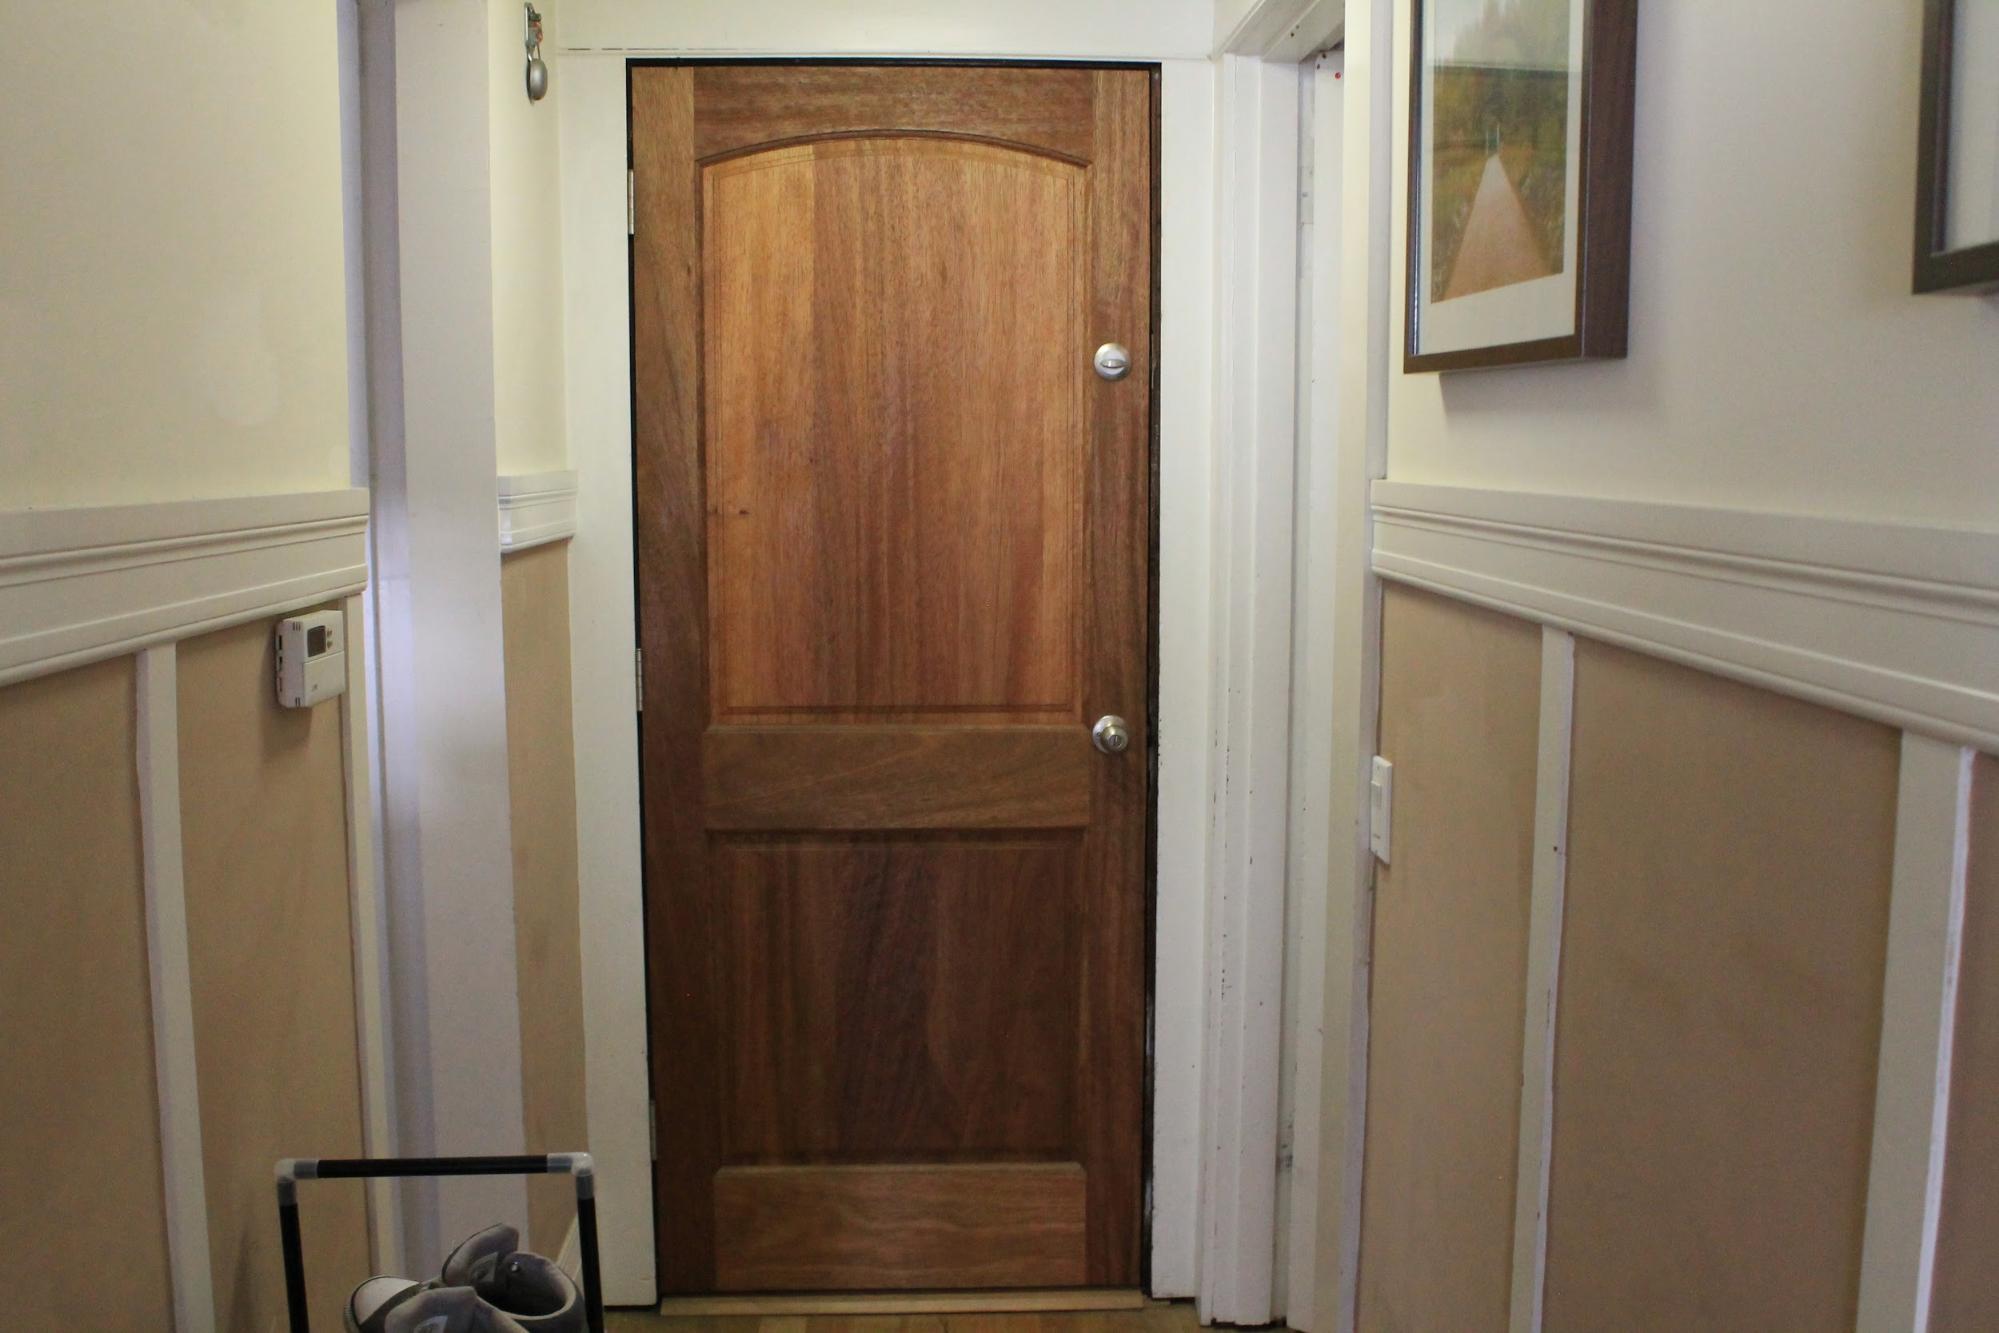
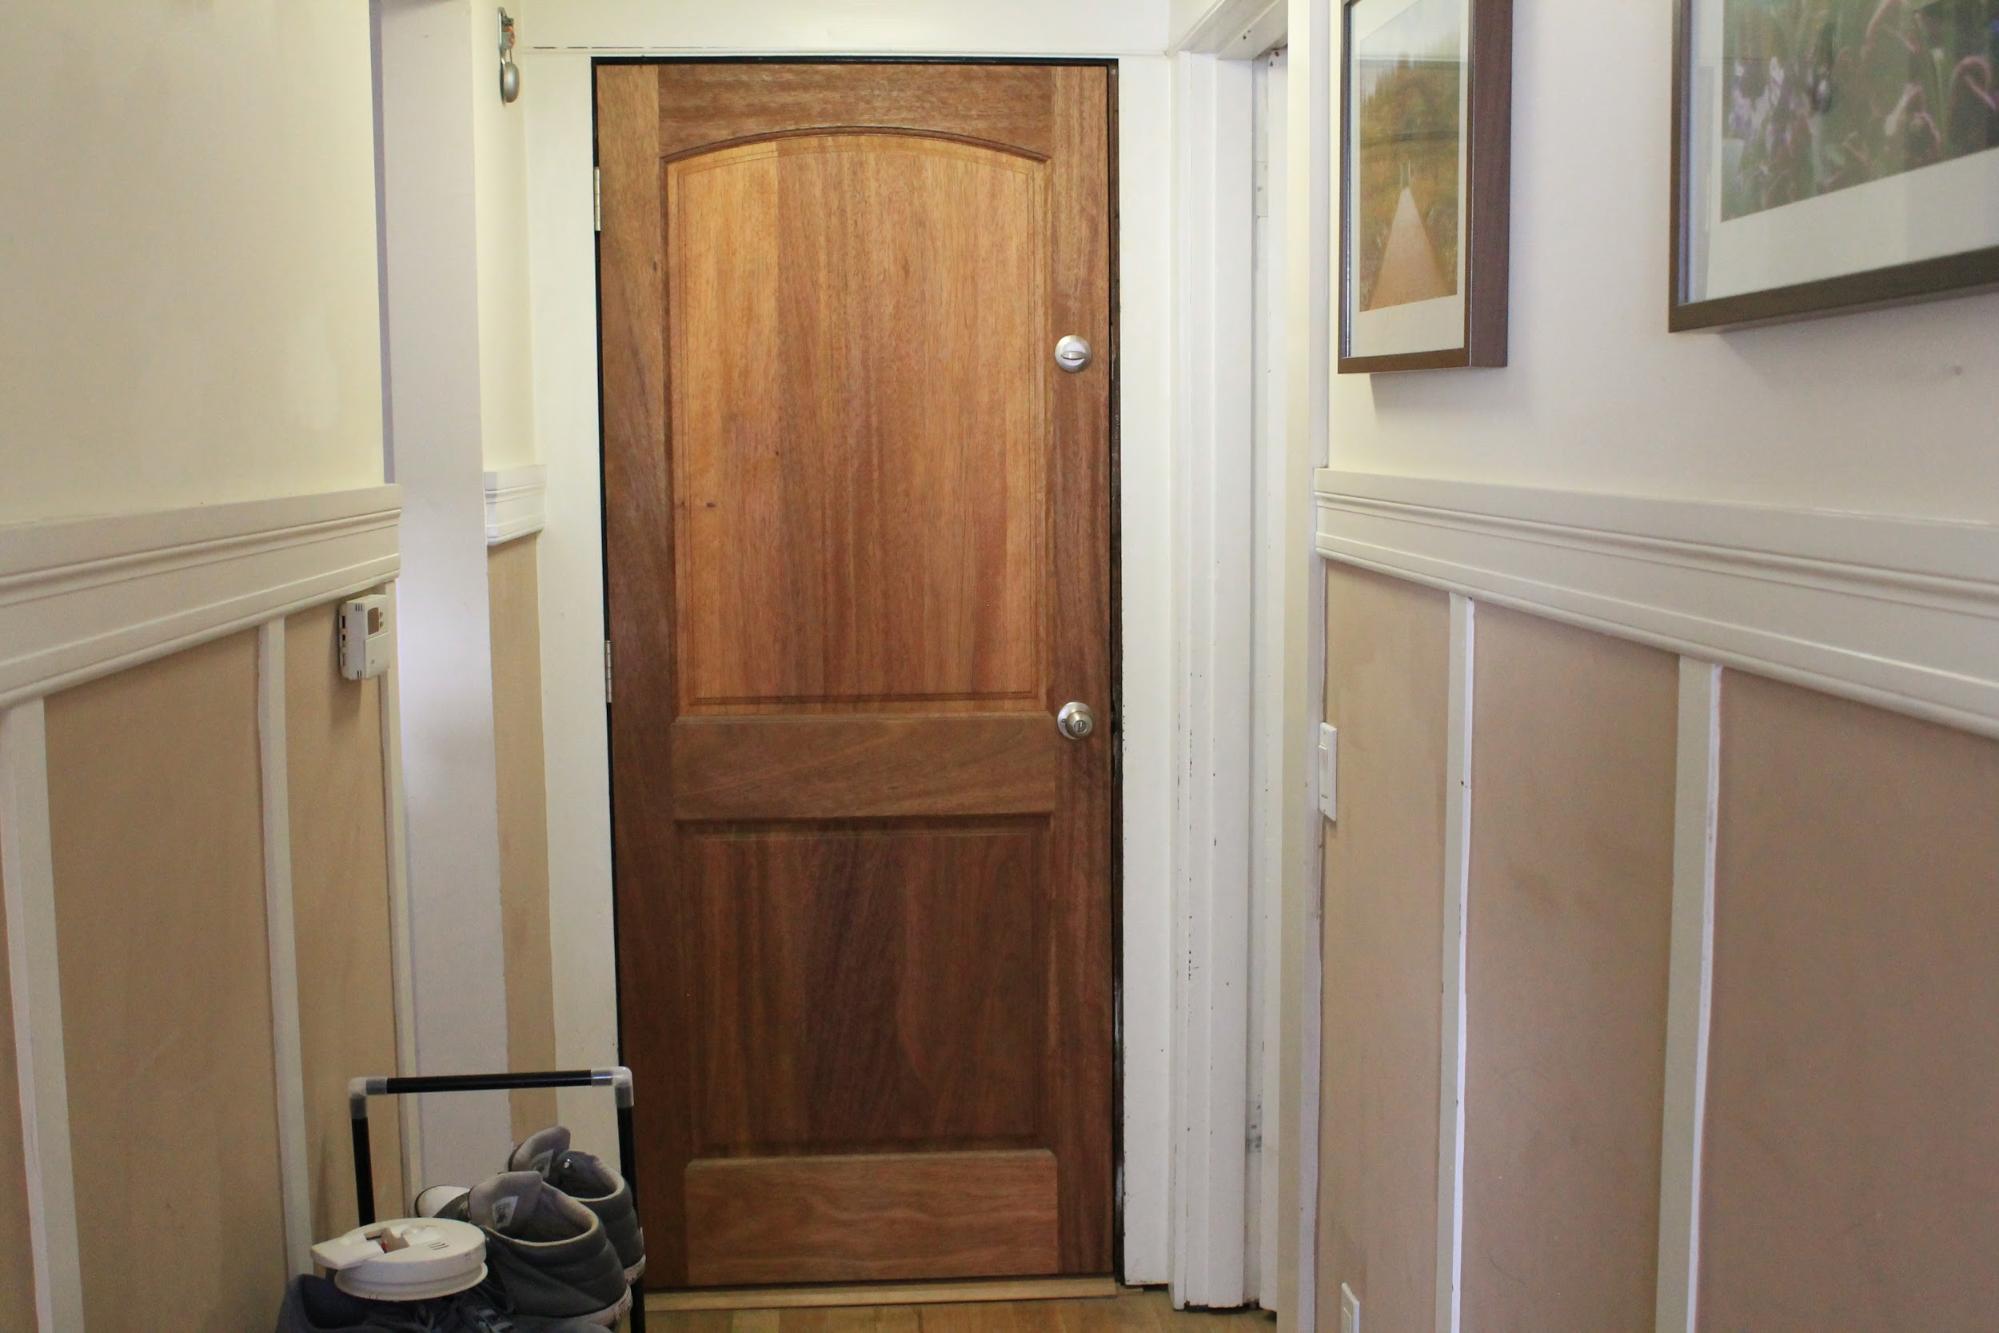
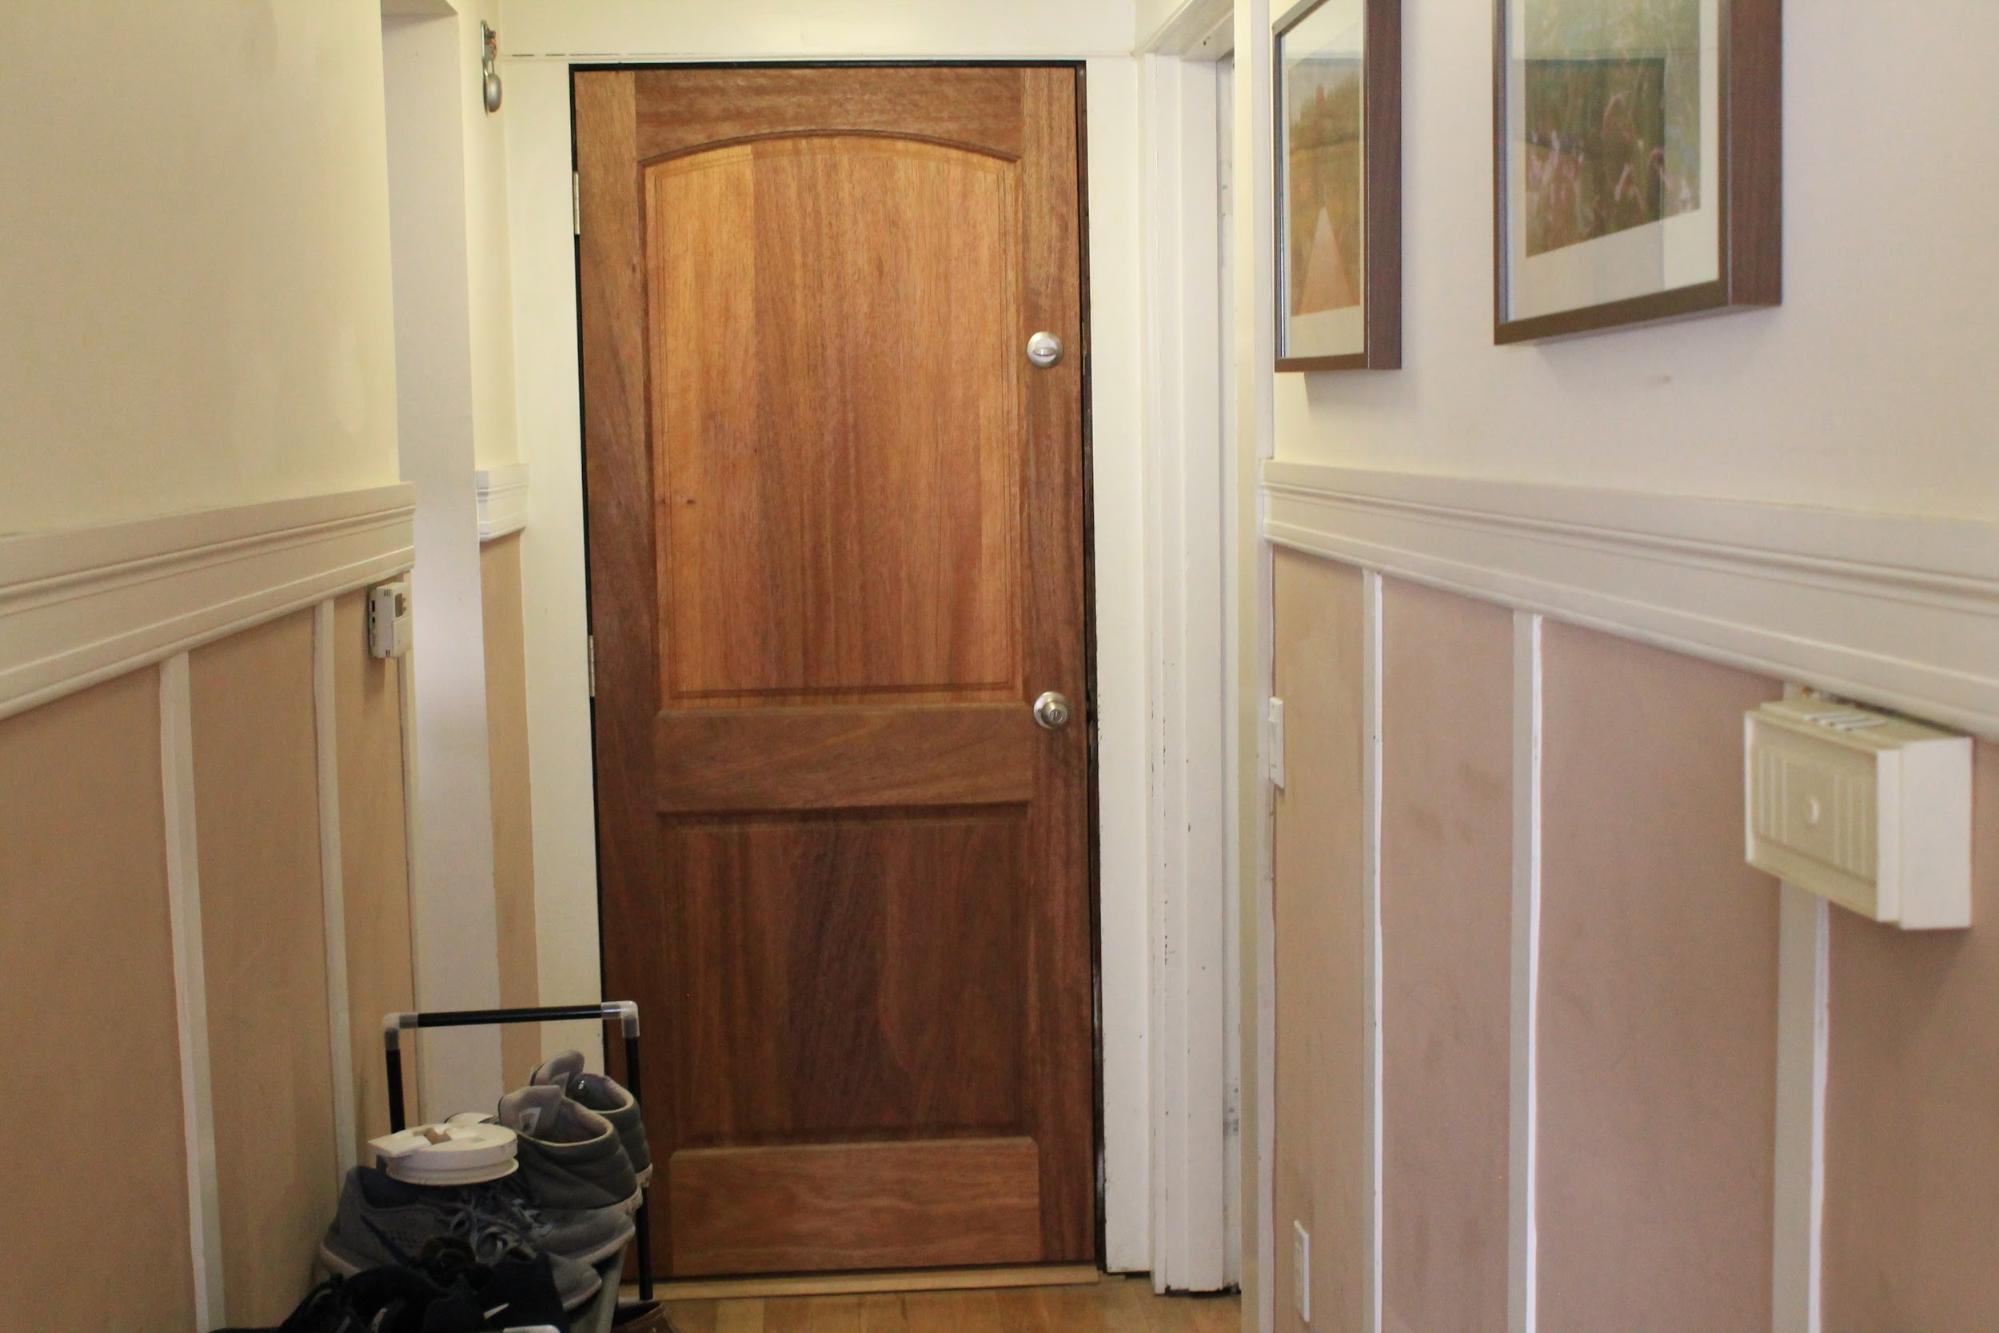
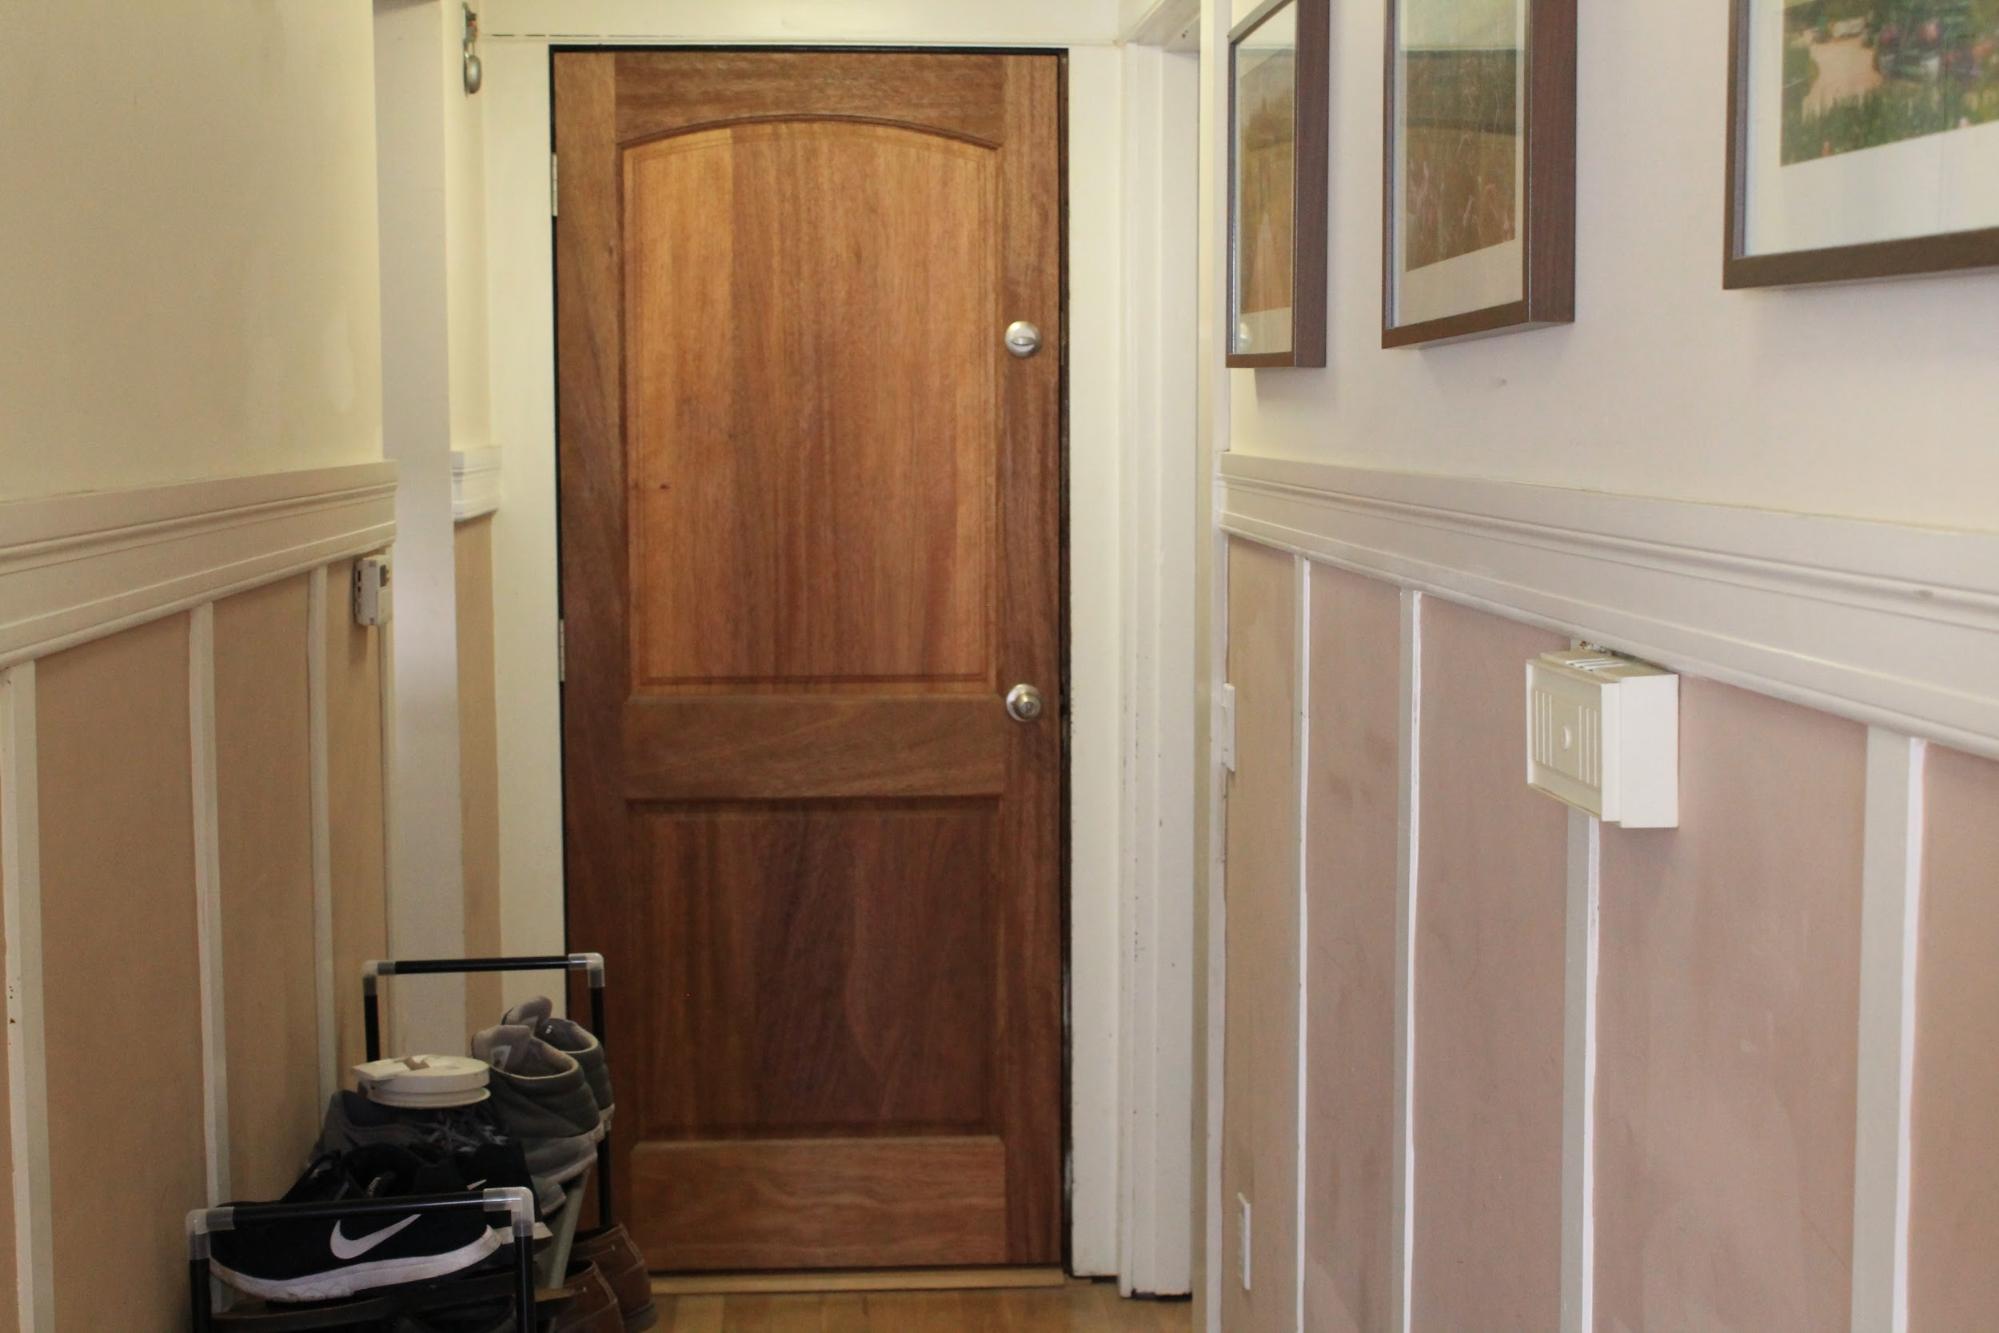
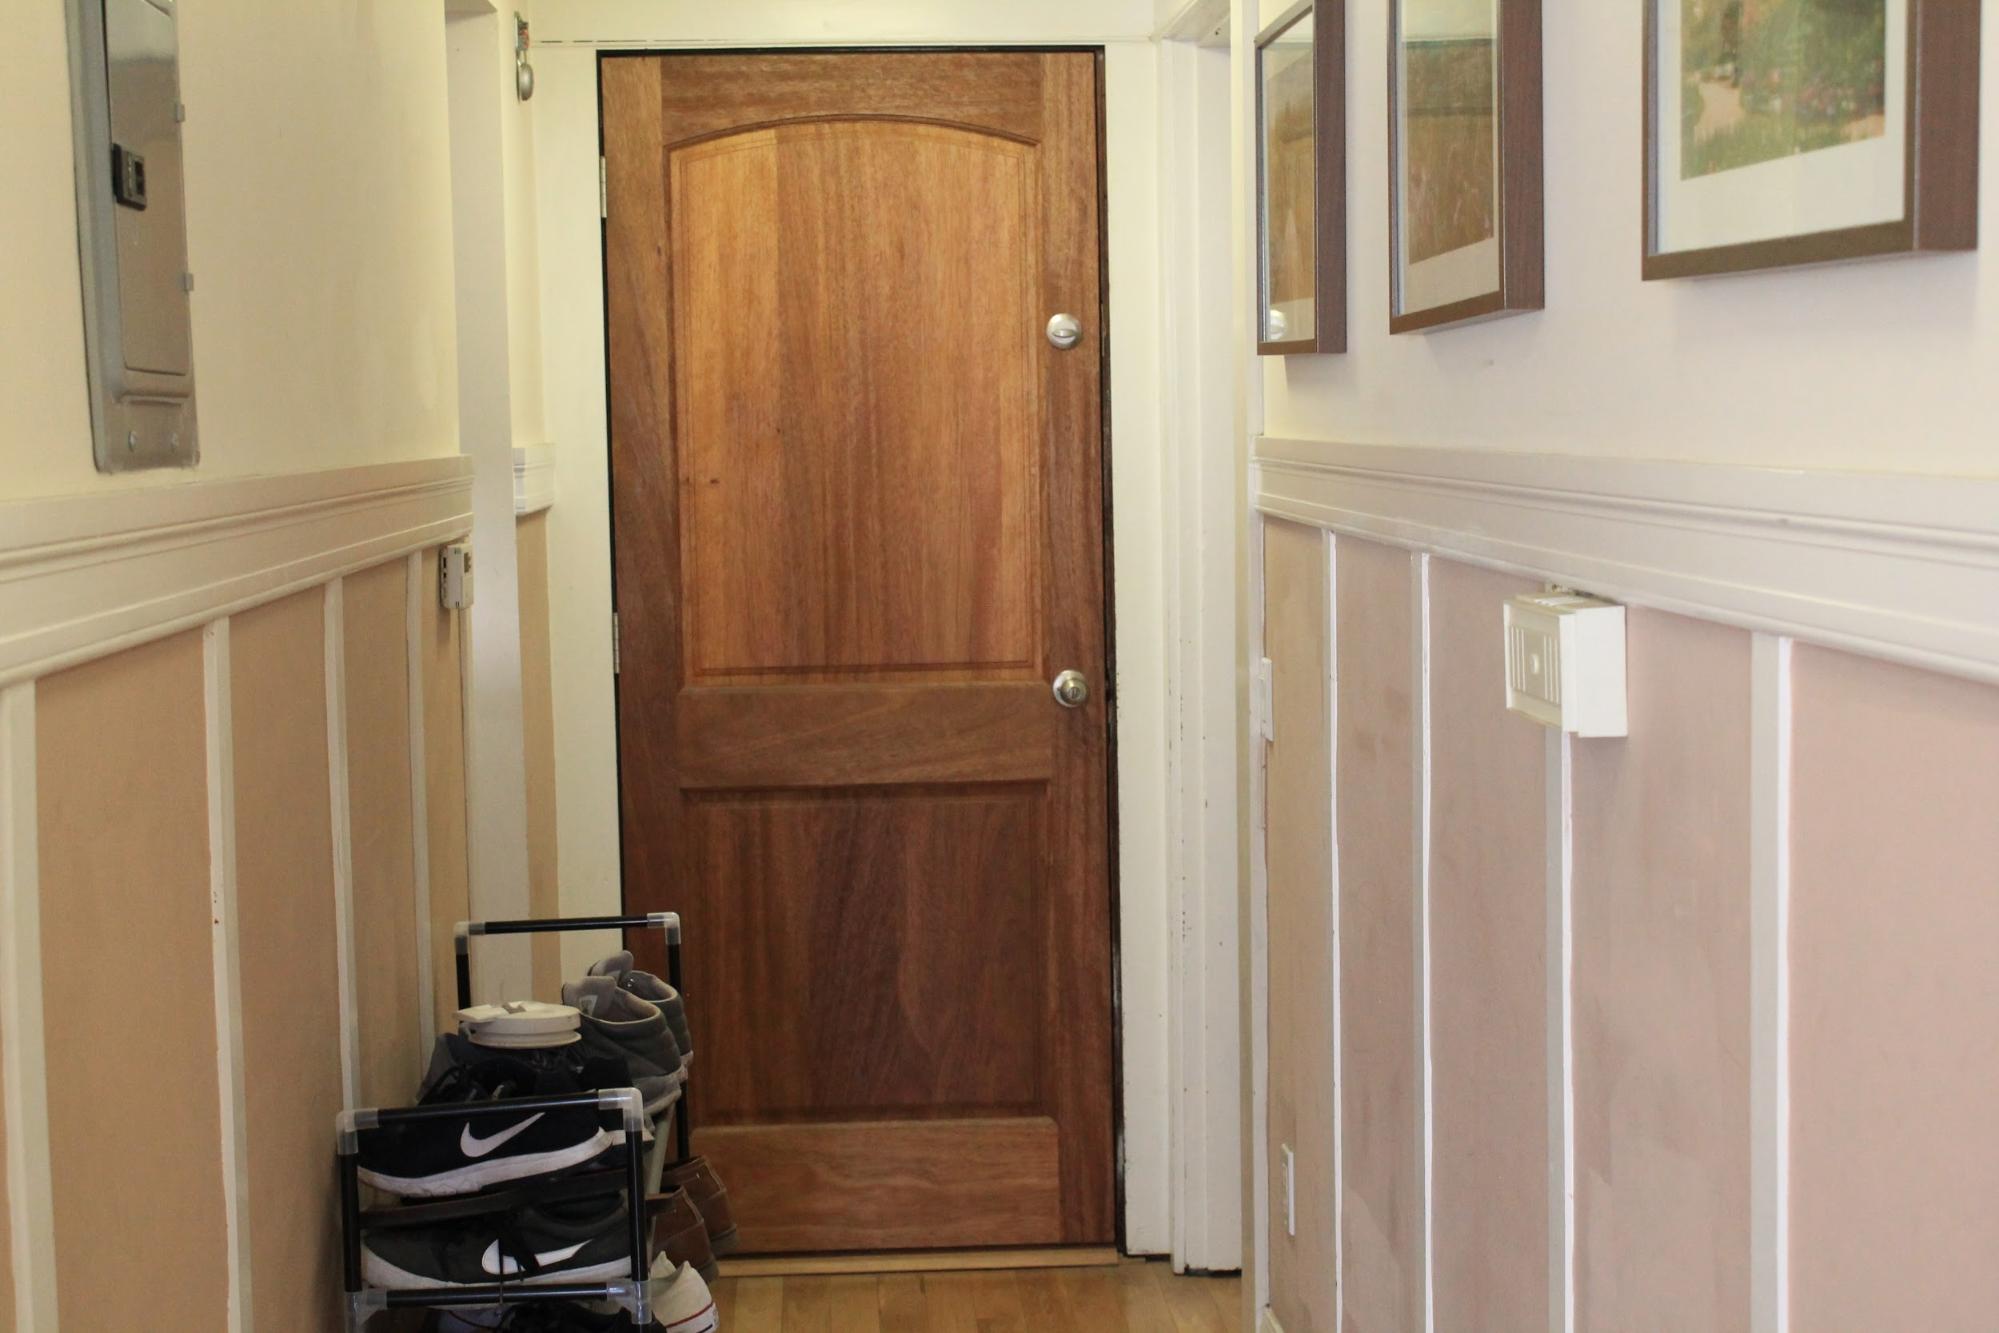
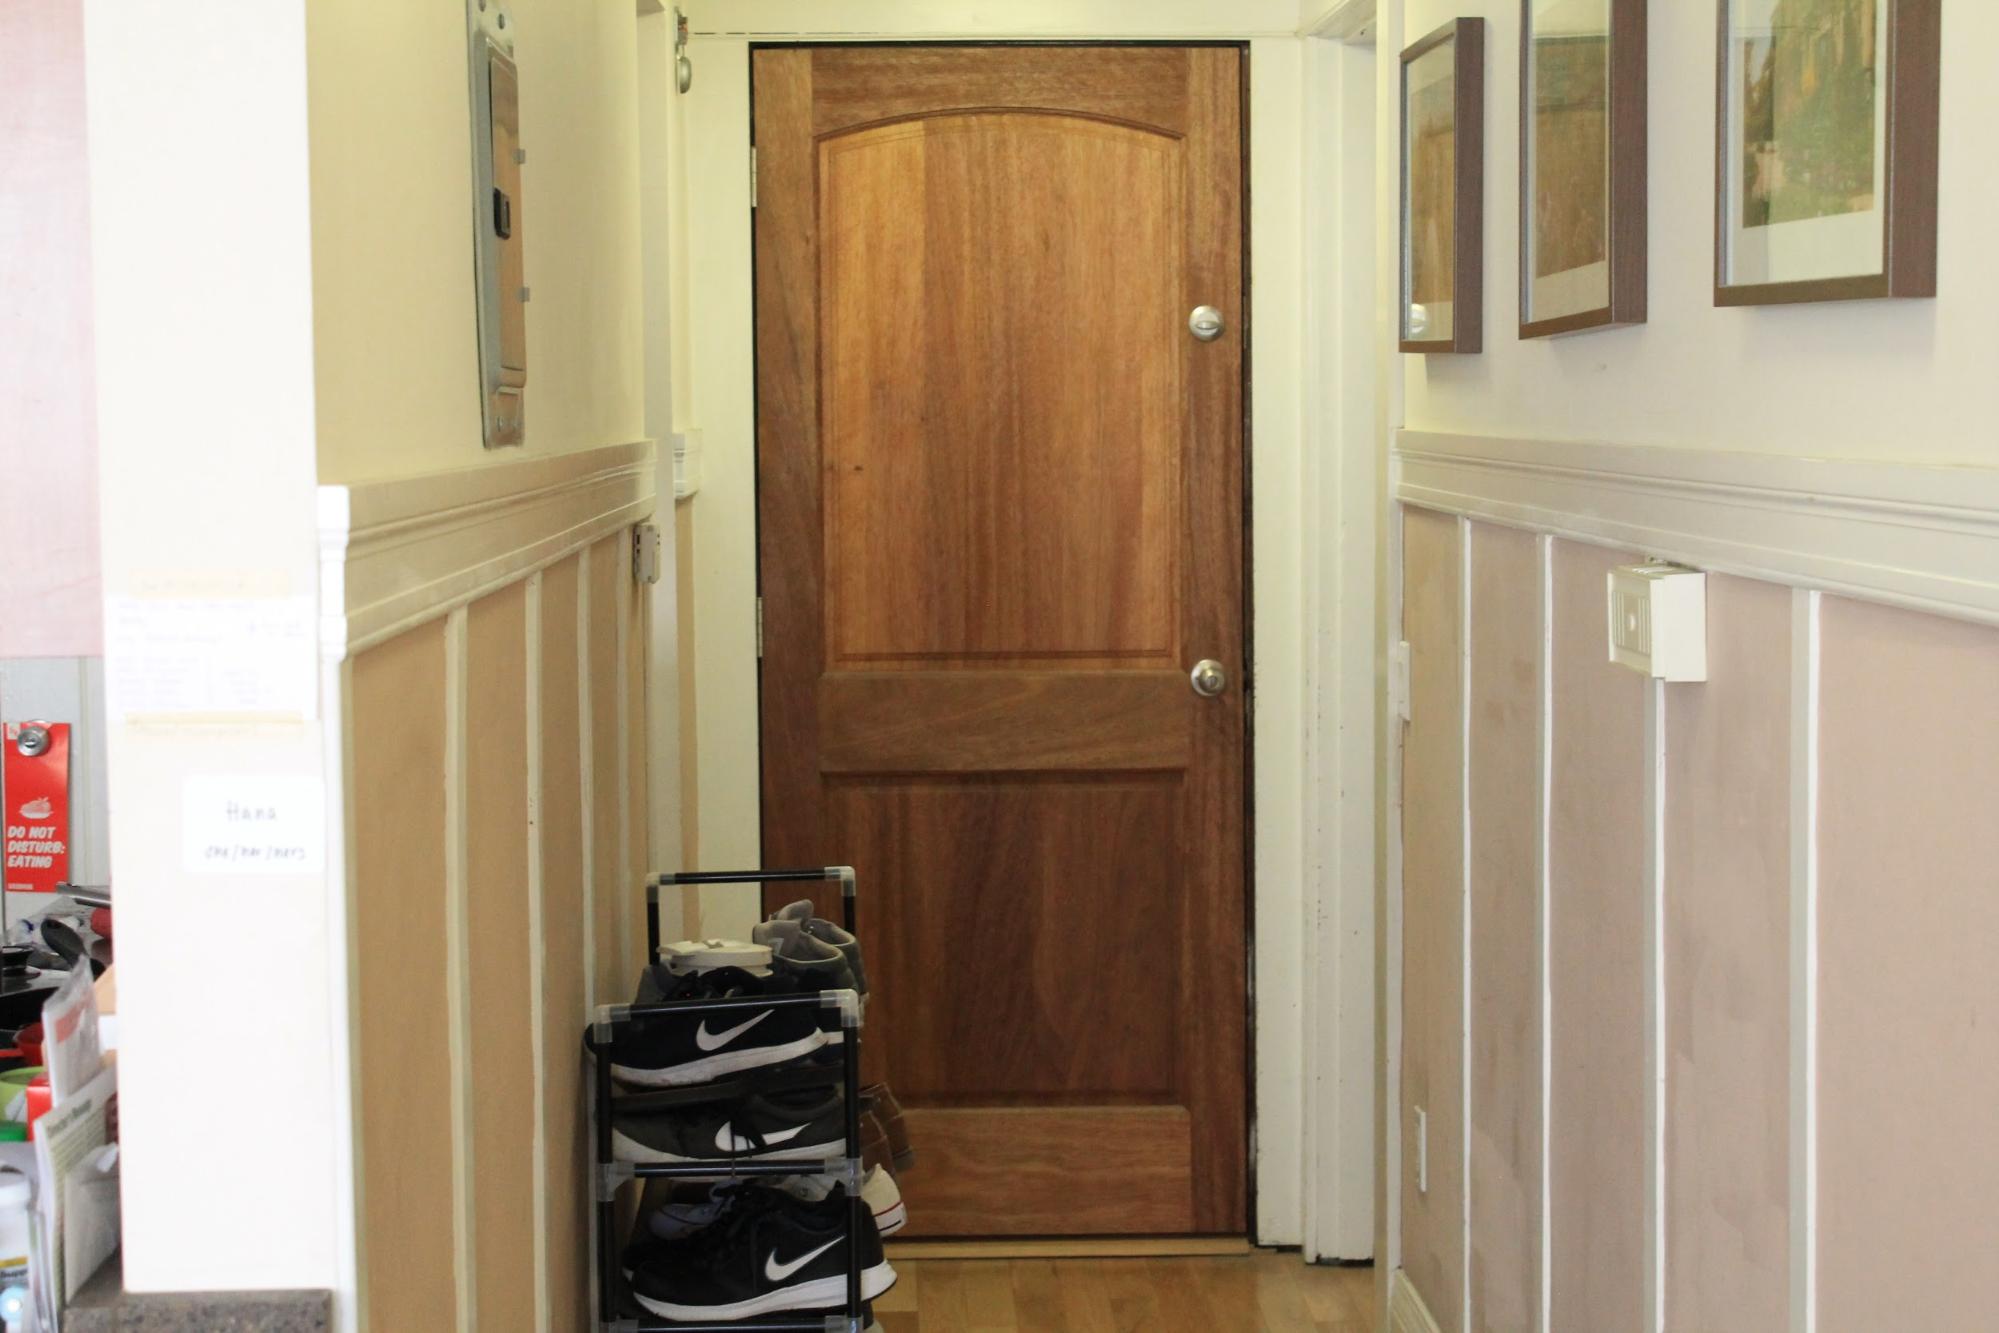
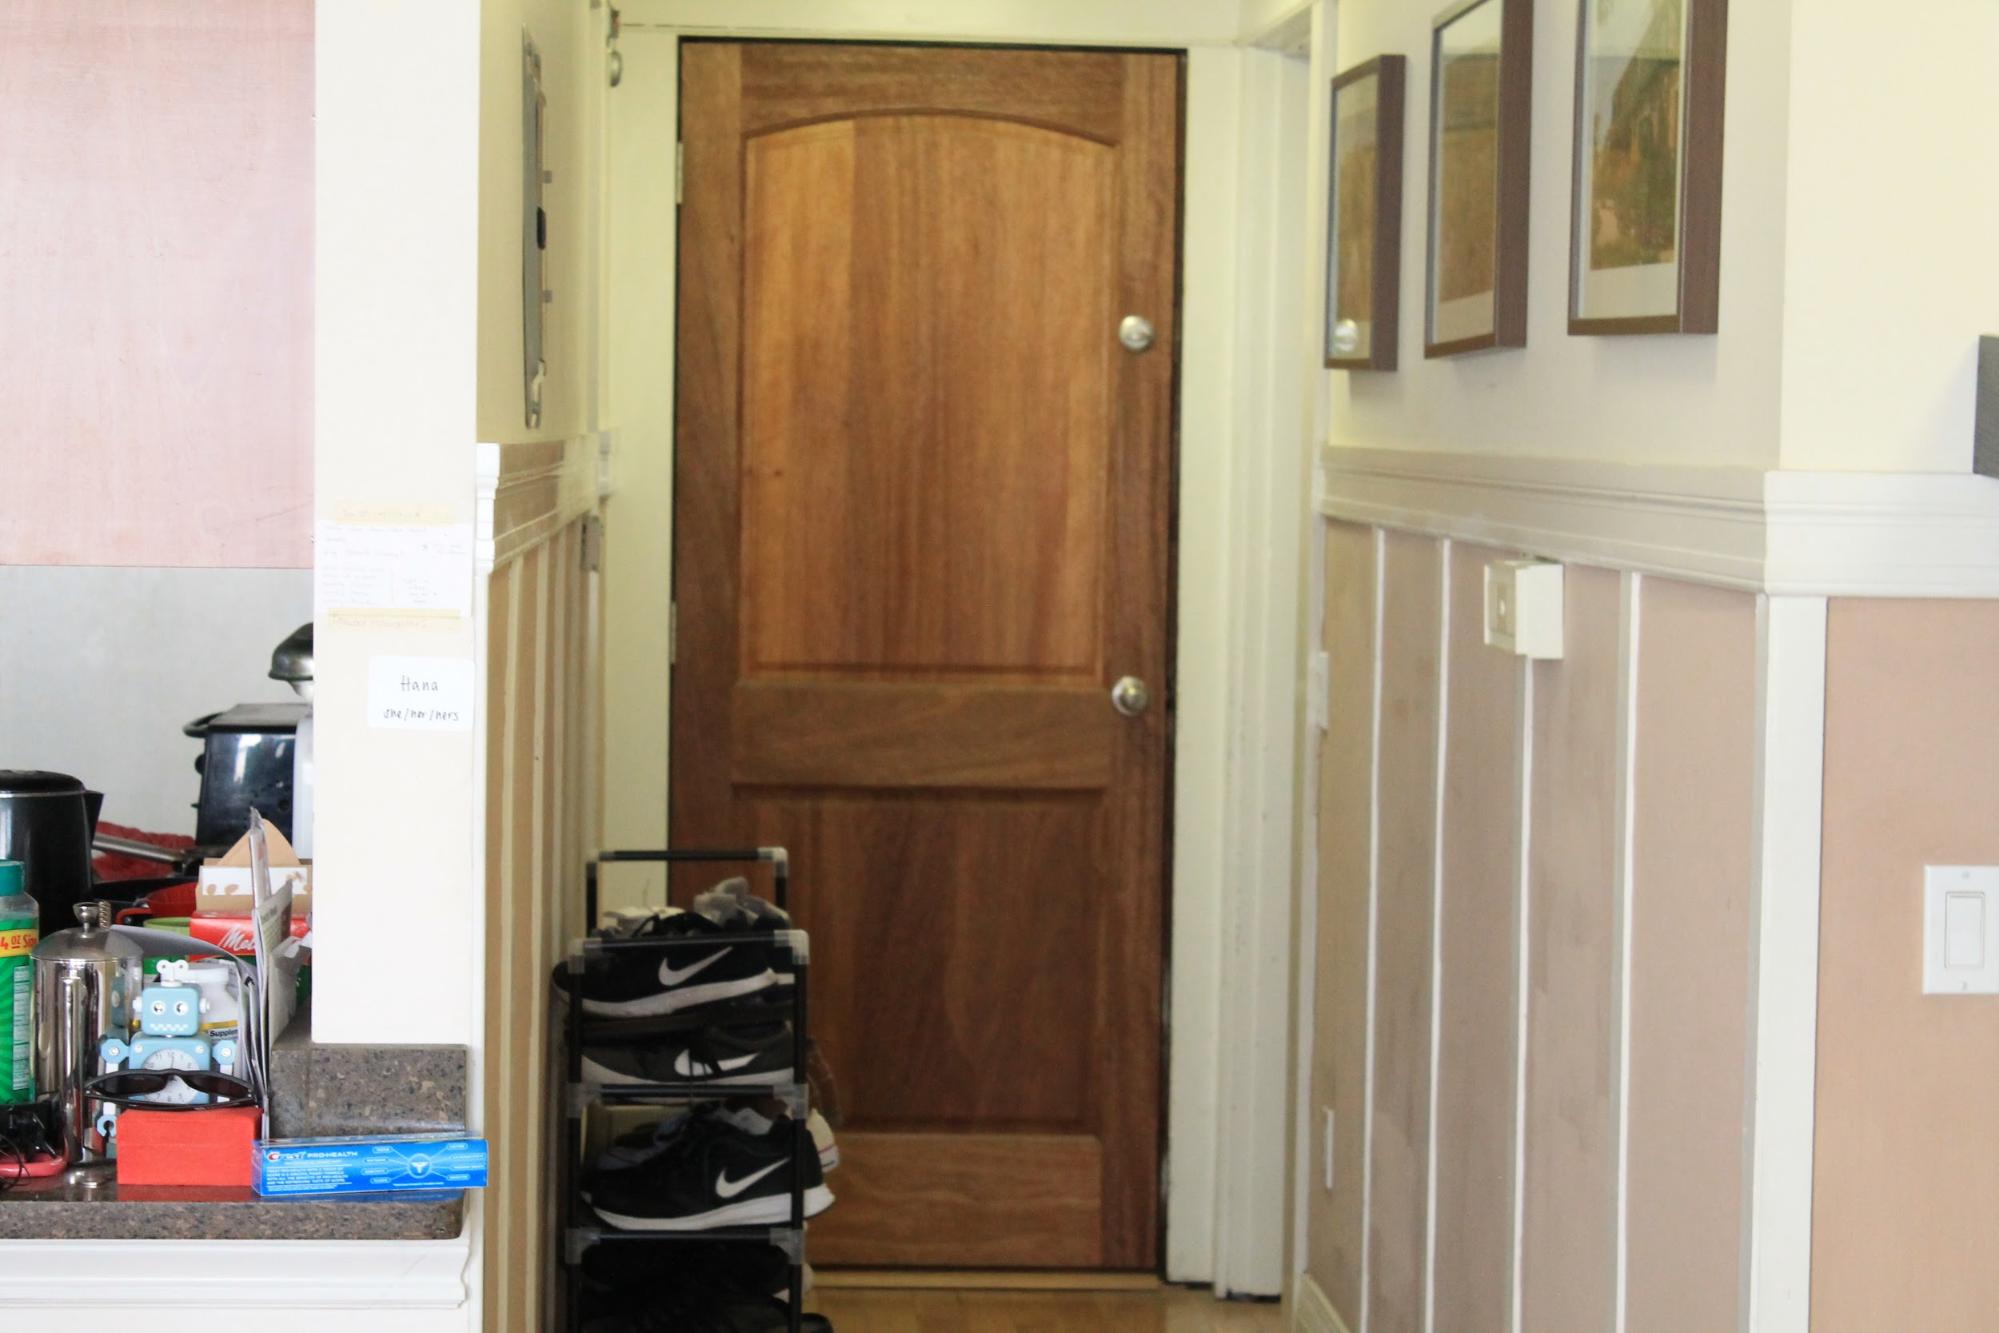
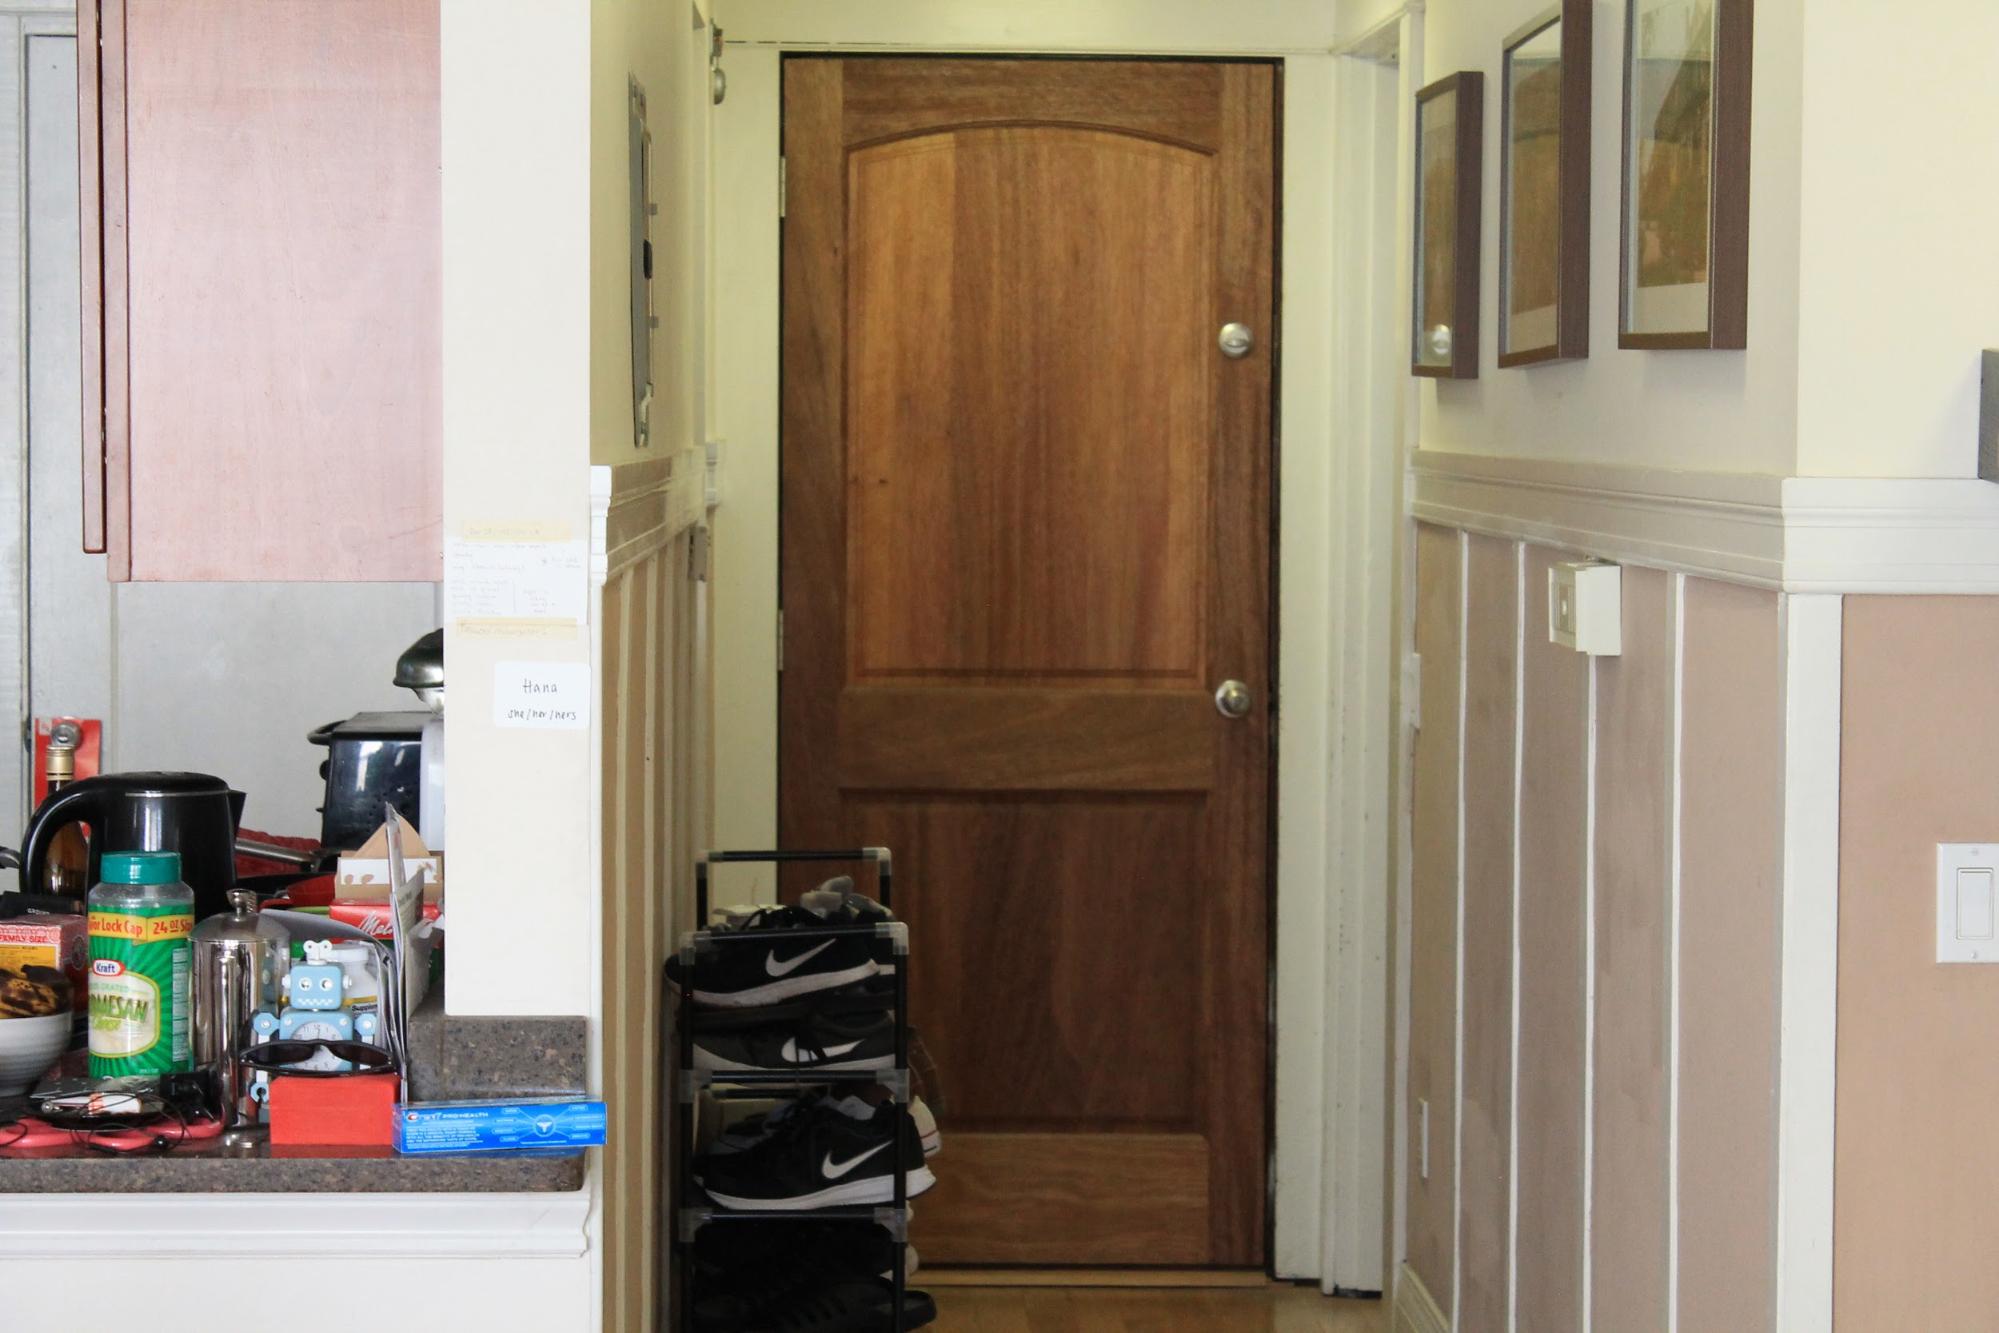
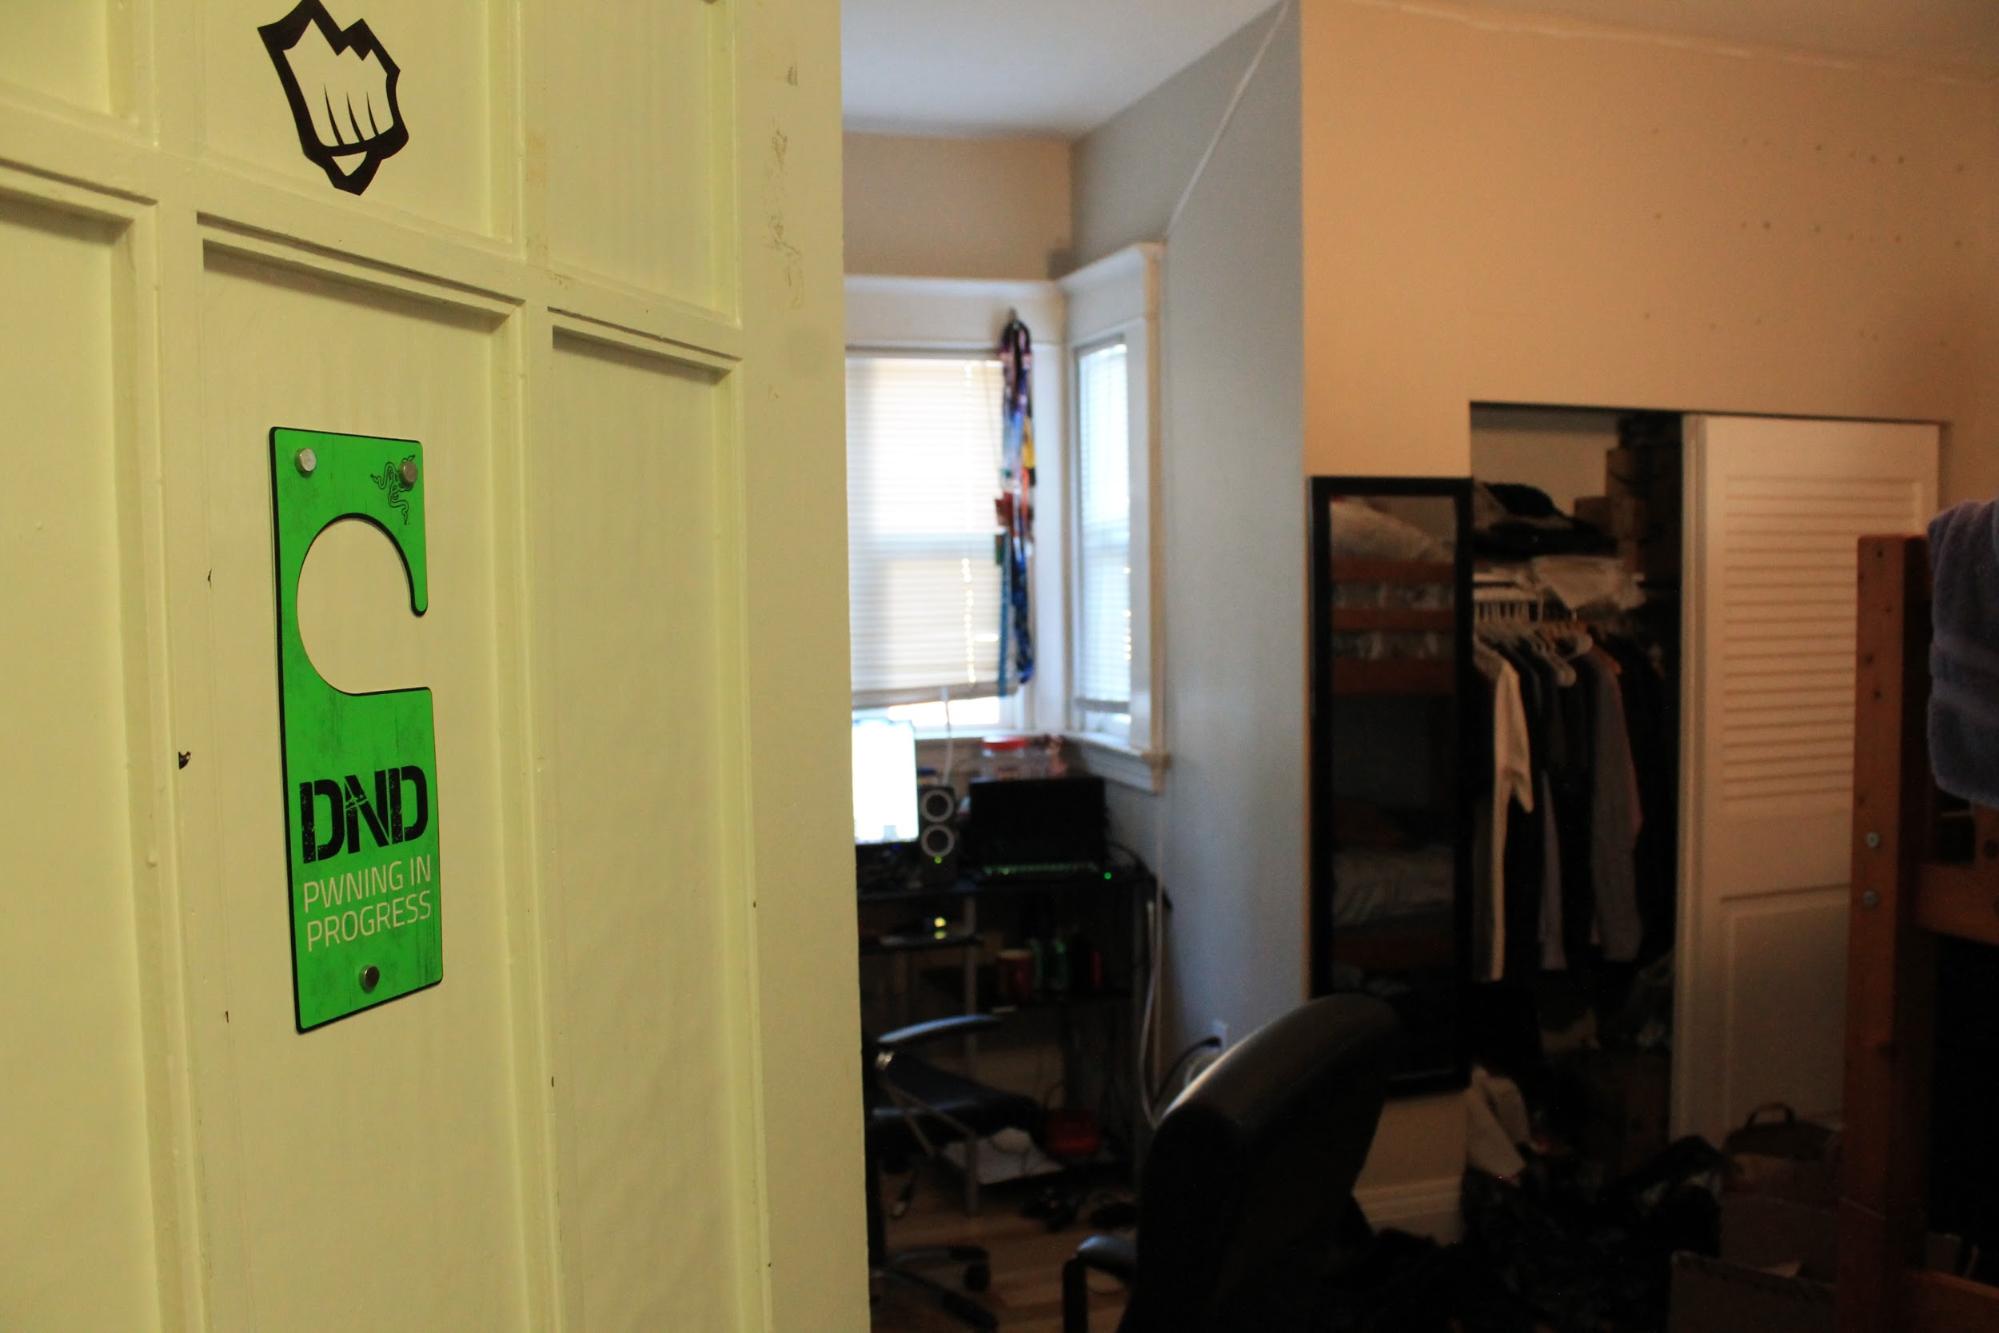
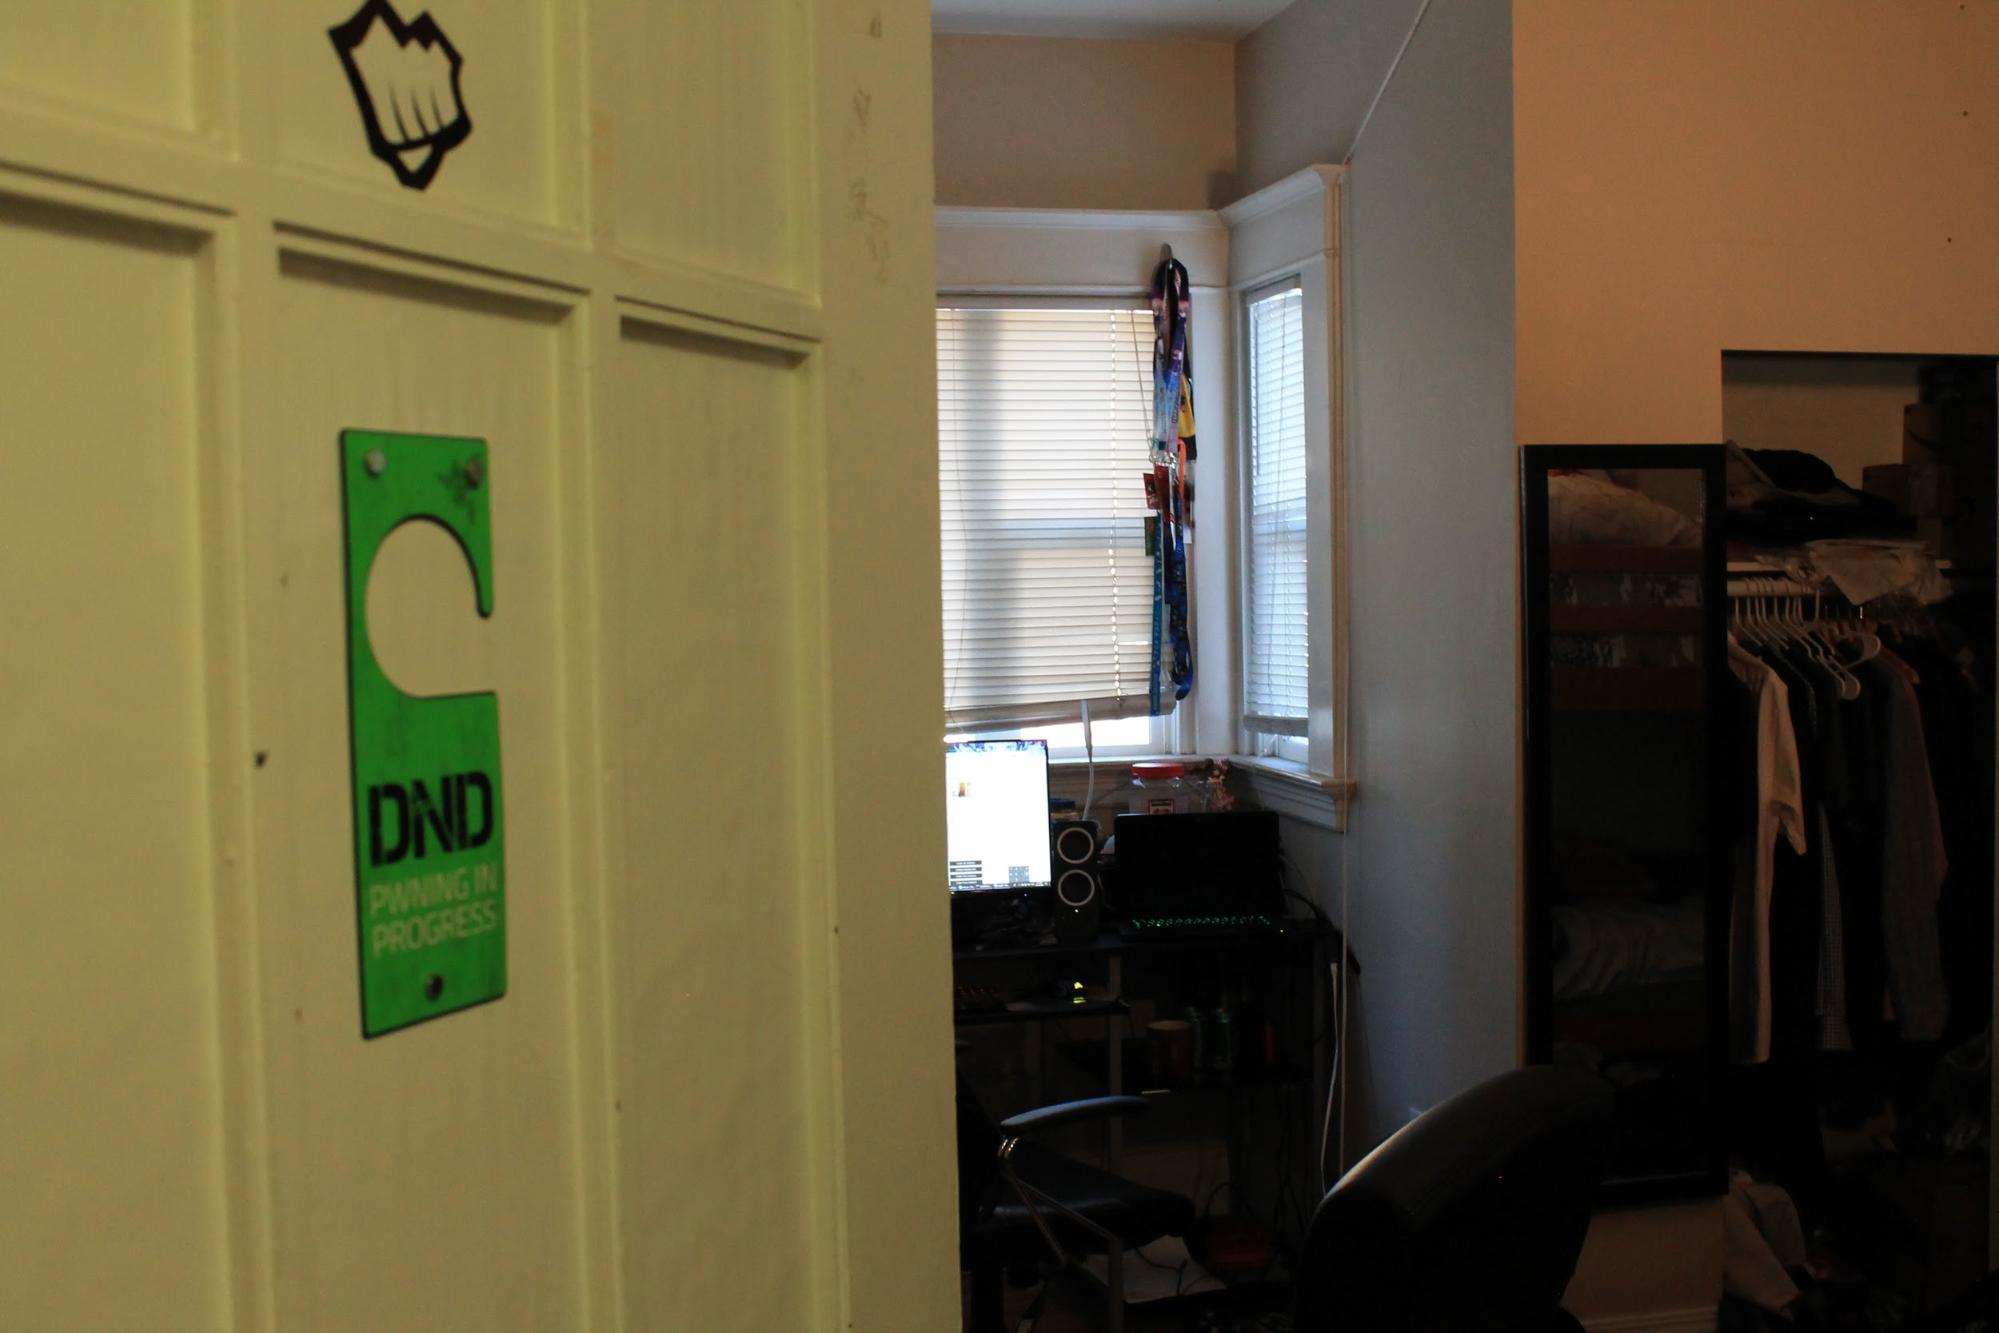
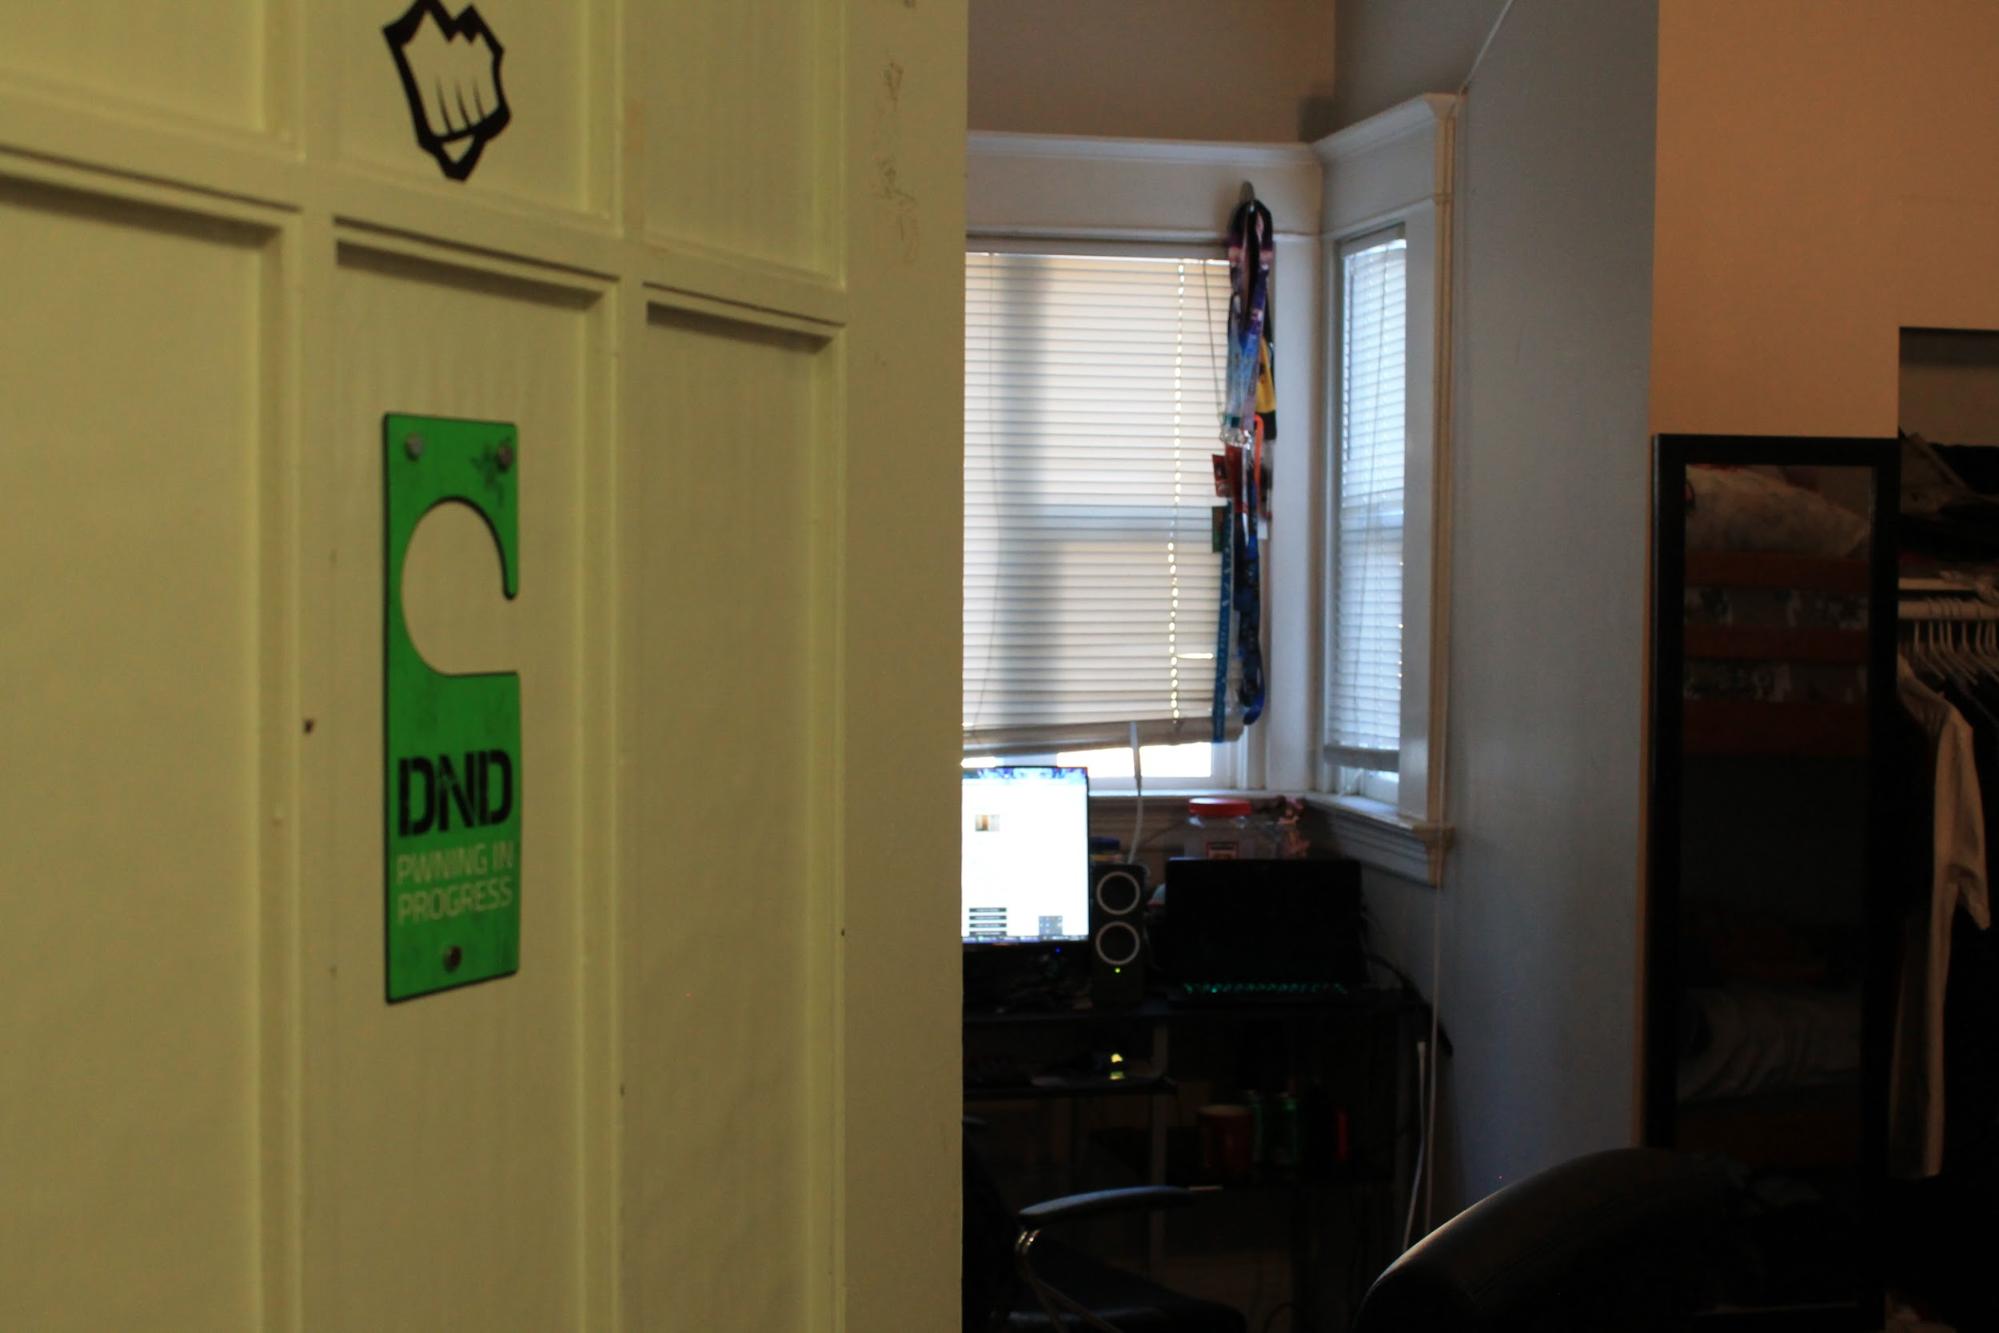
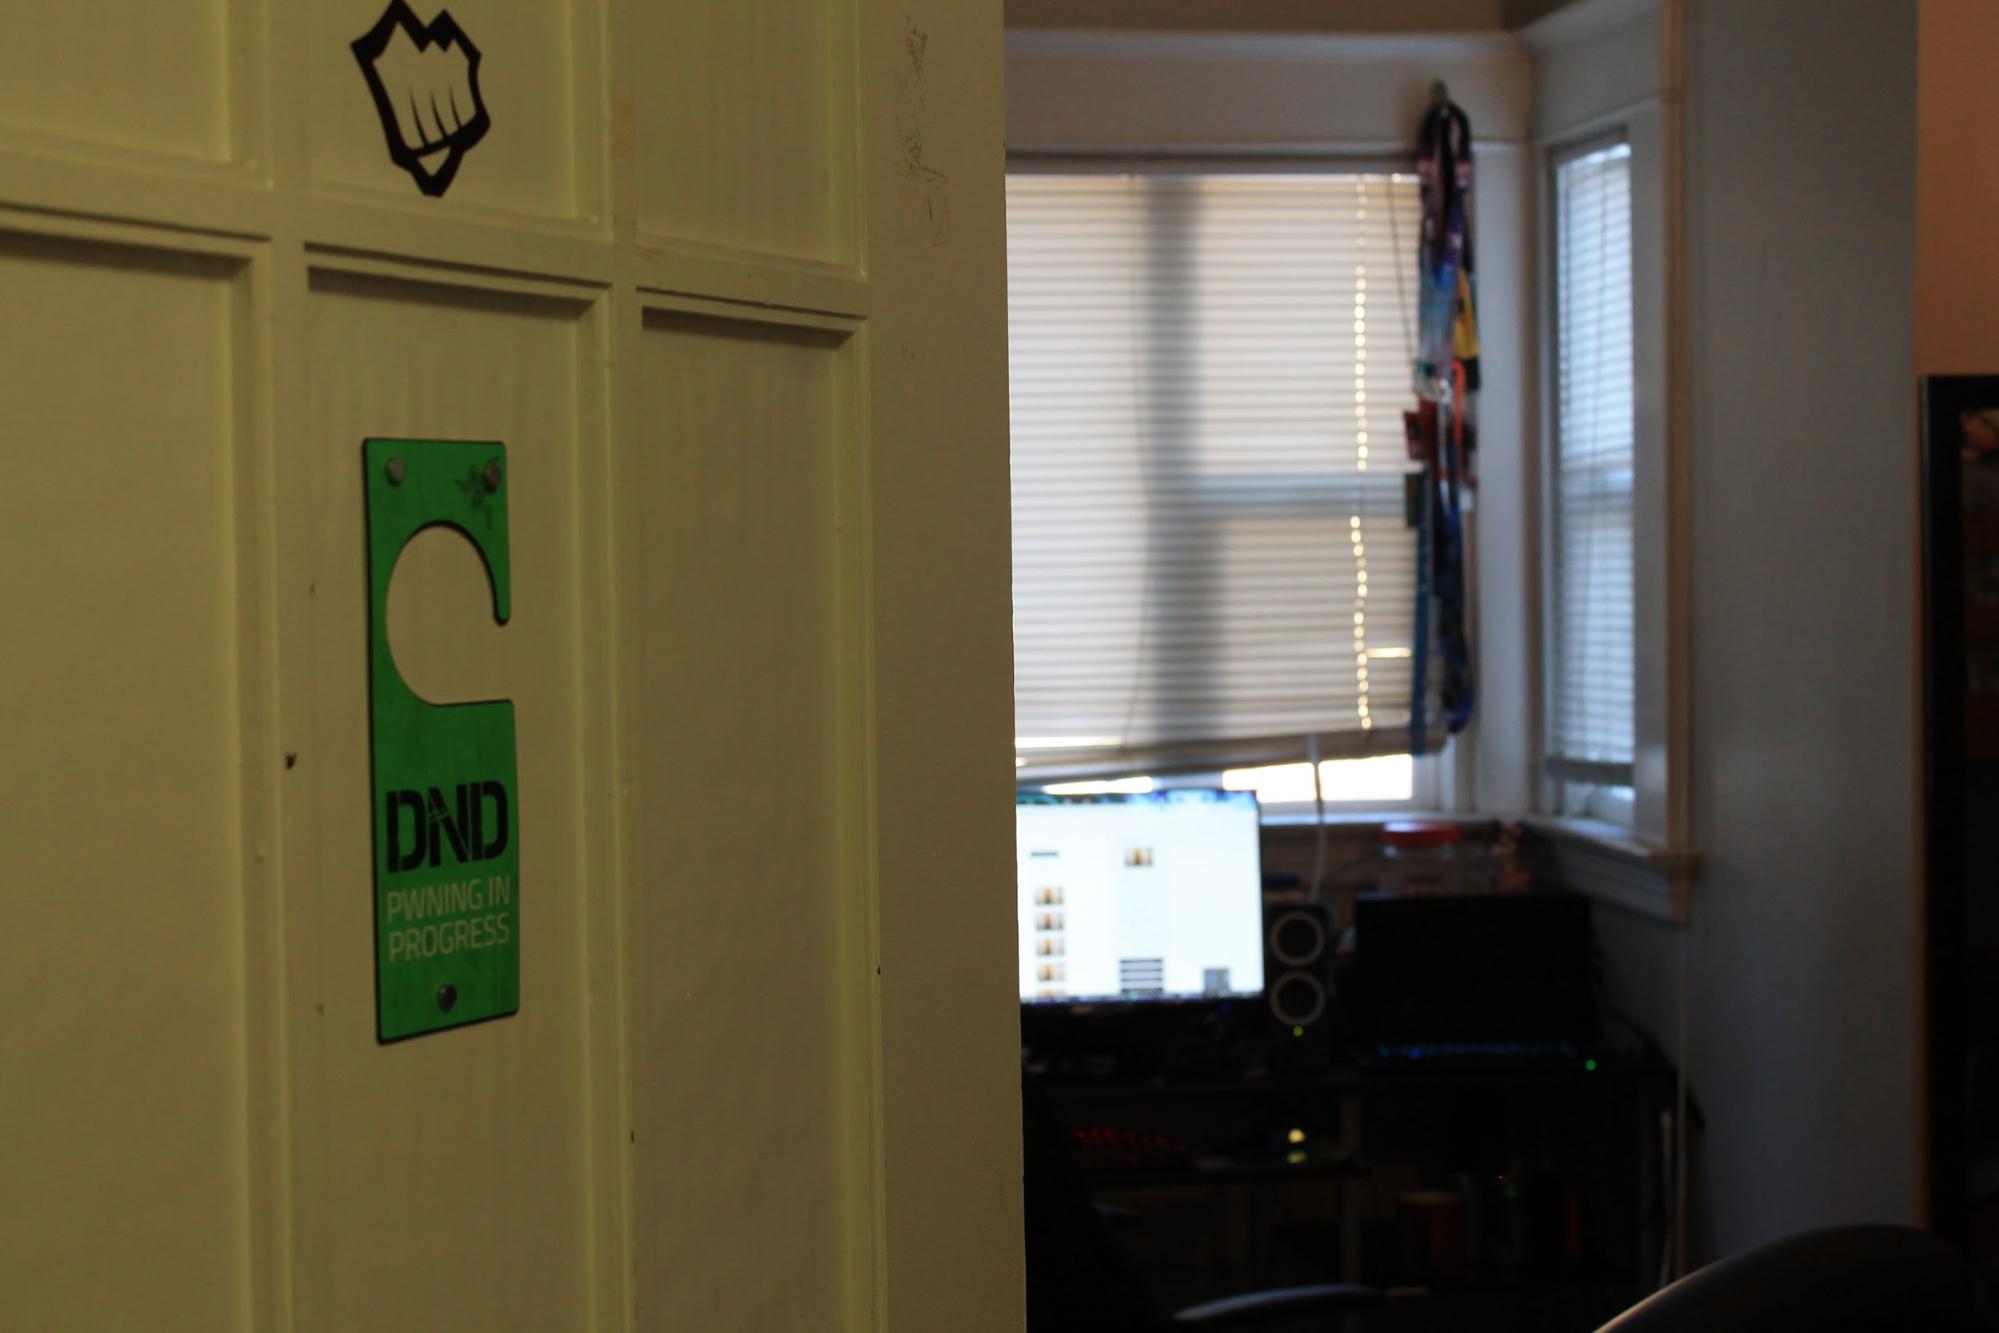
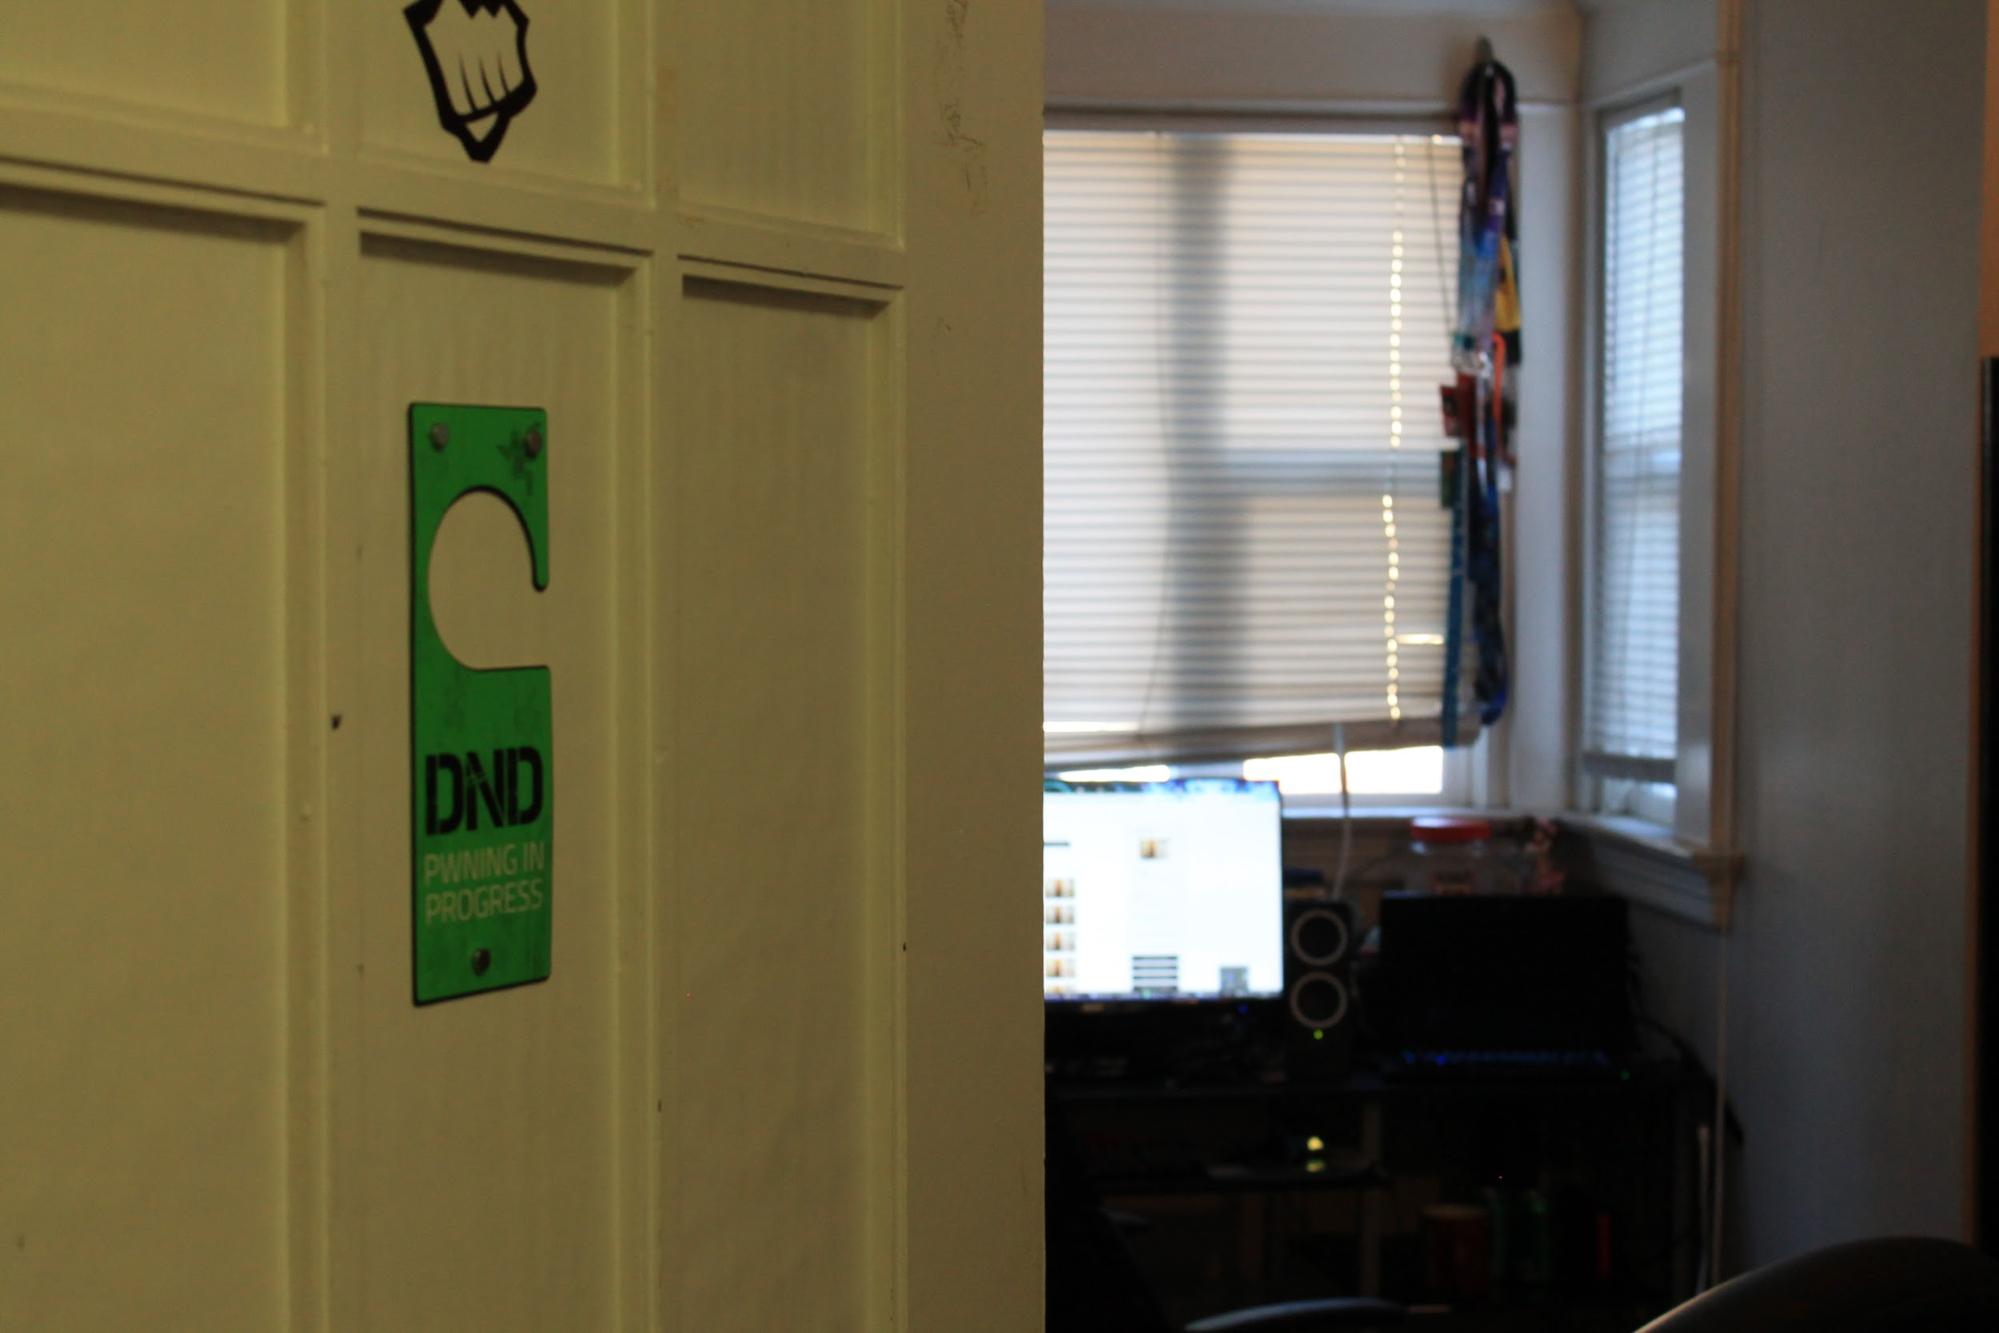
Entranceway
Cup of Water
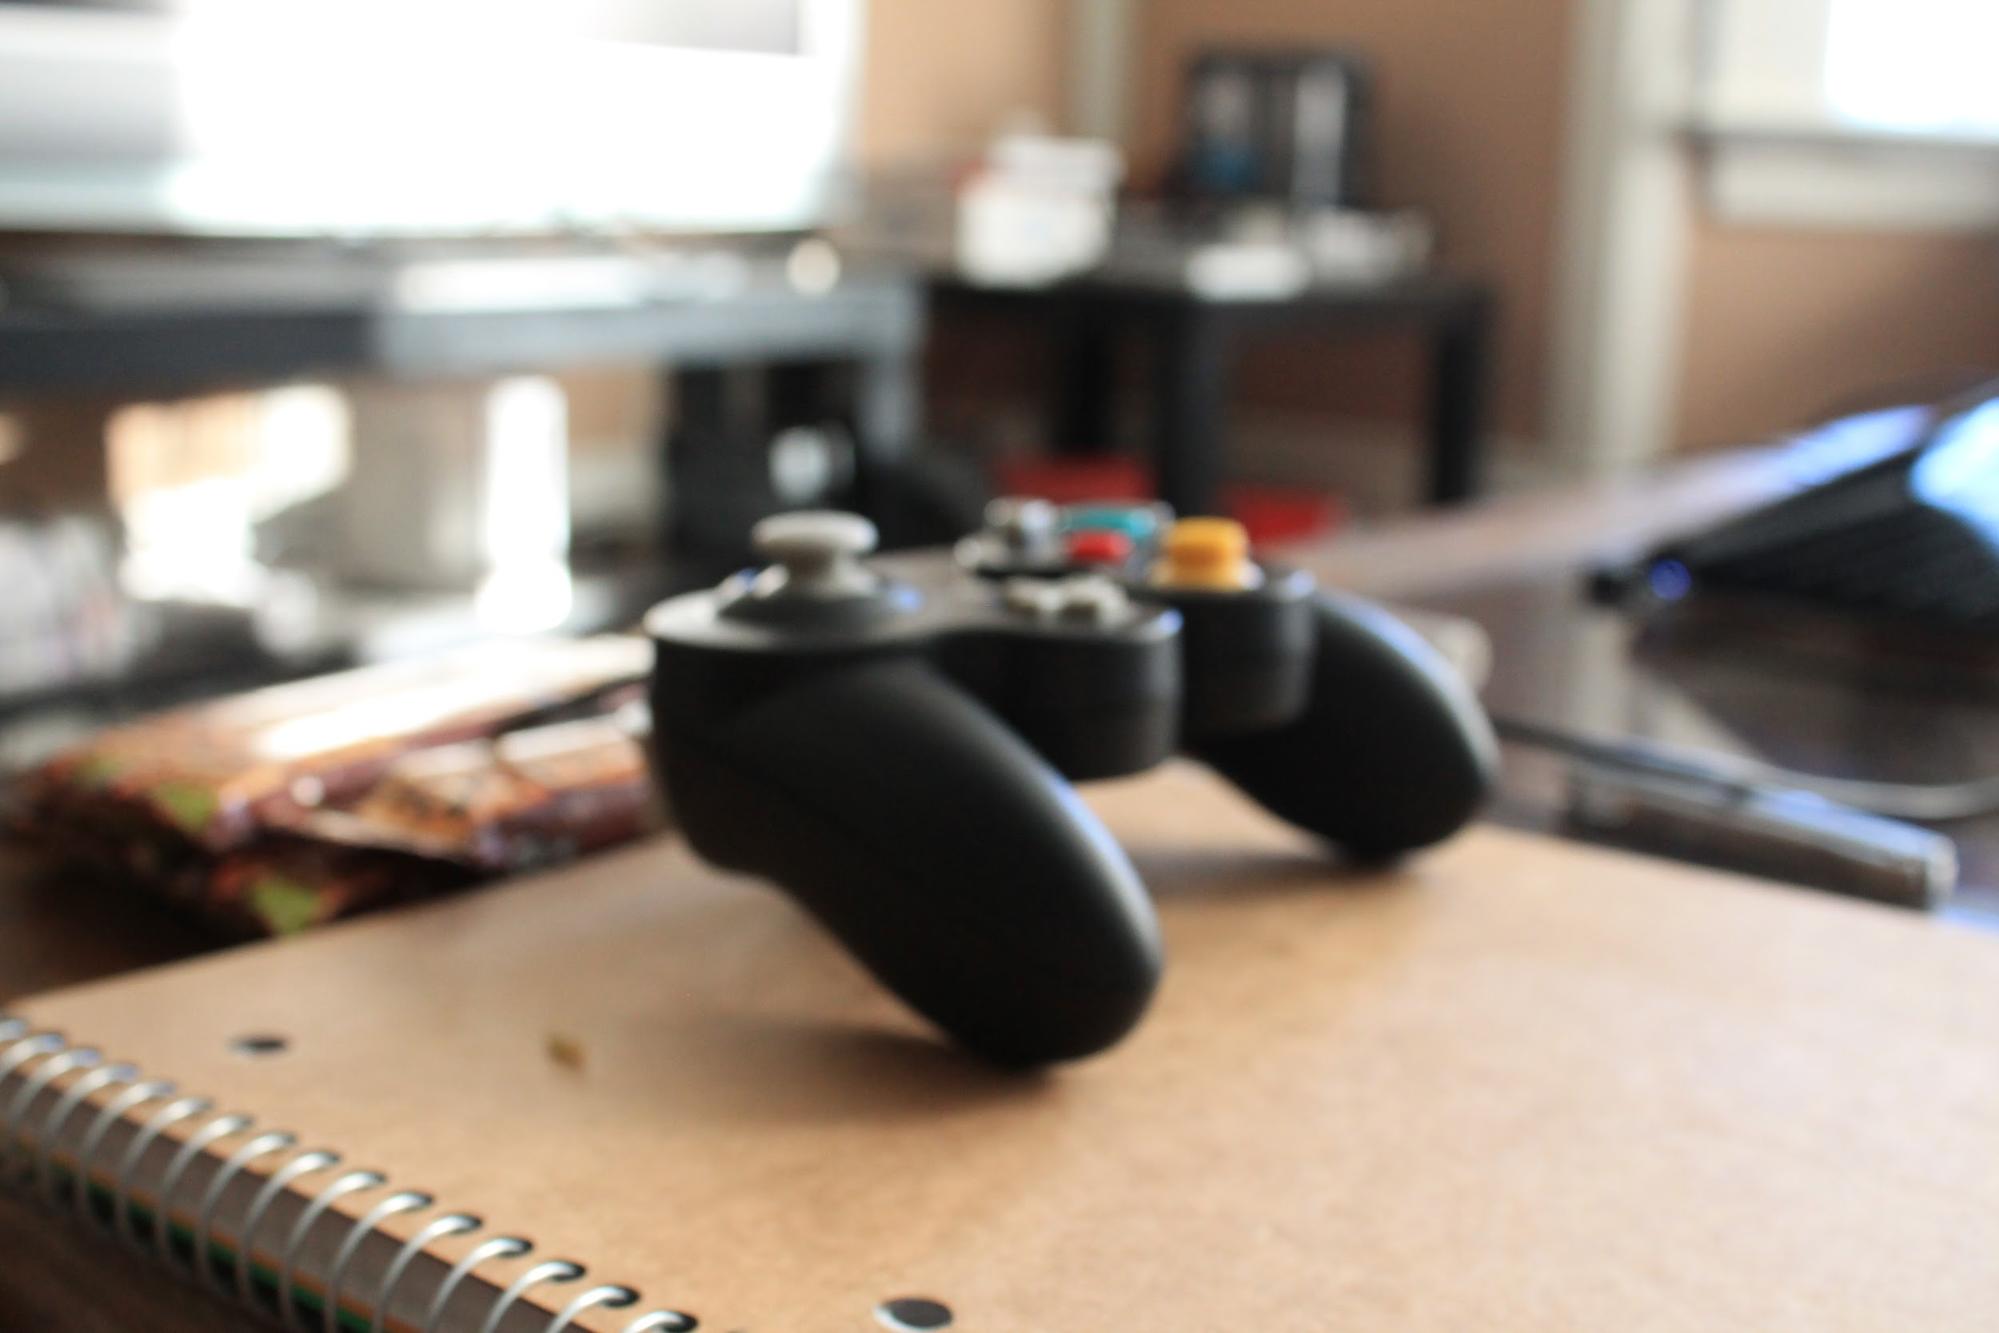
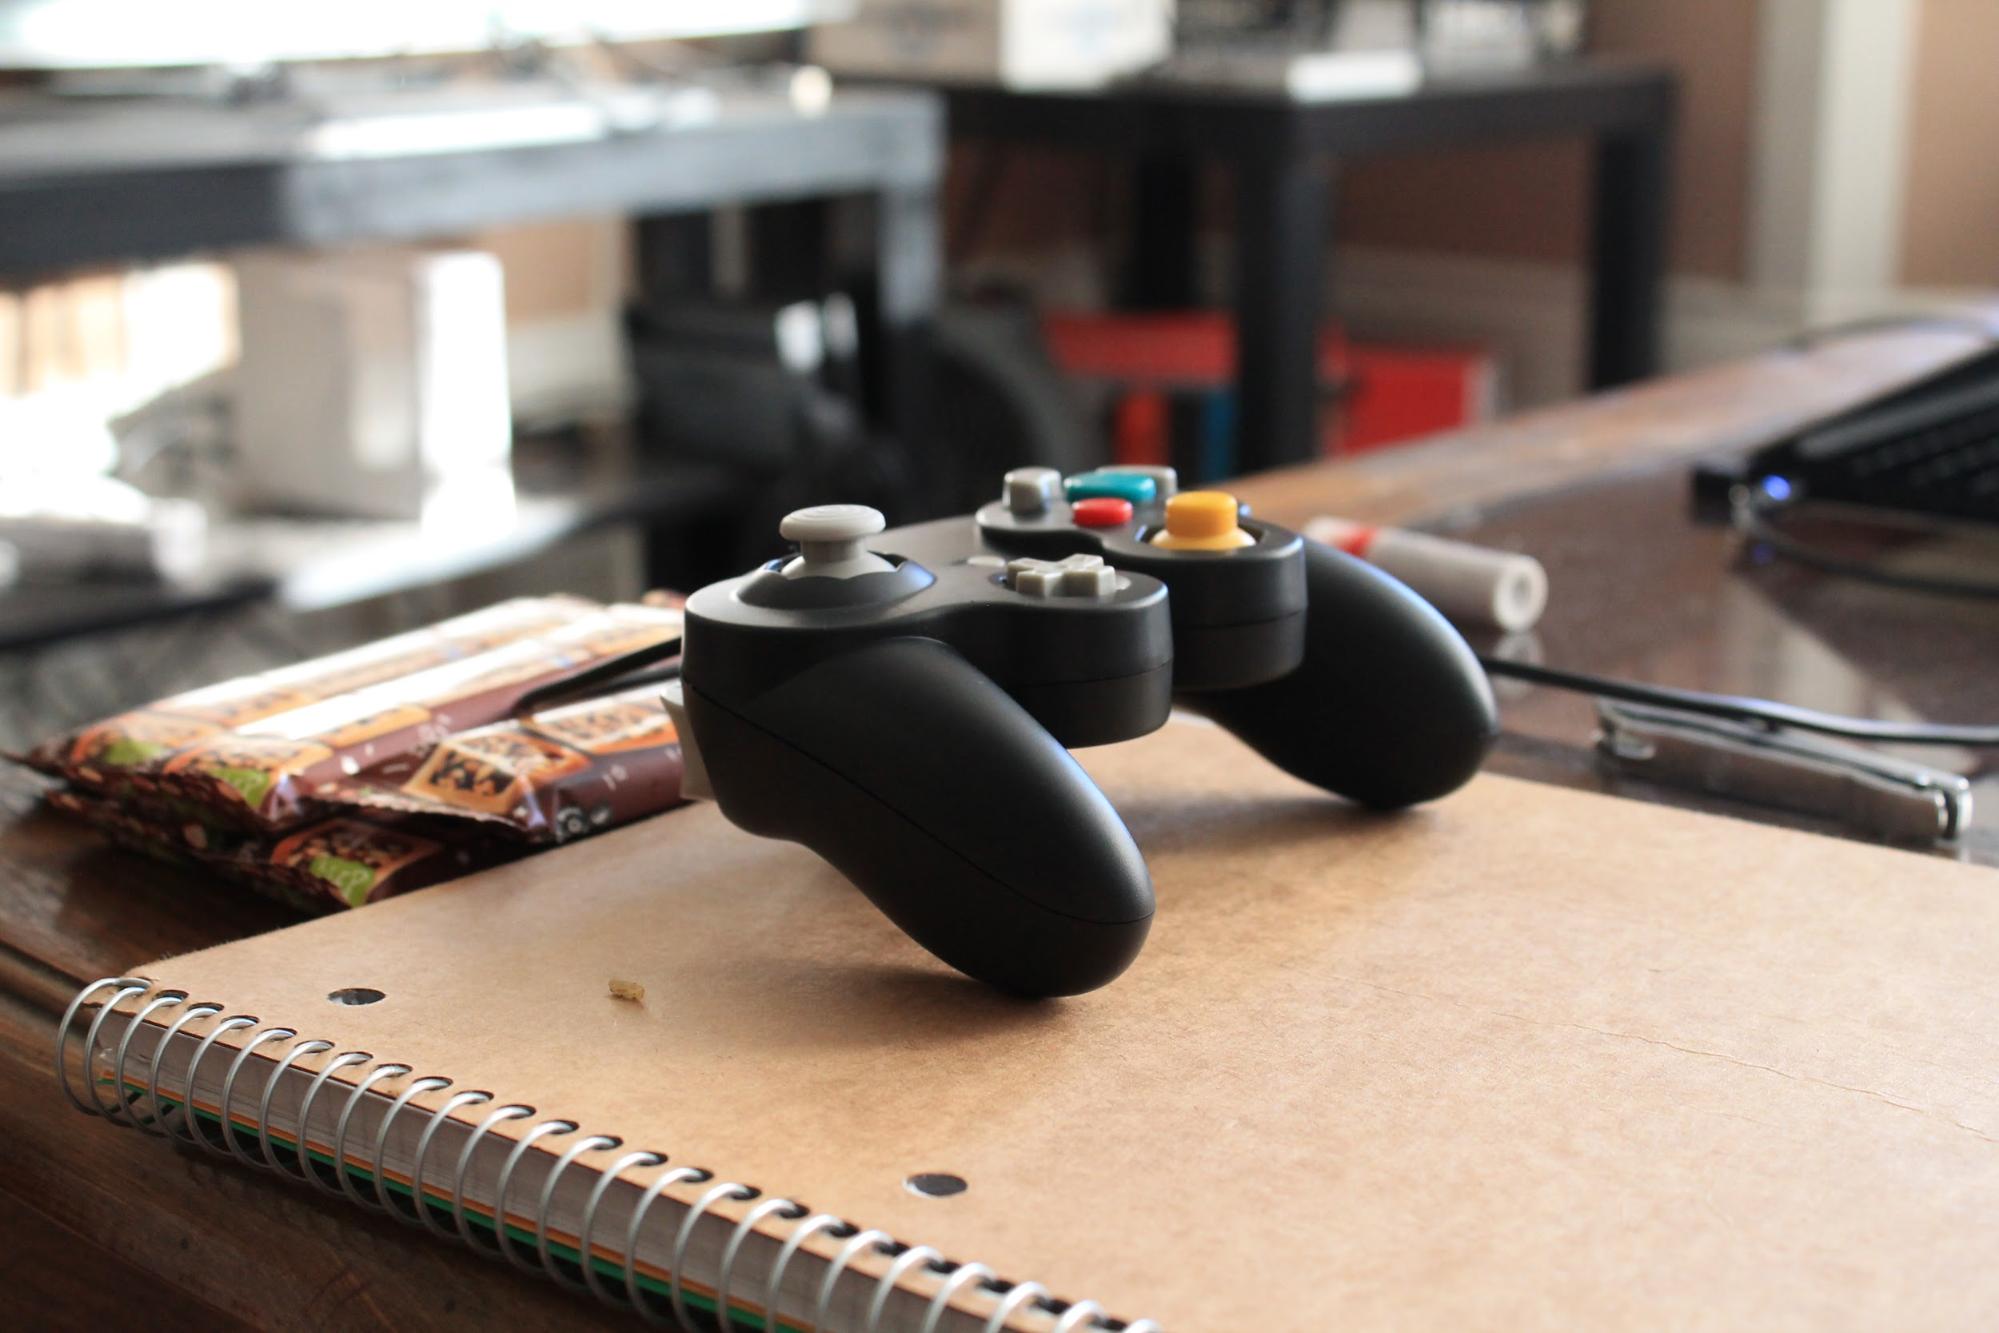
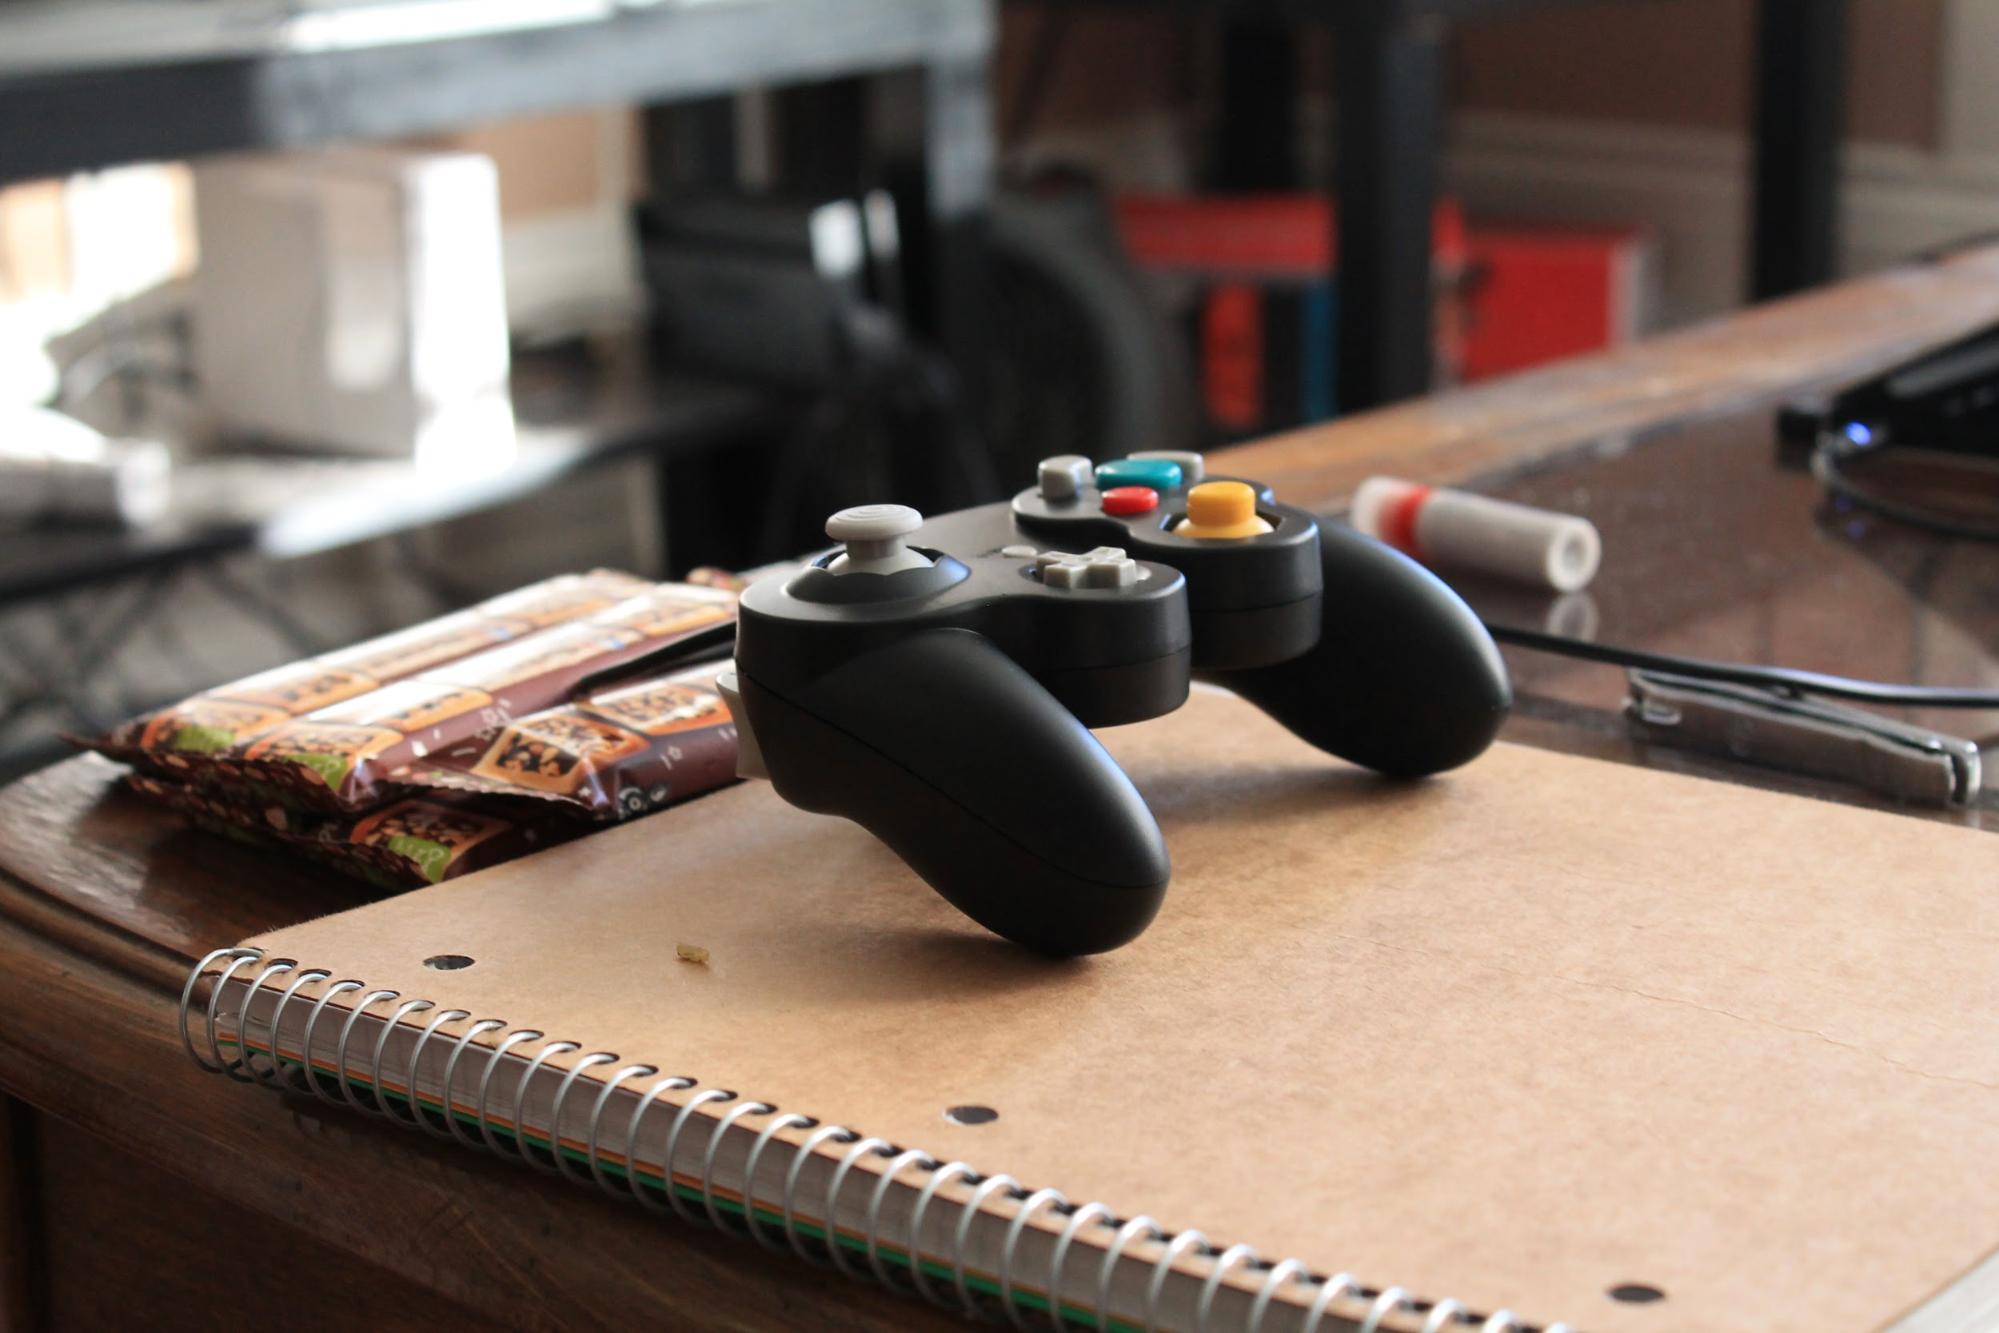
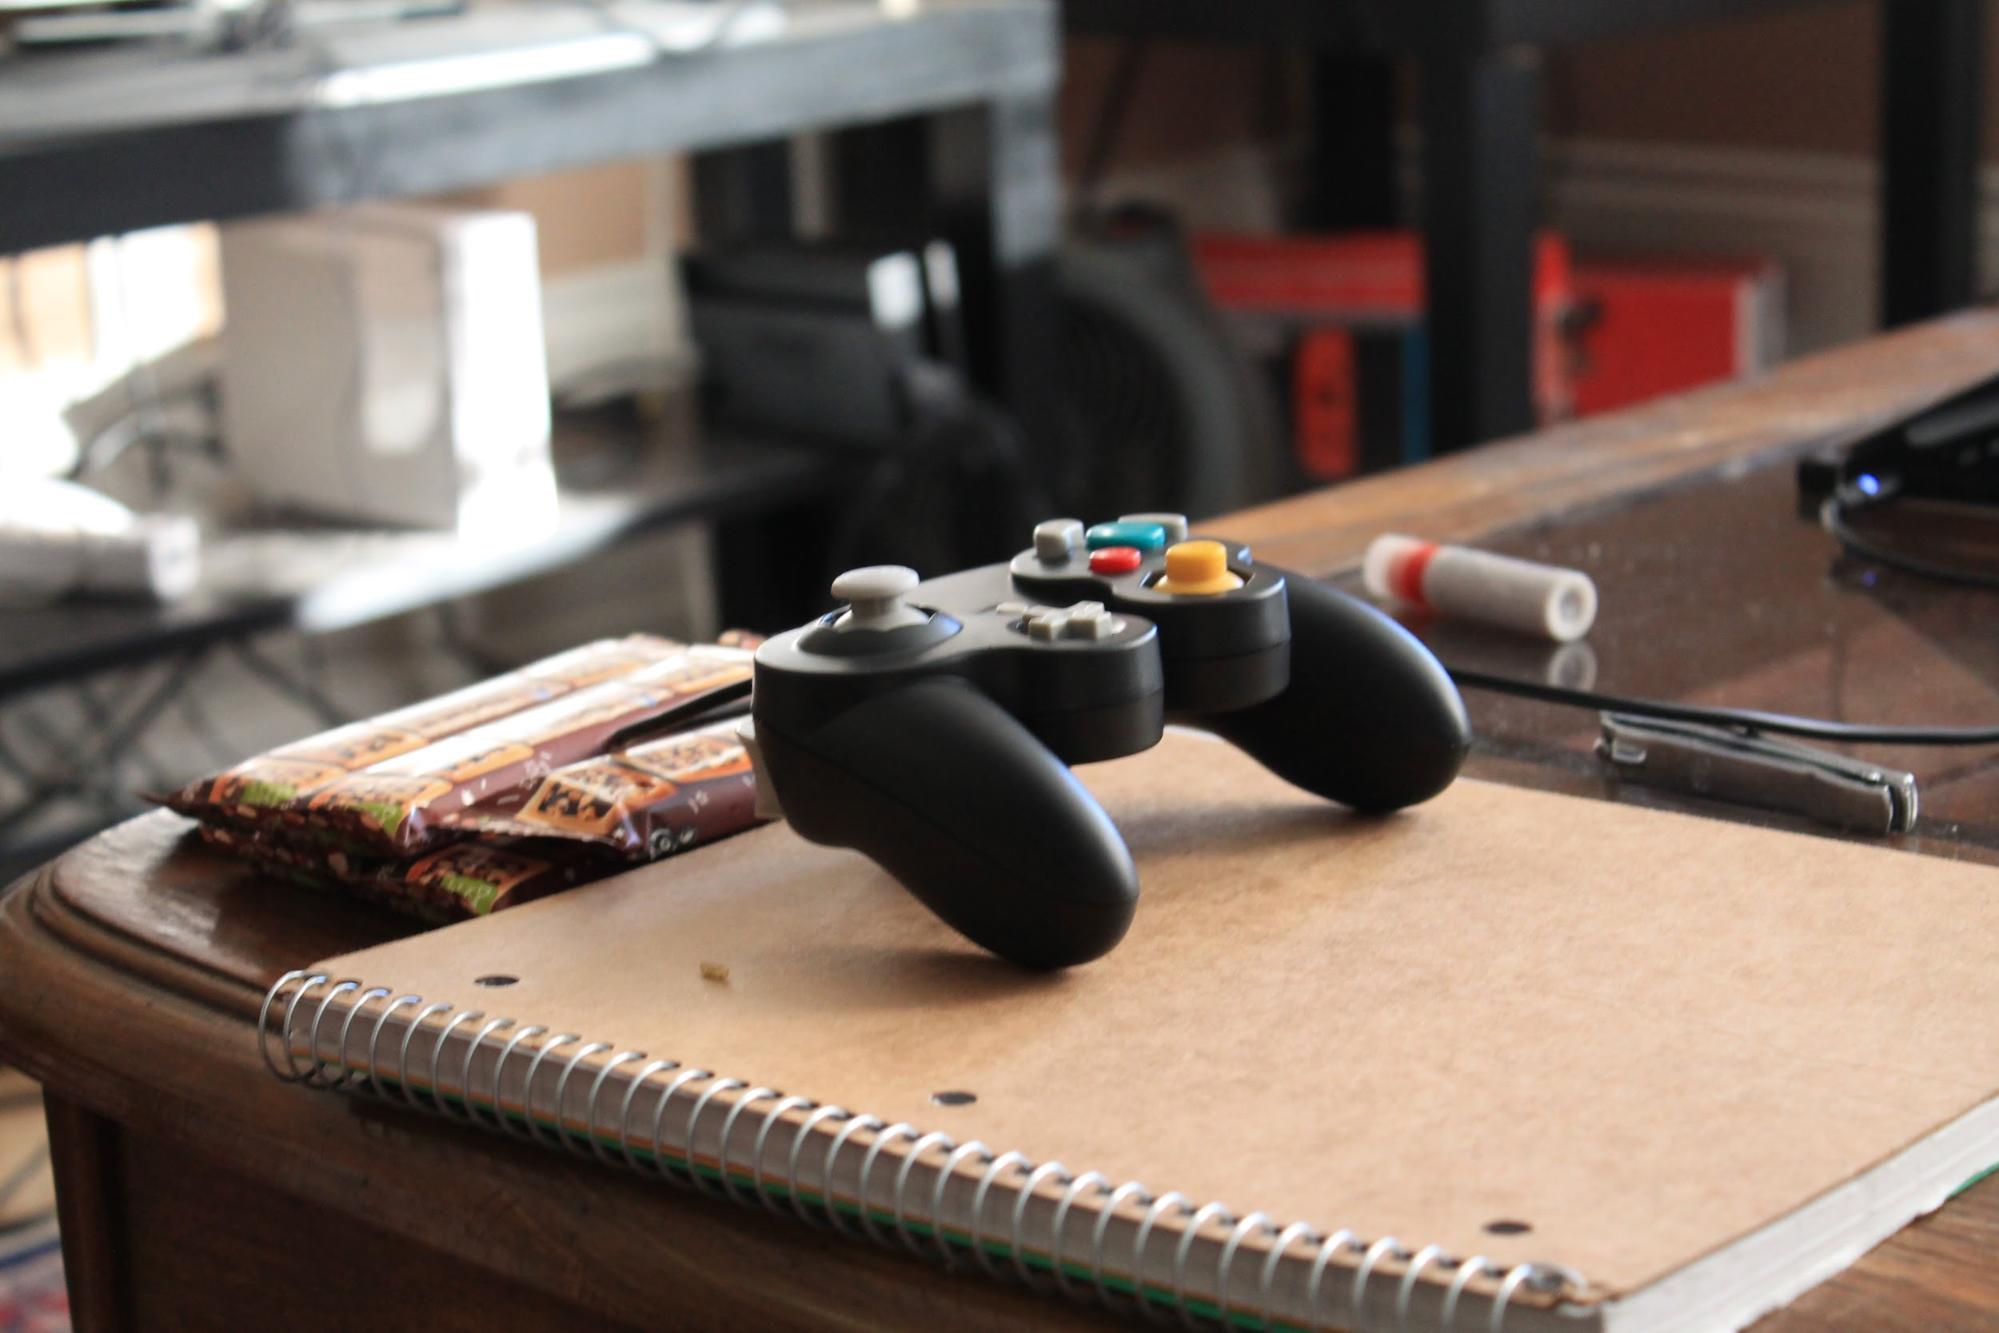
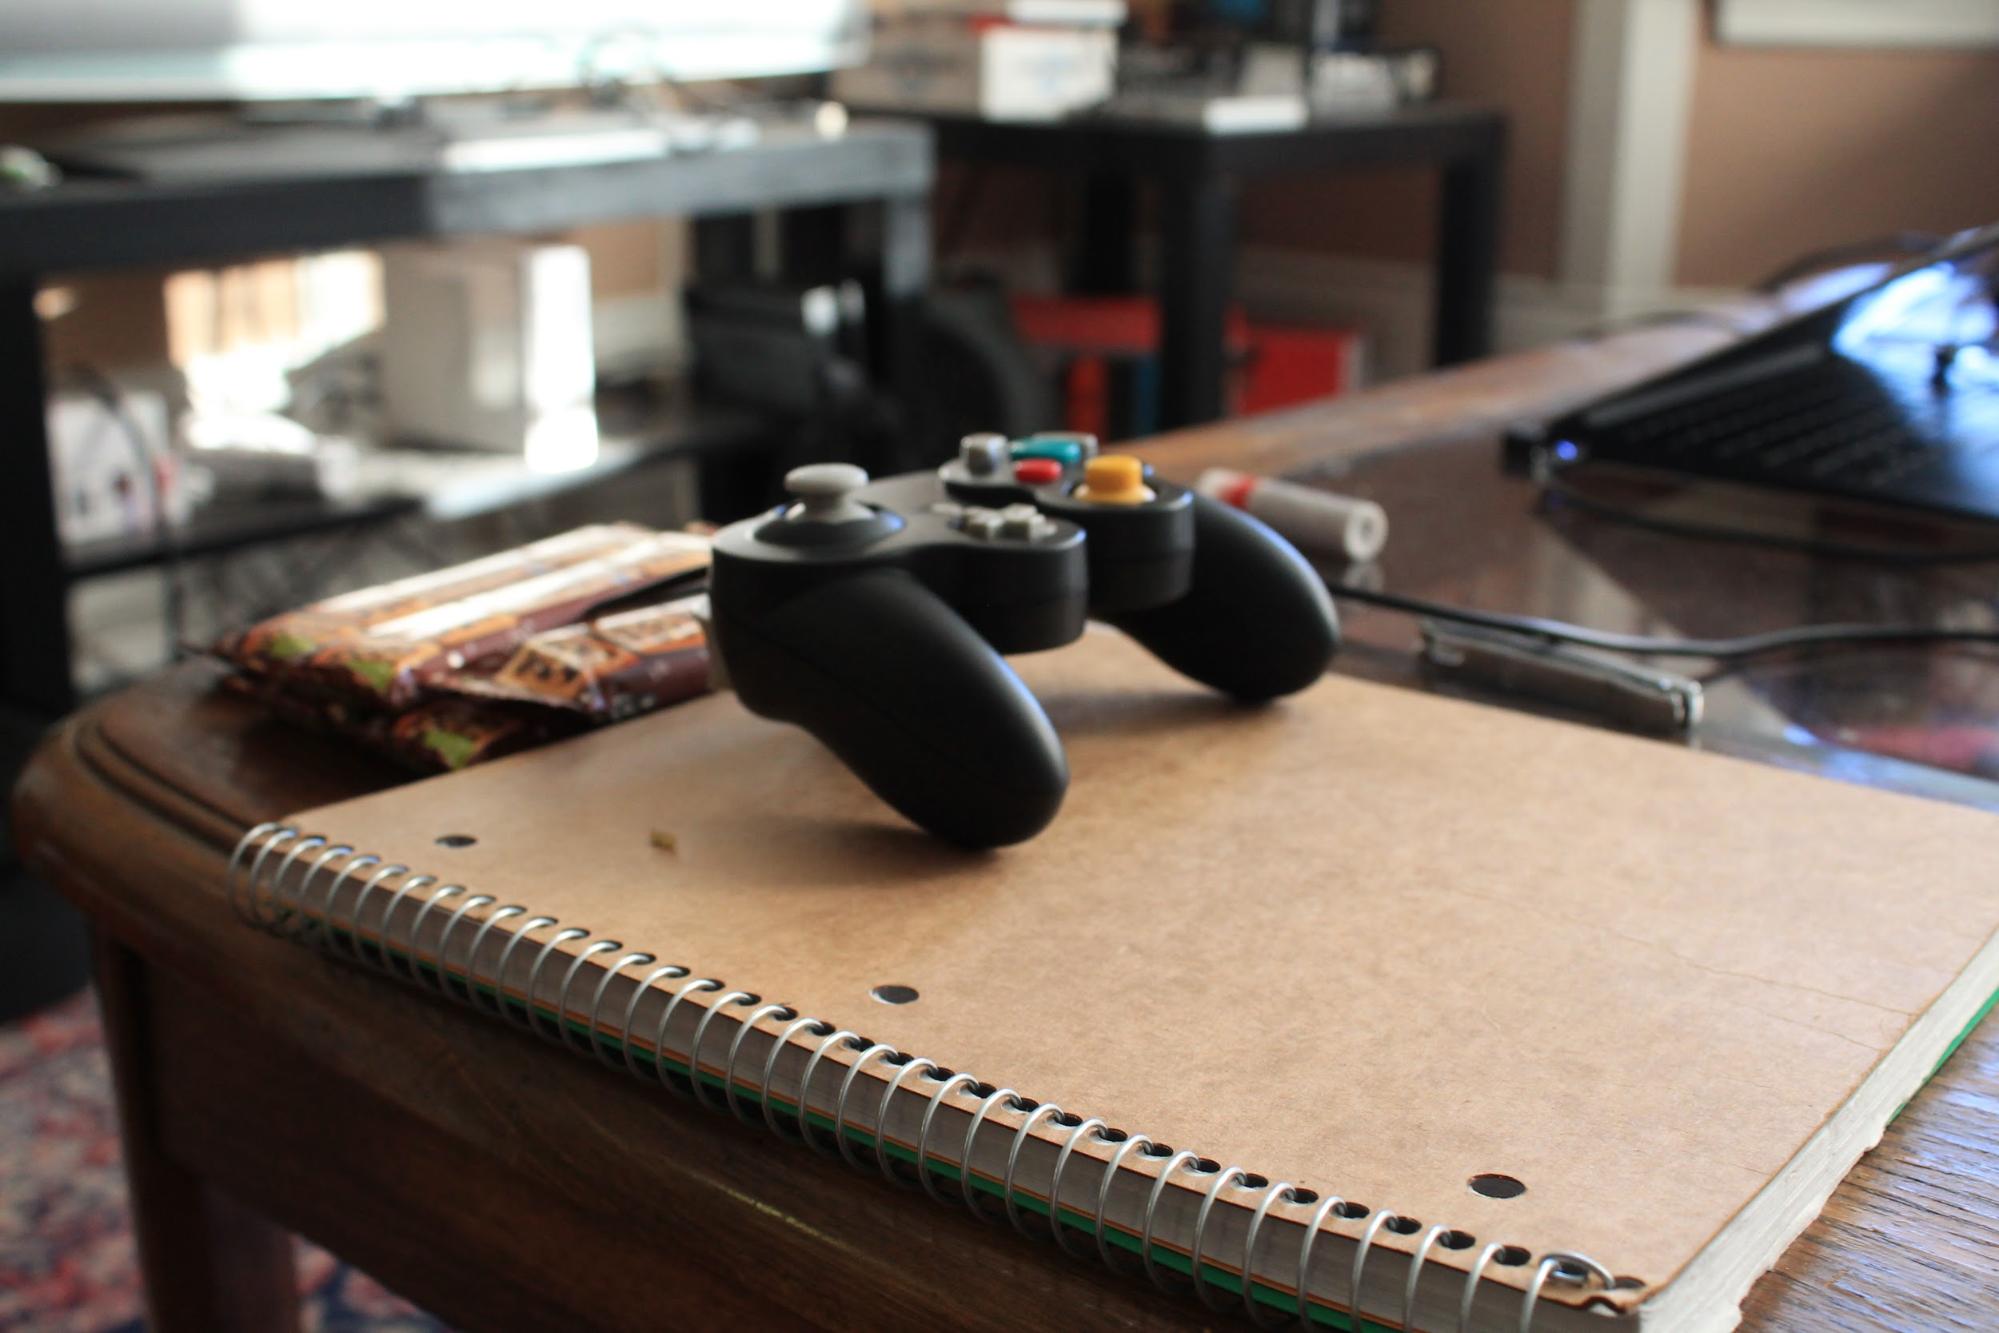
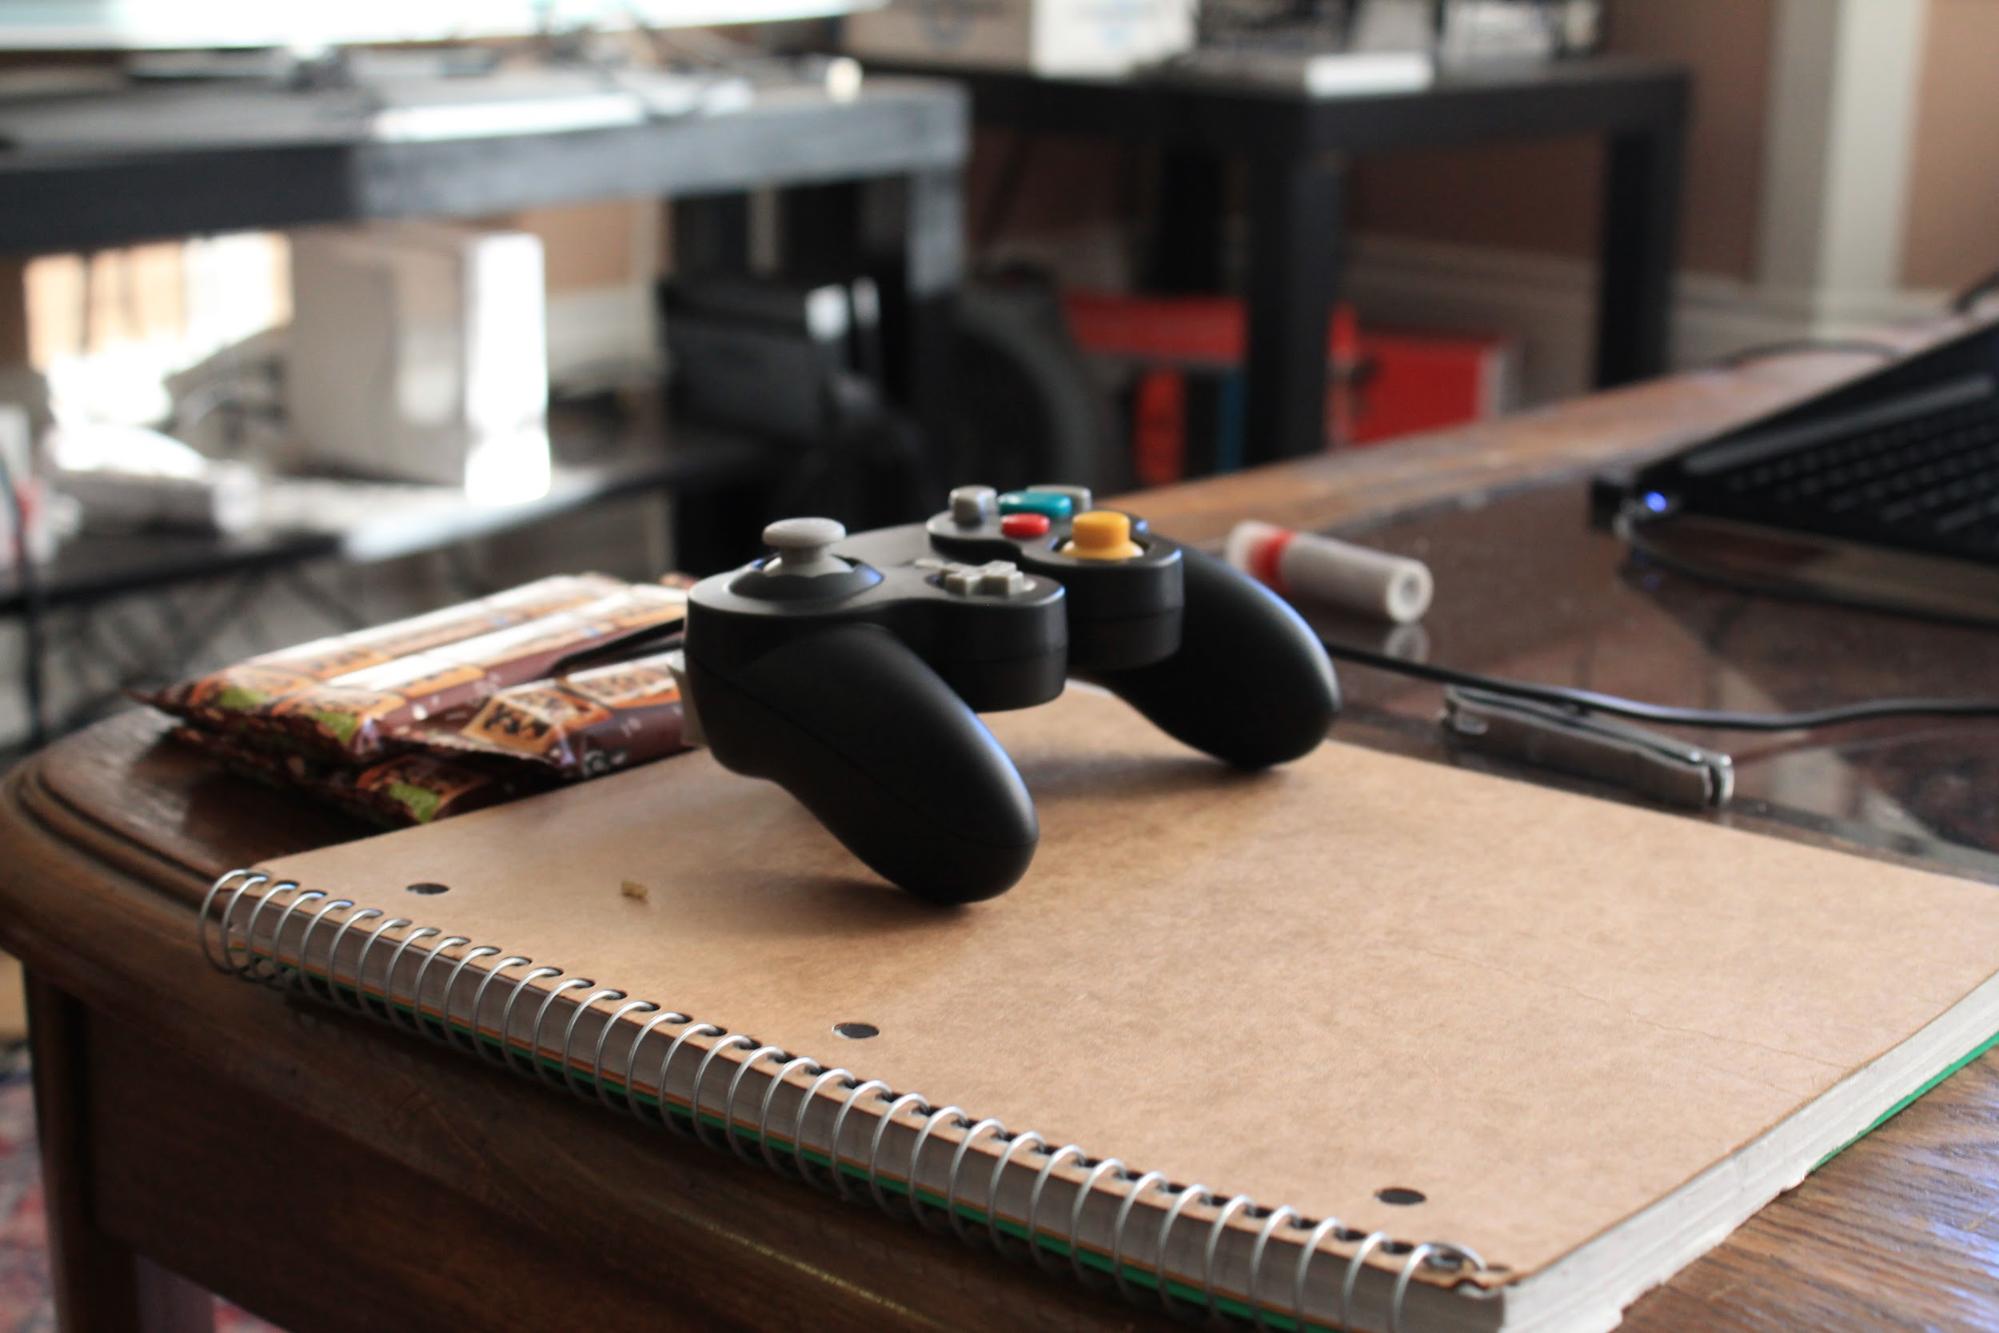
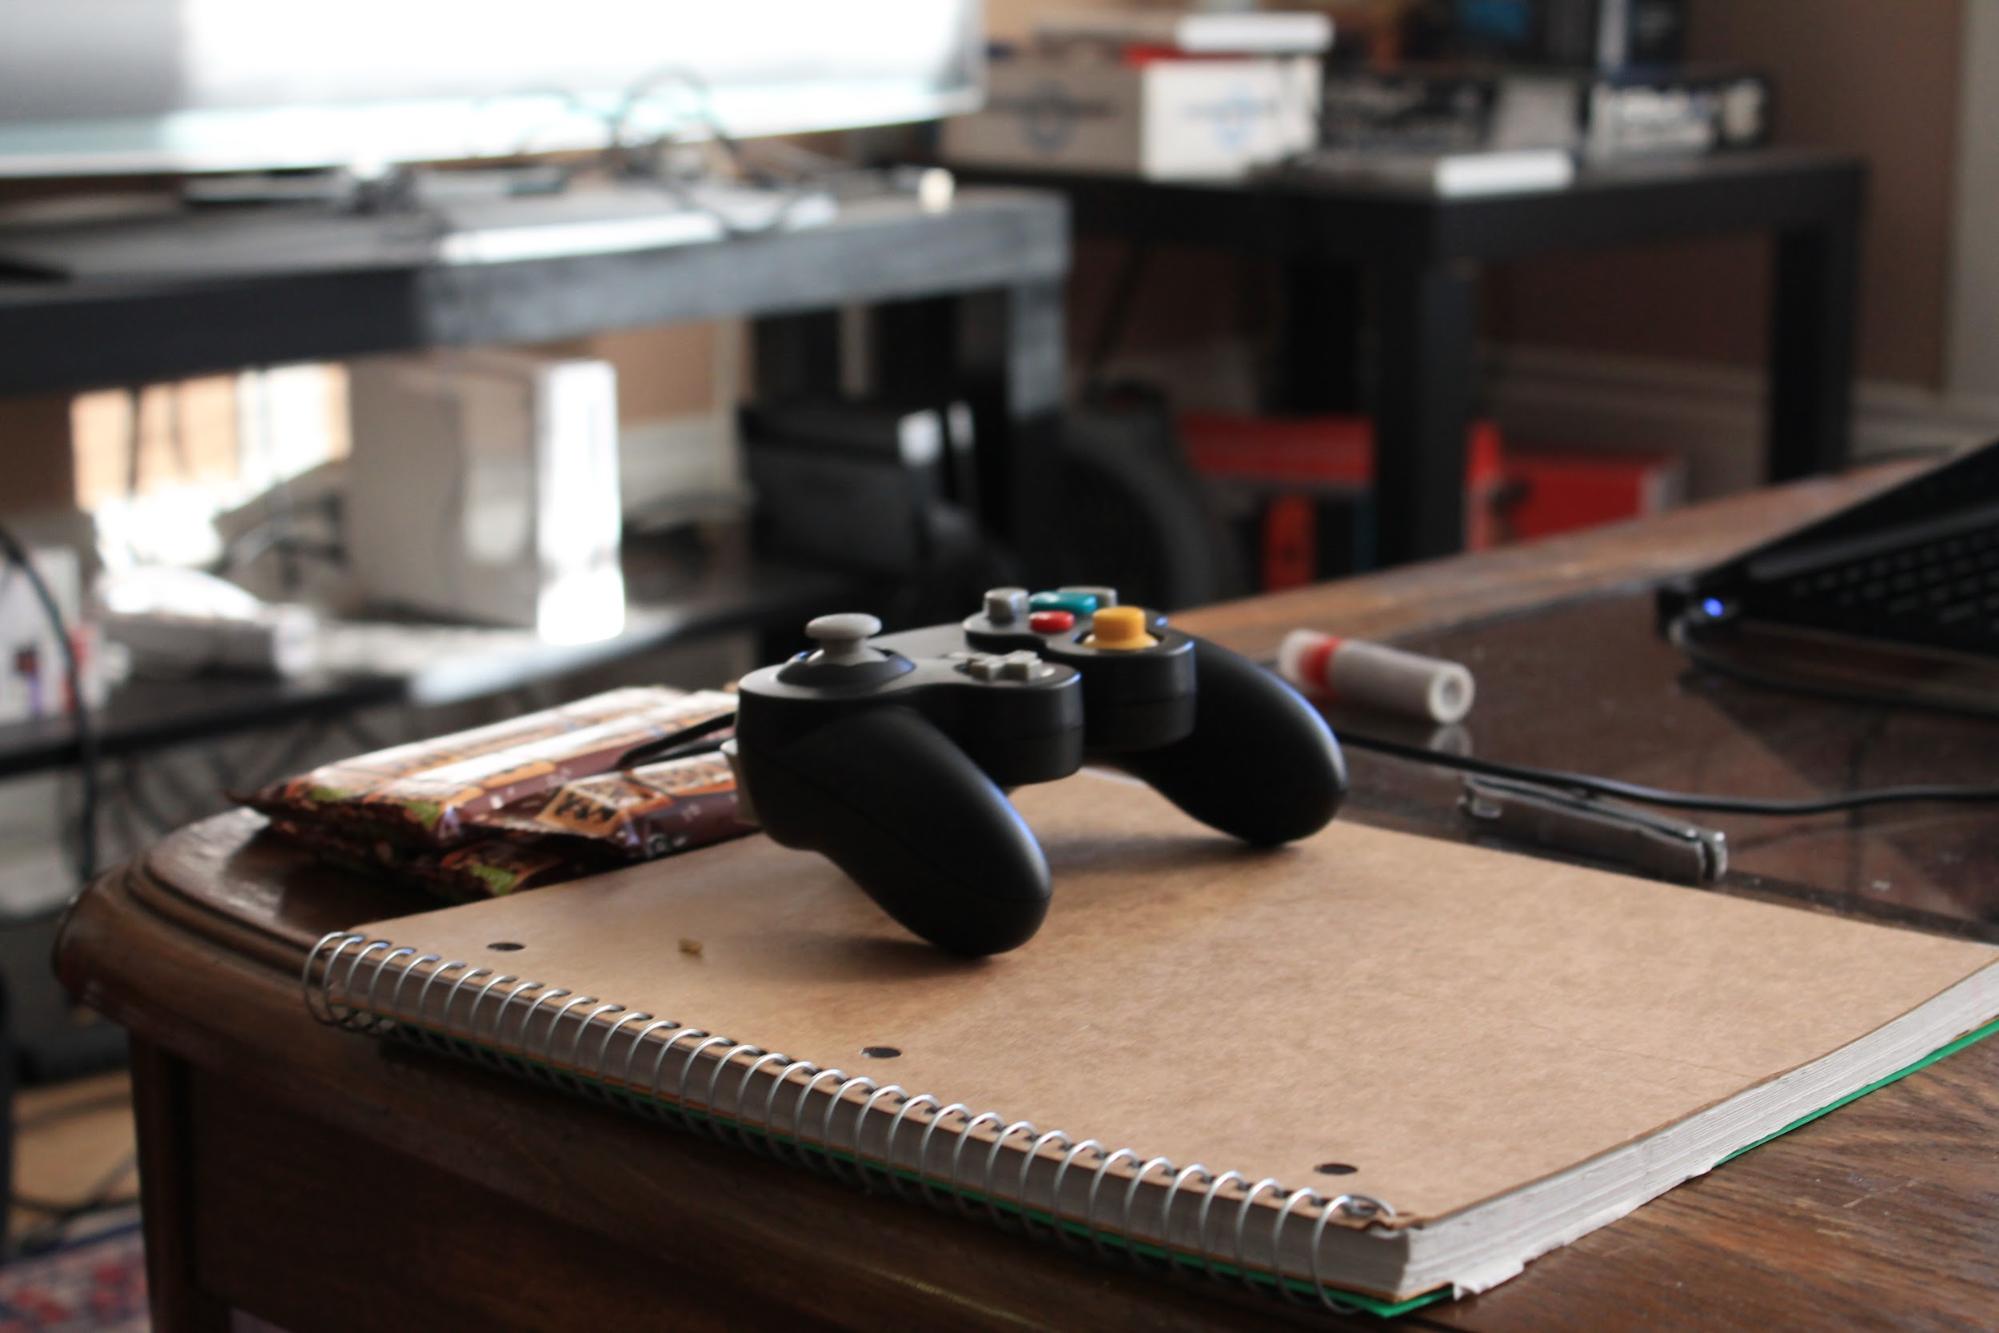
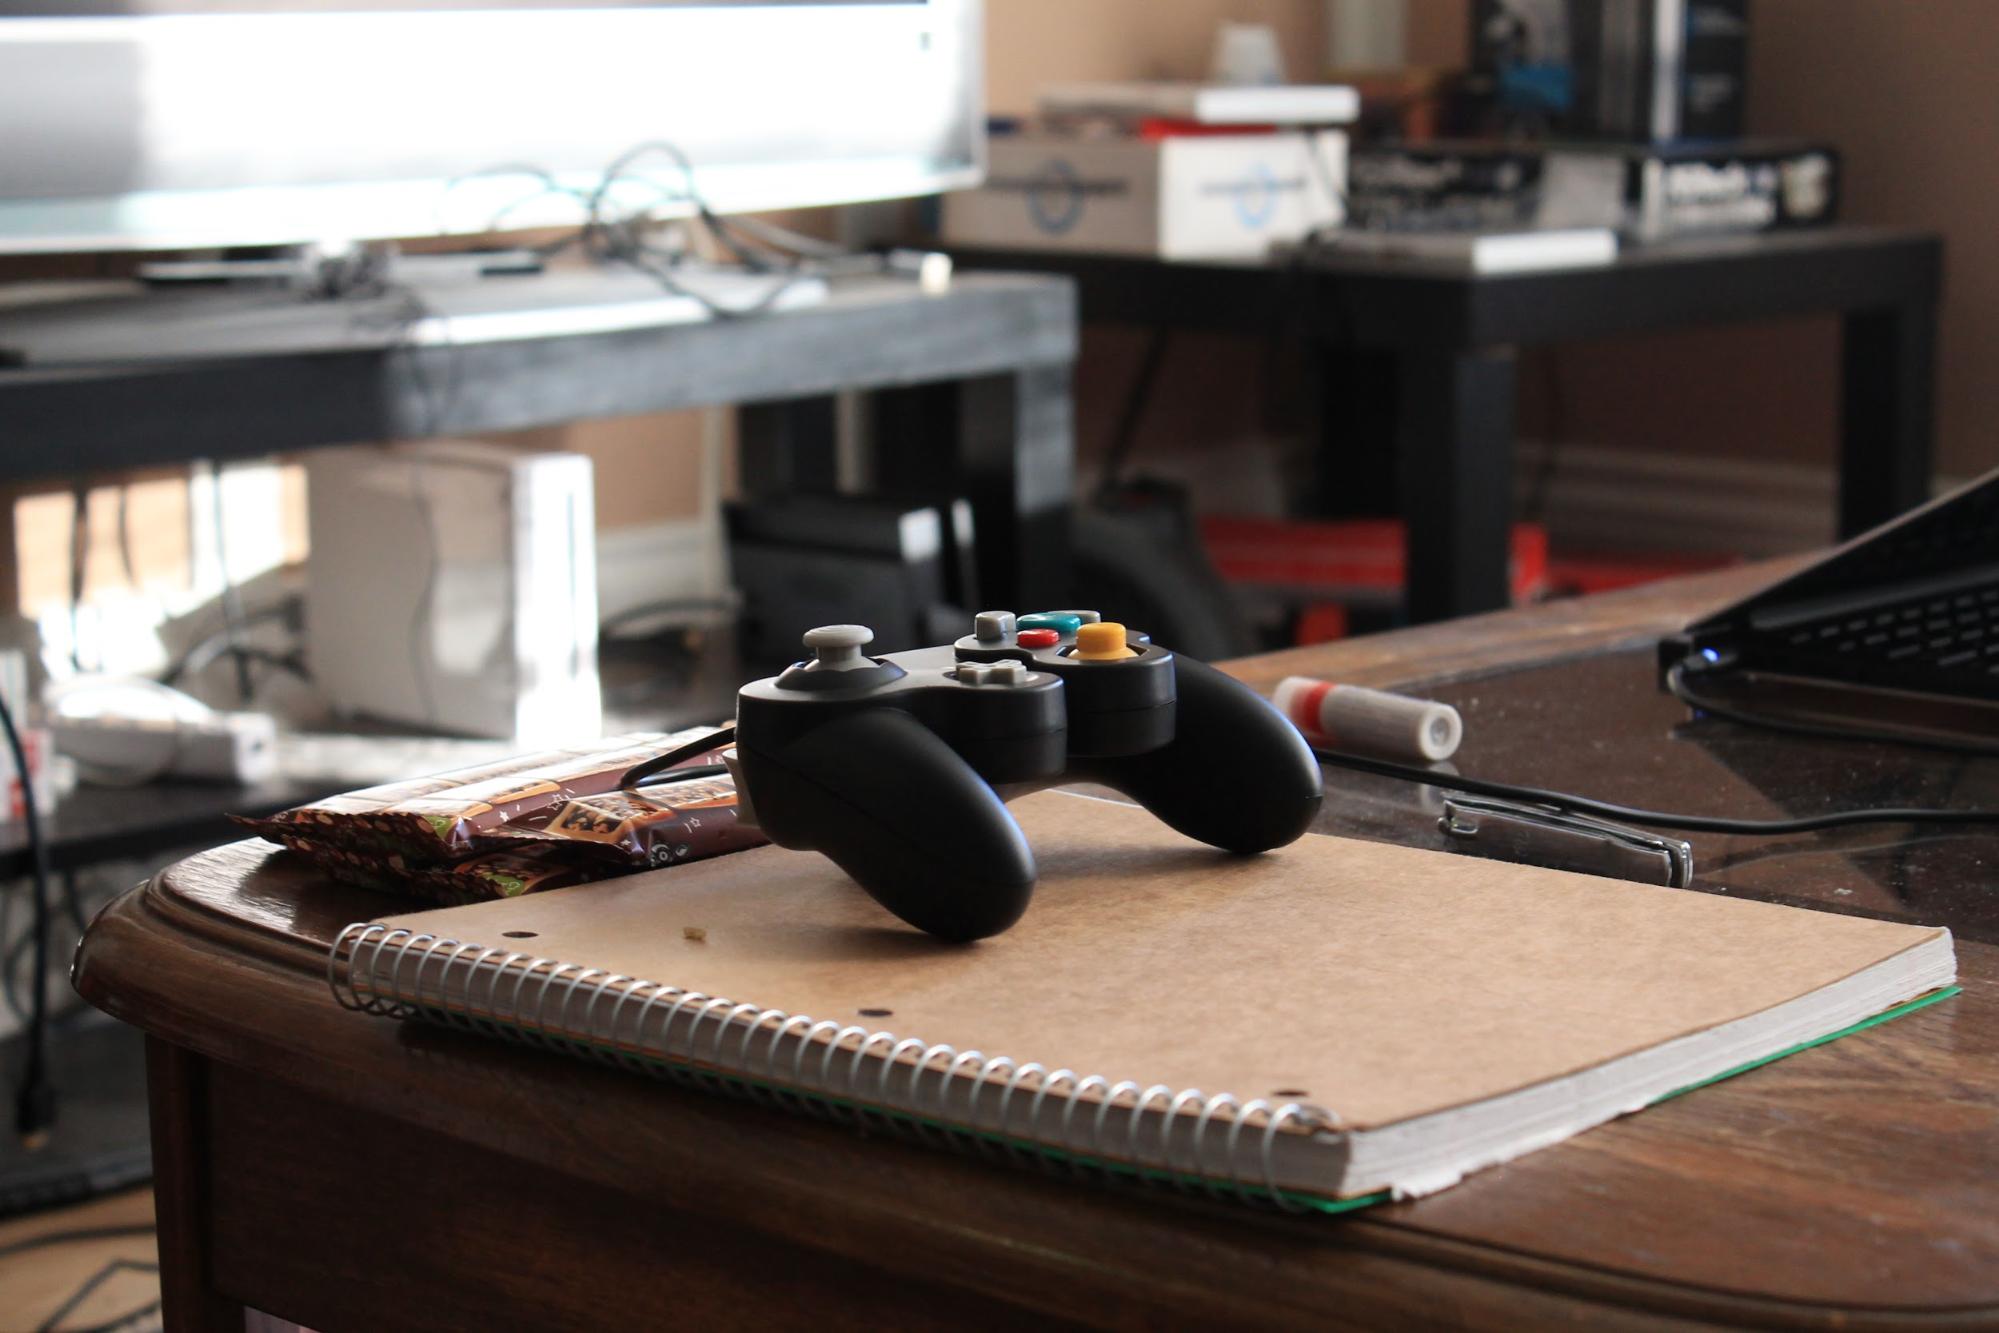
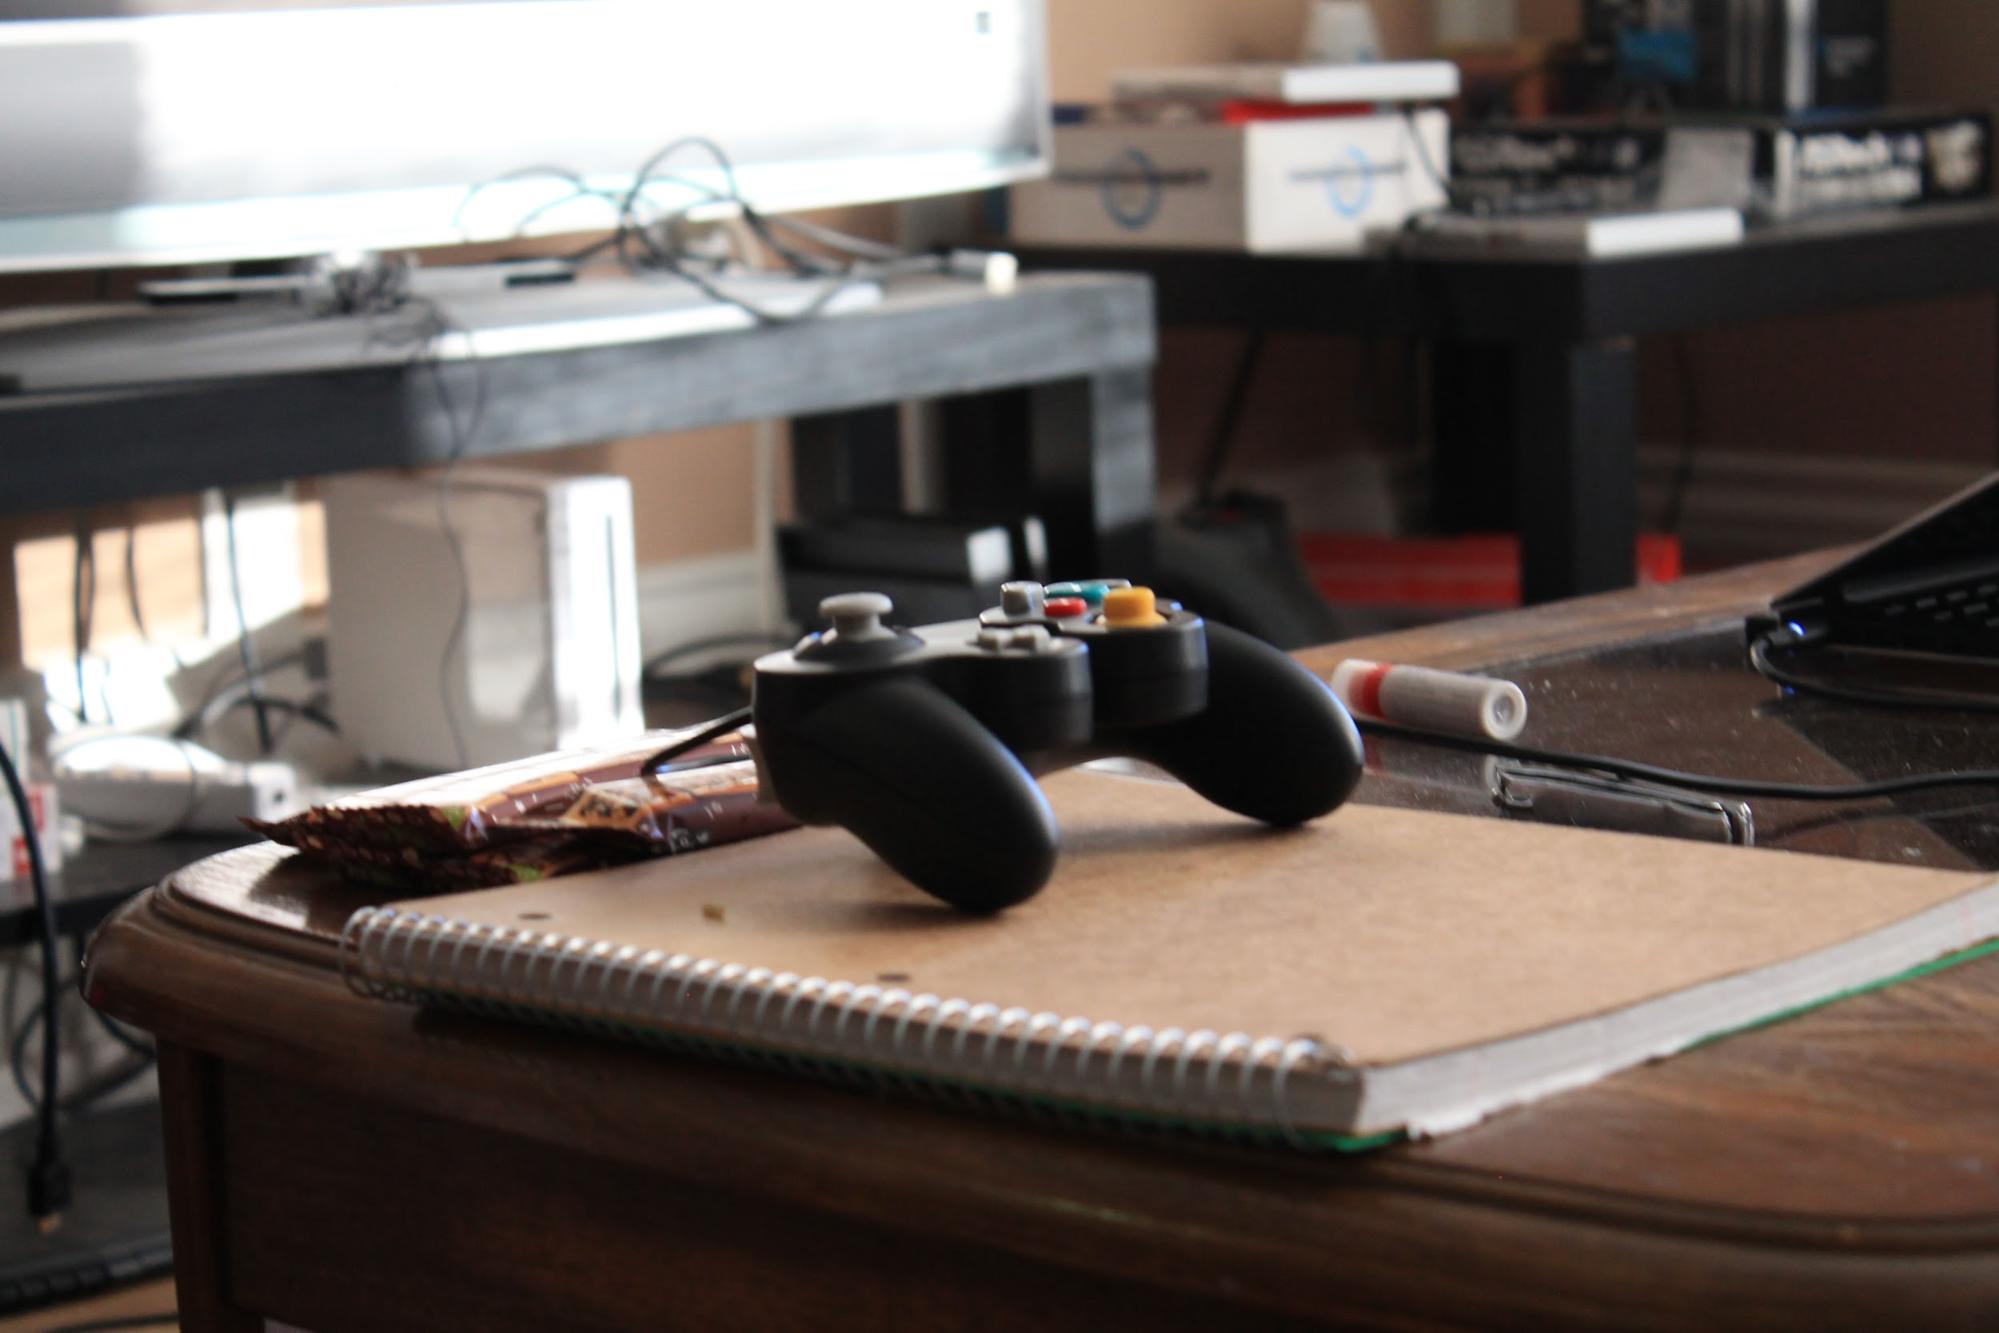
Gamecube Controller - Example 1
Gamecube Controller - Example 2
Doorway
Bells and Whistles #1 - Animated Sequences
Traditionally, the dolly zoom is used for cinematography, not individual image sequences. As such, it is natural to take the still image results from the previous segment and animate them all! The aforementioned differences, such as change in angle and the exaggerated zoom, are much more clear here. While not all would necessarily be considered “true” dolly zooms in the traditional sense, I included all of which that utilized the same core concept while coming out somewhat interesting.
Sprite Can | Cup of Water |
Entranceway | Doorway |
Gamecube Controller - Example 1 | Gamecube Controller - Example 2 |
Bells and Whistles #2 - Moving the Subject
The reason it’s called a “dolly zoom” in the first place is because, traditionally, the camera is moved using a dolly while the subject does its own thing. Additionally, in live cinematography, it’s not exactly practical for the subject to be doing the moving, since they’re either busy acting (human subject) or can’t move in the first place (inanimate subject). However, since we are working with still images that are then animated, I tried out the idea of moving the subject while keeping the camera still. The zoom lens, of course, was still used to maintain the essential concept.
Reflection
The Vertigo Shot itself is already a very unique and memorable concept without personal experience; one look at the namesake shot is enough to let you know that. Still, doing it myself was very fun and taught me a lot about how you can lead the human eye in weird directions: not exactly “tricking” it, but not doing what it’s expecting from you either. The biggest issue in performing this was actually keeping subject size level; while a certain degree of it was intentional in some examples (such as Gamecube Controller #1), there are simple inconsistencies that I was unable to avoid due to human error. While you still get the majority of the effect and a sense of what it would look like ideally, jitters are still present (most notably in the entranceway example) and would, ideally, be removed. Regardless, though, I think the results turned out well, and even with the blemishes in photography, the visual phenomena are still very interesting and elicit a similar reaction.
Attempting to move the subject instead of the camera was less jarring than I expected; the animation looks surprising natural, despite the can basically sliding across the table. This ends up being the case because the eye is so naturally drawn to the primary, focused subject, that it’s able to naturally handwave the surroundings as motion blur. Still, though, it somewhat defeats the purpose of using the dolly zoom at all, as it doesn’t create the perspective detachment effect that’s typically intended; it’s much more akin to stop-motion animation, which is nice in and of itself but is a very different result.
Overall, I really enjoyed watching my individual images come together to form complete pieces after being animated. Photography is far from a strong suit, so assembling the images themselves took several attempts, but they turned out well and created the intended effect successfully.