|
|
|
|
|
|
|
|
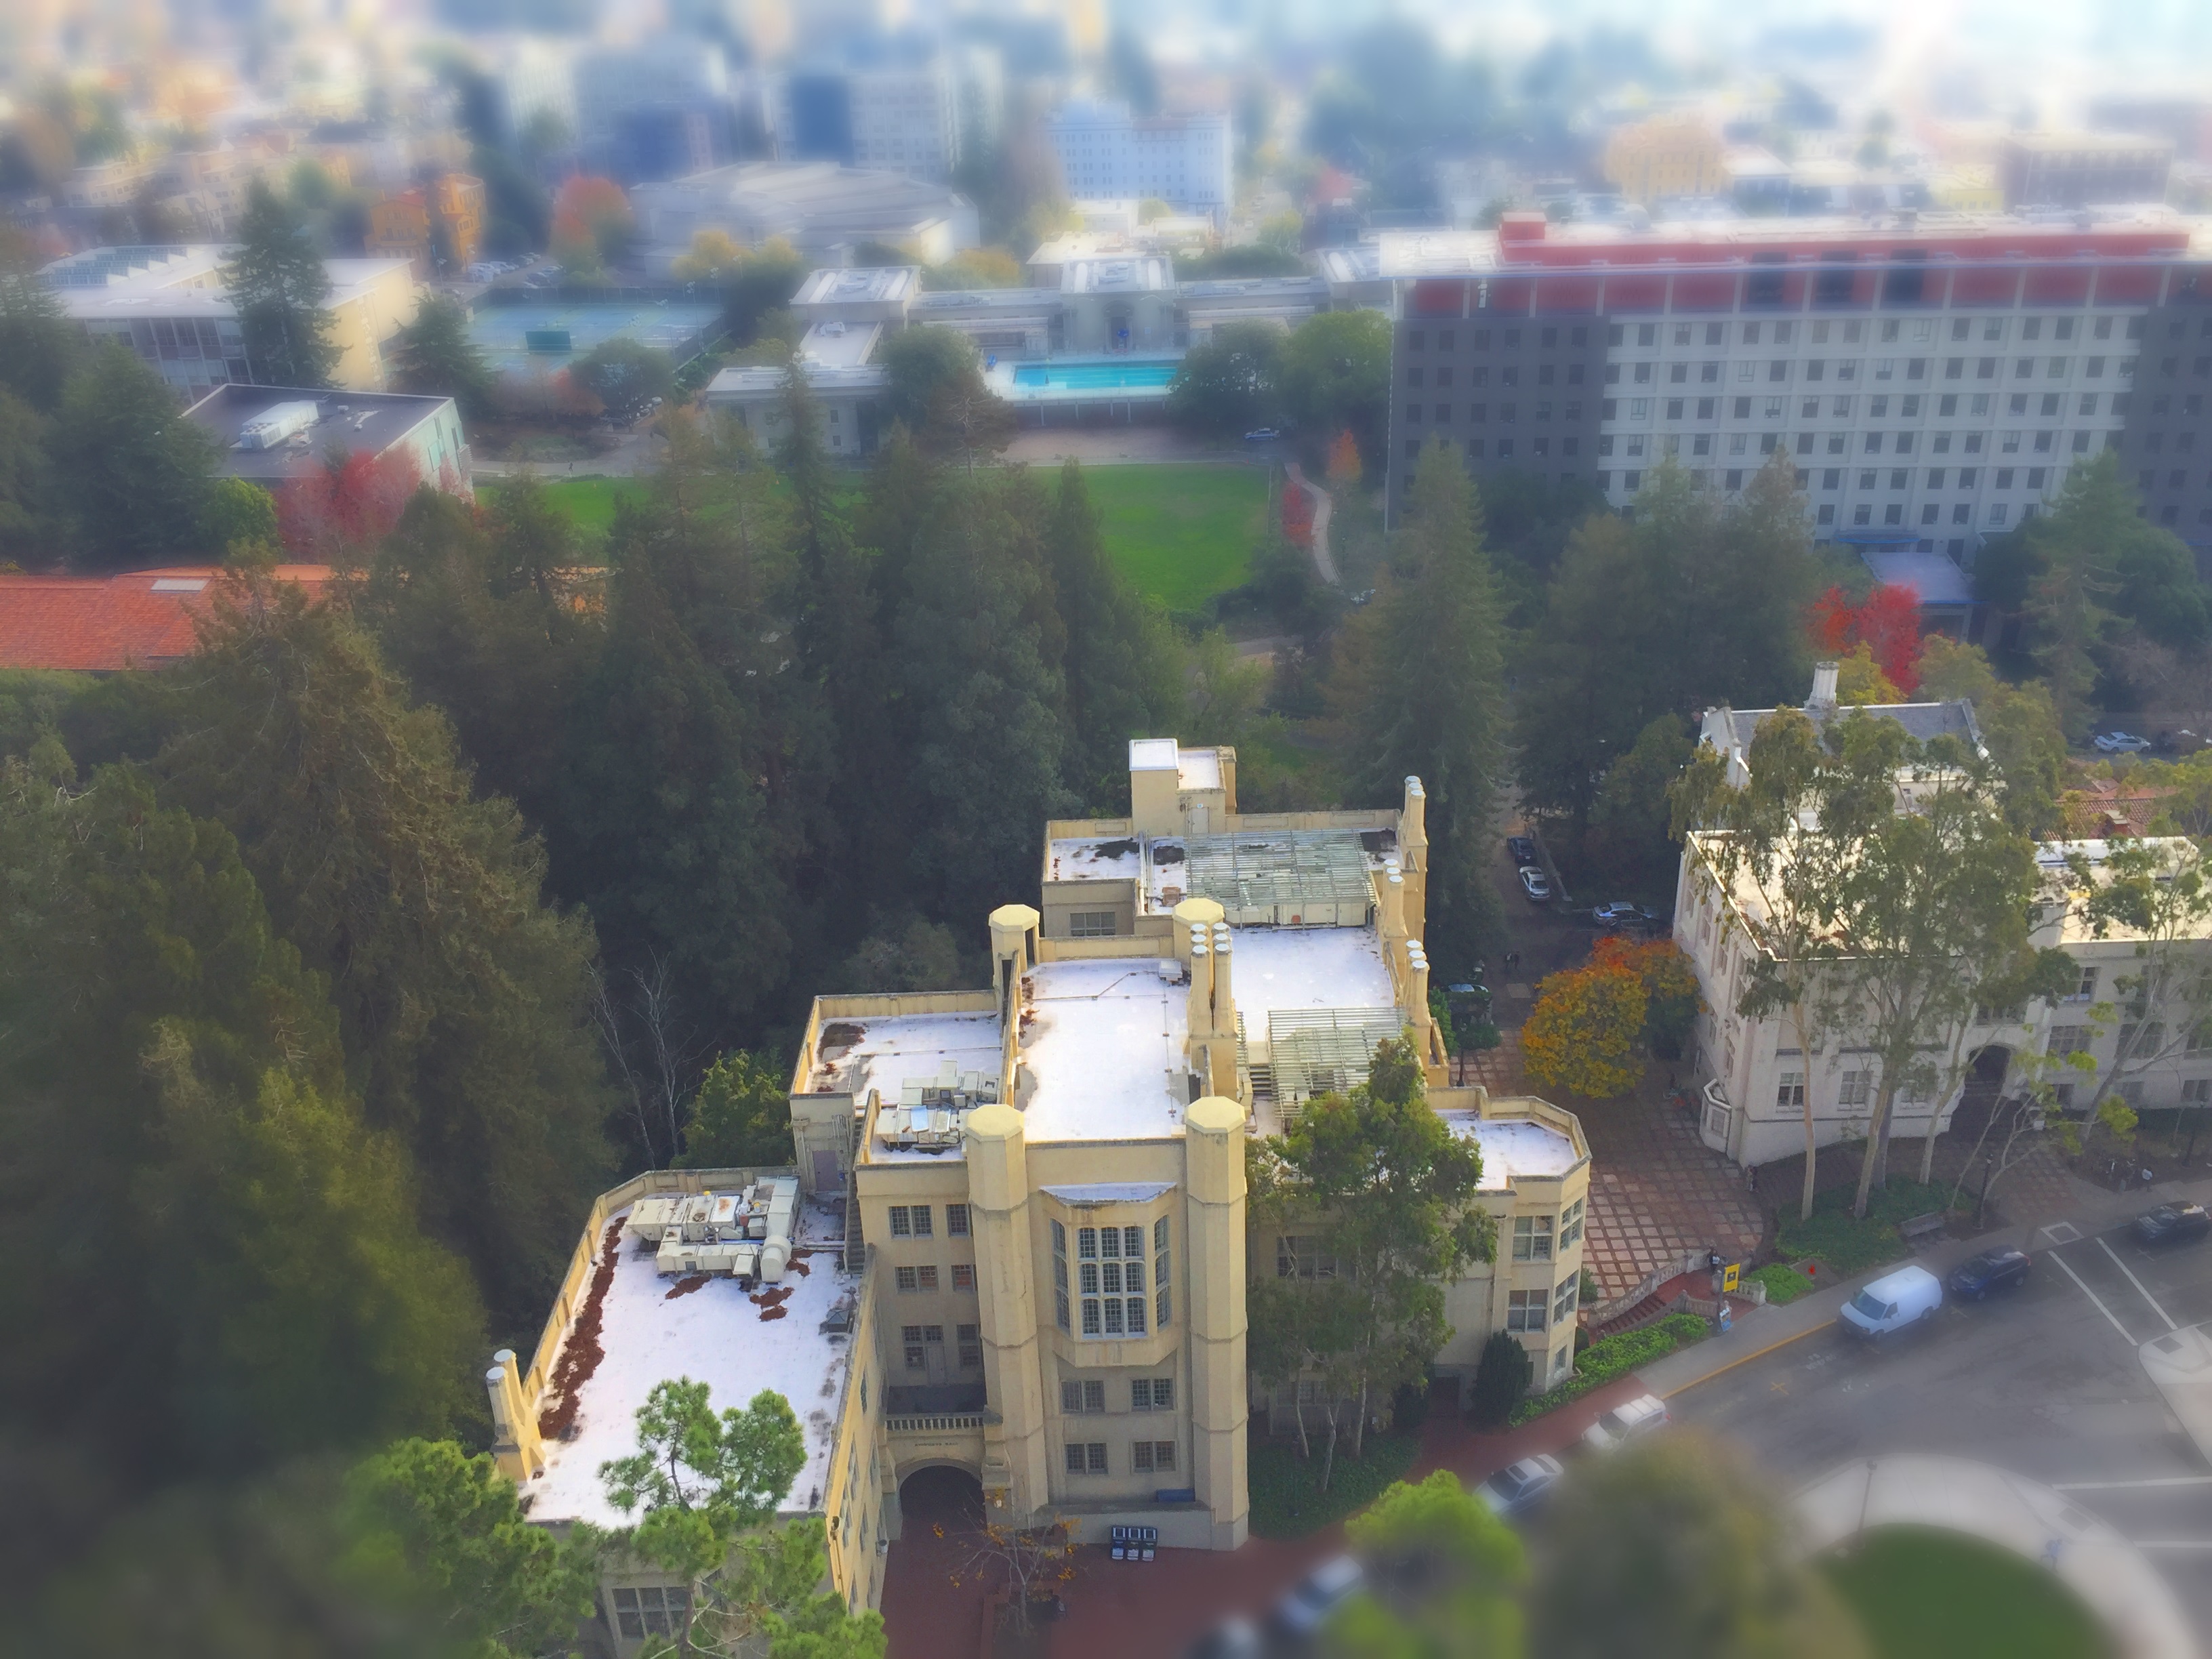
To create fake miniatures, I implemented a blur that operates on a vertical gradient. This creates the illusion that the depth of field is smaller than it is in relation to the depths shown in the image. This was done by first asking the user for two points as input, which will be the defining points of the vertical gradient. Then, a gradient mask is created from the points, and the image is blurred in accordance with the inverse of the gradient.
In order to make the pictures appear more like miniatures, which are generally taken in a controlled environment, I increased the saturation of the images as well. This also makes the images appear more toy-like. I accomplished this by converting the image to the hsv image range, and then multiplying the saturation by a value.
I used multiple hyperparameters to tune the images. For example, the "Buildings" image below was produced with:
grad_pow = 0.8 \ # maximum value of vertical gradient [0.1 -> 0.9]
grad_exp = 1 \ # exponential that the gradient is raised to [1,2,3,4]
blur_pow = 60 \ # strength of blur on image [30 -> 100]
mask_blur_pow = 150 \ # strength of blur on masks [50 -> 150]
sat_pow = 1.3 \ # power of saturation [1.0 -> 2.0]
Results are below!
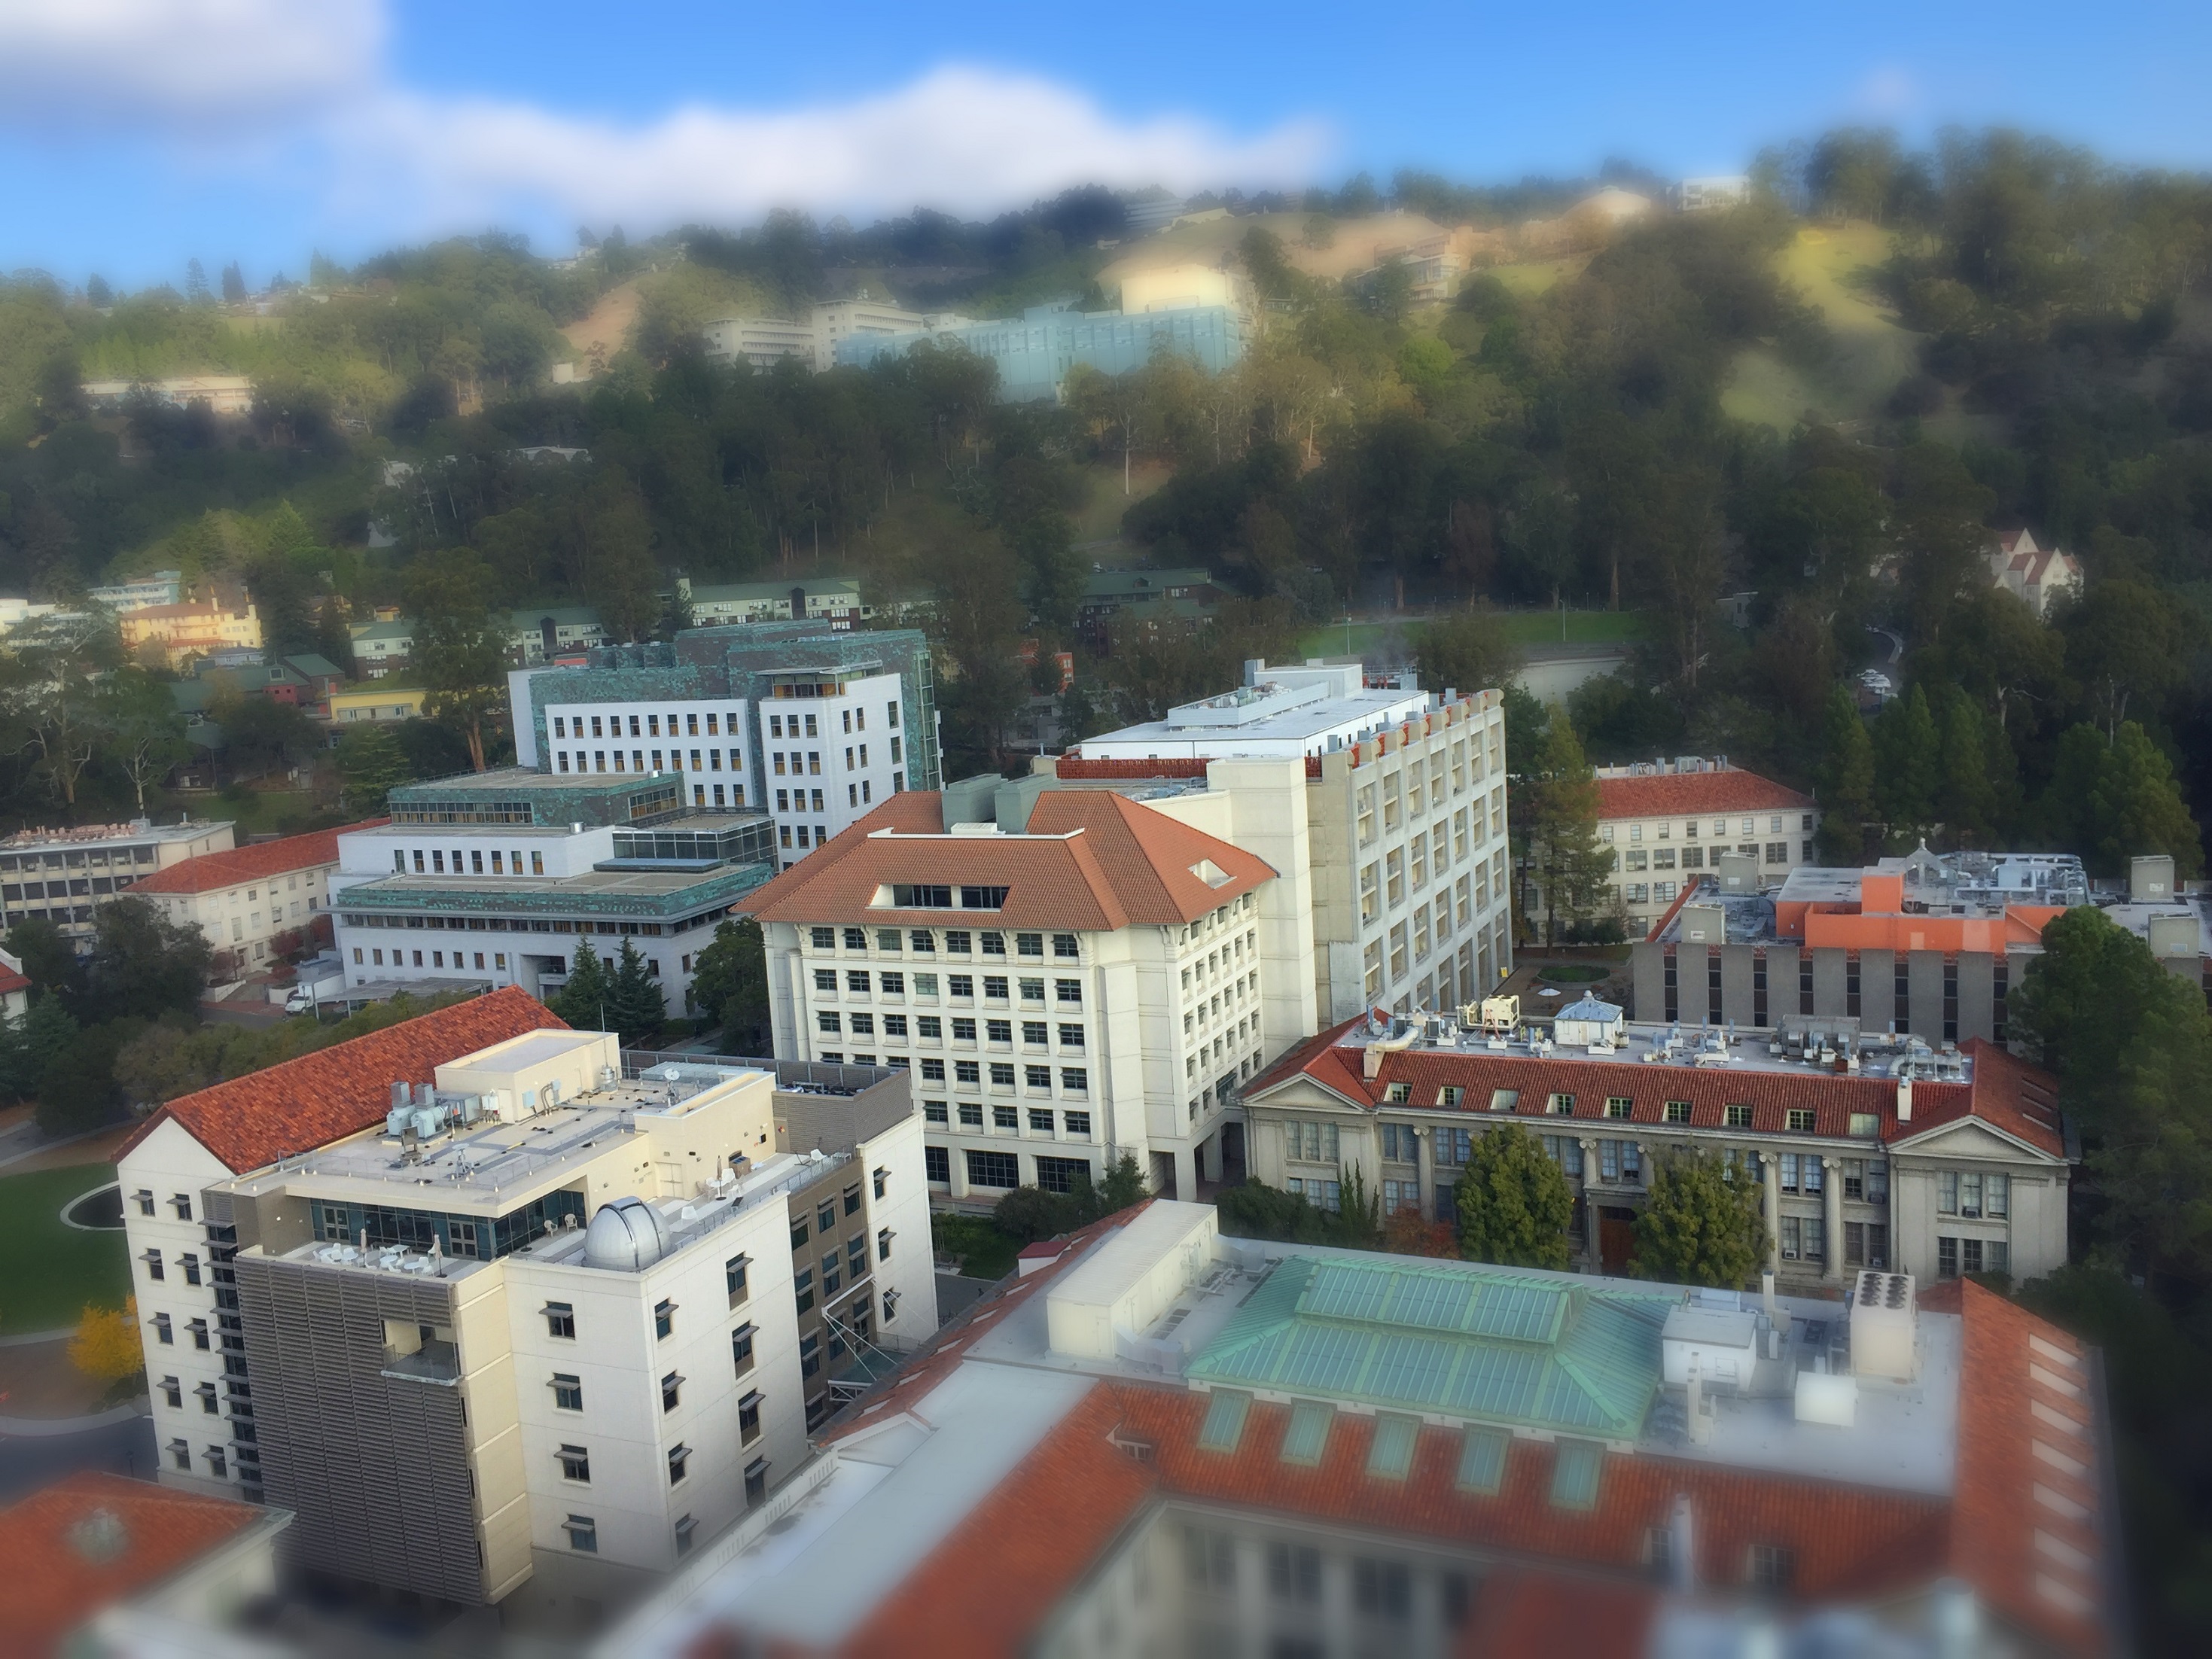
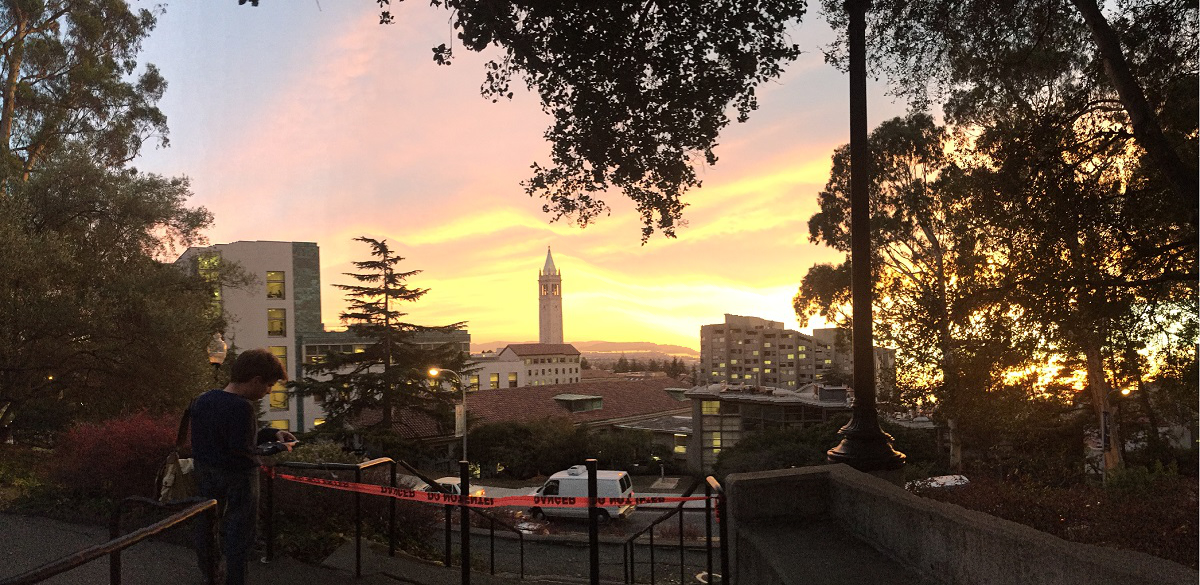
The quality of the fake miniatures is drastically improved with the addition of an image mask. This controls which parts of the image are blurred in greater detail than the simple gradient. I also blurred the image mask and added it to the gradient mask to cause the overall transition to look more smooth. The images below were computed using this method.
The masking code was modified for use in this project from the code that we were given for project 3.
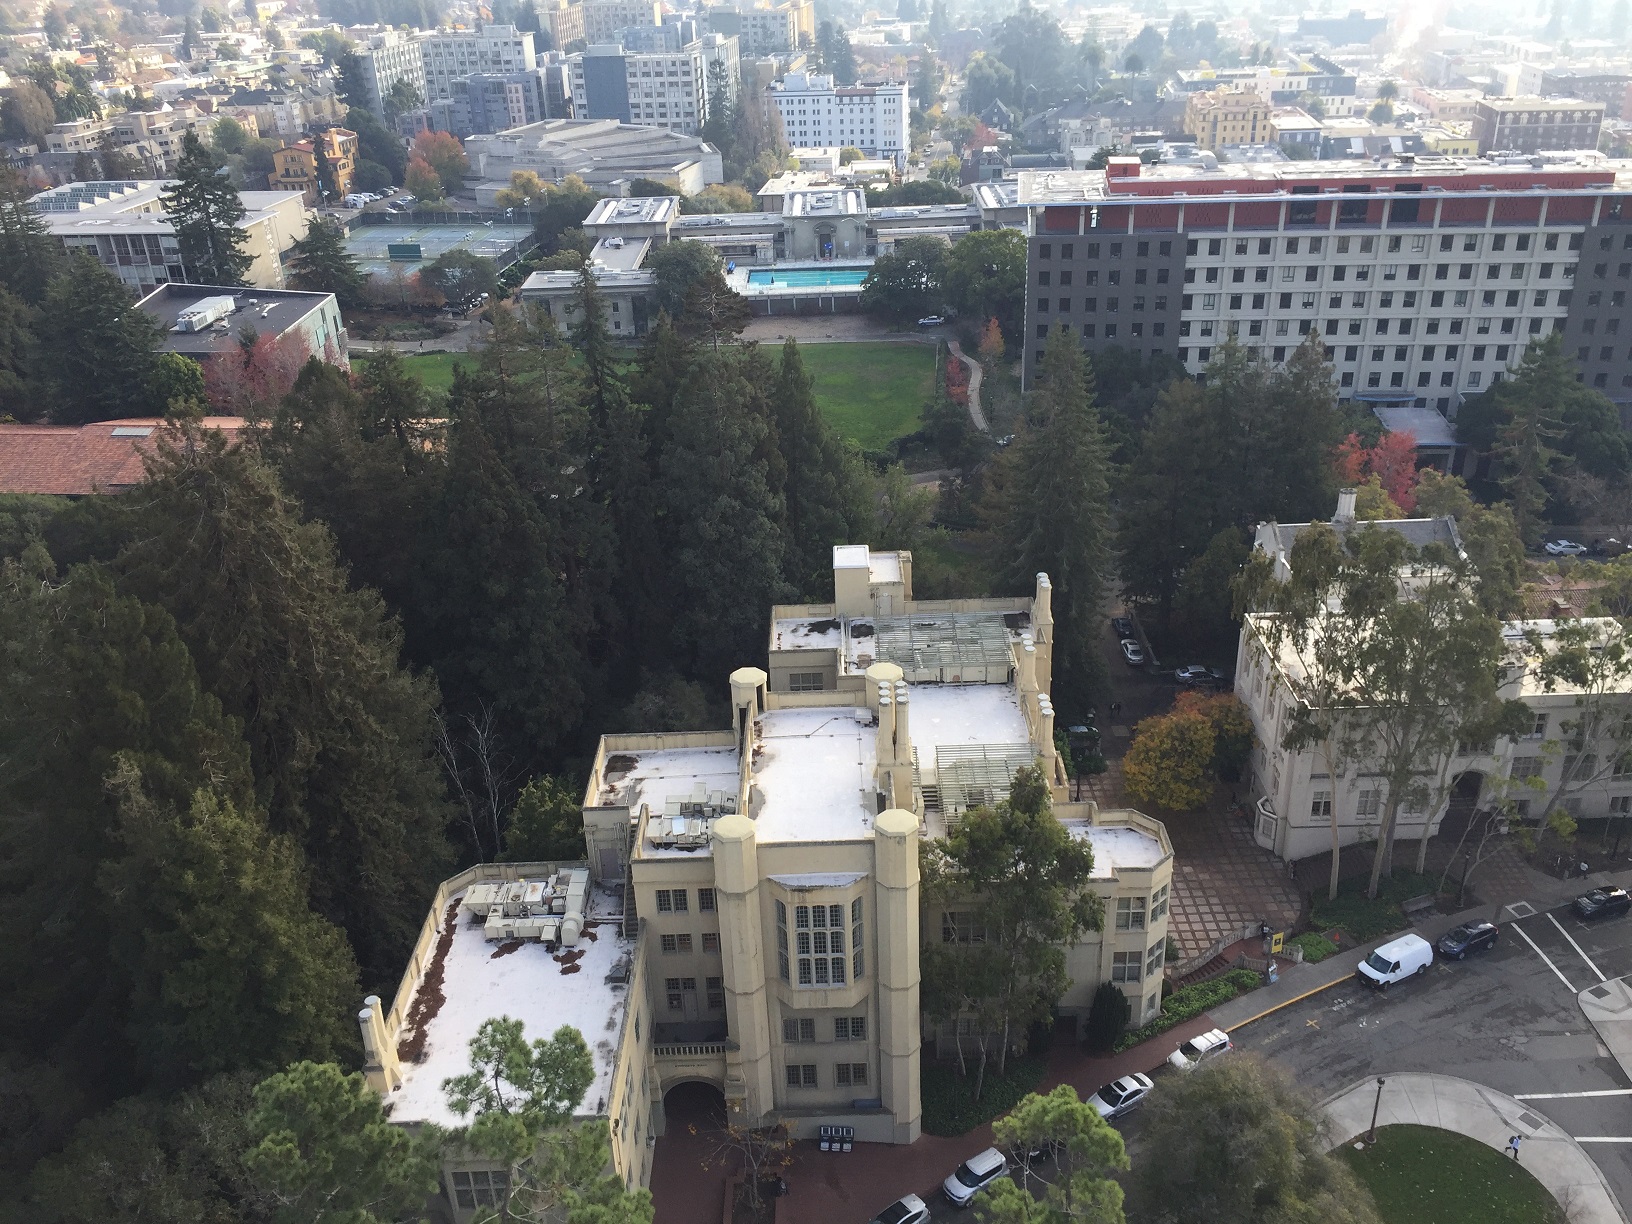
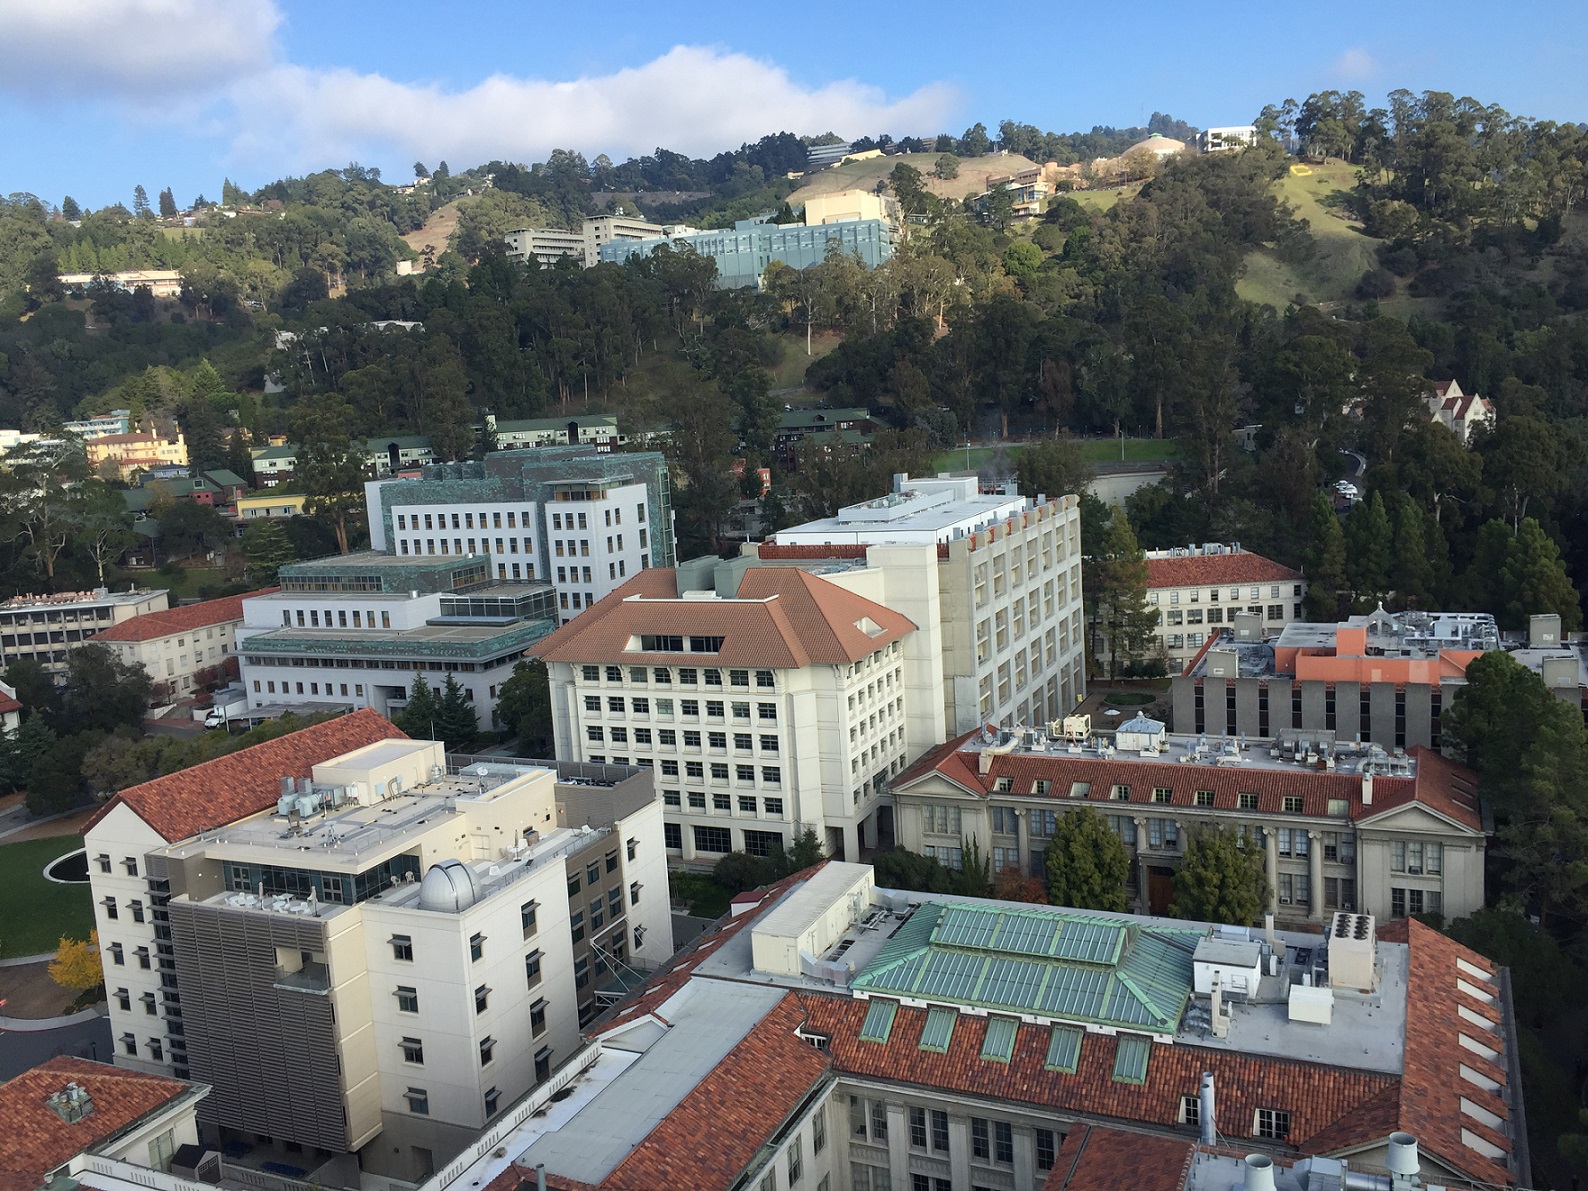
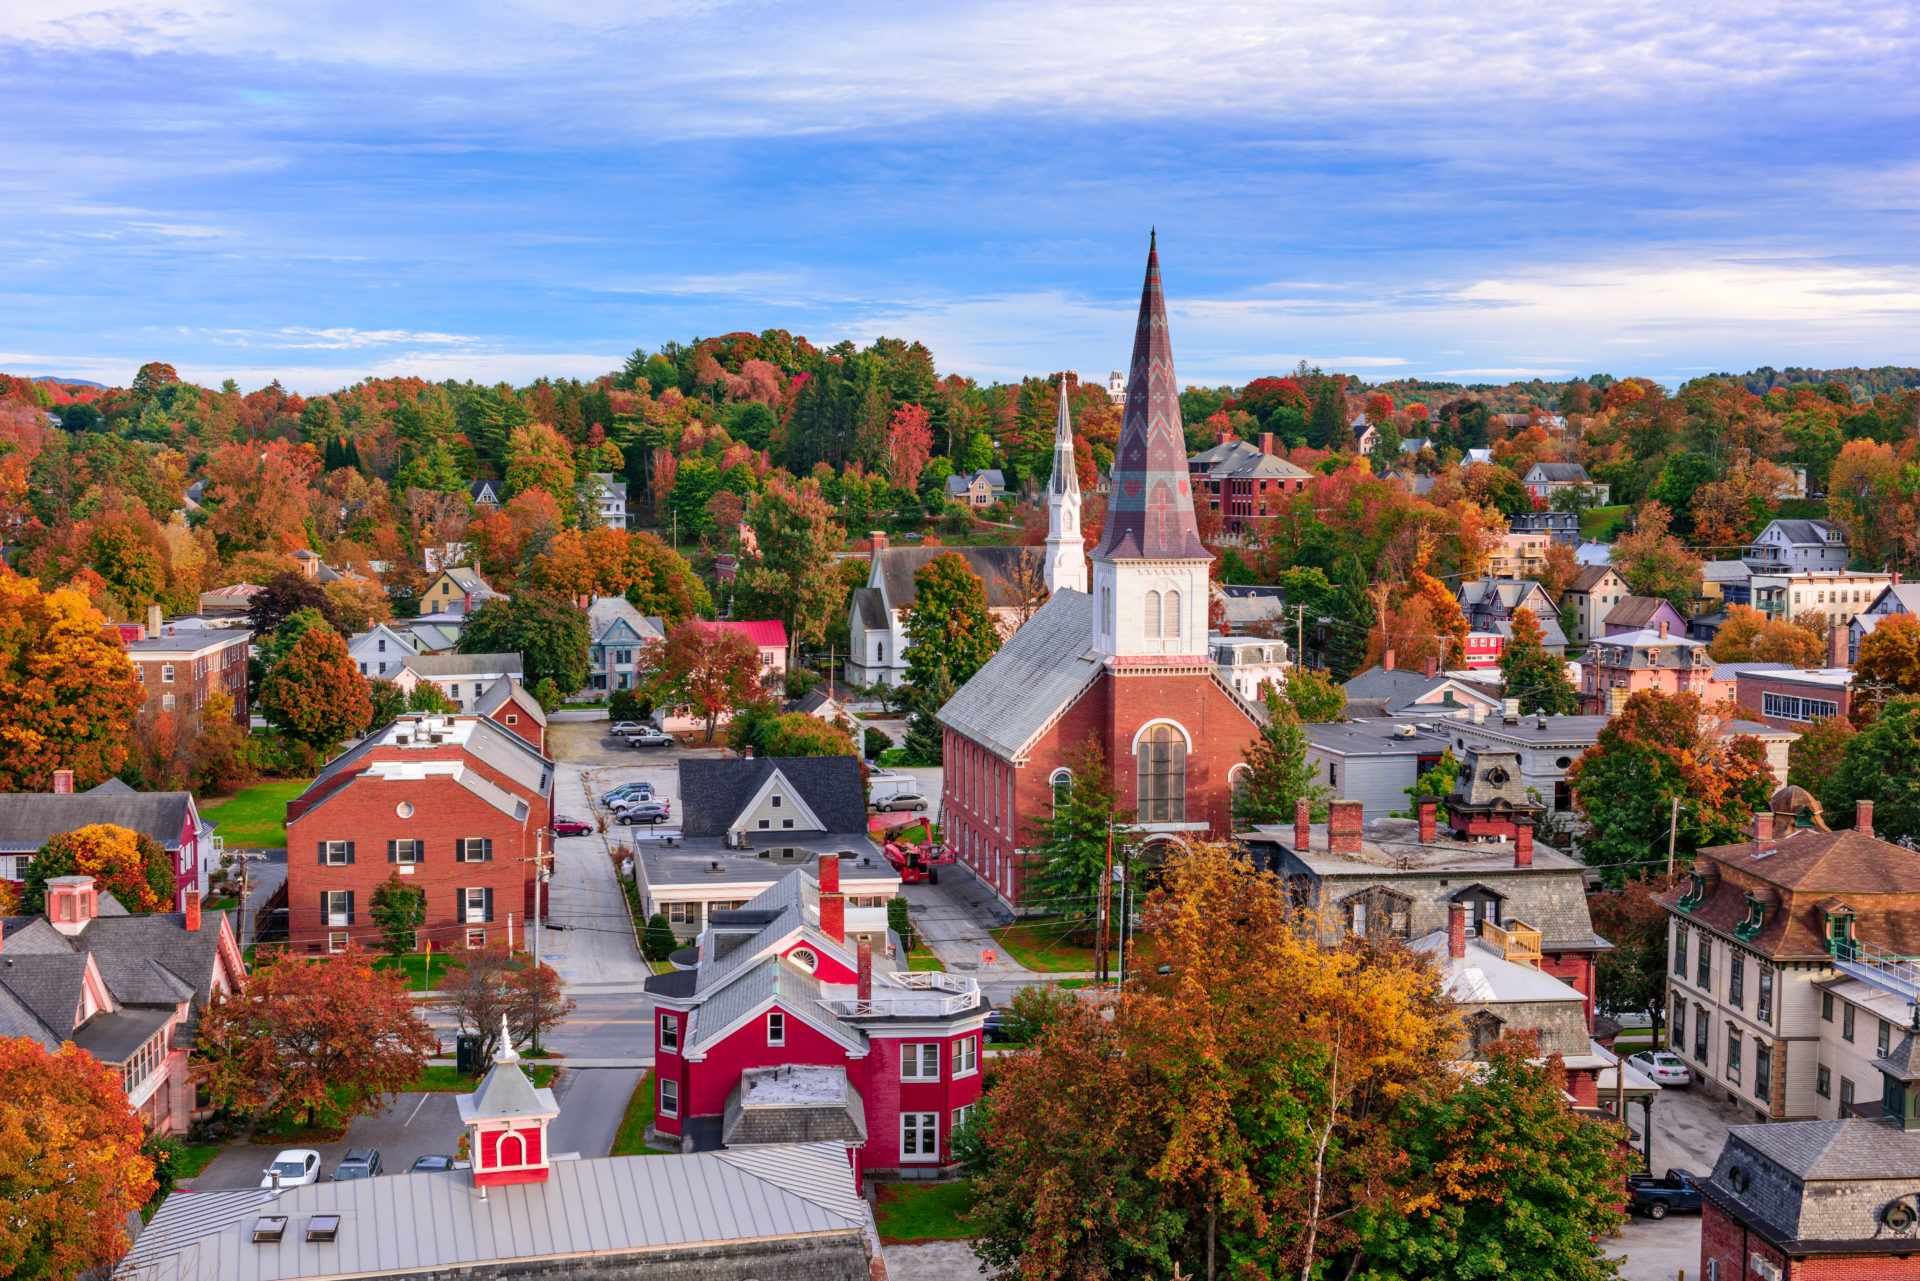
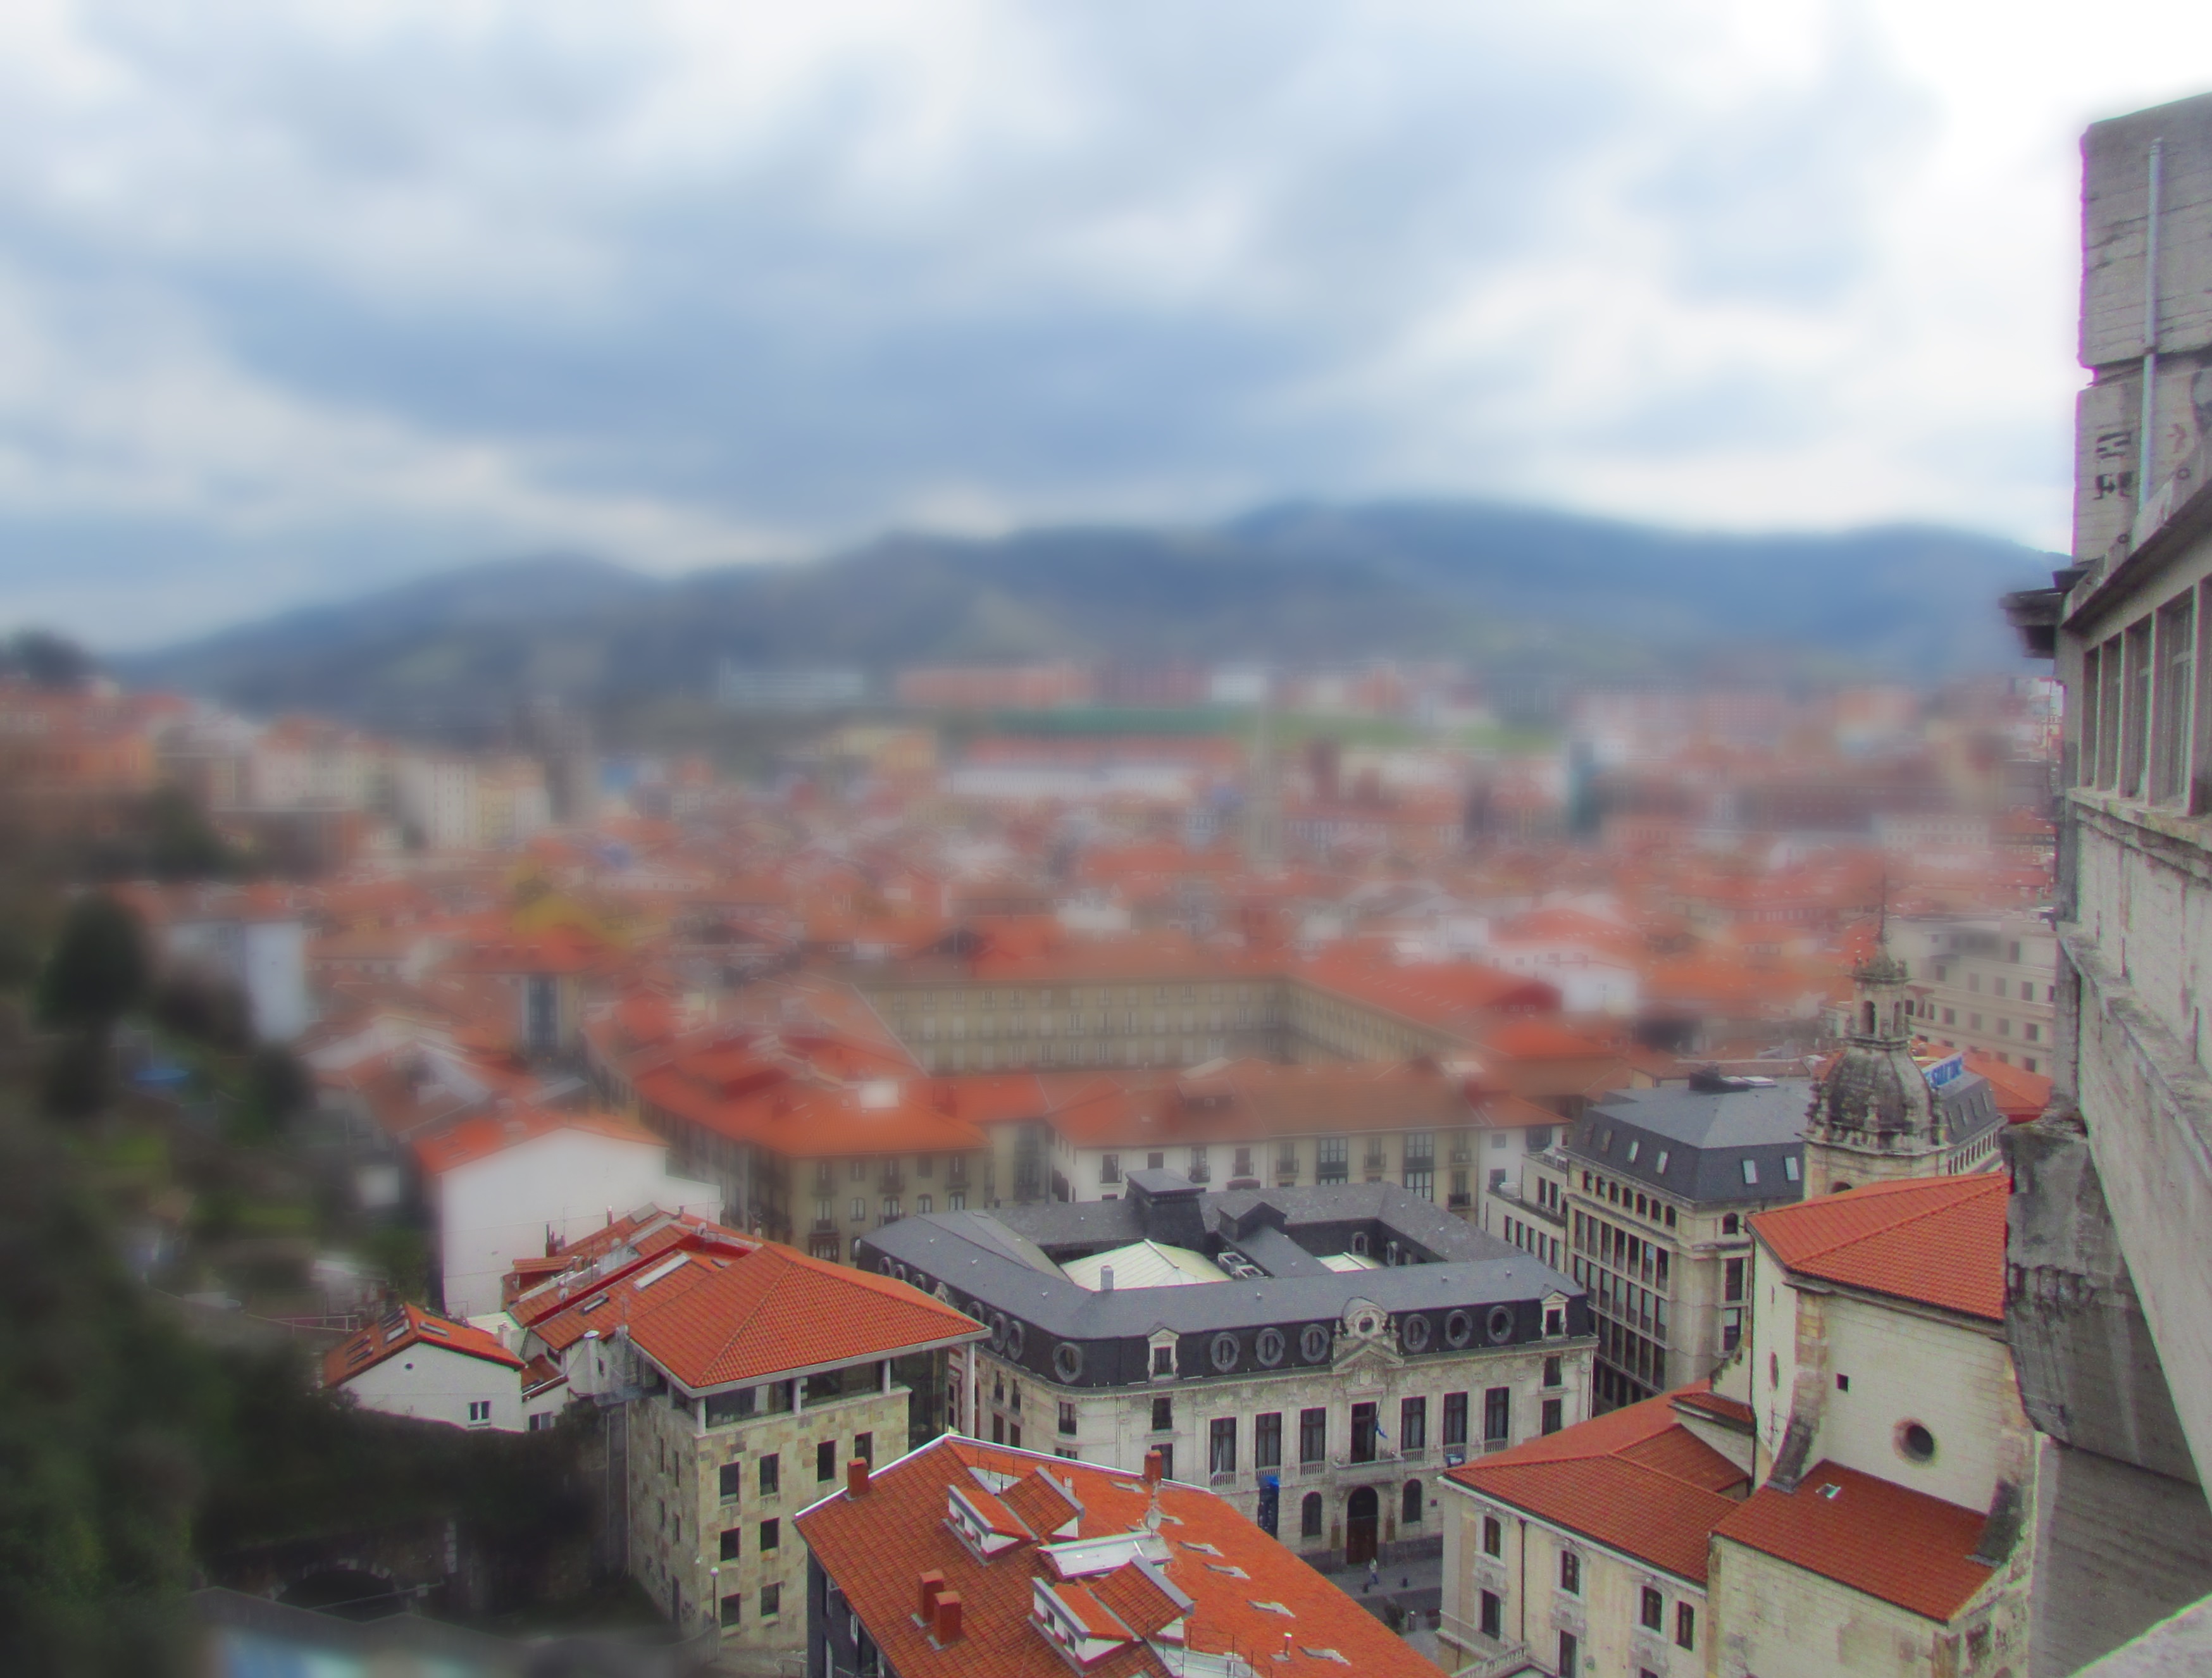
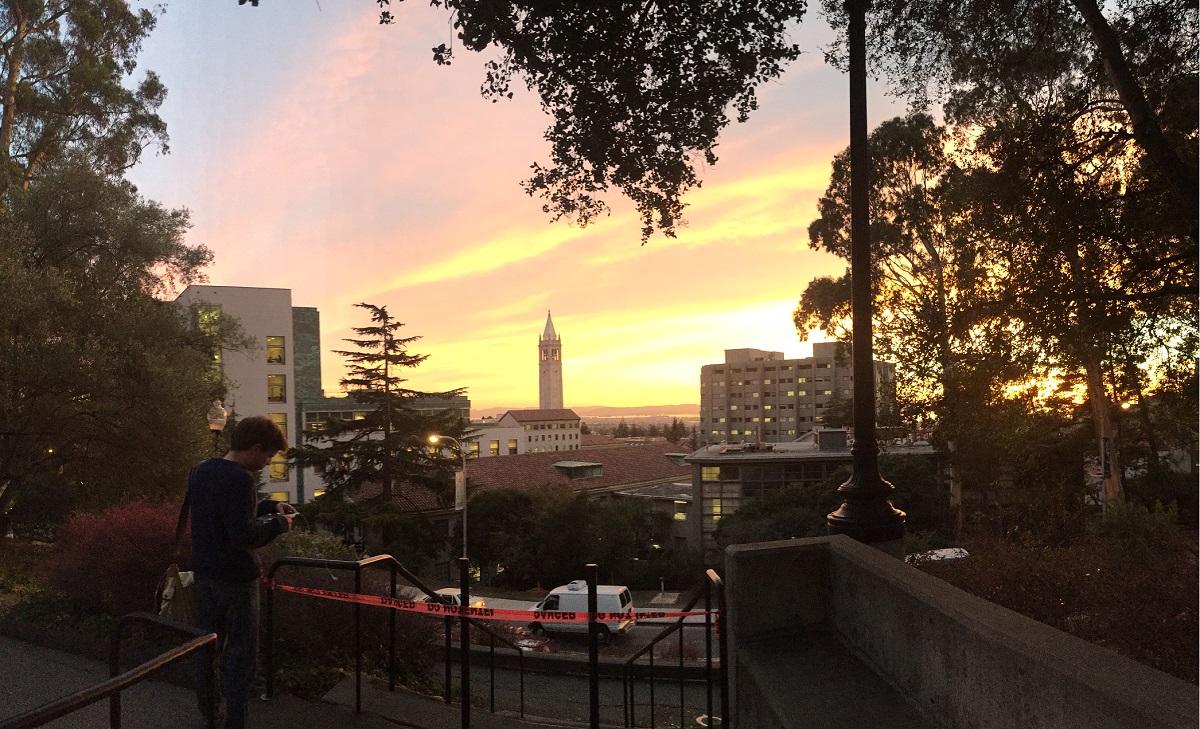
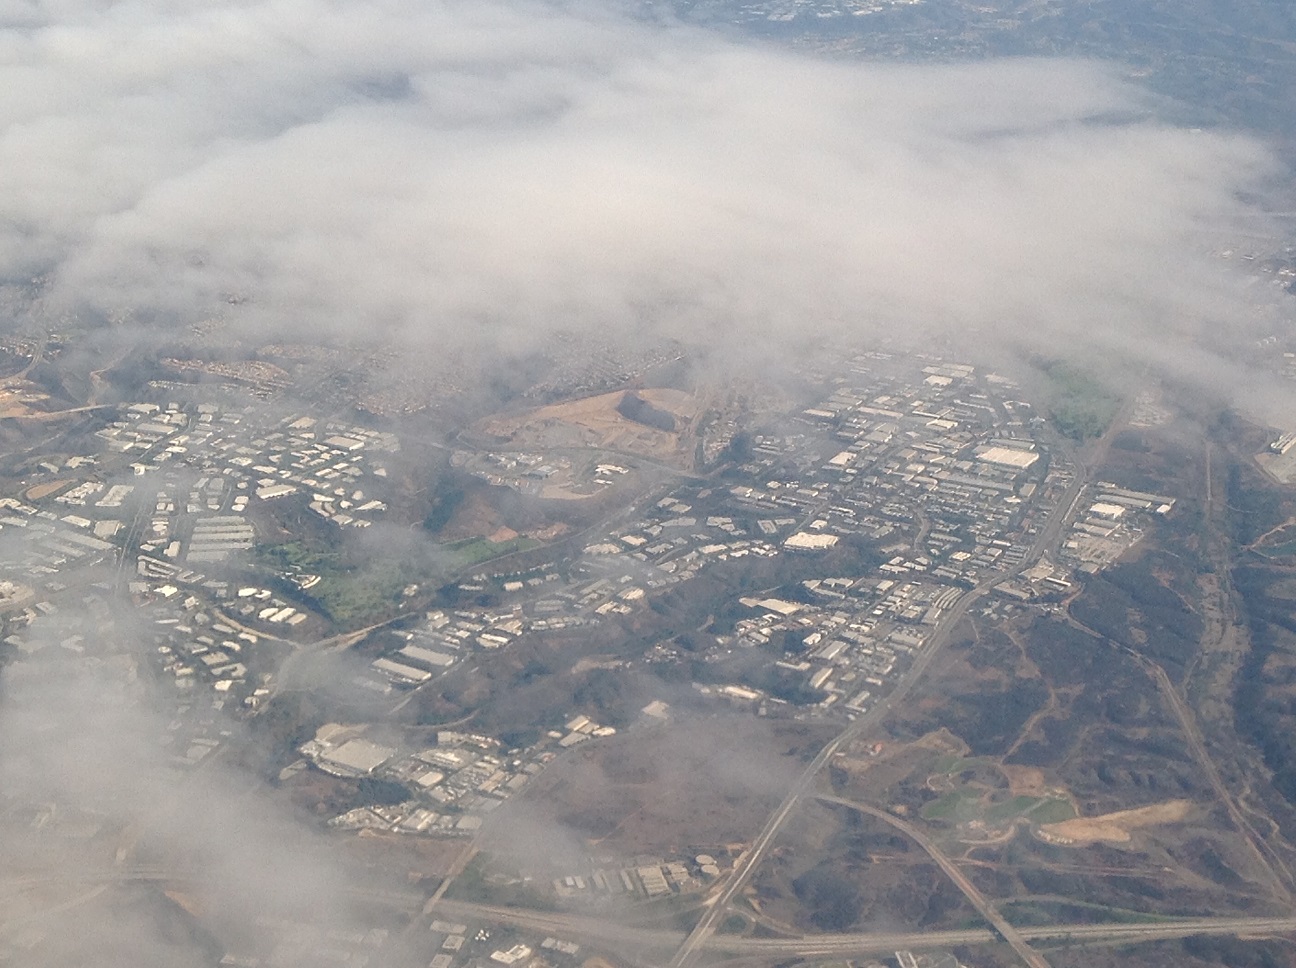
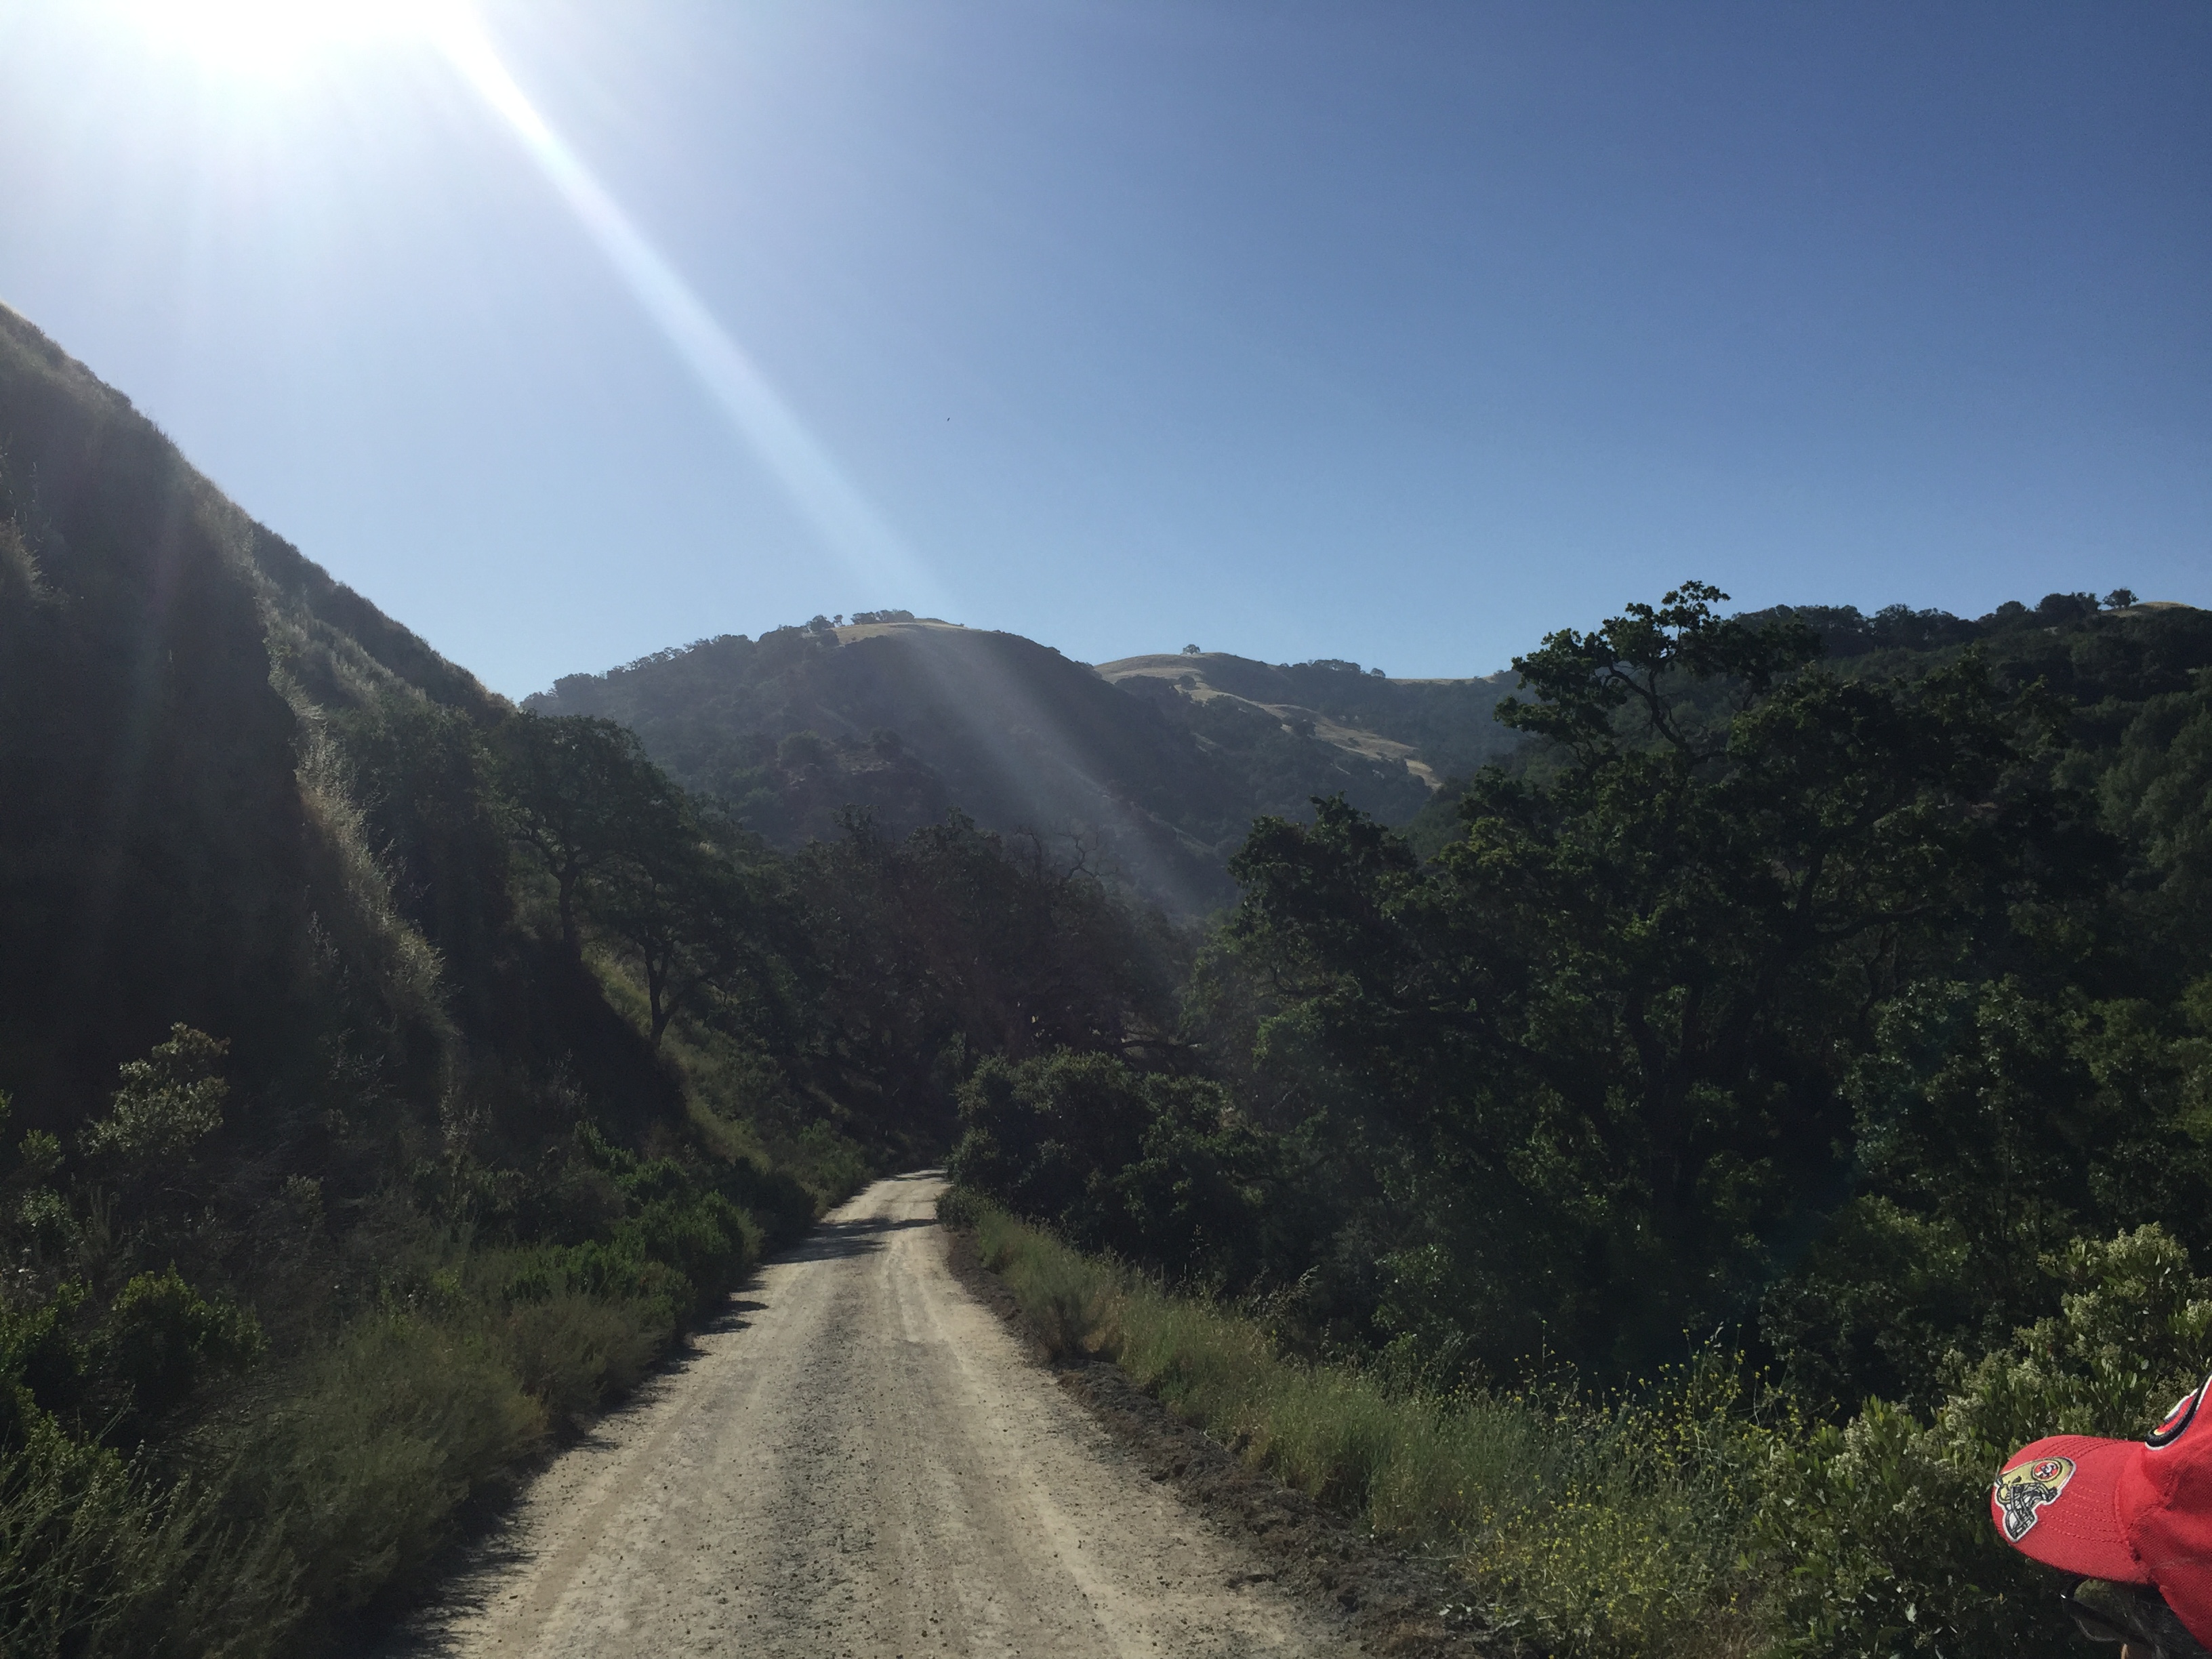
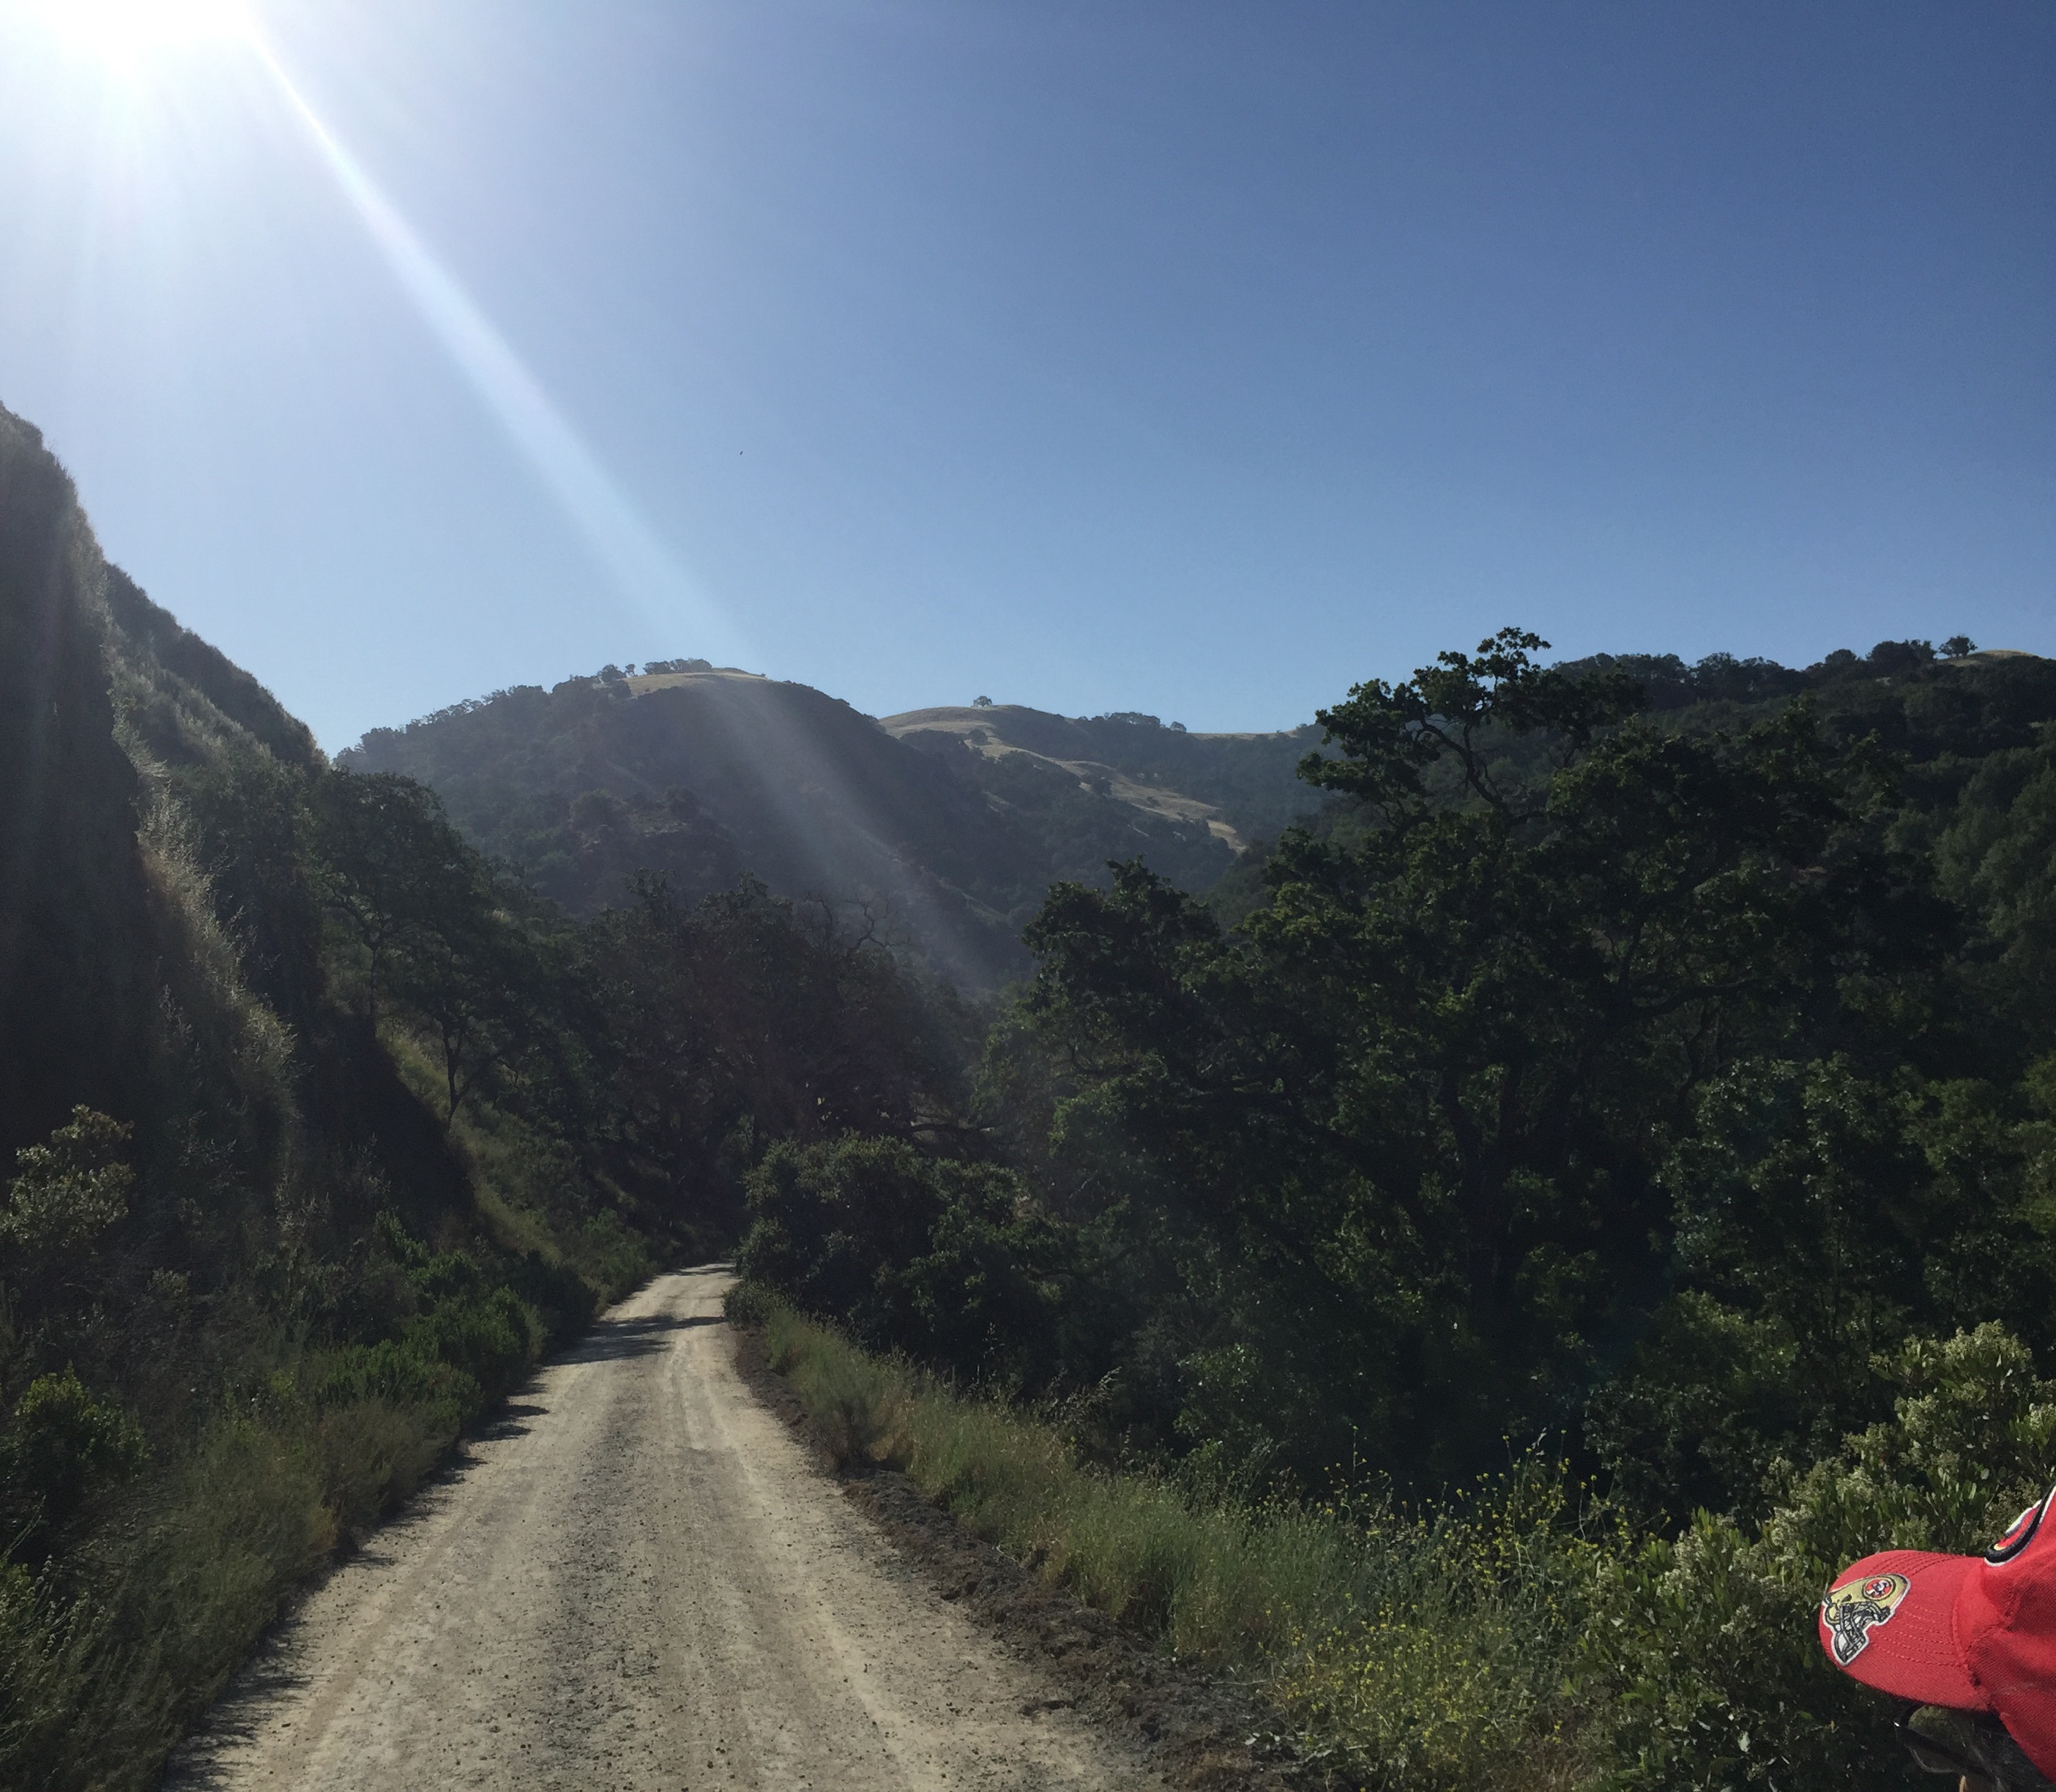
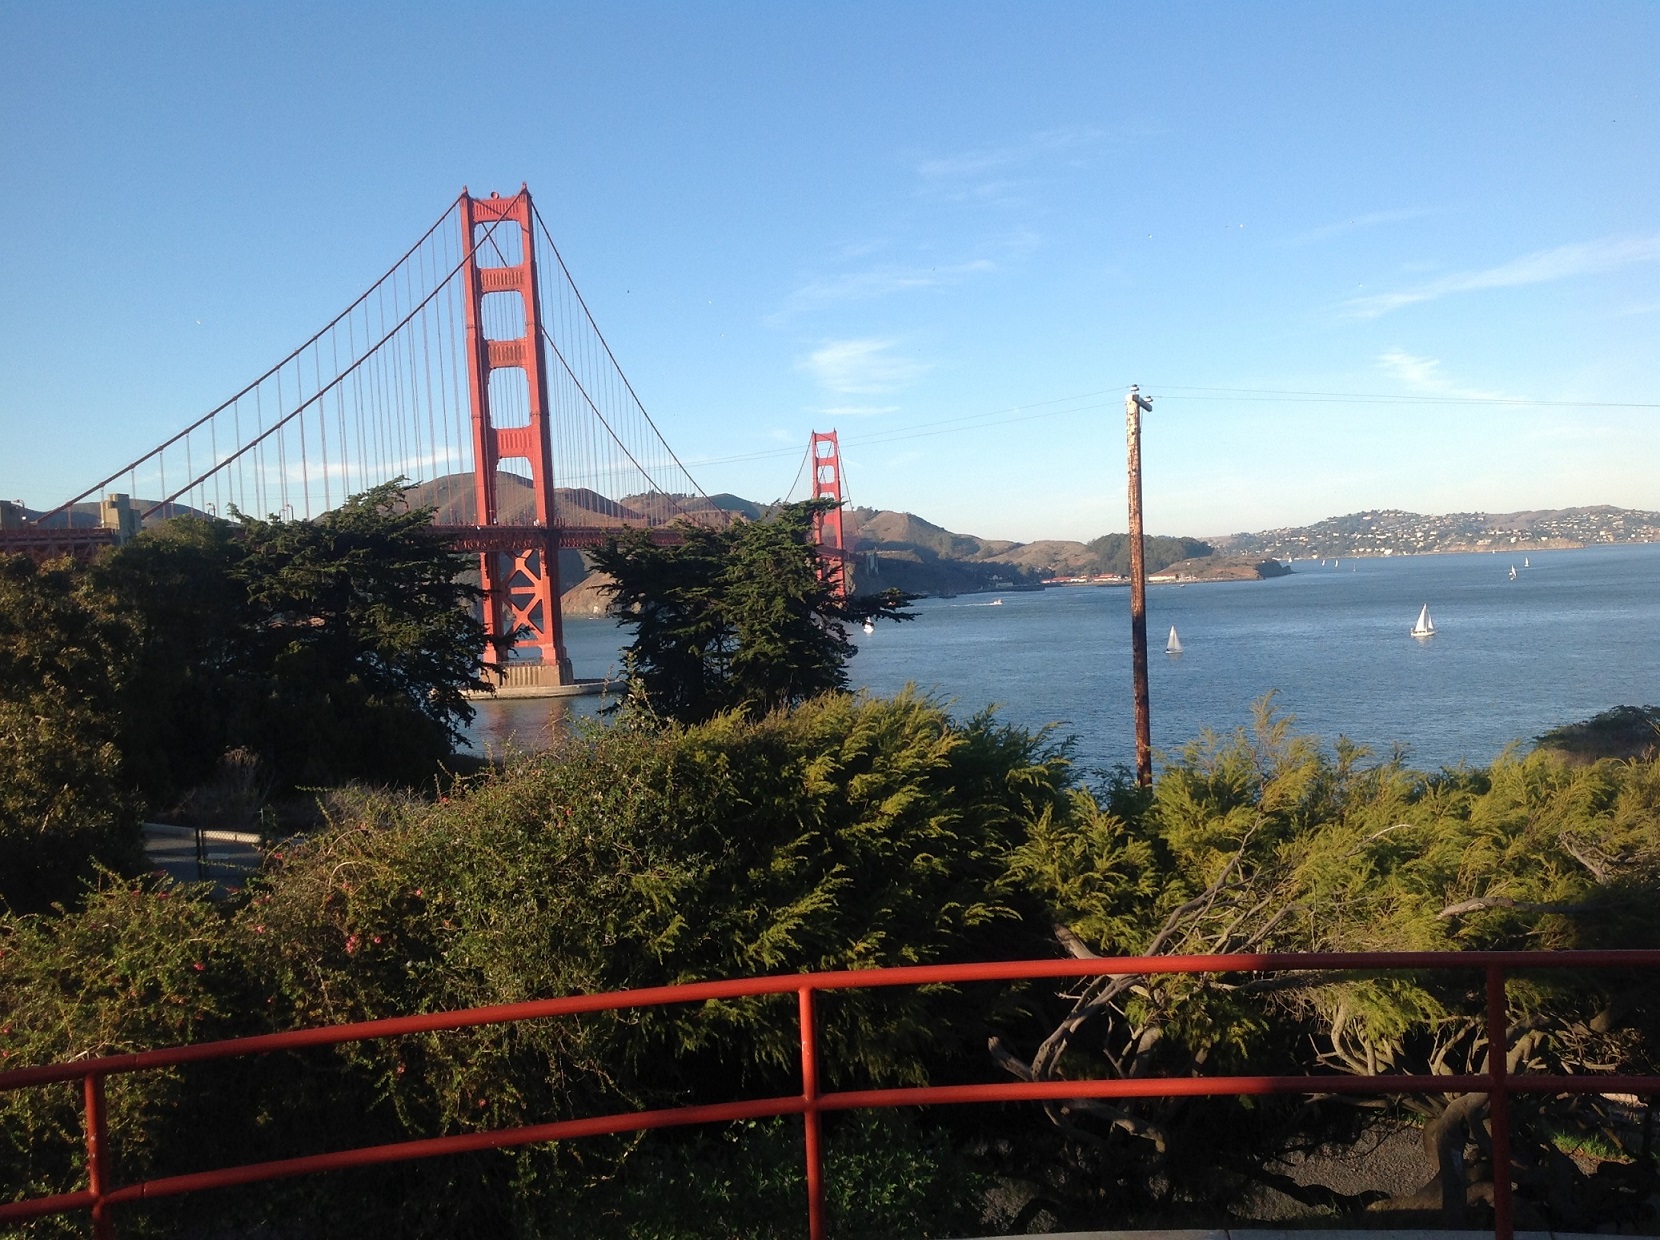
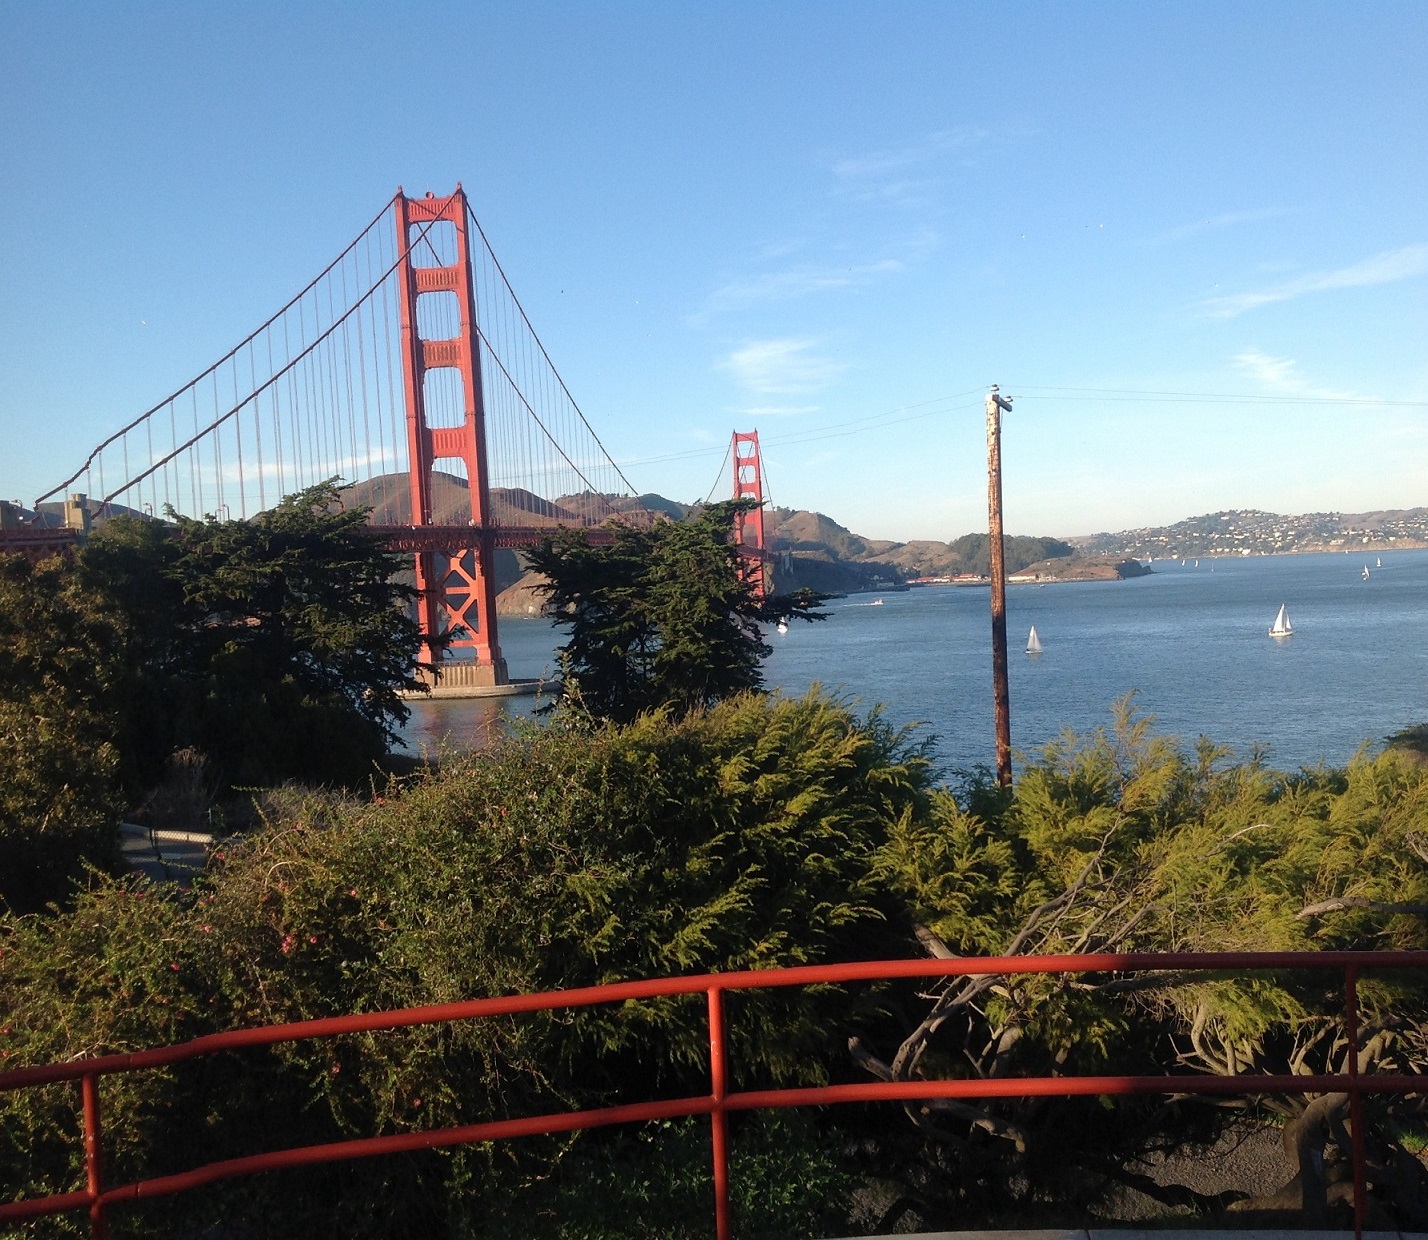
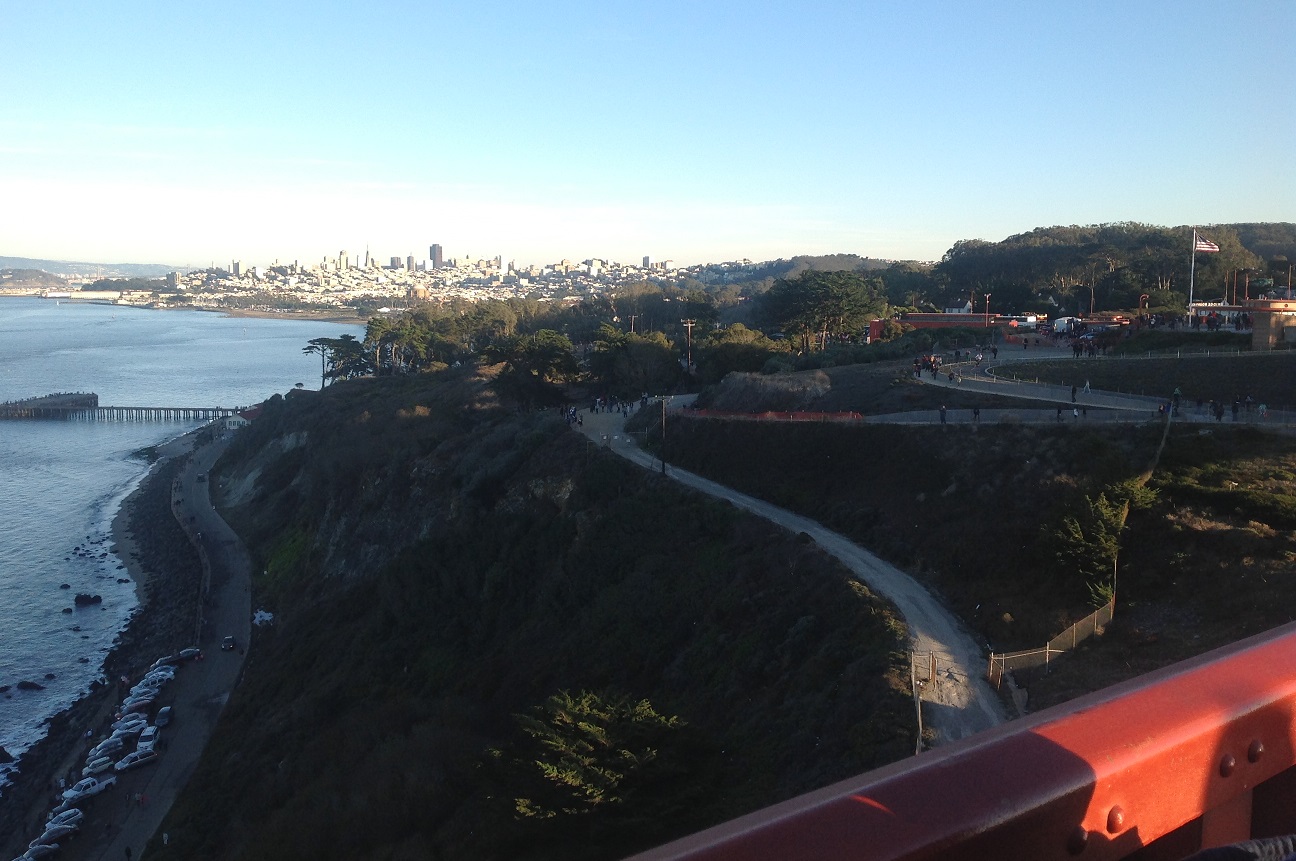
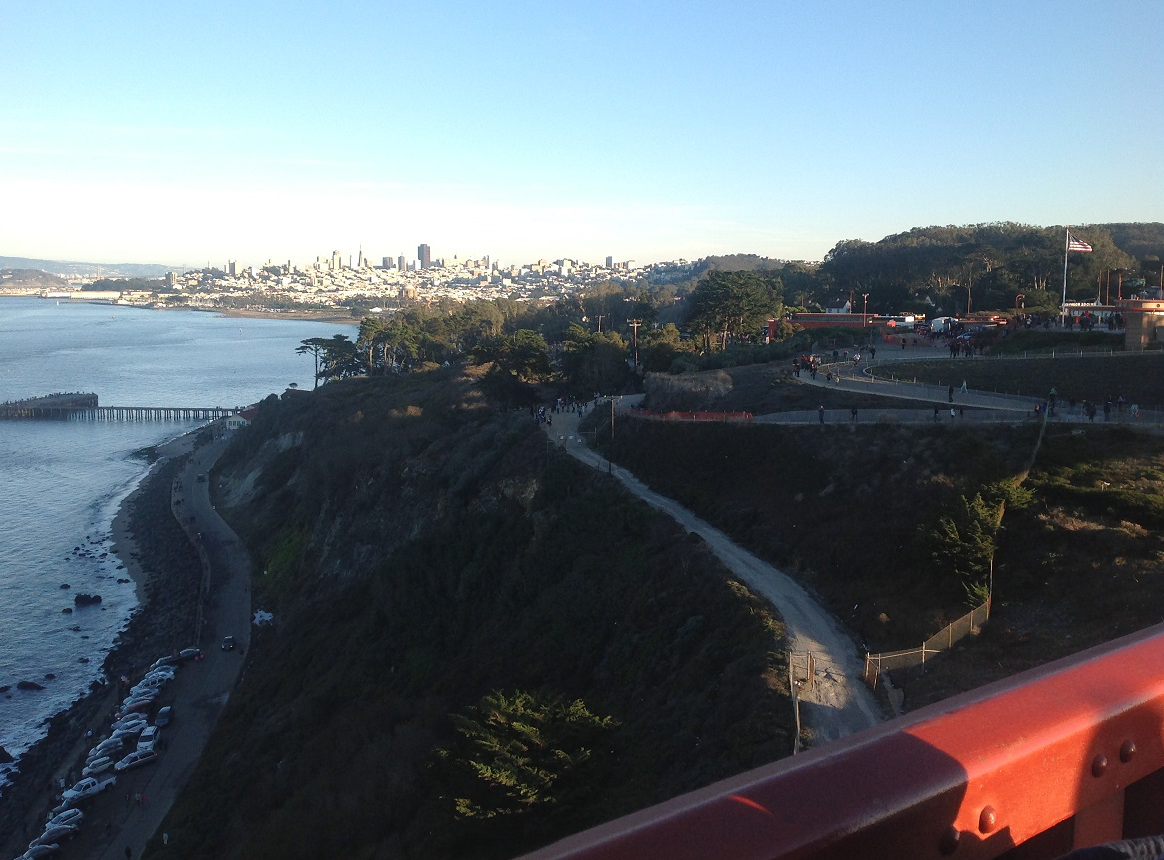
Below are some results of the fake miniature method applied to pictures I took from the top of the Campanile (the view was great!).
|
|
|
|
|
|
|
|
|
|
|
|
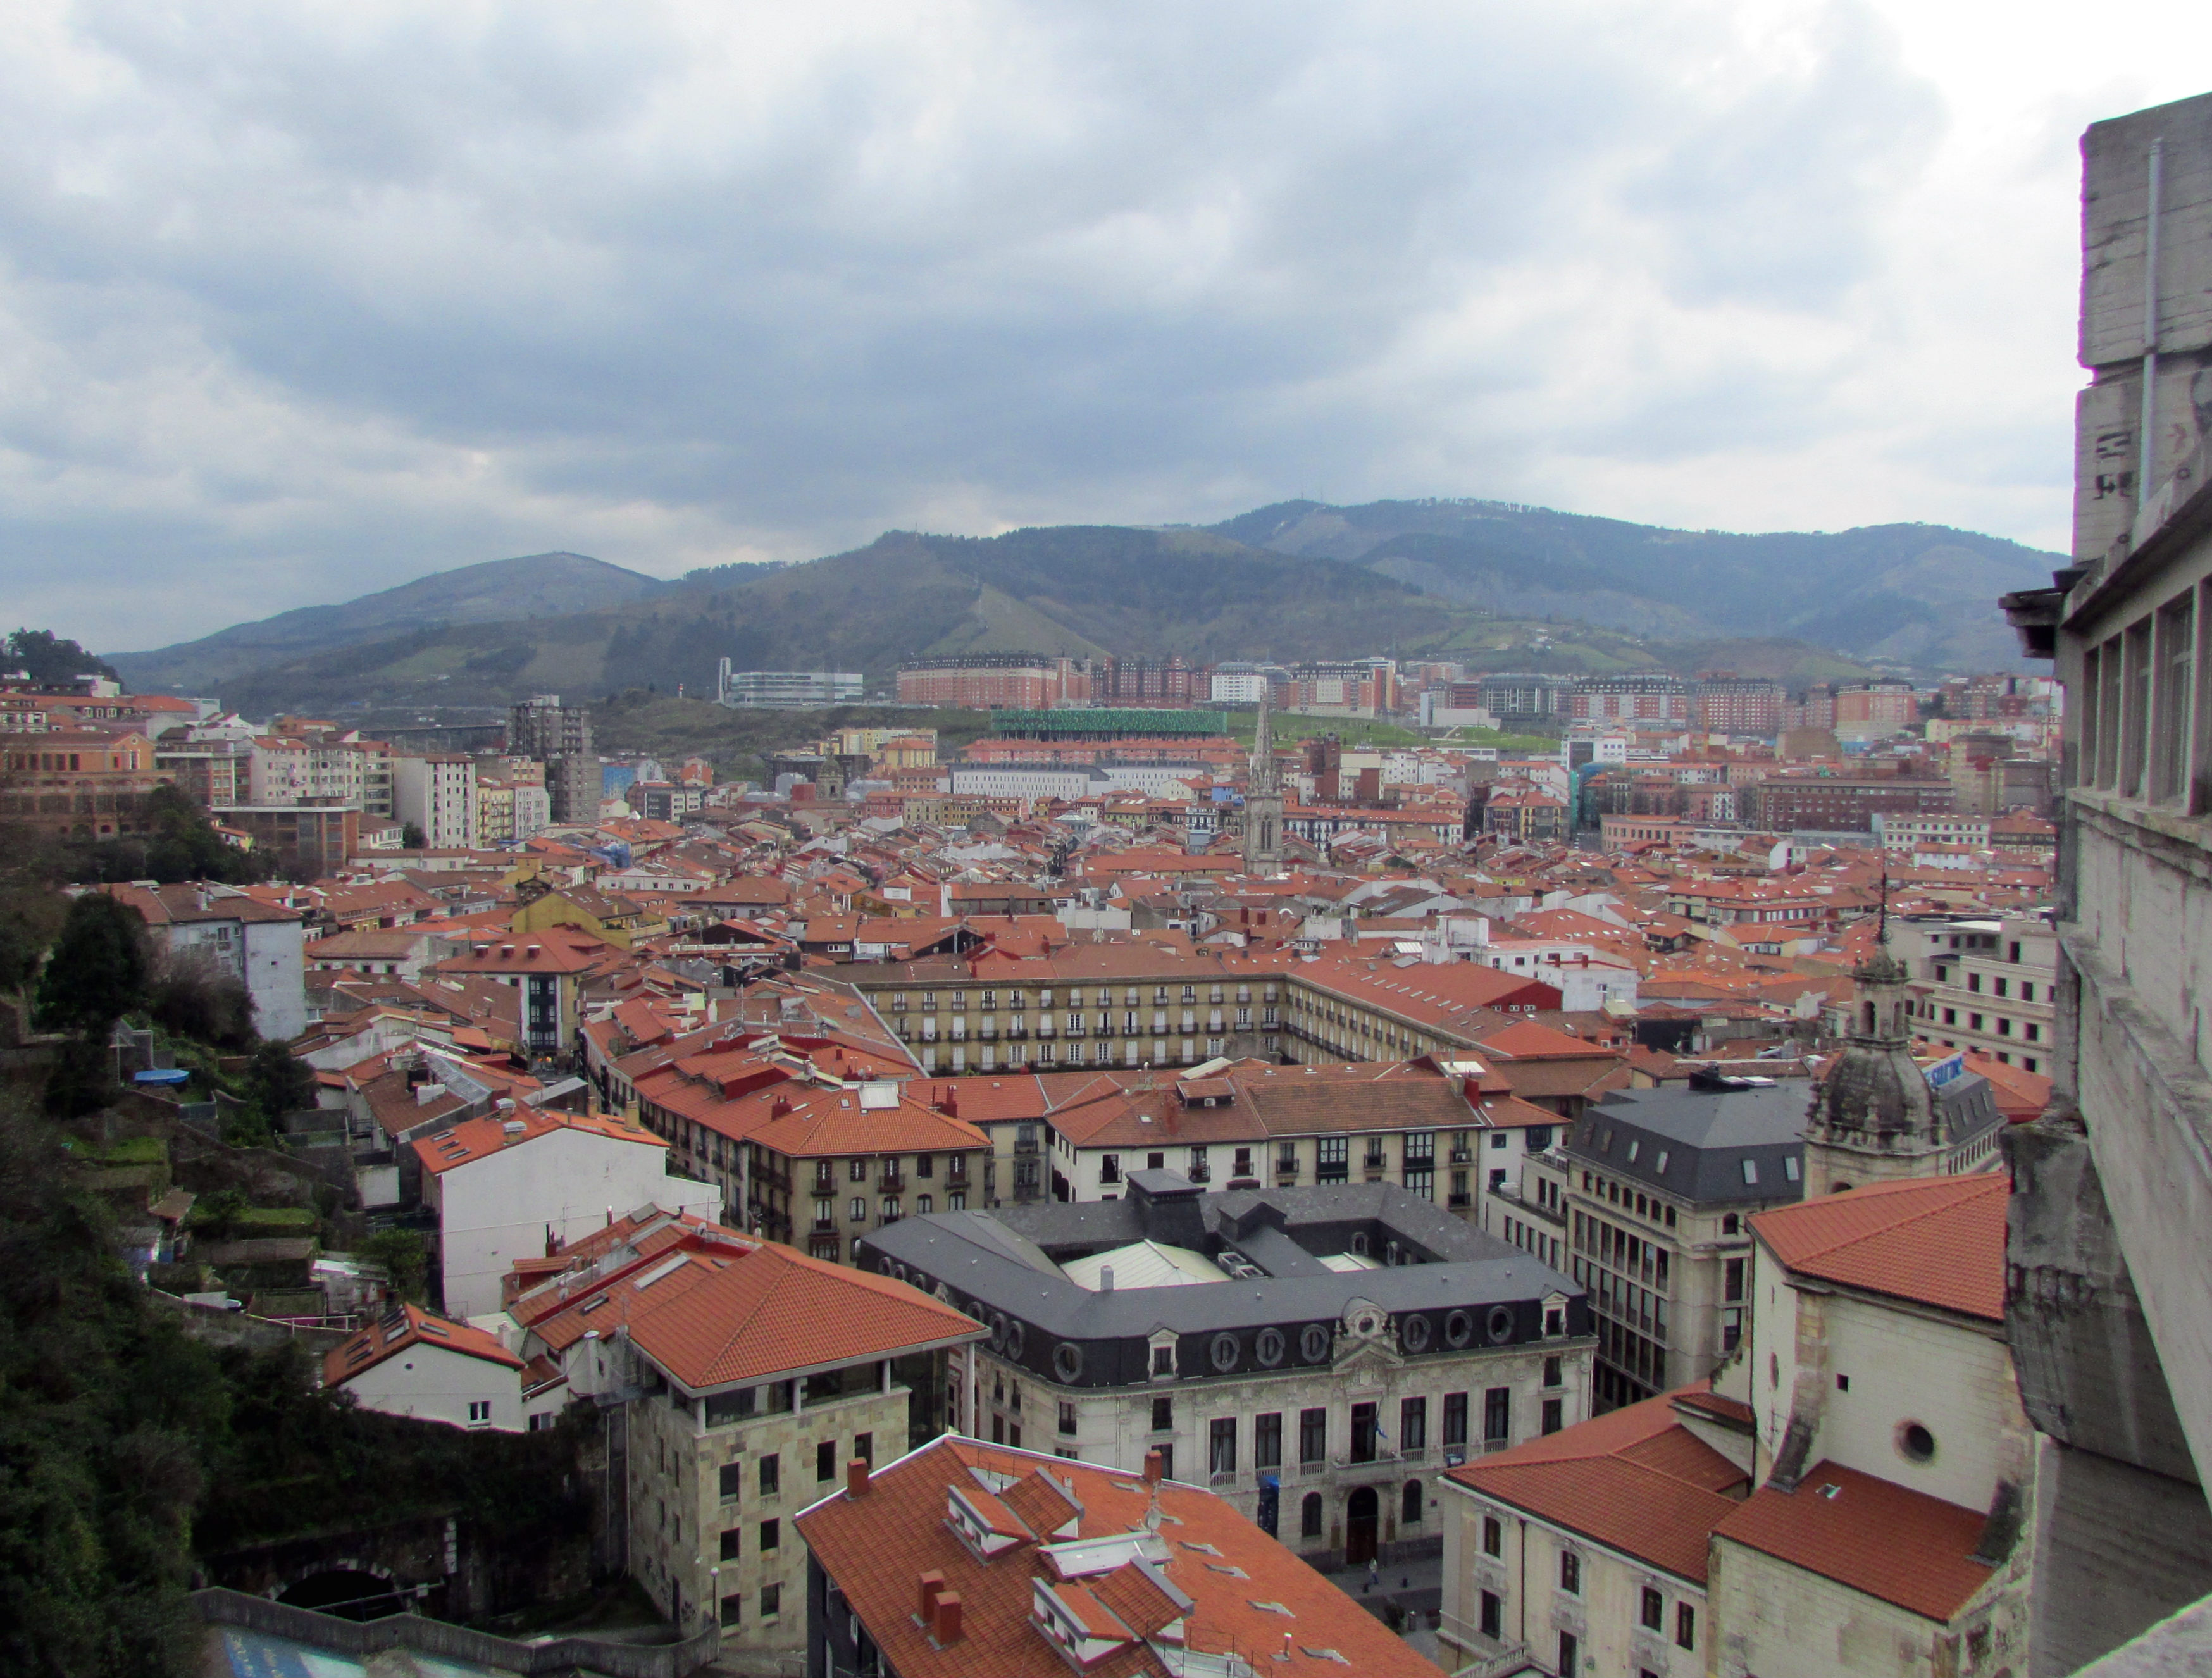
Below are some results for Fake Miniatures using images from online. Credits go to:
Rural Town:
https://bigcitiesbrightlights.wordpress.com/2014/04/16/bilbao-mallona-stairs-and-etxebarria-park/bilbao-old-town-from-above/
Red Town:
https://bitcoinist.com/cryptocurrency-miners-dig-in-to-small-town-america/
|
|

|
|
|
|
|
The most important thing I learned from this project was revisiting the definitions of depth of field and how it applies to an image and the perceived blur of that image. It was interesting how a simple application of a blur field (and some saturation, in some cases), can create an illusion of a shorter depth of field, and thereby change the perception of the image to the viewer. This idea was really cool, and I enjoyed seeing the results!
To implement seam carving, I calculated and removed the minimum energy seam from an image, and then repeated that process multiple times. To create the energy map, I convolved a Sobel filter over the image across both dimensions. This gives you a decent gradient map that also accounts for diagonal gradients unlike a straight [-1, 0, 1] filter. The Sobel filter looks like this:

|
Using dynamic programming techniques, I kept track of the seam with minimum energy at a certain height that includes pixel i for every pixel i in the row, and then repeated the process until the last row, then recorded and removed the path that ended at the row with a minimum total energy.
Below are some of the results for seam carving horizontal images.
|
|
|
|
|

|
Below are some of the results for seam carving images by removing vertical seams.
|
|
|
|
|
|
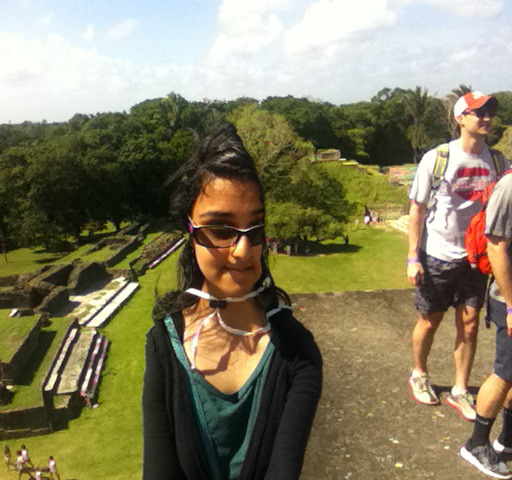
Sometimes, when features with diagonal lines are seam carved at angles that are not parallel or orthogonal to the line of the object, or when there are too many high-energy features in an image, or when the low energy lines are actually semantically important, seam carving will produce failed results. Here are some failed images.

|
|
In the above seam carved image, the vertical columns of black that pass through my hair and jacket have the least energy, yet also have a fair amount of semantic meaning. Unfortunately, this algorithm has no way of identifying semantic energy, so those columns get cut first. This means, apparently, that I'm less algorithmically important than the people to the side :(
|
|
|
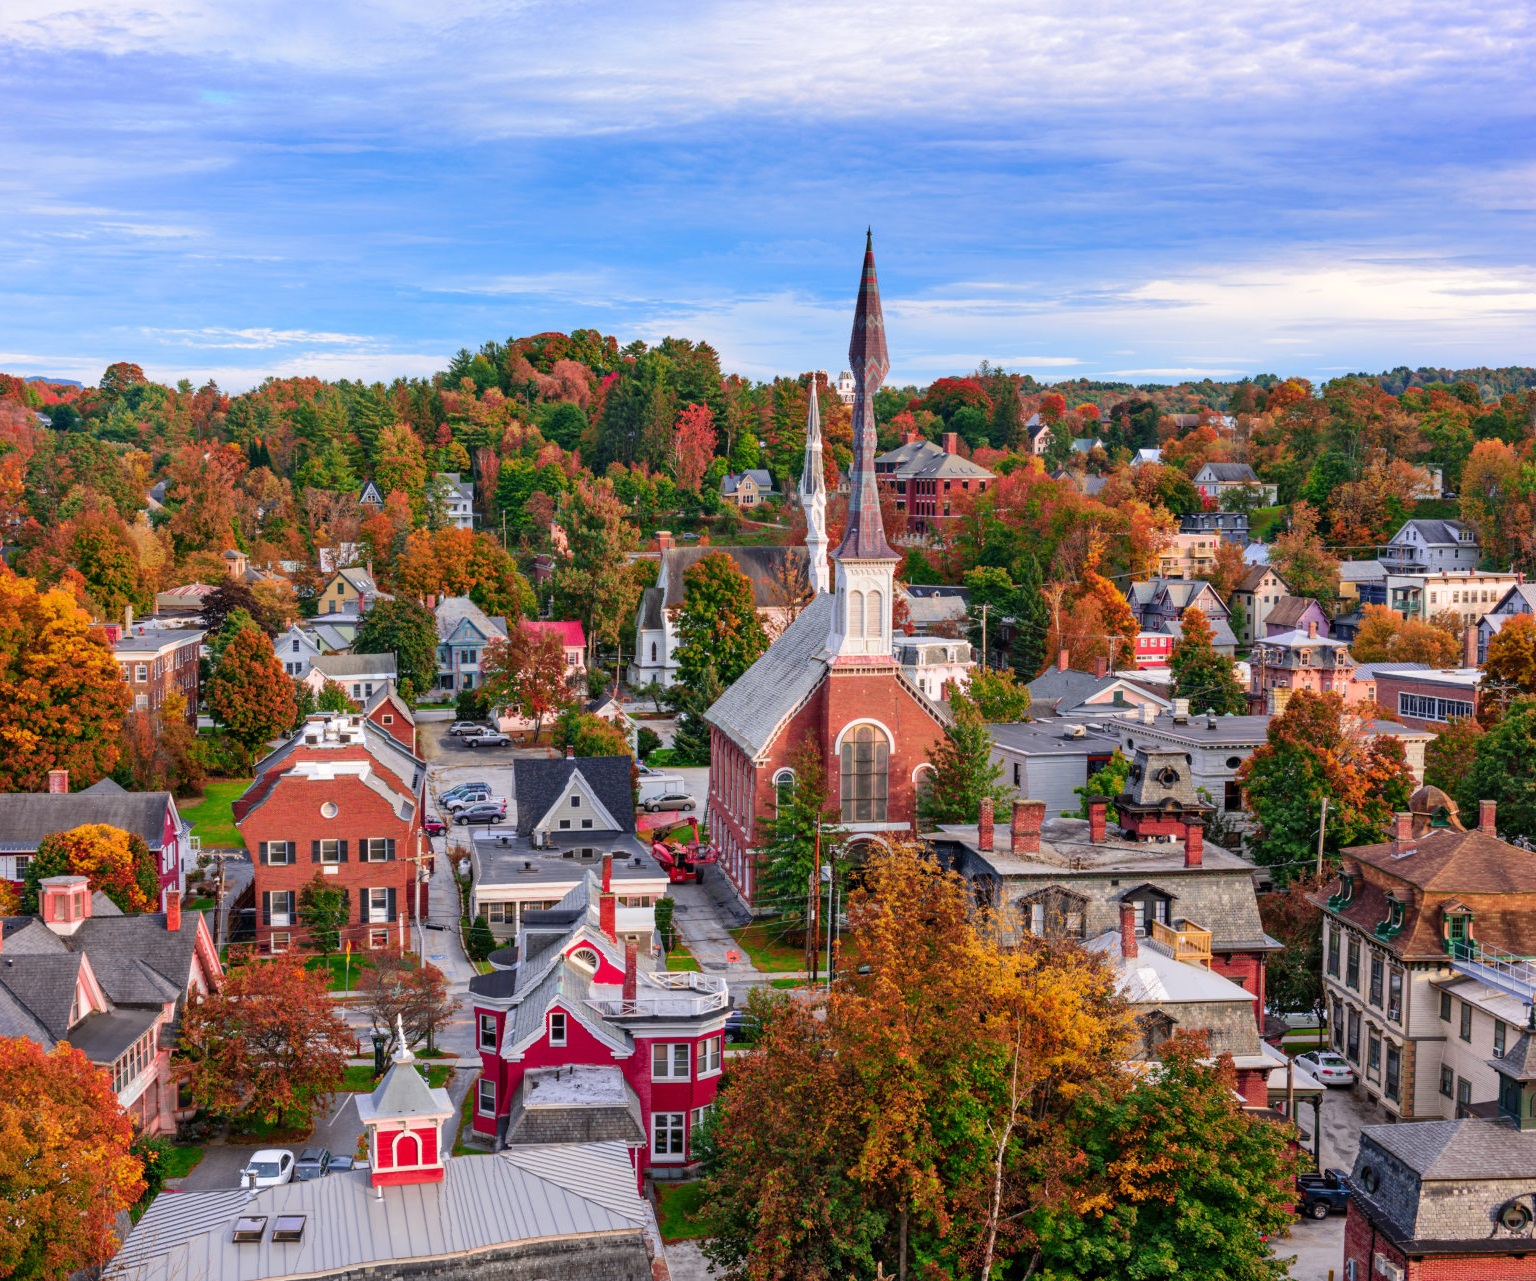
The above seam carved image looks almost fine, except for the strange shape of the spire in the center. This is because the lines of the spire are at an angle and the feature has relatively low energy on both the inside and outside, so when columns are cut away, they're not necessarily cut at the right angle.
The most important thing I learned from this project was revisiting the DP algorithm. It's a pretty useful method for many different things, and its application for seam carving is really cool! I actually had fun choosing images to seam carve (my favorite is the sunset), although near the end it got pretty hard to find an image for which seam carving was not the same as just cropping the top or bottom. In fact, in many cases, even when I manually cropped the image's sky and/or ground, the top of the remaining features would still be the row with the least energy. Turns out lots of natural images have a concentration of high energy features near their center. Using a different energy function might have improved this.