Final Project
CS 194-26 Fall 2018
By Tao Ong
Vertigo Shot

Fake Miniatures
Introduction
In my final project, I will attempt to recreate two computational photography effects: the Vertigo Shot
and the Fake Miniatures effect.
The Vertigo Shot or Dolly Zoom effect involves the changing of field of view (FOV) while the subject remains at
the same size in the frame. I plan to recreate this effect simply through taking a series of photos of some
object with a zoom lens, gradually decreasing the FOV as I step away from the object.
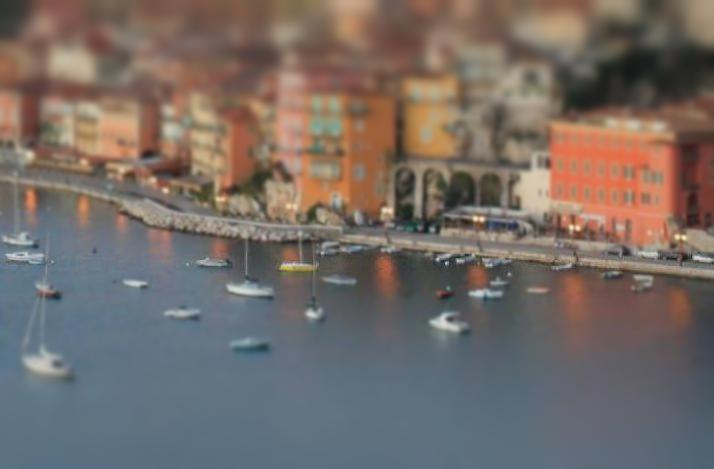
The Fake Miniatures or Tilt Shift effect involves the use of blurriness to make objects in a photo seem like they
are miniature. This illusion works because we can simulate a specific depth of field (DOF) by blurring everything
around it. I will achieve this blurring effect by applying a gaussian filter with a horizontal mask.
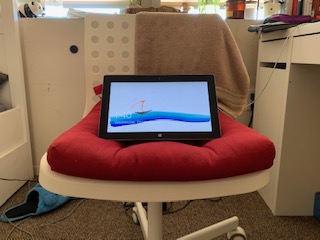
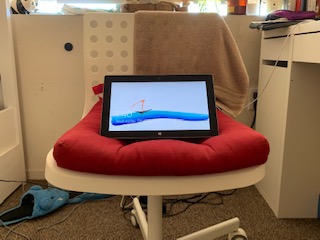
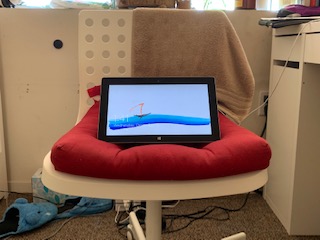
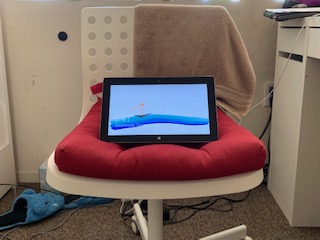
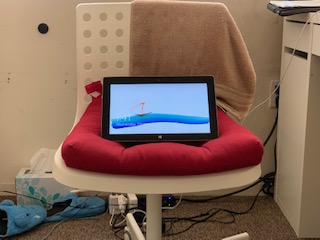
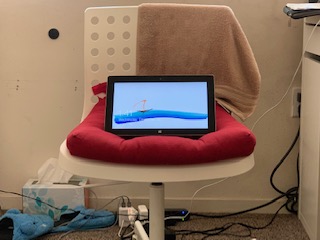
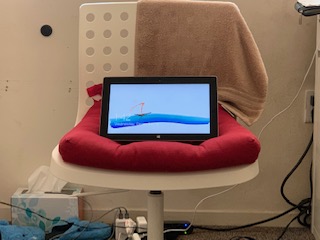
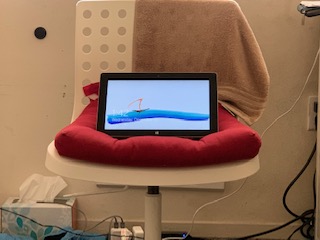
The Vertigo Shot
Compiling Images
My approach to compiling images for recreating this effect was to simply start close to the object, and
gradually take steps back. With each step back, I would readjust the zoom (field of view) to make sure the image
would be the same size. I used my friend's DSLR with the stock zoom lens that came with it (I only had prime
lenses so I couldn't use my own). Since the camera had a grid helper on the viewfinder, it was relatively easy
to make sure that the size of the object remained the same across all photos.
Stitching them together!
The last step in recreating the Dolly Zoom effect is simply to stitch all the compiled images together into one
gif!
Issues I ran into
I shot the sequence of photos above in a bedroom, which (being in Berkeley) was very small and did not give me
much room to move away from the subject. As you can see, the final results are not very convincing, and the Dolly
Zoom isn't that obvious.
More results
Since I wasn't satisfied with the results, I went outside to find subjects with a lot of space around them,
where I could fully utilize all of the zoom in the camera.
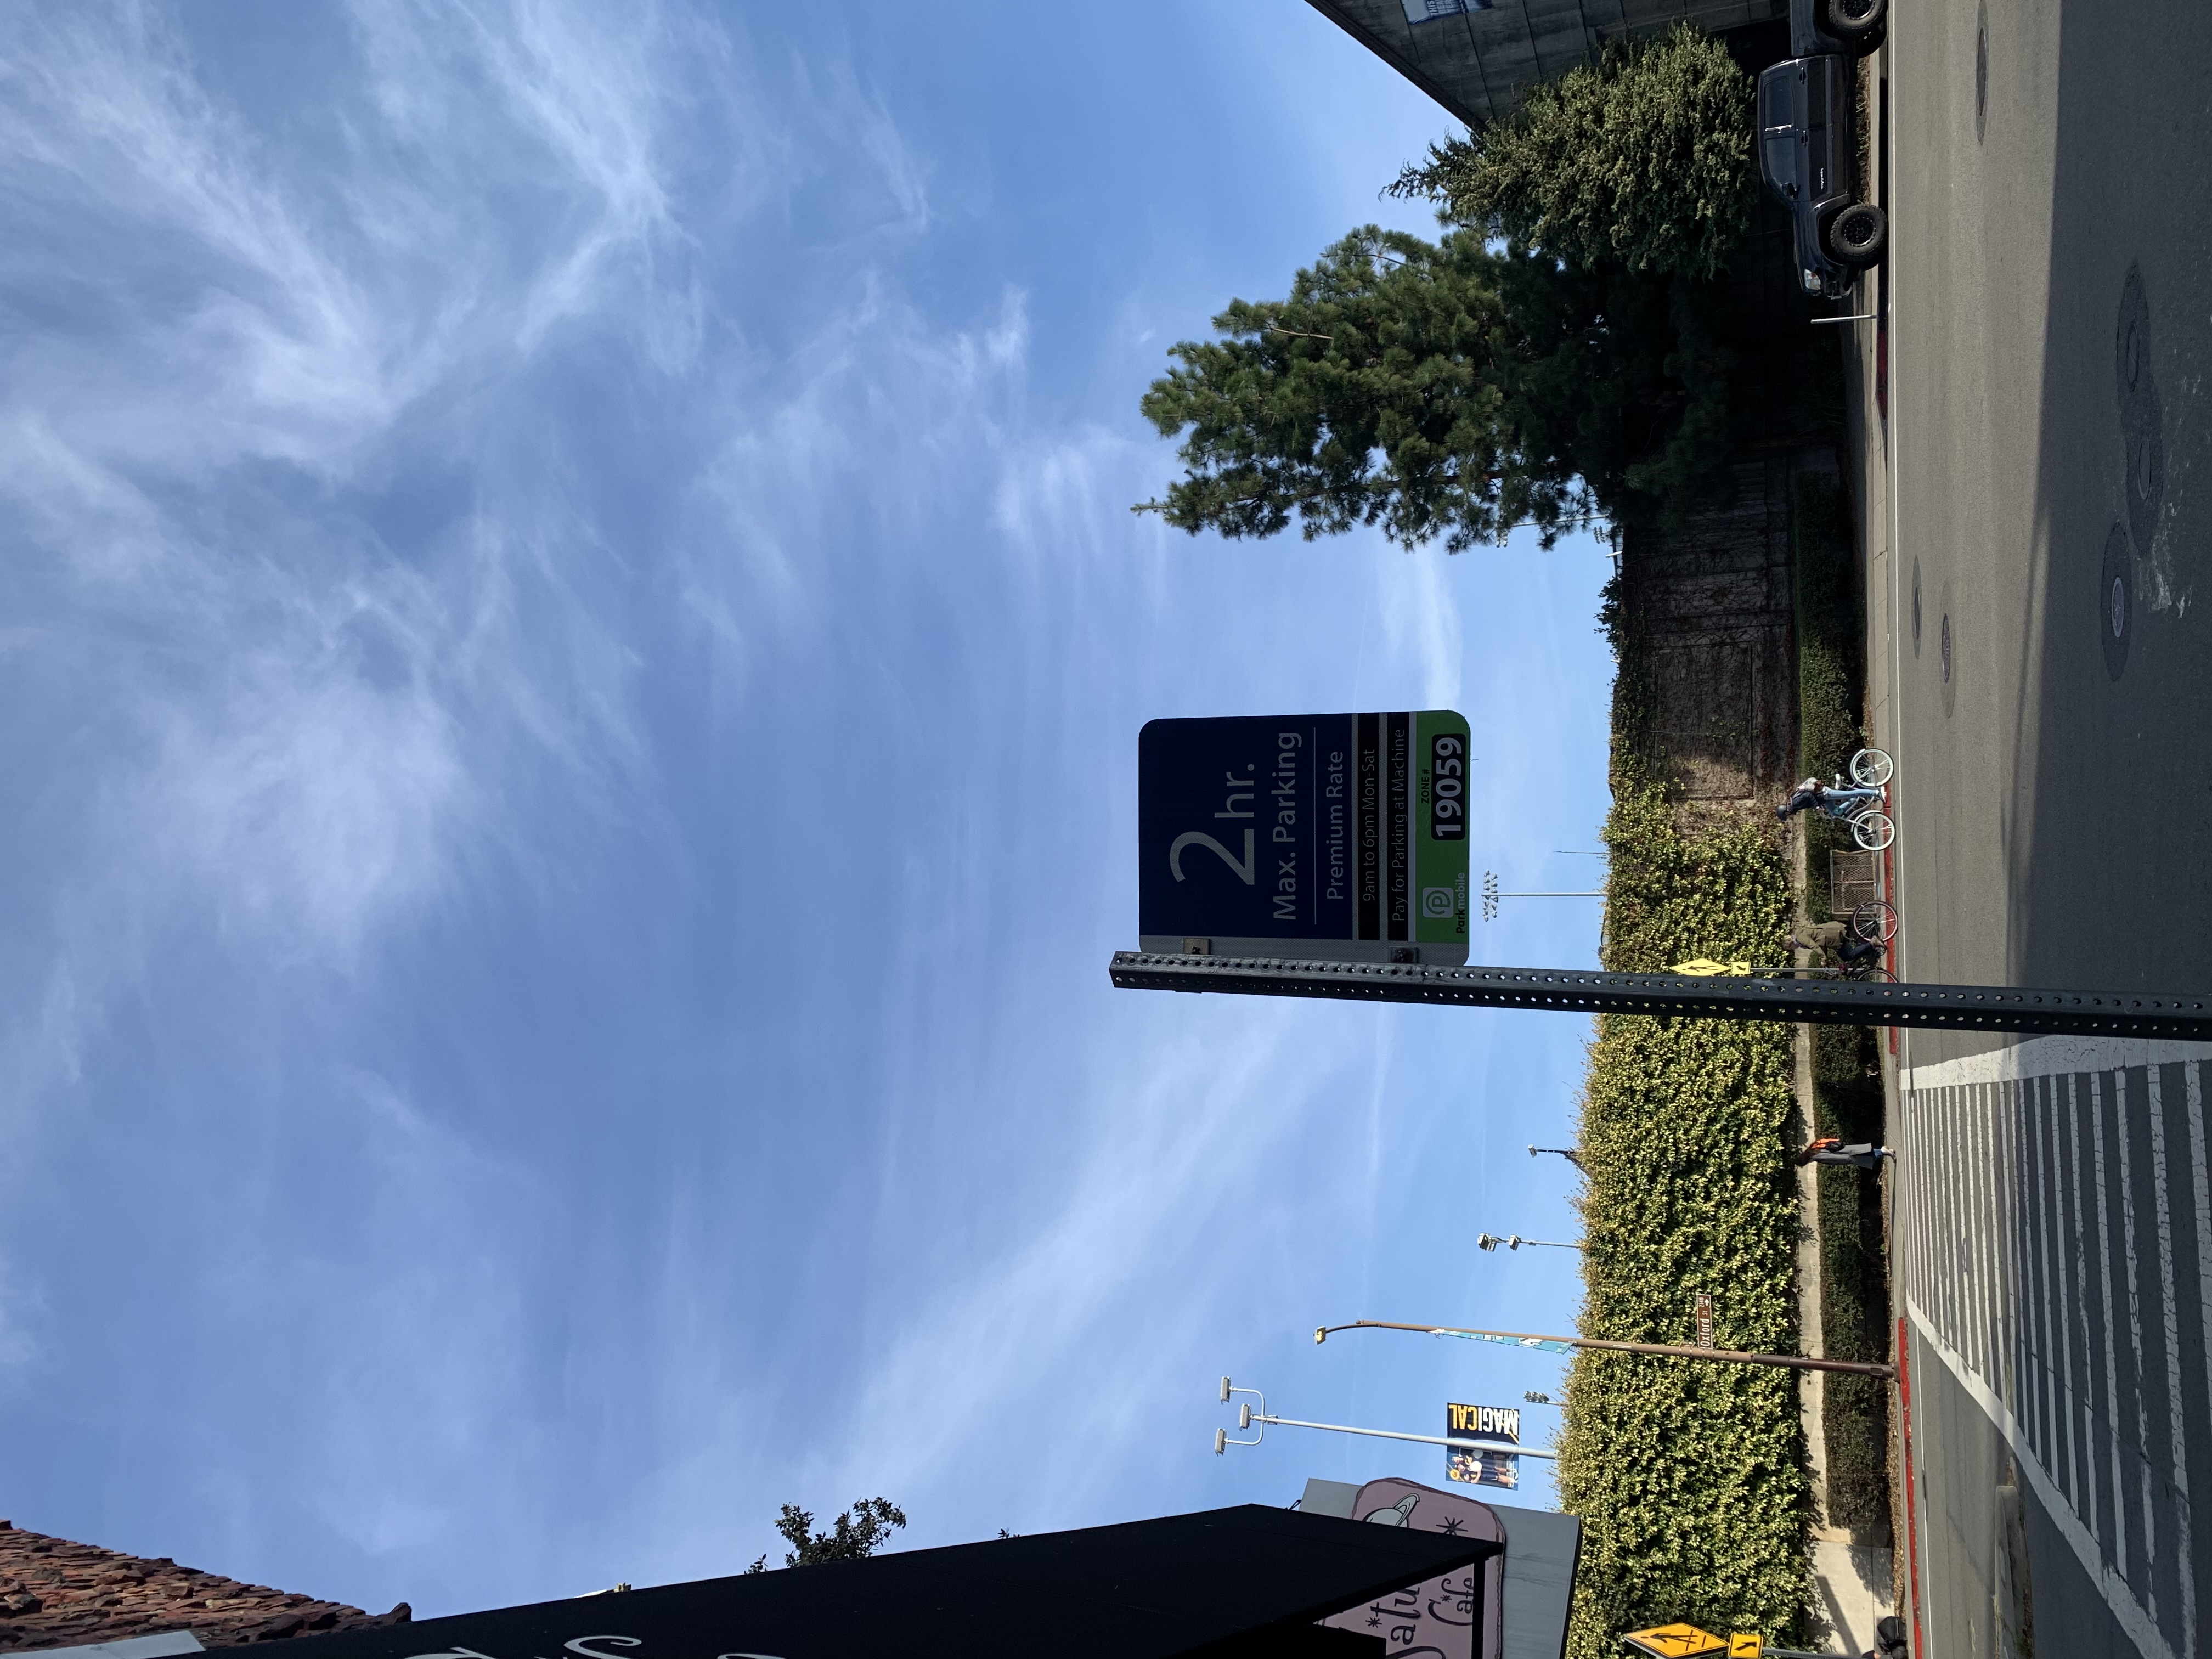
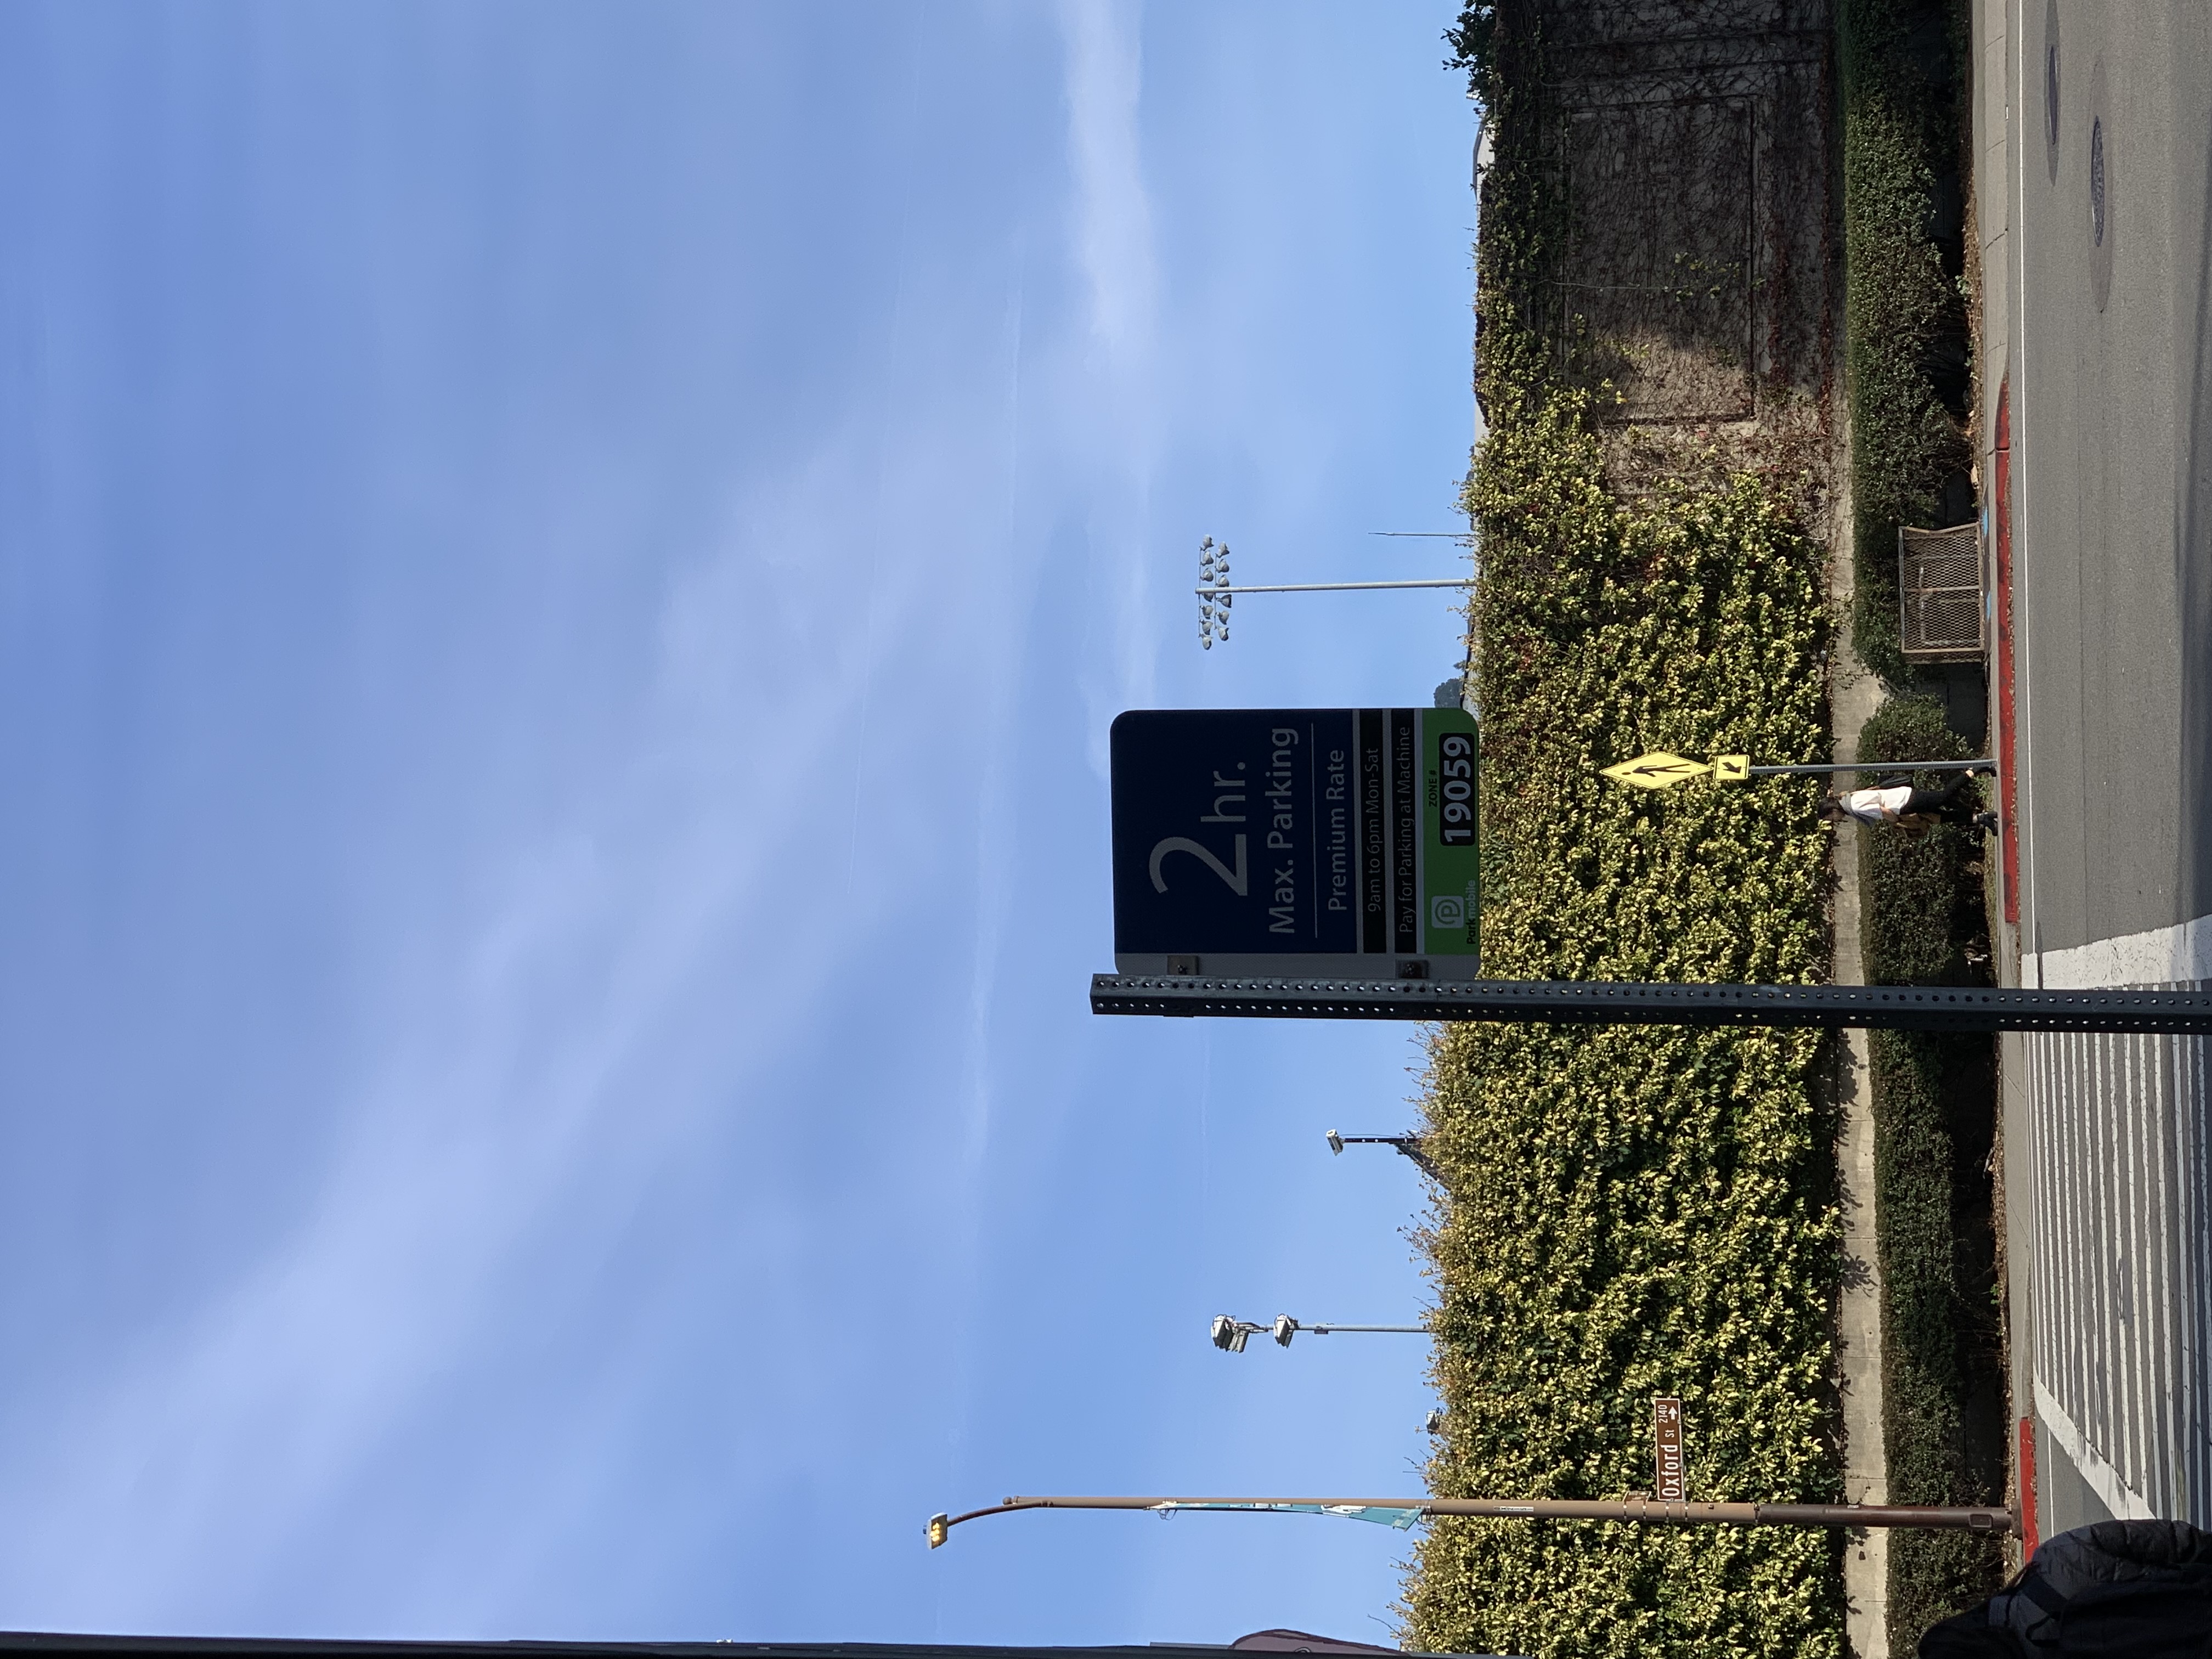
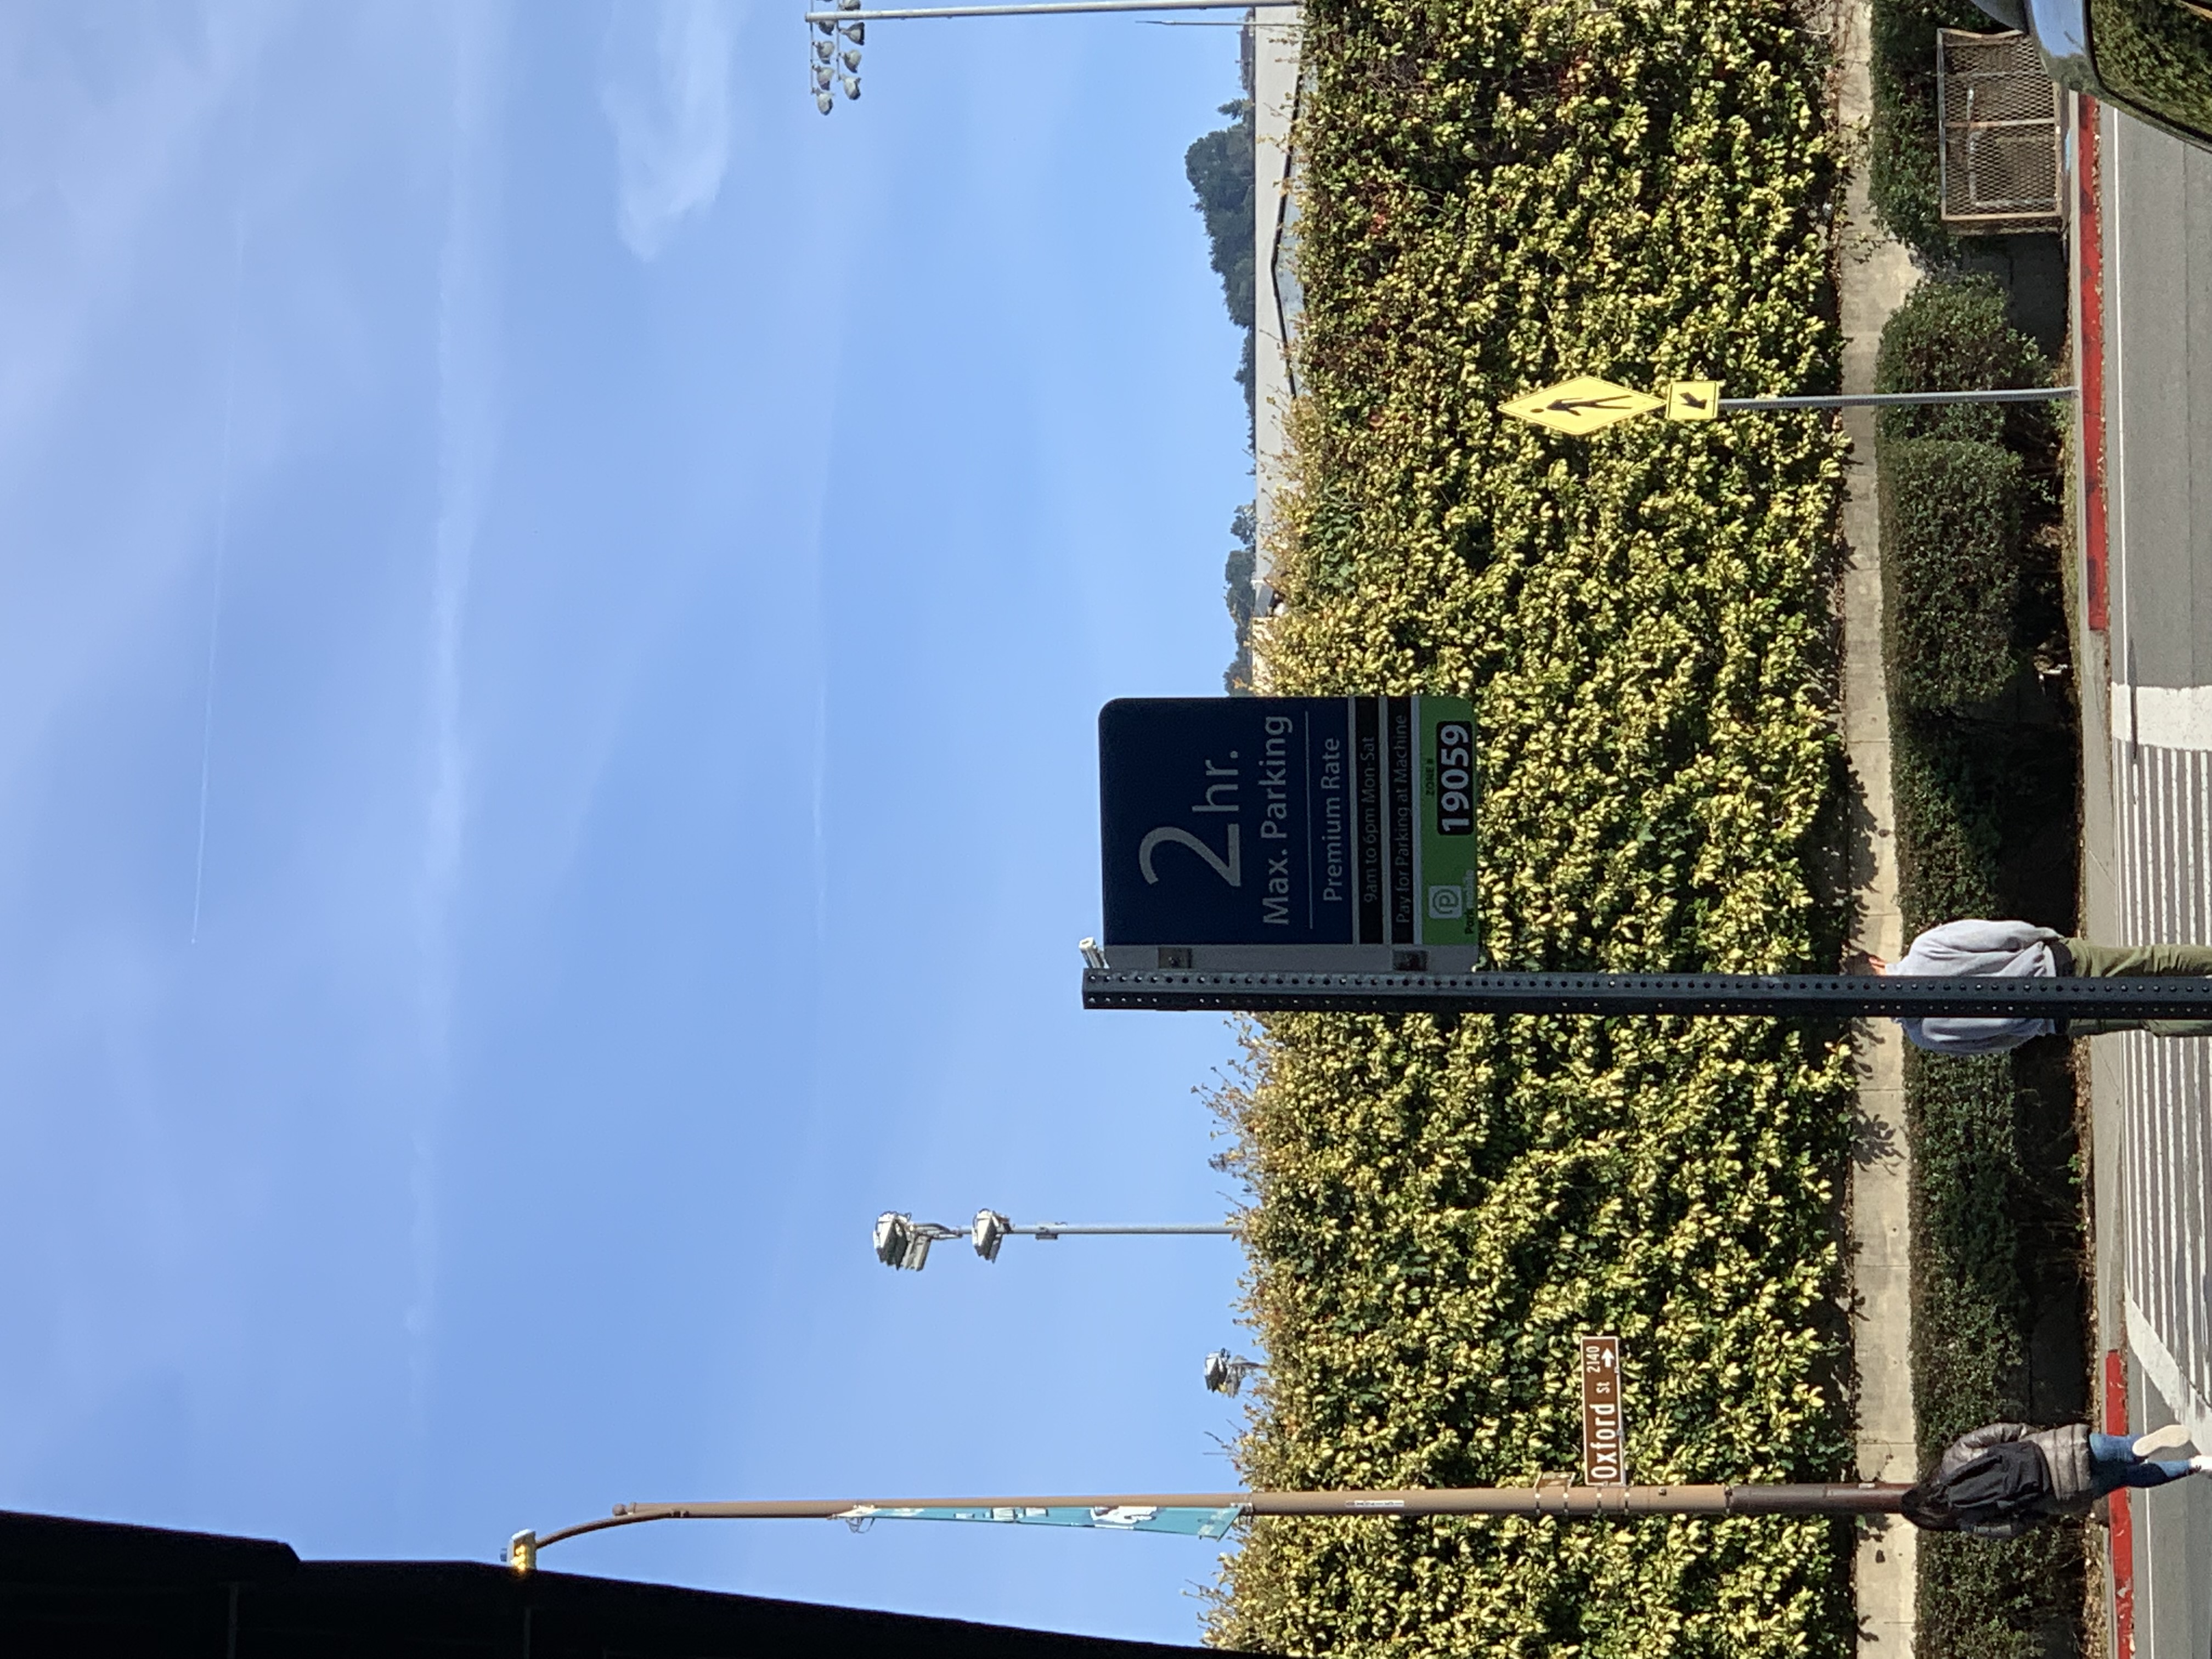
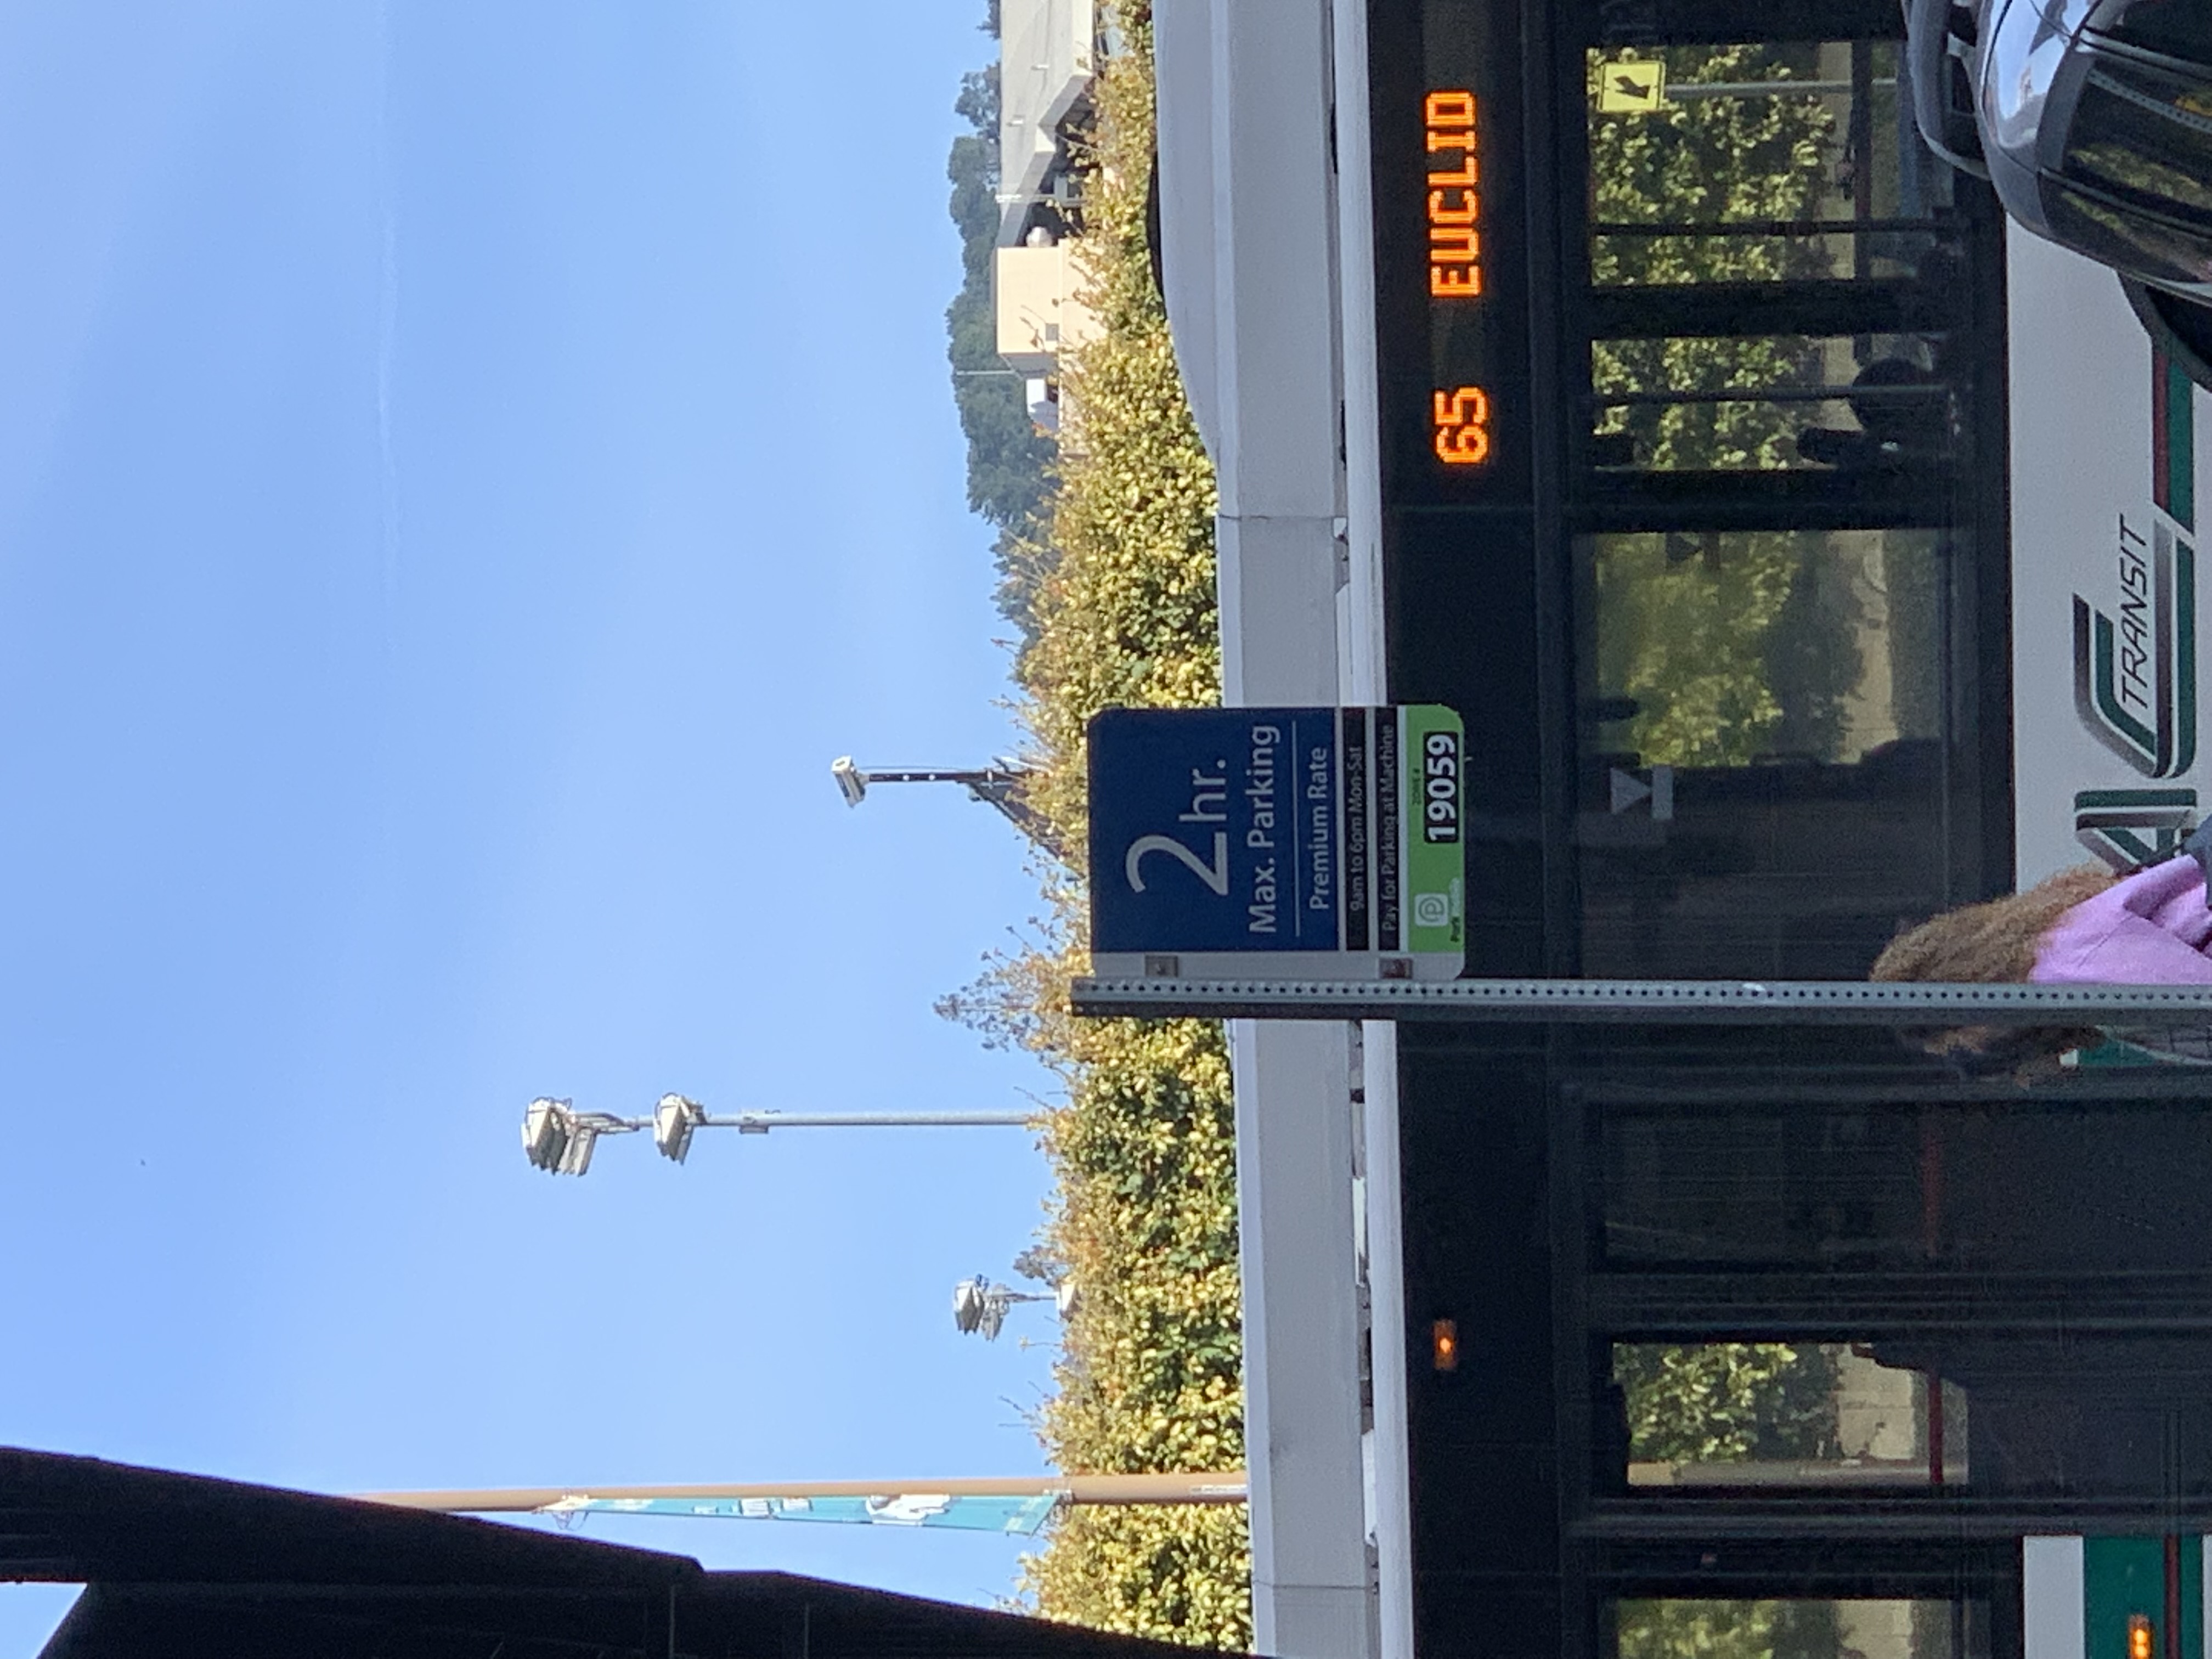
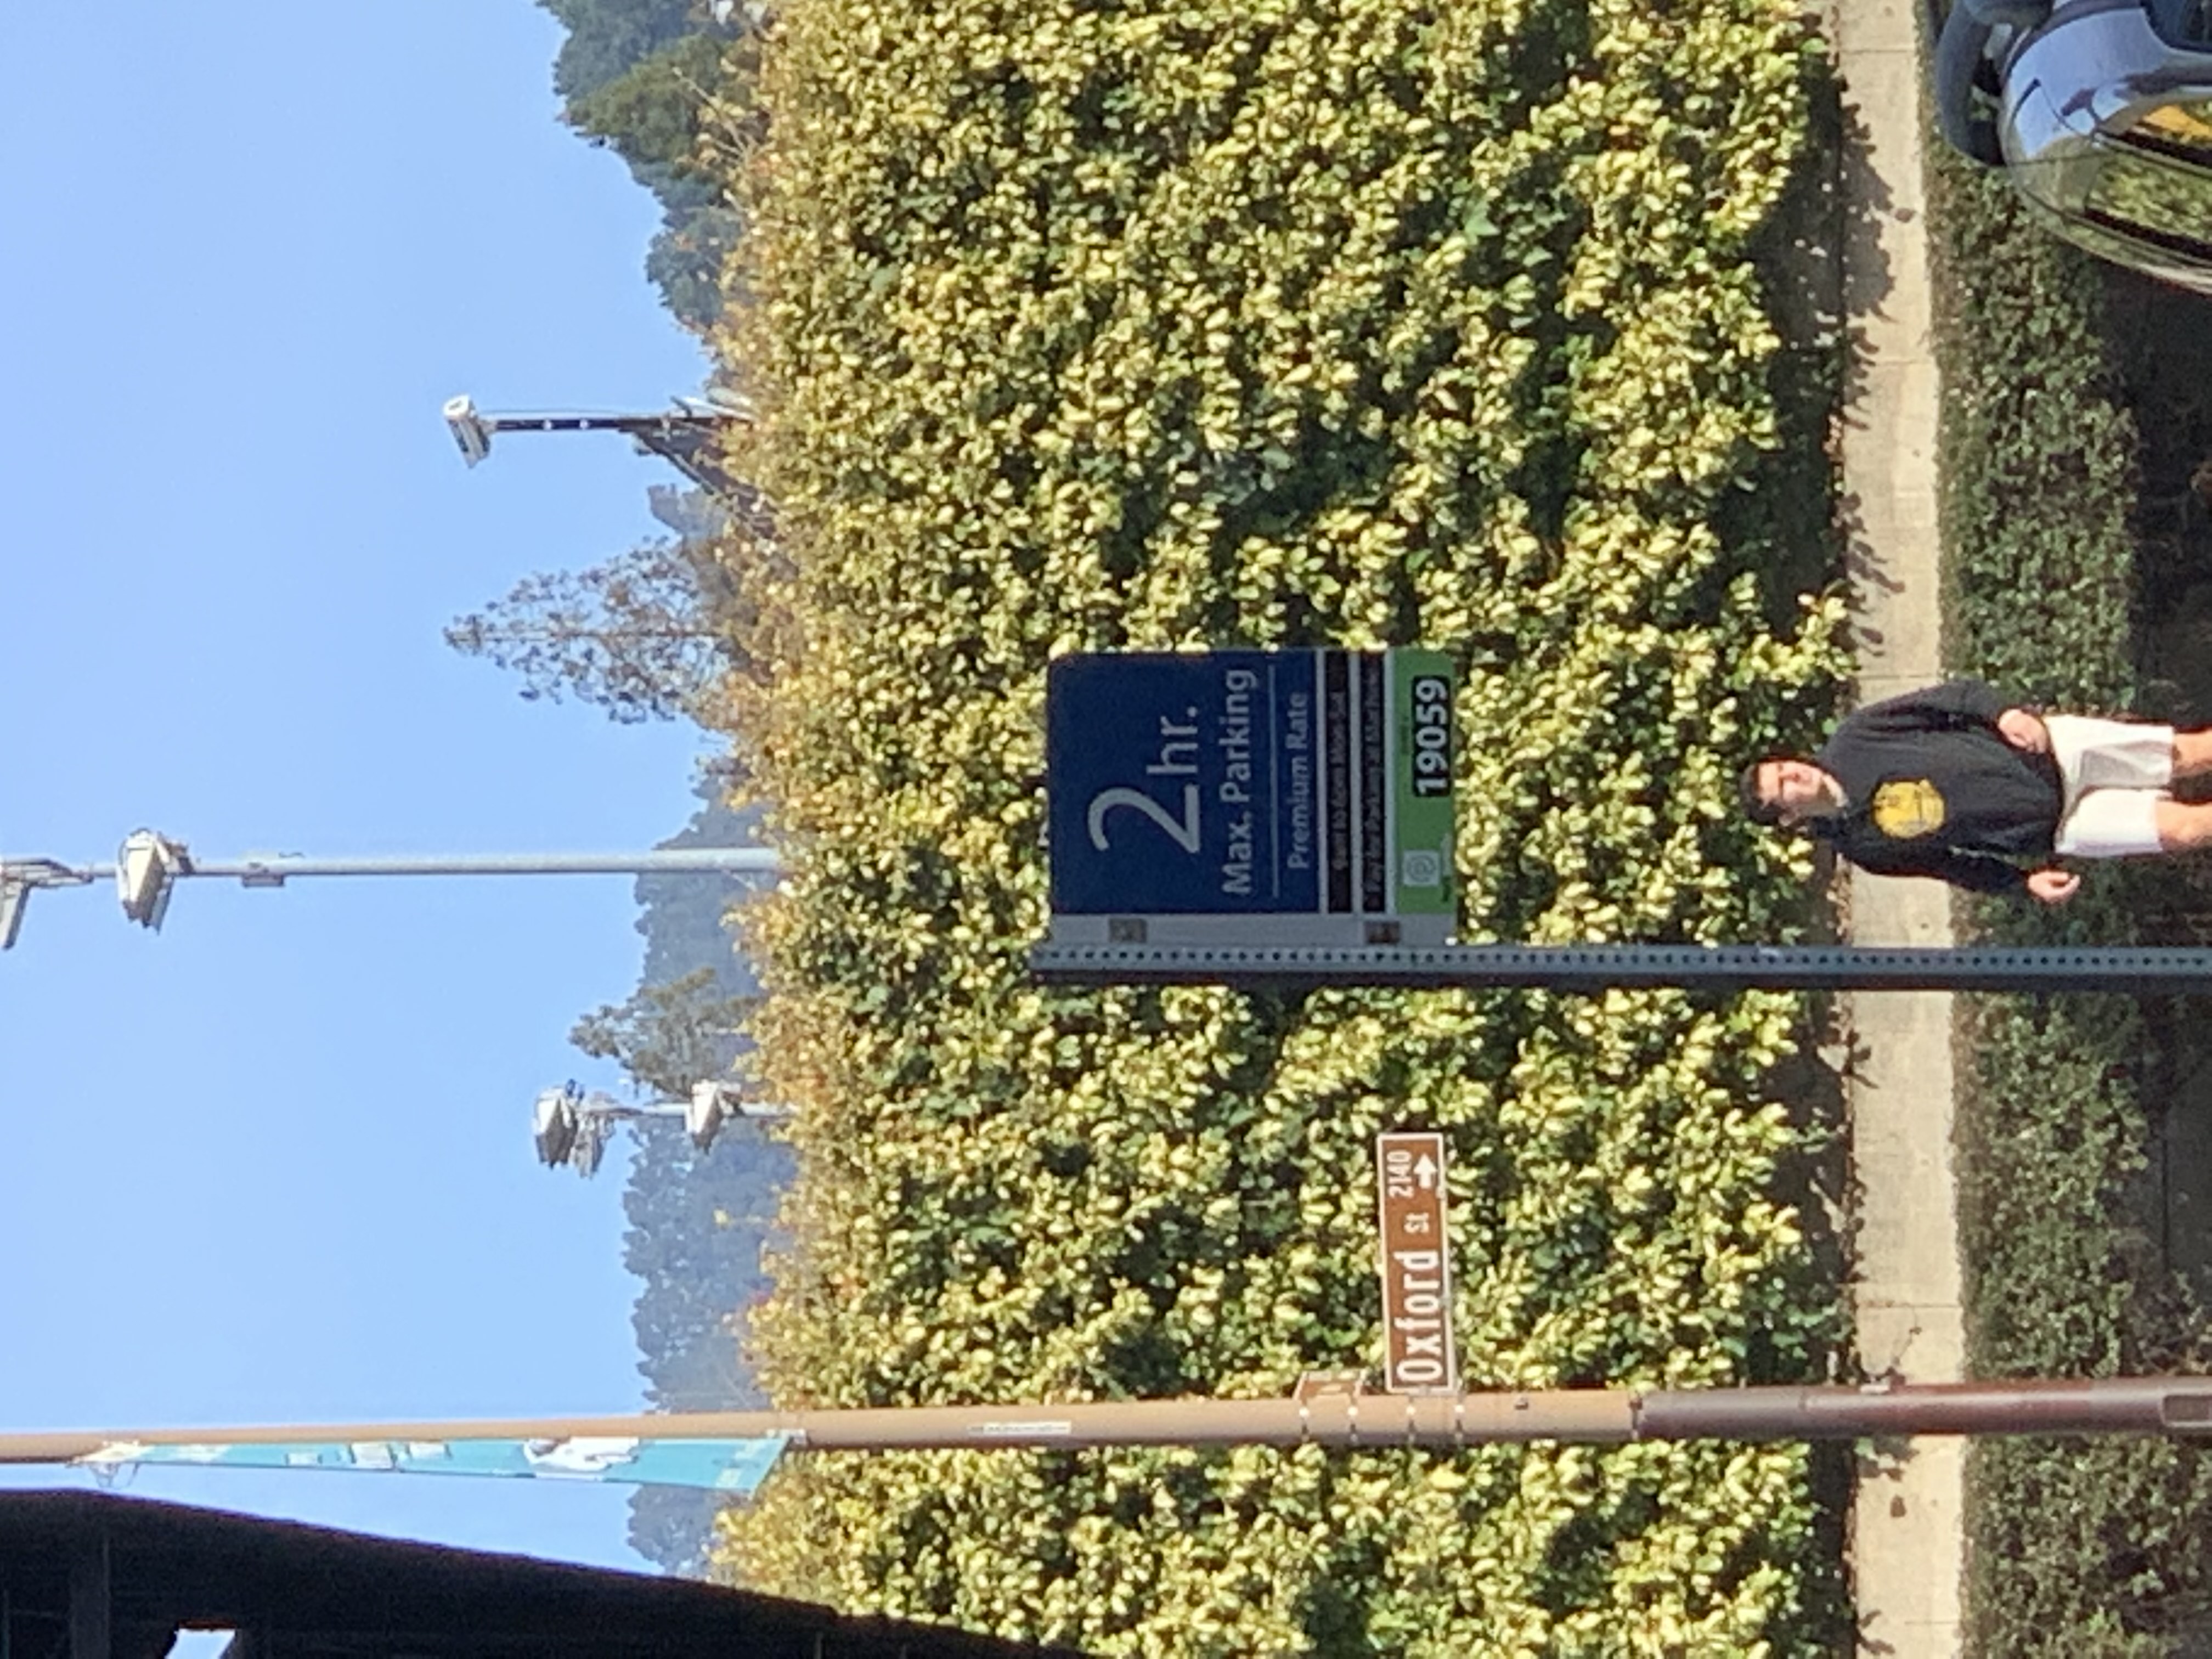
Parking sign outside my house
As you can see here, the vertigo effect becomes much more obvious when you look at the green hedges in the
background.
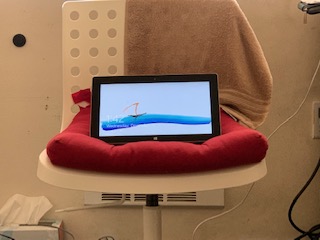
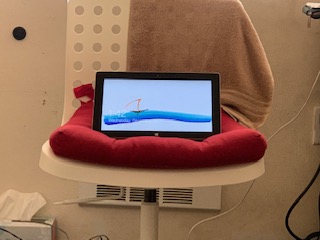
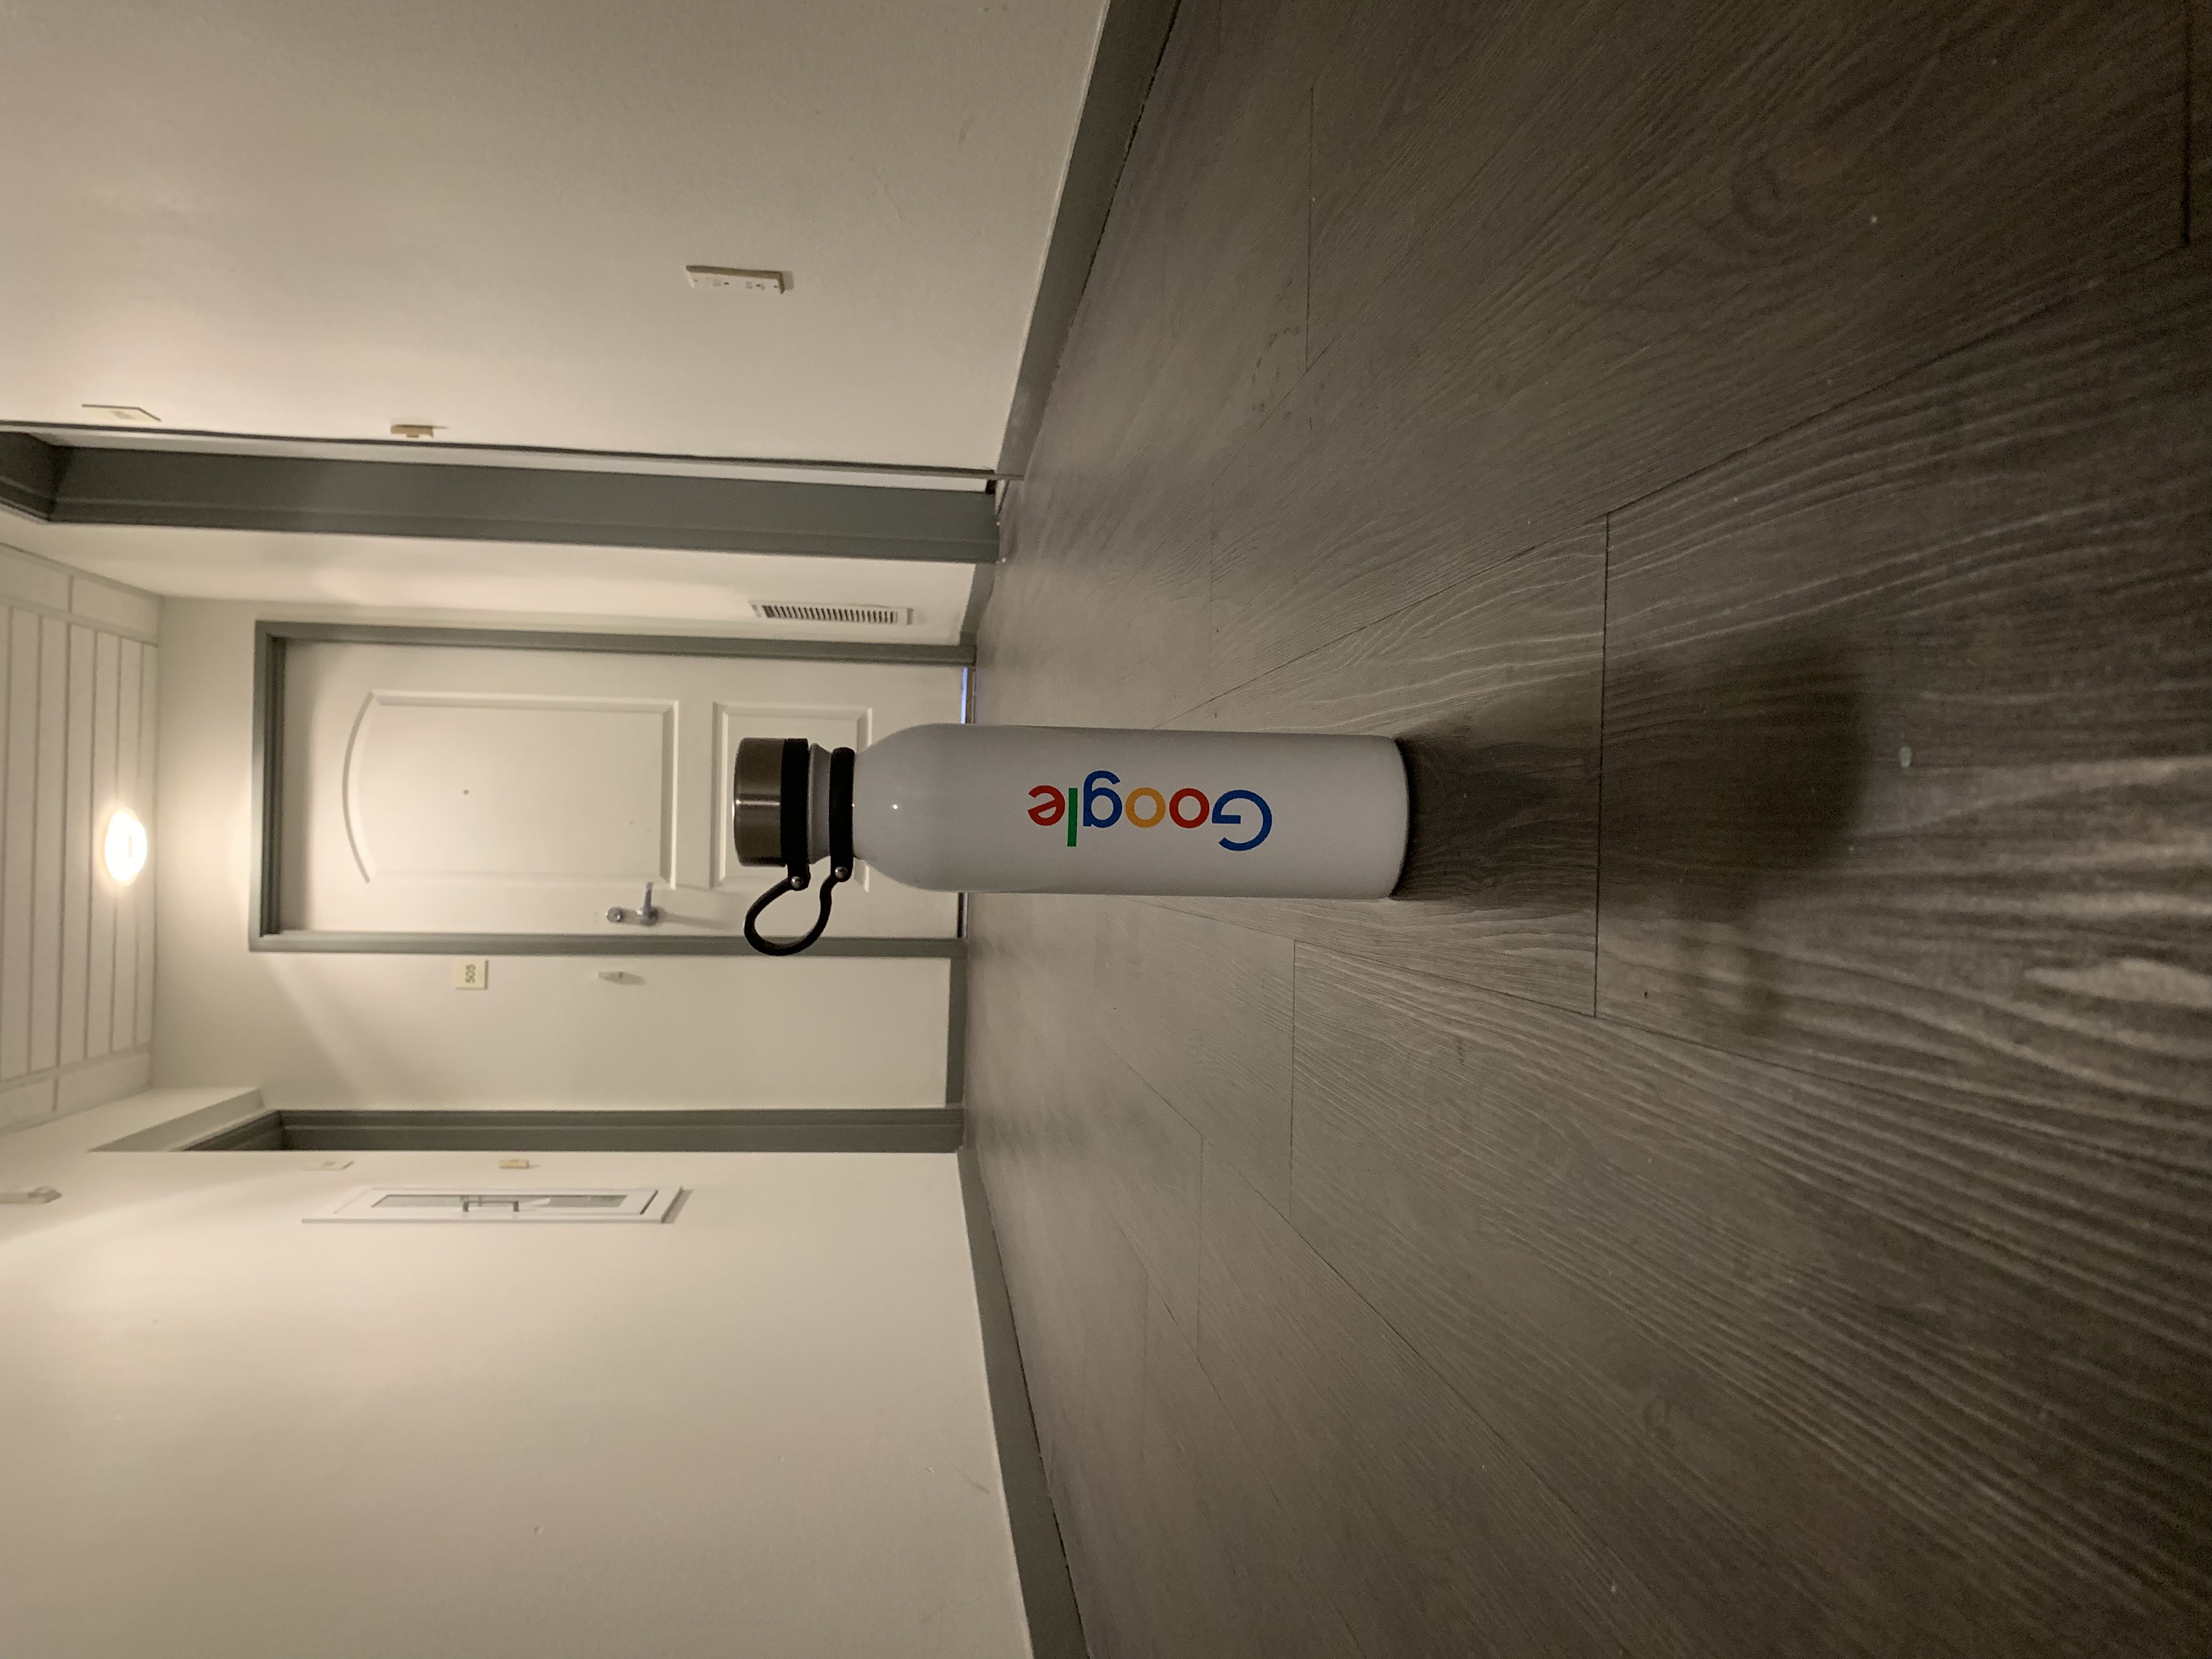
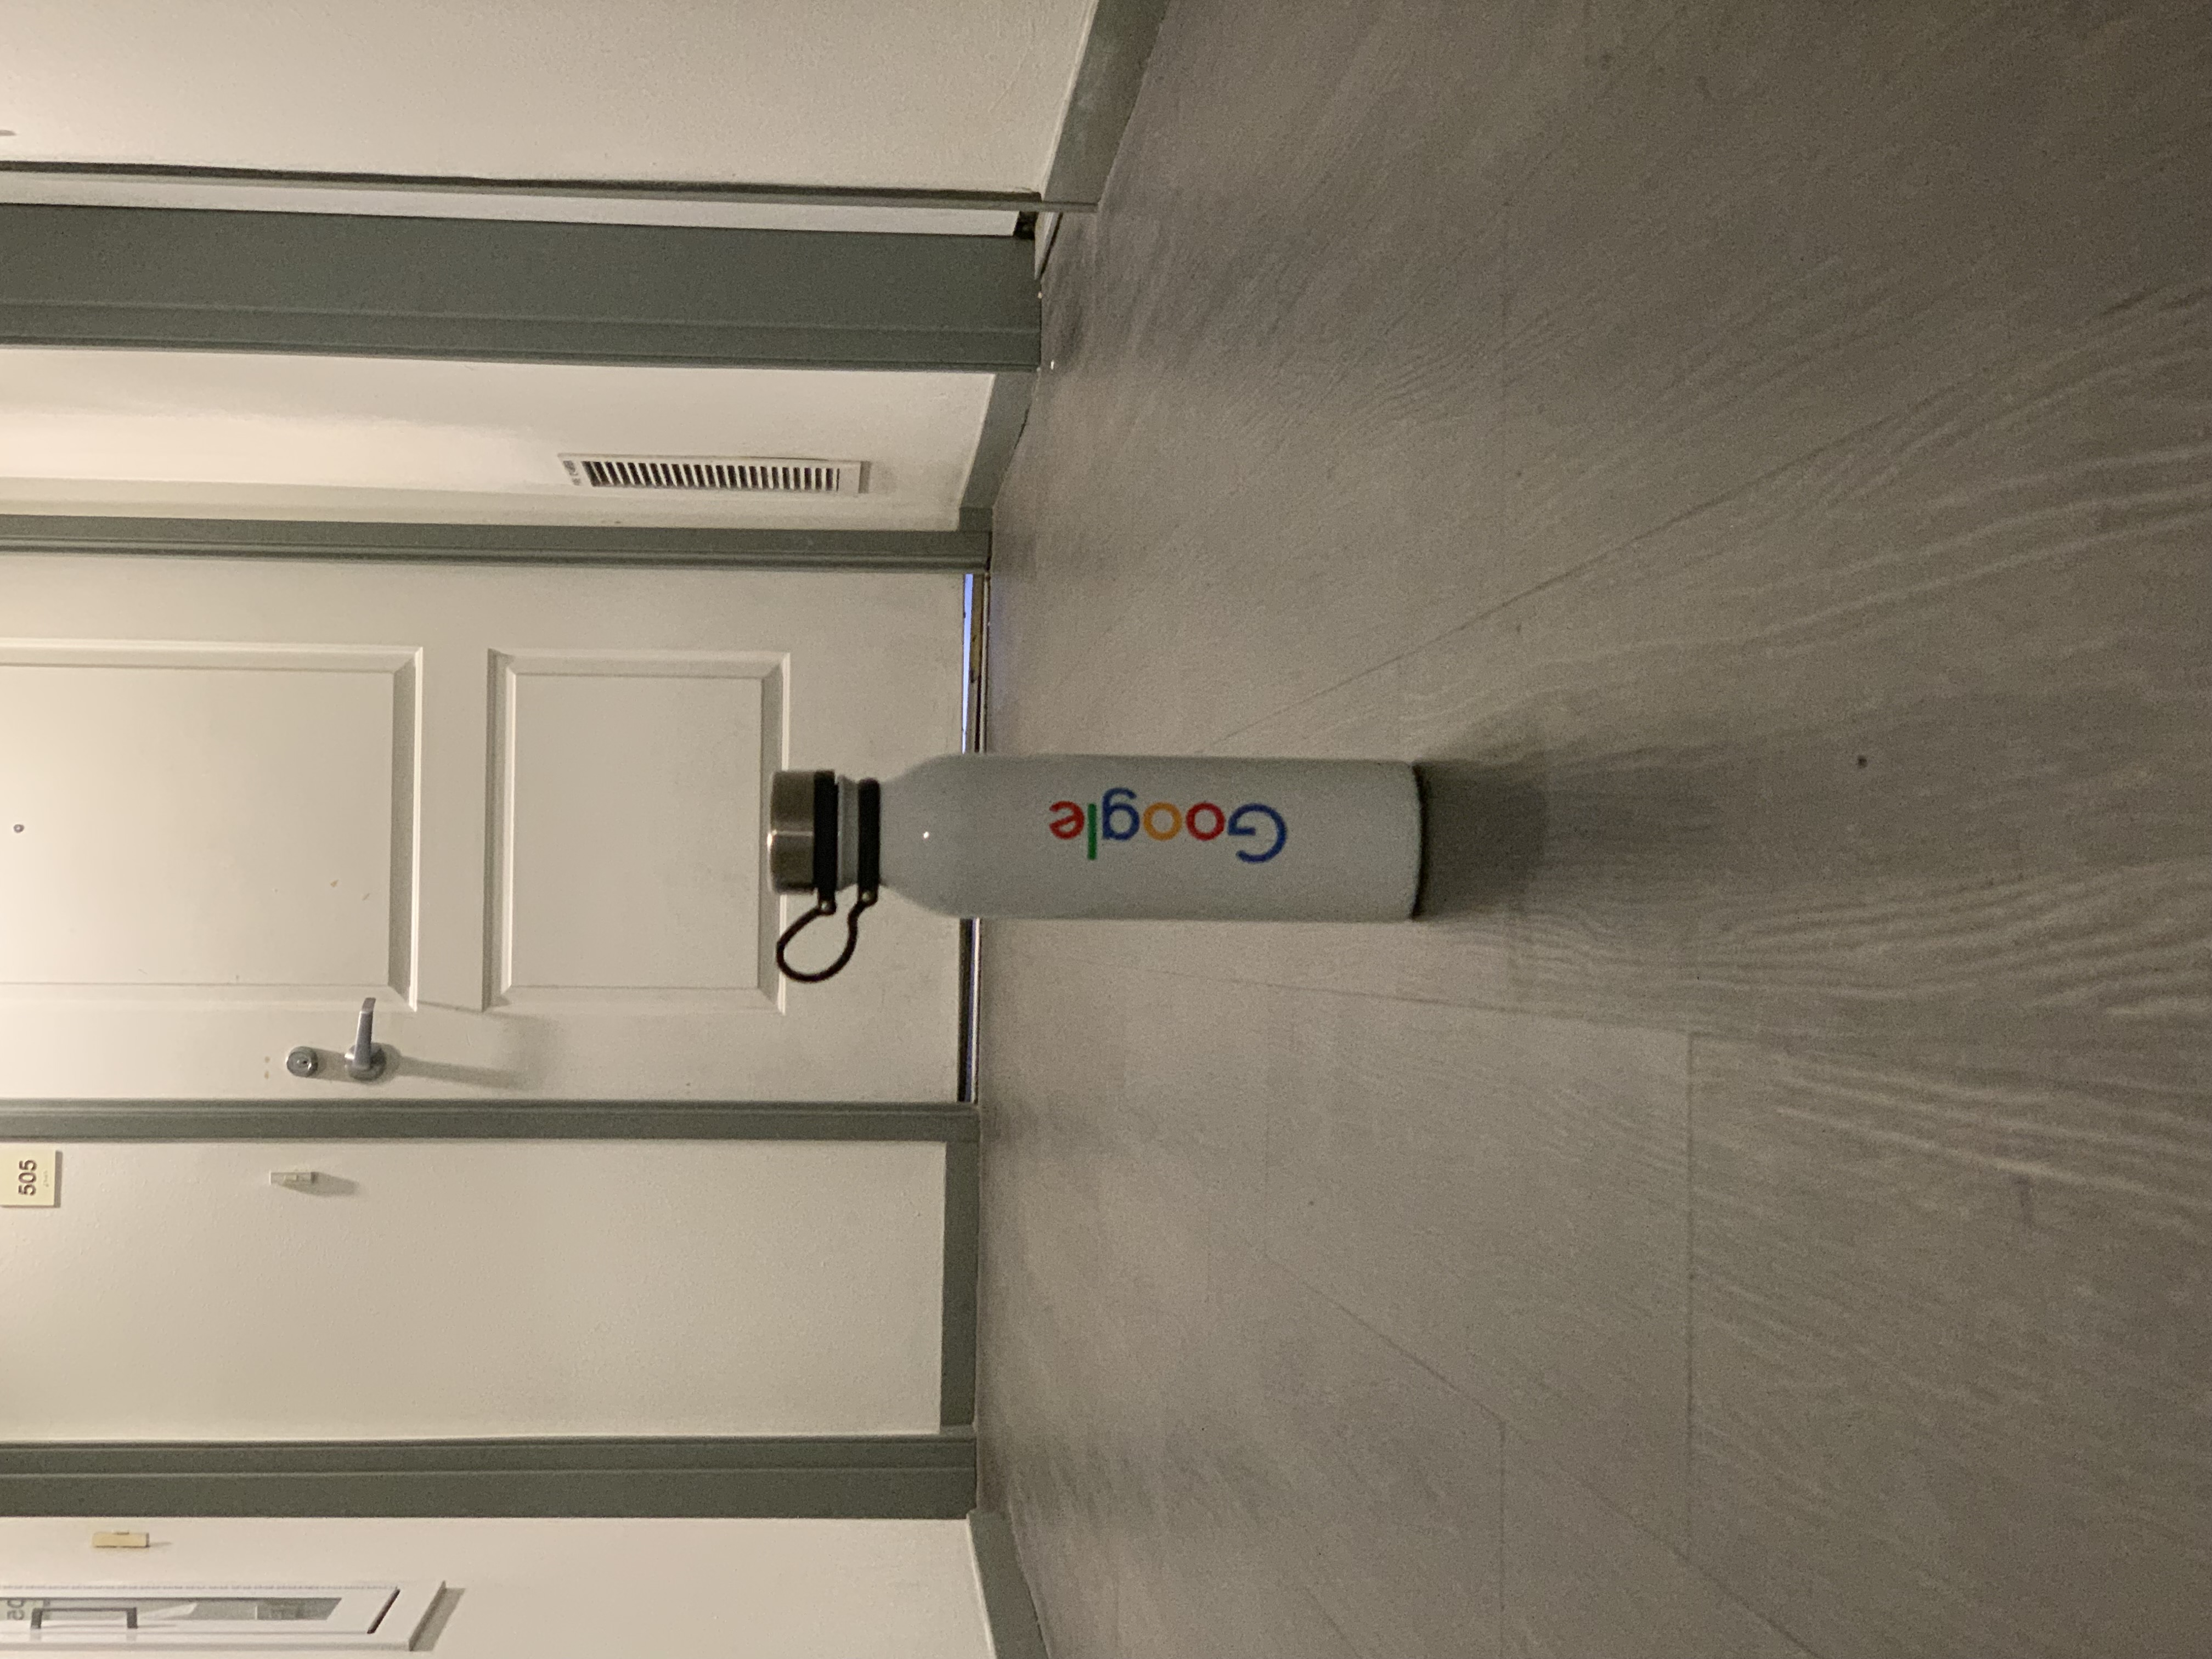
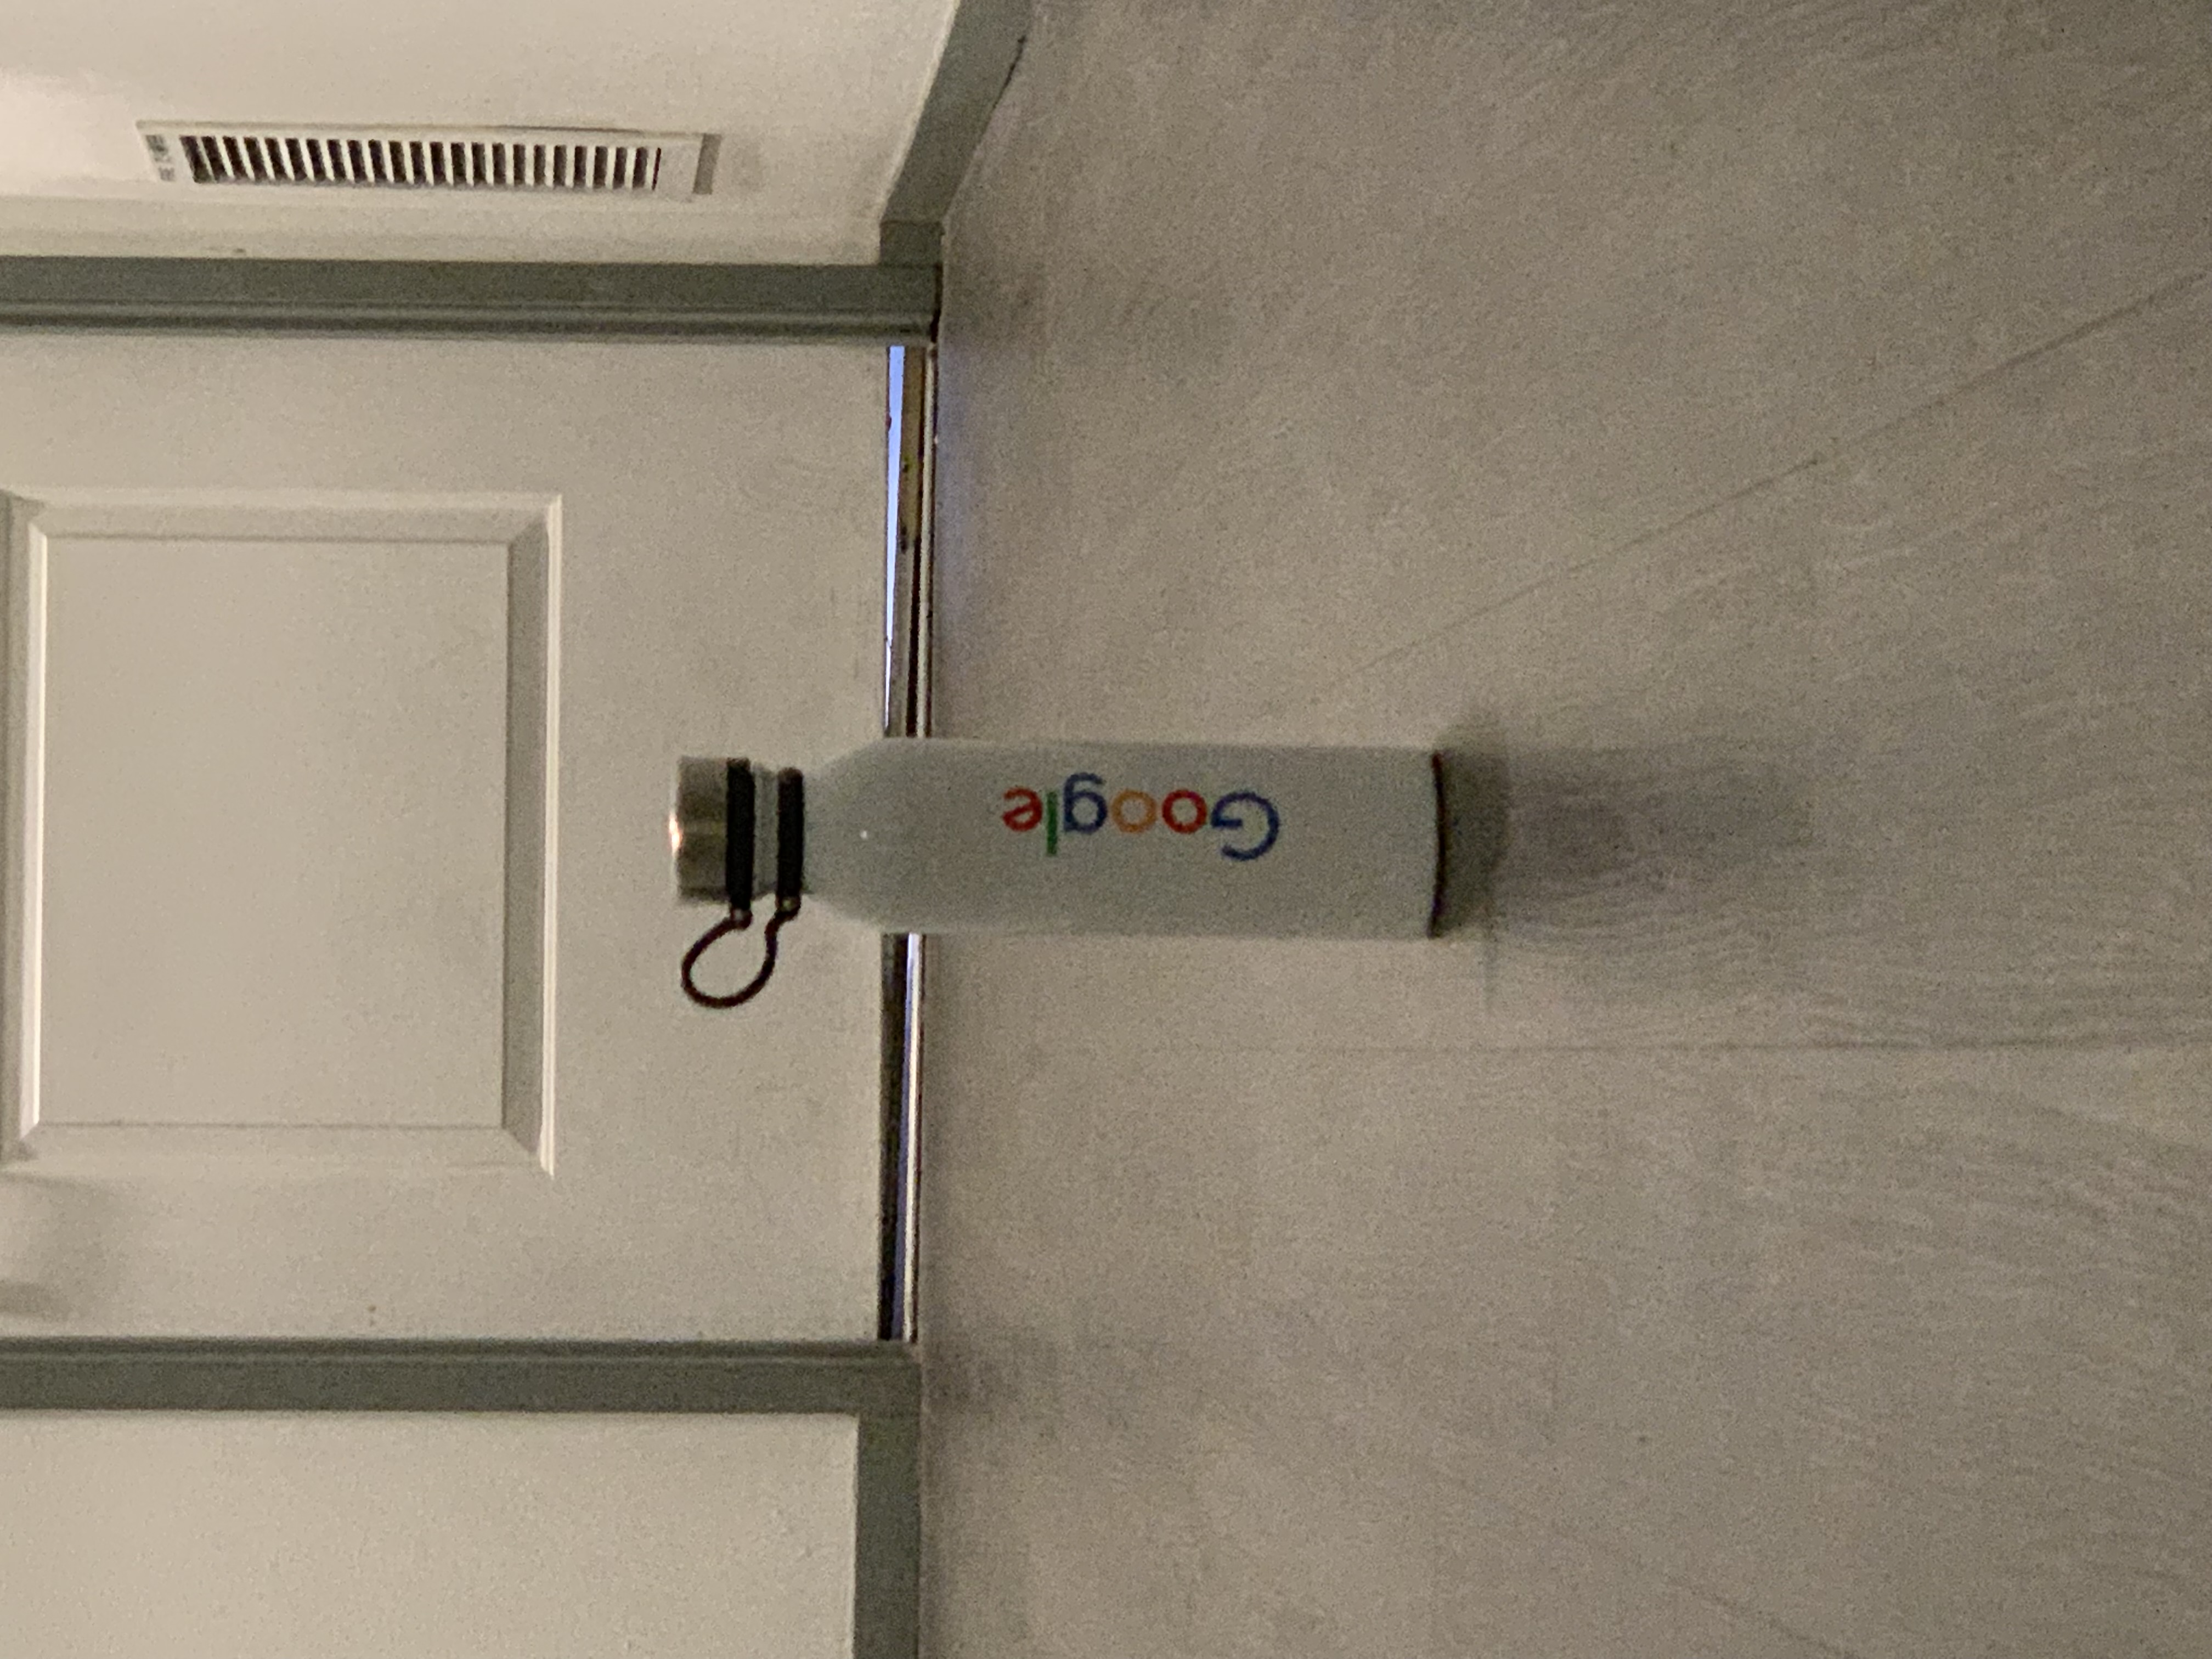
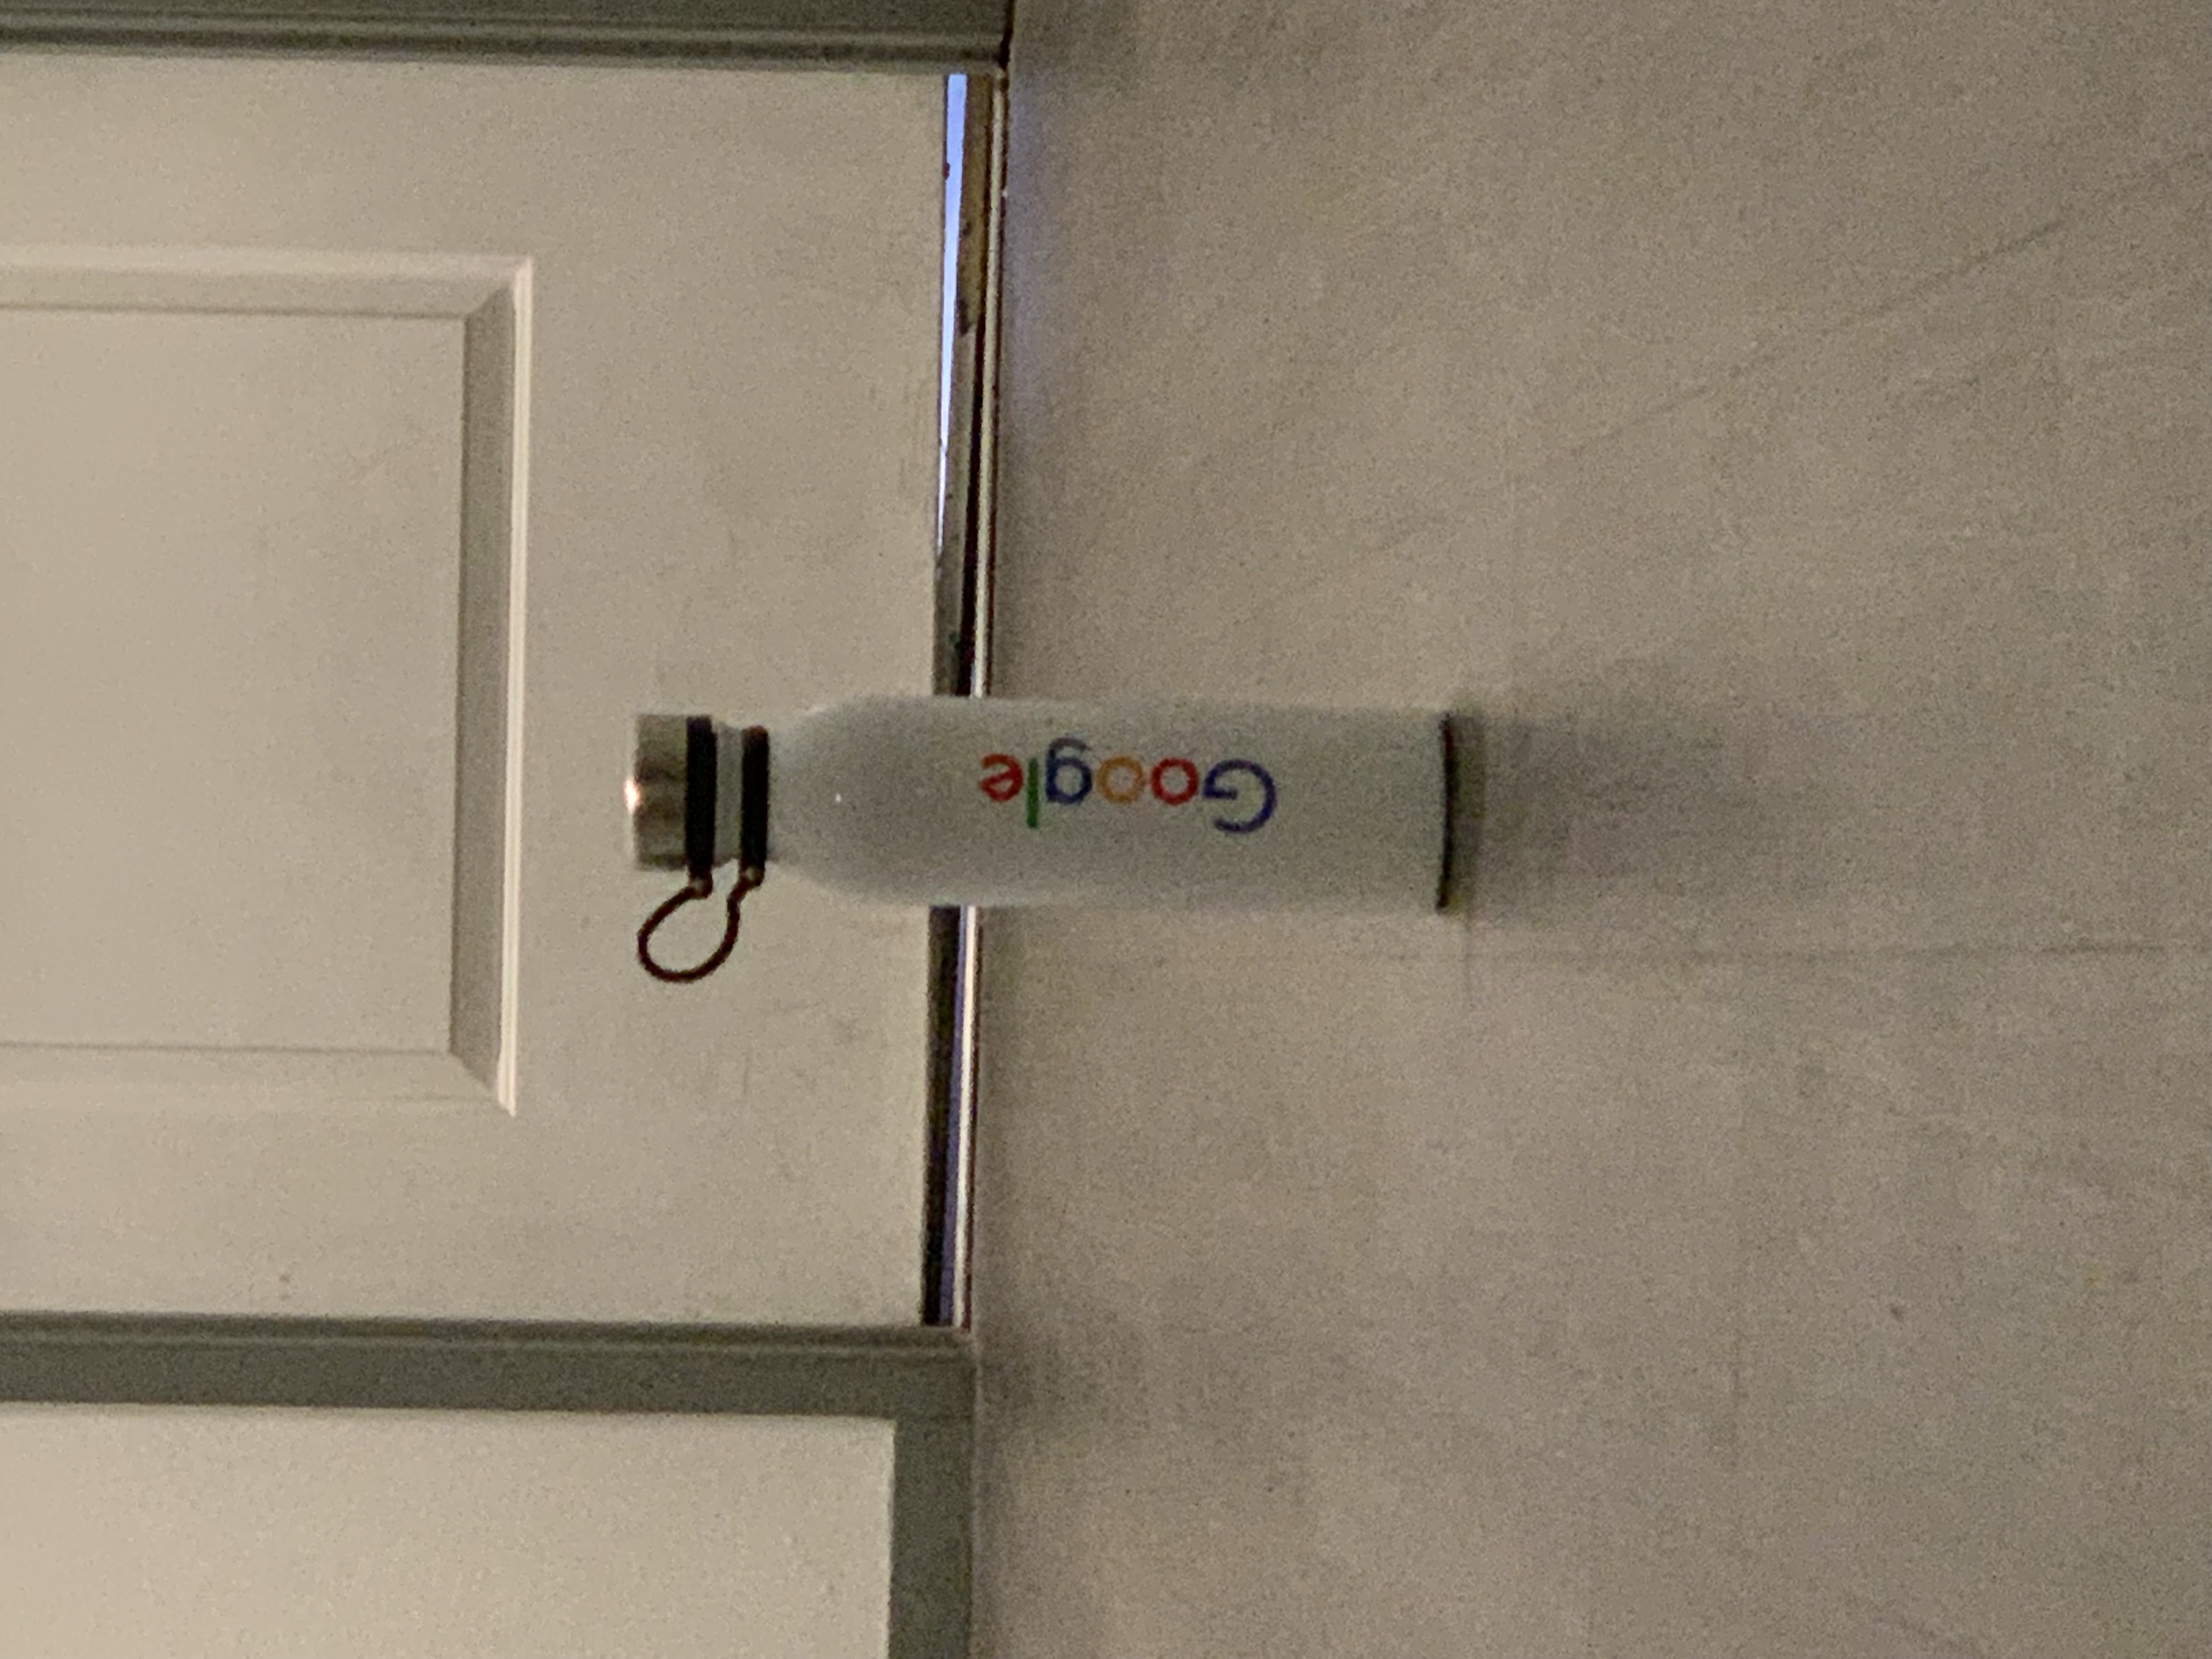
Water bottle in my hallway
(Bells & Whistles) For this sequence below, I experimented with moving the subject further away from my original
shooting position instead of moving backwards myself.
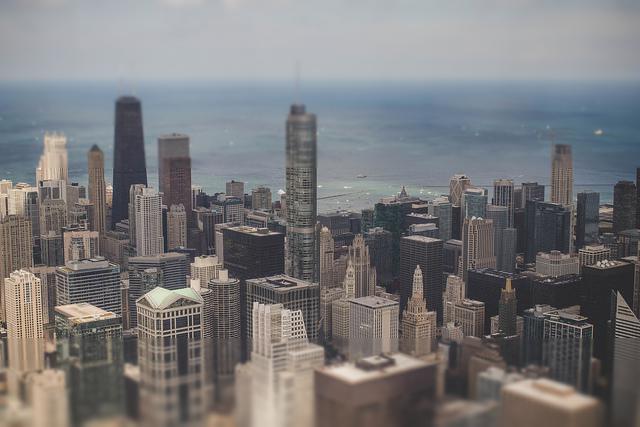
Fake Miniatures

Before
After
Creating Masks
In order to choose where to apply blurriness in a picture, I created horizontal masks to define the depth of
field, or the part of the image in focus. I simply created horiziontal masks, though for more a realistic tilt
shift effect, I could have tried to create more well-defined or complex masks since objects in focus are almost
never perfectly lie along a horizontal axis, especially for non-landscape photos.
The process for creating these horizontal masks involved selecting a single point at the image which I wanted to
be the depth of field, and then gradually allow for higher mask values as y would approach the top or bottom of
the image. I experimented with both np.linspace and np.logspace for creating these
range of values. As seen from the results, the np.logspace mask allows for less drastic blurring:

np.linspace mask

np.logspace mask
Applying Gaussian Filters
The rest of the process simply involved applying a gaussian filter along with the mask. By repeatedly convolving
gaussian filters together, I could increase the blurriness effect. I experimented with how many times I convolved
or stacked the gaussian filters, with these results:

4 levels

8 levels

12 levels
Comparing Results
I tried running my code on some other images, a couple I found on Flickr and a couple which I took myself. For
Bells & Whistles, I also tried to take some real tilt shift pictures with my own camera, by maxing
out the aperture to increase blurriness and taking pictures a subjects from a high angle.
Vegas (taken from Flickr)

np.linspace, 4 levels
np.linspace, 8 levels

np.linspace, 12 levels
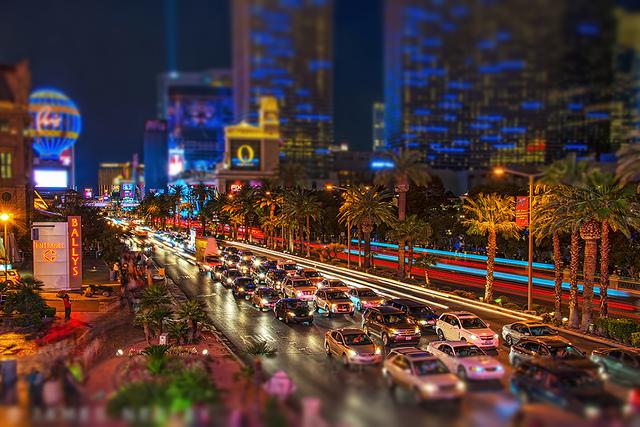
np.logspace, 4 levels

np.logspace, 8 levels

np.logspace, 12 levels
Hotel (taken from Flickr)
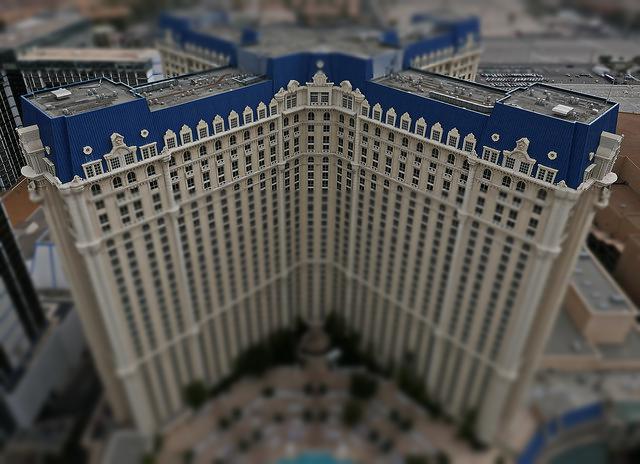
np.linspace, 4 levels

np.linspace, 8 levels
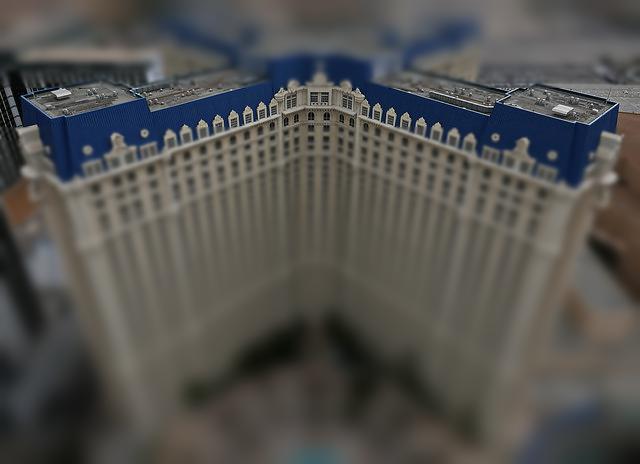
np.linspace, 12 levels
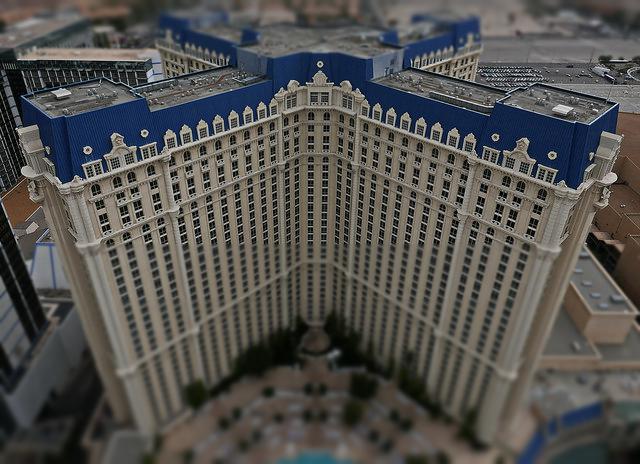
np.logspace, 4 levels

np.logspace, 8 levels
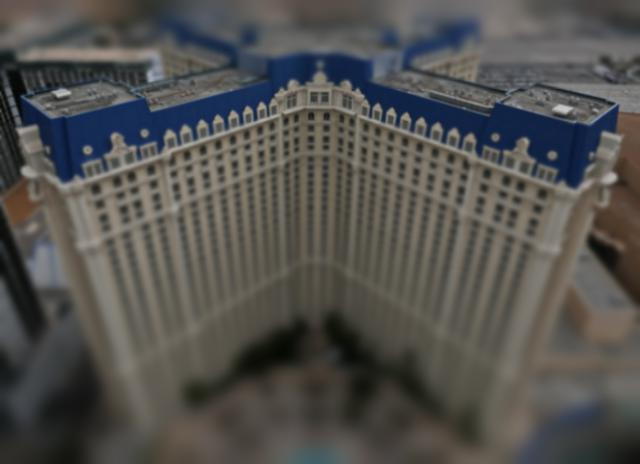
np.logspace, 12 levels
Chicago (taken by me)

np.linspace, 4 levels

np.linspace, 8 levels

np.linspace, 12 levels
np.logspace, 4 levels

np.logspace, 8 levels
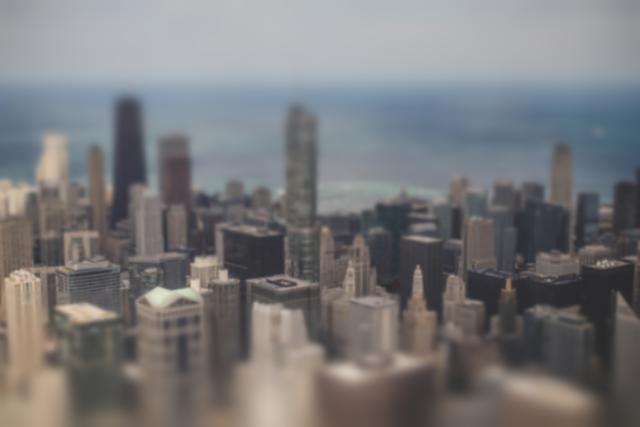
np.logspace, 12 levels
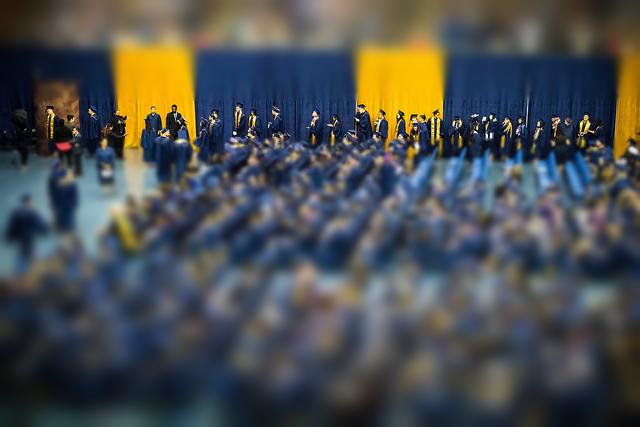
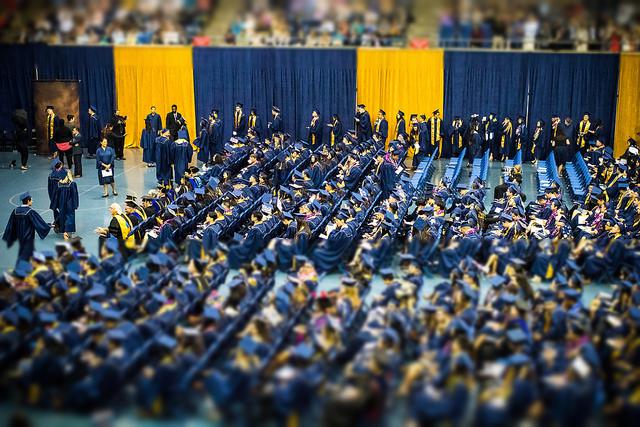
UC Davis Commencement (taken by me)

np.linspace, 4 levels

np.linspace, 8 levels
np.linspace, 12 levels
np.logspace, 4 levels

np.logspace, 8 levels

np.logspace, 12 levels