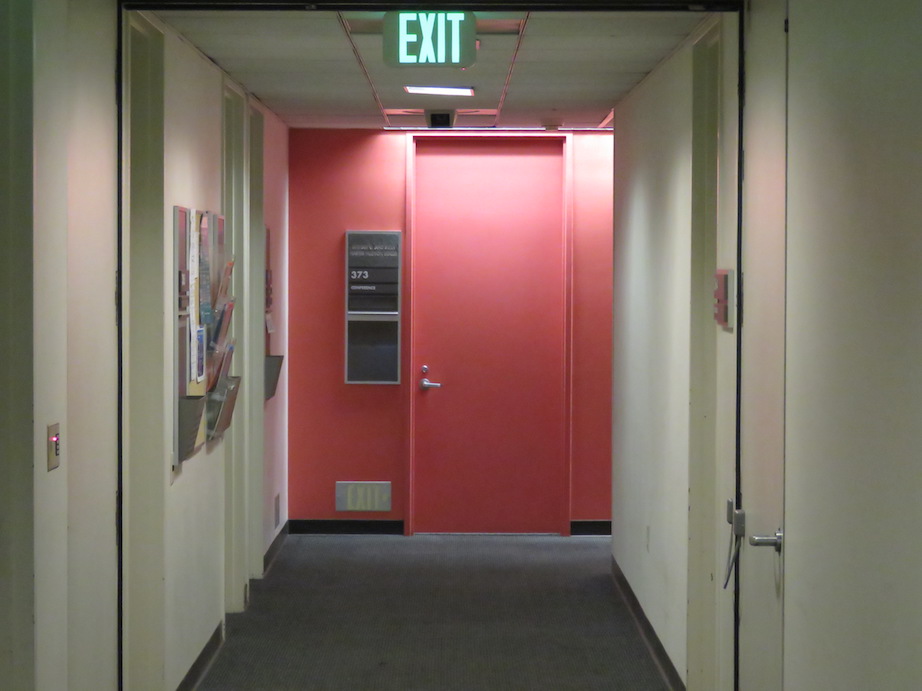
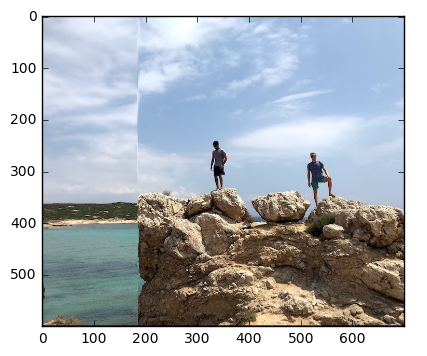
For this project, we are learning to replicate the Vertigo Shot taken in famous movies such as "Vertigo", "Jaws", and "Goodfellas". The central idea is that while objects in the foreground appear the same size throughout a shot, the objects in the background appear to morph in size. I accomplished this "dolly zoom" effect by using a Canon Powershot SX60 HS camera with a zoom lens focused on a still-life background. First, I set the camera to use a narrow aperture for deep depth of field. Additionally, I set the camera focus to infinity in order to keep foreground objects sharp and in focus despite focal distance from camera.
For the actual effect, I first proceeded to take a picture of the still-life scene with no zoom for afar. Then, I moved the camera back about 7 steps and zoomed in so the scene had approximately the same size and placement as in the first shot frame. I continued this process (i.e. moving camera back and zooming in) 4 times to achieve the effect on the following Soda Hall hallway and water bottle scenes (see below for images and gif).
Some difficulties I encoutered were keeping the camera steady and moving back precisely since I did not use a tripod, simply my hands. As such, the gif appears a bit shaky, but the effect is clearly showcased nonetheless. I learned that the "dolly" part of the effect simply came from the fact that early movie producers stabilized the shot and ensured scene placement by moving the camera back and forth on a dolly. Note: The Gif is part of the Bells and Whistles portion of this project. Please refresh to see the gif again as it plays only when the page loads.
Image #1 (No Zoom)
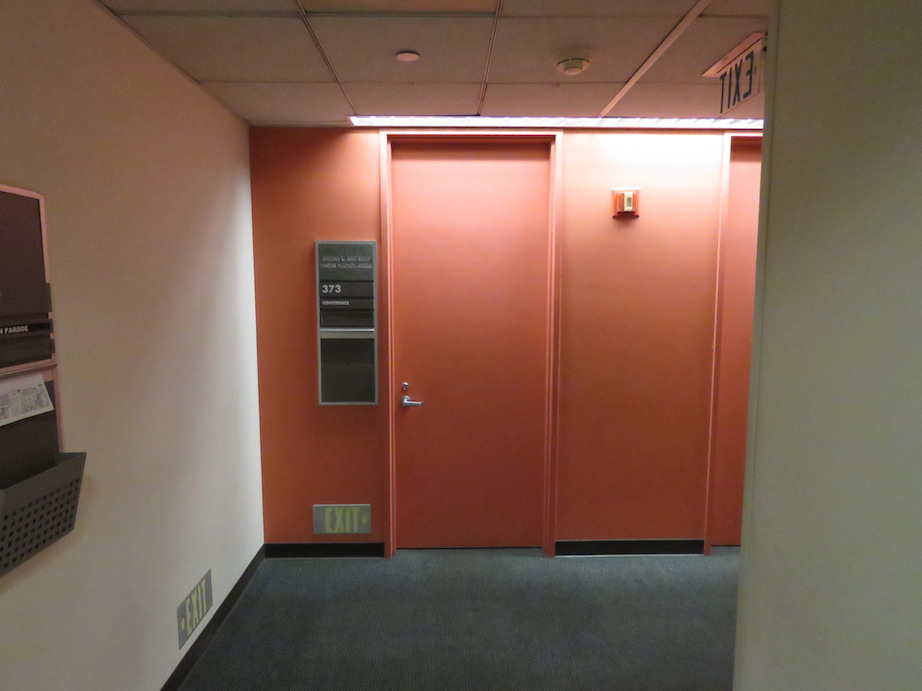
Image #2 (7 Paces Back)
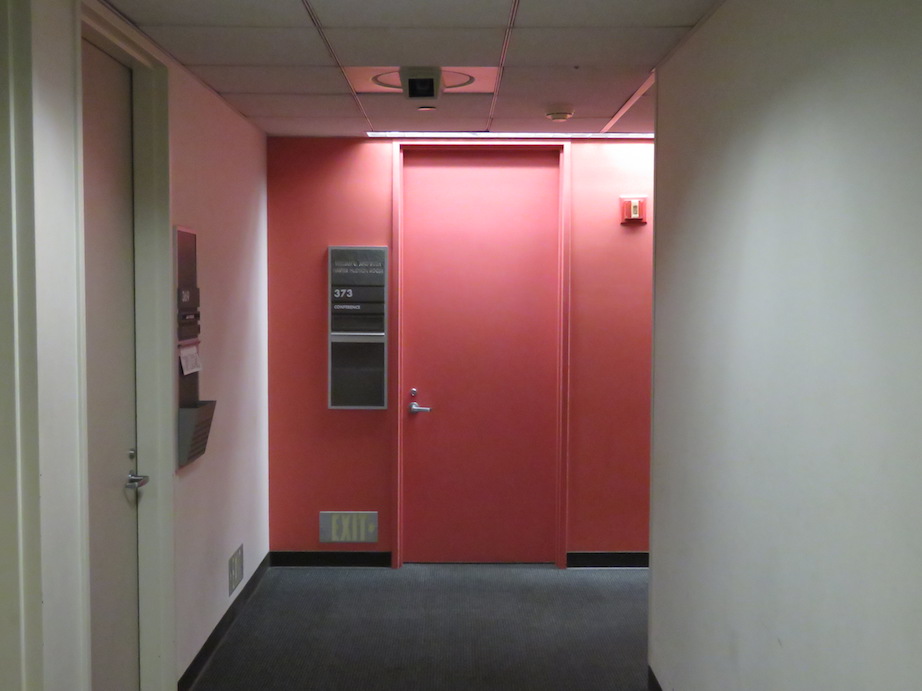
Image #3 (14 Paces Back)

Image #4 (21 Paces Back)
GIF of Dolly Zoom Effect (Please Refresh Page to see GIF animation again as it is static on first image)

Image #1 (No Zoom)
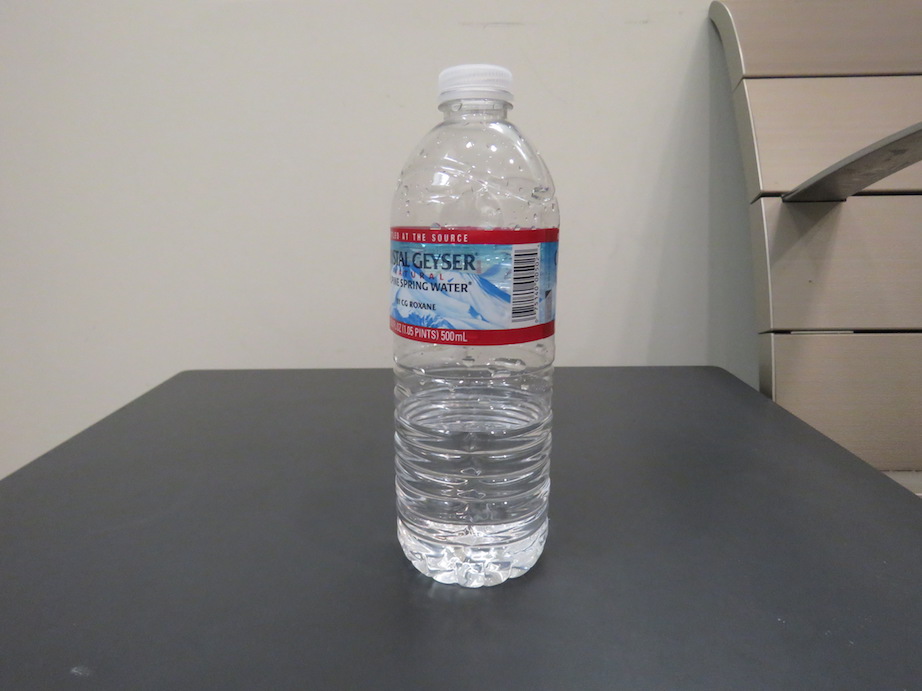
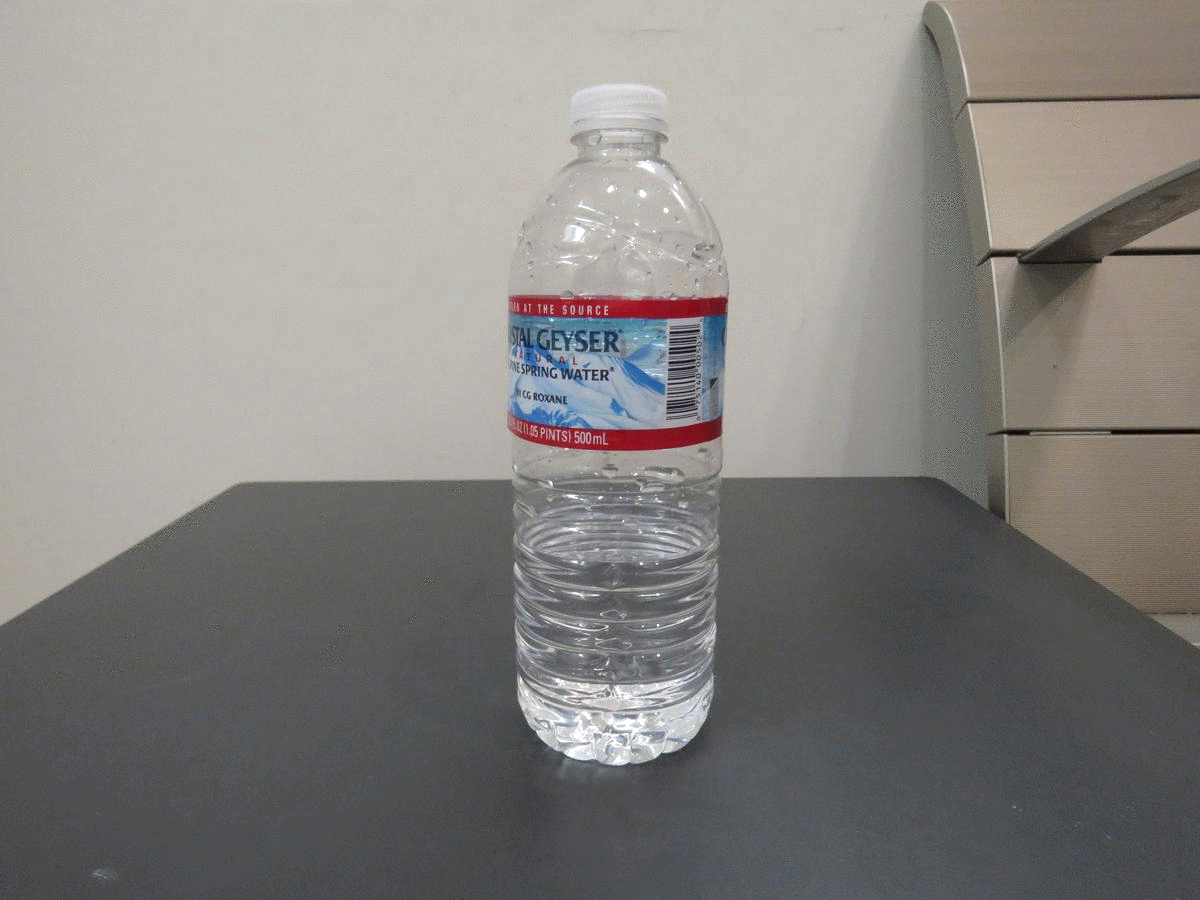
Image #2 (3 Paces Back)
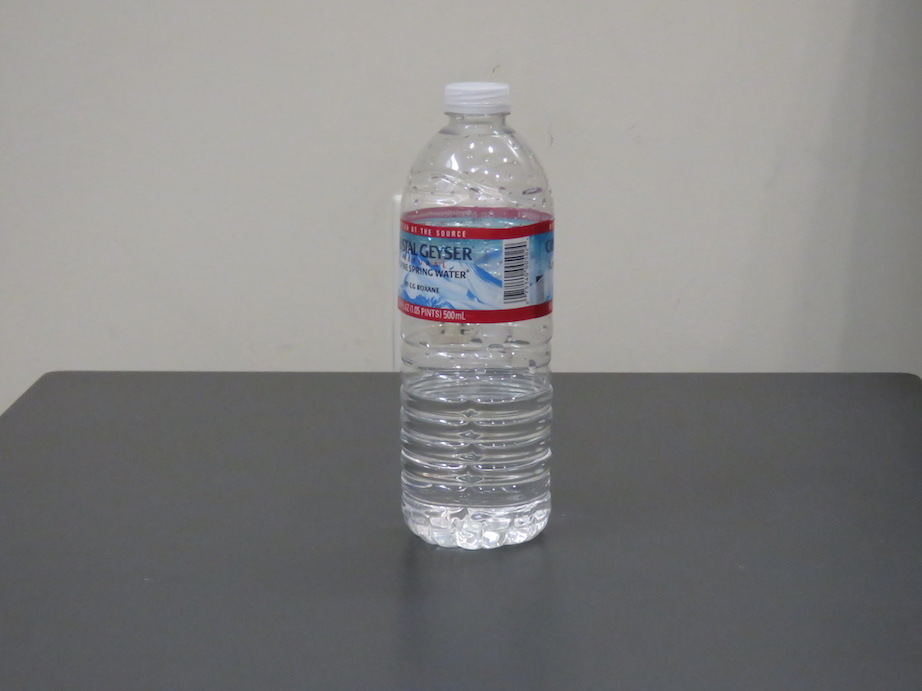
Image #3 (6 Paces Back)
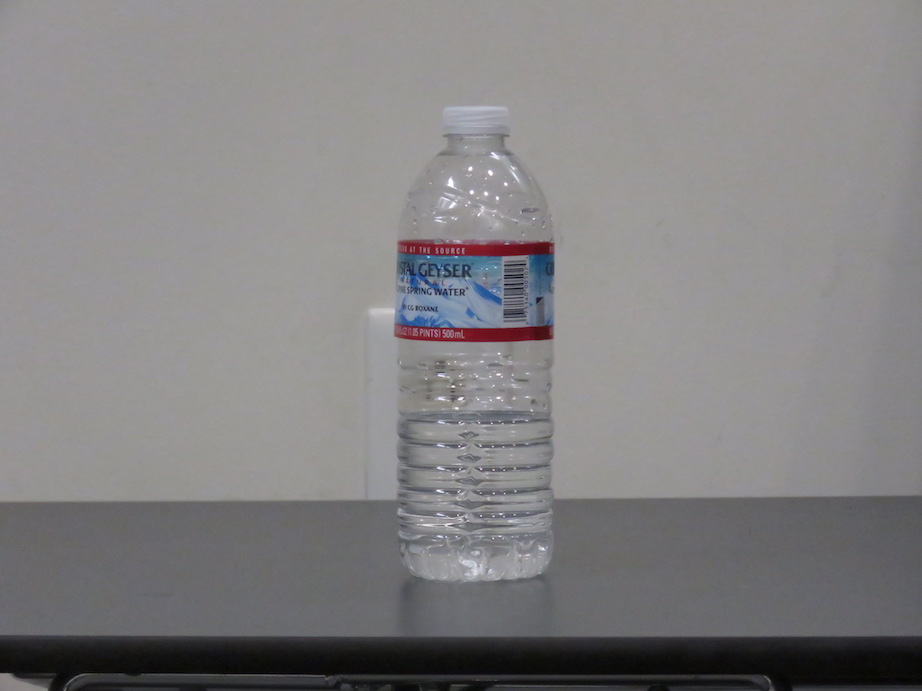
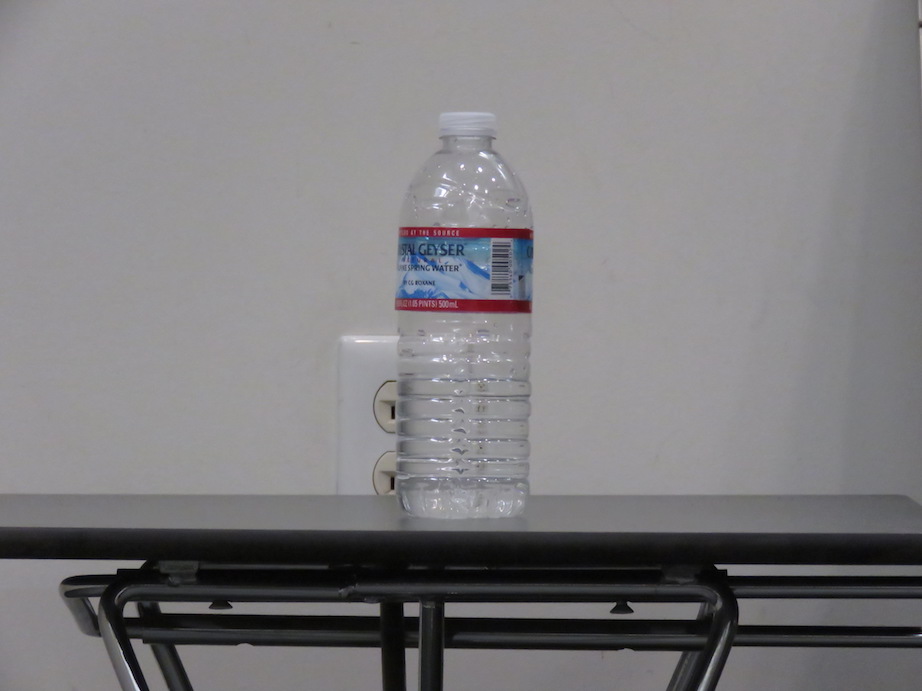
Image #4 (9 Paces Back)
GIF of Dolly Zoom Effect (Please Refresh Page to see GIF animation again as it is static on first image)
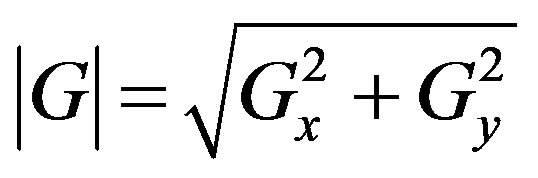
For this project, the inspiration came from Shai Avidan and Ariel Shamir’s paper on Seam Carving for Content-Aware Image Resizing. The concept is that effective image resizing should not only use geometric constraints, but also utilize the content of the image itself. The seam carving algorithm proceeds by identifying seams, connected paths of pixels that span an entire image either horizontally or vertically. By repeatedly carving out certain seams of a particular direction, we are able to change the aspect ratio of the image and produce the intended effect. The algorithm is described in detail as follows. First, we use a heuristic energy function - to assign each pixel of an image an ’importance’ metric. We used the gradient magnitude which represents the difference between the pixels both horizontally and vertically.
We then proceed to find the lowest-importance seam in accordance with the metric defined above and remove it from the image until the desired aspect ratio is achieved (ie we specificed an argument seam count which removed then that many seams). The final code for this project is able to shrink an image by a given number of pixels in either width or height by using the same algorithm applied in the aforementioned paper. You can visualize the results below, which include not only resized images and achieve the desired effect, but also failure cases as per the project spec.
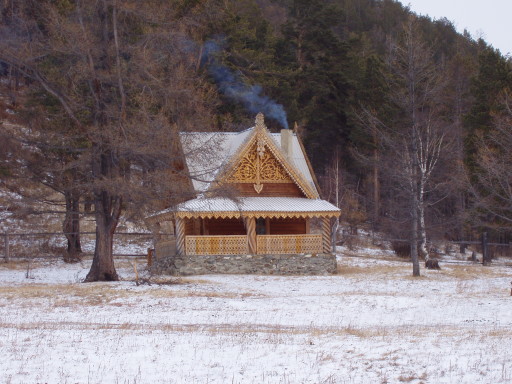
Image #1 - Shrunk Image by 50 Pixels
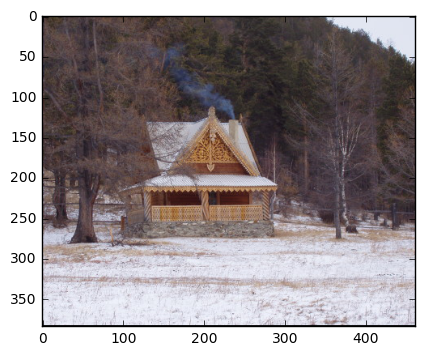
Image #1 - Shrunk Image by 150 Pixels
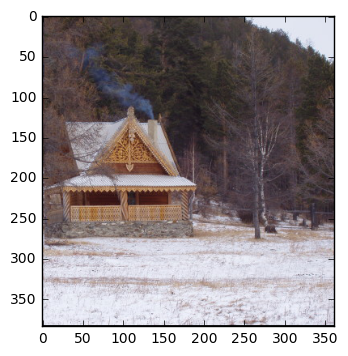
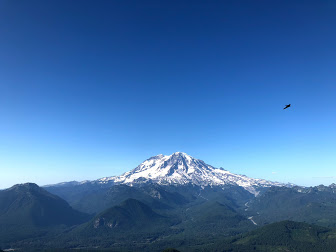
Image #2: Mount Rainer in Seattle Shrunk by 50 Seams Horizontally
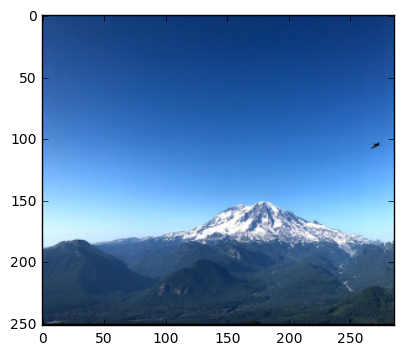
Image #2: Mount Rainer in Seattle Shrunk by 100 Seams Vertically
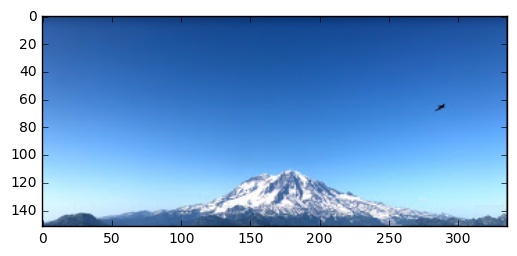
Image #2: Mount Rainer in Seattle Shrunk by 150 Seams Vertically
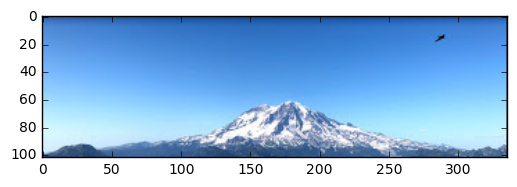
 Image #3: Mount Story King by 100 Seams Horizontally

Image #3: Mount Story King by 300 Seams Horizontally.
This one didn't work! It shows that that after some time our energy function no longer is able to give us a good seem, possibly because there's not a lot of good options left.
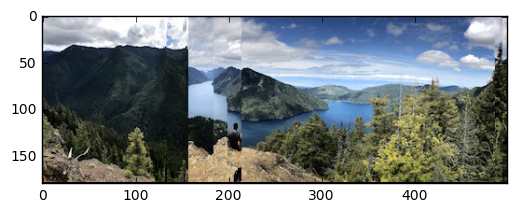
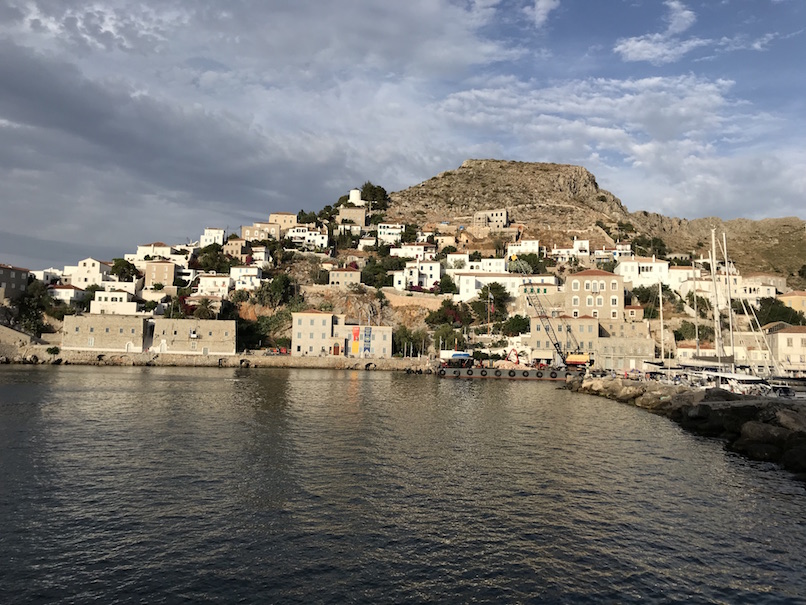
Image #4: My favorite town in Greece, Hydra shrunk Vertically by 50 Seams
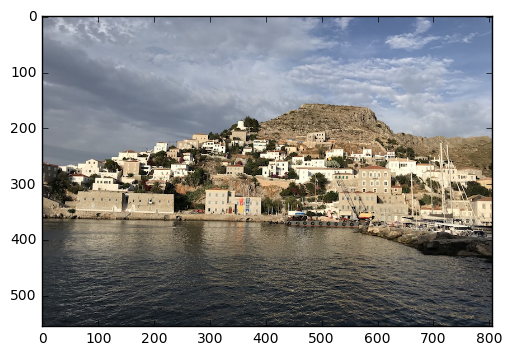
Image #4: My favorite town in Greece, Hydra shrunk Vertically by 100 Seams
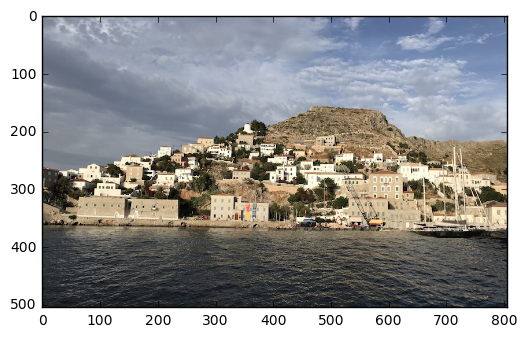
Image #4: Shrunk Vertically by 200 Seams
This one we can see didn't work out as well as we increased the number of seams!
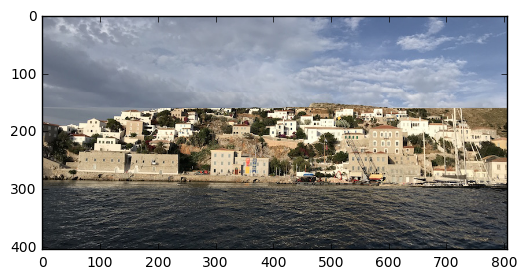
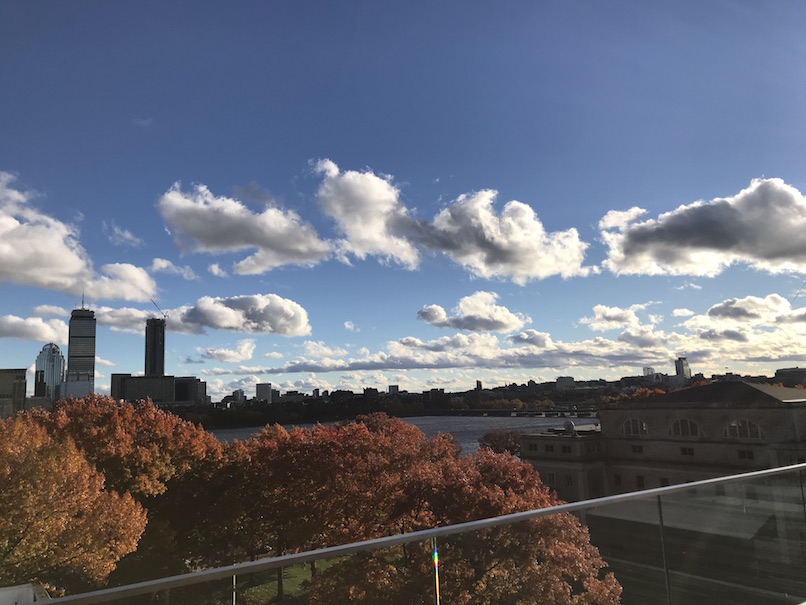
Image #5: Boston from MIT's Media lab shrunk vertically by 50 Seams!
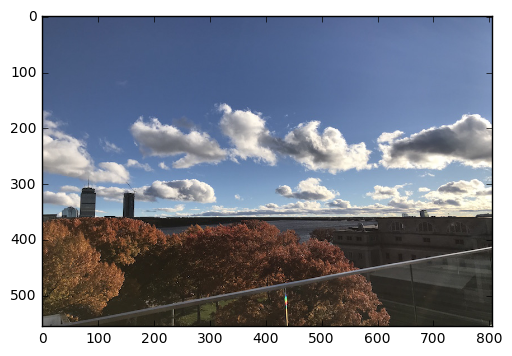
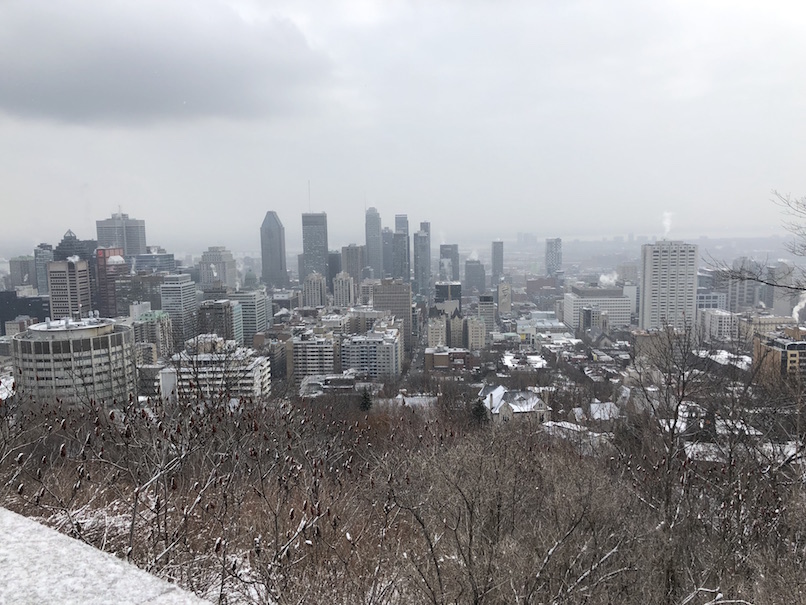
Image #6: Shrunk by 50 Seams Horizontally
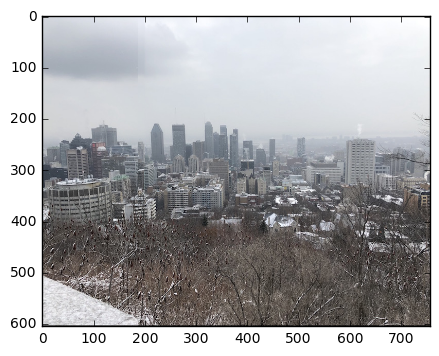
Image #6: Shrunk by 100 Seams Horizontally Fail!
Another example of an image where as we grow the seam removal count it becomes a fail!
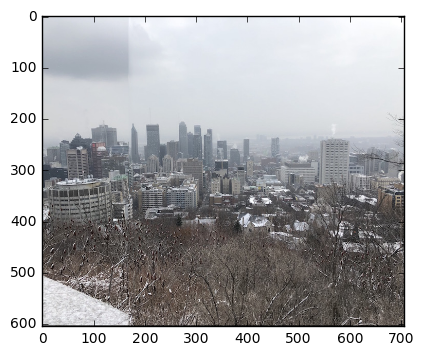

Image #7: Montreal's Mount Royal Park Shrunk Vertically by 50 Seams
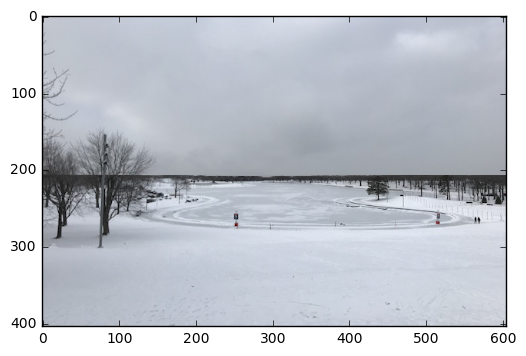
Image #7: Montreal's Mount Royal Park Shrunk Vertically by 100 Seams
Another example of a fail case when we try to remove too many seams
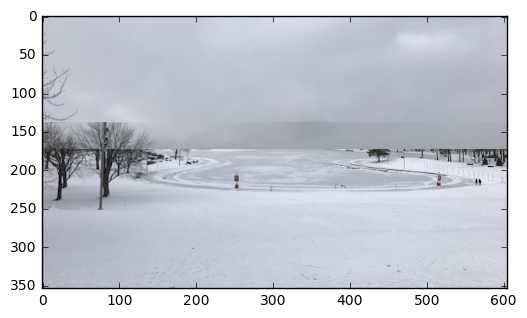
Image #8: Fail :(
Unfortunately our energy function seemed to pick up the dark mountains as the area with the least "energy" which is why this is probably more of a fail
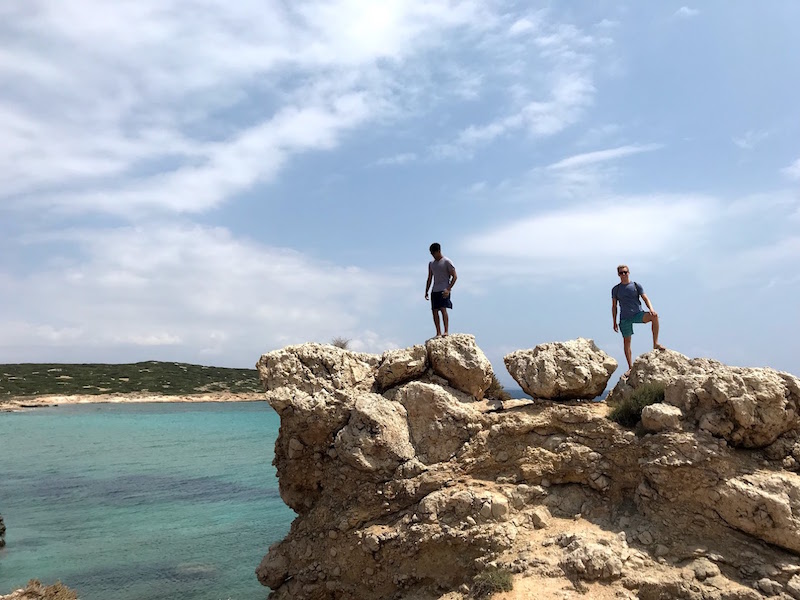
Image #9: Fail :(
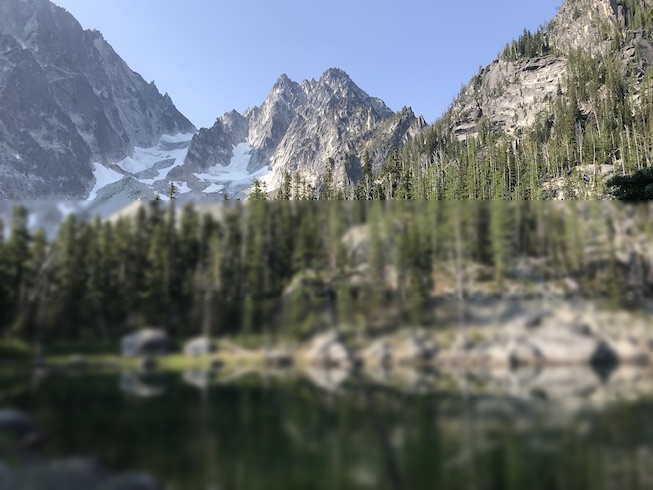
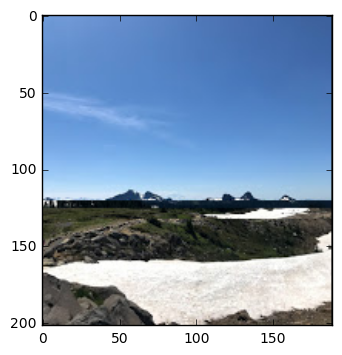
For this project, we are attempting to simulate the effect of selective focus cameras, achieving something known as Tilt Shift. A user can select a focus line inside of the image, define the size of a depth of field with respect to the focus plane, and then increasingly blur the image around the focus plane to simulate the depth of field effect. I proceeded to do this by creating a Gaussian filter and applying it to the image with a certain chosen sigma. The higher the sigma chosen the greater the blur effect of the image. Once I had a variety of Gaussians with variable sigmas blurred with my original image, I chose to select regions from each blurred image for the final output. You can see the results below. The first two images I found online, and the latter two images are ones I took many years ago in Aspen and Colorado respectively.
Image #1 (Online Image)
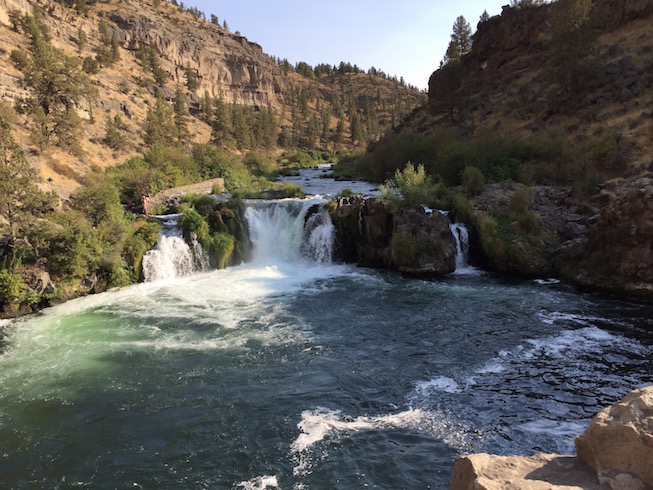
Image #1 - Focus Line in Middle; DOF 50 Pixels
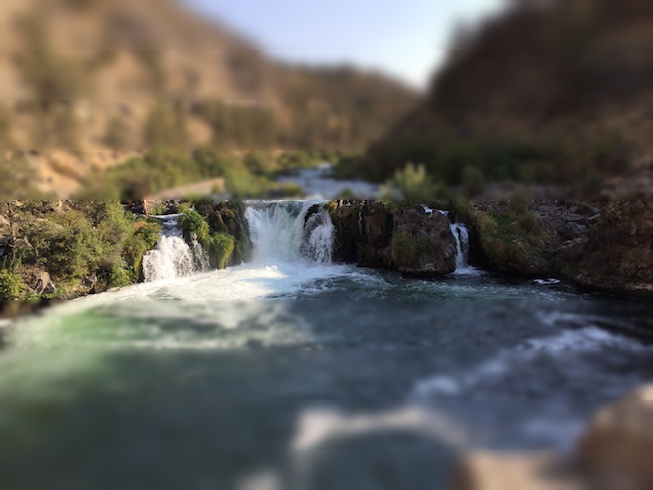
Image #2 (Online Image)
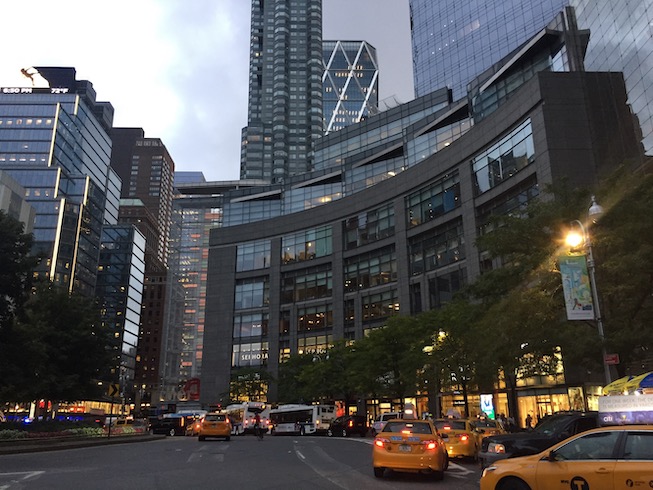
Image #2 - Focus Line Bottom; DOF 75 Pixels
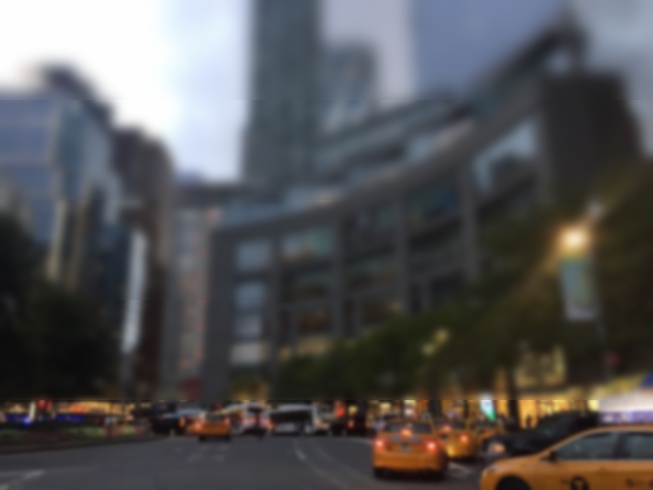
Image #3 (My Image in Montreal)
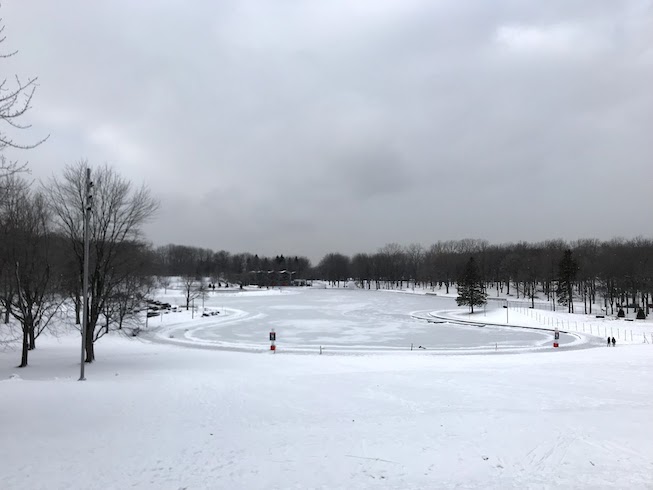
Image #3 - Focus Line Middle; DOF 50 Pixels
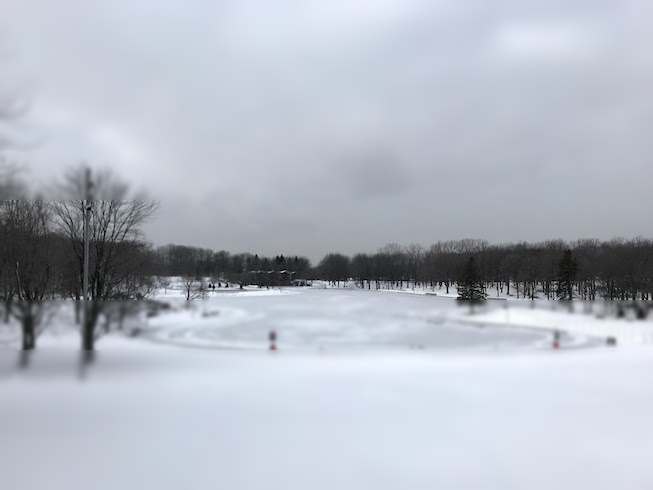
Image #4 (My Image in Washington)

Image #4 - Focus Line Top; DOF 200 Pixels