Seam Carving
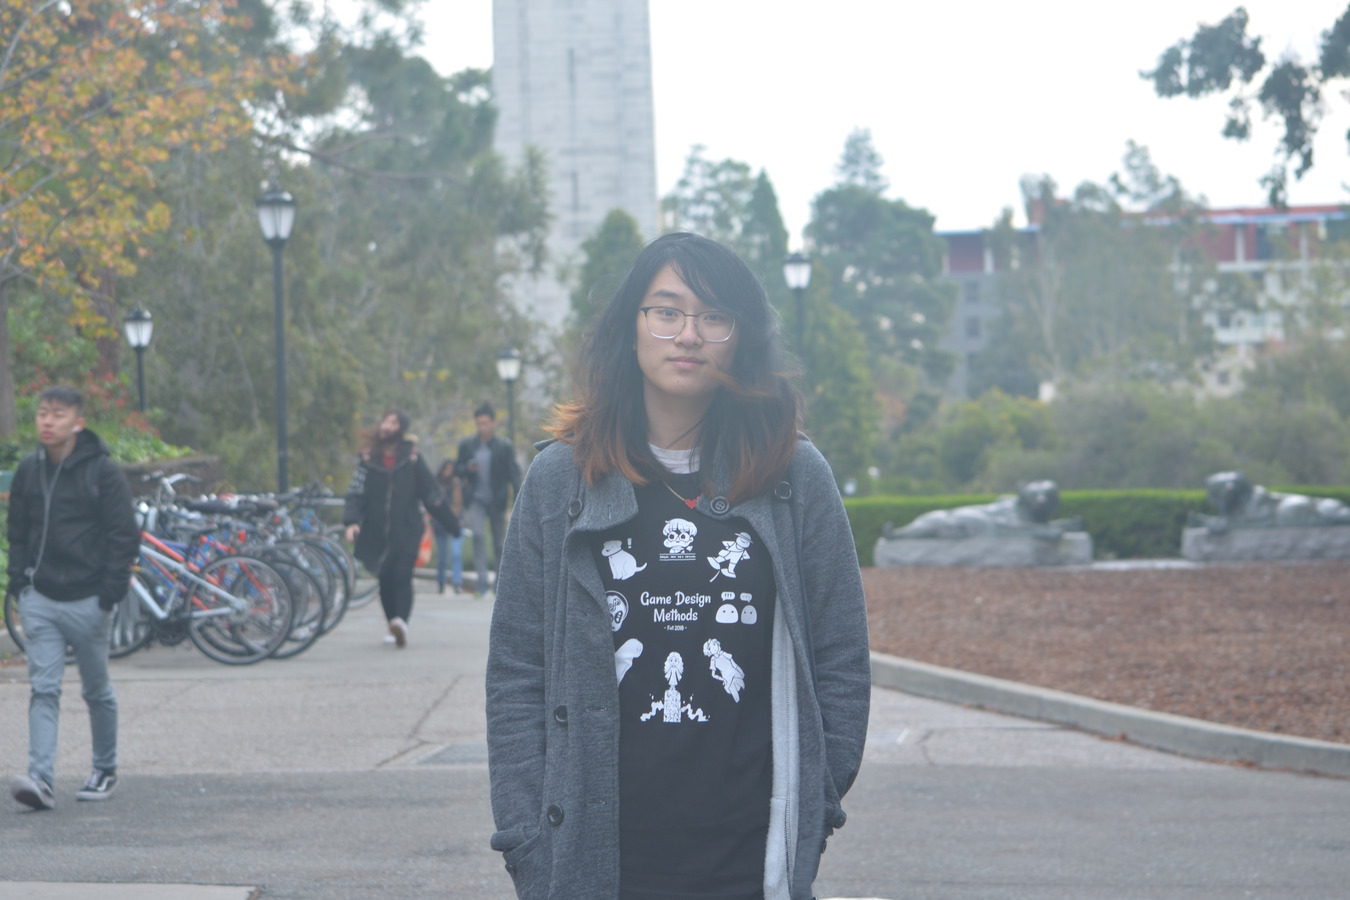
Let's consider the following image:

Our seam-carving algorithm first computes an energy matrix, where the (i, j) entry in the energy matrix represents the energy of the (i, j)th pixel in the original image. We use the dual gradient energy function, where each pixel's energy is the square of the x-gradient + the square of the y-gradient. We compute the x-gradient by finding the squared differences between the red, blue, and green channels of pixel (i-1, j) and (i+1, j); the y-gradient is computed similarly. Then, these two values are added up and squared to give us the (i, j) entry in the energy matrix.
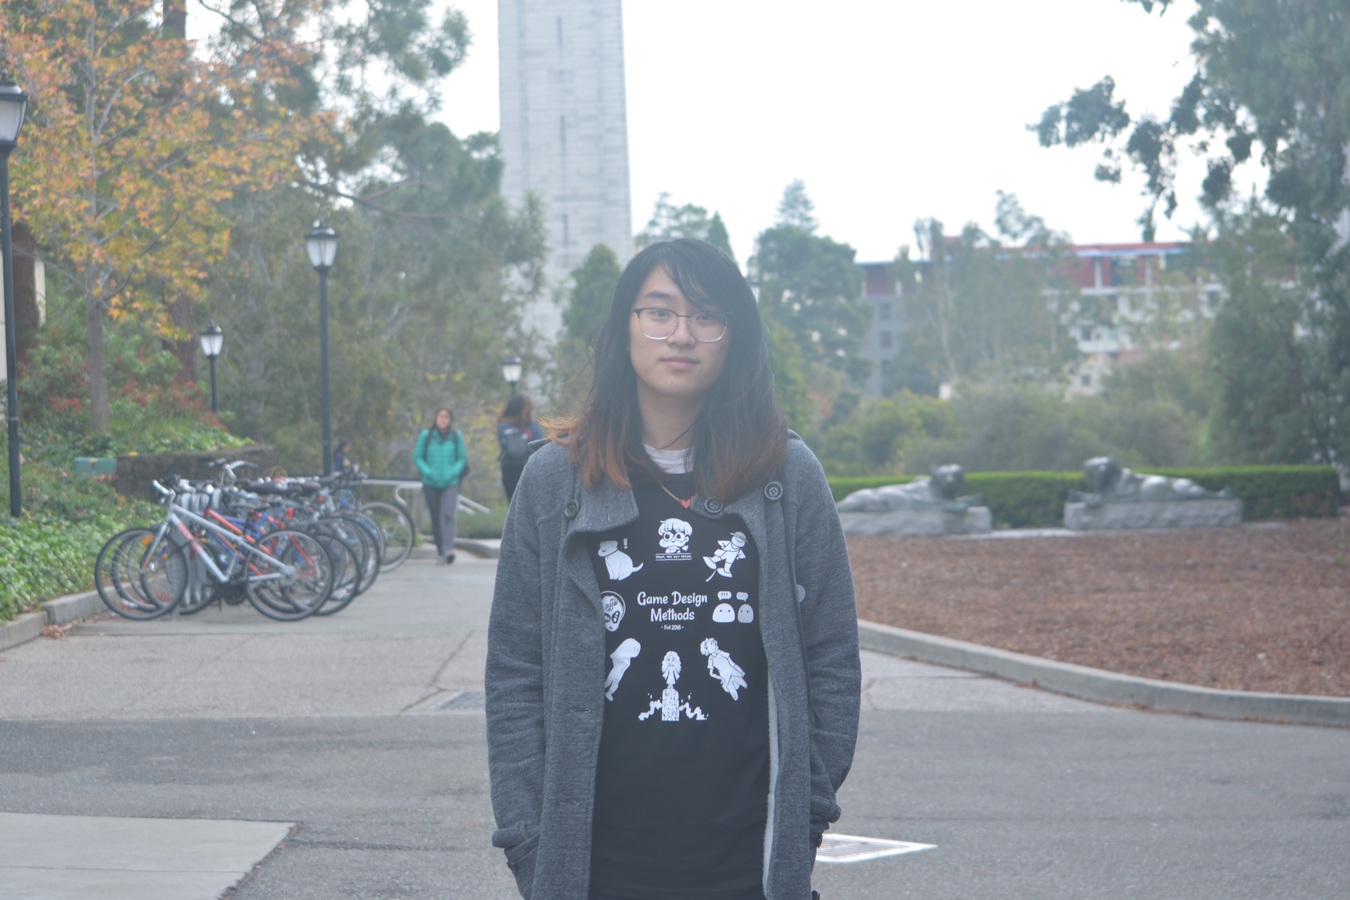
For the above image, we get something that looks like this:
As you can see, the highly-textured areas of the image, like the bird and the branch, have very high energies associated with those regions. Regionslike the smooth gradient background and the inside parts of the leaves have significantly less energy. Edges are captured very well (e.g. the leaves' edges) with this function as well.
Now, we will proceed to use a dynamic programming algorithm to find the lowest energy path from the top of the image to the bottom. We create a matrix the same size as our energy matrix, and then proceed to go row-by-row, computing the cheapest energy path to get to the (i, j)th pixel by considering the cheapest paths of the (i-1, j-1), (i, j-1), and (i+1, j-1) cheapest paths (as computed in the previous iteration of our algorithm). We keep track using another matrix of the cheapest path to get to each pixel. After we have constructed these cheapest energy paths, we select the element in the bottom row with the cheapest energy cost, and then use our other matrix to work backwards and compute the indices of the path. We can then splice this path out of the image, and one seam has been removed.
In order to carve multiple seams, we can simply run this whole process again with the new image — we need to compute new matrices every time and run seam carving once more to remove one additional seam.
If we proceed to do this 50 times, we get an image that looks like this:

And if we do this 100 times, we get this:

After 200 seam carves:

We can also carve rows as well if we simply rotate the image, run the column carving alorithm, then rotate it back. For example, carving 100 rows out of our original image:

It's apparent that the bird was preserved because of its high energy, while the lower energy regions above its head and below its tail were cut out.
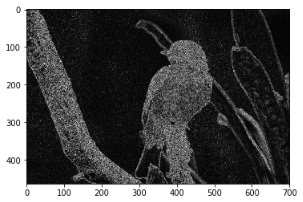
Let's look at some other cool examples — the original image will always come first.
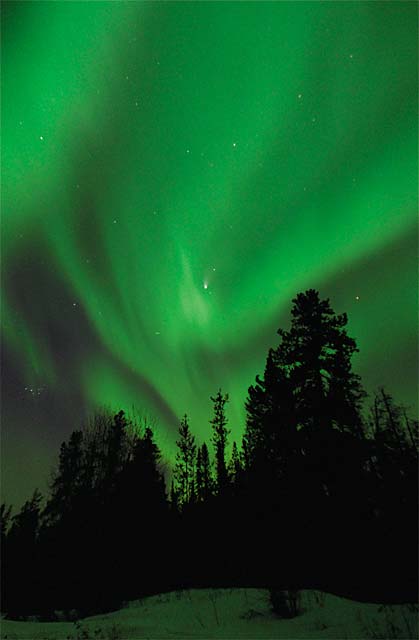
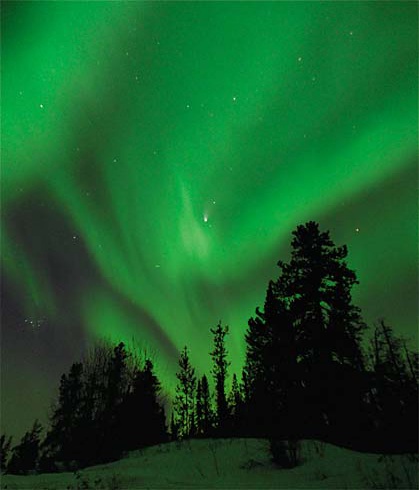
Aurora (-150 rows)
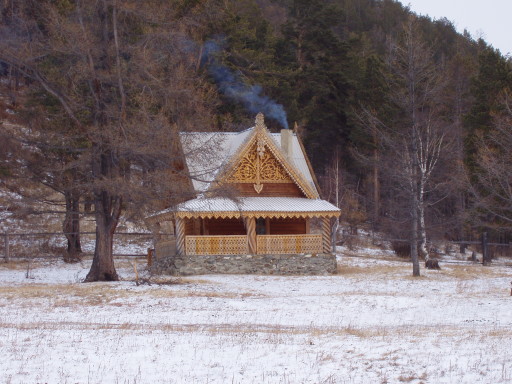
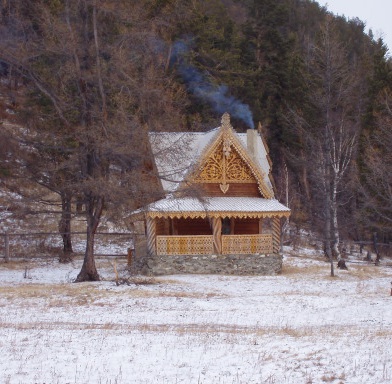
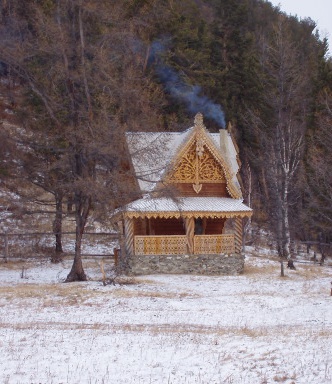
House (-120 columns, -180 columns)
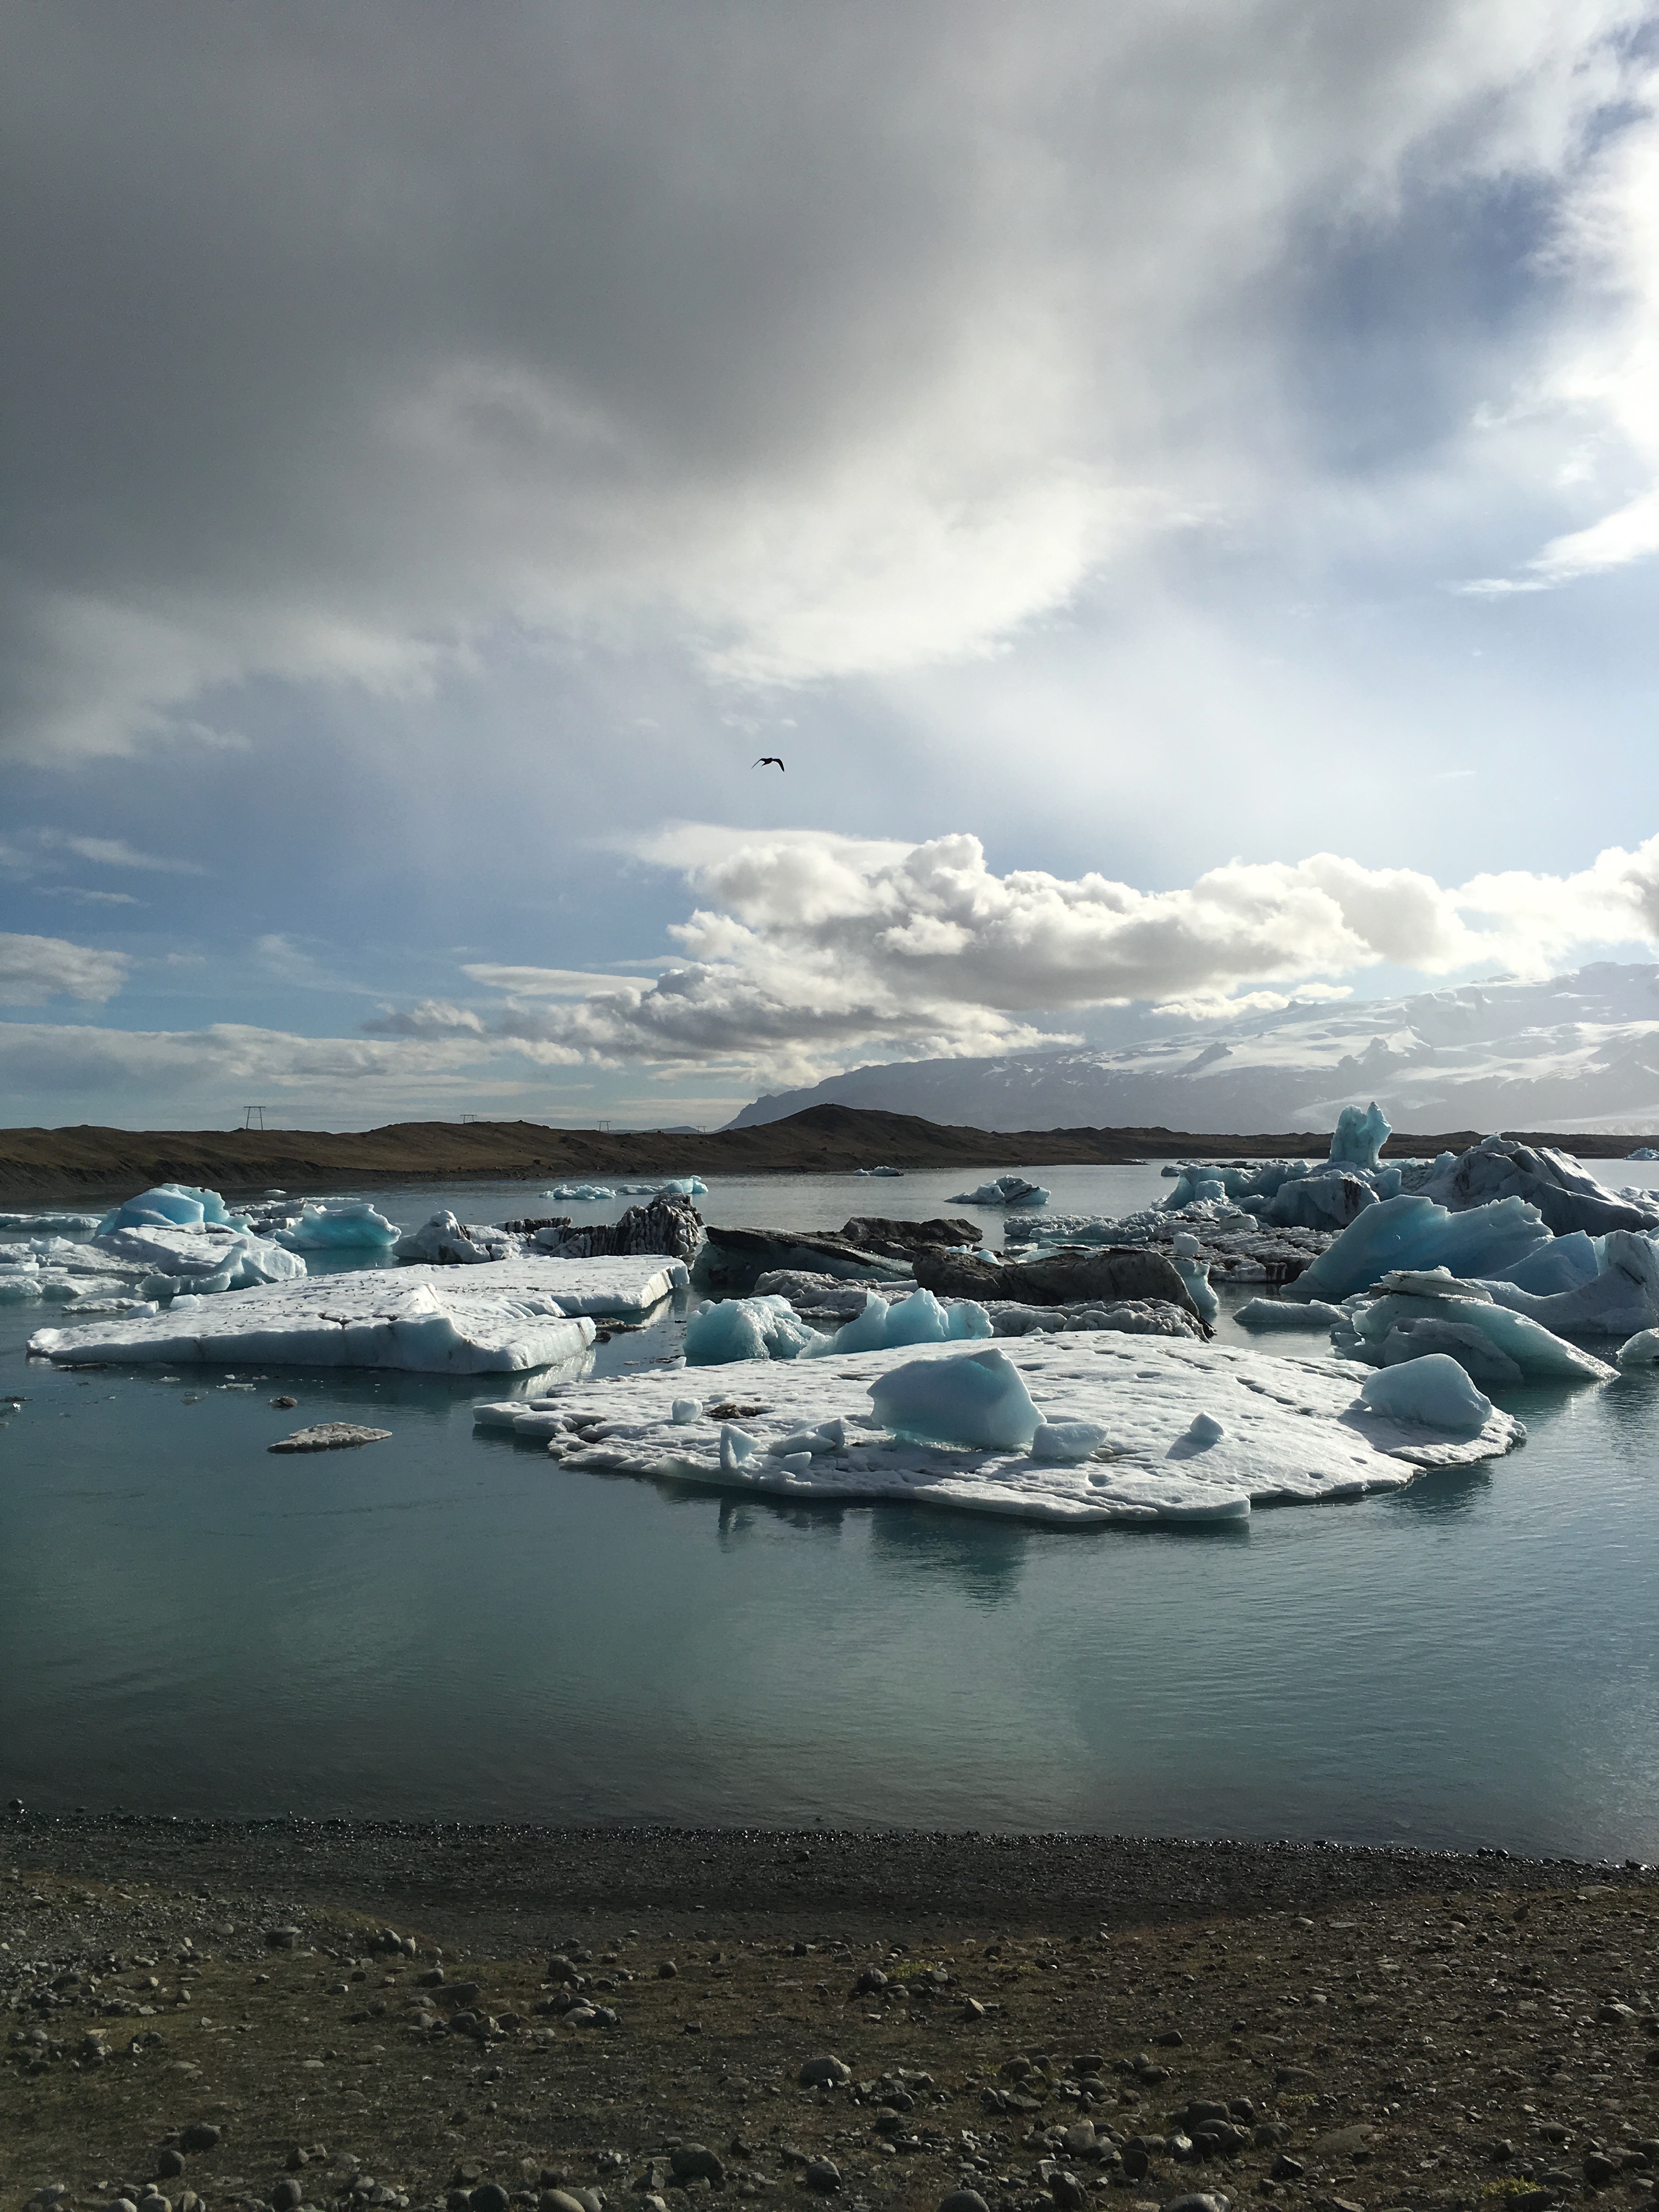
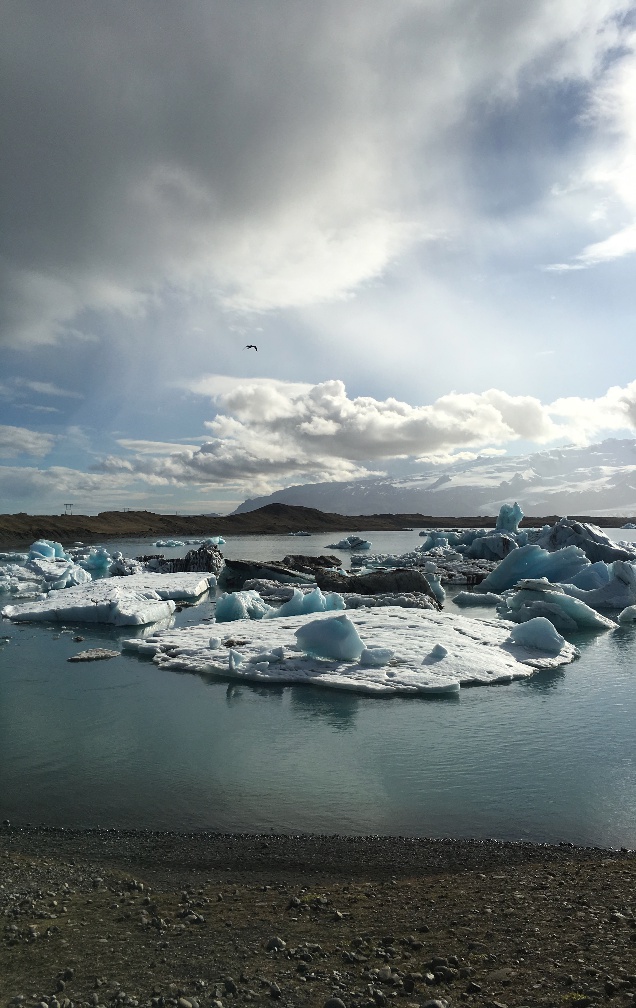
Glacier Lagoon, Iceland (-80 columns, -120 columns)

Diamond Beach, Iceland (-150 columns)
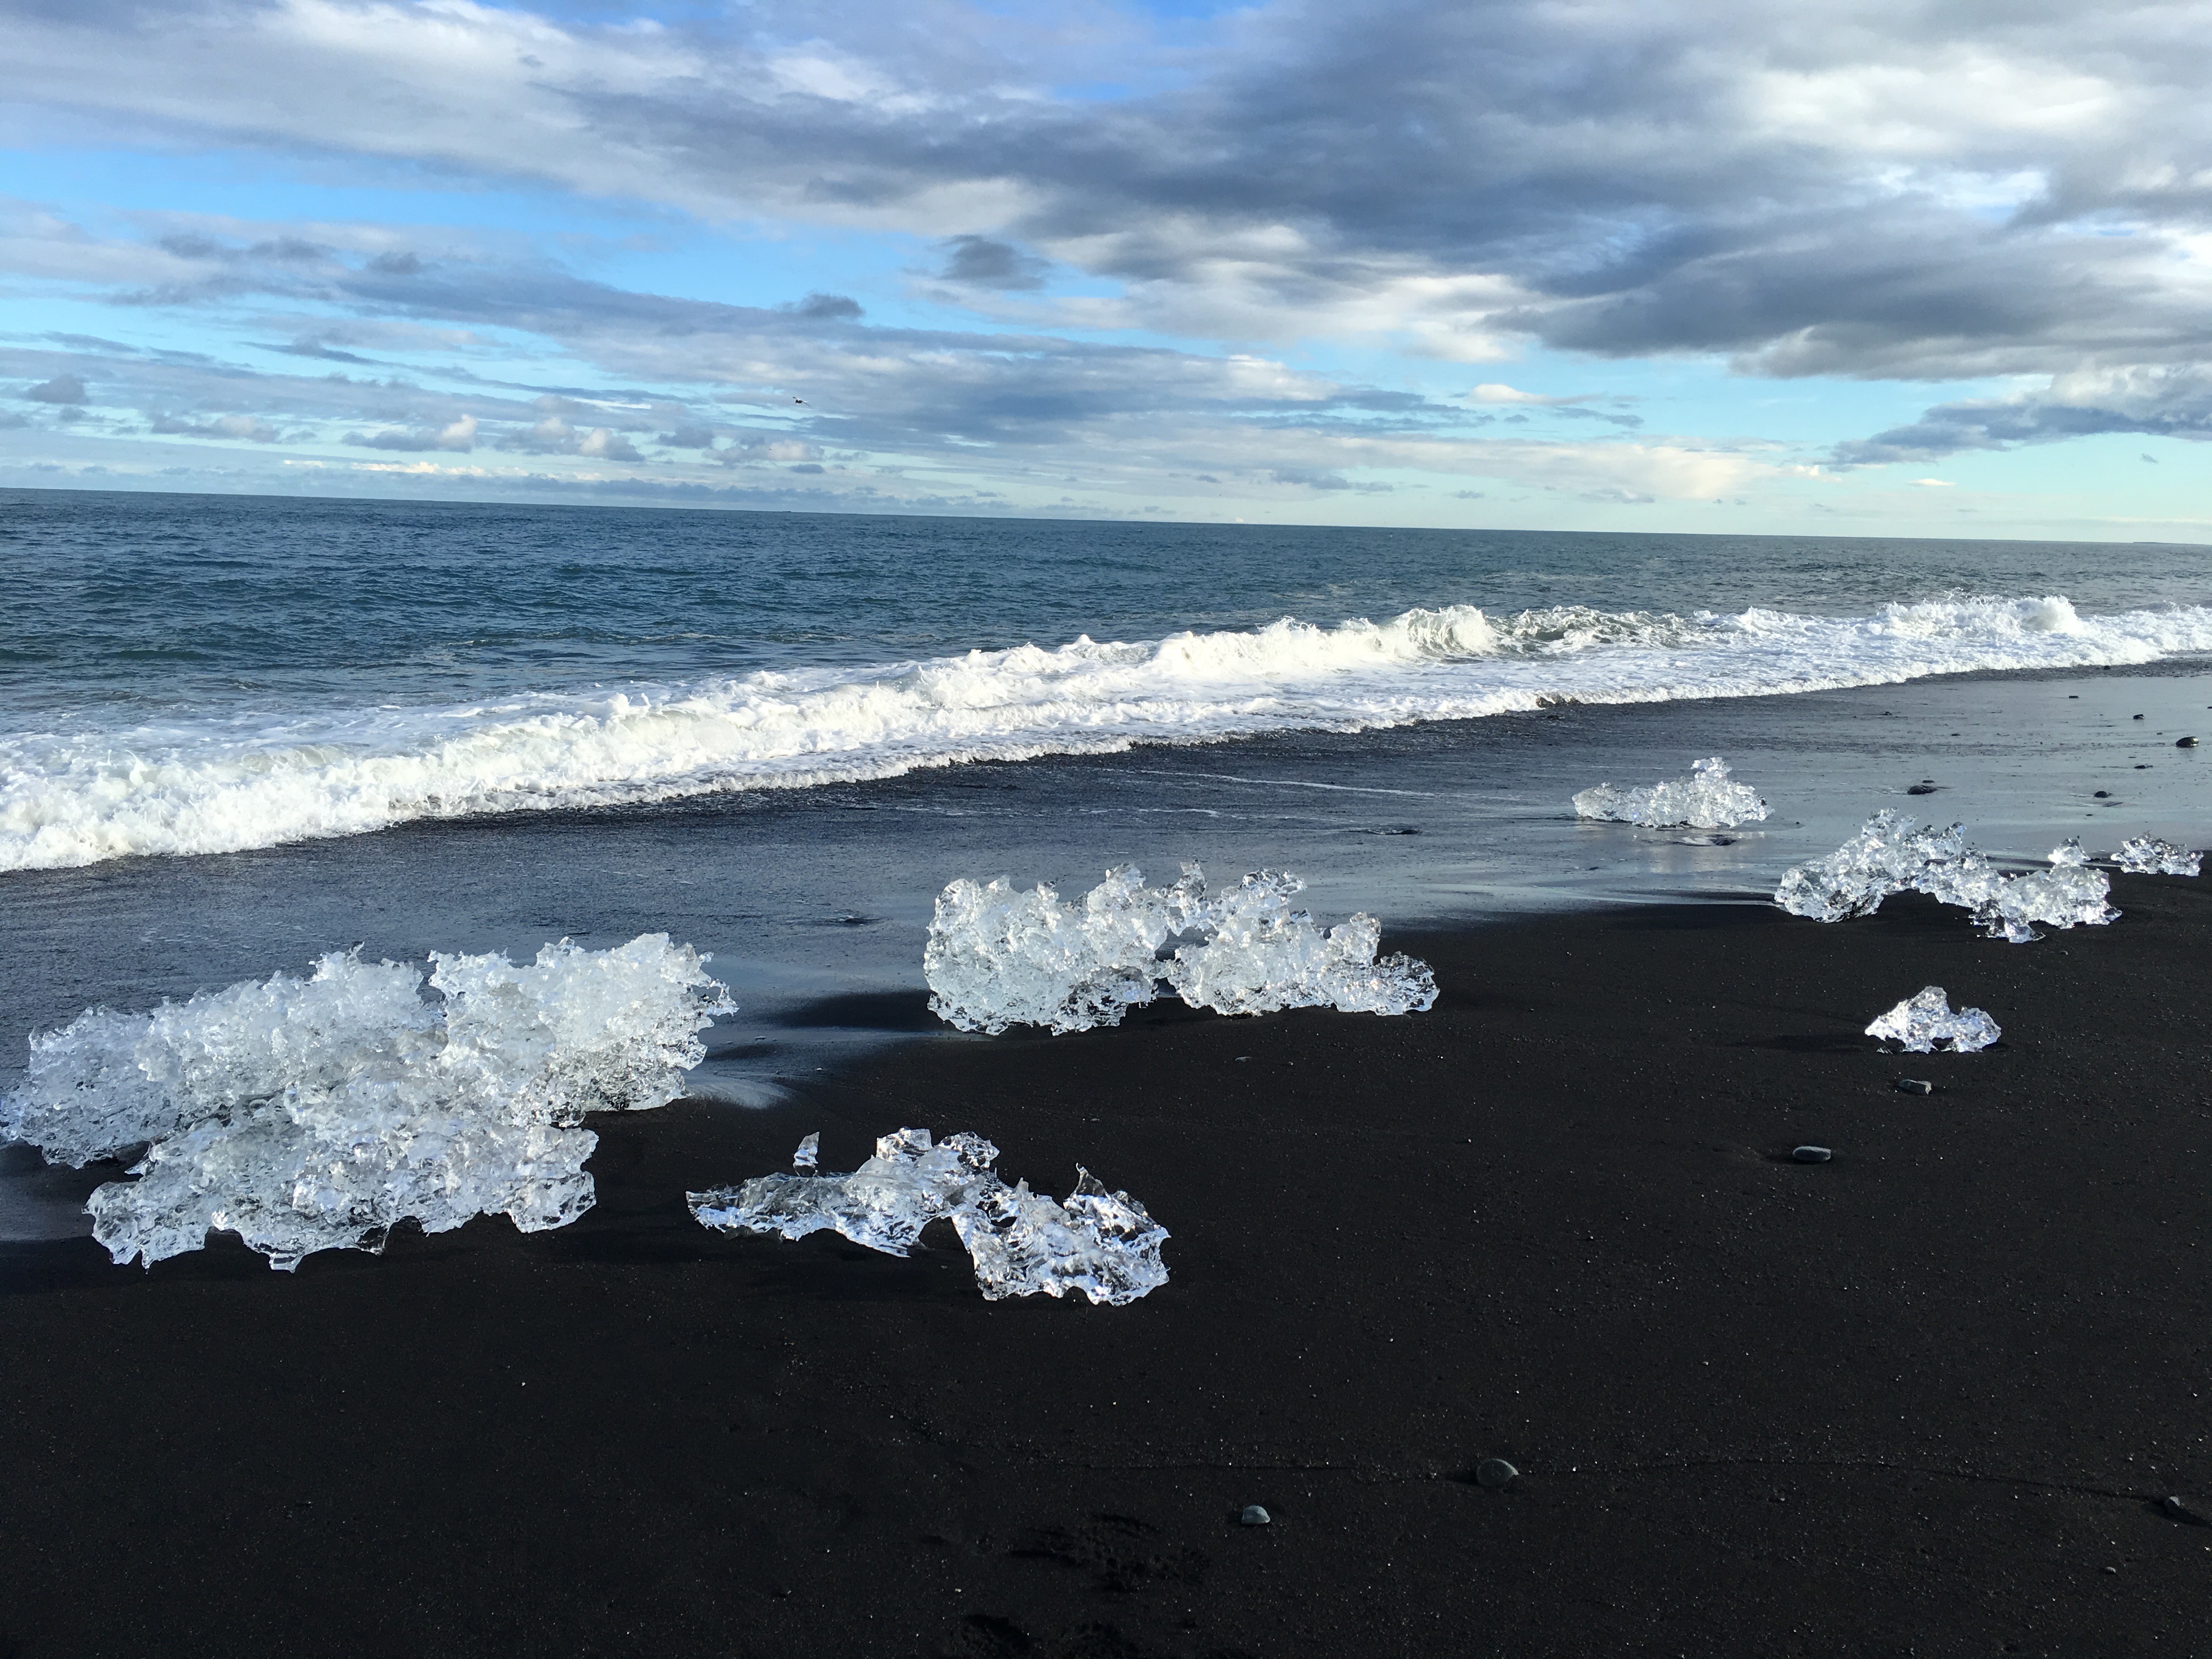
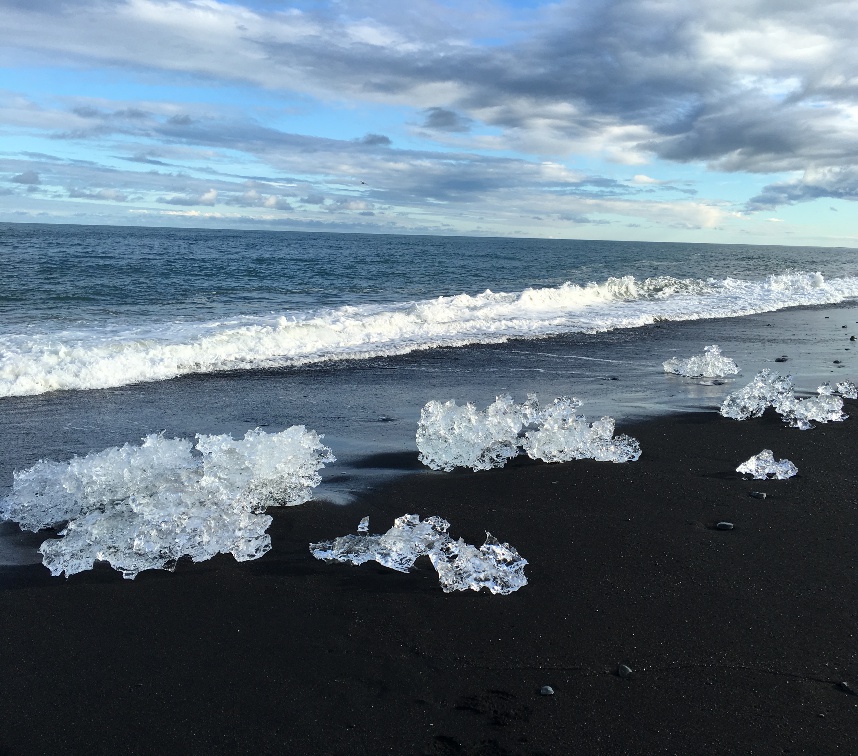
Notice that a lot of space between the left group of ice chunks and the right group of ice chunks was removed since there wasn't any in the foreground (just sand and water).
Tower (-100 columns, -200 columns)


Sierpinski's Triangle (-200 rows)
Due to the highly structured nature of the image, and the fact that there is not much space around the image to be carved, any carvings in either the horizontal or vertical directions will be highly noticeable and will extremely deform the shape.
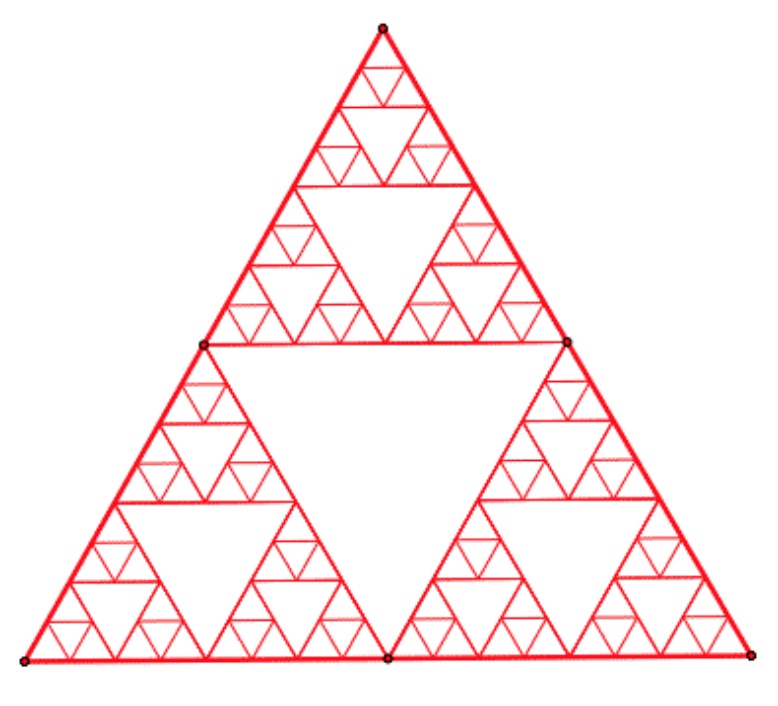

It makes sense that the top of the triangle is cut as opposed to the bottom, since it is narrowest -- there are fewer lines at the top, which means that the energy path will be significantly lower (since each line is a high-contrast edge => each line has a lot of energy).
U.S. Treasury (-100 columns)
This image also has many artifacts and distortions when carved. Vertically, the columns do not maintain their straight-up texture and end up warping a bit. There are multiple other spots where the distortion is apparent. Other straight vertical lines, such as the poster on the front gate, are also fairly distorted.


I learned lots of interesting things about seam carving, even more than I showed here with these examples. I learned that human faces are highly sensitive and we are amazing at recognizing when there's something off about a face (especially ones we recognize). Seam carving does not work on selfies. I also found it interesting that vertical carving works poorly on images with lots of vertical lines. It makes sense looking back, but I didn't realize when first approaching the problem. Because seams can move somewhat diagonally, when vertical seams are removed, vertical lines can become highly distorted.