Introduction
For the final project of CS 194-26, we were allowed to choose two out of several pre-canned projects to complete. I decided to complete the Vertigo Shot and the Seam Carviing projects.
Project: Vertigo Shot
In this project, we tried to imitate the famous "dolly zoom" or "vertigo shot" effect. To produce this effect, one must move either the camera closer to the subject (or the subject closer to the camera) while simultaneously increasing the camera's field of view, or FOV. As a result, the subject appears to stay the same size within the image, even as the background scene has zoomed out/in.
To reproduce this effect ourselves, my friends and I wandered around Berkeley's campus, taking pictures with my Nikon D5100 DSLR and tripod. First, we set our camera's focal length to 200mm and stood far away from our subject, aligning the black-dot indicators on the camera's viewfinder to the subject and making a note of this alignment. Next, we zoomed out to 135mm (then 100mm, 70mm, 55mm) and walked closer to the subject until the indicators aligned with the subject in the same way as they did before. This resulted in two sequences of 4-5 images (I threw out 1-2 images if they seemed too misaligned with the rest of the sequence) that produced the effect we wanted. Of course, since we largely eyeballed the alignment between focal lengths, the subject may not stay in exactly the same position between photos. Still, the results can be seen below!

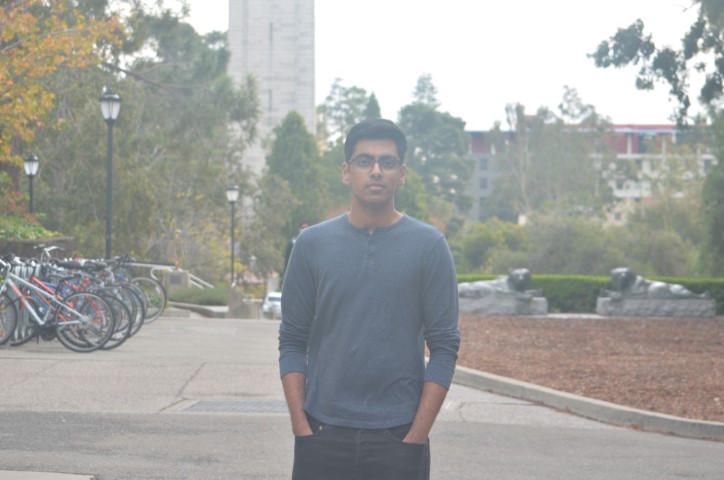
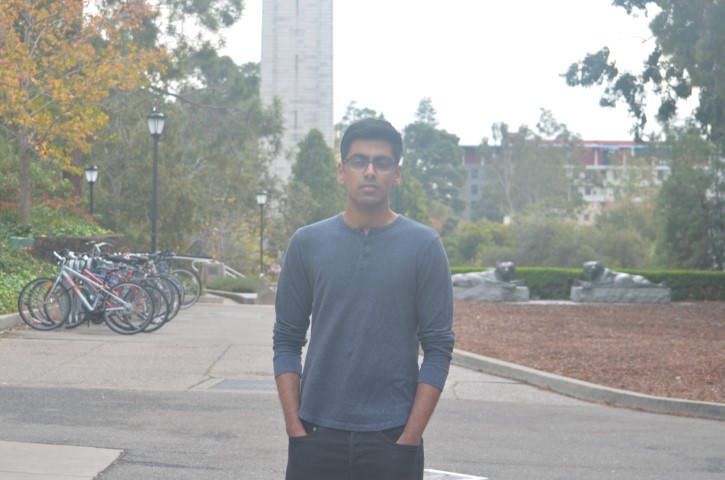
My Friend Sean
Here he is standing in front of the Campanile!


A Cool Bench
Here's a bench found next to the Memorial Glade, in front of Doe Library!


Something else I tried to do was reproducing the effect with actual video, rather than simply taking a series of still photographs. Unfortunately, I didn't have an actual dolly or any kind of moving platform... Thus, I merely winged the technique by walking away from my subject while zooming out and trying to keep my subject the same size in the frame. This produced really shaky videos that I ended up stabilizing a bit in post, but the vertigo effect can still be seen in the following gif!
My Friend Nikhil
Here he is also standing in front of the Campanile! Nyoom~
Project: Seam Carving
In this project, we implement the technique of seam carving, which allows us to resize images in a content-aware way. That is, plain resizing along a single dimension may squish the important objects in an image. Seam carving allows us to better preserve the most important content by taking it into account when scaling the image down.
Algorithm
To figure out what content we want to keep, we must use an energy function on each pixel of the image. Then, we find "seams" or paths through the image with minimal "energy" costs and remove them. Intuitively, removing the minimal cost seams will disrupt the content of the image the least, since we are leaving the most important, "high energy" details behind.
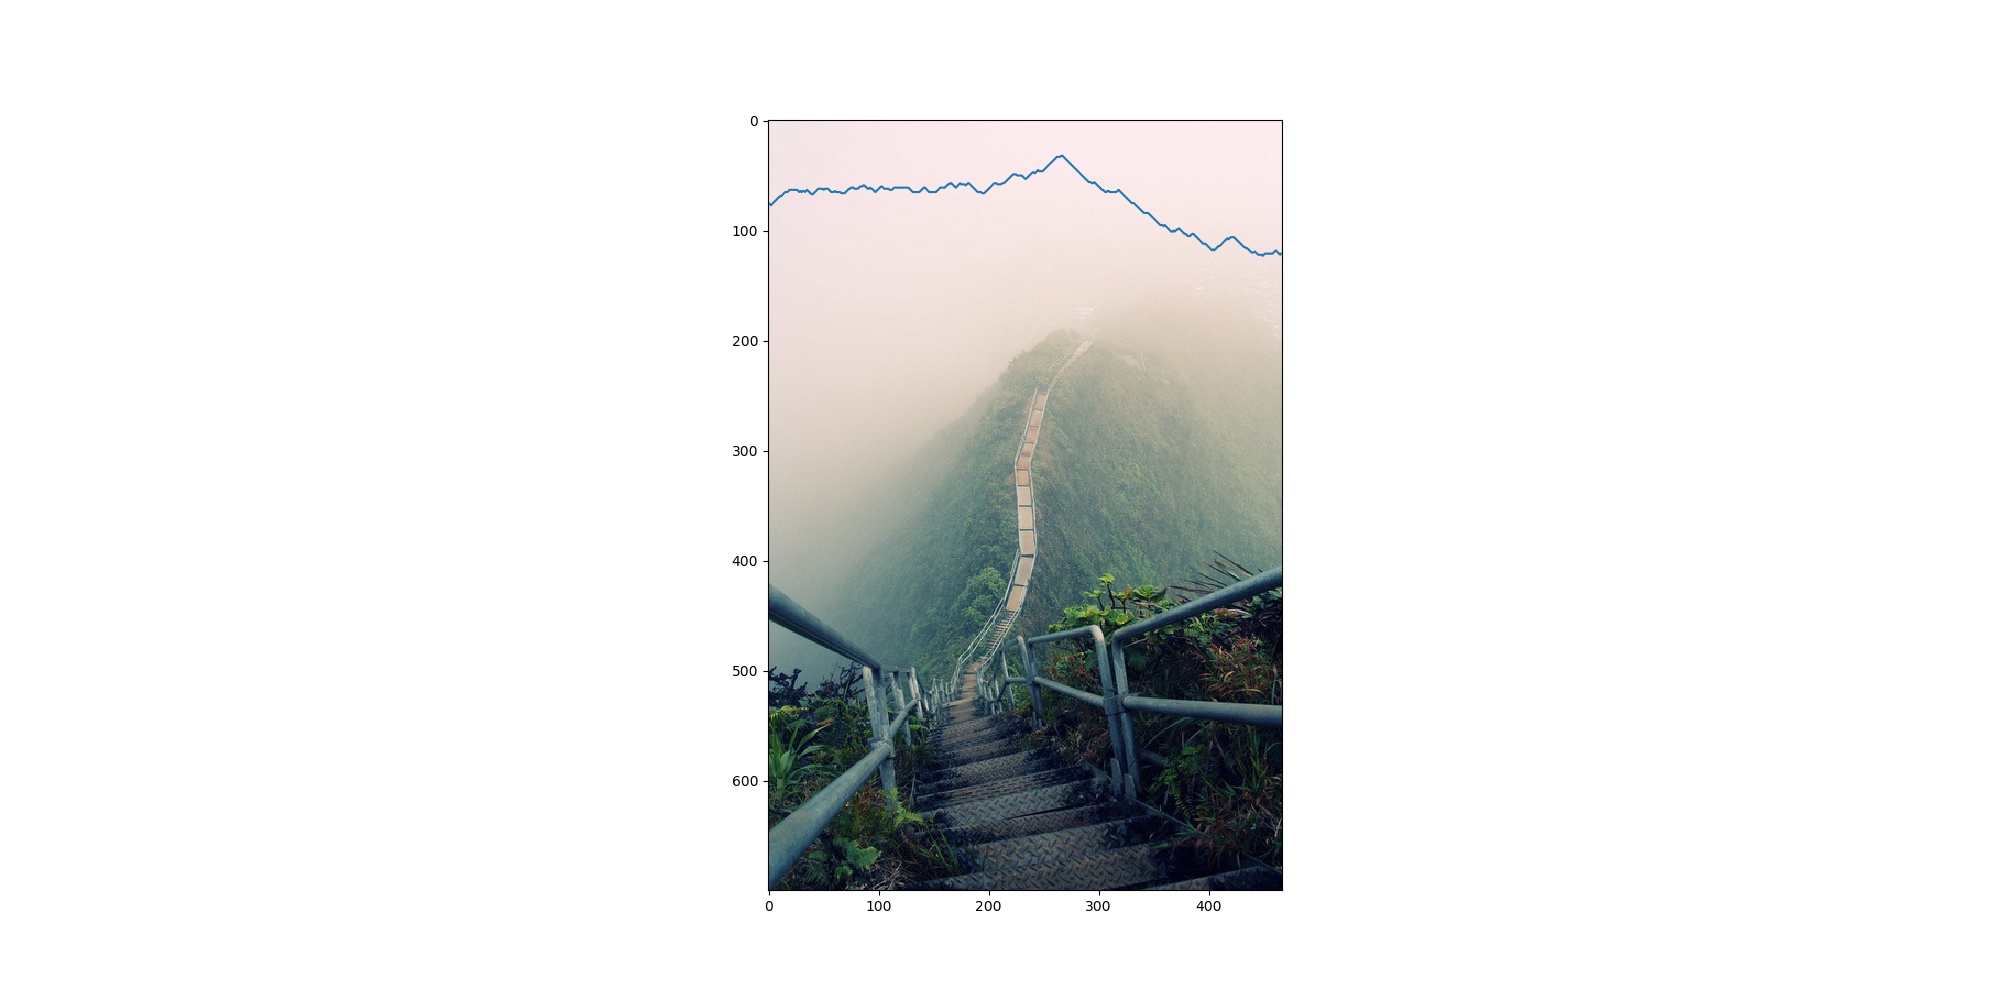
Below, we can see the result of applying the dual gradient energy function to one of our images. The dual gradient energy function sums the square magnitudes of both the x- and y-gradients of a pixel, essentially discovering the details of the image and giving them the highest "energy."


Now that we have the energy map, we can use a dynamic programming algorithm to find the minimal cost path from top to bottom (vertical seam) or left to right (horizontal seam).
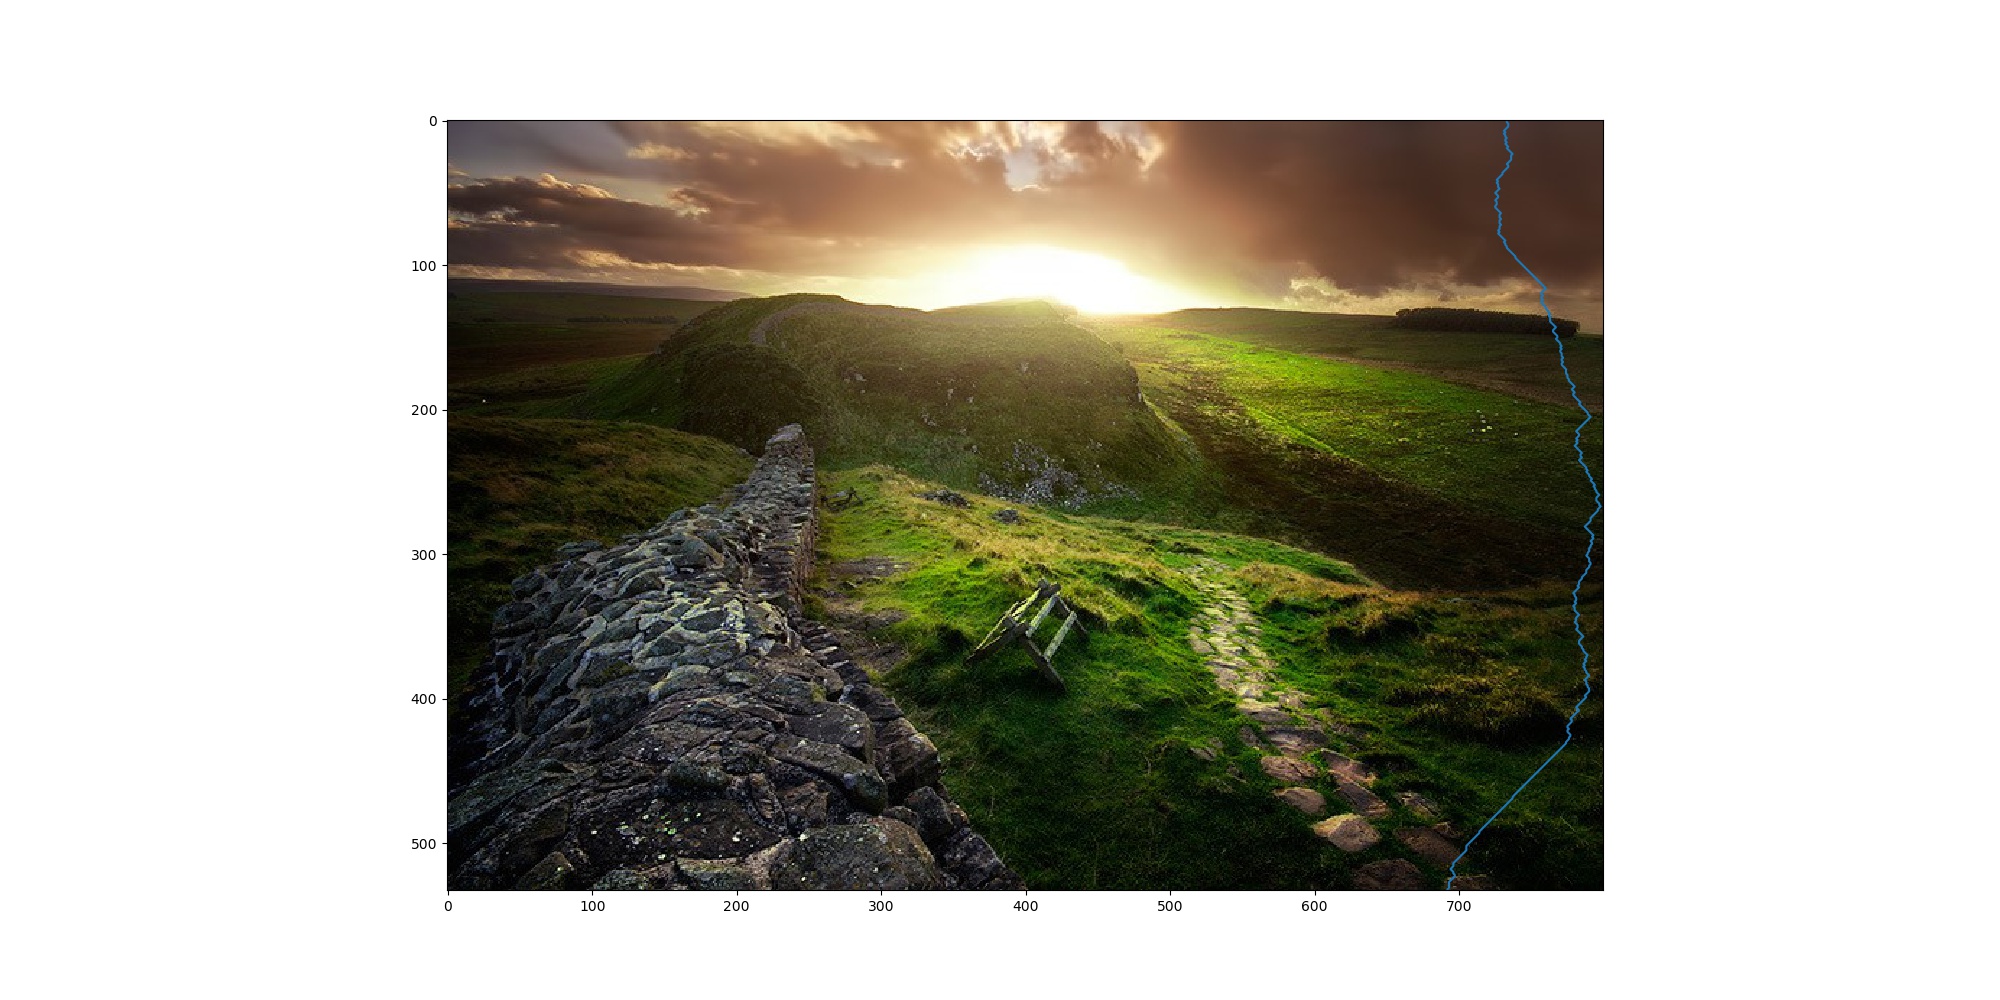
Once we find the seam as a list of columns (one for every row in a vertical seam) or rows (one for every column in a horizontal seam), we can remove these pixels from the image and get back a seam carved image. We then repeat the seam finding and seam removal for several iterations to arrive at a resized image. The results can be found in the following section.
Results
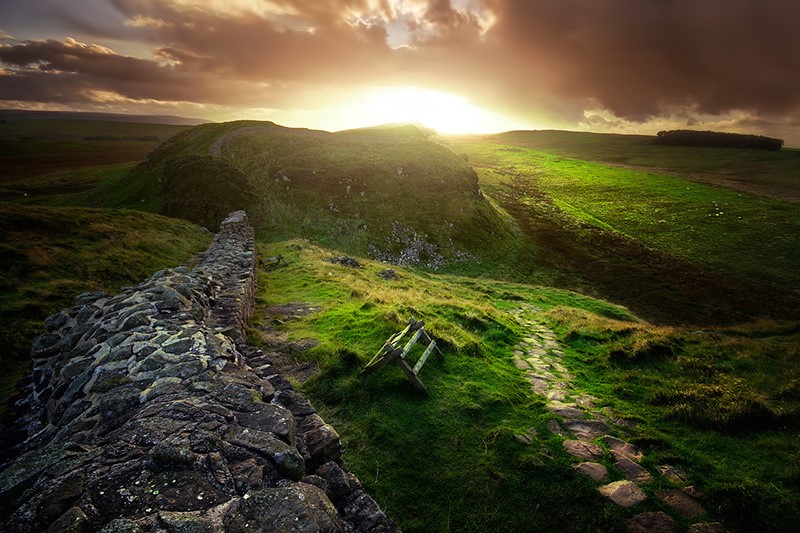
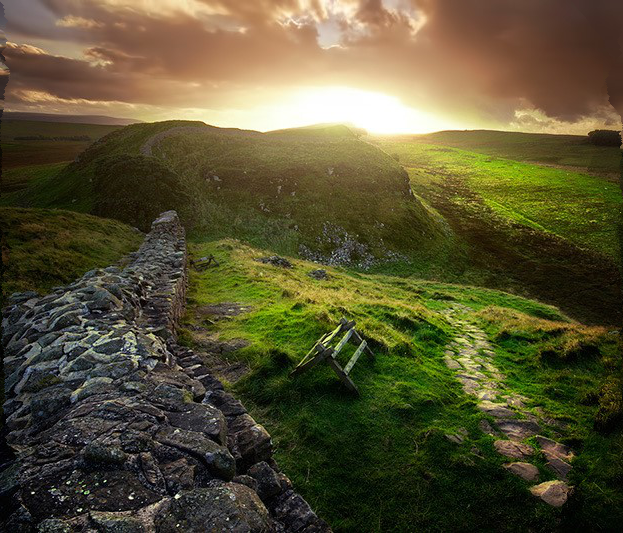
Hadrian's Wall
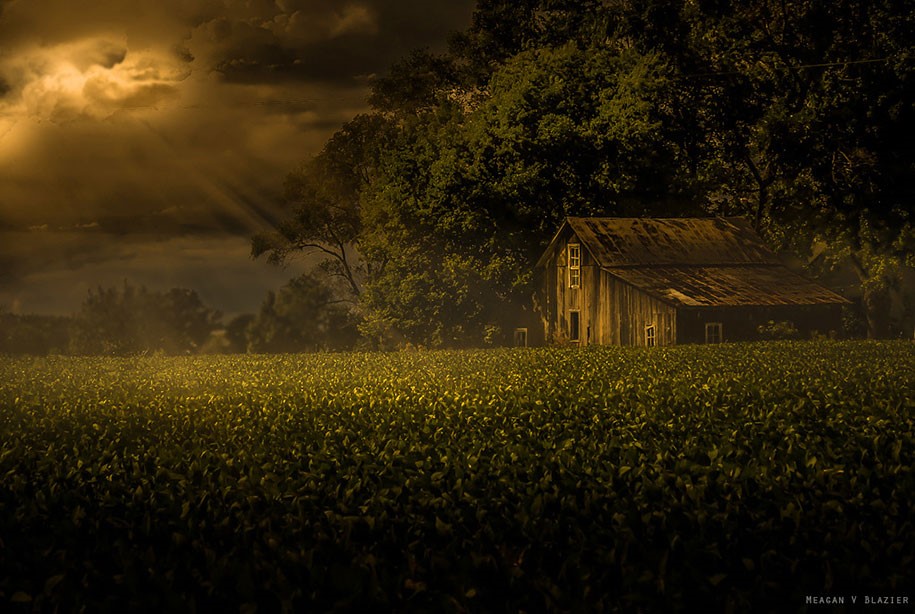
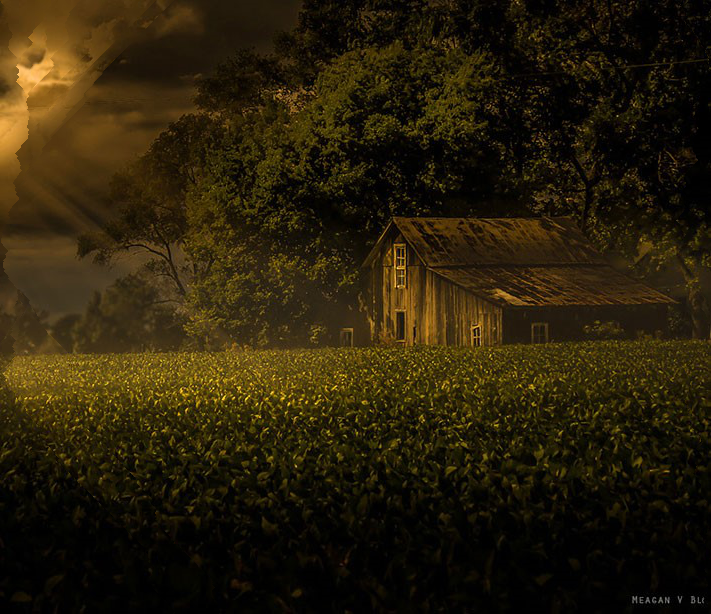
Night Barn
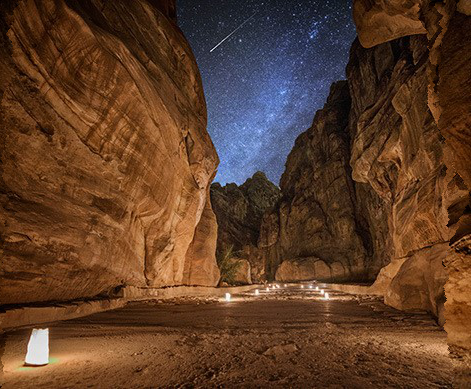
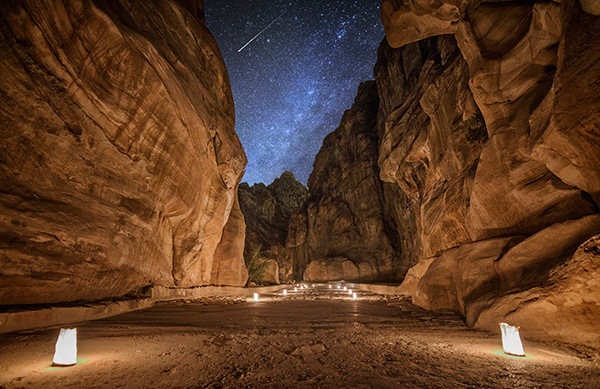
Petra, Jordan

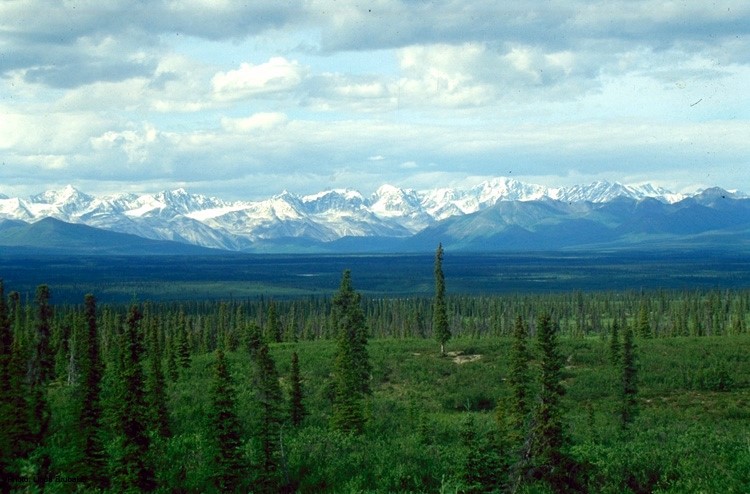
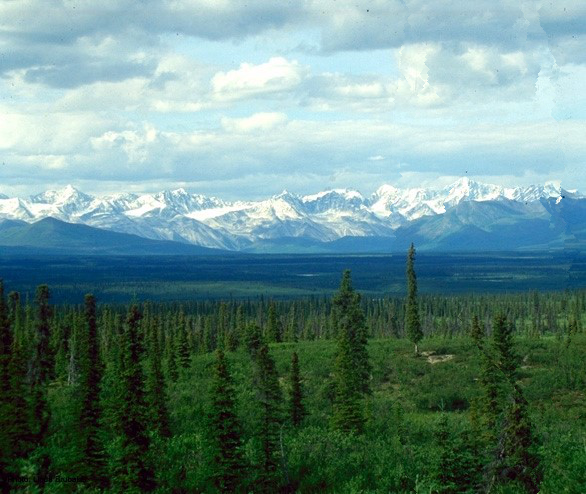
Taiga
Mountain Path

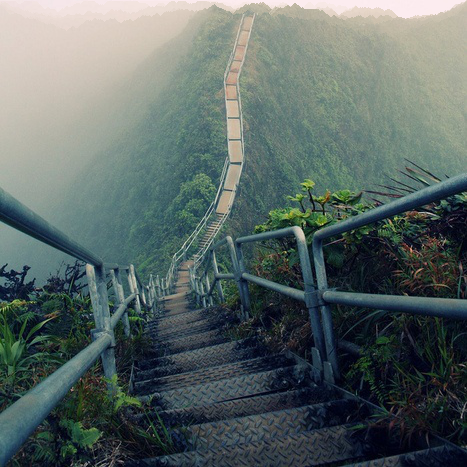
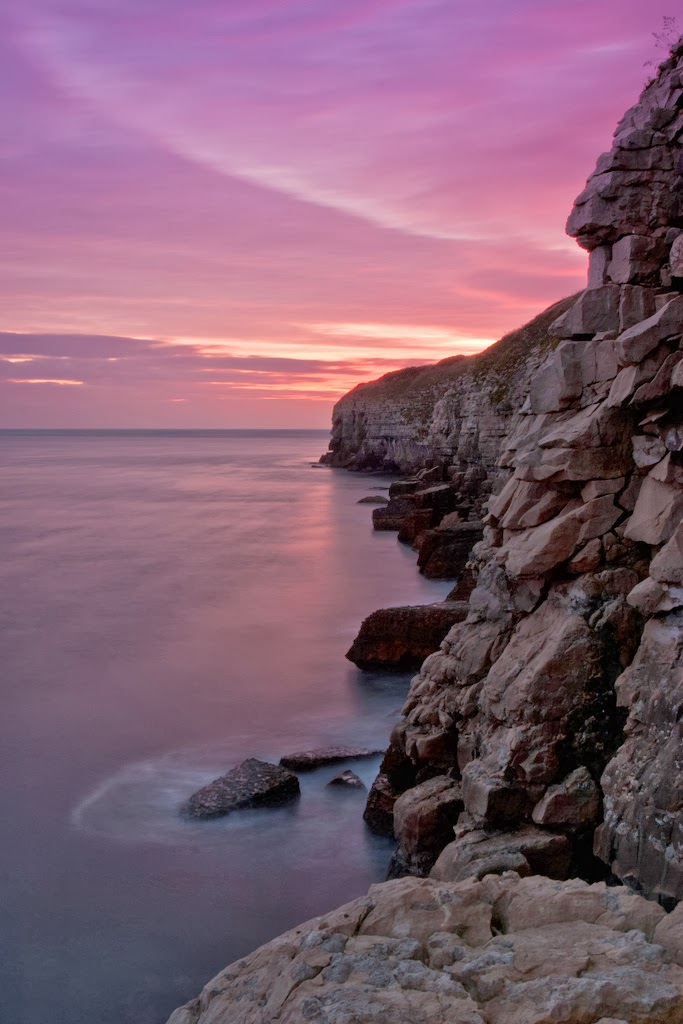
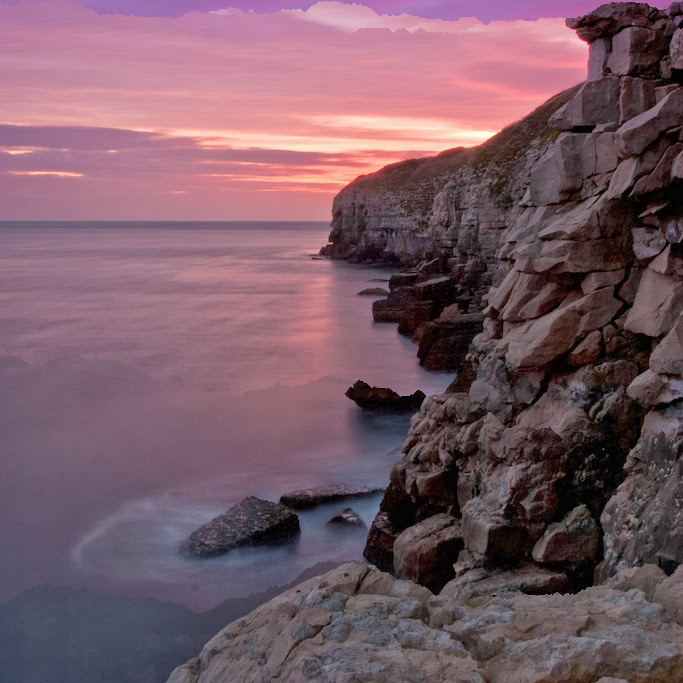
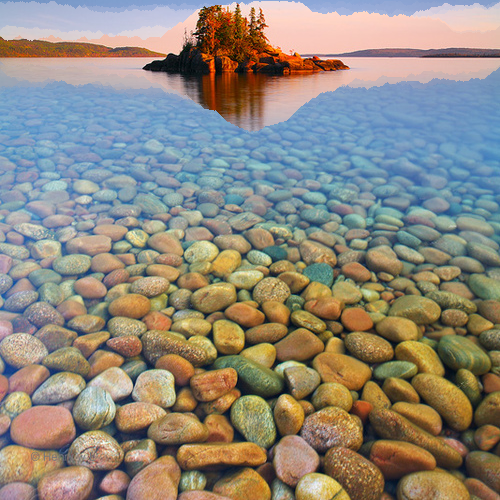
Rocks at Sunset
Failure Cases
Seam carving can clearly produce some amazing results! However, it is not fool-proof and fails pretty clearly in some situations. Let us examine some of these failure cases.


Seam Carving: What I Learned
One thing I learned from this project is that while our computational tools can do incredible things - such as scale an image down to two-thirds of its original height/width or more while largely preserving its contents - there is still a human touch required to produce the photographs and results we want. Although I can arbitrarily decide to cut away a chunk of an image, this doesn't always produce successful results. Sometimes, you just get fewer artifacts and thus better results if you reduce the number of seams you carve, and there is a tradeoff between doing this and improving the composition of an image. At the end of the day, you'll have a photographer, an artist deciding what kind of tradeoffs they'd like to make - better quality or better proportions? Or a host of other considerations.
Nevertheless, sometimes the computational tool can produce unexpected results that are still surprisingly likeable, such as in the "Mountain Path" image discussed above. In other words, there exists a lovely synergy and synthesis between an artist and their tools...
Acknowledgements
Thanks to my friends Nikhil and Sean for being models in my vertigo shots!
Besides the photographs I took, I took images from the following sites:
- 8 post-processing tips for creating beautiful landscape photos
- Countryside Tree Landscape
- Cheap Gear, Amazing Photos: Photographer Uses Her Old Canon To Take Amazing Landscape Shots
- Amazing Vertical Landscape Vertical Landscape Photography Tips From Craftsy