Final Project Part 1: Vertigo Shot
For this part of the project, I used a camera that had markers on the lens and I used those markers to set the placement of an object and zoom in and out that way.


Final Project Part 2: Fake Miniatures
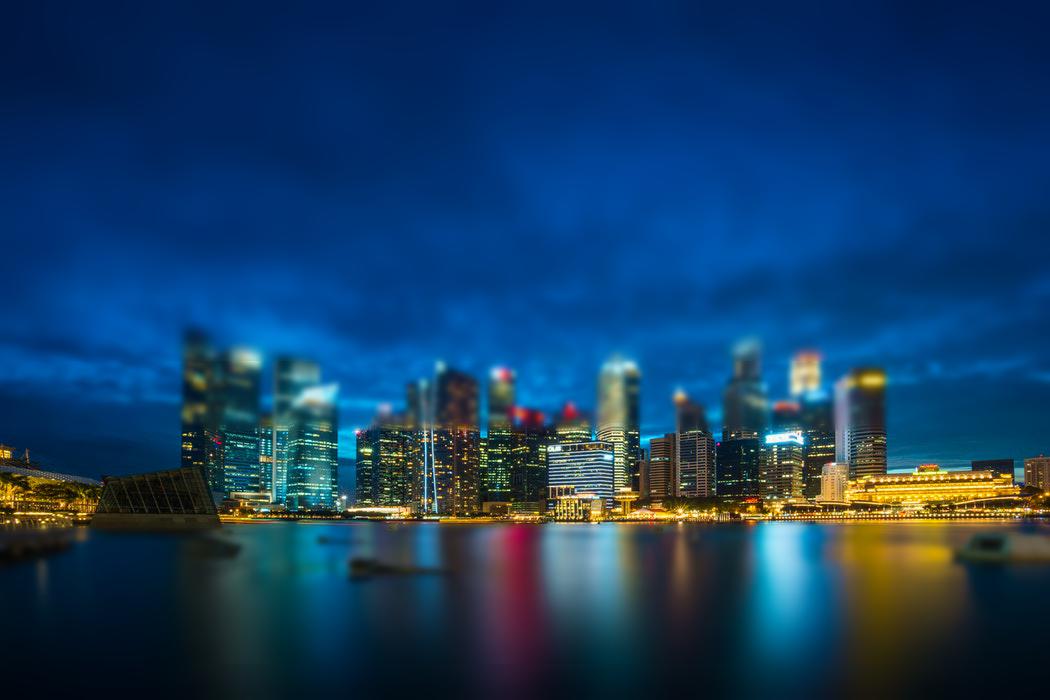
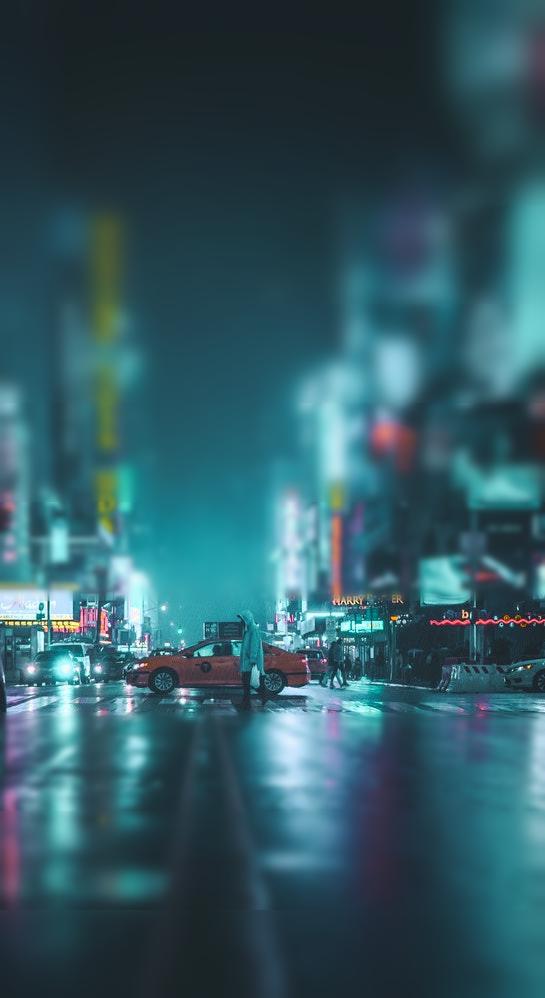
This project allows us to fake a miniature scene through the use of blurring and color correction. The user specifies two points in the image that determine the edges of the depth of field in focus. Then basing it off of those specified points, I increasingly blur the image on either side in chunks (in my implementation, I set each chunk to be 1/10 of the number of rows if it is a horizontal plan, and 1/10 of the number of columns if it is a vertical plane).
For the blurring, I utilize the built-in scipy gaussian filter. Since in my implementation, I am not guaranteed how many chunks are on either side of my depth of field, I keep track of a different sigma on either side (where each sigma only increases if it is possible to blur another chunk on that specific side) to maintain an smooth rate of blurring on either side. I created masks that were the same size as the original image that would help me obtain the portions of the image not within the depth of field for that iteration (this means 2 distinct masks per iteration: one from the top of the image to the top of the last chunk that was blurred and added on to the top and one from the bottom of the last chunk on the bottom to the bottom of the image). I basically had a stack of chunks that was growing from the middle out, where the first chunk is merely the specified depth of field. Then, I apply my gaussian to the original image everytime (original image doesn't change, but sigma changes so that is how I get my increasingly blurry image) as well as the mask for that iteration. Then, I fill in the target image using pixels from both the target image that I've build so far and the new blurred image, where the pixels are weighted by the value of the mask at that pixel. The pixel weight is found with this equation: p = blur_mask[row][col] and the next chunks of the target image are constructed using this equation: new_im[row][col] = p * new_blur_im[row][col] + (1-p) * blur_im[row][col]. At the very end, I convert the image from RGB to HSV, increase the saturation by 0.07 on all pixels, and return that color-corrected image after converting back to RGB.
In my implementation, I allow the user to specify the image path for the image to be processed, the path to save the processed image, and whether or not the blurring should occur in vertical planes or horizontal planes. The horizontal plane blurring get increasingly blurry above and below the depth of field and is the implementation I started with. The vertical plane blurring will get increasingly blurry to the left and right of the specified two points of depth of field. I achieved the vertical plane blurring by simply transposing my image (and tweaking some of my variables) pre-processing, applying my horizontal blurring, and then re-transposing the image back to normal.
Note: the two points specifying depth of field can be picked in any order (i.e. top to bottom or bottom to top doesn't matter).
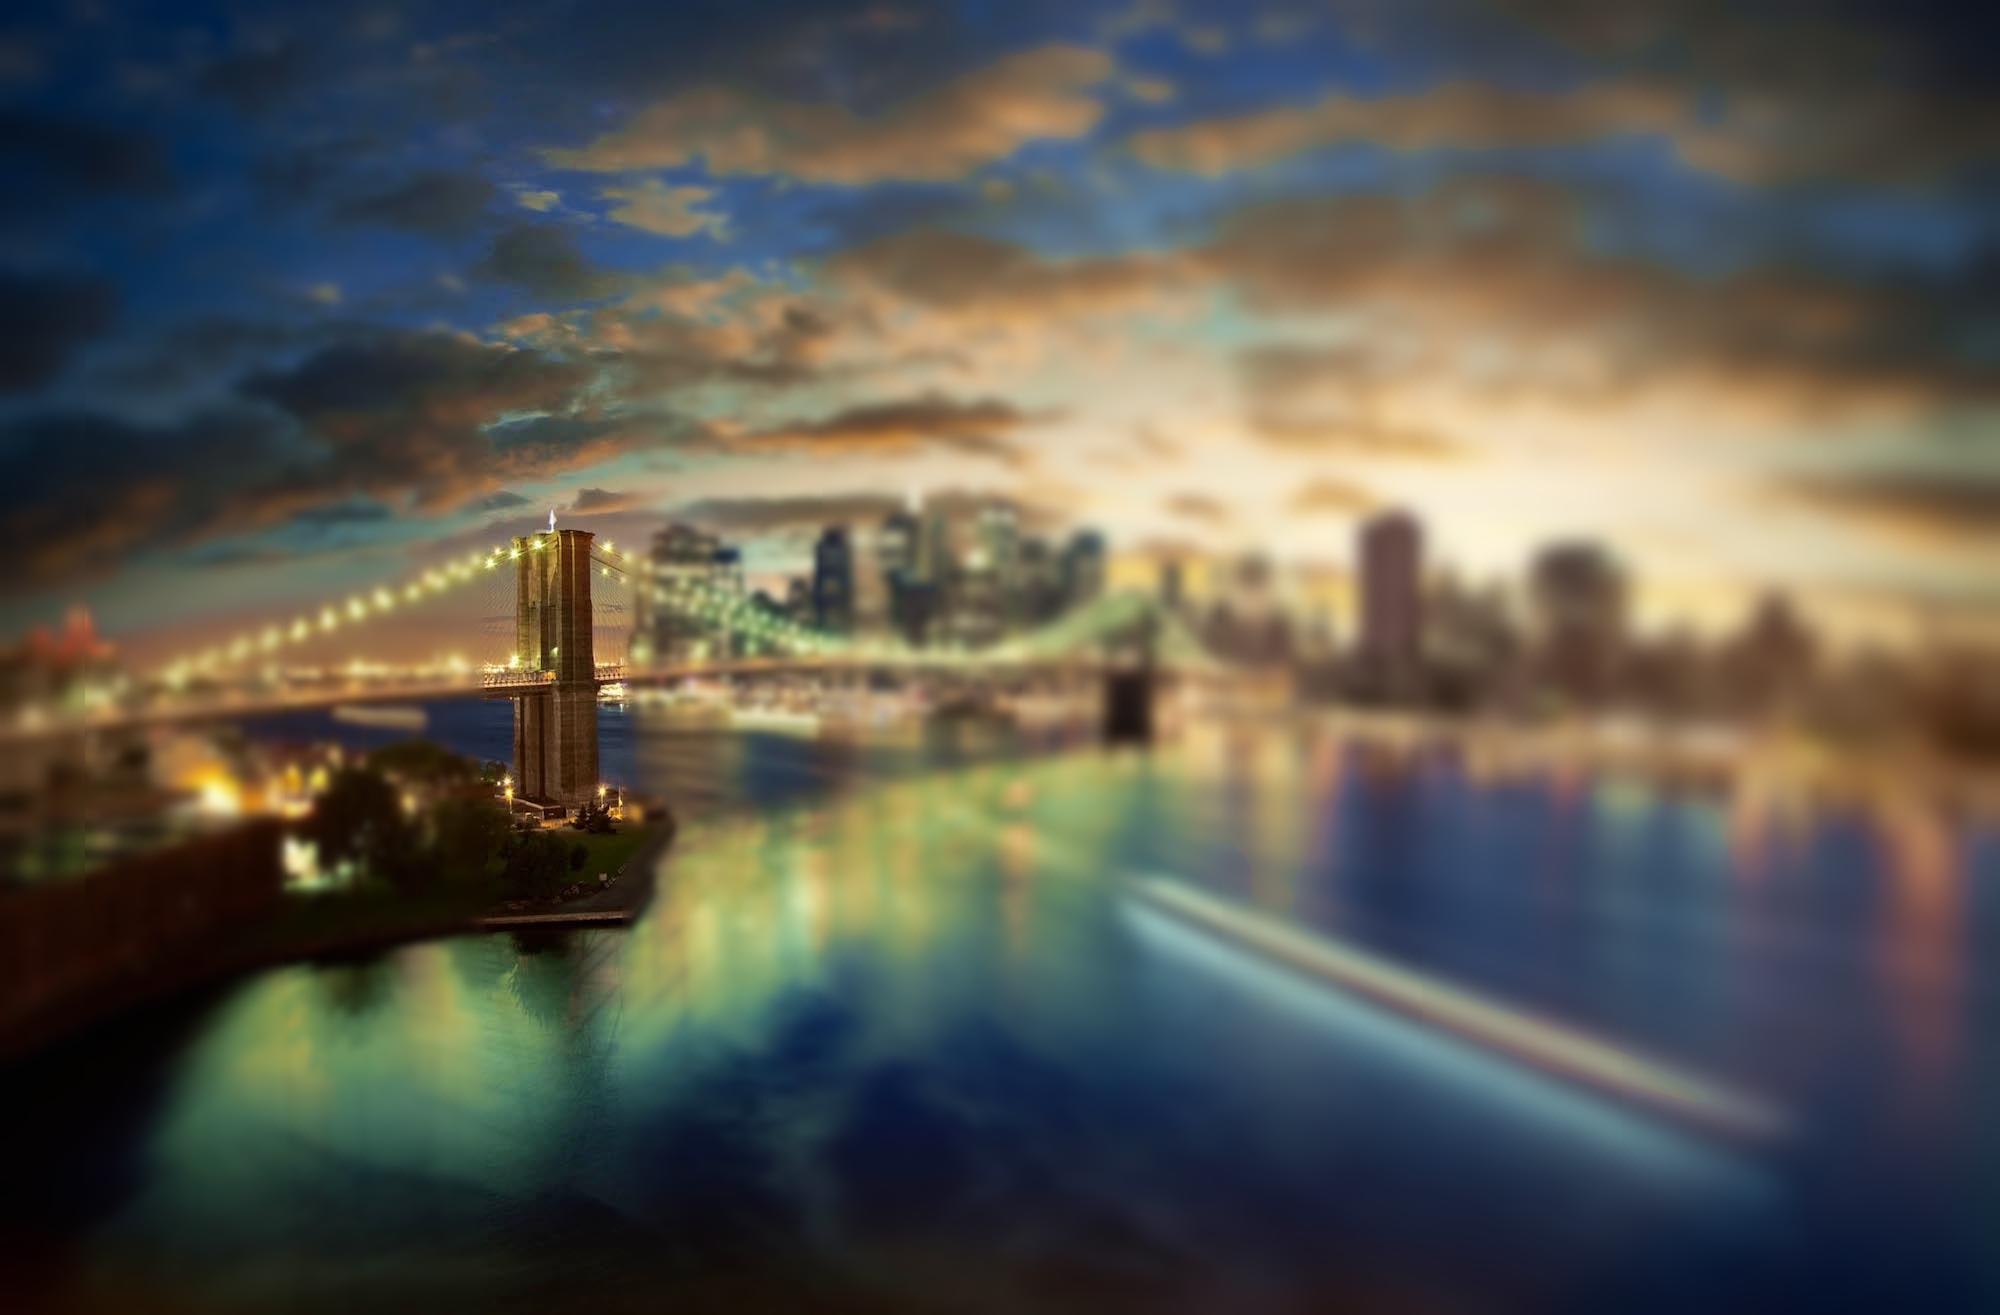
Horizontal Results:
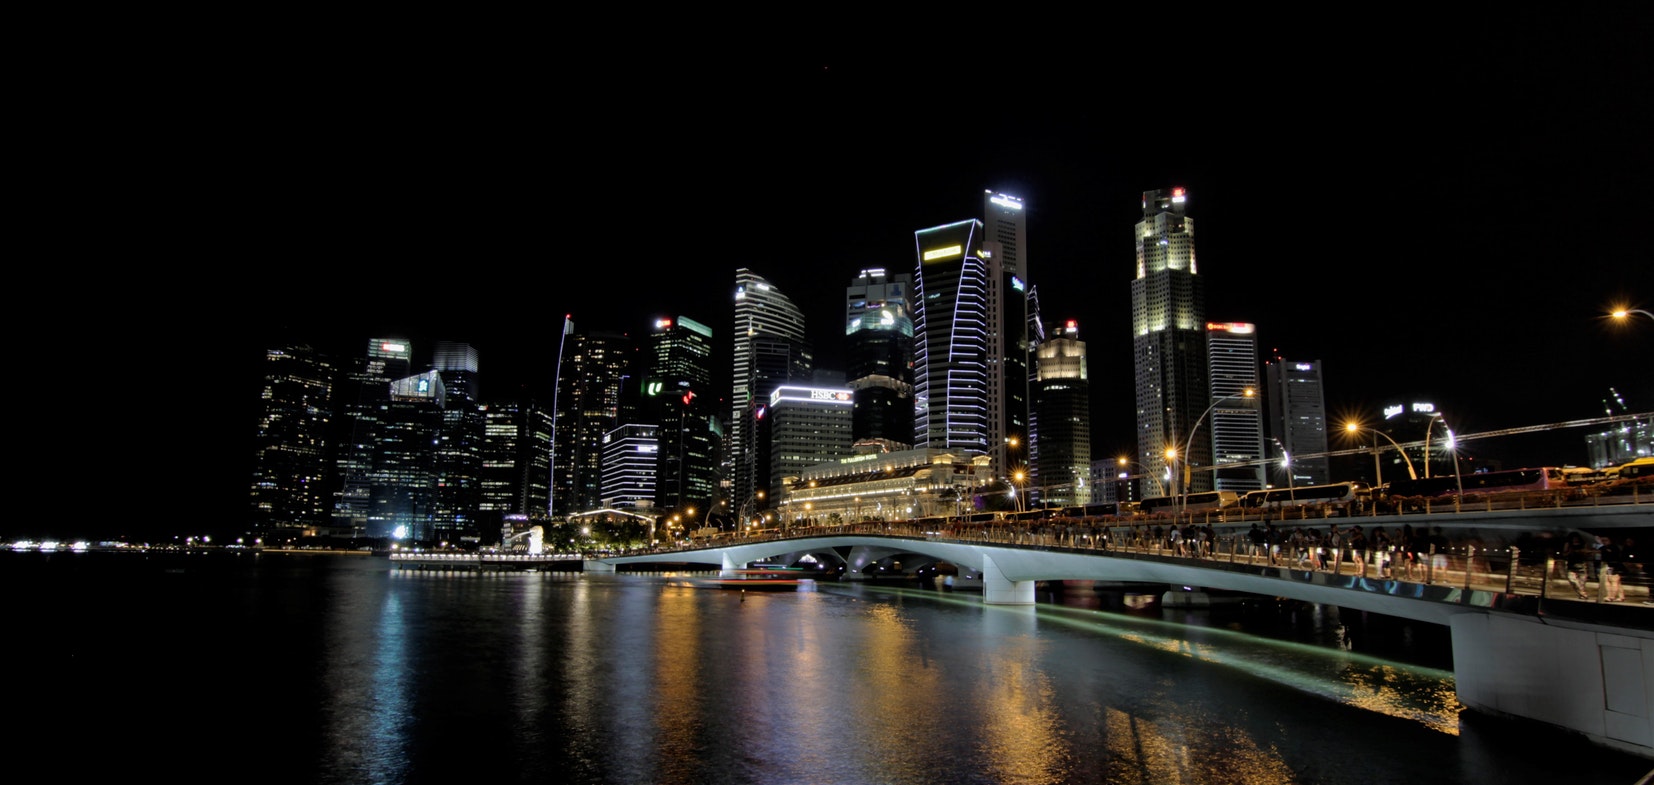
Photo Credits: https://unsplash.com/photos/GJNF6PwNEGA |
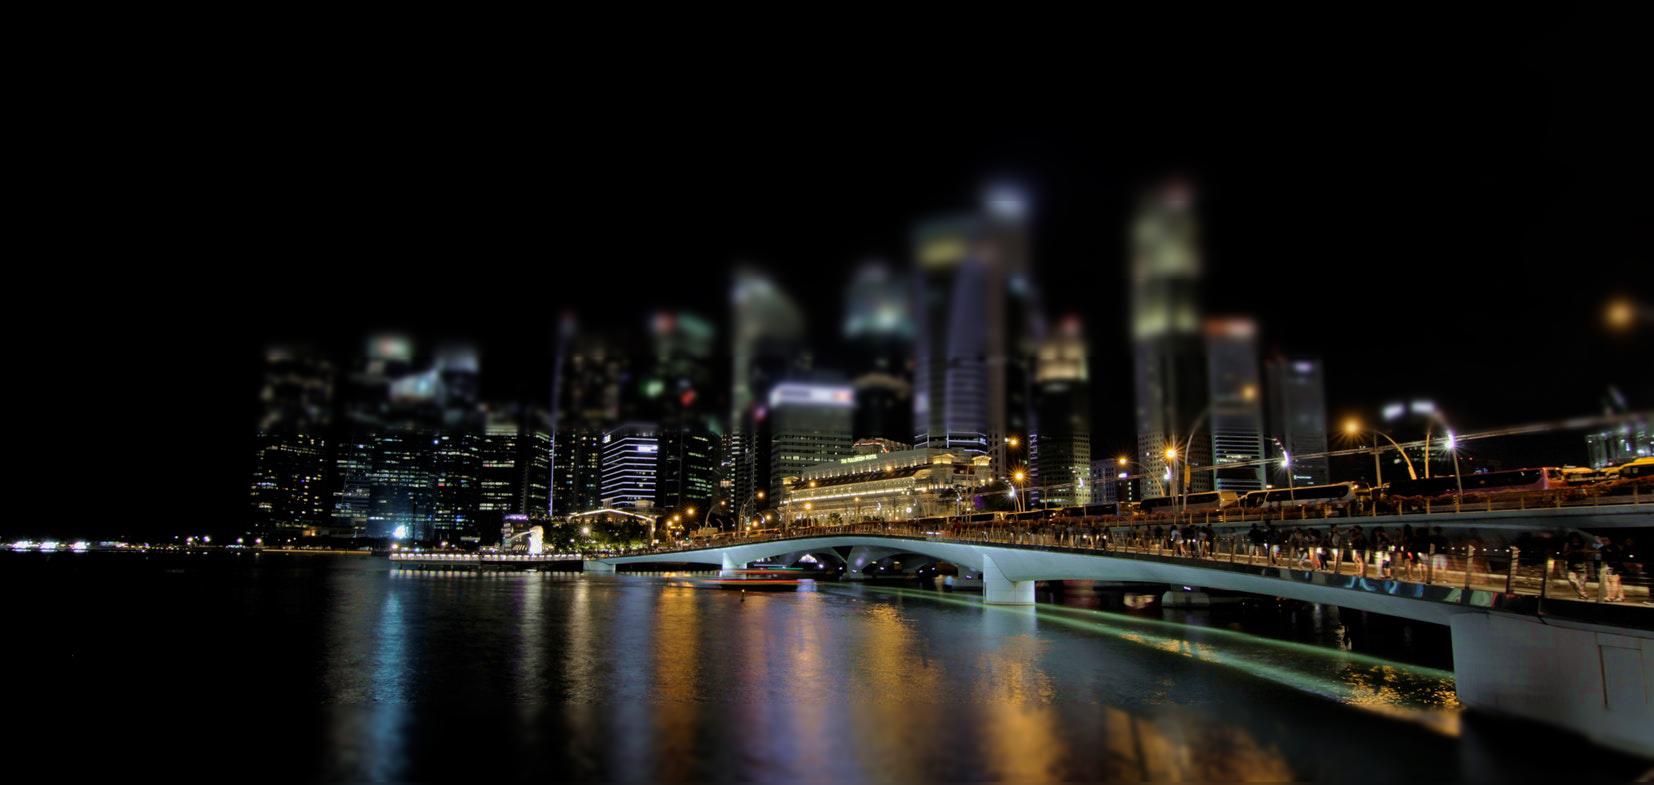
Post-Processing |
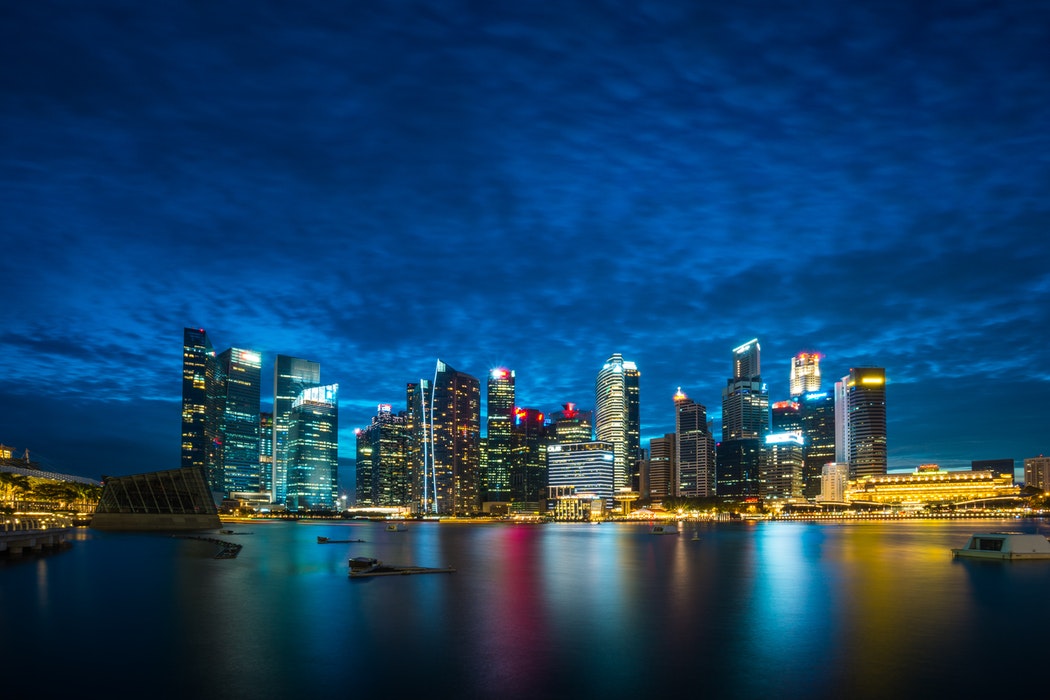
Photo Credits: https://unsplash.com/photos/w7Z0fiZw4Mw |
Post-Processing |
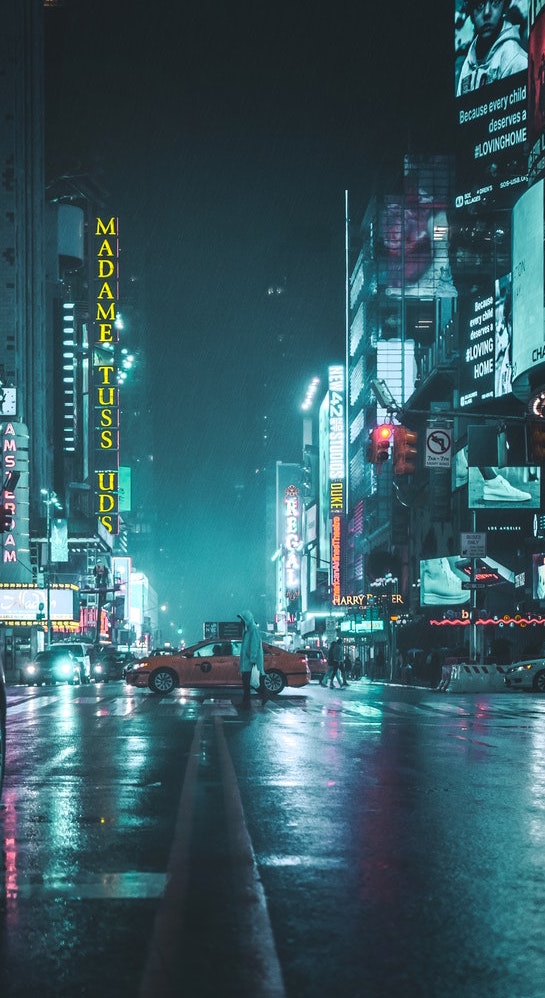
Photo Credits: https://unsplash.com/photos/lQTf_EUo6Fk |
Post-Processing |

Photo Credits: http://marvelcinematicuniverse.wikia.com/wiki/Avengers_Tower |
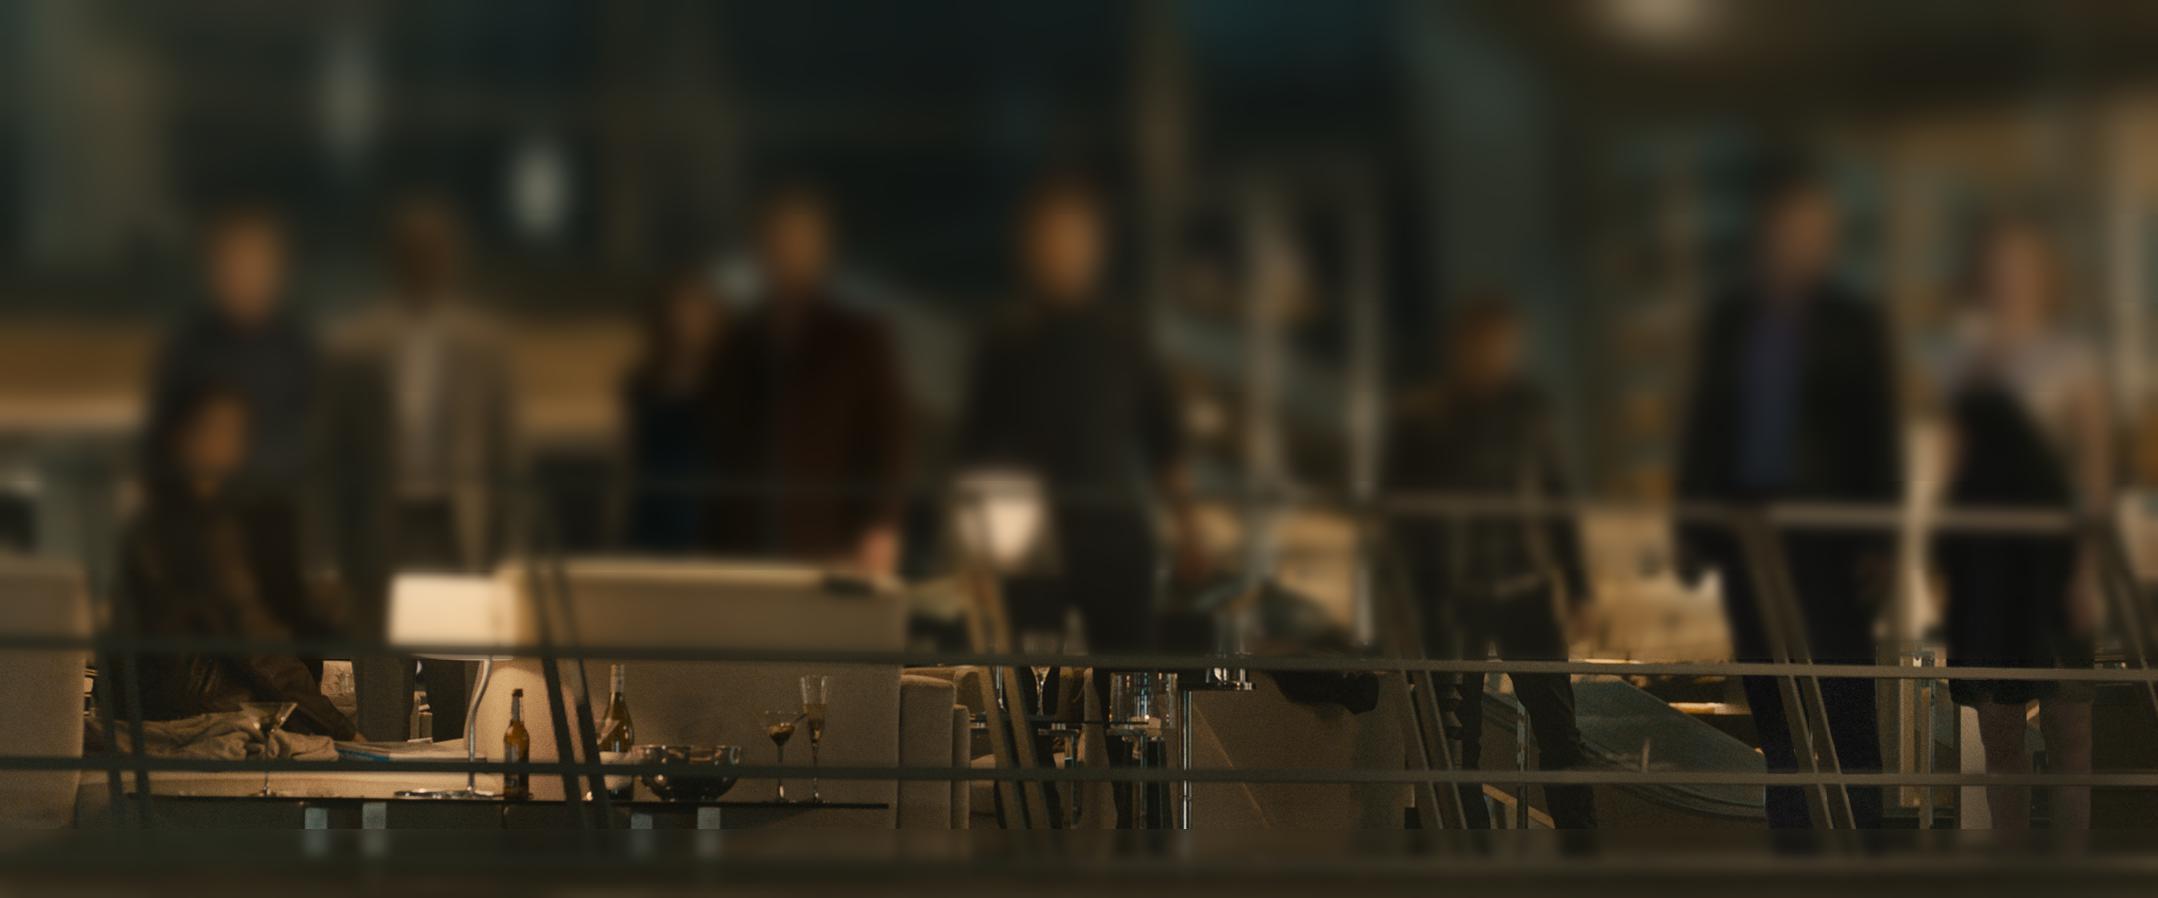
Post-Processing |
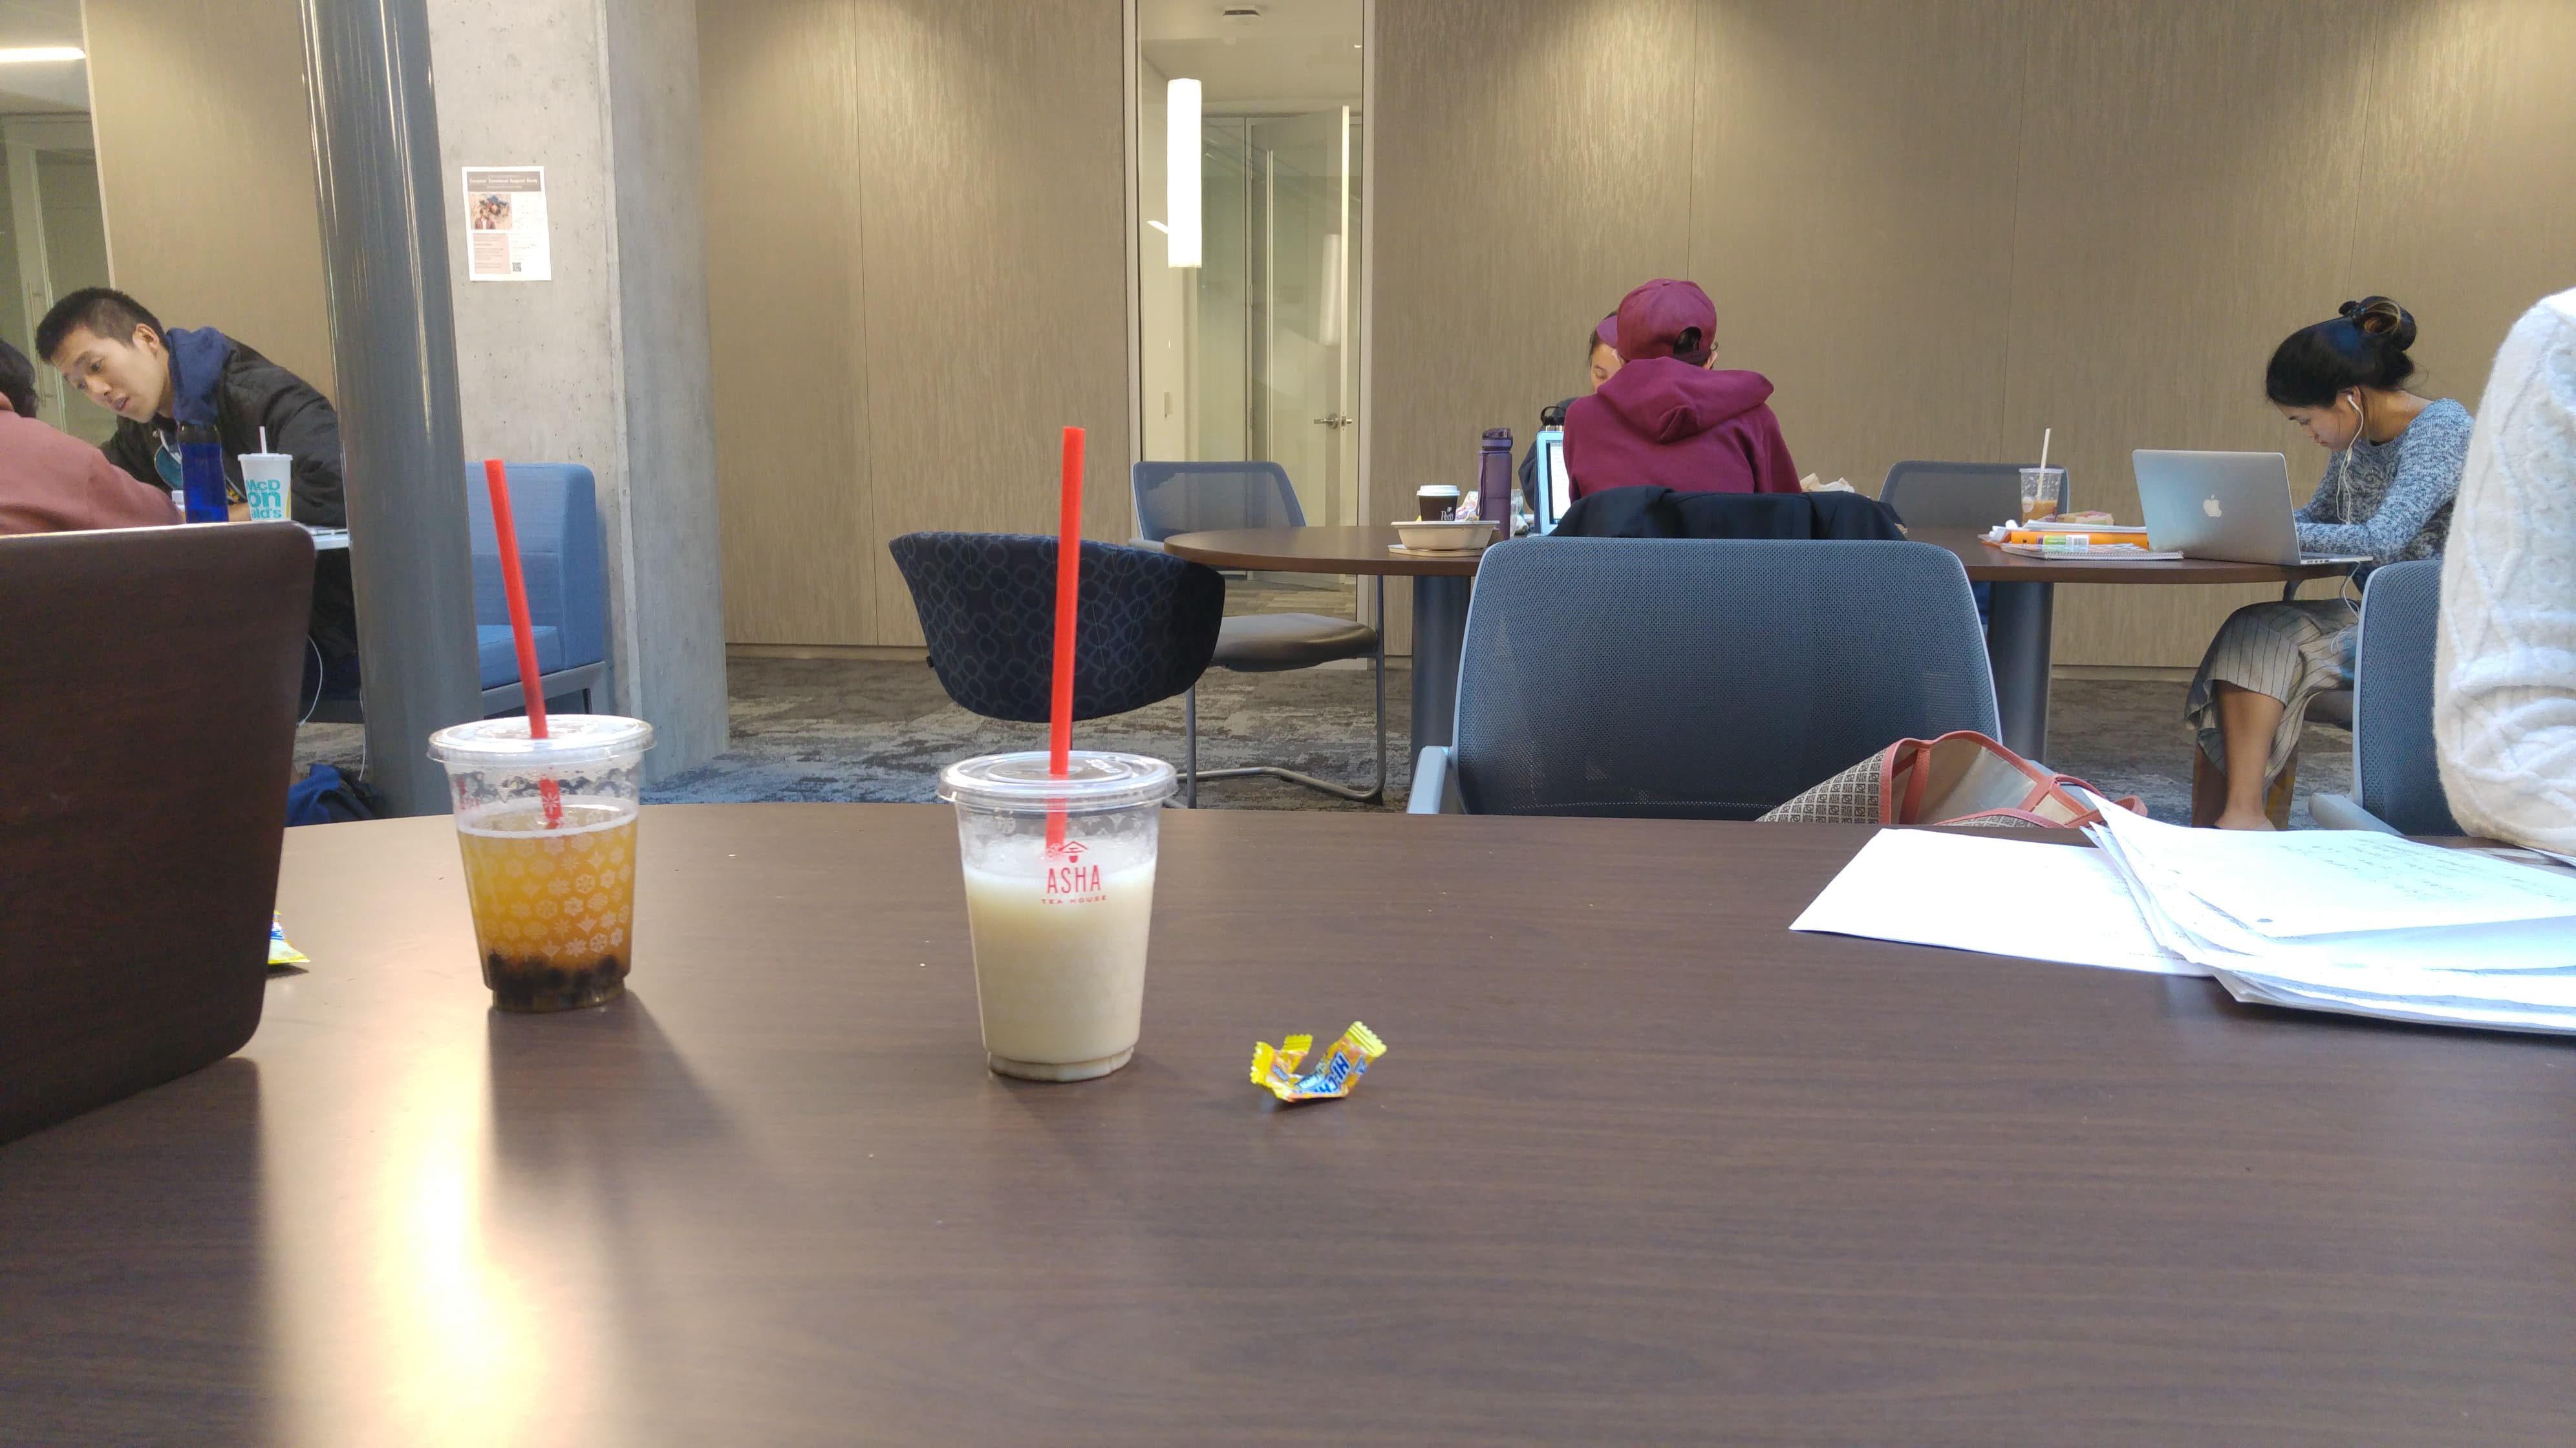
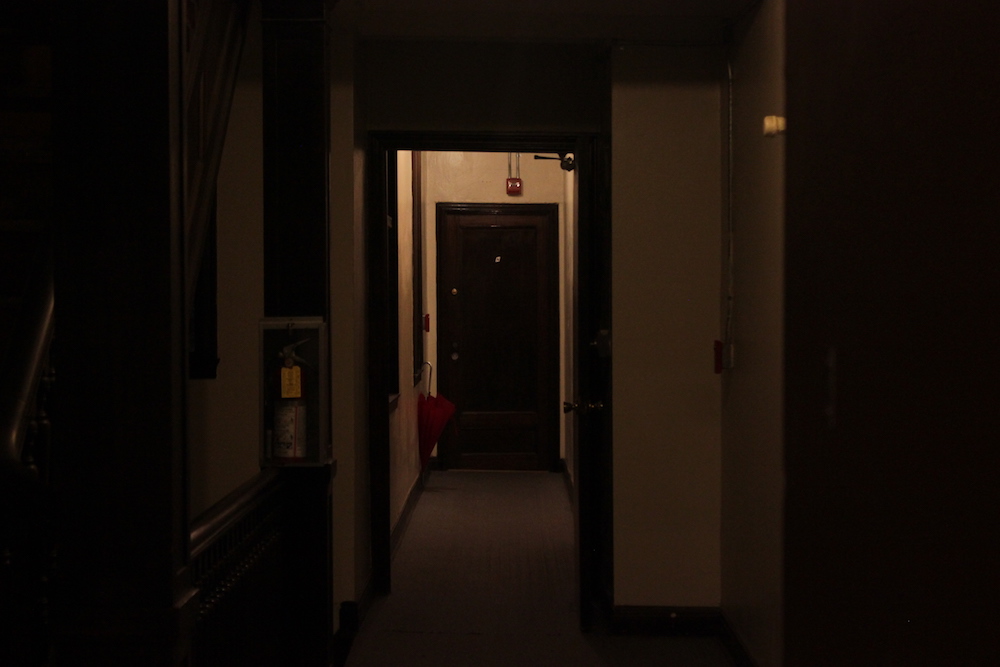
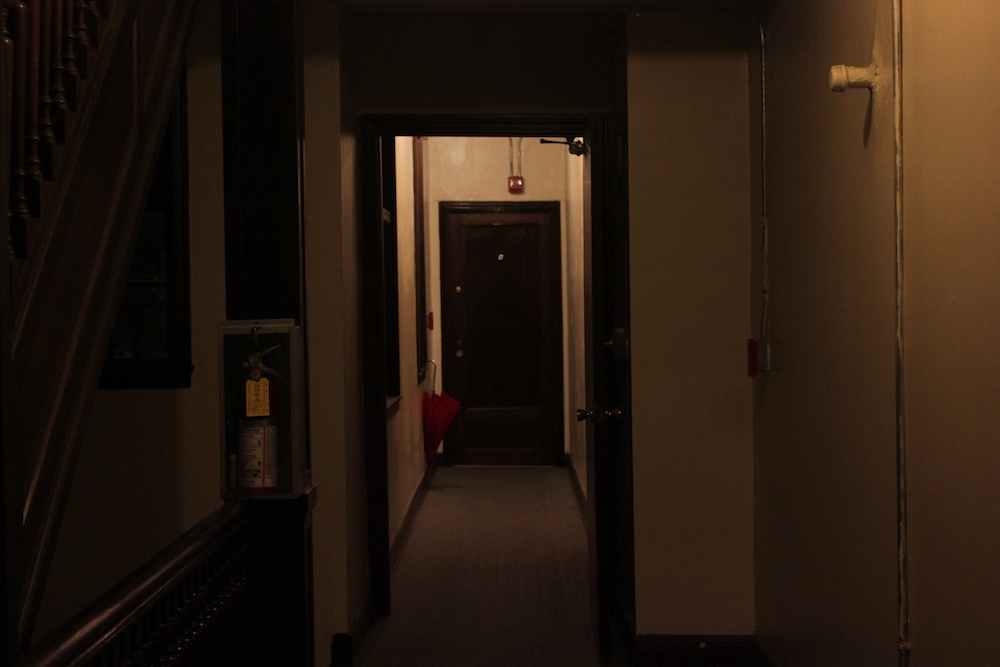
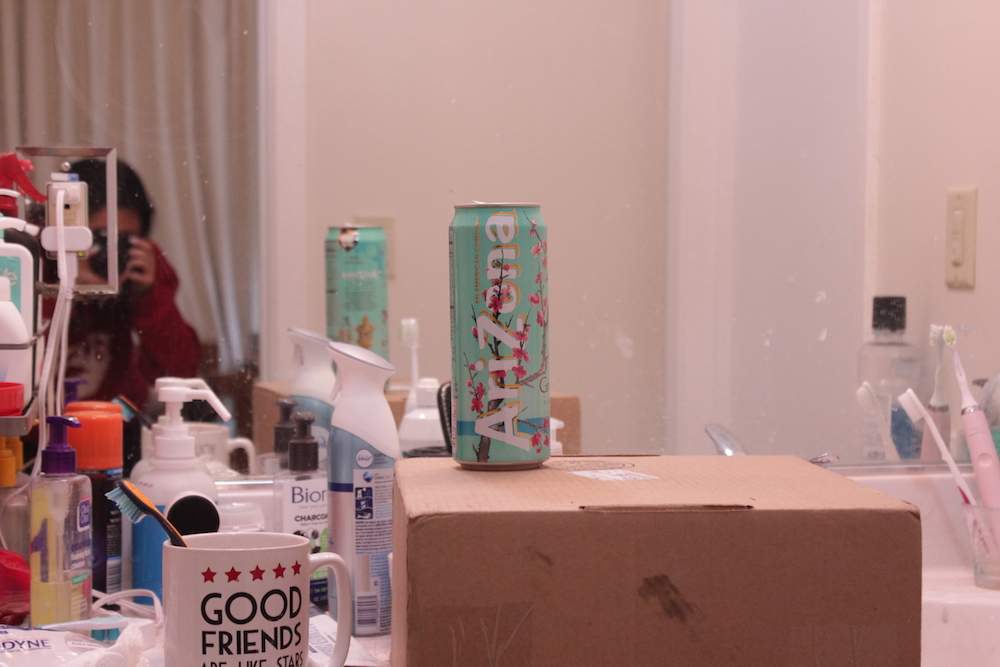
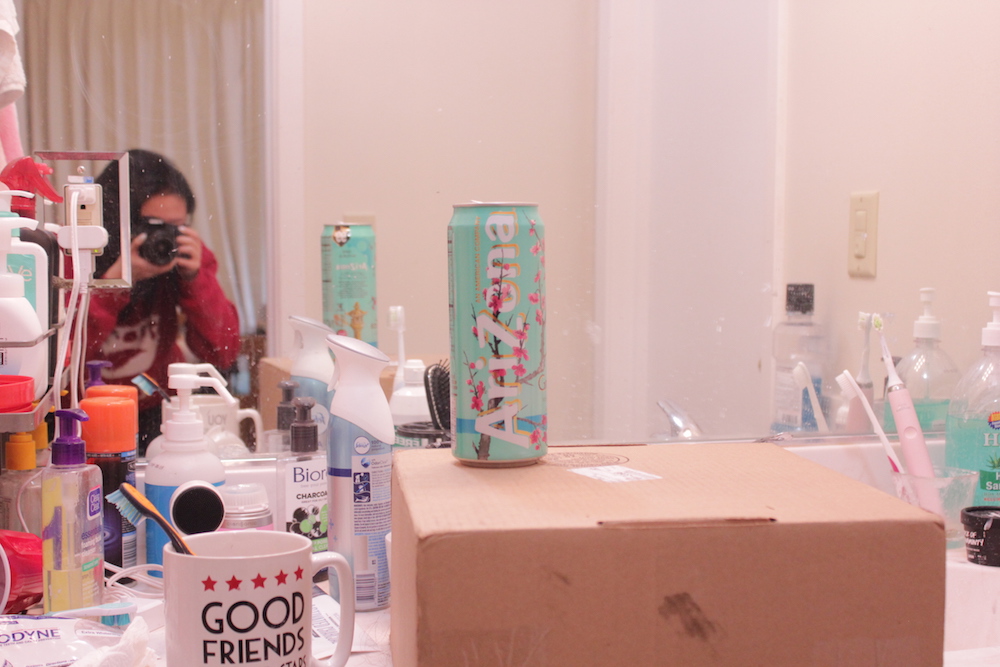
Photo Credits: Me! |
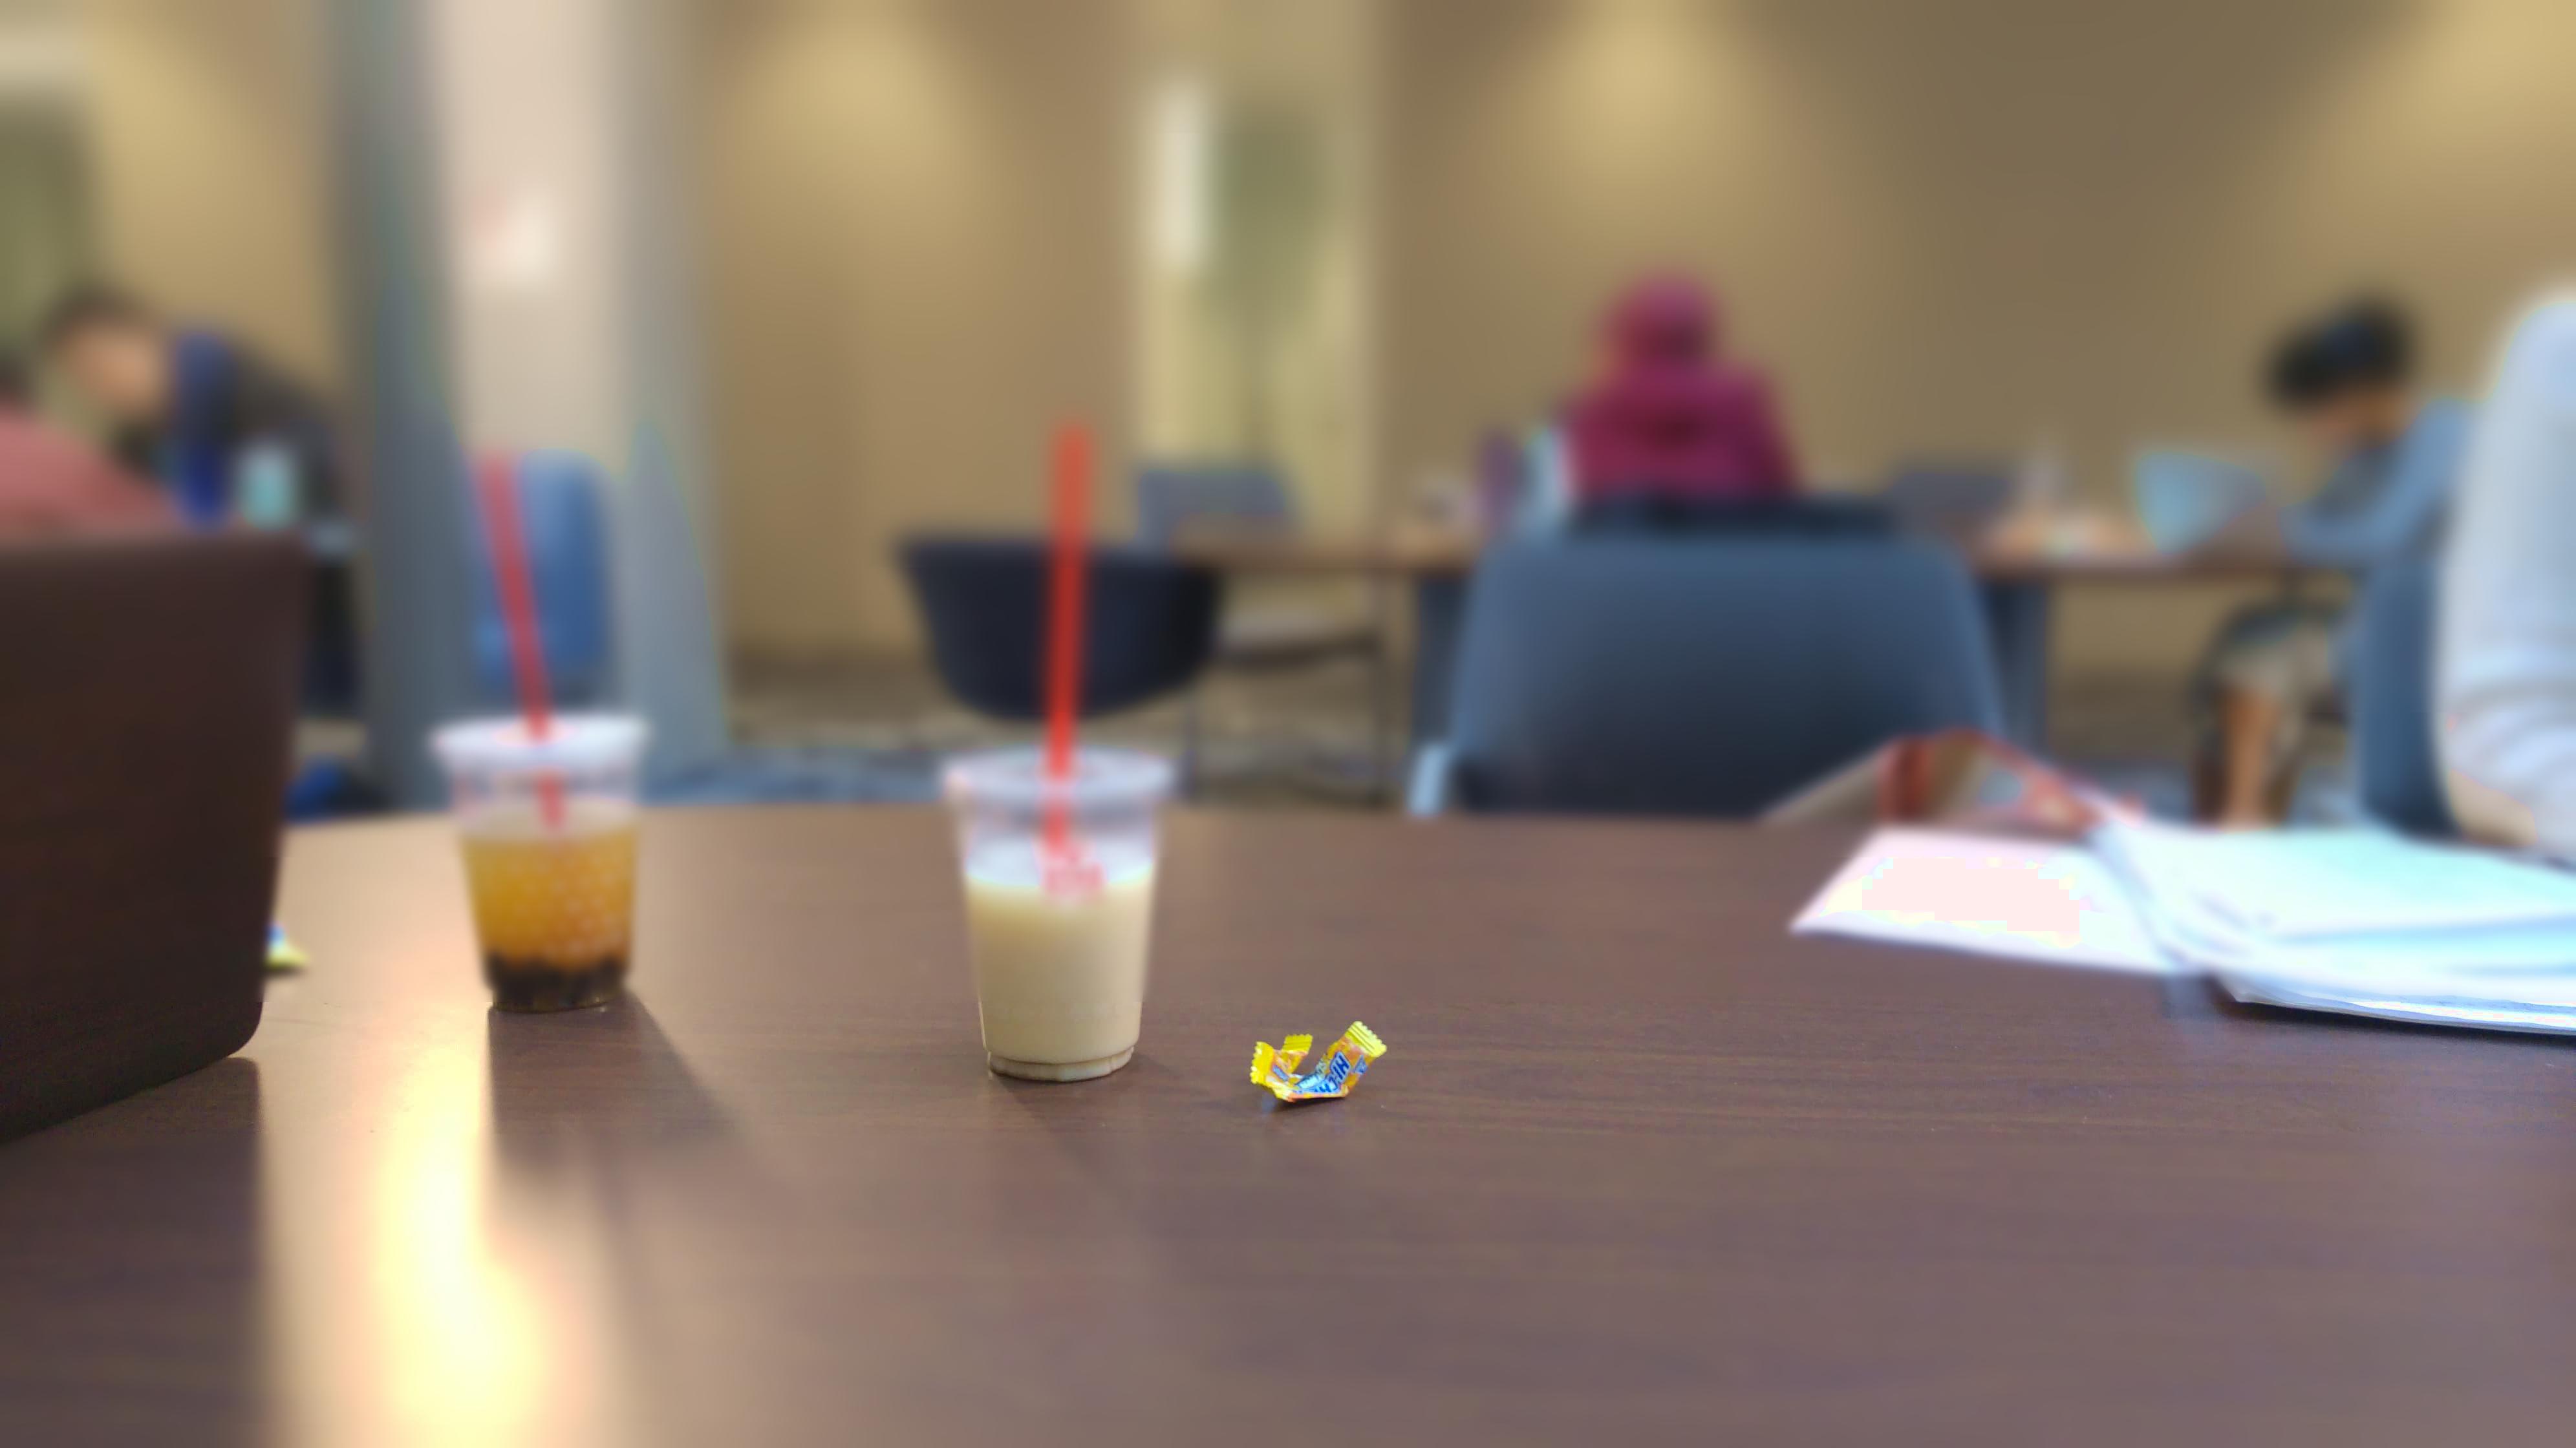
Post-Processing |
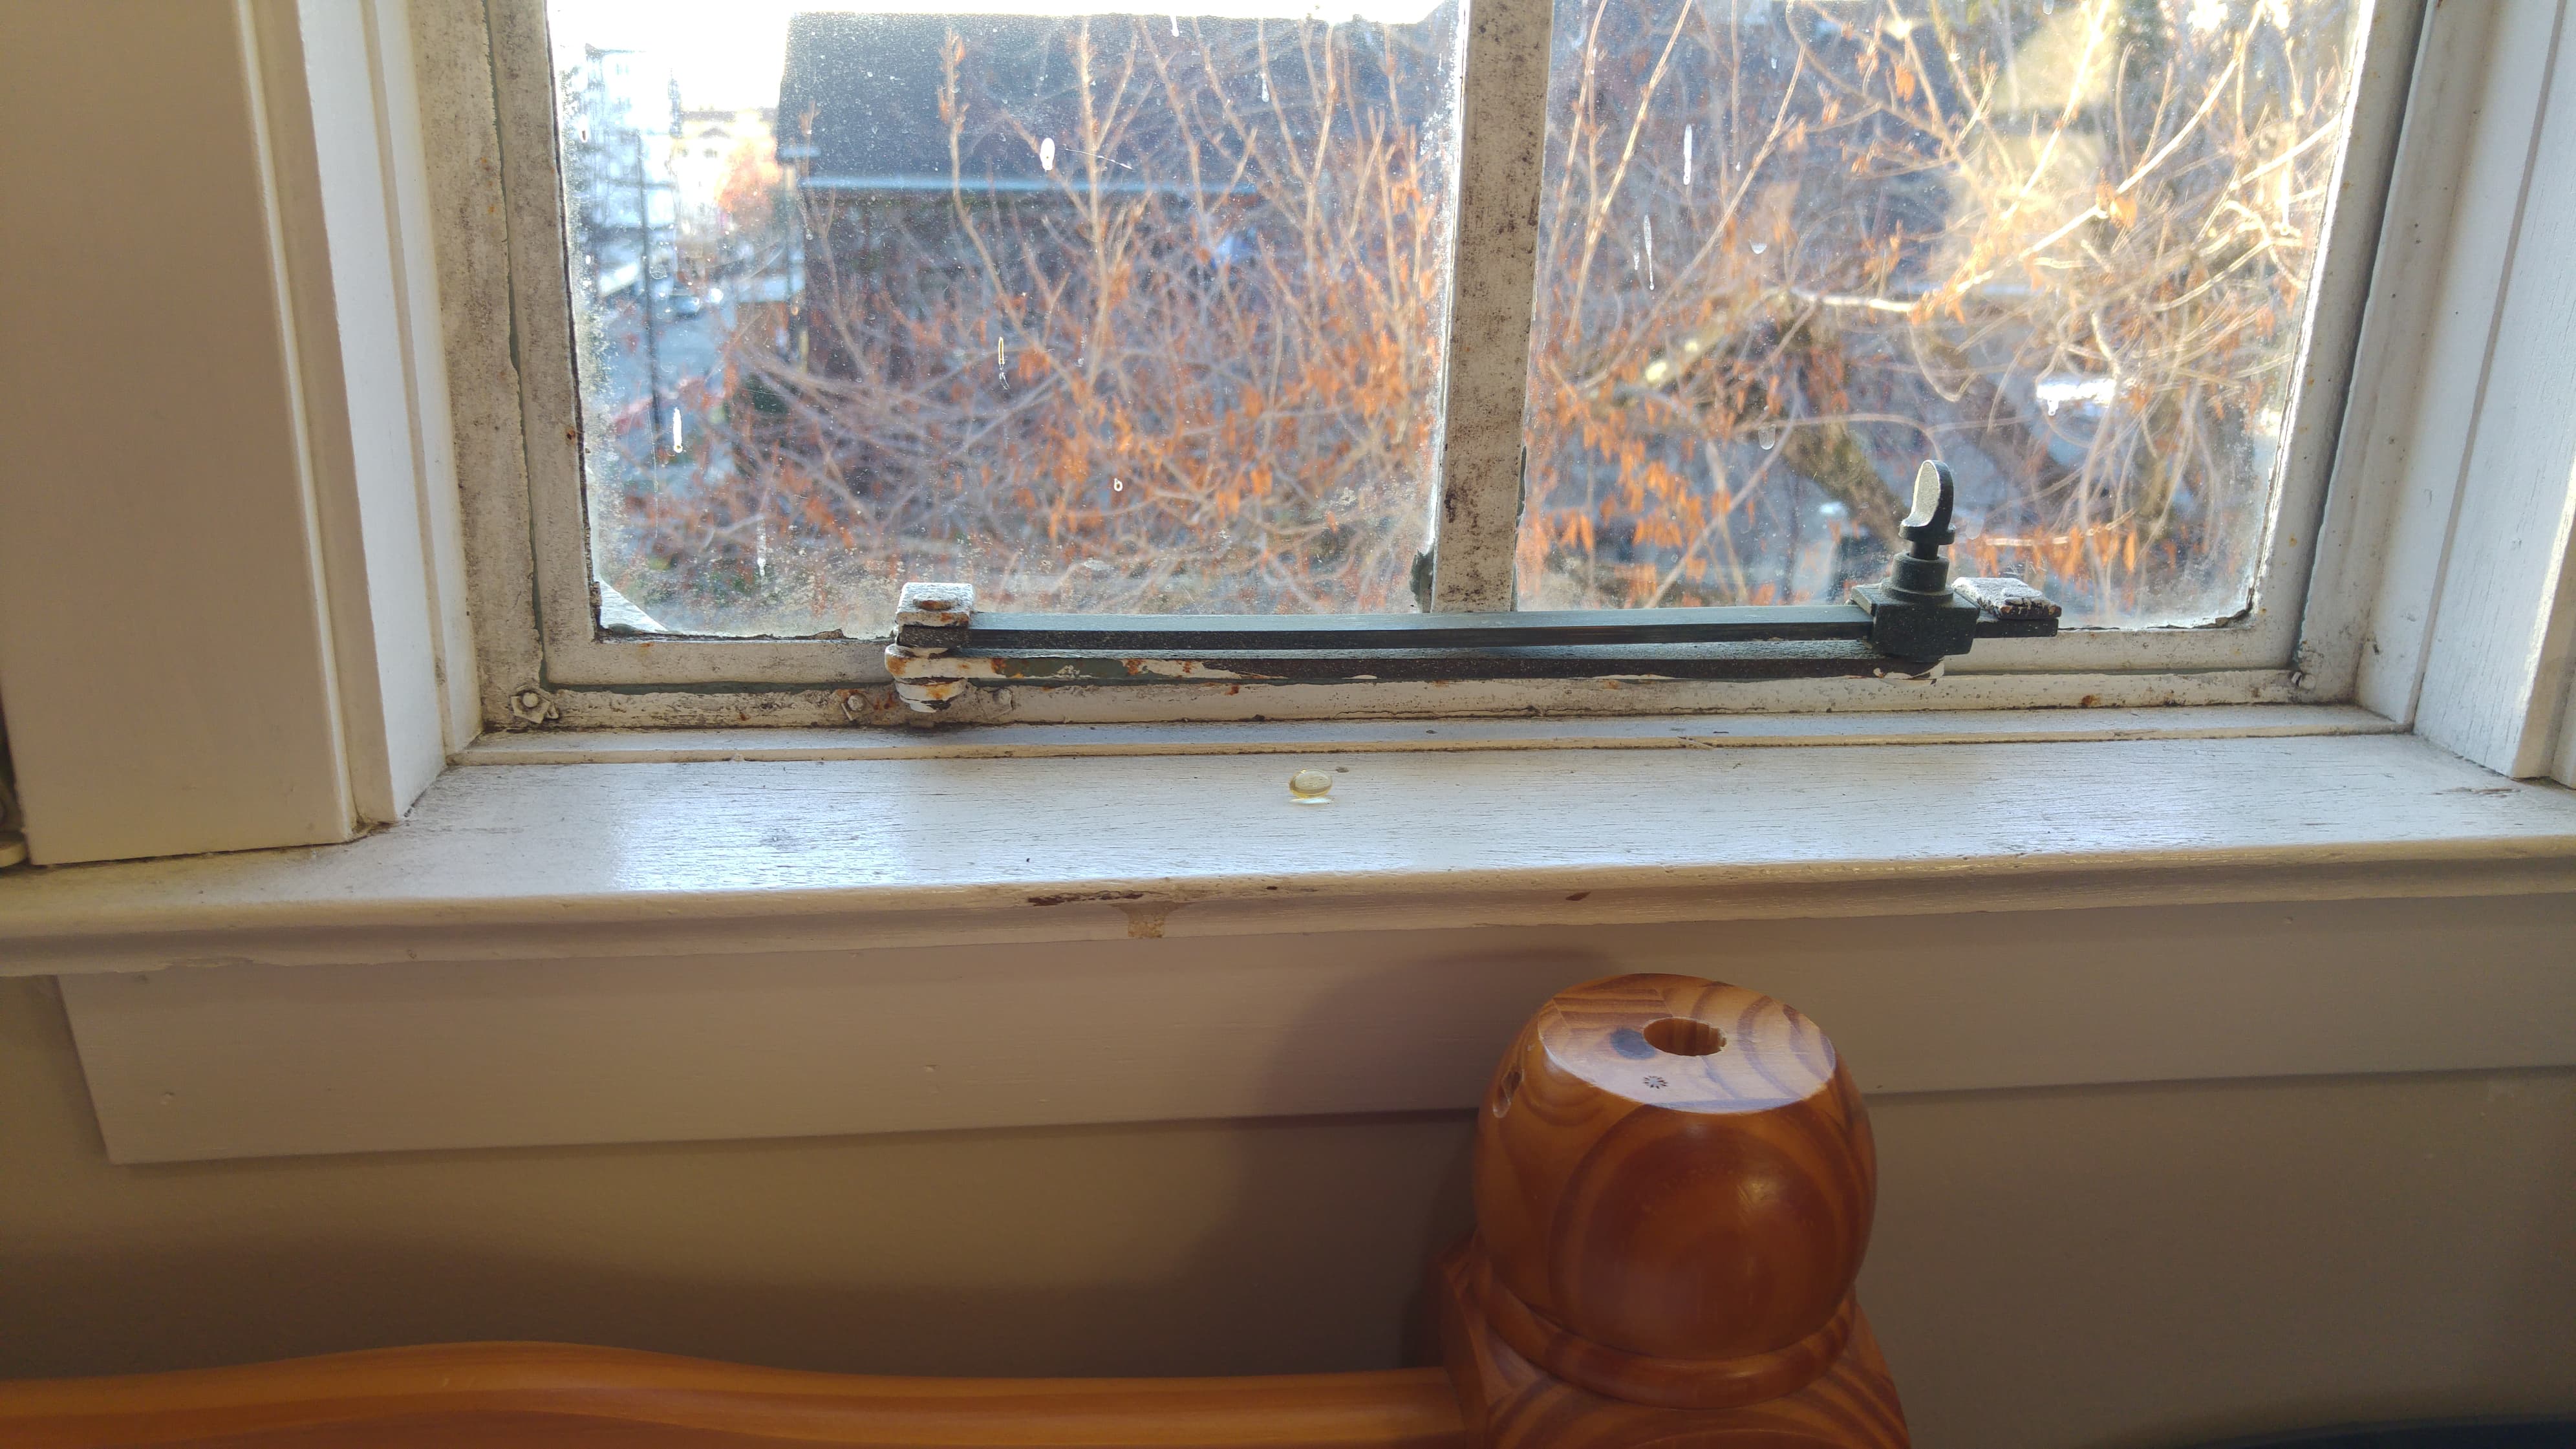
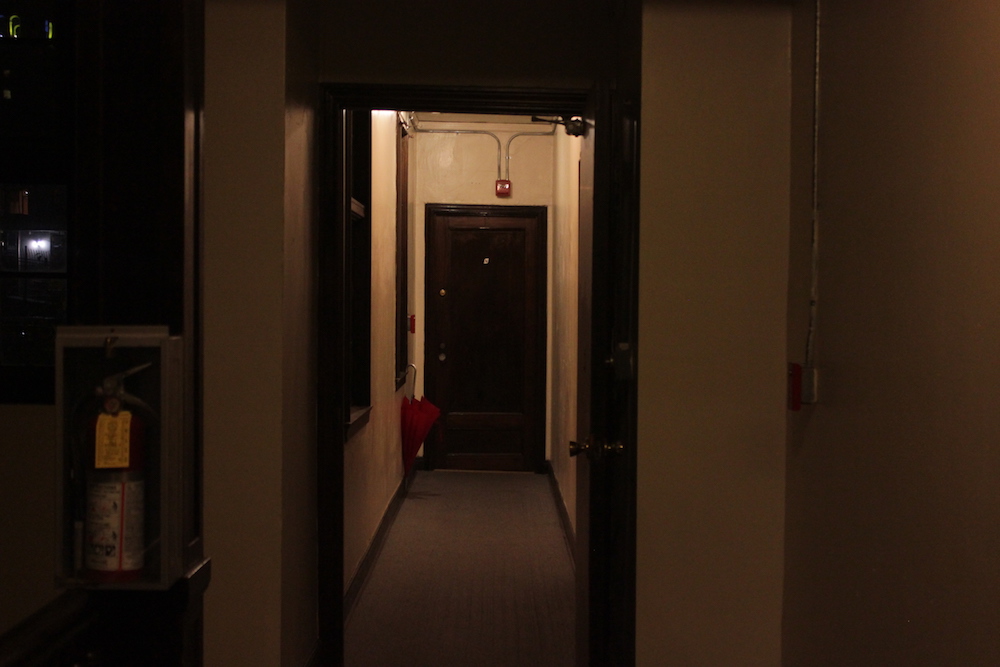
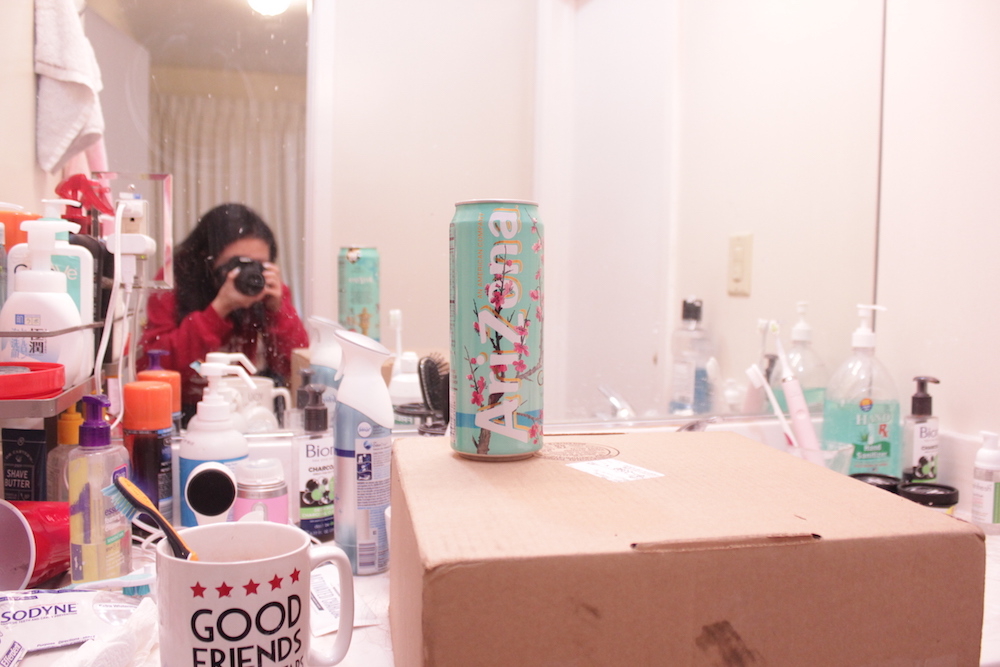
Photo Credits: Me! |

Post-Processing |
Vertical Results:
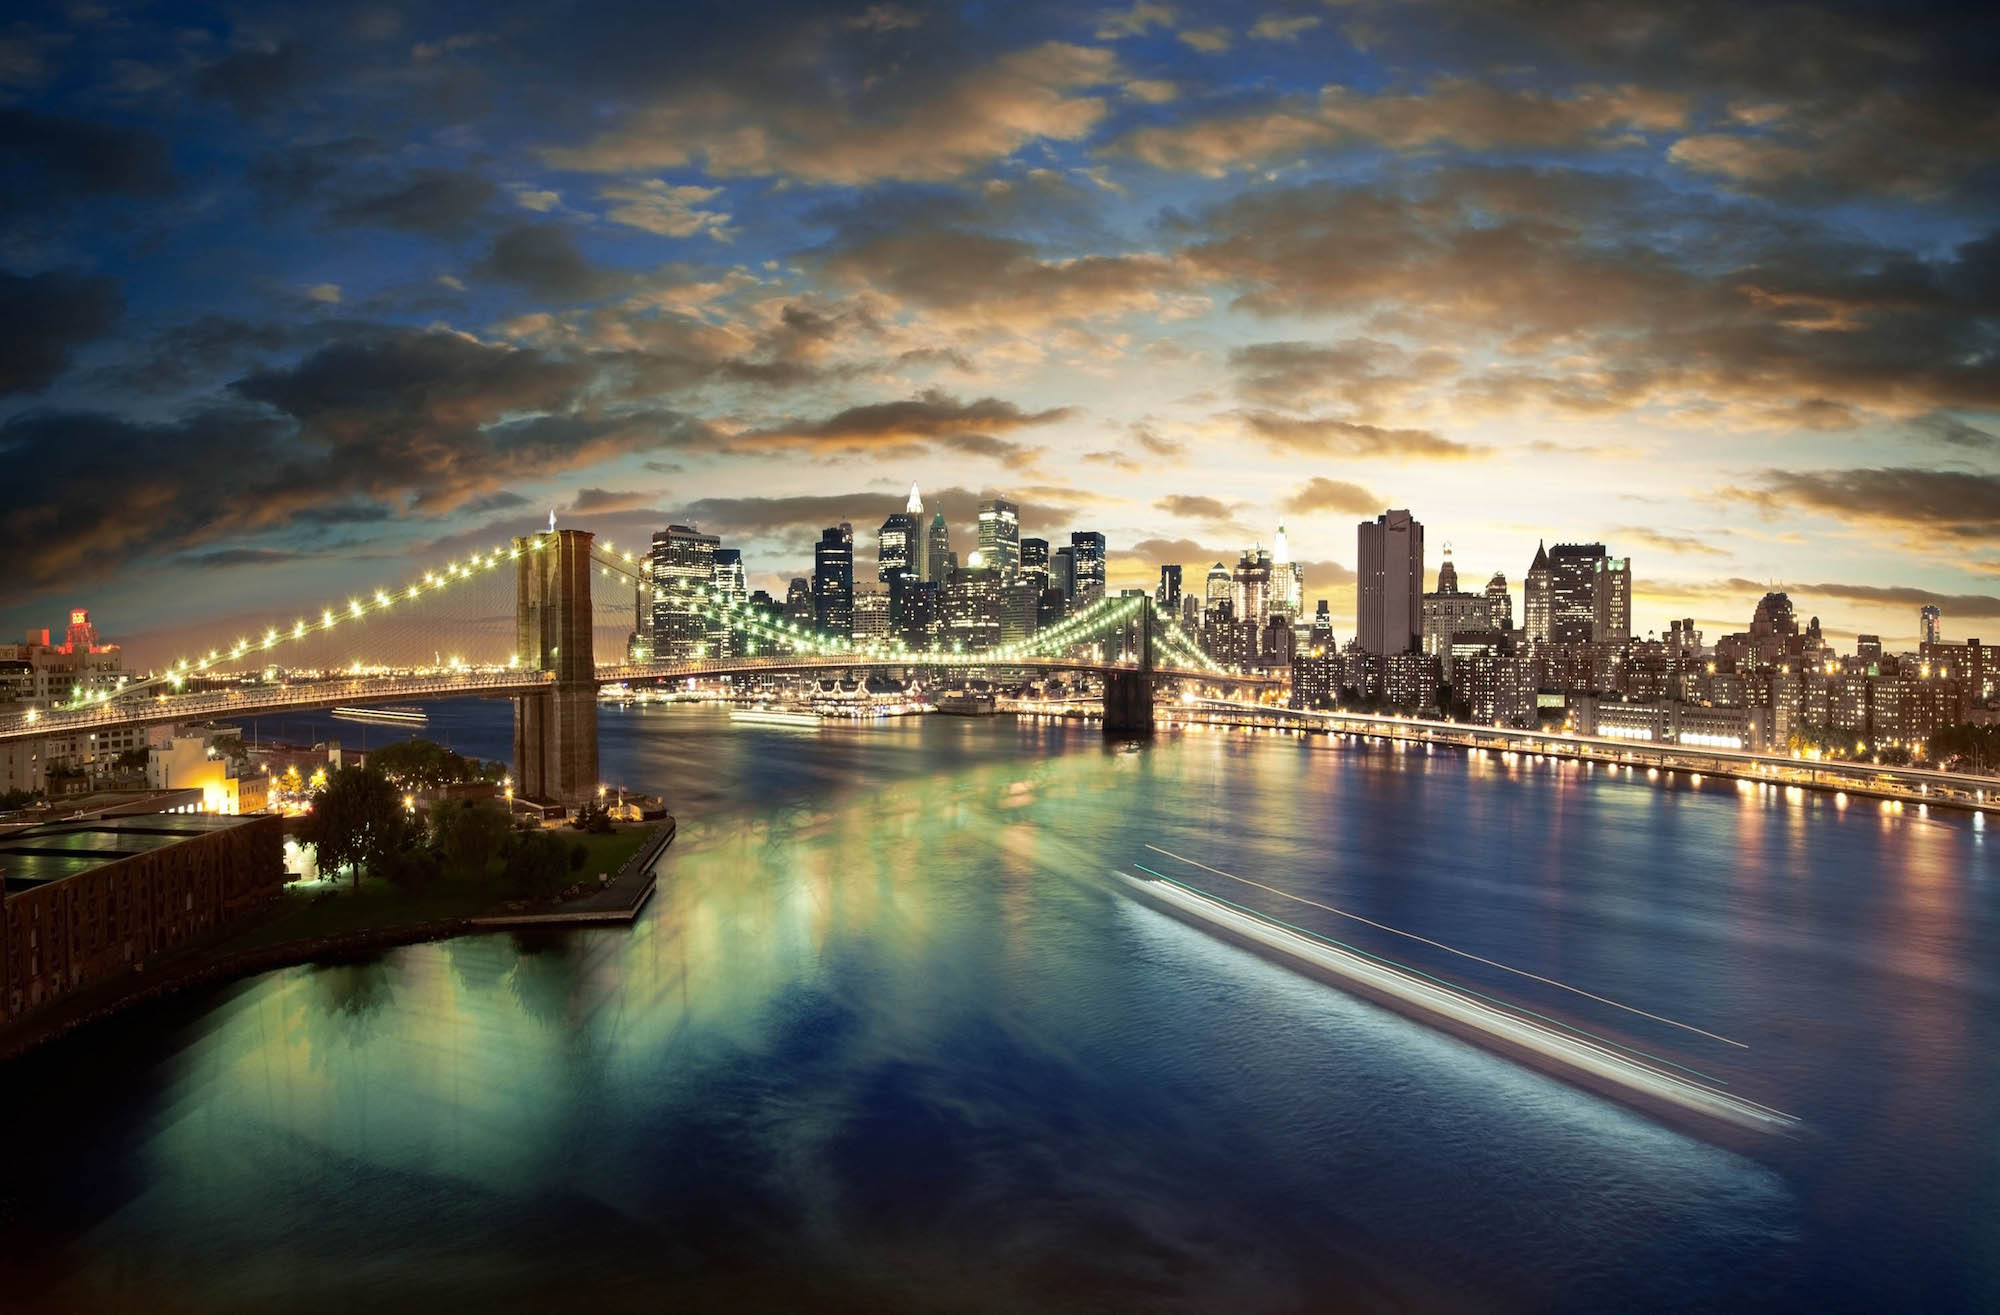
Photo Credits: http://paperlief.com |
Post-Processing |
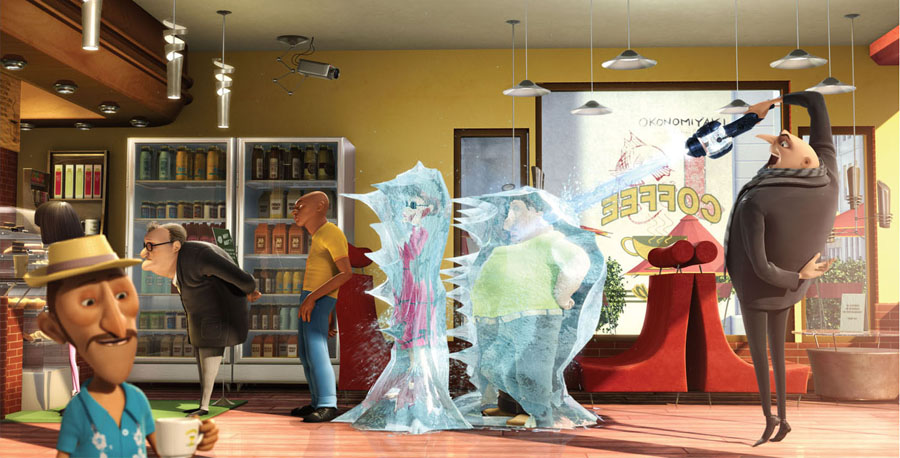
Photo Credits: https://www.uphe.com/movies/despicable-me |
Post-Processing |