Overview
In this project, we implemented an algorithm that could 'finish' the colorization of Prokudin-Gorskii's glass plate negatives. This can be accomplished by splitting the plates into 3 arrays that can represent a channel of a color space (I used RGB). They won't be aligned perfectly since the camera that took these images was a three tier contraption, but if we use one plate as a reference (blue in this case), then we can align the red and green plates to it. This can be accomplished with a scoring metric that ranks translations of the test plates with some kind of metric according to how 'similar' they are. After the best translation is found for each color channel, the plates are shifted and 'restacked' on top of each other to recreate a full color image of the original negative photograhs.
Approach
For my implementation, I started with the suggested exhaustive search over a window of [15, 15] pixels. I calculated how similar the matrices were using the raw pixel data and scored them with both L2 and NCC metrics. This produced nice images when the inputs were small, but larger images needed the pyramid. I used MATLAB's imresize function to make cell arrays out of 'mipmaps' of each glass plate, until the smallest mipmap had a dimension less than 200. Because the plates were so large, I used a rectangle of interest with dimensions of the smallest mipmap level. Each displacement at a higher level was multiplied by 2 before moving to a lower level. Each level had a searchable window that corresponded to 2 ^ (levels - current + 1). My pyramids were never more than 6 or 7 in level, so in spite of the lowest level having the largest window, my ROI was small enough such that it didn't impact performance and I was able to get consistent results across all test images.
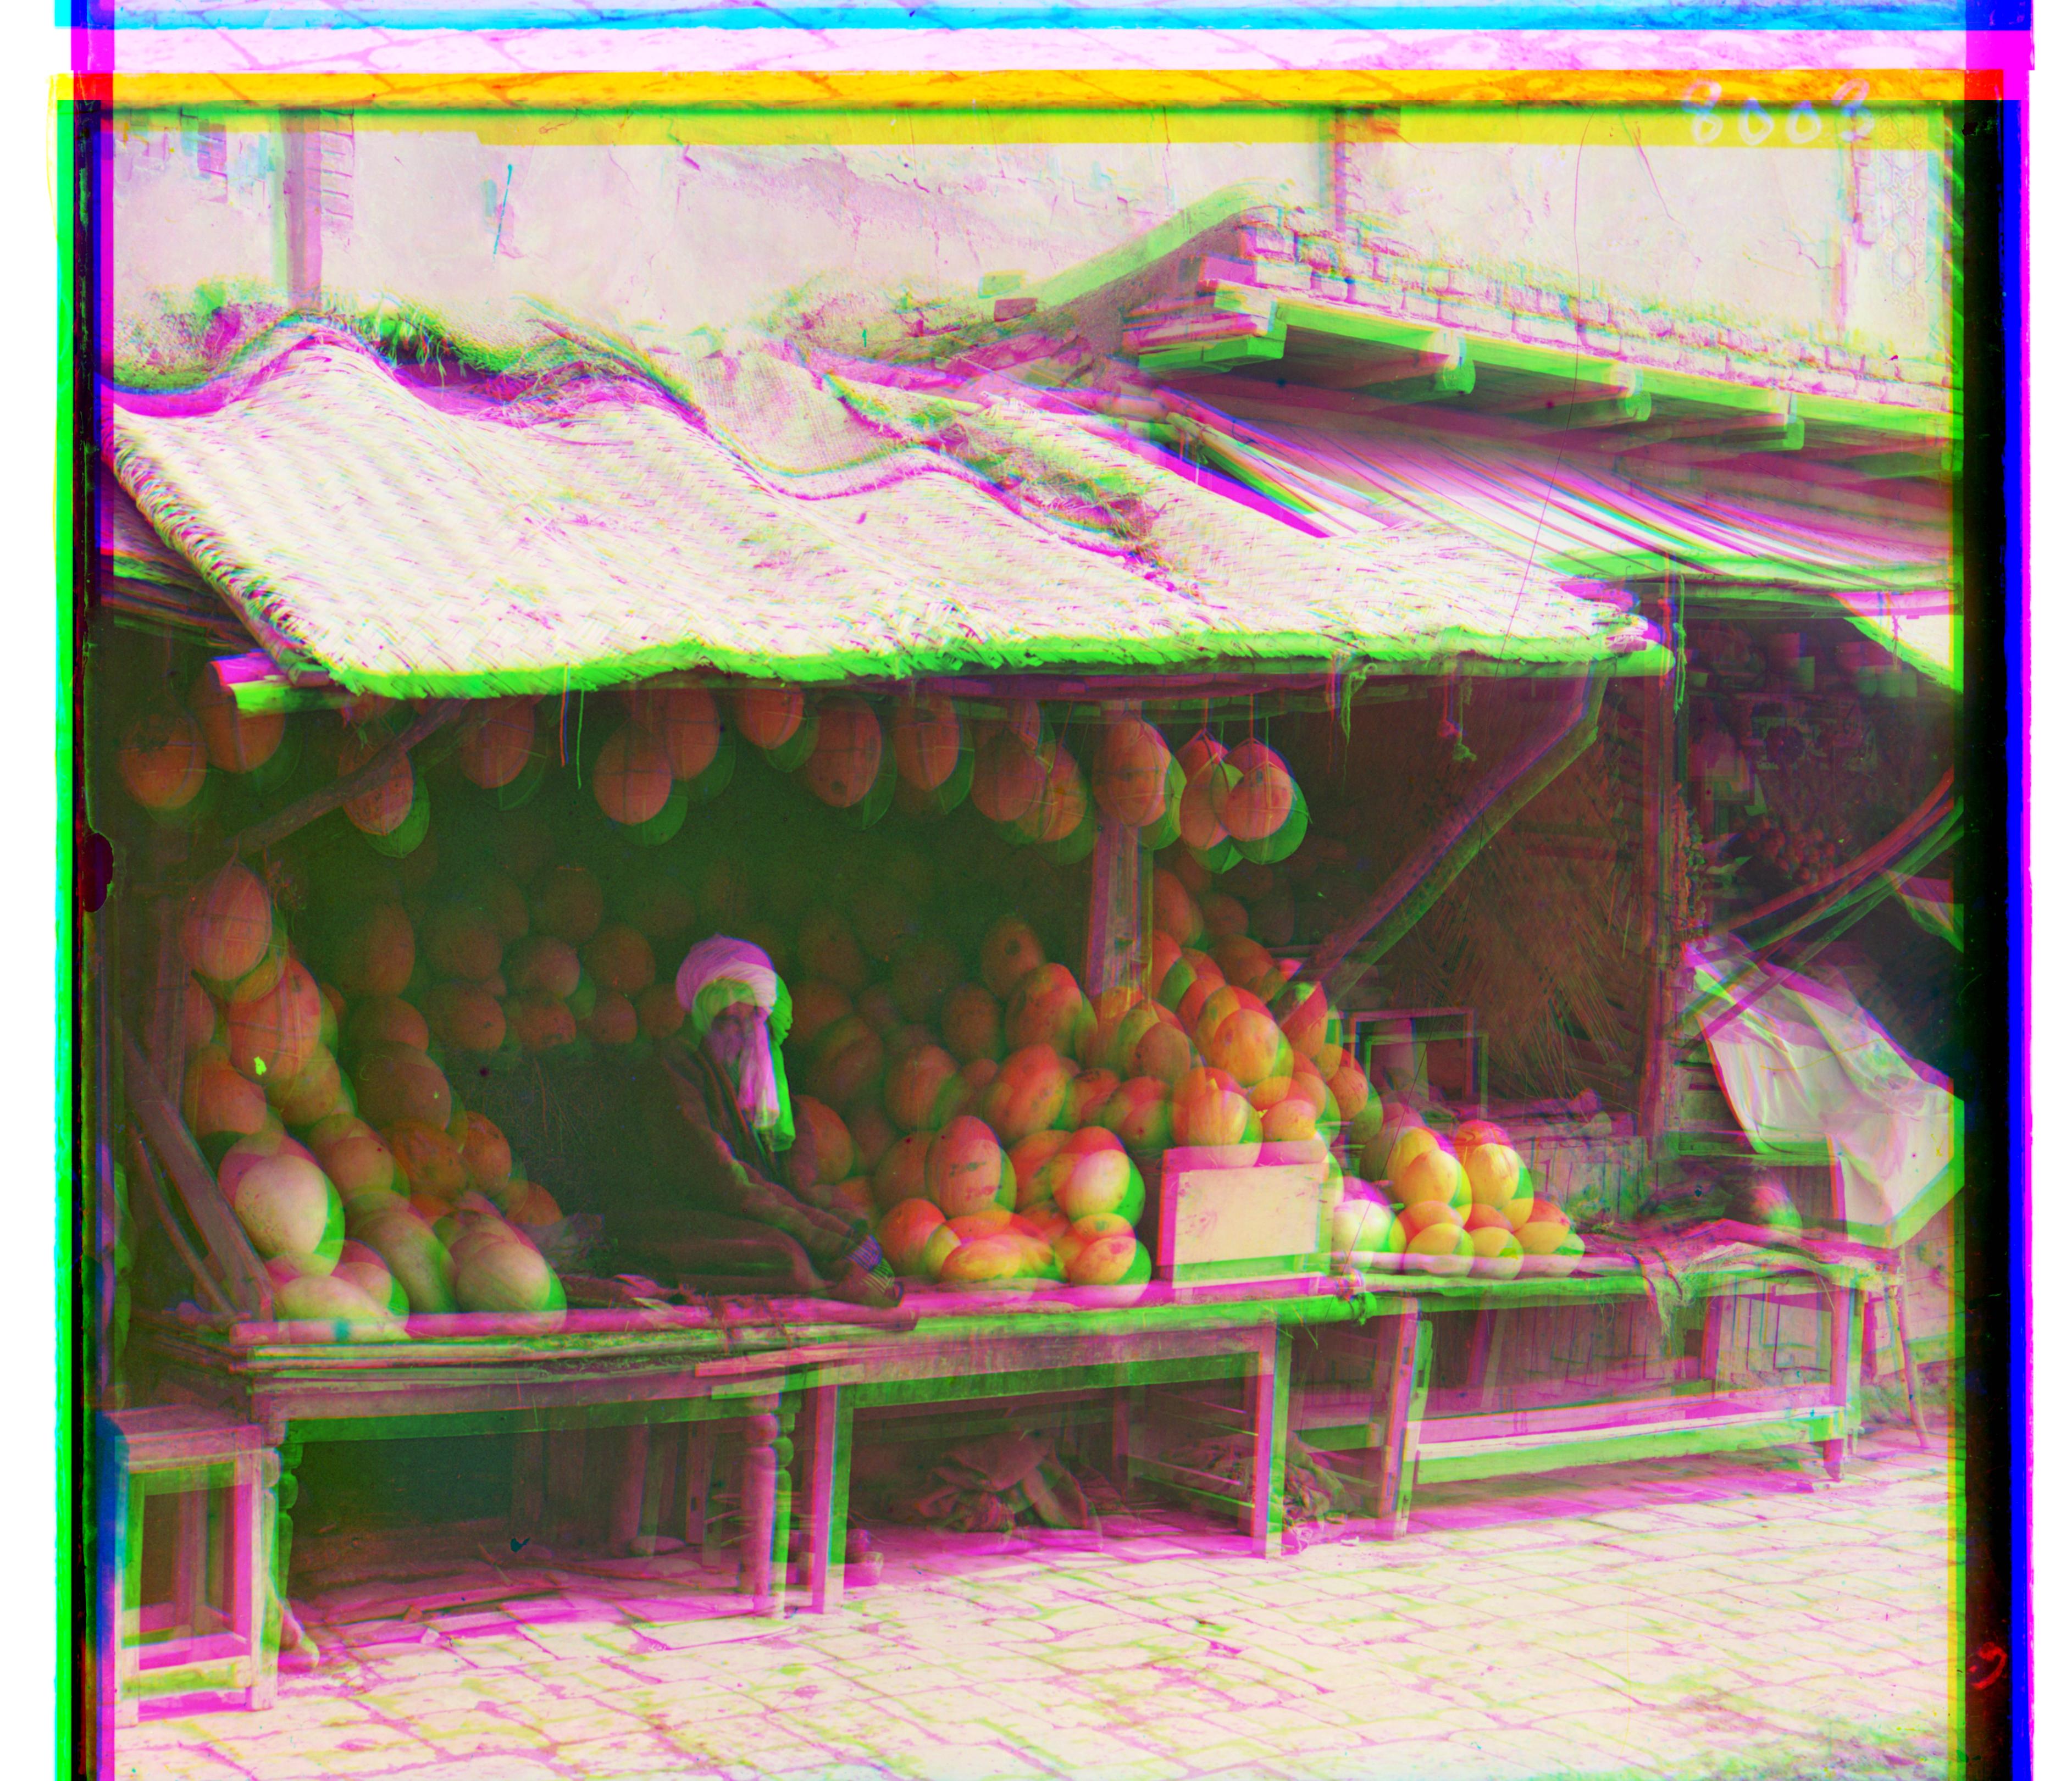
One major error I made that I struggled with for a while was that I was actually indexing into my mipmap array 'upside down' when I thought I was doing it from coarse to fine. I didn't catch it until close to the due date when I was changing things just to see what would happen since I had combed over my scoring metric, mipmap creation method, and everything else. This is a side by side with the upside down pyramid image:
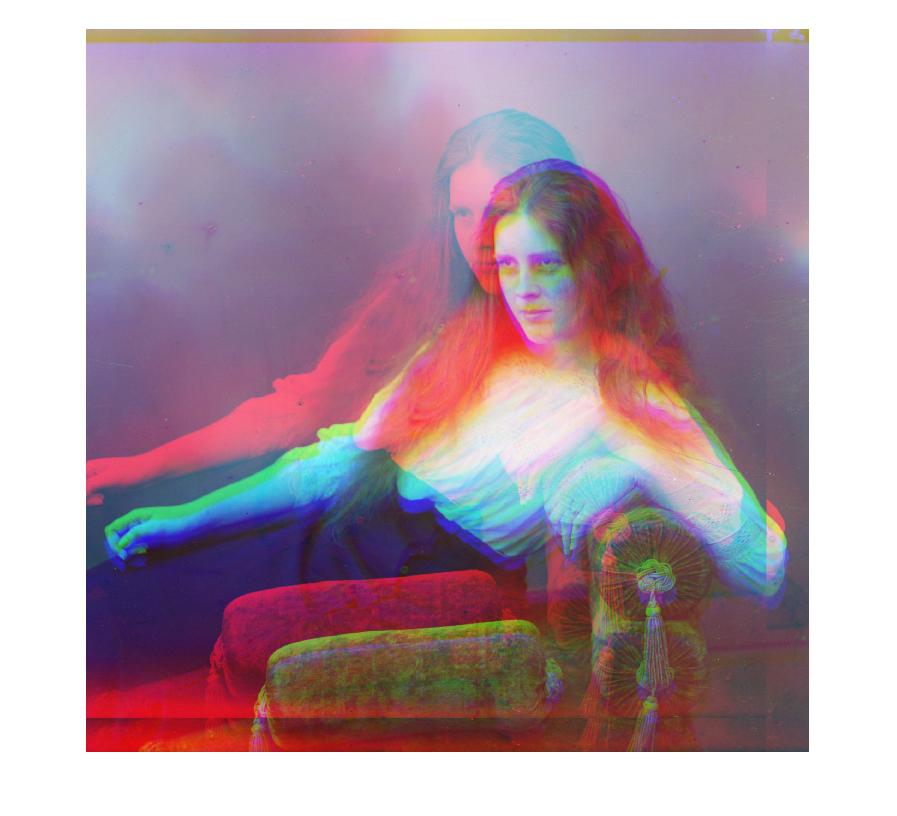
|
|
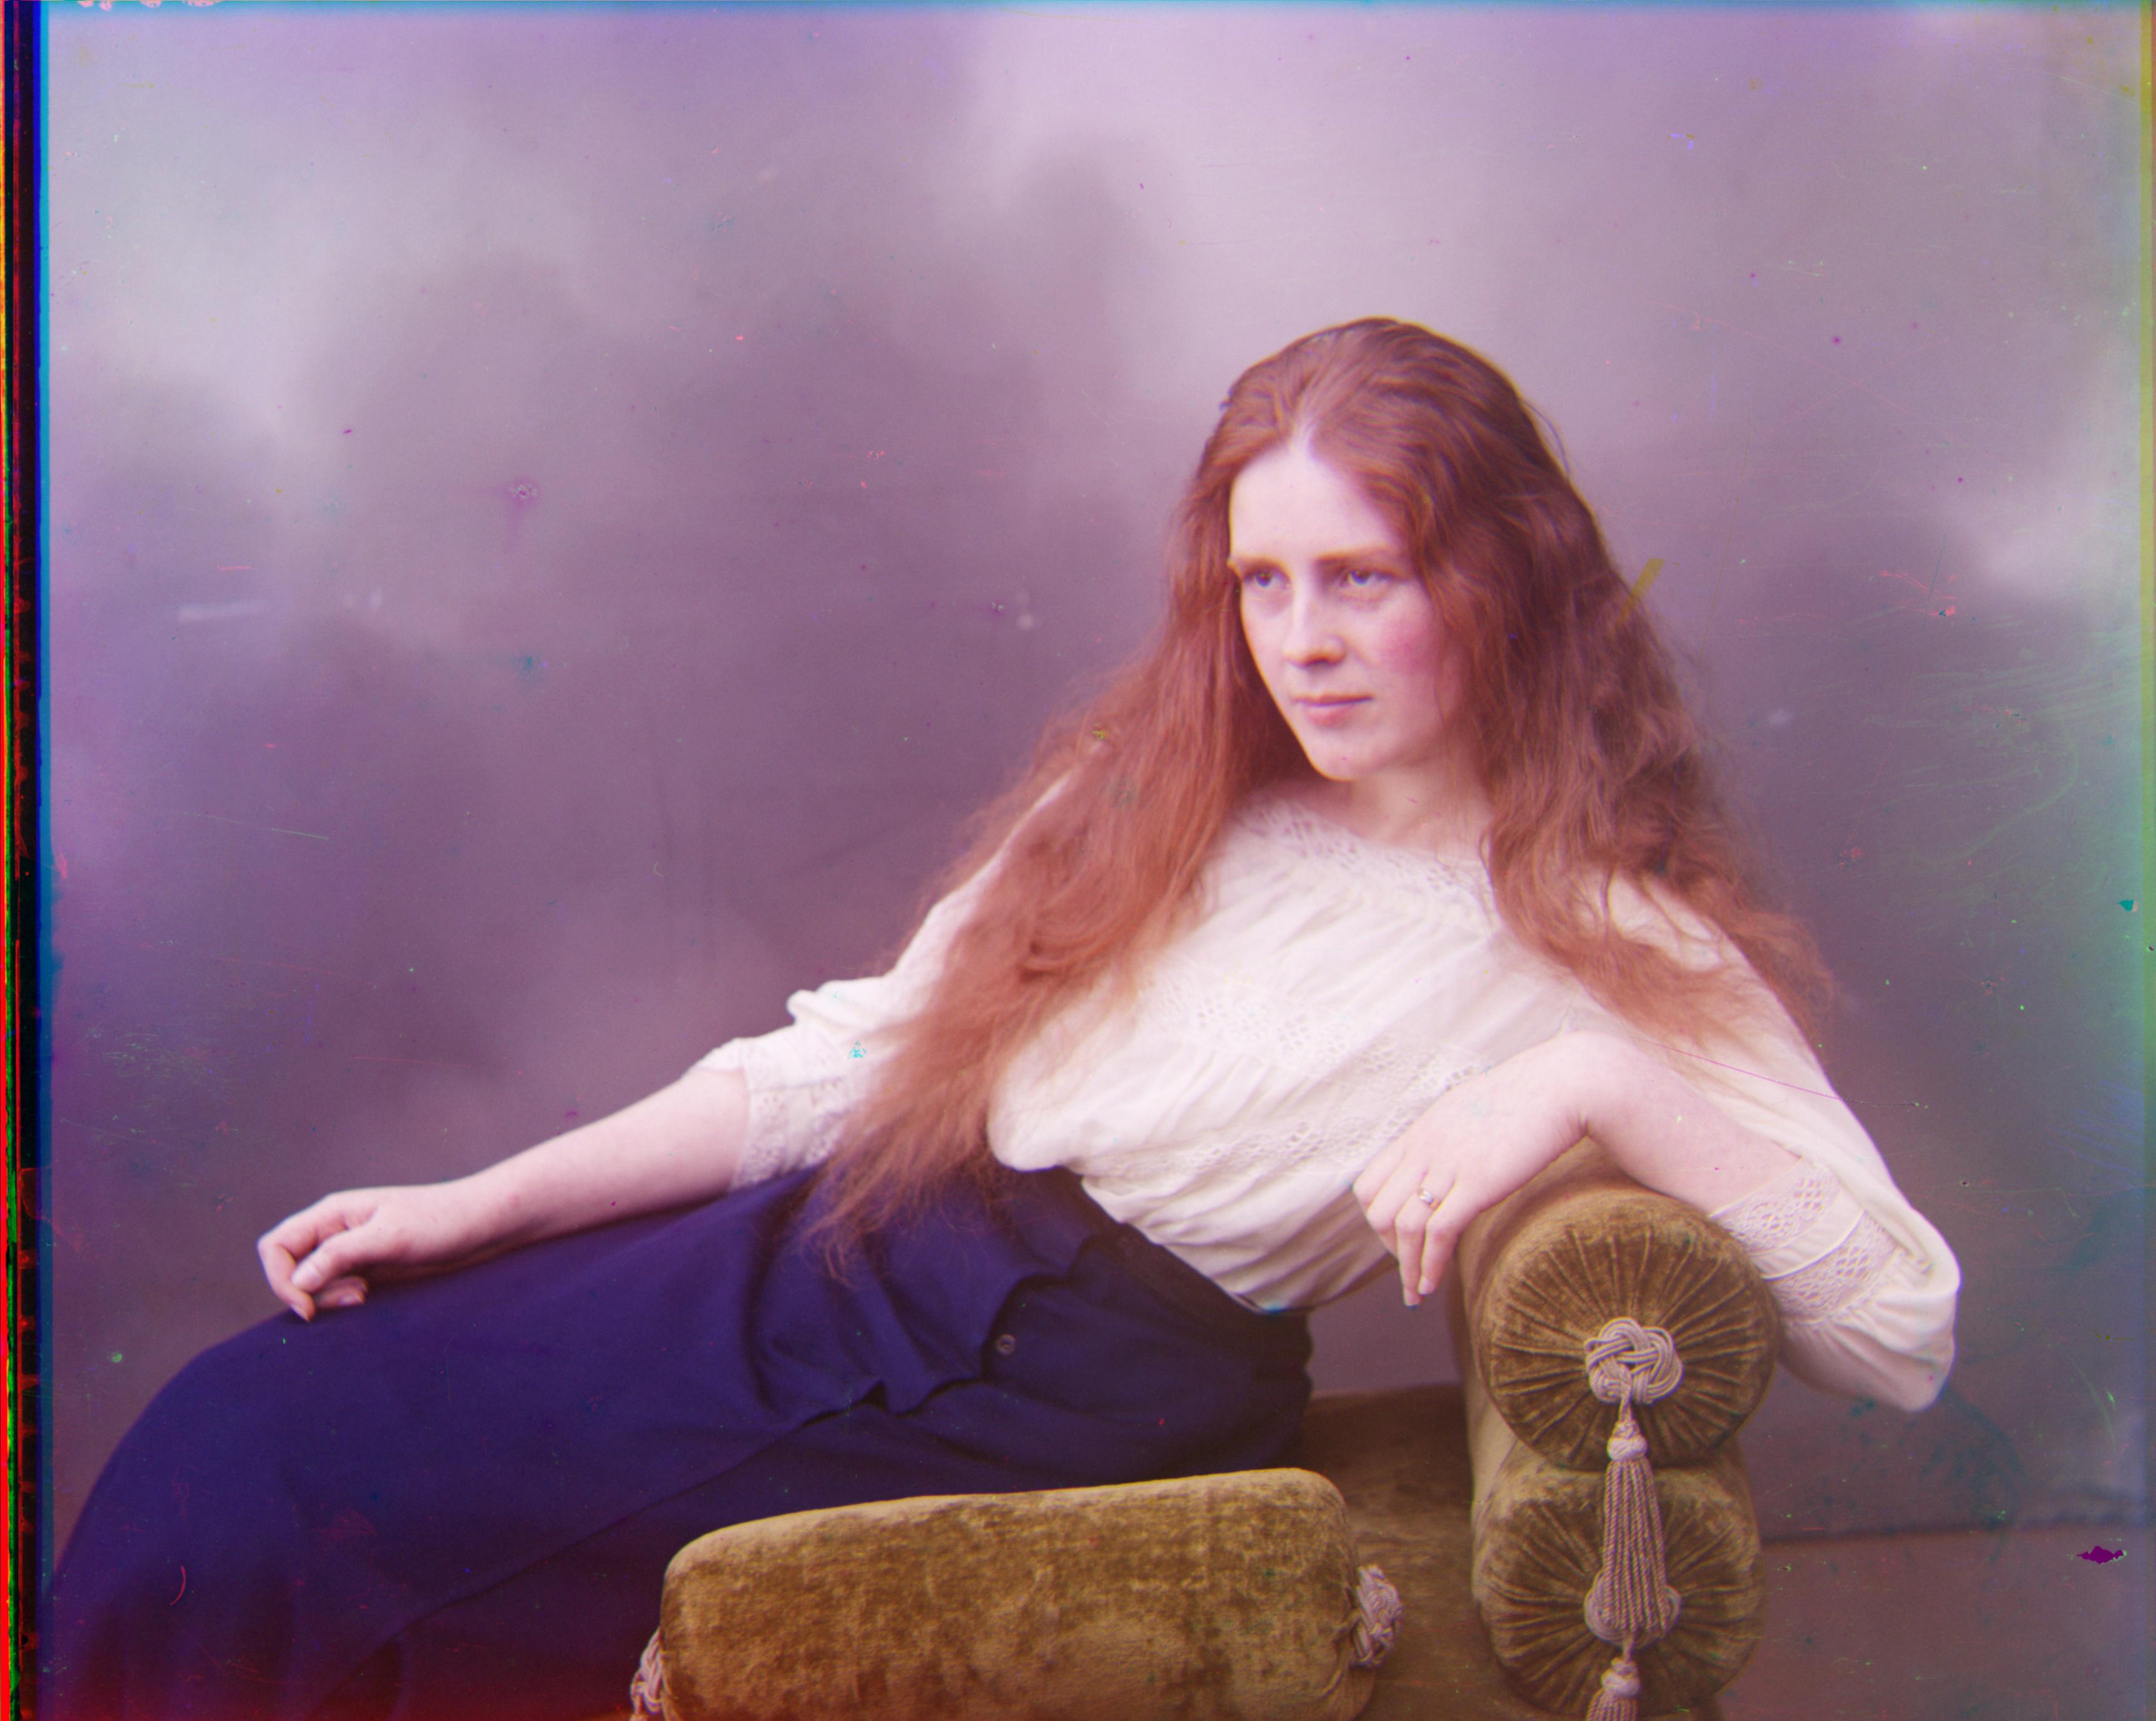
Now, for the good images:
Example images
The smaller files
Red: [12, 3] Green: [5, 2] |
Red: [3, 2] Green: [-3, 2] |
Red displacement: [6, 3] Green displacement: [3, 3] |
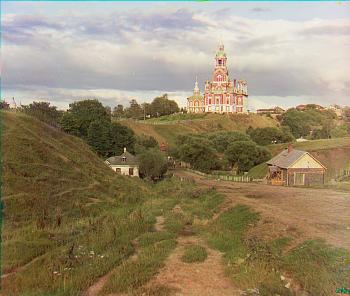
The larger files
The elapsed time for assembling these images hovered between 5.5 and 6.5 seconds.
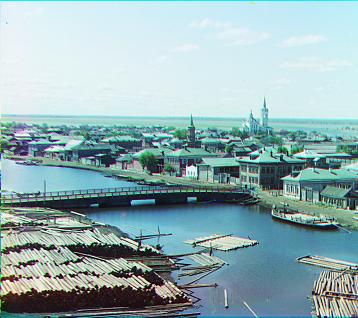
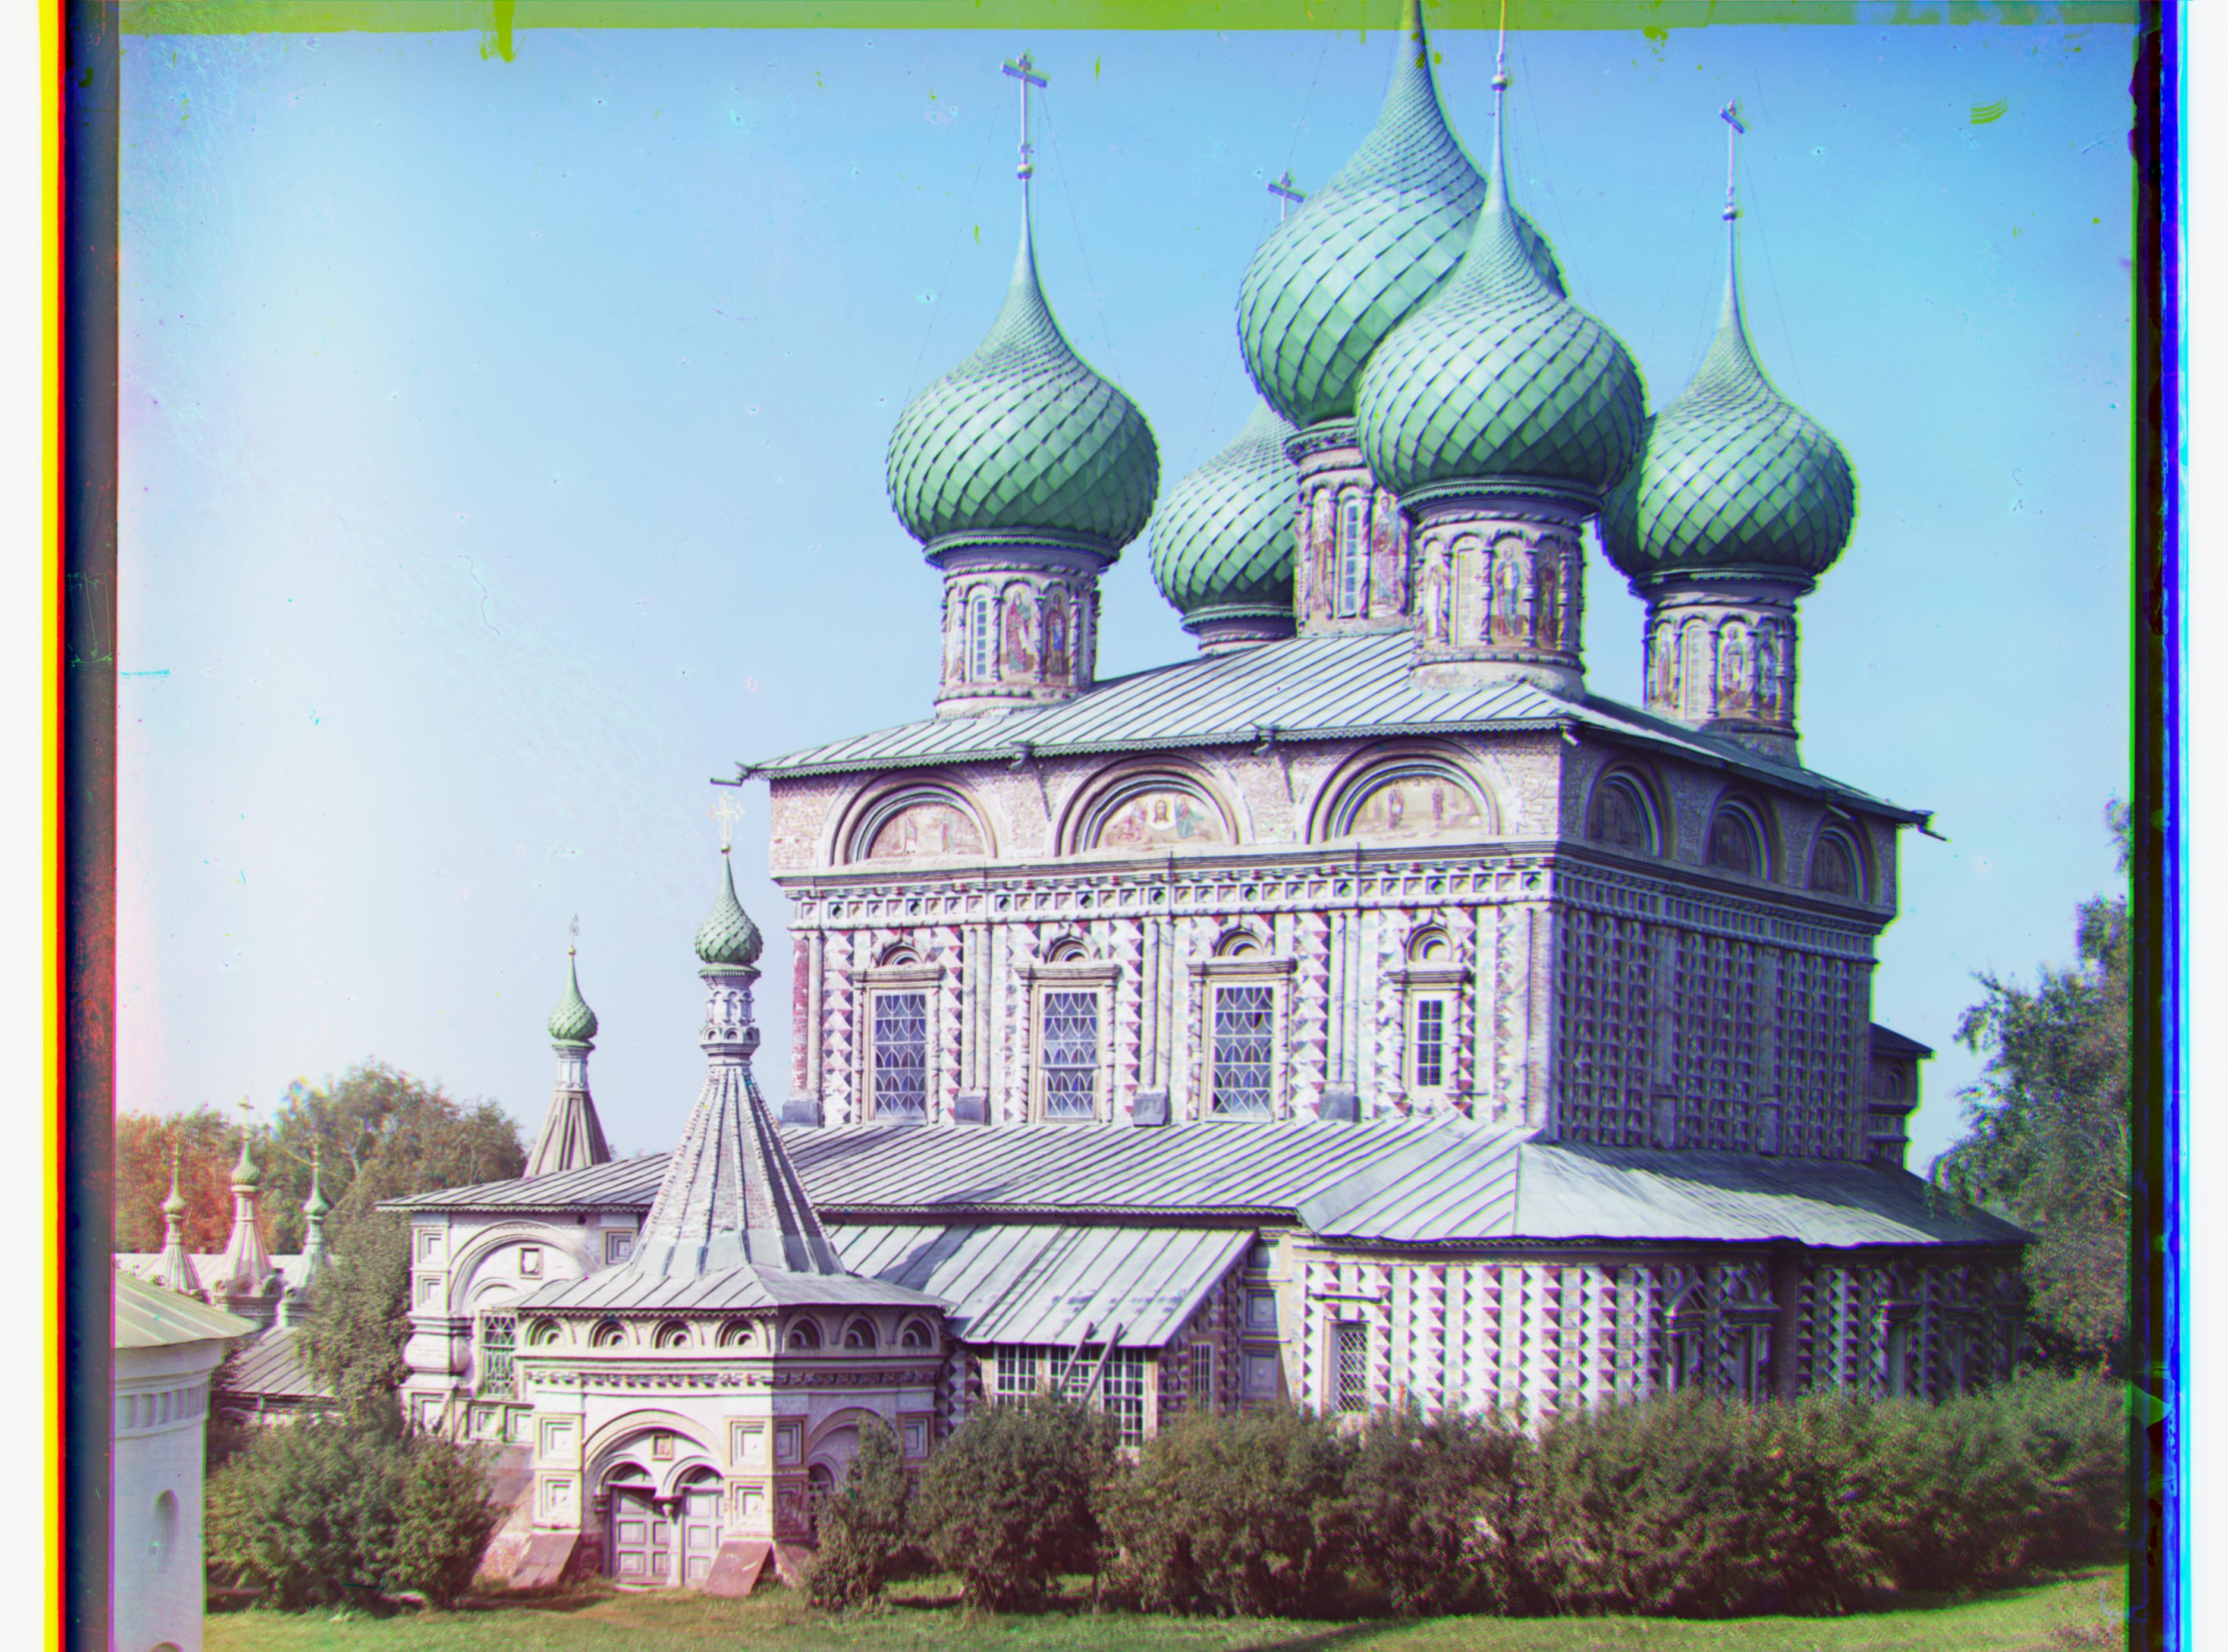
Red: [97, 5] Green: [32, 2] |

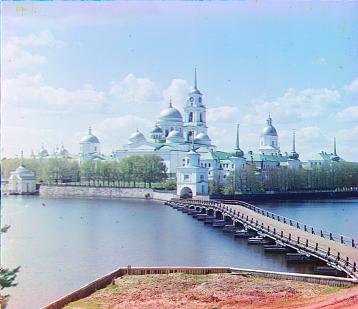
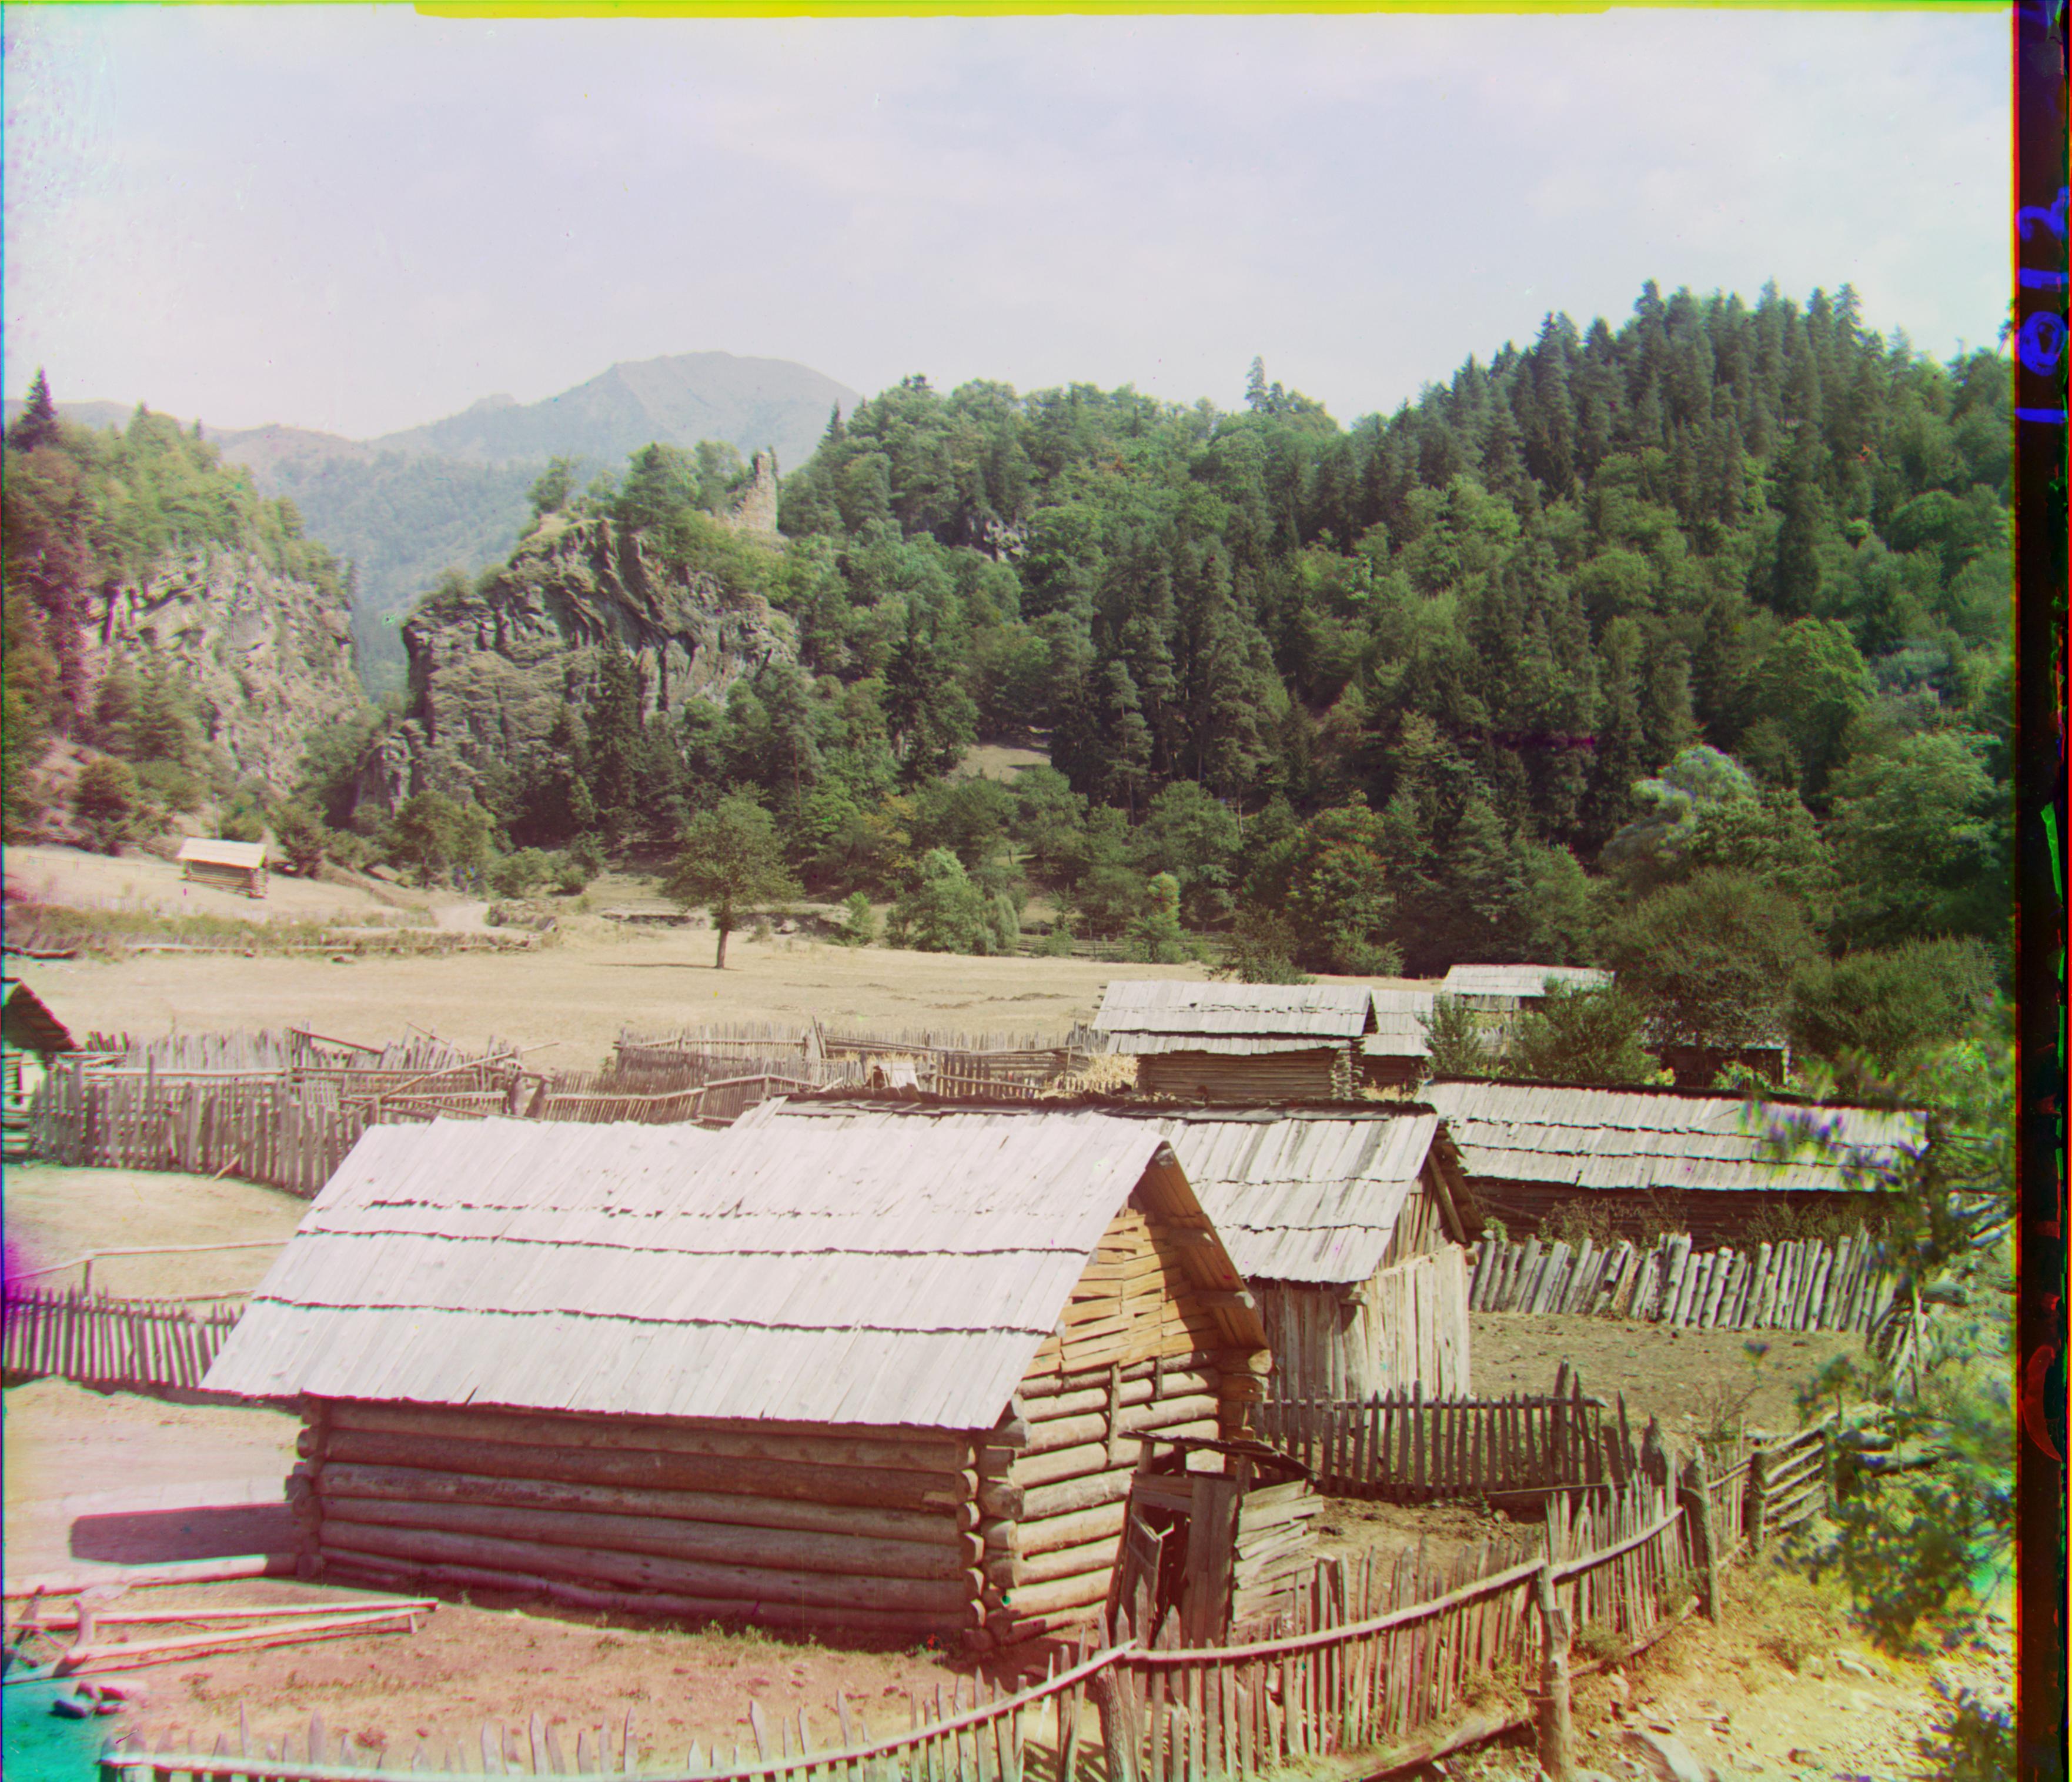
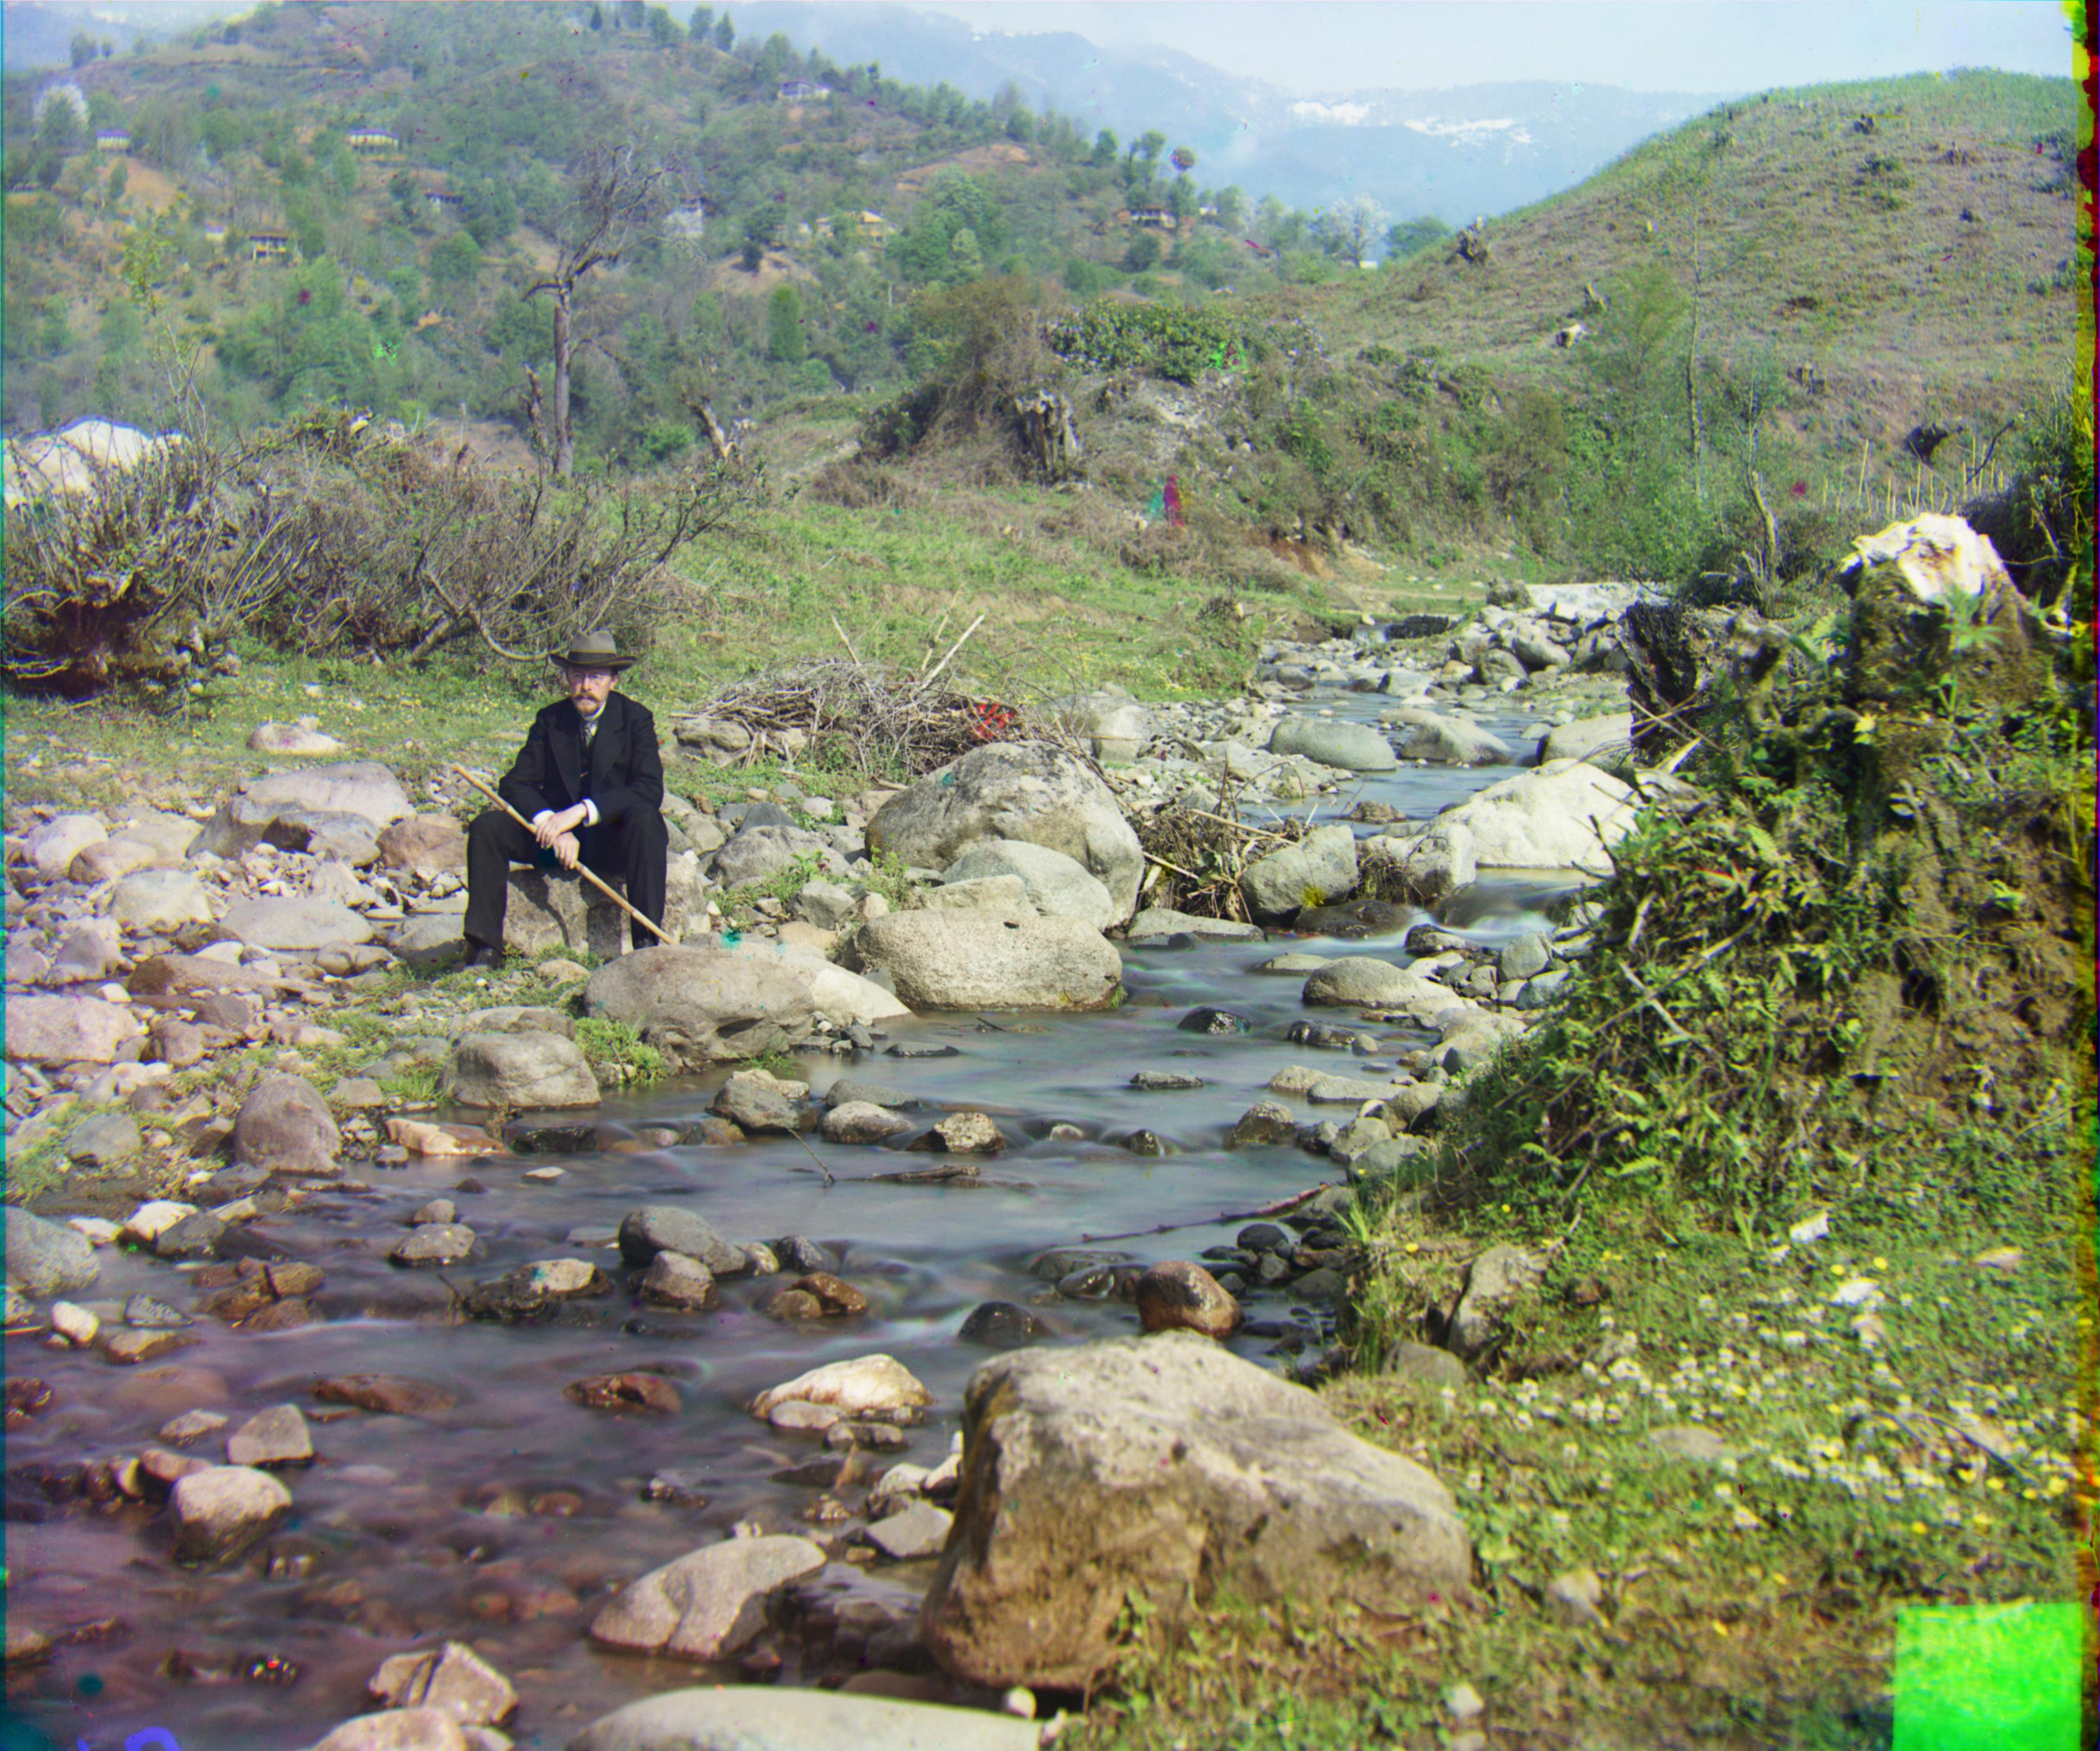
Red: [106, 41] Green: [48, 23] |
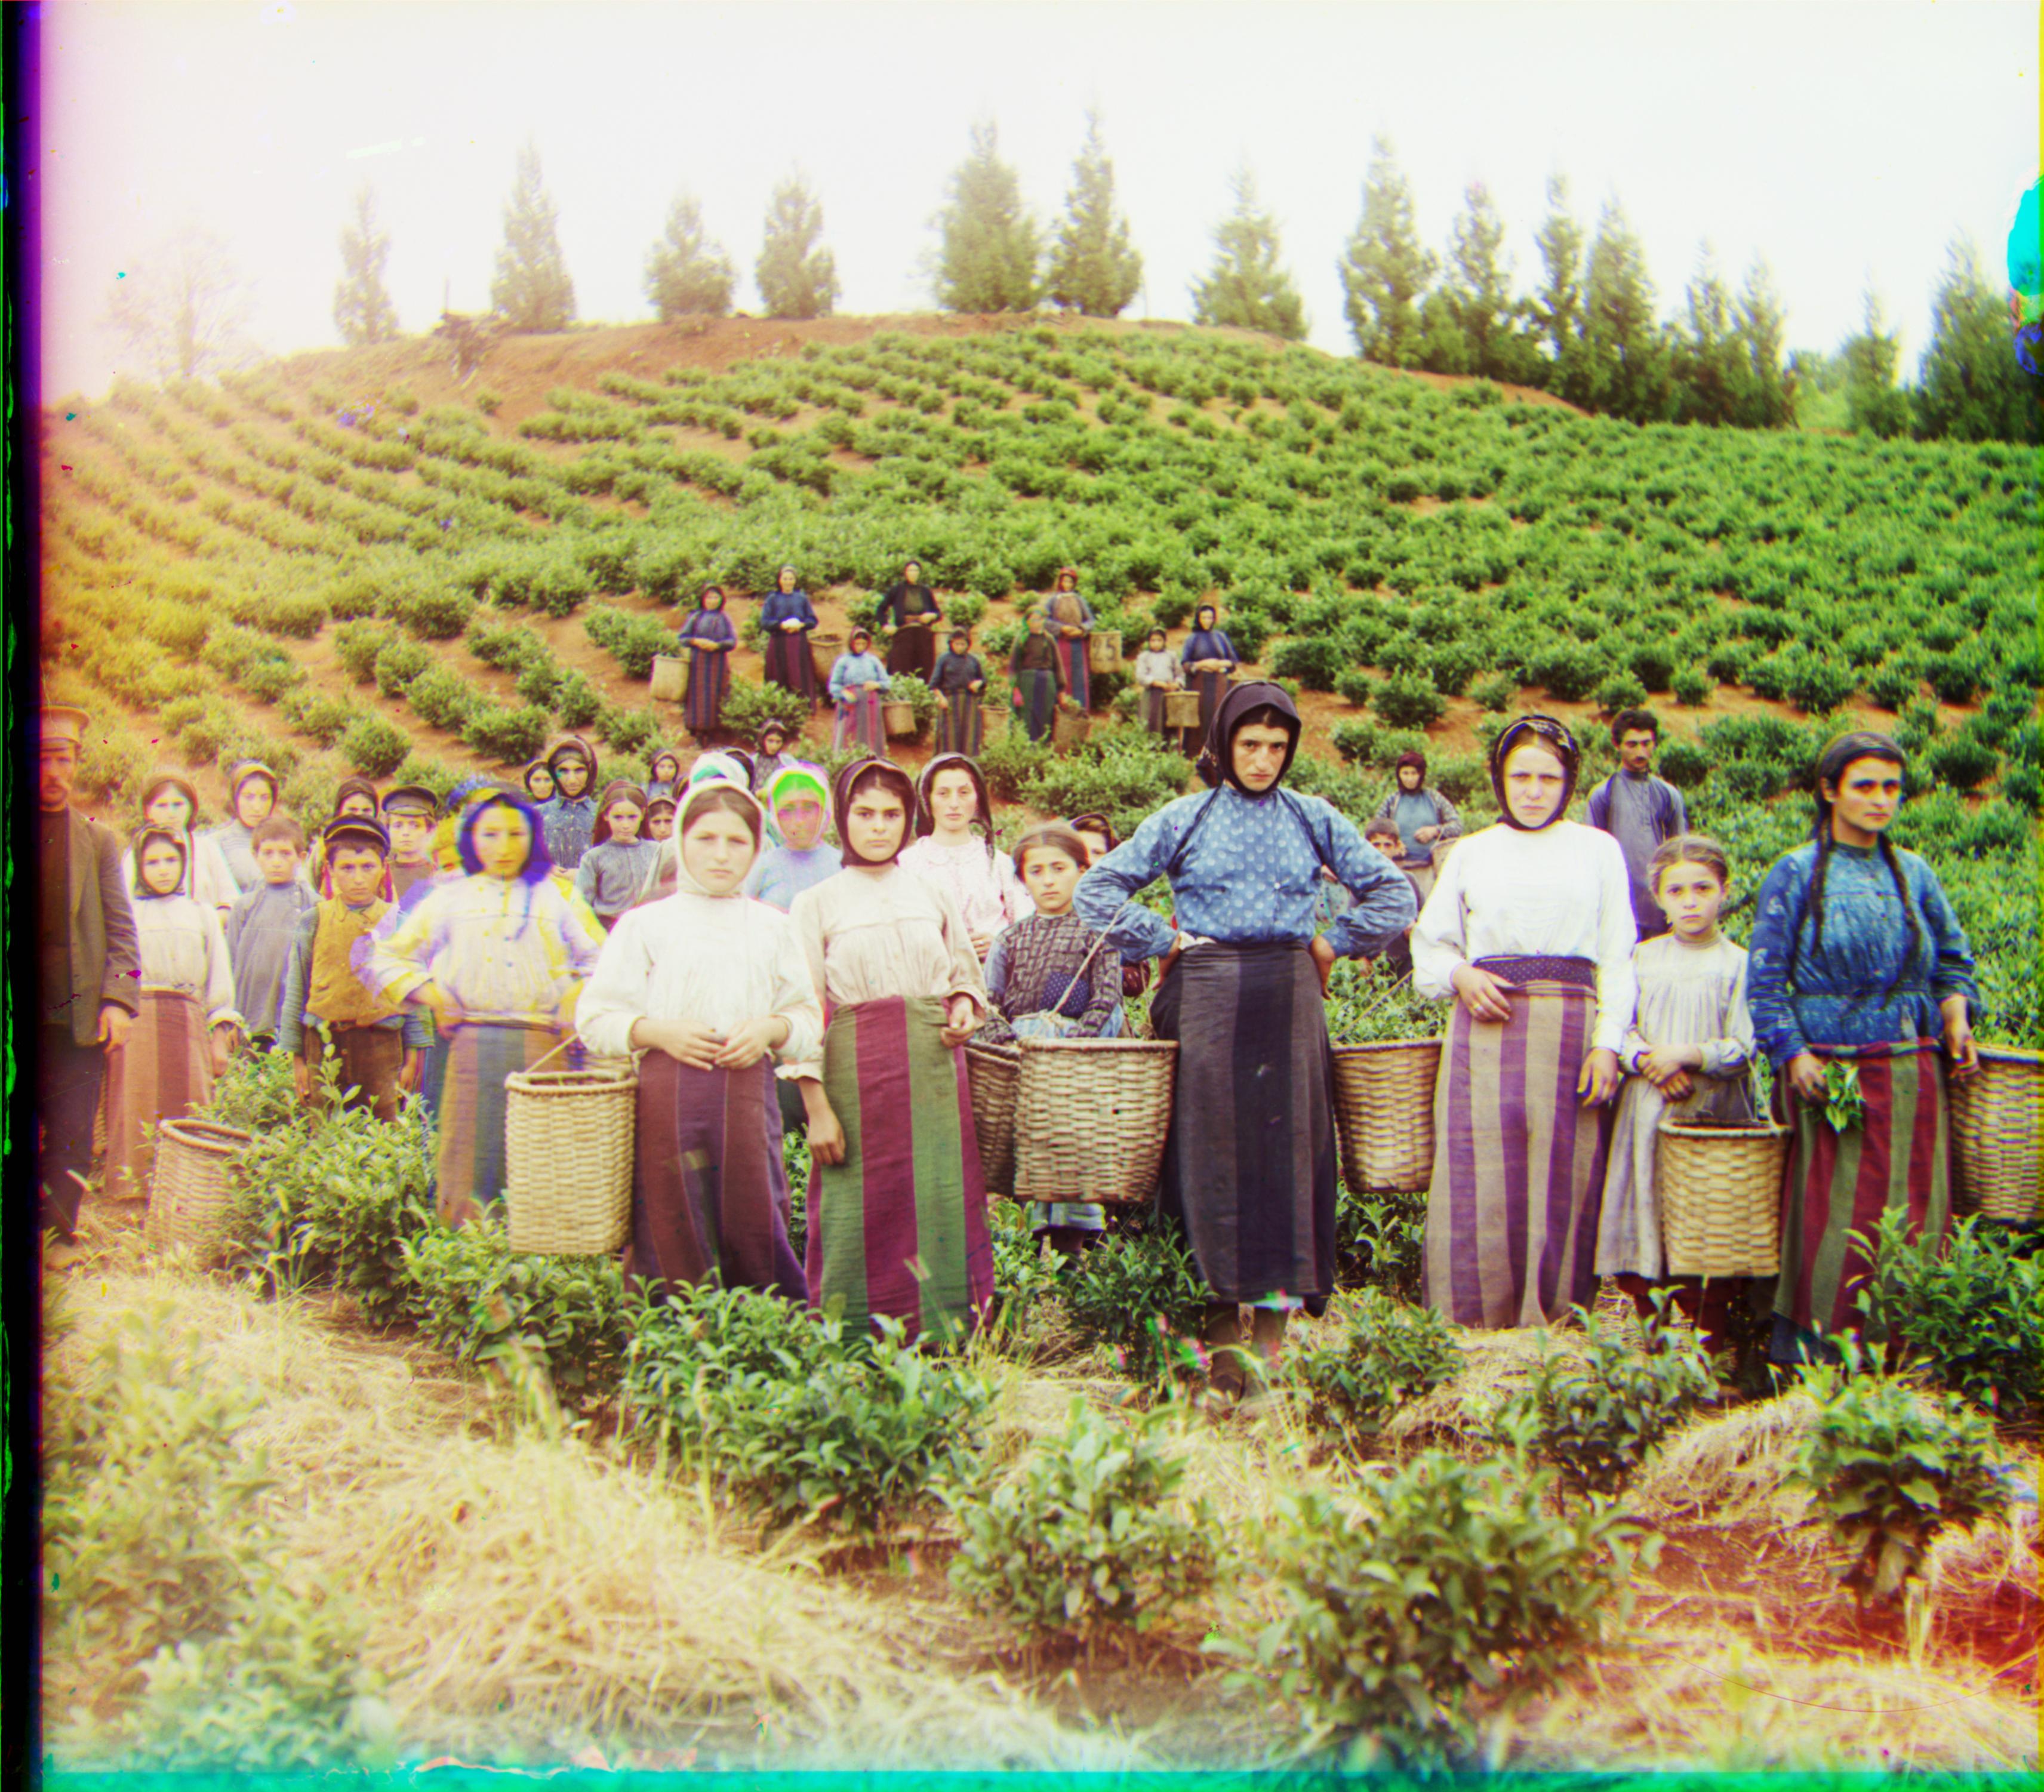
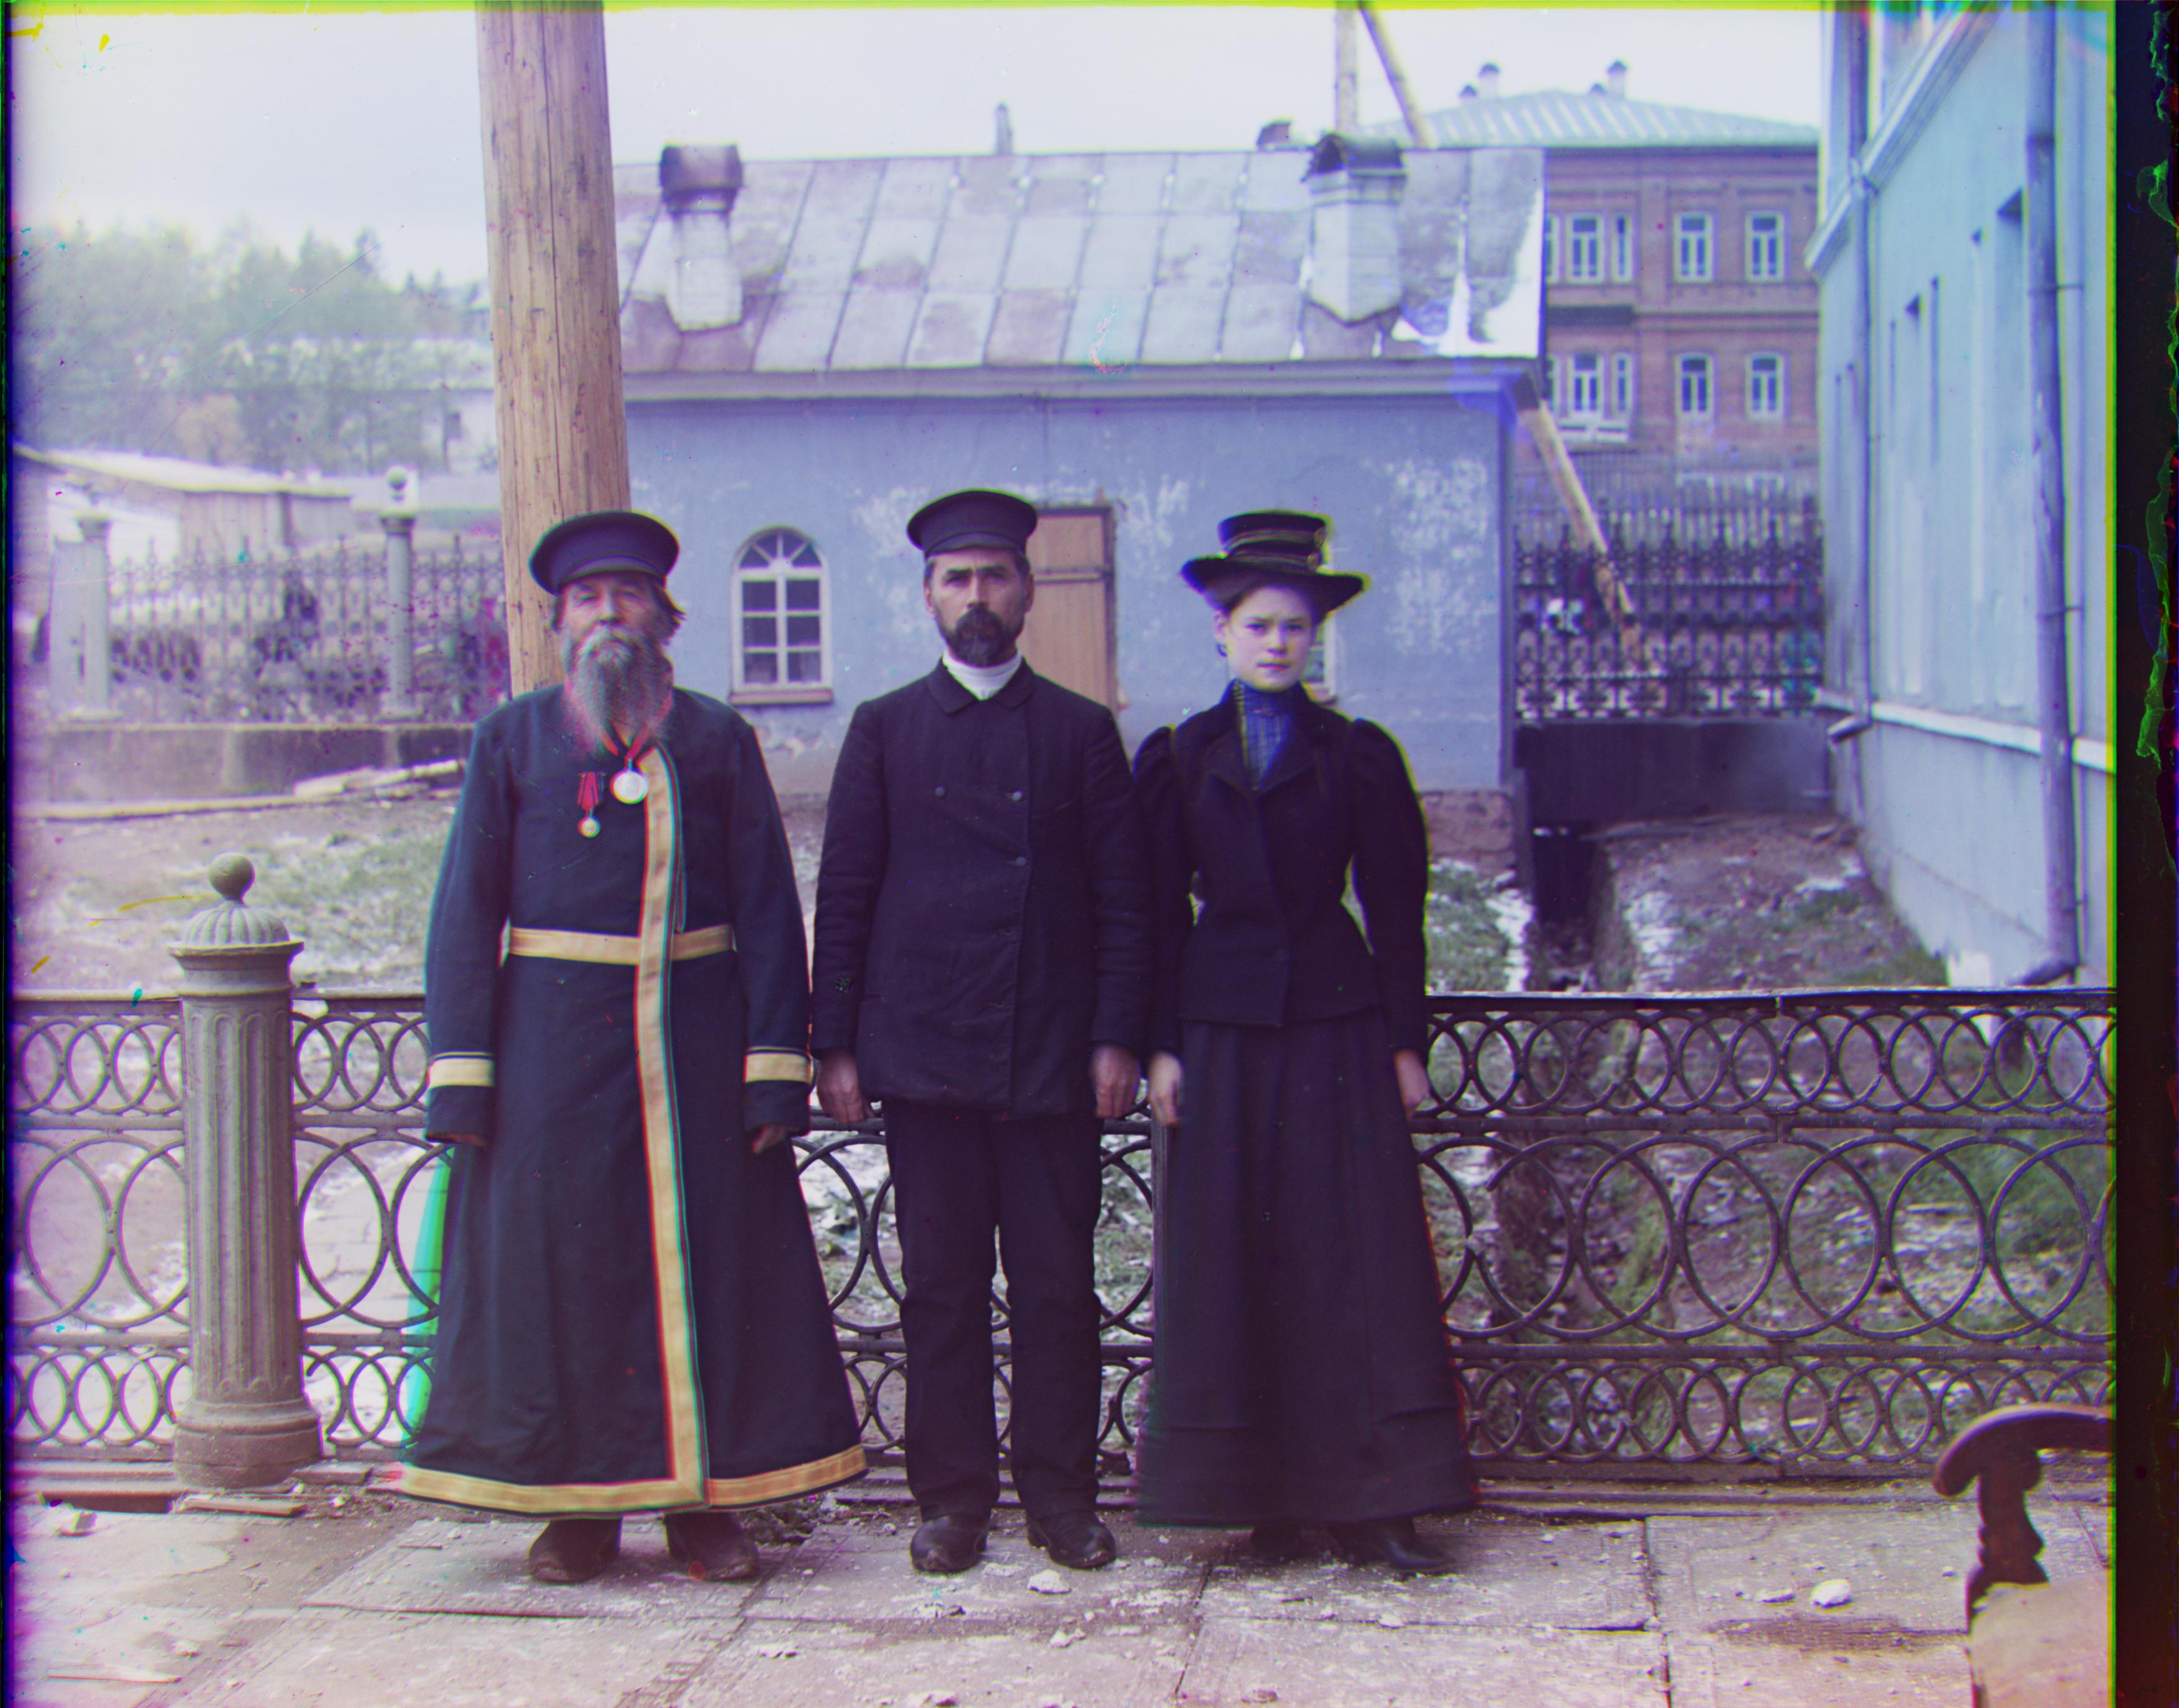
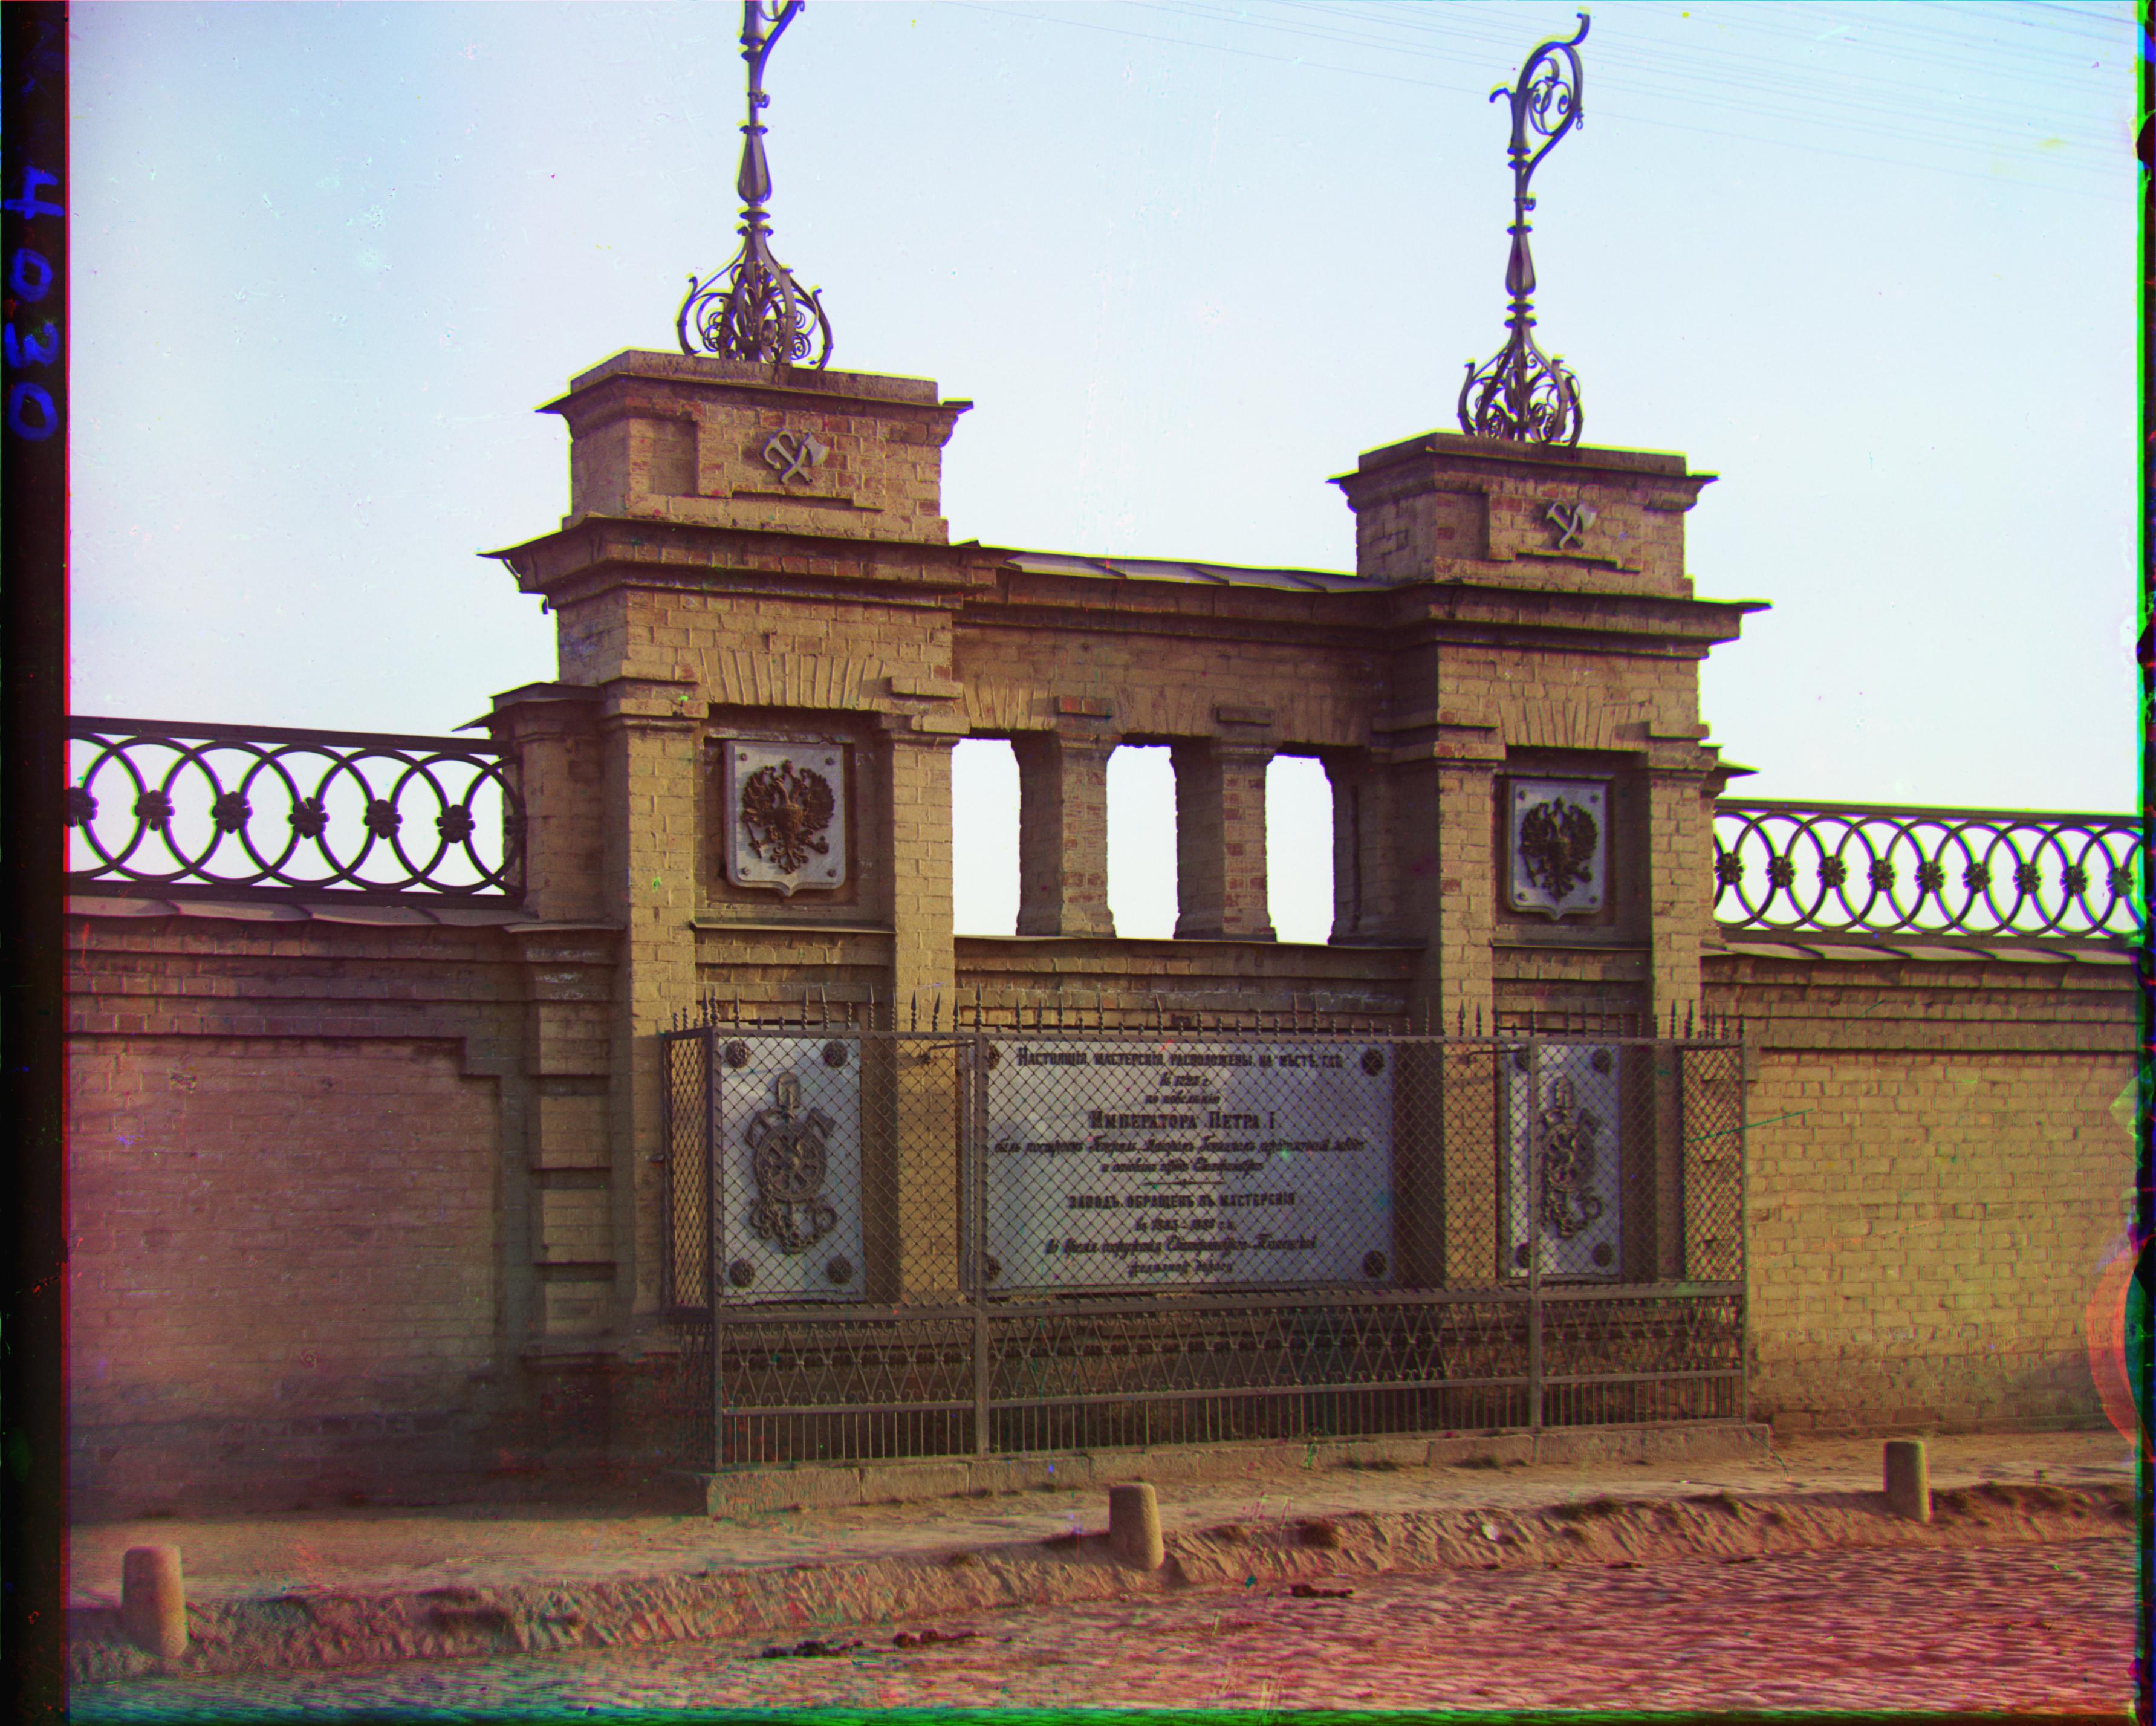
Red: [124, 15] Green: [59, 18] |
|
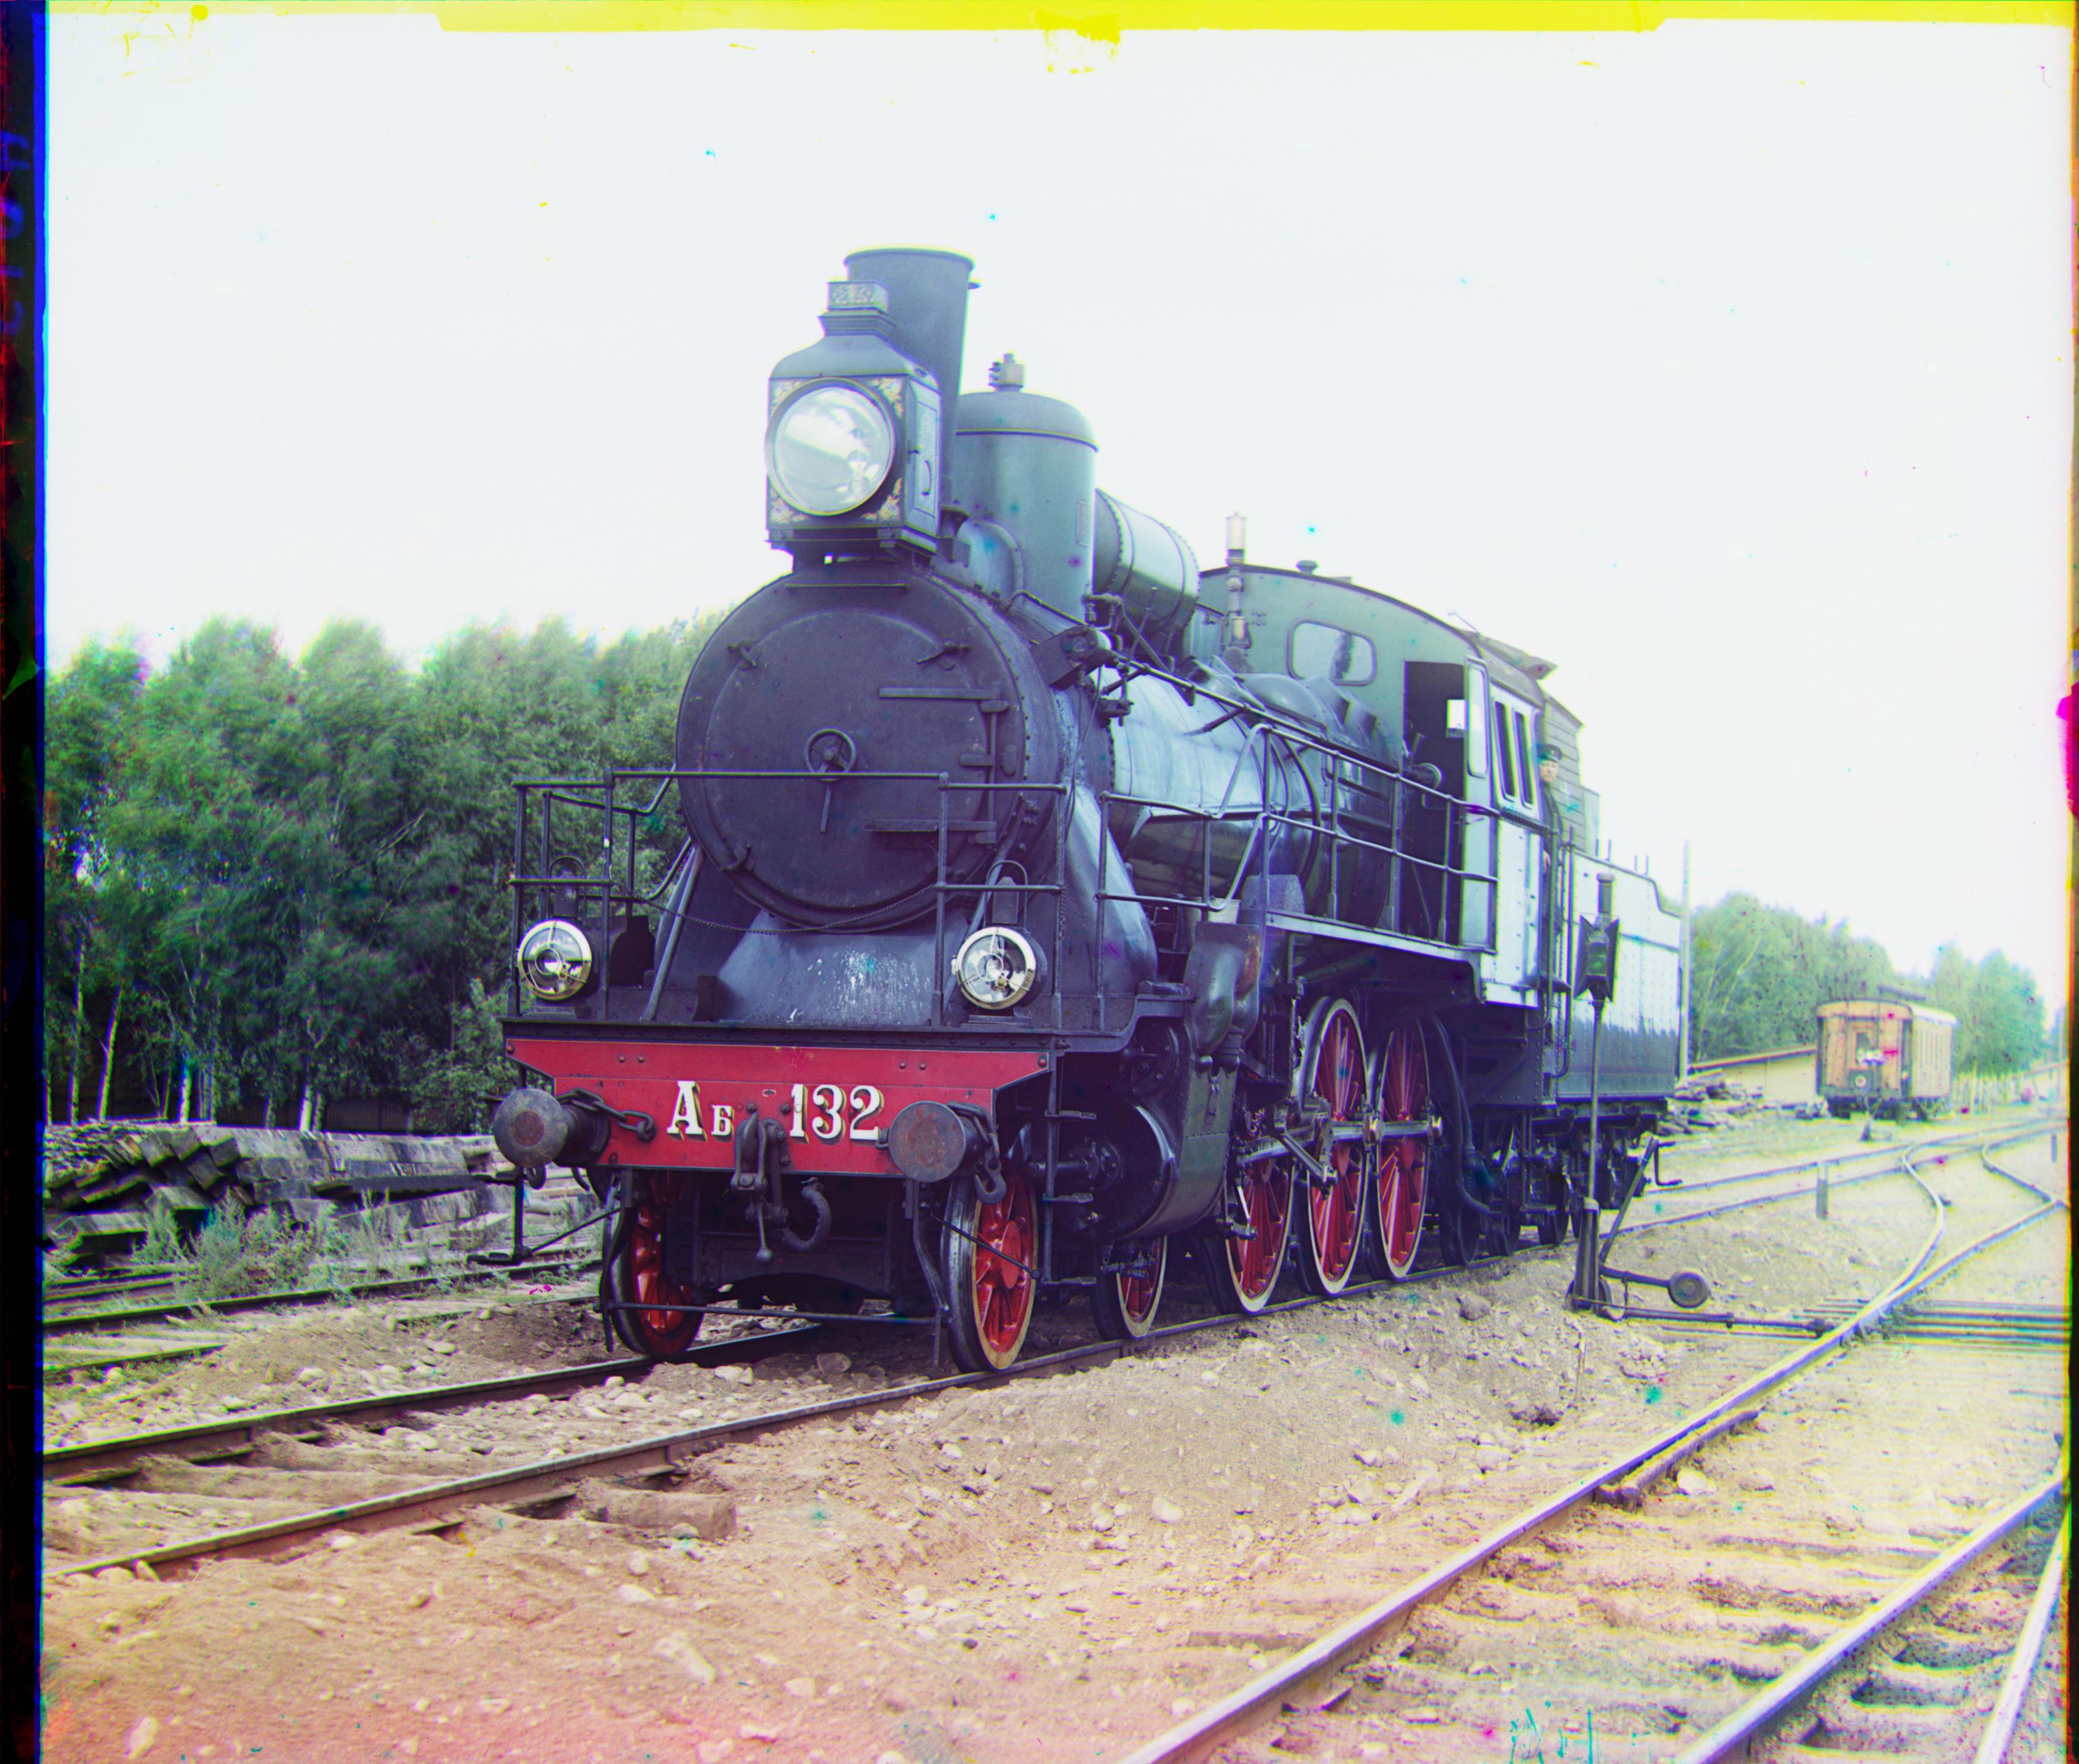
Red: [90, 22] Green: [41, 18] |
|
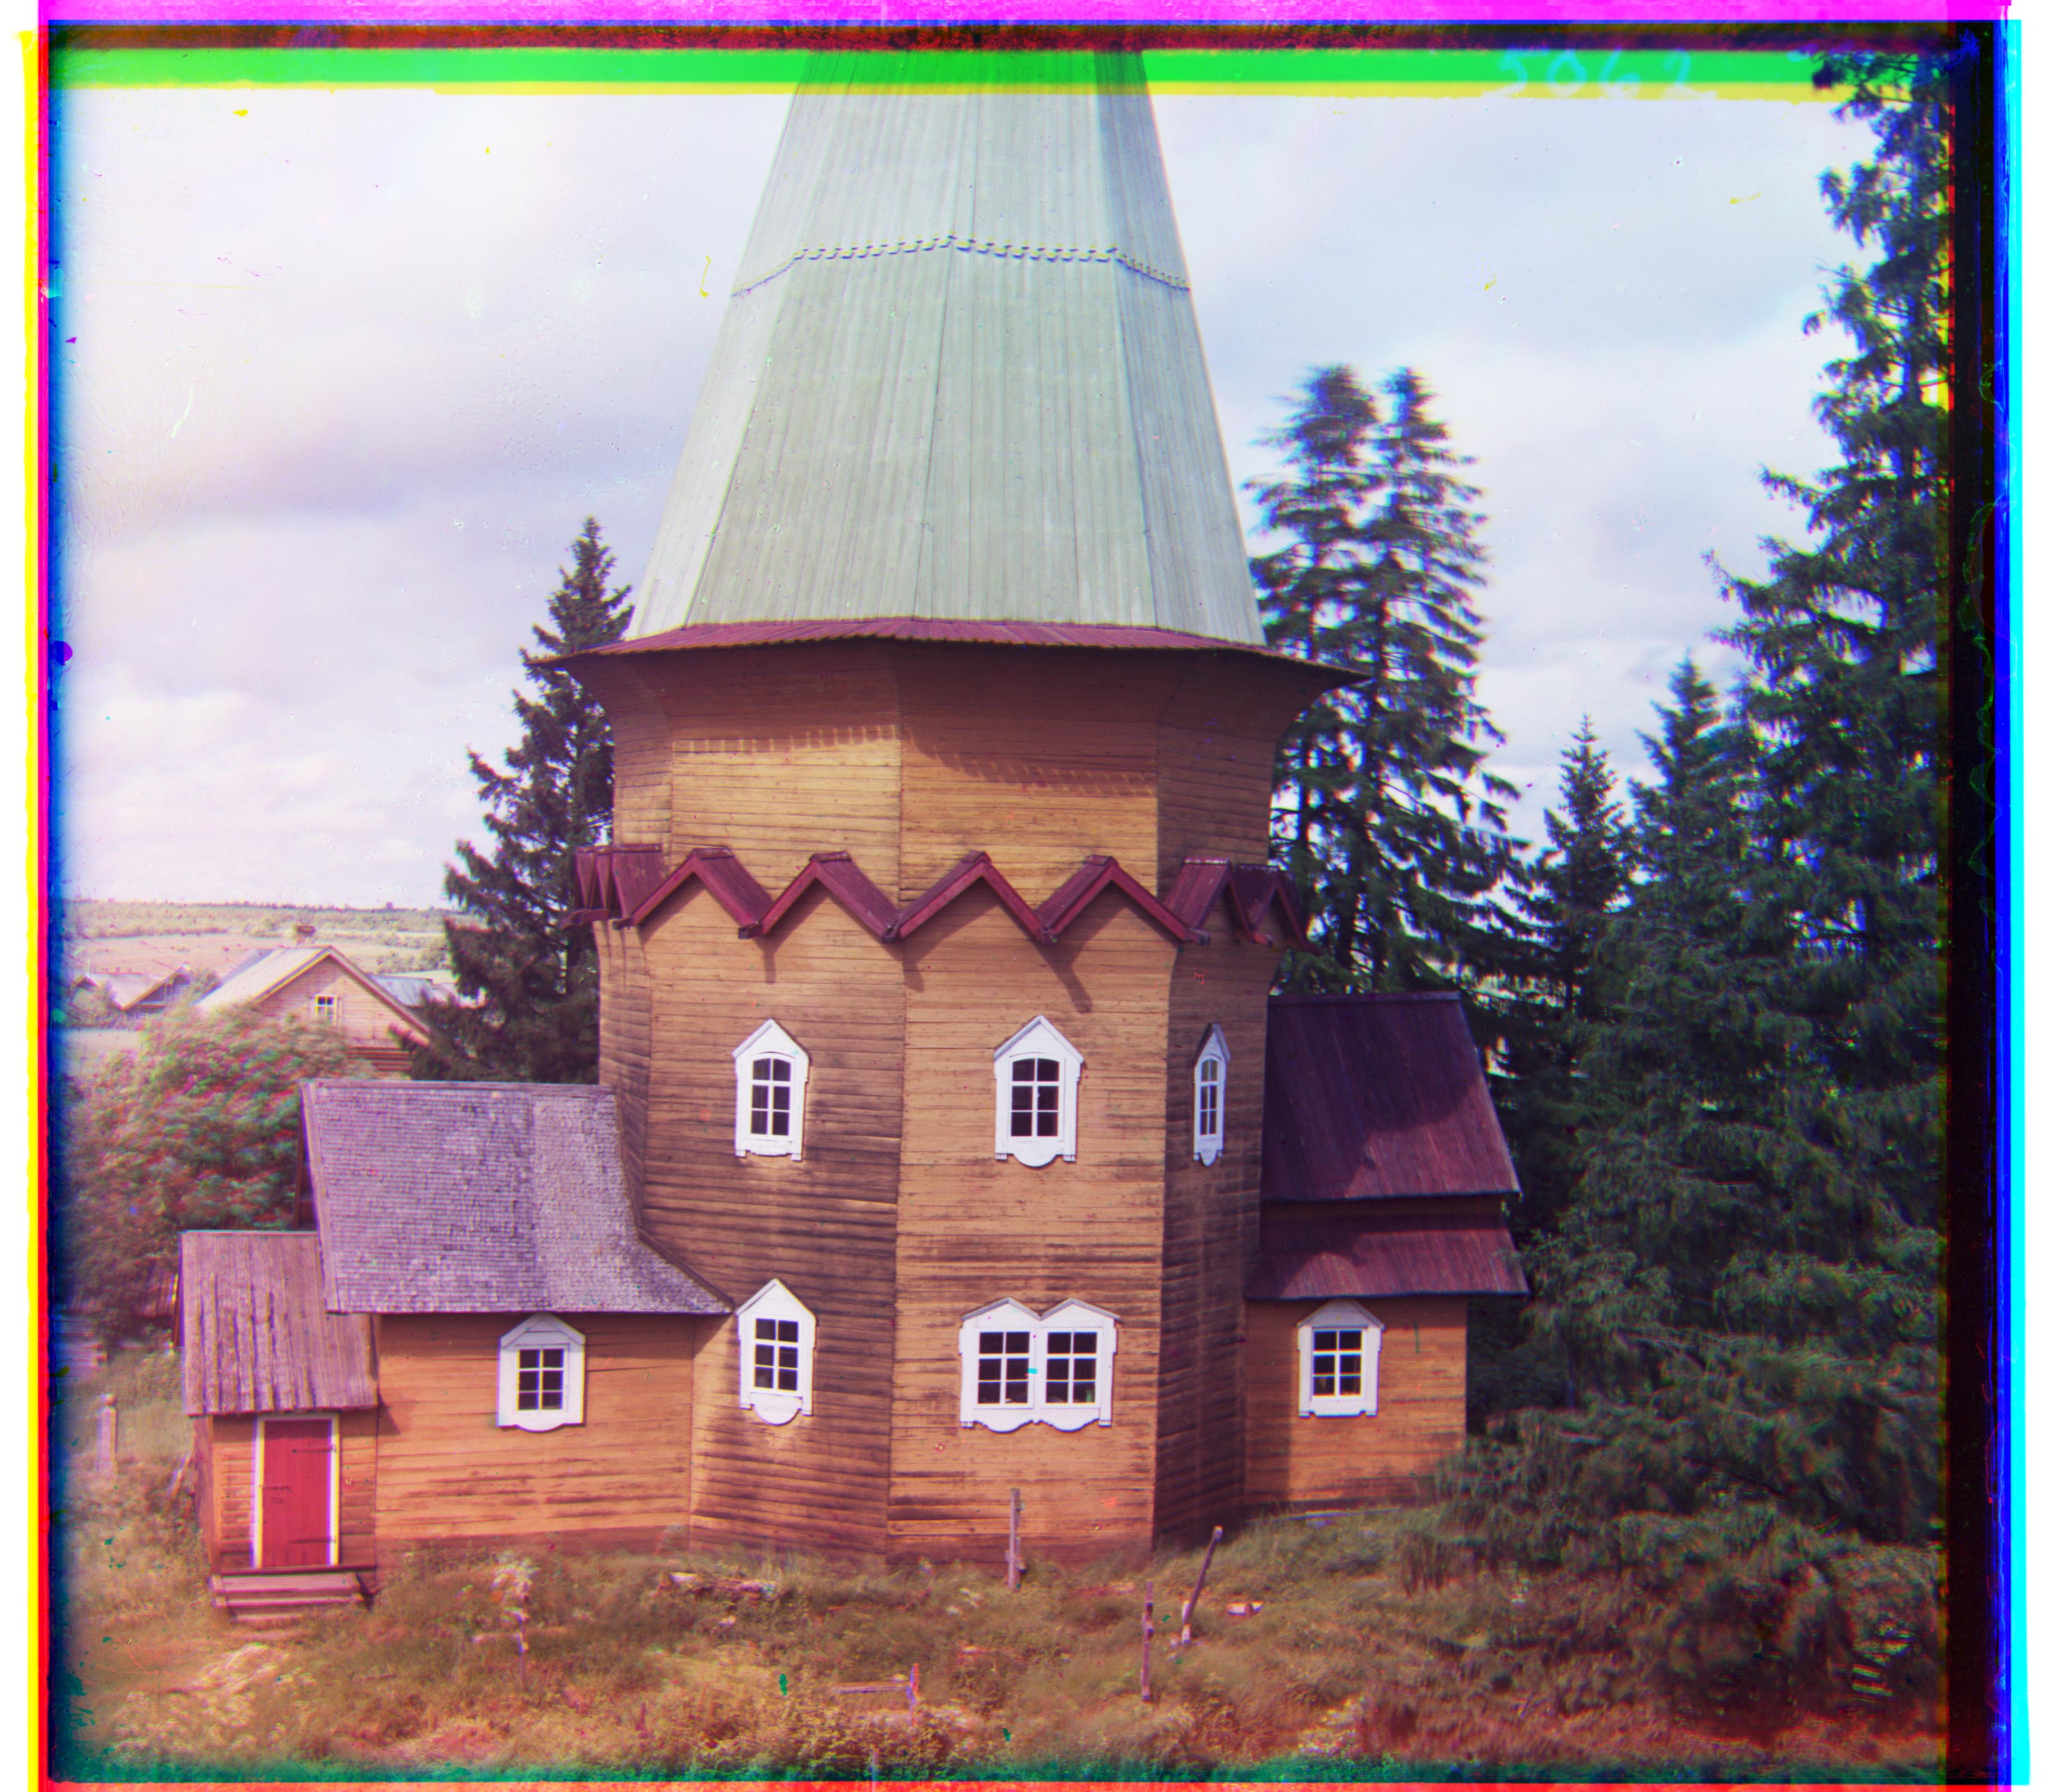
Red: [104, 11] Green: [49, 6] |
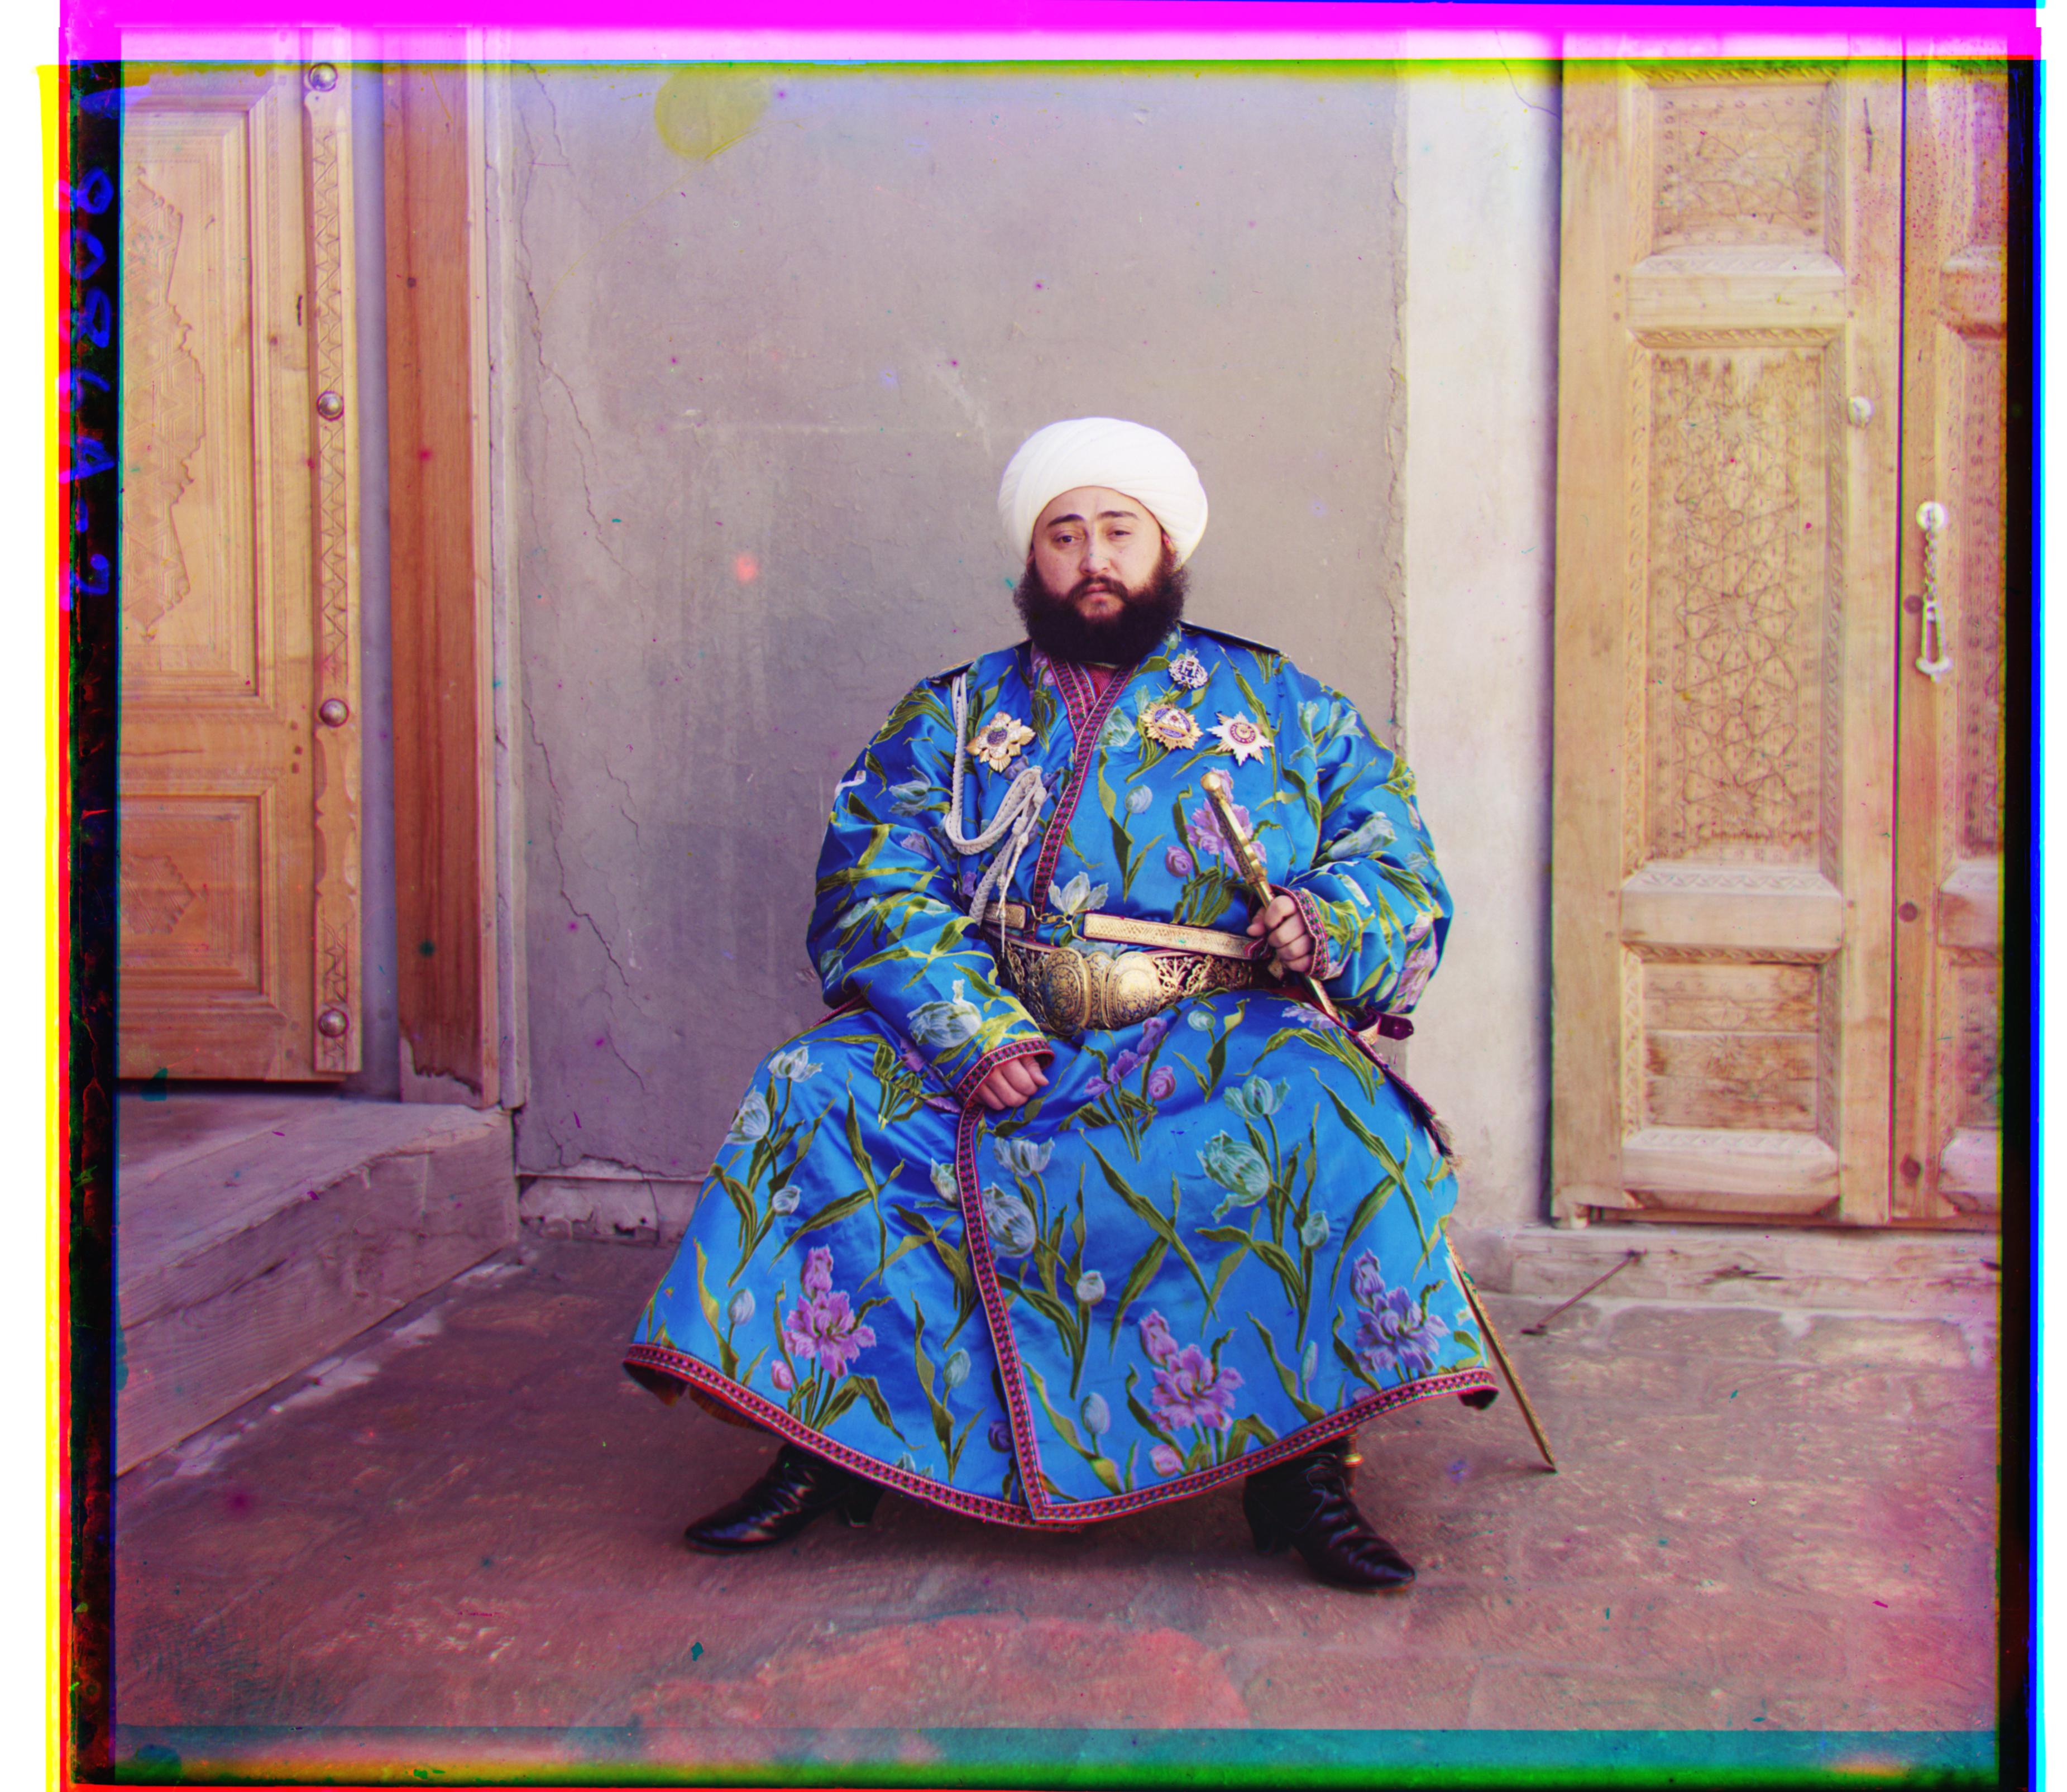
Red: [179, 8] Green: [83, 4] |
Red: [107, 37] Green: [49, 26] |
Red: [14, 79] Green: [77, 30] |
Red: [108, 13] Green: [50, 15] |
Red: [86, 32] Green: [42, 5] |
Red: [152, -6] Green: [78, 5] |
Red: [106, -12] Green: [53, 0] |
Some gems from the Library of Congress
Red: [33, 37] Green: [7, 17] |
Red: [133, 1] Green: [42, 0] |
Red: [30, 1] Green: [-16, 7] |
Bells & Whistles
I tried to autocrop as I was working on aligning images. I knew the black and white borders were irregular on the plates (blue might have a black border at the top but not the sides, green might have one on the sides, etc) and that would affect my scoring, so I wanted to remove them. However, I knew that border would be a different size on all images and I didn't want to crop some percentage off in the event it would leave some border or cut too far into the image. So I decided to make an autocropper function that would search for the first nonborder top row, bottom row, left column, right column.
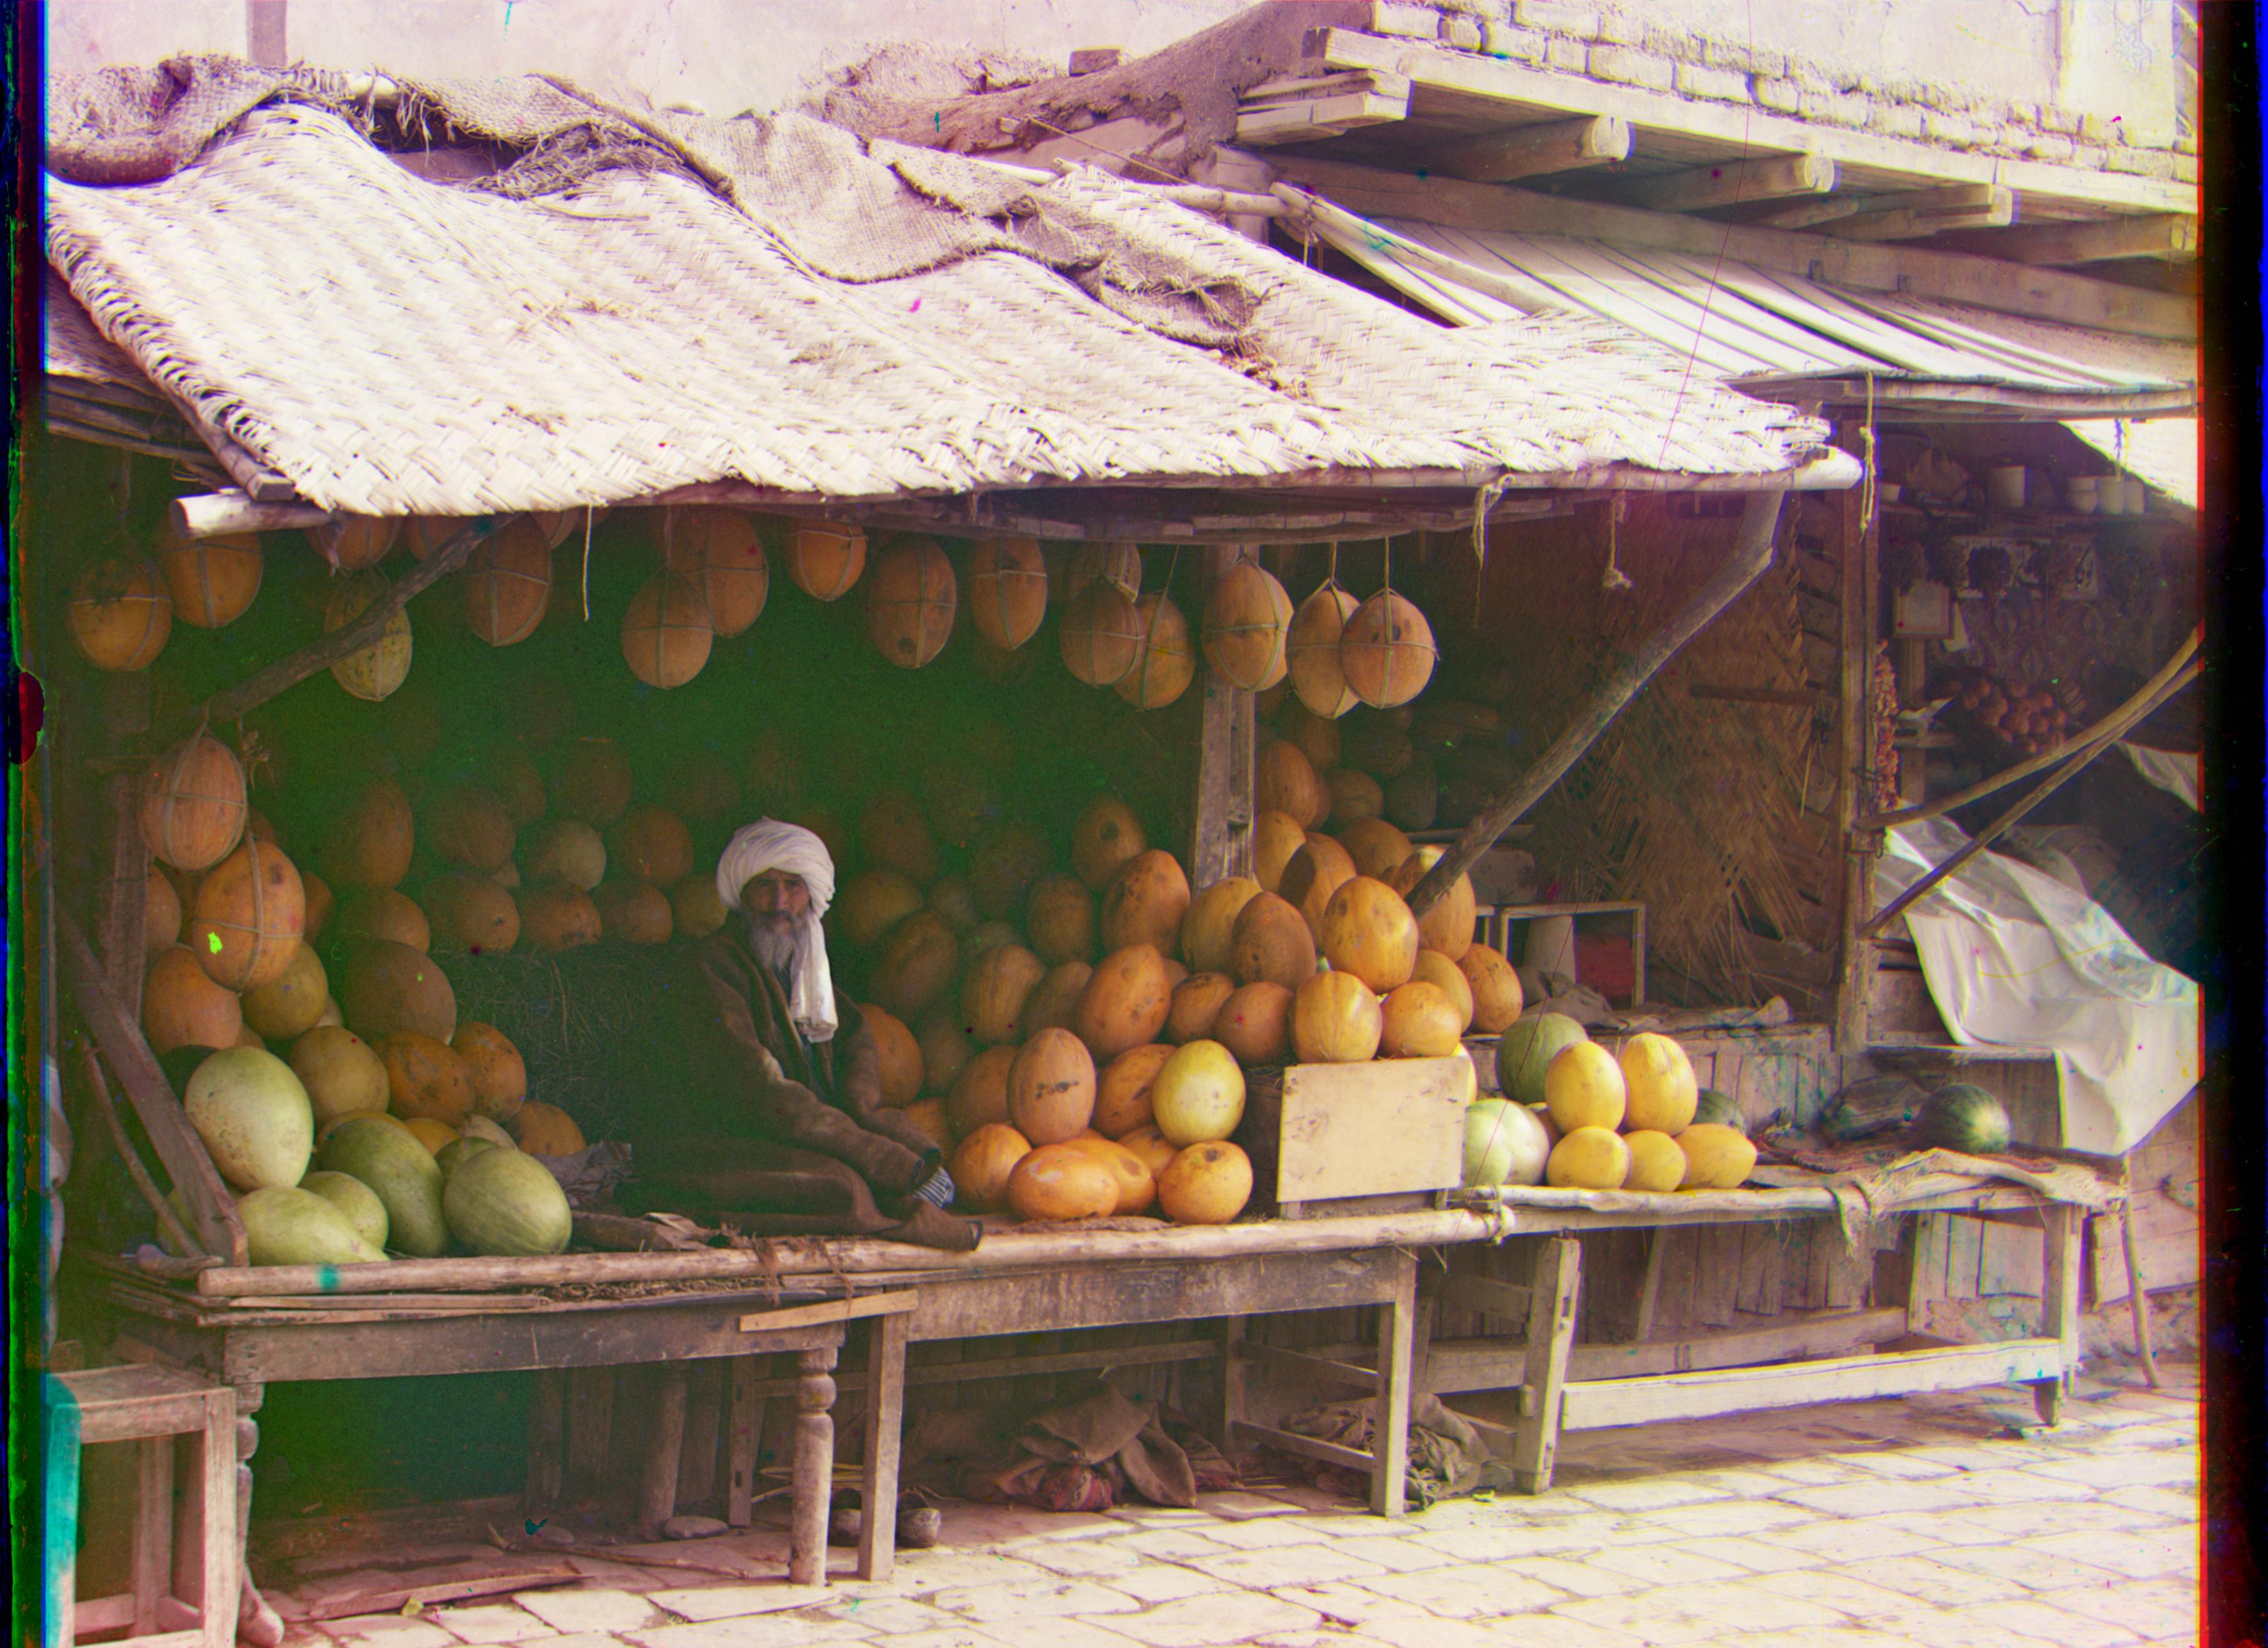
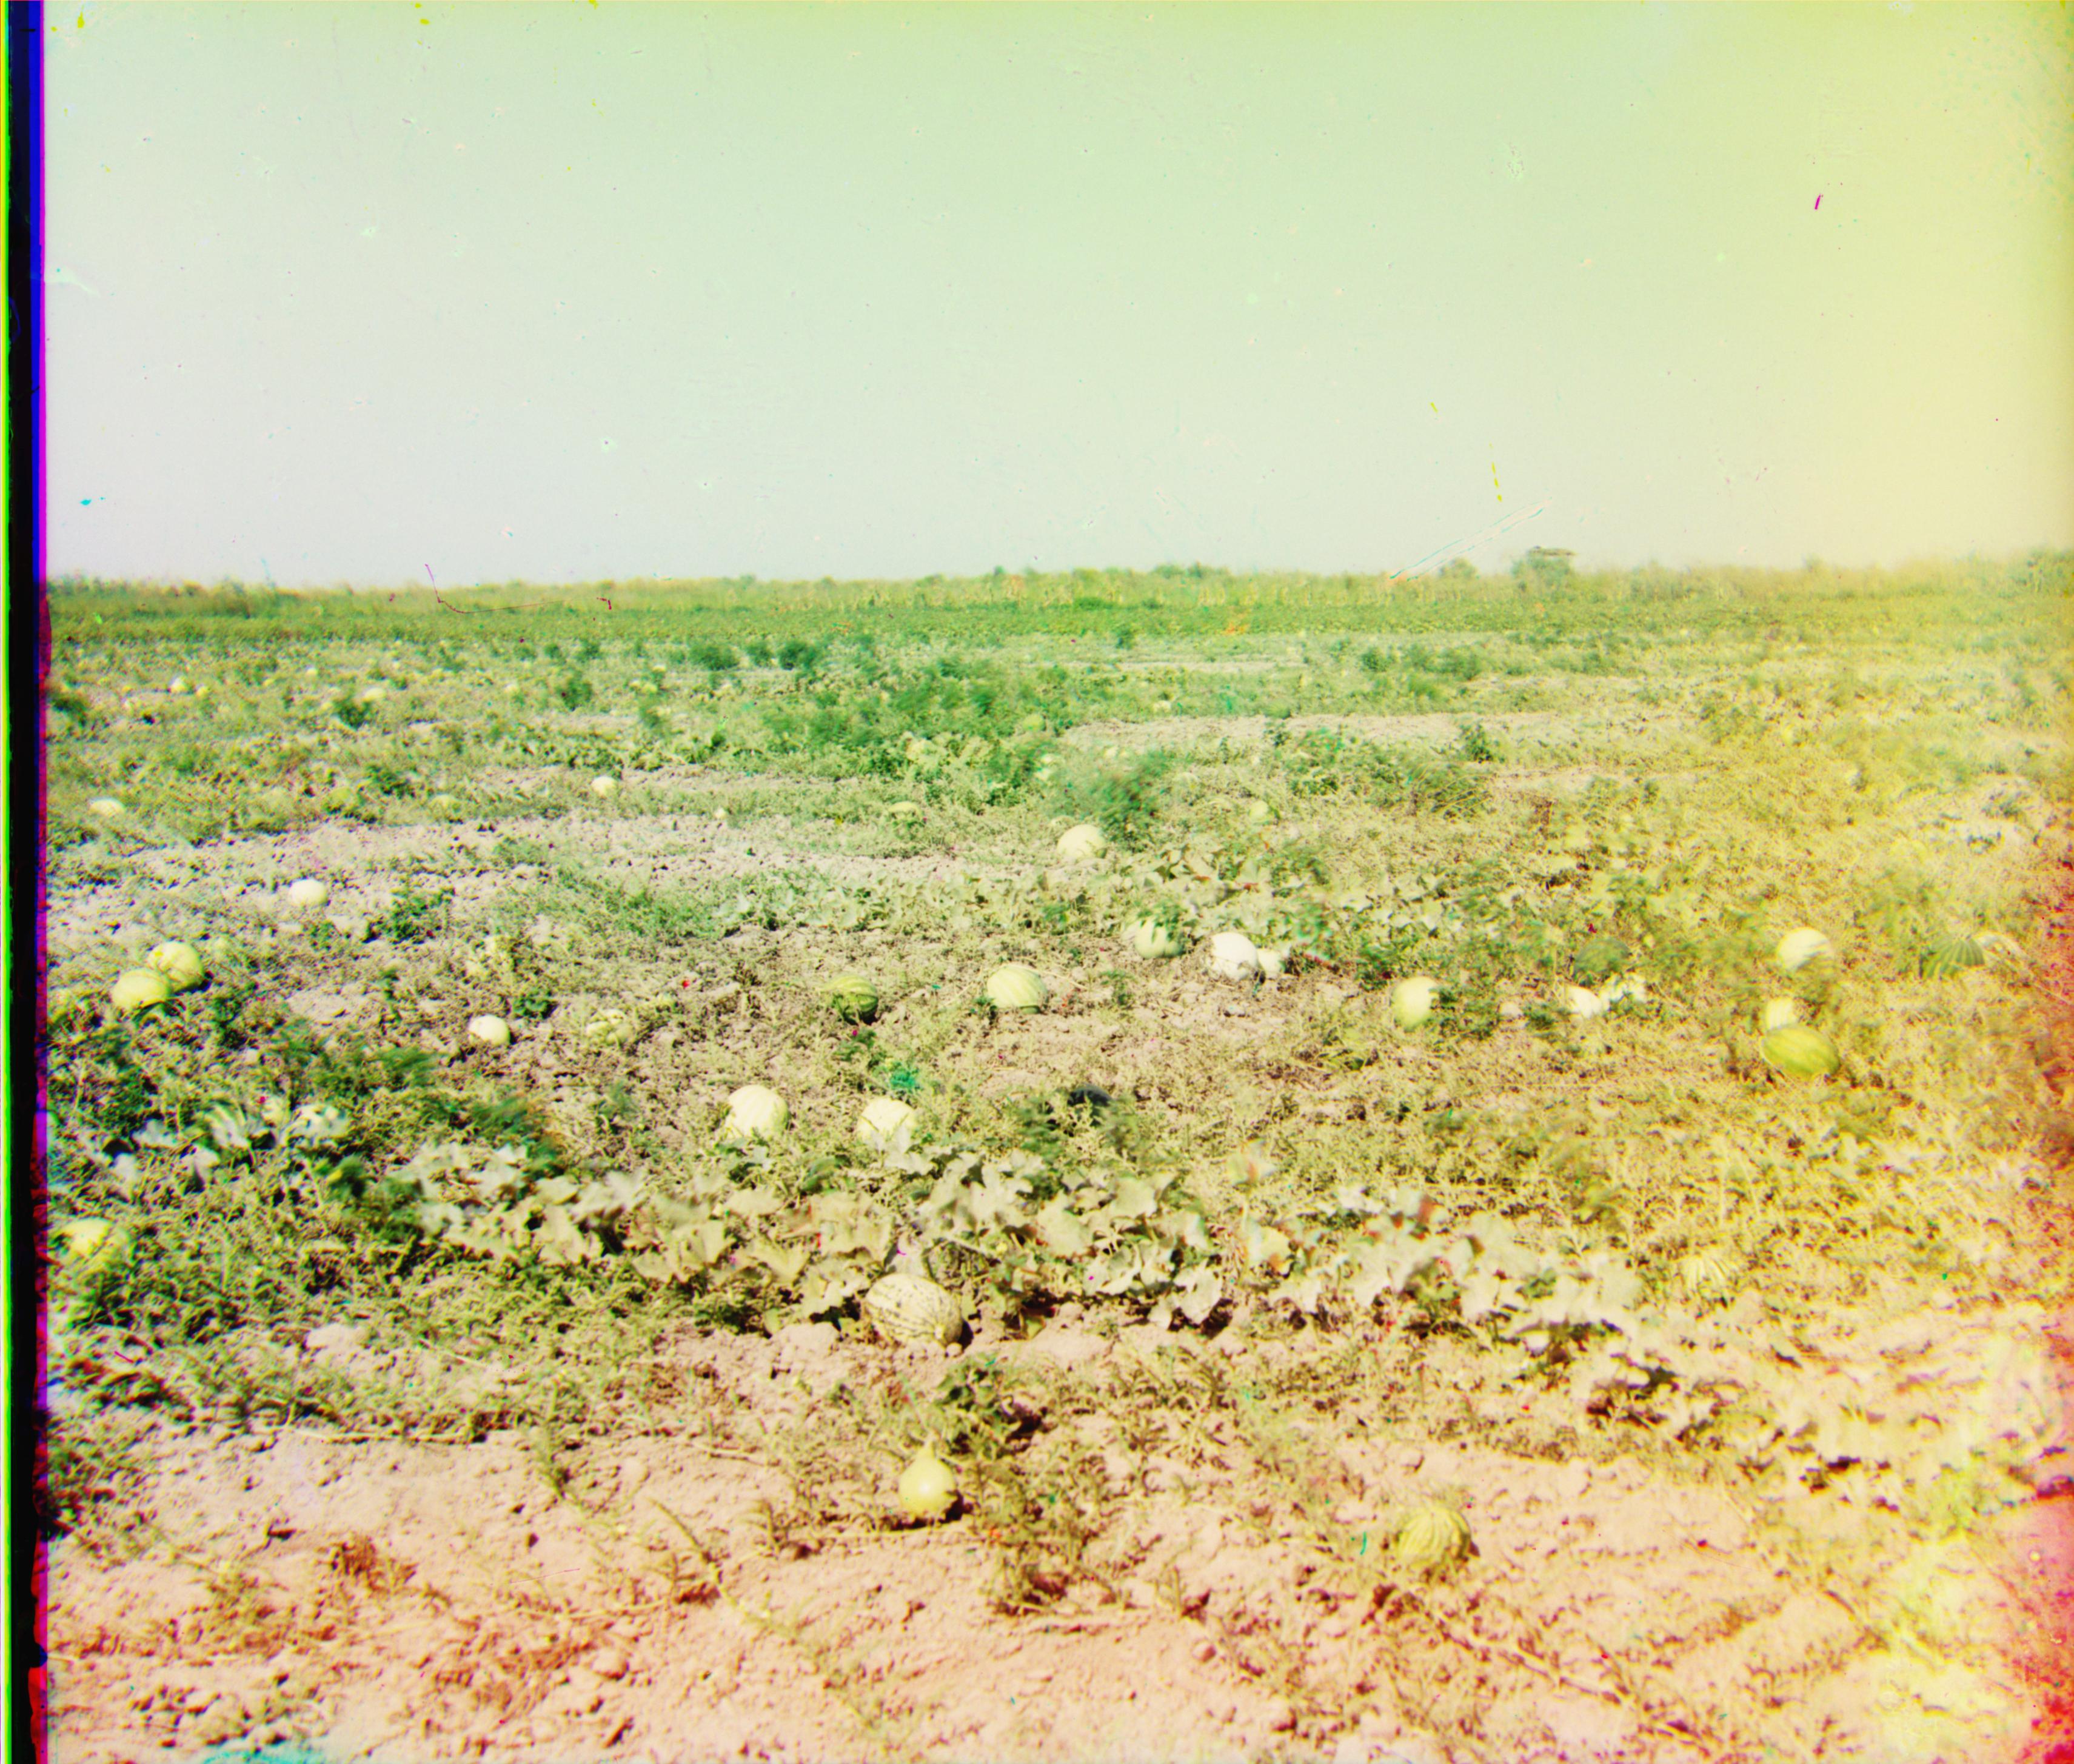
The way I did this was with 4 while loops with incrementing or decrementing current row/column indices. I knew that images had a border pattern of white->black->actual image, so I first searched for white borders in a rounded version of the array to force values close to 1 or 0 to round up or down. I checked if the 'density' of dark/light values per column/row were within the total mean of the rounded array. I know it's an odd choice for a tolerance check, but it ended up producing much better results across all but one image, which is a major improvement over my old choice of testing out tol = .01, .1, .2, etc. I submitted this about an hour ago and kept thinking about how I could fix this, and I decided to compare the 'density' of black/white values of a given column/row to the average density of the center of the image, because I figured that even in the darkest/lightest images, the center will never be completely pitch black or white. So, when I compared the column/row density to this new average, I got much better results and was able to fix melons.tif!
I also tried to do blemish correcting by comparing anomalies in one R, G, B array to the other two and blurring around a spot if I found one, but that didn't quite work the way I wanted to-- I think I was close, but as it is now the images get a little overblurred and I like how crisp they are without retouching.
I wasn't quite able to remove all of the black borders, but I was able to remove white borders/most of the black borders. Here are some before/afters:
The image formerly known as the oddball:
|
|
|
Representative of the rest (which are generally pretty significant!):
|
|
|
|
|
|