CS 194 Fall 2020
Project 1: Colorizing the Prokudin-Gorskii Photo Collection
Leon Ming
Overview
In this project, the task is to programmatically process images from the Prokudin-Gorskii collection—each of which contains 3 separate color channels for Blue, Green, and Red—and output colorized images.
There are a few stages in the process I ended up using:
- Channel Split
- Automatic Border Detection (Bell/Whistle)
- Alignment with Image Pyramid
- Final Crop
Stage 1 is done by simply dividing each original image vertically into 3 equal parts, but each of the subsequent stages deserve further exploration.
Automatic Border Detection (Bell/Whistle)
After some experimentation, I found that properly removing the black borders was crucial in obtaining decent results. Consequently, I spent the most time in perfecting this step. Rather than actually cropping each image in this step, I simply keep track of the crop by saving the top-left and bottom-right crop corners. This information is used and updated during alignment.
Initially, I simply cut off a fixed margin from each side (around 5%). However, I eventually settled on a border detection methodology that allows me to produce slightly better results for each image.
My first attempt at automatic border detection was to search linearly from each side for the position that maximizes the jump in average intensity. As an example, to find the top border, I find the row that has the greatest intensity jump (averaged across the row) compared to the row above it. This represents the edge from the top black border to the top image content.
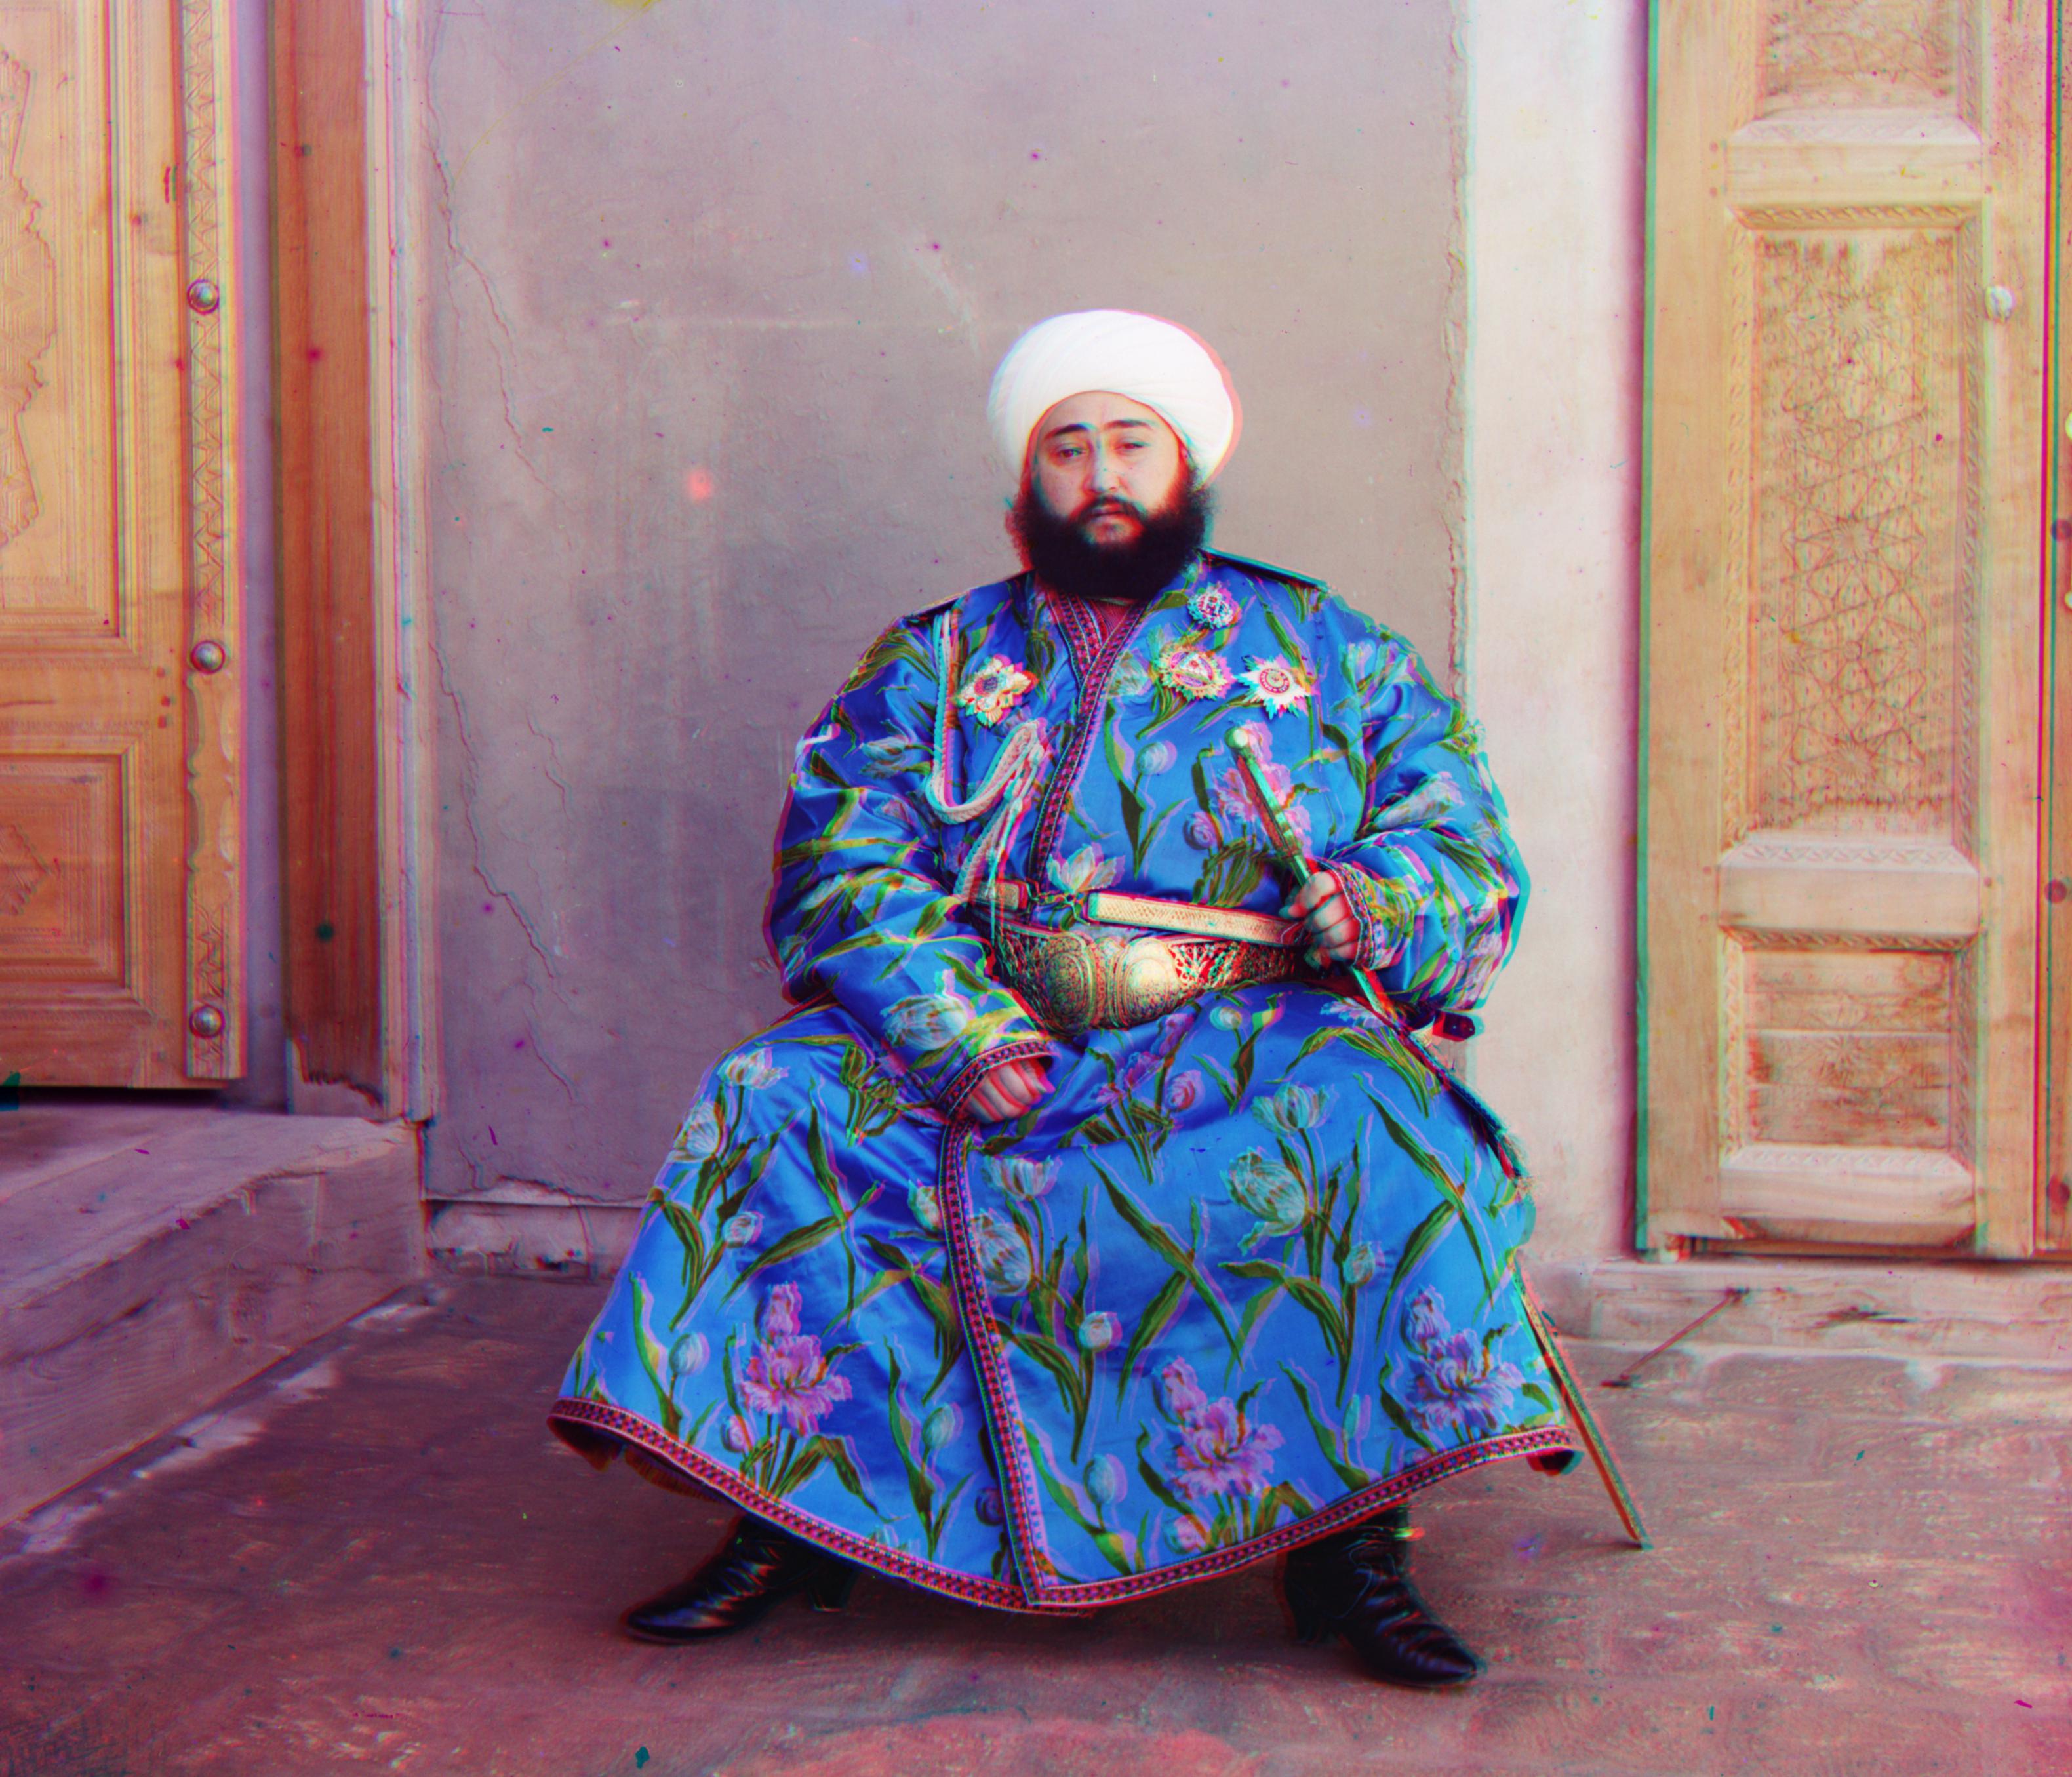
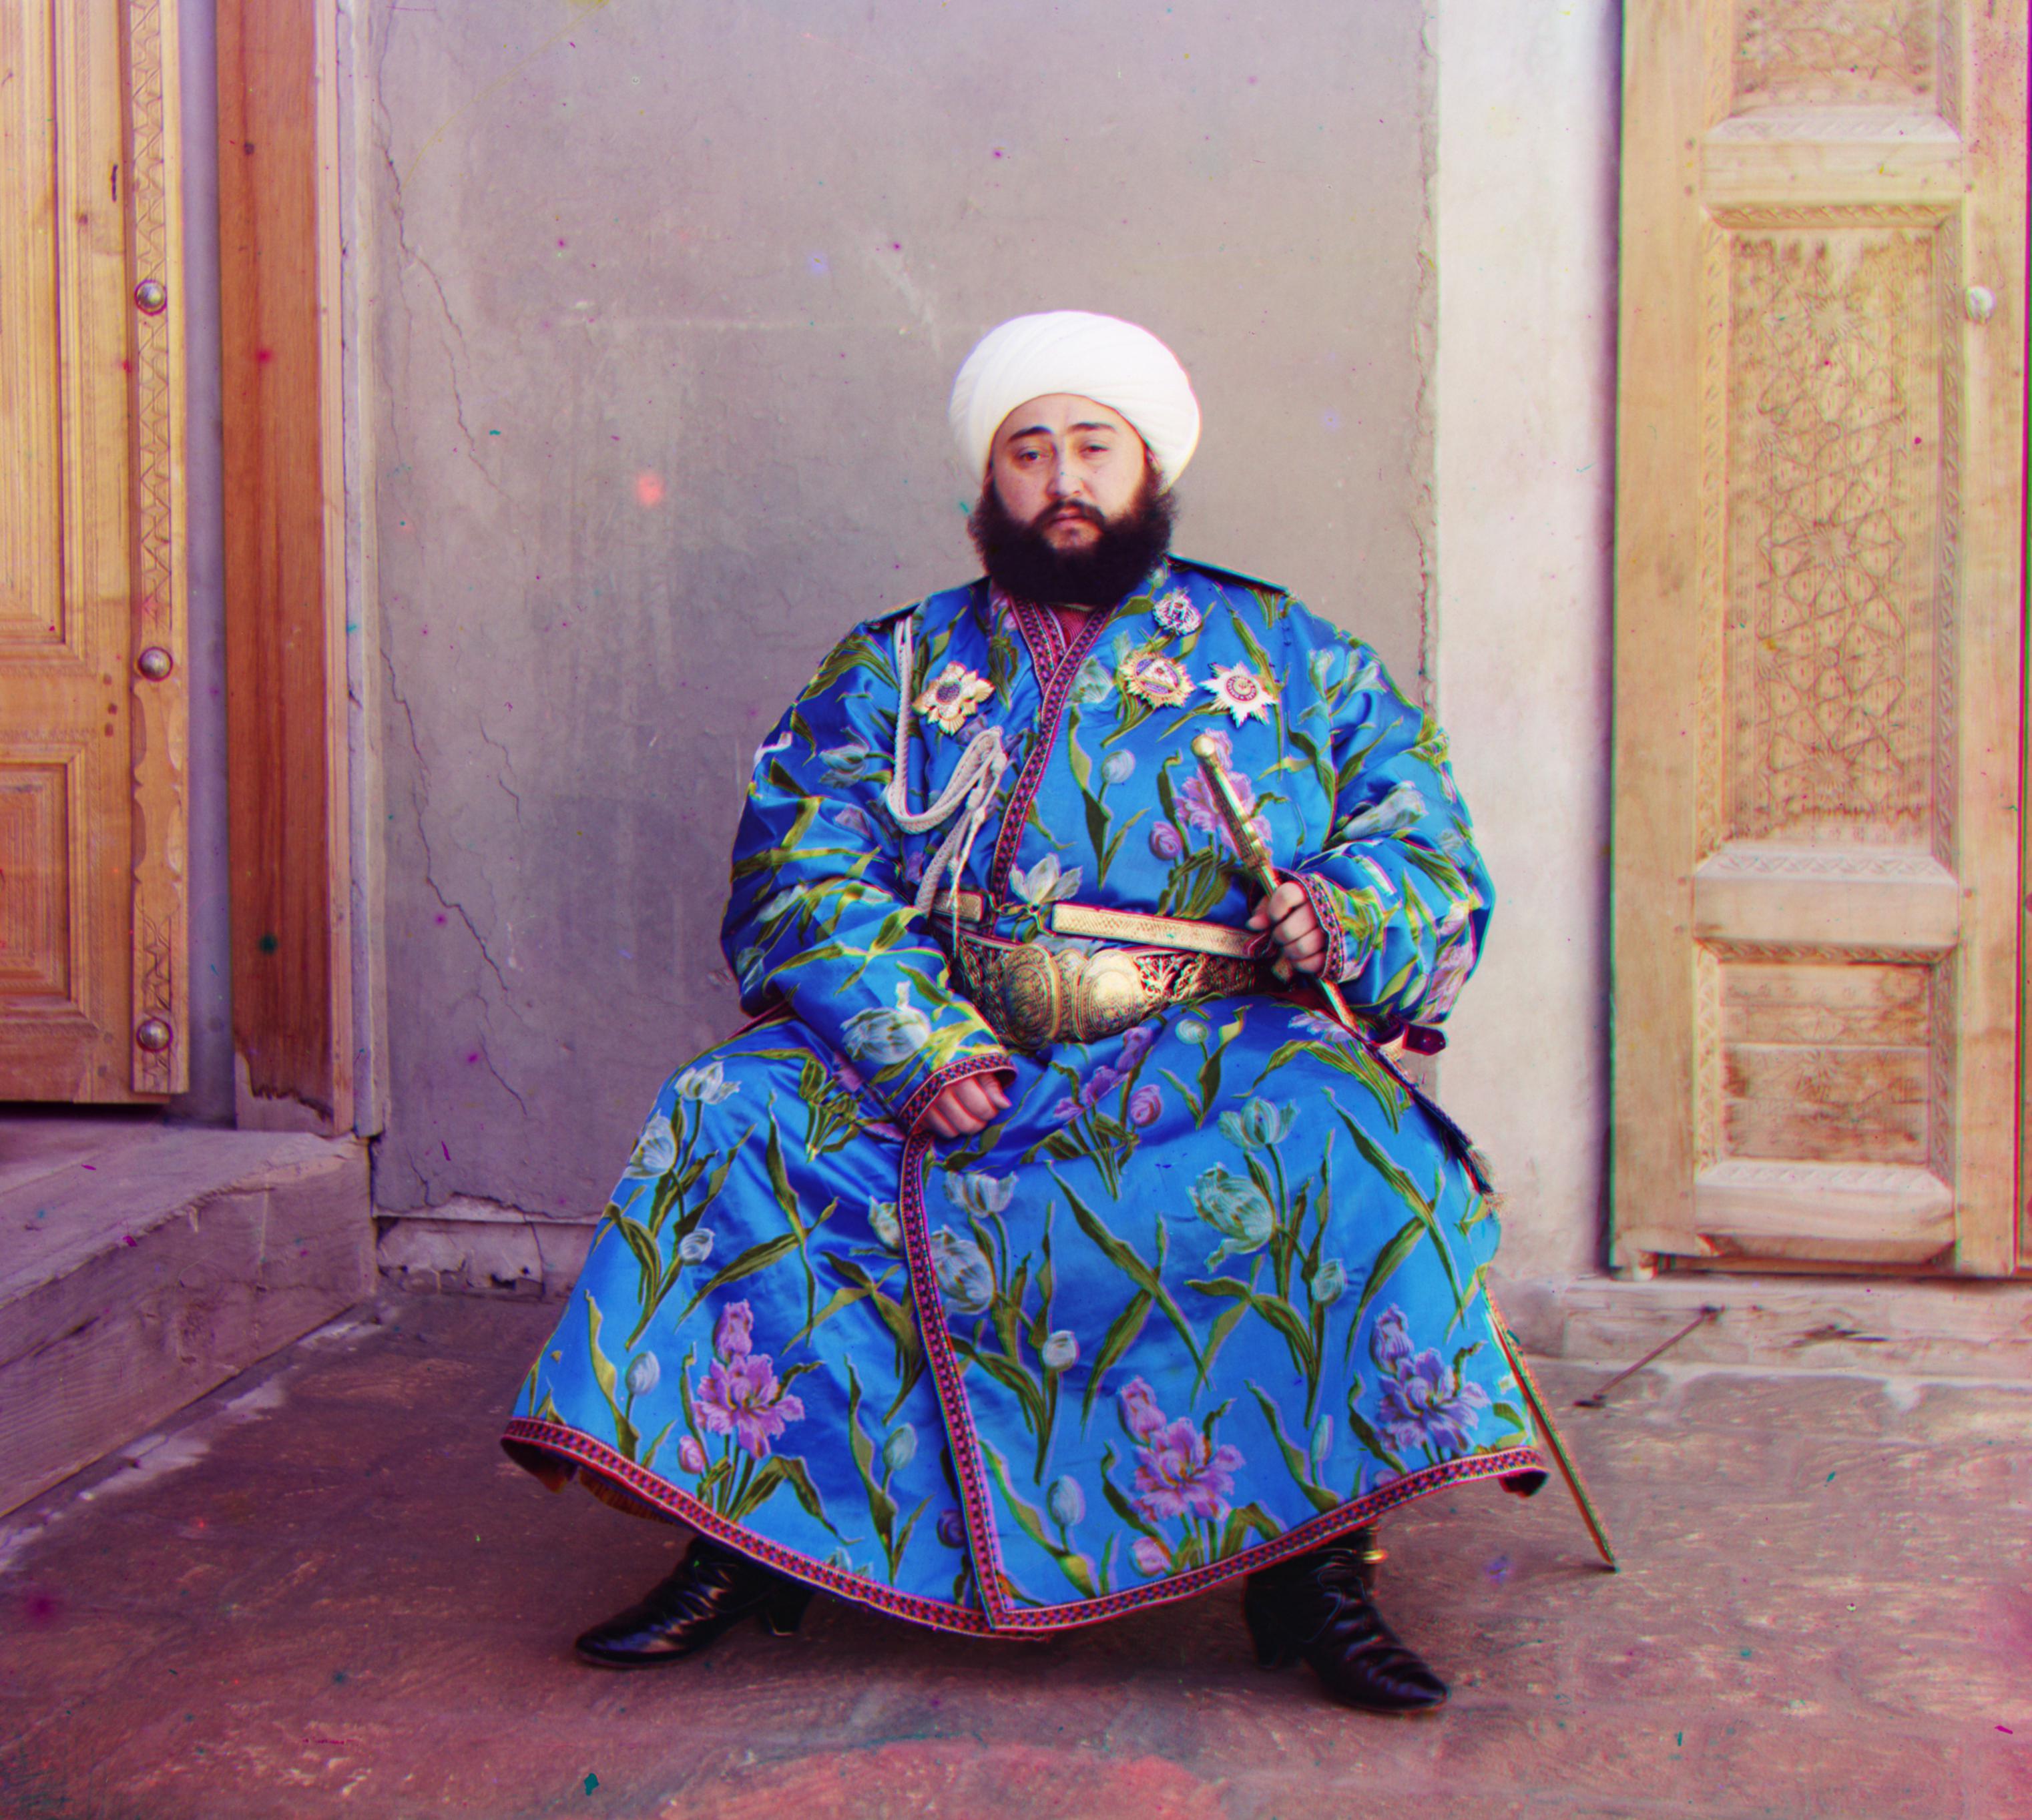
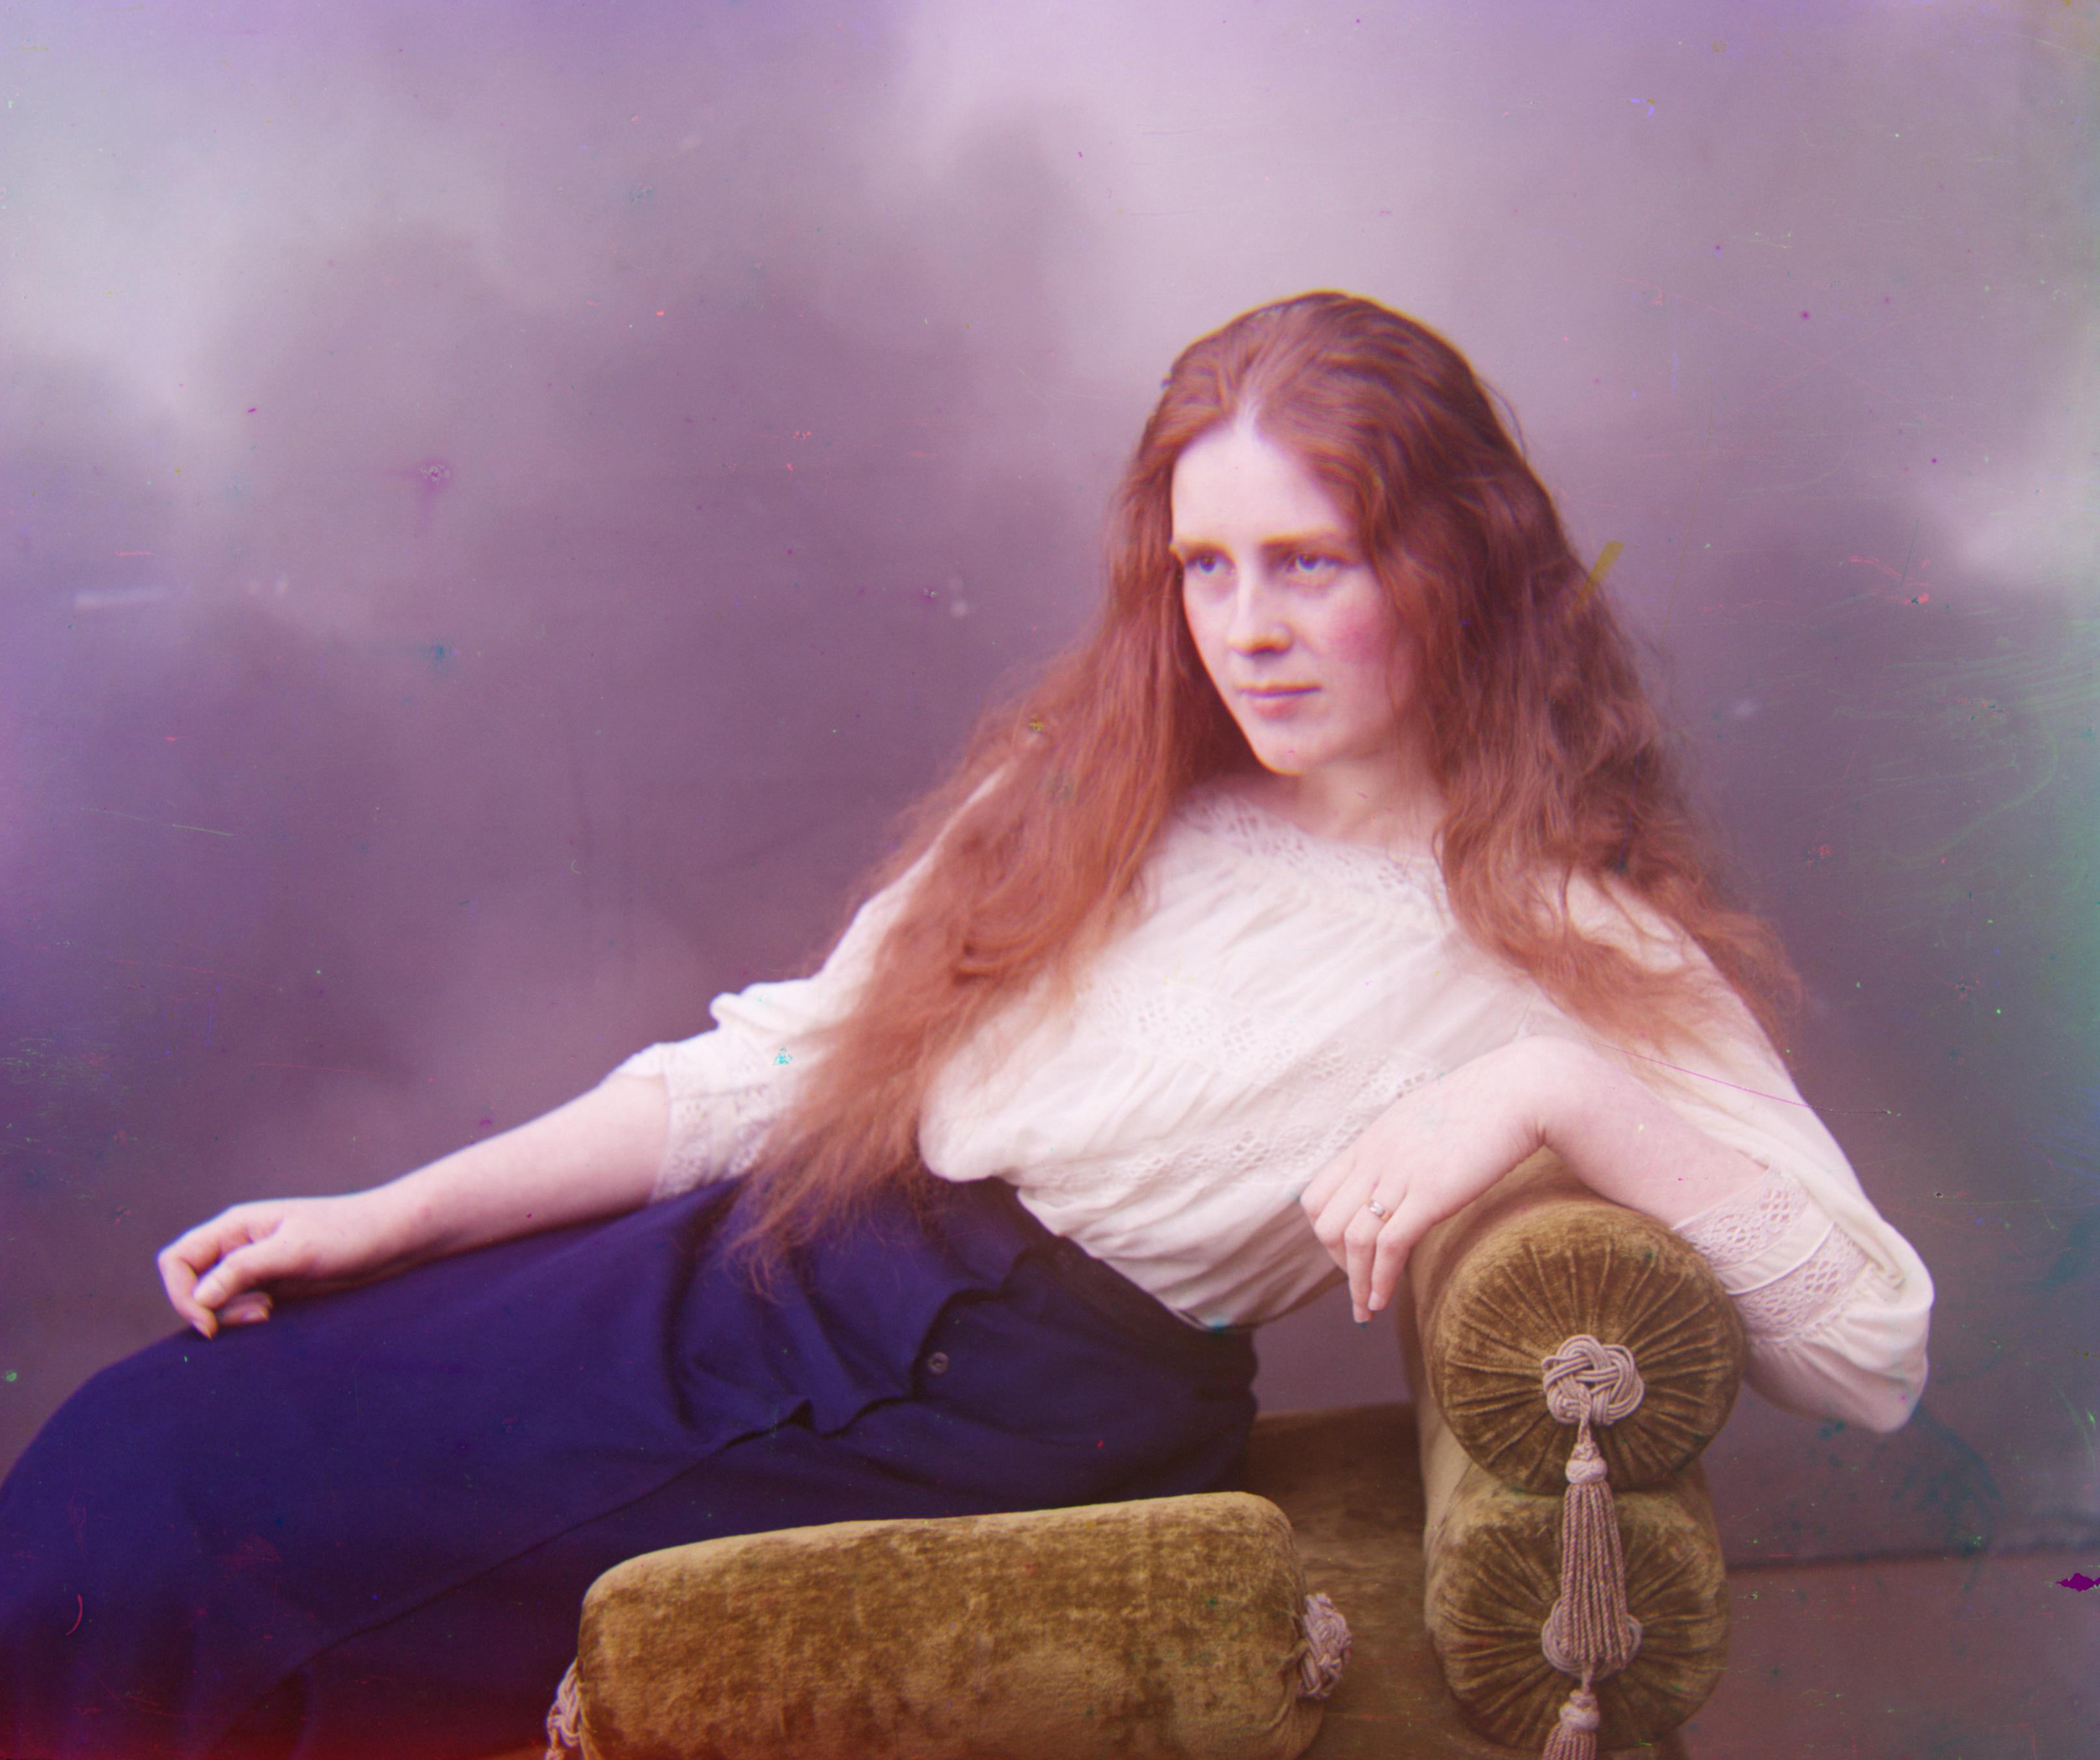
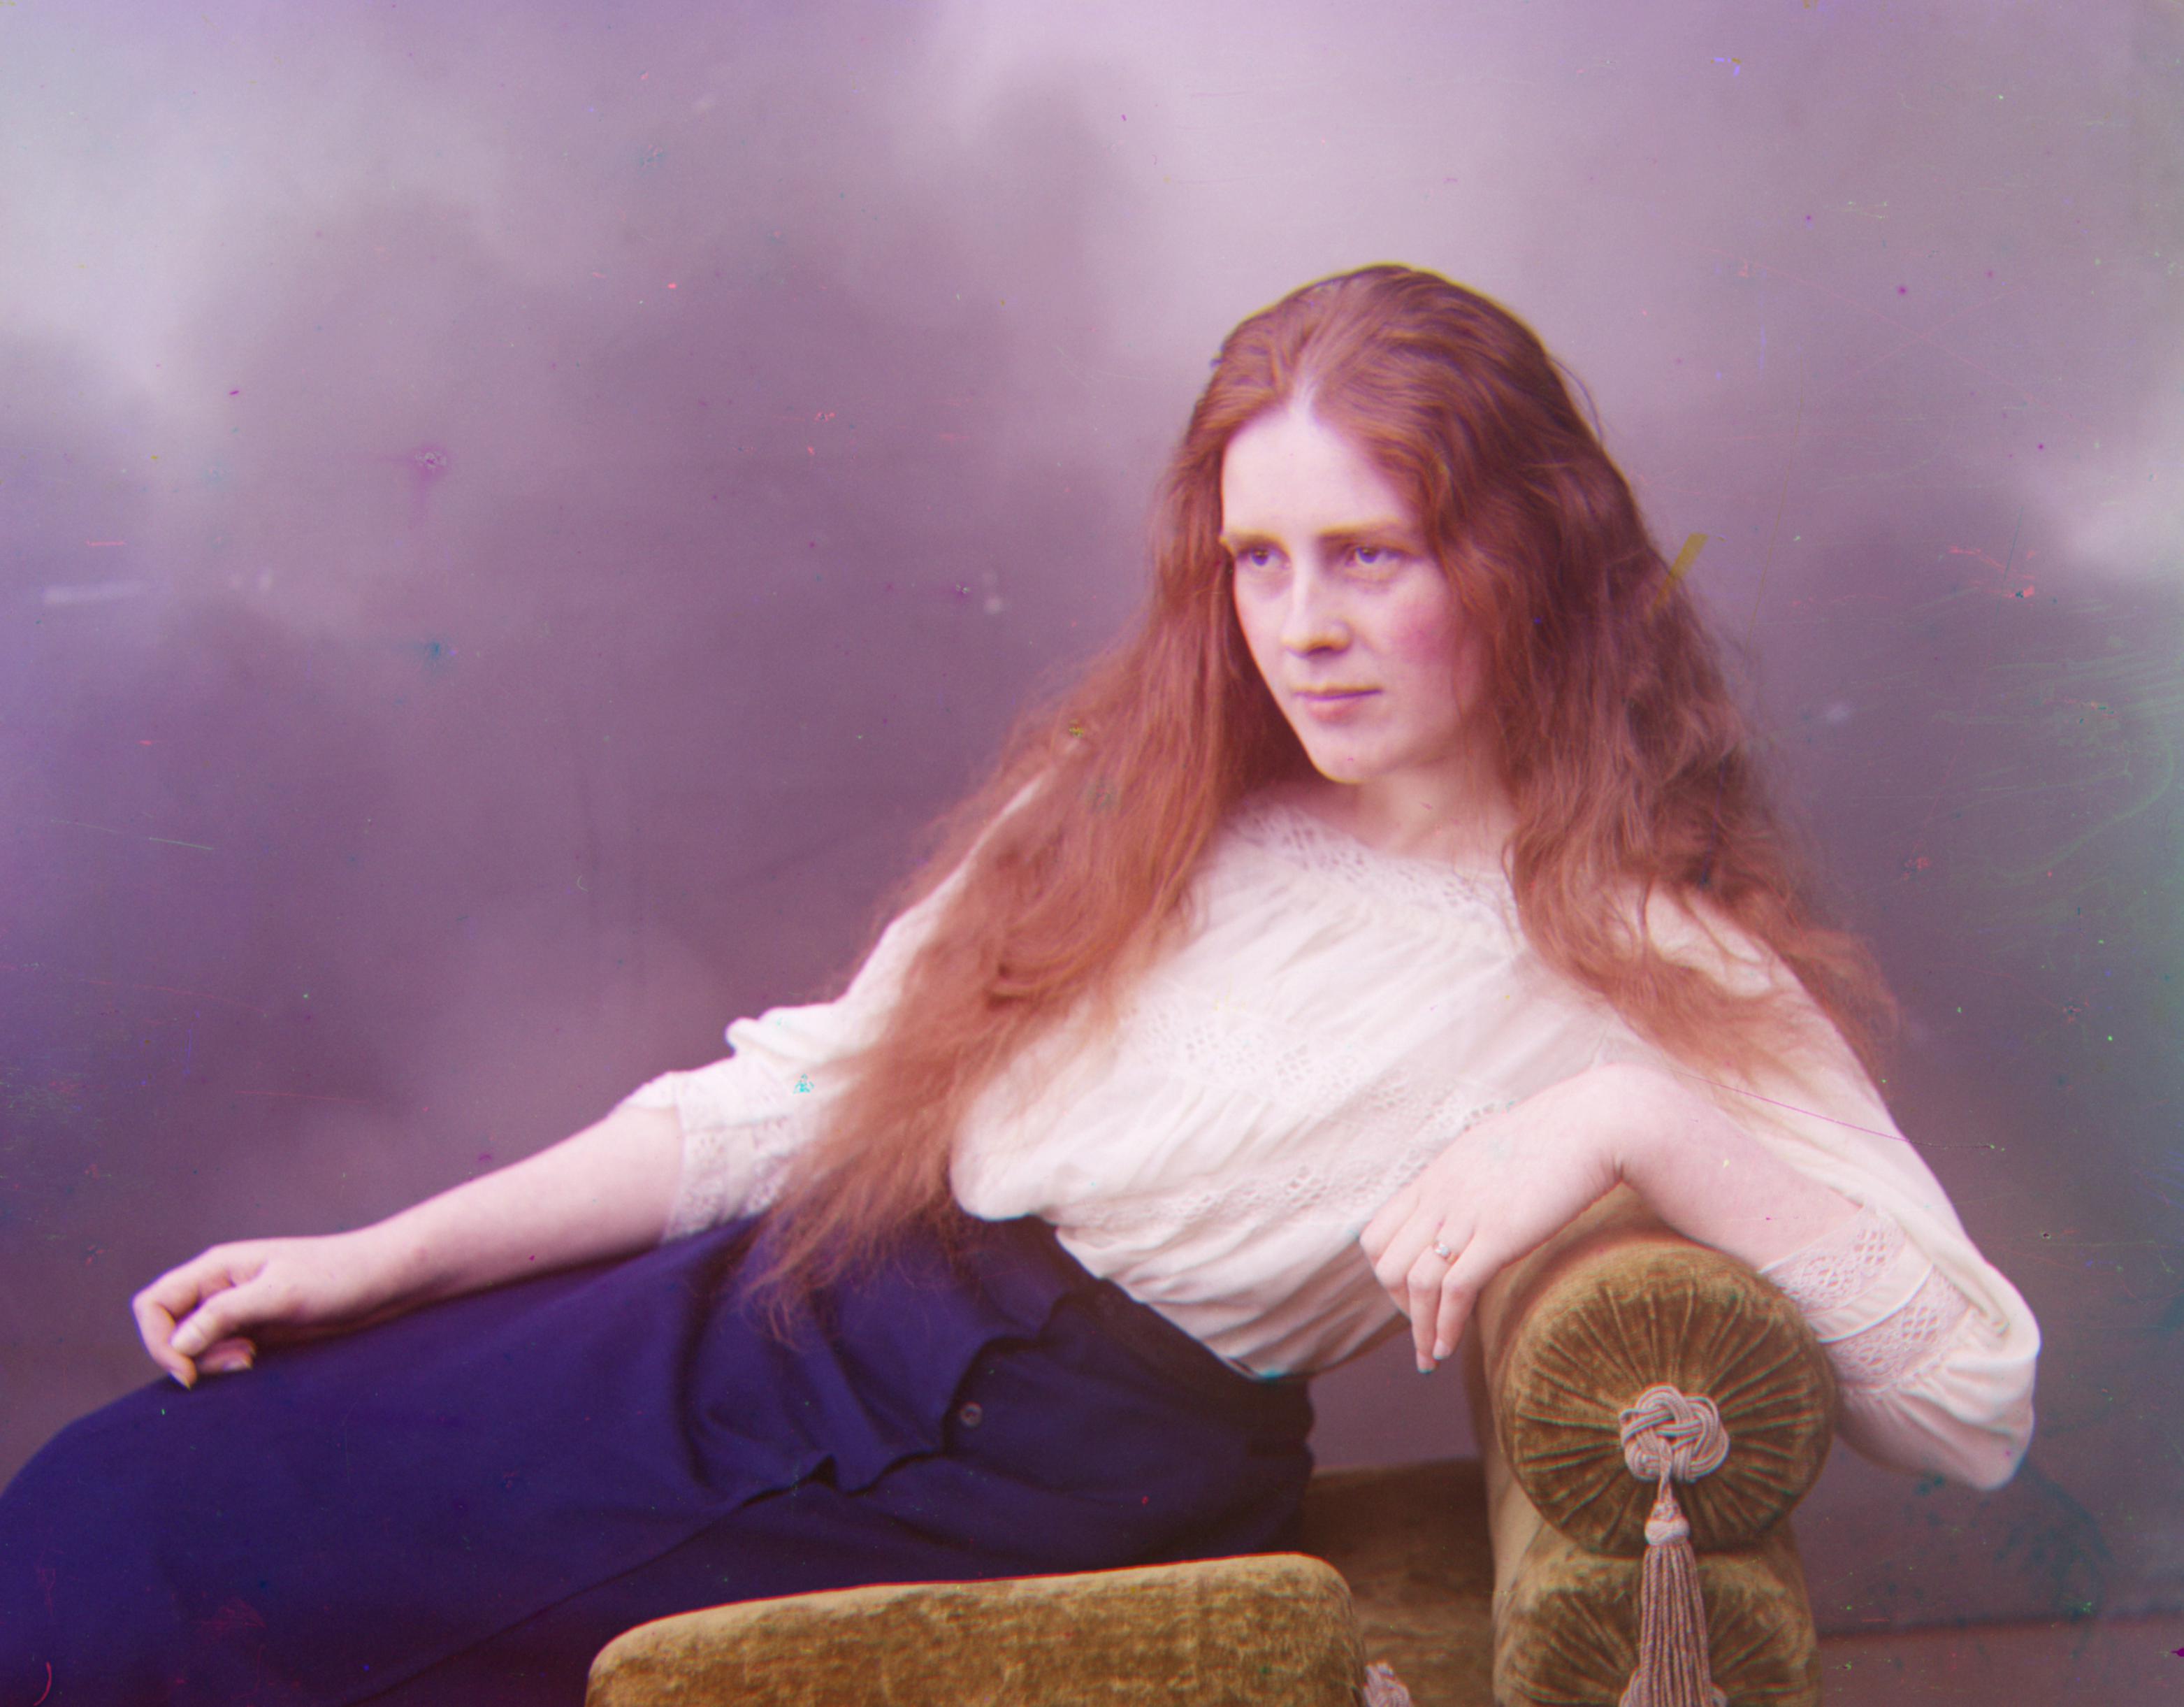
However, I found that this method was not effective for emir.tif and lady.tif in particular, as both of these images had white streaks or letters in their black borders, causing the border detection function to leave in a large chunk of black border.
I developed a second (and final) method to address this issue. Instead of searching for the maximum jump across one pixel, I searched for the maximum jump in average intensity of k pixels on either side, where k is a configurable proportion of the image width. This provided the robustness I needed to ignore noise such as white streaks/letters in the black borders.
As shown below, the results are quite positive. With manual cropping, I would need to choose a different amount to crop for each image to achieve optimal quality, which is inexcusably inelegant. For example, the manual cropping shown below is good for all images except for emir.tif. A manual crop that's optimized for emir.tif would produce suboptimal results for other images, notably lady.tif.
Alignment with Image Pyramid
As suggested, I used an image pyramid to speed up the alignment optimization step. Each layer is shrunk by a factor of 2 from the previous layer, such that (only) the smallest layer is less than 320 in width. This means that the small (jpg) images were not shrunk.
At the smallest layer of the pyramid, the exploration space was 25 pixels in each vertical direction and 10 pixels in each horizontal direction. I figured that the vertical direction needed more alignment, as the channels were vertically stacked. At all other layers, I explored 2 pixels in each direction. This seemed to work well.
At each level of the pyramid, I update the top-left and bottom-right crop corners for the channel based on the amount shifted, scaled up to the original size. The key here is that my scoring function ignores all data outside of the crop area.
Crop
After all of the previous steps are completed, my image outputs look decently aligned. The only issue is that the edges look ugly because the channels for each image do not always capture the same frame.
To remove the ugly edges, I perform the actual crop by finding the intersection of the crop for each channel and applying it to the stacked, aligned image. I also remove an additional preset percentage from each side, as a "safety margin," as the image quality tended to be poorer on the edges anyway.
Results on Example Images
| Name and Final Displacement (y, x) |
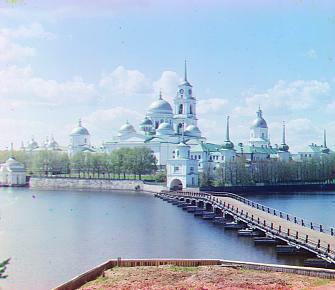
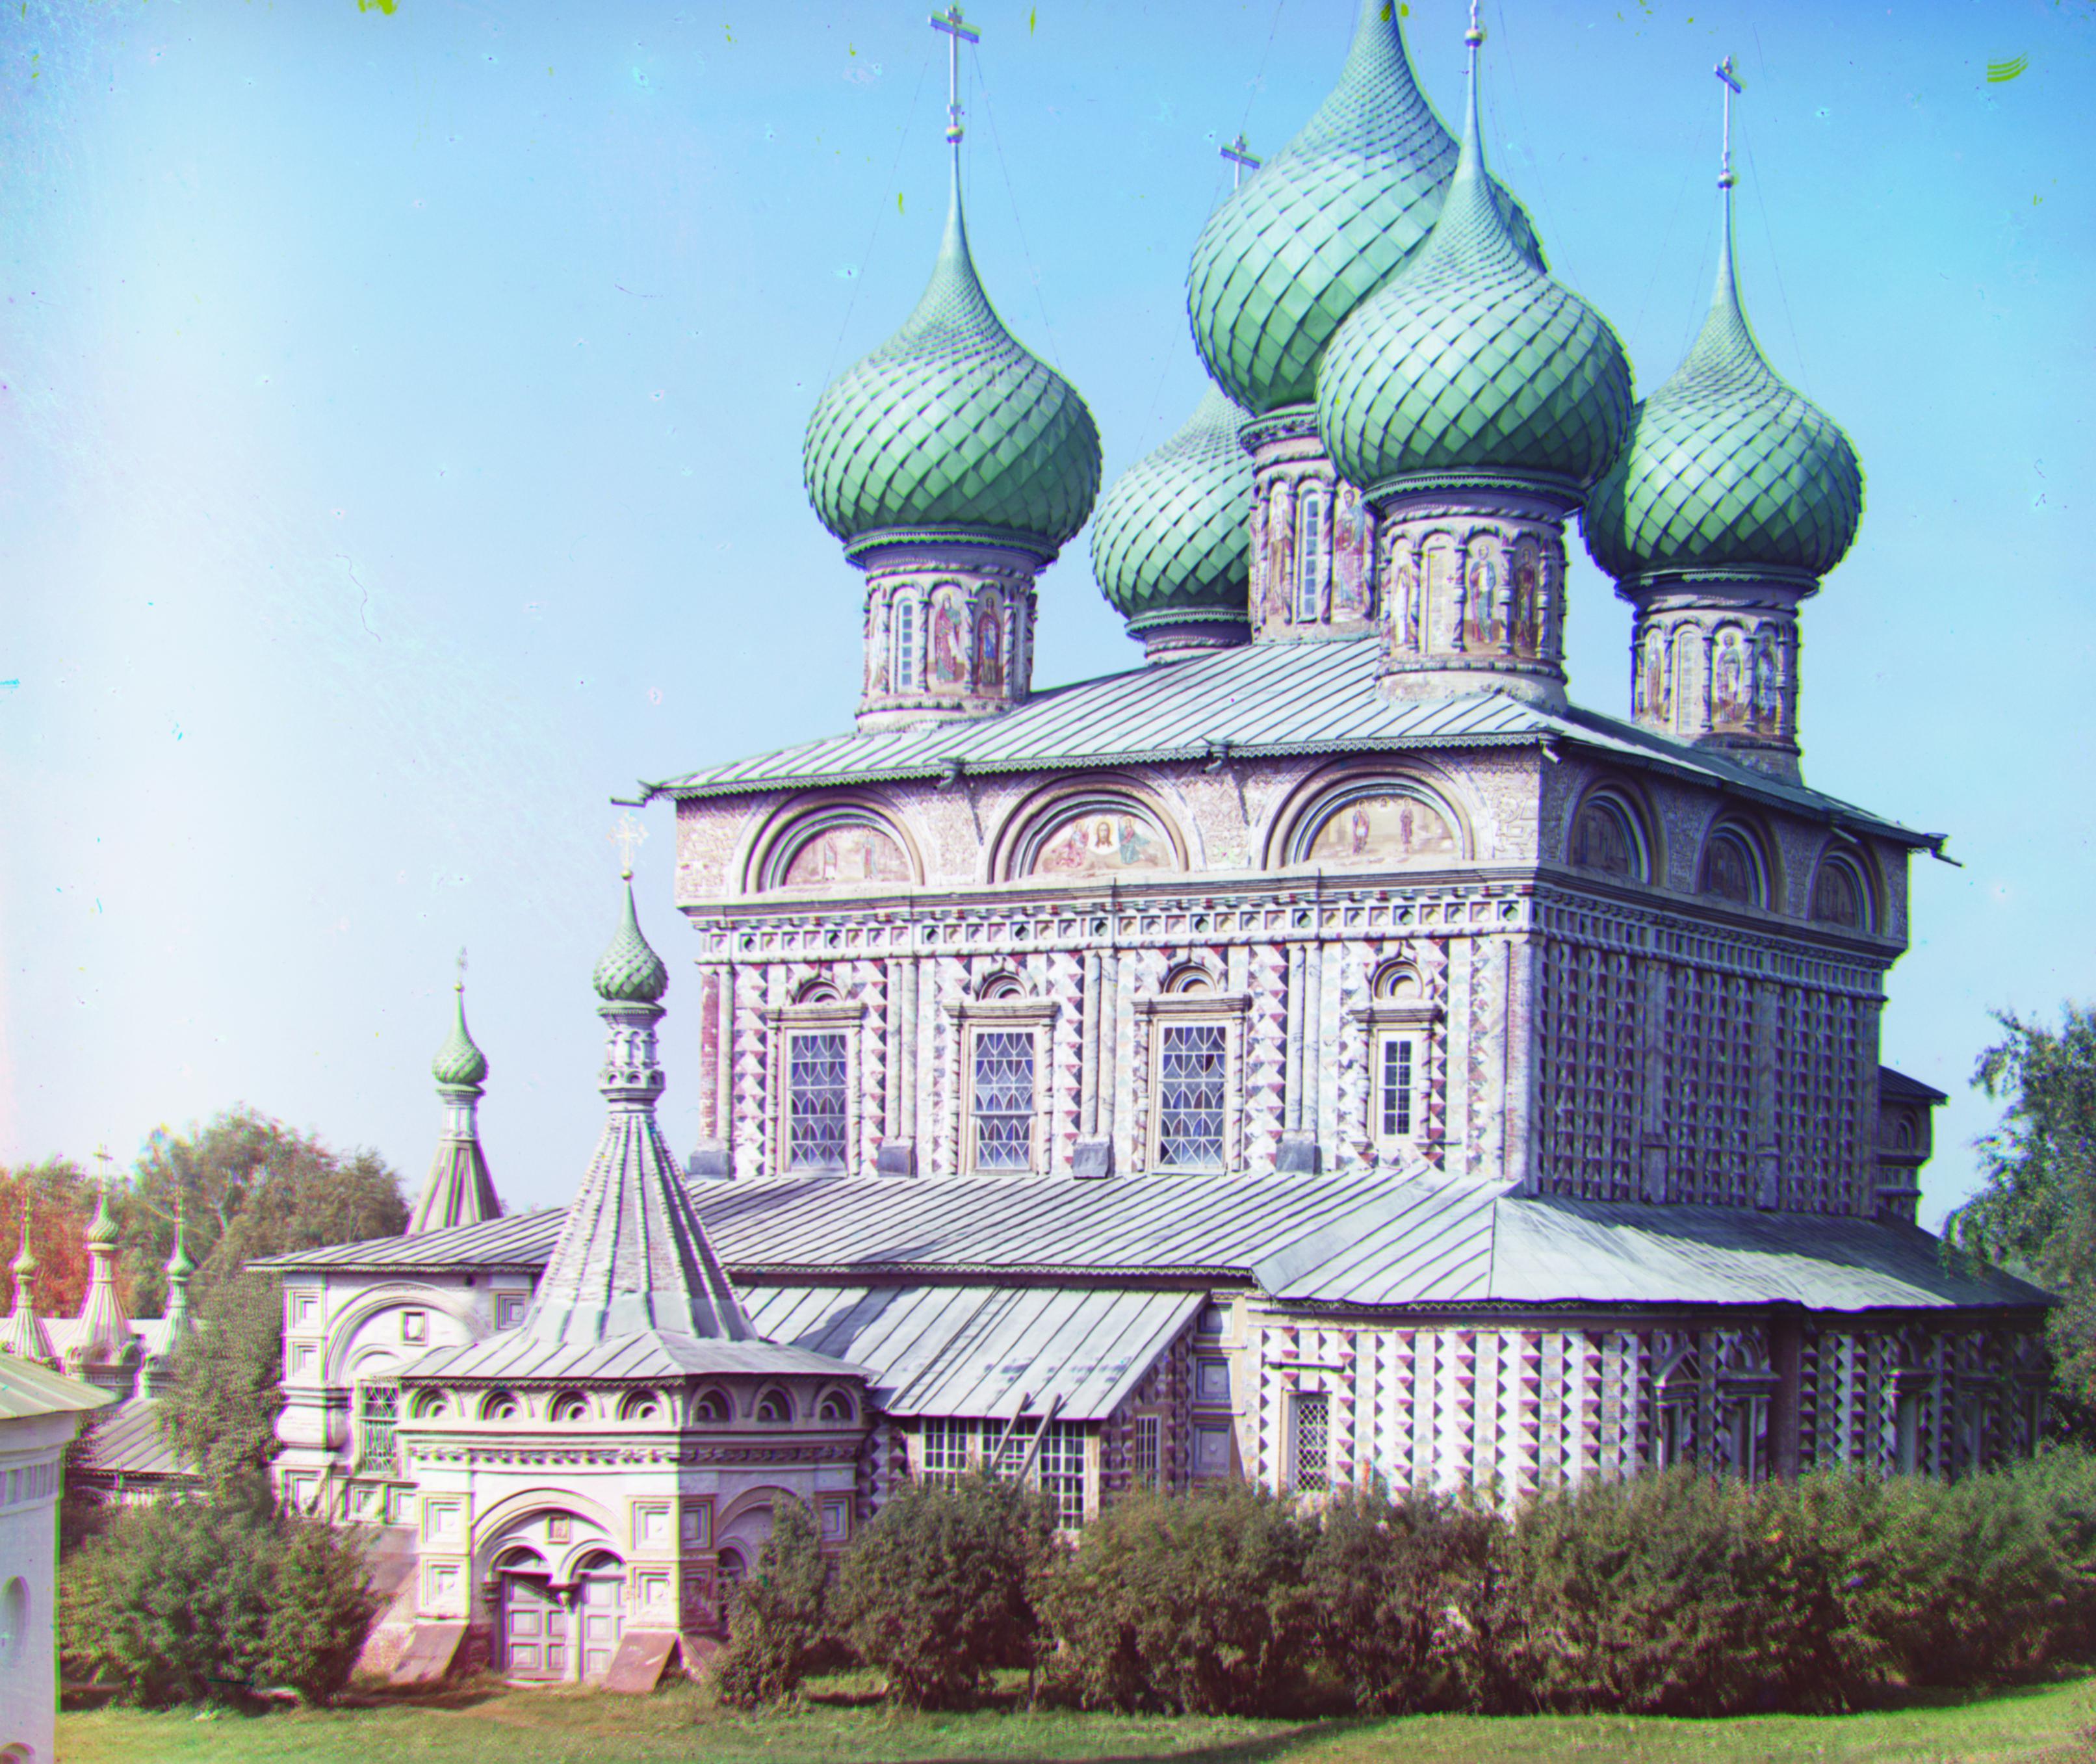
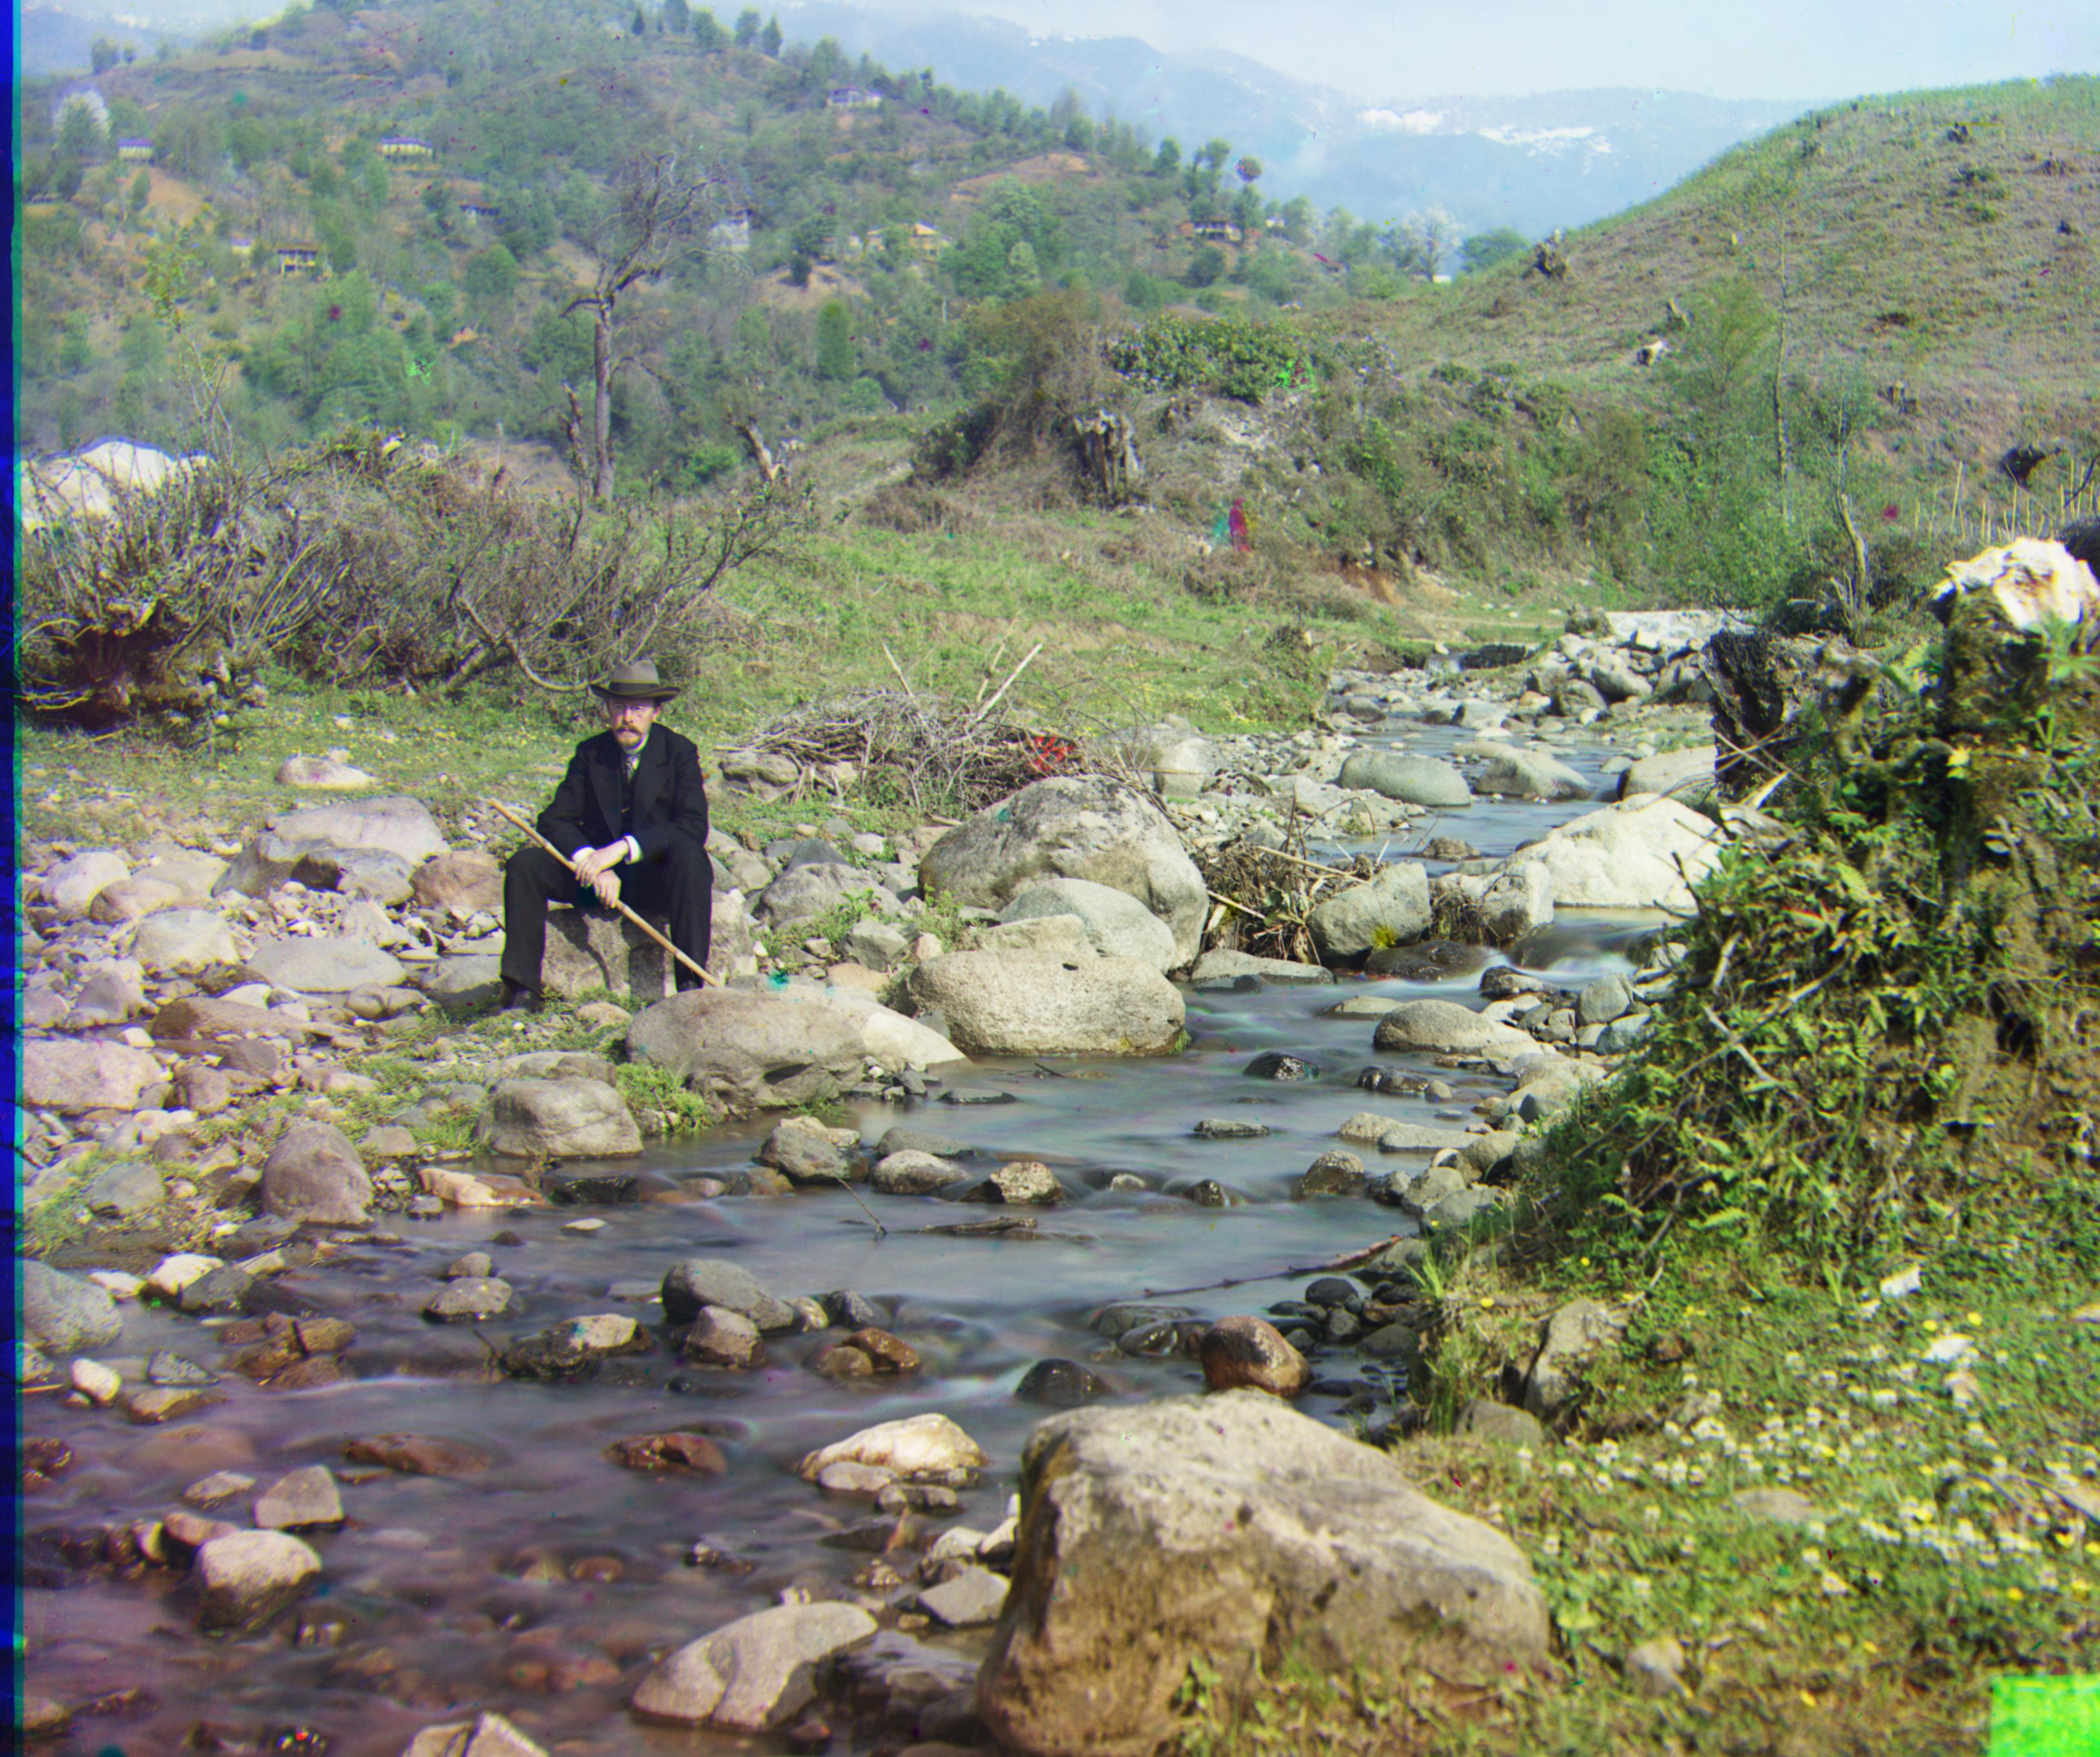
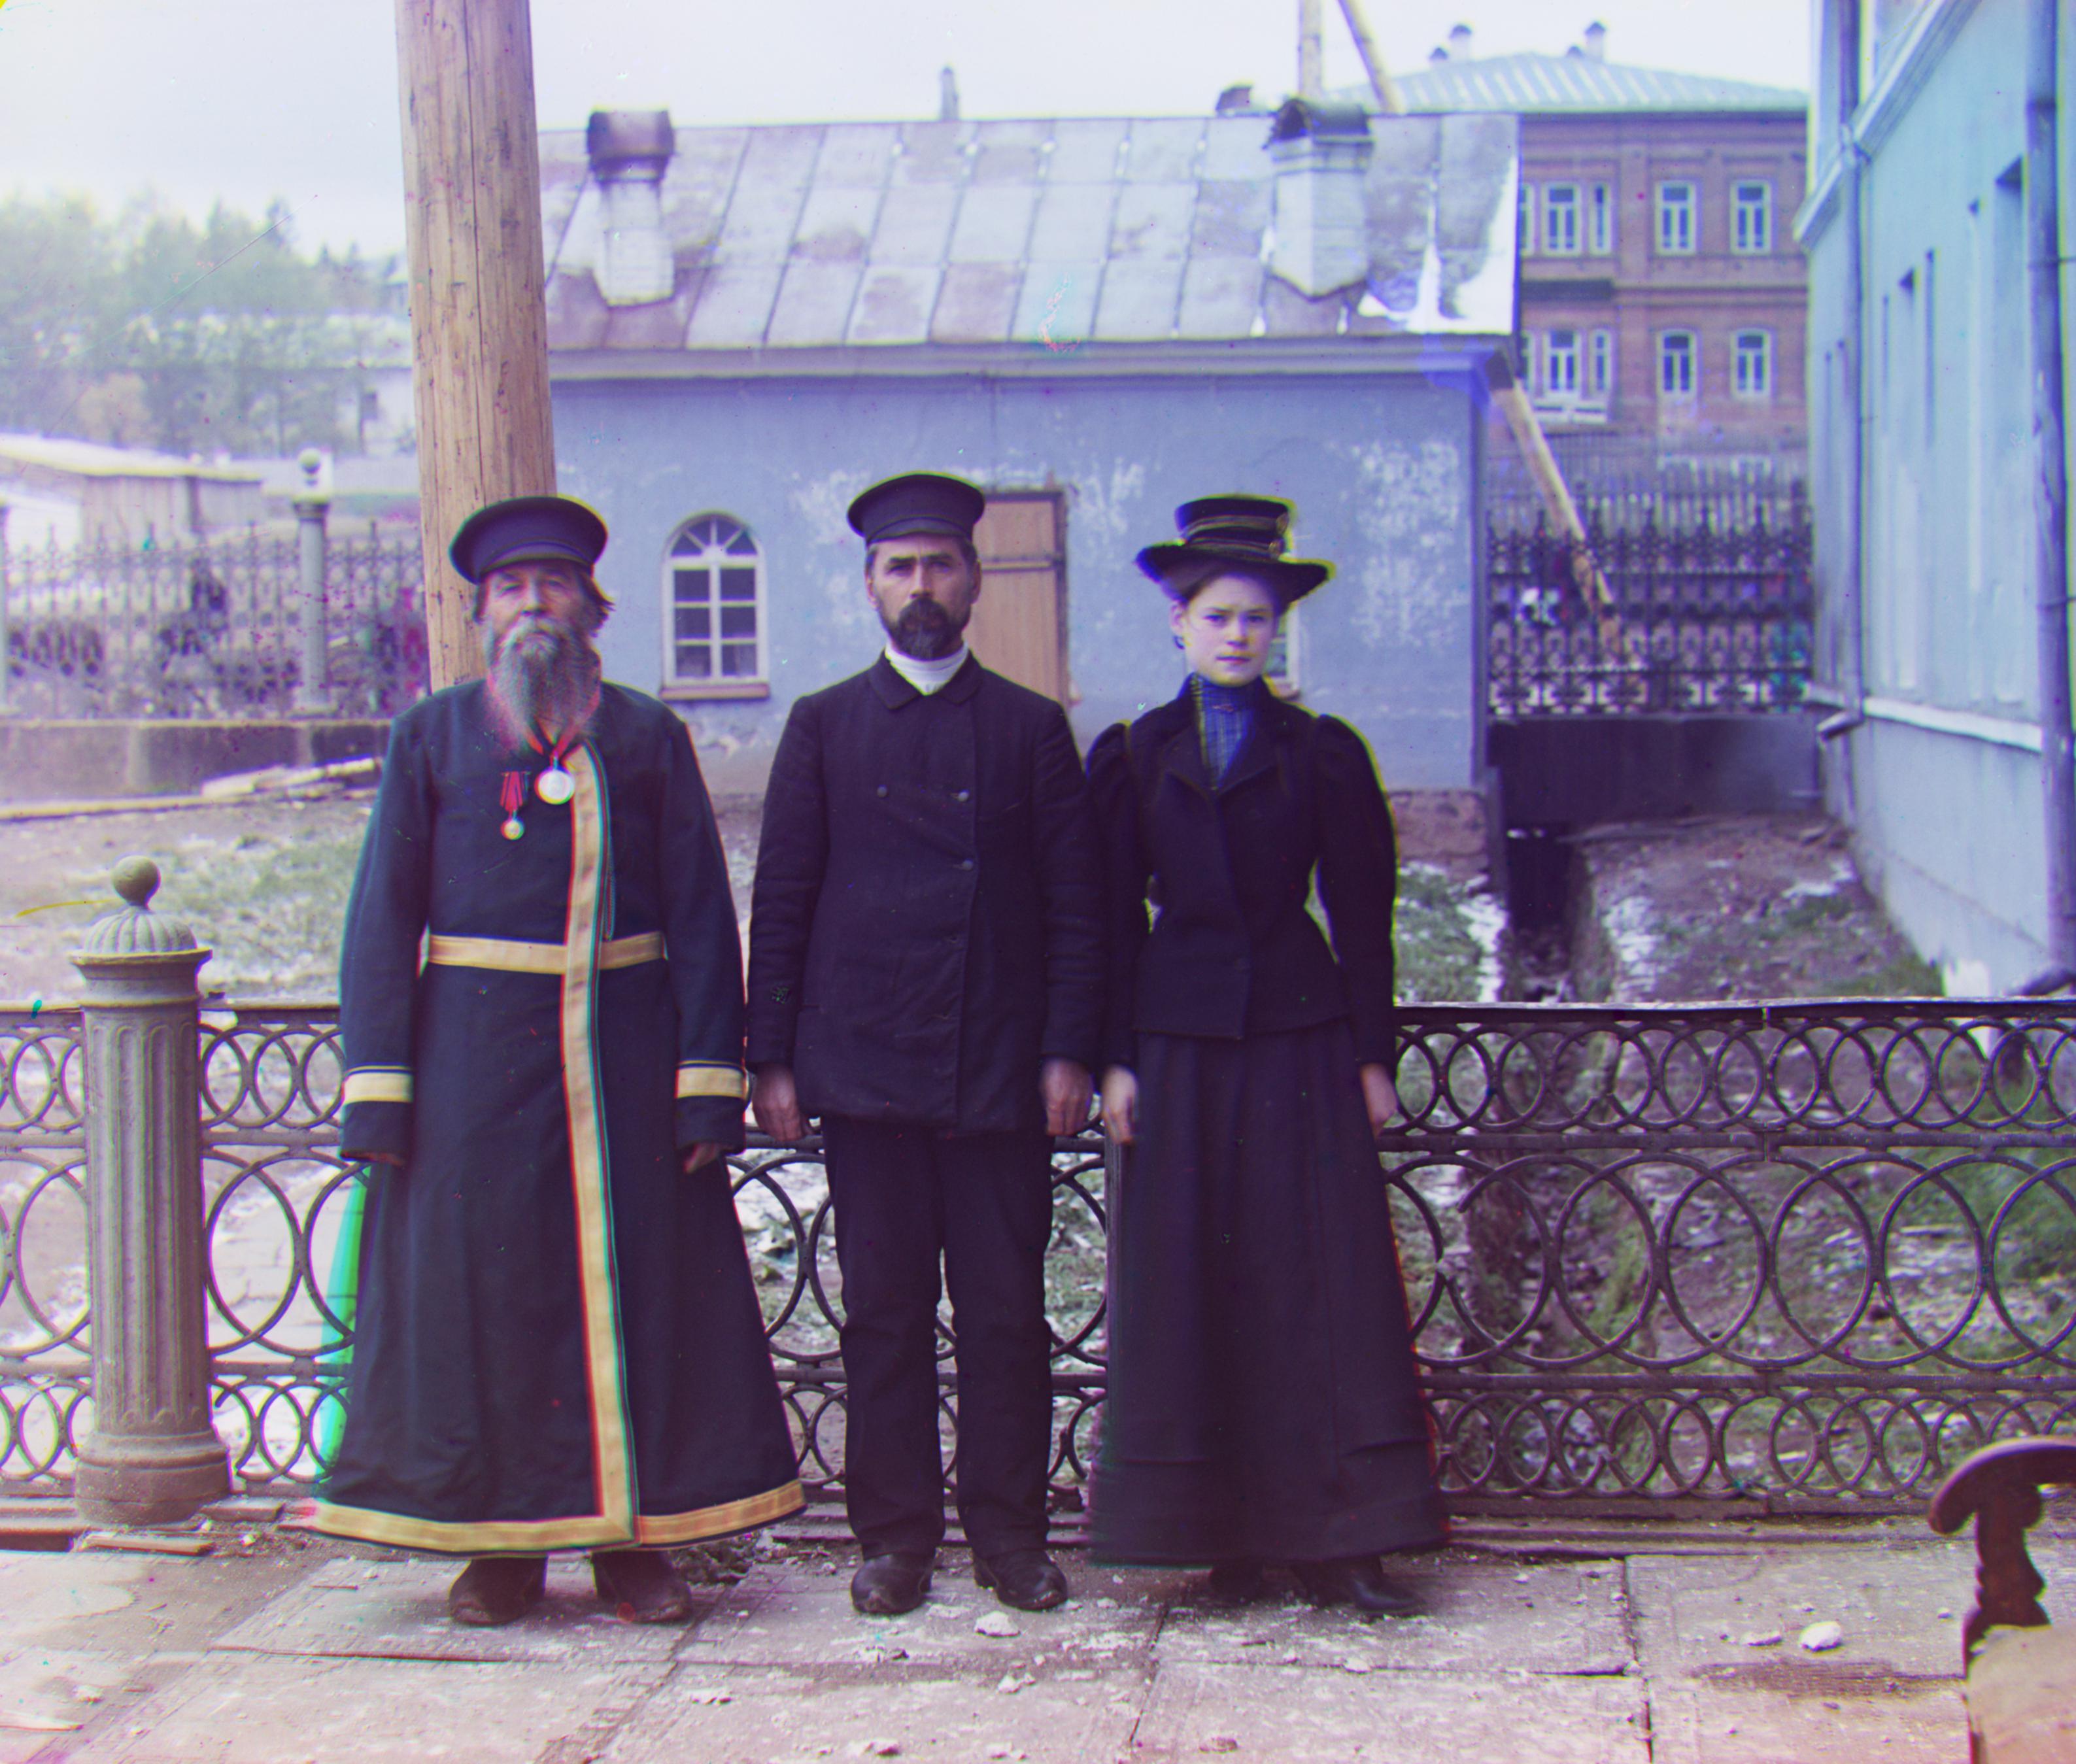
Result with Manual Cropping |
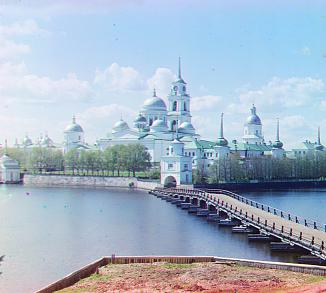
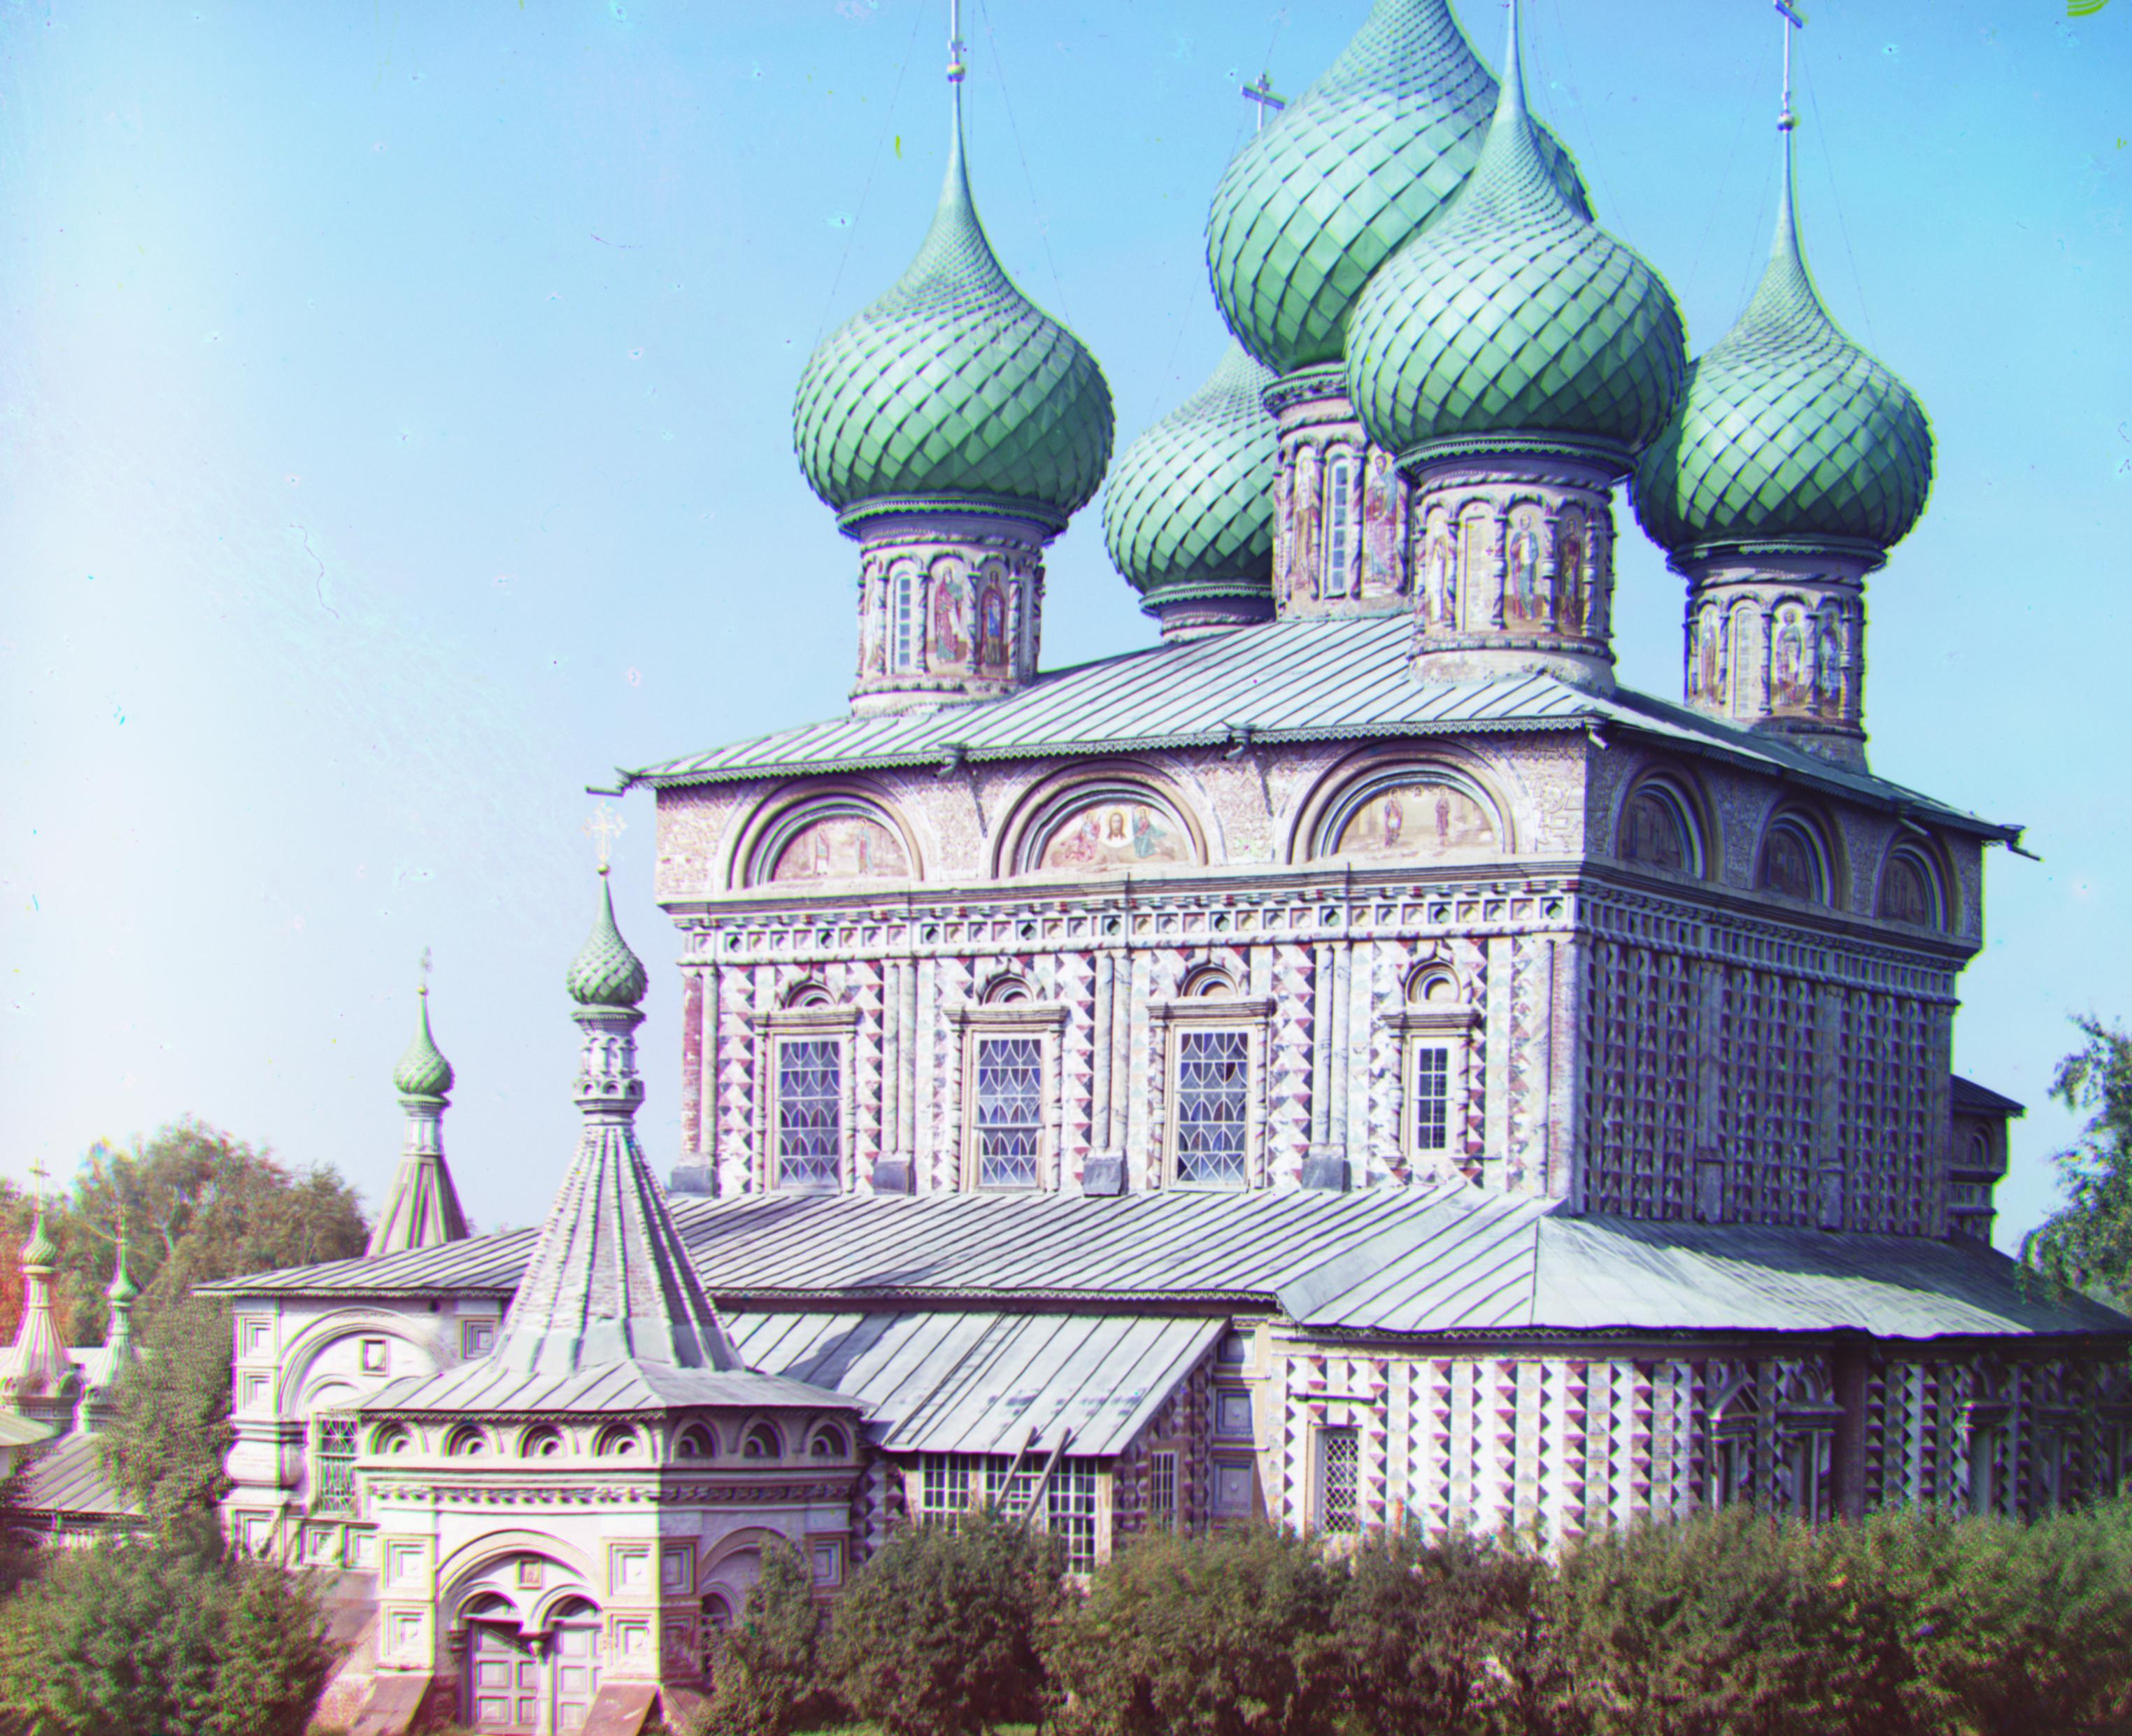
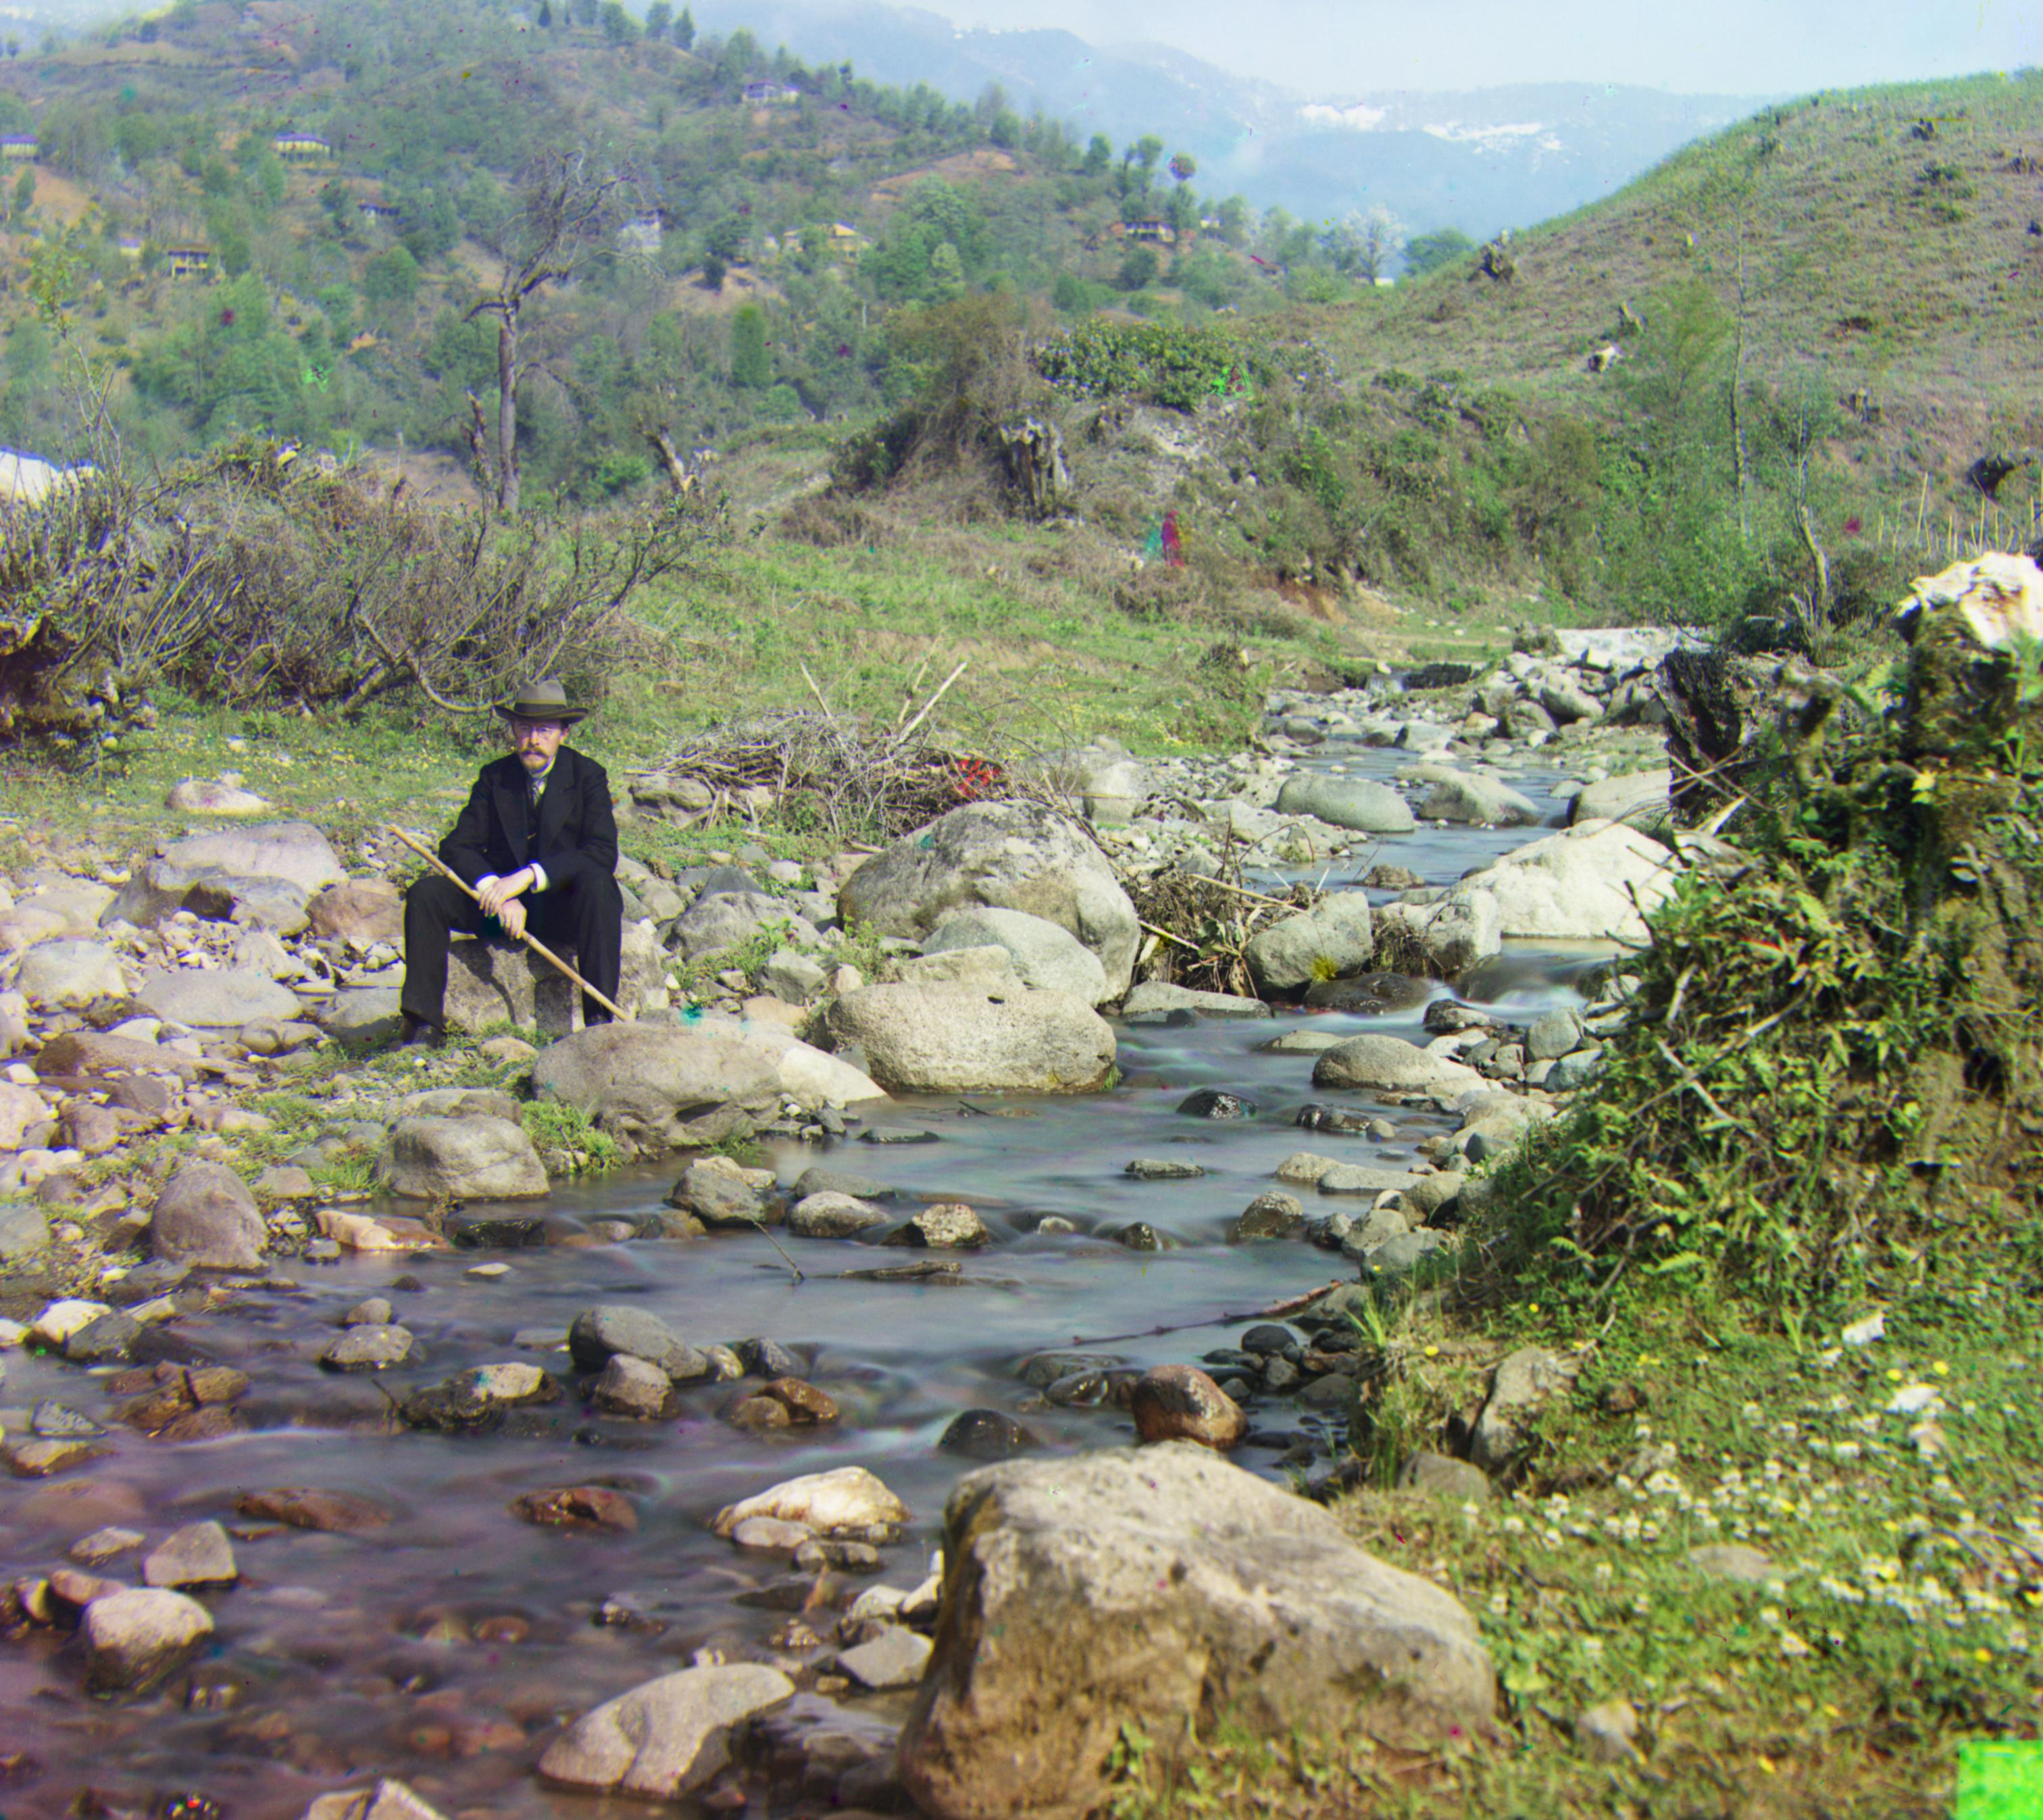
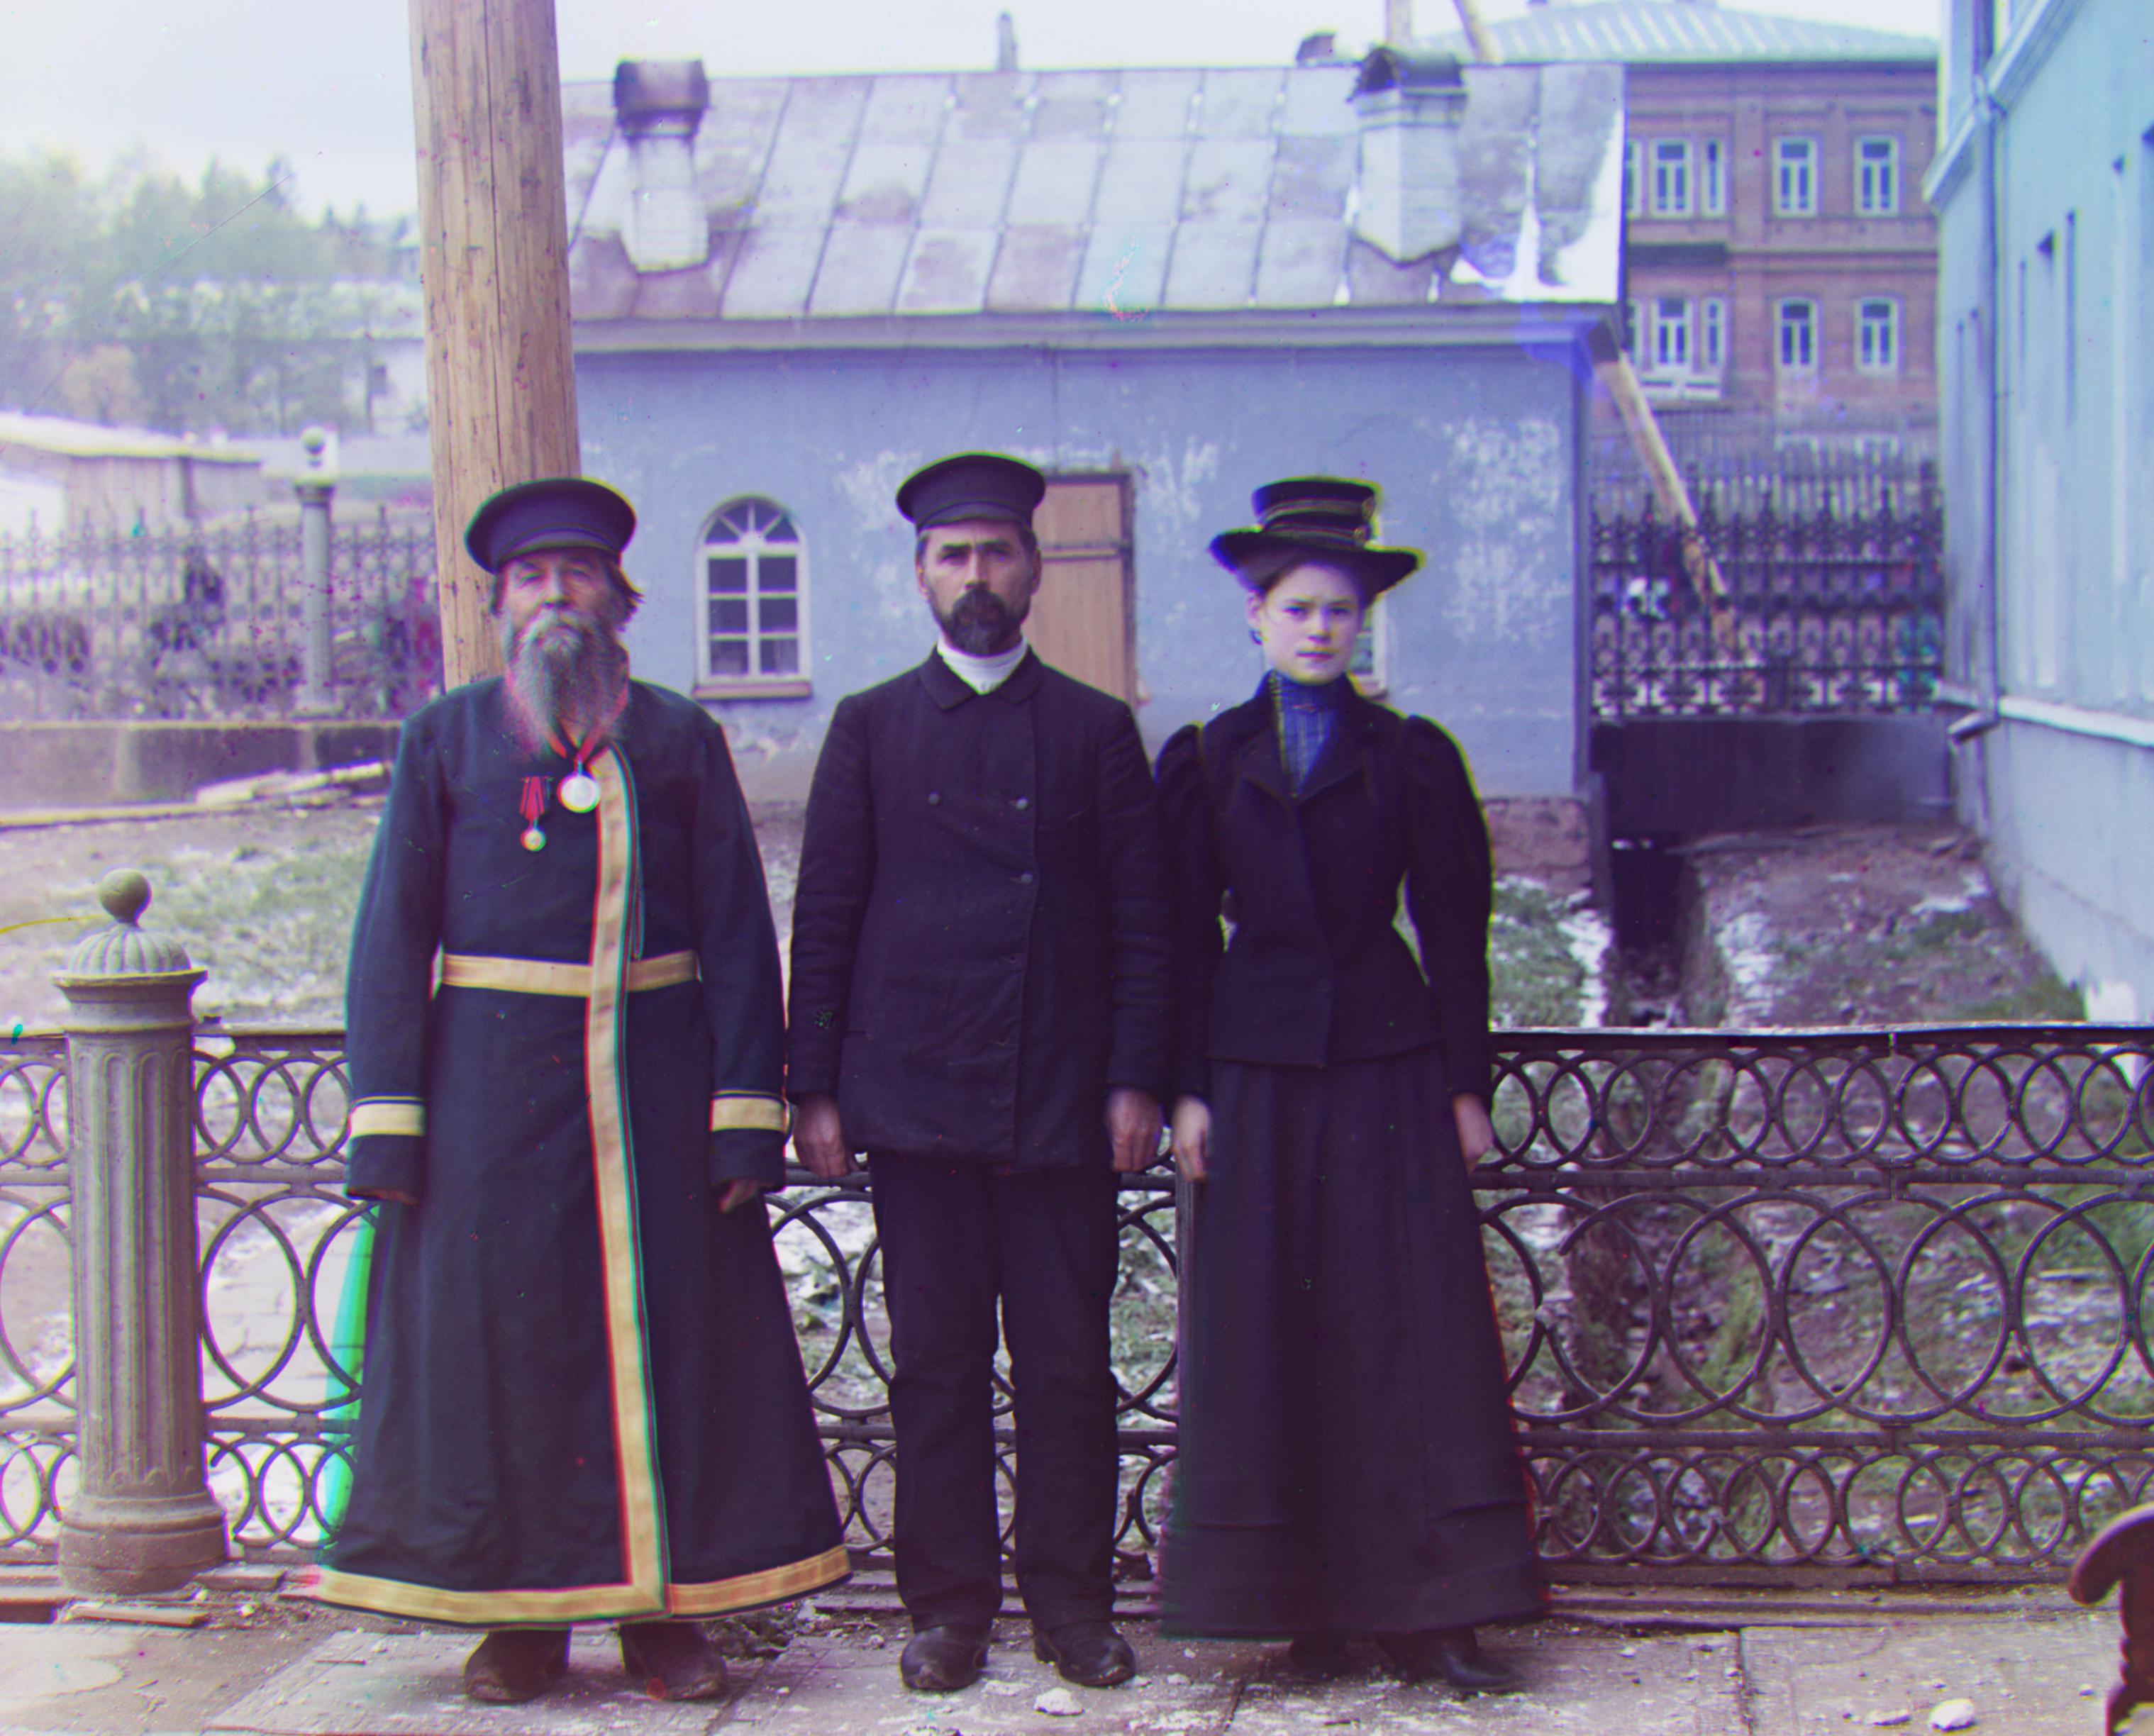
(Final) Result with Automatic Cropping |
Name: Castle
G: (35, 3)
R: (98, 4)
|
 |
 |
Name: Cathedral
G: (5, 2)
R: (12, 3)
|
 |
 |
Name: Emir
G: (49, 24)
R: (104, 45)
|
 |
 |
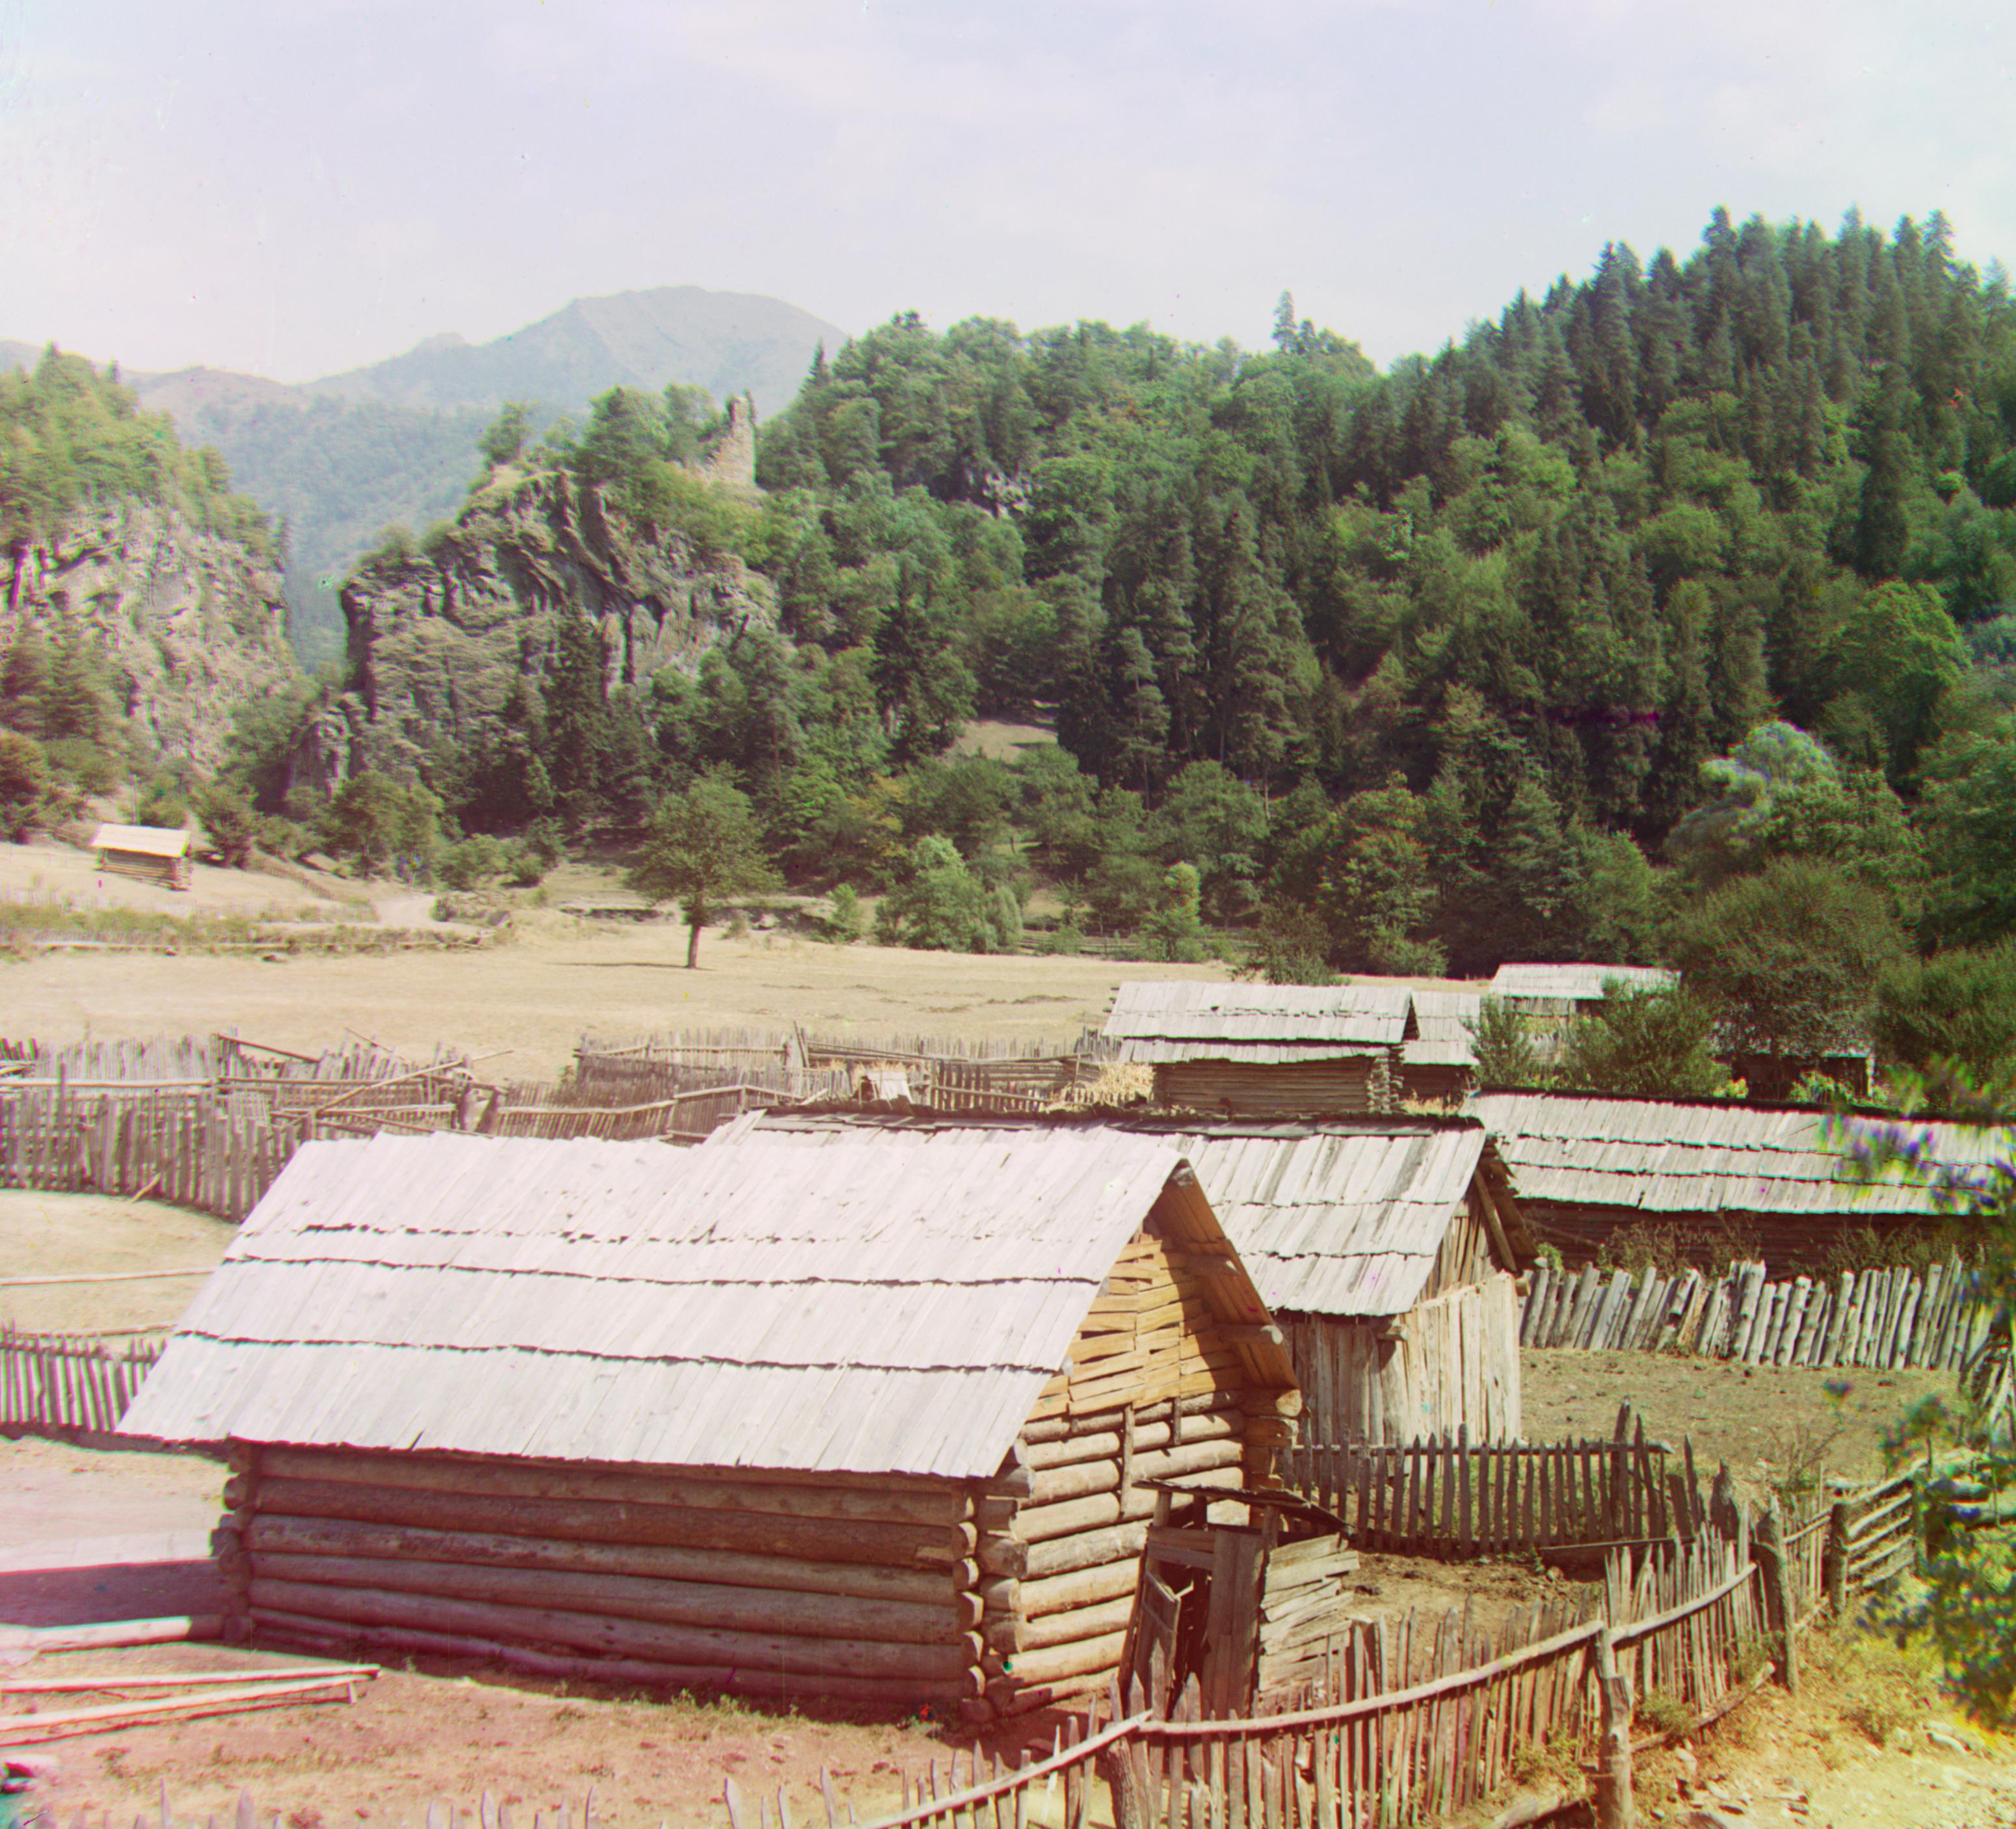
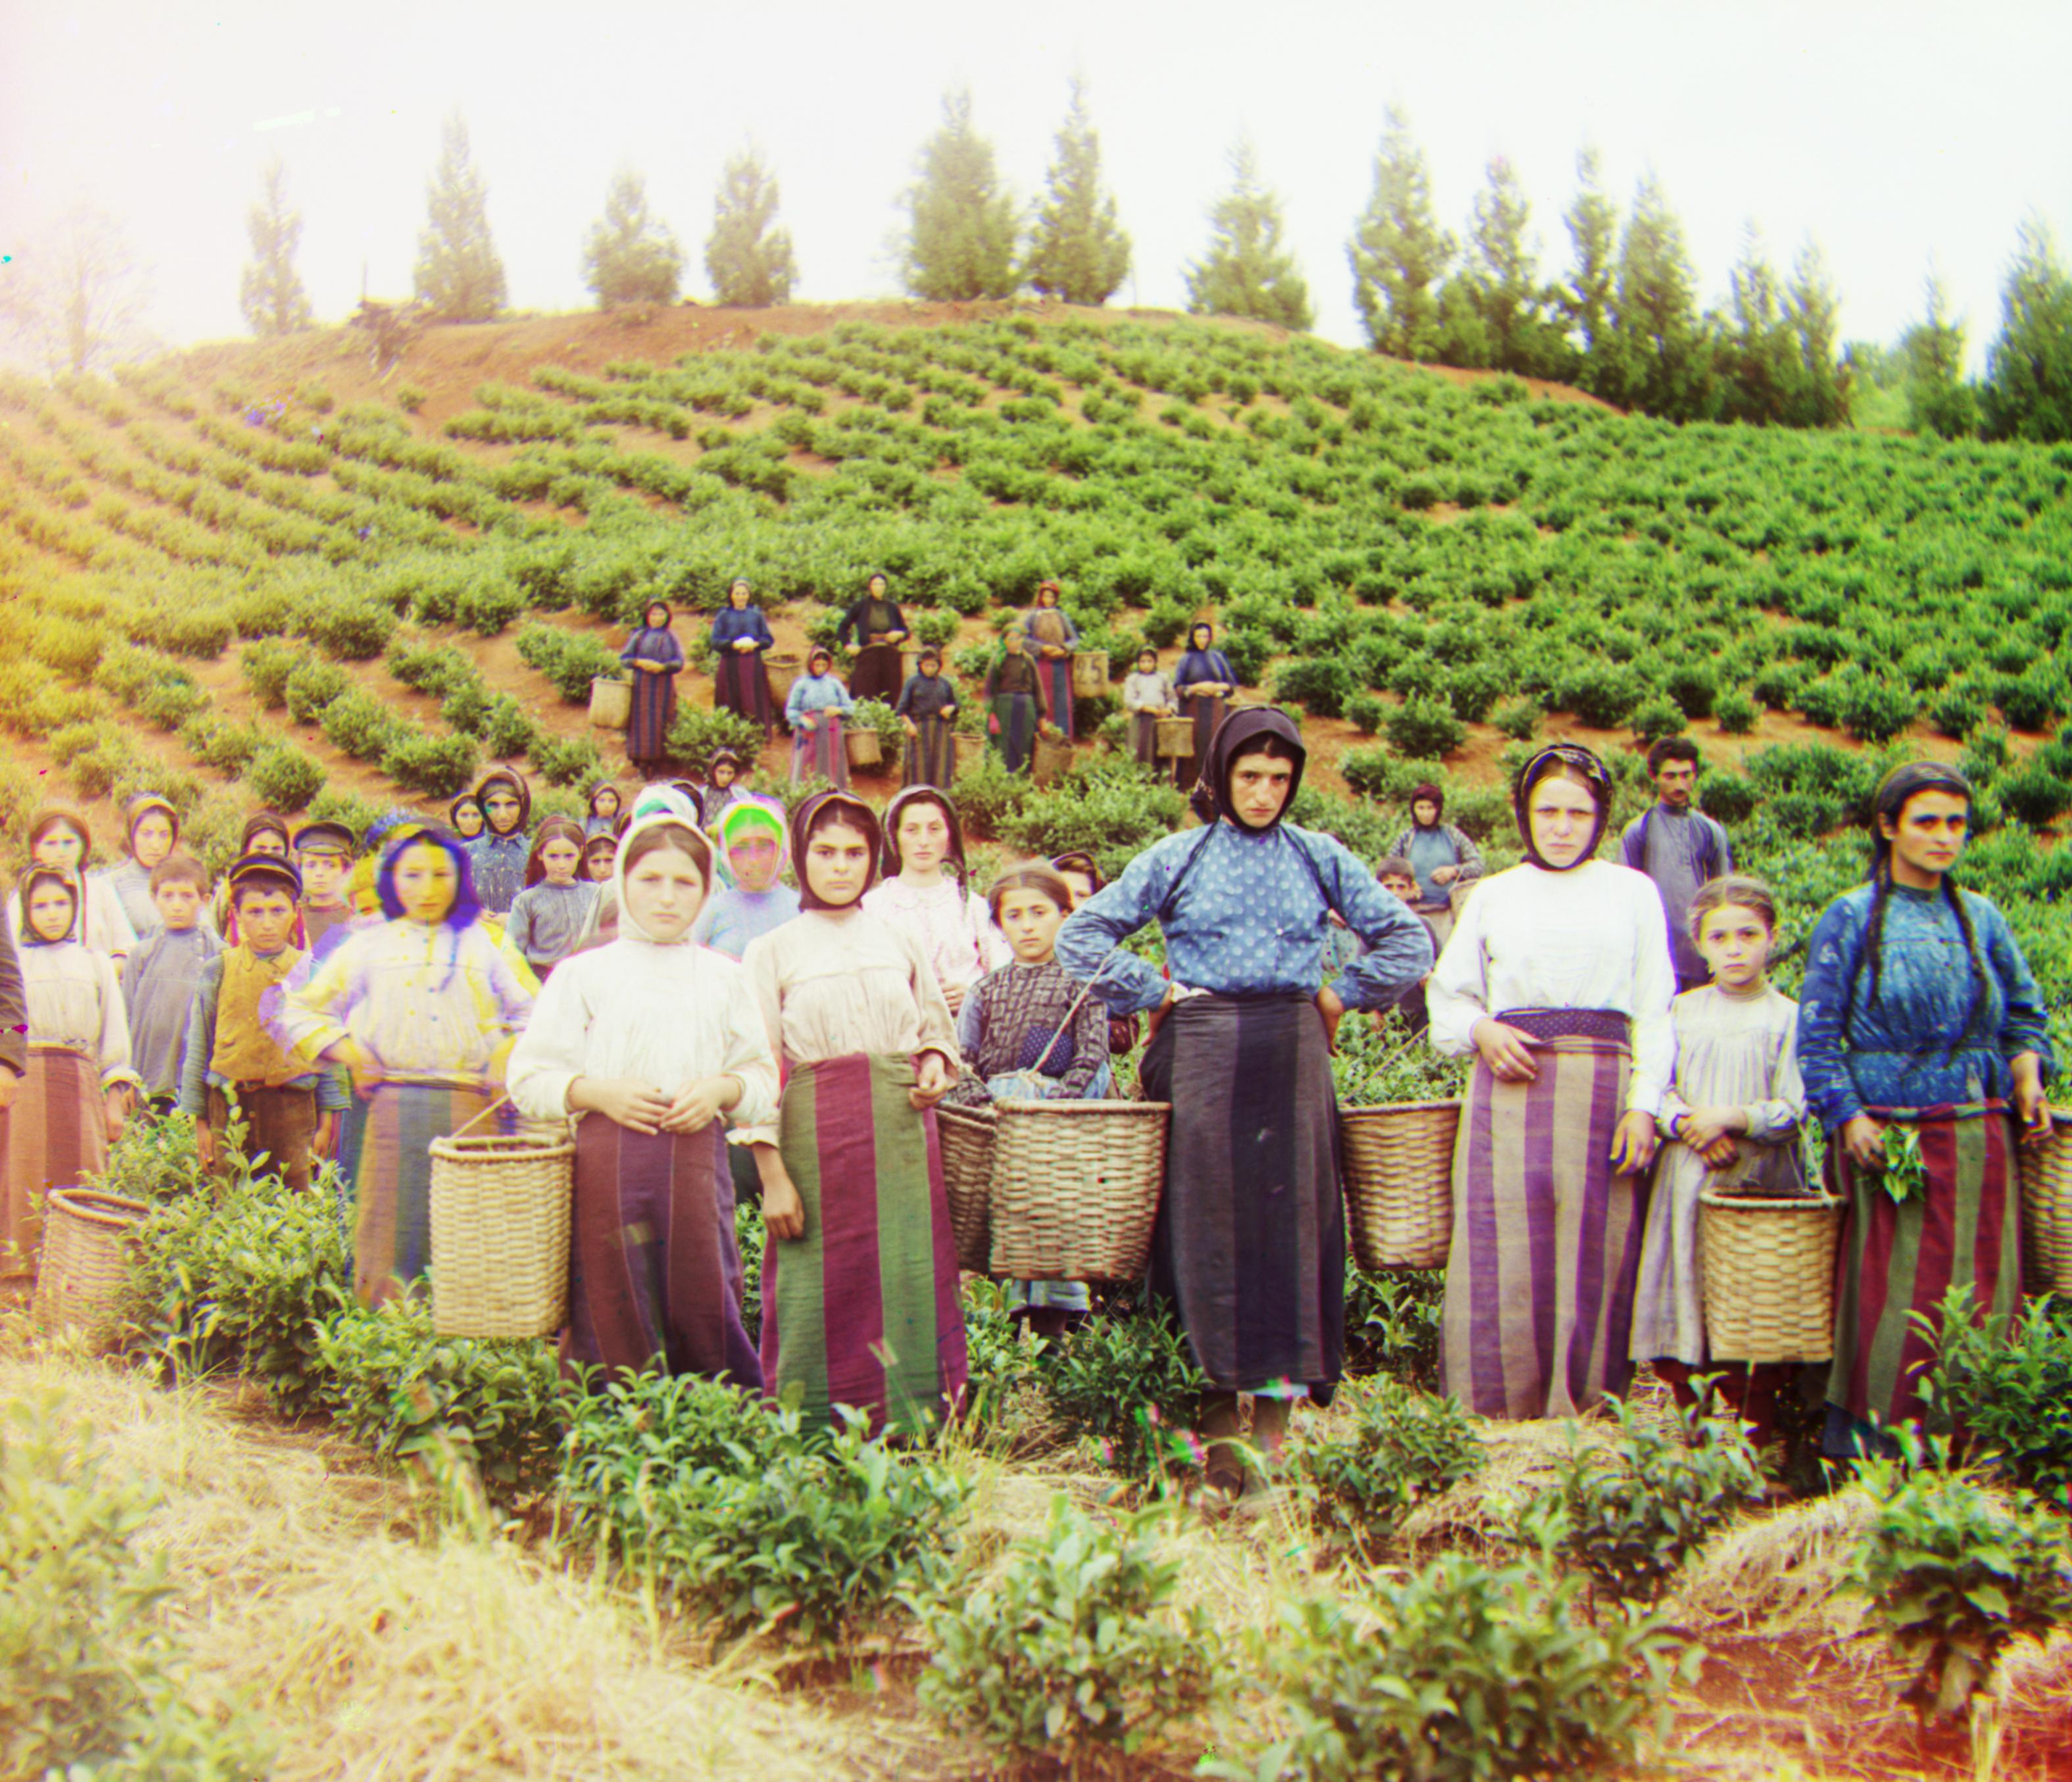
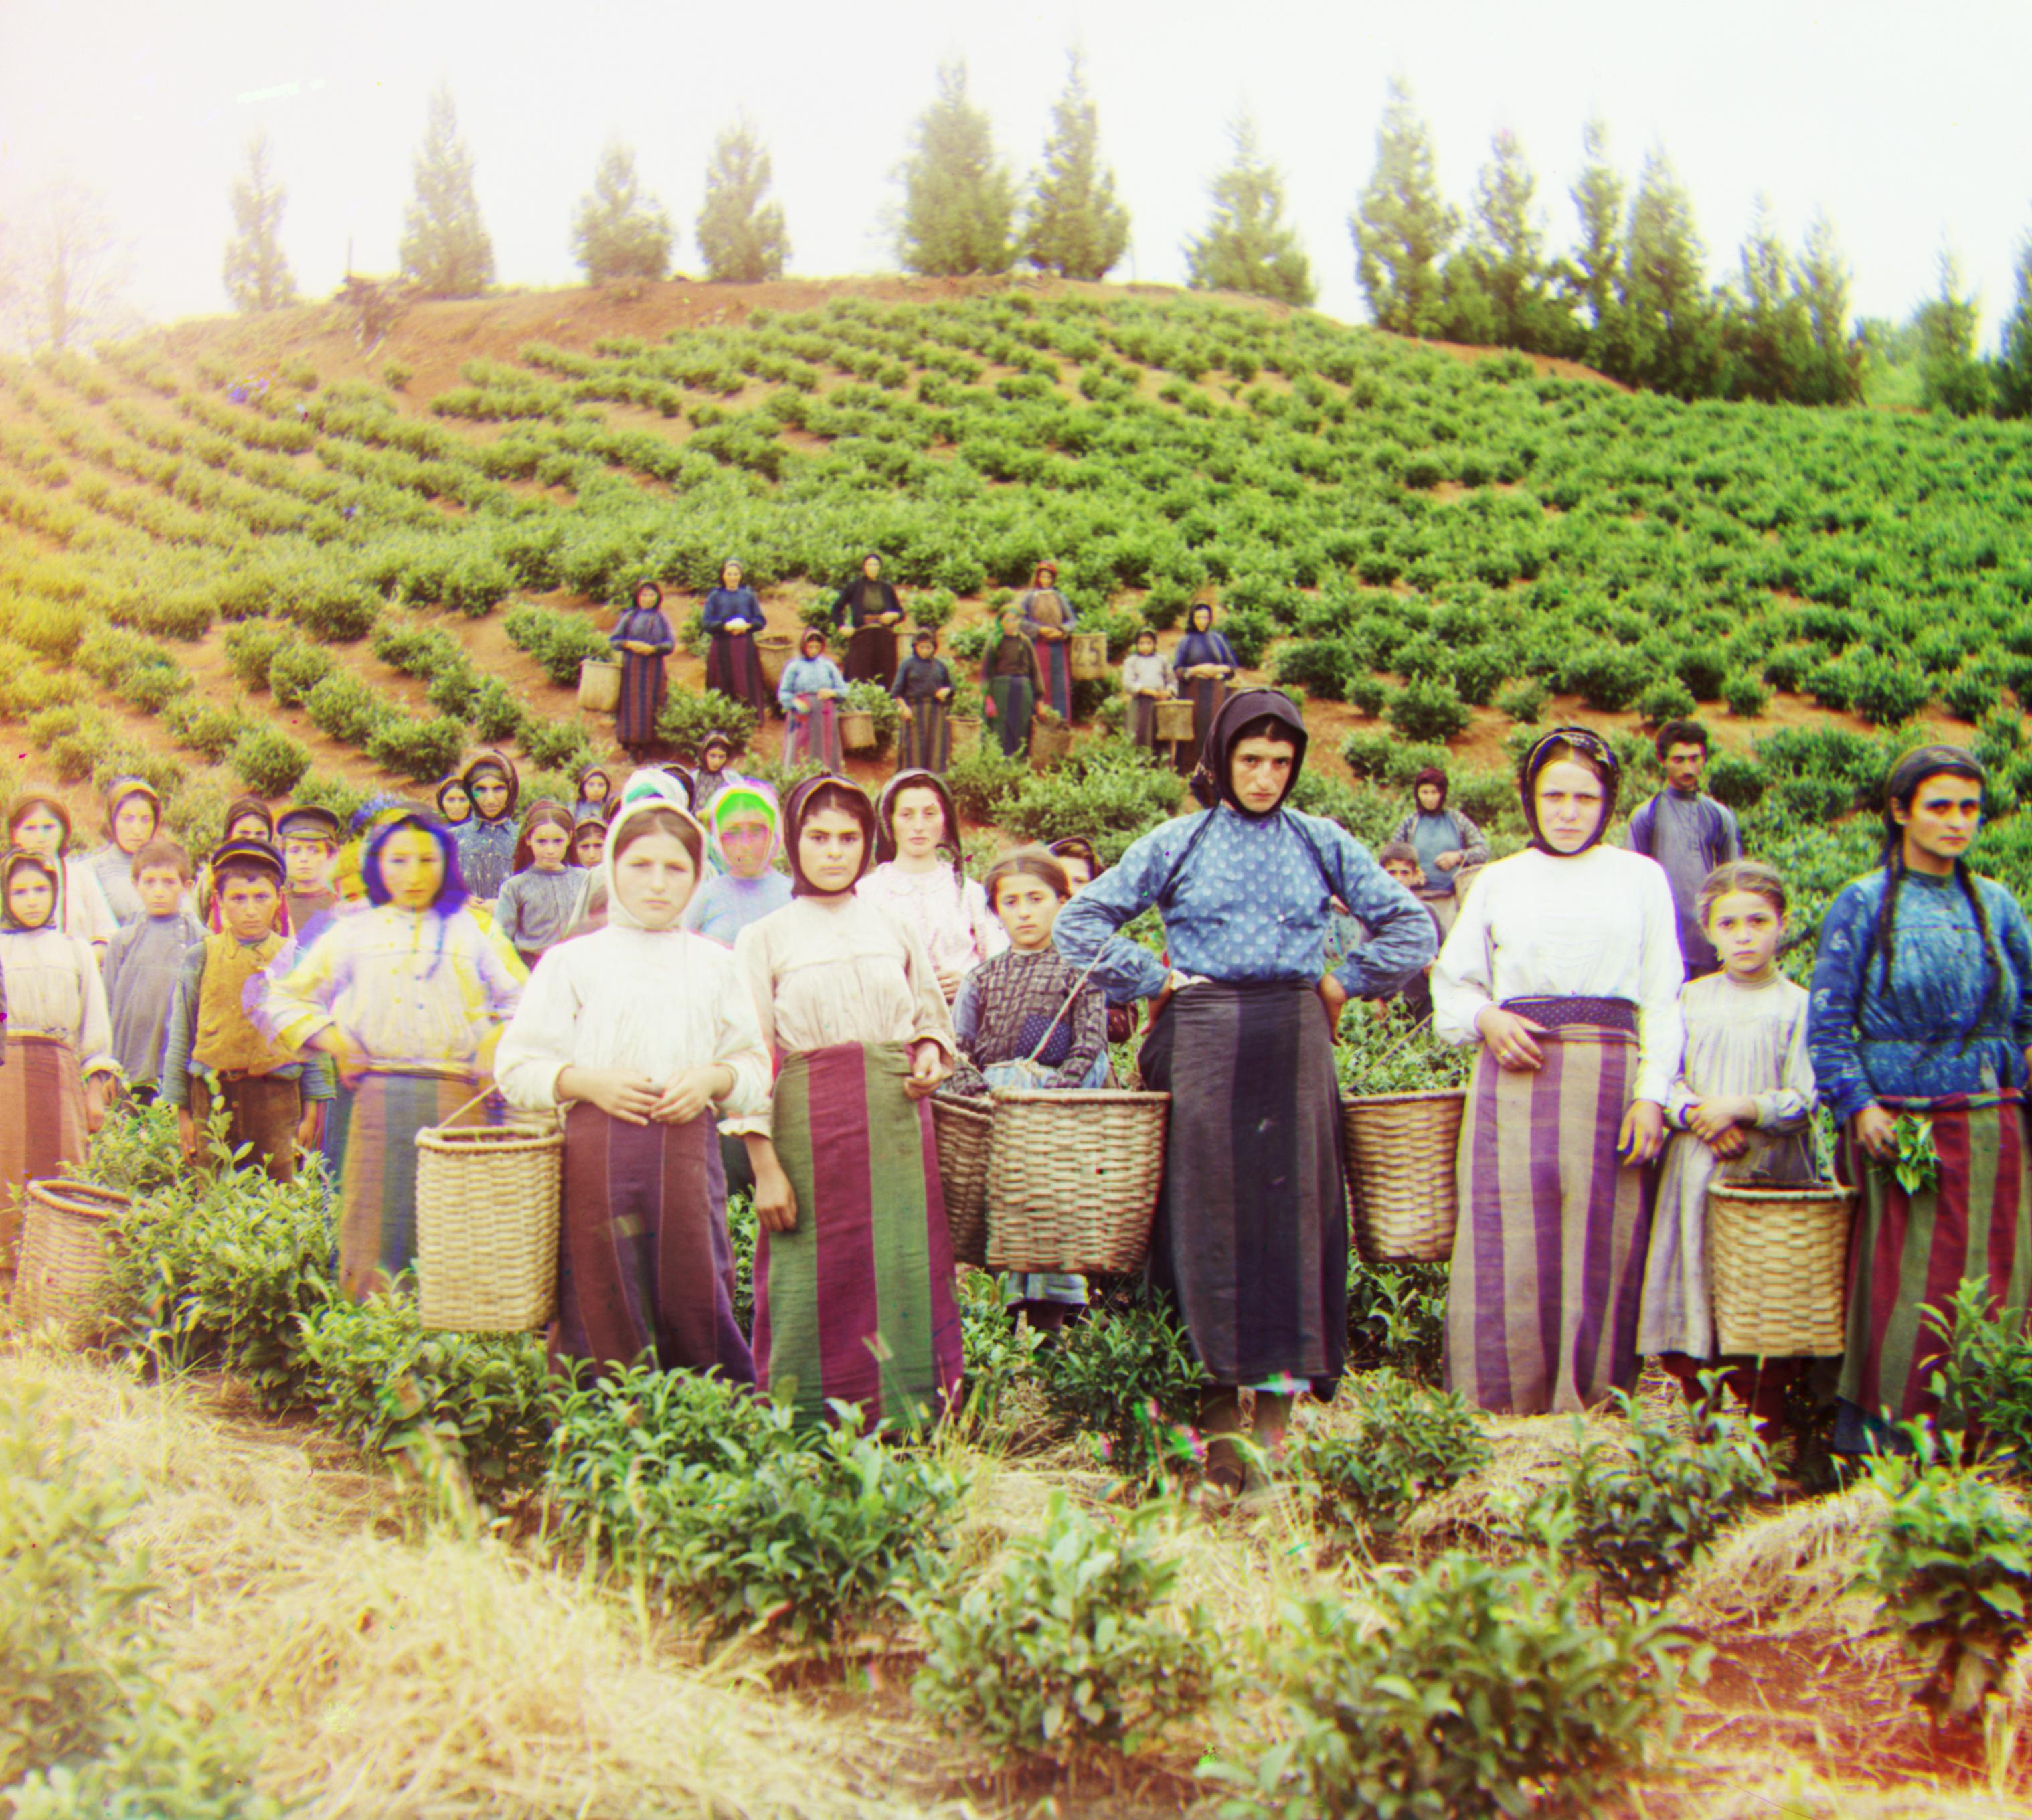
Name: Harvesters
G: (60, 16)
R: (124, 14)
|
 |
 |
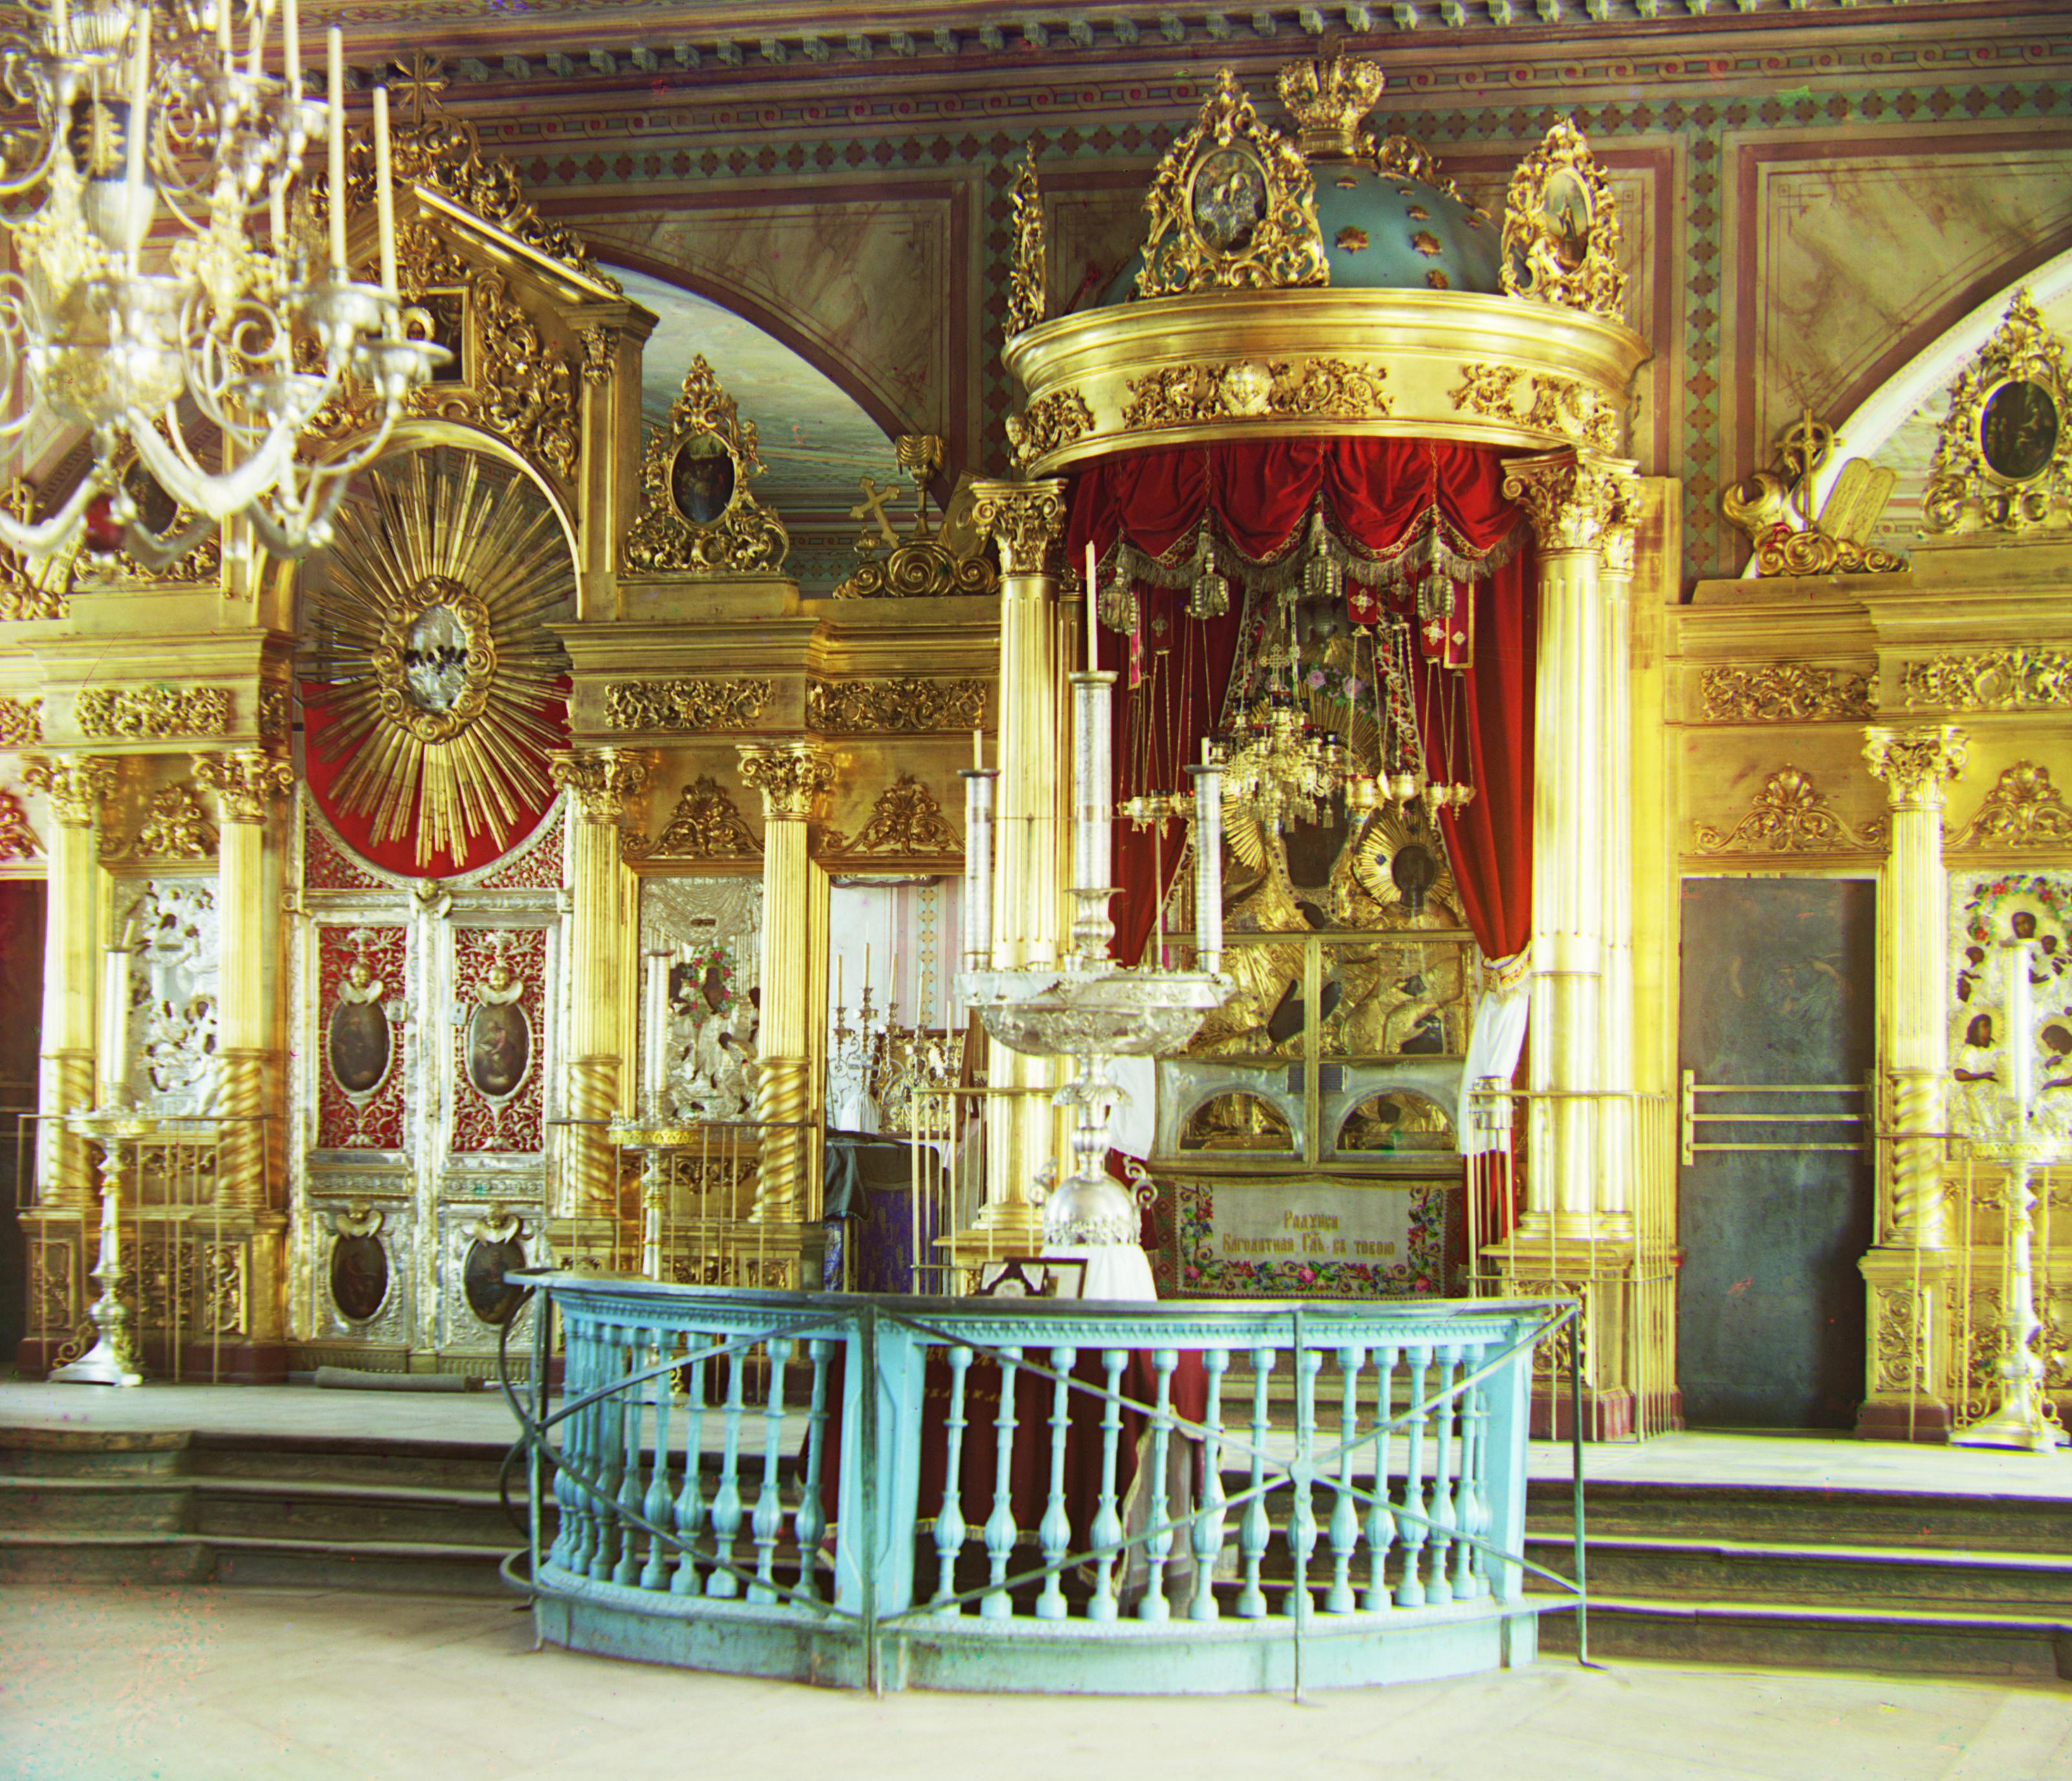
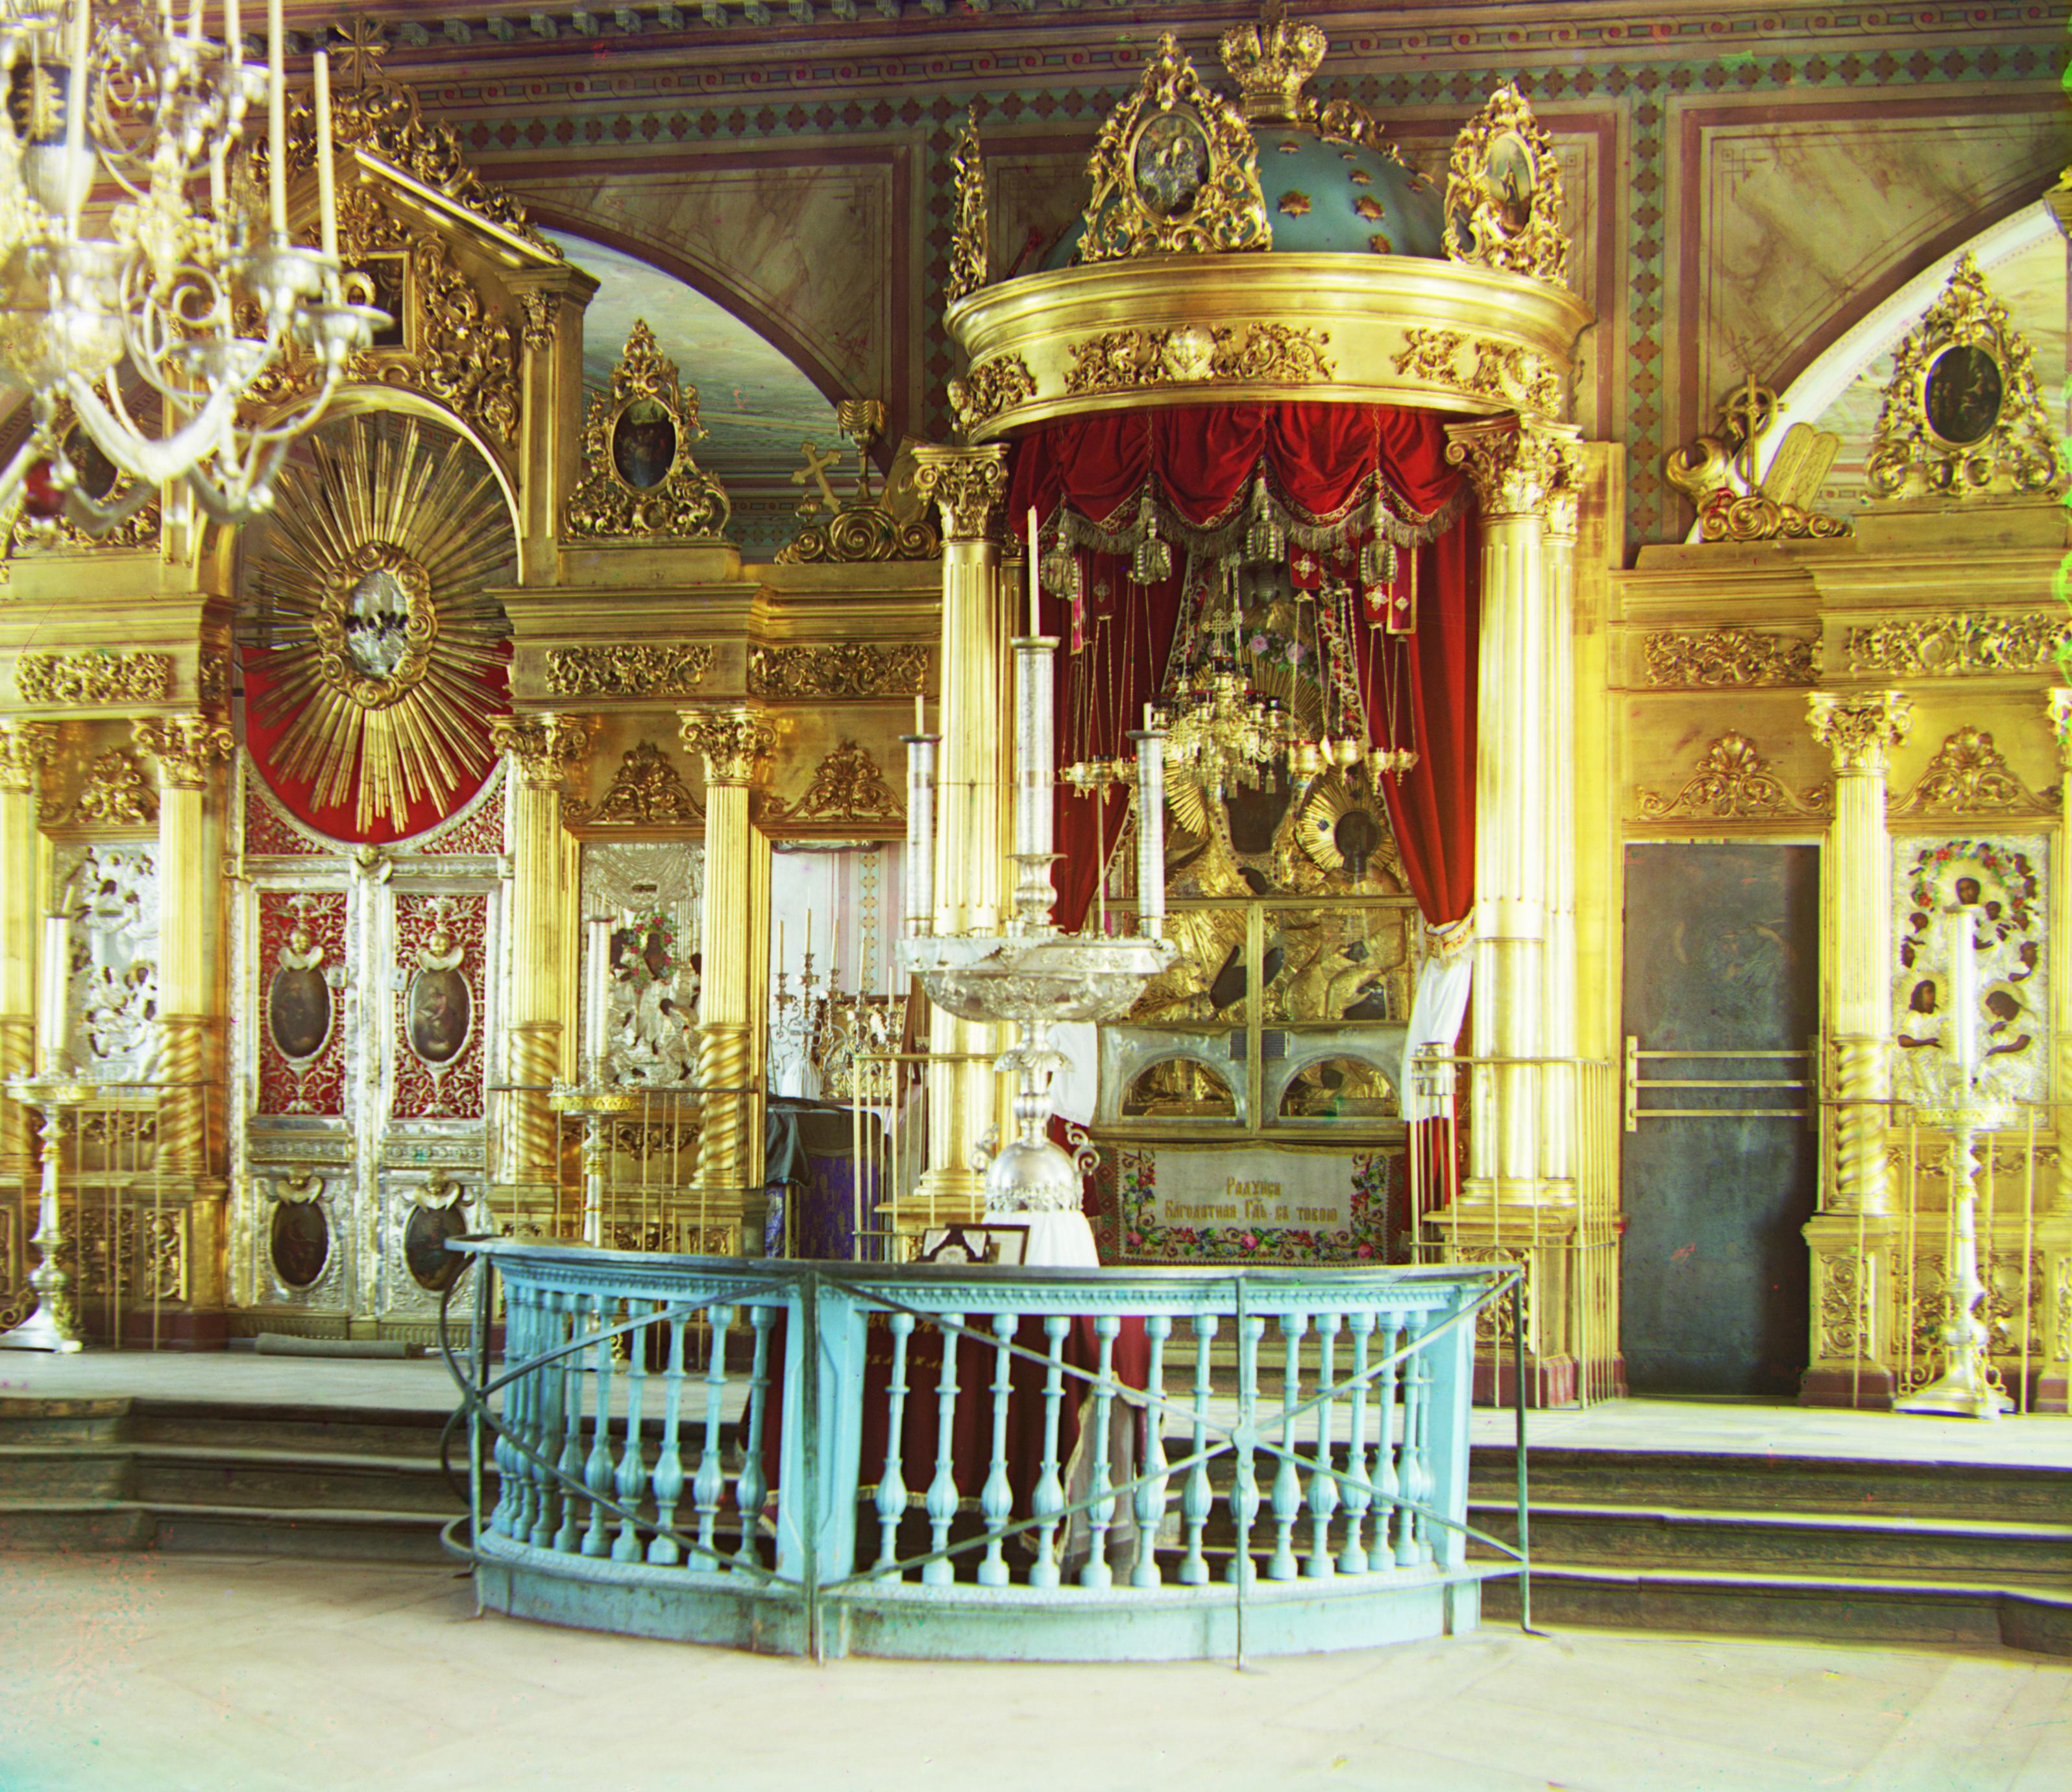
Name: Icon
G: (41, 17)
R: (89, 23)
|
 |
 |
Name: Lady
G: (55, 8)
R: (114, 11)
|
 |
 |
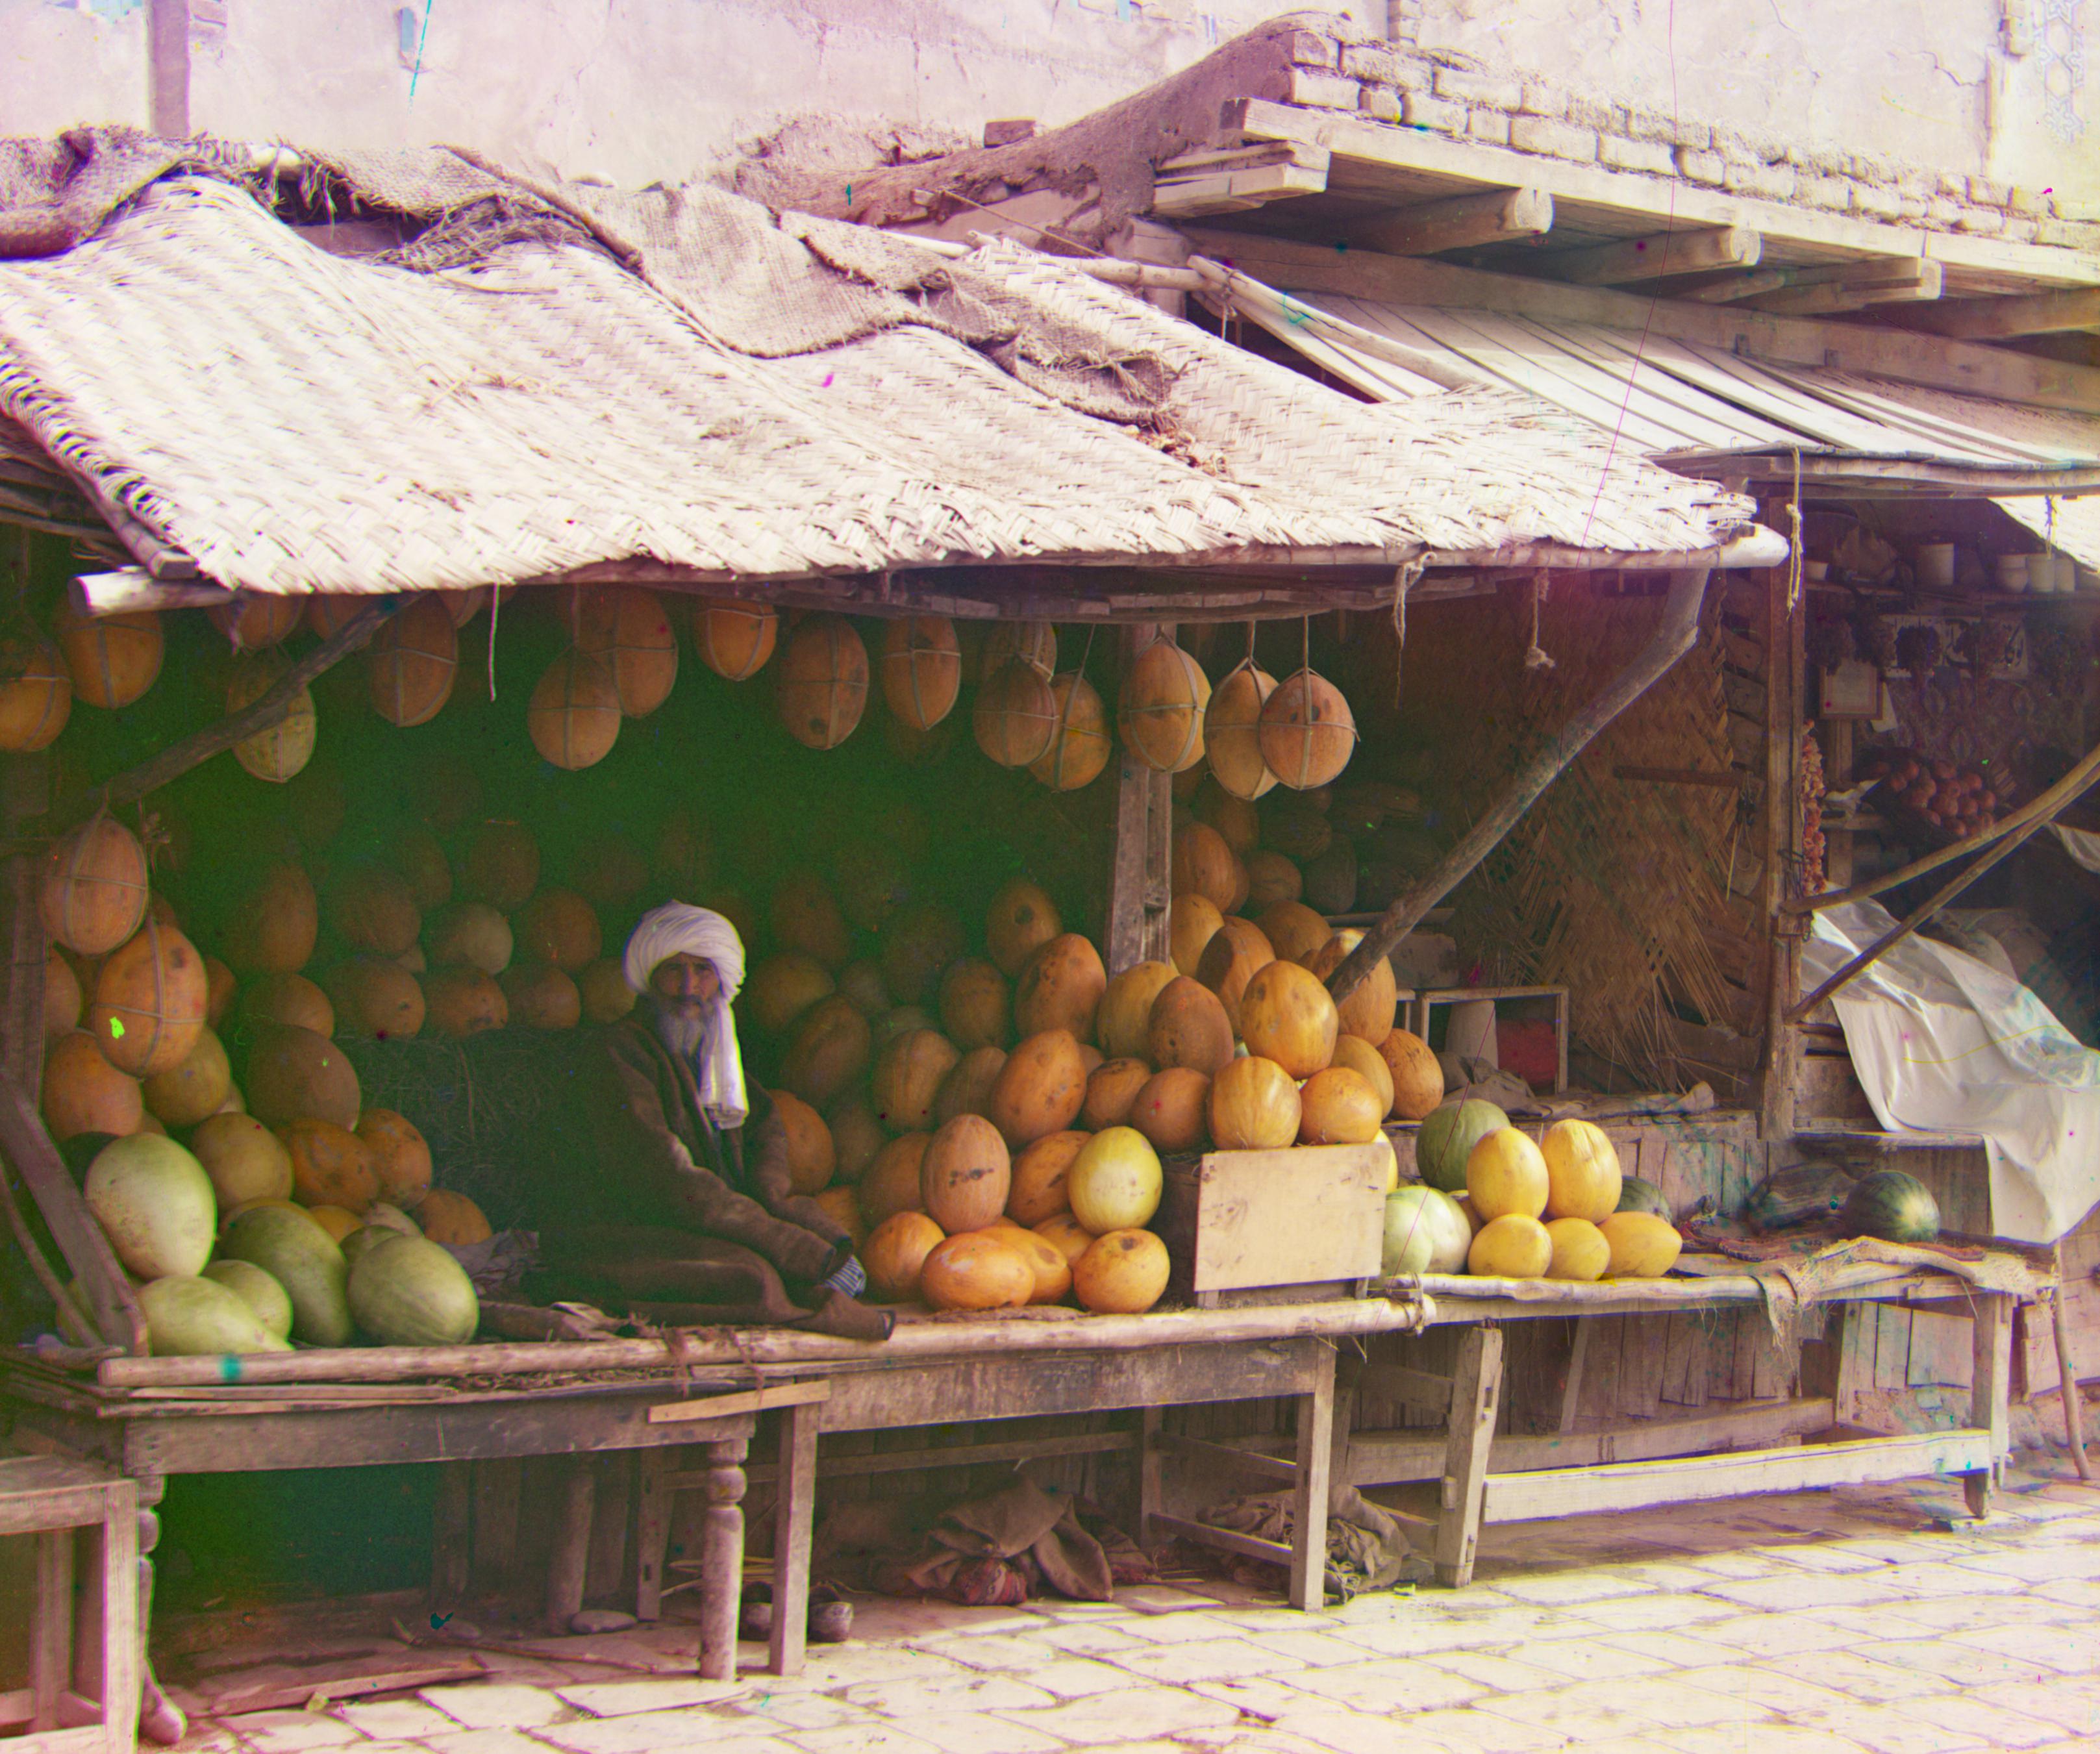
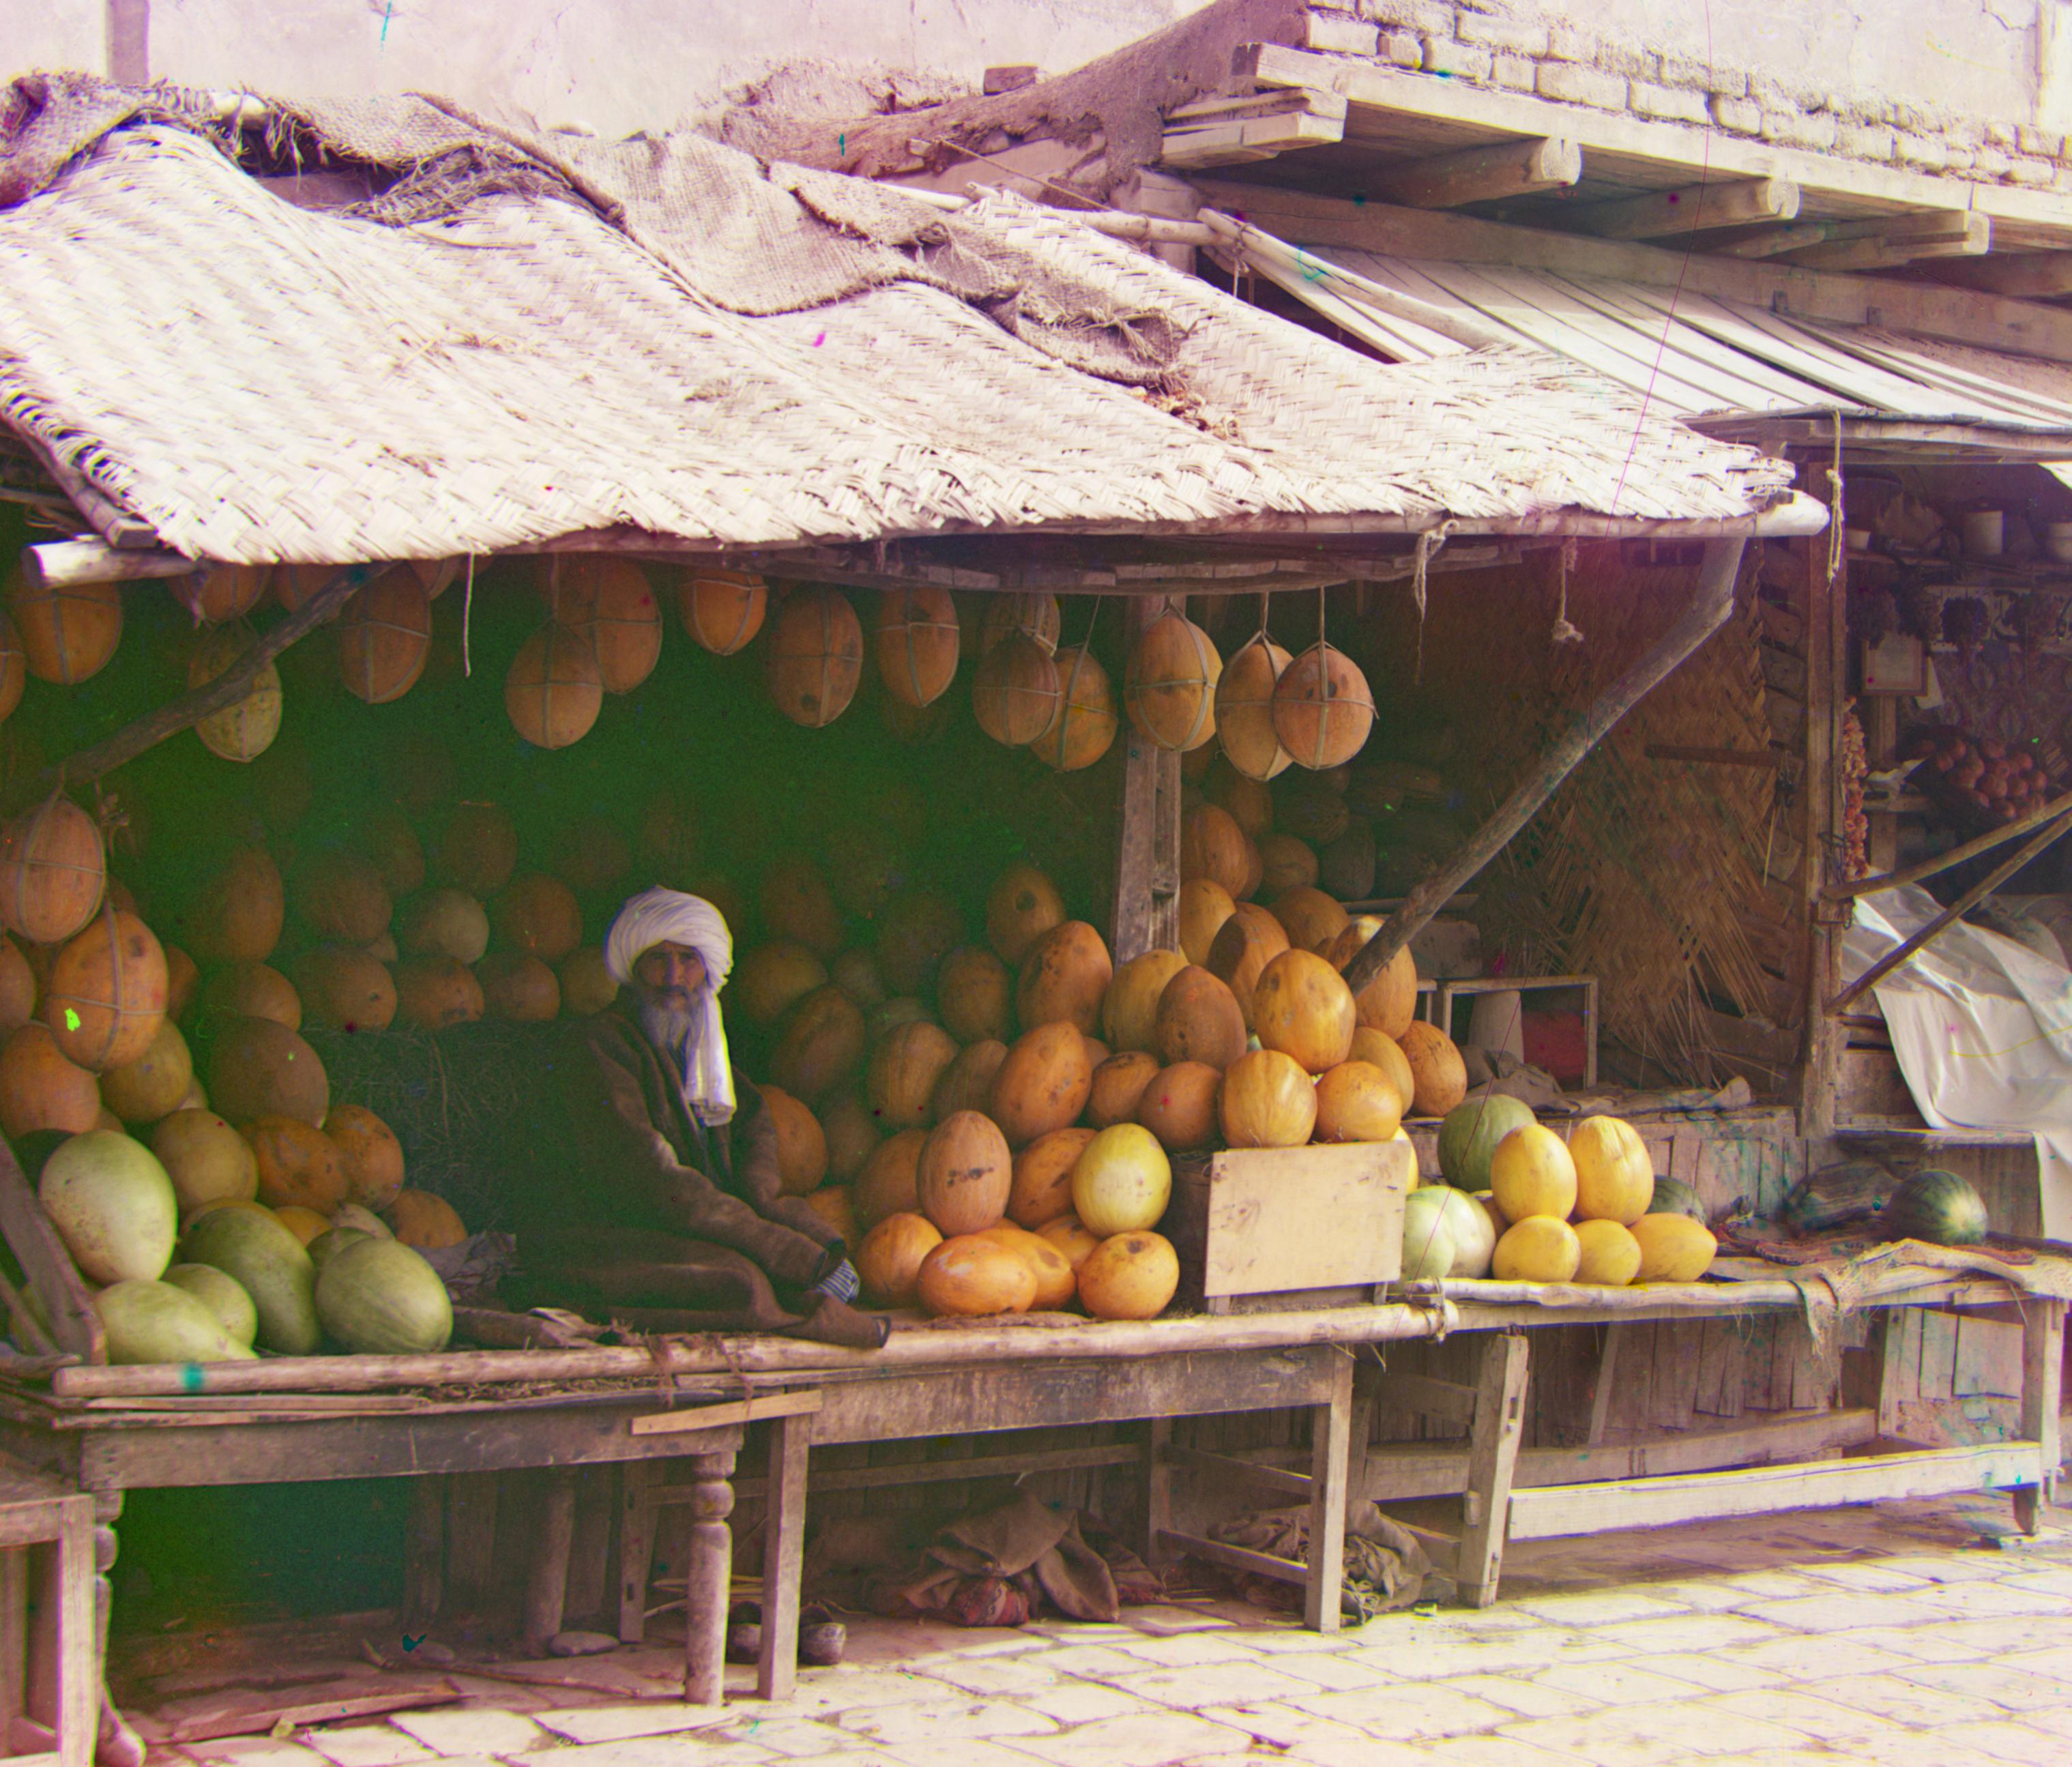
Name: Melons
G: (82, 10)
R: (178, 13)
|
 |
 |
Name: Monastery
G: (-3, 2)
R: (3, 2)
|
 |
 |
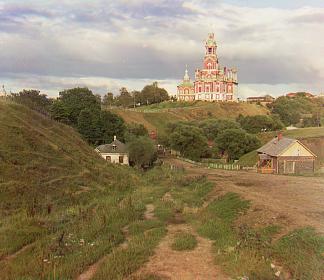
Name: Onion Church
G: (51, 26)
R: (108, 36)
|
 |
 |
Name: Self Portrait
G: (80, 29)
R: (177, 37)
|
 |
 |
Name: Three Generations
G: (53, 14)
R: (111, 11)
|
 |
 |
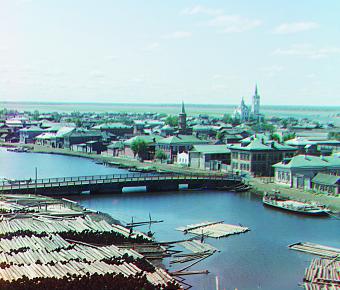
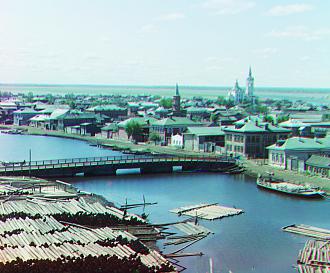
Name: Tobolsk
G: (3, 2)
R: (6, 3)
|
 |
 |
Name: Train
G: (43, 6)
R: (87, 32)
|
 |
 |
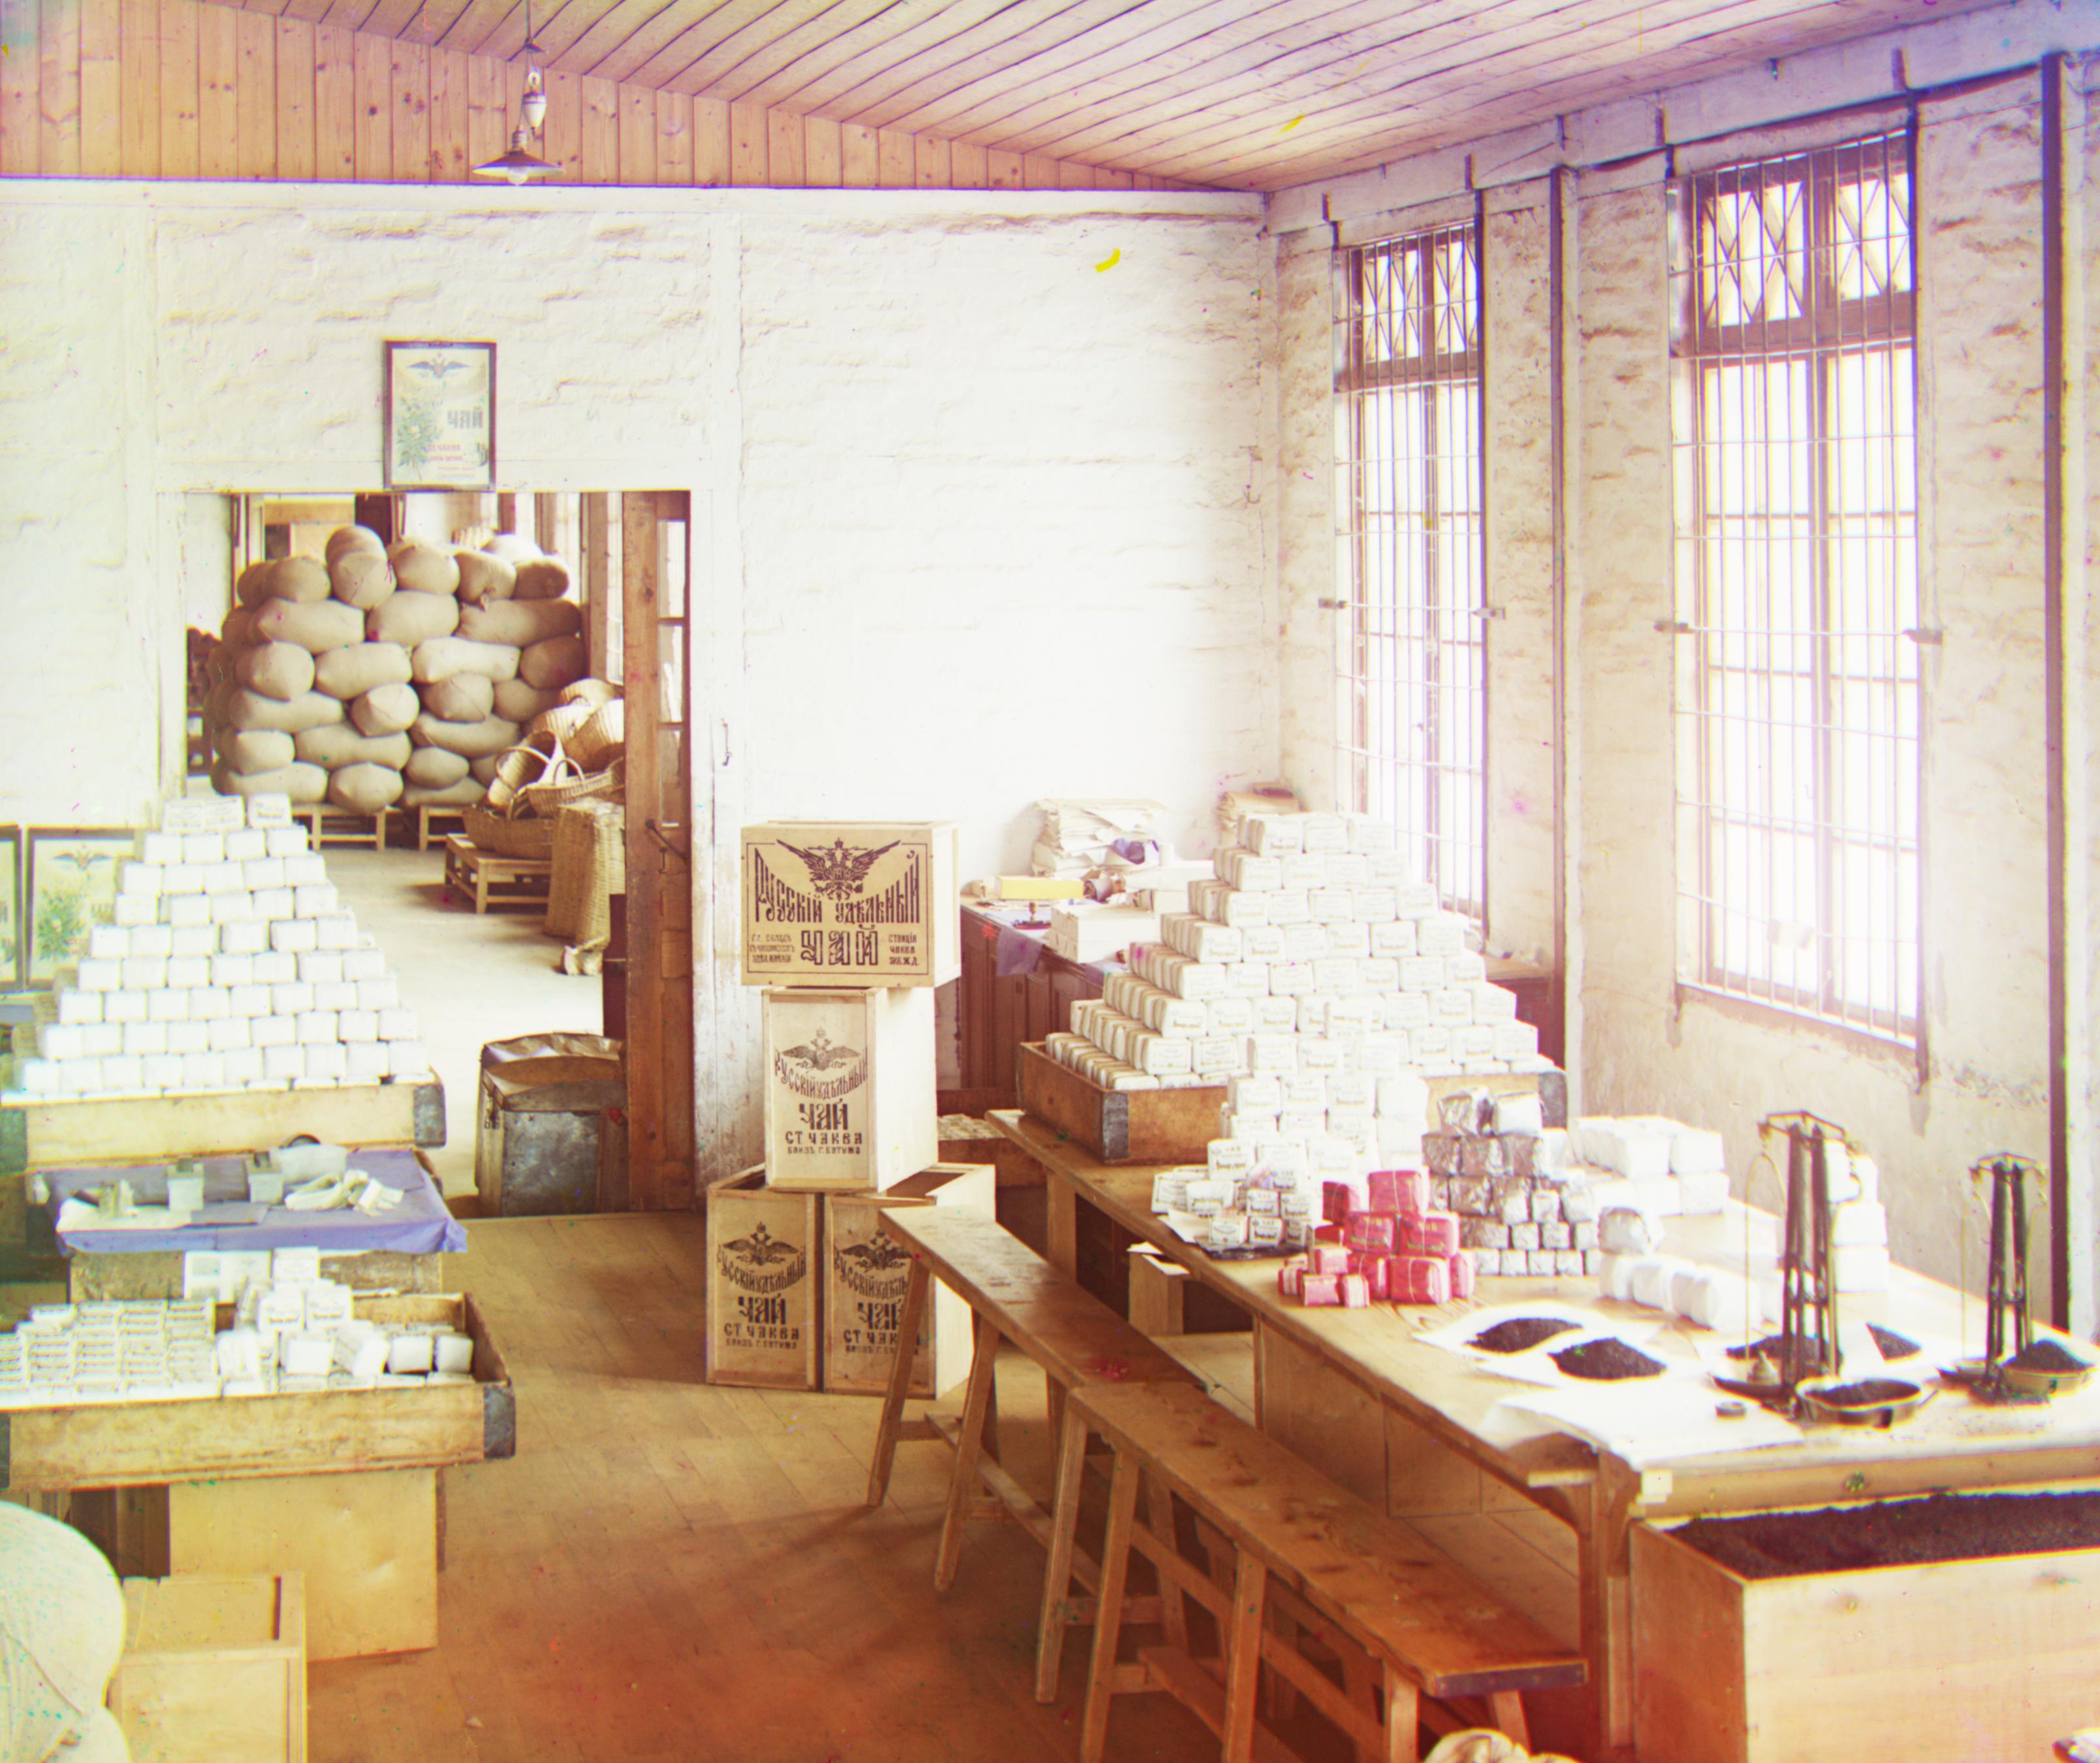
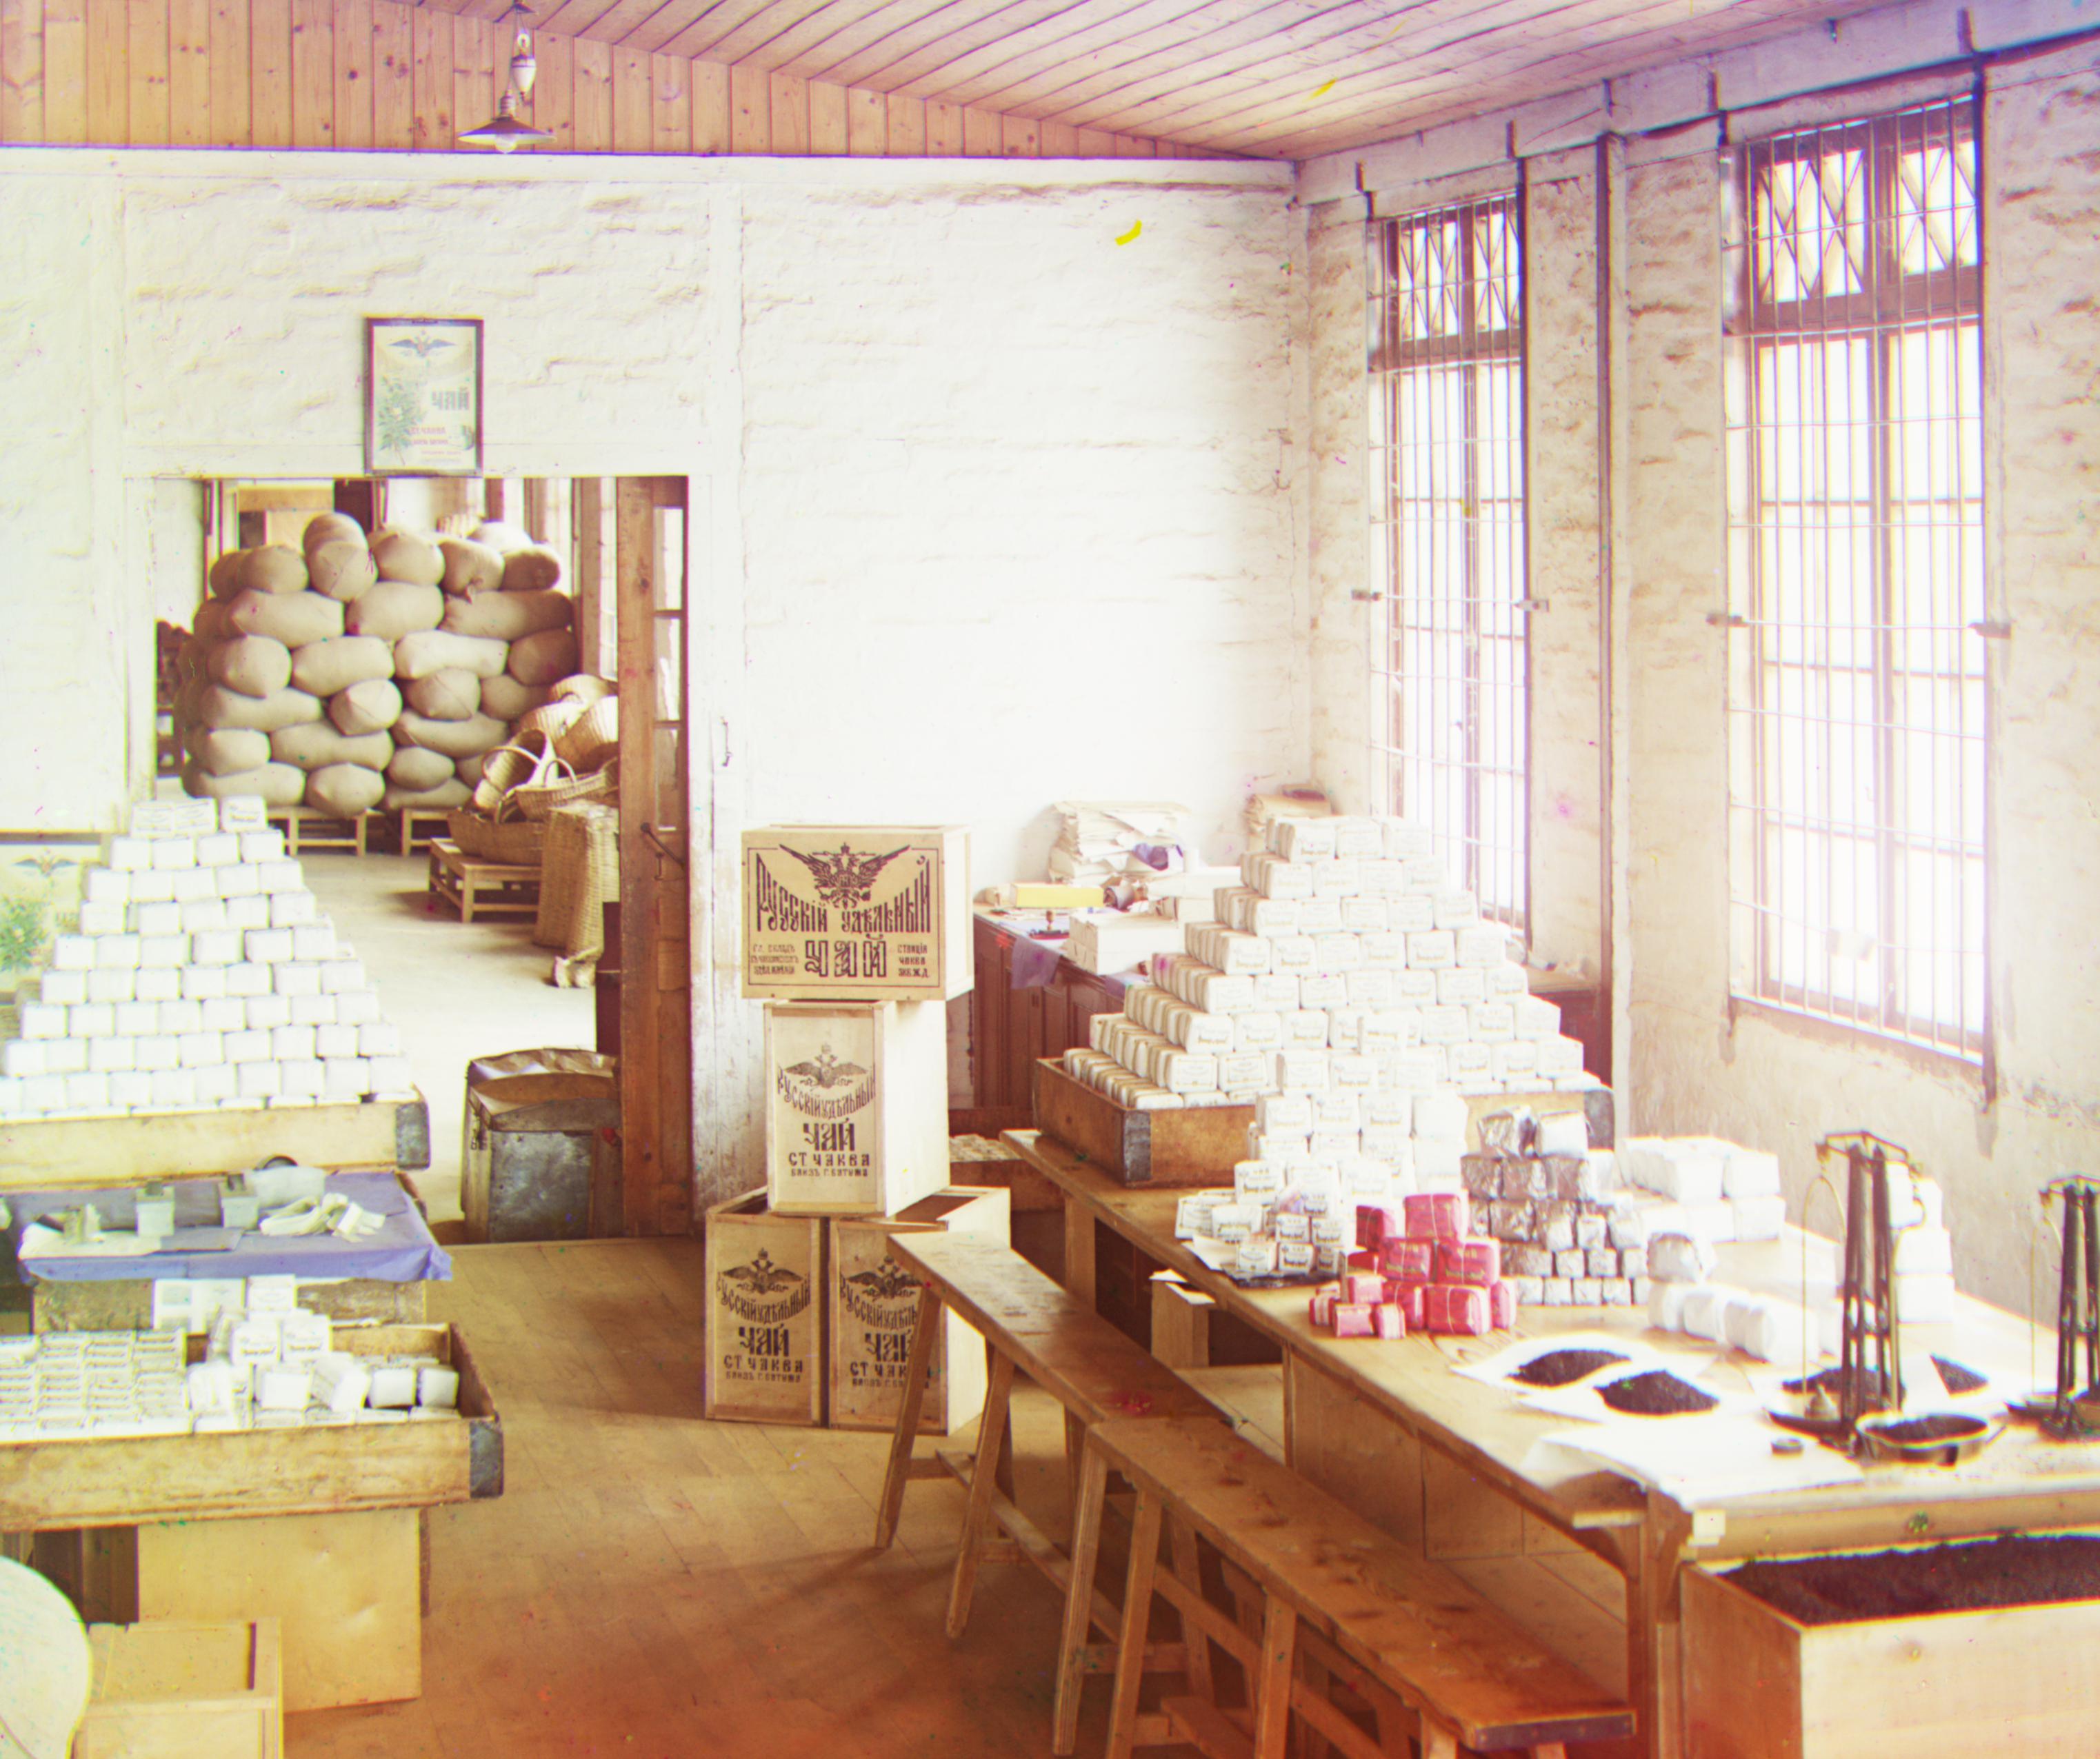
Name: Workshop
G: (53, 0)
R: (104, -12)
|
 |
 |
Results on Additional Images
| Name and Final Displacement (y, x) |
Final Result with Automatic Cropping |
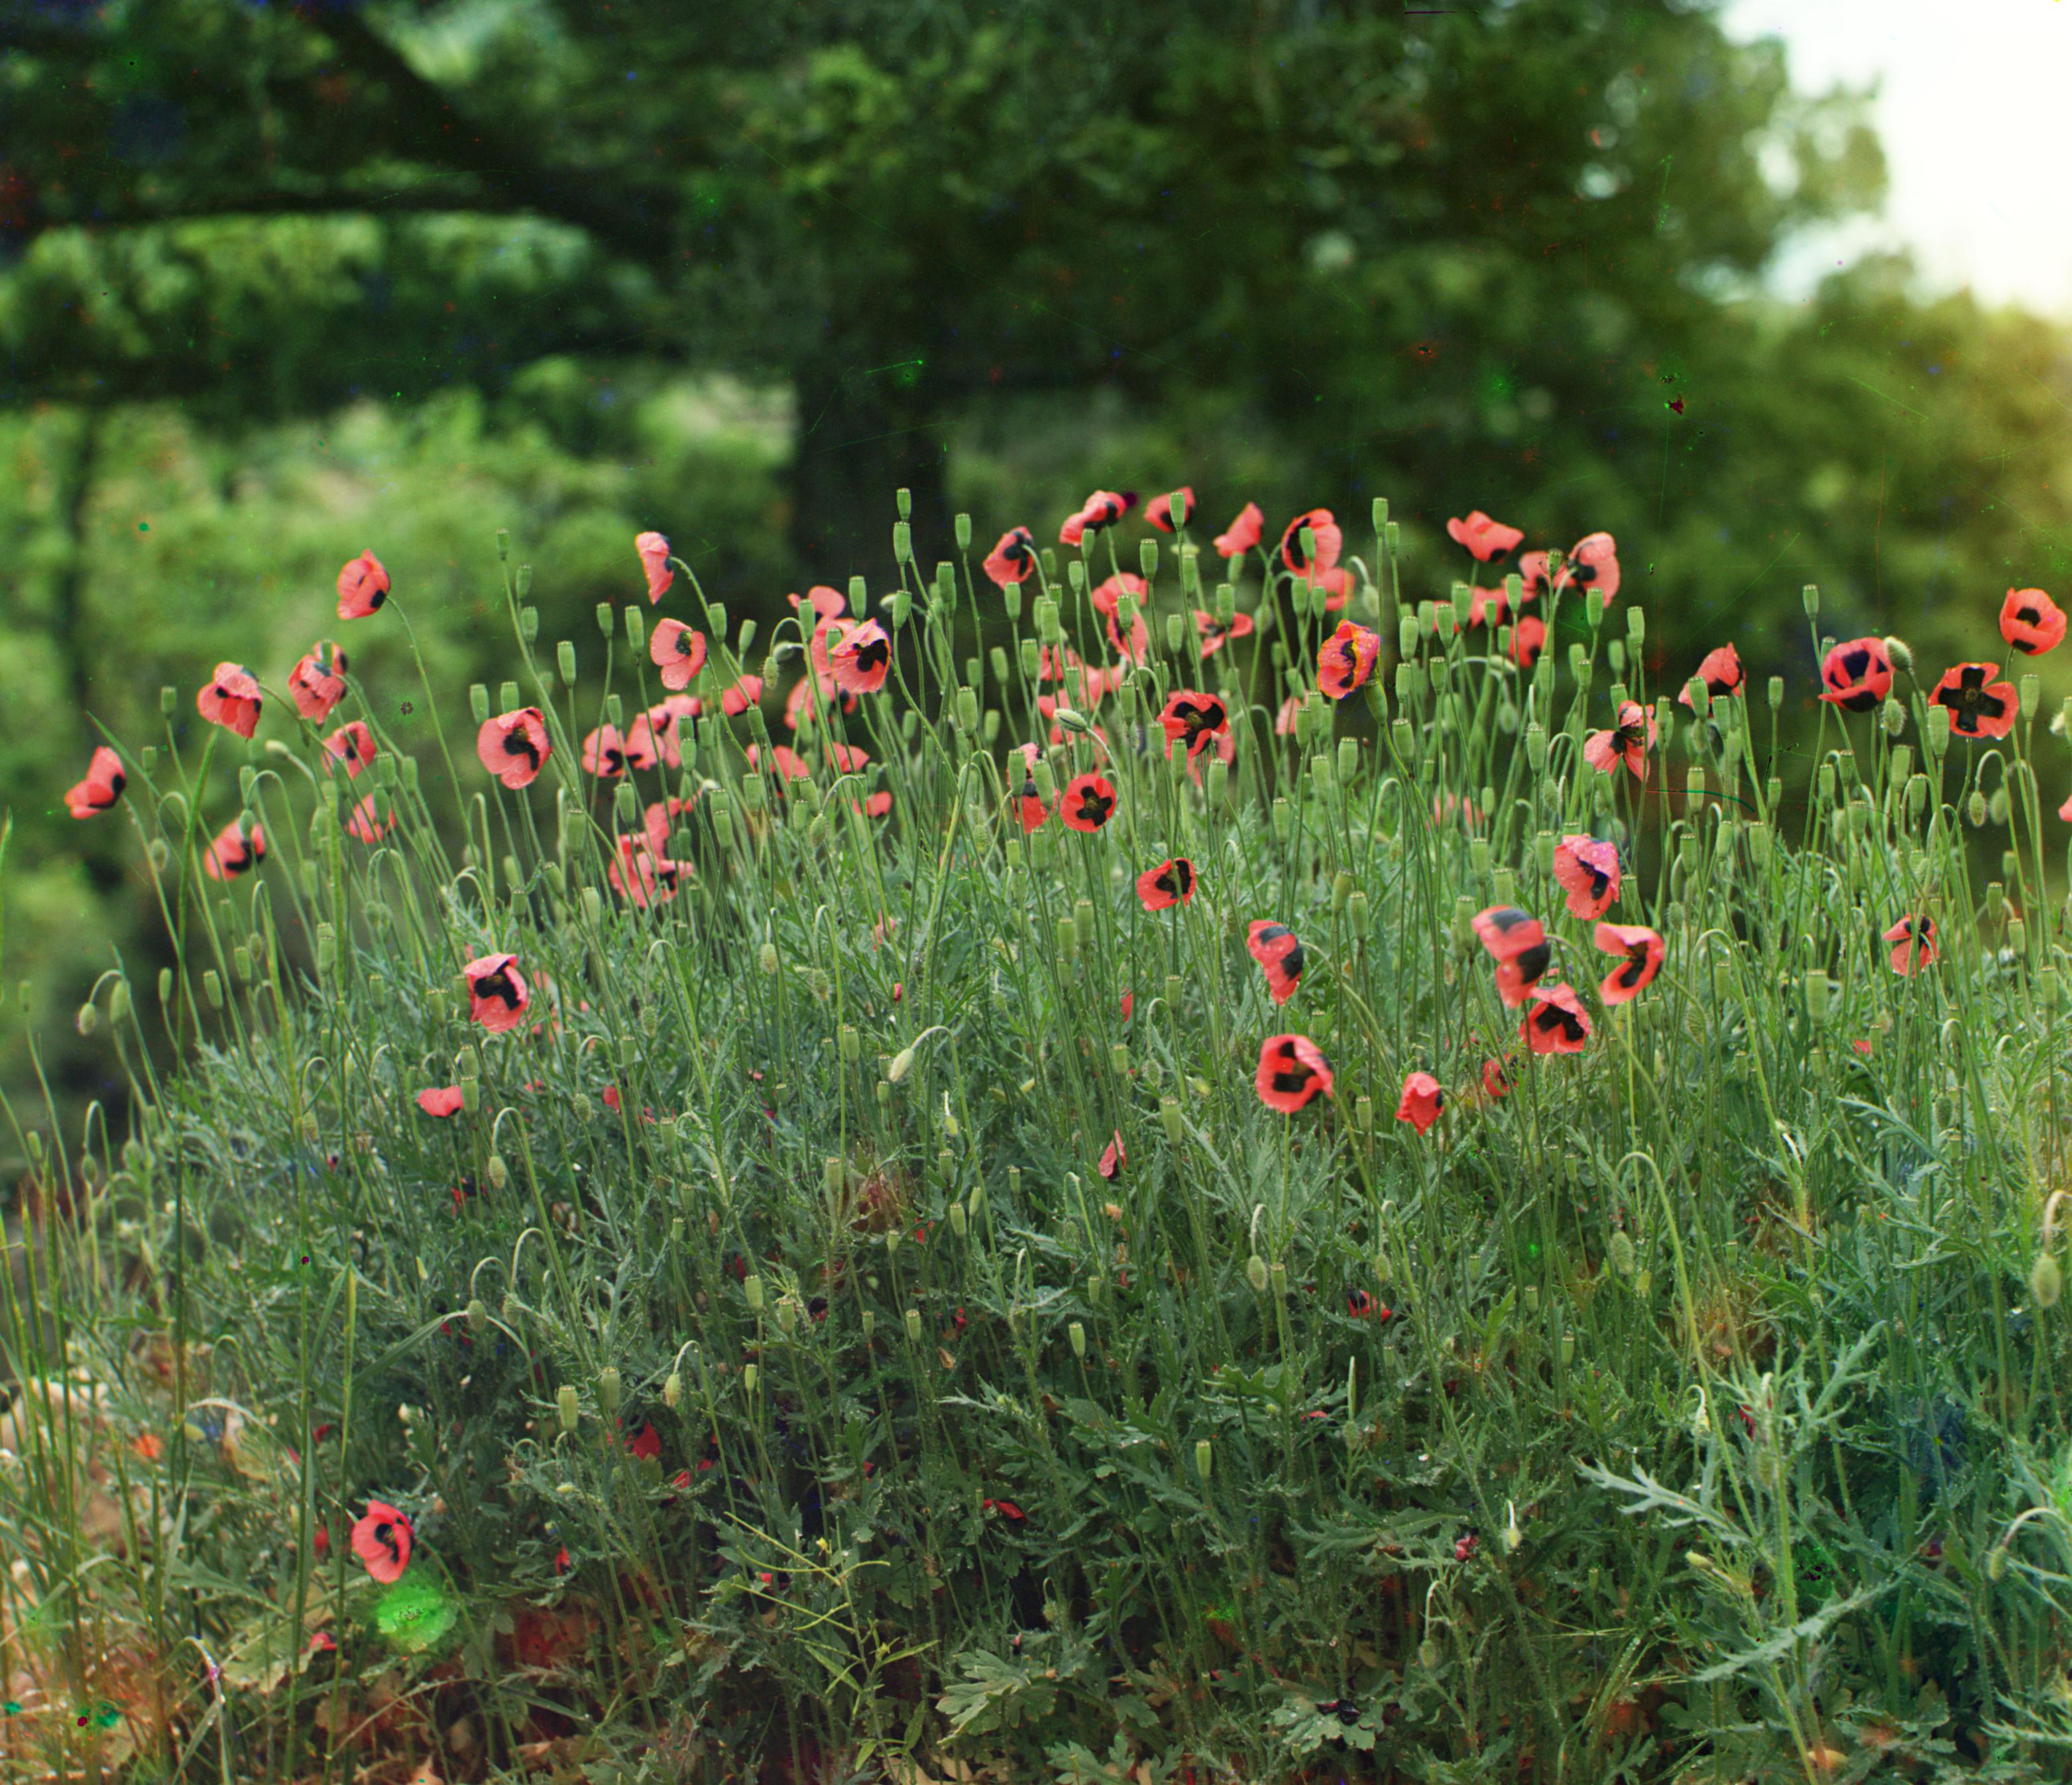
Name: Field Poppies
G: (24, 19)
R: (121, 40)
|
 |
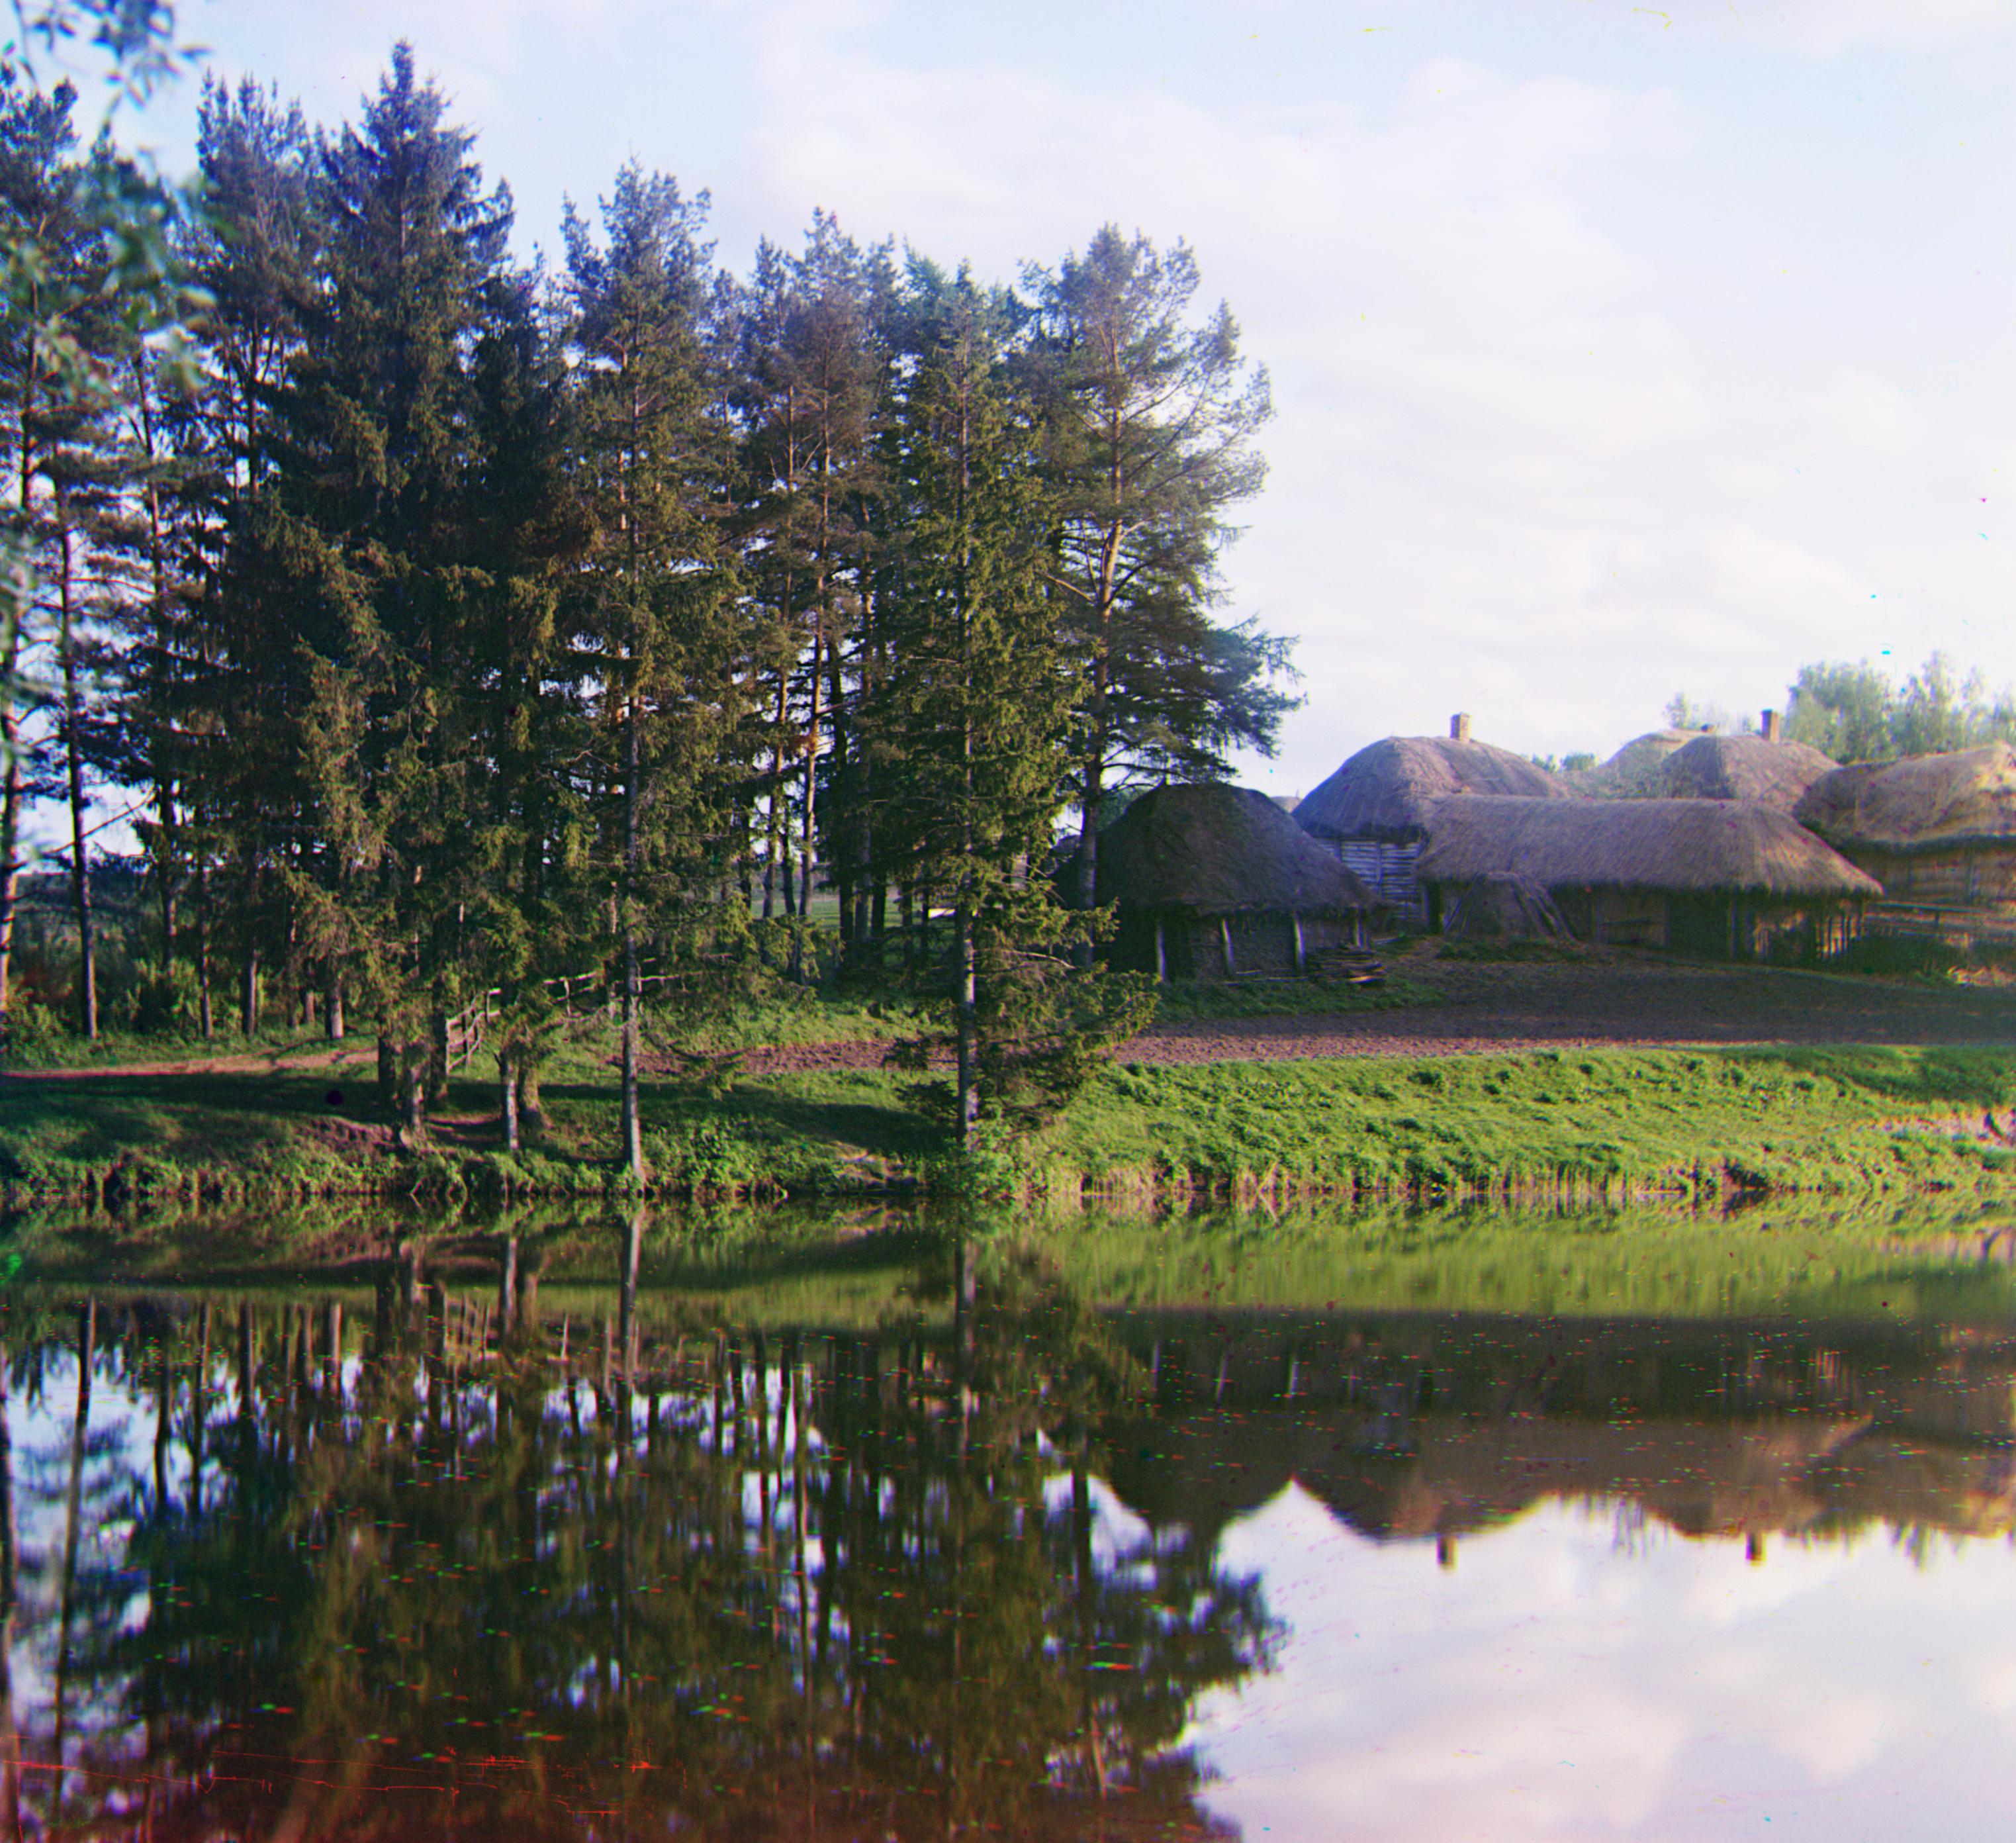
Name: Forest Road
G: (35, -32)
R: (97, 6)
|
 |
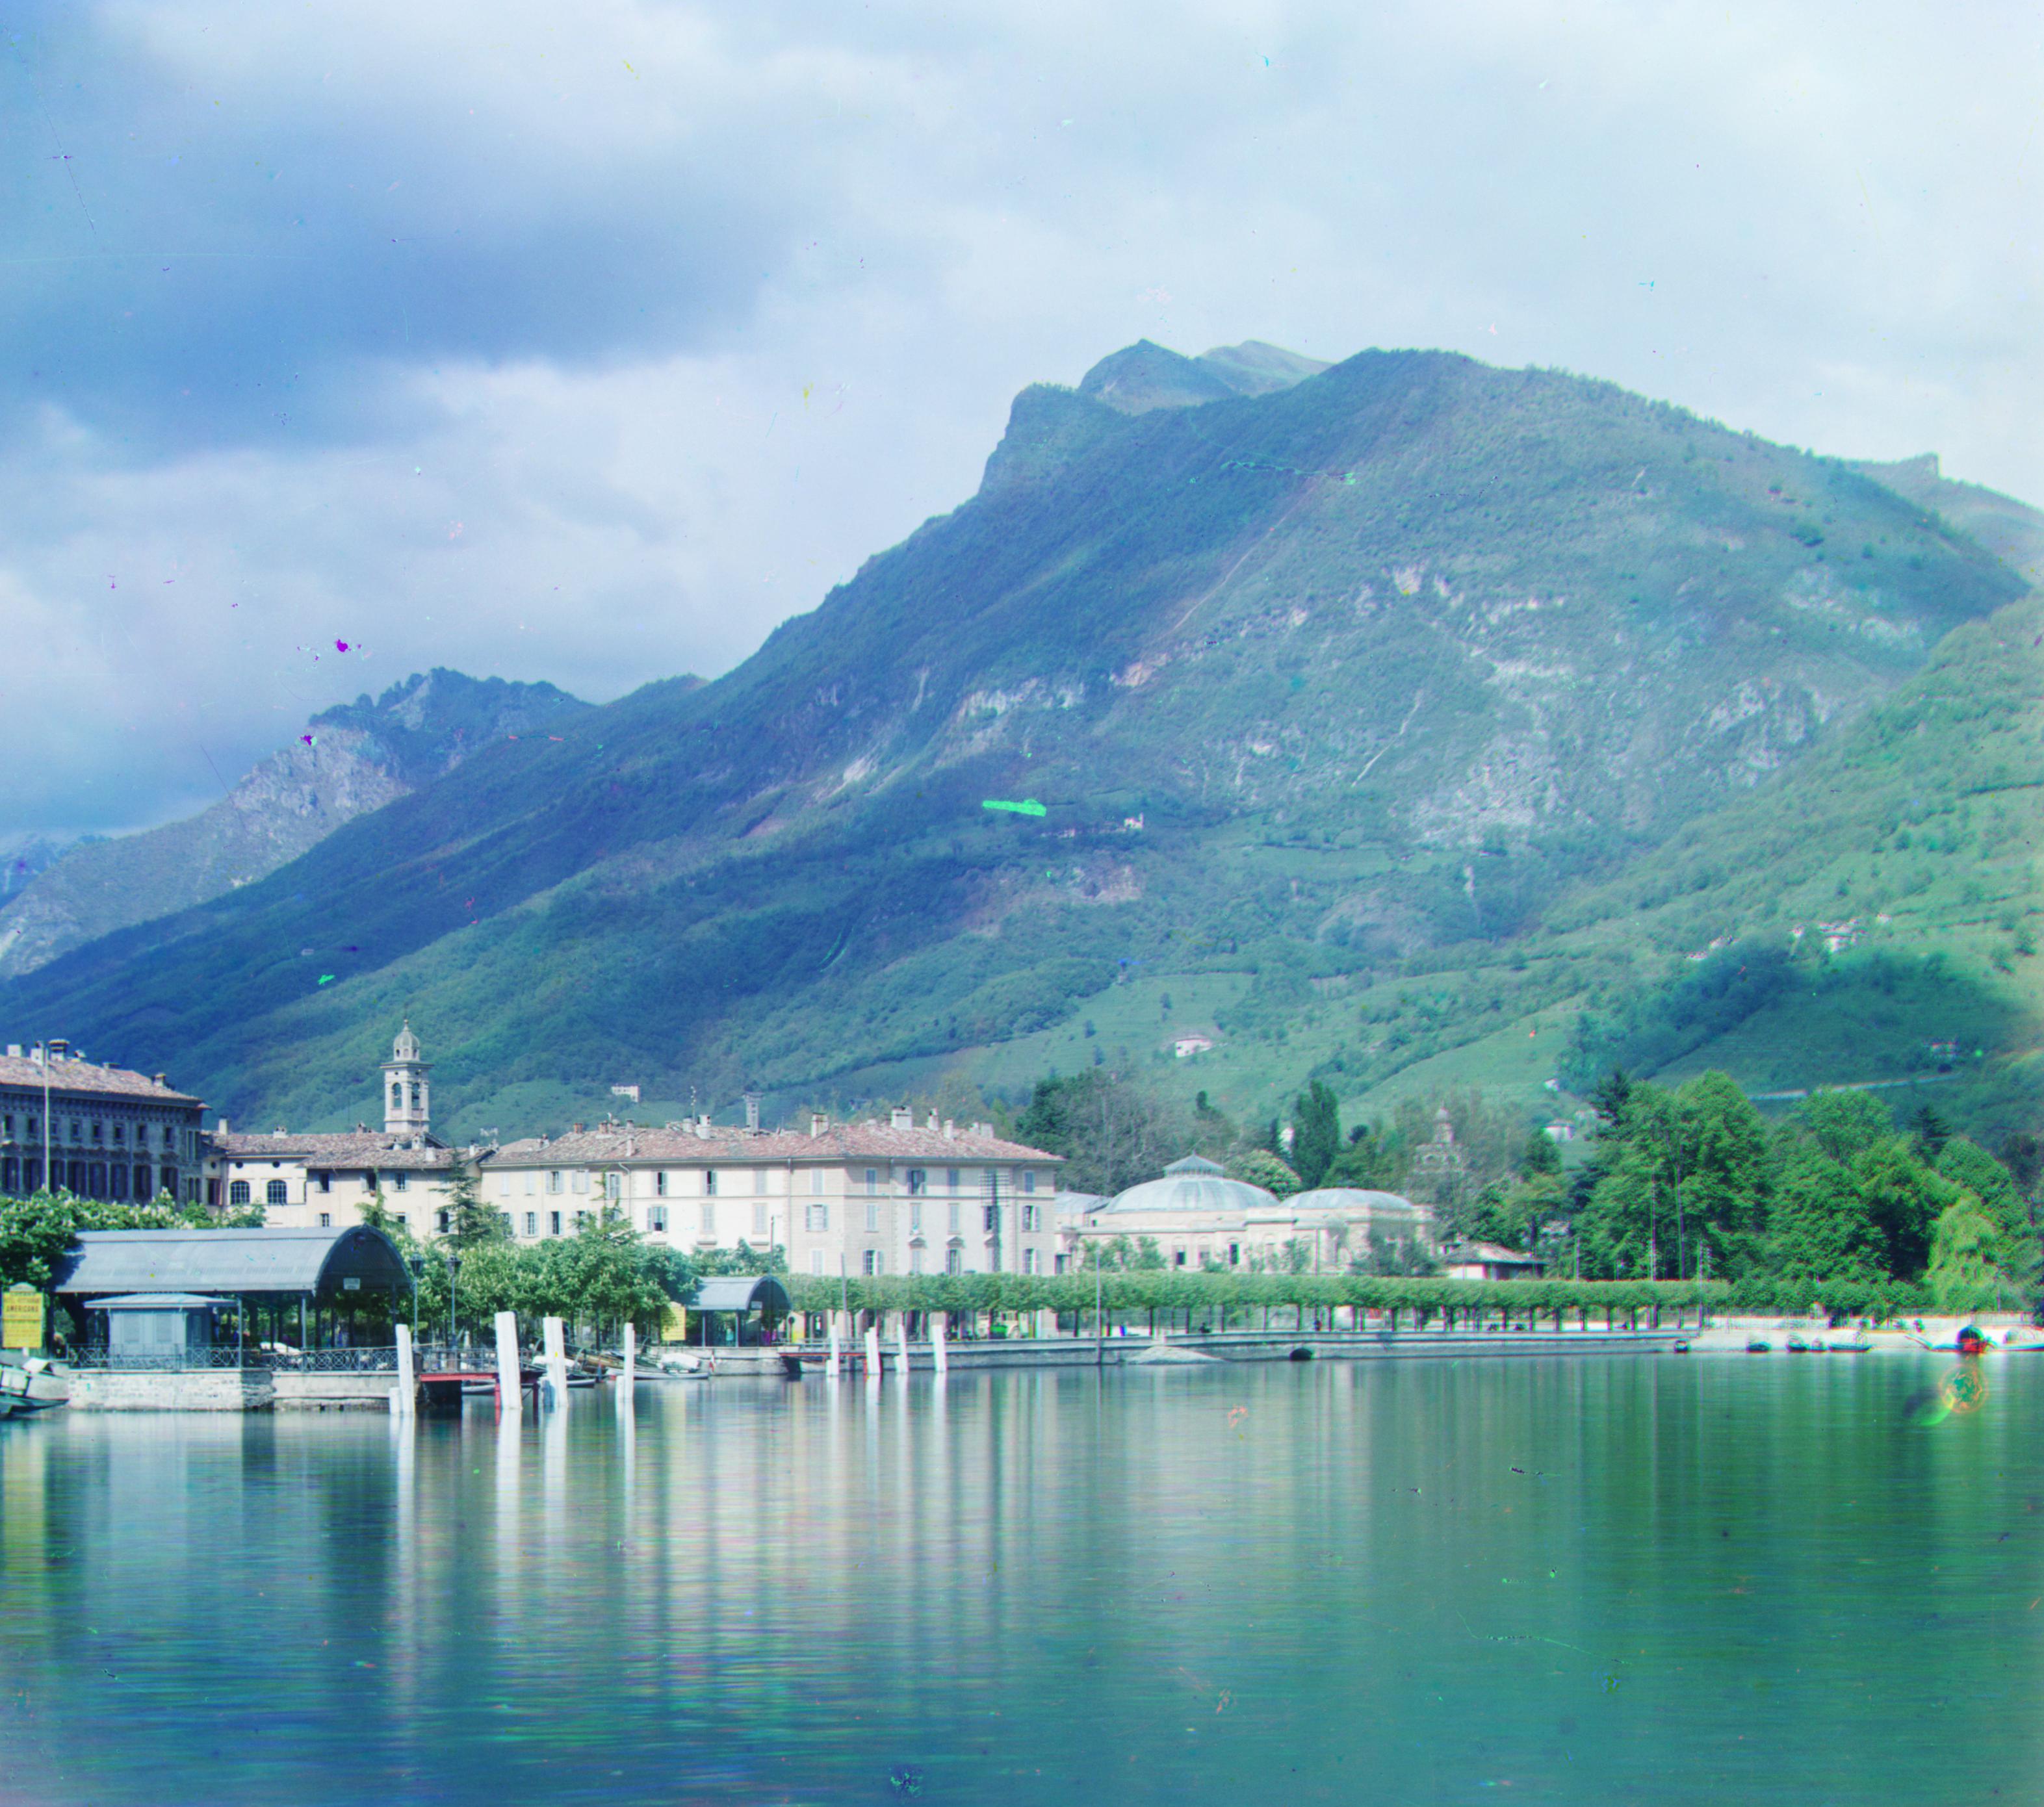
Name: Lugano
G: (41, -17)
R: (92, -28)
|
 |
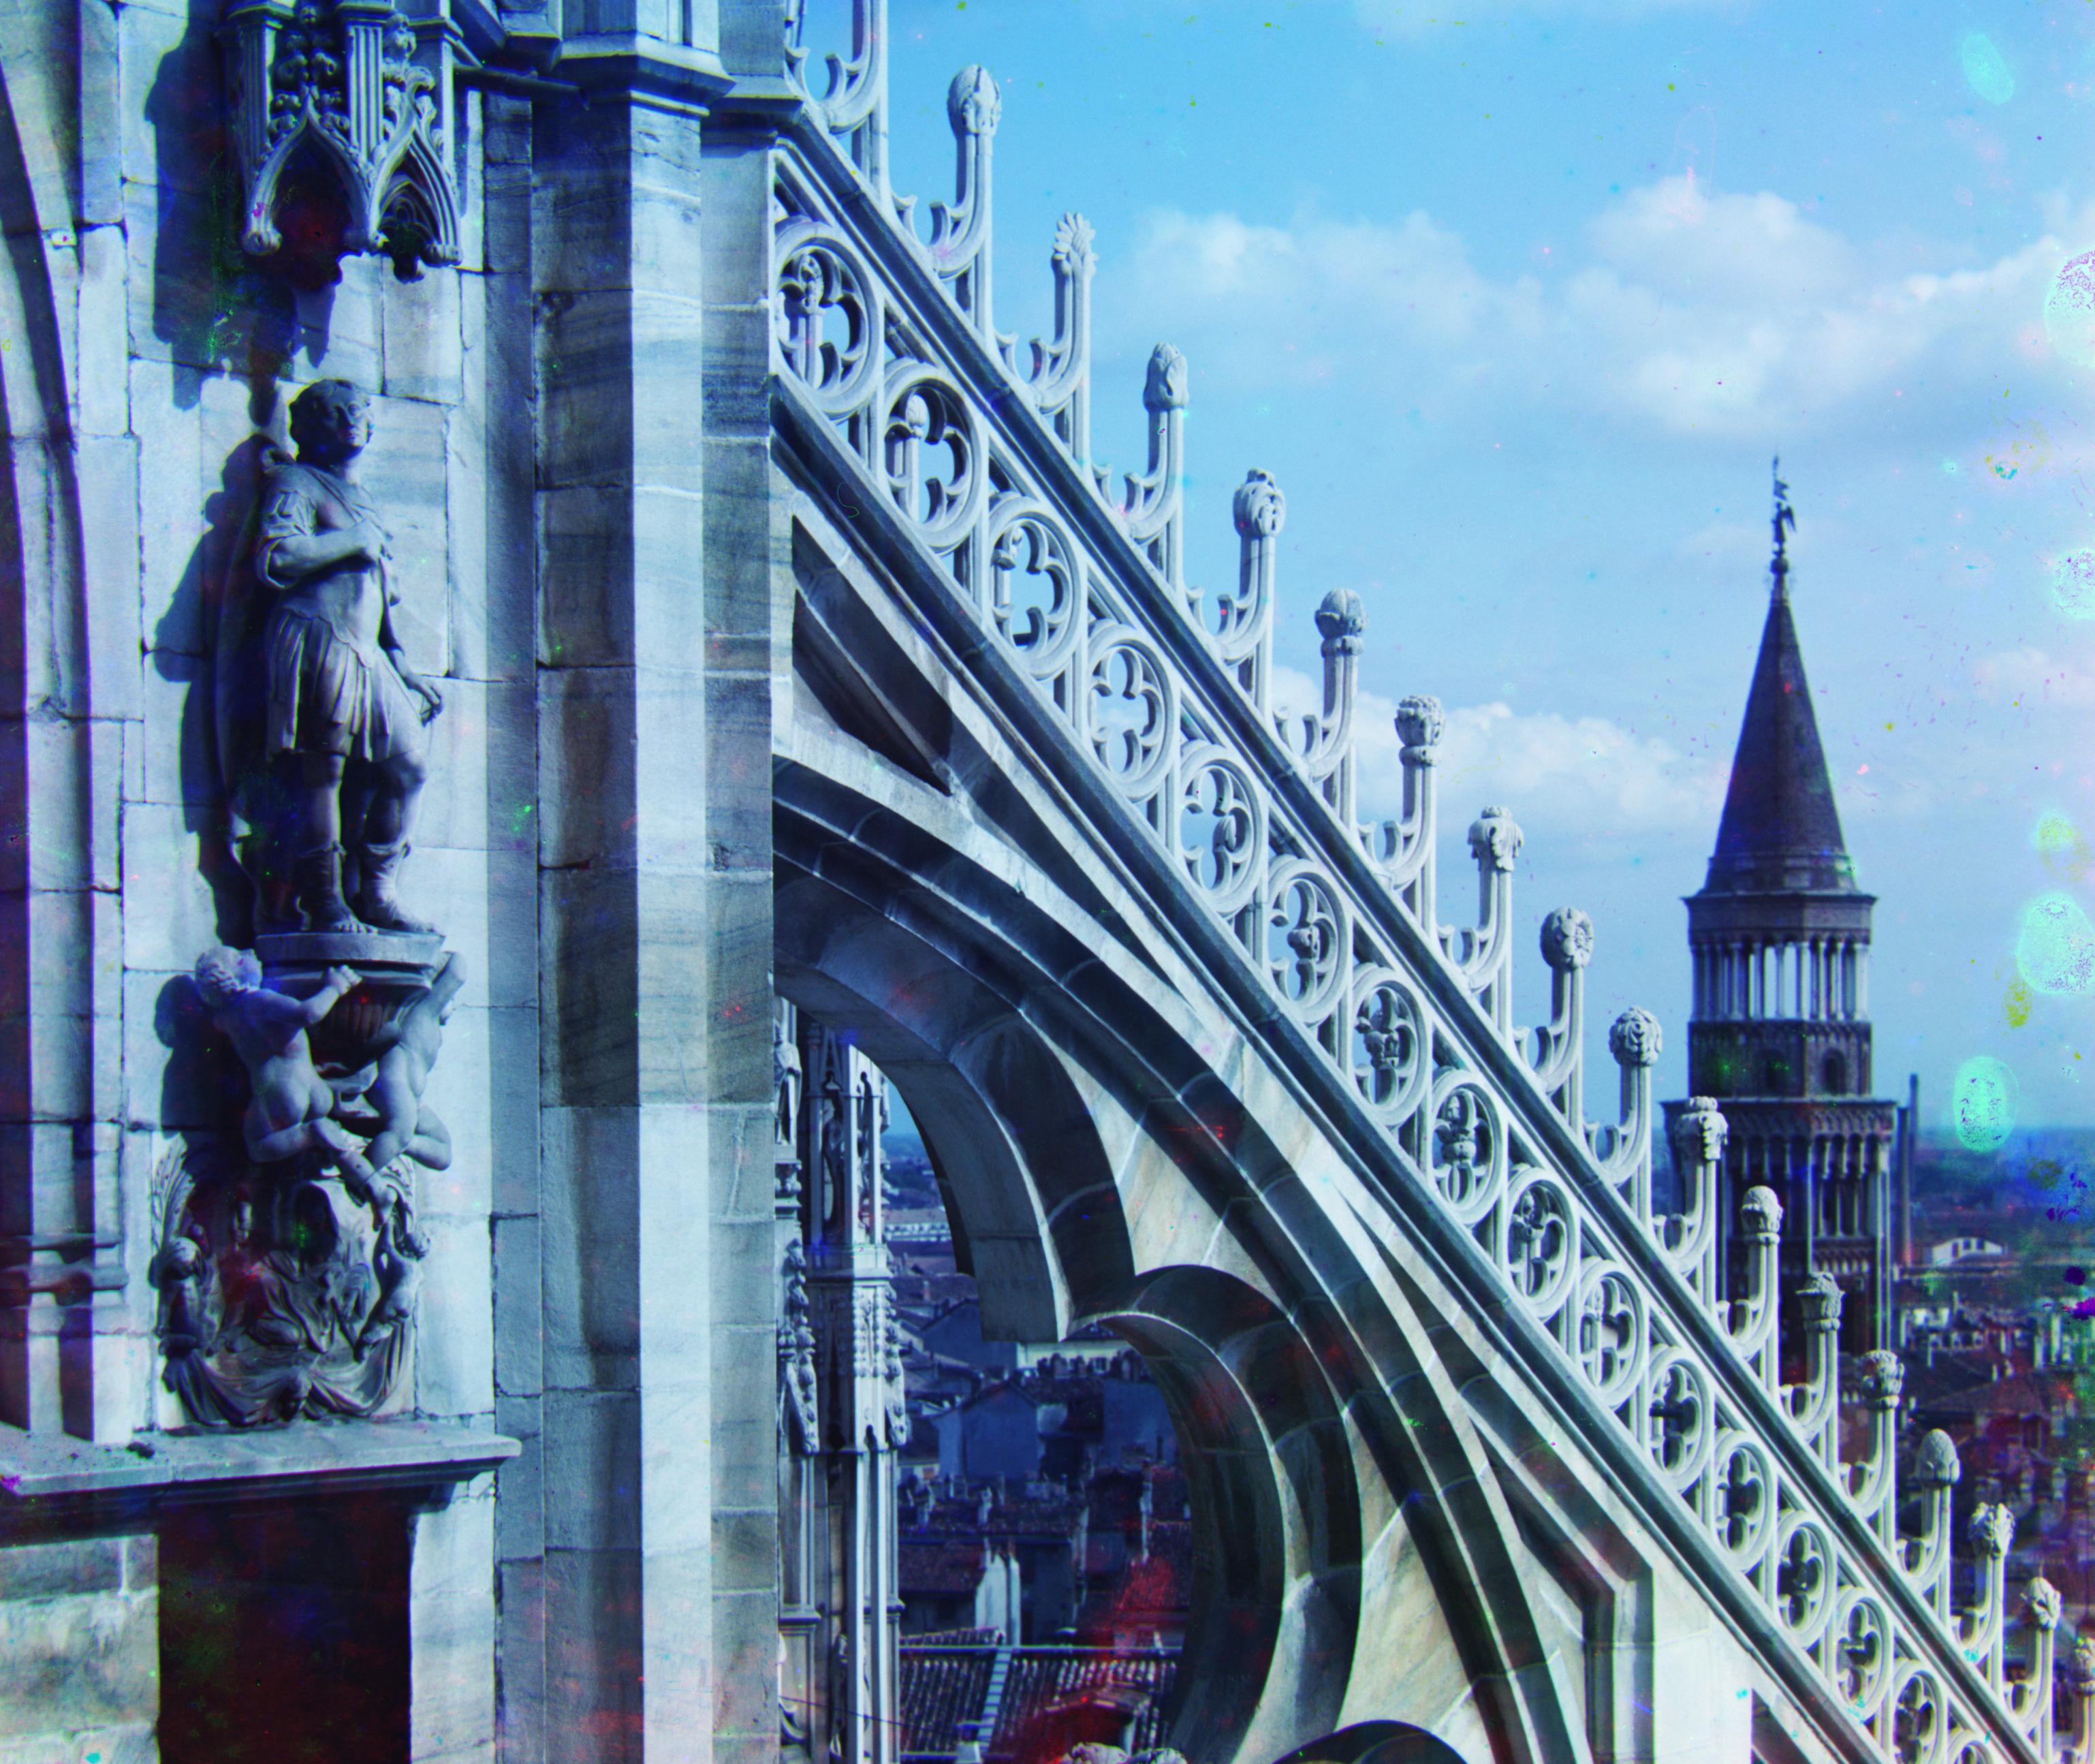
Name: Milan Cathedral
G: (48, -9)
R: (112, -15)
|
 |
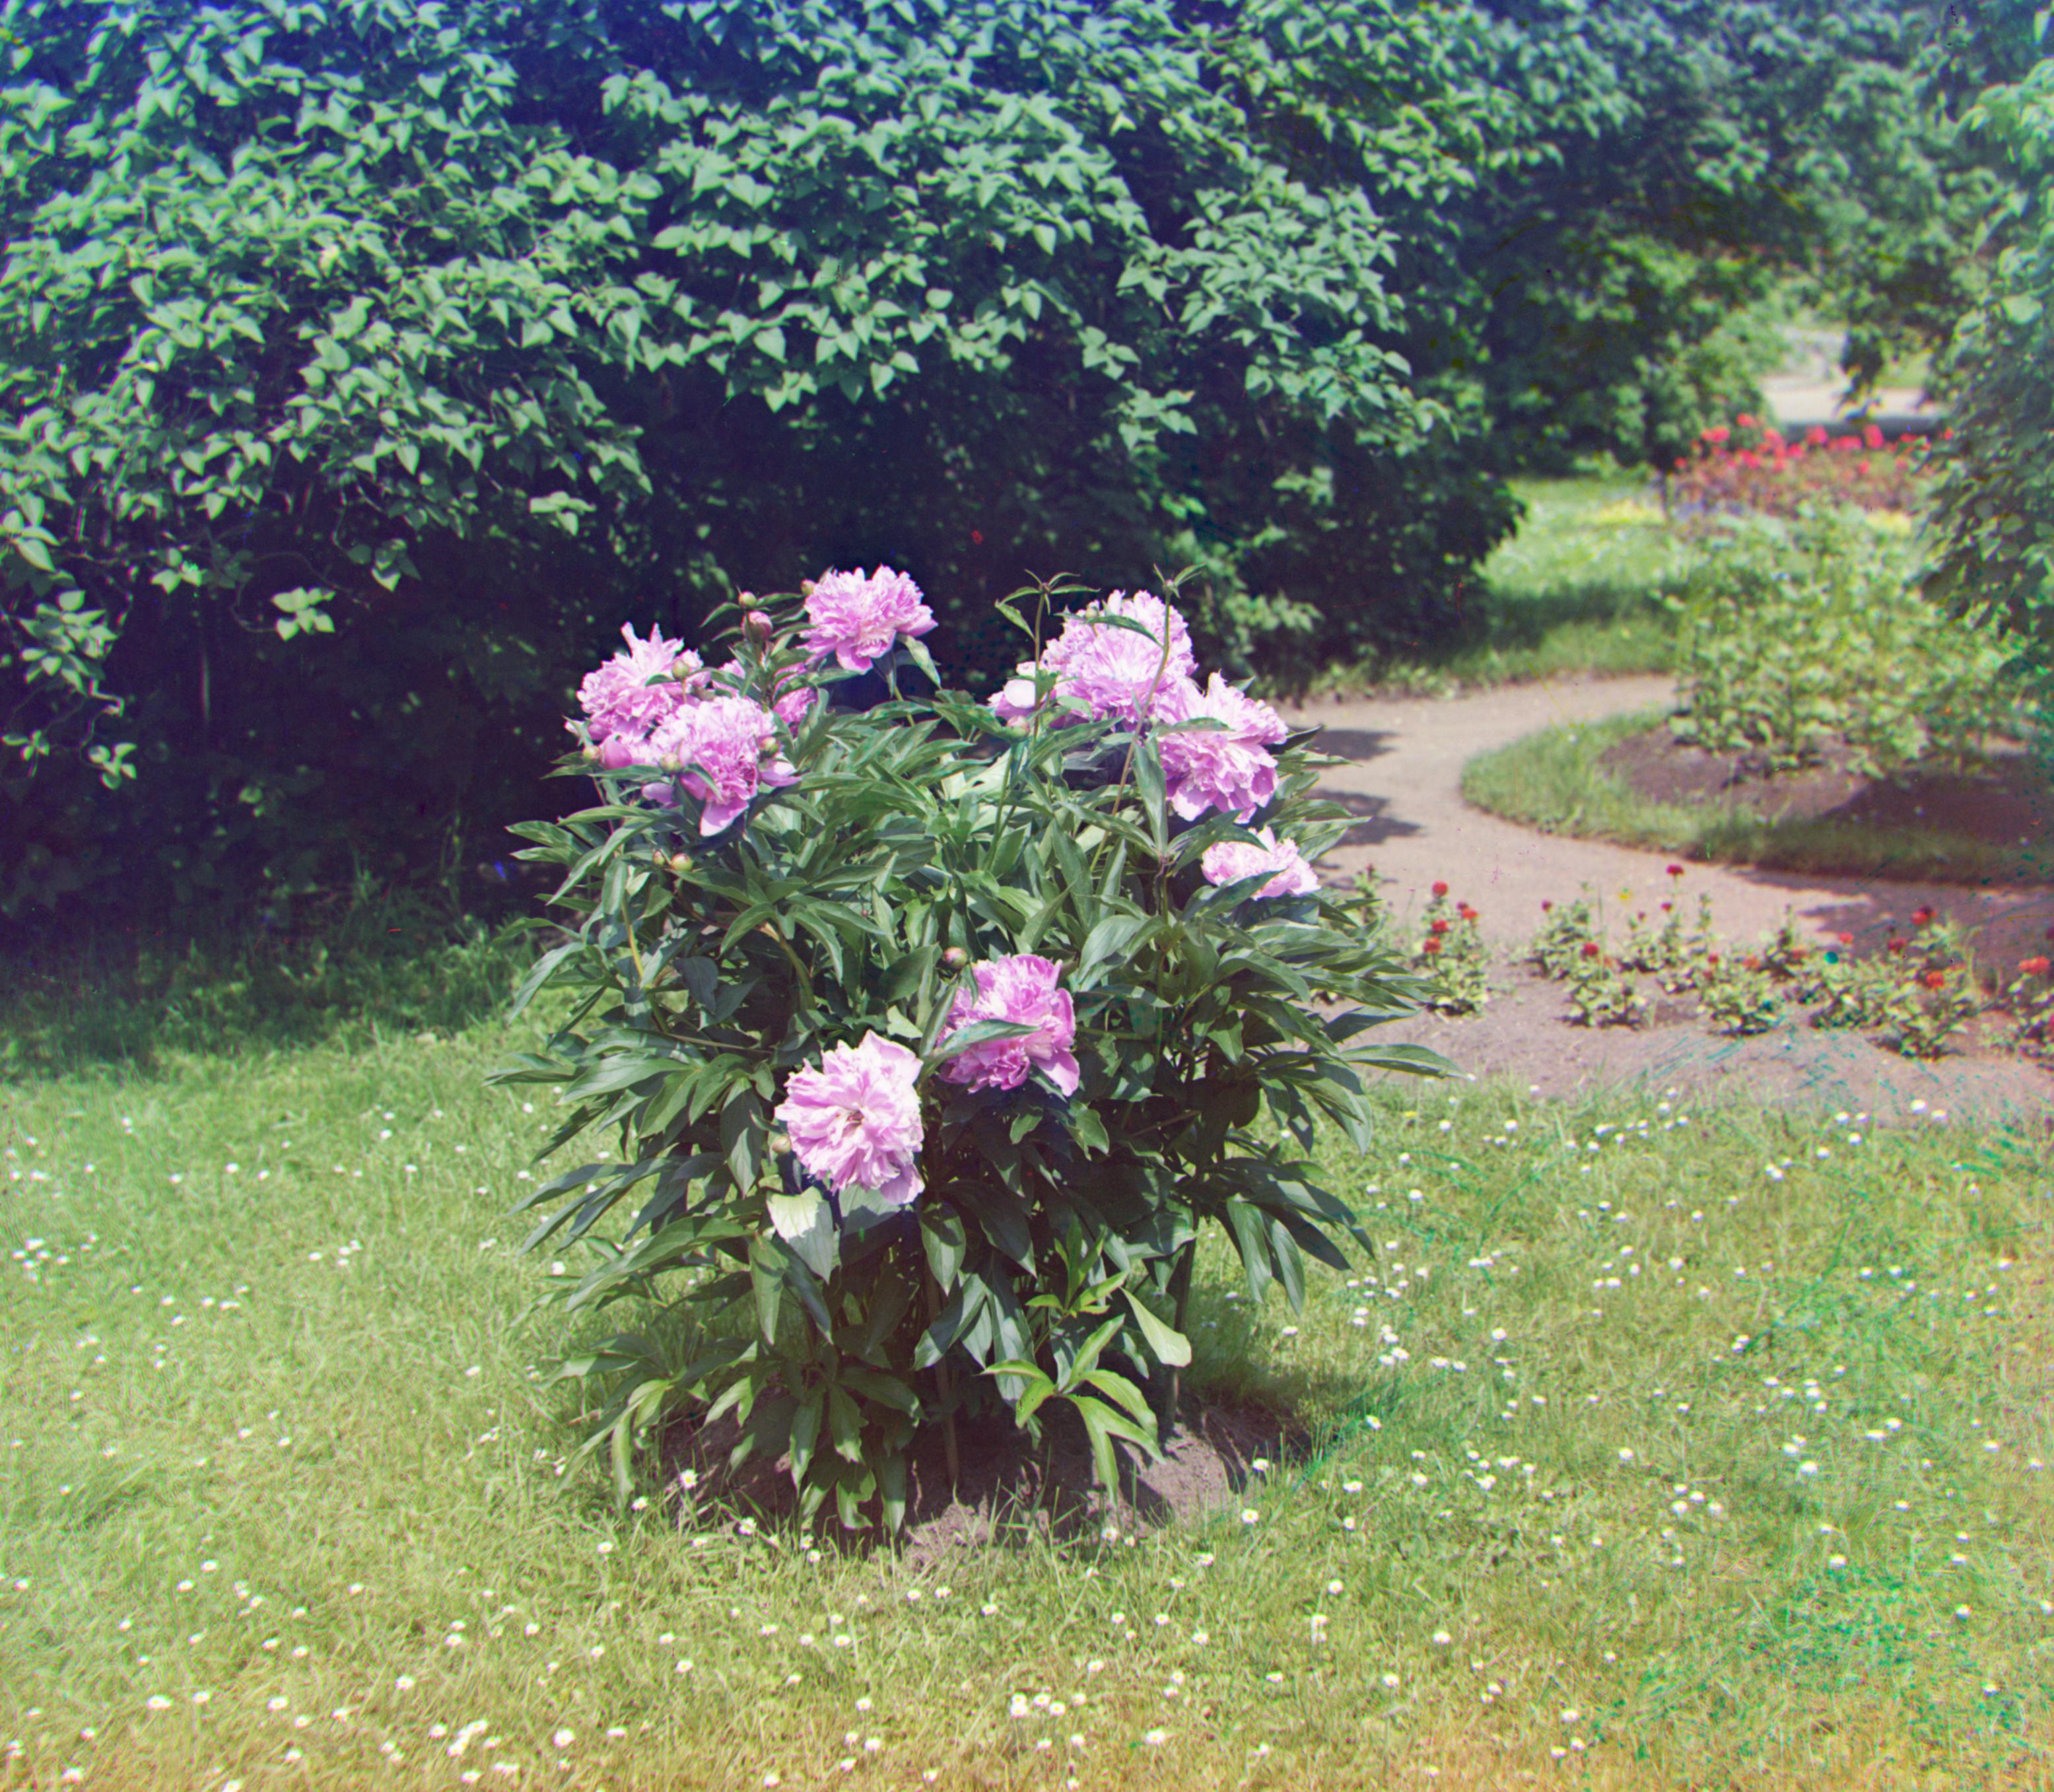
Name: Peonies
G: (51, 3)
R: (104, -6)
|
 |
Name: Little Russia (Ukraine)
G: (-23, 7)
R: (-34, 10)
|
 |
Acknowledgement
Most of the formatting style on this page was brazenly taken from a previous student's webpage. Image processing code is my own.