Overview
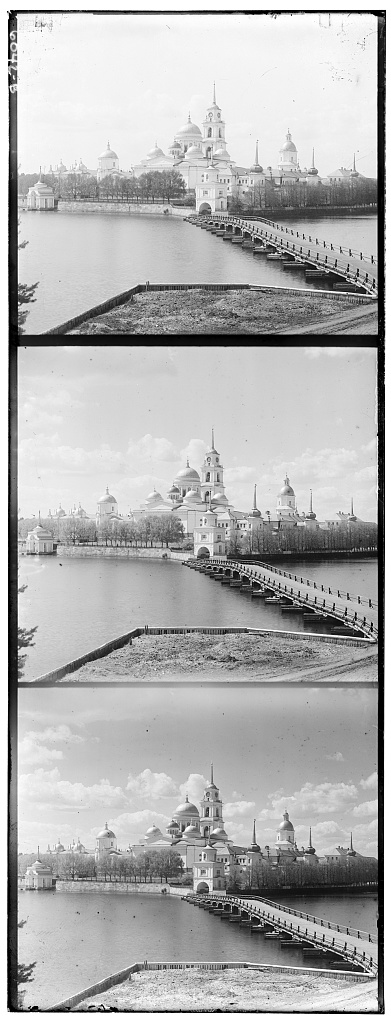
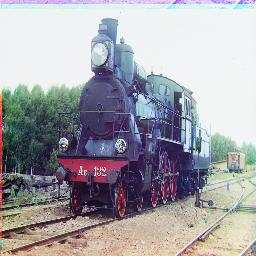
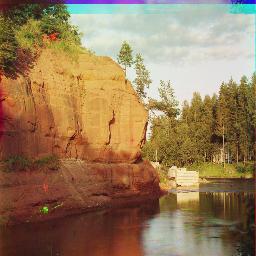
Sergey Prokudin-Gorsky was a Russian photographer who wanted to take pictures of the world in color. However, he did not have the technology to do so. However, he left behind images that were taken with RGB filters. Now, to colorize the images, we have to align and stack the three filters together to make a new image. An example of an unprocessed image is below.
Approach
I process the image by first dividing the image into 3 parts of equal size. I then crop the border to reduce the amount of noise from the edges. To calculate the relationship between two images, I used normalized cross-correlation as a metric to see how well two images align.
Naive Search
To calculate the offsets, I first used a naive solution in which I would exhaustively look through a window of possible displacements that go from [-15, 15] on all sides. This solution worked decently on the smaller images. Here are the smaller image results below.
G:(5, 2), R(12, 3)
G:(-3, 2), R(3, 2)
G:(3, 3), R(6, 3)
Pyramid Search
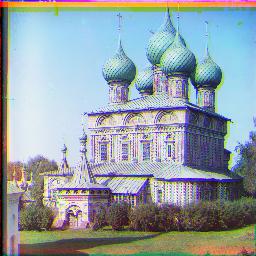
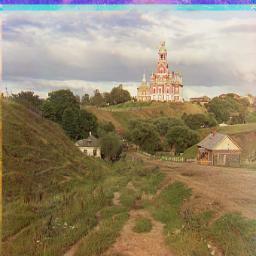
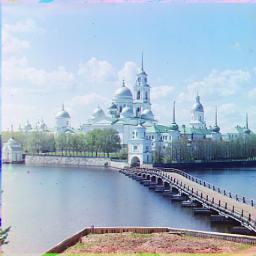
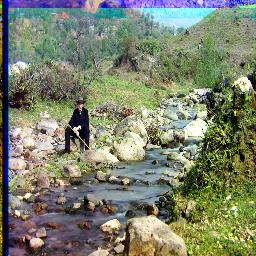
This naive solution works on smaller images, but it does not work on the larger images because you have to extend the search space and it takes a long time to copy images of large size. Thus, I implemented pyramid alignment to help speed up the search. In pyrmaid alignment, we resize the original image to a smaller image, and then we use naive alignment for a couple spots because most of the picture has already shrunk. Once we find the offset that best correlates, we have a small range to look through when we scale the image up. We recursively do this until we are back at the original image size. I scaled the image by a factor of 2 each time. Below are the rest of the example images using this type of scaling.
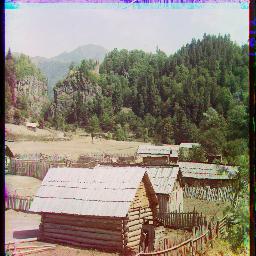
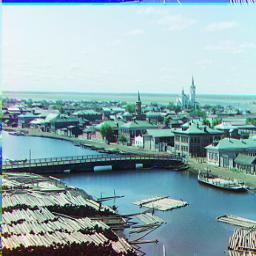
G:(35, 3), R:(98, 4)
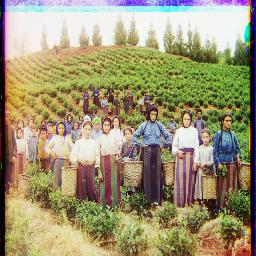
G:(59, 16), R:(124, 13)
G:(40, 17), R:(89, 23)
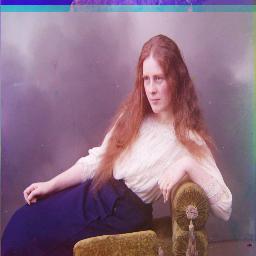
G:(51, 9), R:(112, 12)
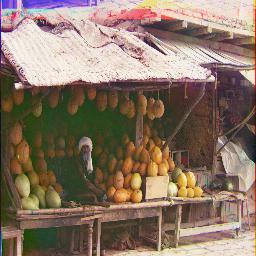
G:(81, 9), R:(178, 13)
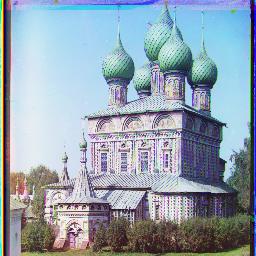
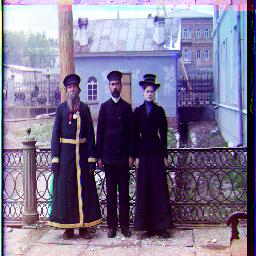
G:(52, 23), R:(108, 35)
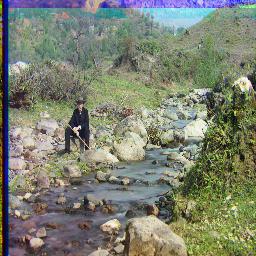
G:(78, 28), R:(176, 36)
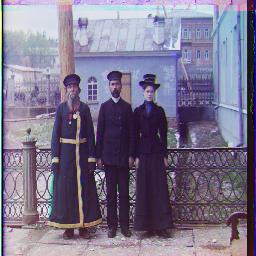
G:(52, 6), R:(111, 8)
G:(42, 4), R:(86, 31)
G:(52, 0), R:(105, -12)
G:(4, -1), R:(9, -4)
G:(6, 3), R:(13, 4)
G:(39, -1), R:(151, -7)
Problems
Most of the photos could be aligned properly. However, there are some problems such as the borders being weird and the colors sometimes do not look great. The biggest problem is that this method does not work on images of different brightness, as the overall pixel matching will be messed up because there is not a very close match in individual pixels. This problem is best shown in the reconstruction of the Emir photo.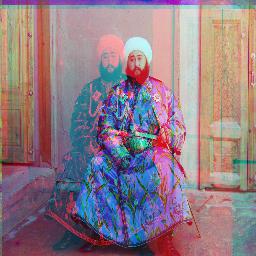
G:(49, 24), R:(82, -302)
Image Enhancements (Bells and Whistles)
I attempted to help soothe some of the issues stated above in this section.
Edge Detection
Instead of using raw pixels to determine the alignment of the images, I used the Canny edge detector to detect edges. Because the edge detection essentially normalizes the images to a single brightness, we can then run the pixel detection on the images. An example and a comparison is shown below.
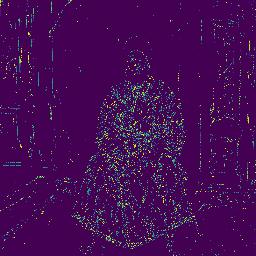
Original Blue Converted

G:(49, 23), R:(107, 40)
G:(49, 24), R:(82, -302)
Better Color Mapping
Even though the images were mapped fairly well, some of the colors could be enhanced to be made more realistic. I did this by scaling the pixels and capping them back to 0 and 1; this would allow dark numbers to be enhanced and lighter ones to be lightened, illuminating the contrast. Below are examples of improved contrast.
Better Border Cropping
The photos look fairly decent except for at the borders. This is because the borders are uneven and cropping as a whole is uneven. Currenlty it is hard-coded by first examining the photo and seeing whether it has a large border or not. Even then, some parts of the image are cropped too much and the border is still there.
I attempted to automate finding the borders by finding the first line in which the border has an average value in the range of 0.25 to 0.75. These values are fairly symbolic of super light and dark parts of images, so the first time the average value is inside this range, then we include this row or column in the cropped image. This part was more tricky than the previous becuase there were many alignment issues; if not careful, you will crop different lengths from each image and thus the generated offsets would be off. Below is an example of some slightly improved borders.