CS194-26 Project 1: Colorizing the Prokudin-Gorskii Photo Collection
Michael Y. Wang
Overview
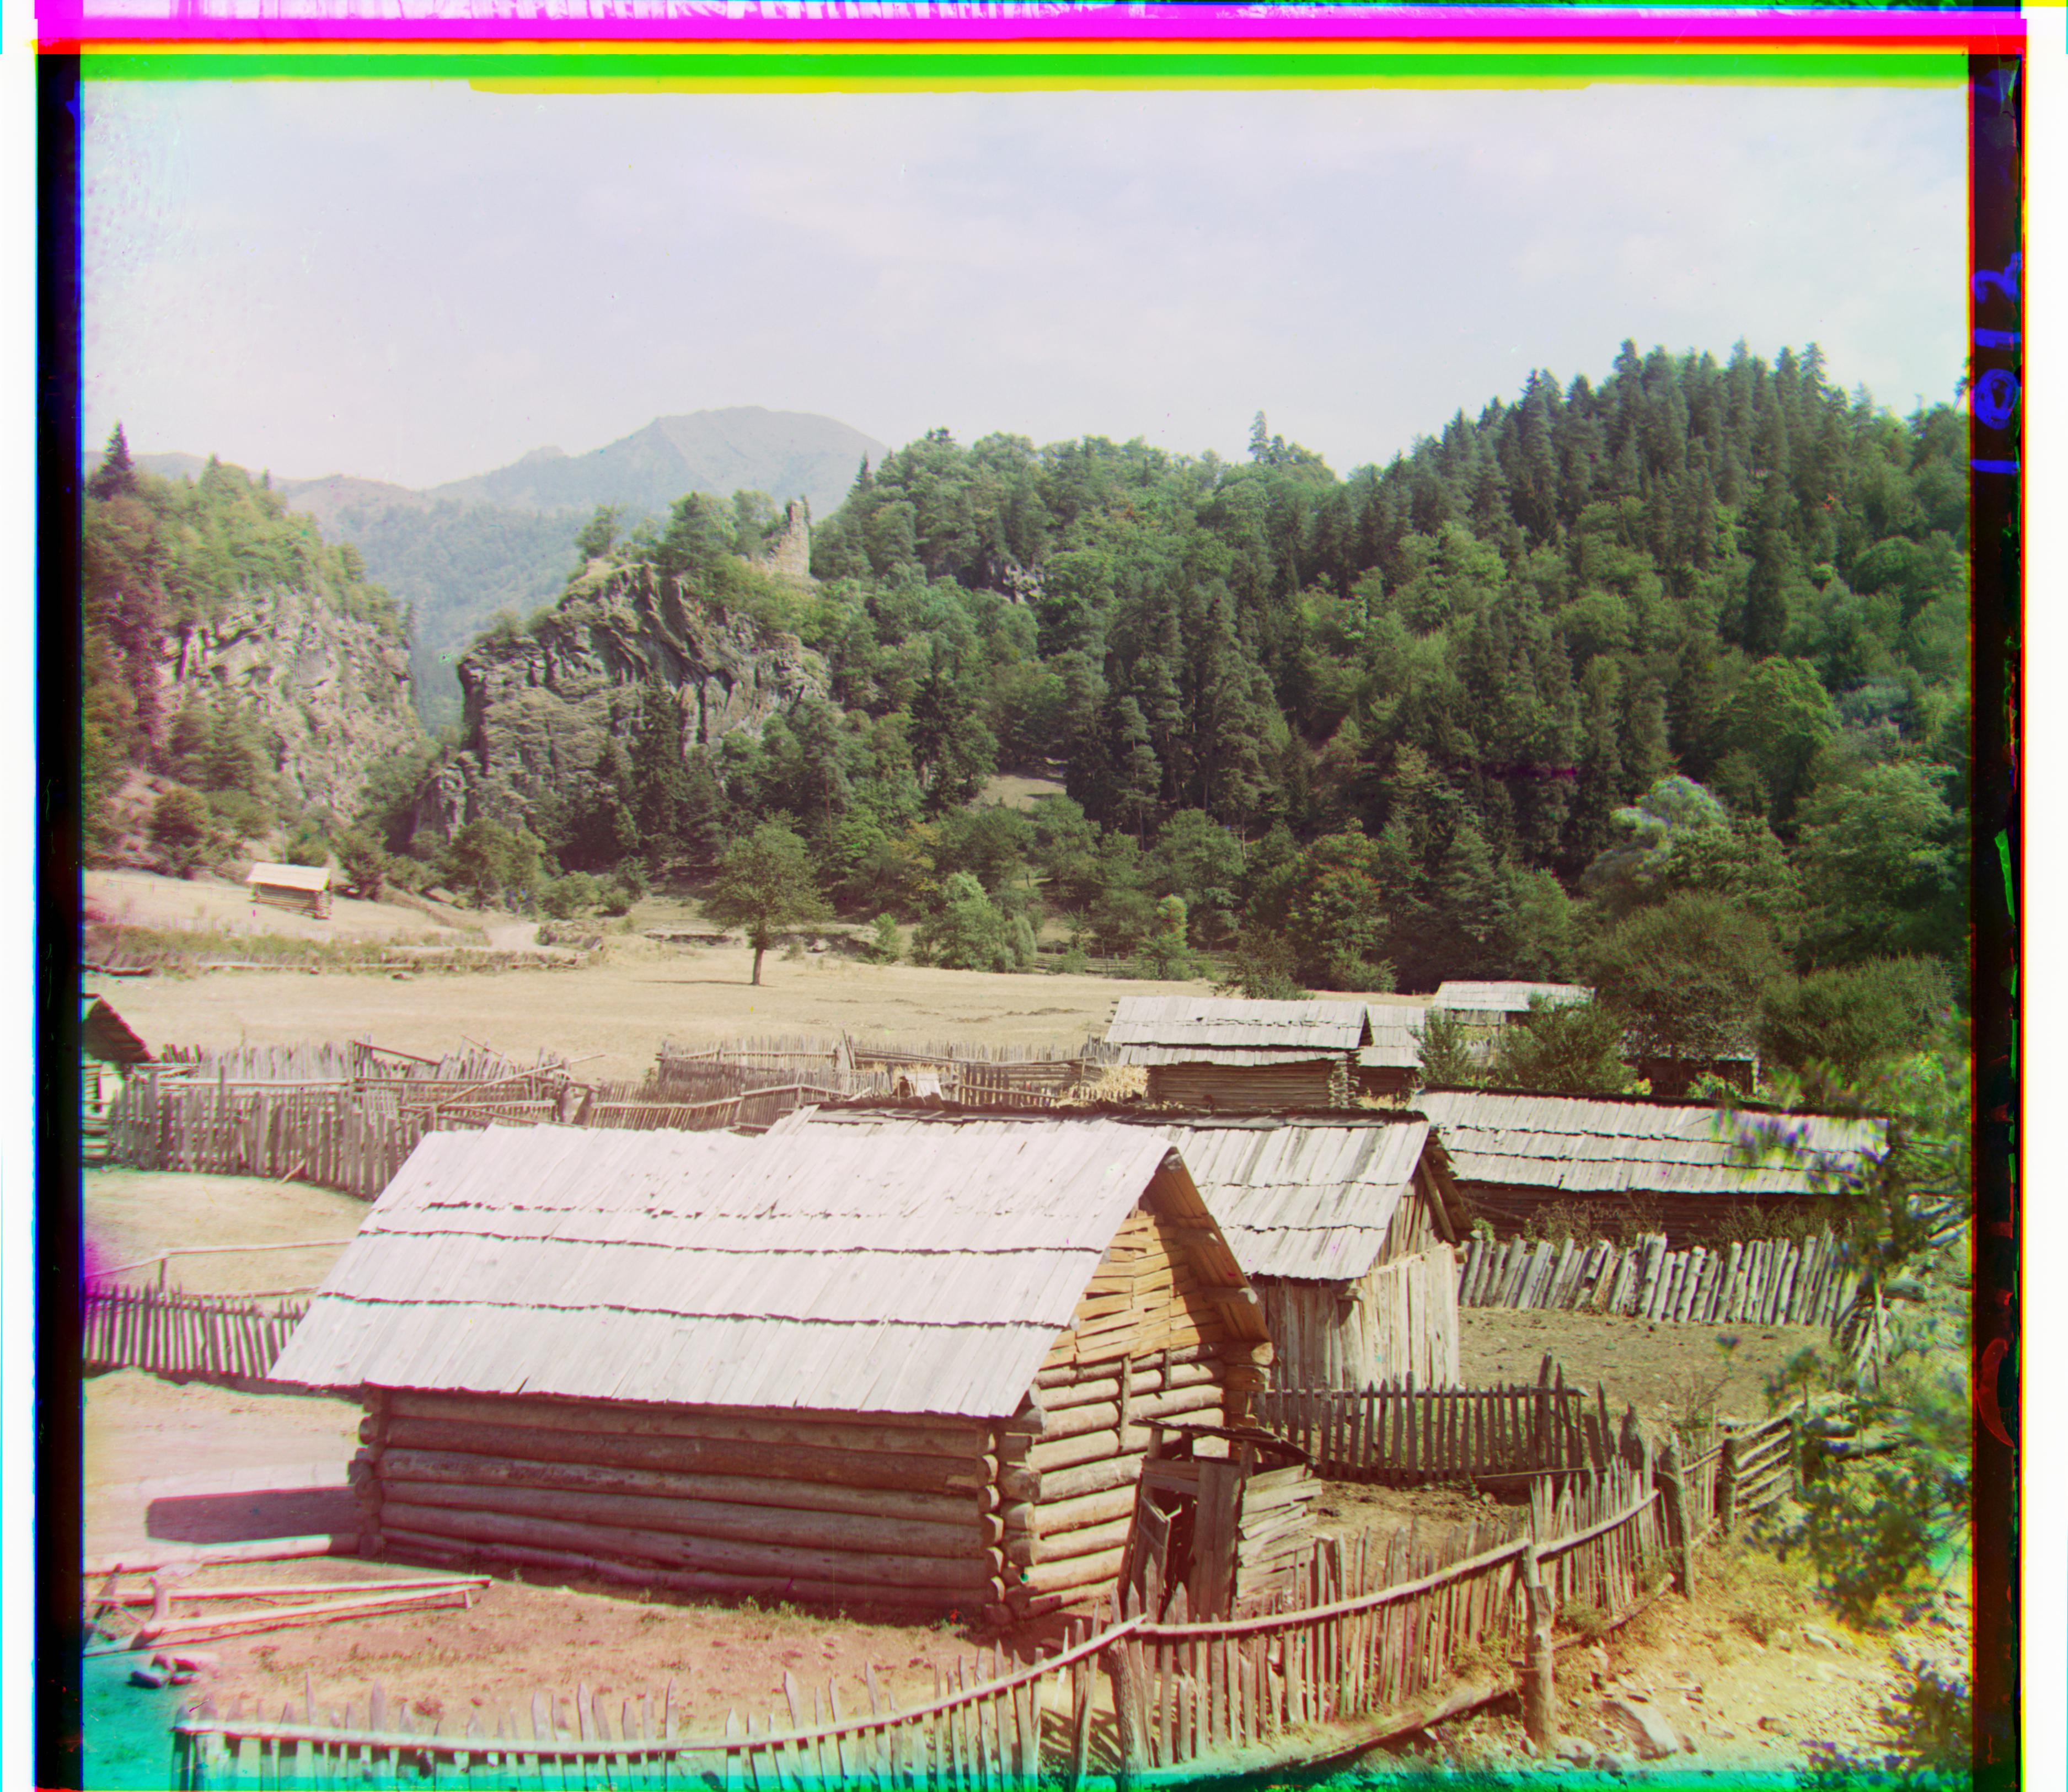
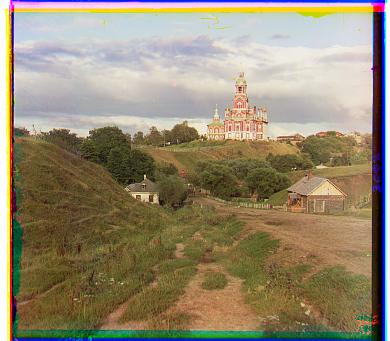
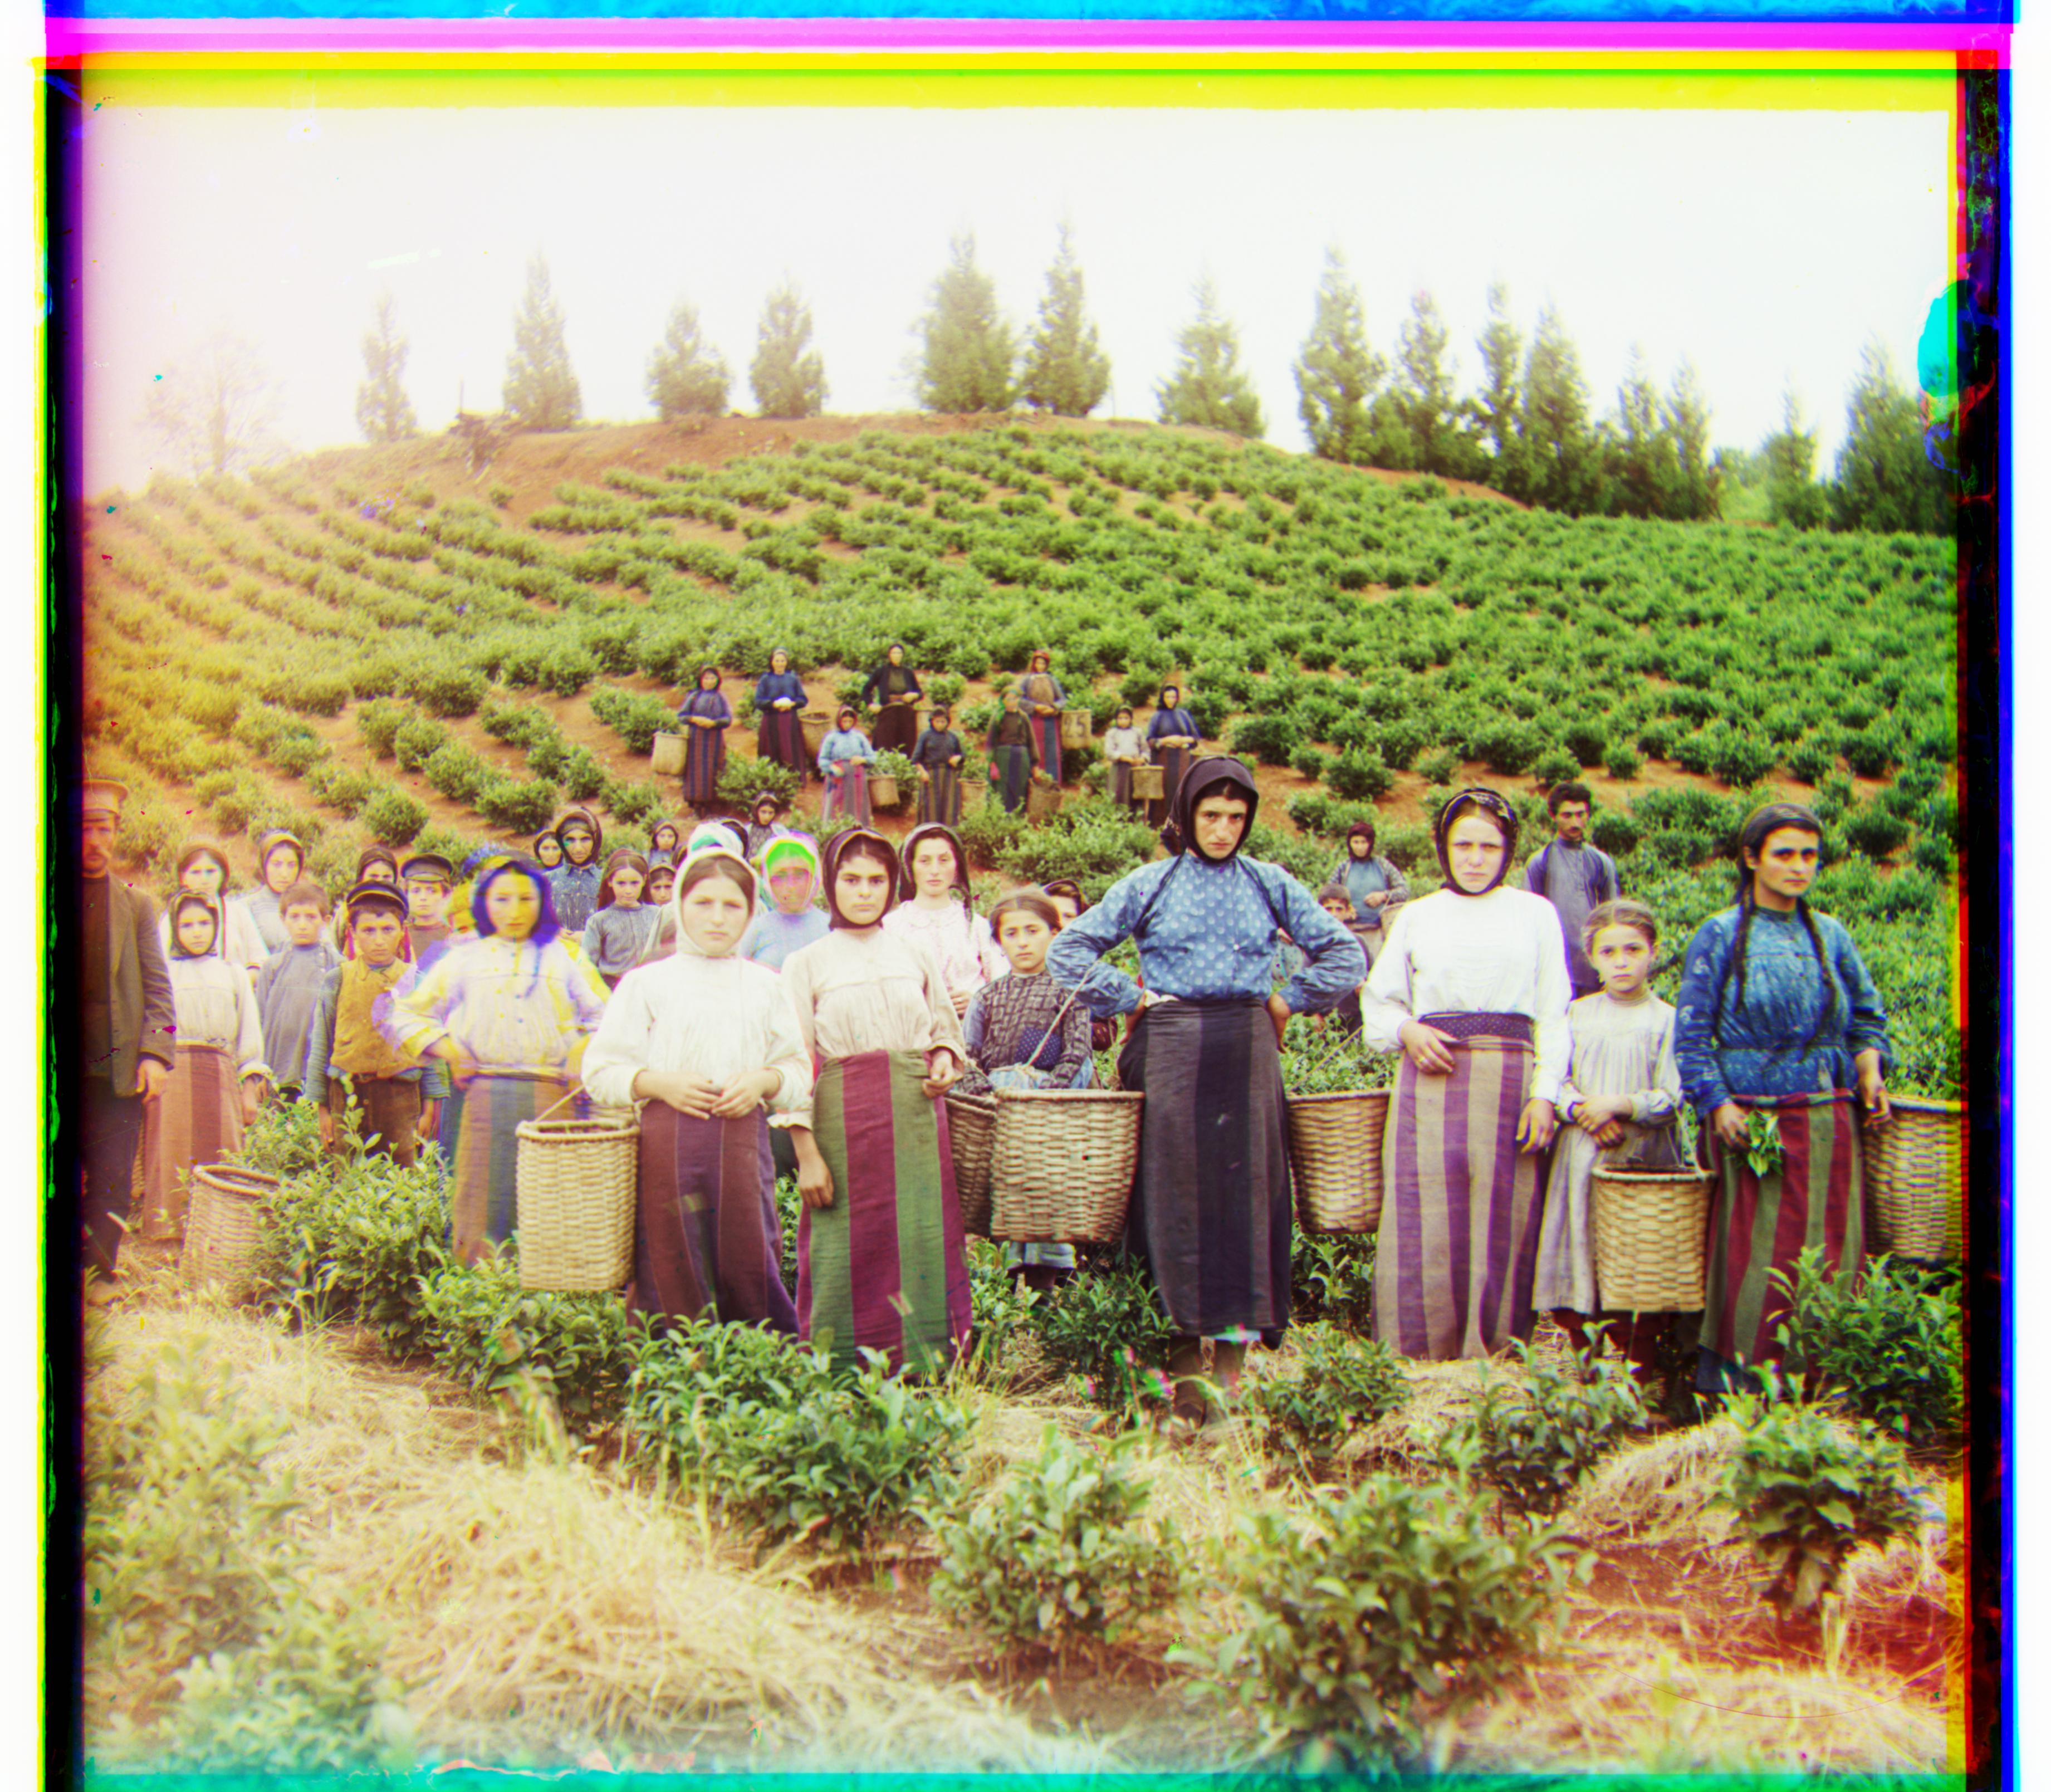
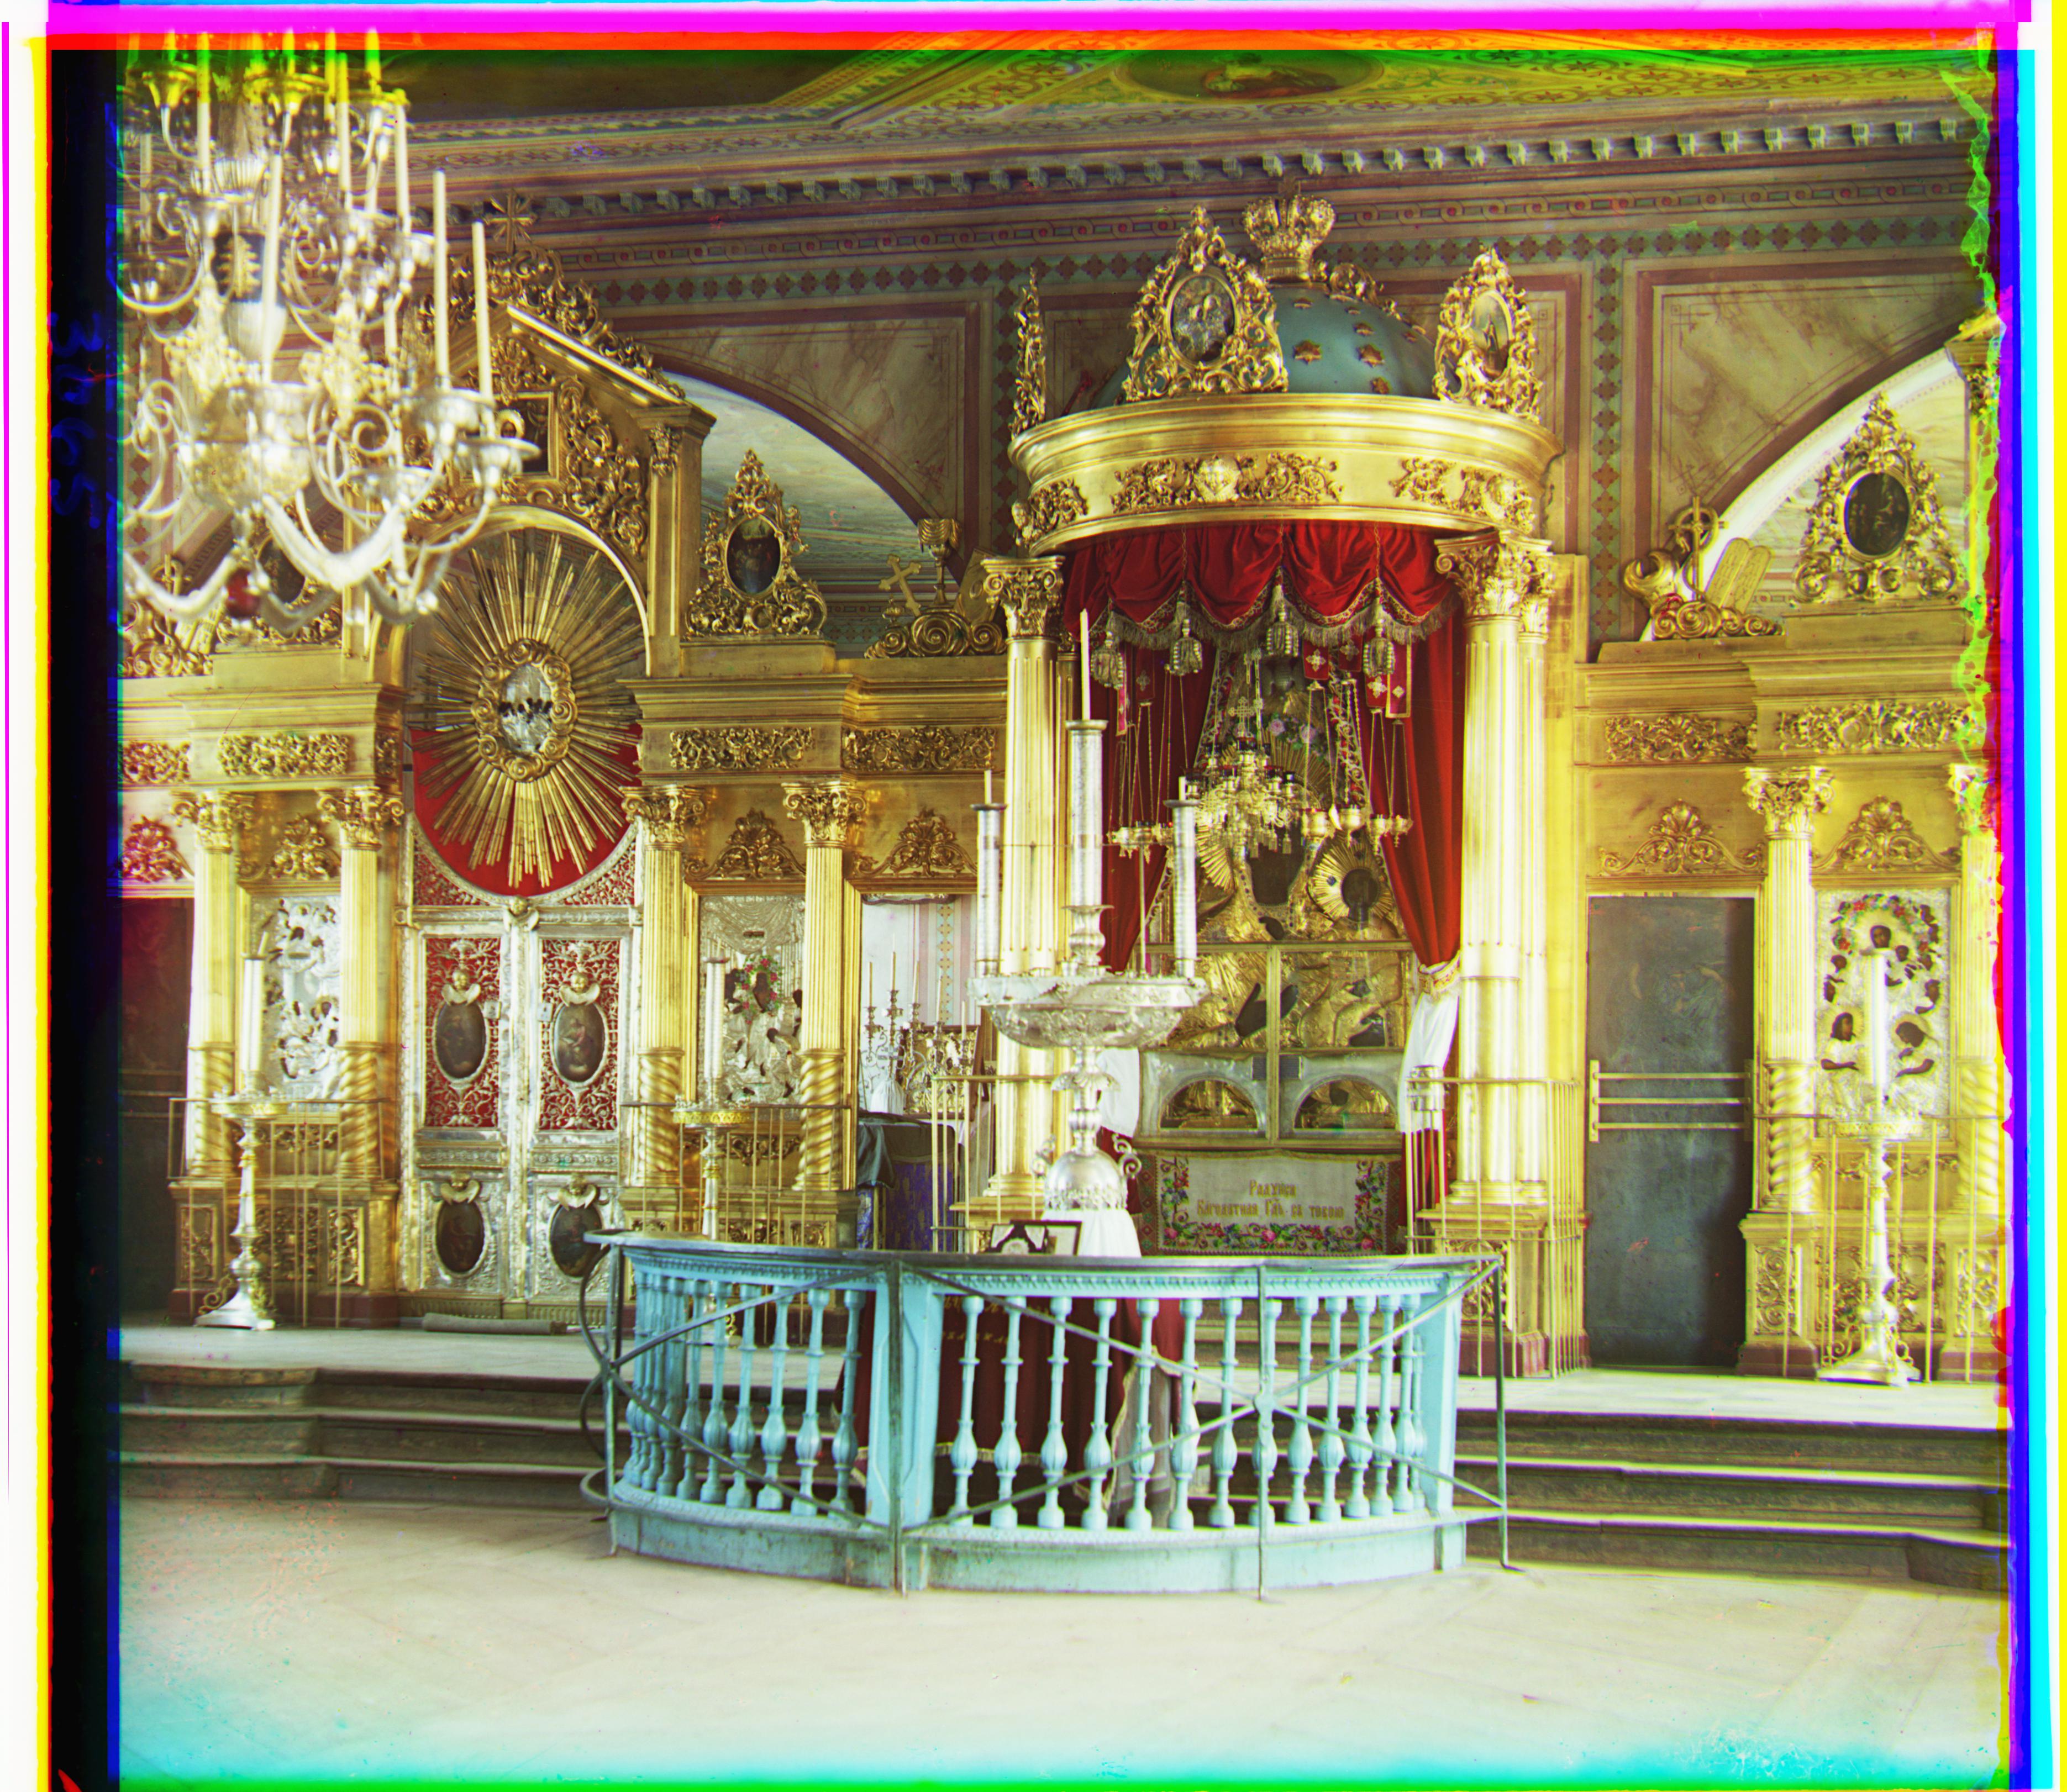
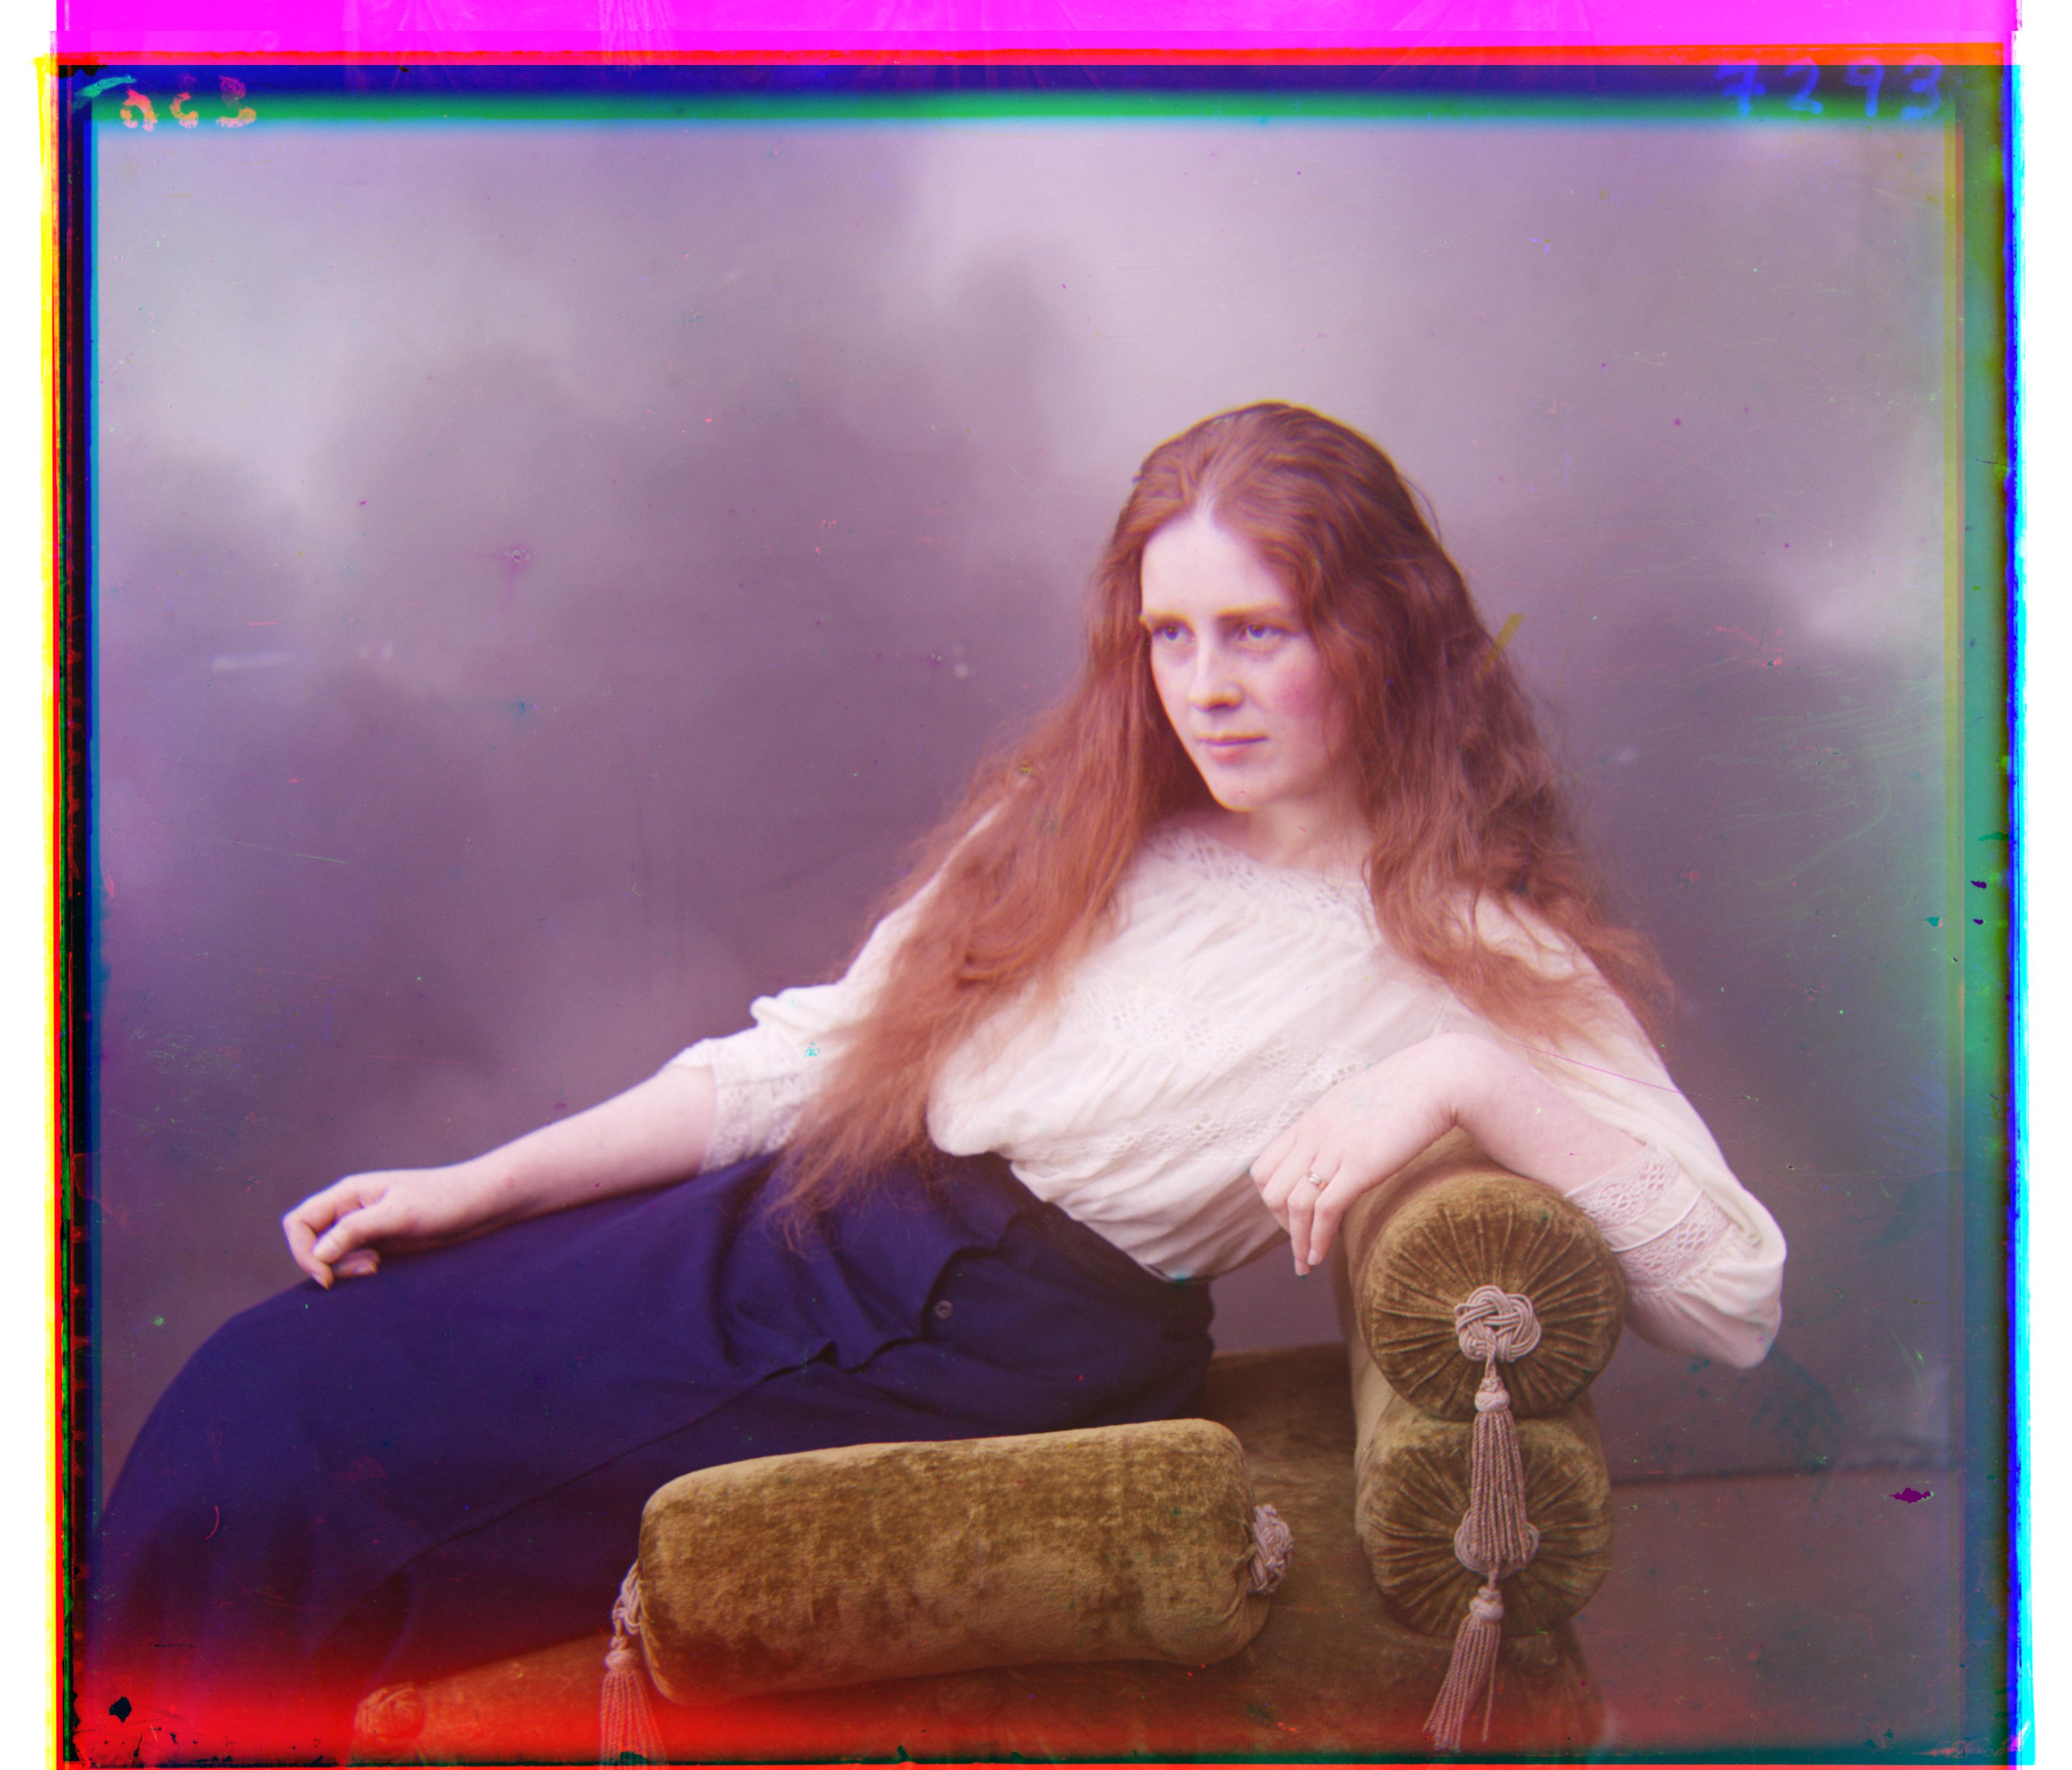
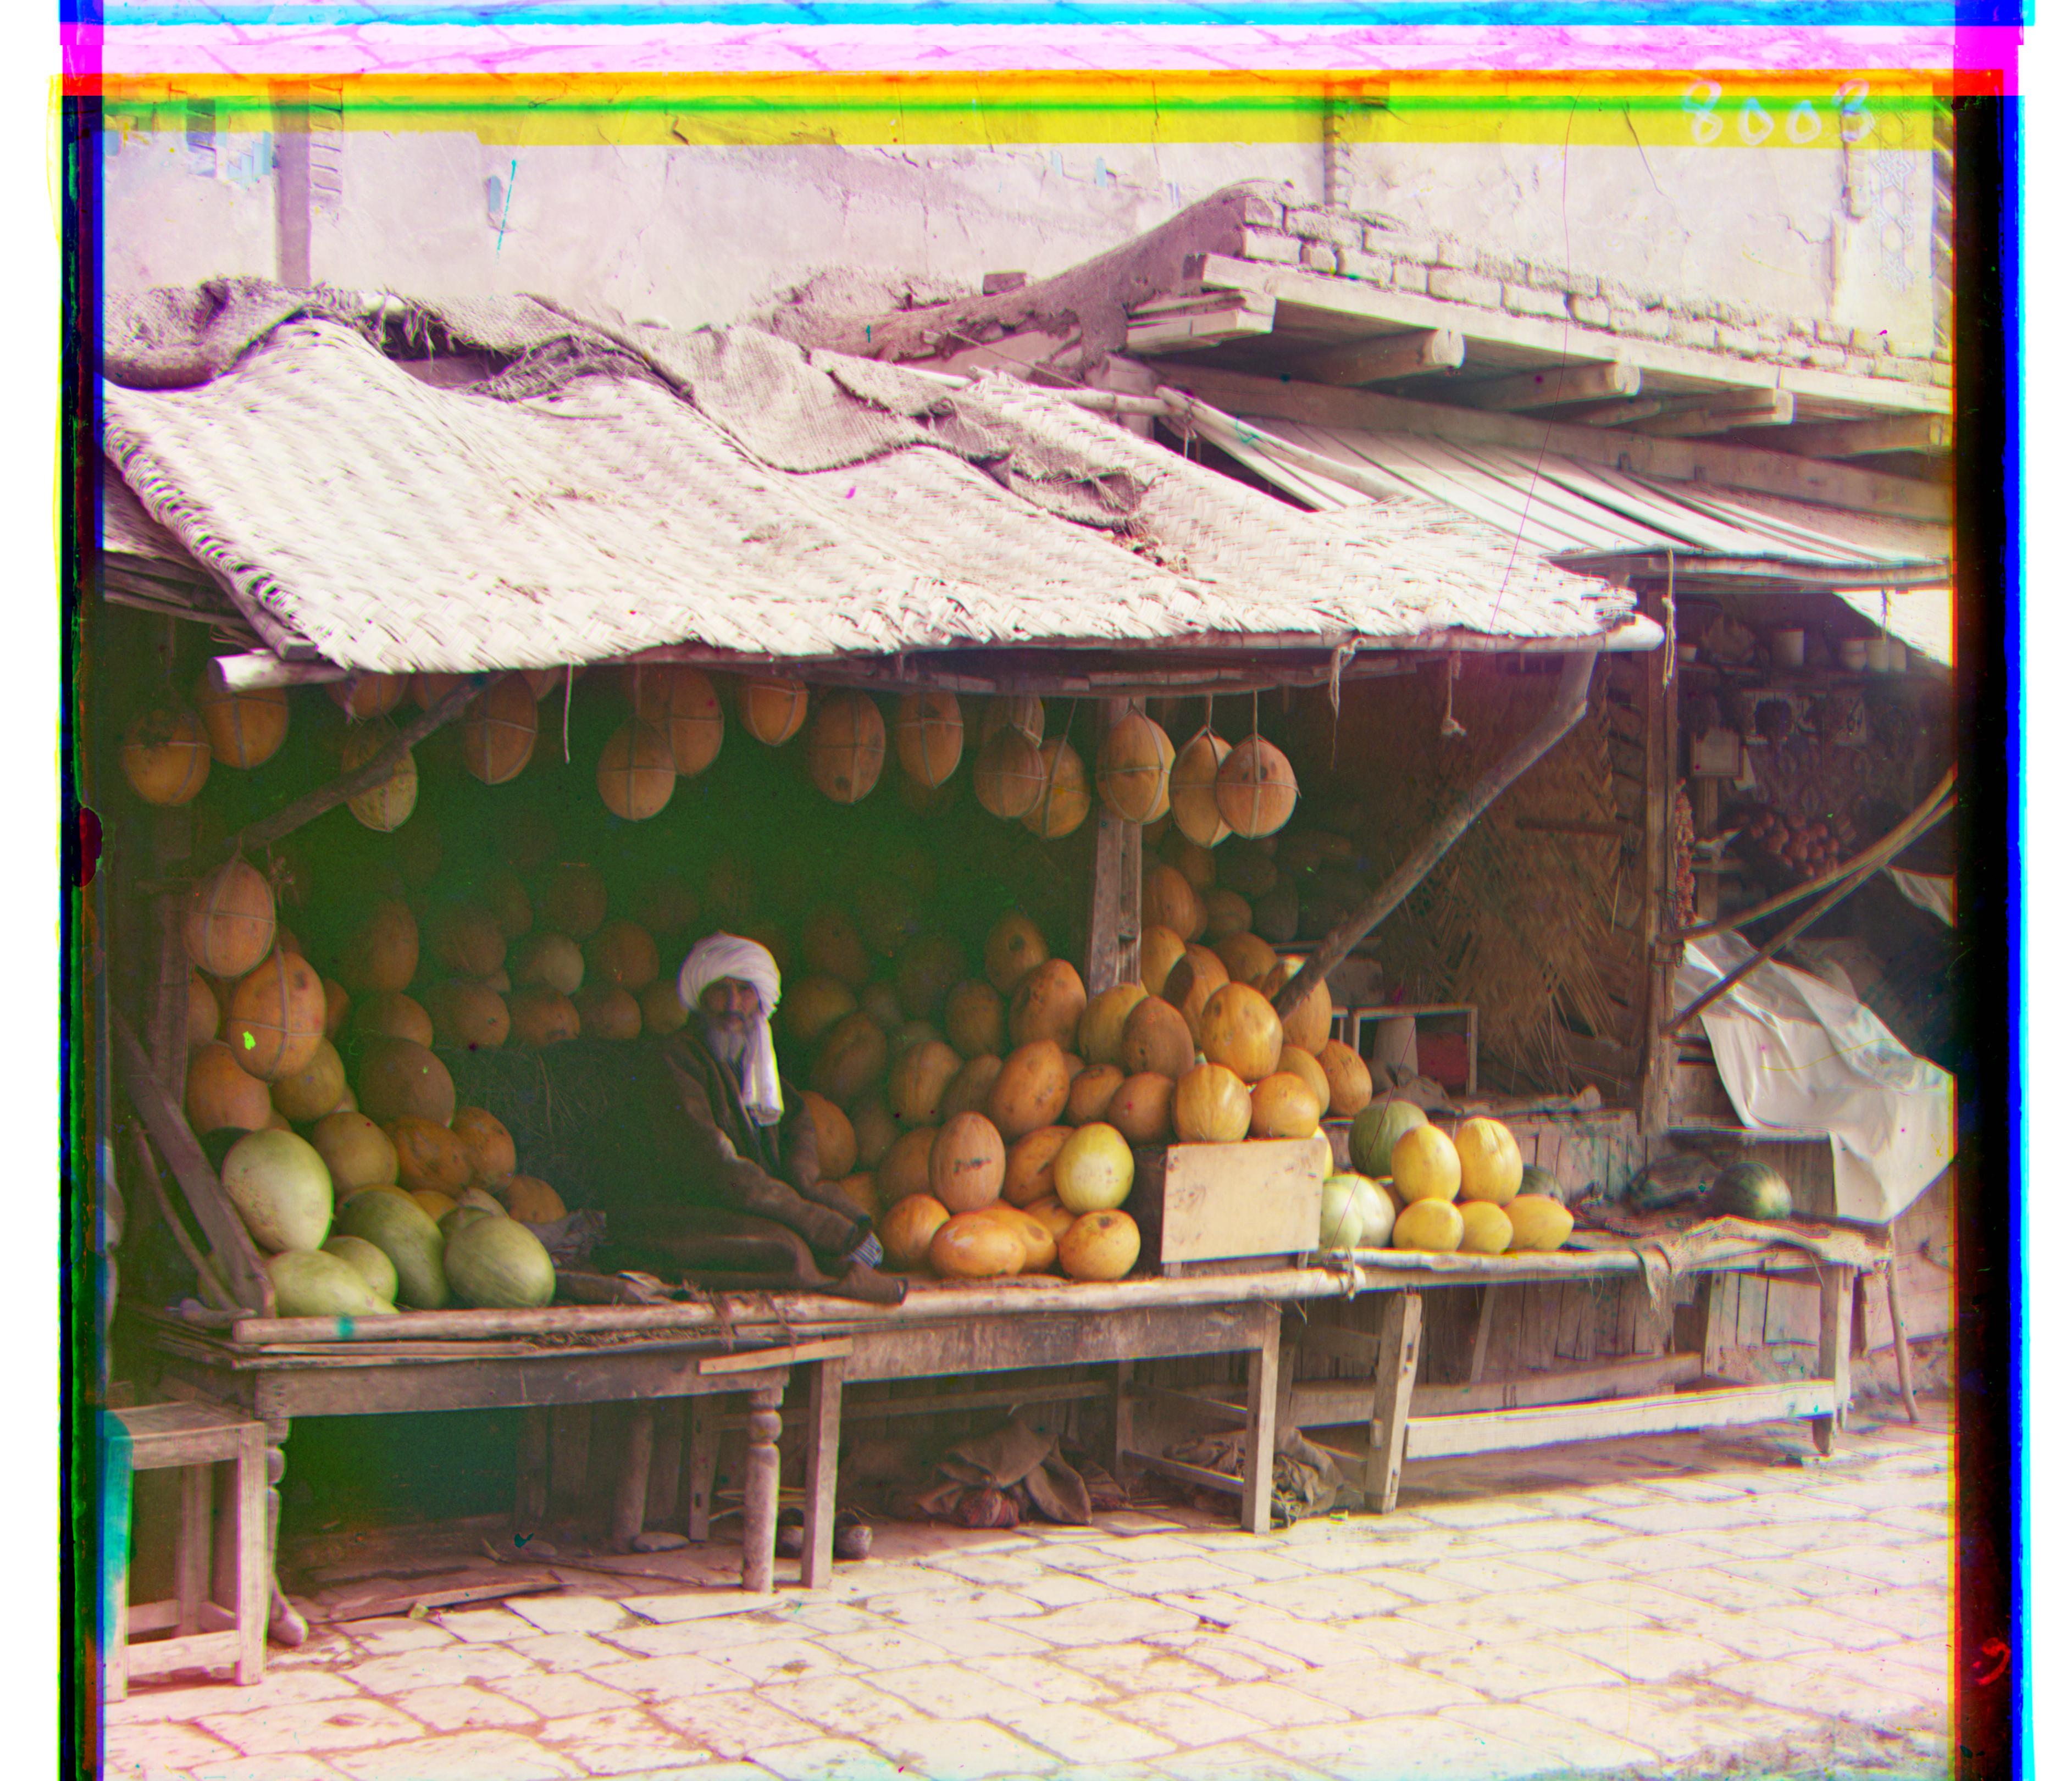
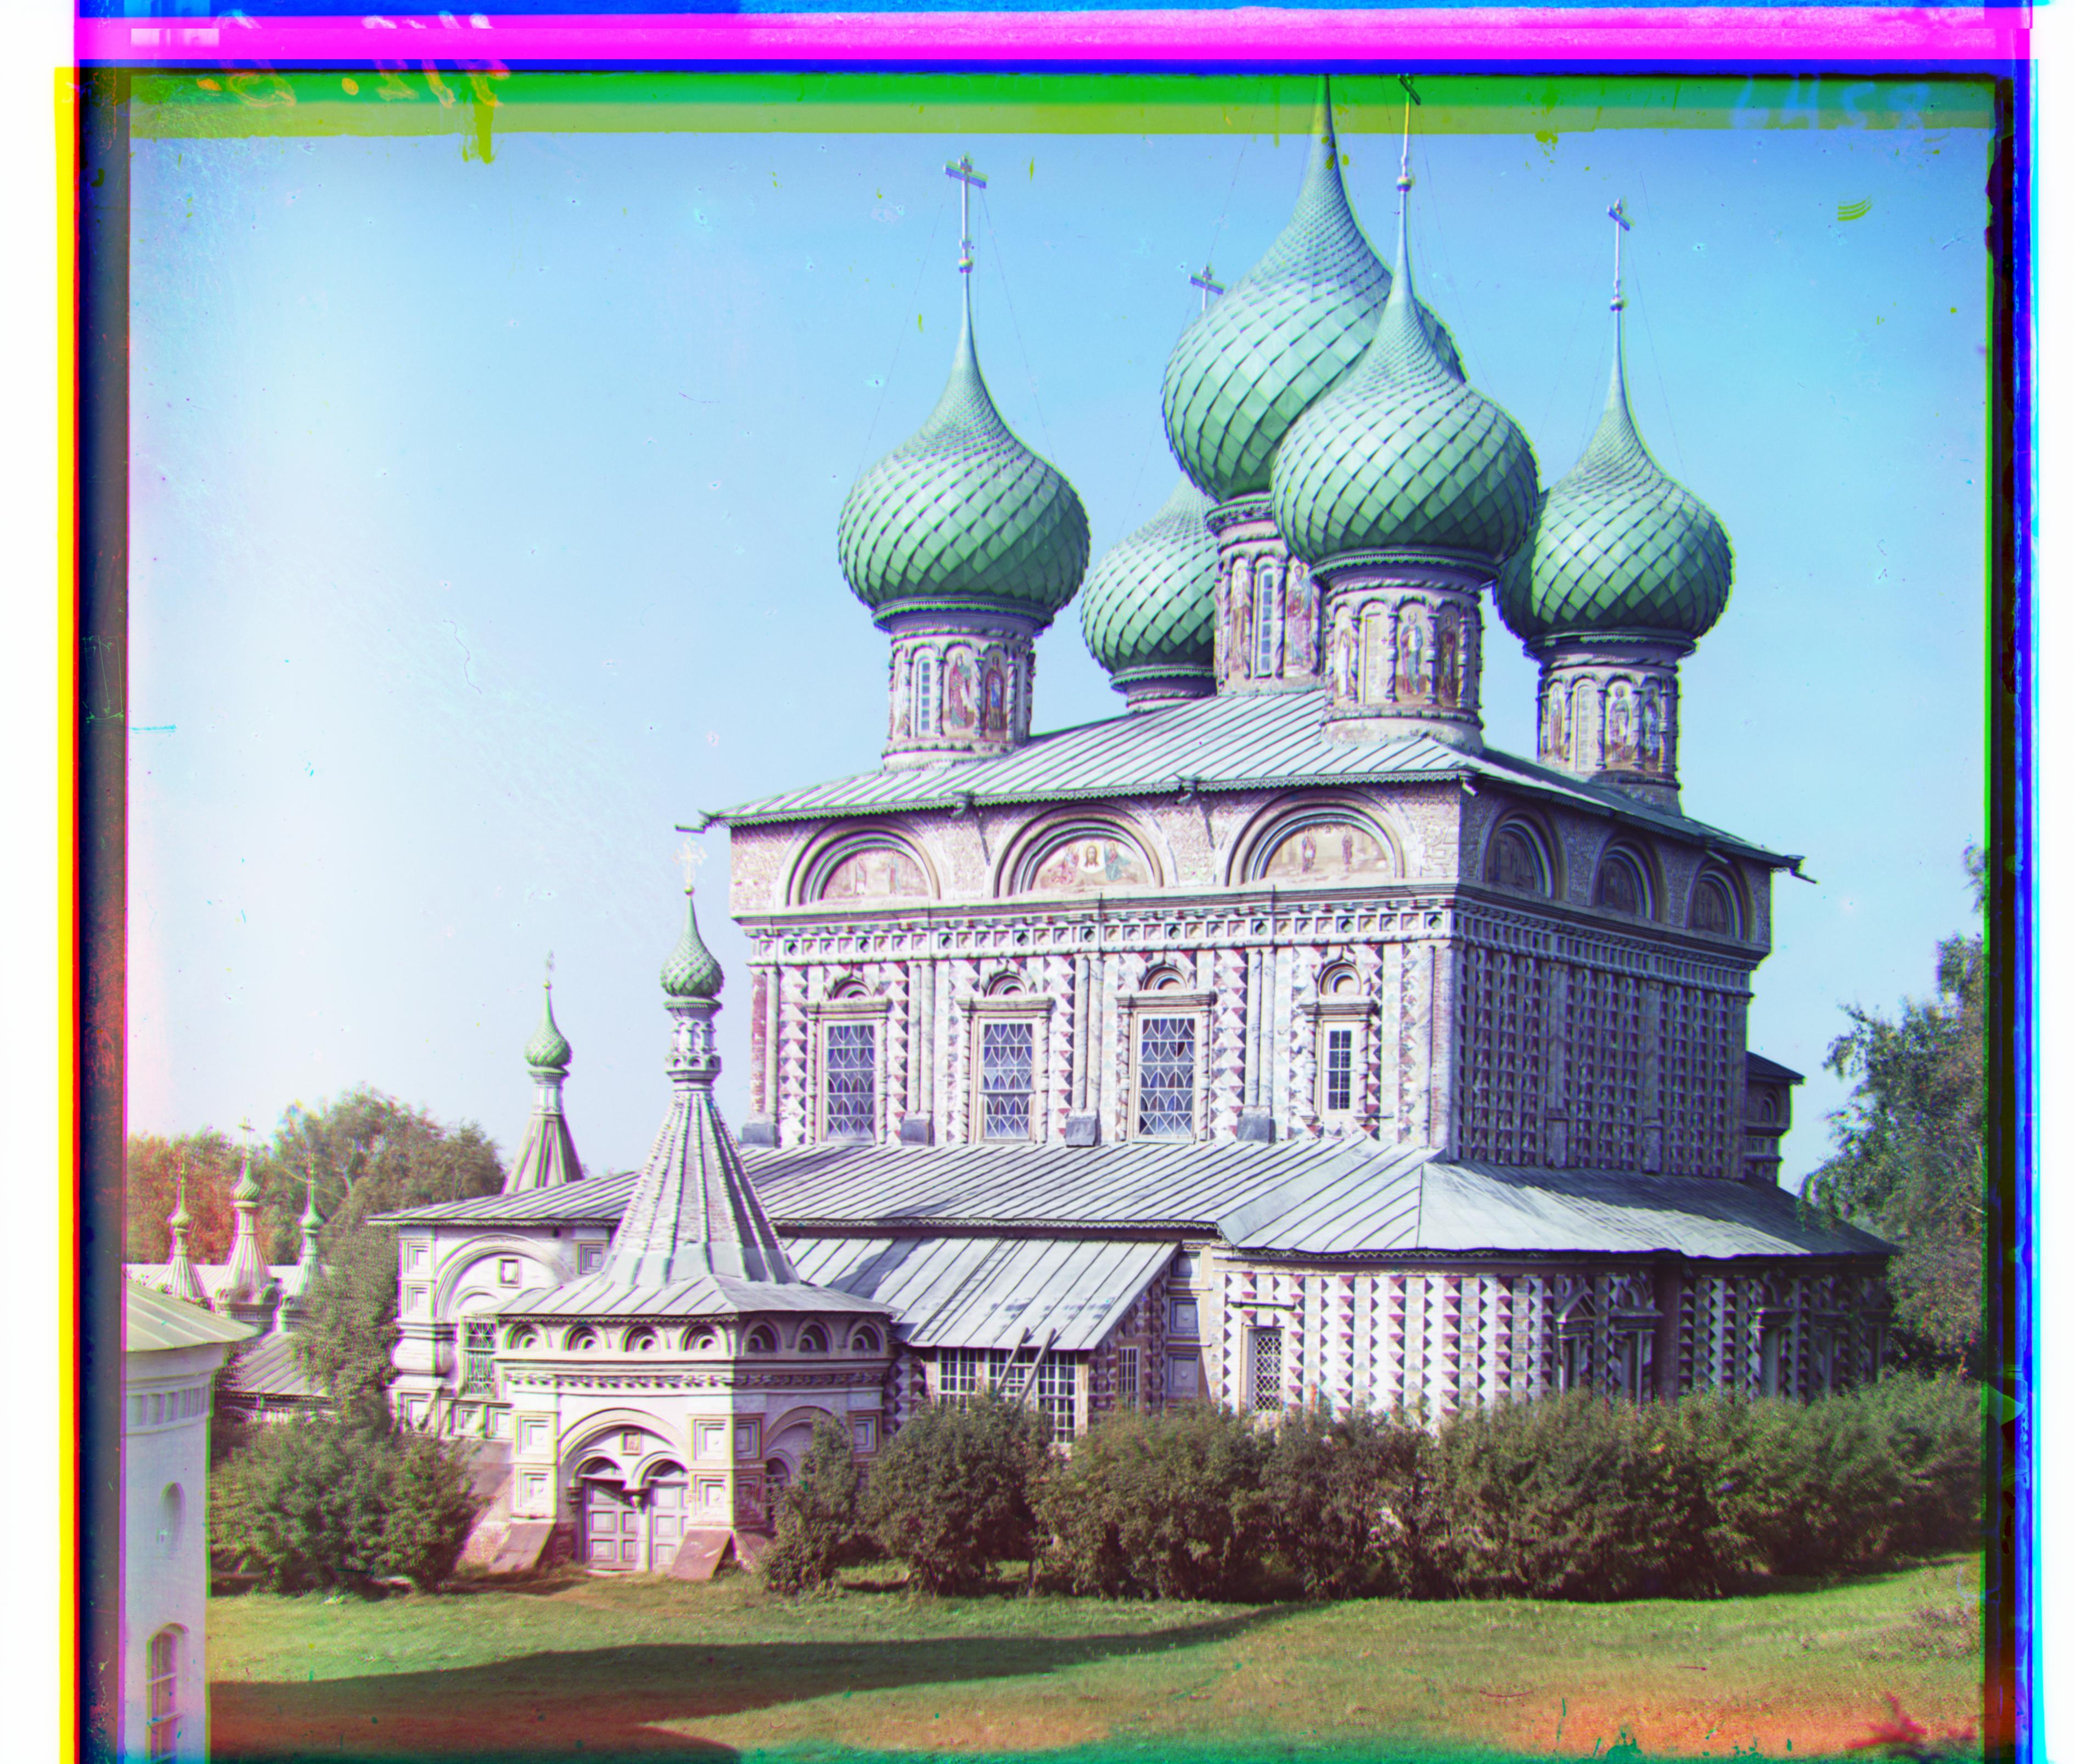
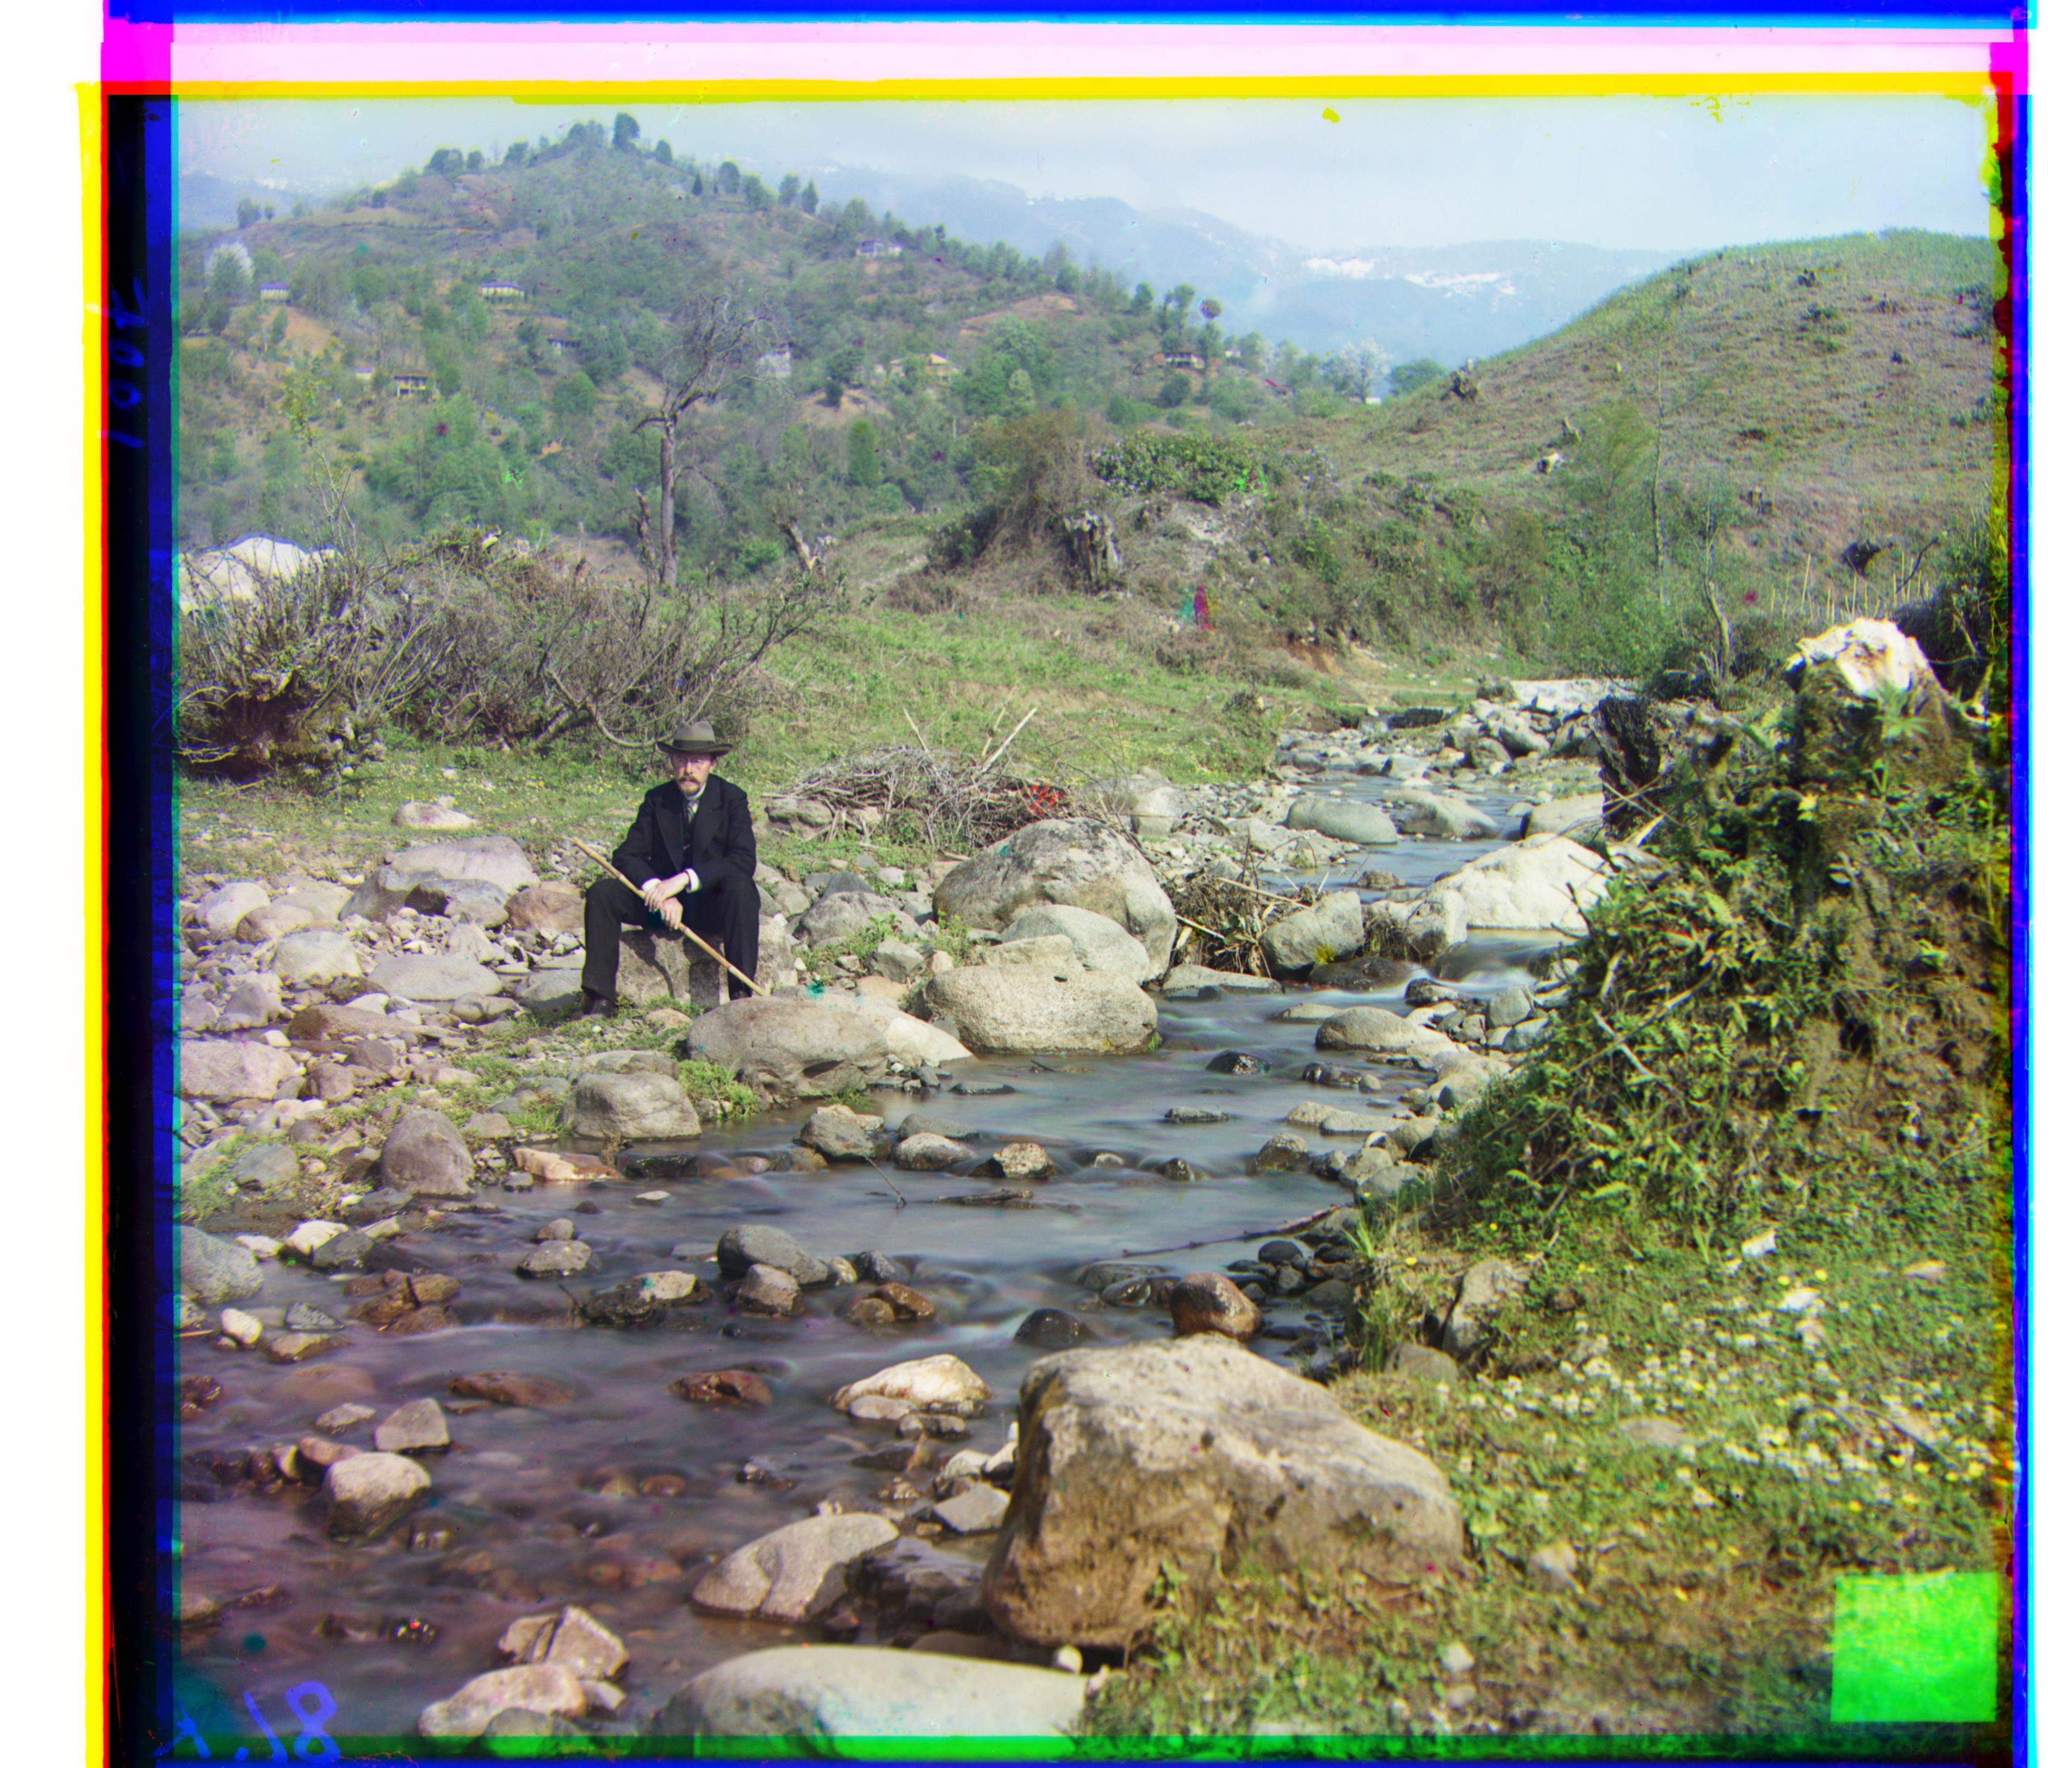
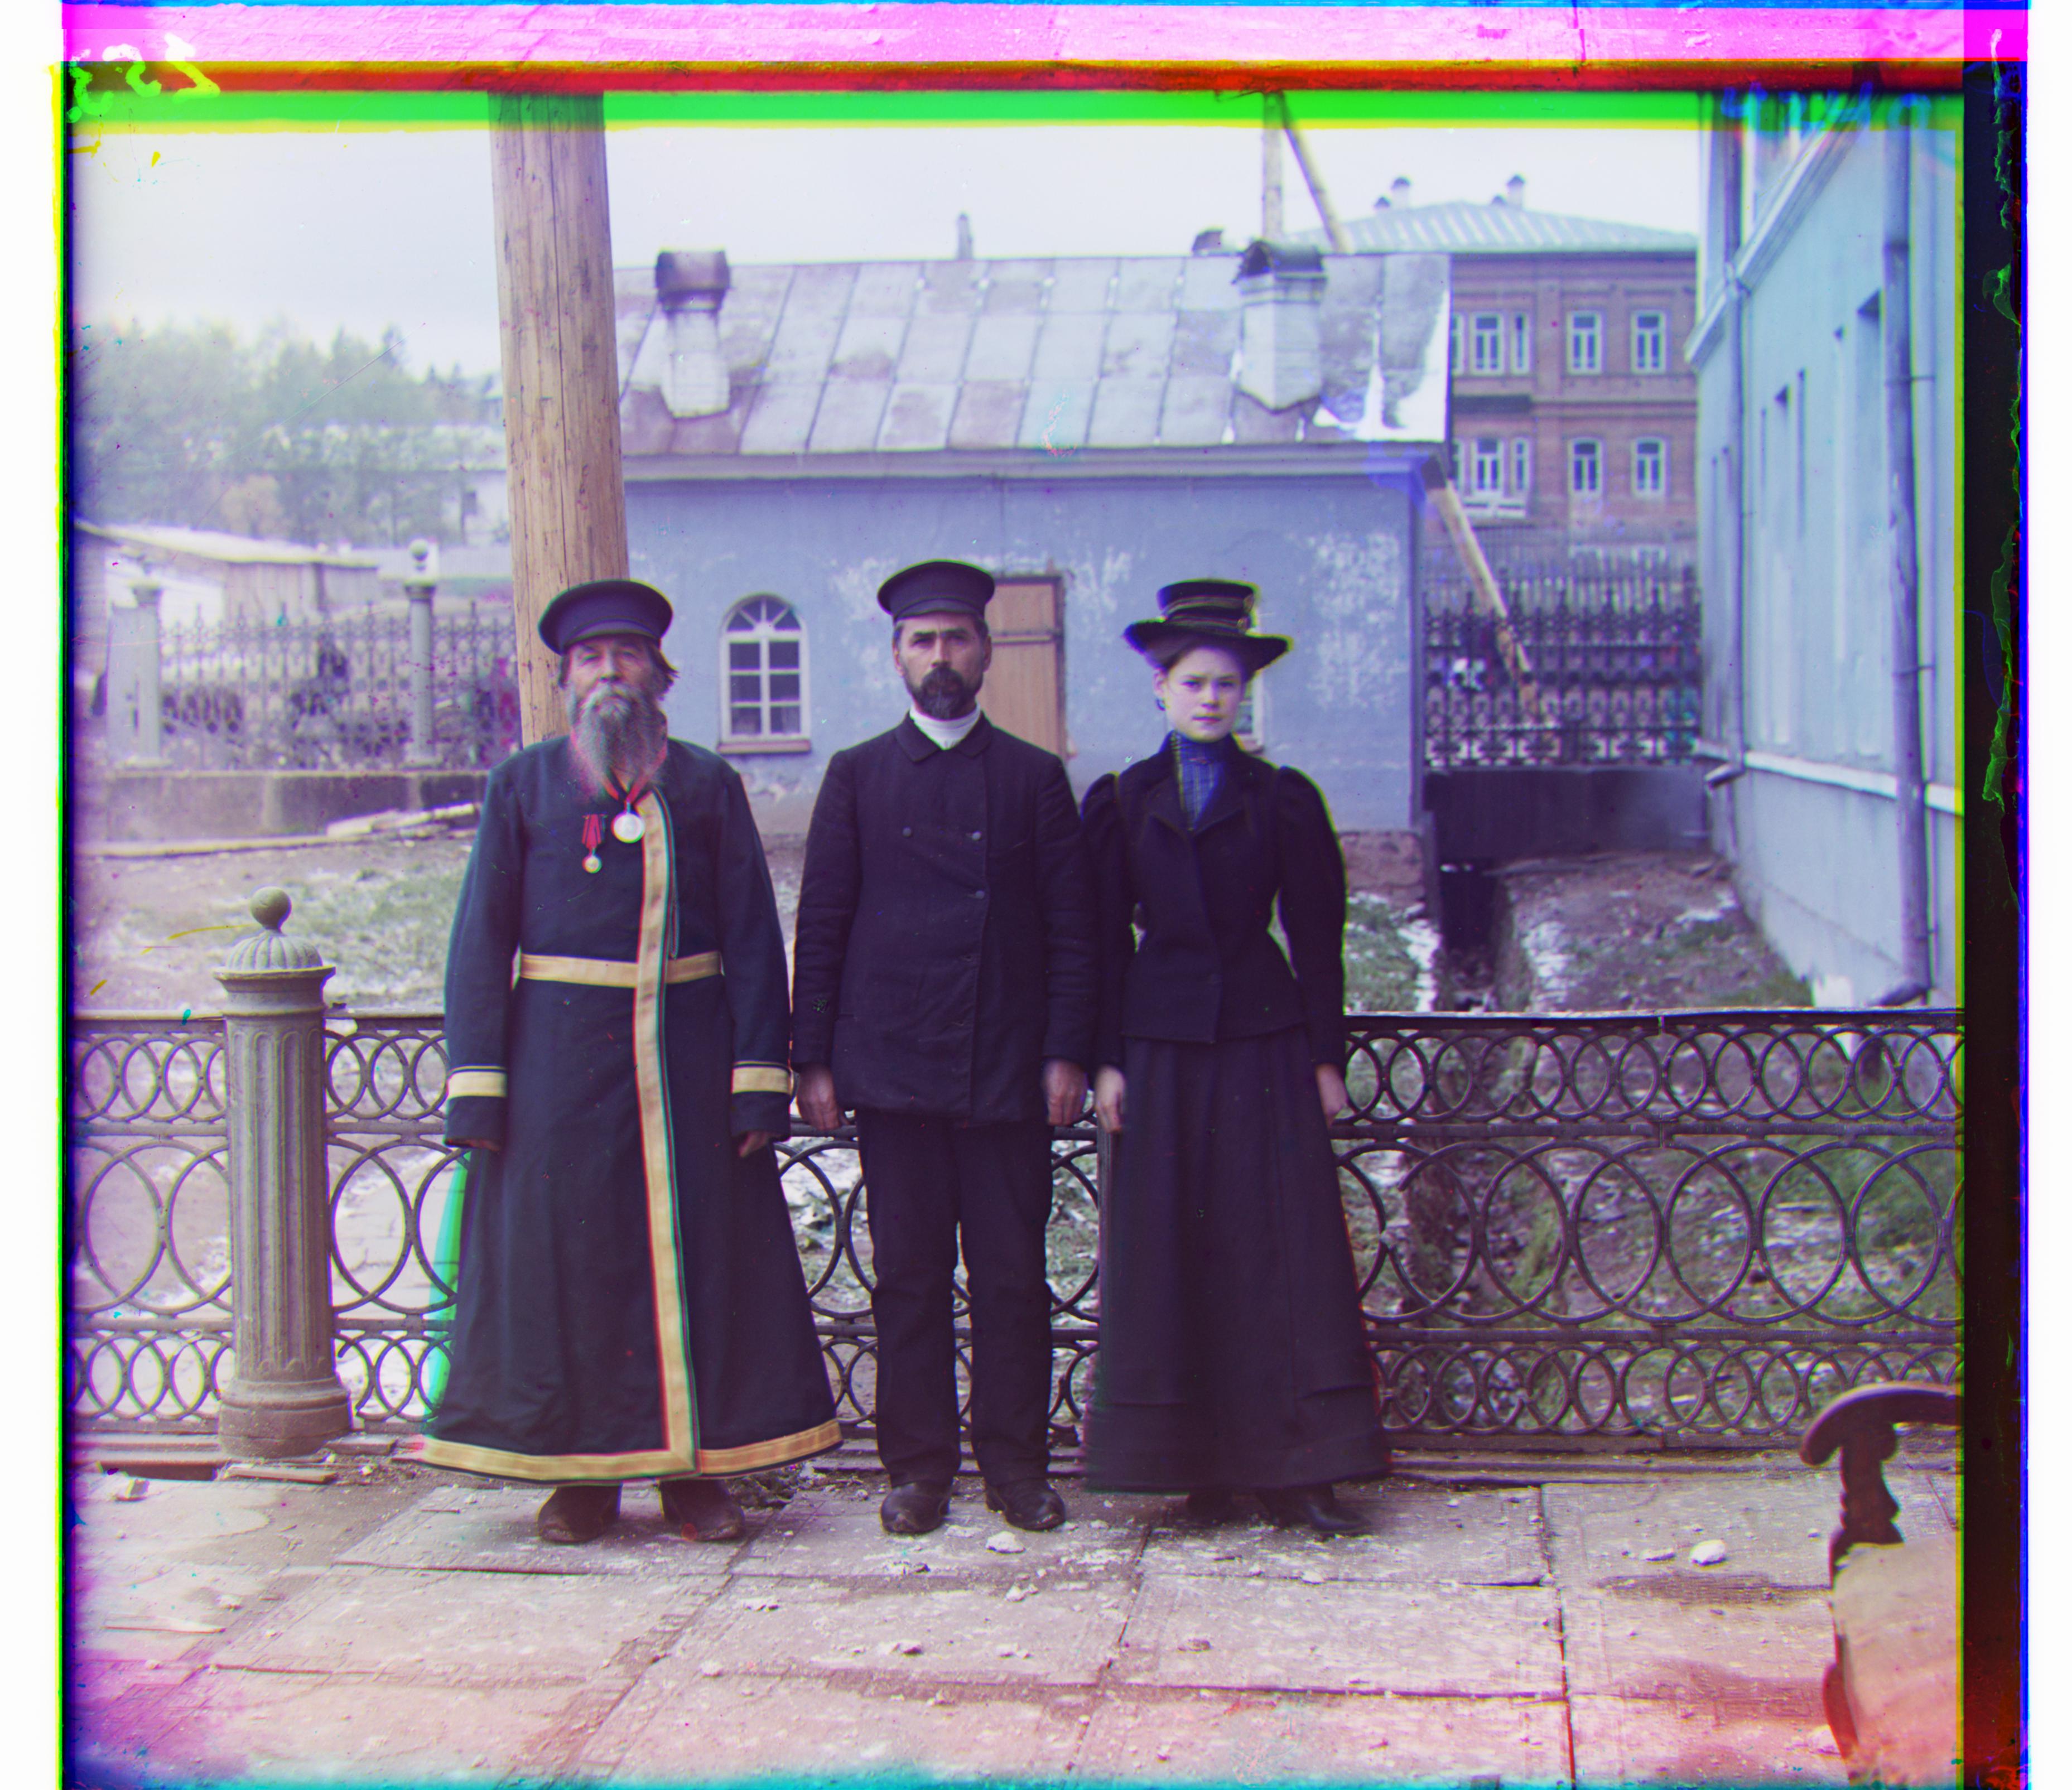
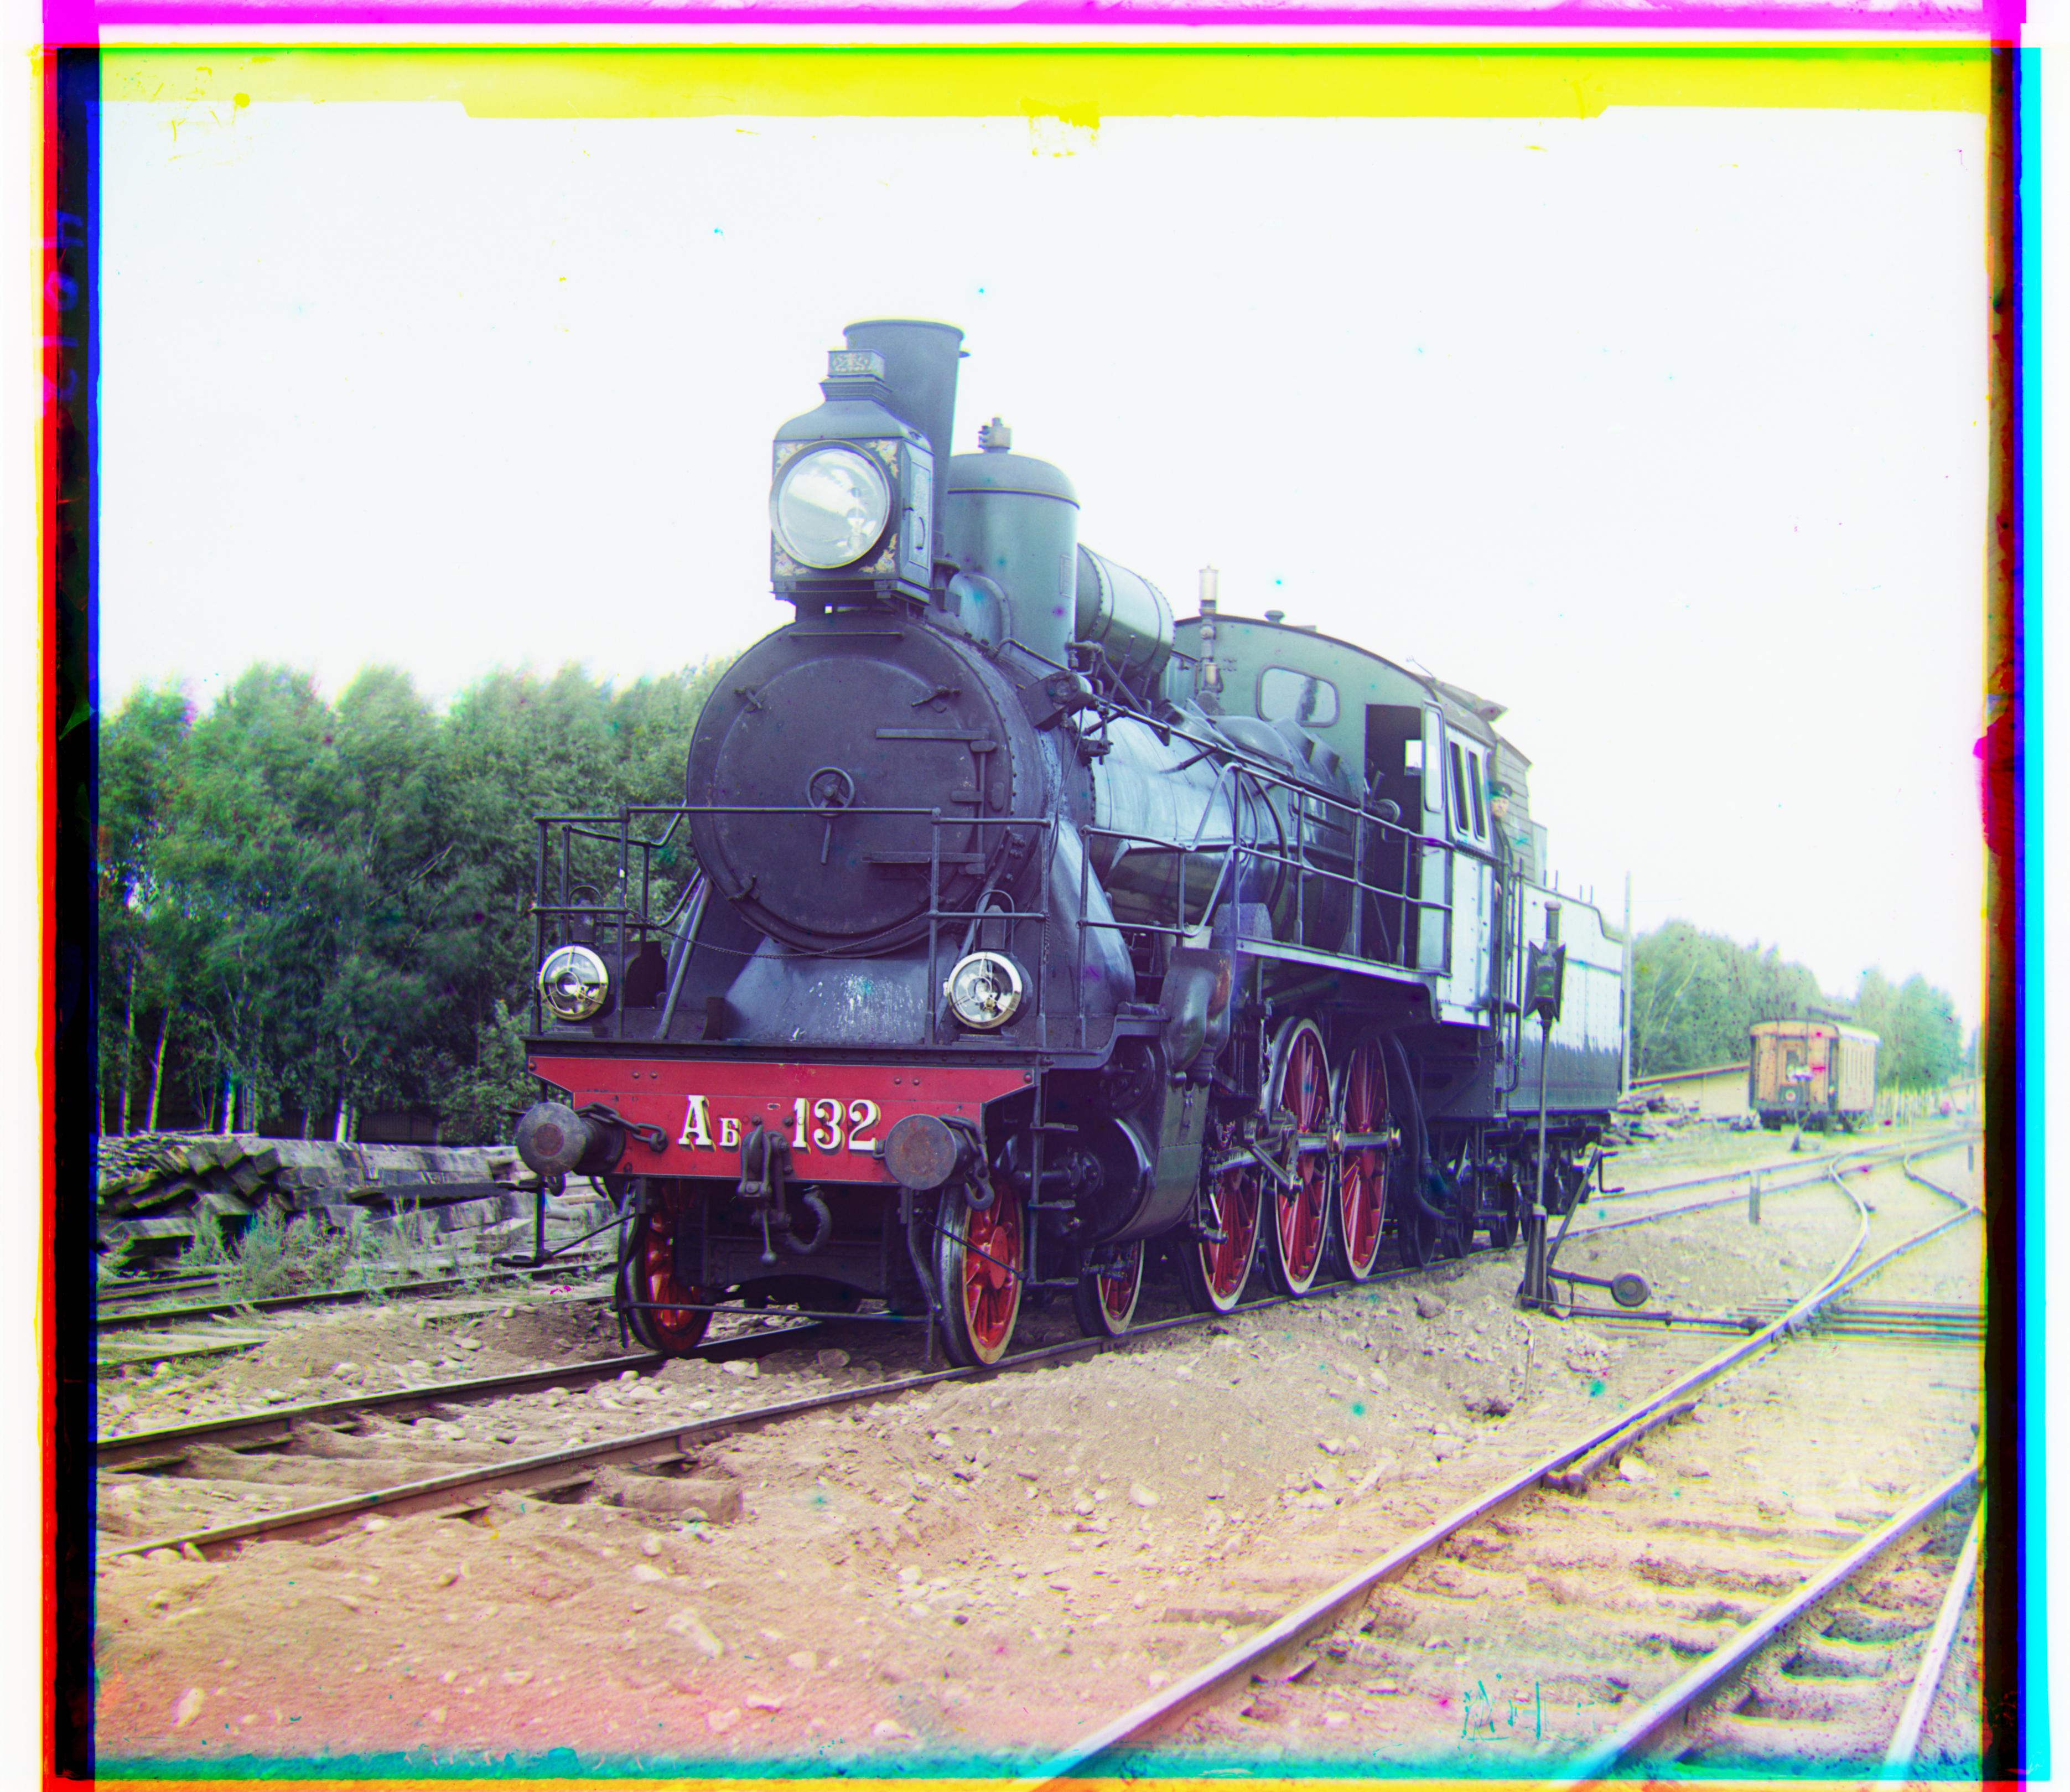
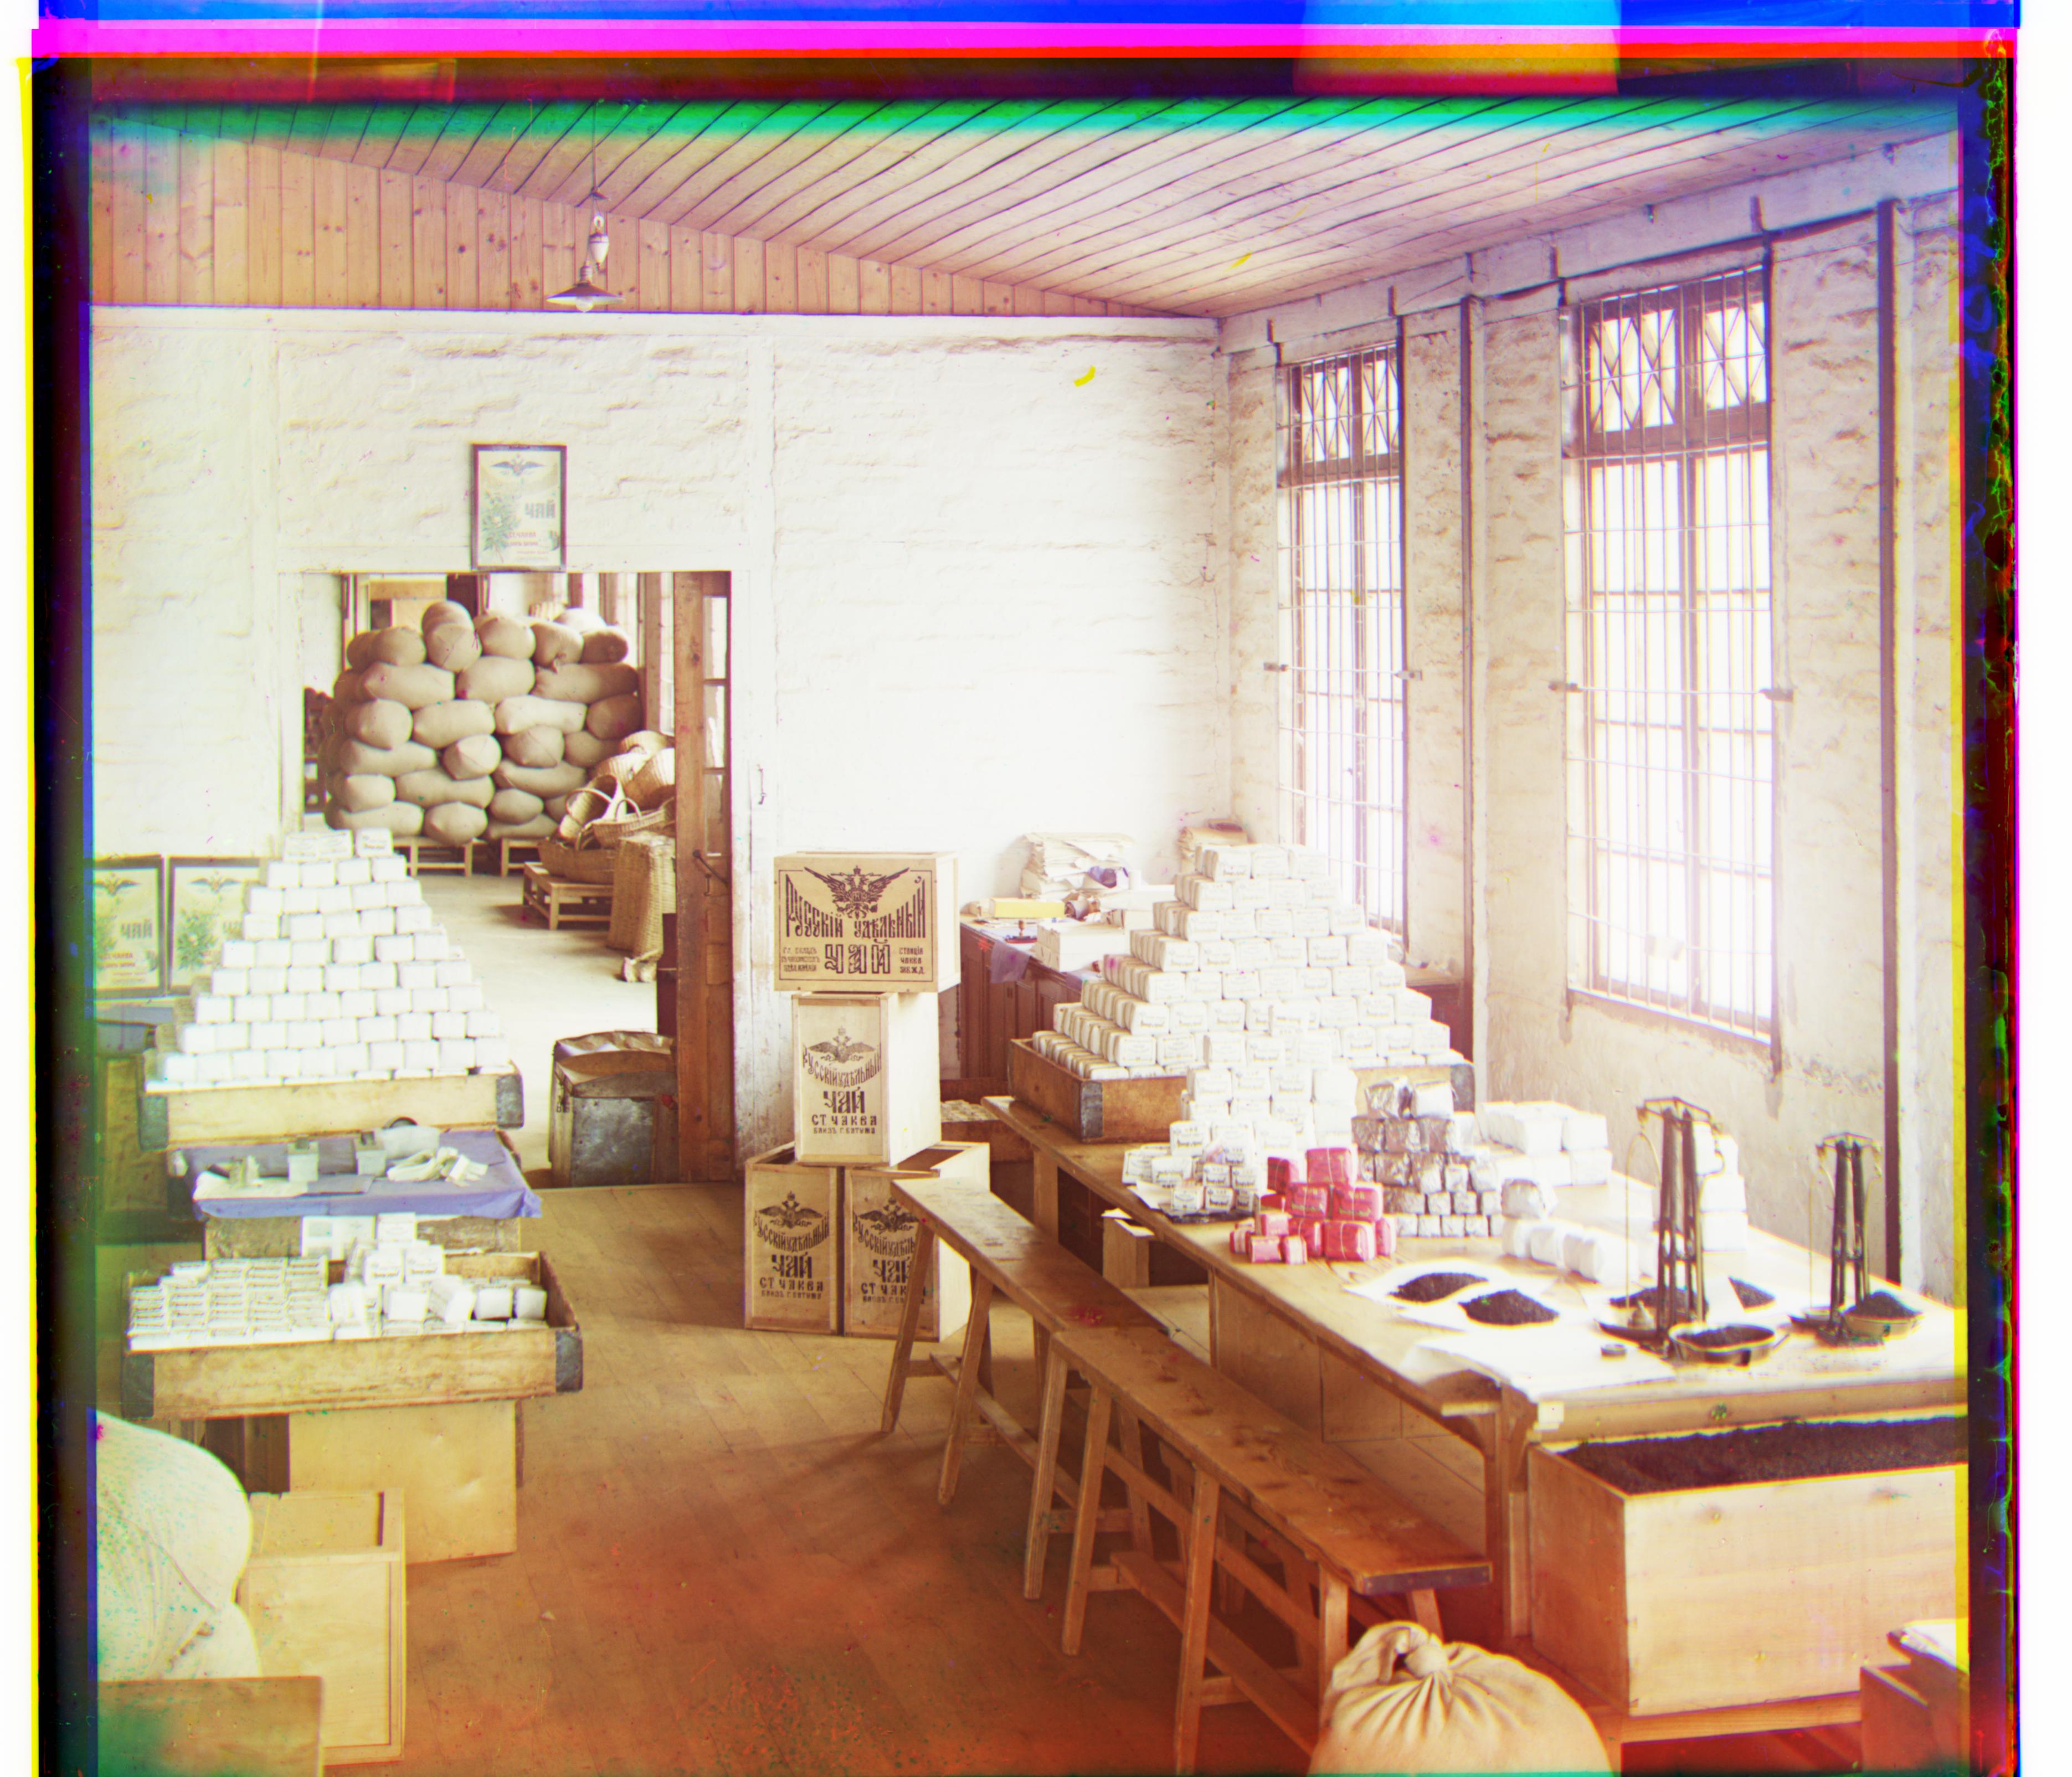
In this project, I colorized a set of nineteen photographs taken by Prokudin-Gorskii. Prokudin-Gorskii took each of these photographs three times, using three different color filtering lenses. I aligned the three different versions of each photograph and then produced a single colored composite by treating each version as a single RGB color channel. I also implemented a few bells and whistles, including autocropping and automatic contrast.
Colorizing the Photographs
To colorize the photographs, I aligned the red and green channels by translating them to match the blue channel, which was kept constant. I experimented with a few different heuristics for aligning the photographs, including minimizing Sum of Squared Distances (SSD) and maximizing Normalized Cross-Correlation (NCC). I chose to use NCC for my final submission because my NCC results looked better on visual inspection.
I initially implemented a brute force procedure that tried every vertical and horizontal offset from -p to +p, where p is approximately 5% of the side length of the image in pixels. This procedure worked well for most jpeg photographs, but I found that it was too slow to use on the larger tiff files. To align these files, I implemented a coarse-to-find pyramid algorithm that first identifies the best alignment offsets to the nearest 2^4 pixels by subsampling from the image, and then repeatedly refines this estimate by a factor of 2 per step to get precise alignment offsets.
Failures
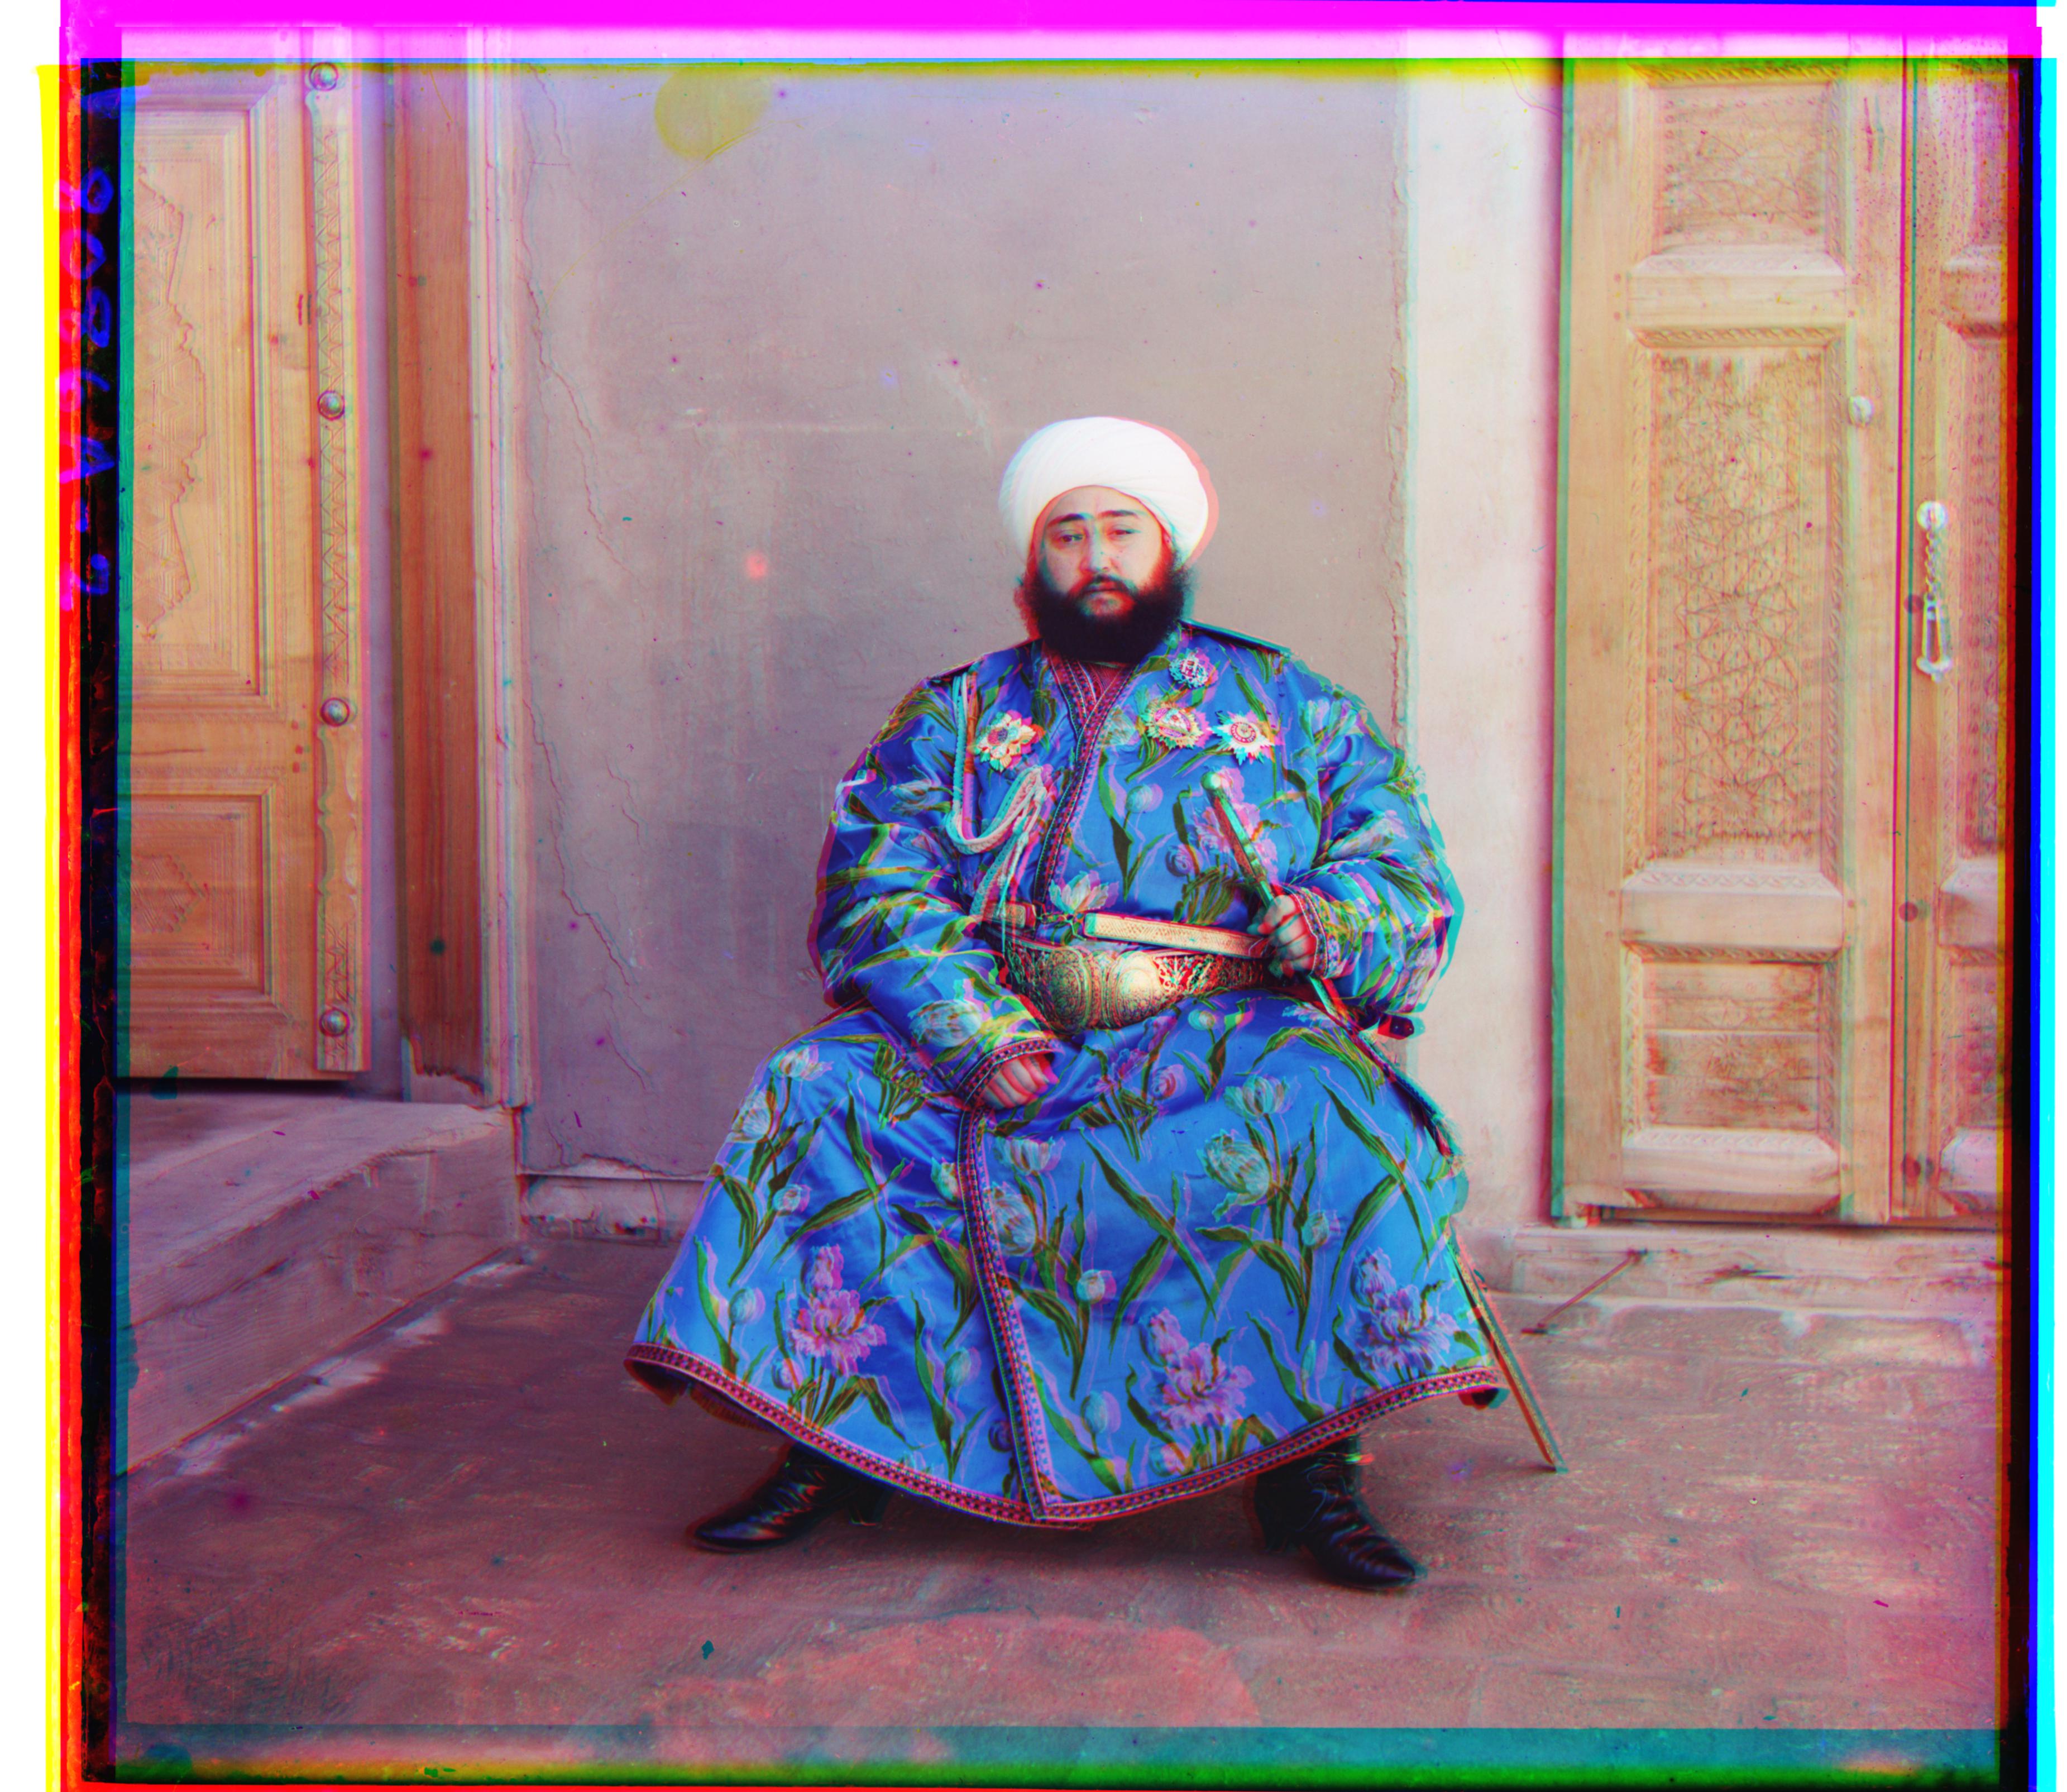
The above procedures worked well for almost every photograph. There was one exception, emir.tif, which could not be aligned as sharply as the others because of the Emir of Bukhara's bright blue shirt, whose color caused the different channels to have very different brightness values even in places where they should have matched. I was able to achieve a pretty good alignment for him by starting the pyramid algorithm at 2^3 pixels instead of 2^4 for the initial coarse pass (though it is still noticeably less well-aligned than the others). I believe this change worked because starting at too coarse of a resolution (2^4) for the Emir causes the algorithm to get stuck in a local minimum, grossly misaligning the photo.
Provided Examples
My Own Examples
I chose some extra examples from the Prokudin-Gorskii Photo Collection and colorized them, as instructed. They are (https://www.loc.gov/item/2018681179/, https://www.loc.gov/item/2018681259/,
https://www.loc.gov/item/2018681265/,
https://www.loc.gov/item/2018681281/,
https://www.loc.gov/item/2018679062/).
Here are the results:
colorized_camel.jpg
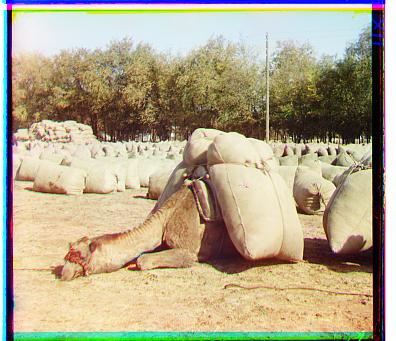
Red channel best vertical, horizontal offsets: 10 -2
Green channel best vertical, horizontal offsets: 4 0
colorized_mill.jpg
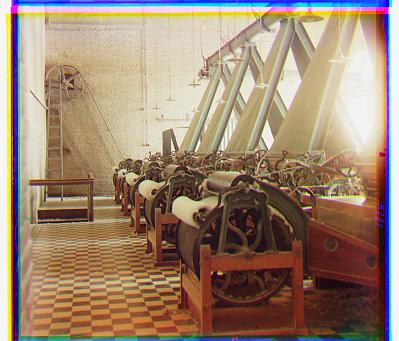
Red channel best vertical, horizontal offsets: 14 4
Green channel best vertical, horizontal offsets: 7 3
colorized_napoleon.jpg
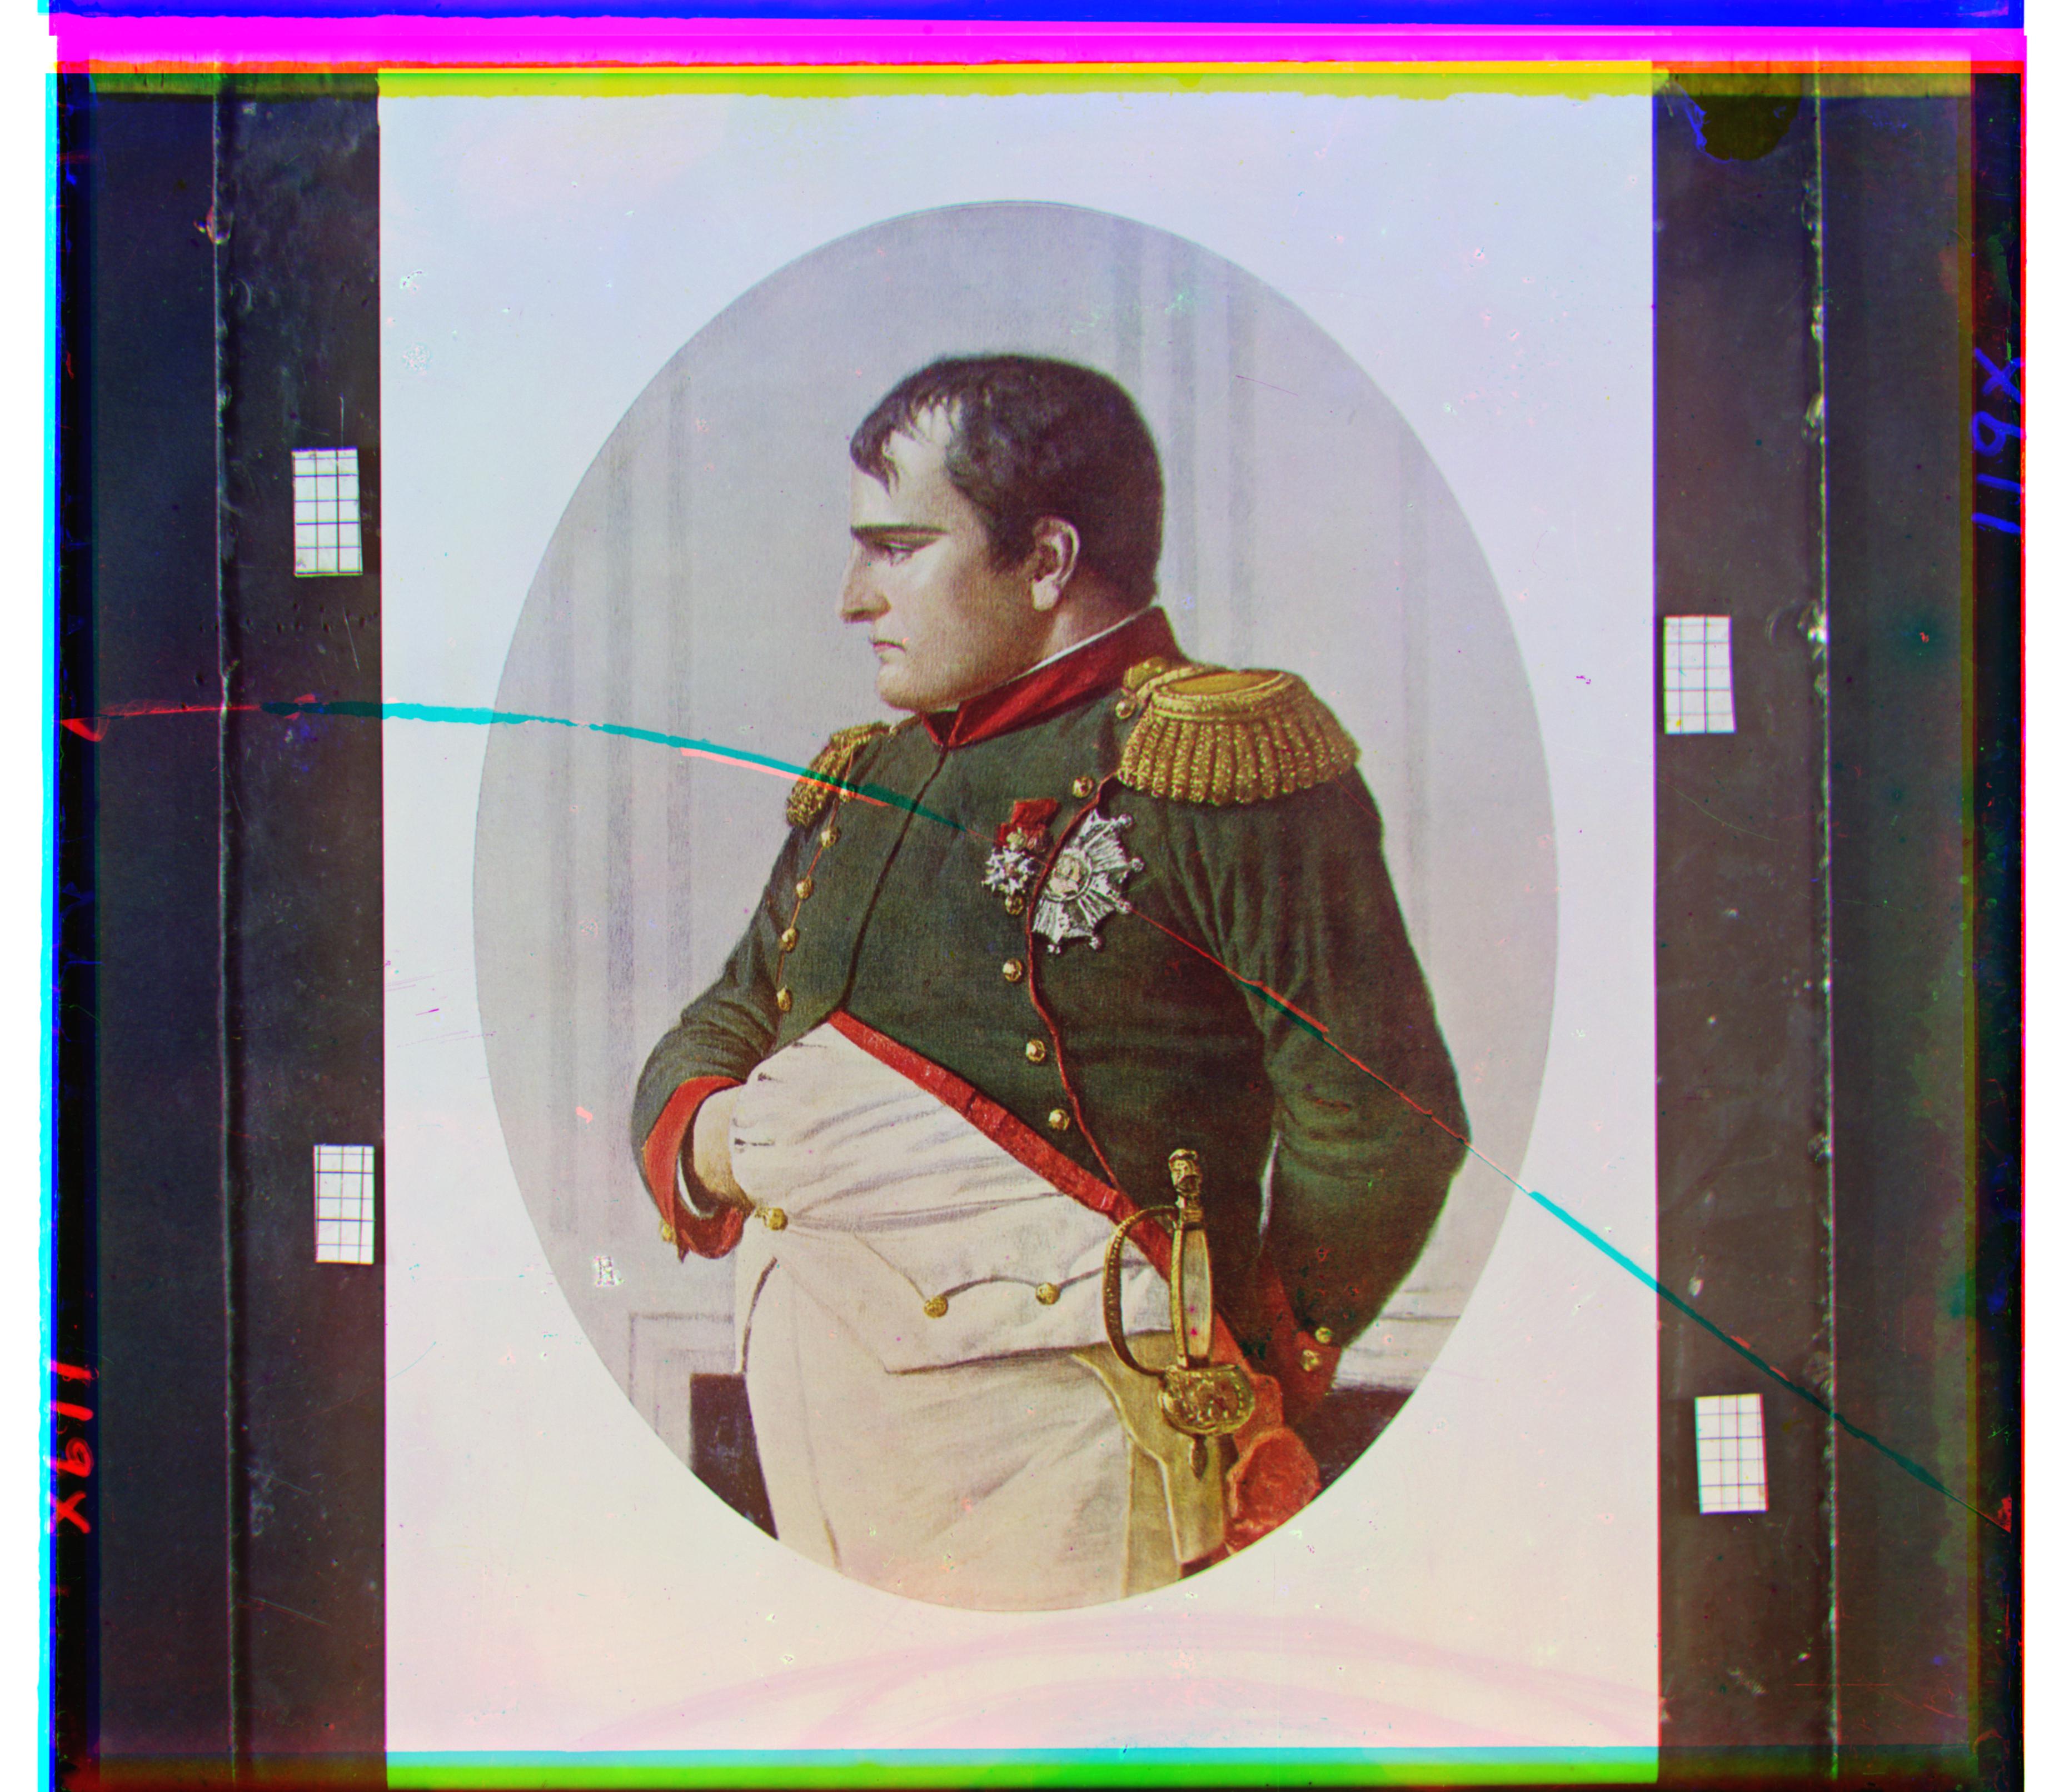
Red channel best vertical, horizontal offsets: 132 -2
Green channel best vertical, horizontal offsets: 64 4
colorized_roses.jpg
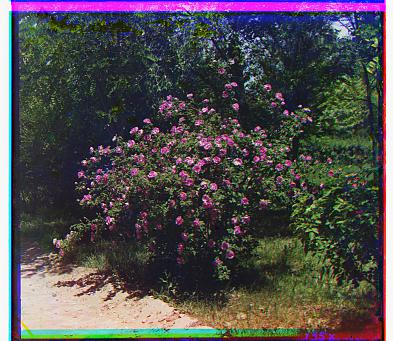
Red channel best vertical, horizontal offsets: 11 -2
Green channel best vertical, horizontal offsets: 5 0
colorized_statues.jpg
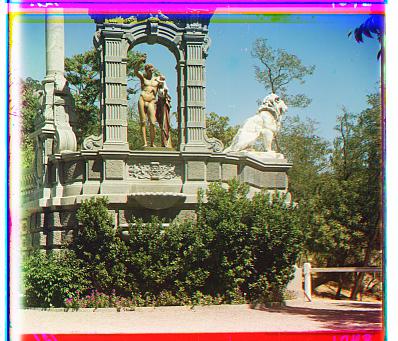
Red channel best vertical, horizontal offsets: 14 -2
Green channel best vertical, horizontal offsets: 3 -1
Bells and Whistles
Autocropping
I automatically cropped the colorized images by detecting borders on each of the four sides of the photograph. I wrote an algorithm to look for these borders by identifying places where a sharp increase in NCC occurs. That is, I assumed that the aggregate agreement between the color channels is much lower at the borders than in the image itself, and cropped at the first place where that agreement grows by a certain threshold, i.e. doubles within 4% of the image height or width. Personally, I think the results are pretty good. See 'Before and After' for results.
Automatic Contrast
For automatic contrast, I used histogram equalization as described https://www.math.uci.edu/icamp/courses/math77c/demos/hist_eq.pdf. I referenced the aforementioned document for the math, but all the code in this project is my own. I wrote a procedure to individually equalize each color channel. The procedure maps each brightness intensity to 255 * (the fraction of color intensities less than this one in the whole image). I think the results were very good for some of the photographs (e.g. lady, castle, workshop) where it made the colors sharper and less oversaturated. For example, in castle the some details like clouds are much more visible after autocontrast than before. However, in a few photos, like monastery, this autocontrast procedure added some extra artifacts. I think I would be selective about where to apply autocontrast. See 'Before and After' for Results.
Before and After
Below are the before and after pictures for my Bells and Whistles. The leftmost picture is before any enhancement, the middle picture is autocropped, and the rightmost picture is autocropped and autocontrasted.
Note that I could not include every picture due to the 25 MB upload limit for this website, so I have included a subset of before and after photos. I believe my enhancements did improve the quality of many of
these photos. If course staff would like to see the others, they can generate them from the code I submitted.
