|
|
|
Sergei Mikhailovich Prokudin-Gorskii (1863-1944) [Сергей Михайлович Прокудин-Горский, to his Russian friends] was a man well ahead of his time. Convinced, as early as 1907, that color photography was the wave of the future, he won Tzar's special permission to travel across the vast Russian Empire and take color photographs of everything he saw including the only color portrait of Leo Tolstoy. His idea was simple: record three exposures of every scene onto a glass plate using a red, a green, and a blue filter.
The goal of this assignment is to take the digitized Prokudin-Gorskii glass plate images and, using image processing techniques, automatically produce a color image with as few visual artifacts as possible. In particular, I'll be splitting the raw images into three color channels, aligning the images and stacking them on top of each other to get an RGB image.
To create the RGB image, I first split the image into 3 color channels by splitting the overall image into thirds (the original image has all three channels next to each other, vertically).
|
|
|
|
From there, we want to align these images then stack them atop each other.
The first naive alignment approach I implemented exhaustively searches over a window of possible displacements (I used [-20,20] pixels), scores each one using the Sum of Squared Differences (SSD) distance which is simply
sum(sum((image1-image2).^2)), and chooses the displacement (x,y) that results in the minimum SSD score. Another option is to align using the max Normalized Cross Correlation (NCC) score, but through initial tests there wasn't a major
difference in performance. I applied this onto the red and green channels, aligning them with the blue channel, then combining the three channels; resulting
in an image like this:
_g(-1, 1).jpg)
|
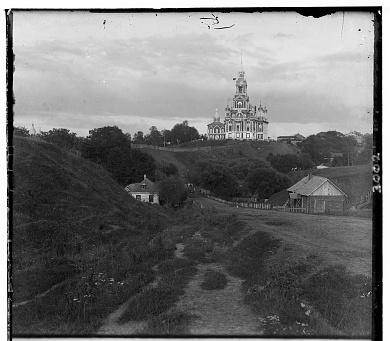
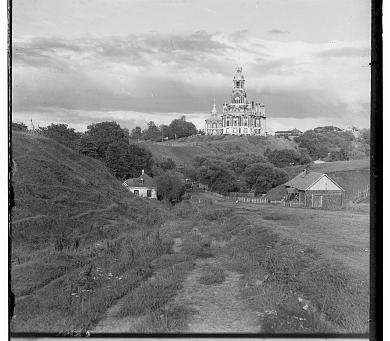
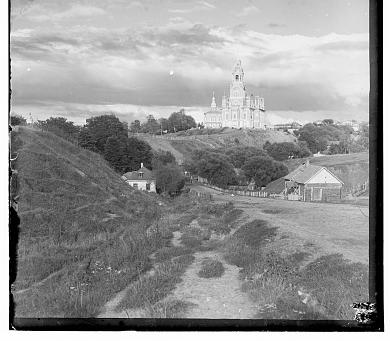
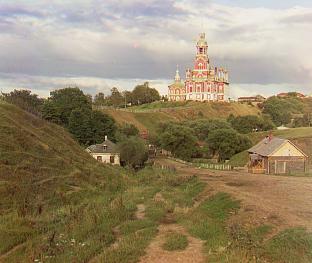
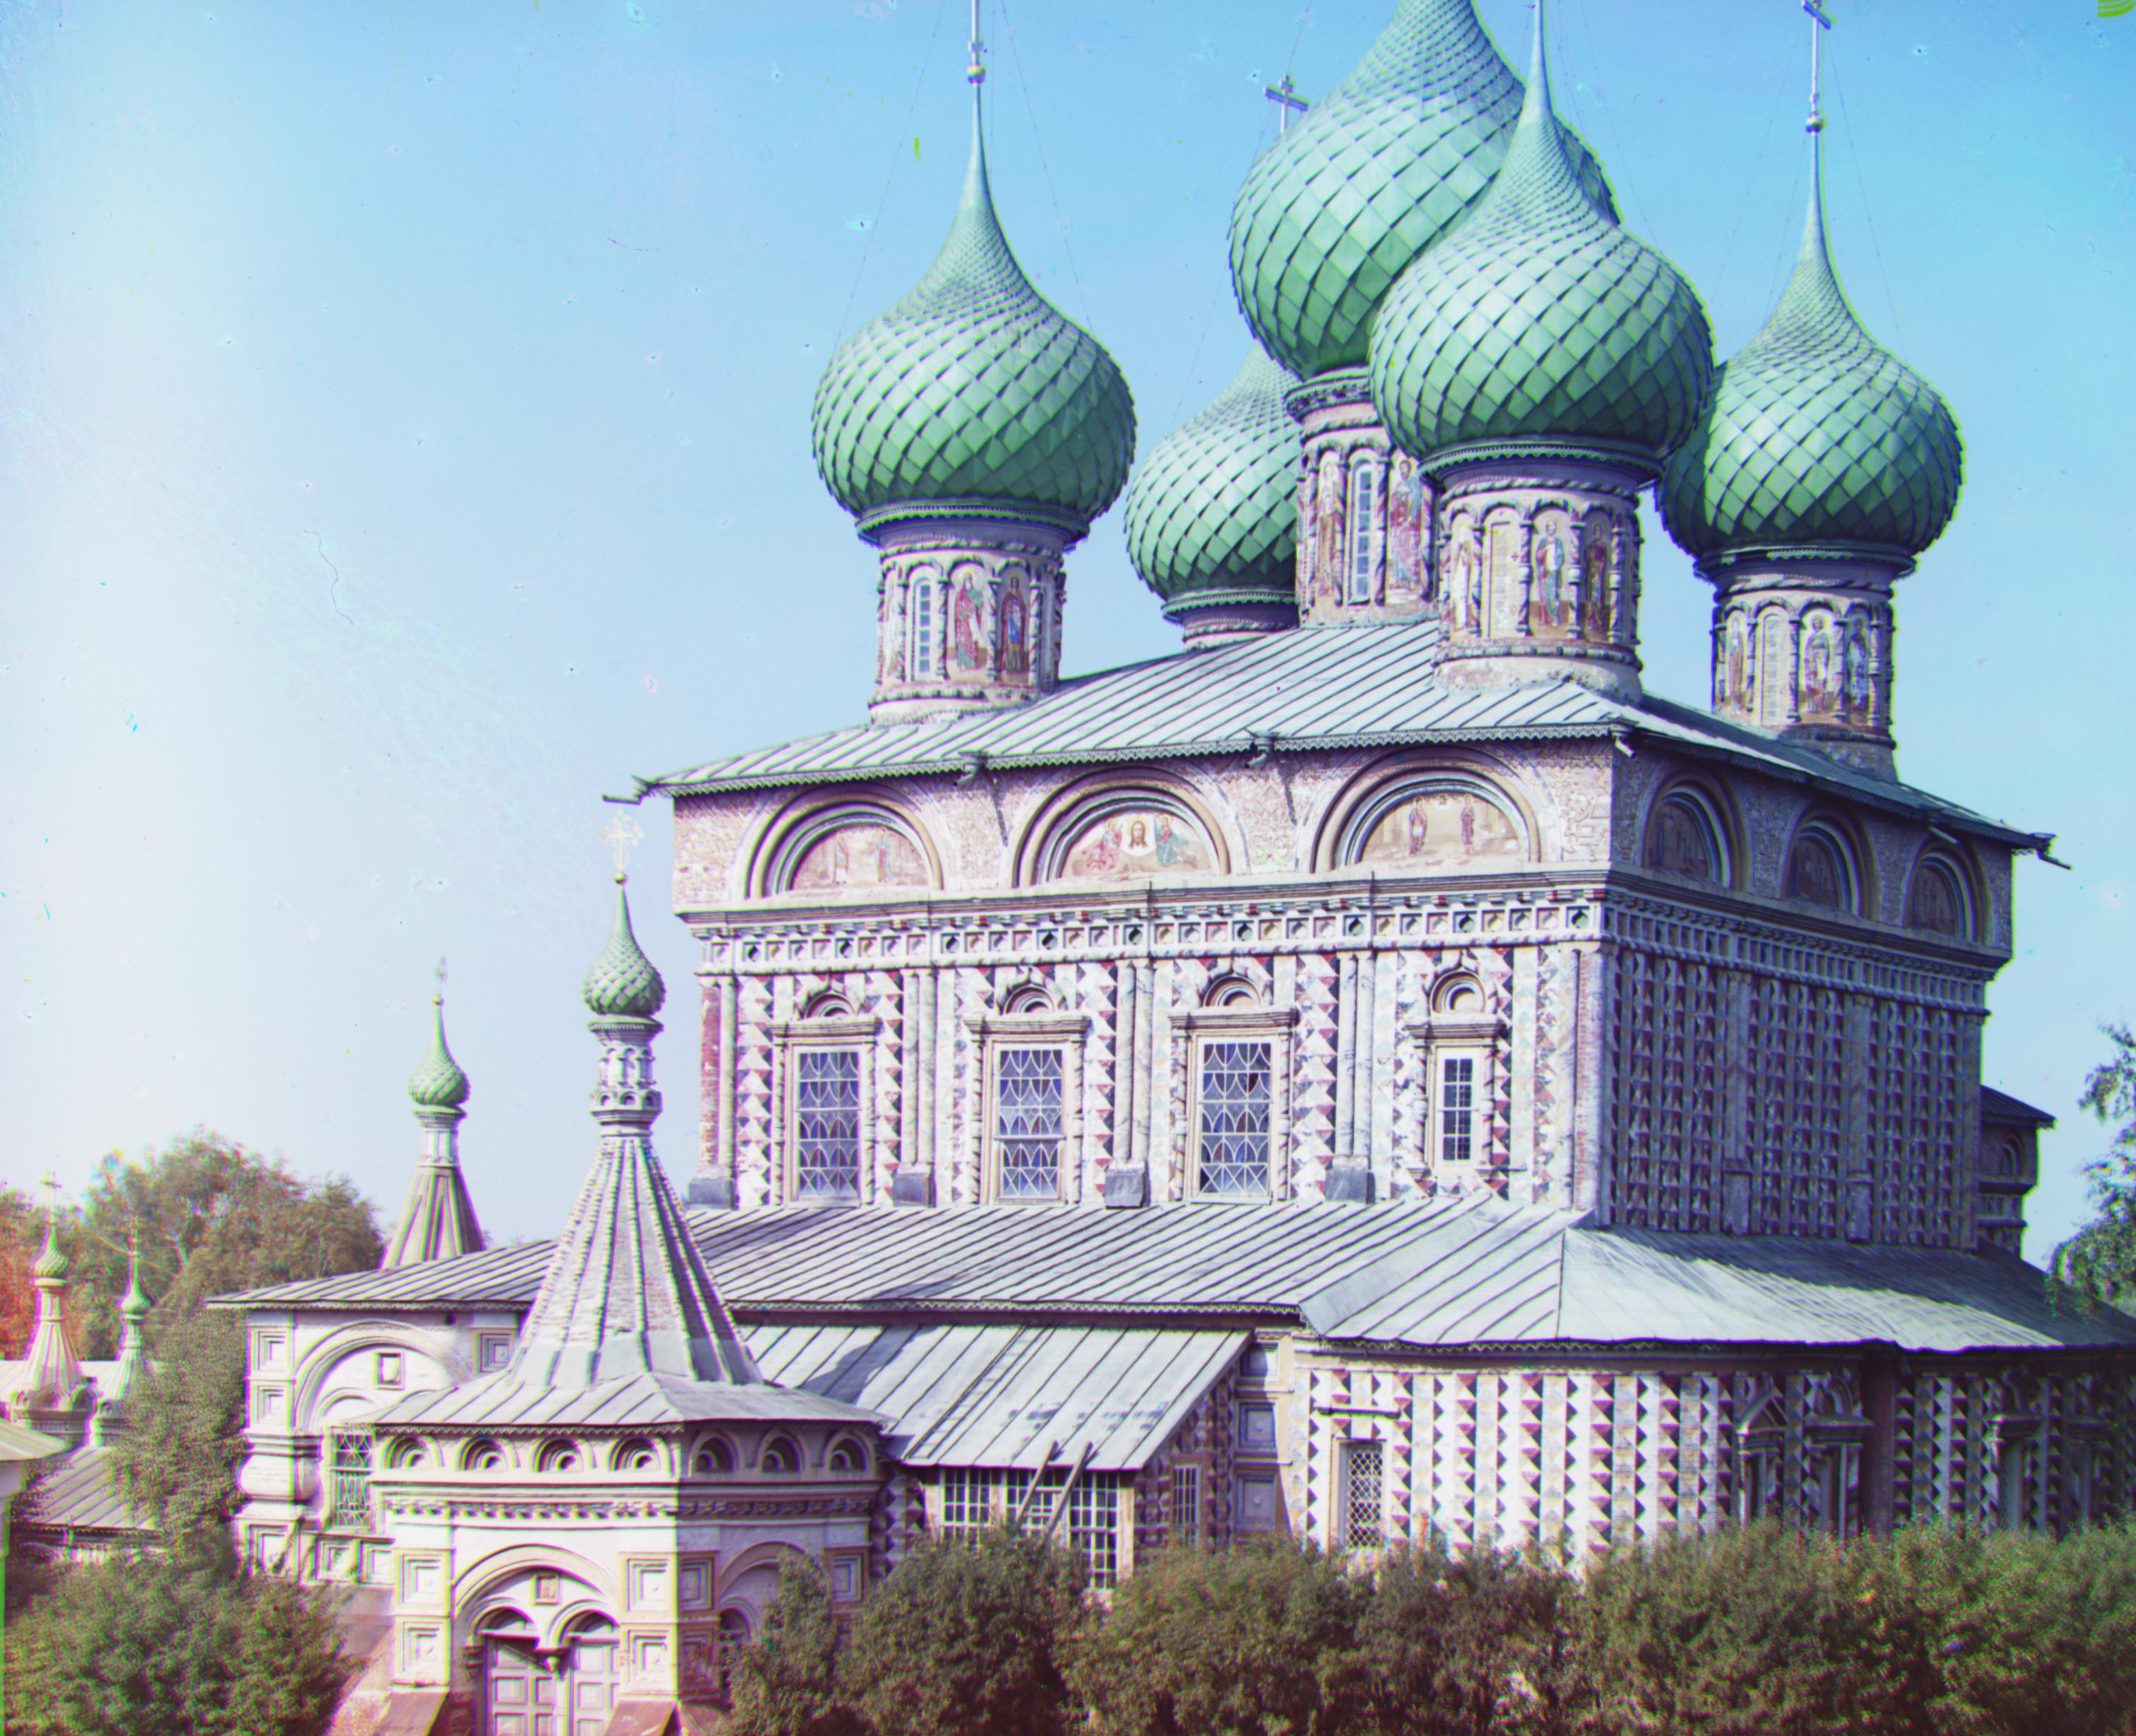
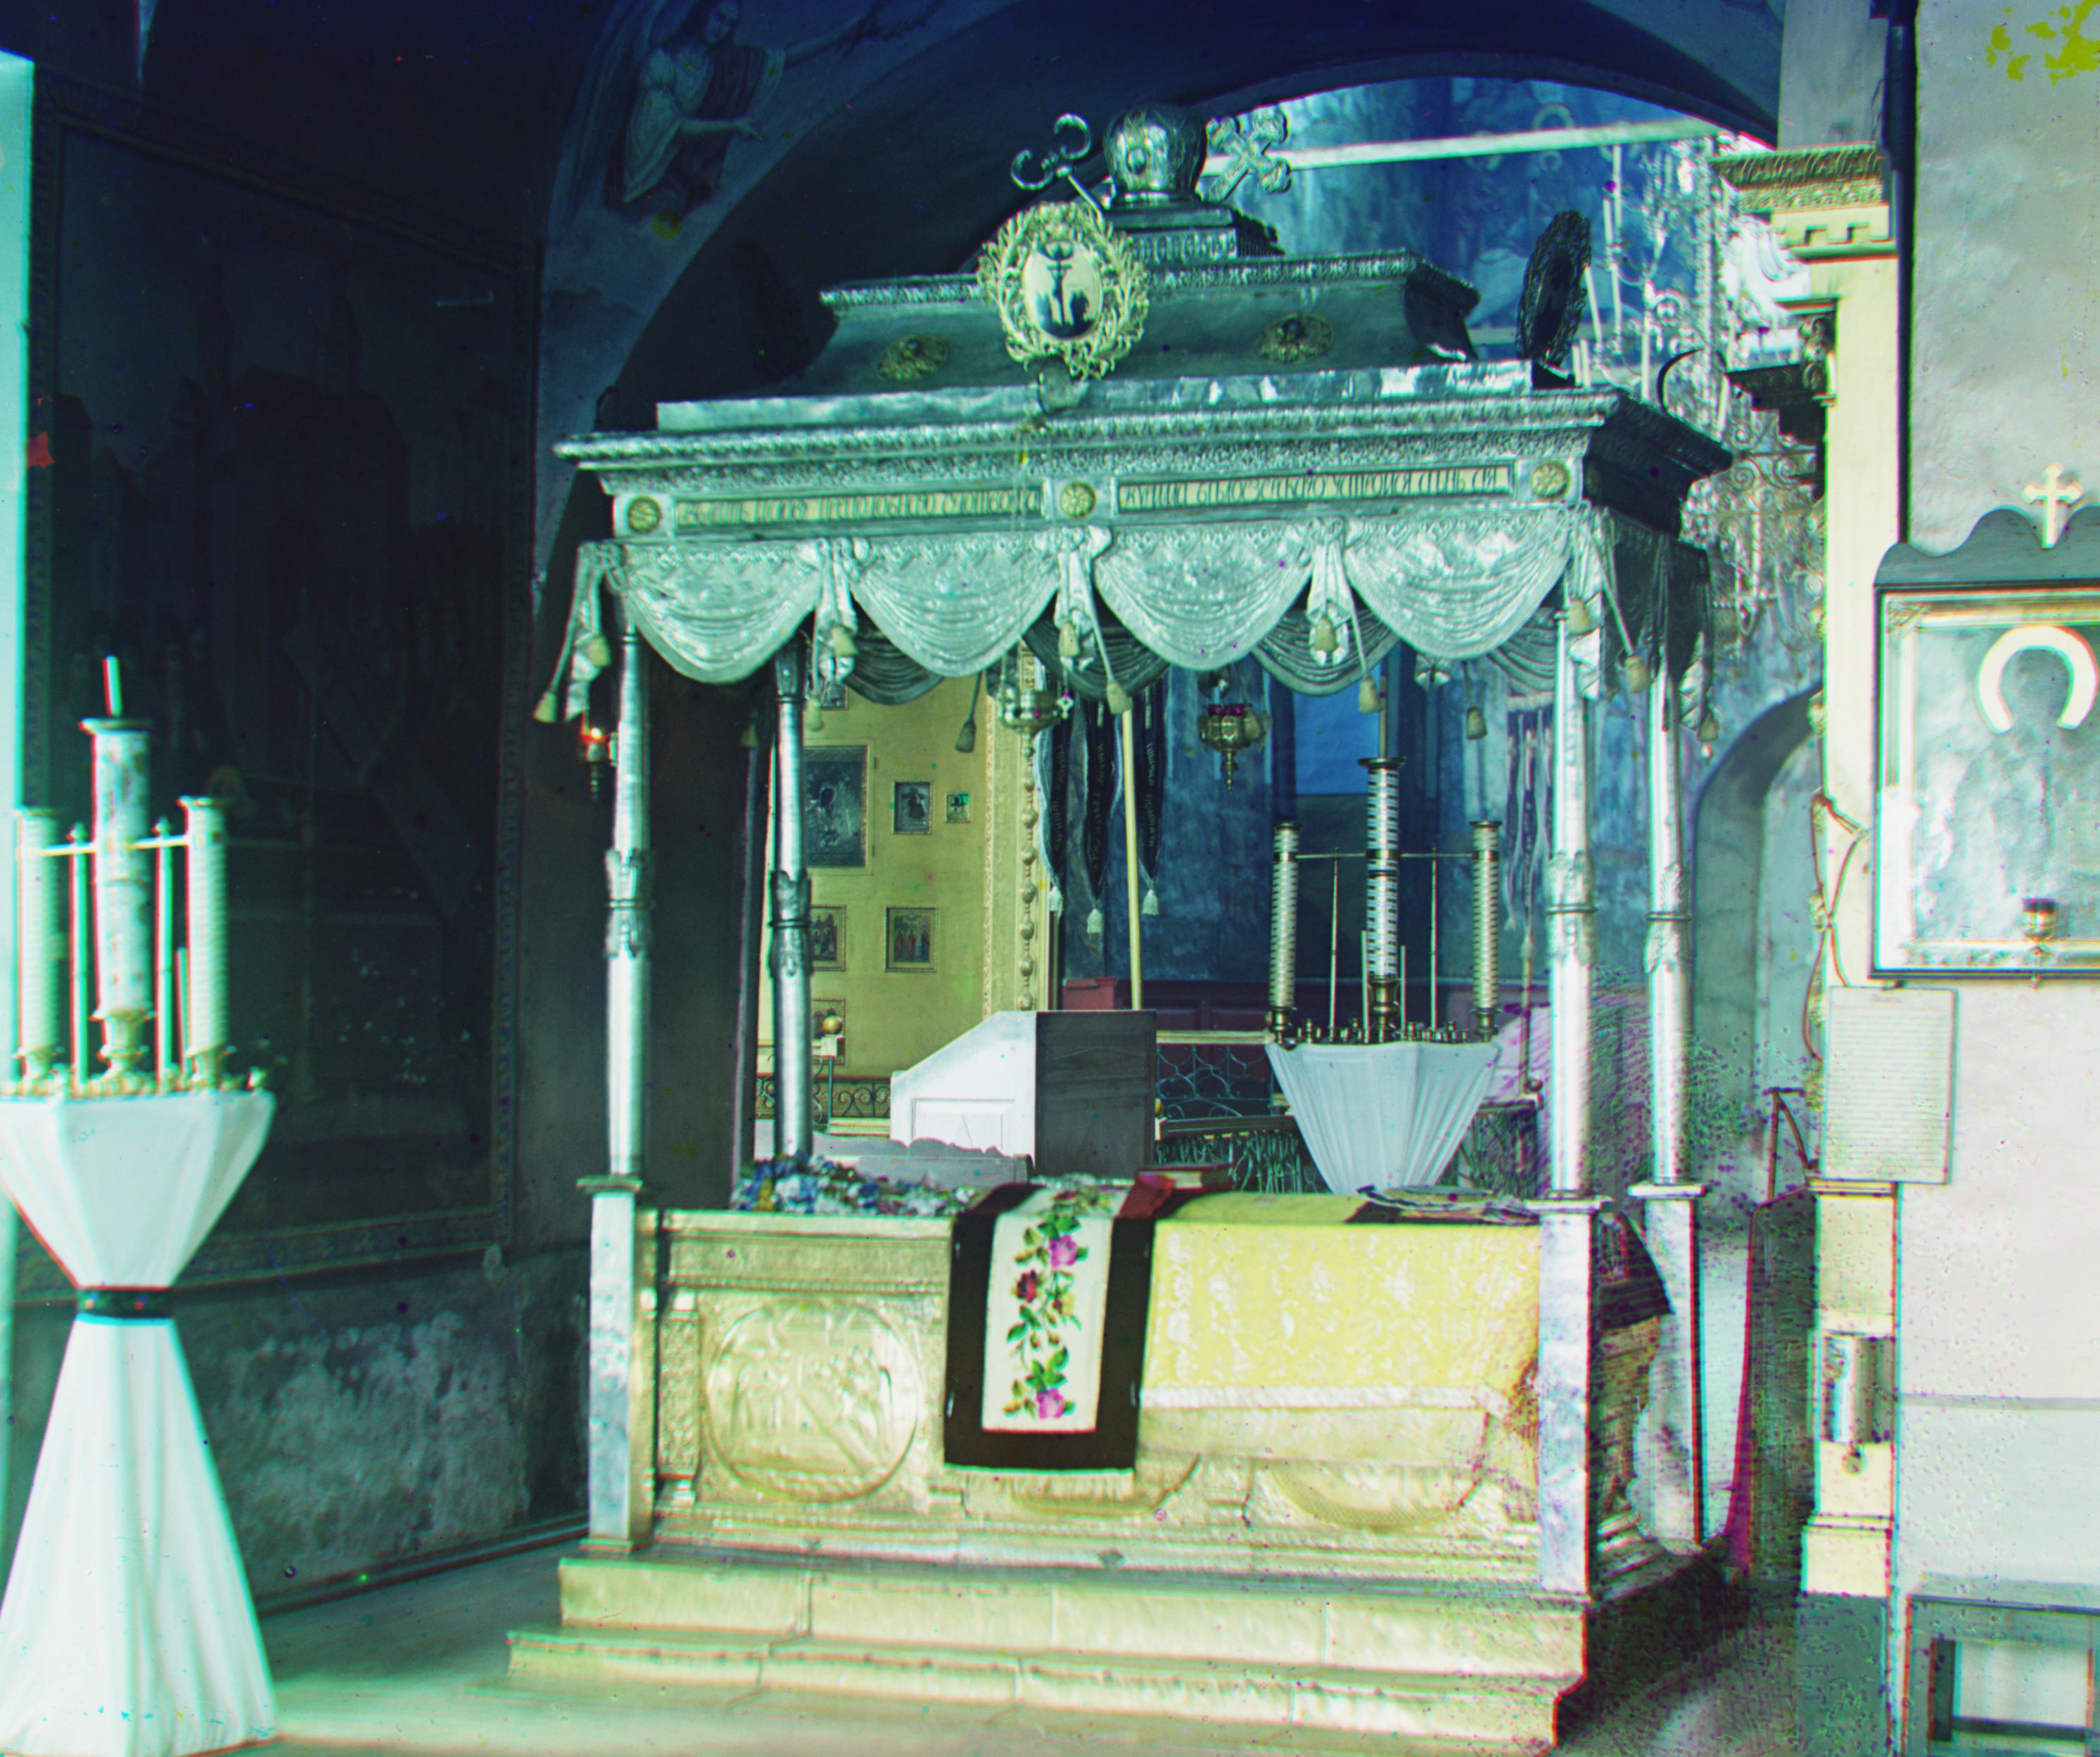
The naive alignment worked relatively quickly for the cathedral.jpg image, but I noticed there was still some noise in the image where the channels weren't aligned correctly.
Thus, I temporarily cropped each image, so that only the middle 1/2 of the image would be used in the alignment calculations. This helped in removing the excess noise around the borders (e.g. frayed edges, damage to the film itself, etc.) from the calculations, and greatly improved the alignment quality. (I also cropped the resulting images by 10% on each edge to remove the dirty borders)
_g(2, 5).jpg)
|
_g(2, -3).jpg)
|
However, this algorithm took a very long time to run on larger .tif files, and would not be able to shift images beyond the set displacement search range [-15,15] (which may be necessary to properly align larger images).
Examples where the naive alignment doesn't work on larger .tif files that need to shift more than 15 pixels:
_g(-3, 15).jpg)
|
_g(-8, 15).jpg)
|
We could just expand the search range, but that will become prohibitively expensive as we increase the range.
Thus, we need to implement a more optimized search procedure – an image pyramid.For a more optimized approach to image alignment, I implemented the image pyramid, which first scales down an image by a scale of 2 until reaching a base case of an image that is less than 100x100 pixels. Upon reaching this base case, the algorithm performs an exhaustive search over [-15, 15] pixels on this super downsized image to find the optimal alignment. Then as we recurse back up the stack, I apply the returned displacement from the lower downsized level, multiply it by 2 (scaling factor) and shift the current level's image by that displacement amount. With this preliminary alignment, I then do another exhaustive search on these images over [-1, 1] pixels to find the current displacement. I then return the total amount of displacement from this proces. Overall, this algorithm essentially "wiggles" the image closer towards proper alignment at each recursive step, using information from lower-quality versions of the image.
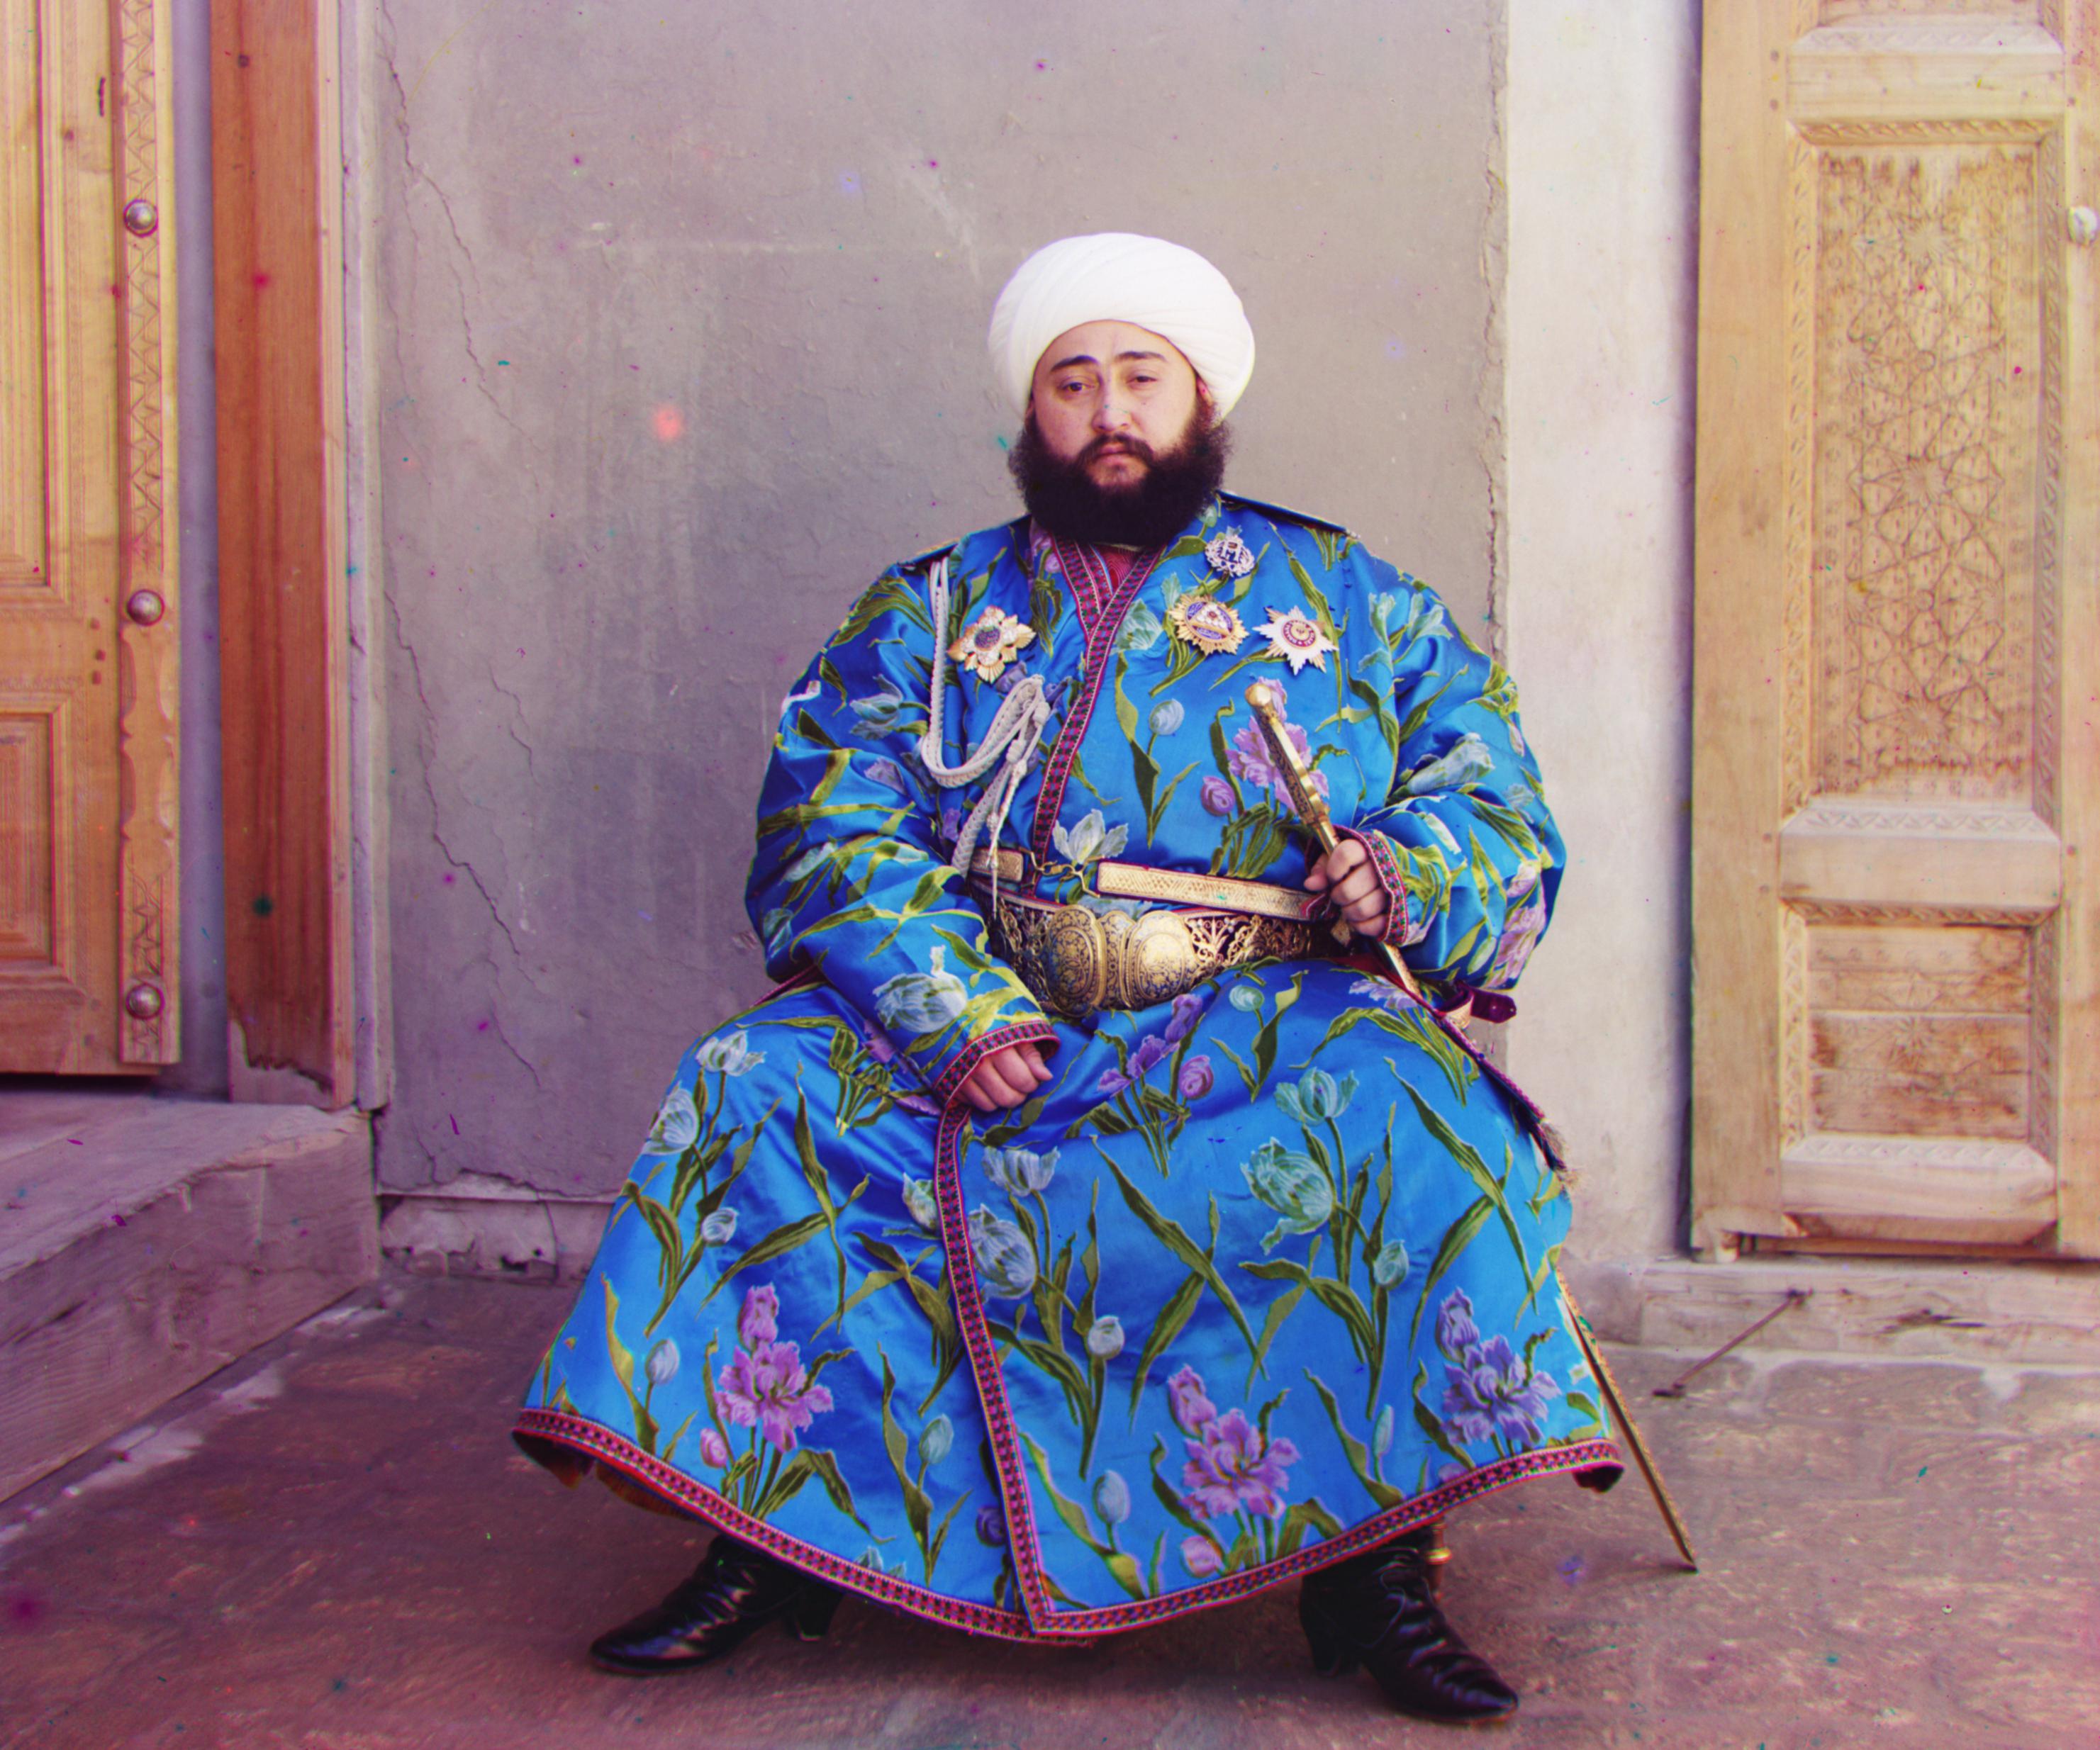
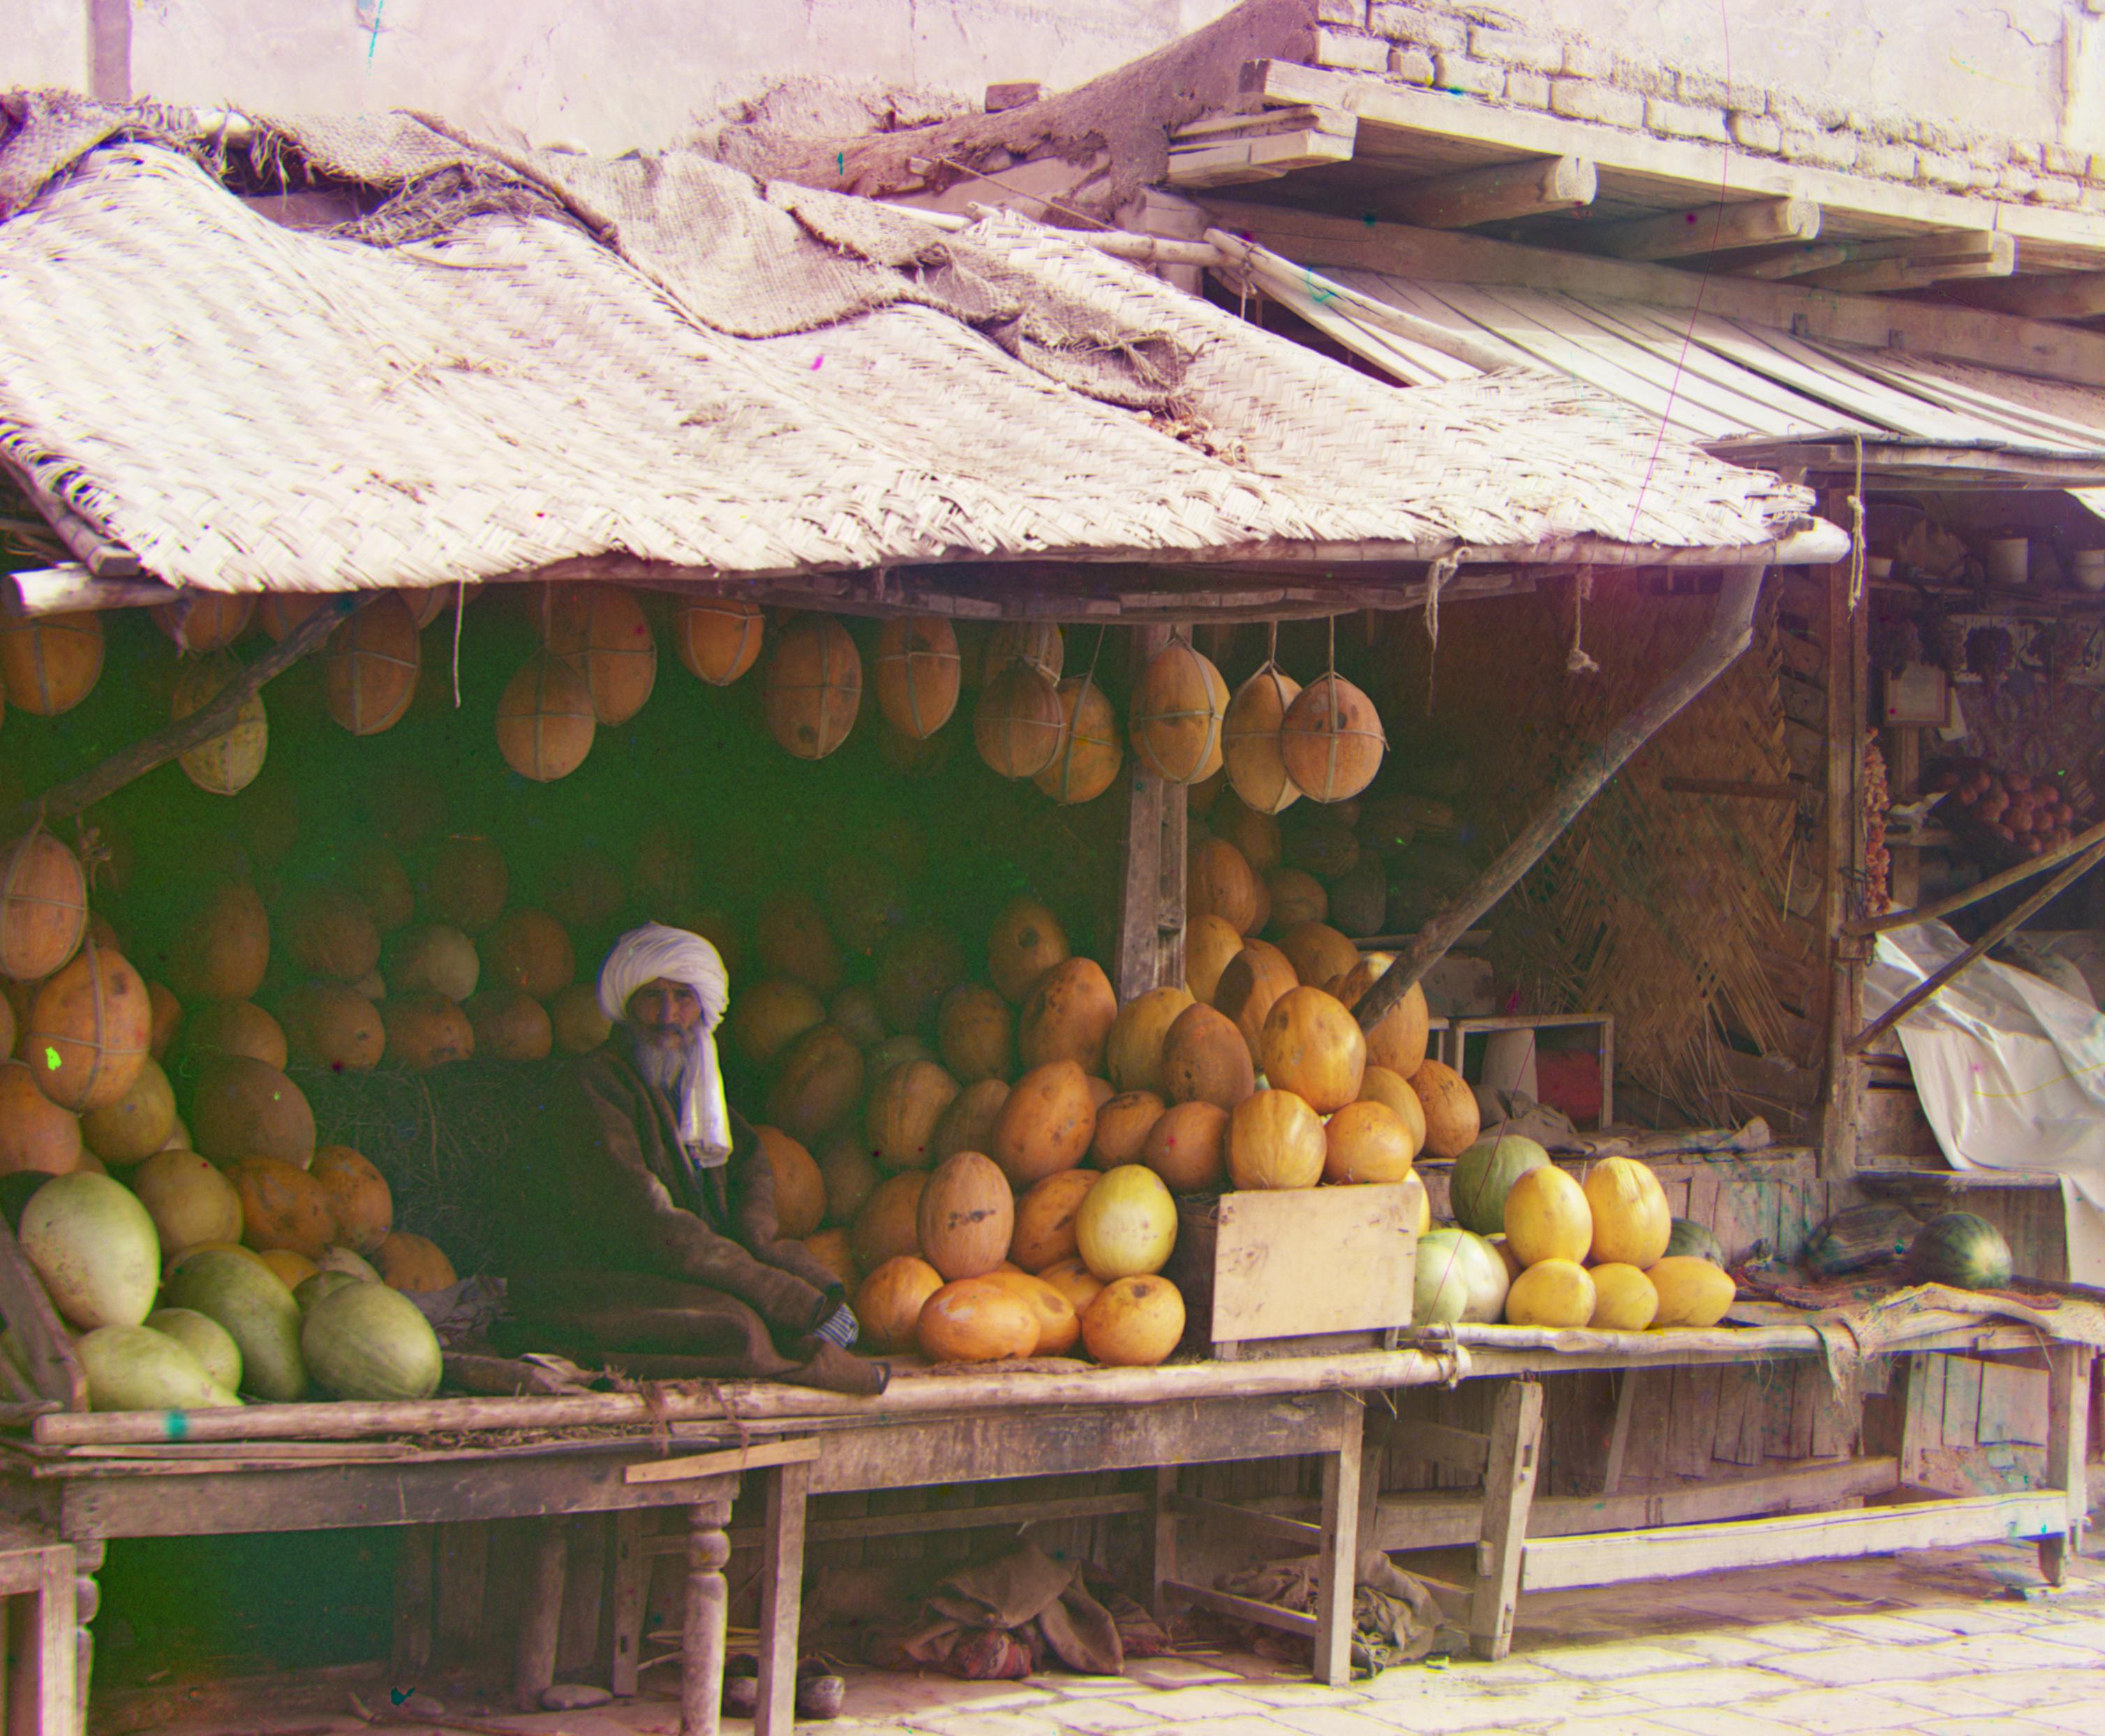
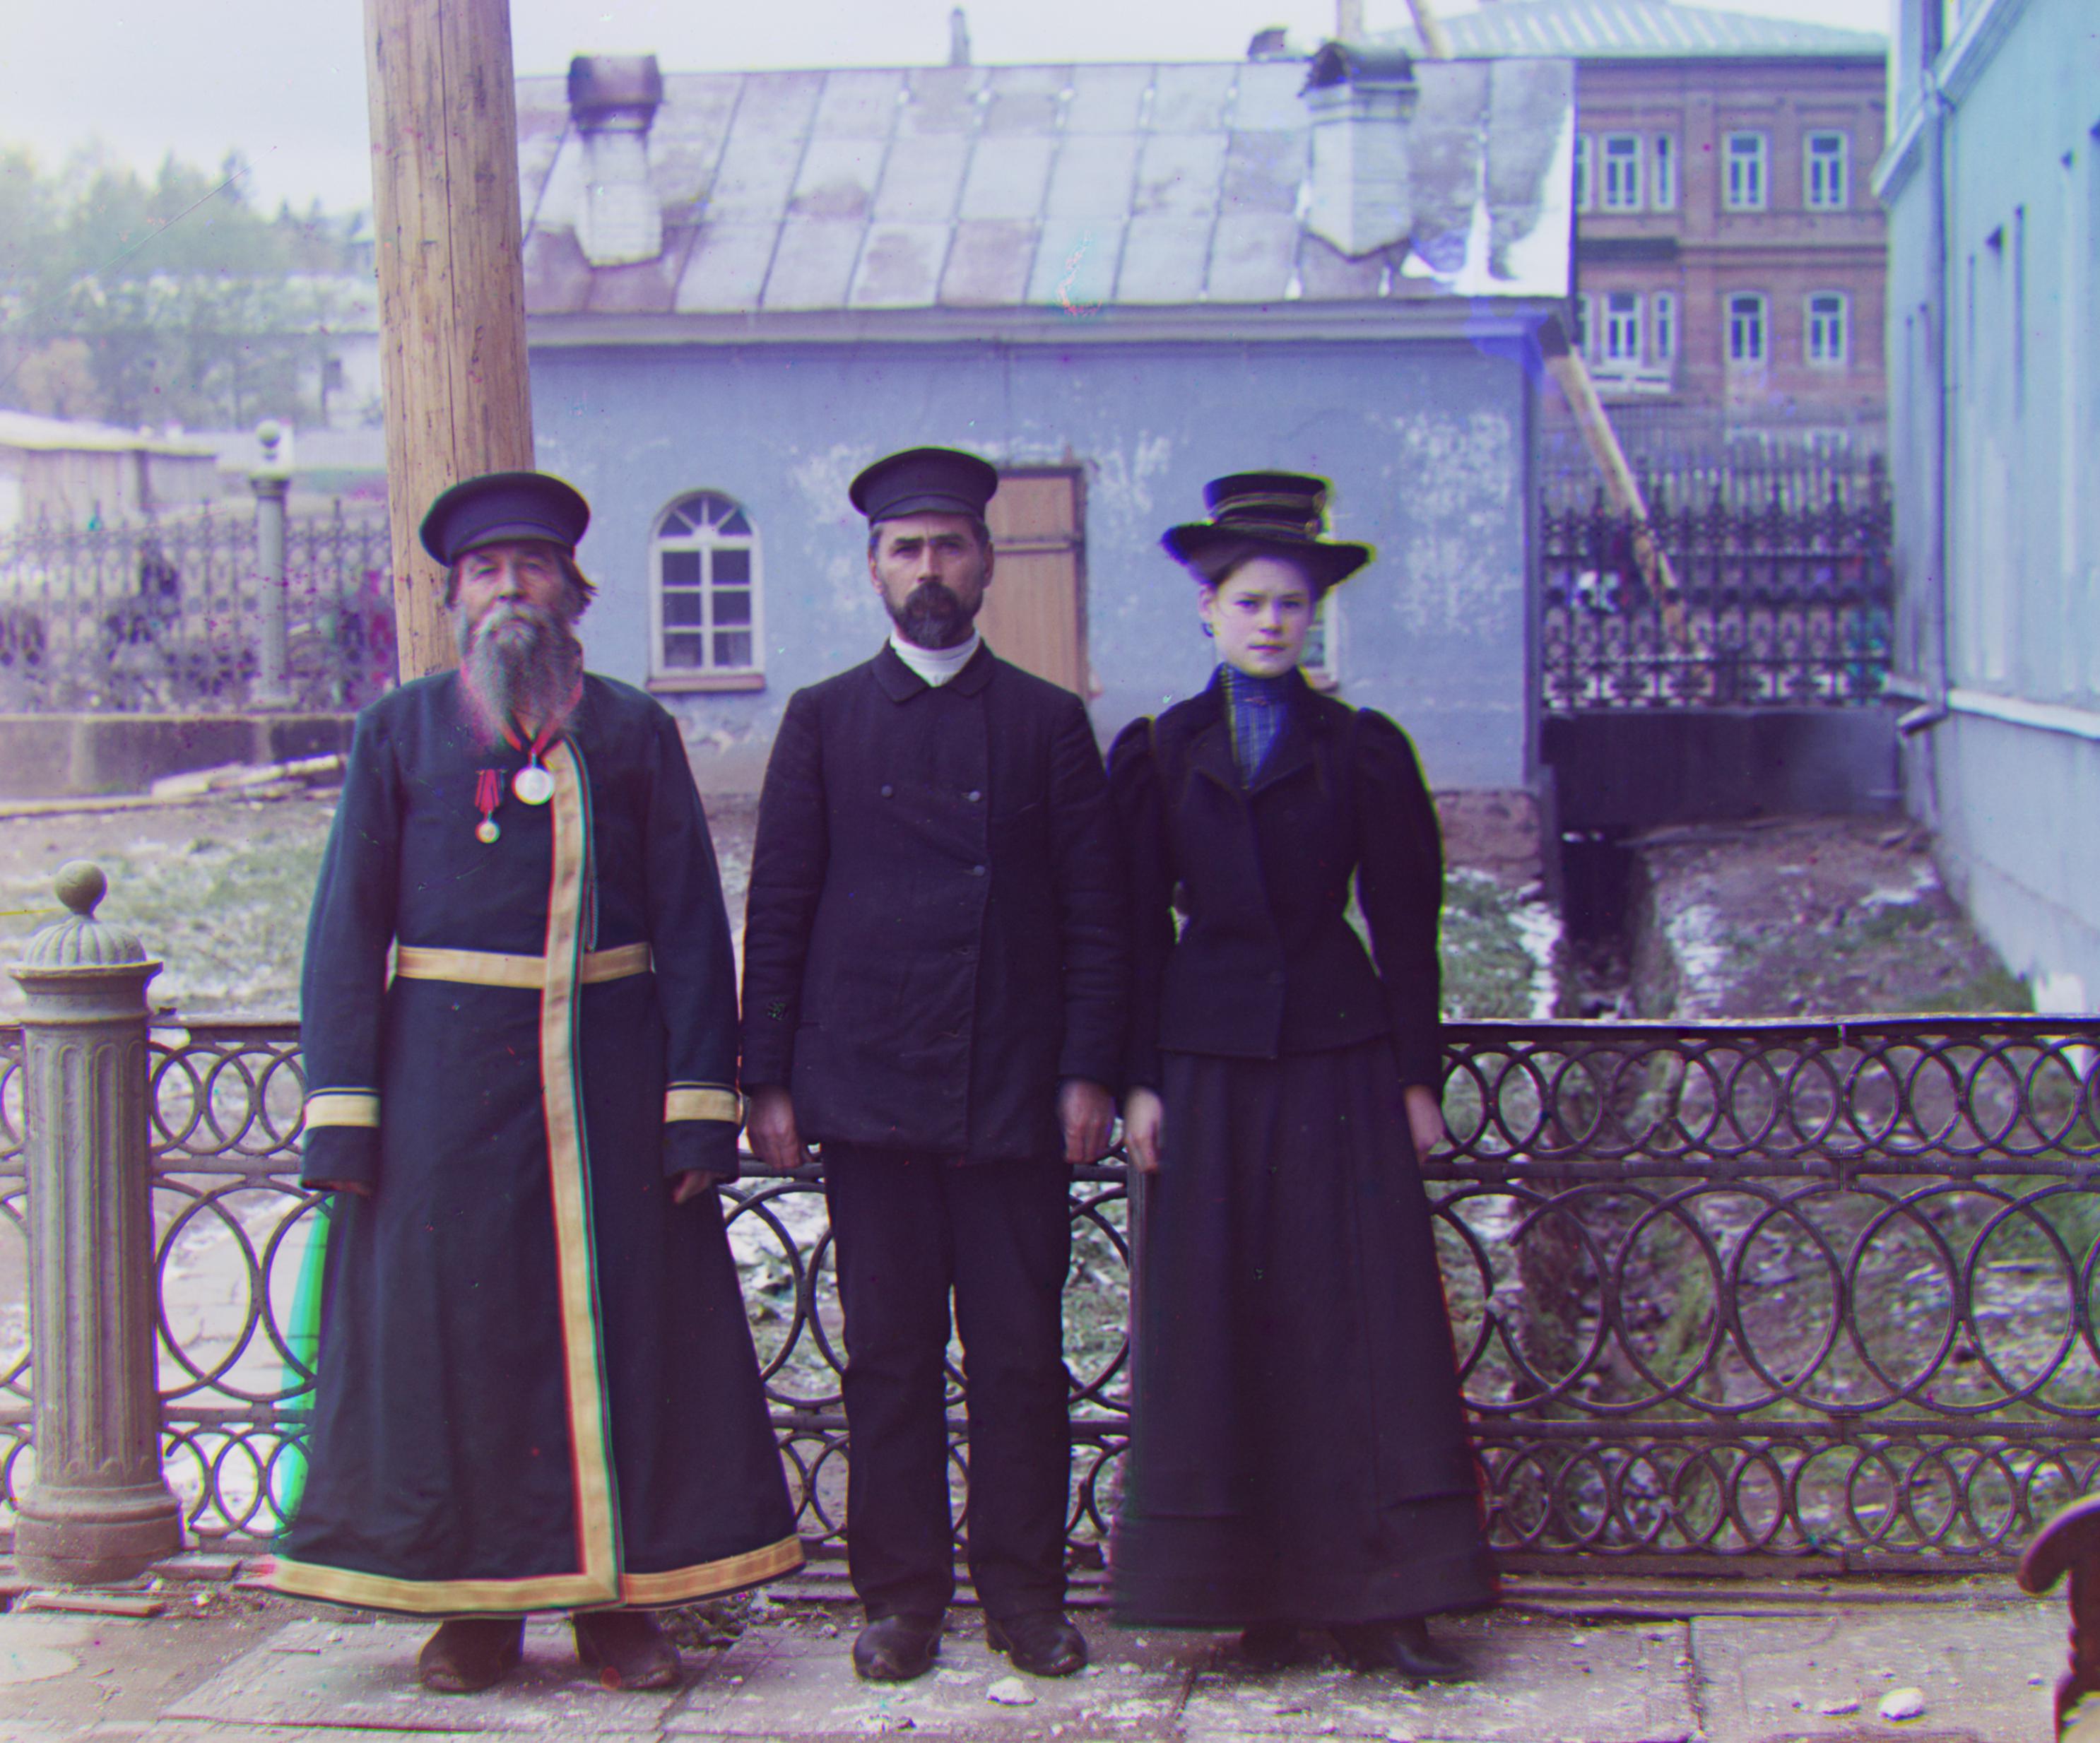
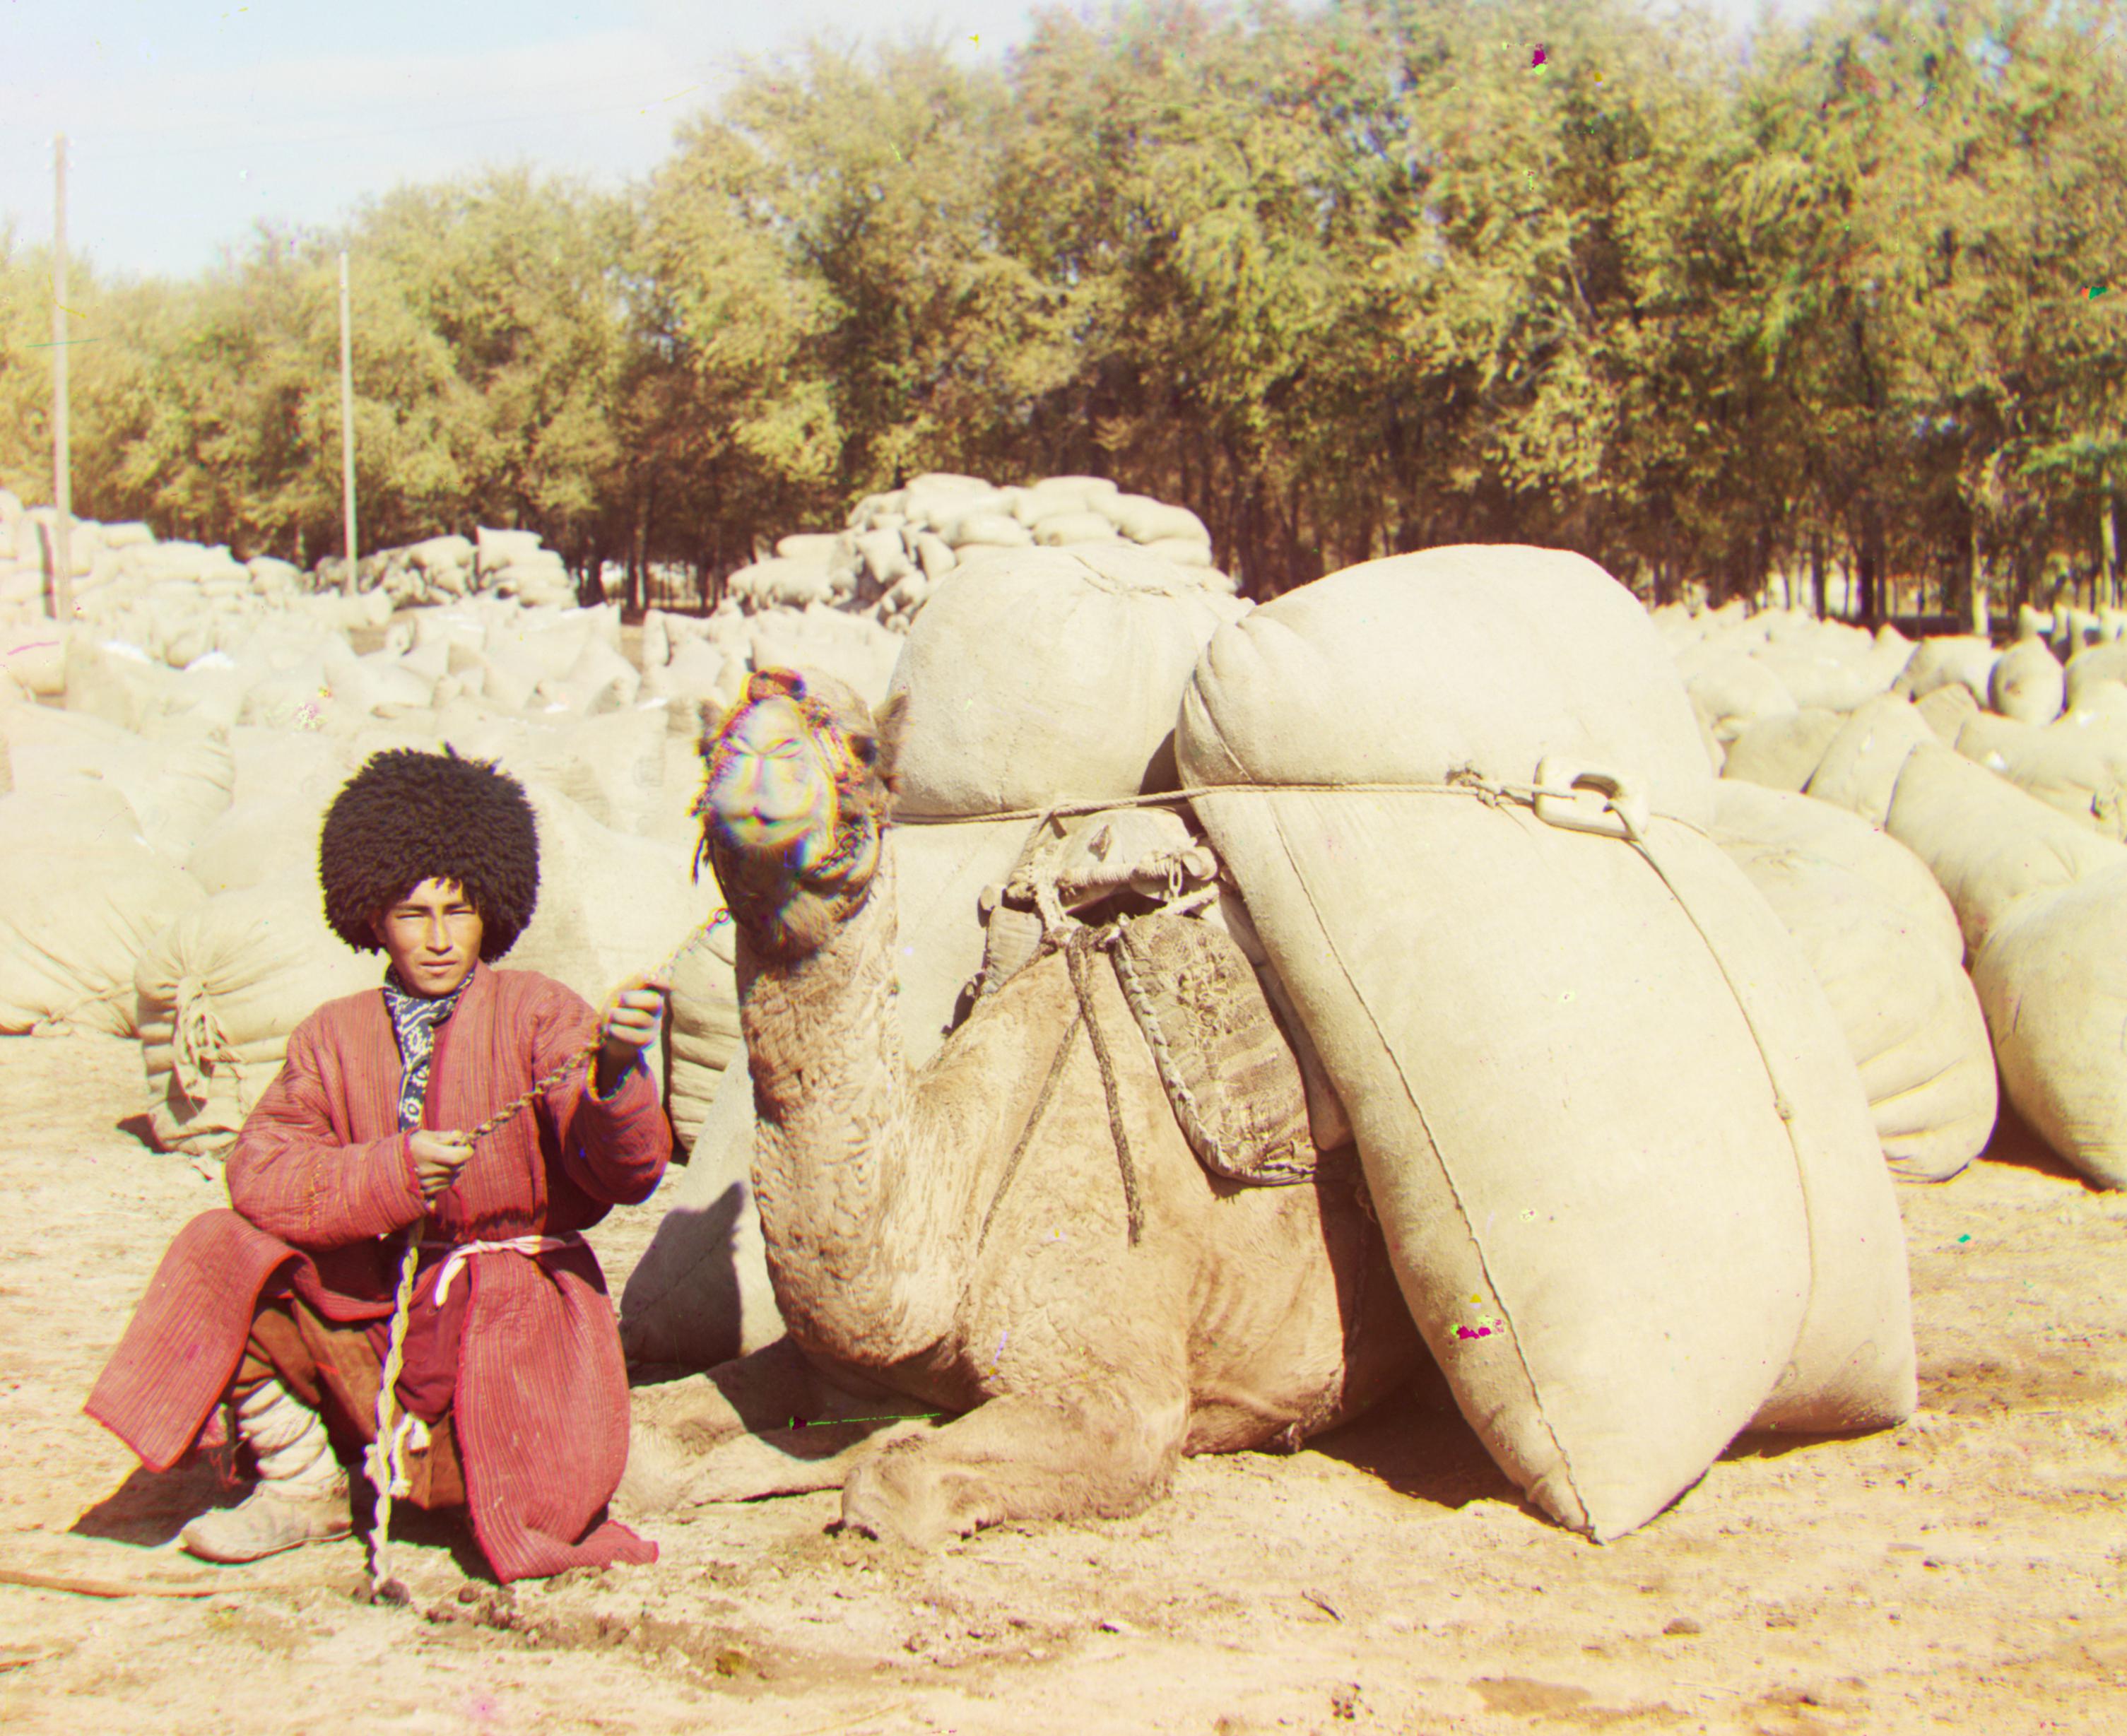
One issue I ran into was the emir image wasn't properly aligning to the blue channel. When I applied the same algorithm as the other images on the emir, I would get a skewed image as such:

|
Through trial and error, I realized that due to his coat being mostly blue, the blue channel wasn't the best to use for alignment, and using the green channel as the reference performed much better.
|
|
|
|
|
|
|
|
|
|
|
|
|
|
|

|

|
|