Colorizing the Prokudin-Gorsky Photo Collection
by Huy Hoang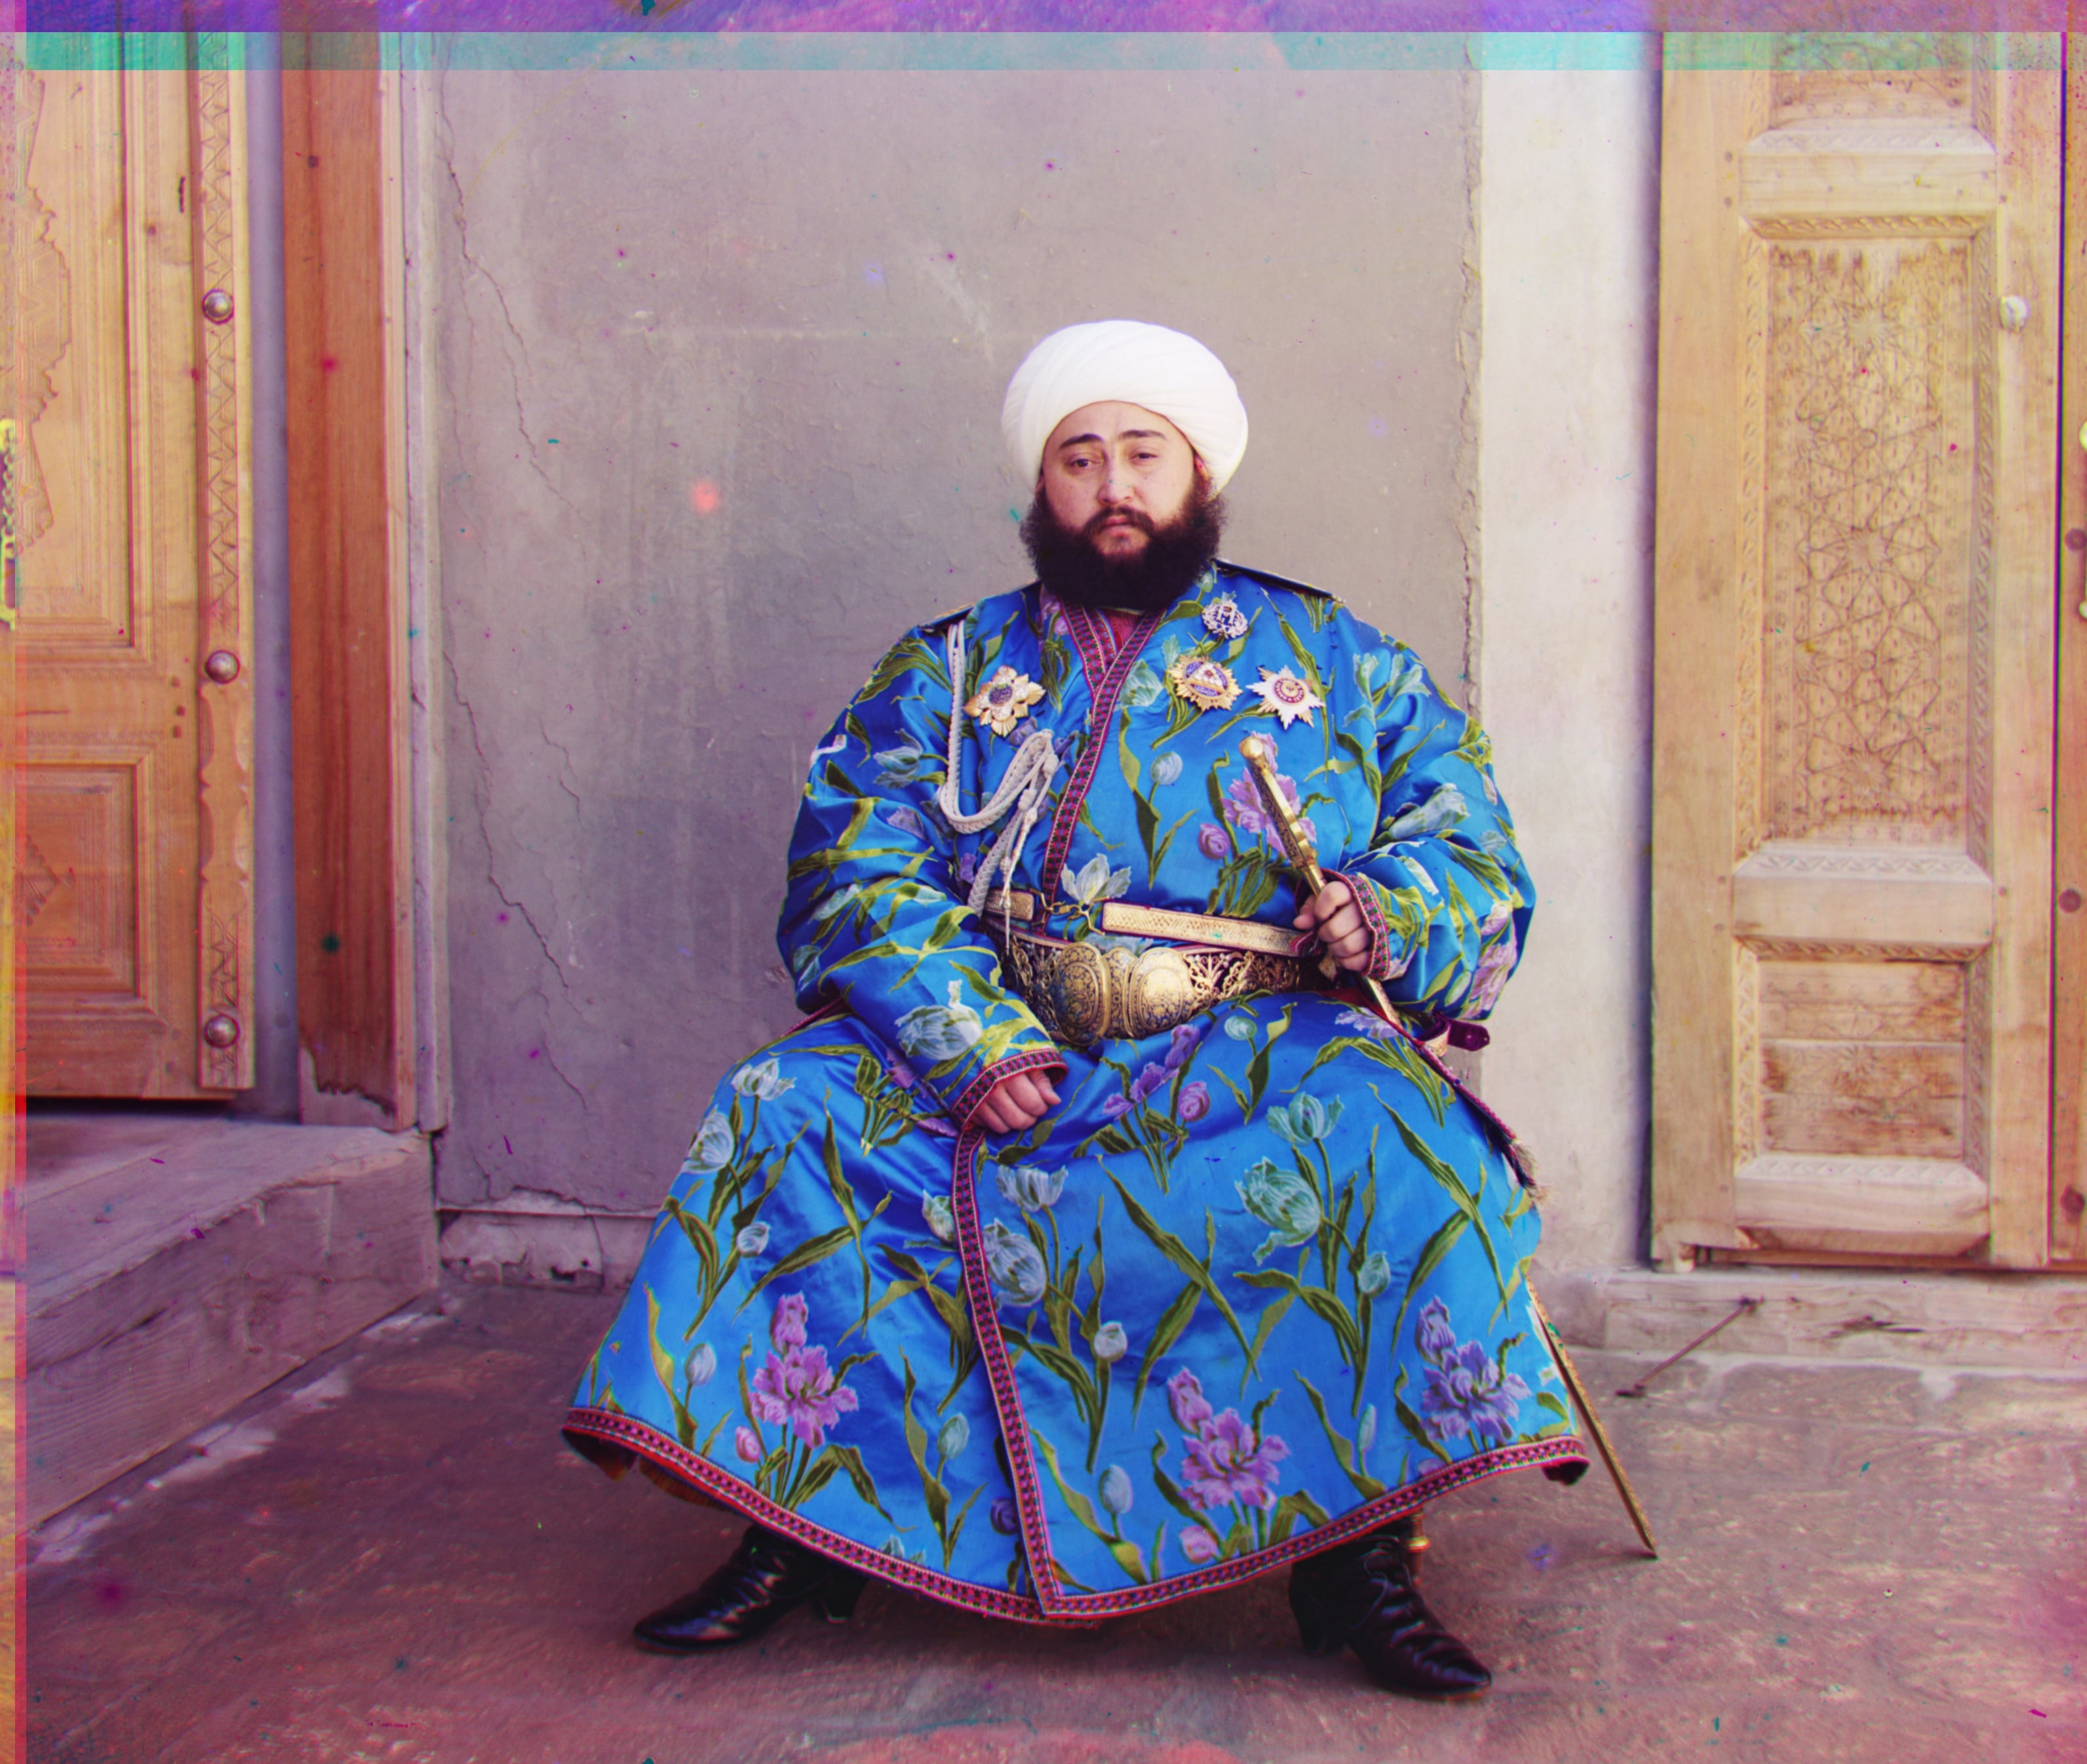
Background
Sergey Prokudin-Gorsky was best known for his pioneering work in color photography and his effort to photographically capture early 20th-century Russian Empire. His approach? Record three exposures of each scene onto a glass plate using a red, green, and blue filter.
Overview
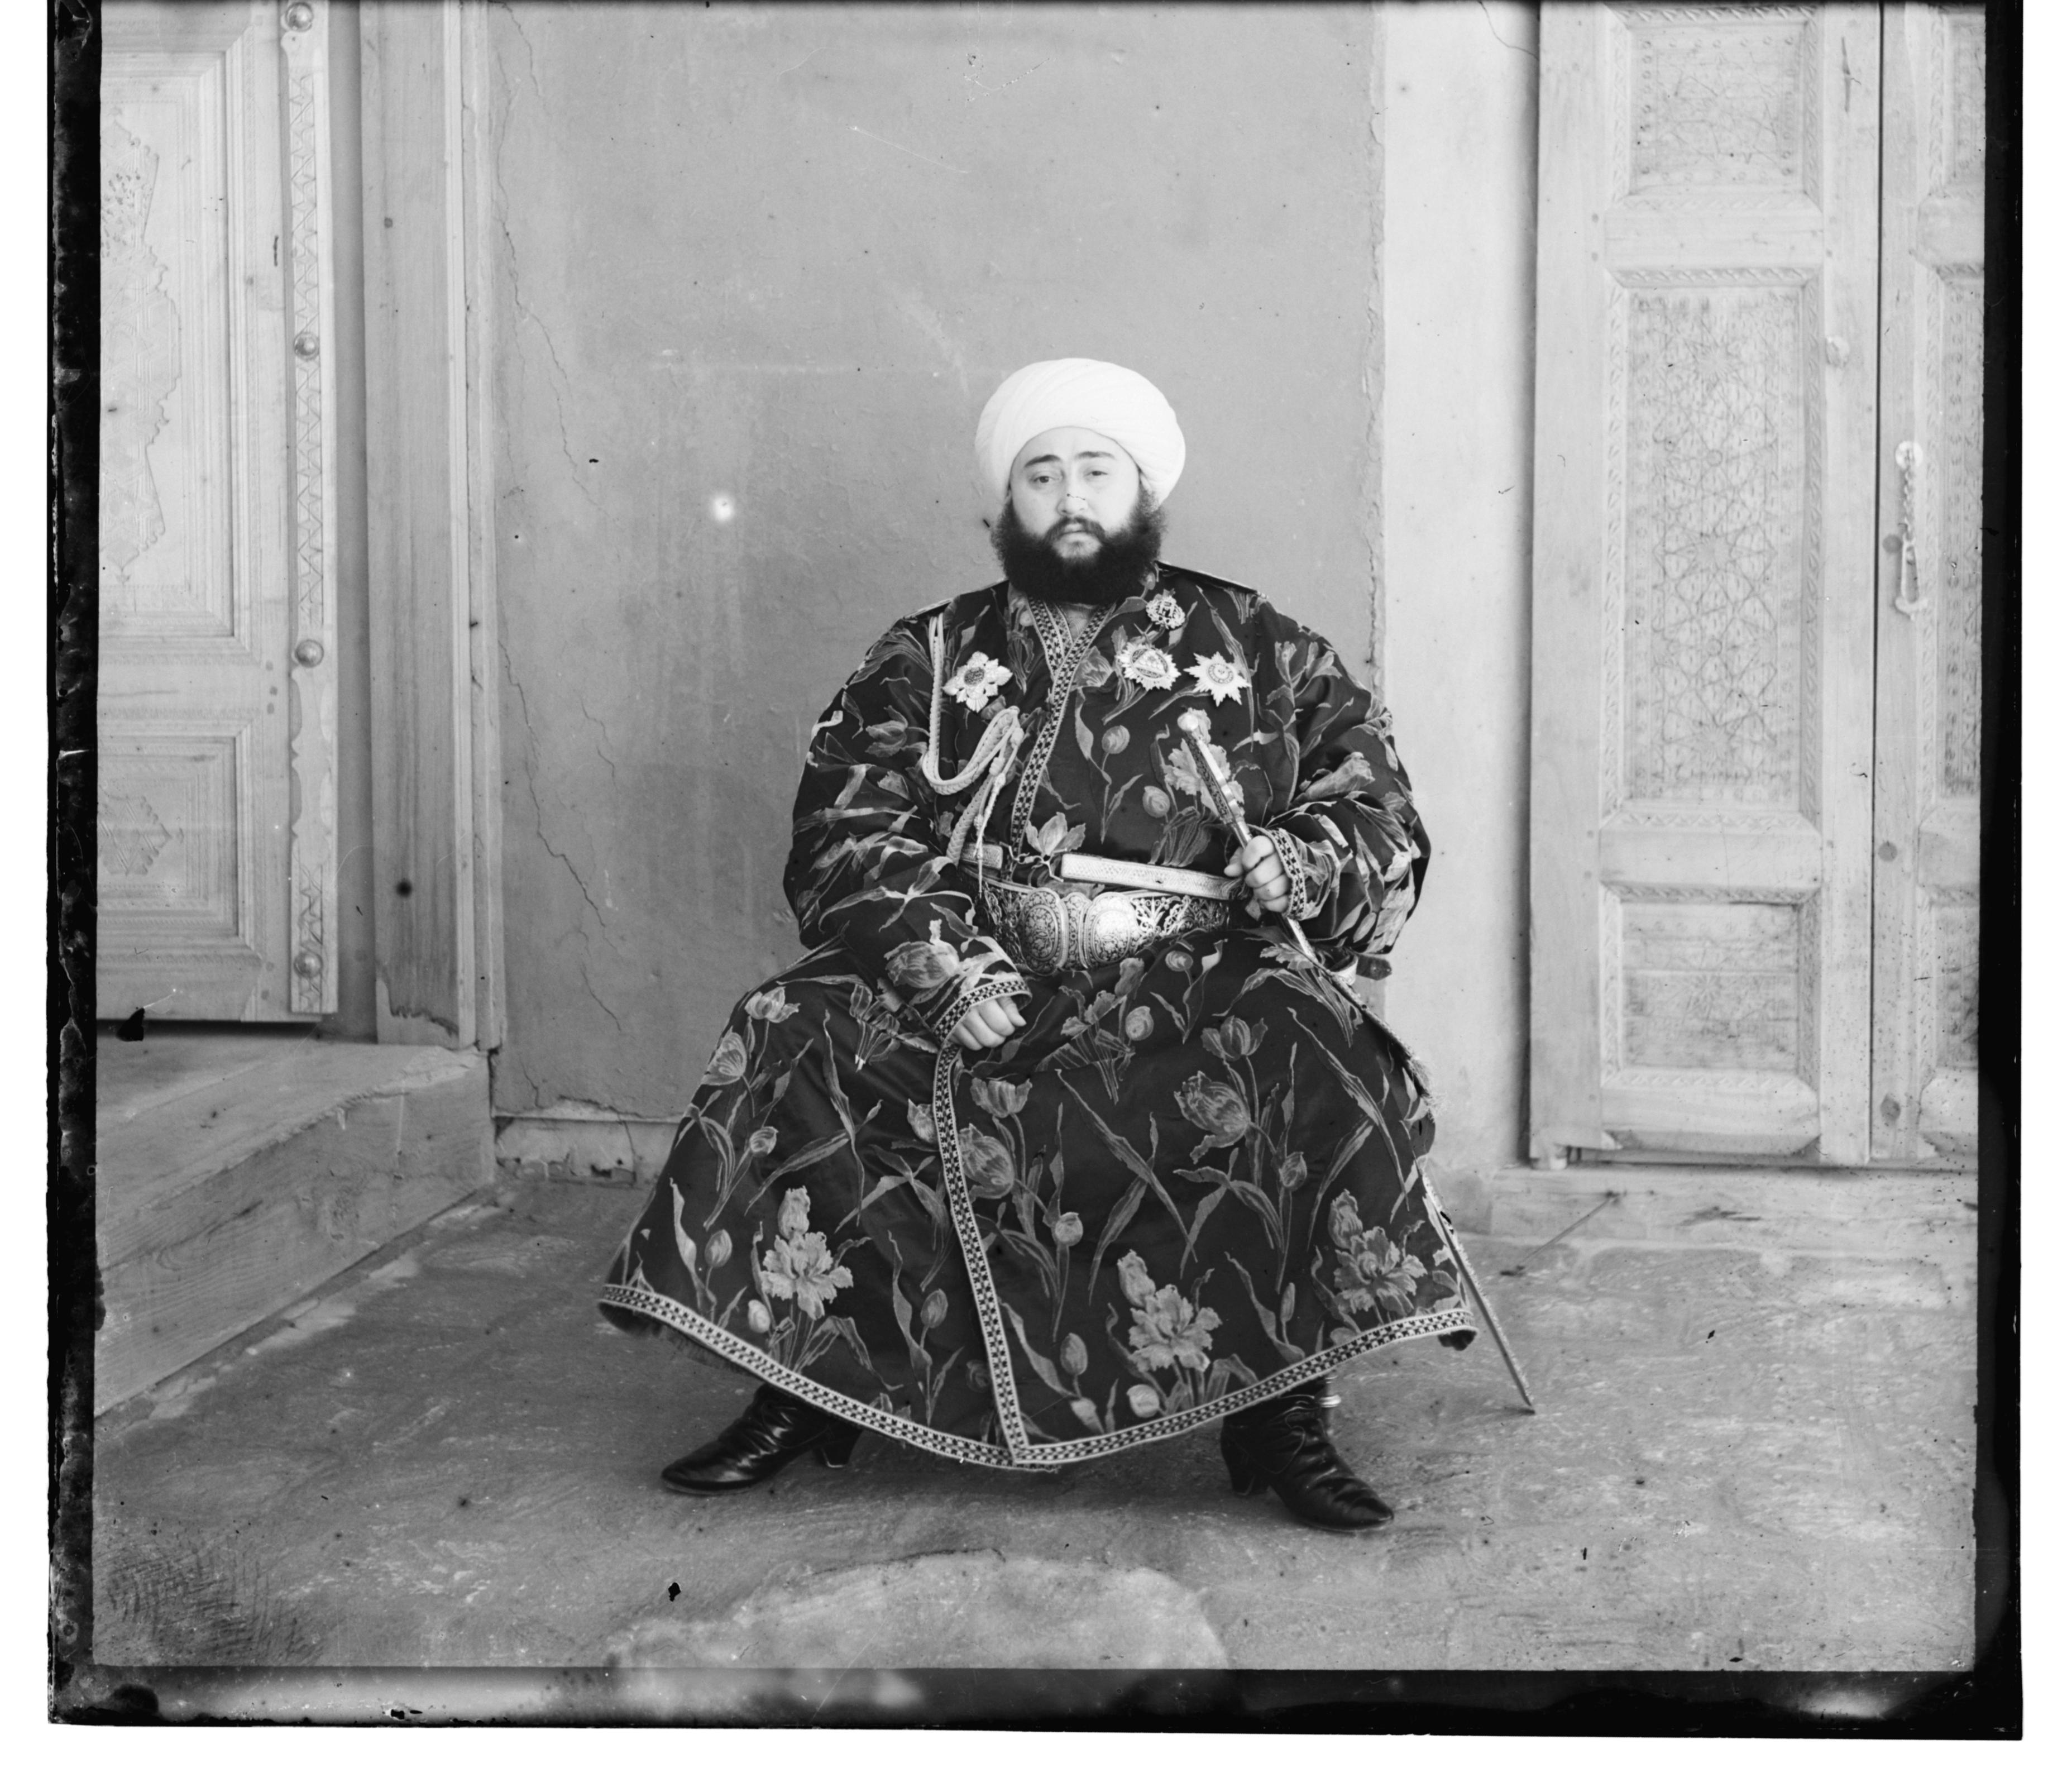
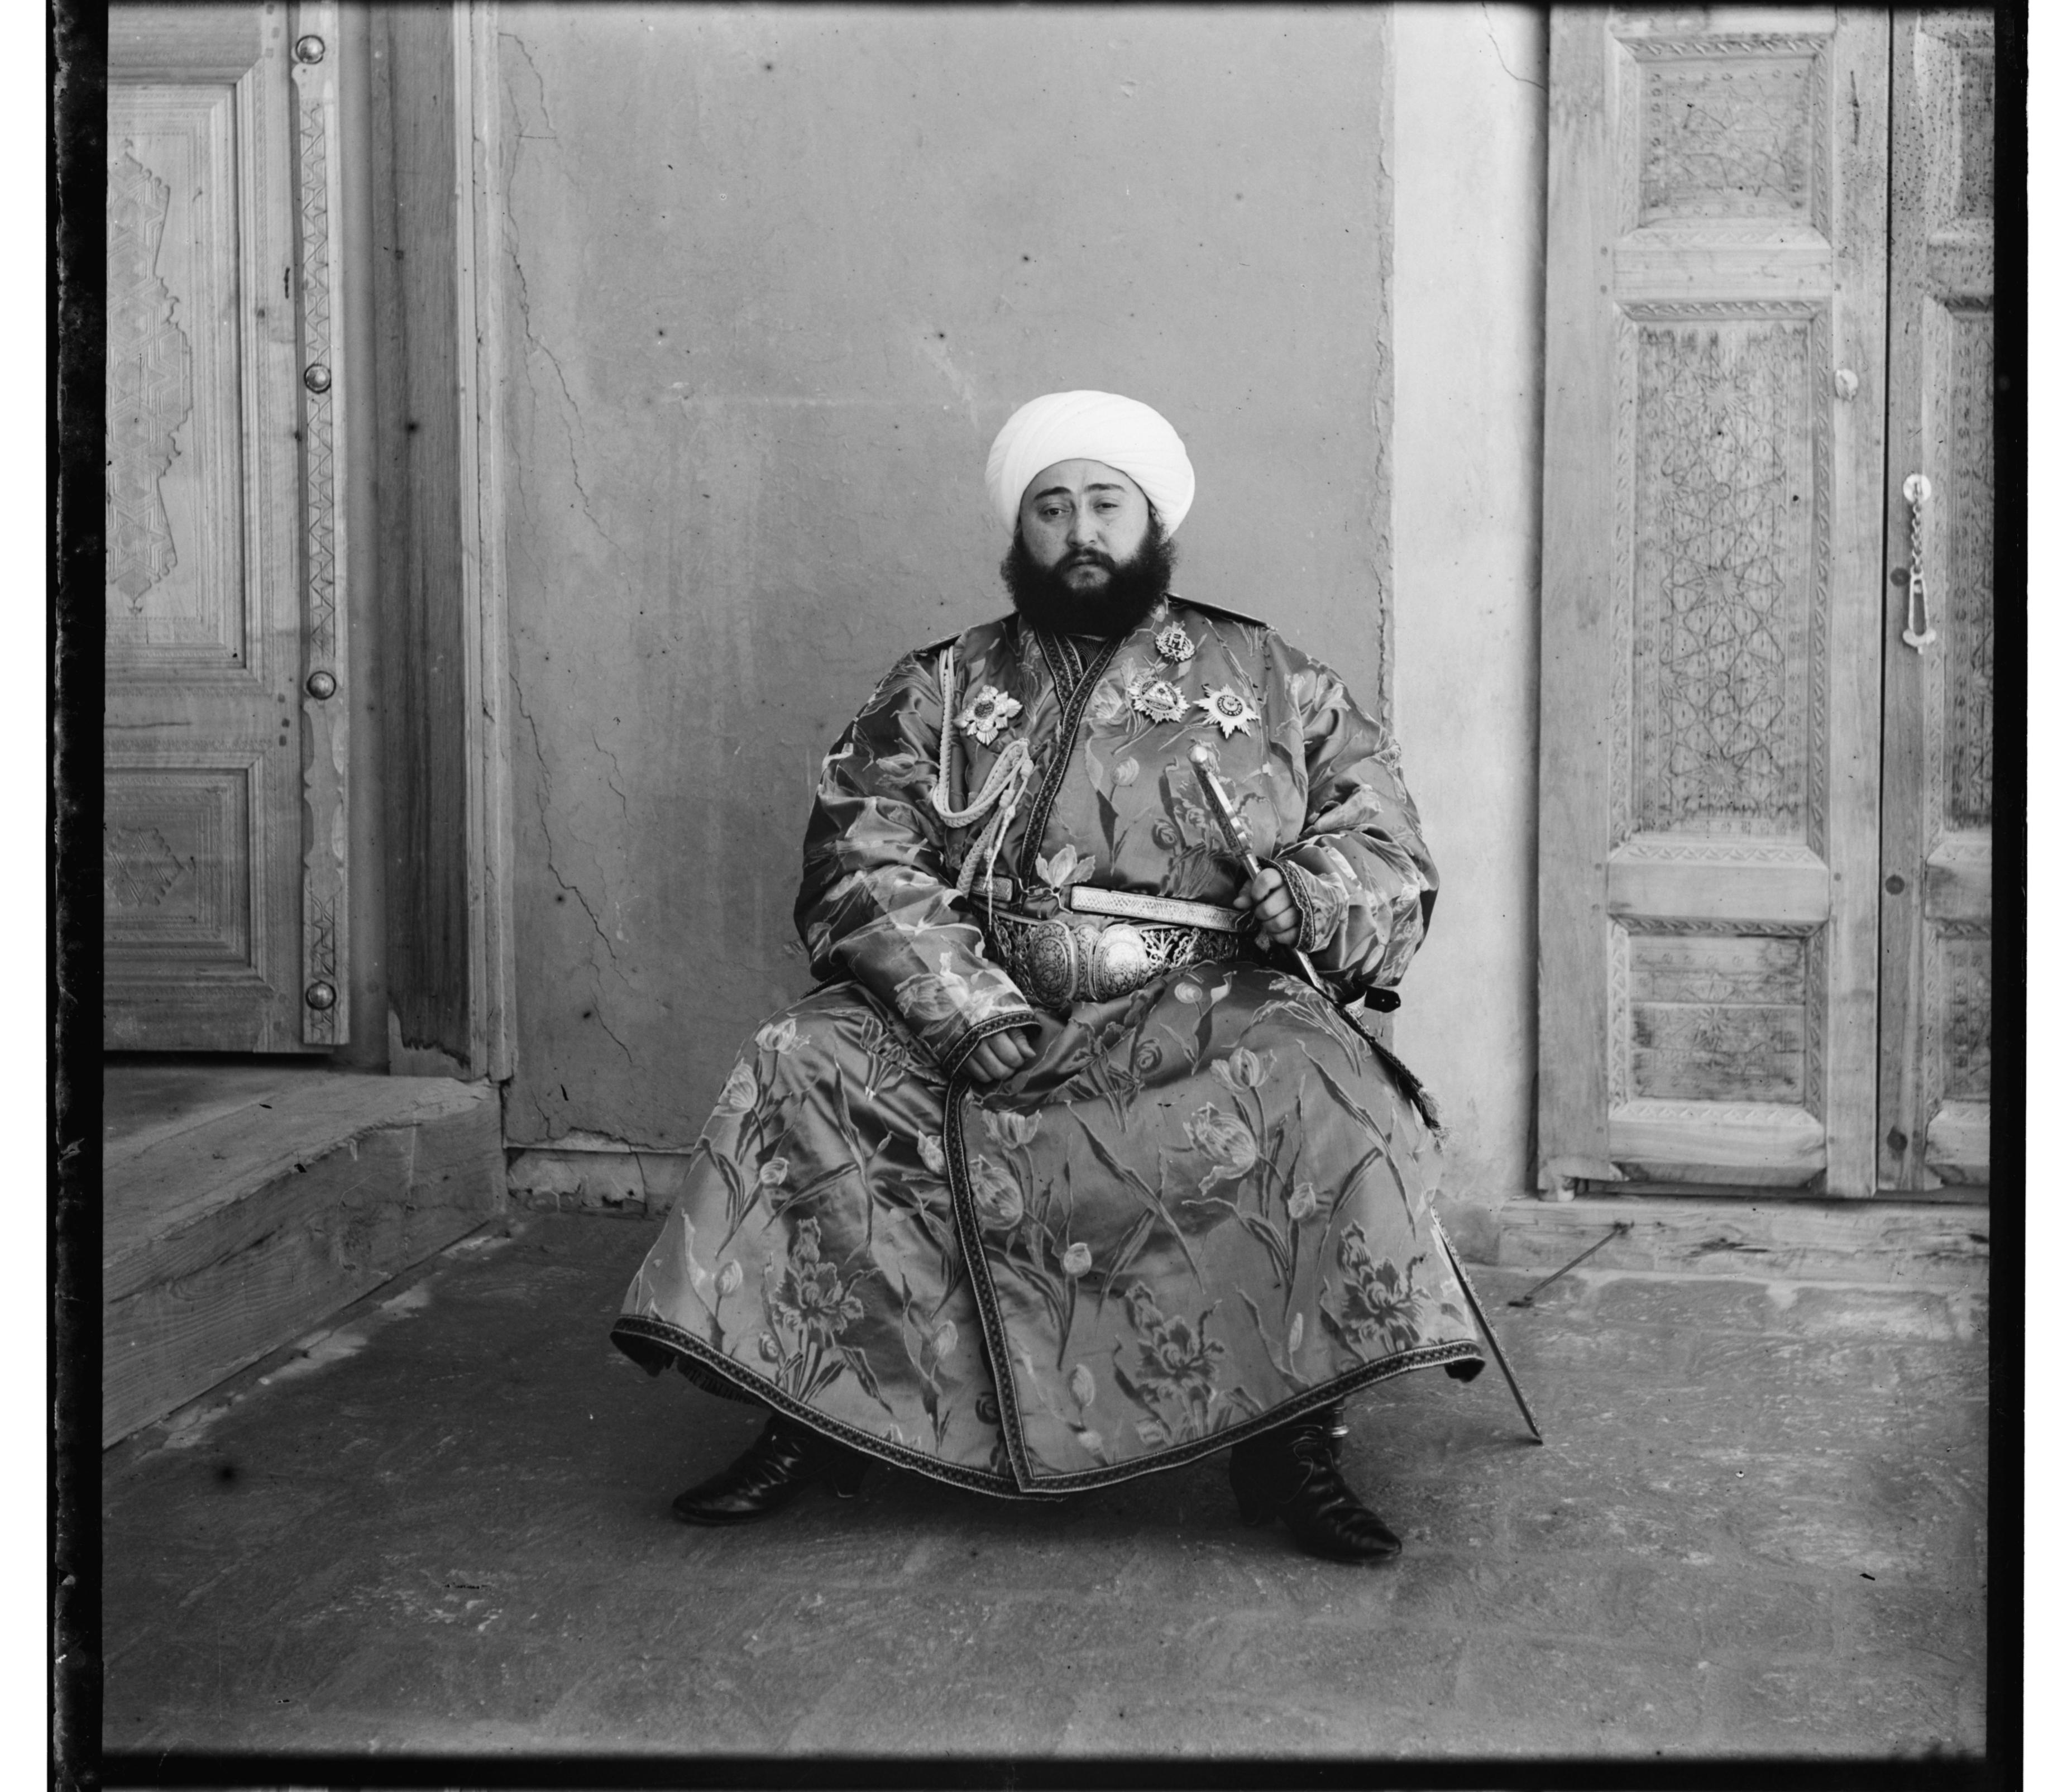
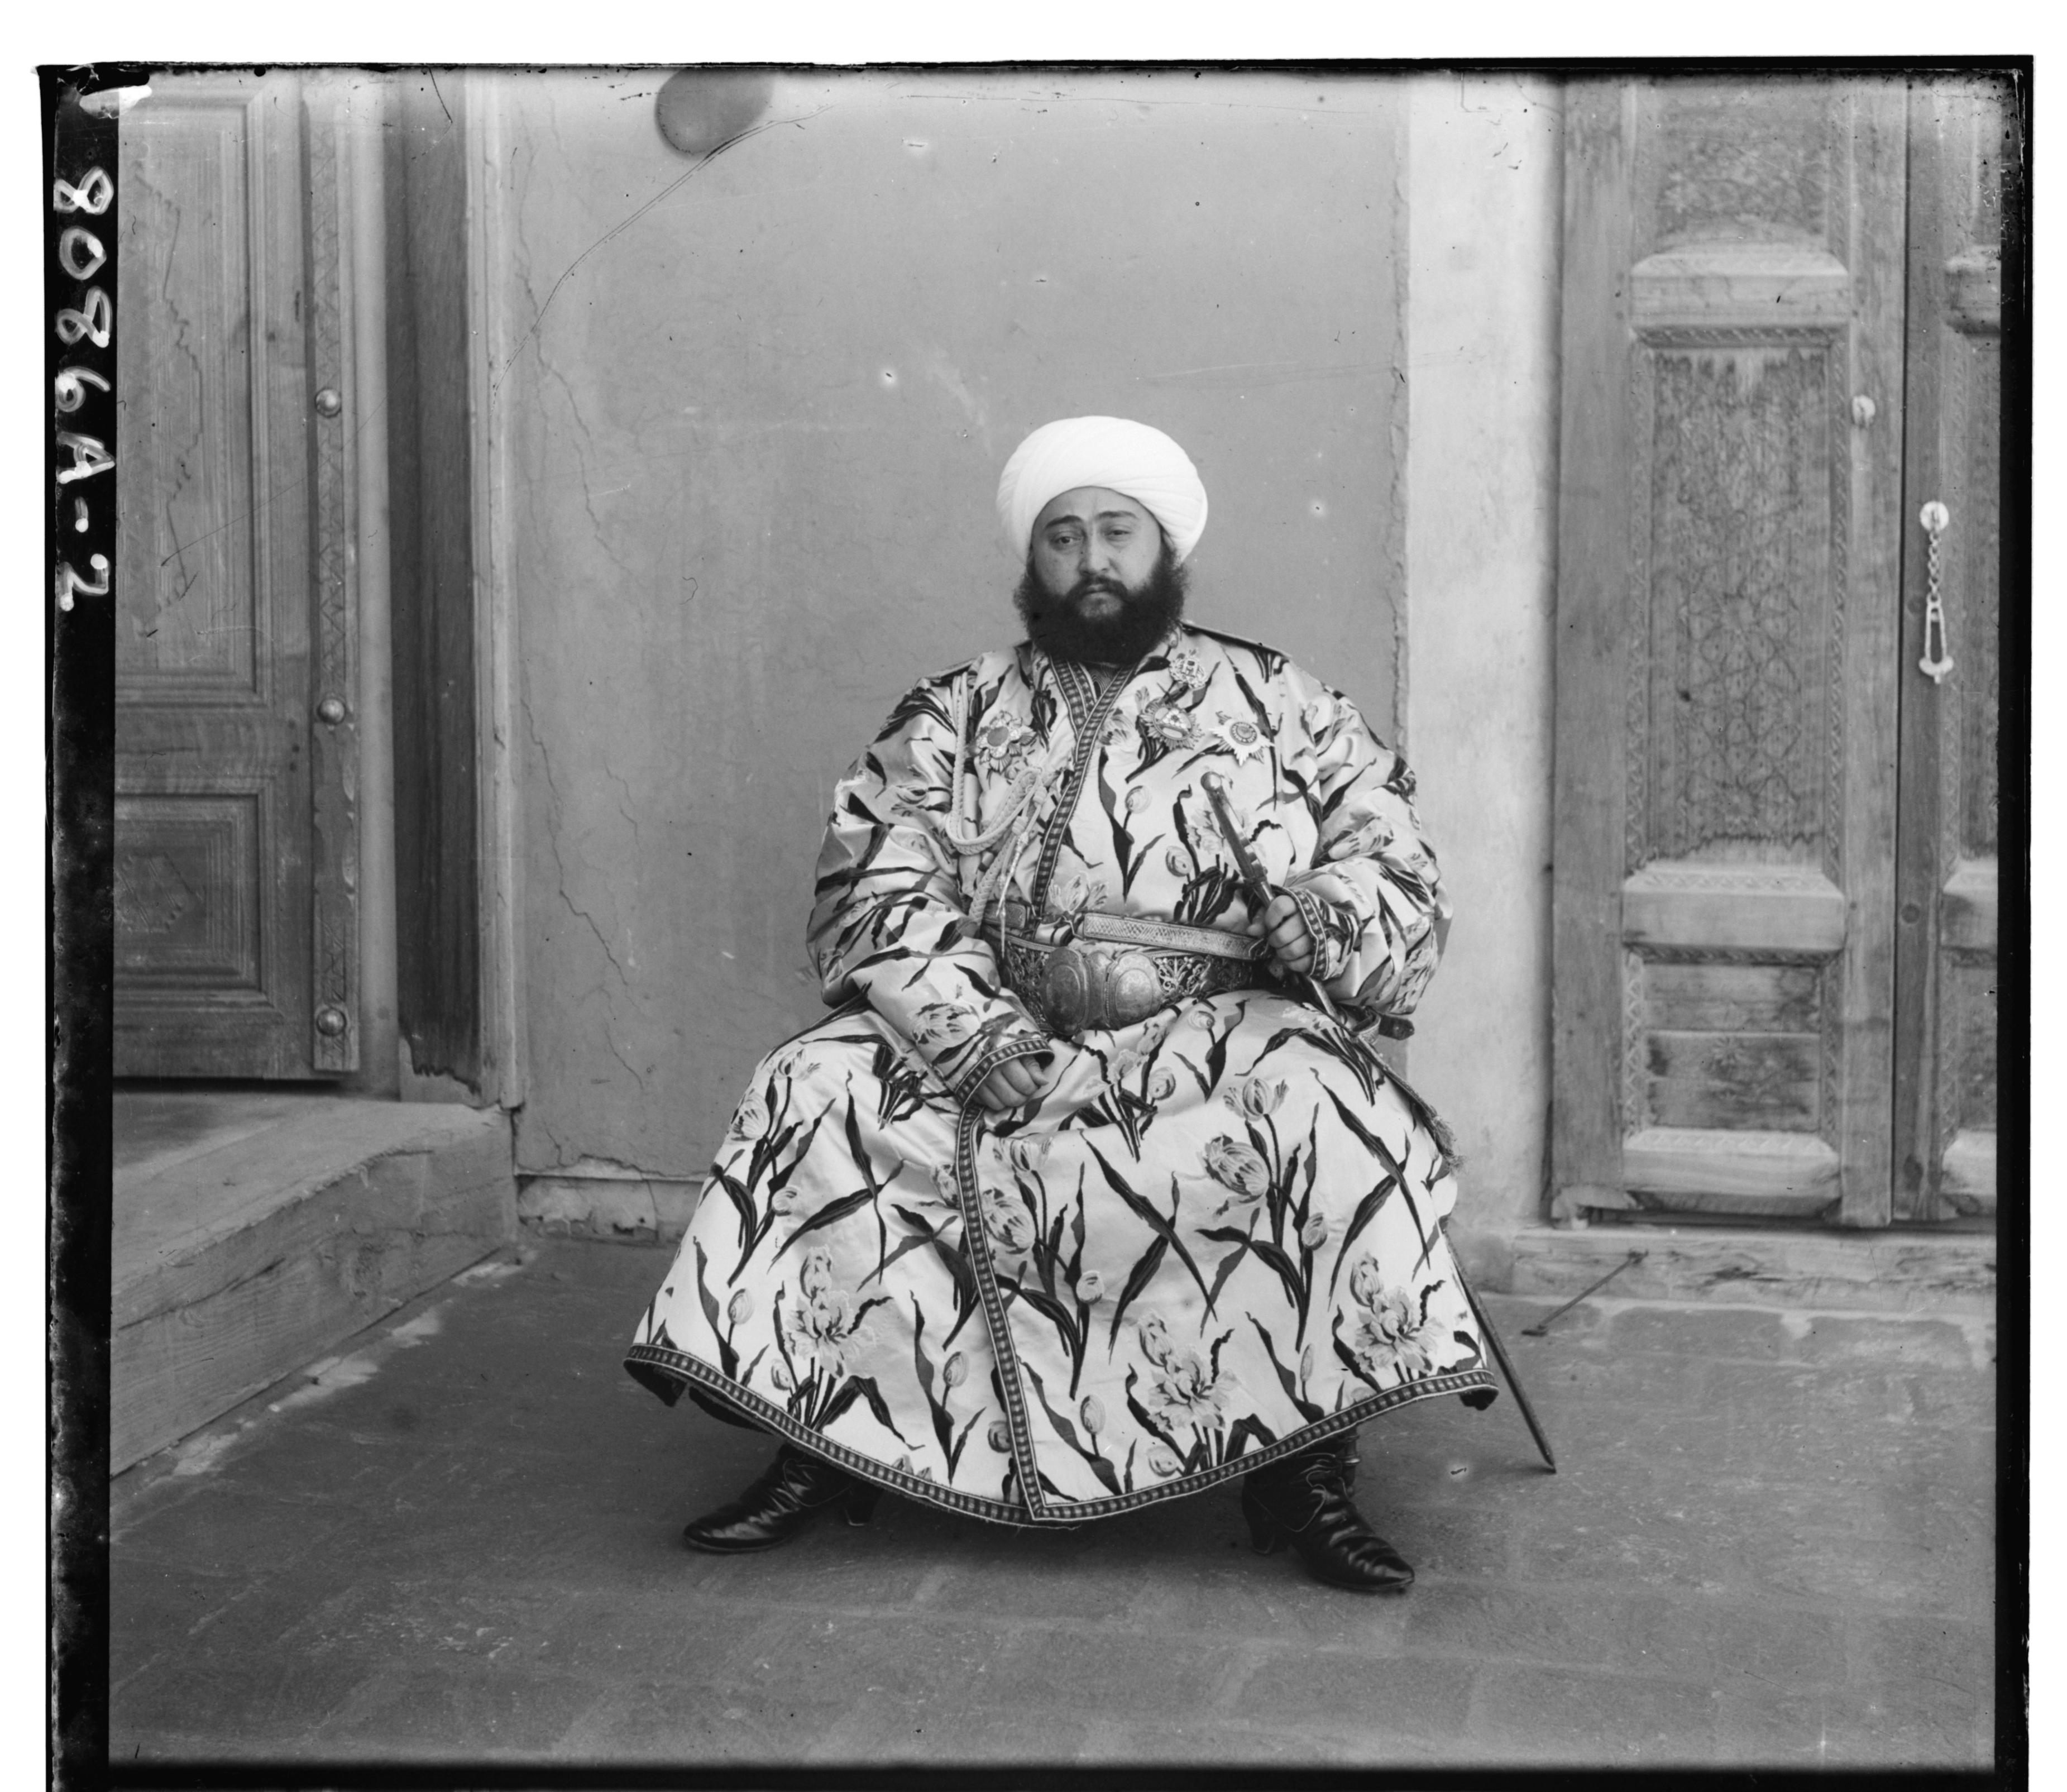
The Library of Congress purchased the glass plate negatives and digitized them in the process. They come in the form shown above. The images correspond to red, green, and blue filters, respectively. On a high level, my algorithm extracts the three color channels, performs some preprocessing to get rid of borders, and aligns them to form a sharp color image.
Single-Scale Alignment
For small JPEG images, I implemented a simple image alignment algorithm that translates the Red and Green negatives over a specified window of displacements,
i.e [-20,20] pixels,
on top of the Blue negative and took the displacement with the best score.
For my cost function, I used Normalized Cross-Correlation (NCC), which gives the dot product between two normalized images. My algorithm chooses the displacements with the highest NCC score.
Pyramid Alignment
Although the above algorithm works well for small images, it becomes prohibitively expensive when used on
2600x3000 images in the TIF format. To make sure I can support these operations, I used a multi-scale representation (or pyramid representation) of the image
to iteratively find the best displacement going from the smallest scale to the original scale. This approach performed significantly faster on TIF images than single-scale alignment.
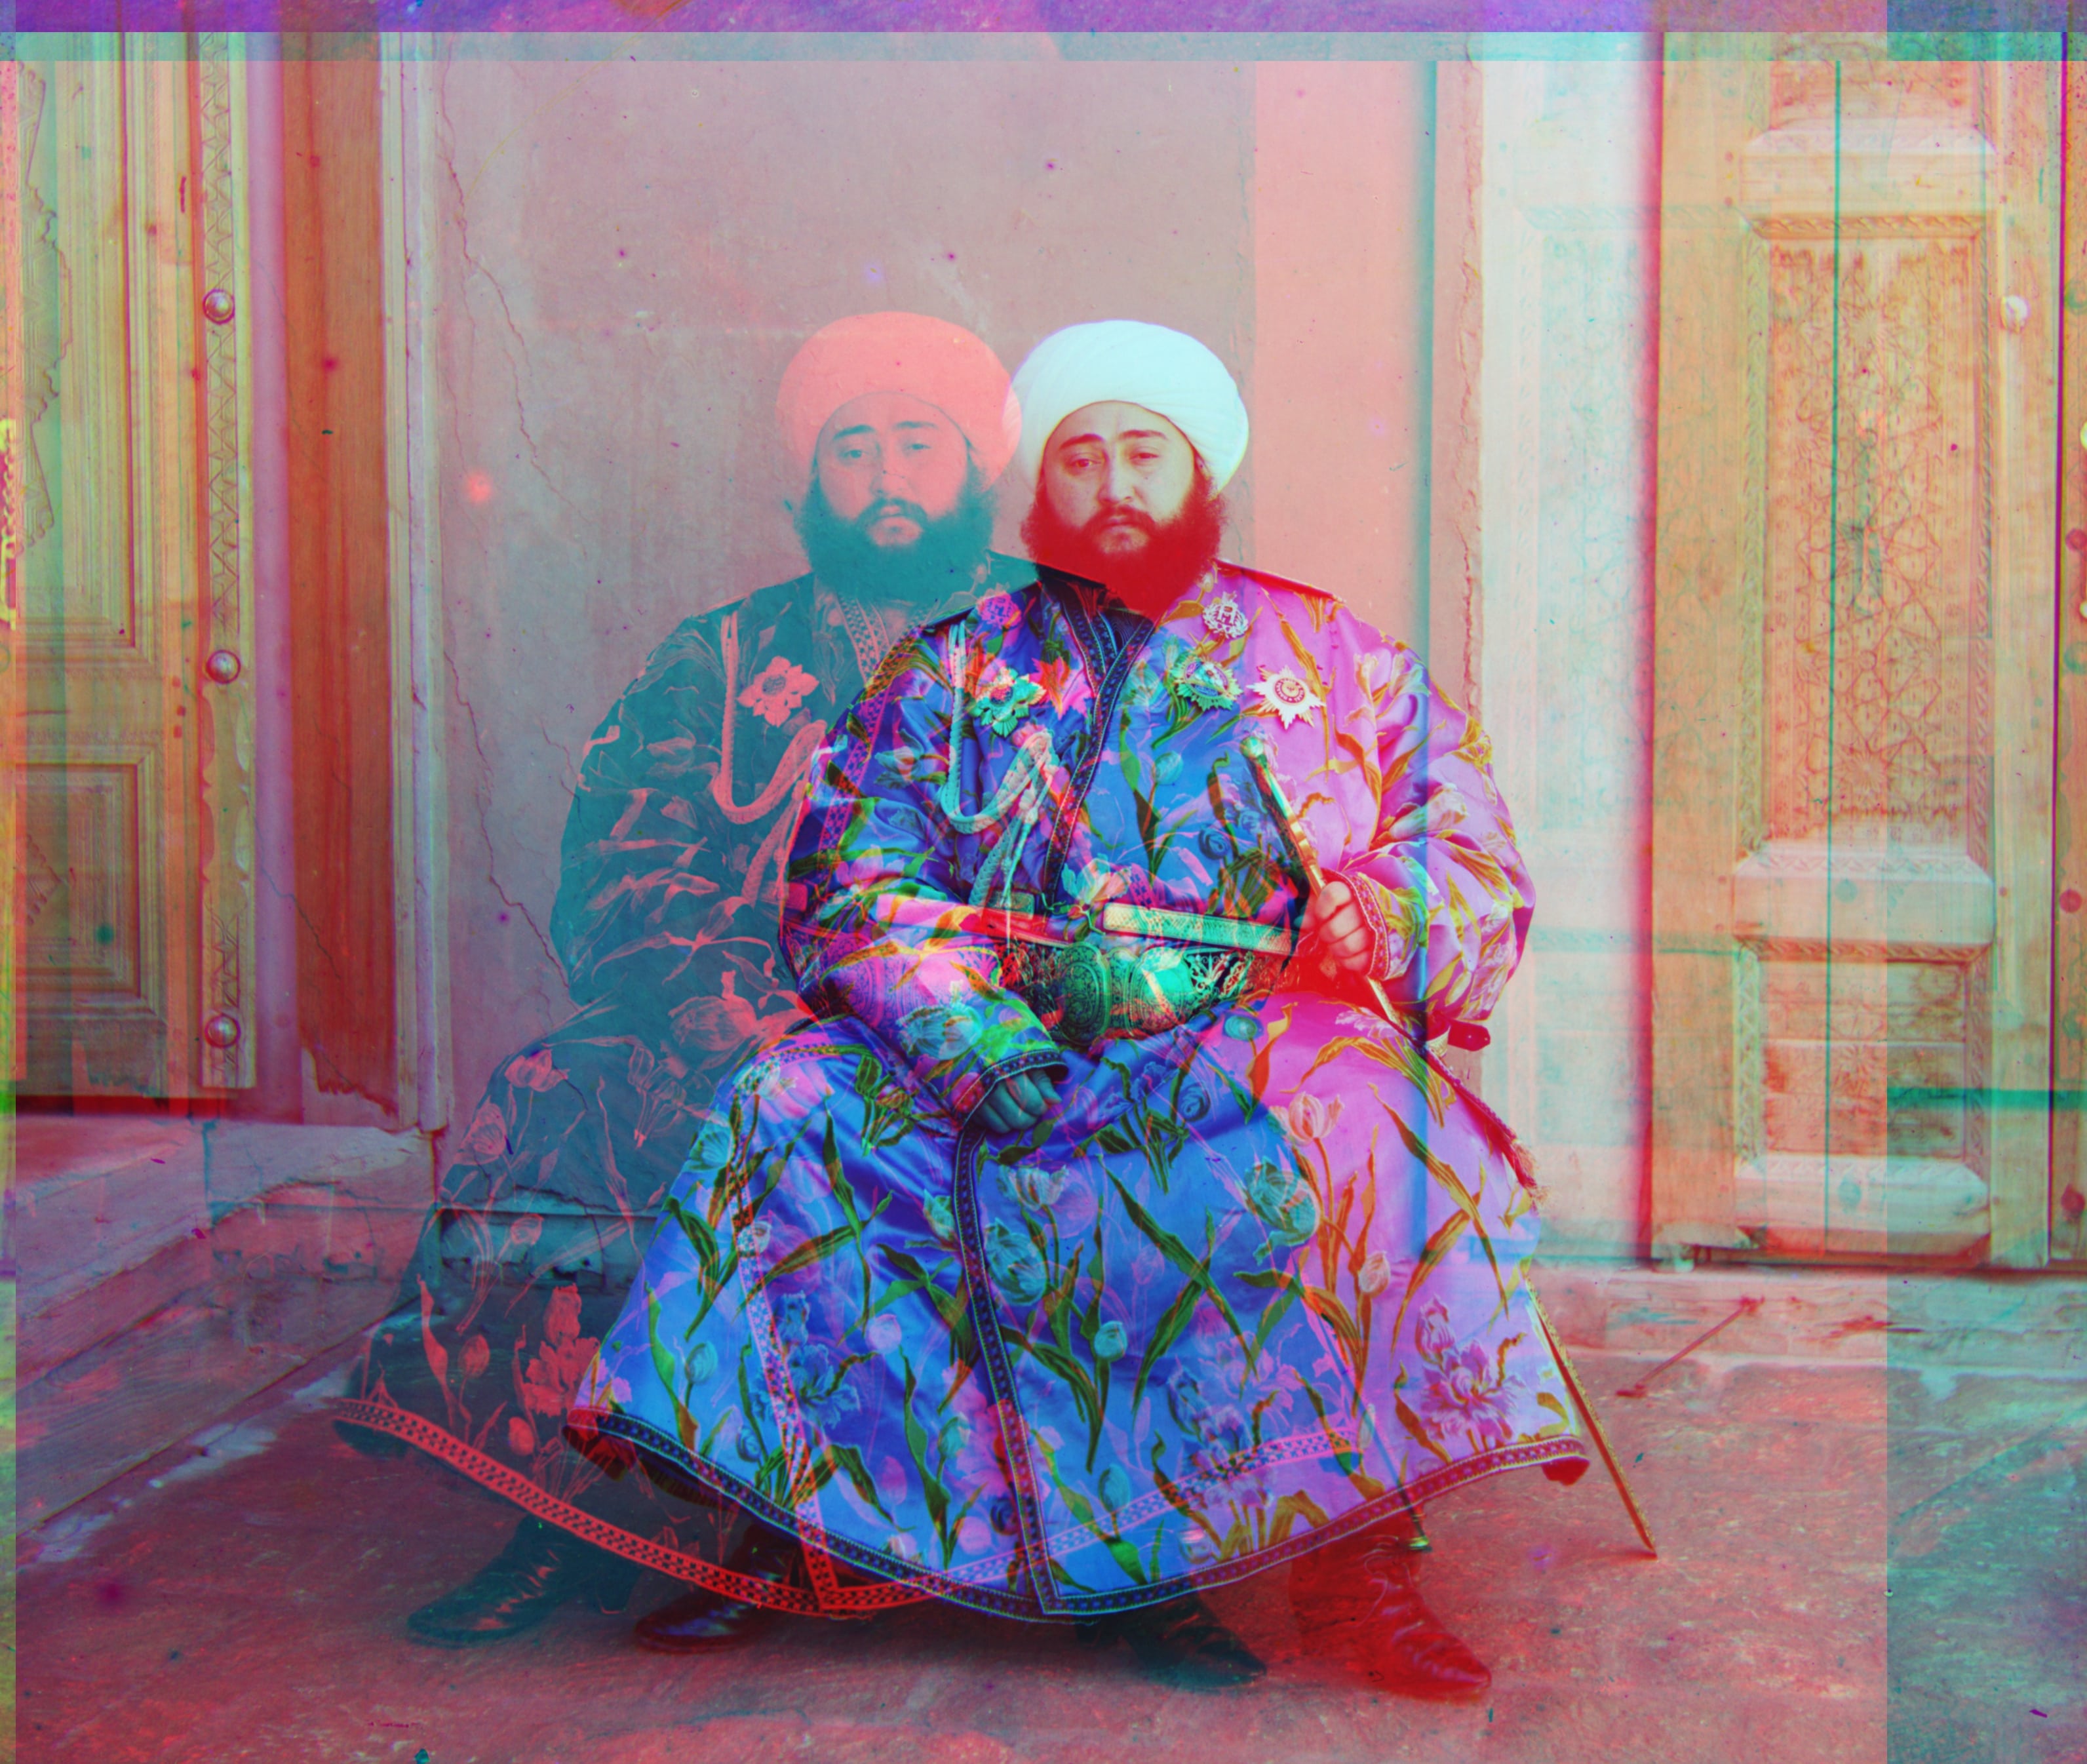
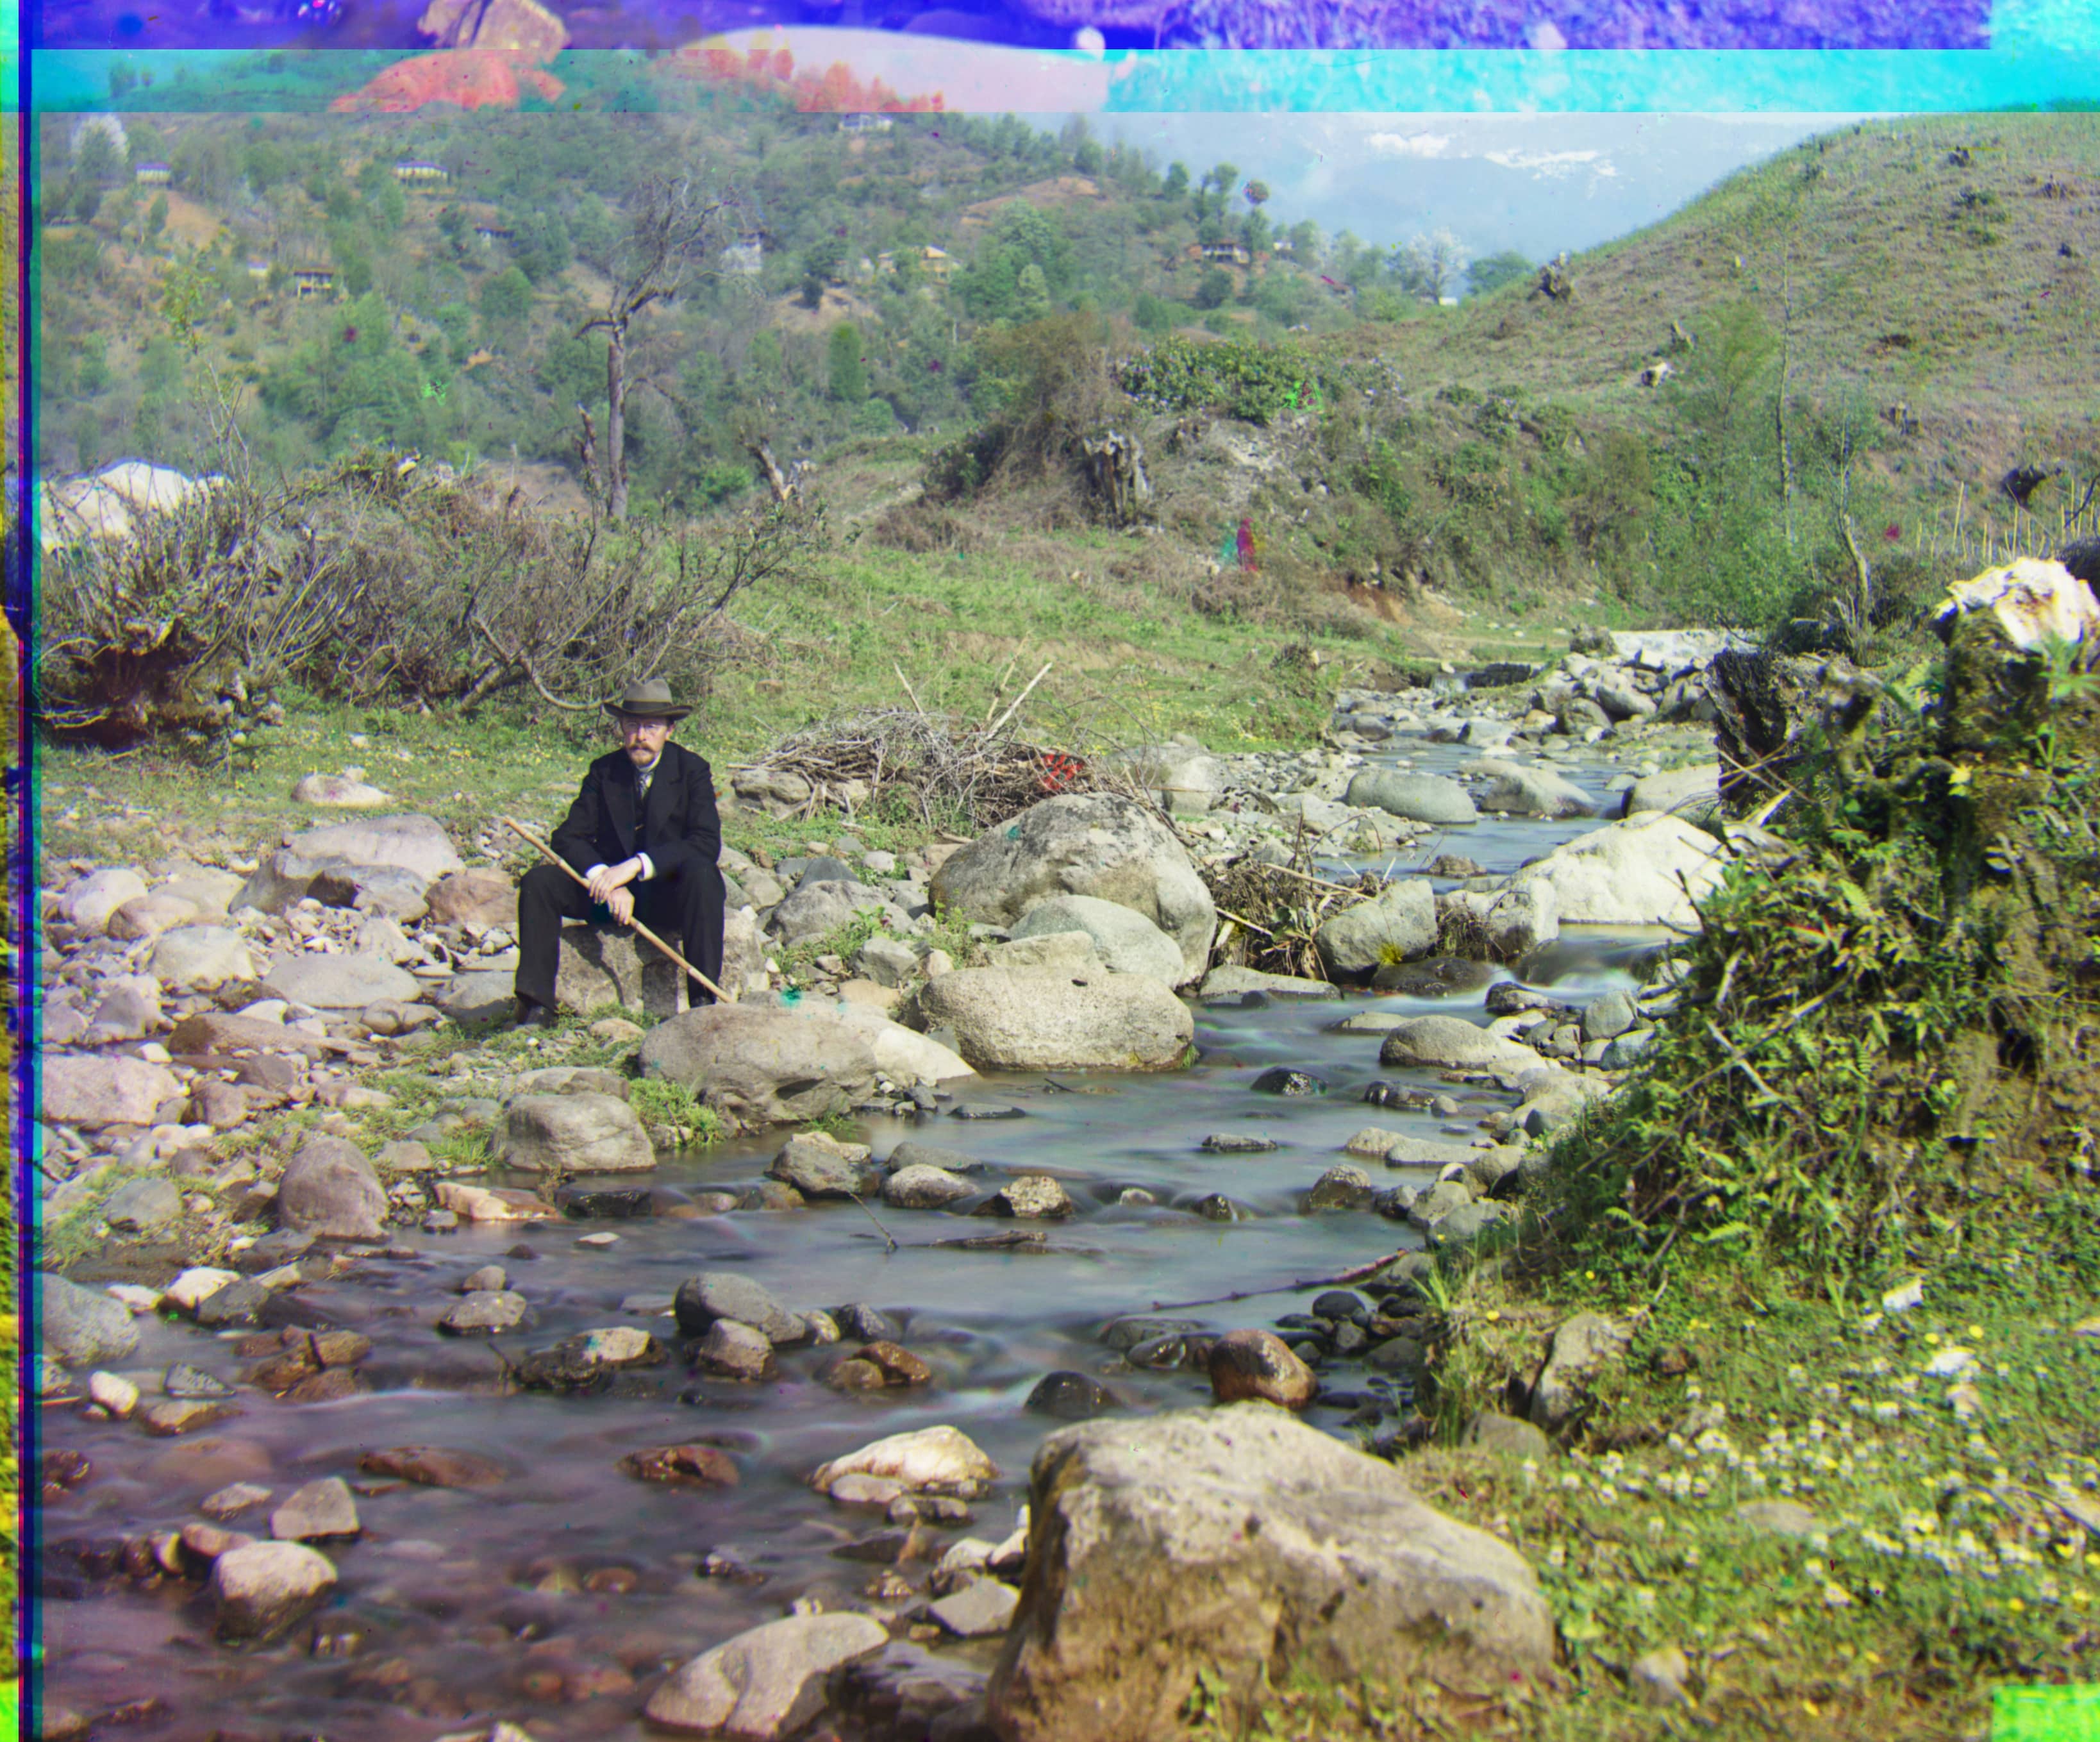
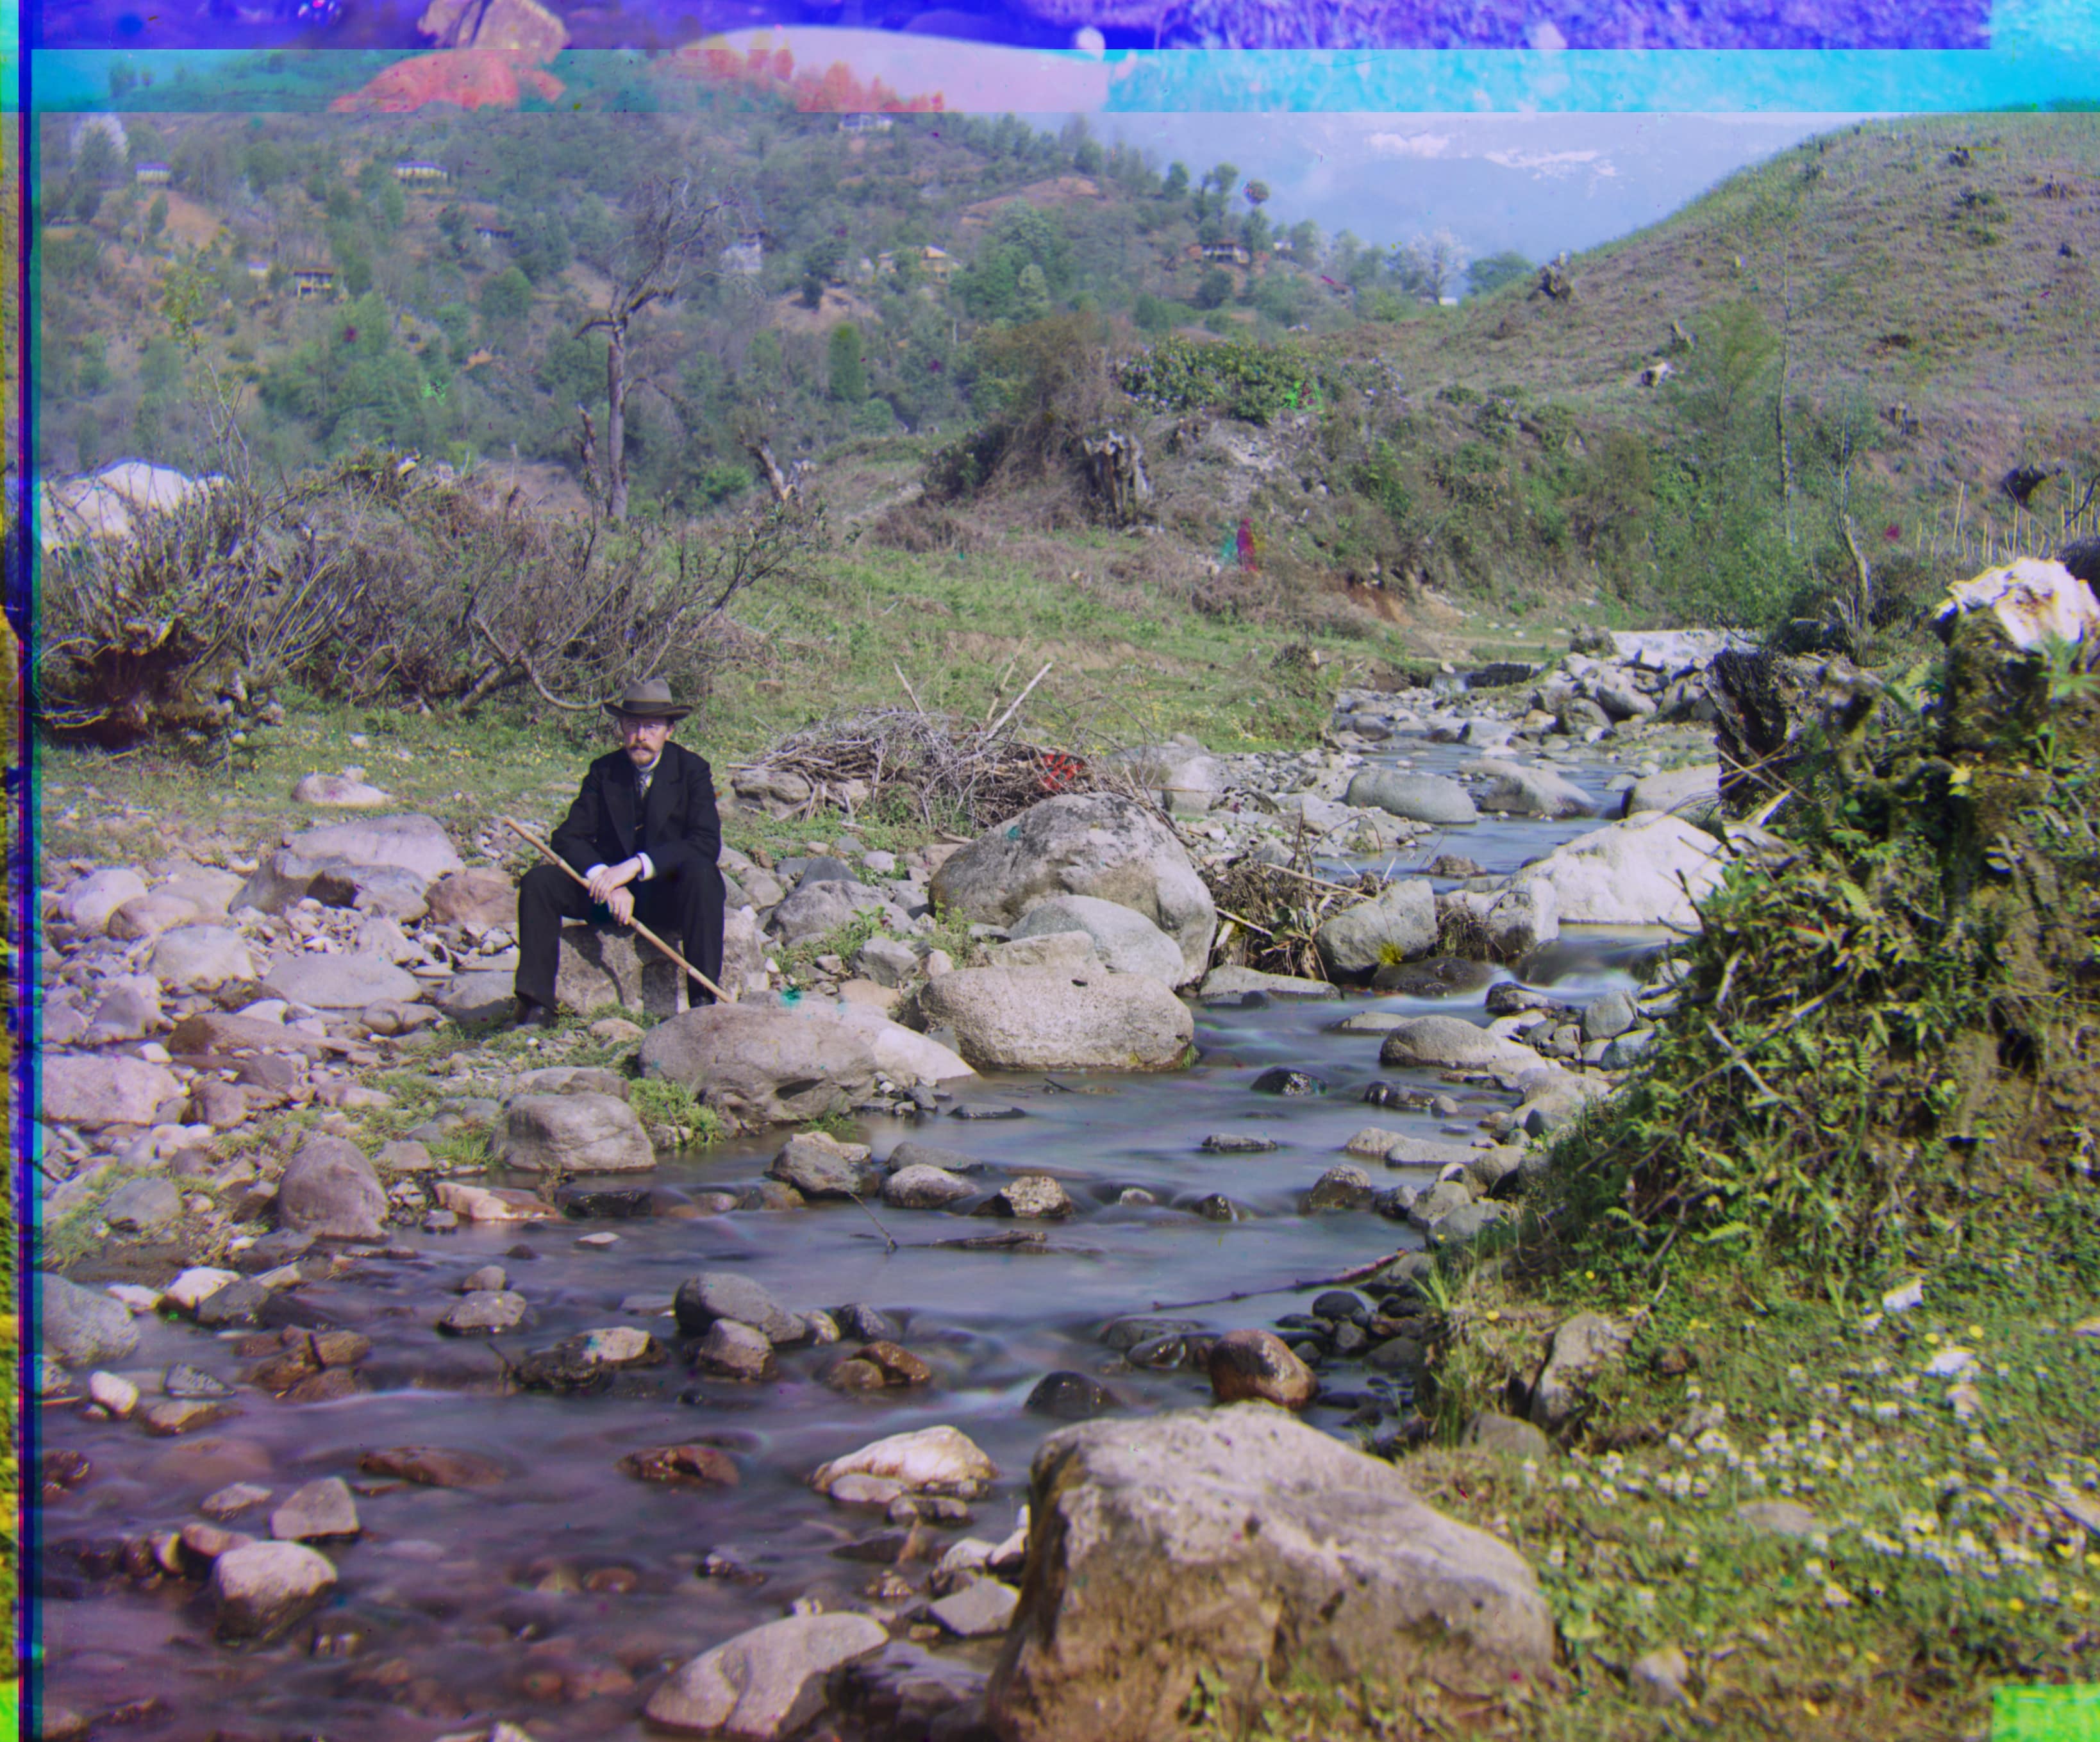
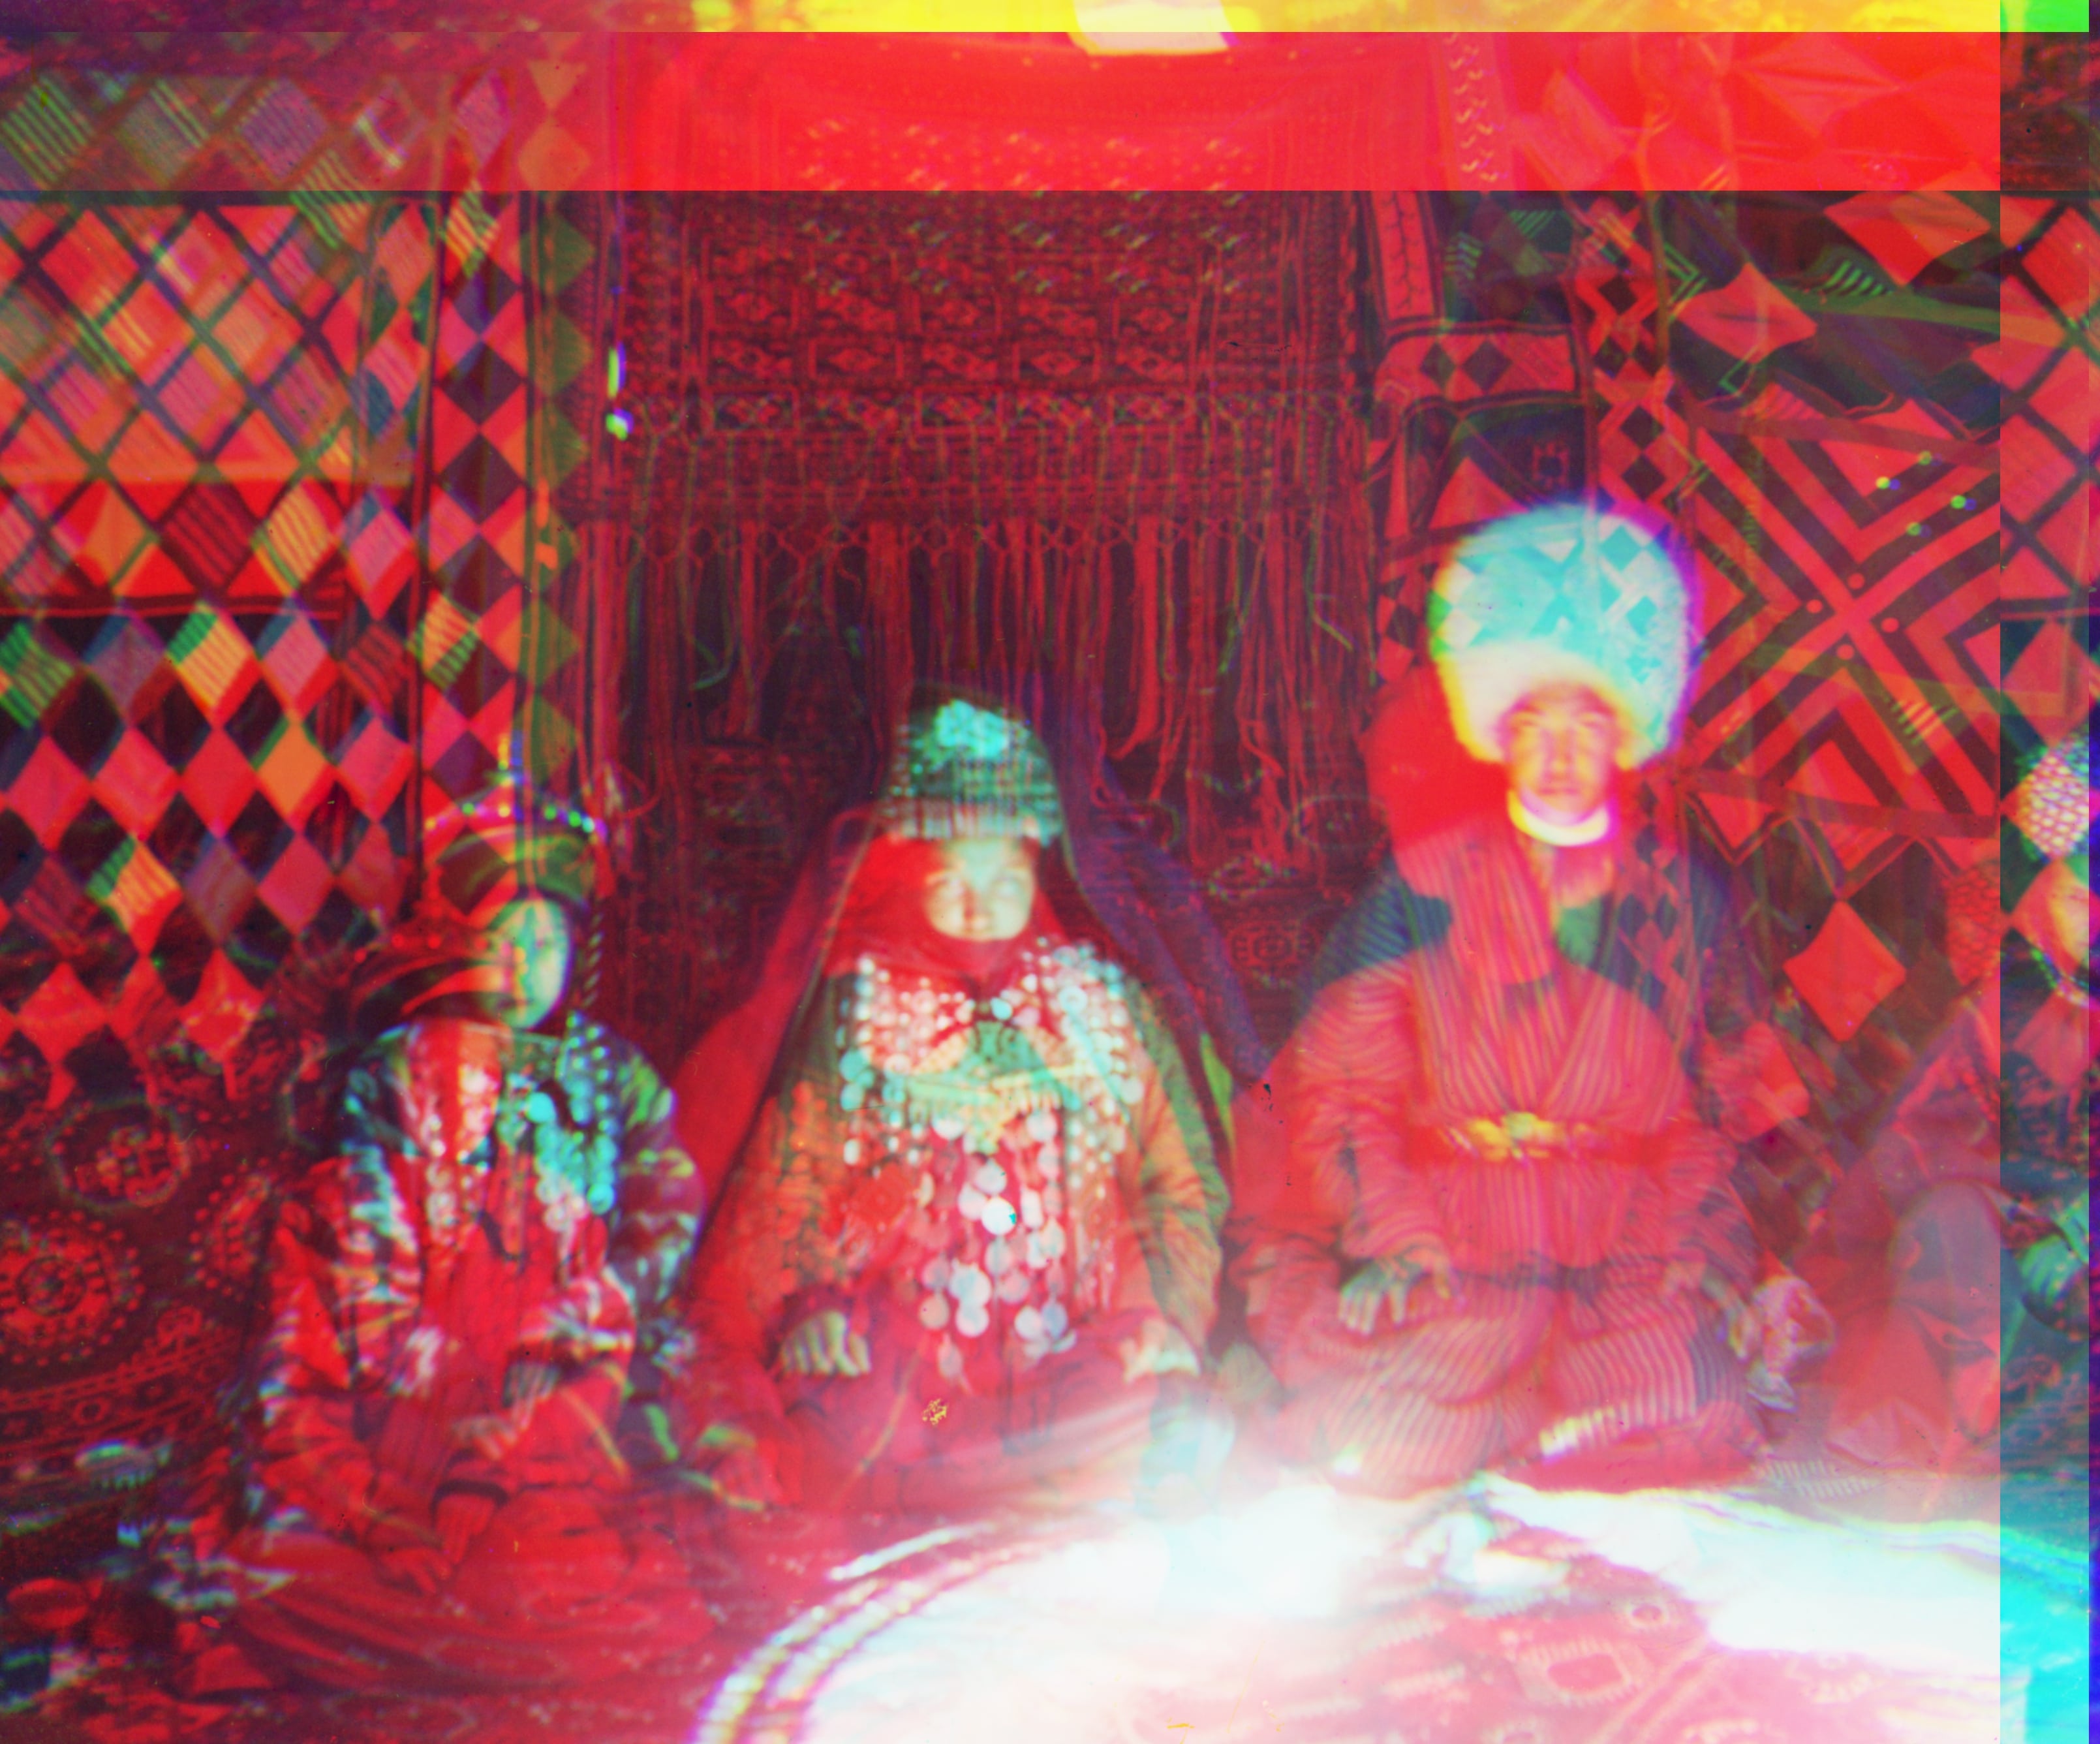
Because some color negatives may have different brightness values, aligning the negatives solely based on RGB values will sometimes give bad results, as can be seen above.
Edge Detection
Therefore, I decided to go with edges as my features for alignment. Canny edge detection algorithm turned out to work rather well. It produced the following images for red, green, and blue negatives, respectively.
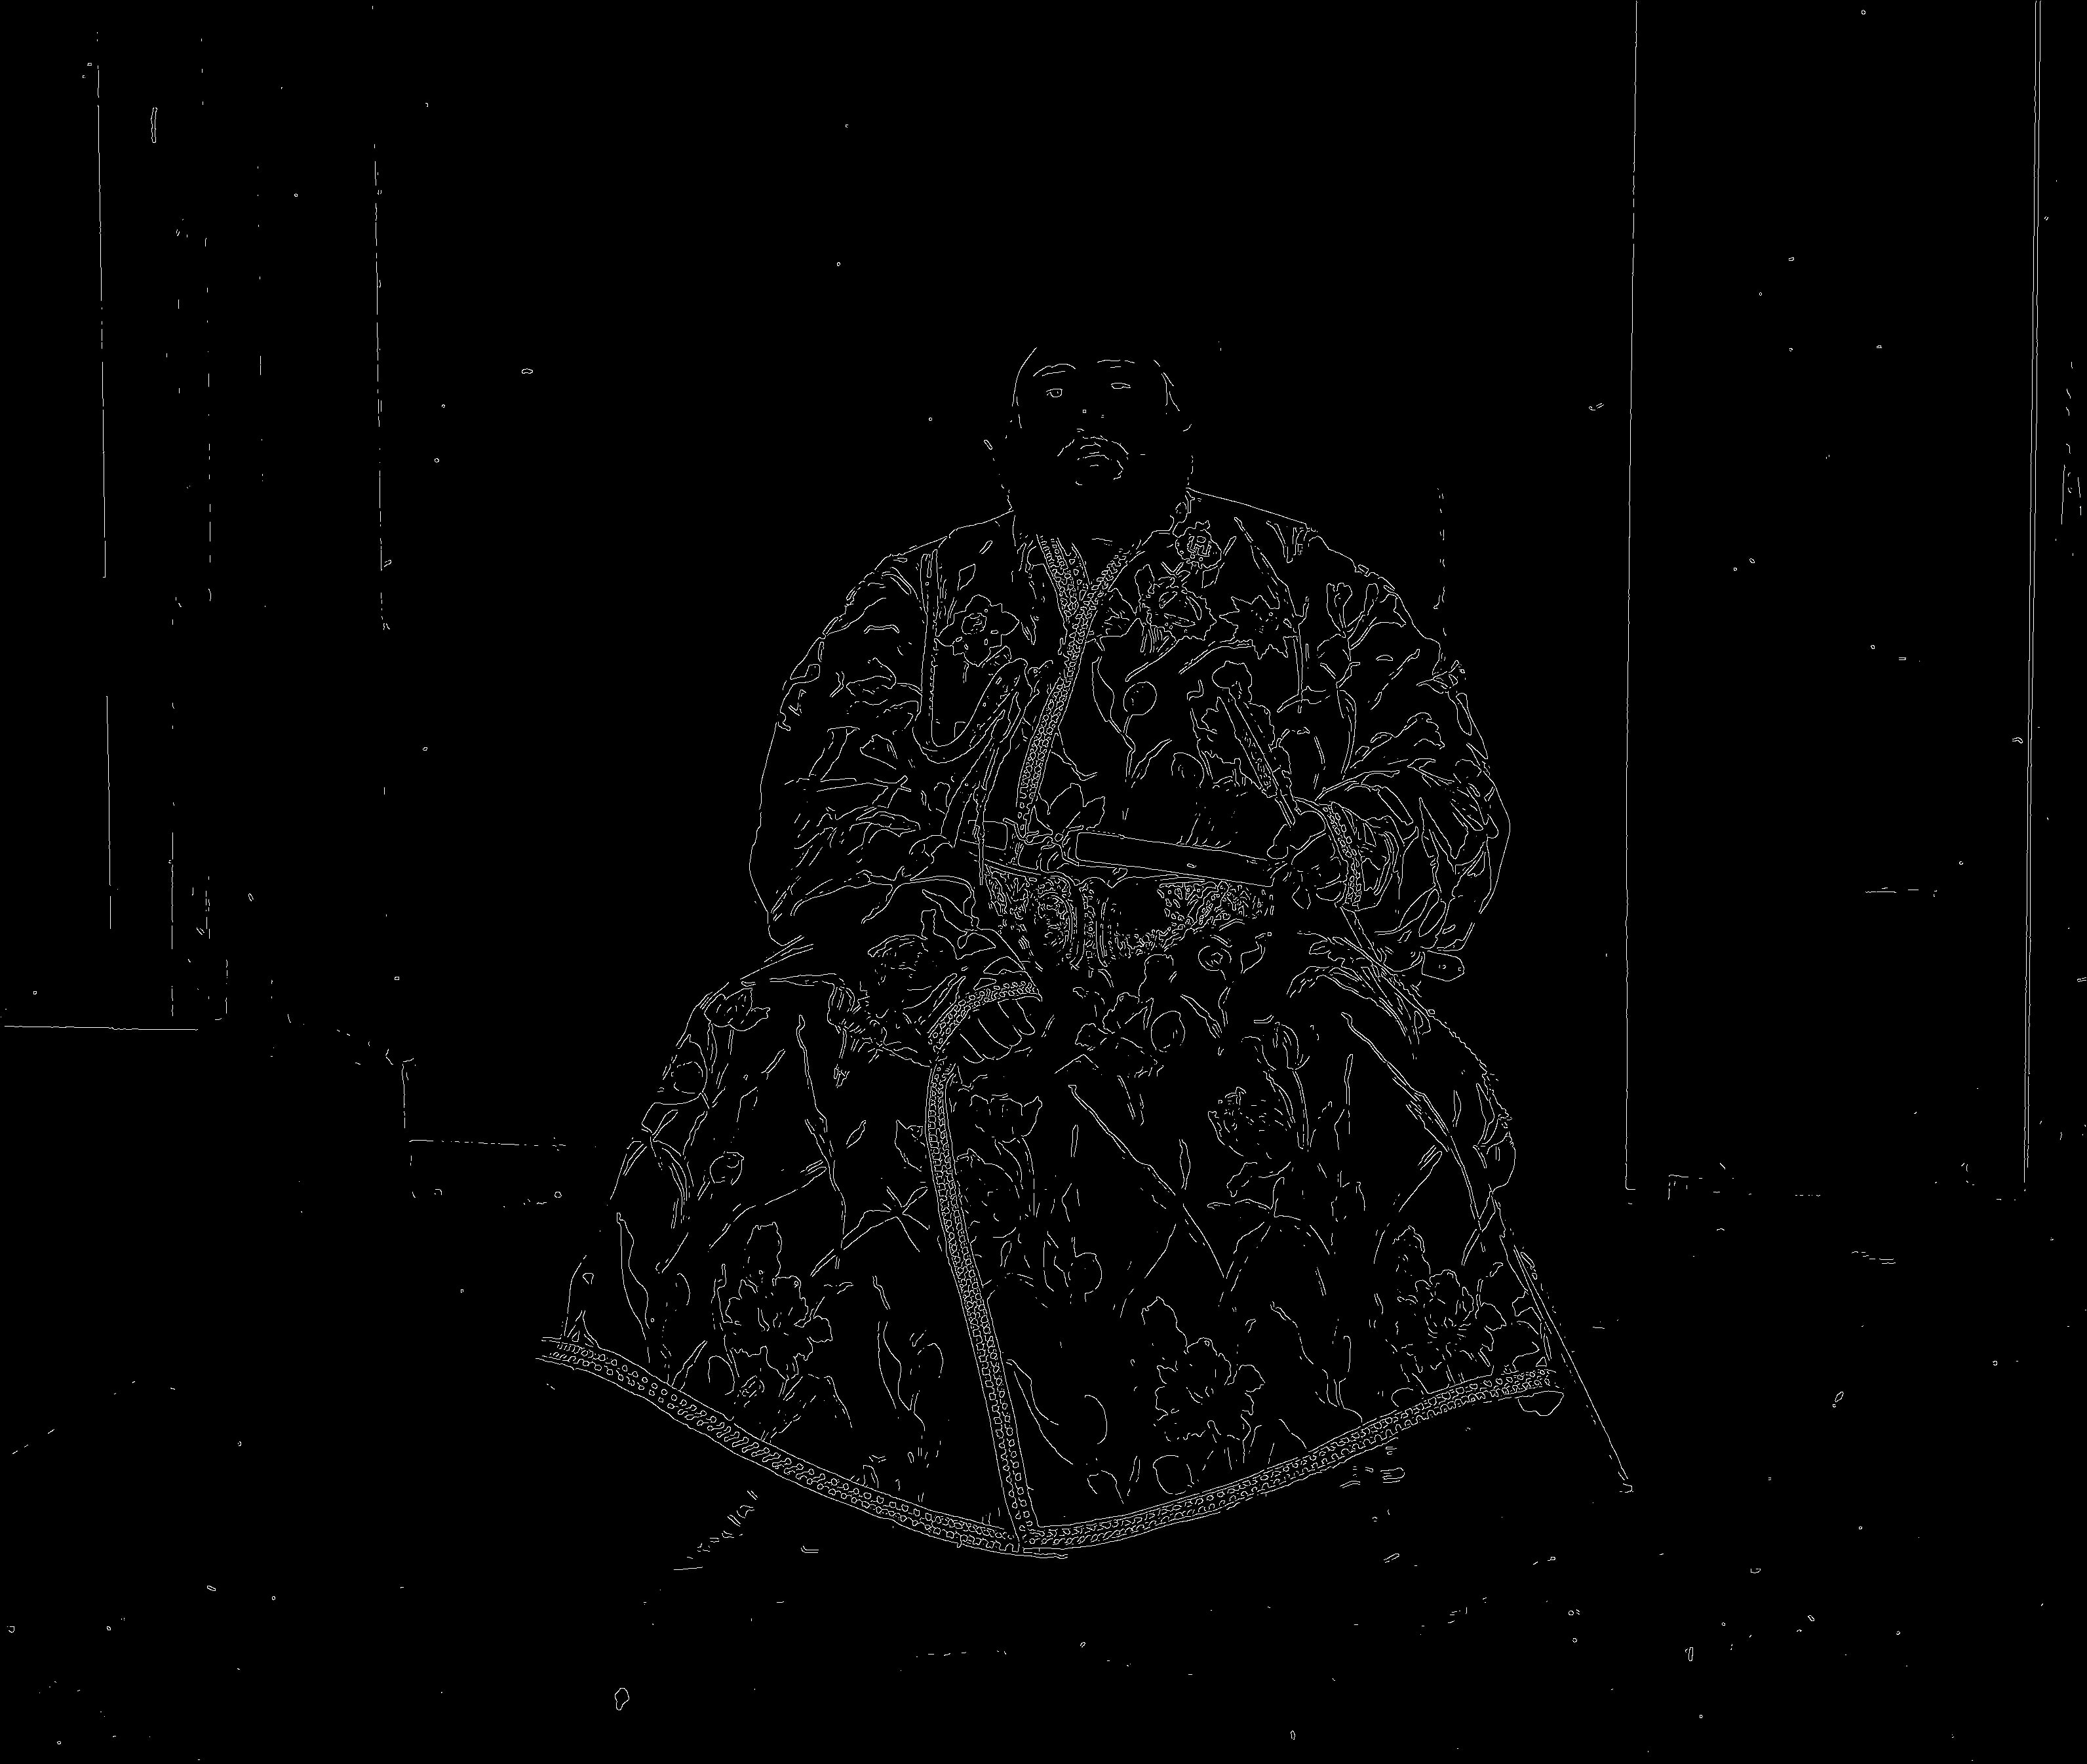

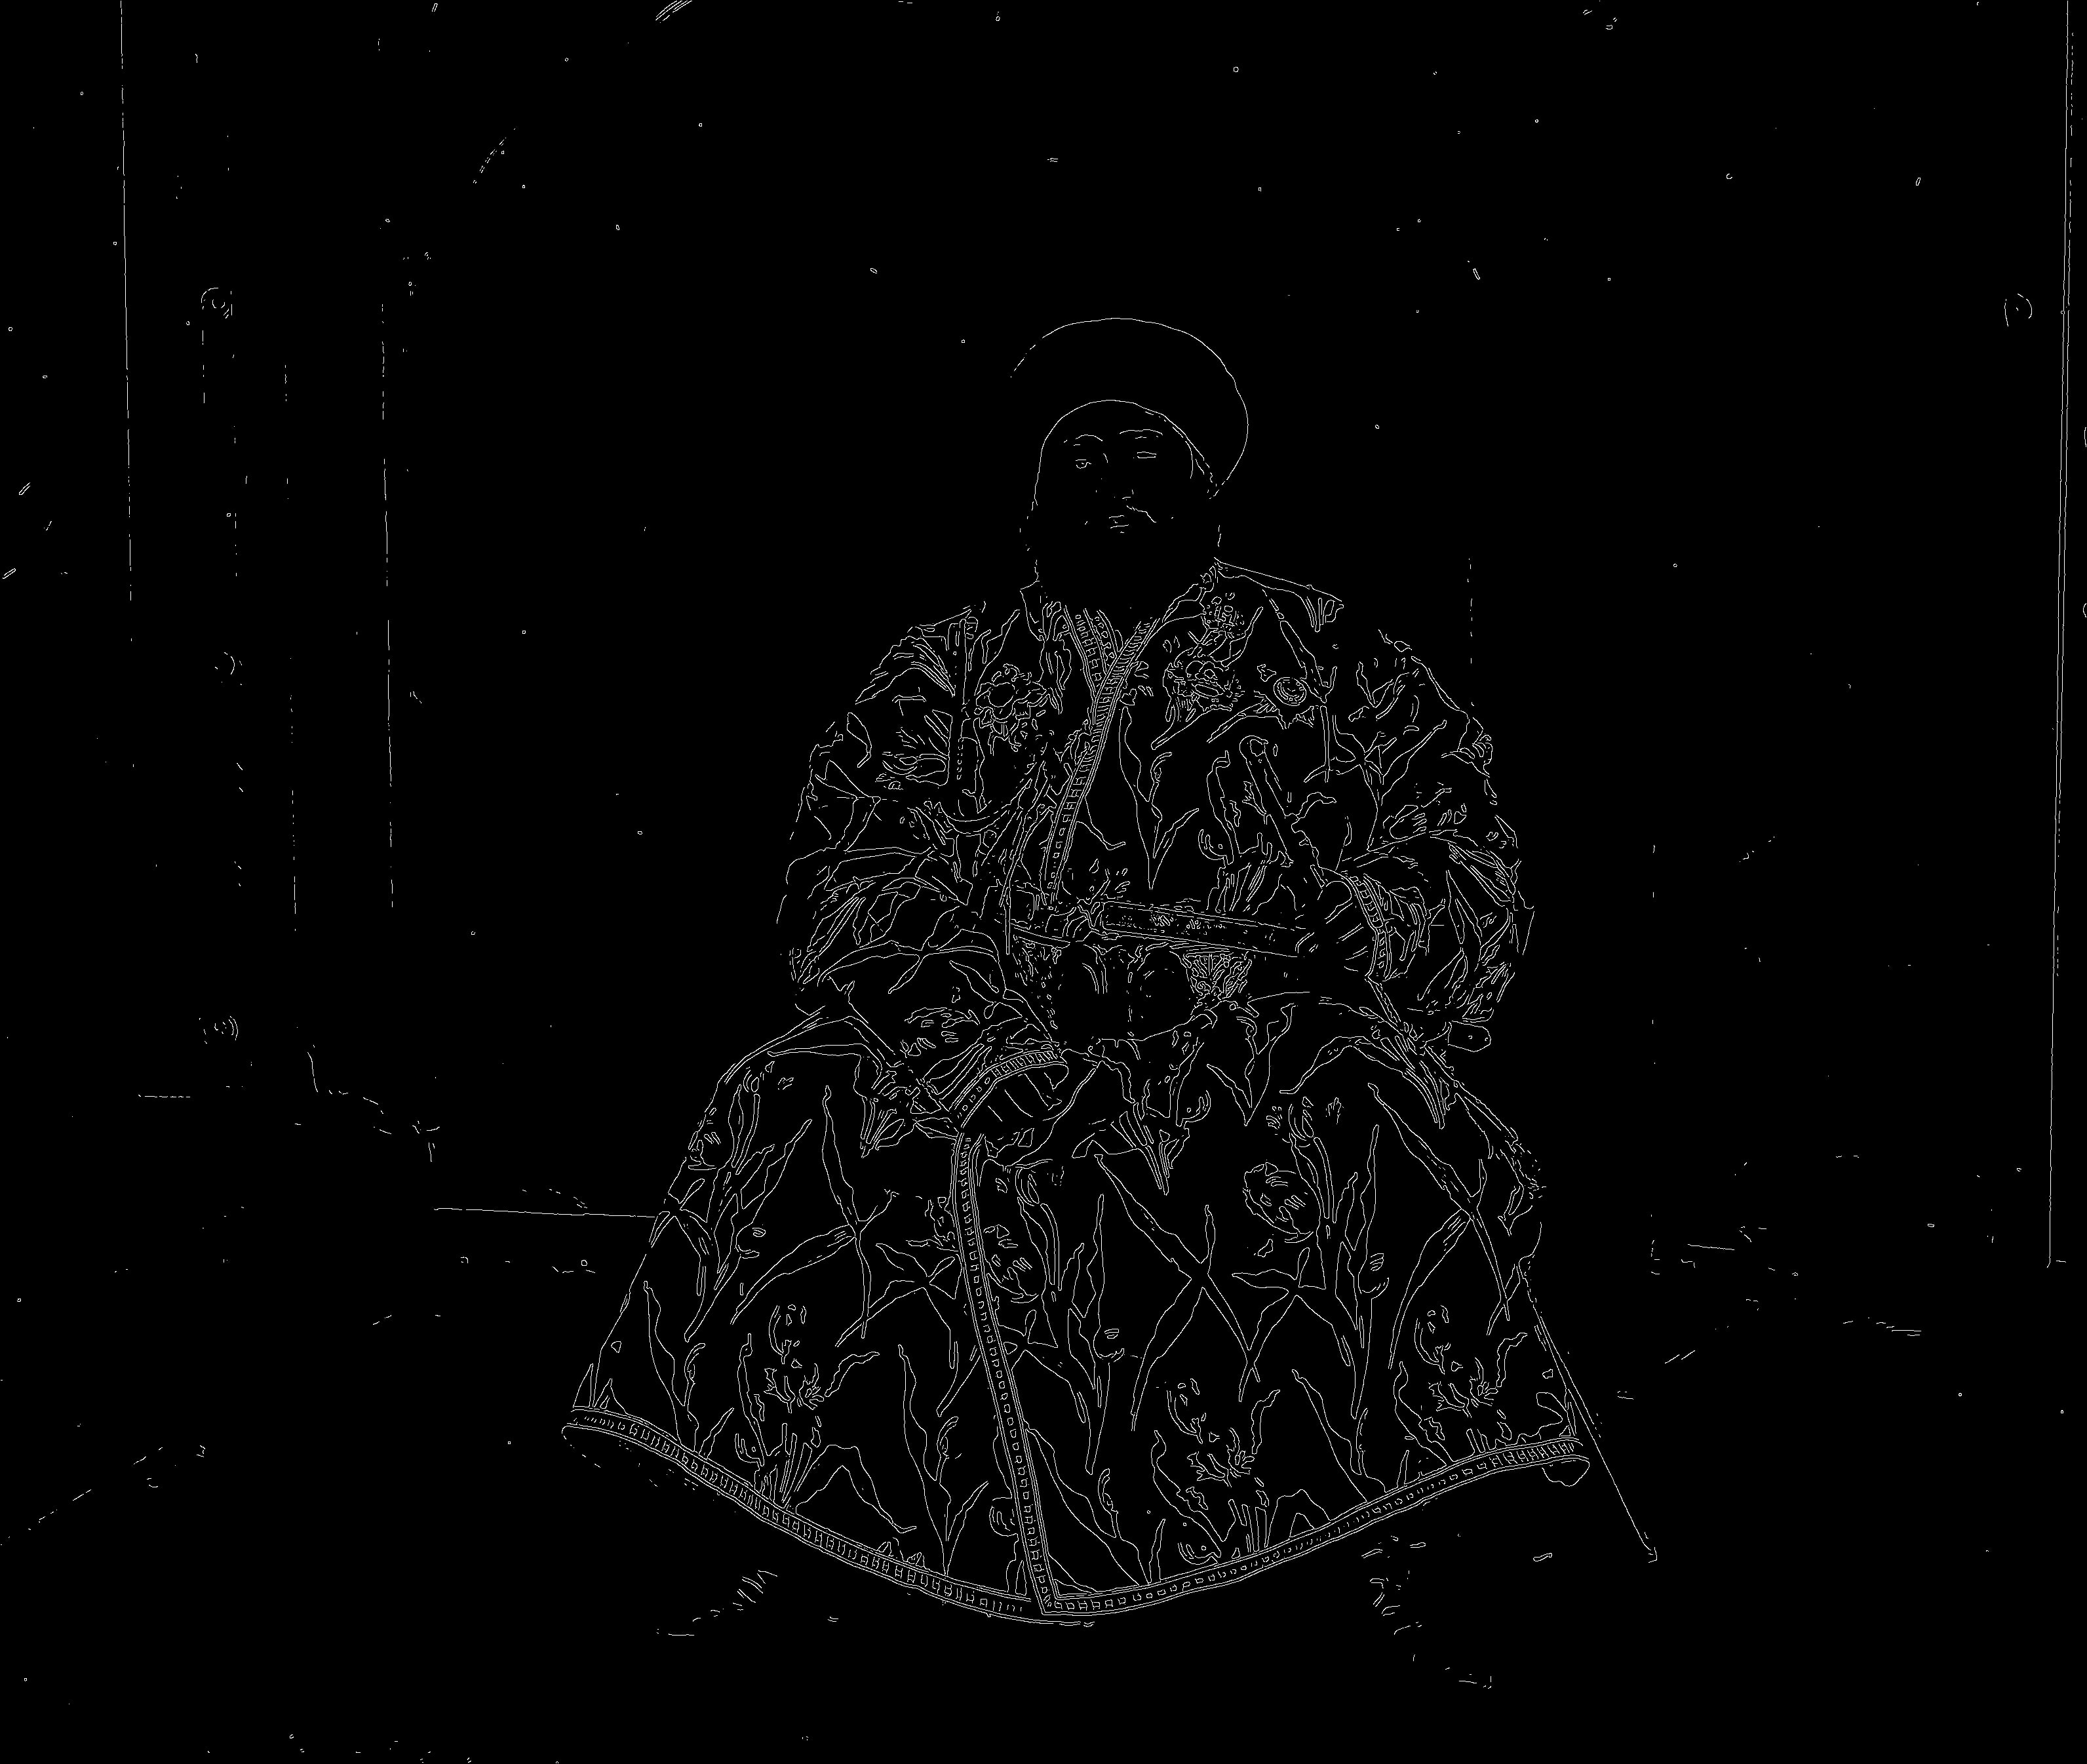
Using edges as my features gave the following result for the image above. Much better!
Automatic White Balance
White balance (WB) removes unrealistic color casts that have been introduced while capturing the photos (cameras are imperfect!) and balances the color temperature of the photo, bringing it to a neural color.
One popular method is Gray World Assumption, which assumes that the image, on average, has a neutral gray color. First, I estimate the illuminant
by averaging RGB values across all color channels. Second, I normalize the pixels the counteract the illuminant. To make sure that underexposed
and overexpoed parts of the image don't skew the estimation, in my calculation I ignored the bottom and top 10% of the pixels, intensity-wise.
| Before | After |
|---|---|
|
|
|
|
|
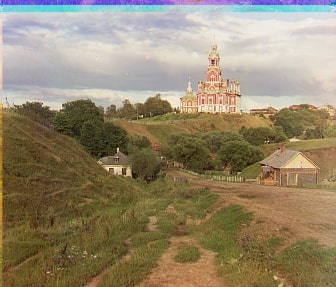
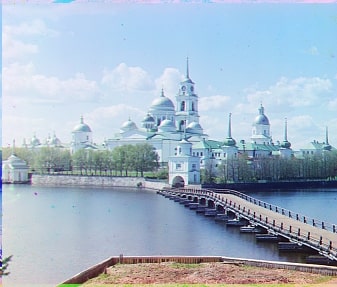
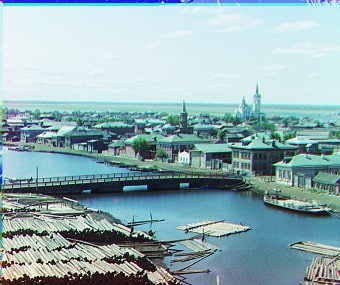
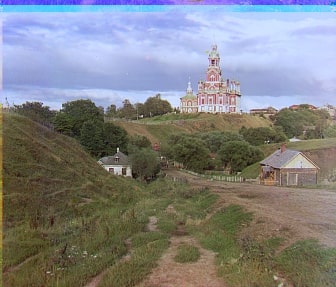
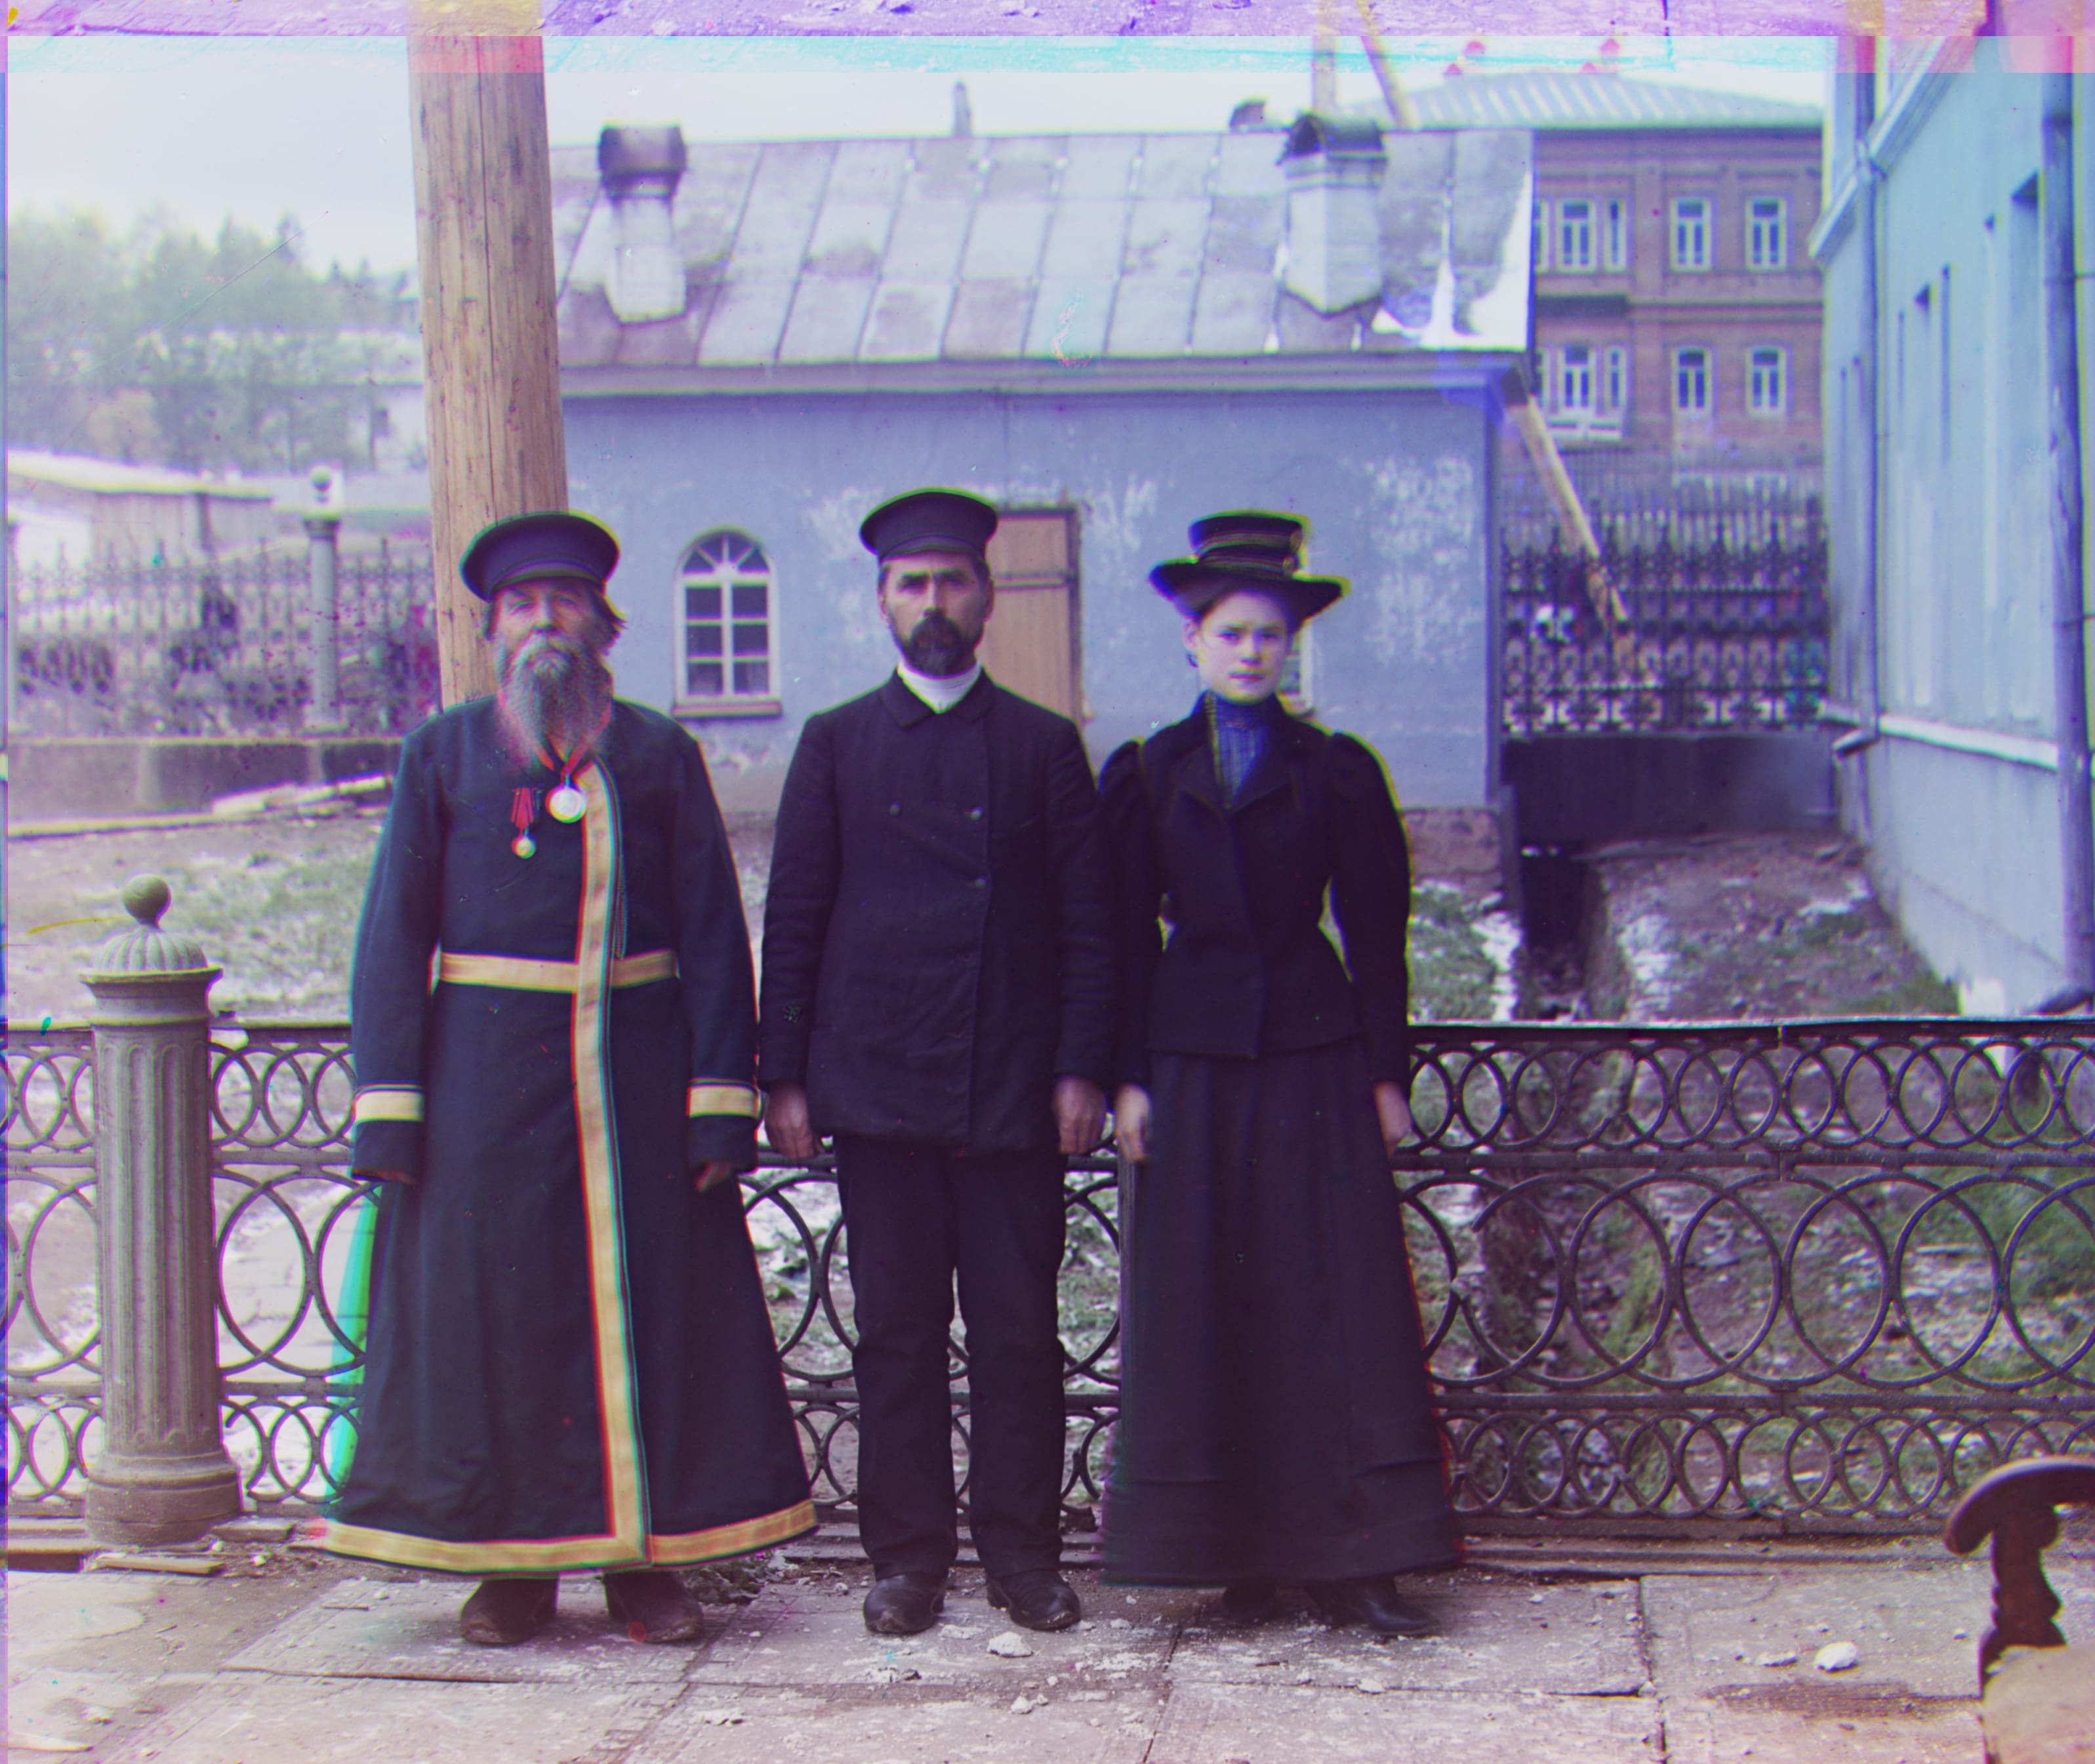
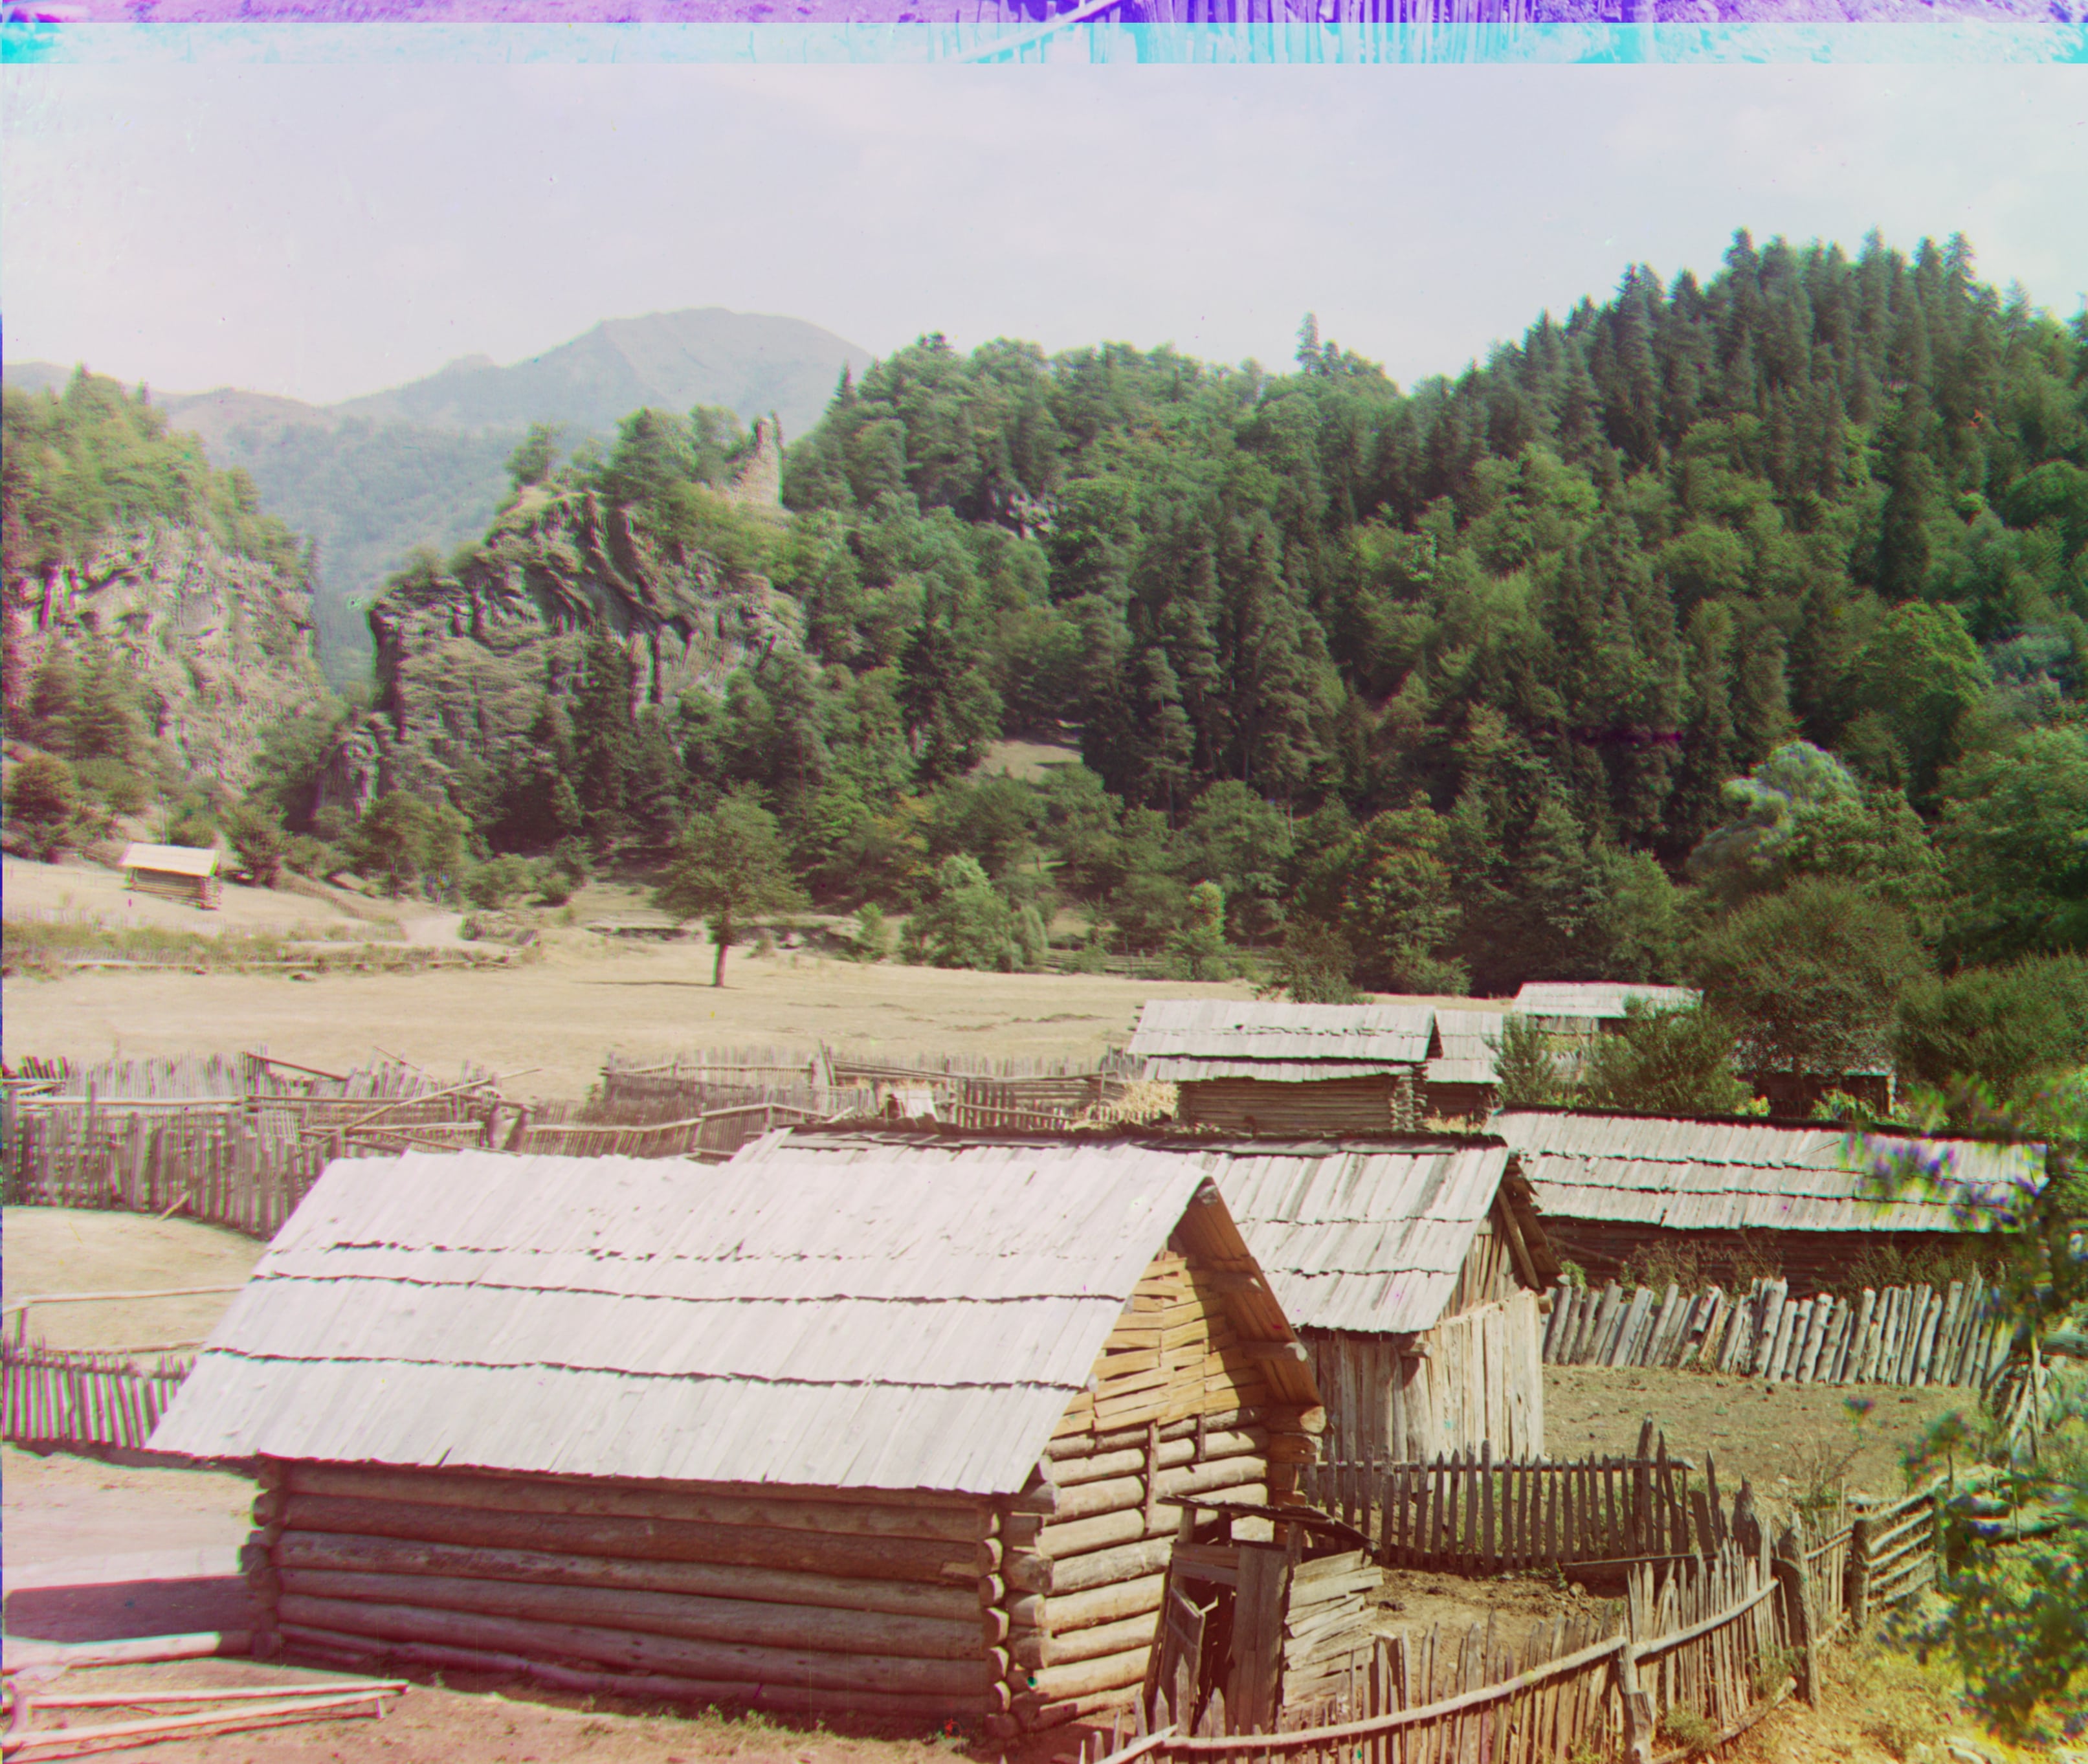
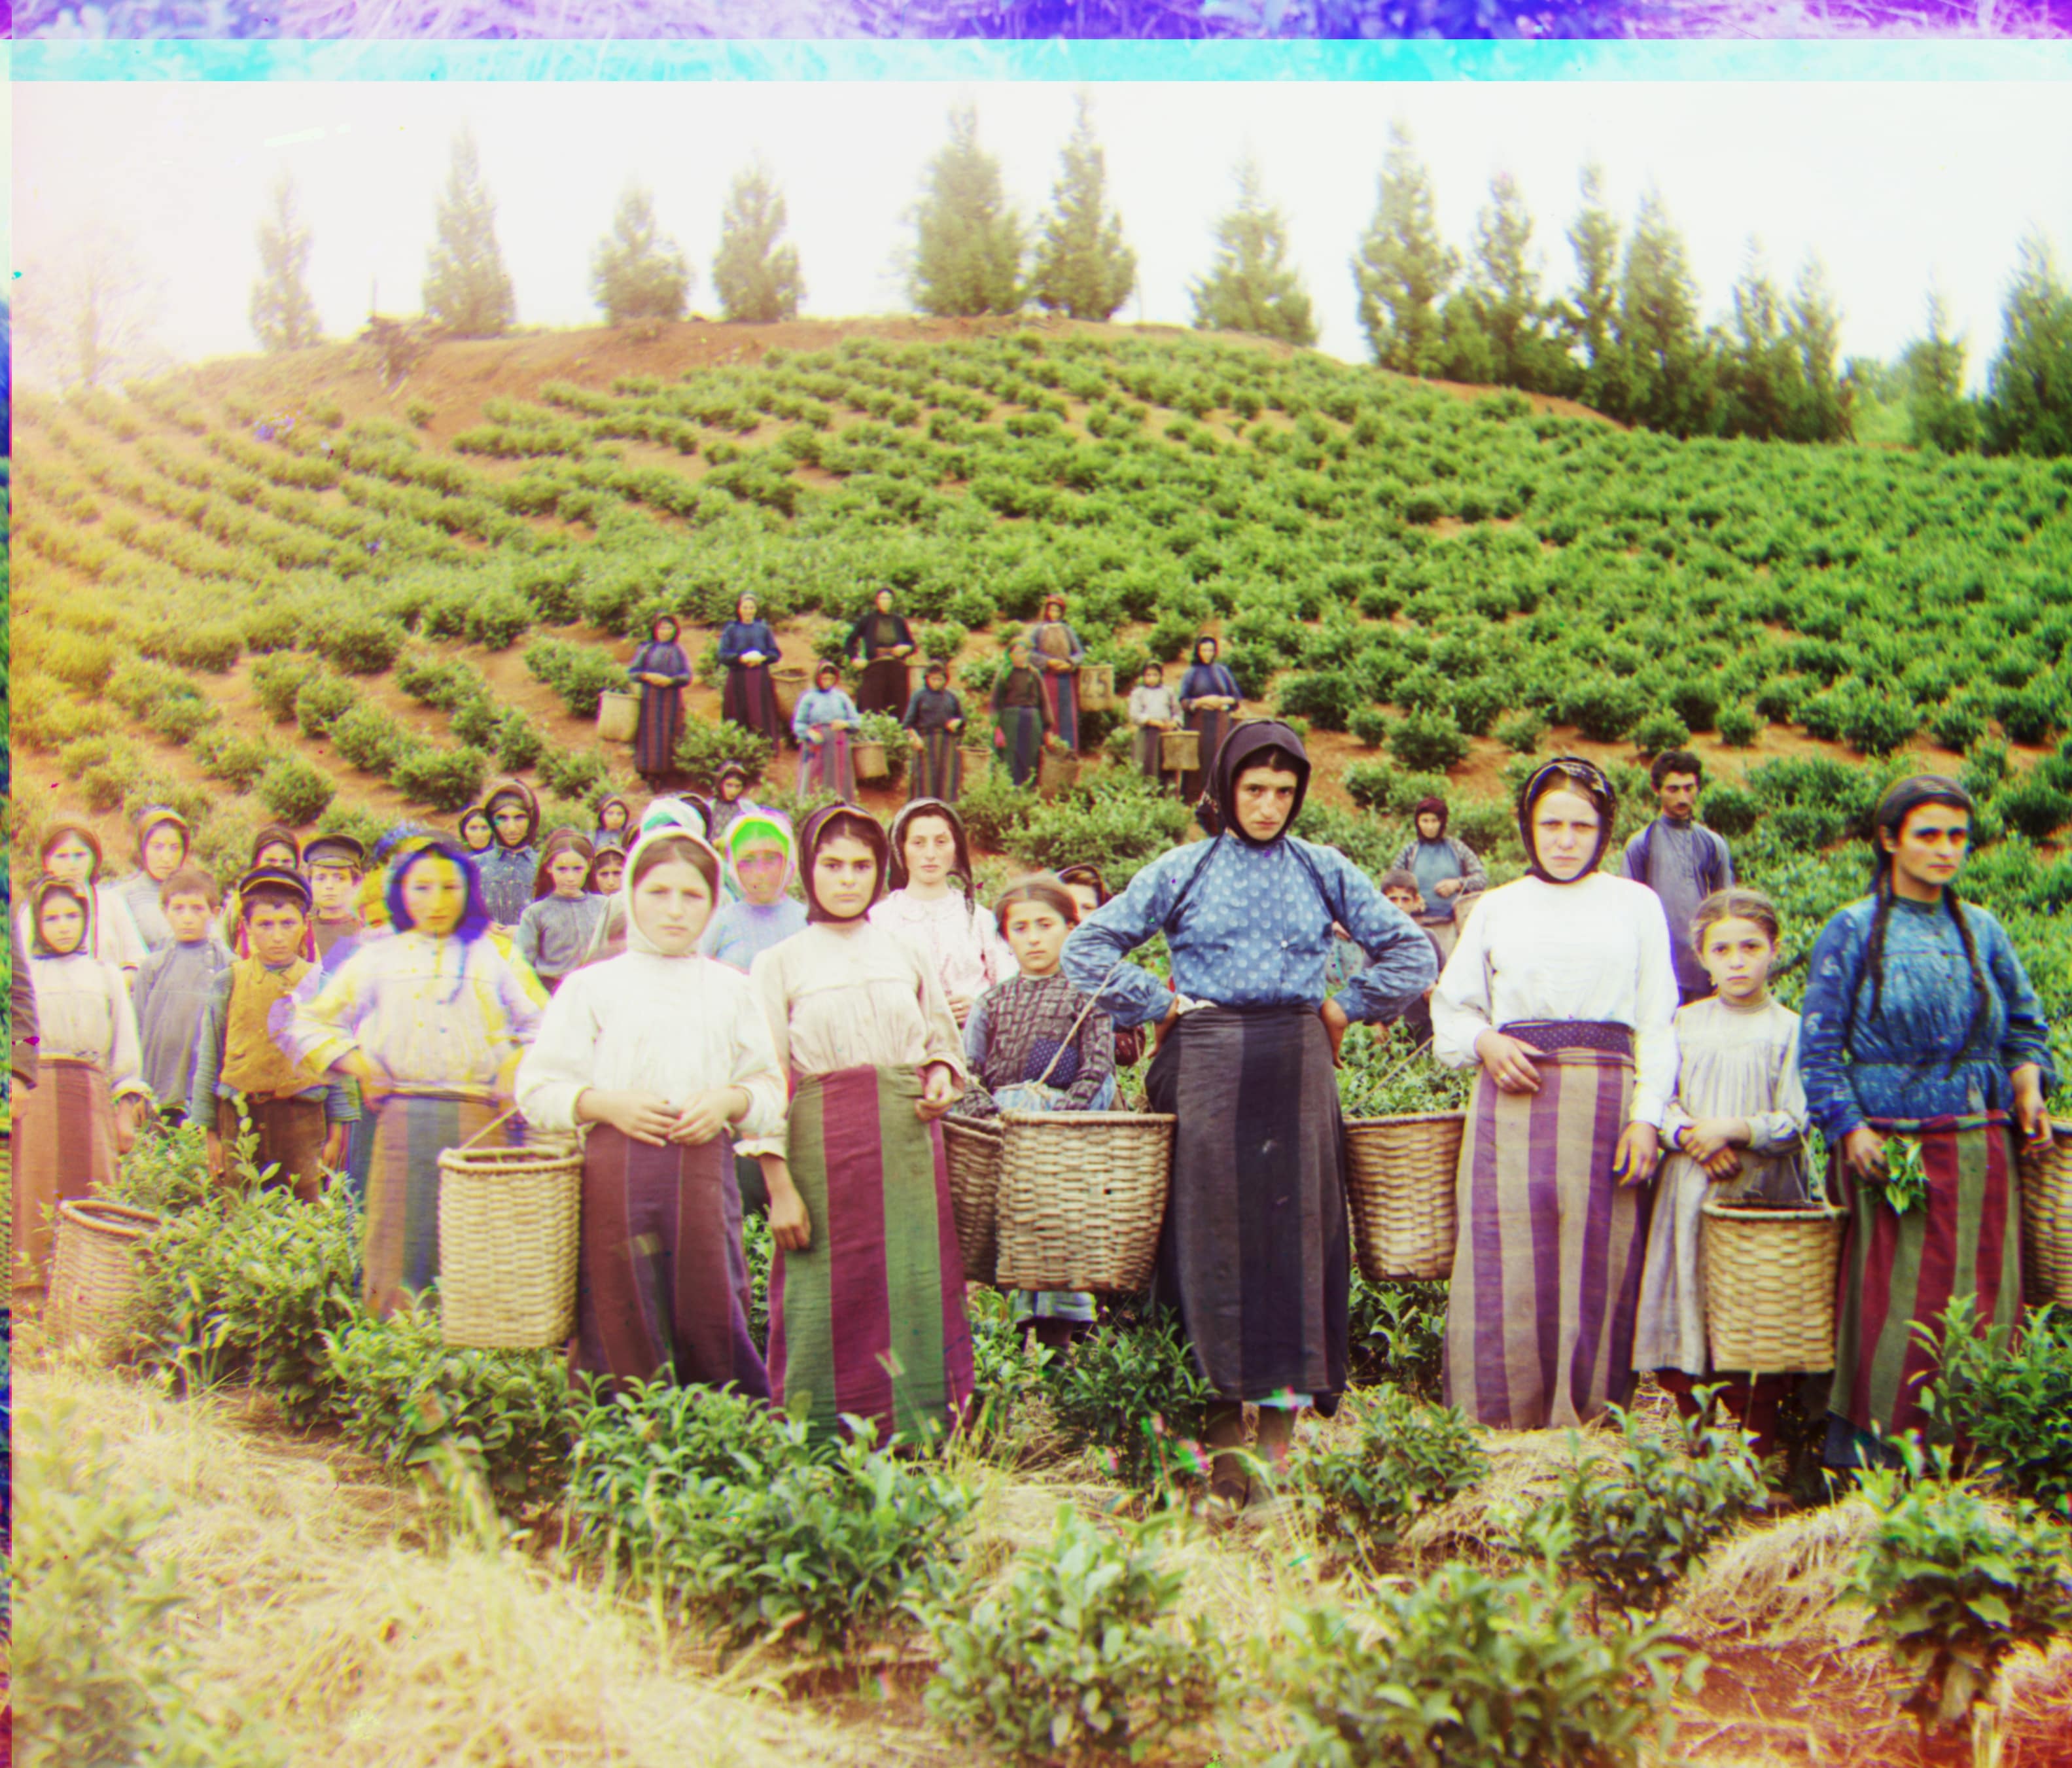
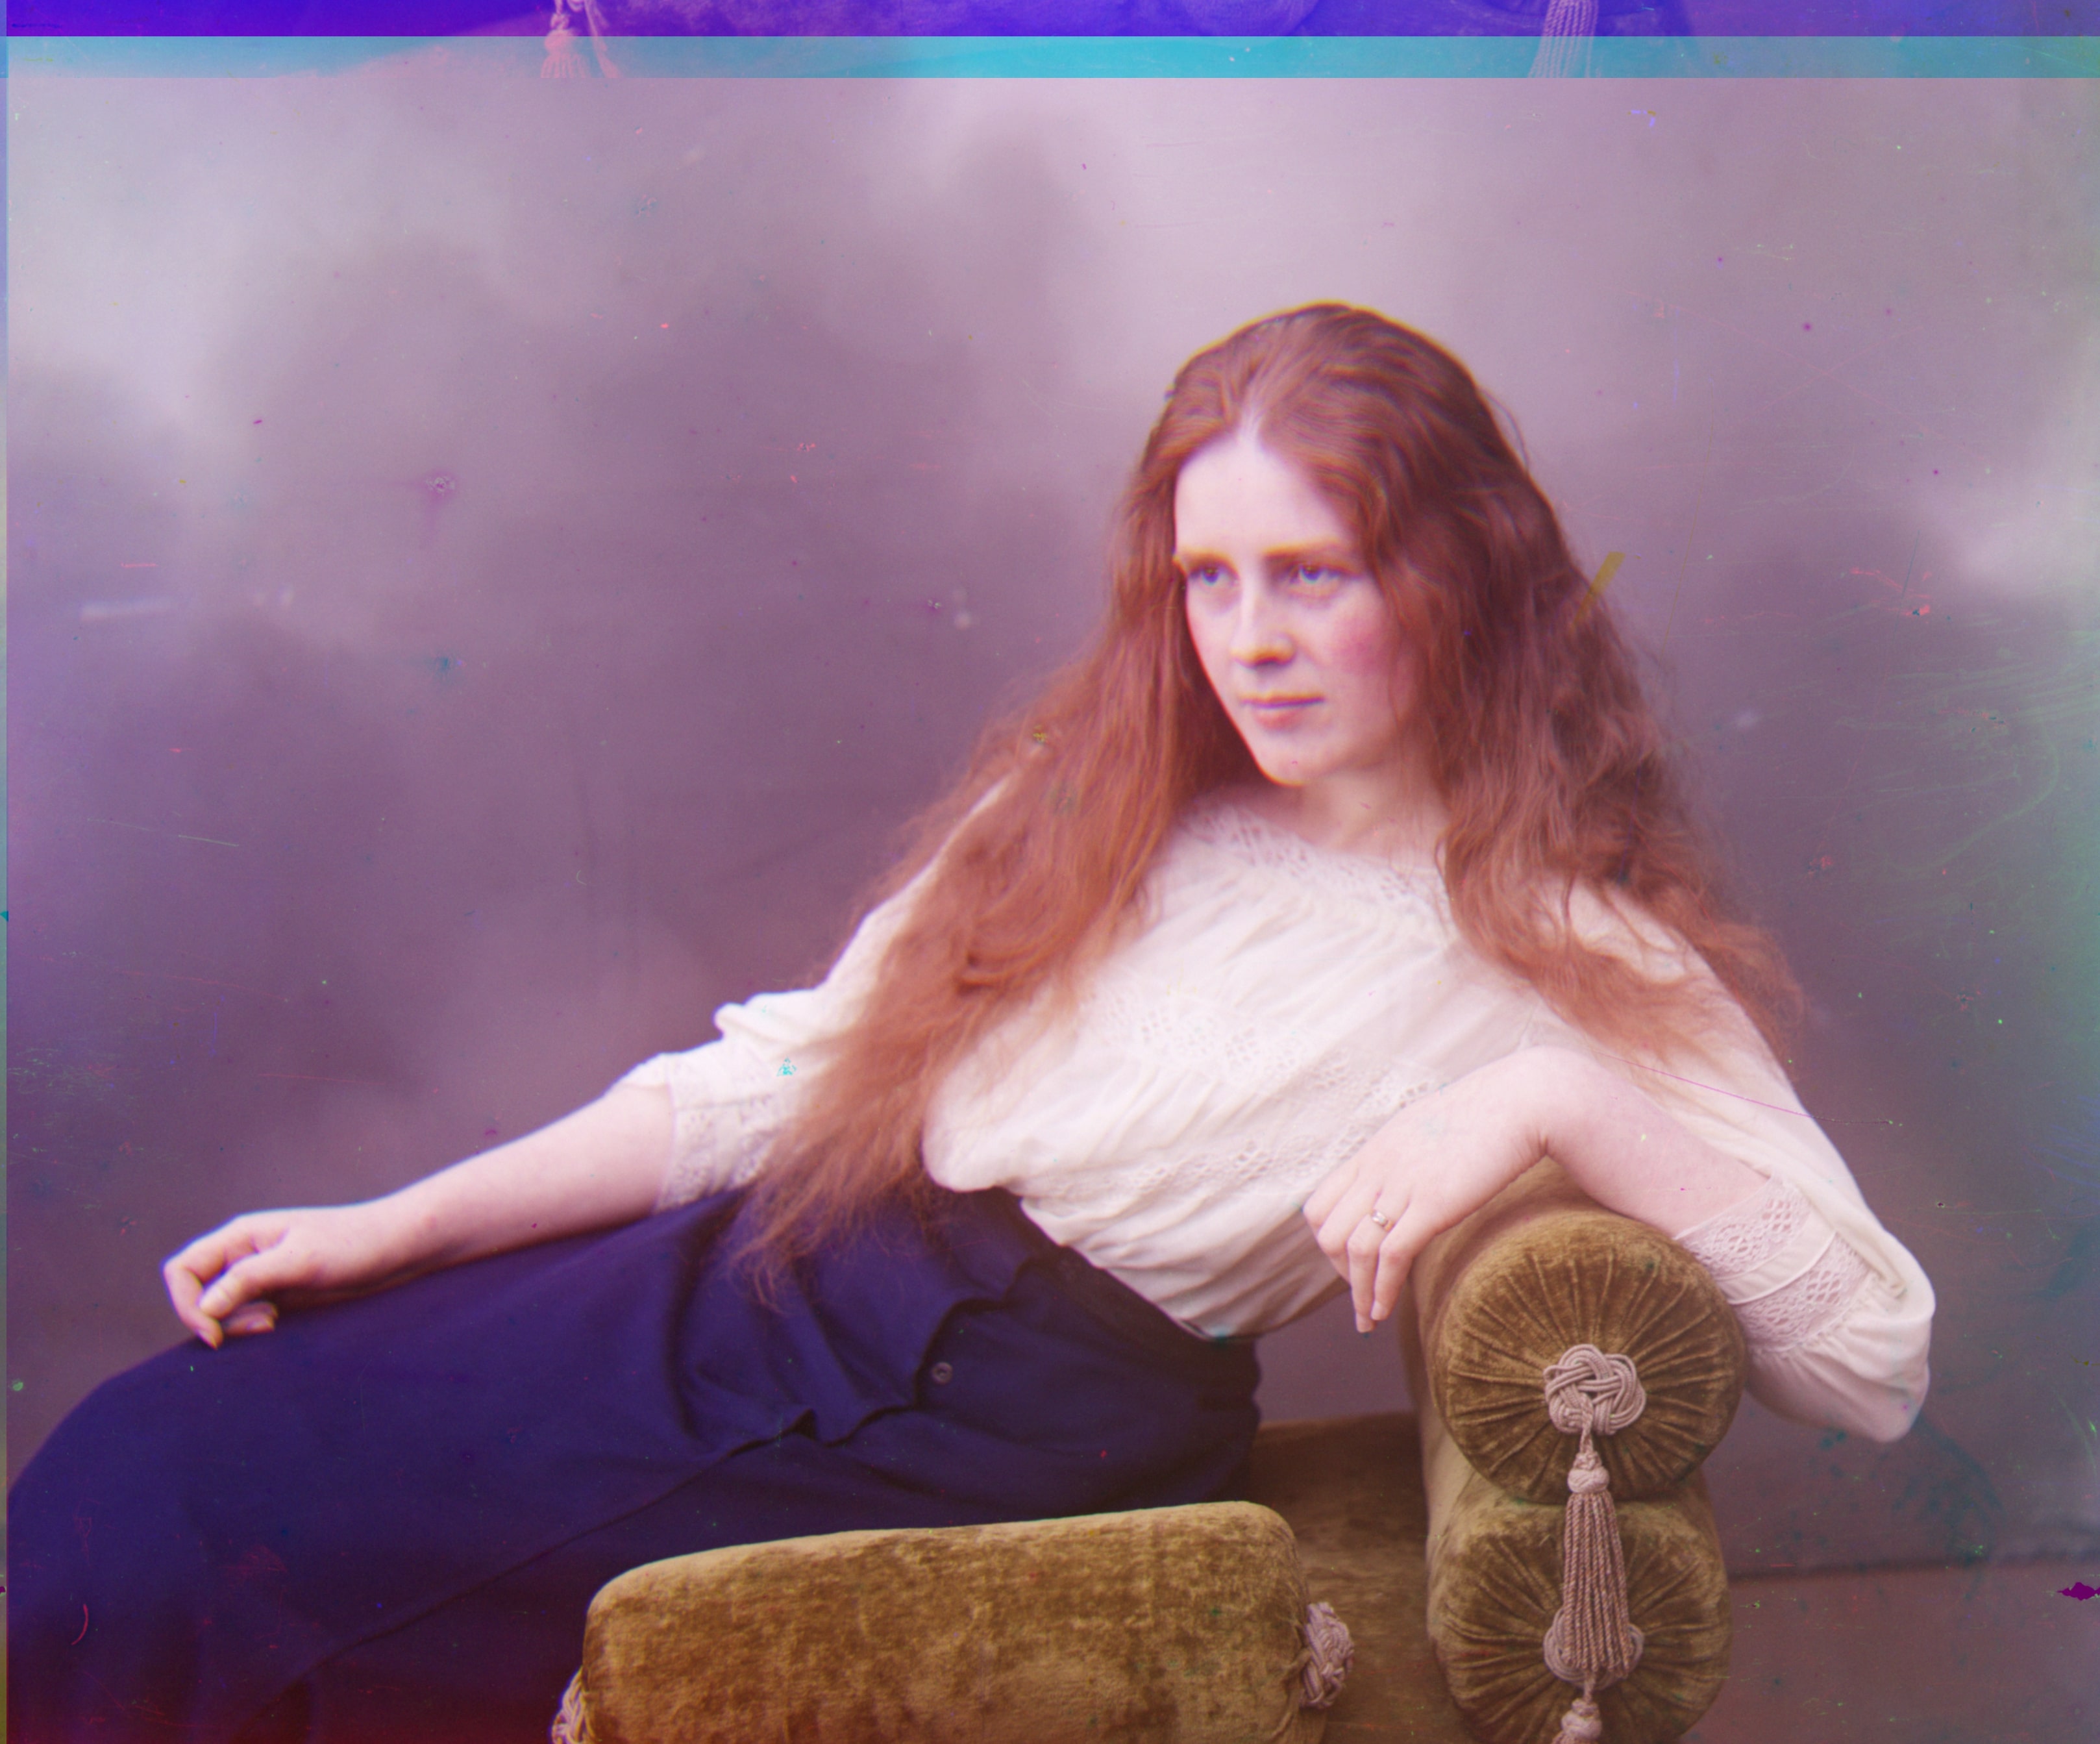
Let's look at the results!
                  Red: (12,3)
                  Green: (5,2)
|
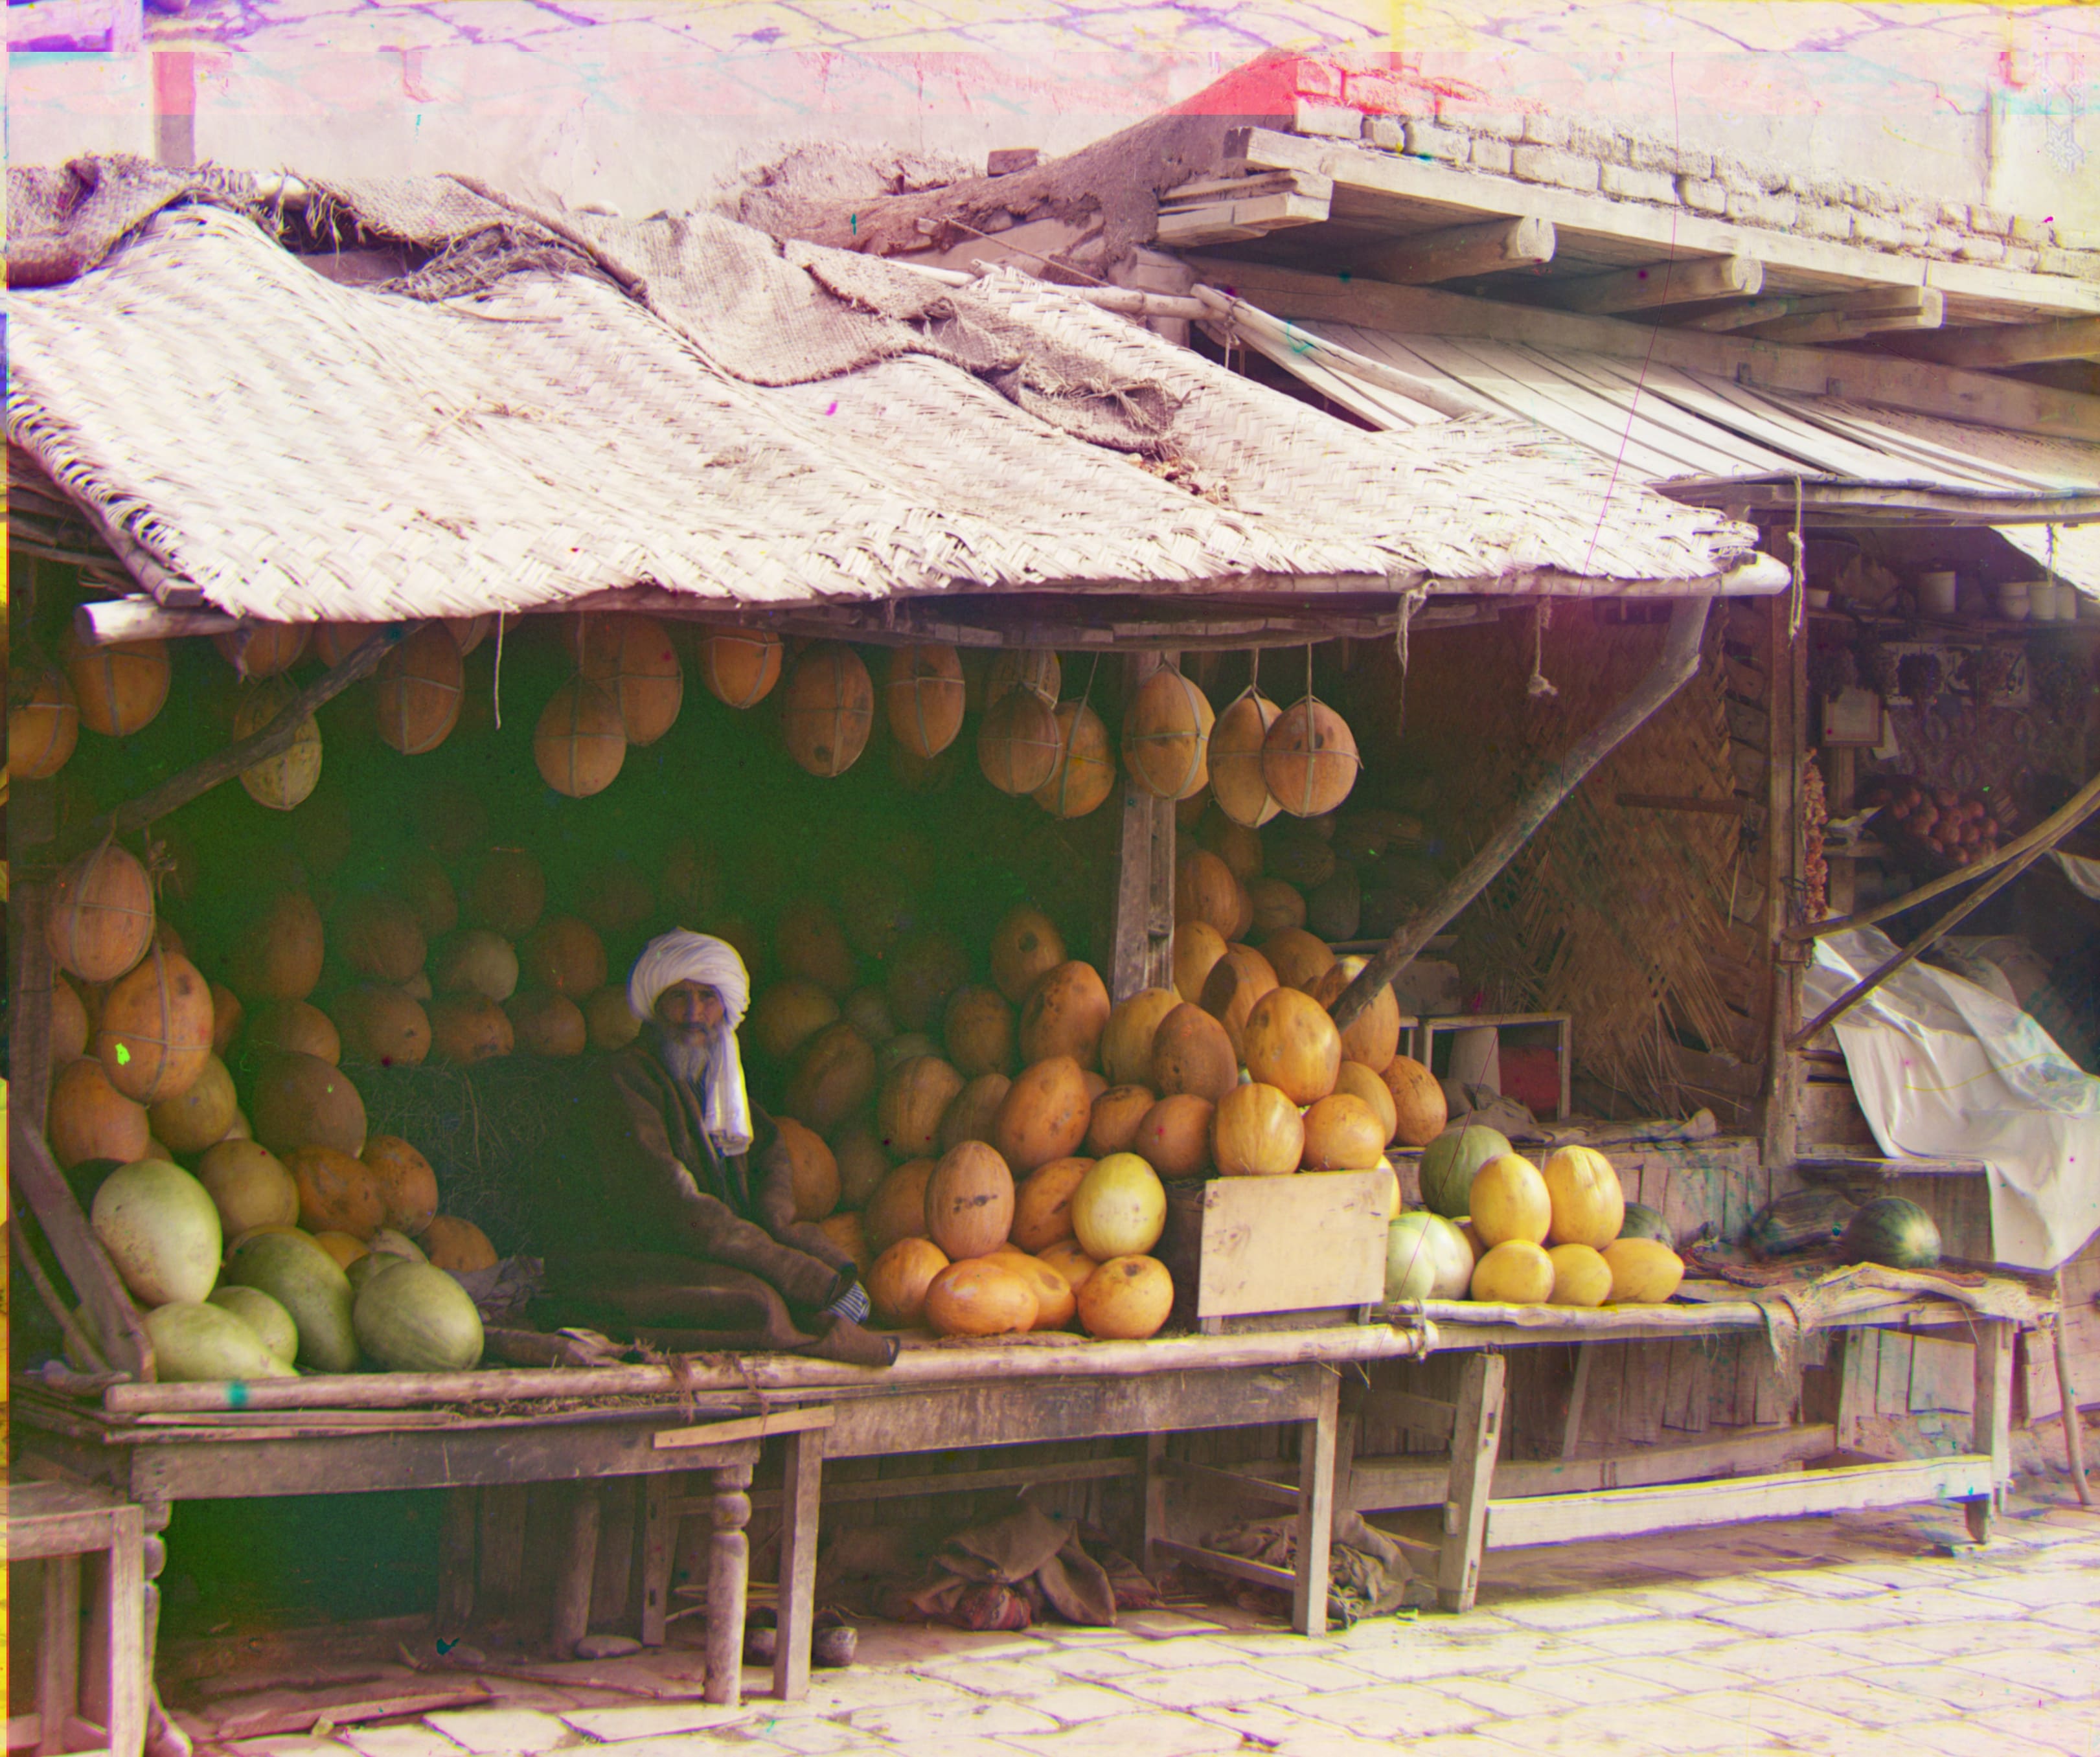
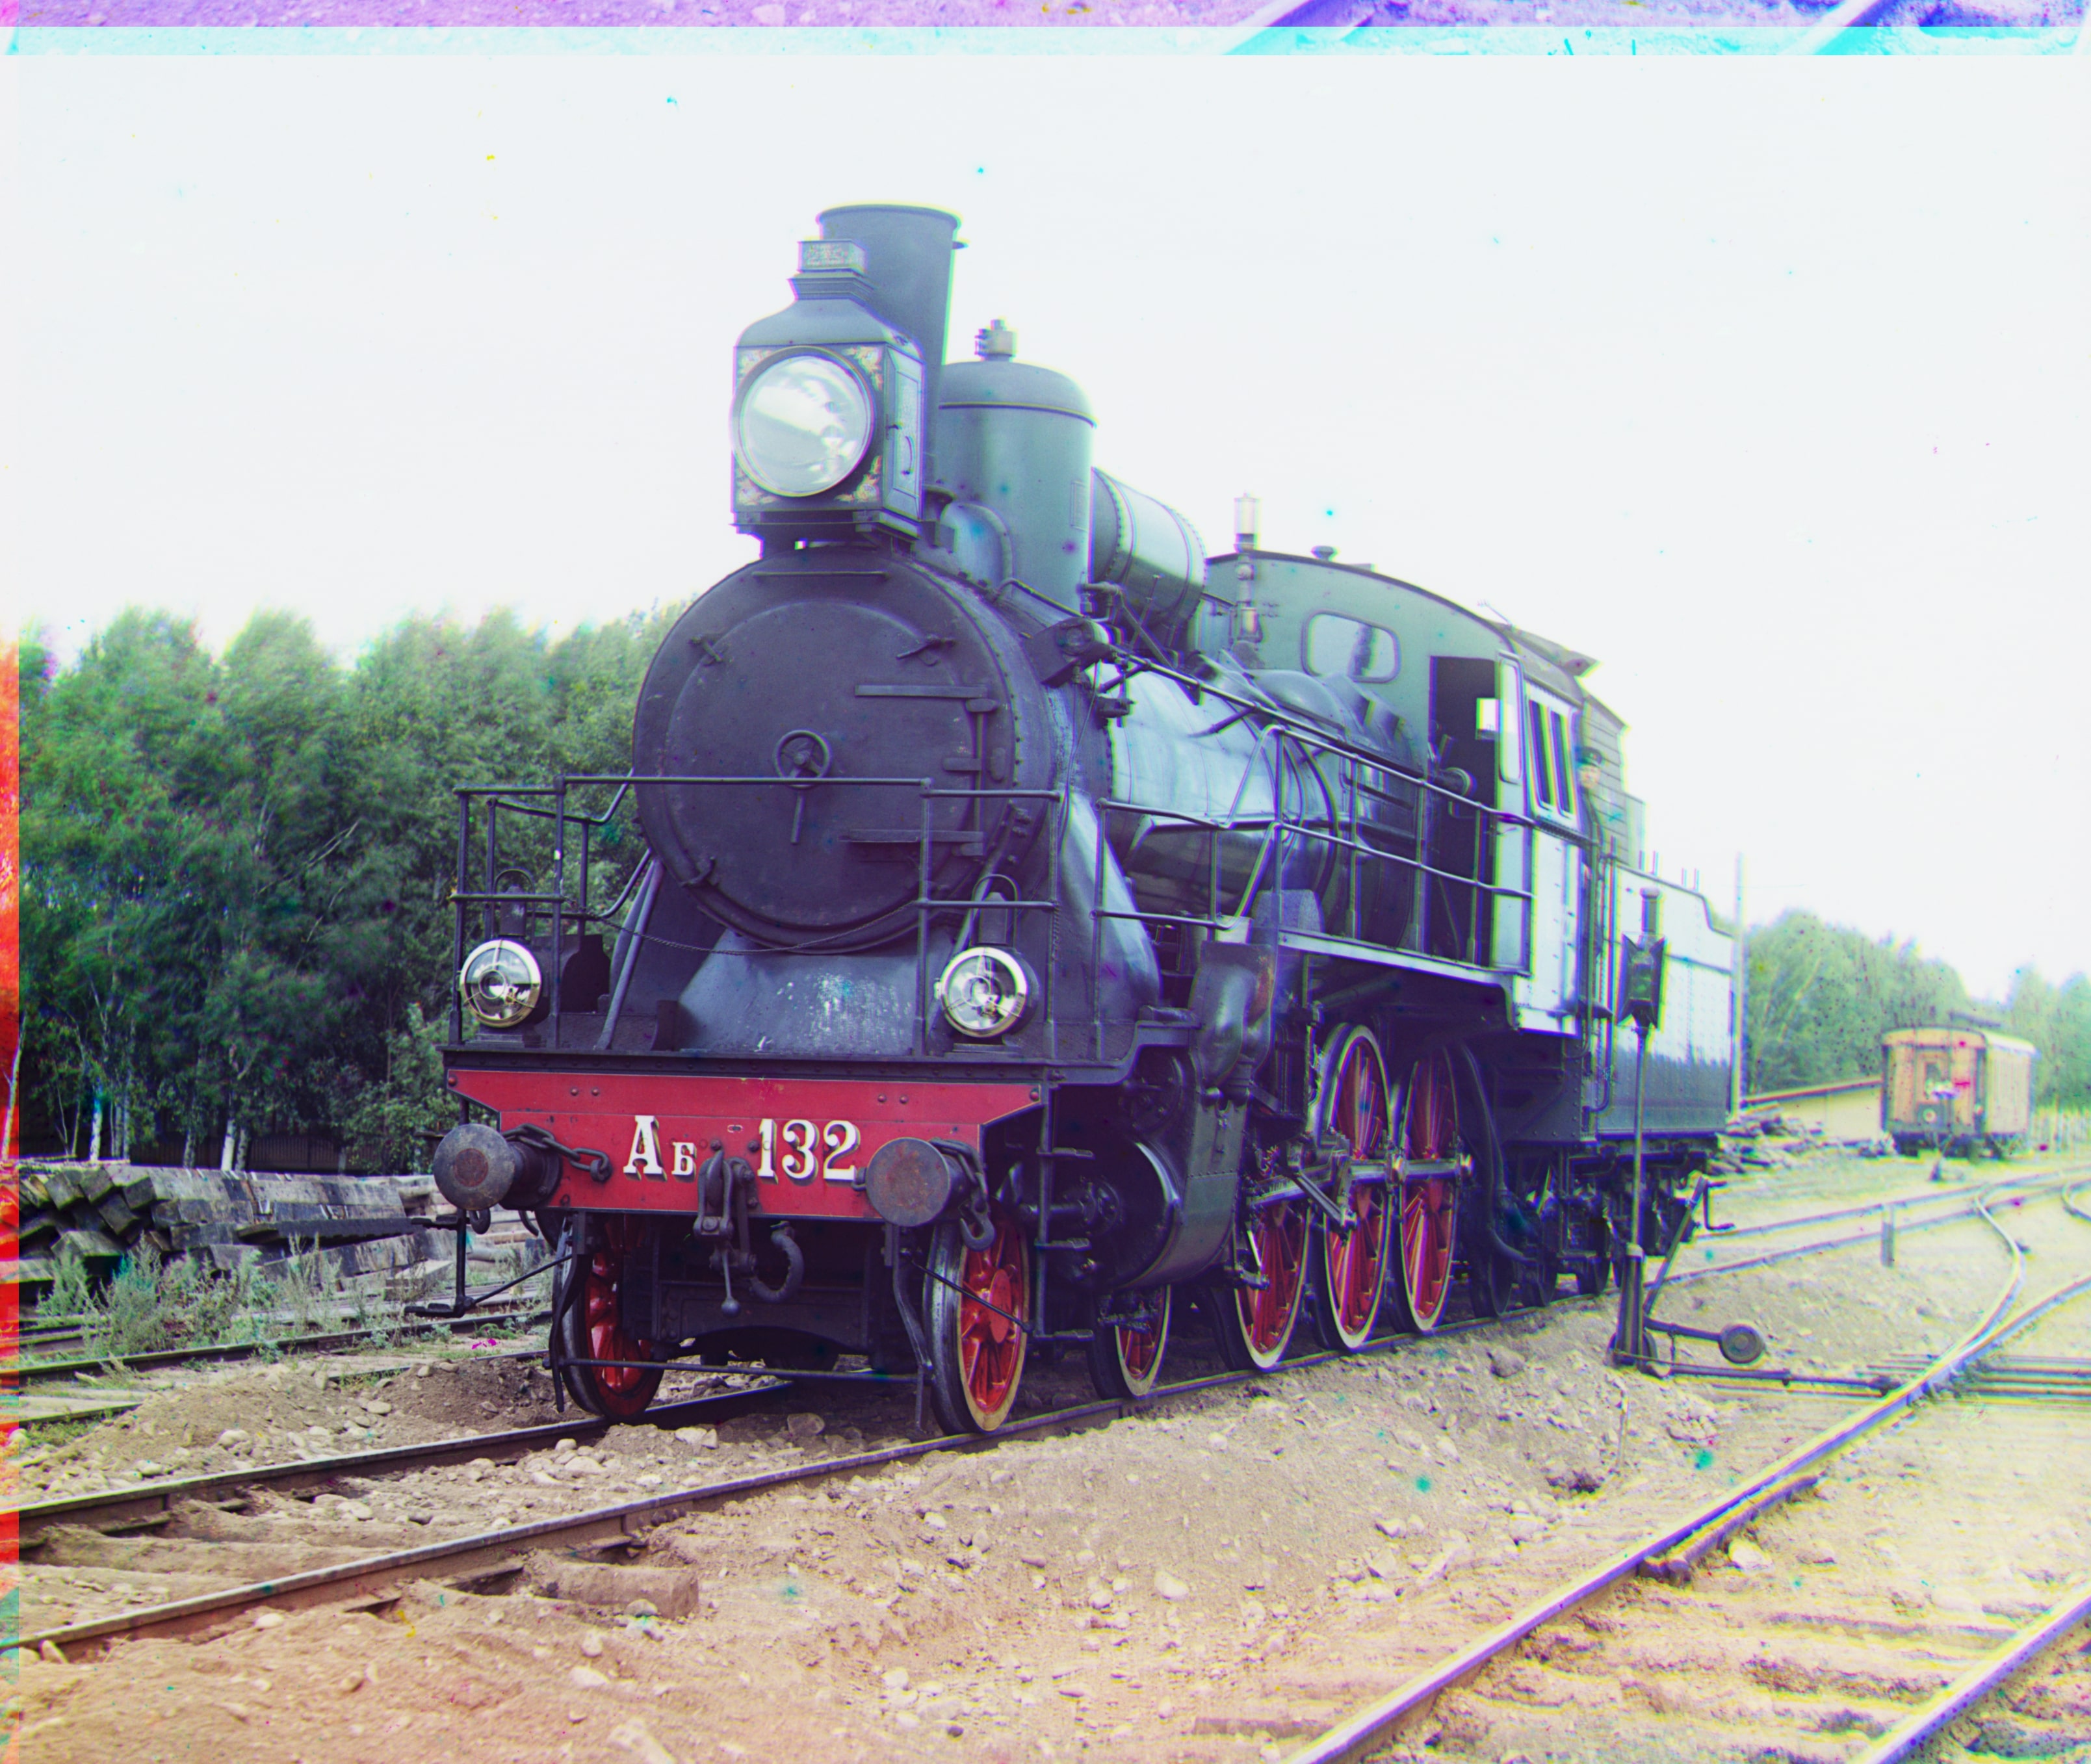
                  Red: (177, 14)
                  Green: (80, 10)
|
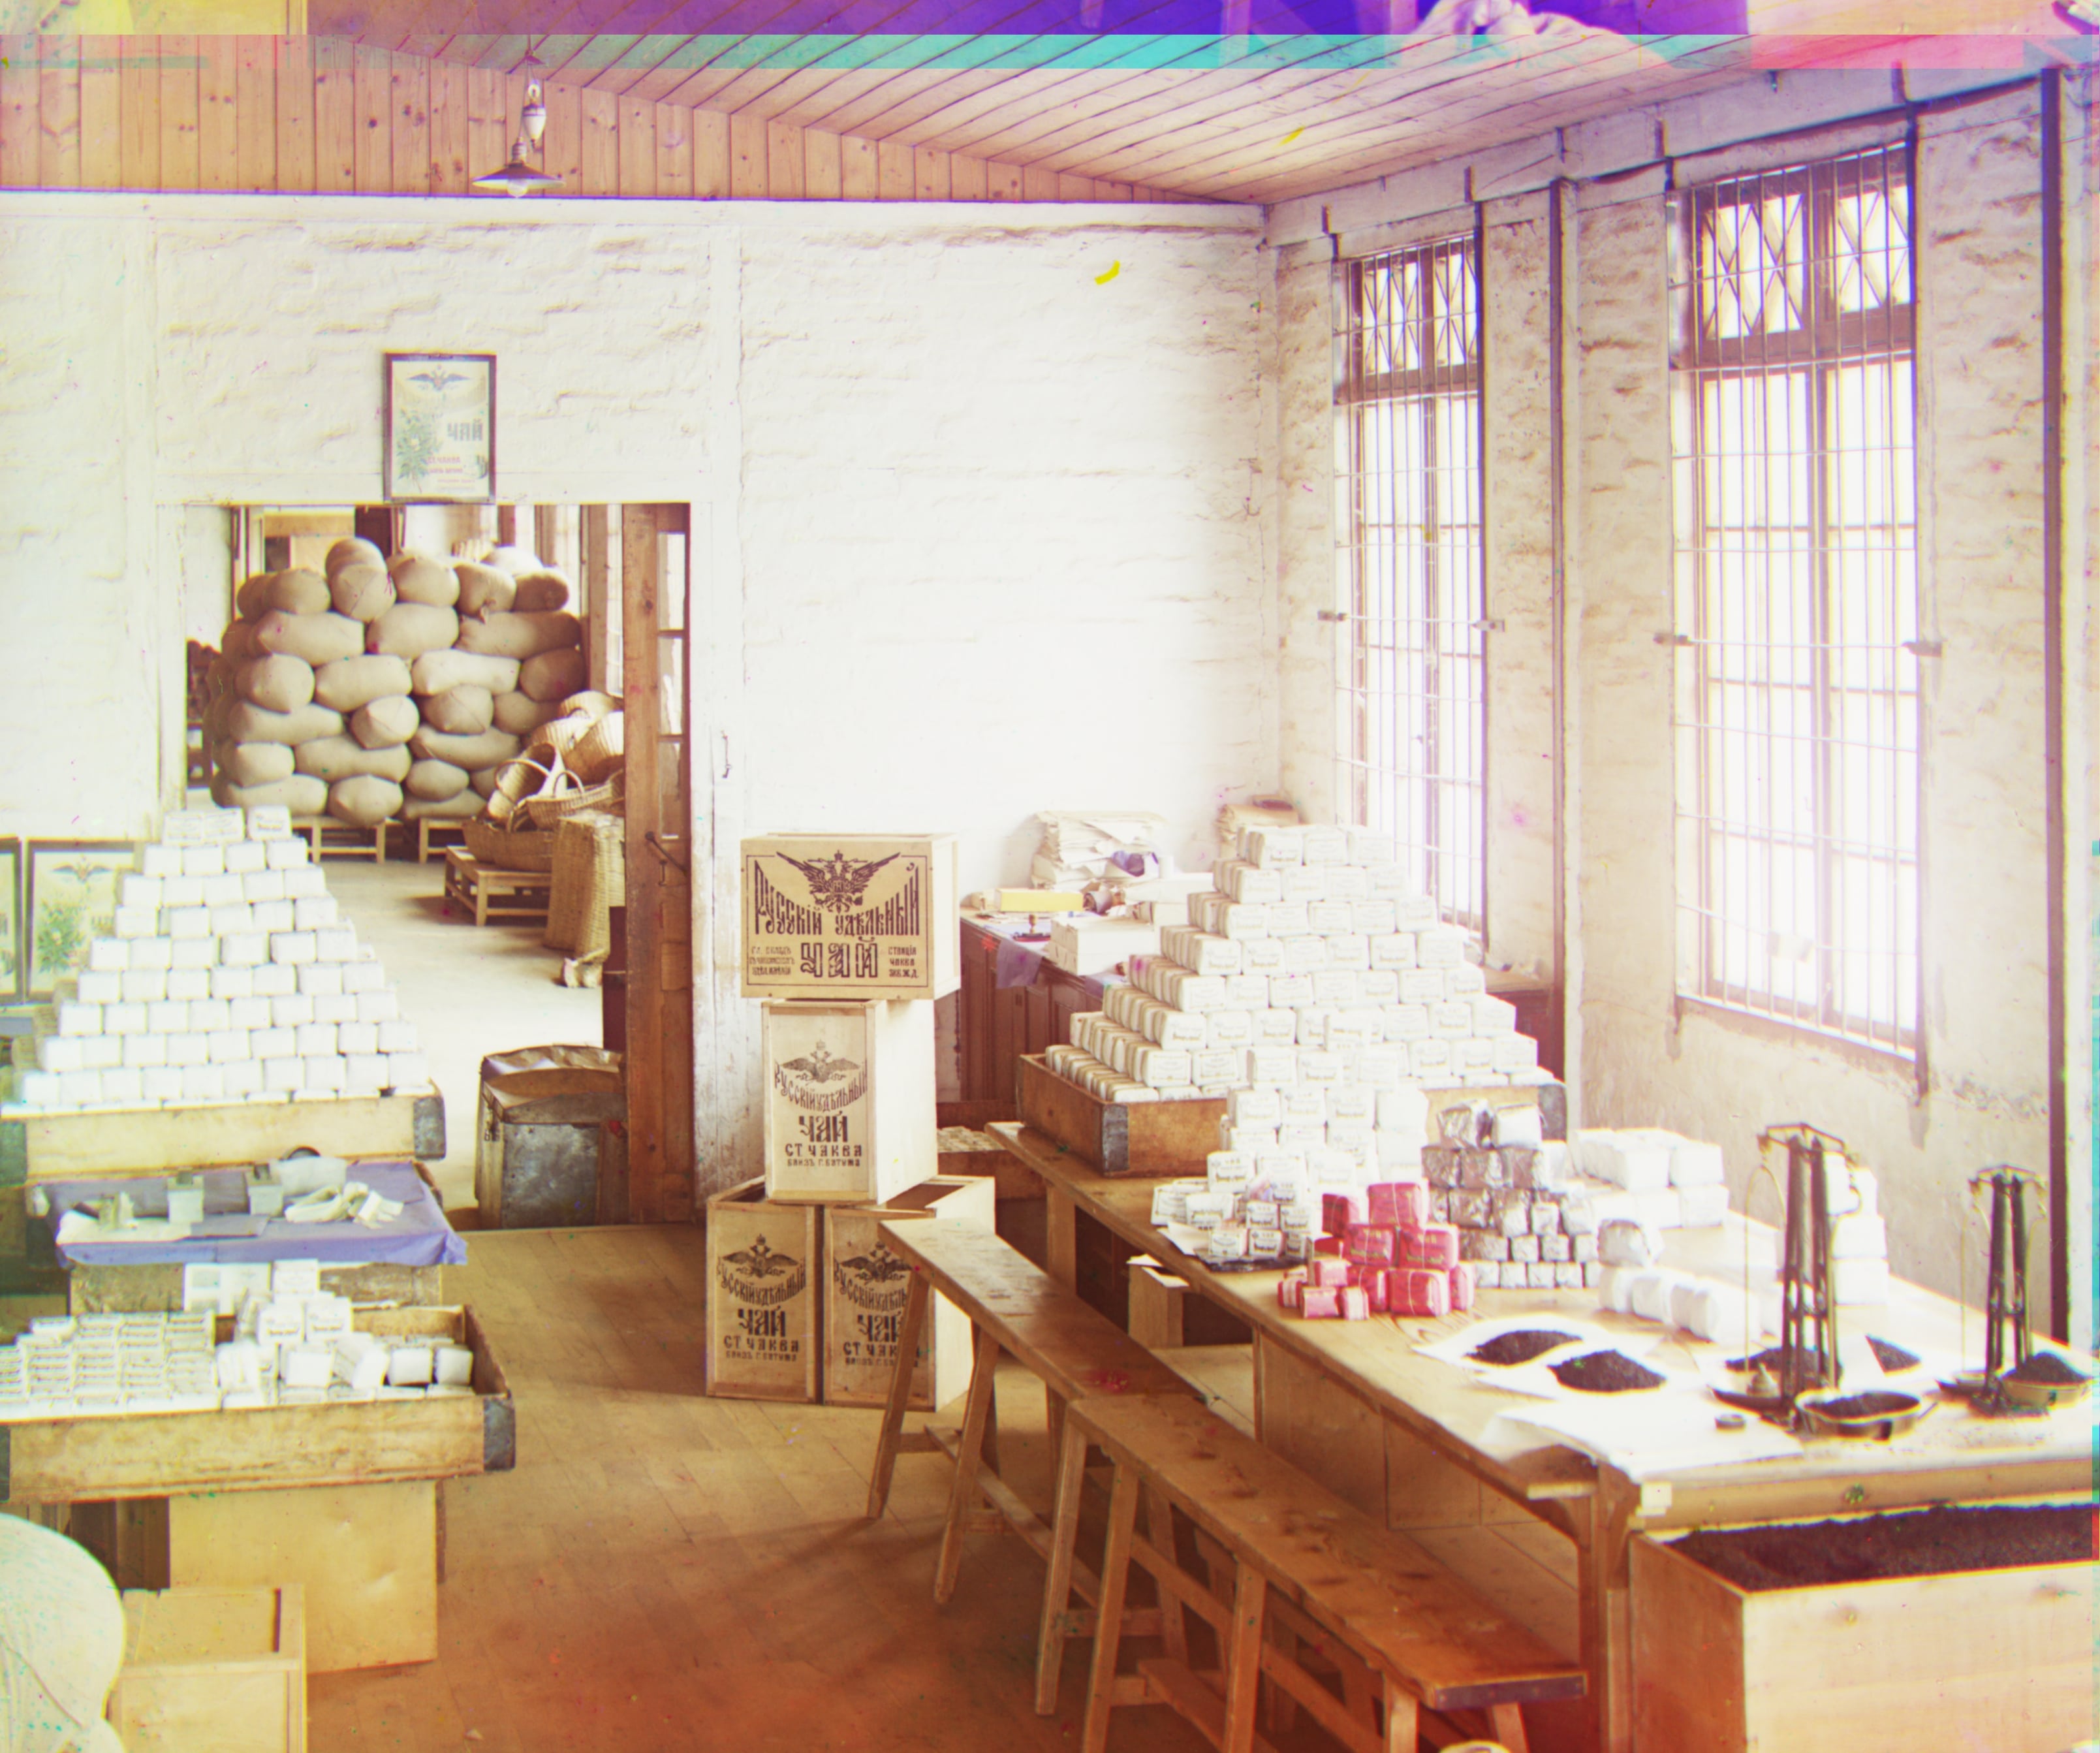
                  Red: (3,2)
                  Green: (-3,2)
|
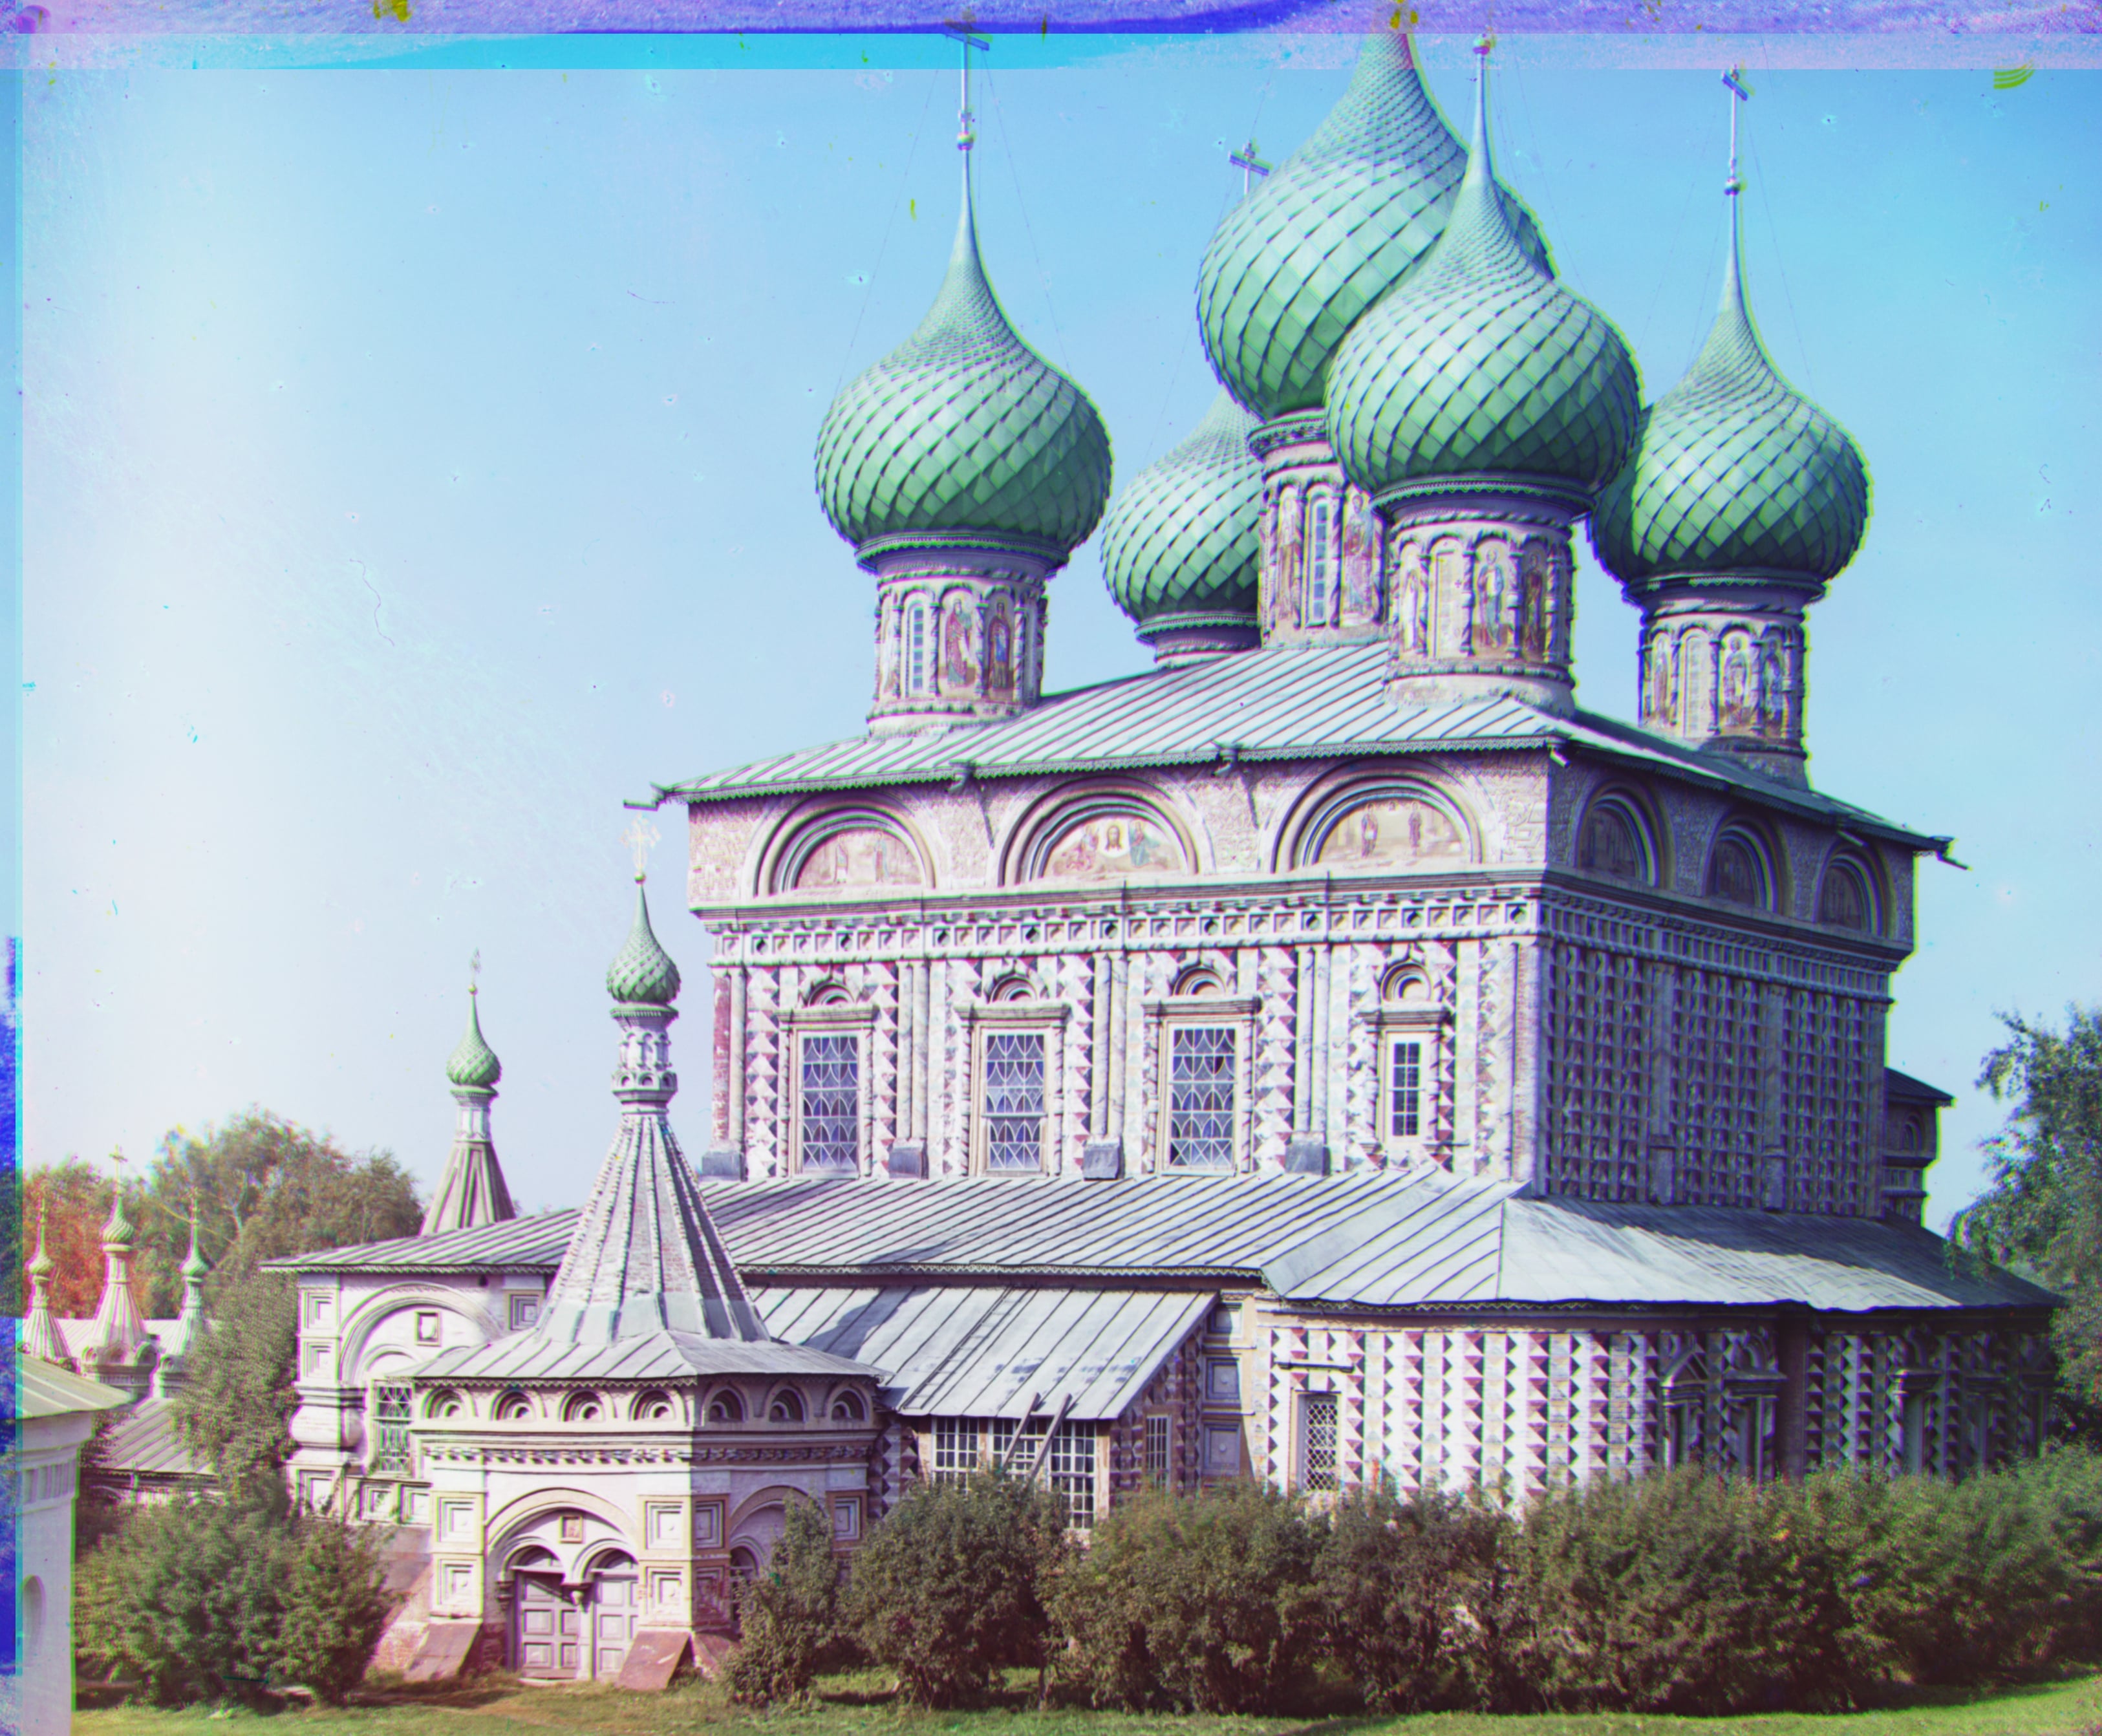
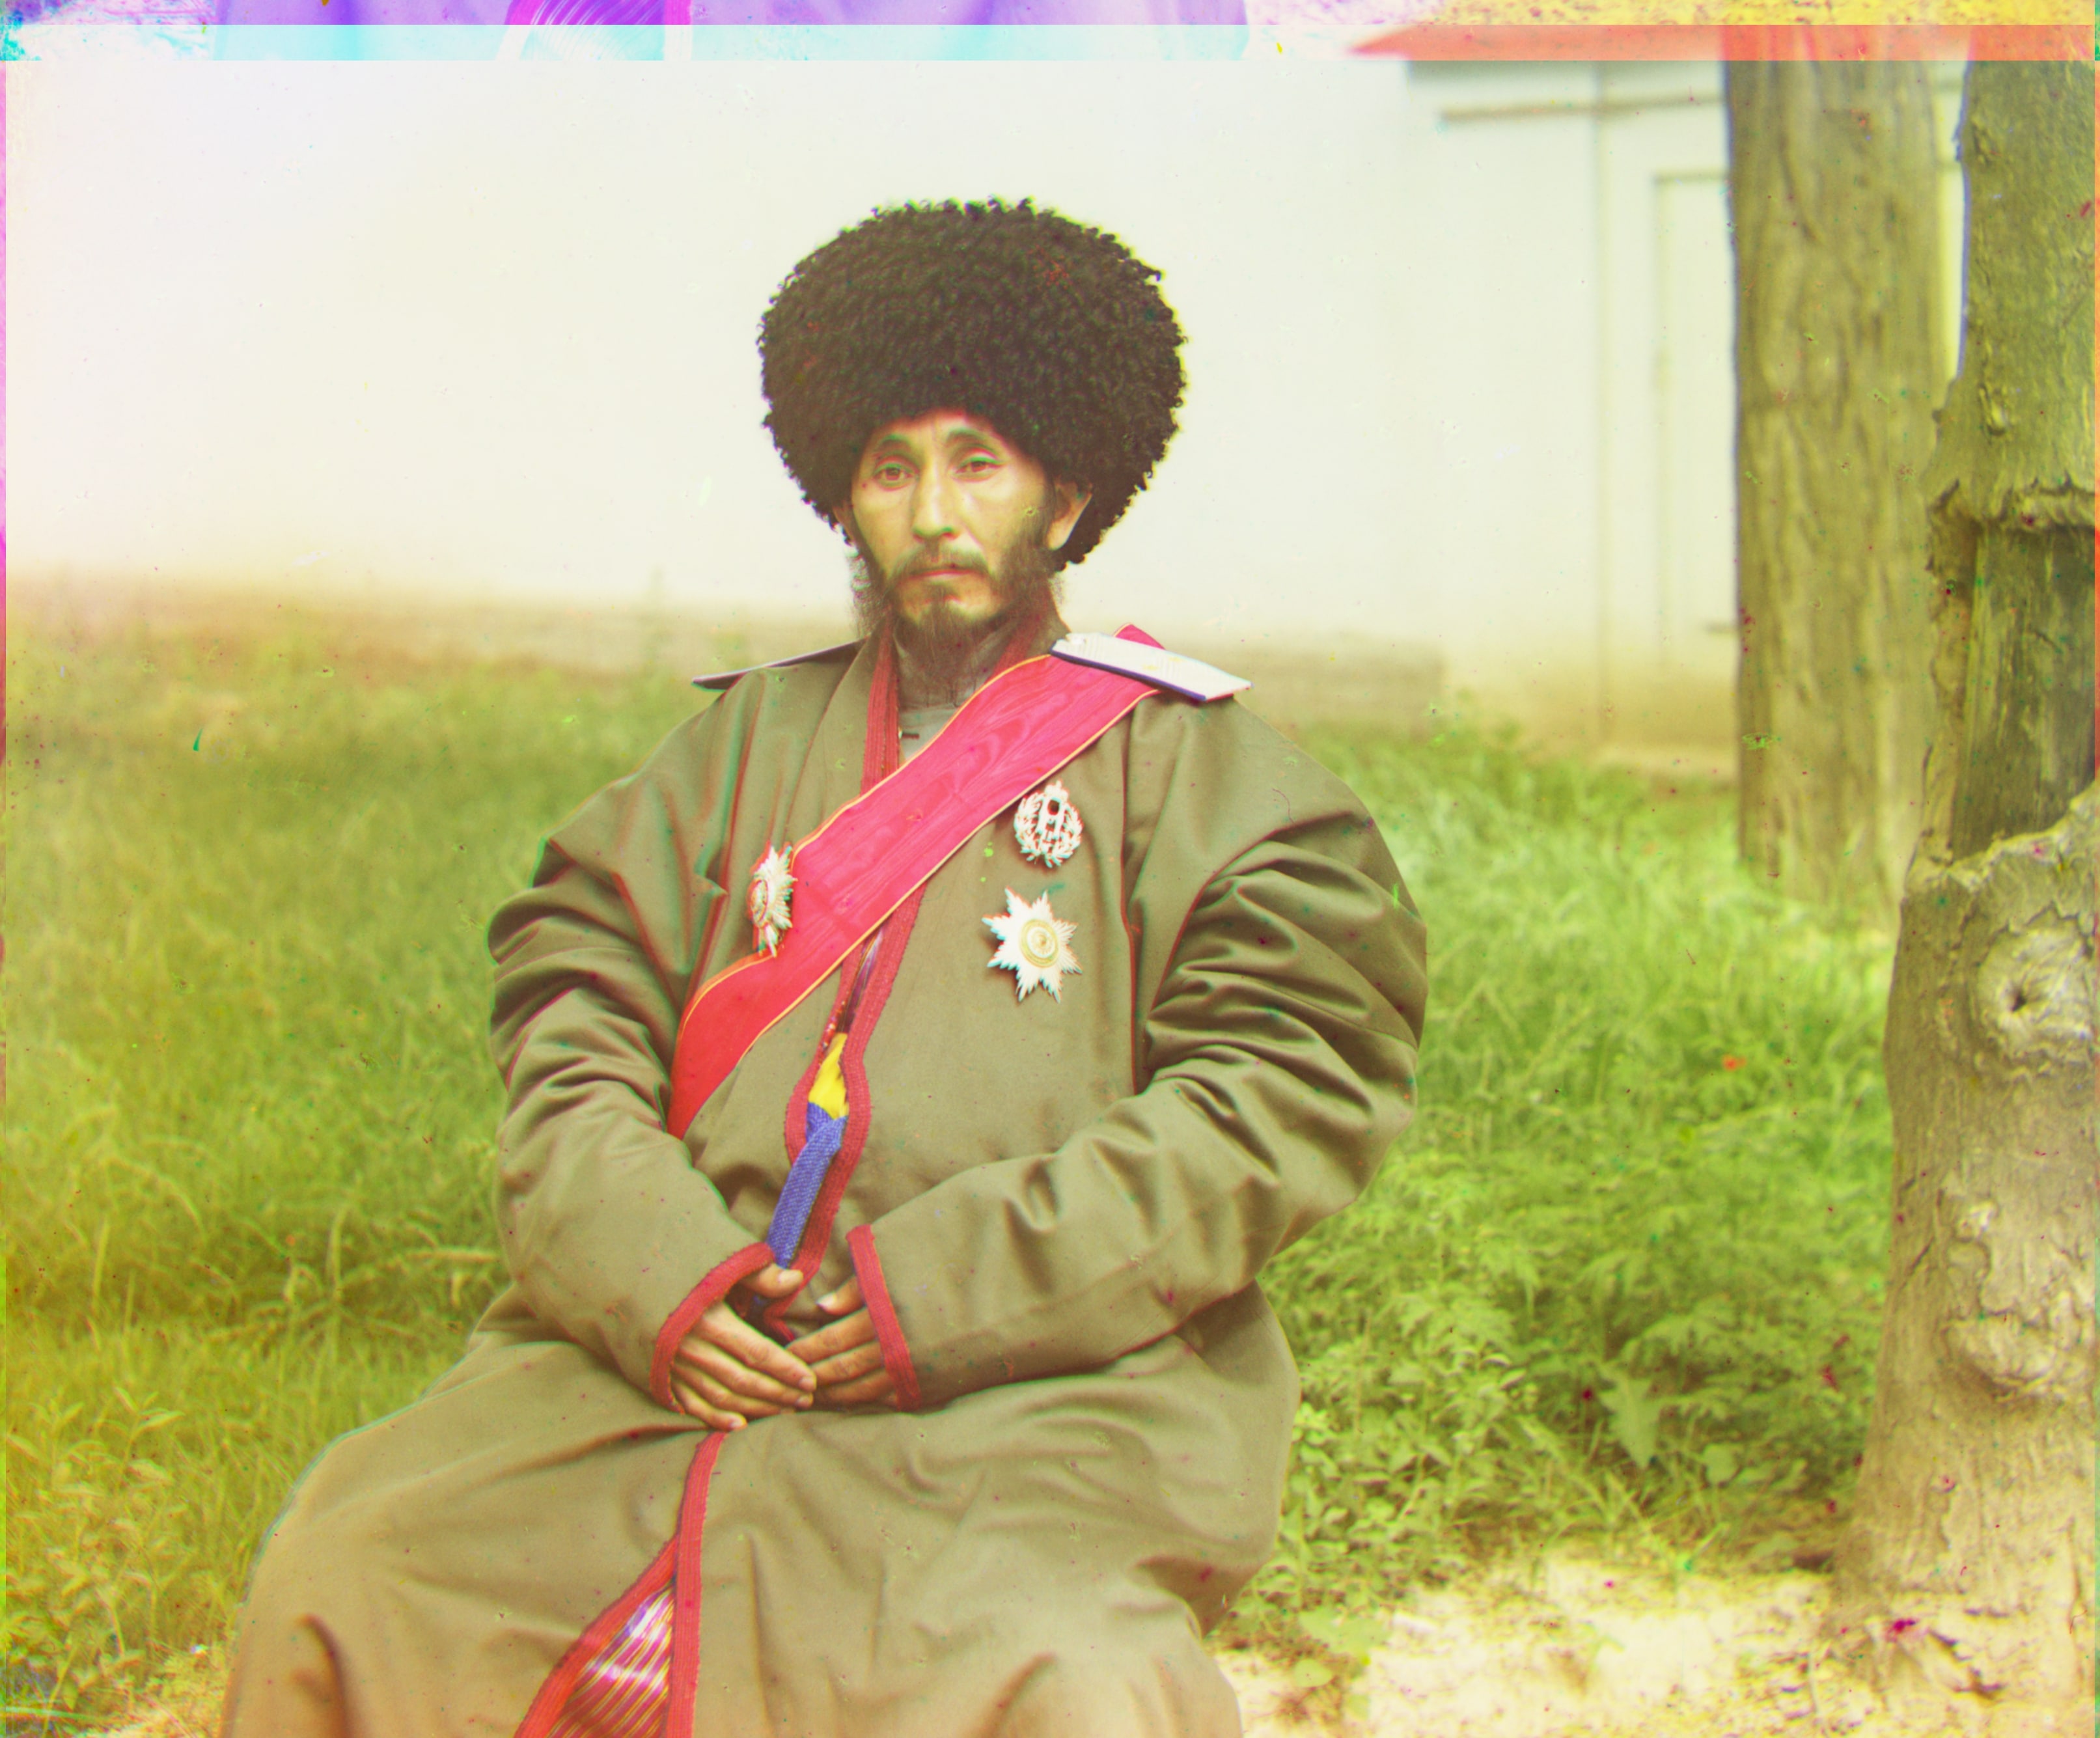
                  Red: (107,35)
                  Green: (52,24)
|
                  Red: (175,37)
                  Green: (77,29)
|
                  Red: (292, -153)
                  Green: (49, -17)
|
                  Red: (111, 8)
                  Green: (55, 12)
|
                  Red: (6,3)
                  Green: (3,2)
|
                  Red: (85, 29)
                  Green: (41, 0)
|
                  Red: (105, -12)
                  Green: (53, -1)
|
                  Red: (107, 40)
                  Green: (49, 23)
|
                  Red: (93, -8)
                  Green: (38, 9)
|
                  Red: (98,3)
                  Green: (35, 4)
|
                  Red: (124, 14)
                  Green: (60,18)
|
                  Red: (87, 22)
                  Green: (38, 16)
|
                  Red: (120, 13)
                  Green: (56, 10)
|