Colorizing the Prokudin-Gorskii Photo Collection
Submission By Ikram Magzoub
CS194-26: Project 1
Overview
In project 1, we were tasked with colorizing images taken by Sergei Mikhailovich Prokudin-Gorskii (1863-1944) in Russia. Mikhailovich recorded three exposures of every scene he photographed onto a glass plate using a red, green , and blue filter. For this project, our input is 3 grayscale images each represinging the intensity of one of the RGB color channels and our otuput is a creation of 1 colored image. For more information, please visit the Library of Congress site.
| Provided Input | Expected Output |
|---|---|

|
|
Problem Space
In order to better understand the problem, I first had to do some research. I read up on both SSD and NCC to better understand which would yield more clear results. I also consulted the following documents:
Once I had a better understanding of the problem space, I began the project by splitting the images into the three channels and cropping the noisy edges by a fixed percentage. I tried stacking the images right away but there were some obvious alignment issues. This meant that I had to decide between SSD and NCC in order to find the most optimal movement for each channel.
Naive Implementation
The naive method consists of exhaustivly finding the best displacement of two images. Before applying my aligning algorithm, I cropped the boarders of the images for better results as the naive approach is not sufficent alone. For the naive implementation, I used the Sum of Squared Difference and searched over a window of [-15:15, -15:15]. I searched this window while continuesly comparing it to my last best displacement. If the new displacement is smaller than the last saved displacement, I update the displacement. Once the search is done, I simply shift the immage both on the veritical and horizontal axis using np.roll. After the image is shifted, we can now stack the images and save the results.
Below are my results for all jpg images provided to us.
| Displacement | Final Result |
|---|---|
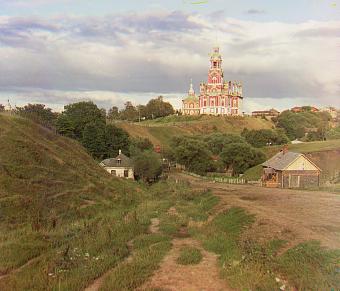
| Catherdral R: (12, 3) G: (5, 2) |
|
| Monastery R: (3, 2) G: (-3, 2) |
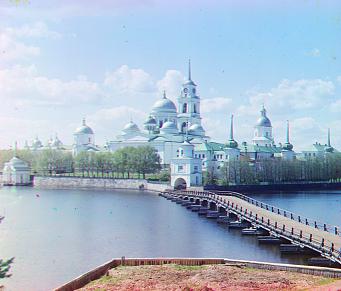
|
| Tobolsk R: (6, 3) G: (3, 3) |
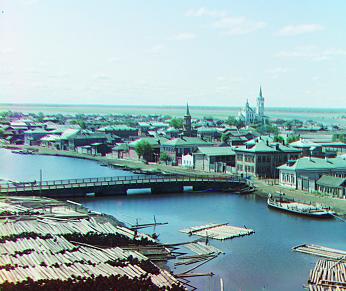
|
Image Pyramid Implementation
The bigger tif images are unable to process quickly using the Naive Approach since they are very large in size. For this portion, I relied on the Image Pyramid method and SSD. The process was identical to the Naive Implementation with the exception that the image was downsized to a much smaller size before passing it into the SSD align process. I rescaled the images by 0.5 and recursively called my pyramid method until we reached a certain level. Esentially, we downscale the image several times and processed each one from the lowest resolution to the highest resolution. This allows us to avoid using the naive implementation on a high resolution image. Throughout this recursive process, we keep track of the displacements in each resolution and scale accordingly when we go to higher resolution images in the pyramid.
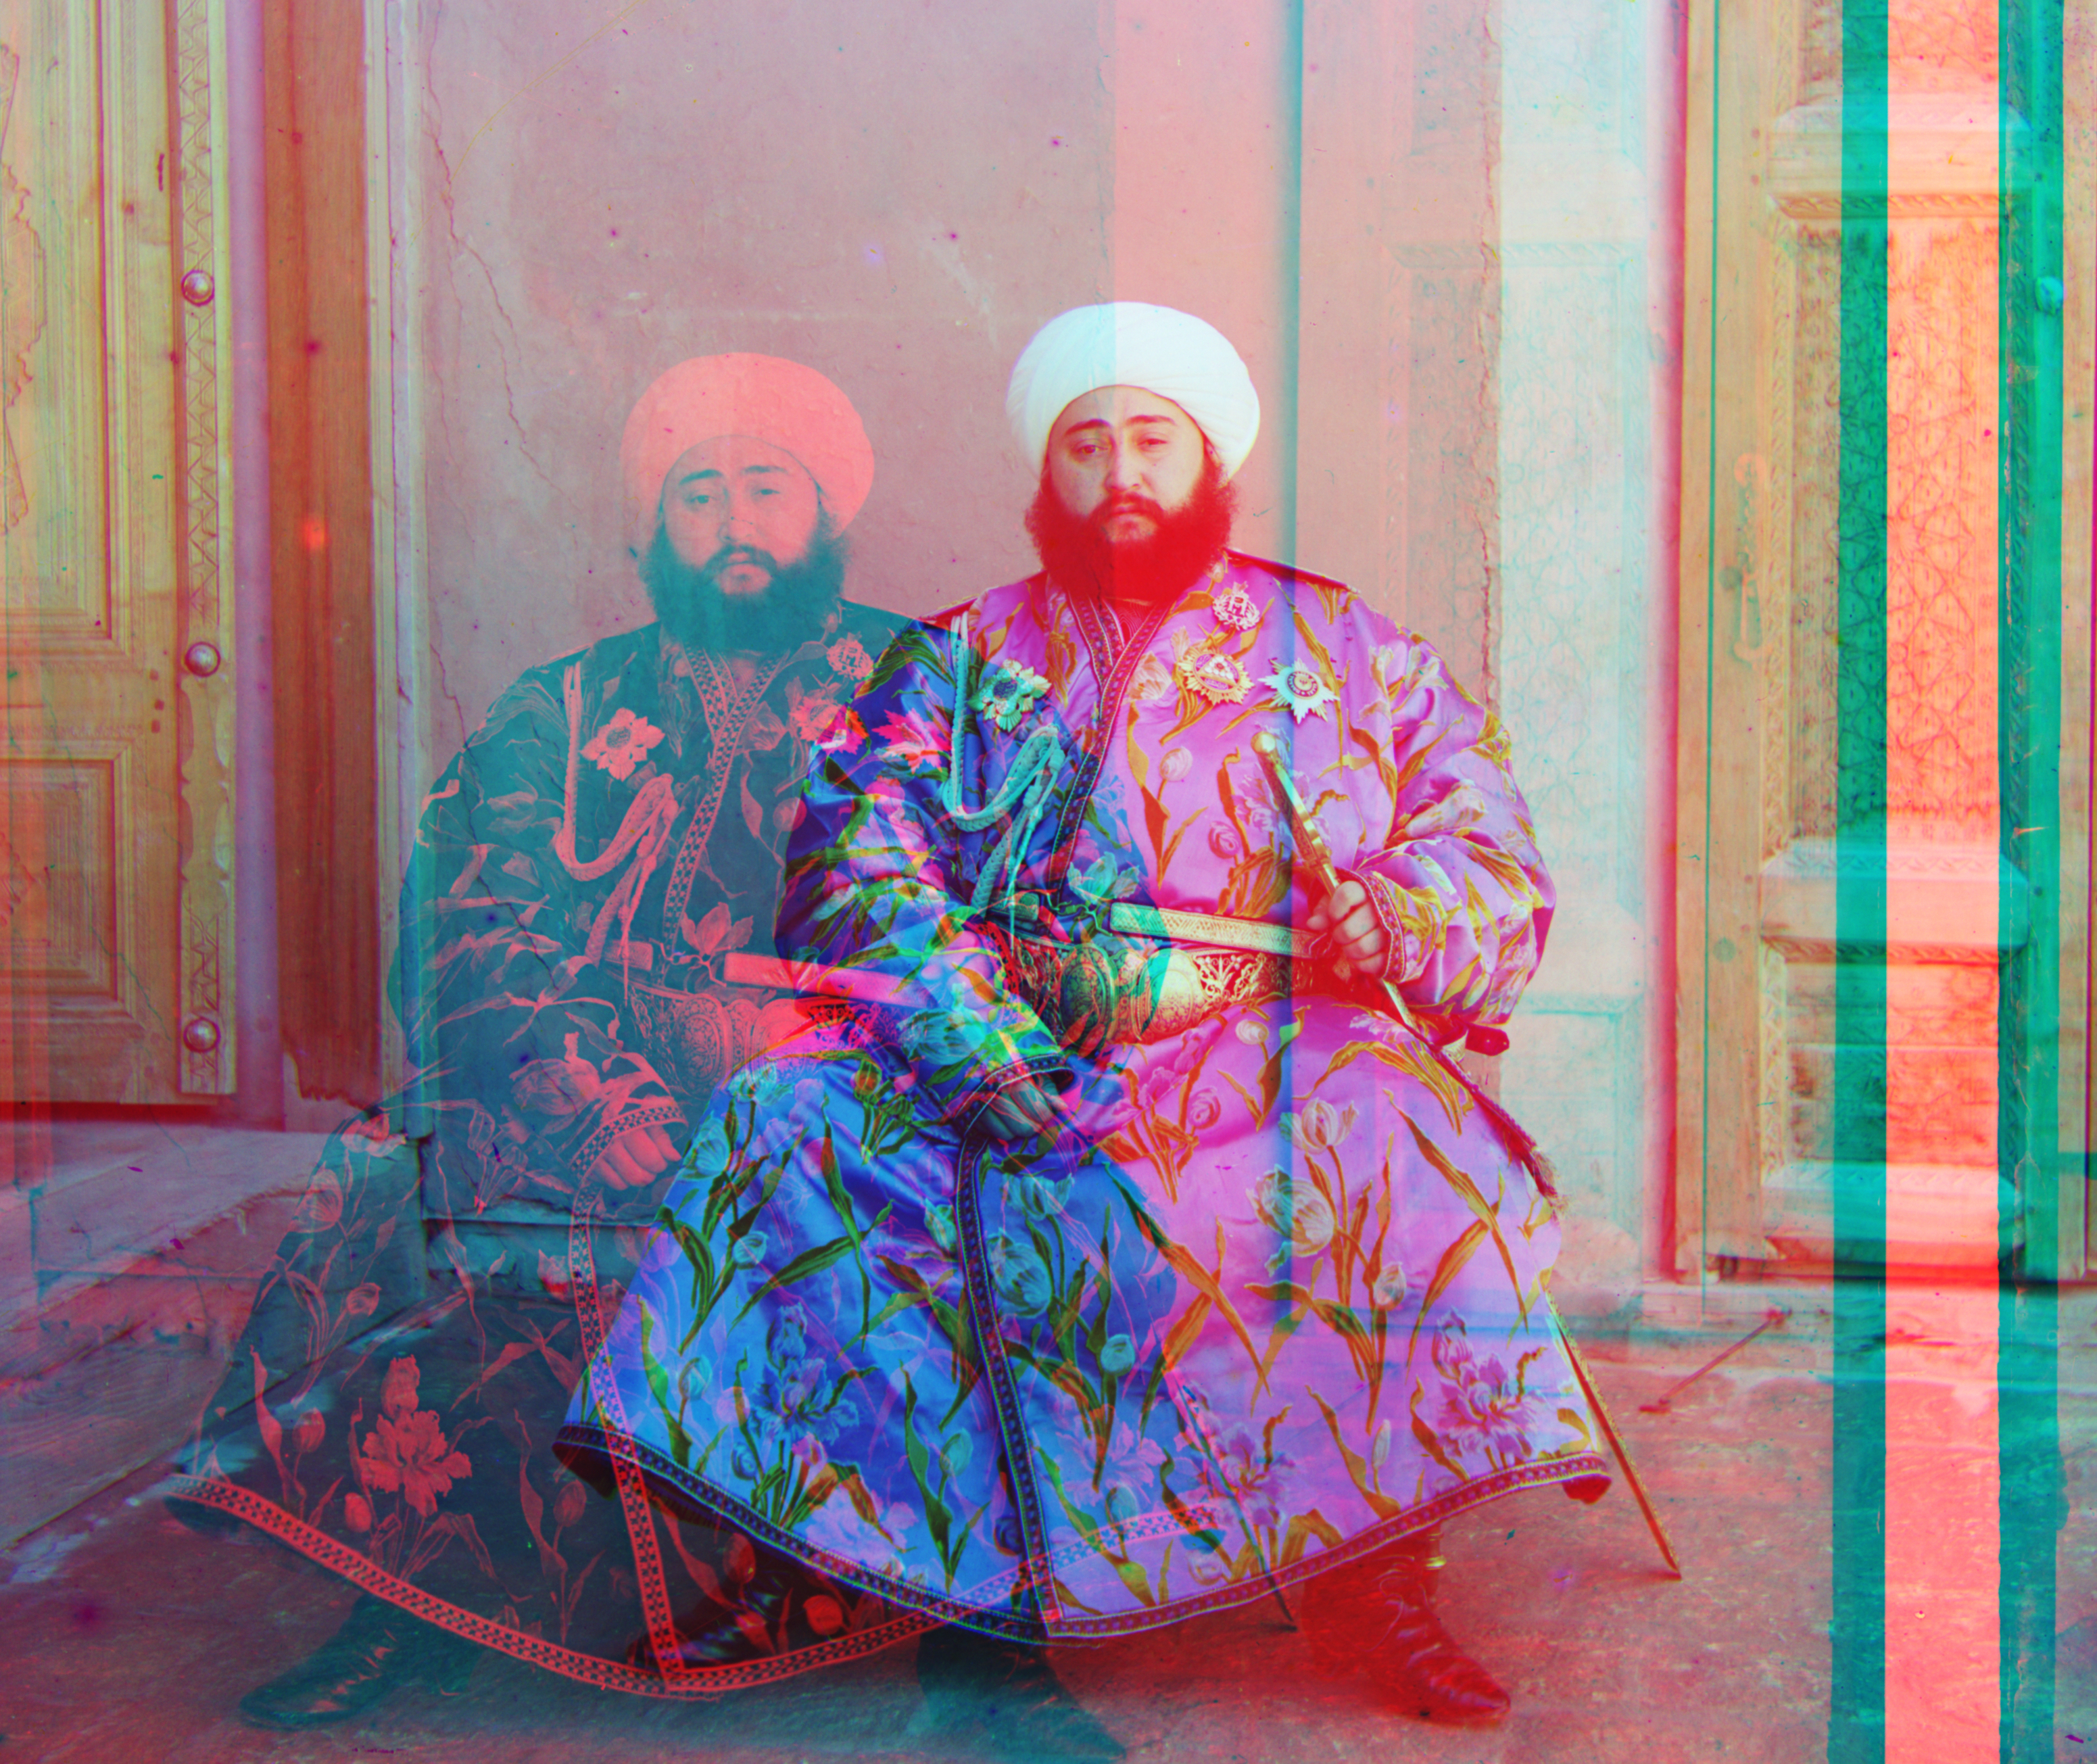
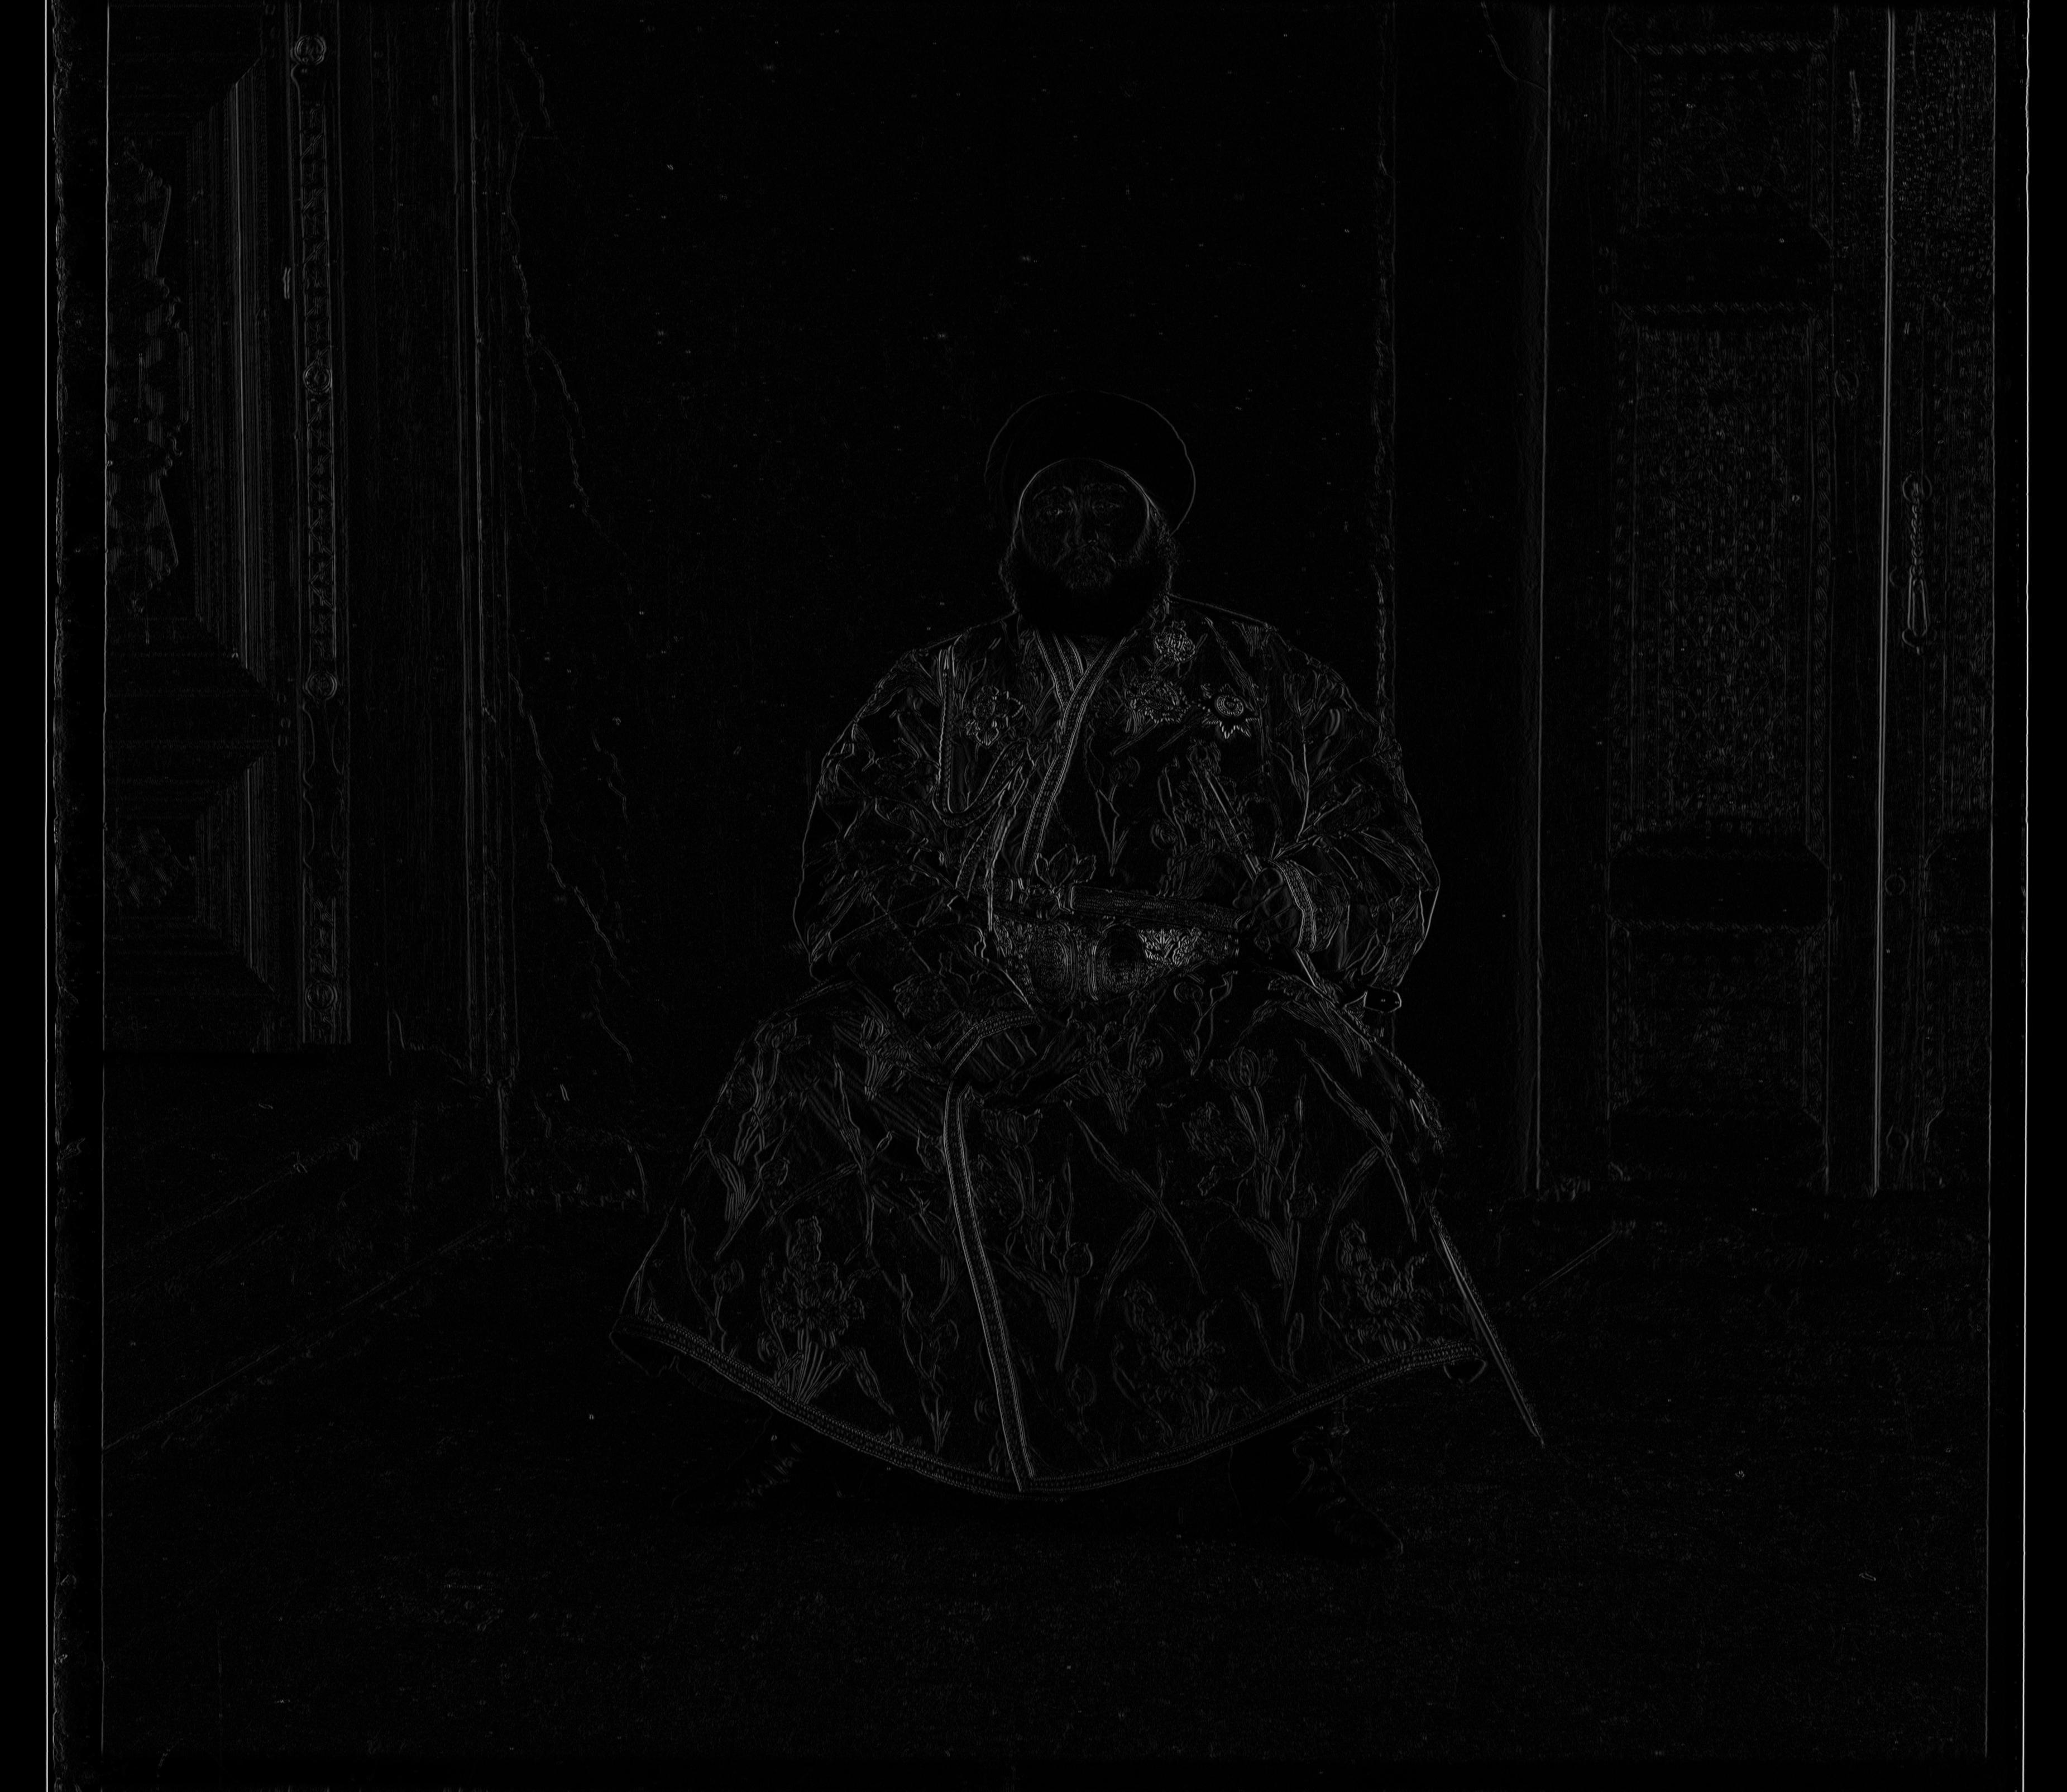
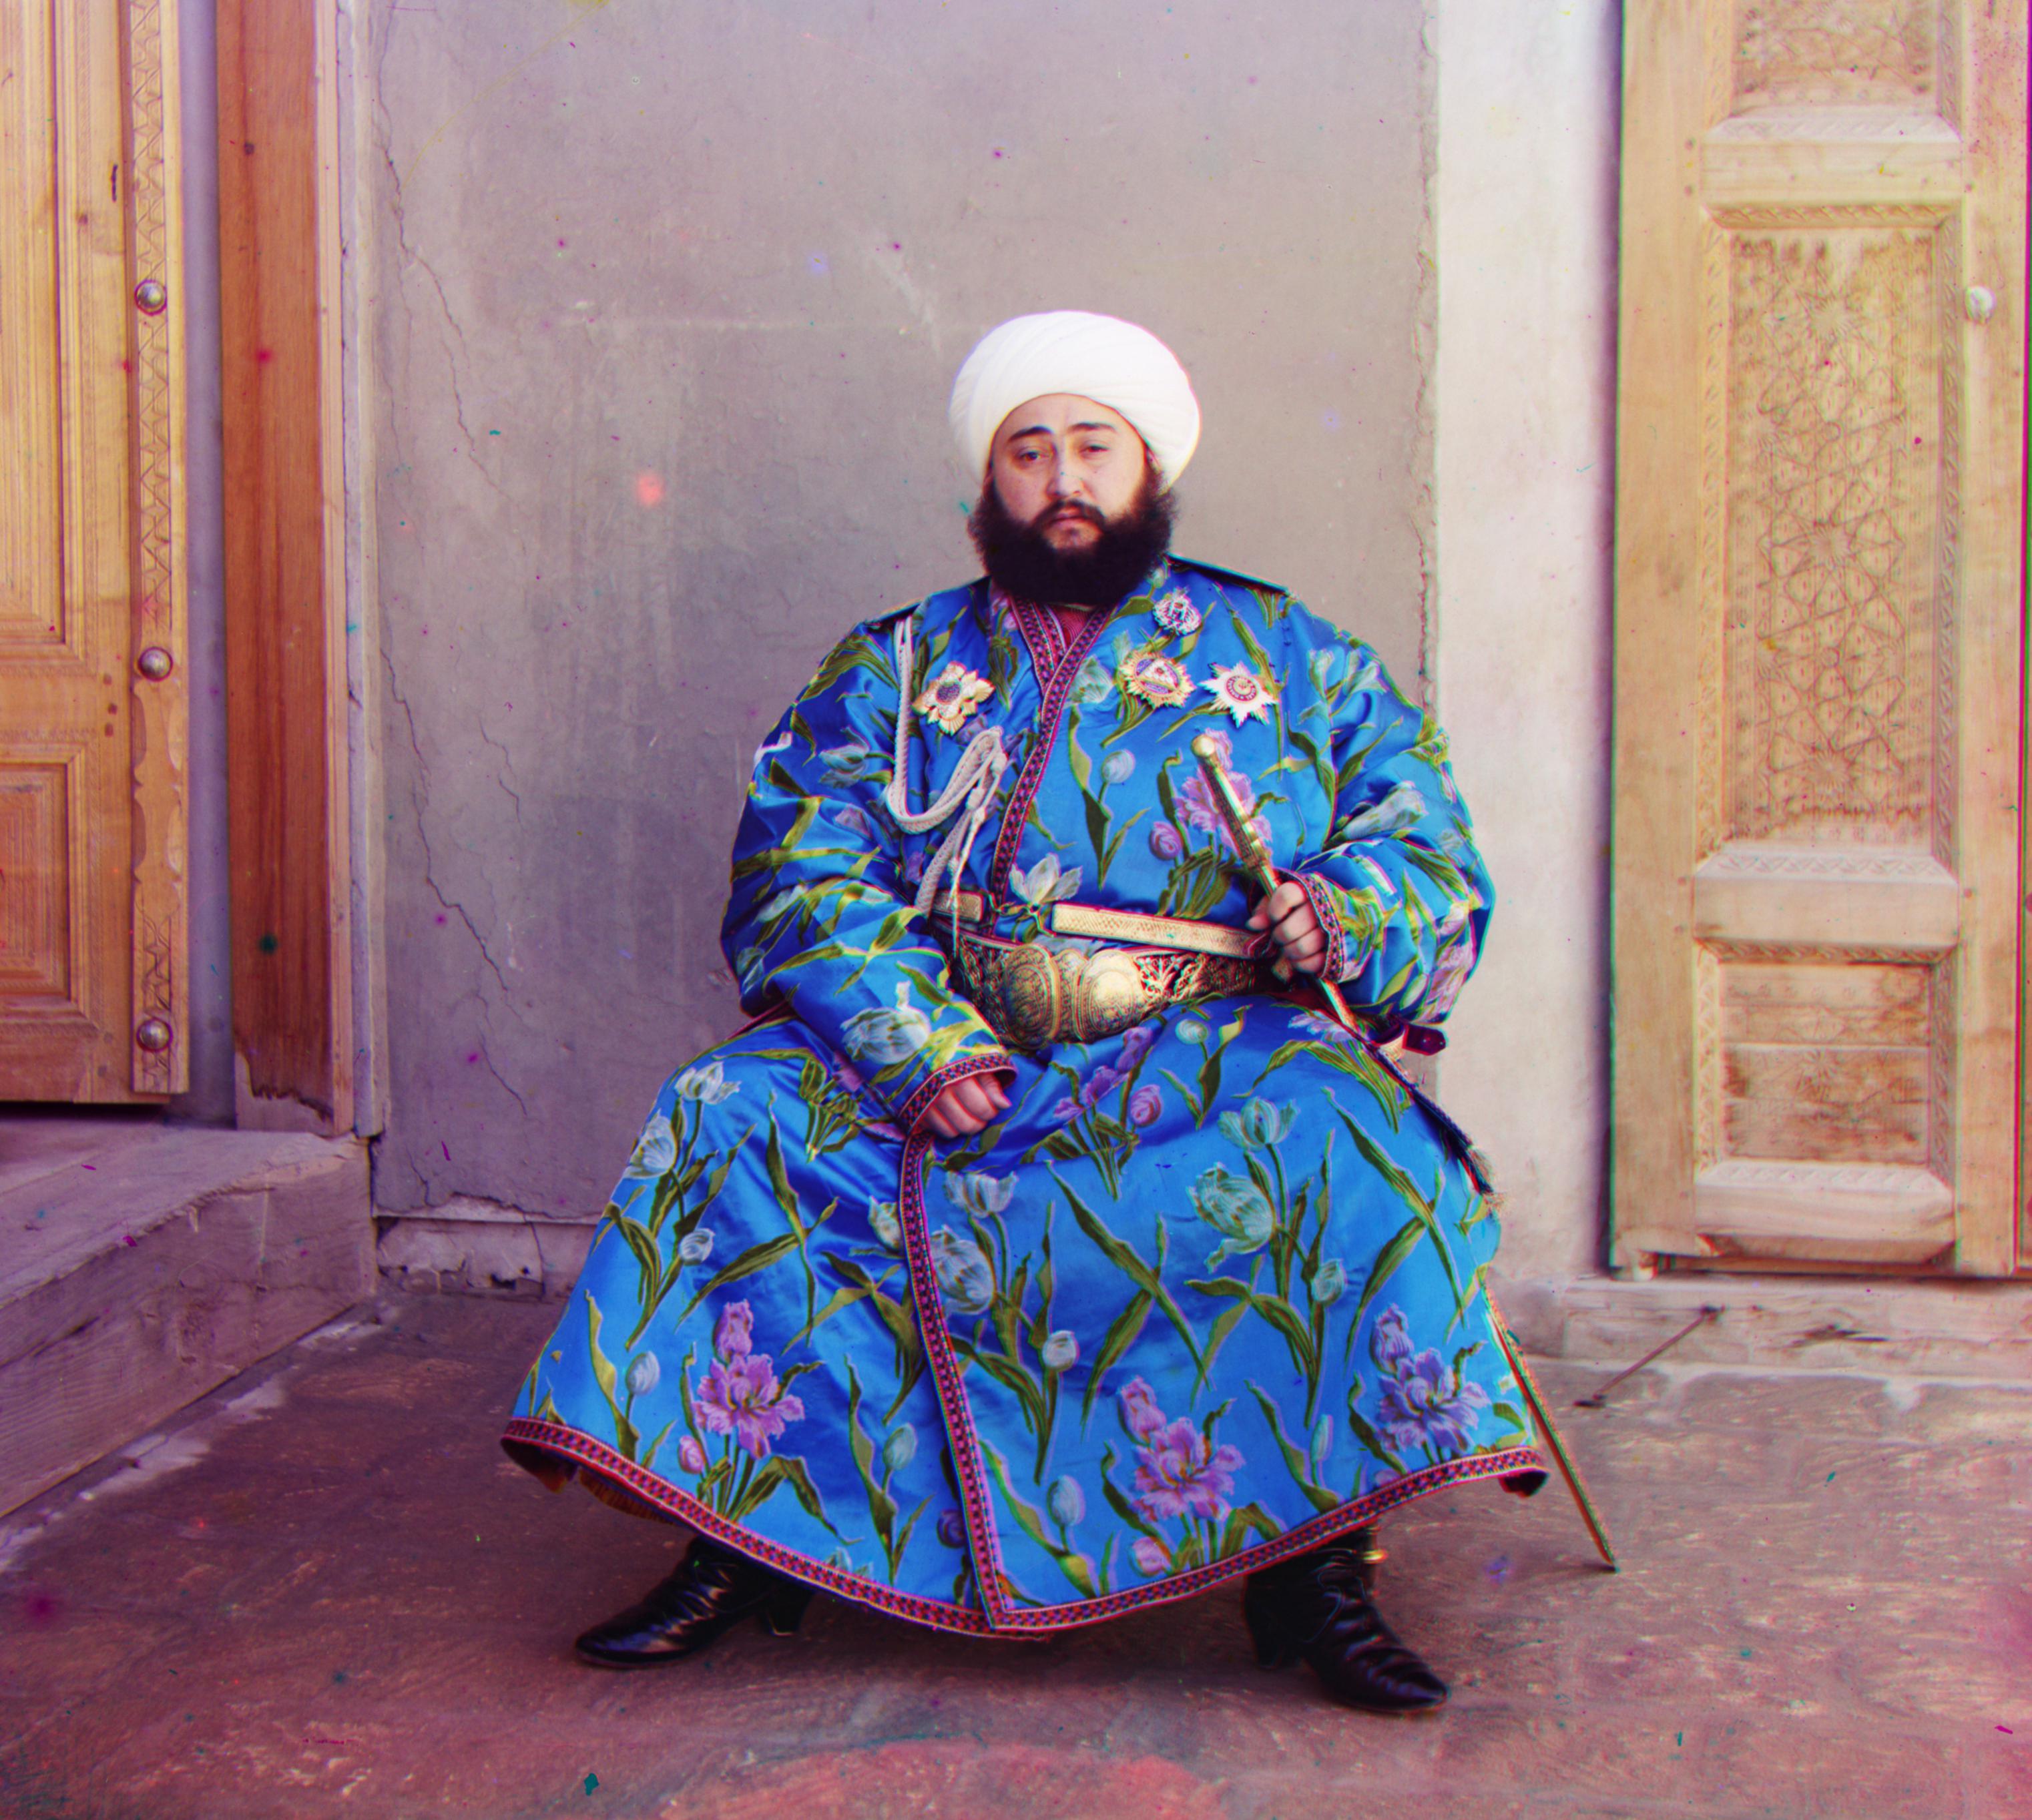
Below are my results for all tif images provided to us. Note that this method was not enough for the Emir photo because of the brightness of the blue and red channels. The blue and red filters had a considerable difference in brightness causing Emir to be misaligned. I was later on able to properly colorize Emir using and edge detecting algorithm.
| Displacement | Final Result |
|---|---|
| Castle R: (98, 5) G: (33, 3) |
|
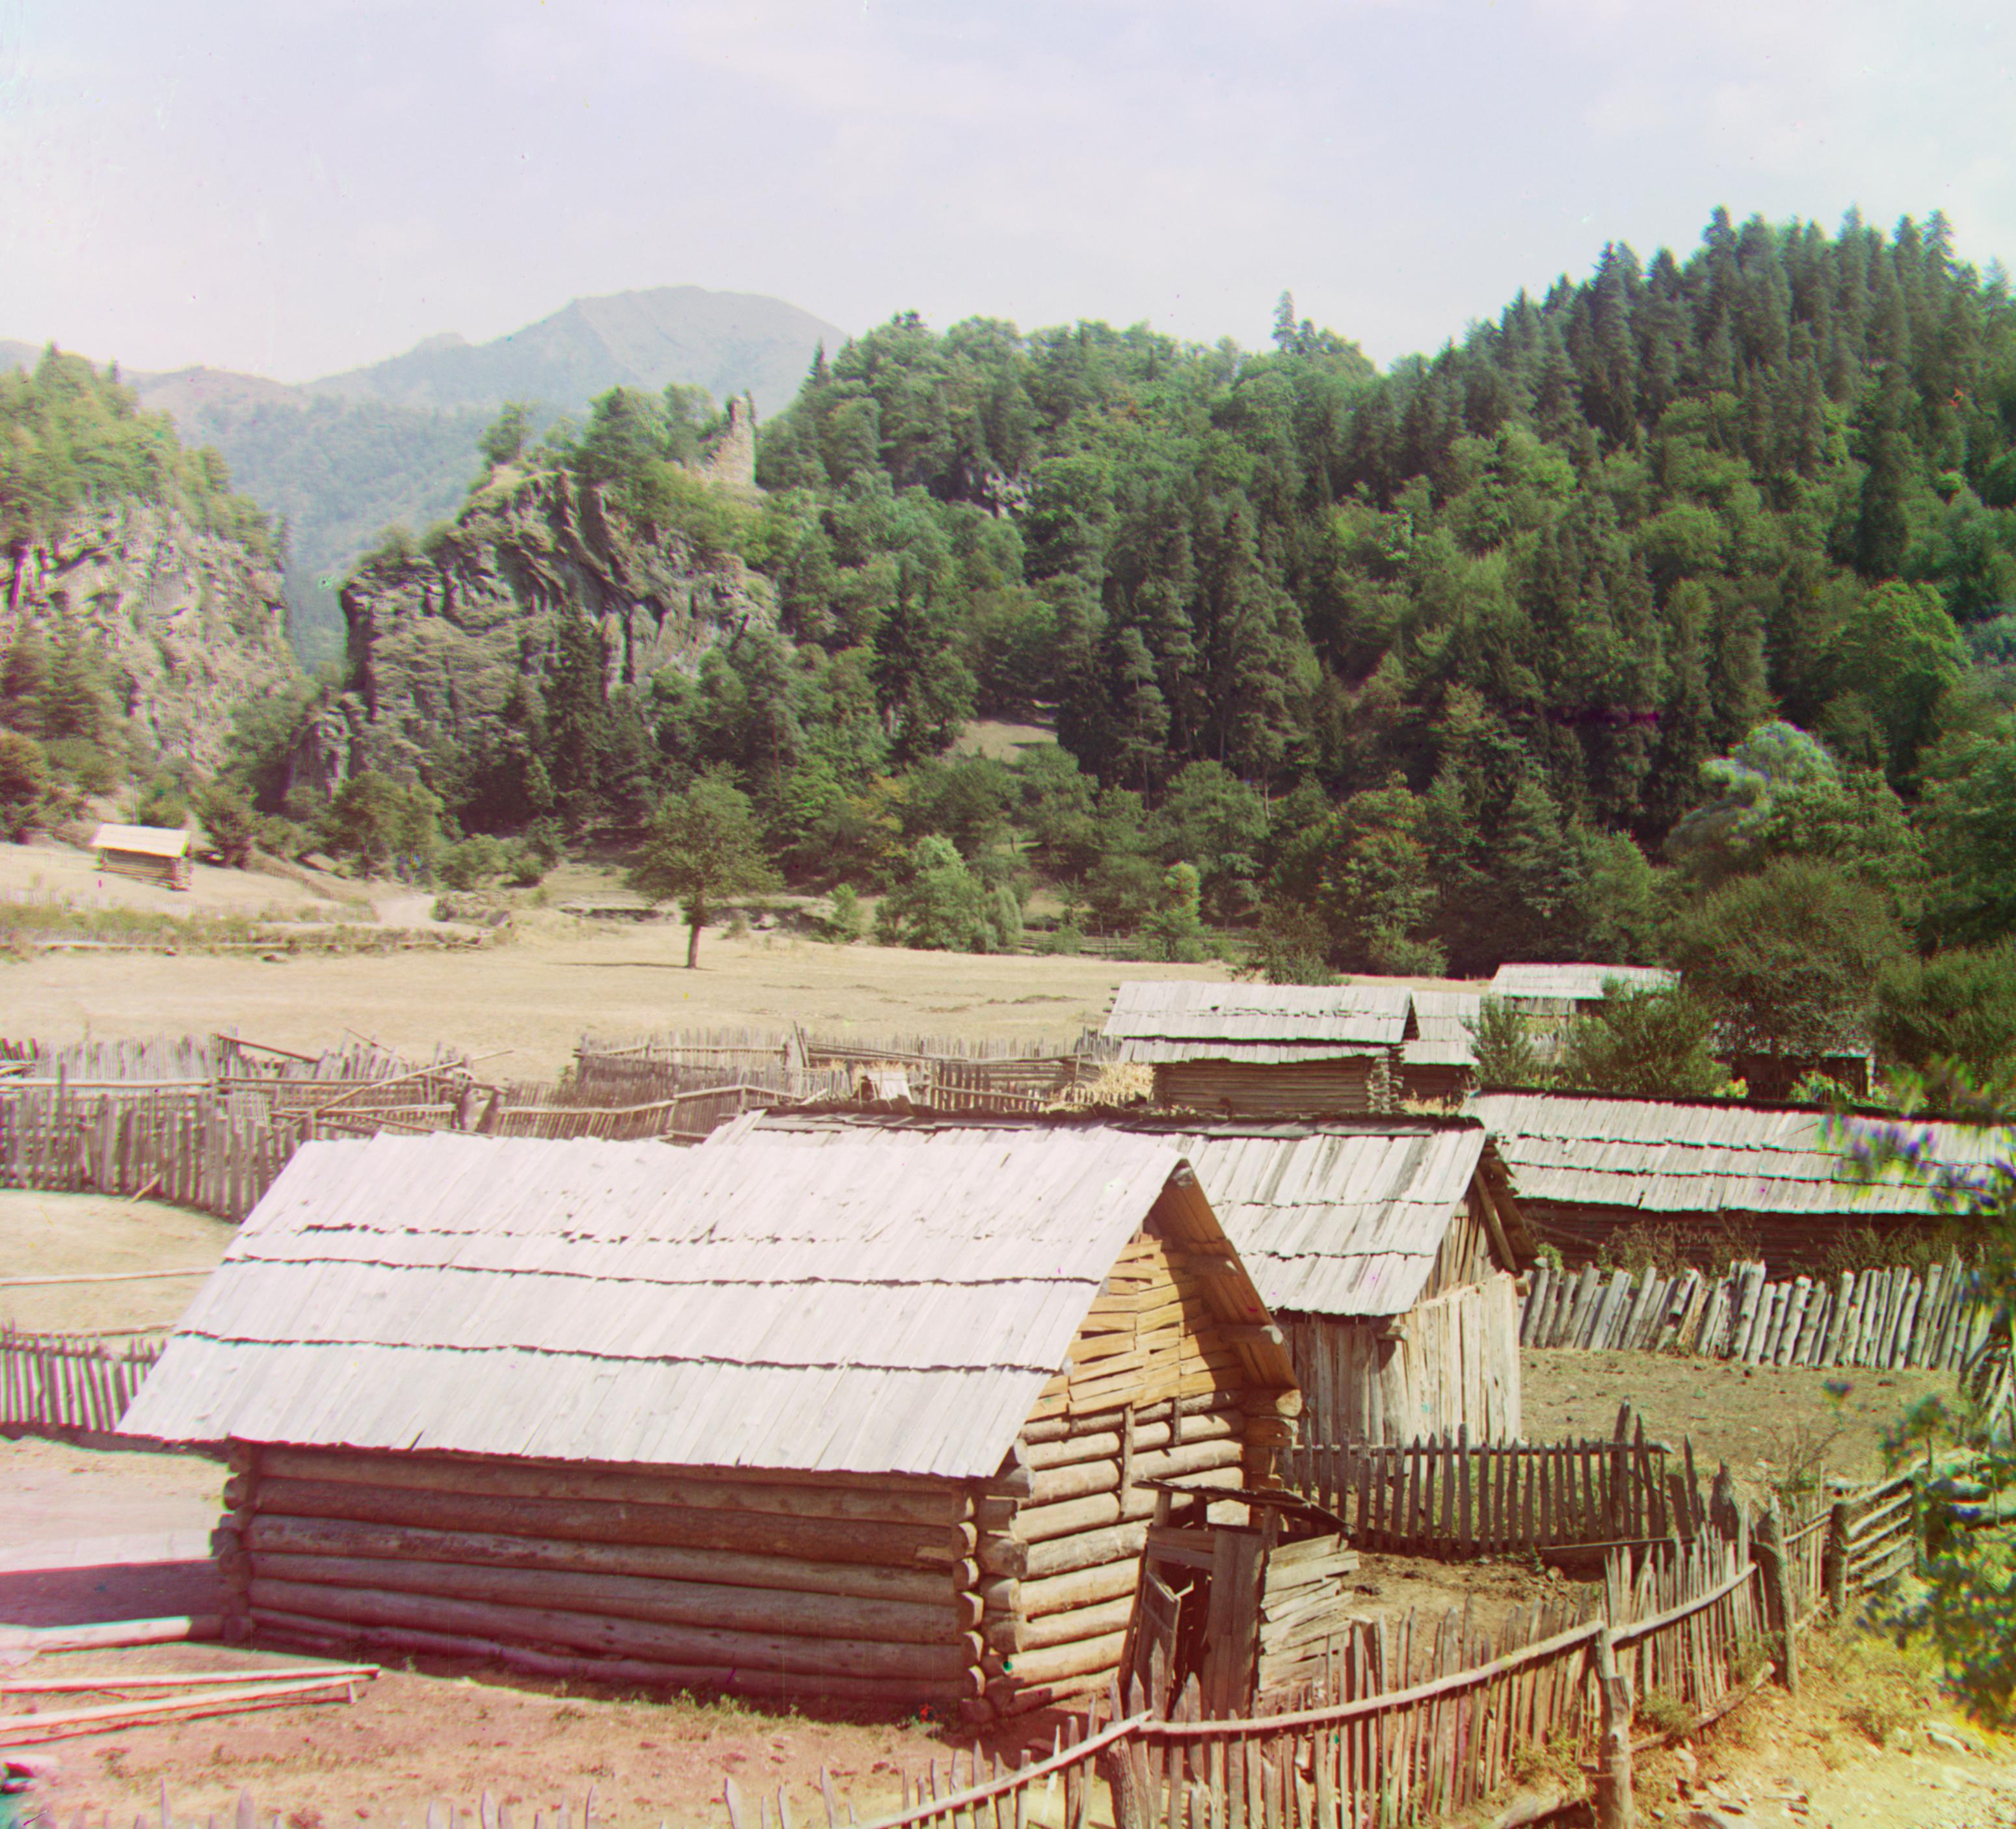
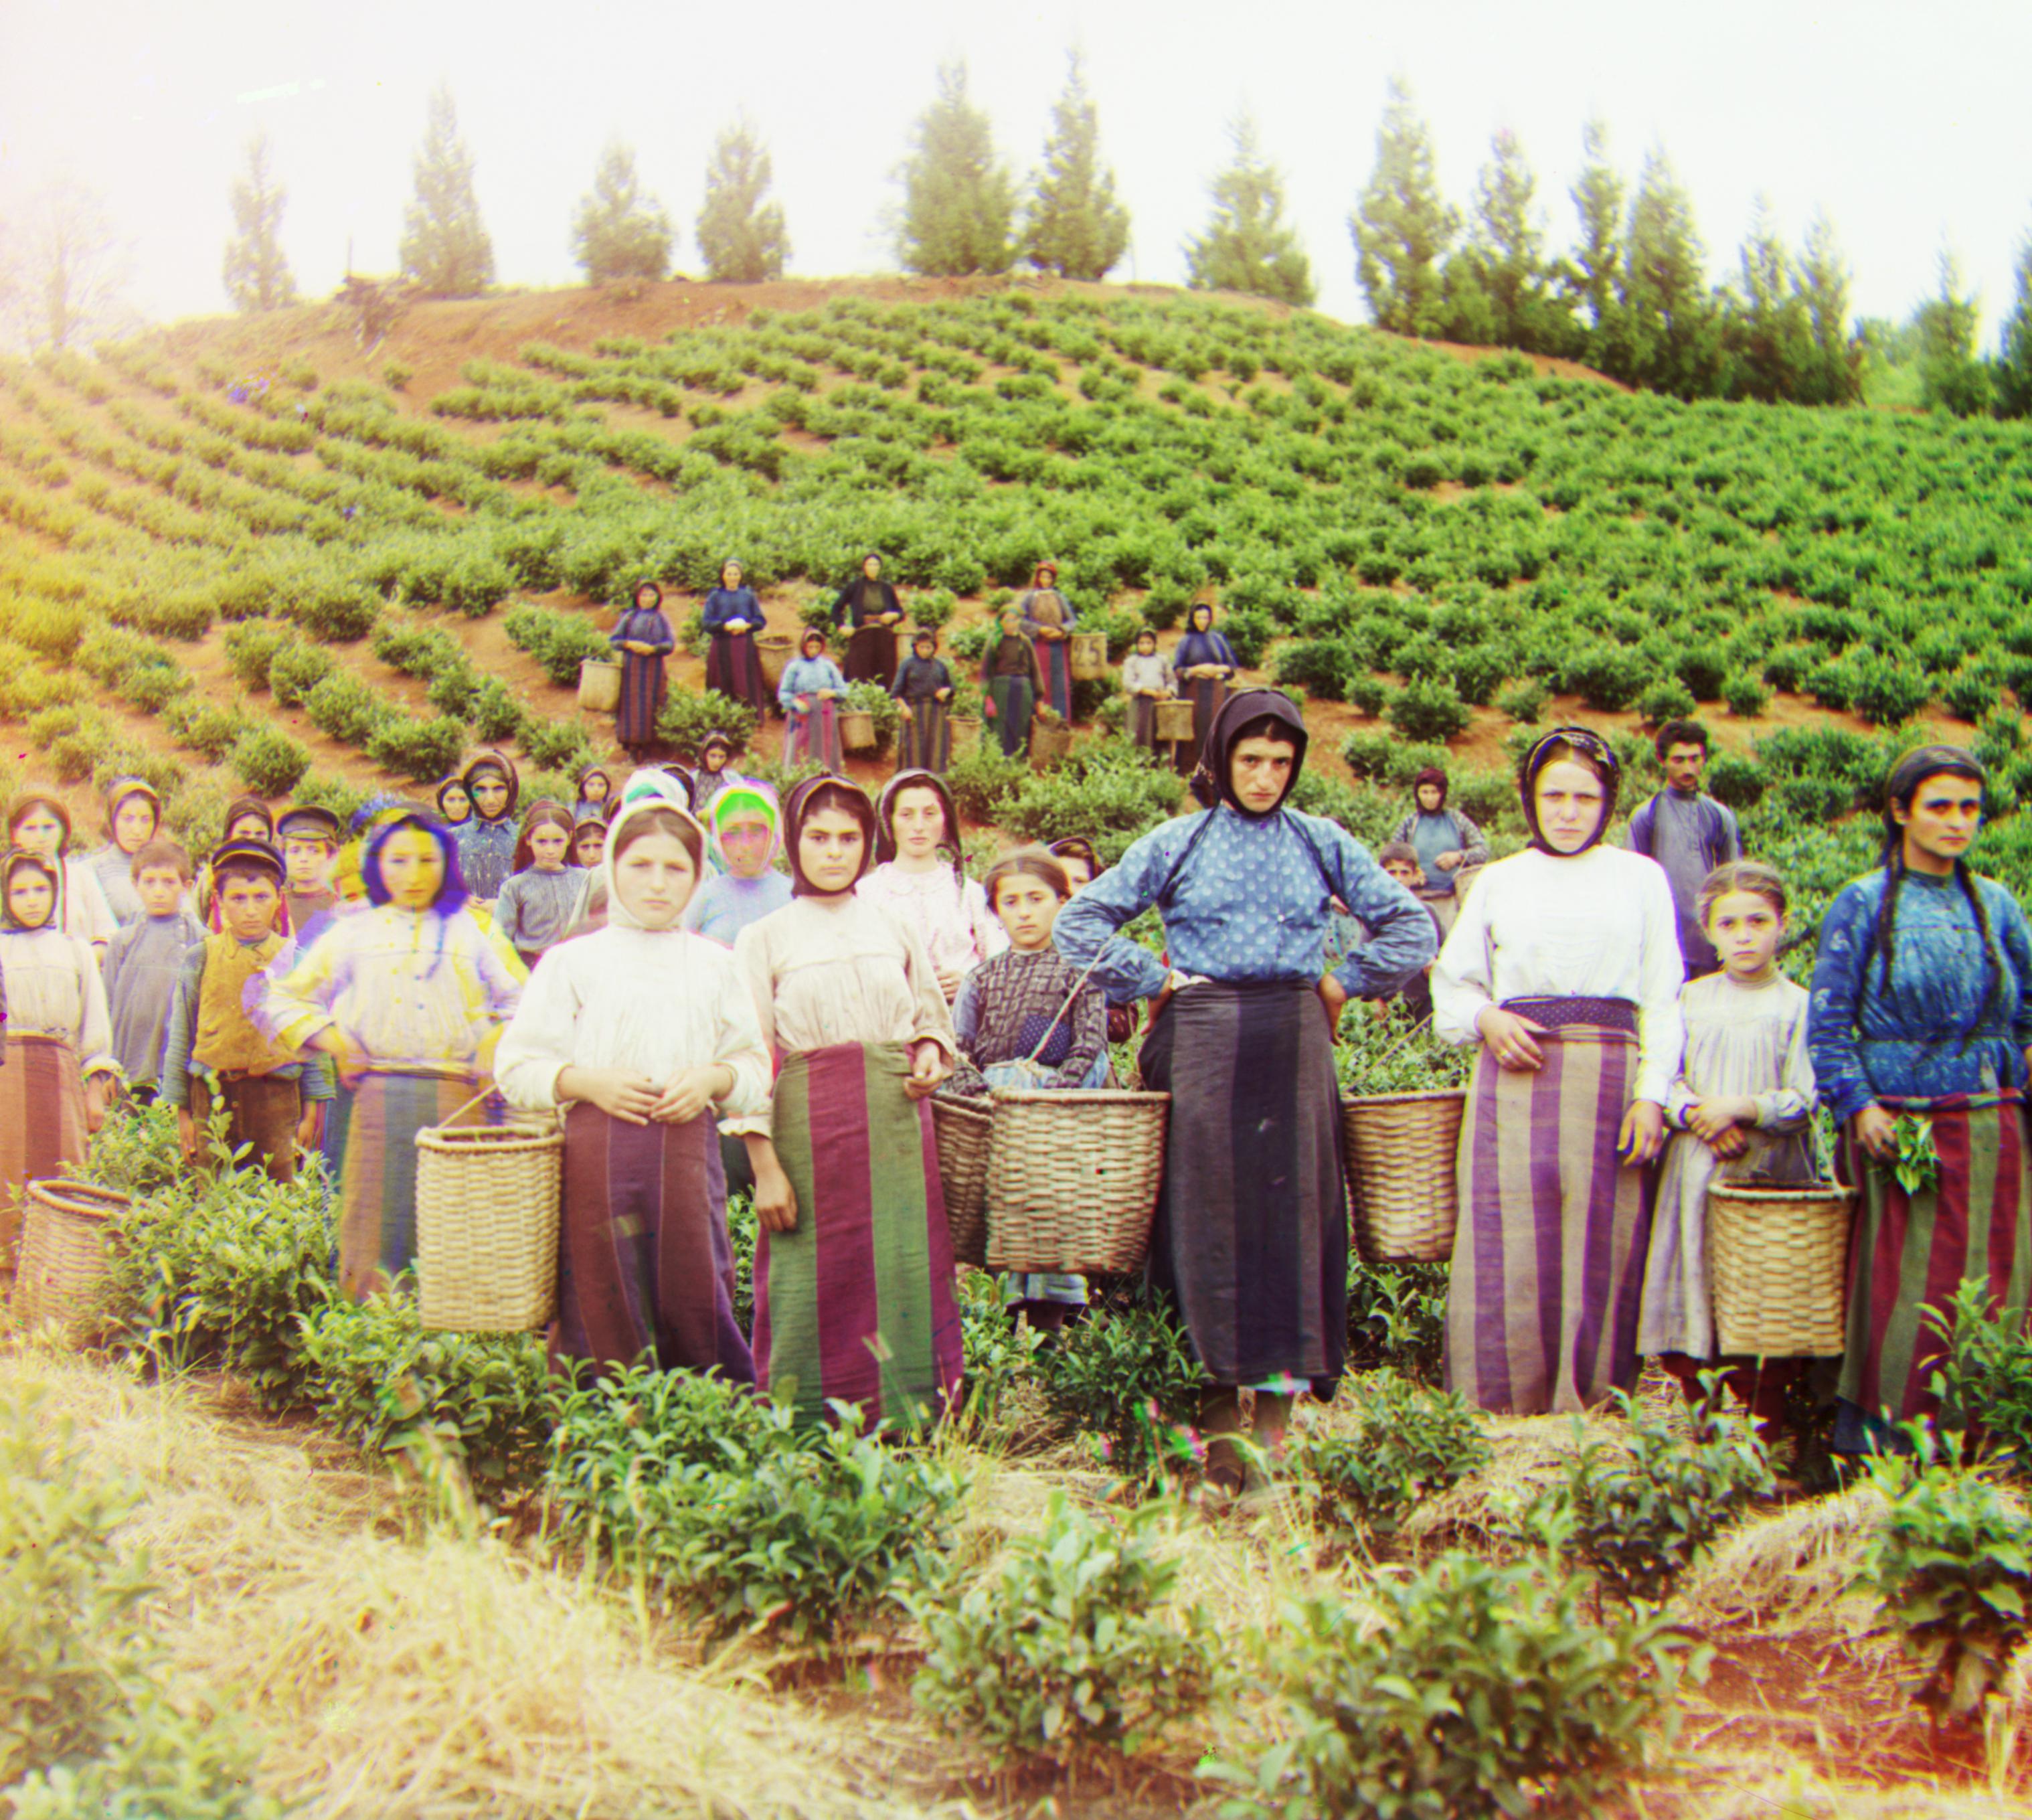
| Harvesters R: (124, 17) G: (60, 18) |
|
| Icon R: (89, 24) G: (40, 18) |
|
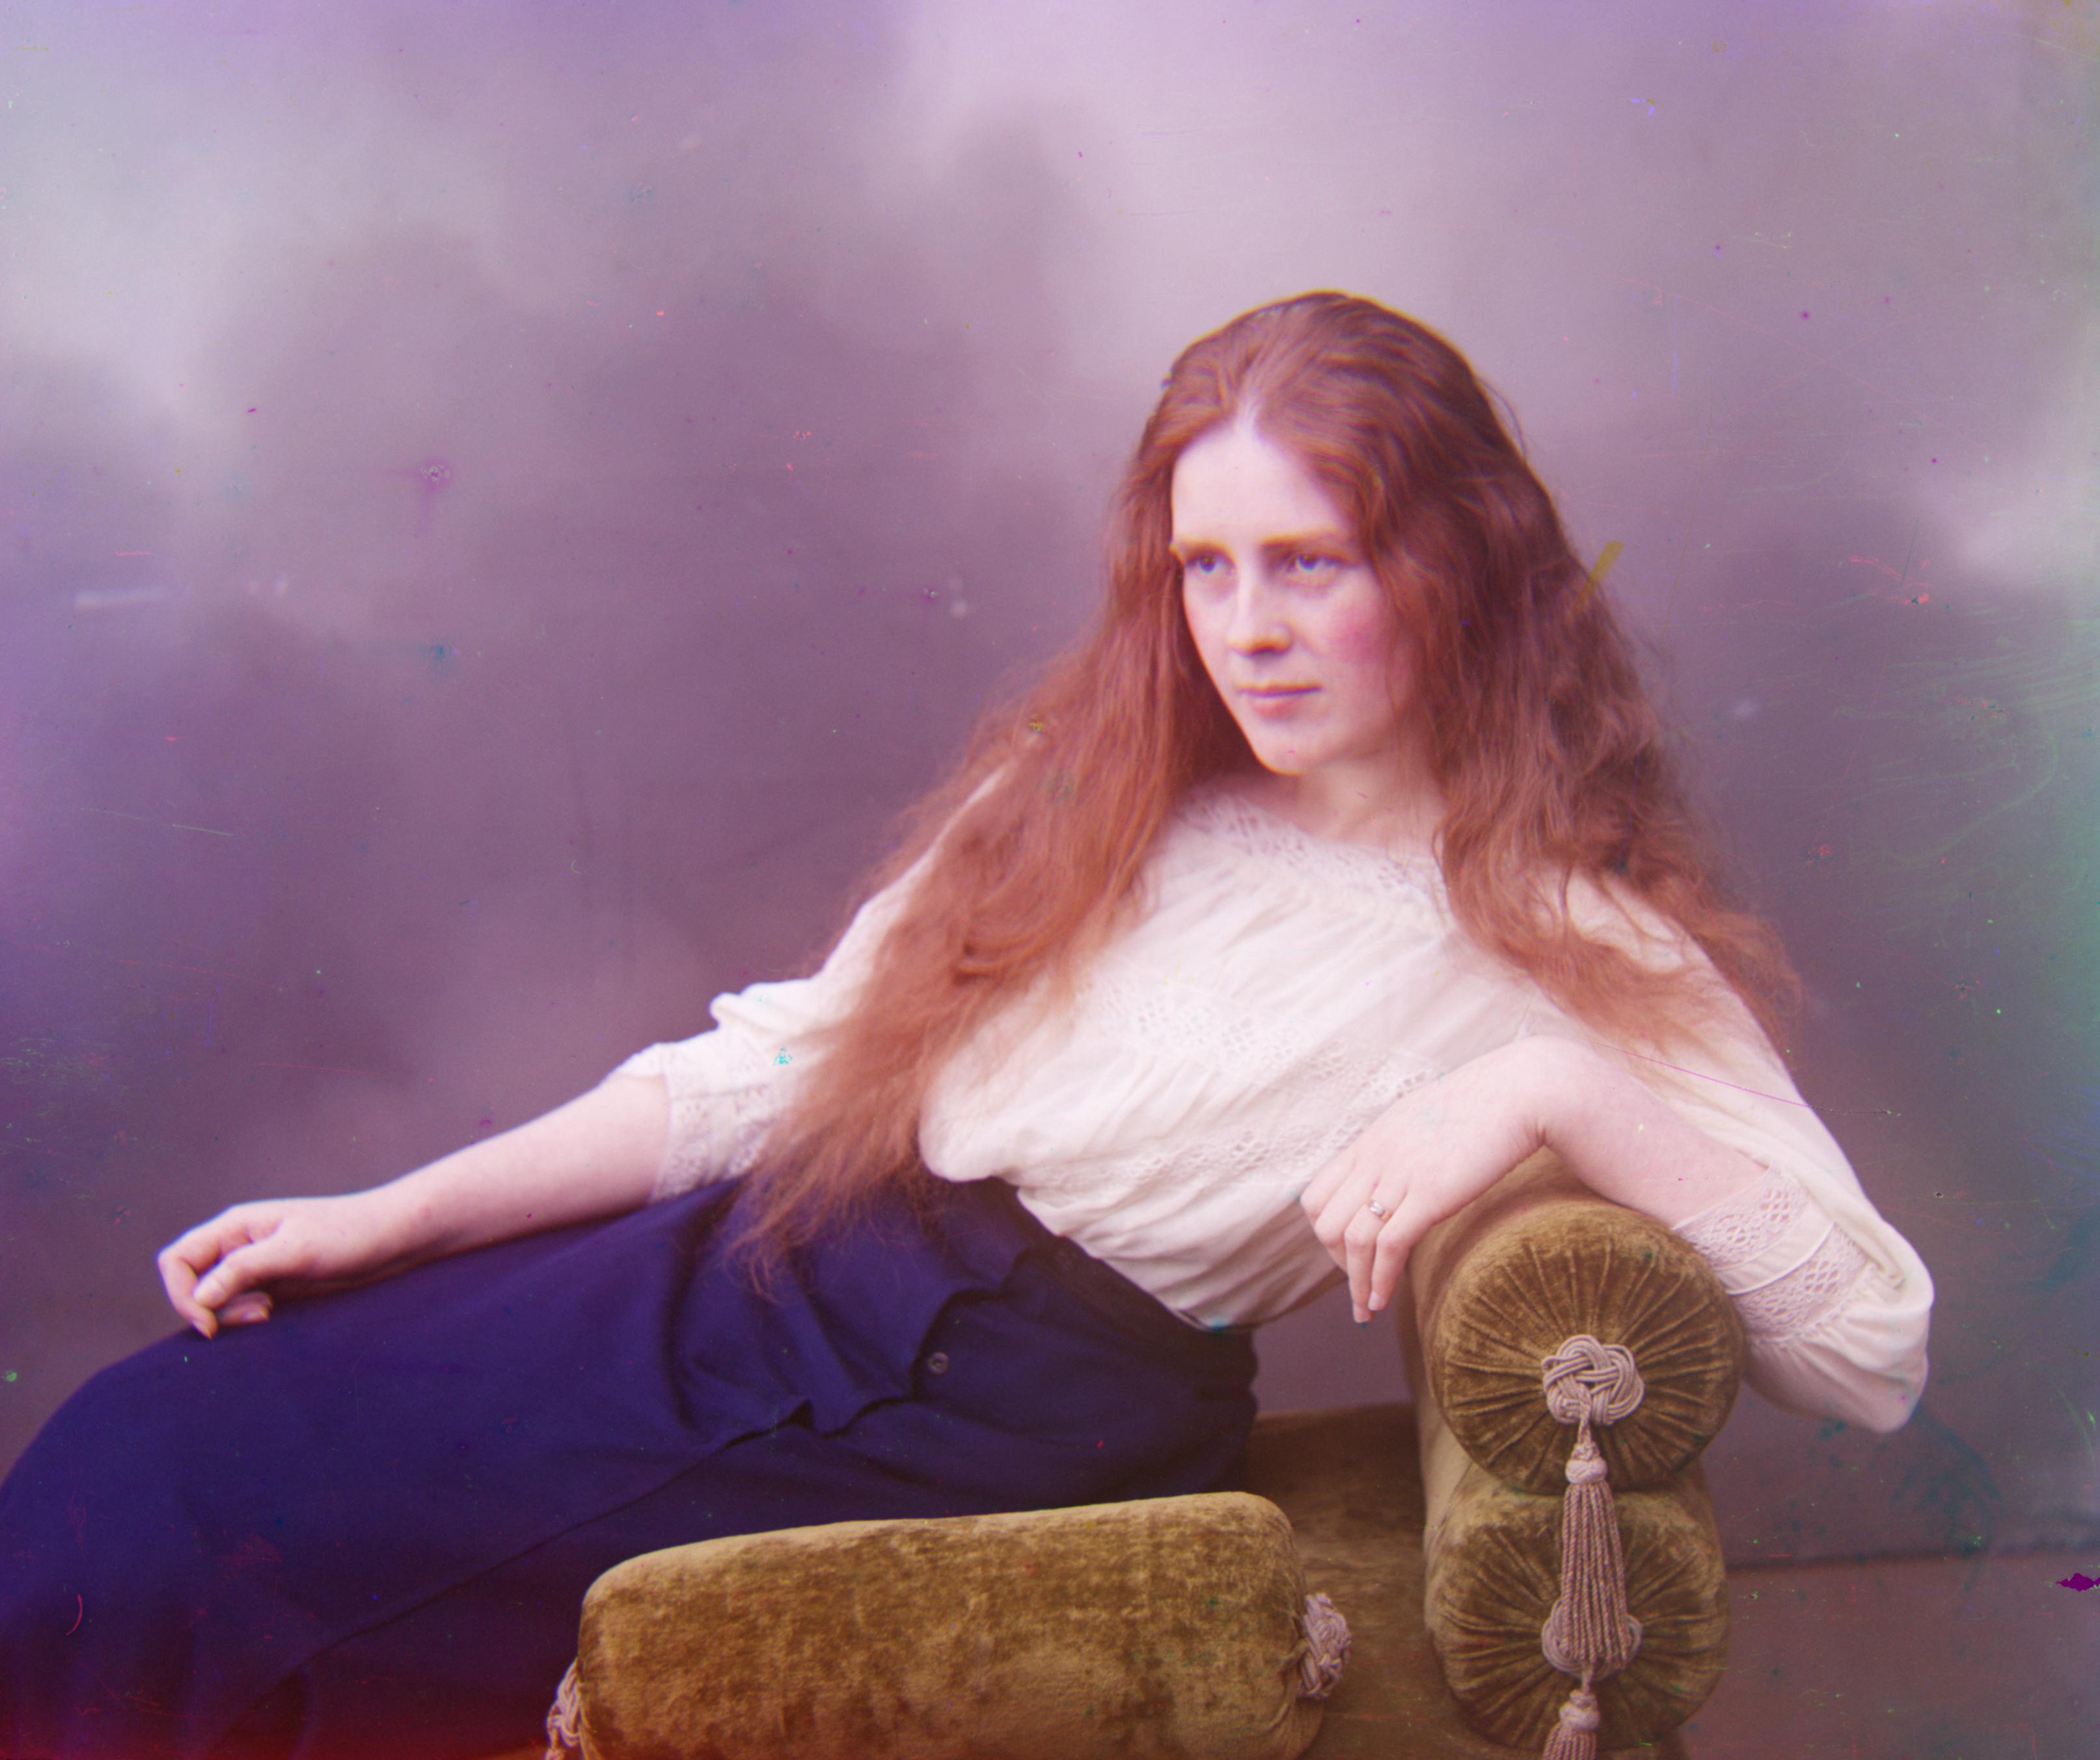
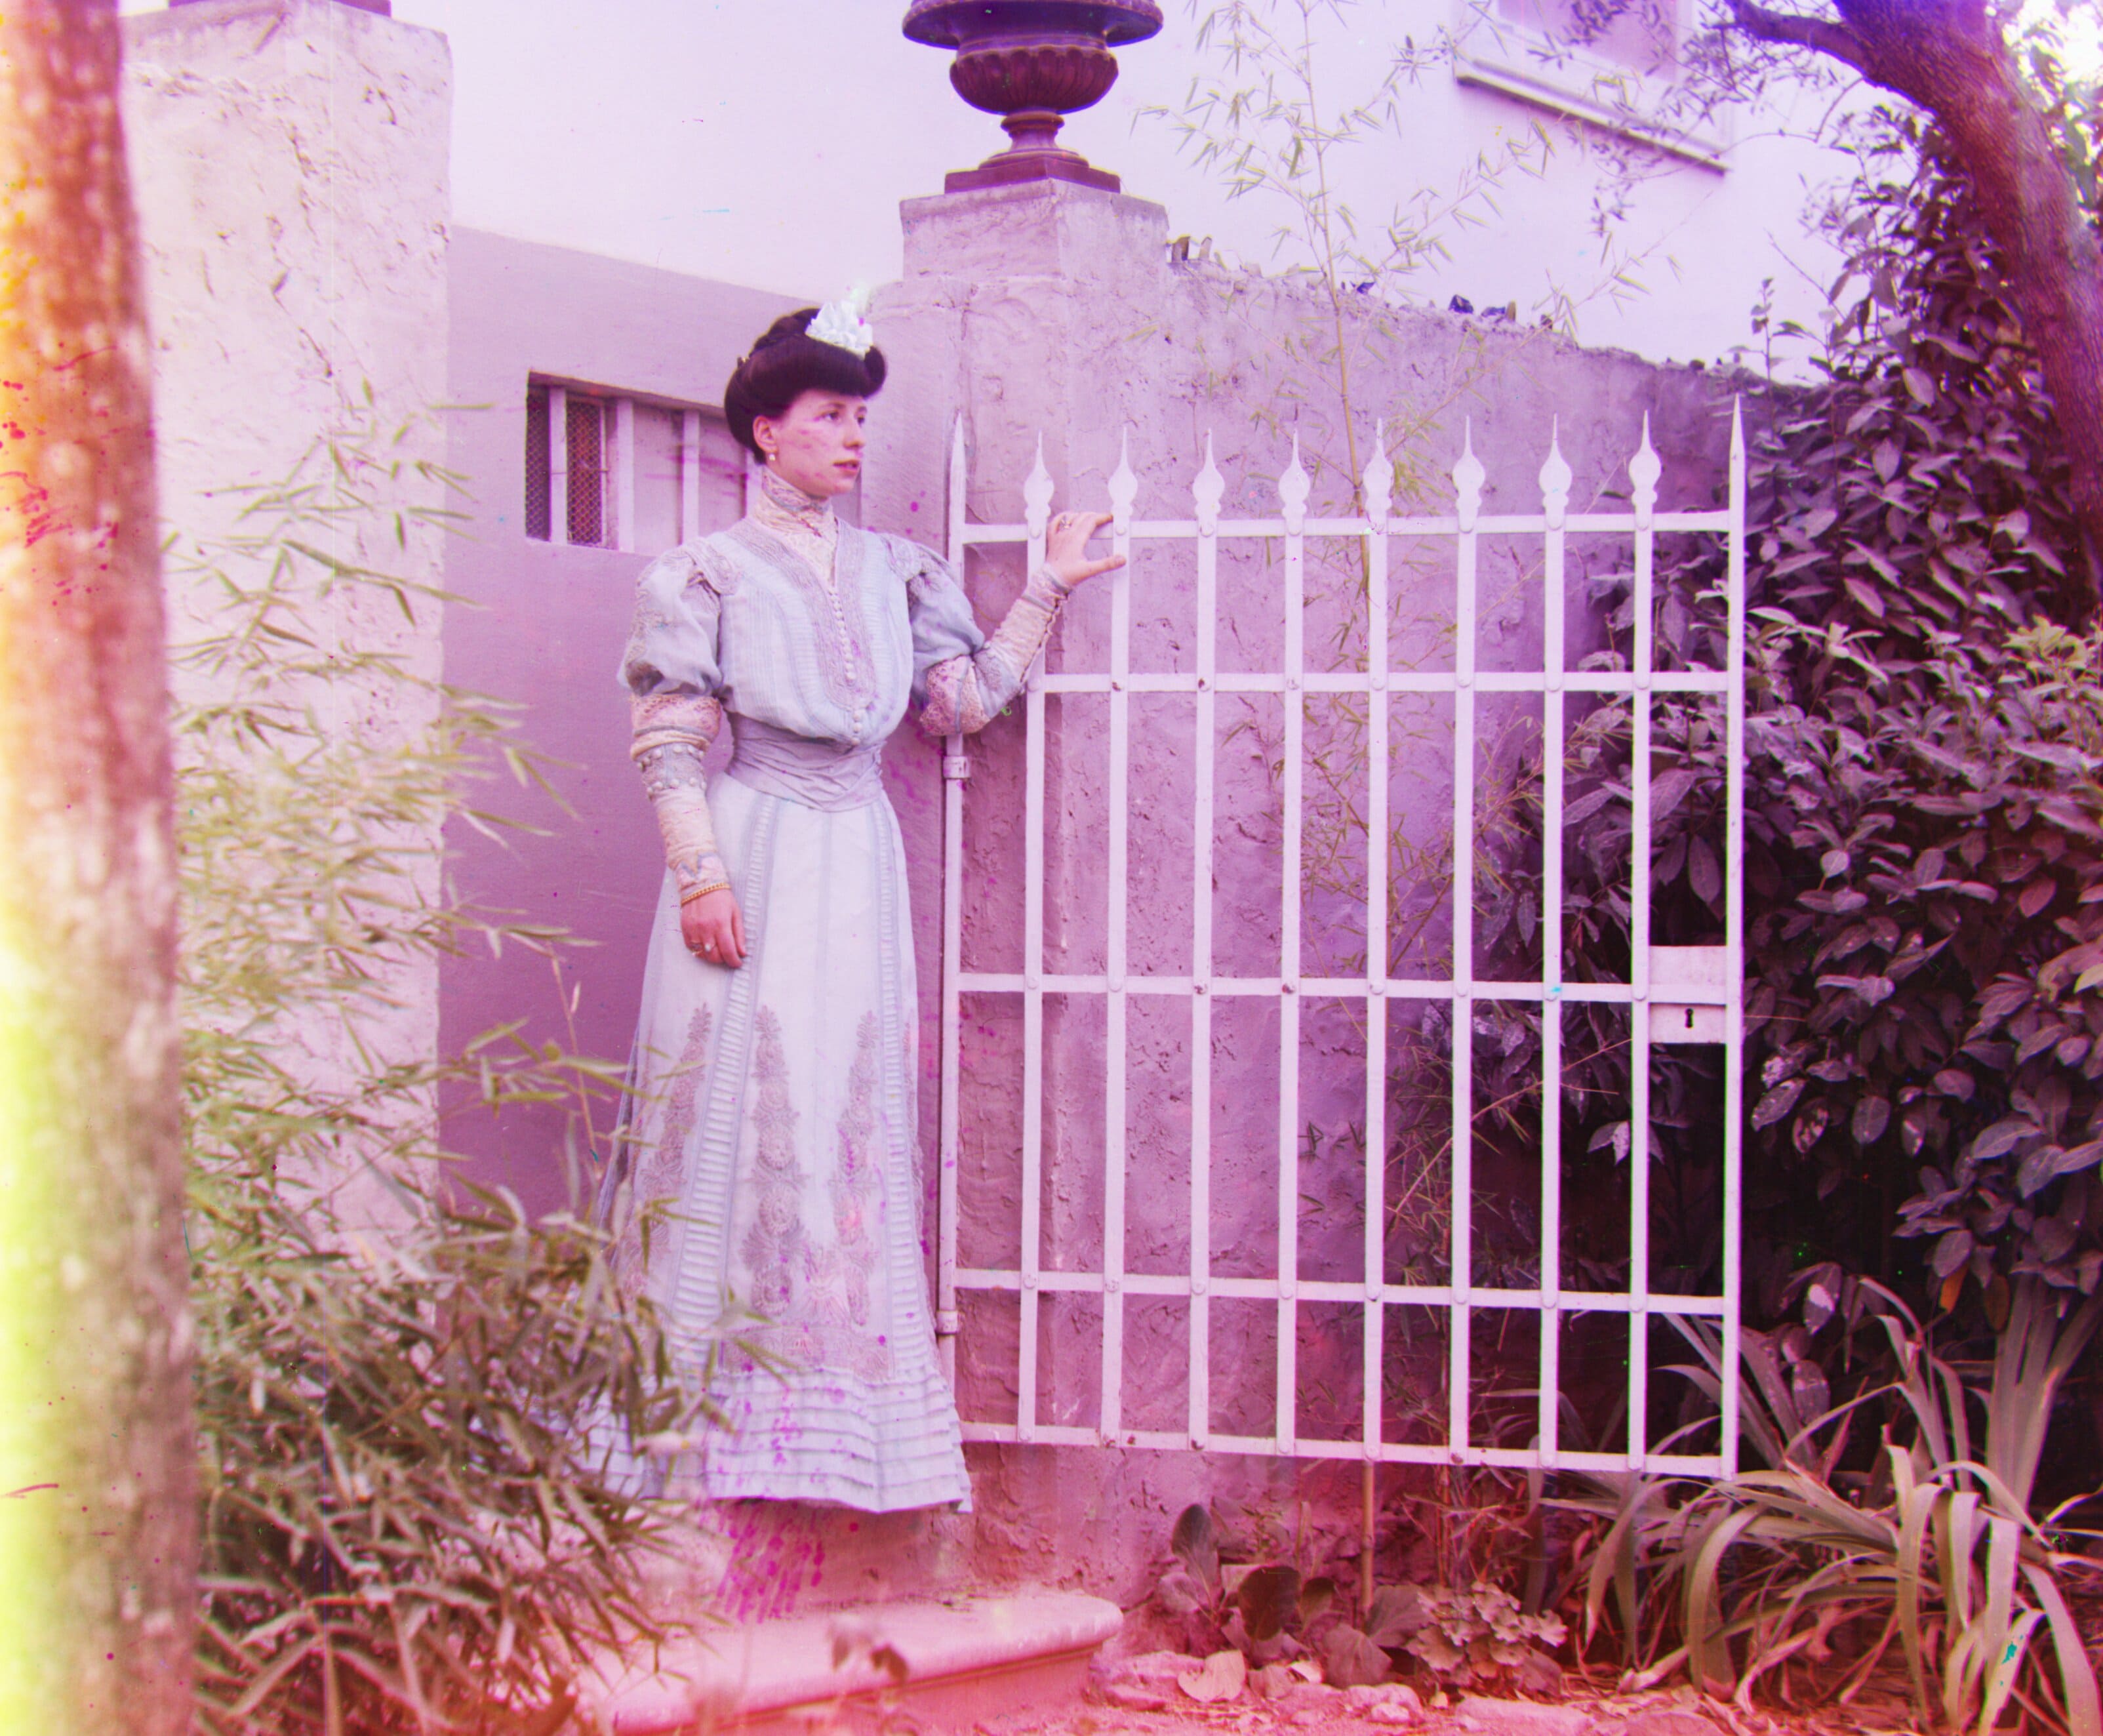
| Lady R: (112, 10) G: (48, 8) |
|
| Emir R: (-516, 194) G: (48, 23) |
|
| Melons R: (180, 12) G: (86, 0) |

|
| Onion Church R: (108, 36) G: (50, 26) |

|
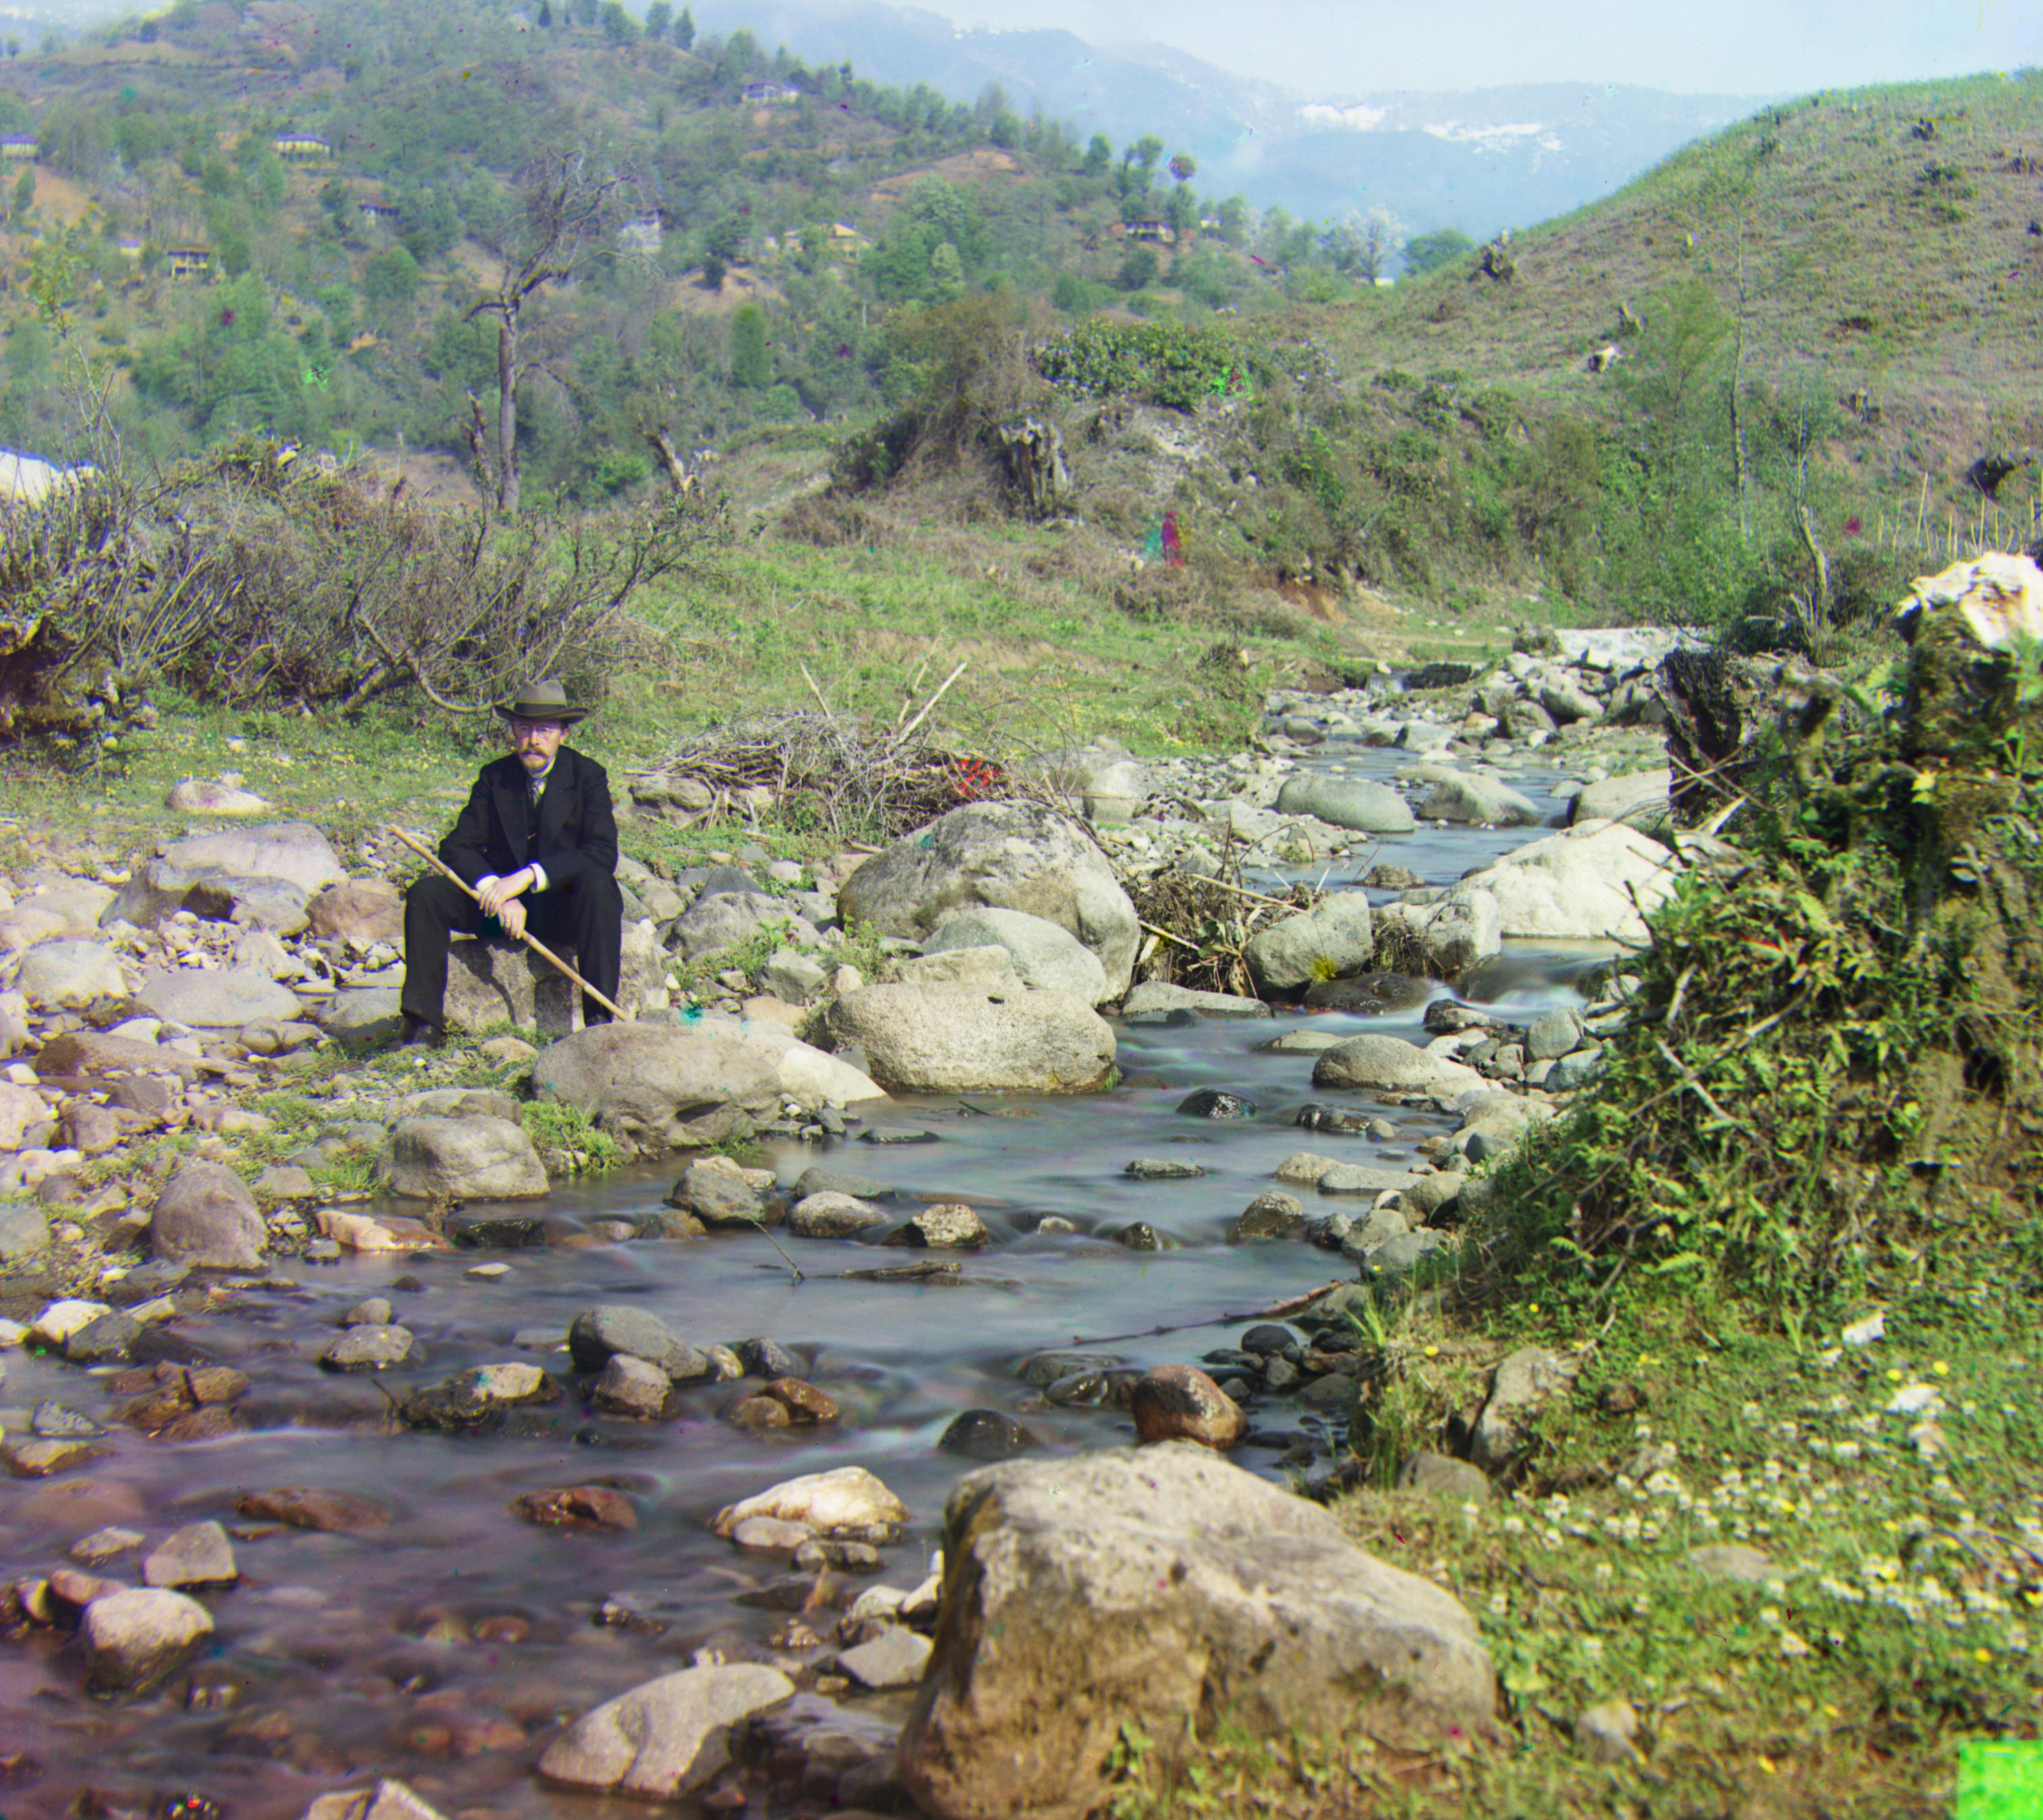
| Self Portrait R: (175, 37) G: (77, 29) |
|
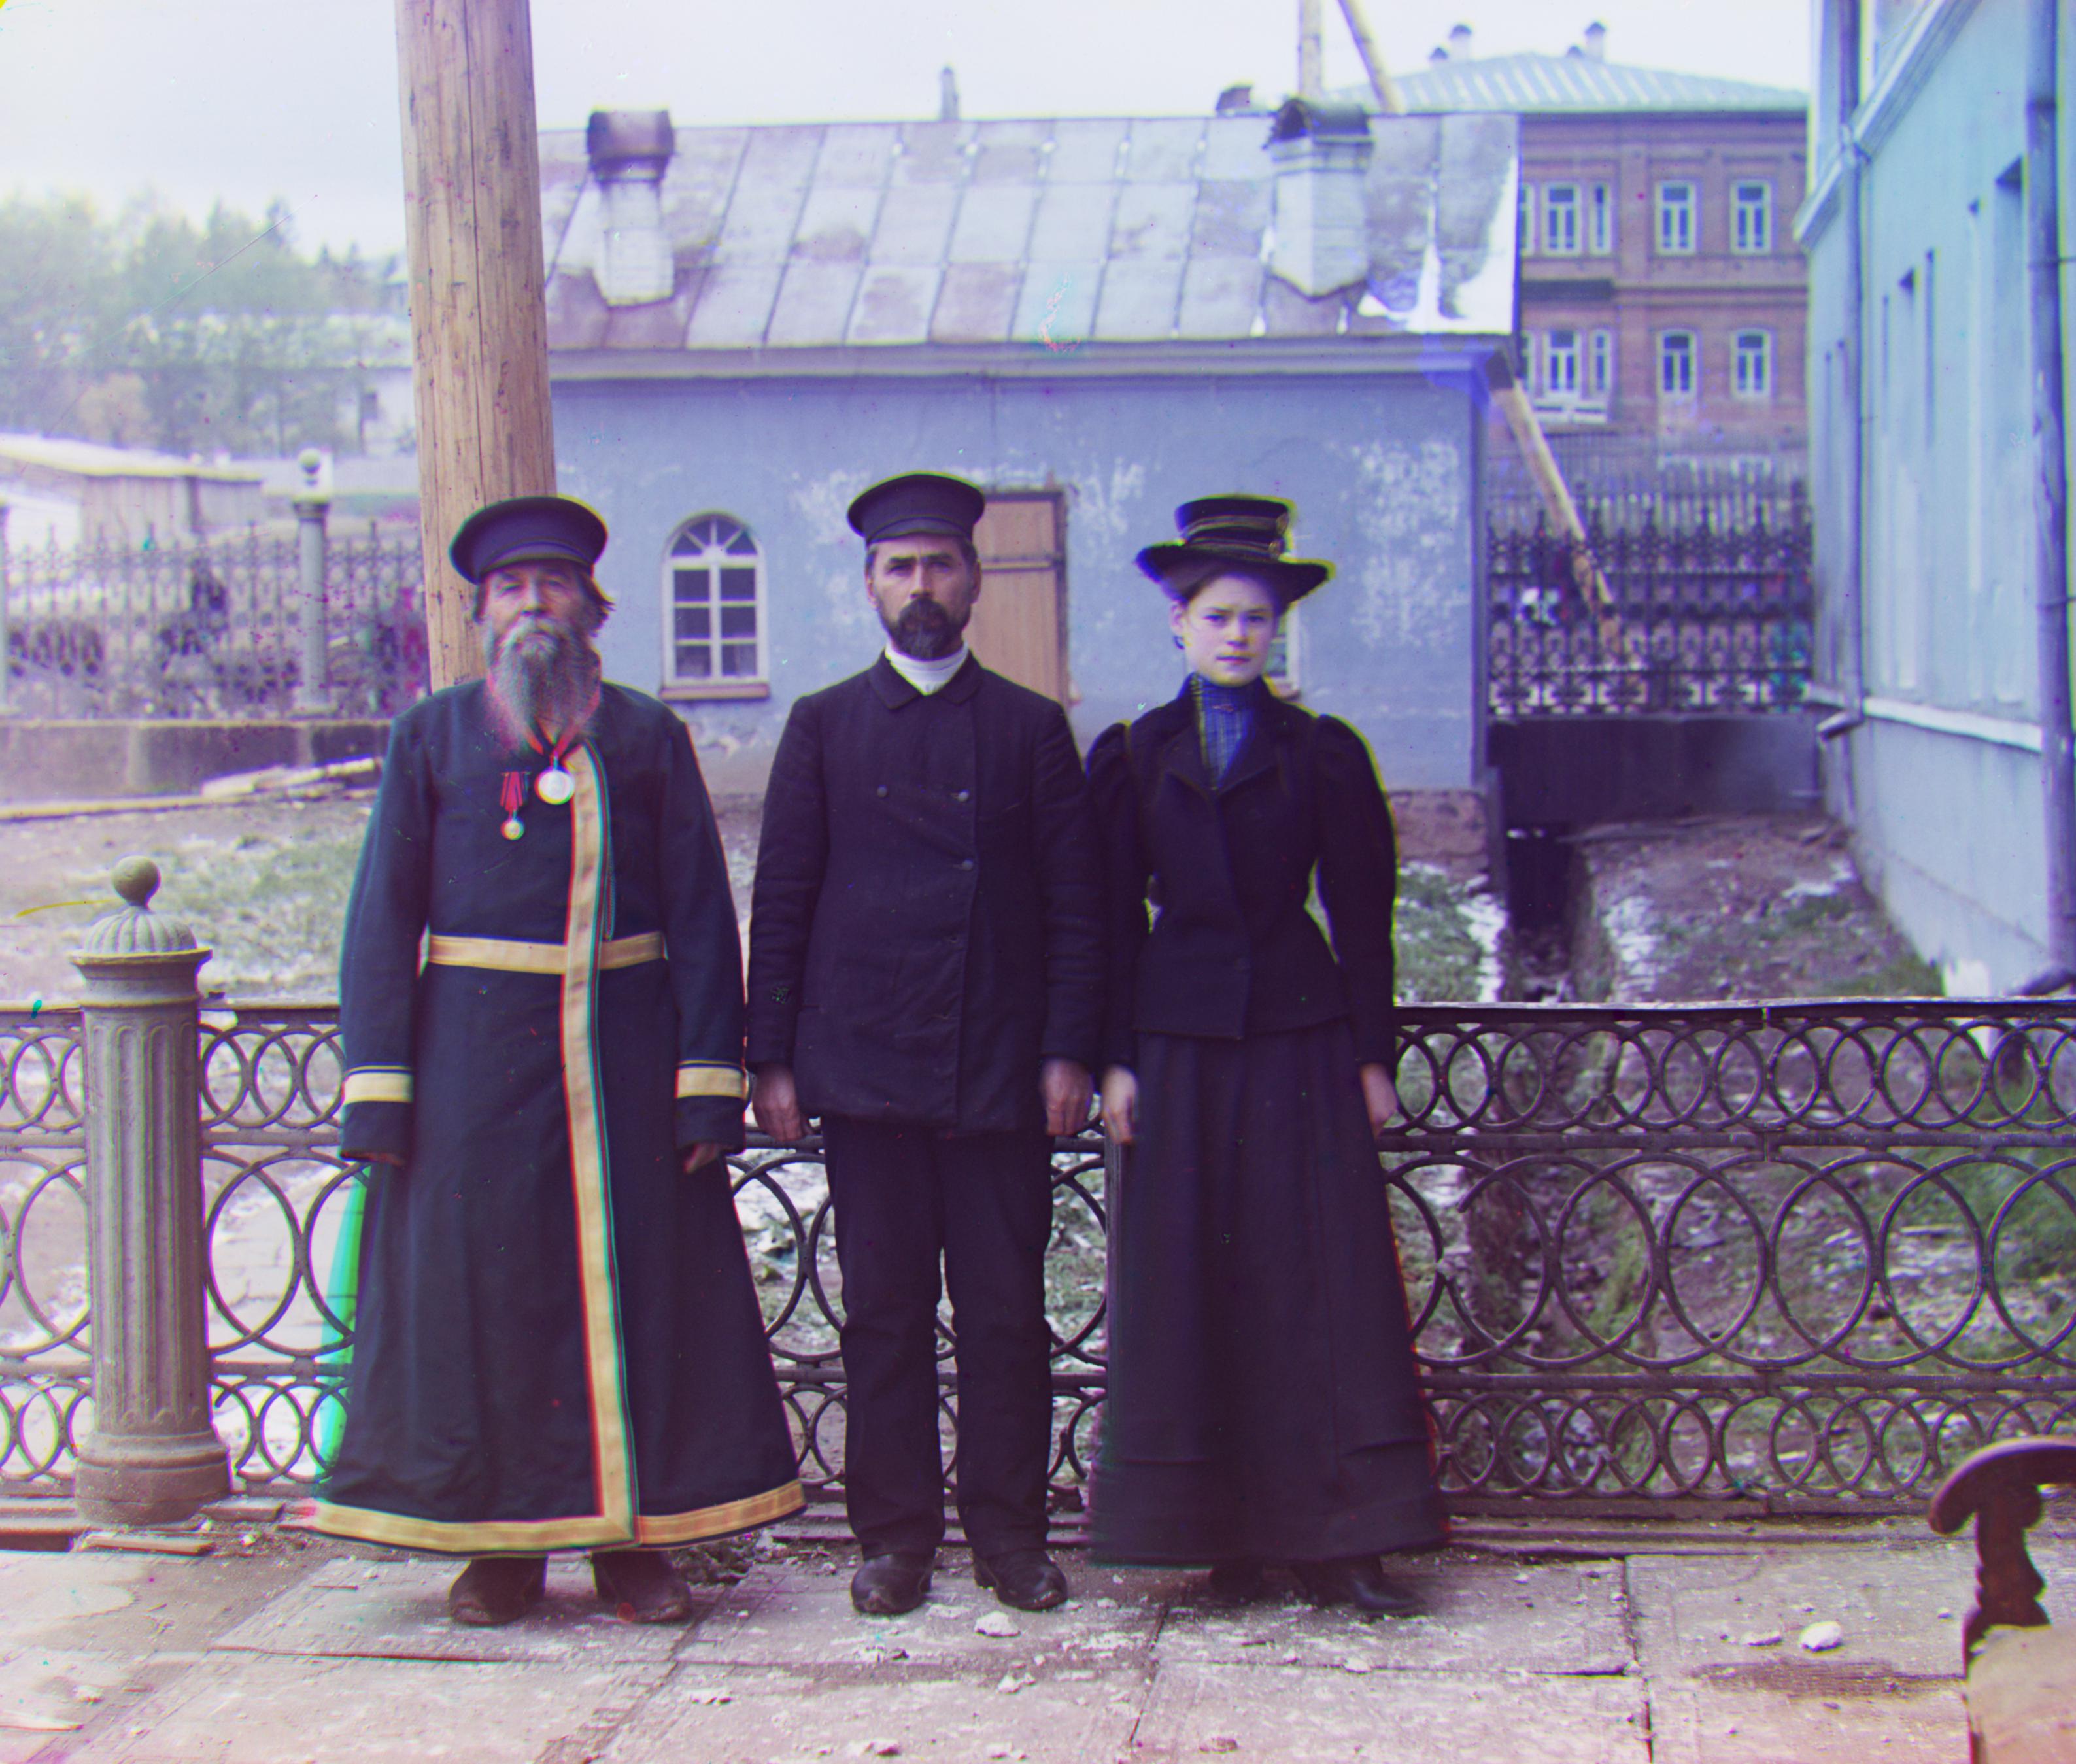
| Three Generations R: (108, 13) G: (49, 17) |
|
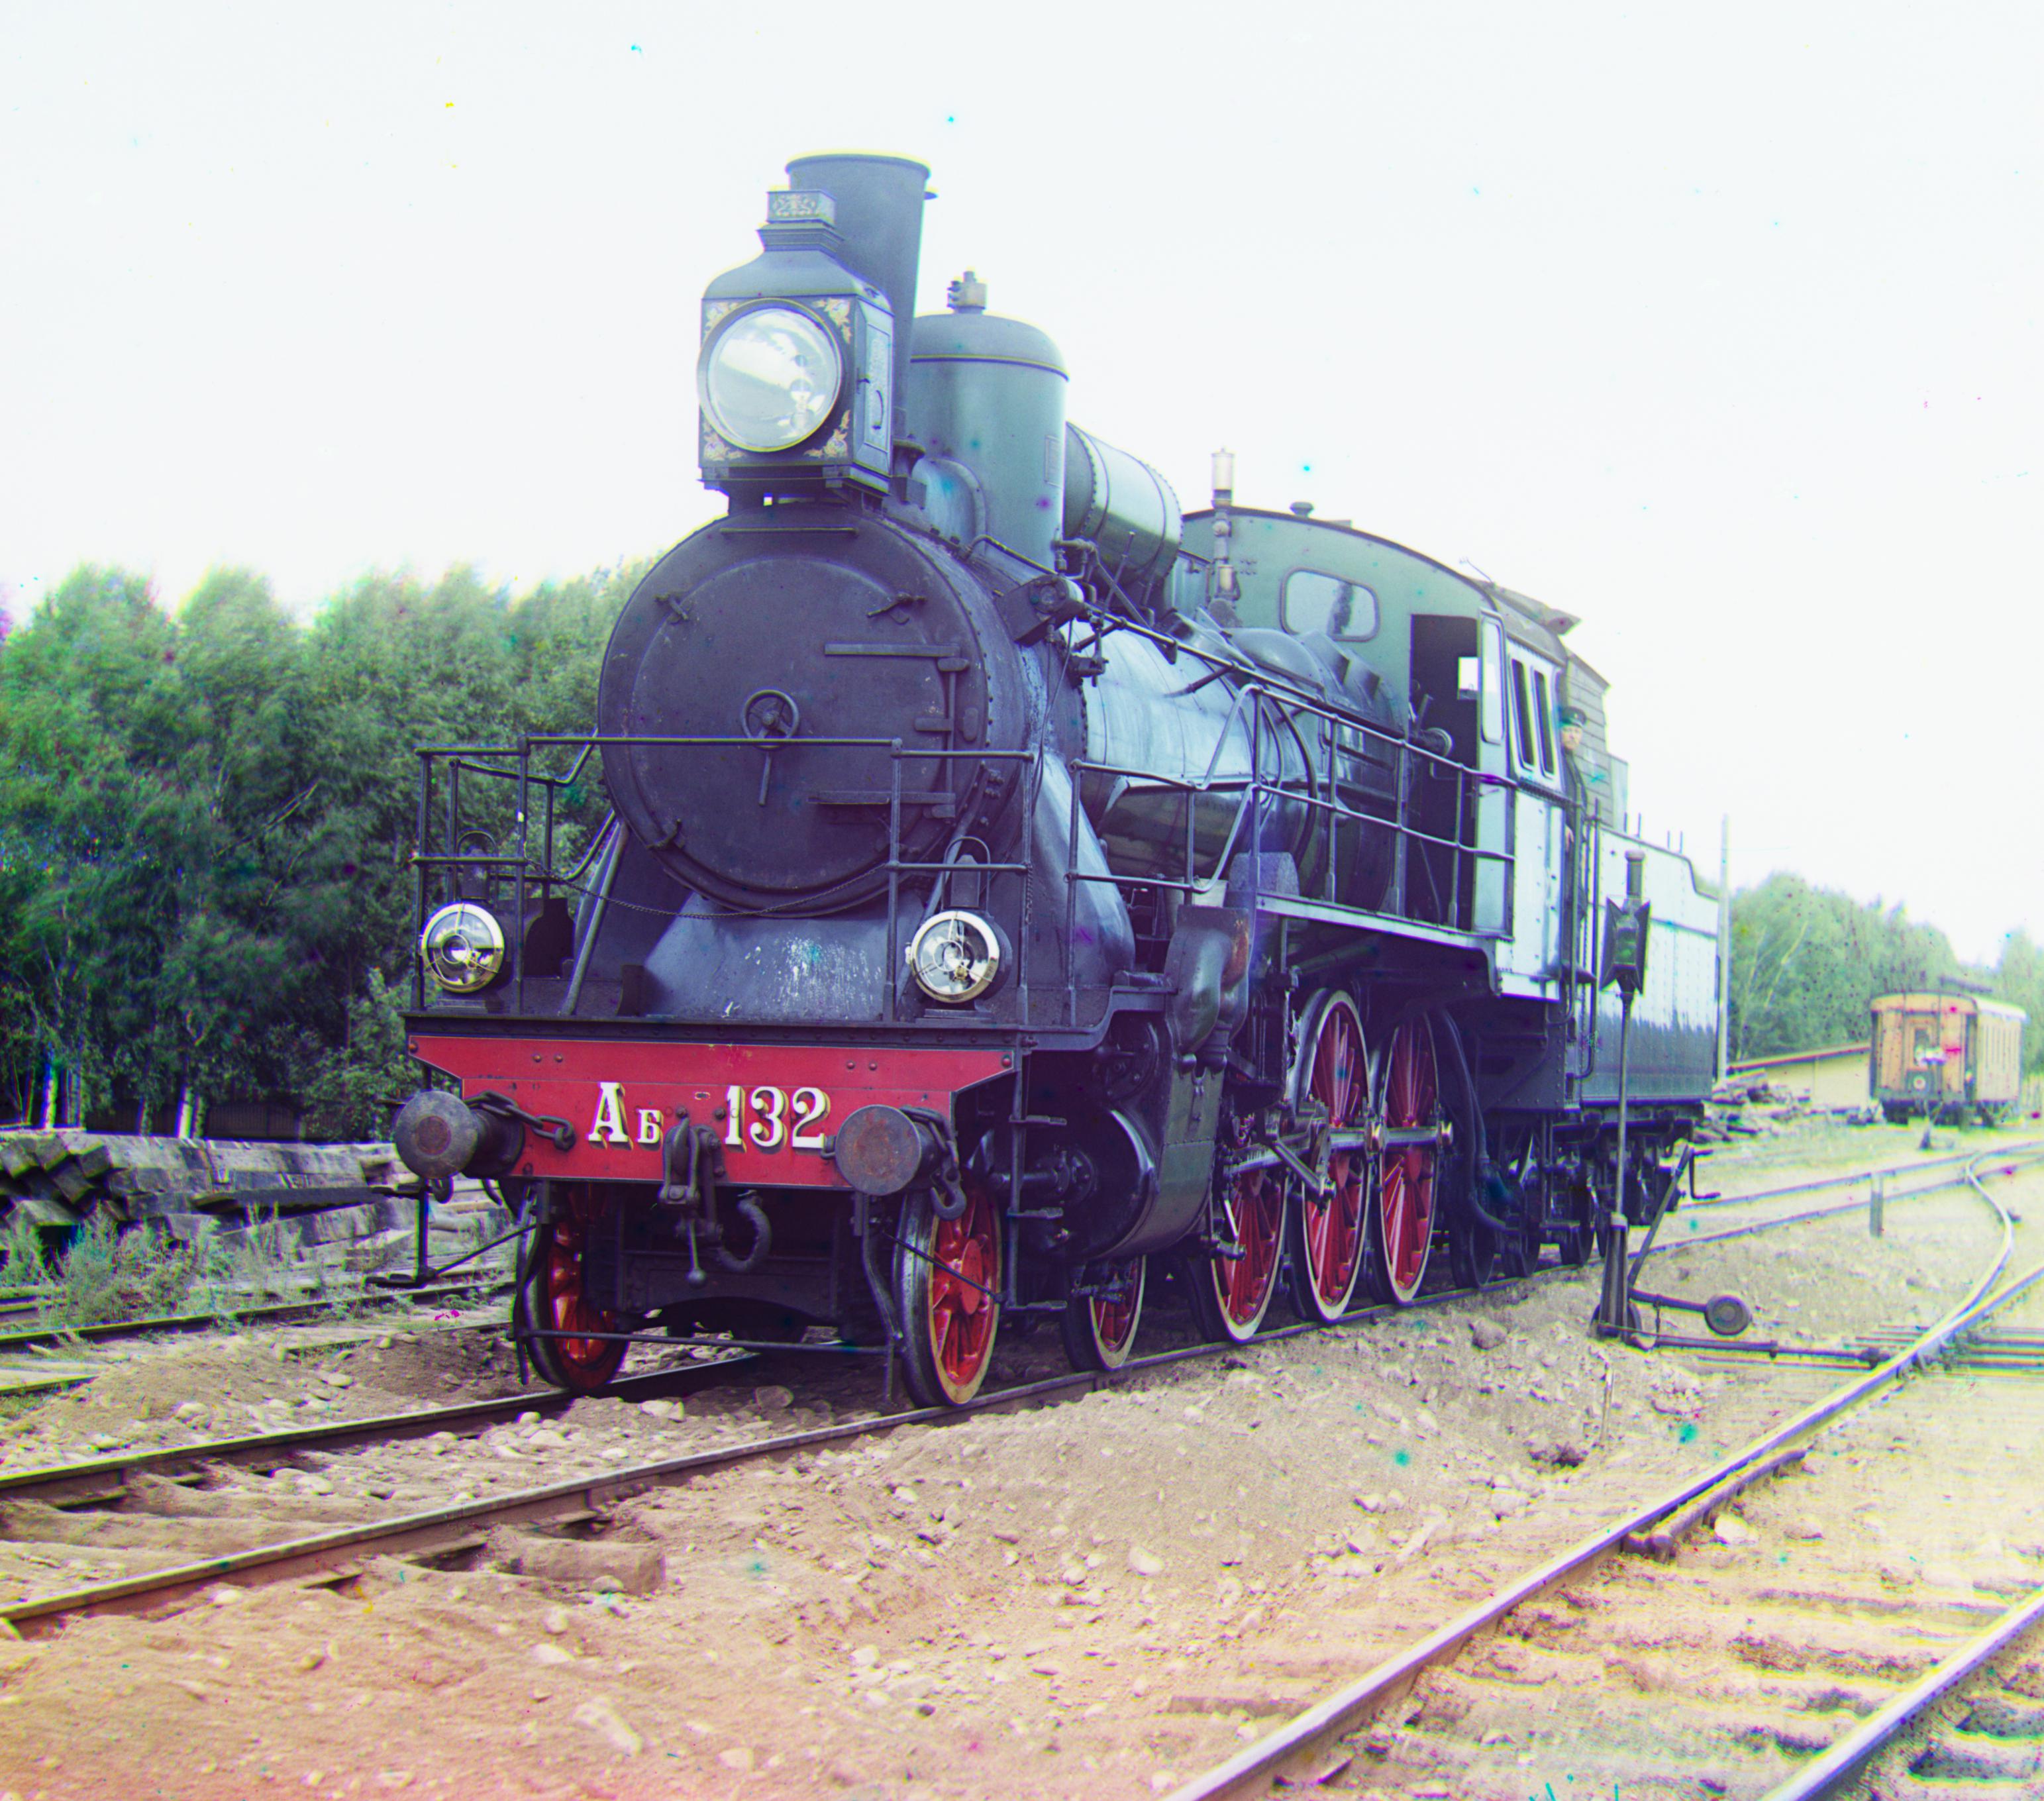
| Train R: (85, 32) G: (42, 6) |
|
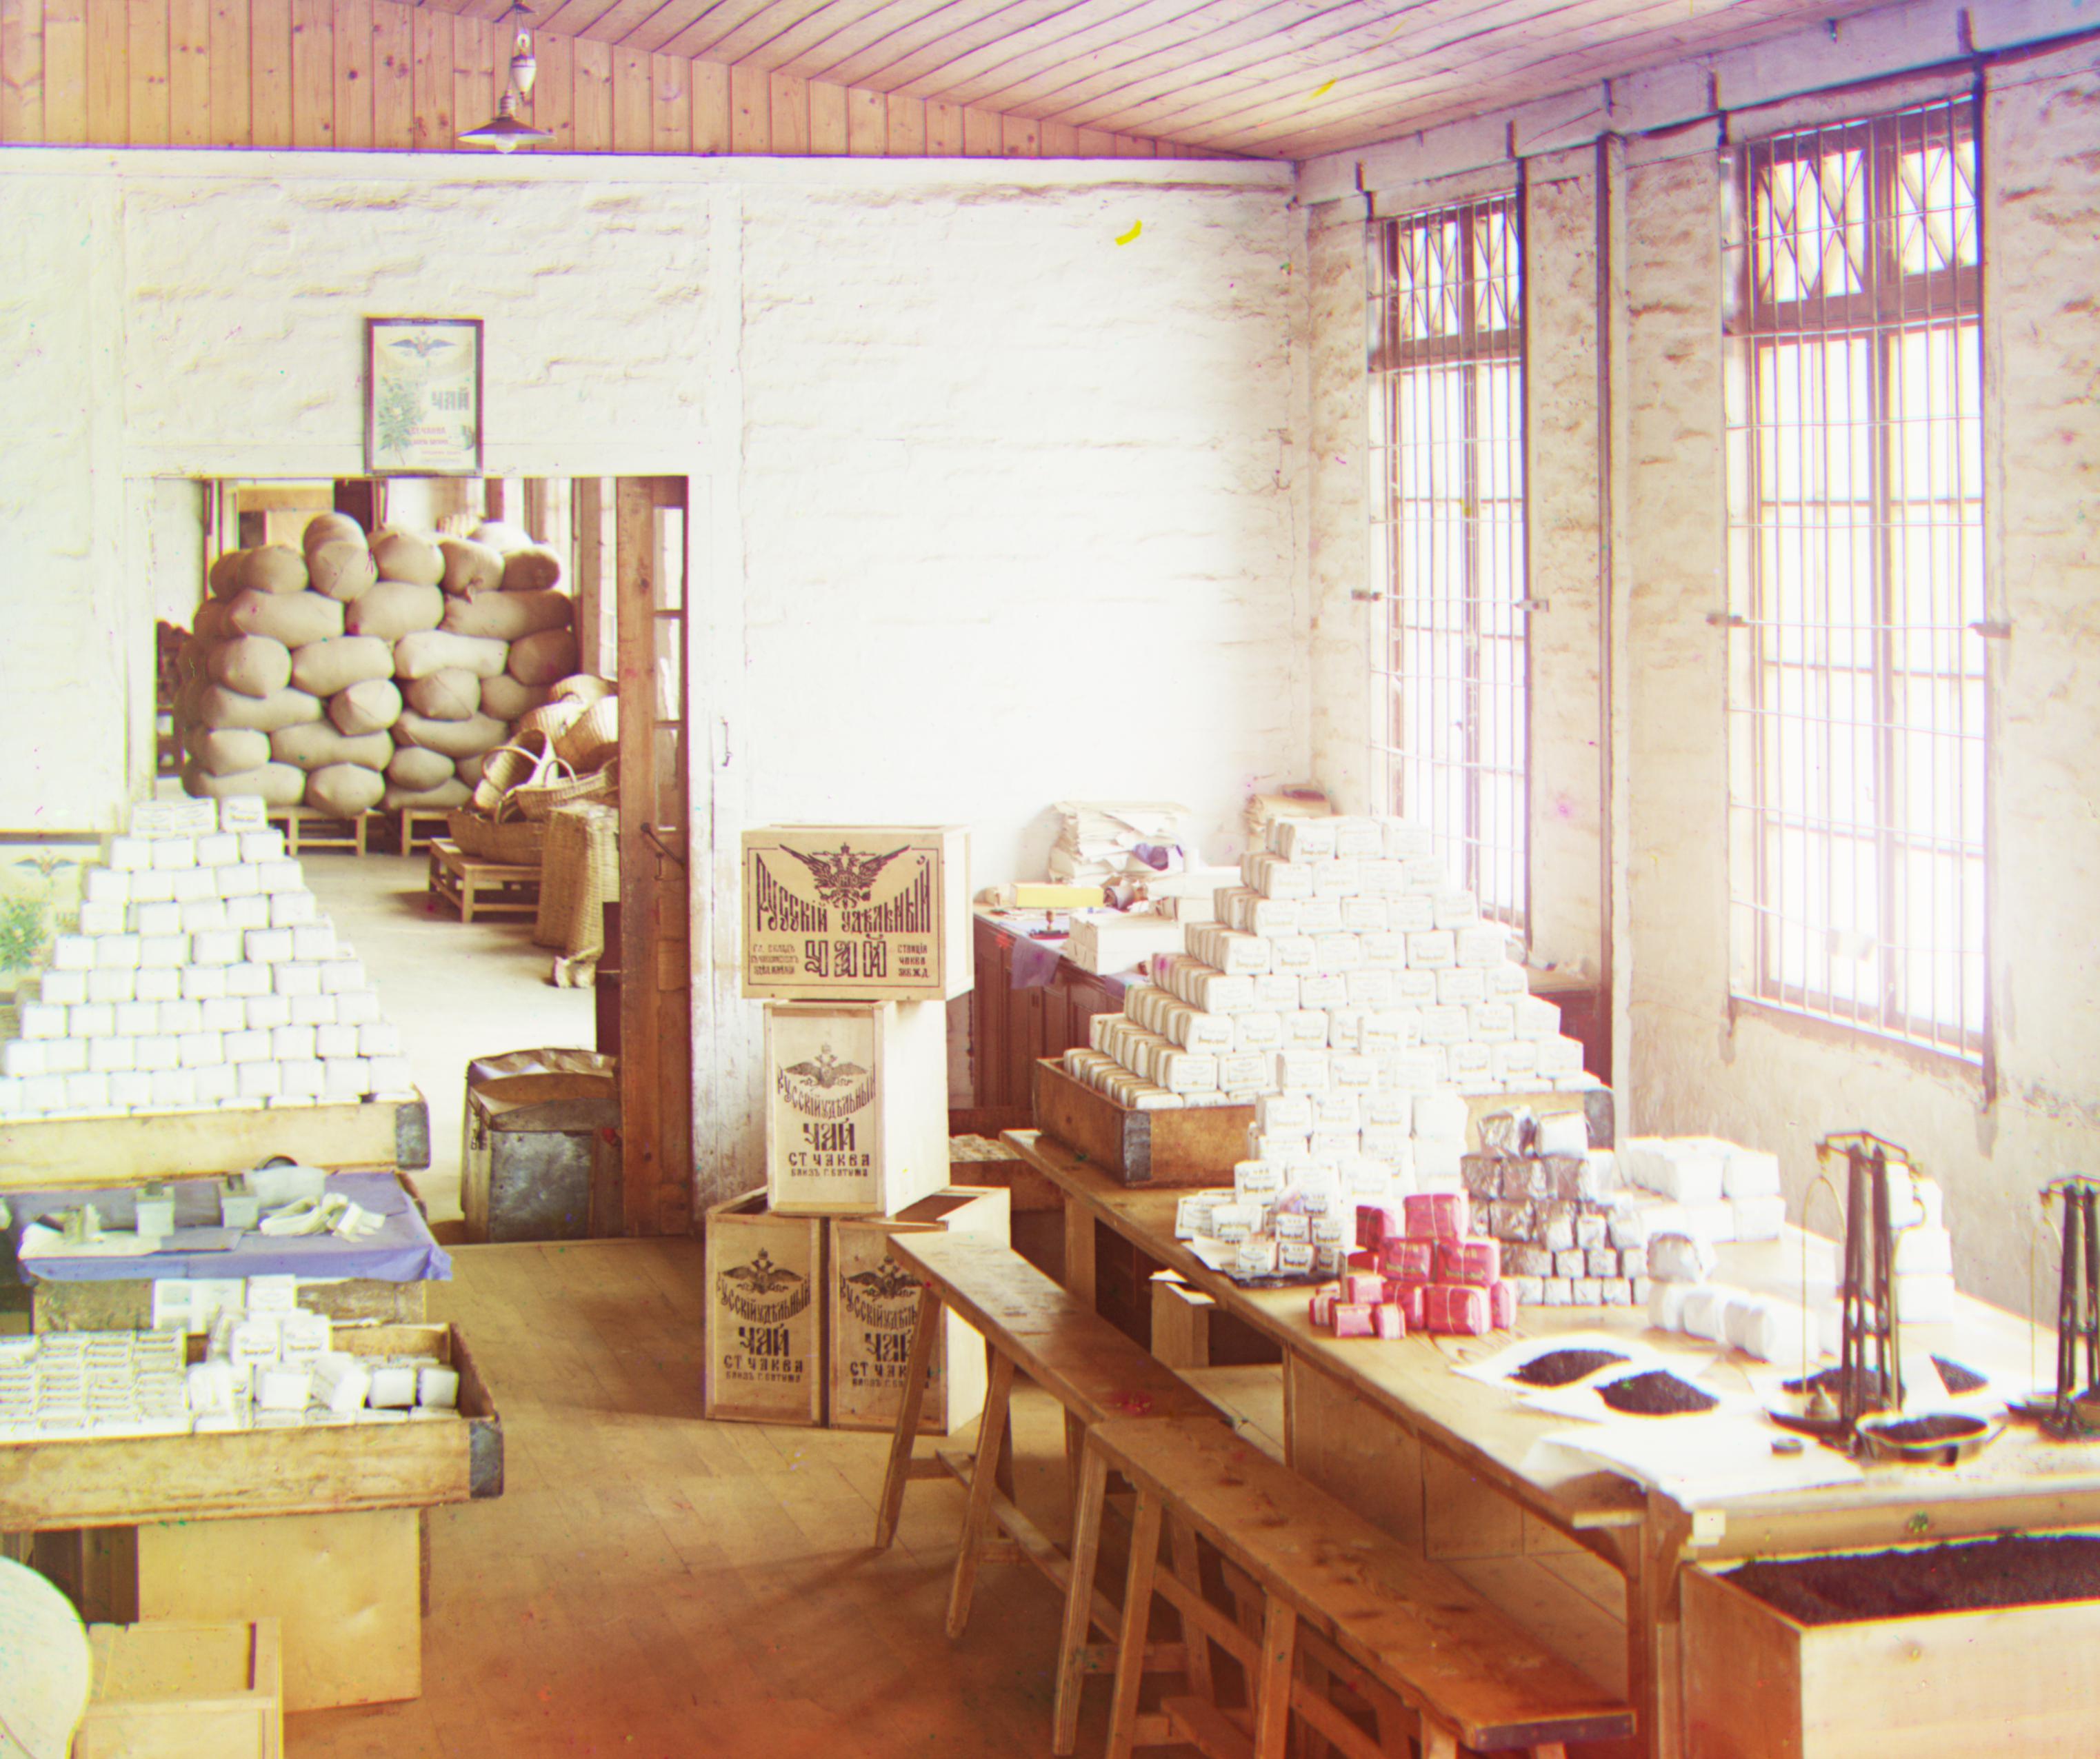
| Workshop R: (105, -12) G: (53, 0) |
|
Bells & Whistles
For the Bells & Whistles portion of the projcet, I chose to work on automatic edge detection, cropping, and contrasting. For the automatic edge detection, I explored using Canny and Roberts. Ultimately, roberts gave better results and was easier to work with in my case. As you can see from the picture below, when roberts is used, it masks the image in order to autodetect the edges. For auto contrast, I chose to use CLAHE after doing some reasrch online. Finally, my code also auto crops all images by 10% giving each image a more clean and finished look. As you can see from the image below, auto contrasting and automatic edge detection successfully allowed me to align Emir properly.
| Displacement | Roberts Applied | After Edge Detection & Auto Contrast & Auto Crop |
|---|---|---|
| Catherdral R: (106, 41) G: (48, 23) |
|
|
Conclusion & Selected Images
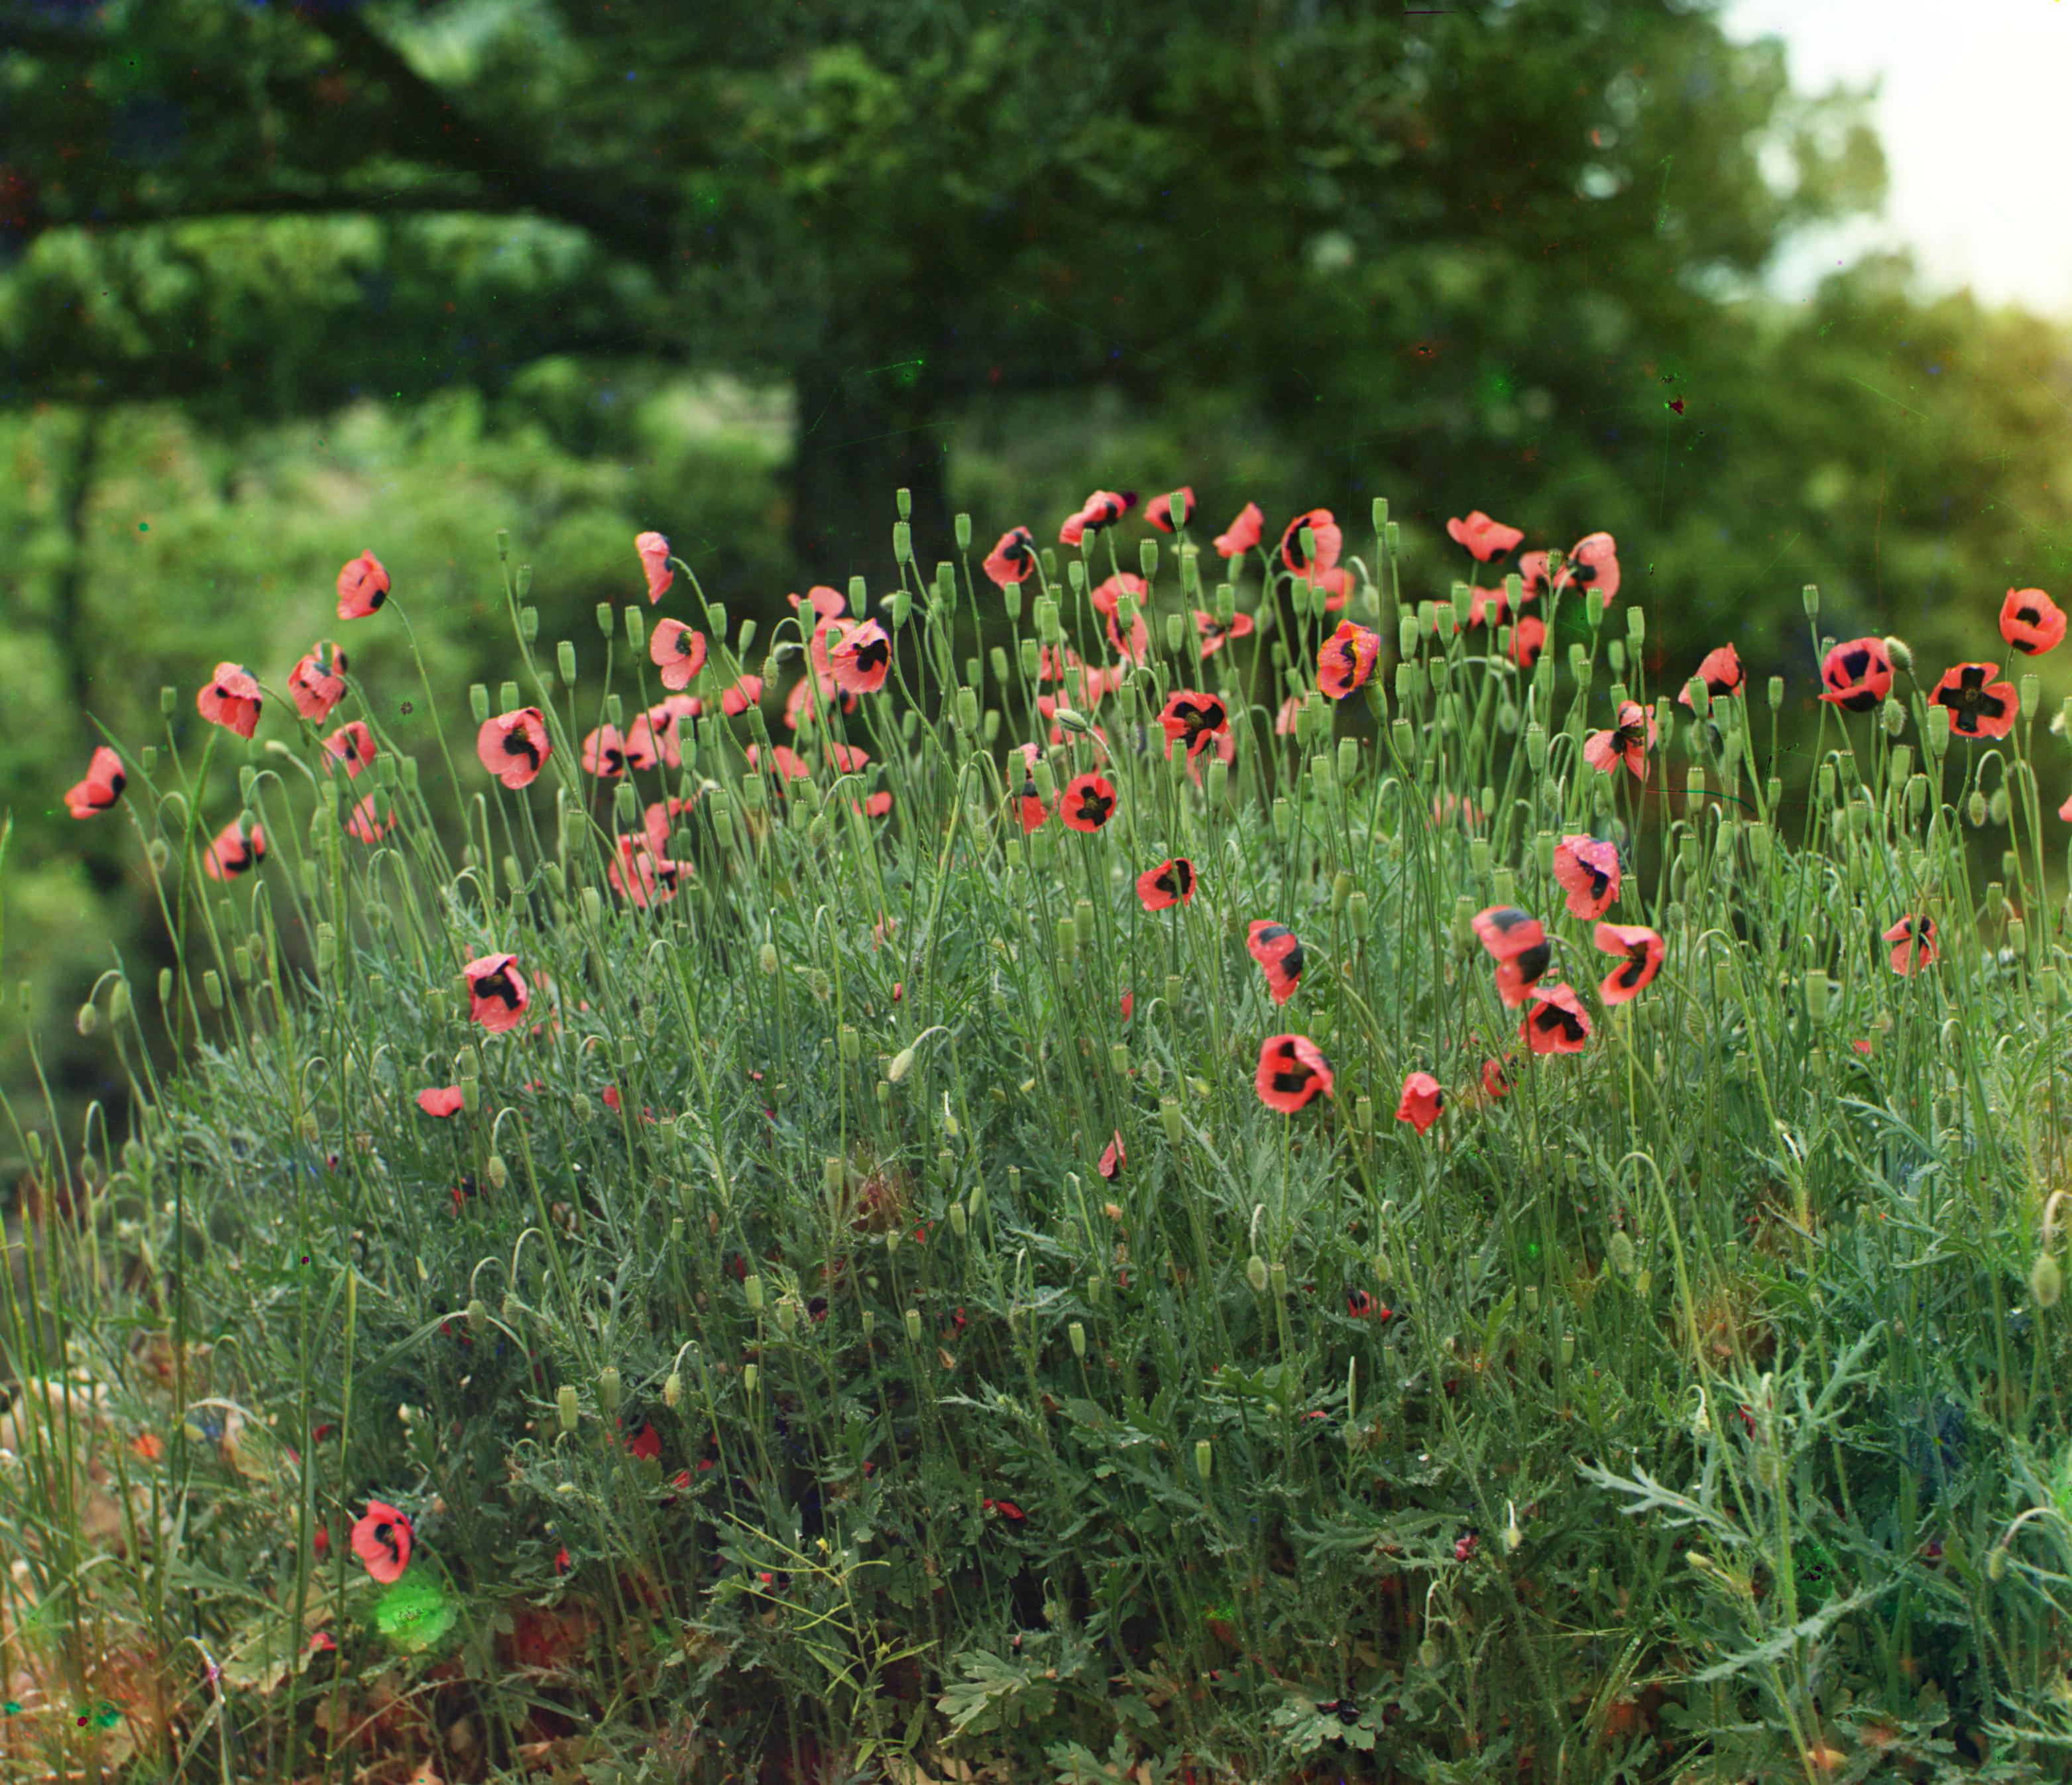
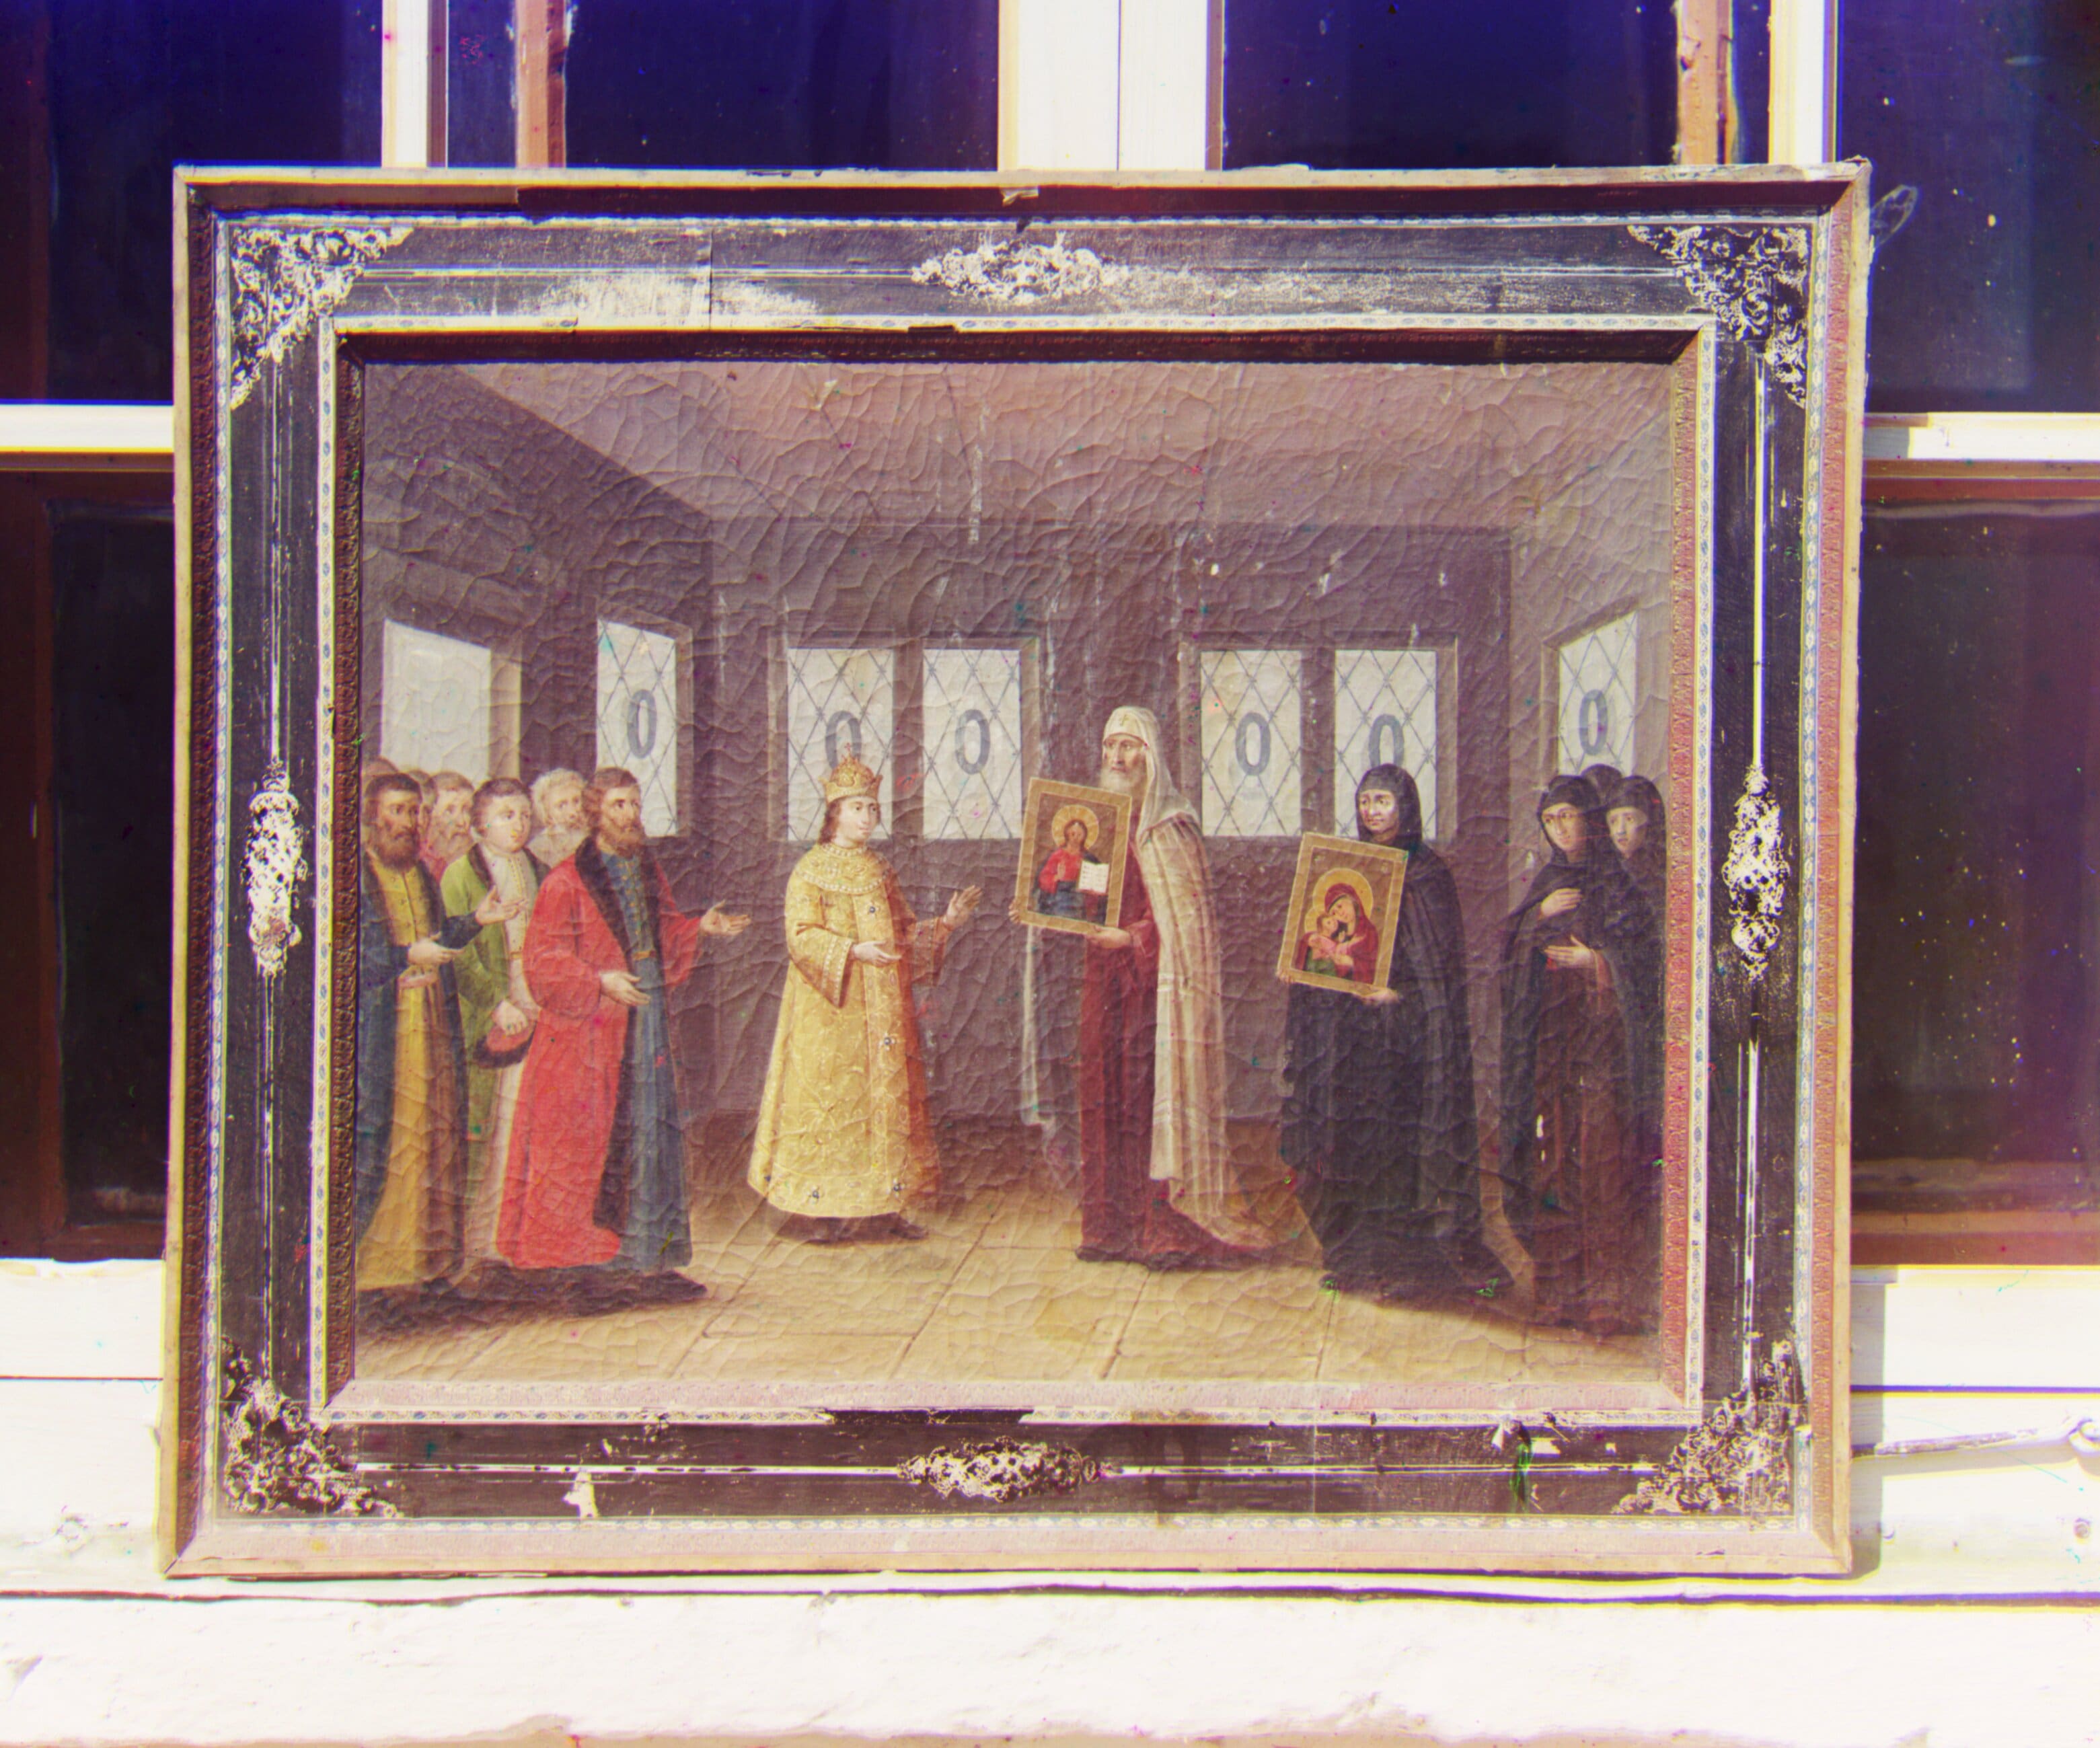
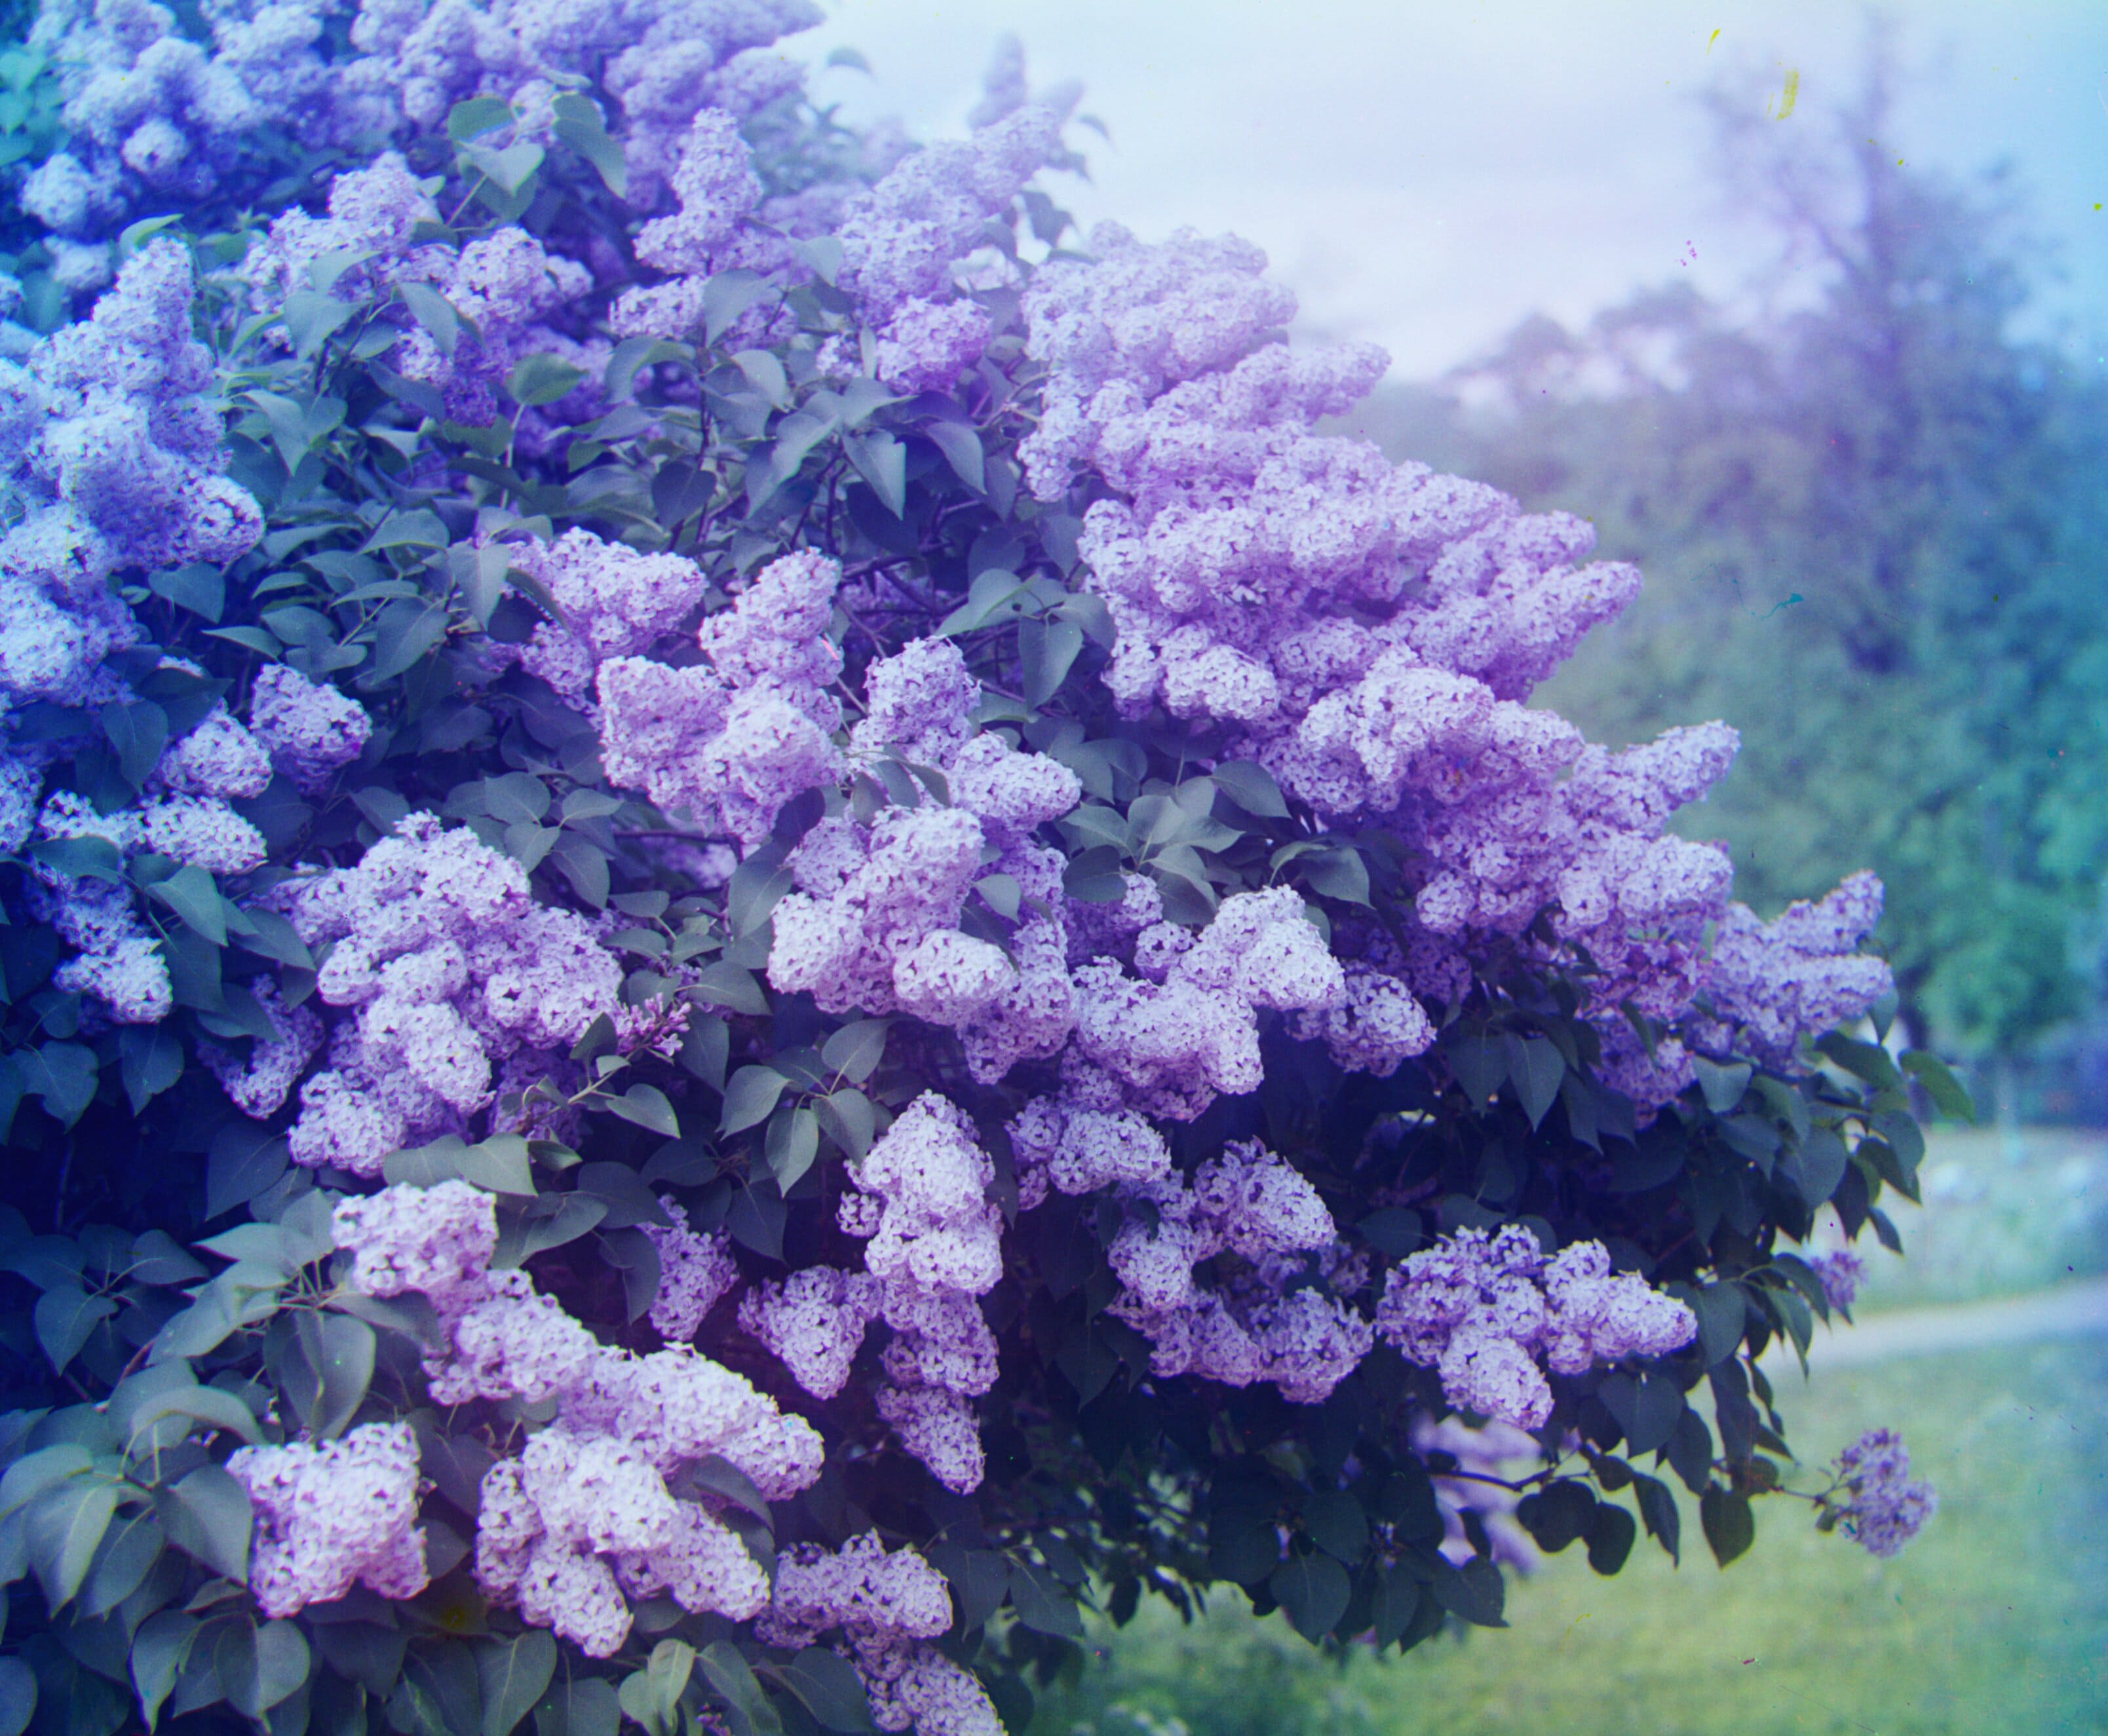
This was a fun project to work on! I didn't know that CS can be used in this way and thought that it was an intersting topic to read about. I especially enjoyed the creativety that came with this project! Overall, we were able to see that the pyramid method works better on all images, espcially the larger ones. Below are additonal images I selected to work with for this project.
| Displacement | Final Result |
|---|---|
| Poppies R: (121, 40) G: (24, 19) |
|
| Frame R: (94, 16) G: (43, 18) |
|
| Flowers R: (96, -23) G: (48, -5) |
|
| Woman R: (87, 12) G: (25, 6) |
|