CS 194-26
By Won Ryu
As early as 1907, Sergei Mikhailovich Prokudin-Gorskii received permission to travel across the Russian Empire to take color photographs of everything he saw. Color photography for him was to record 3 exposures of every scene onto a glass plate of red, gren, and blue filter. His idea was to install special projectors that could display his photos in color. His plans never fully became reality; however with modern day computers, we can take the digitized glass plate images Prokudin-Gorski took and produce the color images Prokudin-Gorskii envisioned projecting. Luckily for his vision, the Library of Congress has purchased and provided the digitized Prokudin-Gorskii glass plate images and as a result, we can use image processing techniques to automatically produce a color image with his glass plate images.
The digitized glass plate image was first read in as a matrix and converted to float values ranging from 0 to 1.
The glass plate image which was three images in the filter order blue, green, red was vertically separated into its three color channels by splitting the image into equal vertical thirds.
The ends of the sides which were the border for the images and not the image itself were cropped (more explanation to why this was done can be found in the problems section).
Using Canny edge detection, a matrix including only the edges of each color channel were made to be used as features when finding the shifts for proper alignment (more explanation to why this was done can be found in the Bells & Whistles section).
(For Low-resolution only) Green image and red image were aligned to the blue image by exhaustively searching over a window of possible displacements and keeping the displacement with the highest normalized cross-correlation score. The window of possible displacement was found ideal to be the shape of the image floor divided by 20 as it would give a number of around 13-20 pixels vertically and horizontally depending on the size of the image.
(For High-resolution only) For high resolution images as it had a lot more pixels, the window of displacement to search over would be very large and take a lot of time. As a result, the alignment process was made more efficient using an image pyramid. This was implemented recursively as the images would be rescaled to a lower resolution by a factor of half for the recursive calls. The base case was when the shape of the image floor divided by 23 was 17 or lower both horizontally and vertically as then we would search through the window the number of shapes of the image floor divided by 23 both horizontally and vertically and keep the best alignment with the highest normalized cross-correlation. If we weren’t at the base case, a shift for the recursive alignment on the coarse scaled image was done and then a search was done over a window between -3 to 3 inclusive was done for vertical and horizontal shifts and the best alignment with the highest normalized cross-correlation was kept.
Once the alignments were done, the red, blue, and green images were stacked to produce a color image which would then be saved.
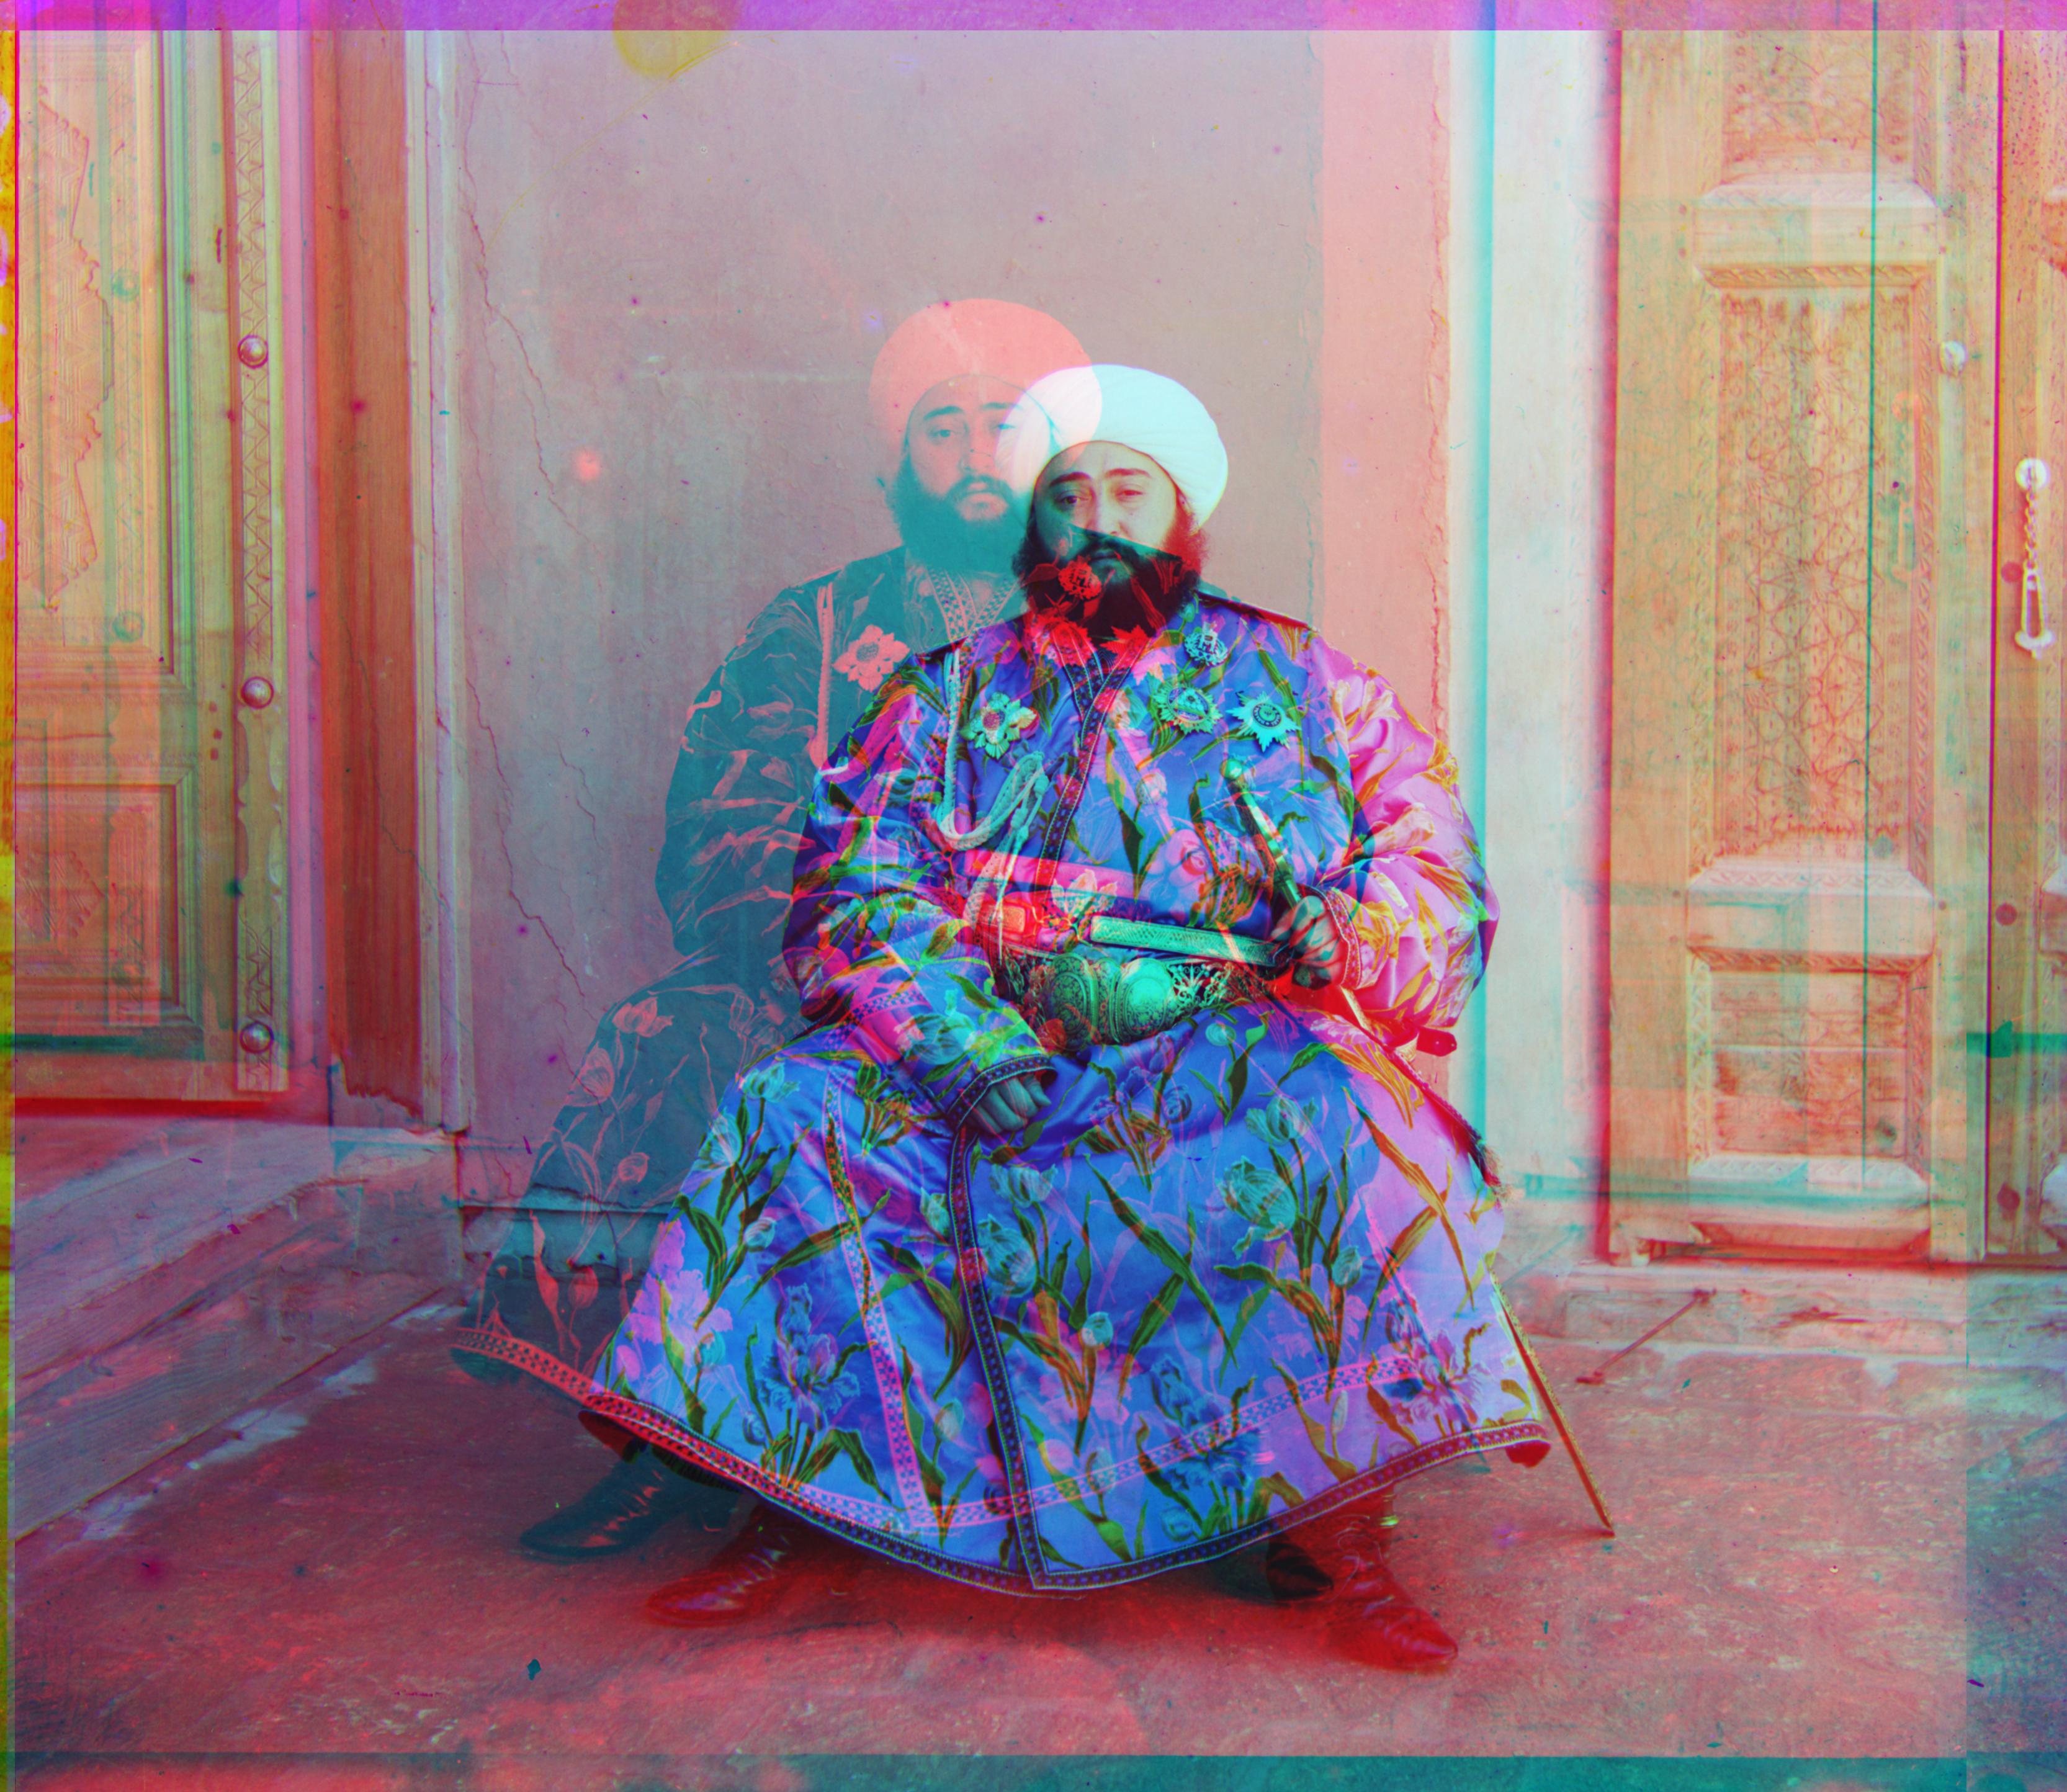
For a couple of images such as “emir.tif” and “self-portrait.tif”, the images looked very blurry and it was obvious that the alignments were off because for instance for emir, it is so obvious in the alignment issues that two emirs are visible. This could be due to that the 3 different color images may not have the same brightness value which means that when raw pixel values are used as features for alignment, a high normalized cross-correlation value might not always mean a good alignment. In order to combat the differences in brightness values, a Canny edge detector was used for the feature that would be used to determine alignment. The images were first run through a Canny edge detector and for all the coordinates that weren’t a part of an edge the value was set to 0 and for all the coordinates that was a part of an edge, the value was set to 1. This matrix was used as the feature to determine shifts for alignment and the shifts were done on the color image and the alignments became better.
emir before Canny edge detector was used

emir after Canny edge detector was used
A lot of the images had issues after aligning the color images together. As the edge detector aligned it for the image, the sides of the images became strong in a certain color. This is likely due to that the borders of the image were not supposed to be in the image itself and as a result, I solved the issue by cropping 5% on each of the 4 sides of the image. Further improvement could be to implement a border detection algorithm.
For some pictures such as “melons.tif”, when the alignment was off, a simple fix was to increase the window of shifts to search for in the non-base case of the recursive alignment. This would have a tradeoff of increasing the time it took by some seconds but doing so only for a couple of pictures would still keep the average time under 1 min.
There are some imperfections in aligning pictures with several people in them as some parts of some people’s bodies would be blurry as the alignment wasn’t exact. This could be due to that people could have done minor movements and clothes could move as it was windy during the pictures and so they could be very tiny differences in the positions between the pictures.
offsets are presented as [vertical offset, horizontal offset]
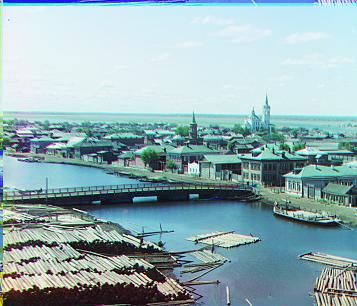
Cathedral.jpg
Green offset: [5, 2]
Red offset: [12, 3]
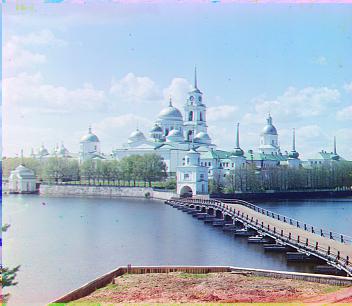
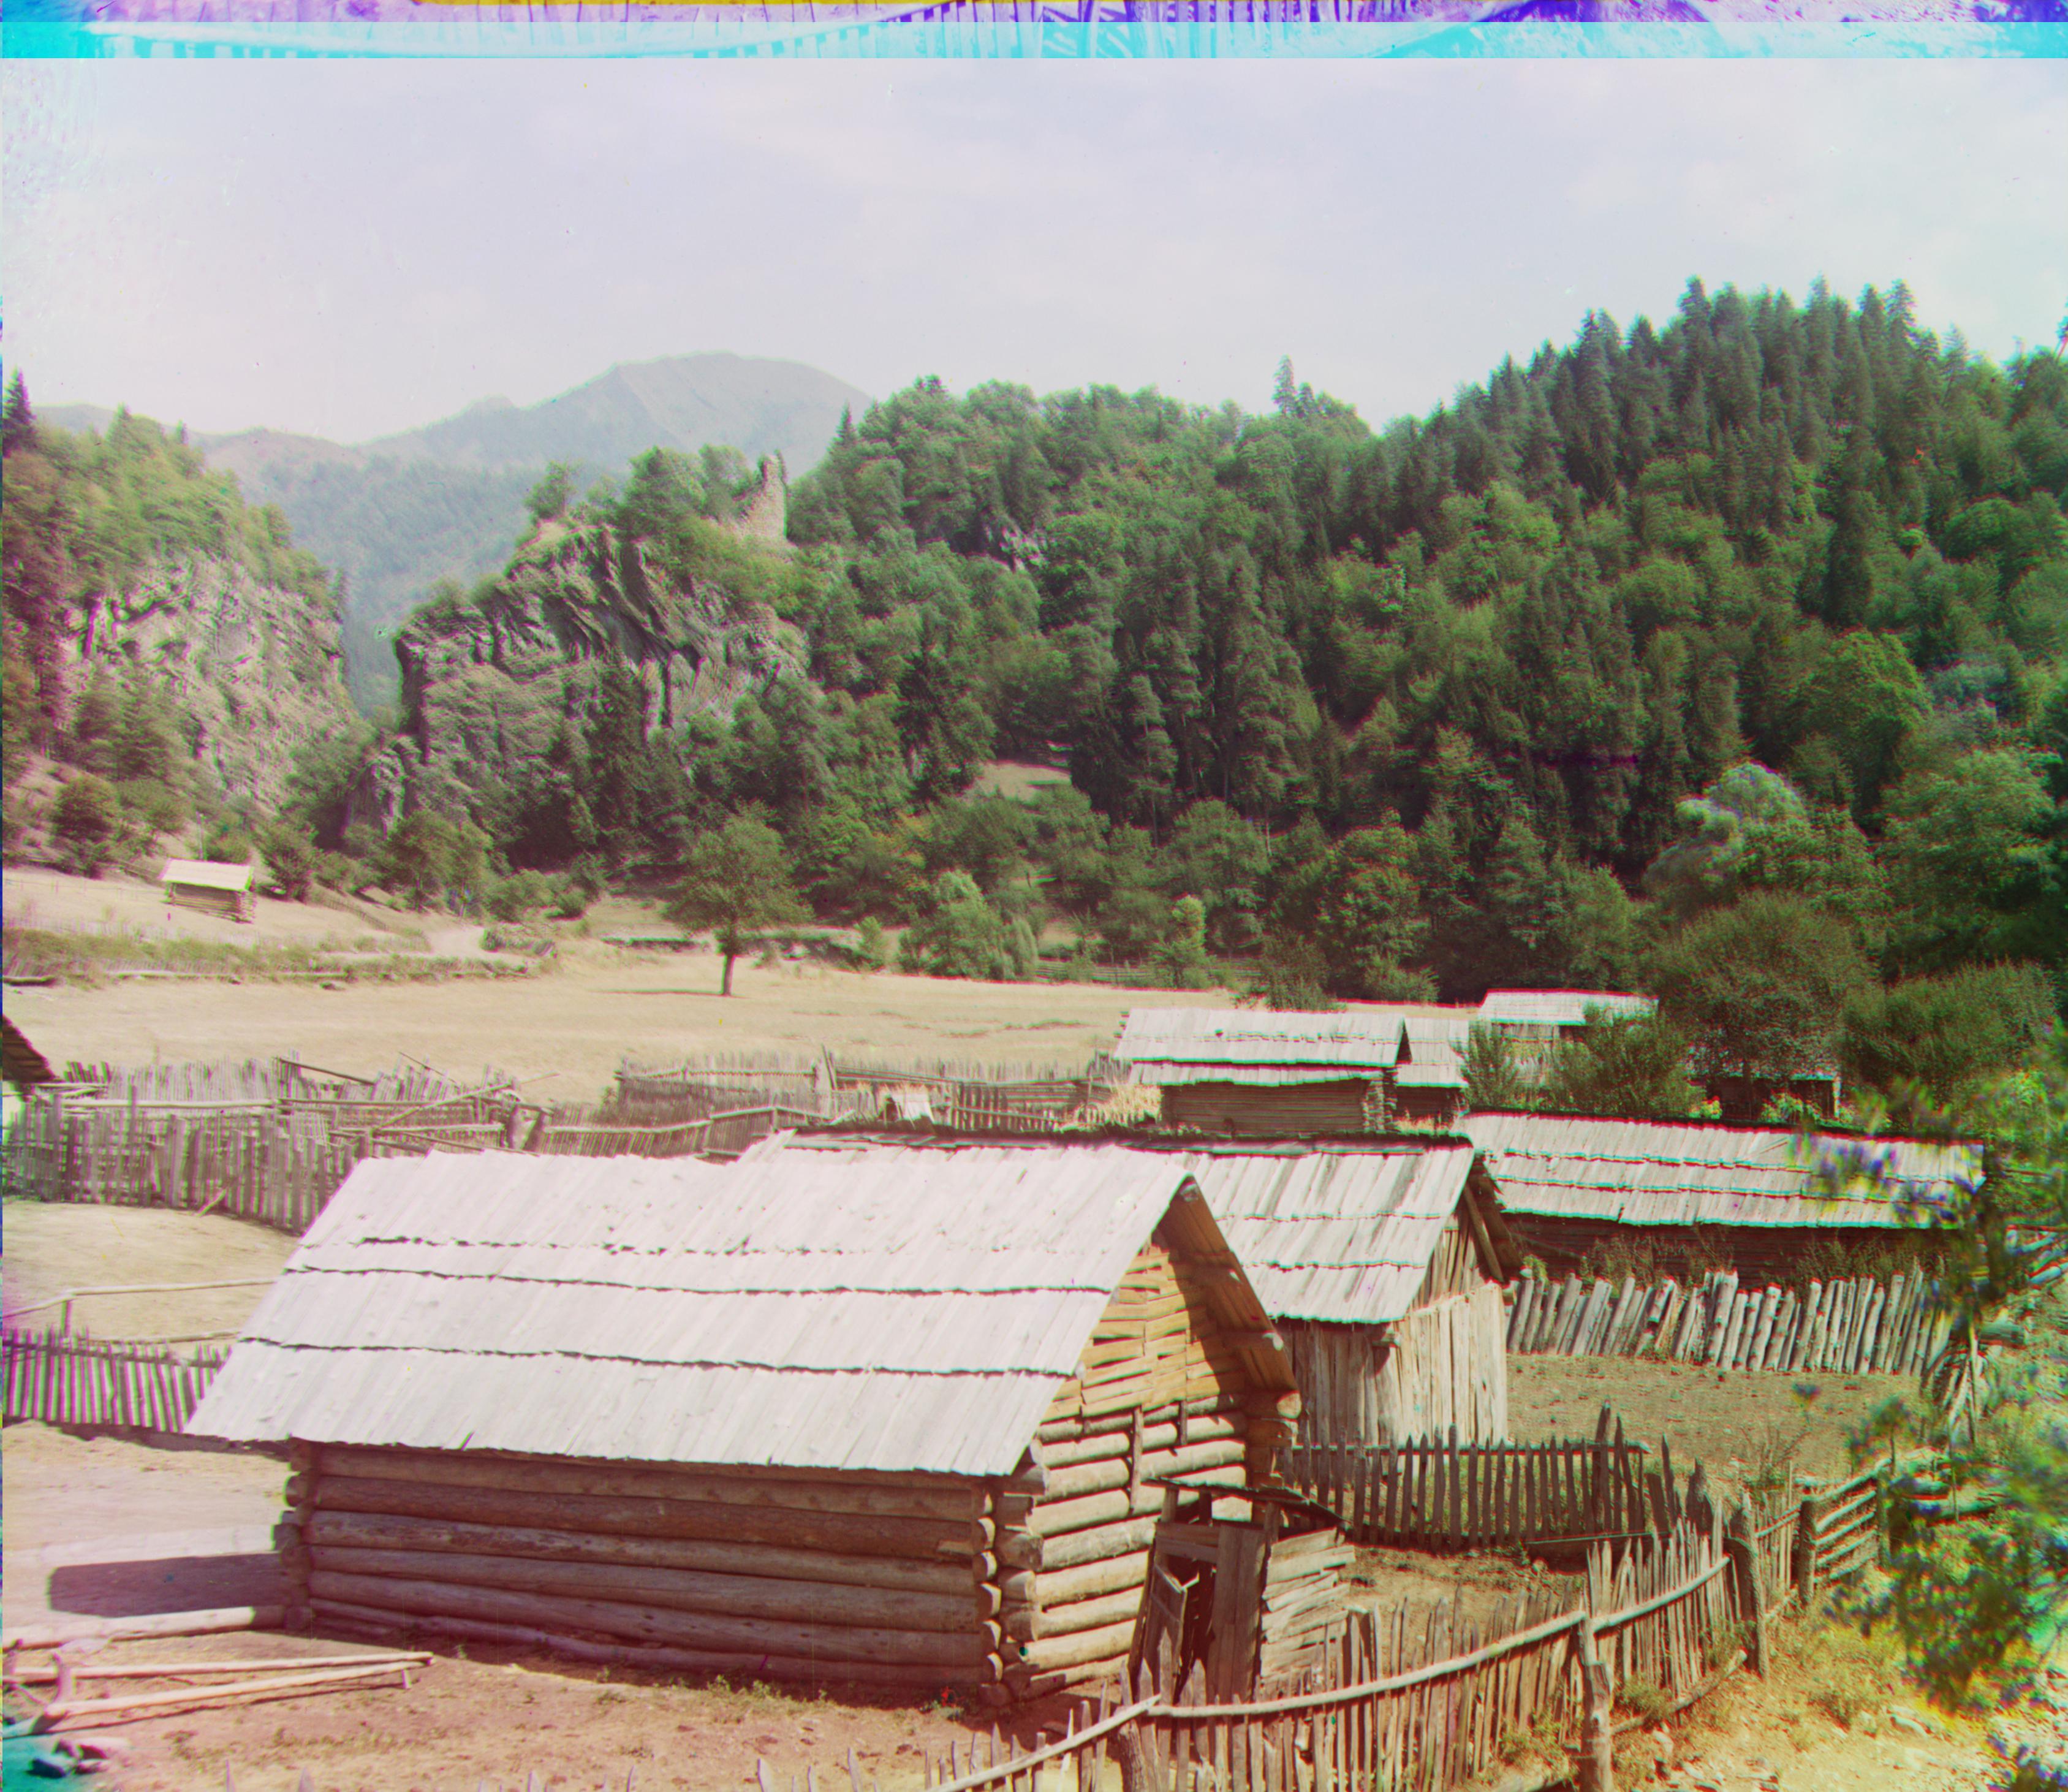
monastery.jpg
Green offset: [-3, 2]
Red offset: [3, 2]
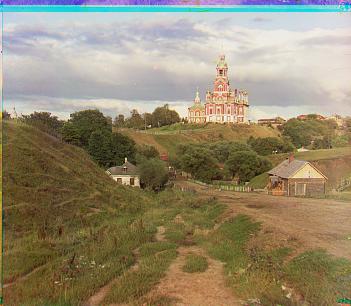
Tobolsk.jpg
Green offset: [3, 3]
Red offset: [6, 3]
Castle.tif
Green offset: [36, 4]
Red offset: [95, 4]
emir.tif
Green offset: [49, 23]
Red offset: [107, 40]
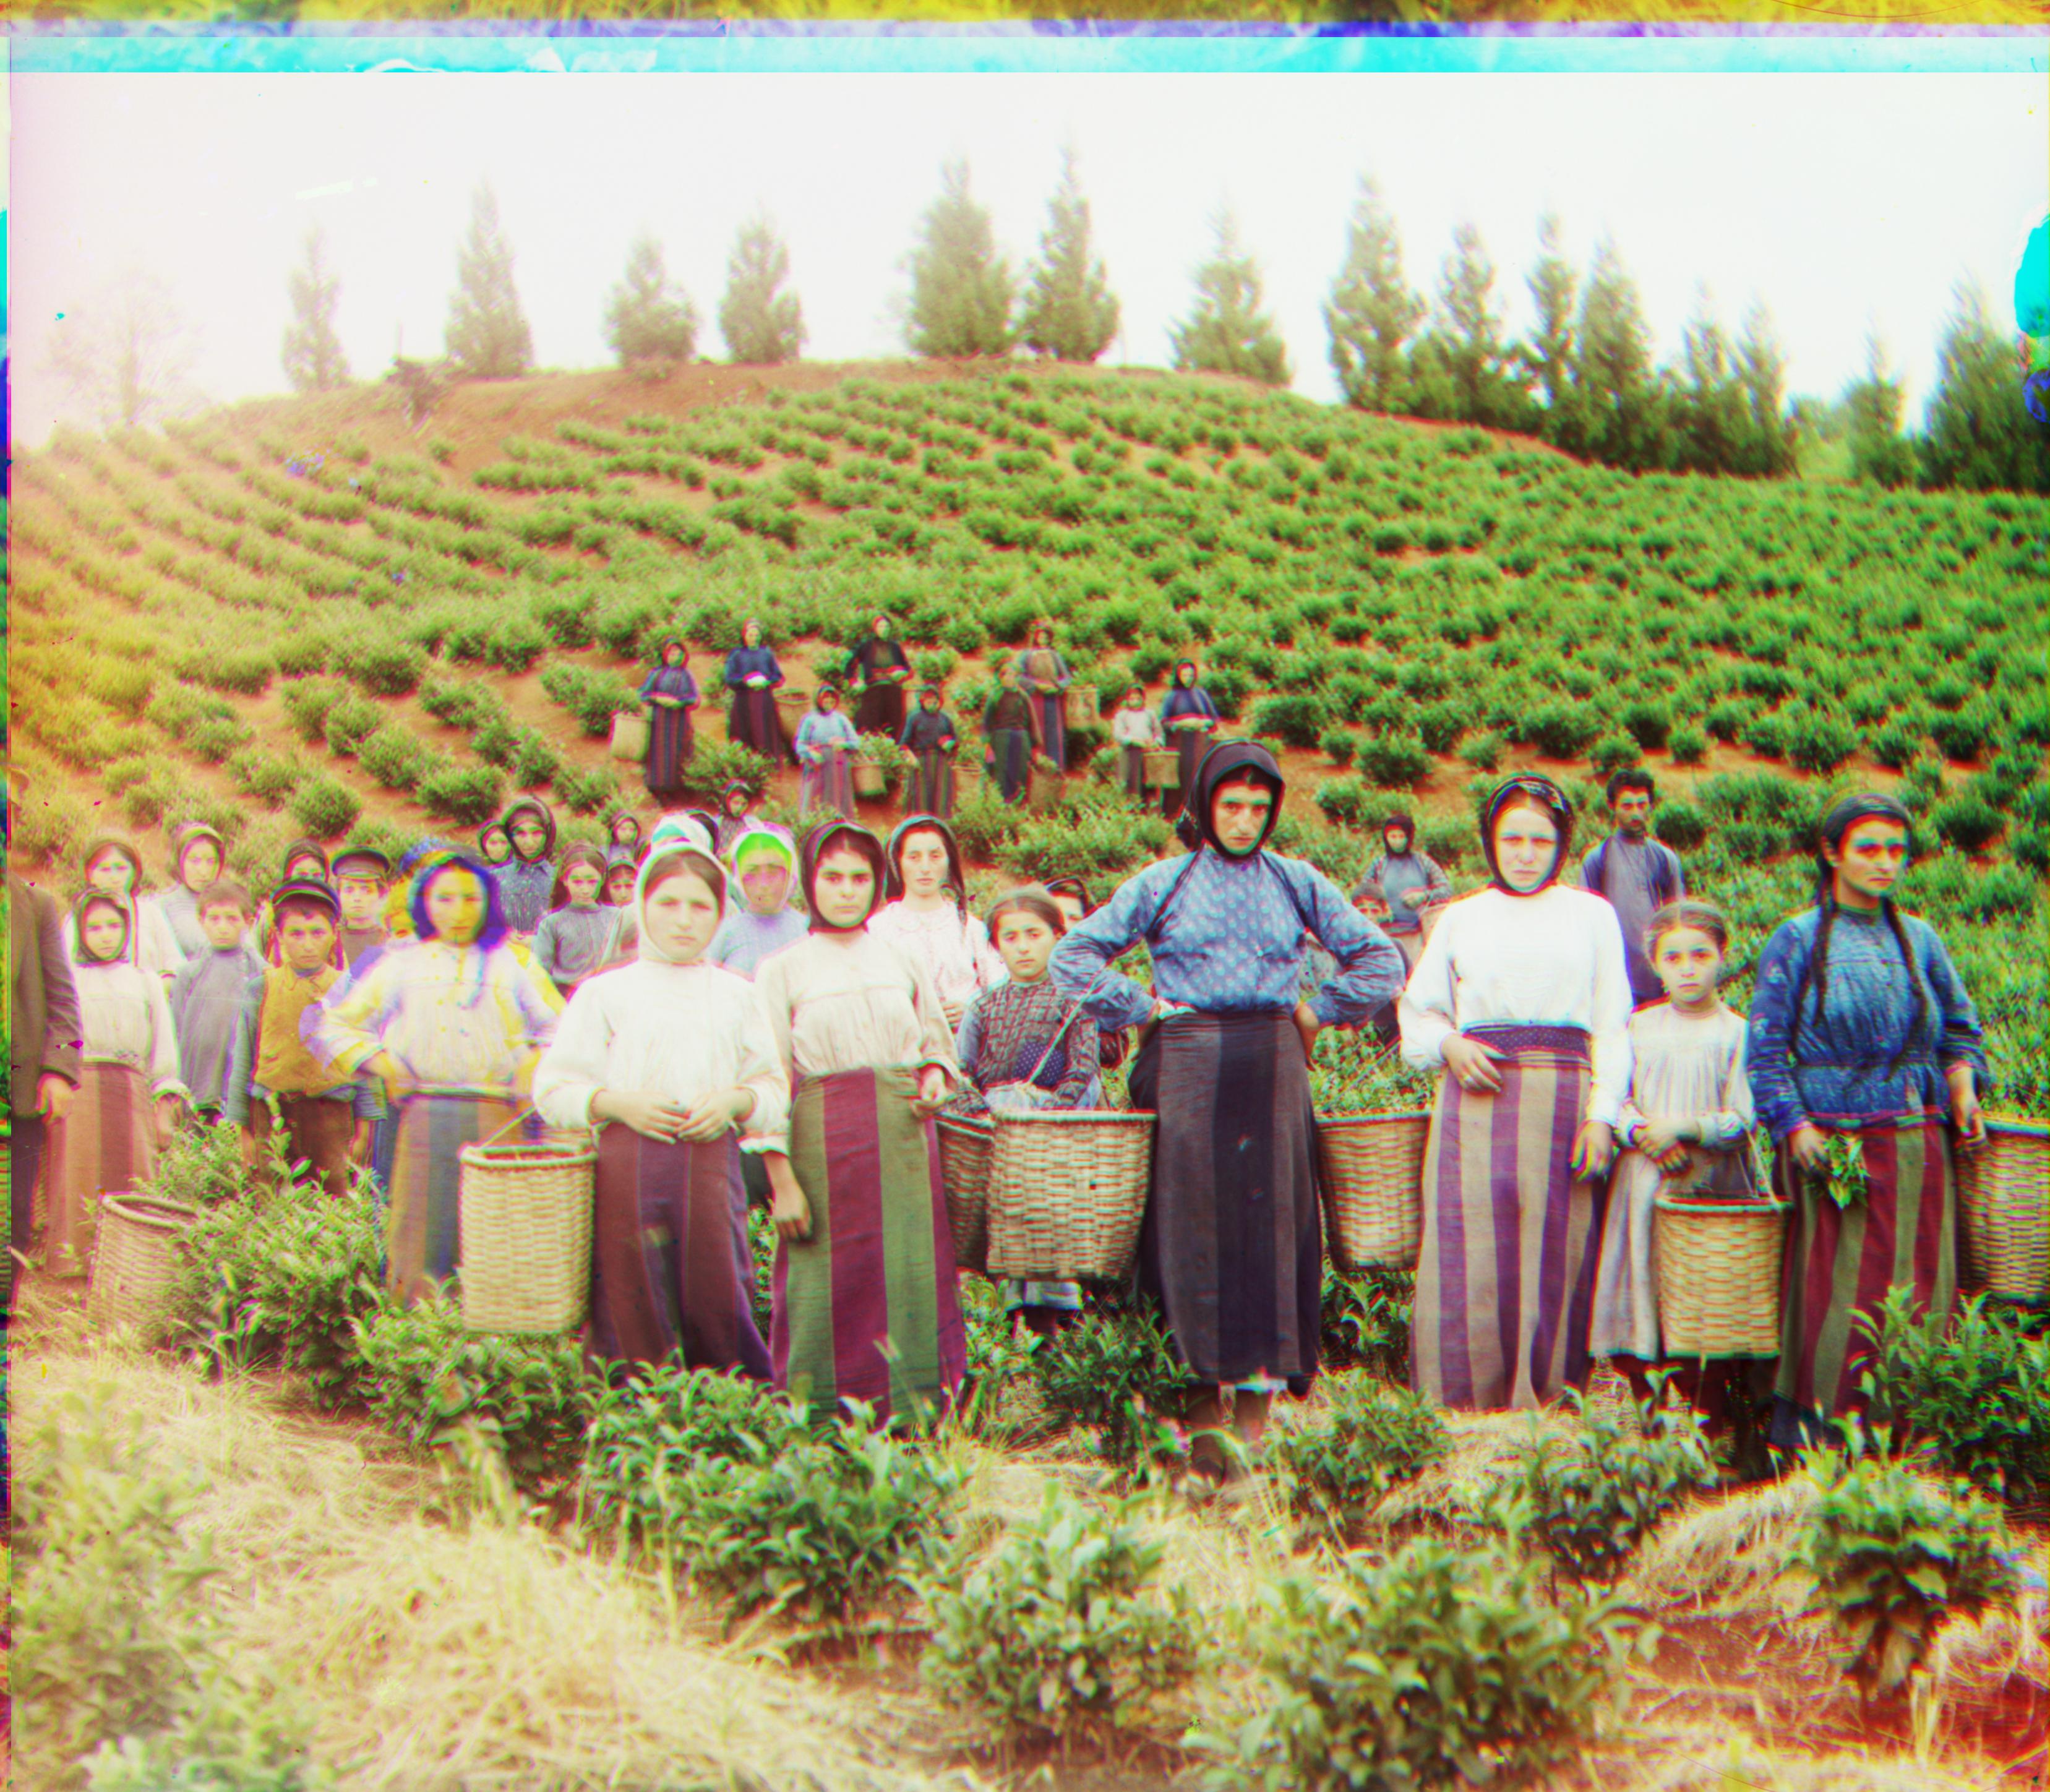
harvesters.tif
Green offset: [60, 18]
Red offset: [117, 11]
![]()
icon.tif
Green offset: [38, 16]
Red offset: [90, 22]
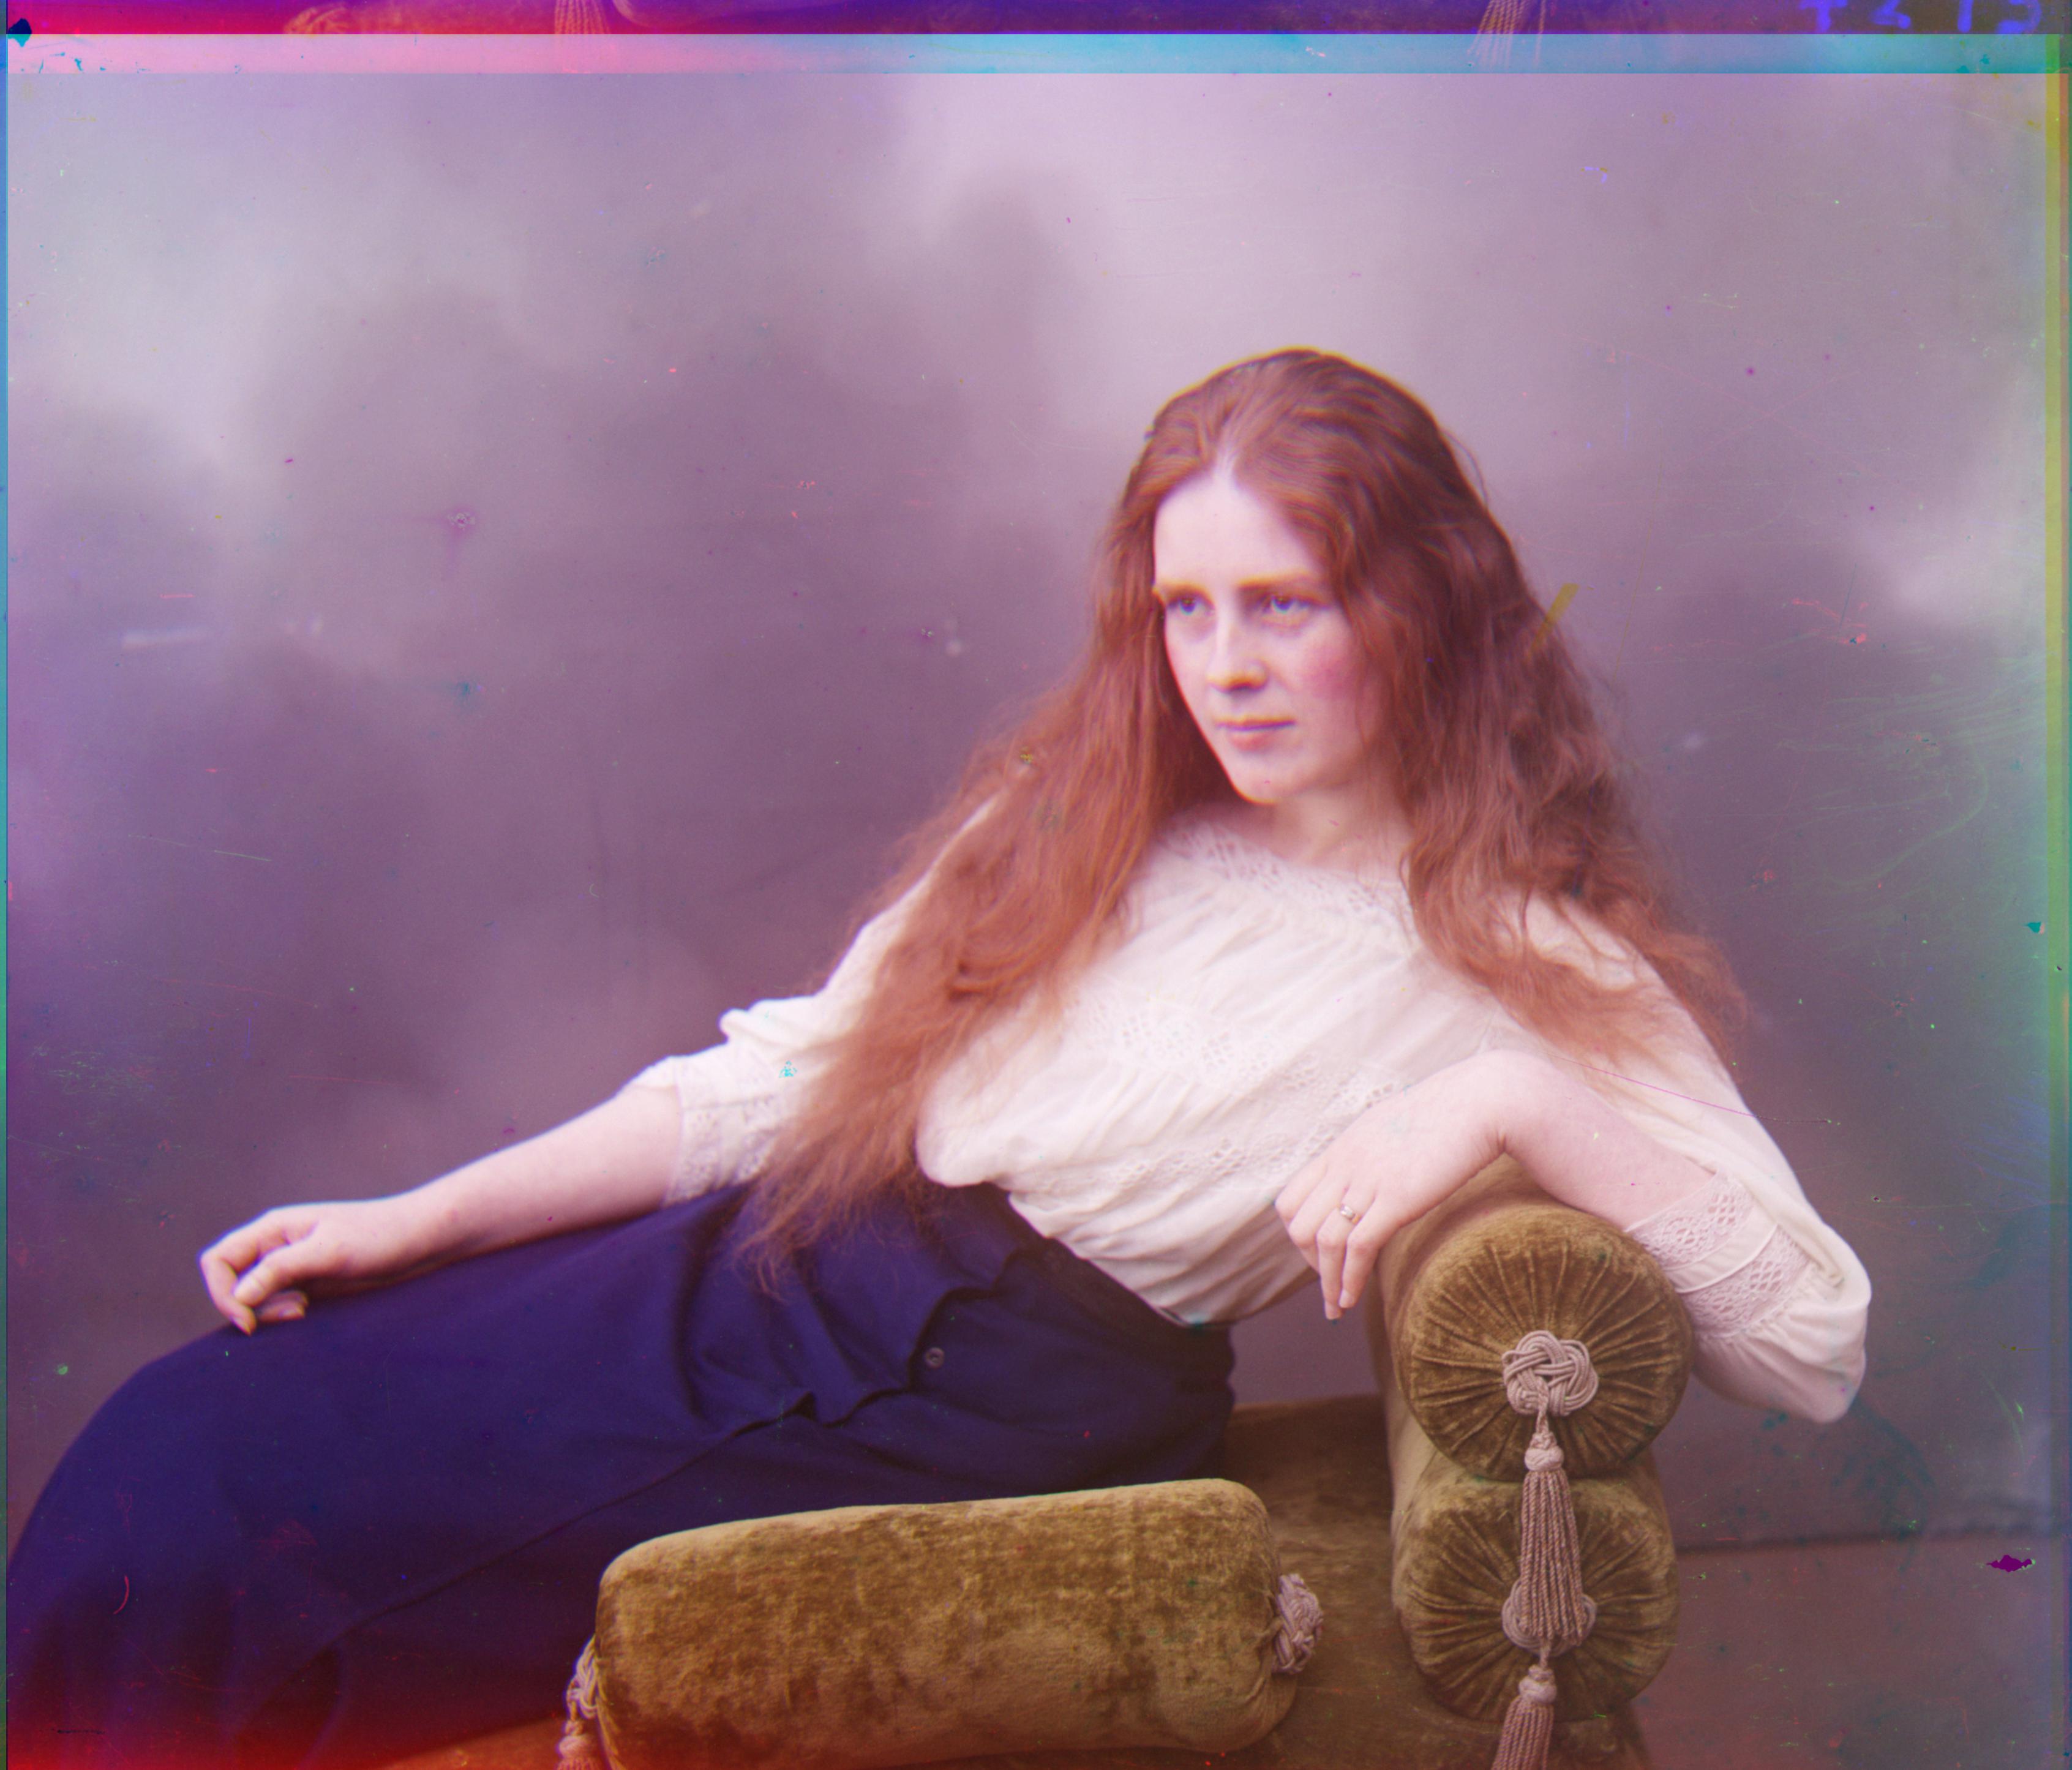
lady.tif
Green offset: [56, 10]
Red offset: [120, 13]

melons.tif
Green offset: [79, 9]
Red offset: [177, 14]
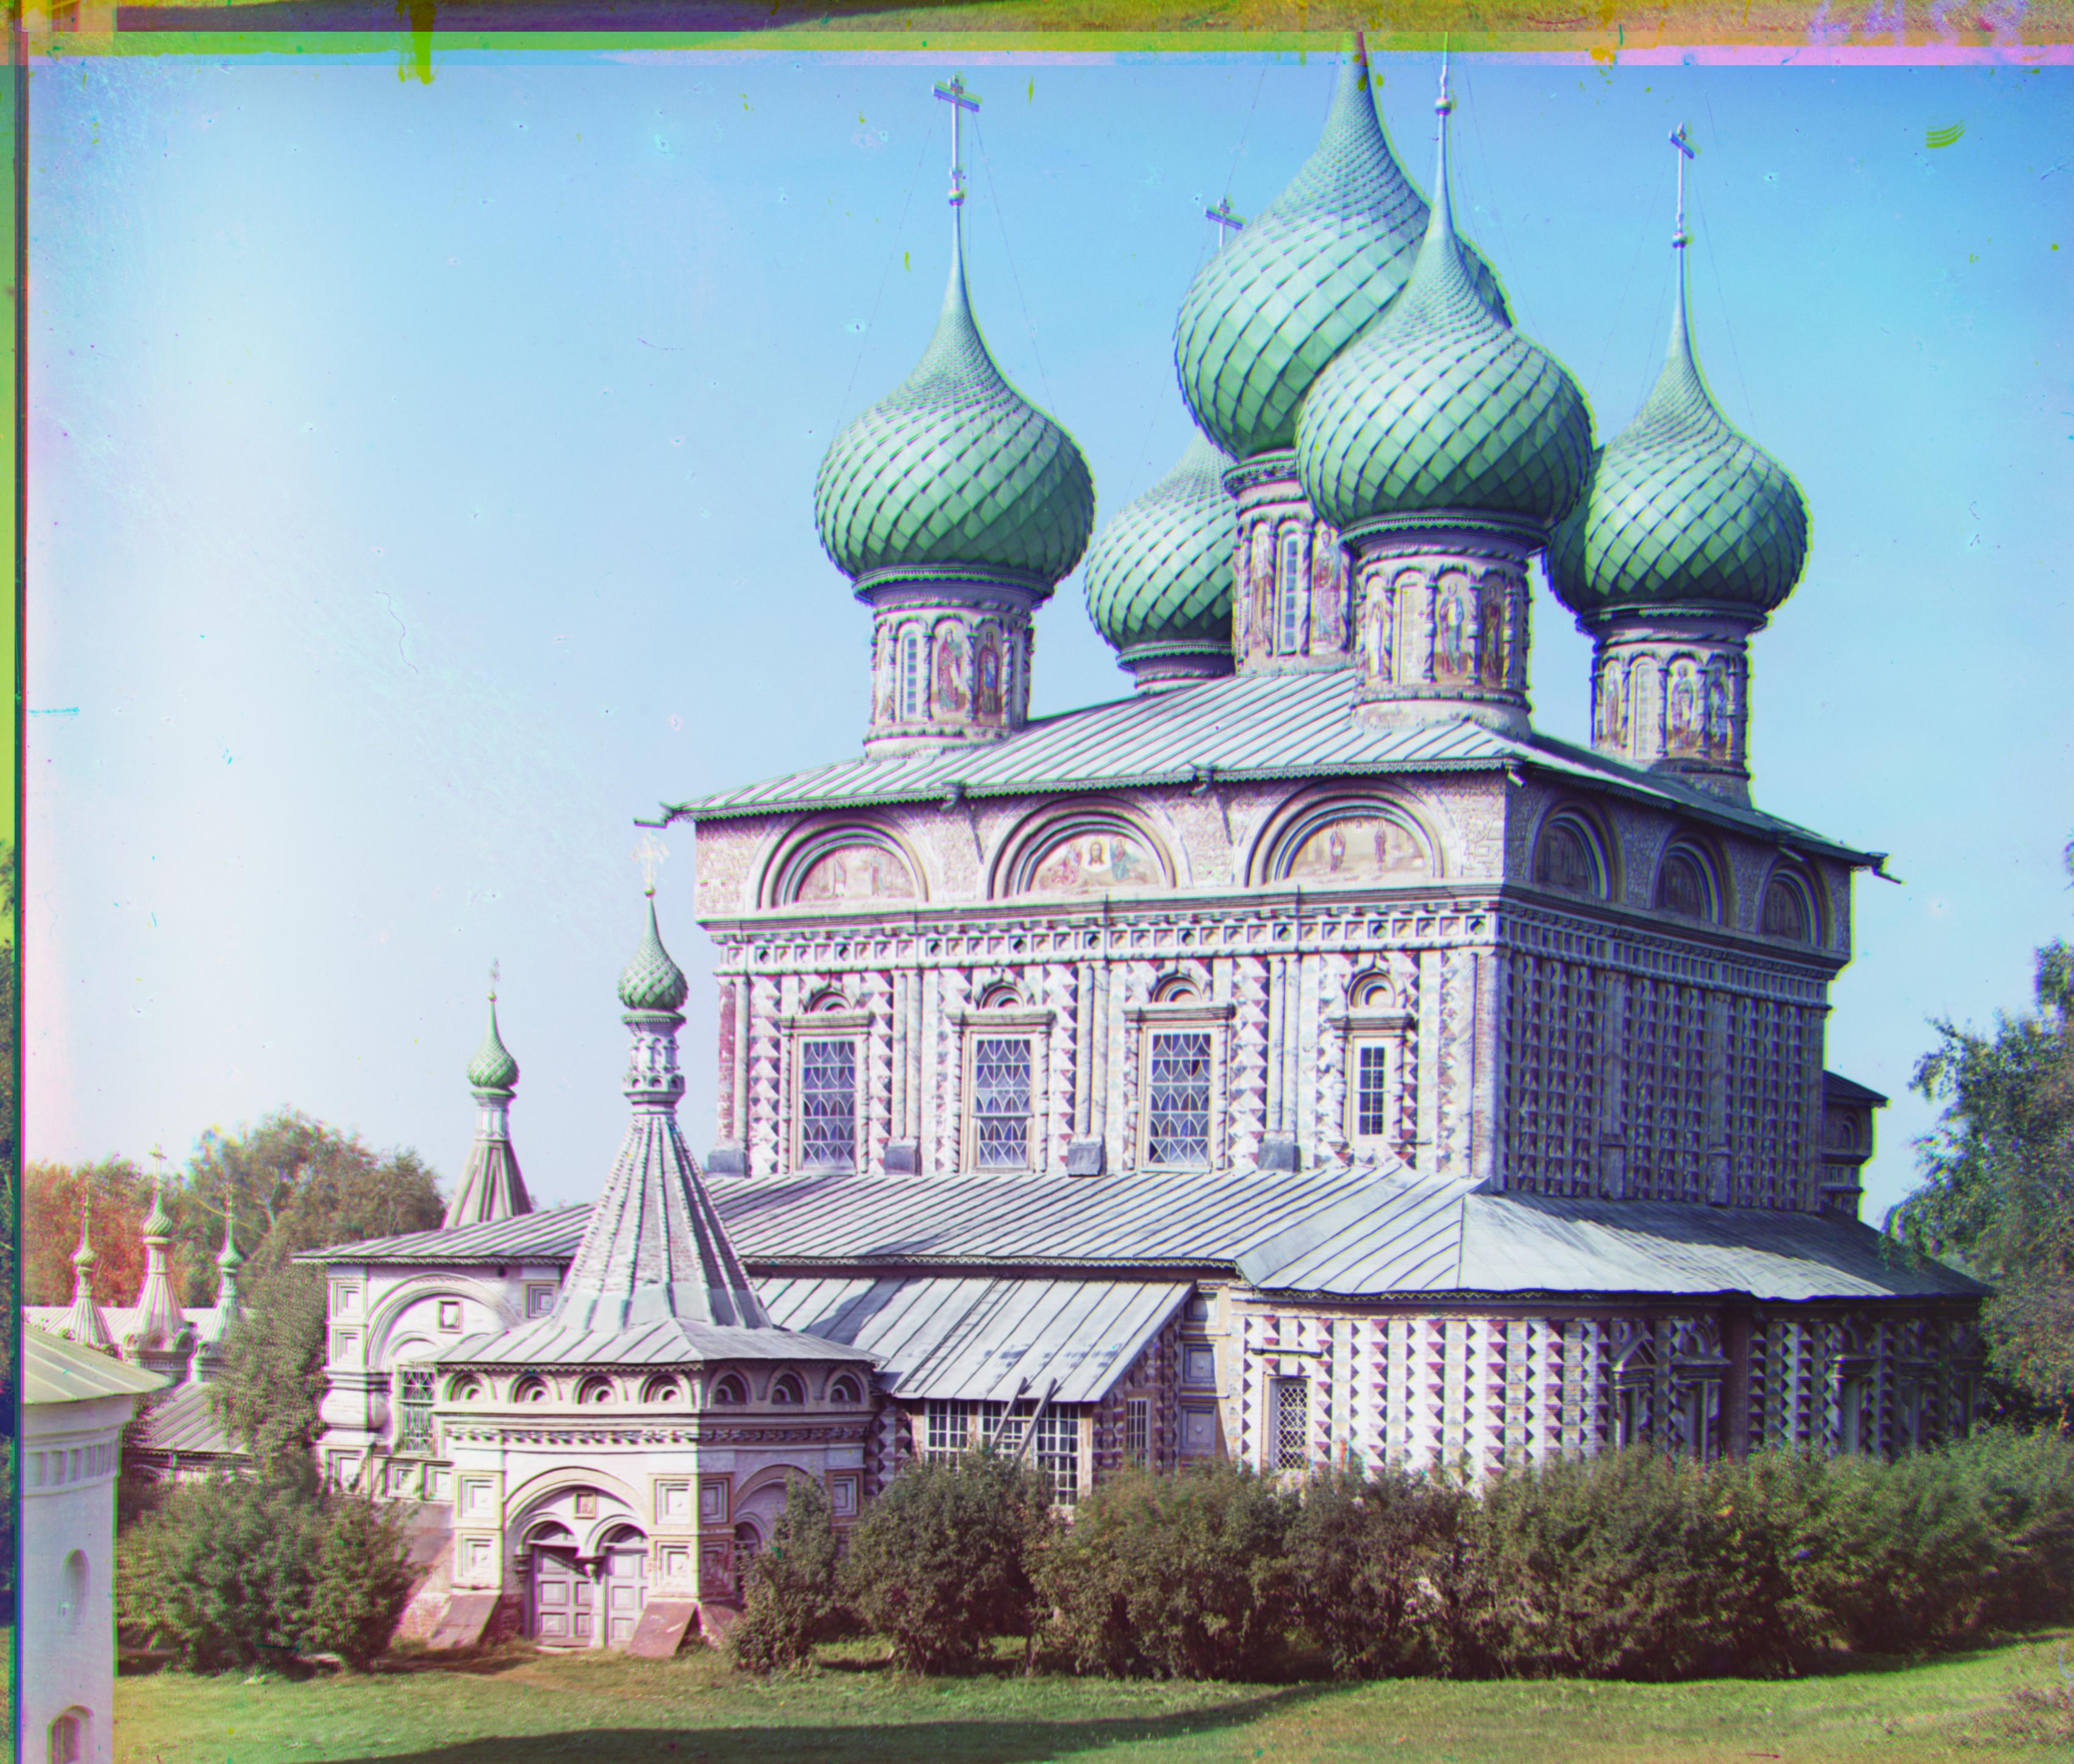
onion_church.tif
Green offset: [52, 24]
Red offset: [107, 34]
self_portrait.tif
Green offset: [77, 29]
Red offset: [175, 37]

three_generations.tif
Green offset: [56, 12]
Red offset: [111, 8]
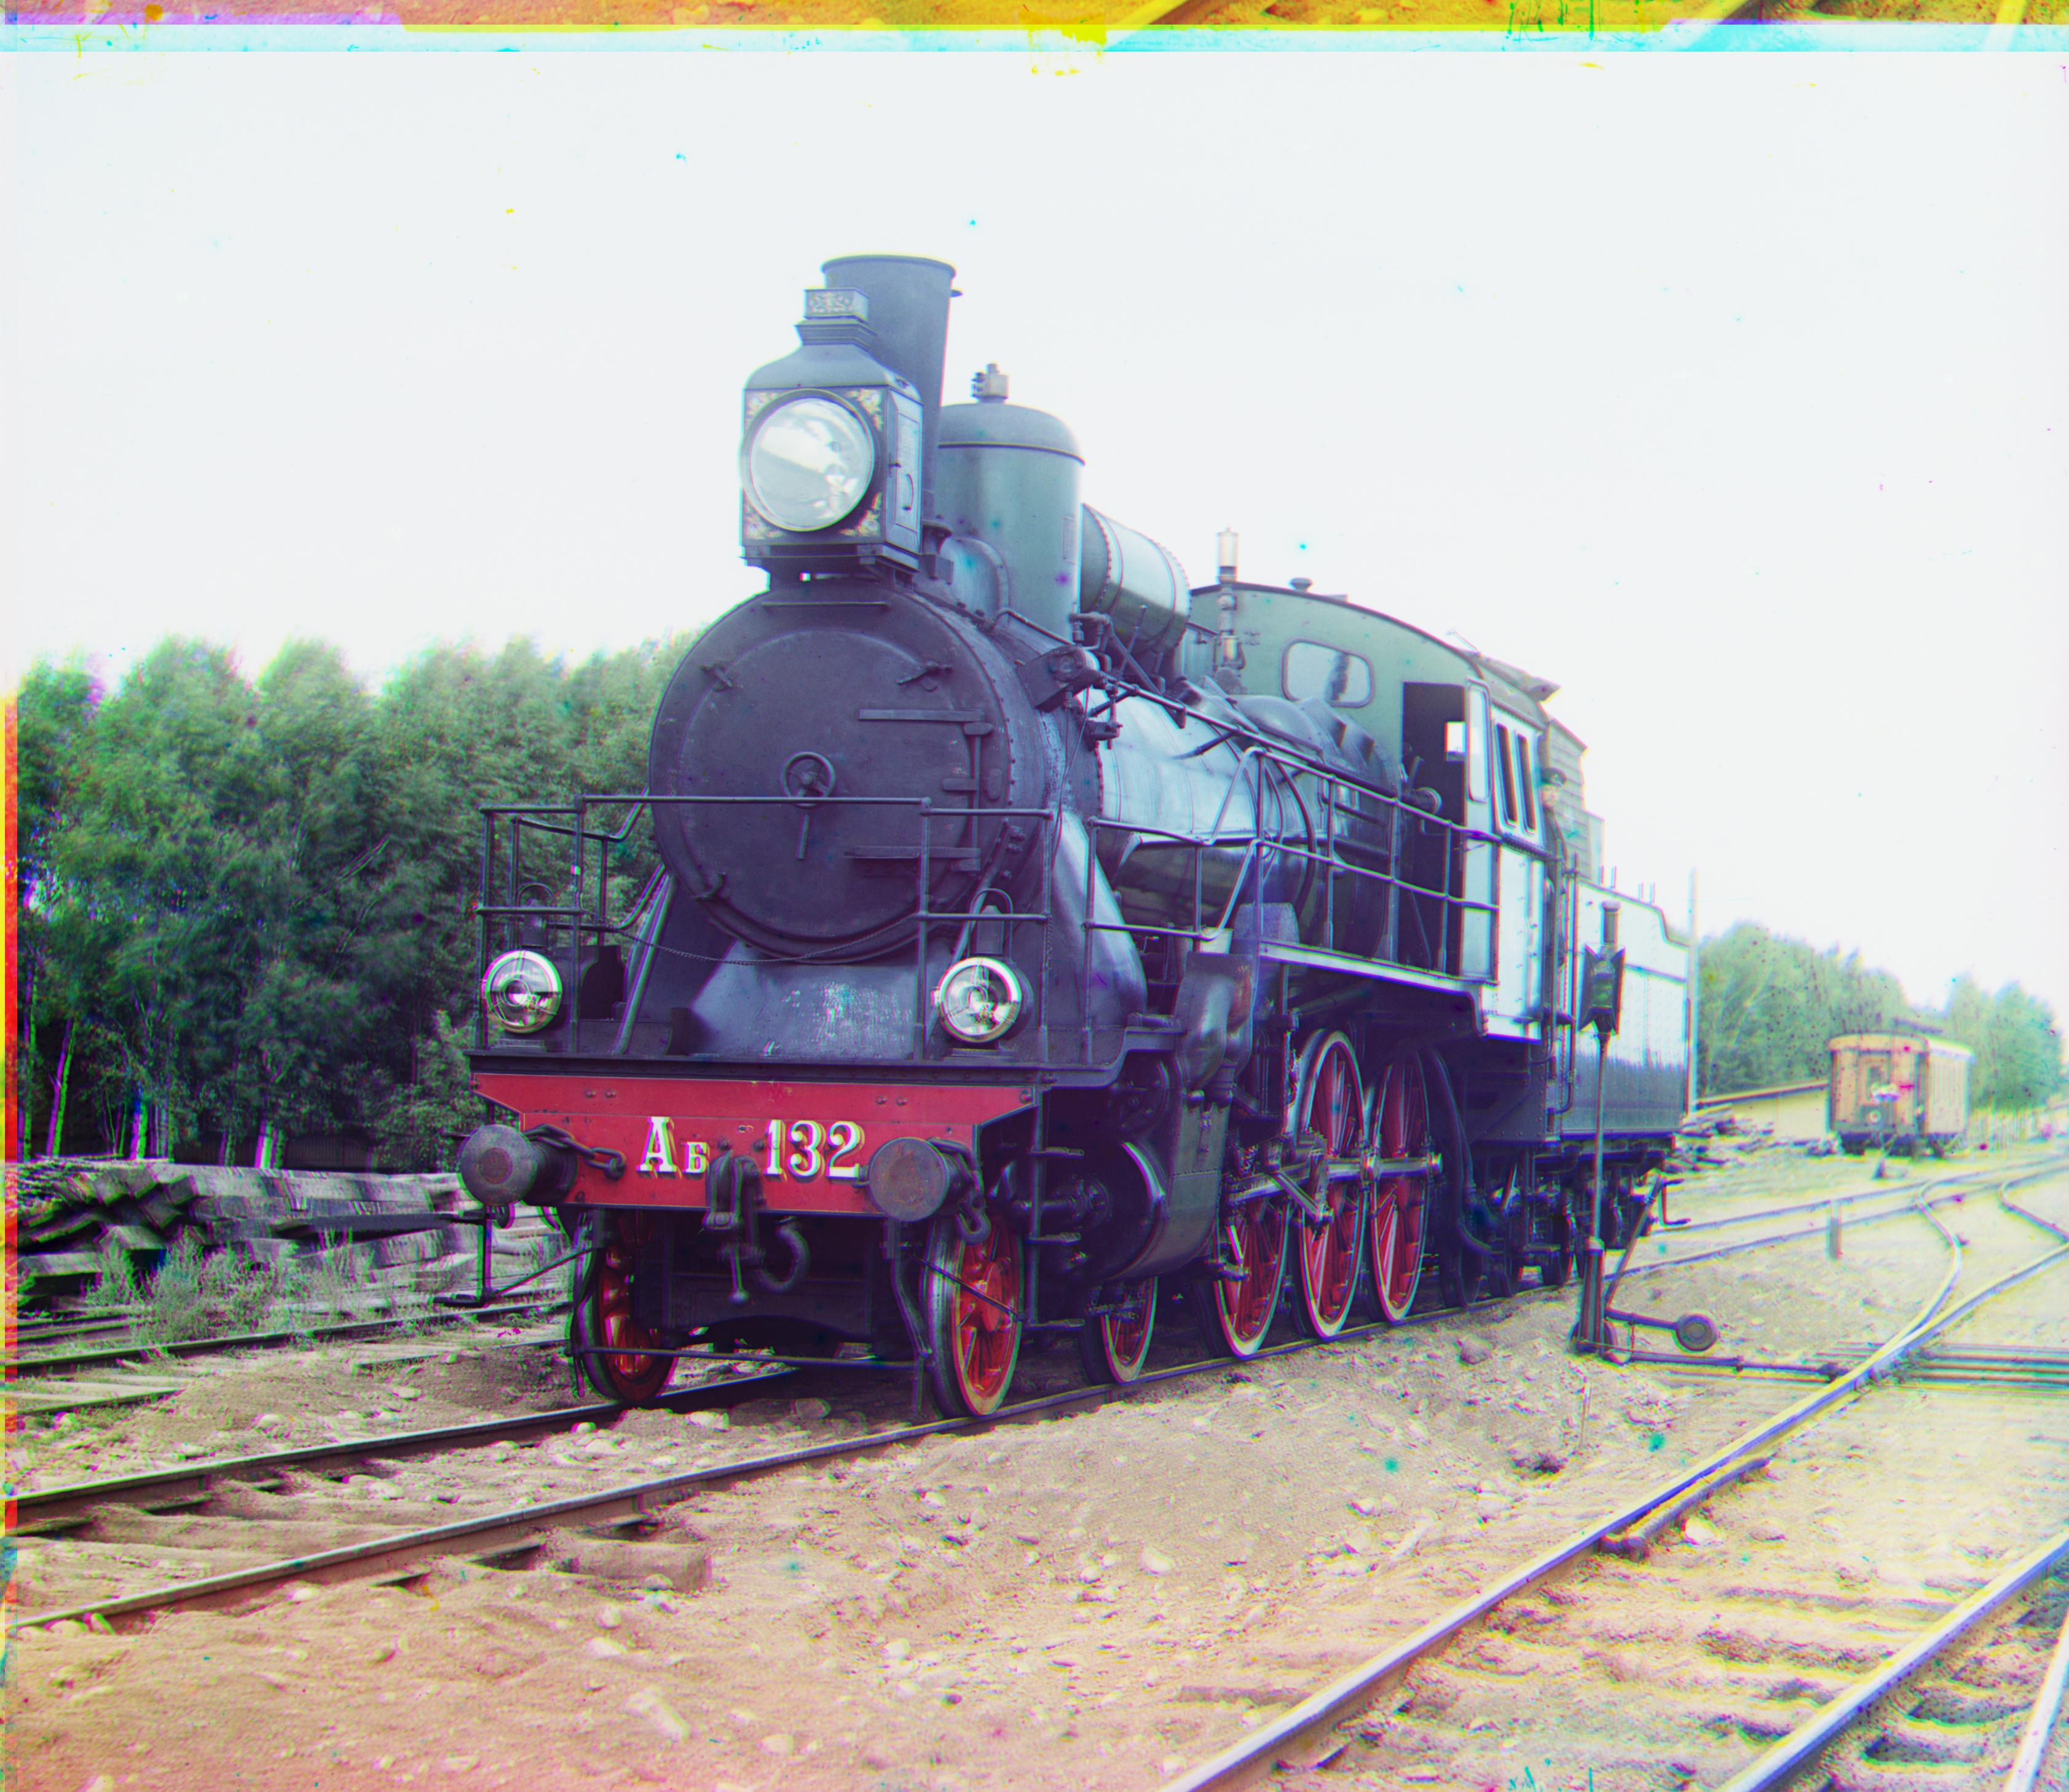
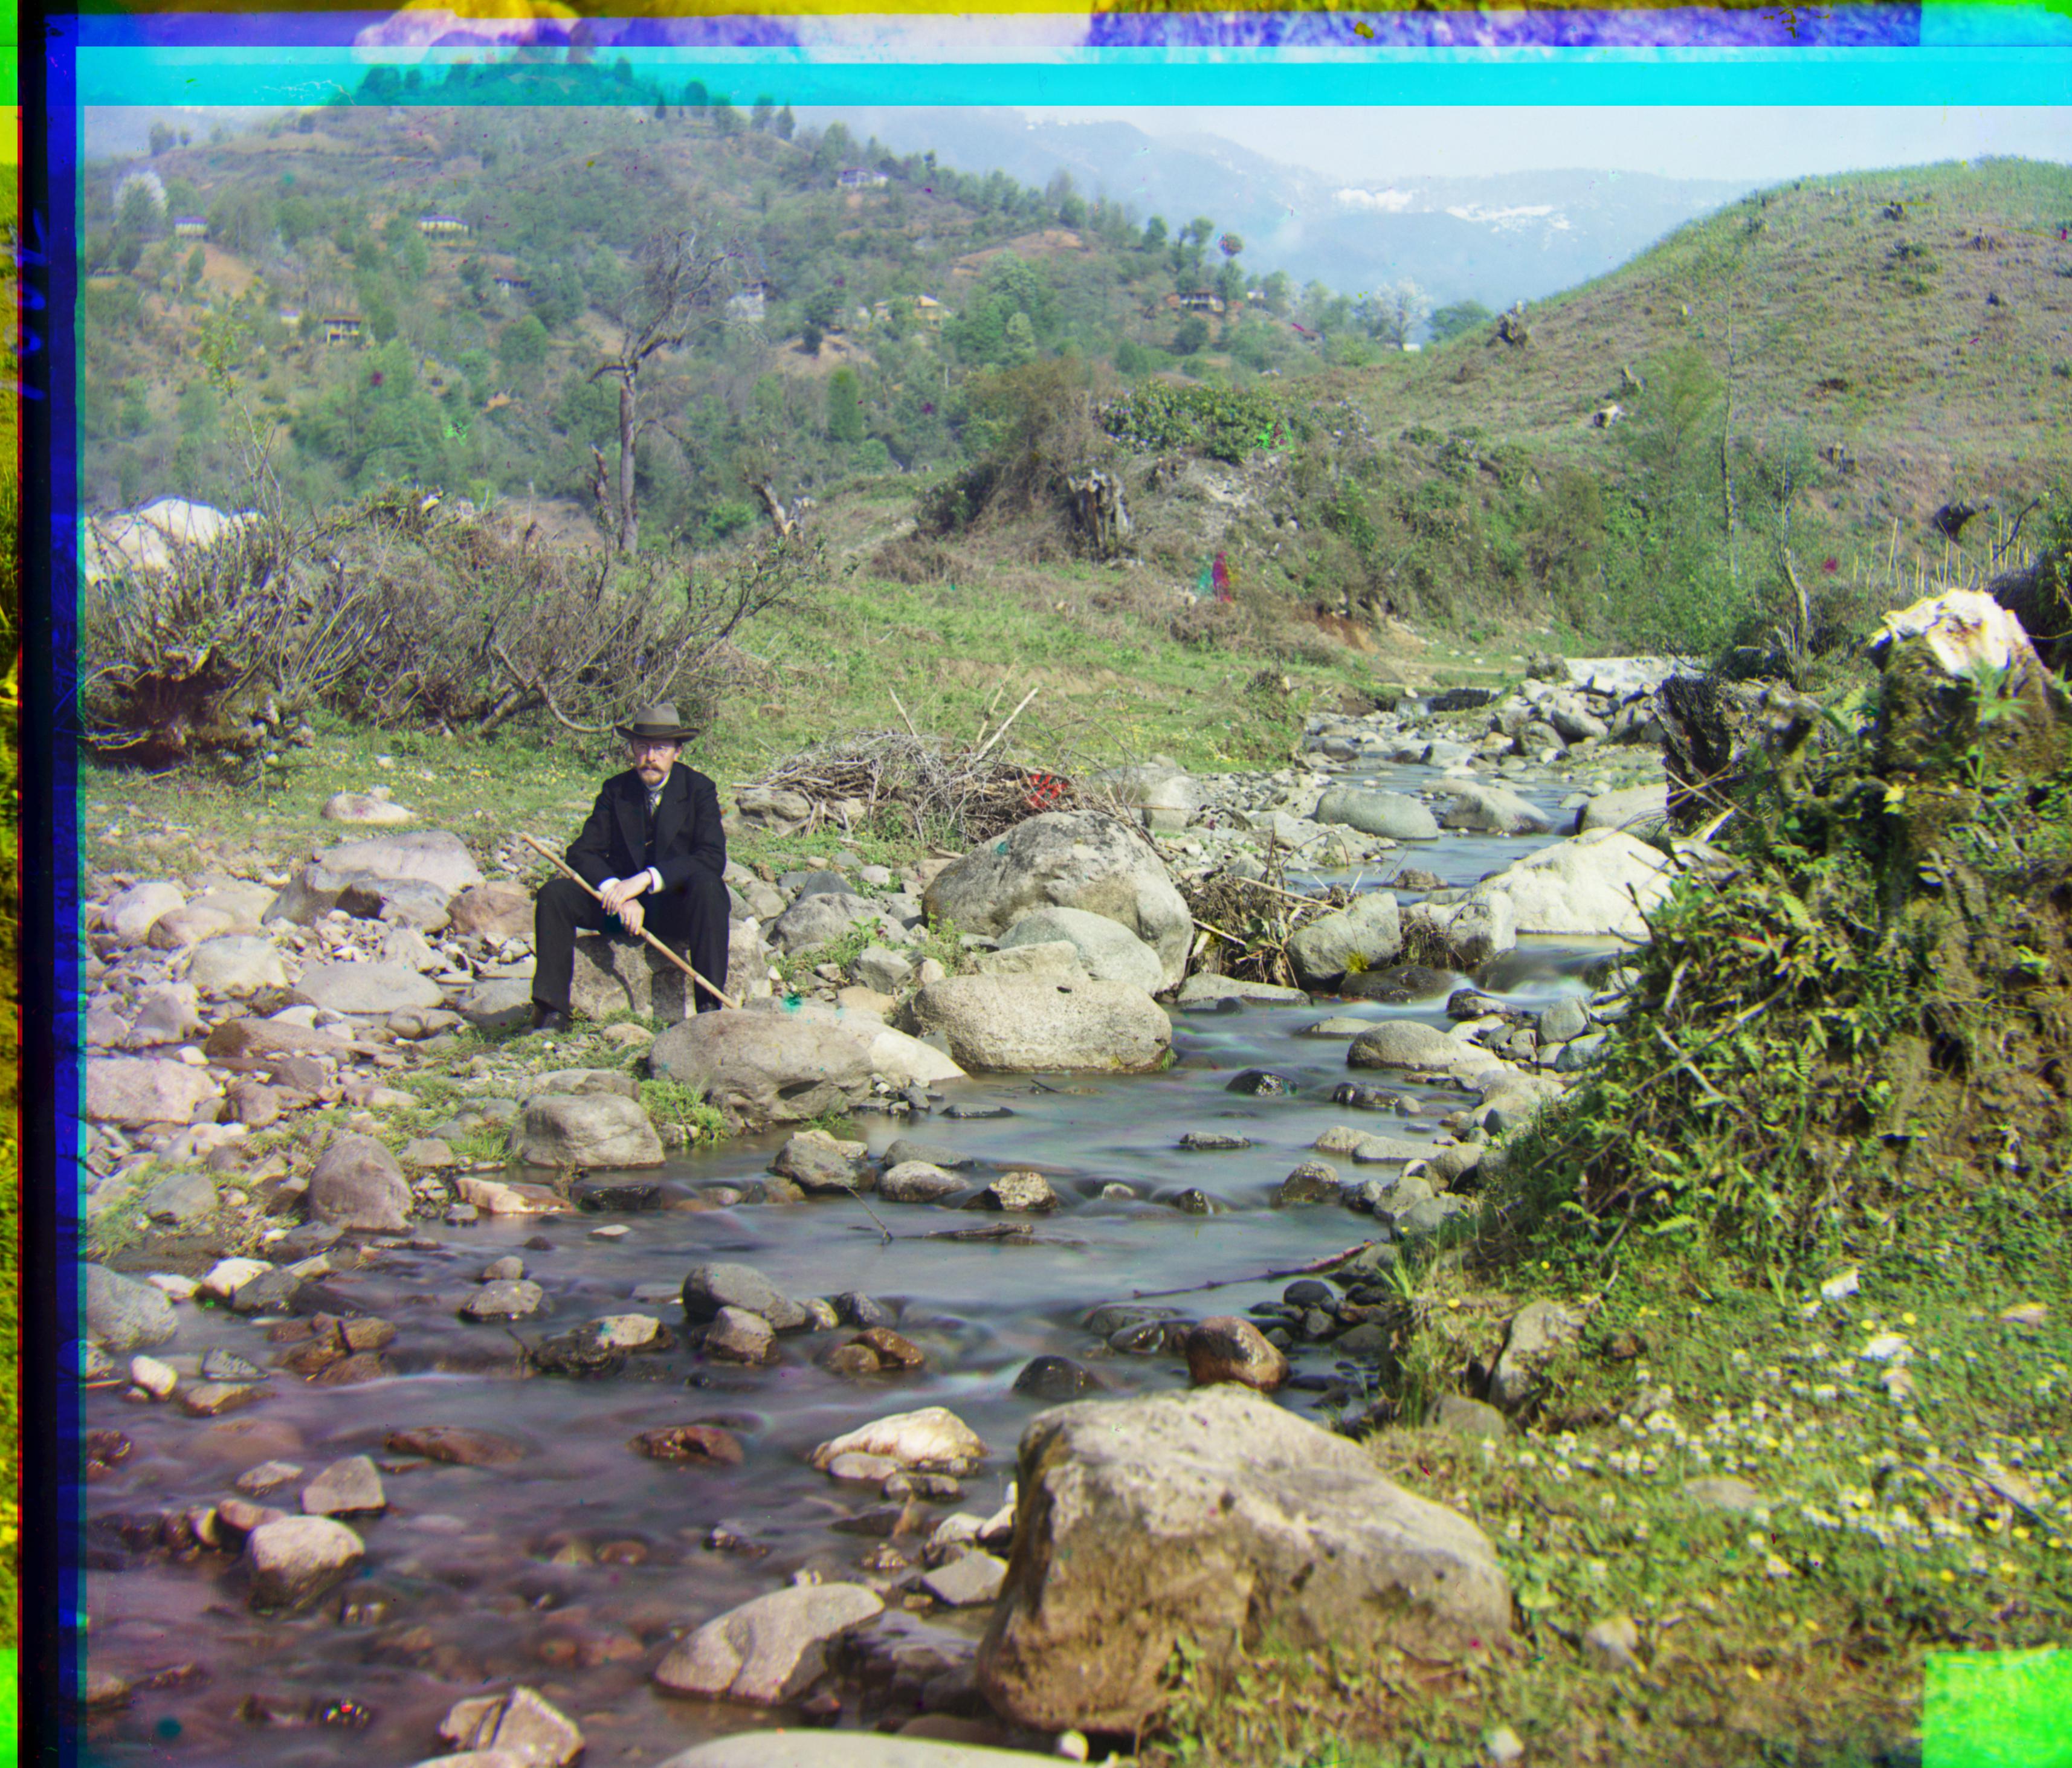
train.tif
Green offset: [40, 8]
Red offset: [84, 28]
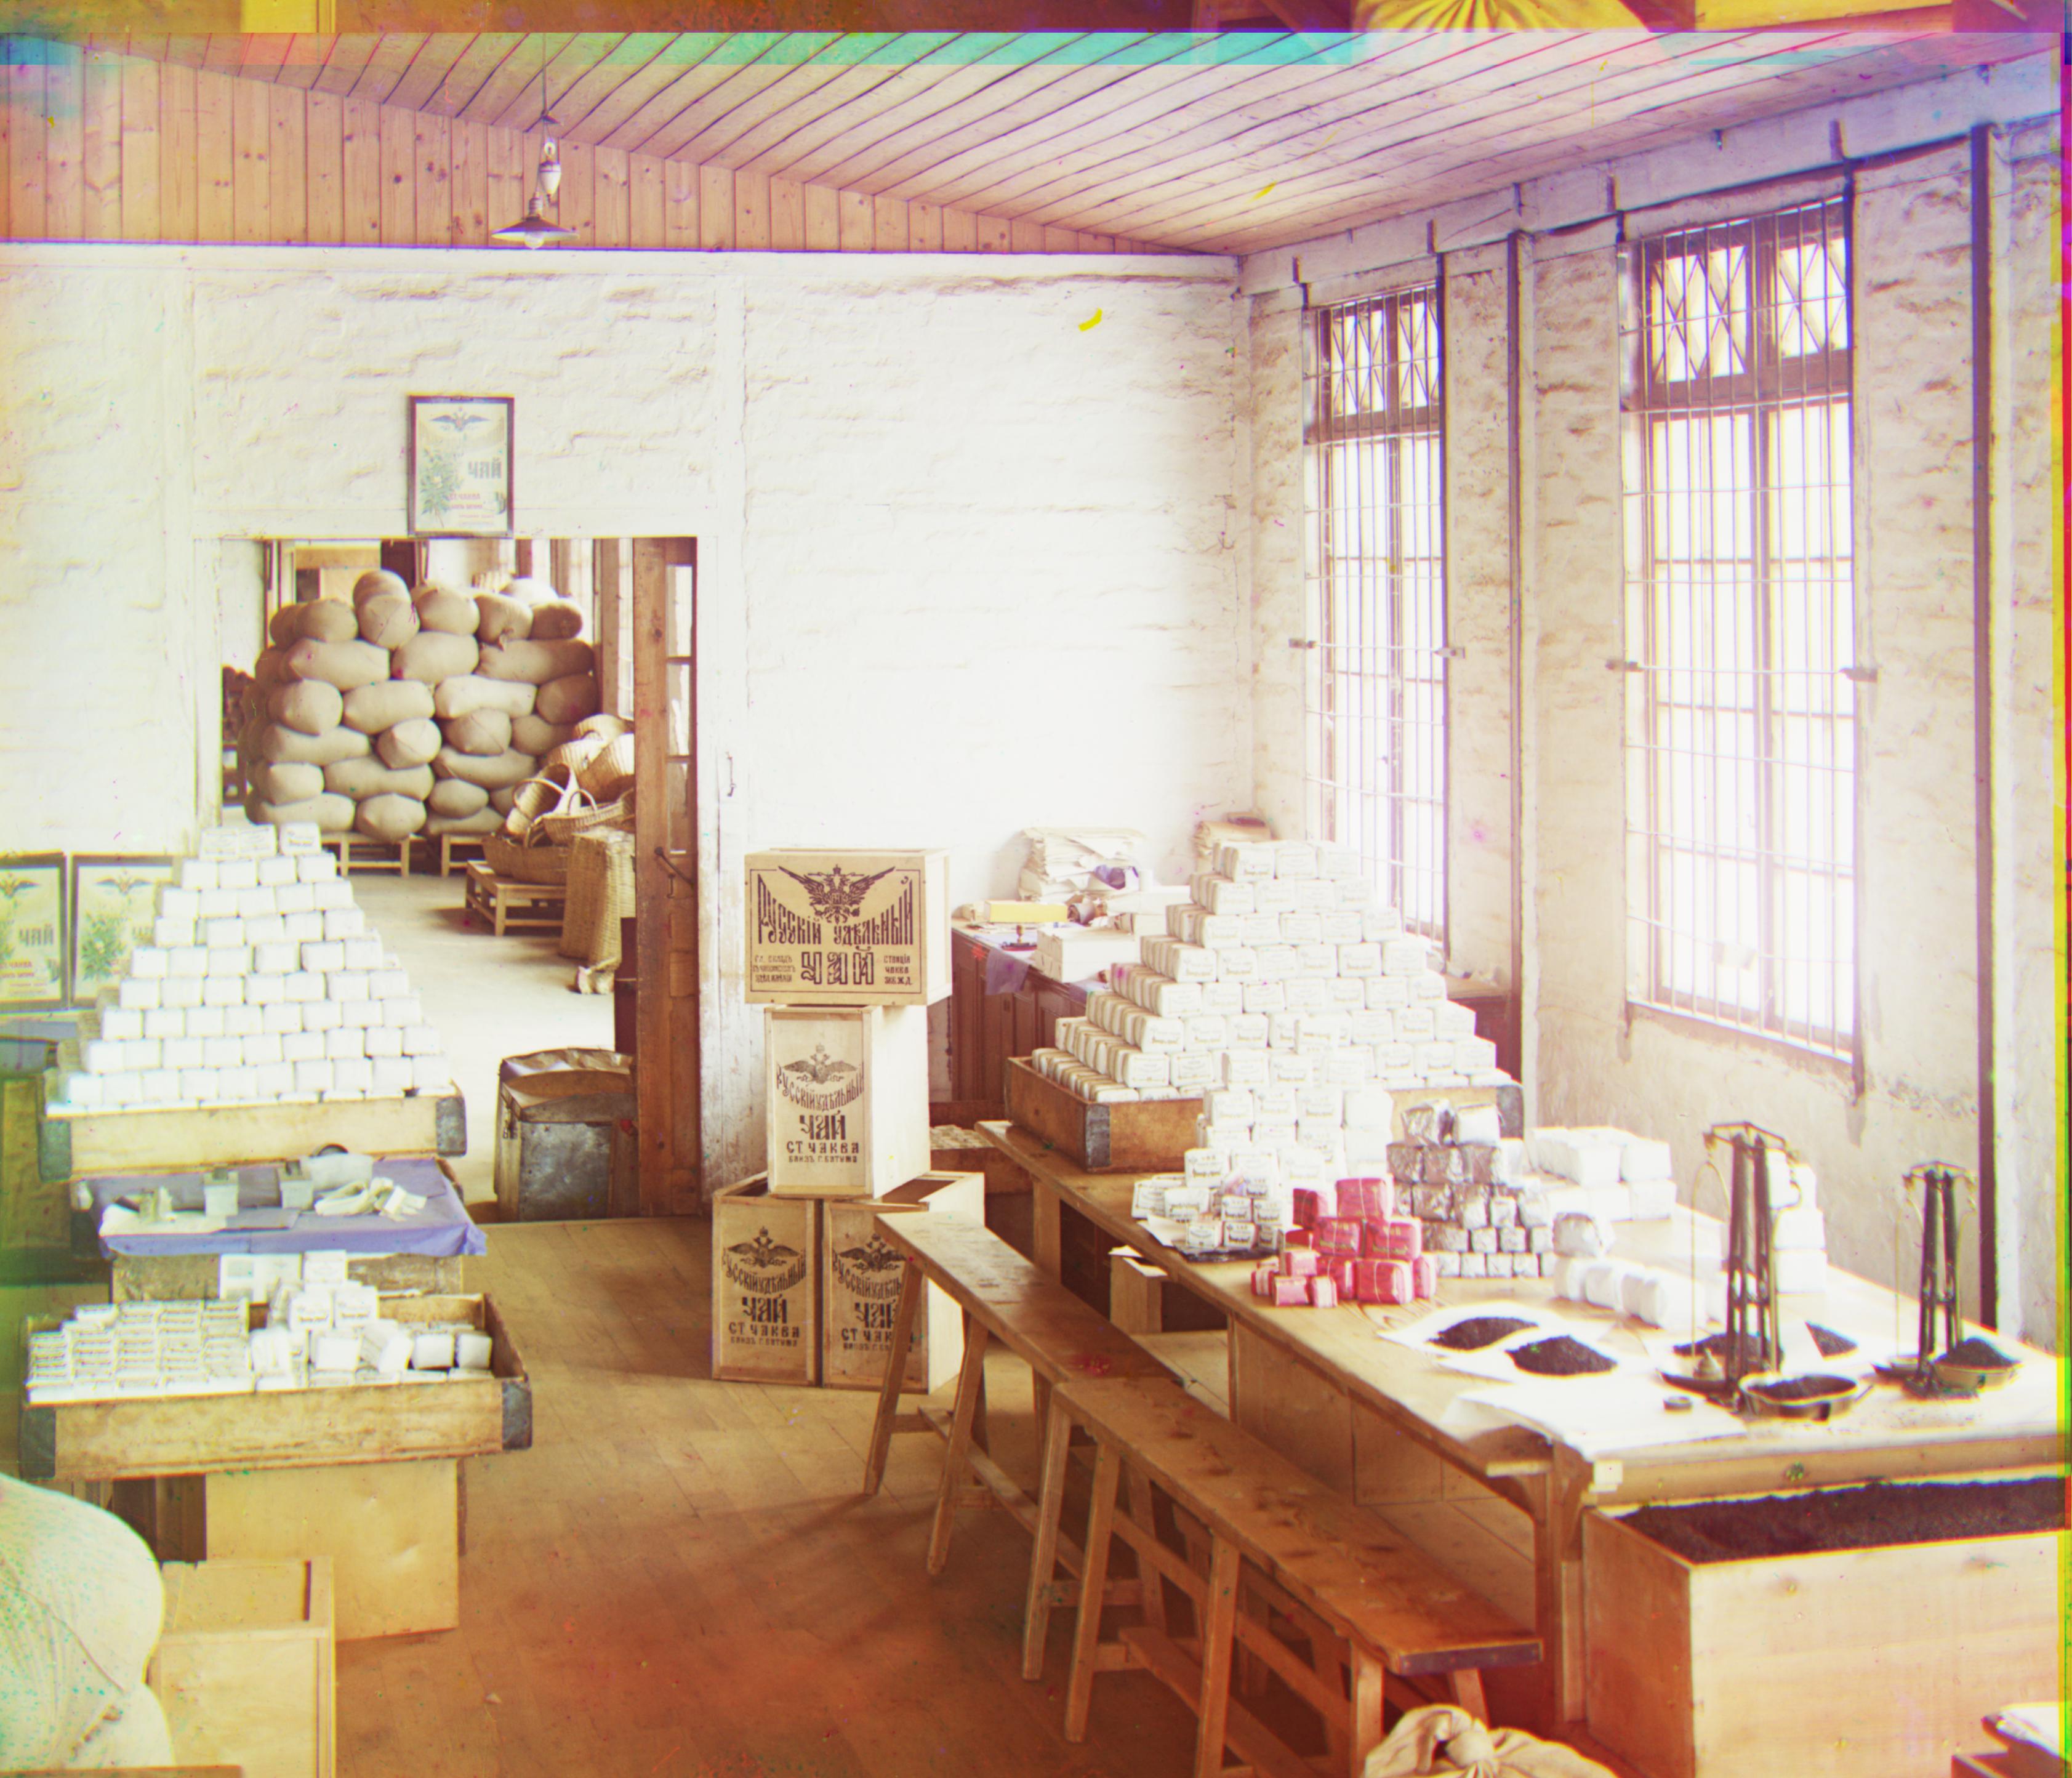
workshop.tif
Green offset: [53, -1]
Red offset: [105, -12]
00904u.tif (building)
Green offset: [26, 18]
Red offset: [60, 28]
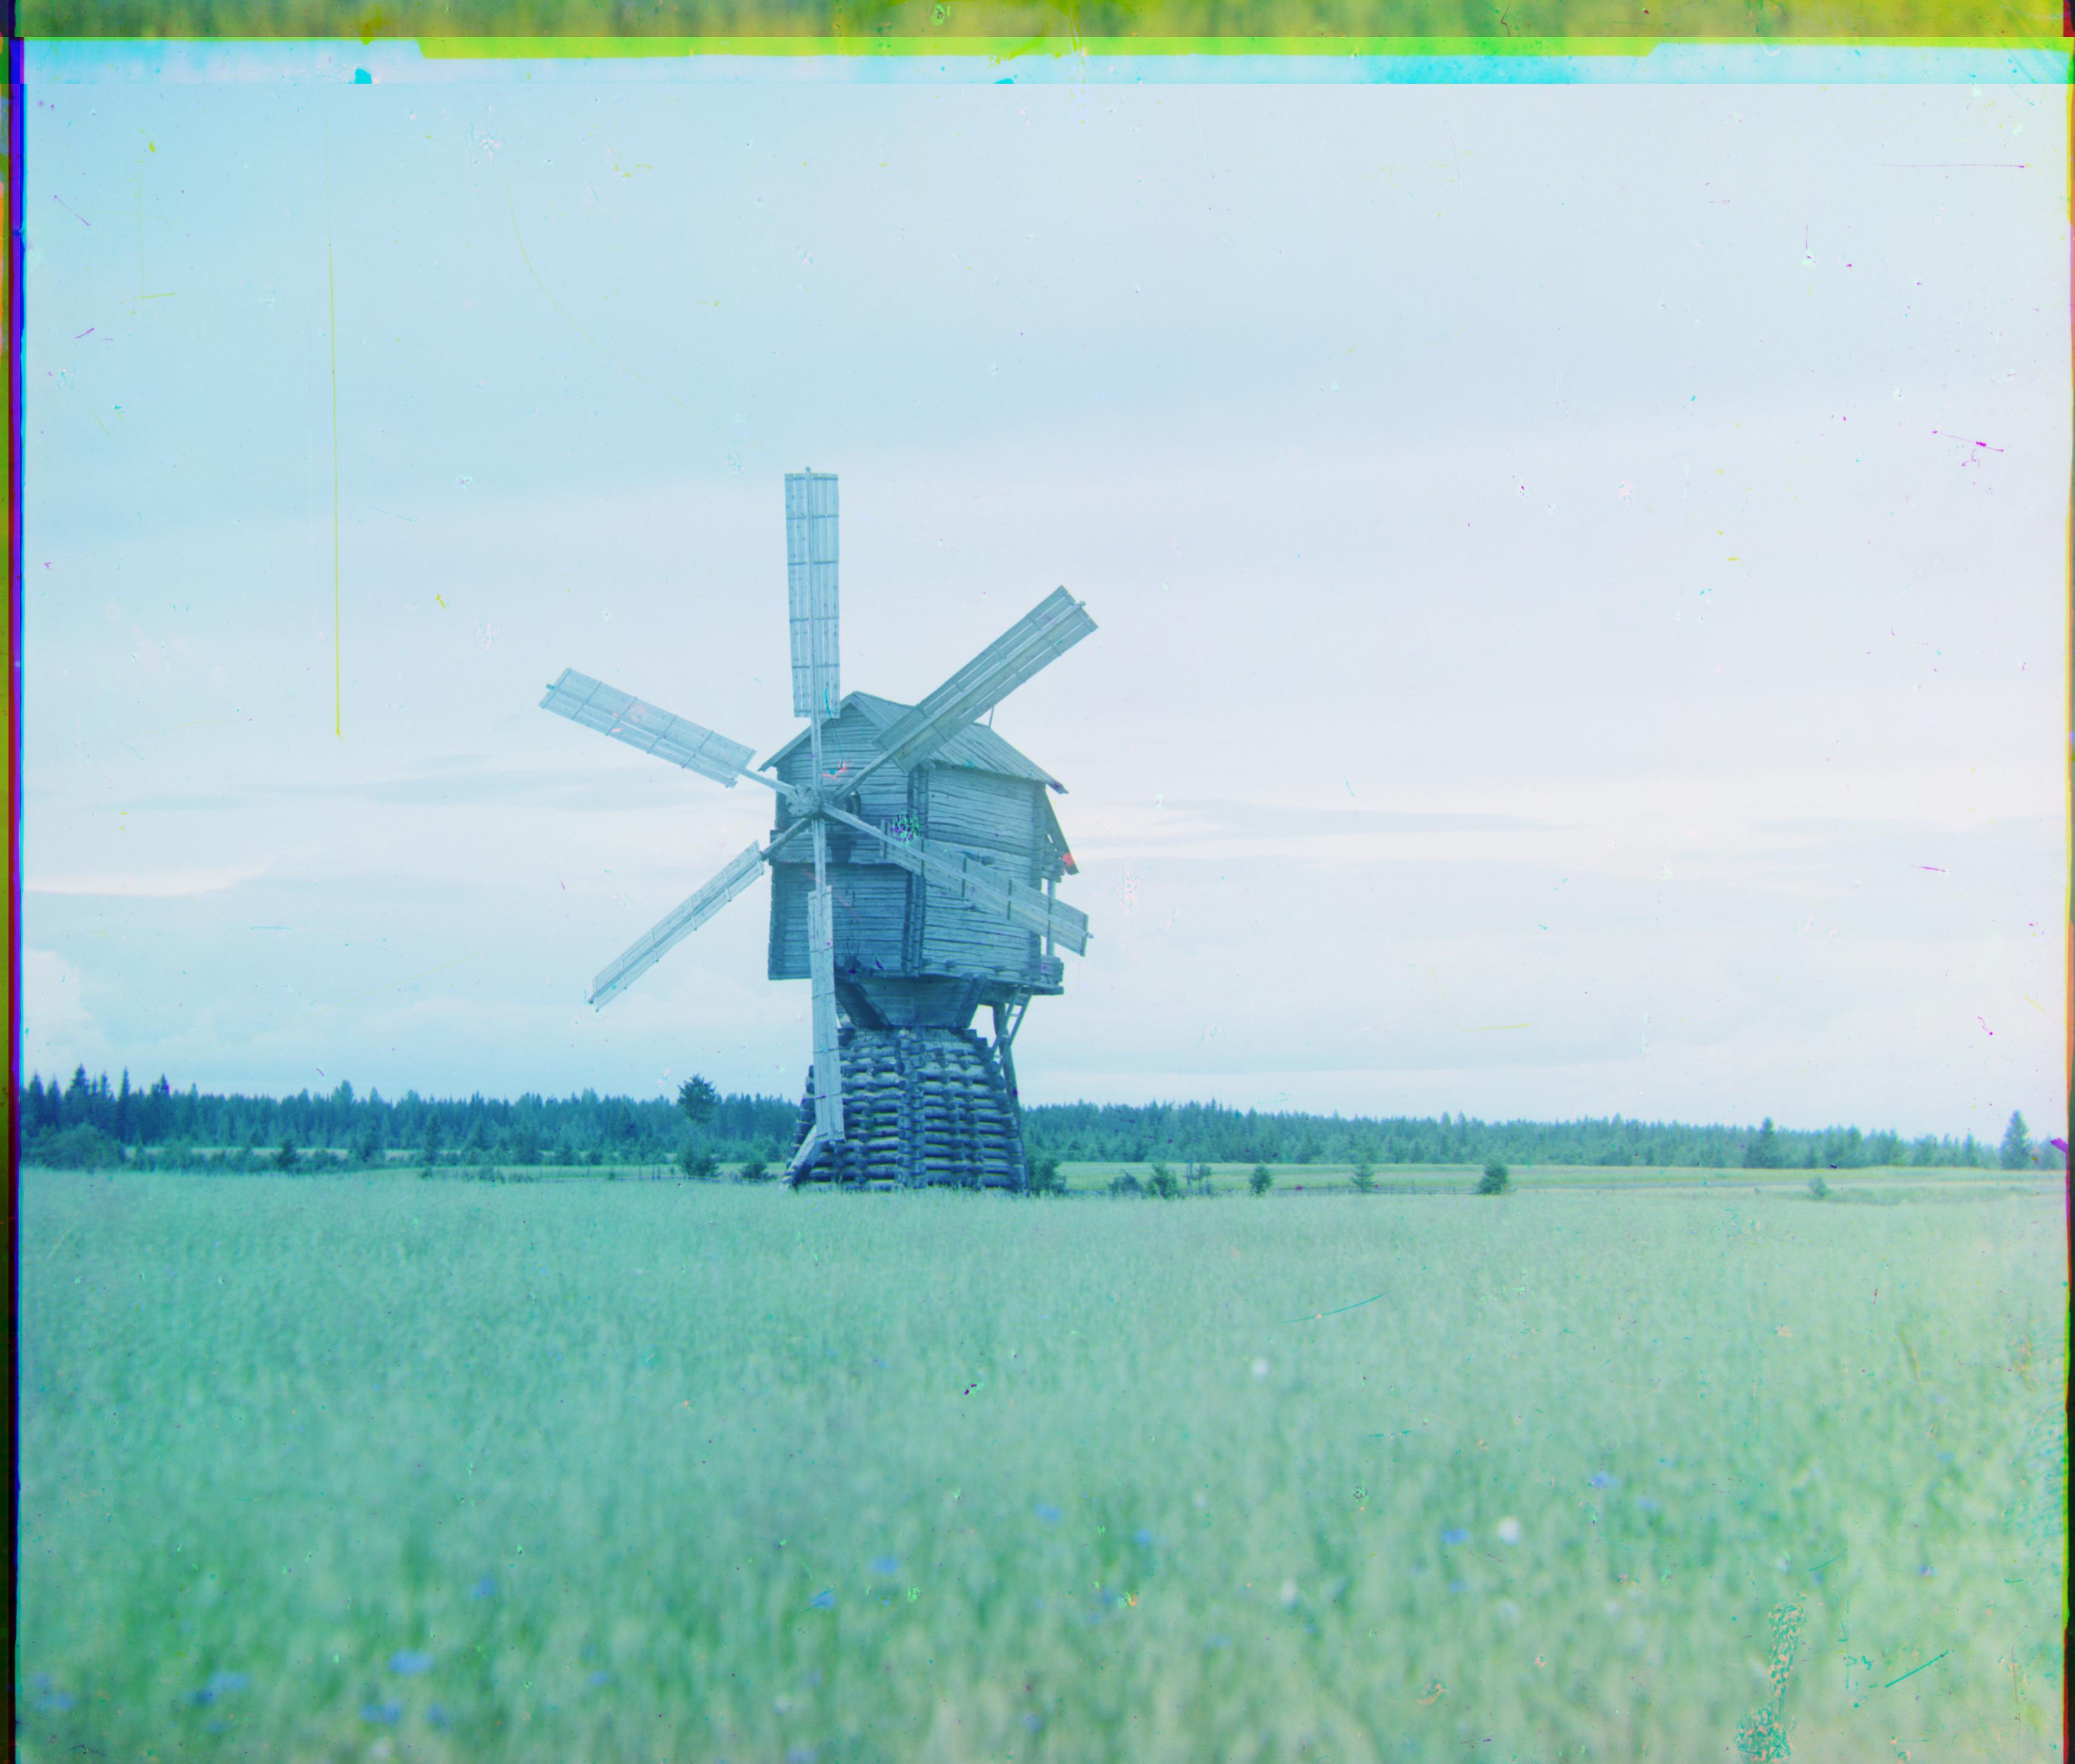
01084u.tif (windmill)
Green offset: [61, 14]
Red offset: [138, 33]
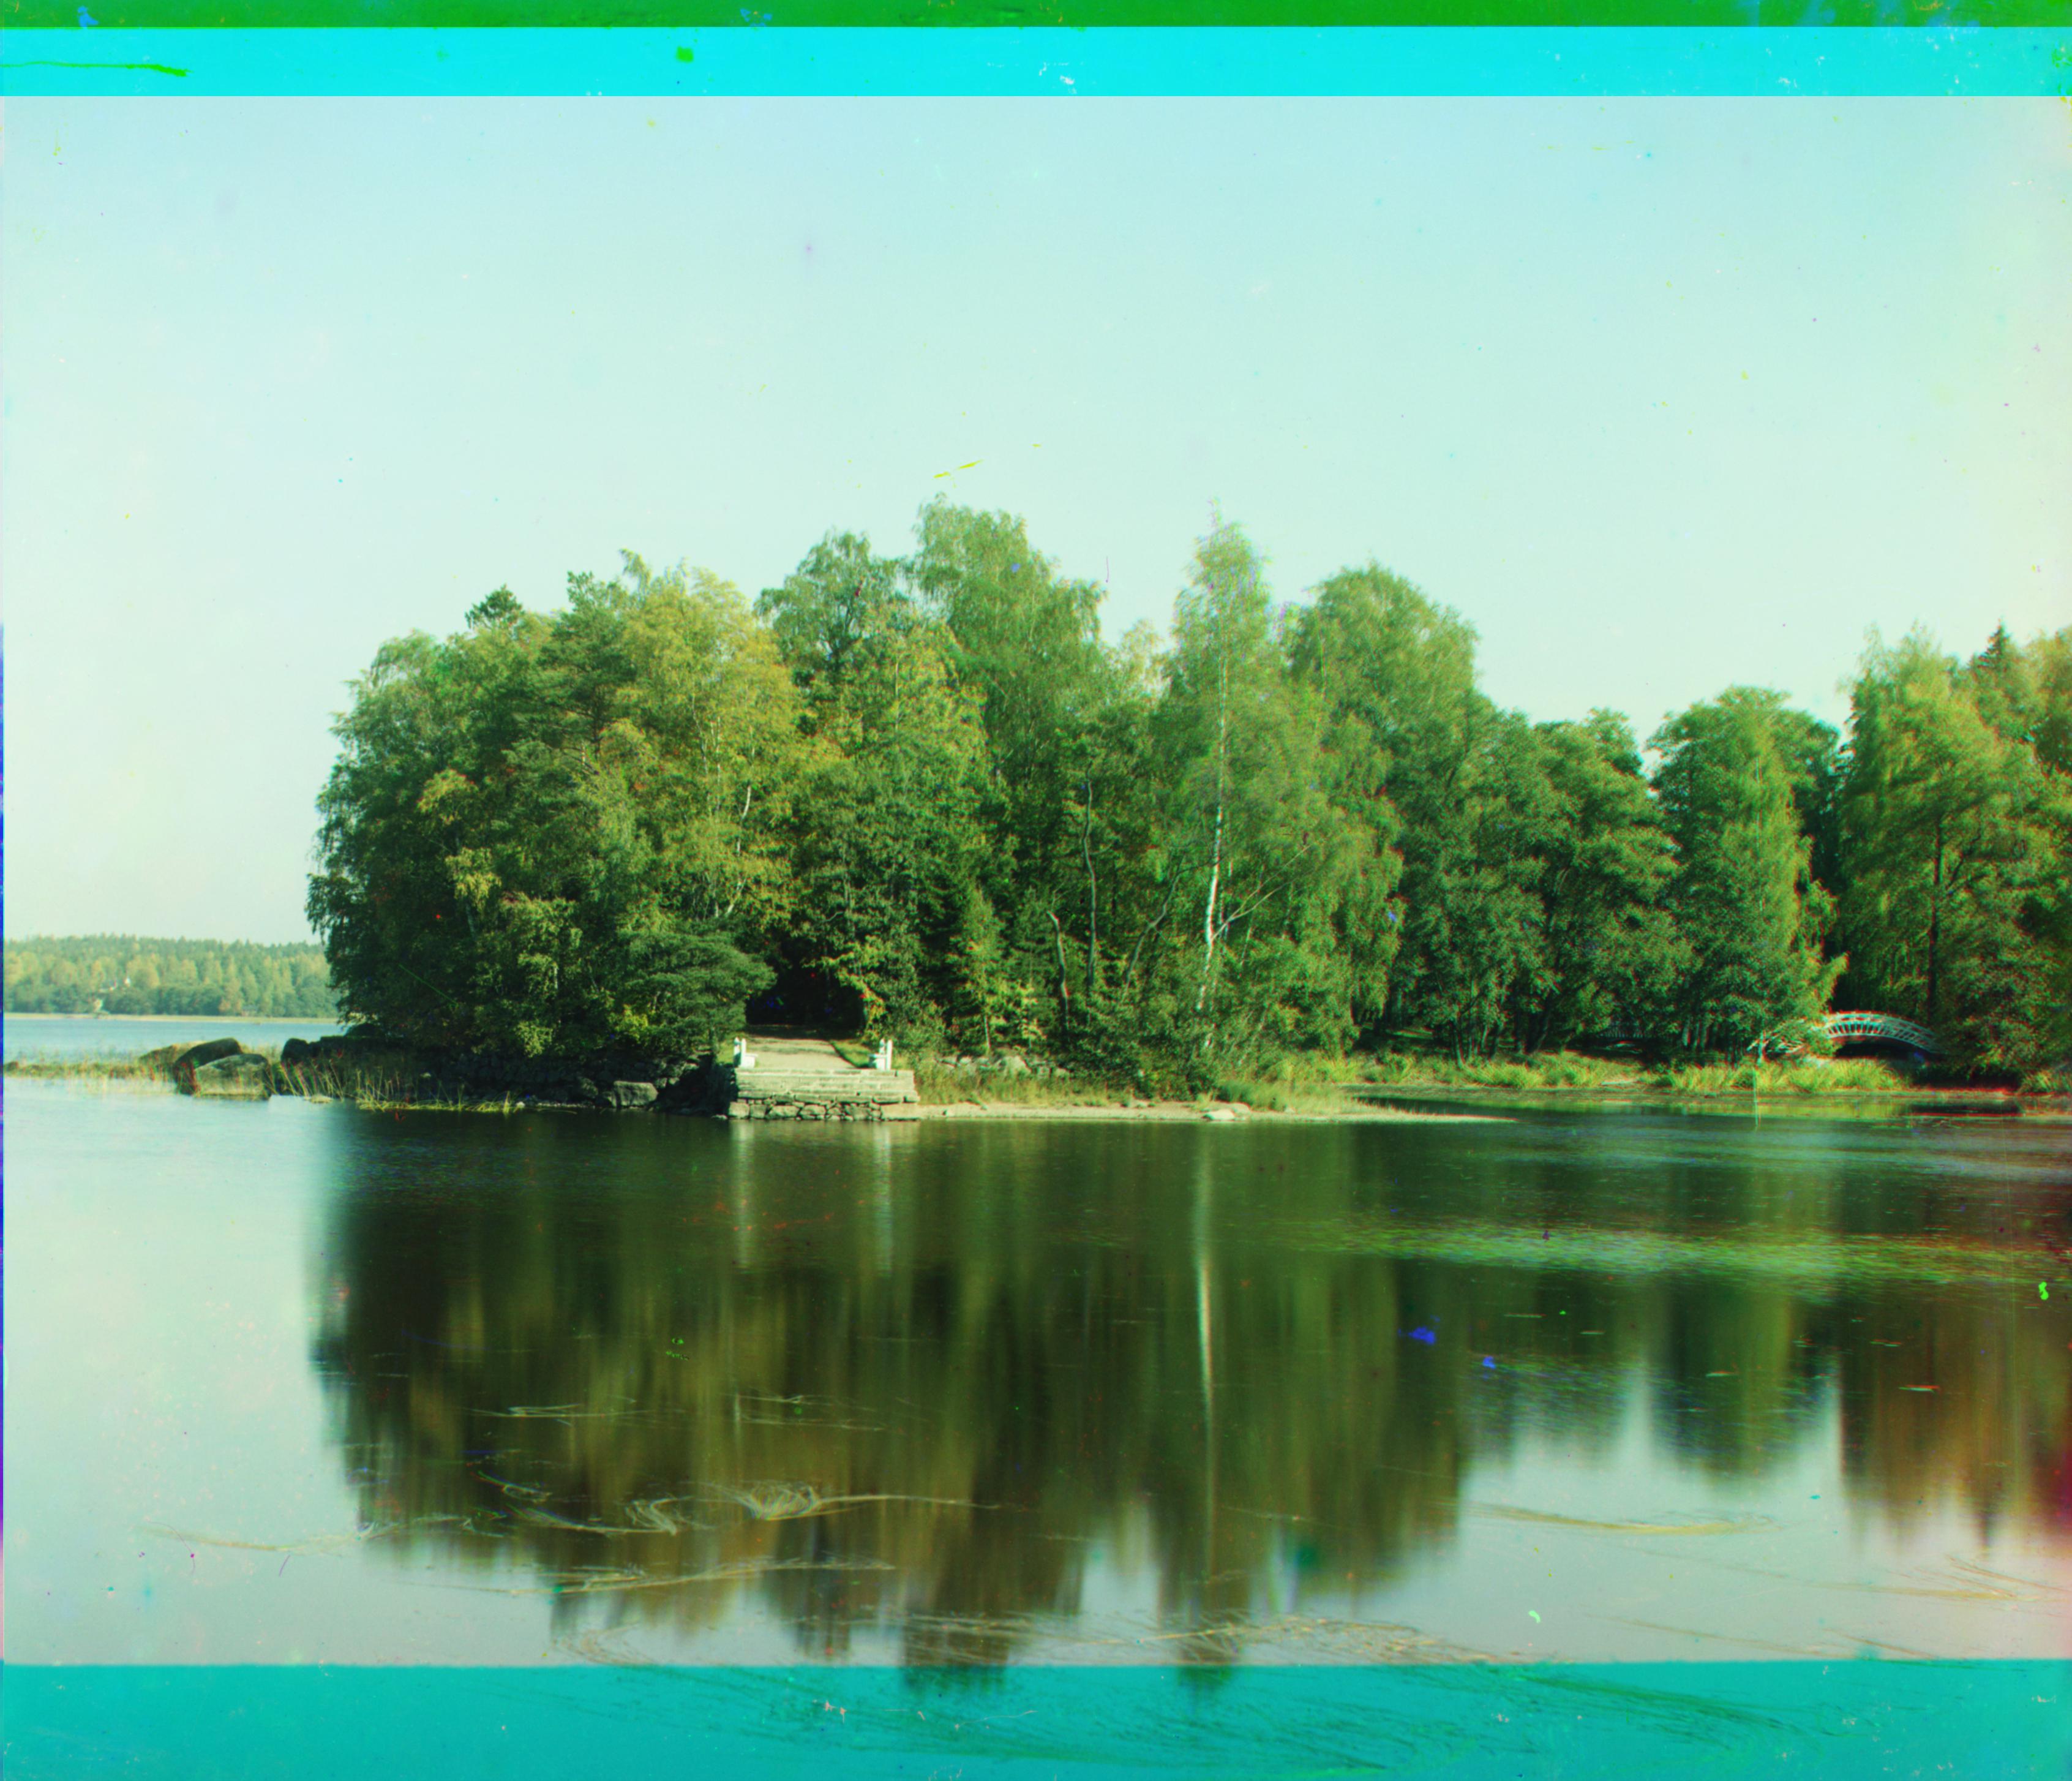
01646u.tif (lake)
Green offset: [44, 5]
Red offset: [157, 7]