green (5, 2), red (12, 3)
green (-3, 2), red (3, 2)

green (3, 3), red (6, 3)
Colorizing the Prokudin-Gorskii photo collection
Zhenkai Han
In this project, I colorized some images from the Prokudin-Gorskii photo collection. I aligned three images taken with red, green and blue filters. It is important to use Proper alignment to get high quality colorized images. Other methods may improve the quality of the images.
In this part, I tried to find a feature to check two pixels from different images are the same thing. Pixel raw value is a feature usually to be considered. To measure the pixel raw value difference between two pixels, I used Sum of Squared Differences which is the sum of each square difference between two pixels to align. Then I did exhaustive search on two images to find a (x,y) displacement vector which got the lowest SSD. Then I used the displacement vector to stack three images together and got a colorized image. Since the image resolution is not very high, I could just search over [-15, 15] pixels for height and width. Then I stacked three images together to get colorized images based on the displacement vector.
Exhaustive search takes much time on high-resolution images. But we can narrow down search range for exhaustive search with pyramid. I can start exhaustive search from a small image shrank from original image and do exhaustive search on an image bigger than the small image. I can scale a displacement vector by 2 to get displacement vector of image enlarged by 2. Because they are similar image, their displacement vectors are also similar. I iterated over 0.125x, 0.25x, 0.5x, 1x scale. It speeded up the process. Originally I took about five minutes to process a high-resolution colorized image, now it only took about one minute.
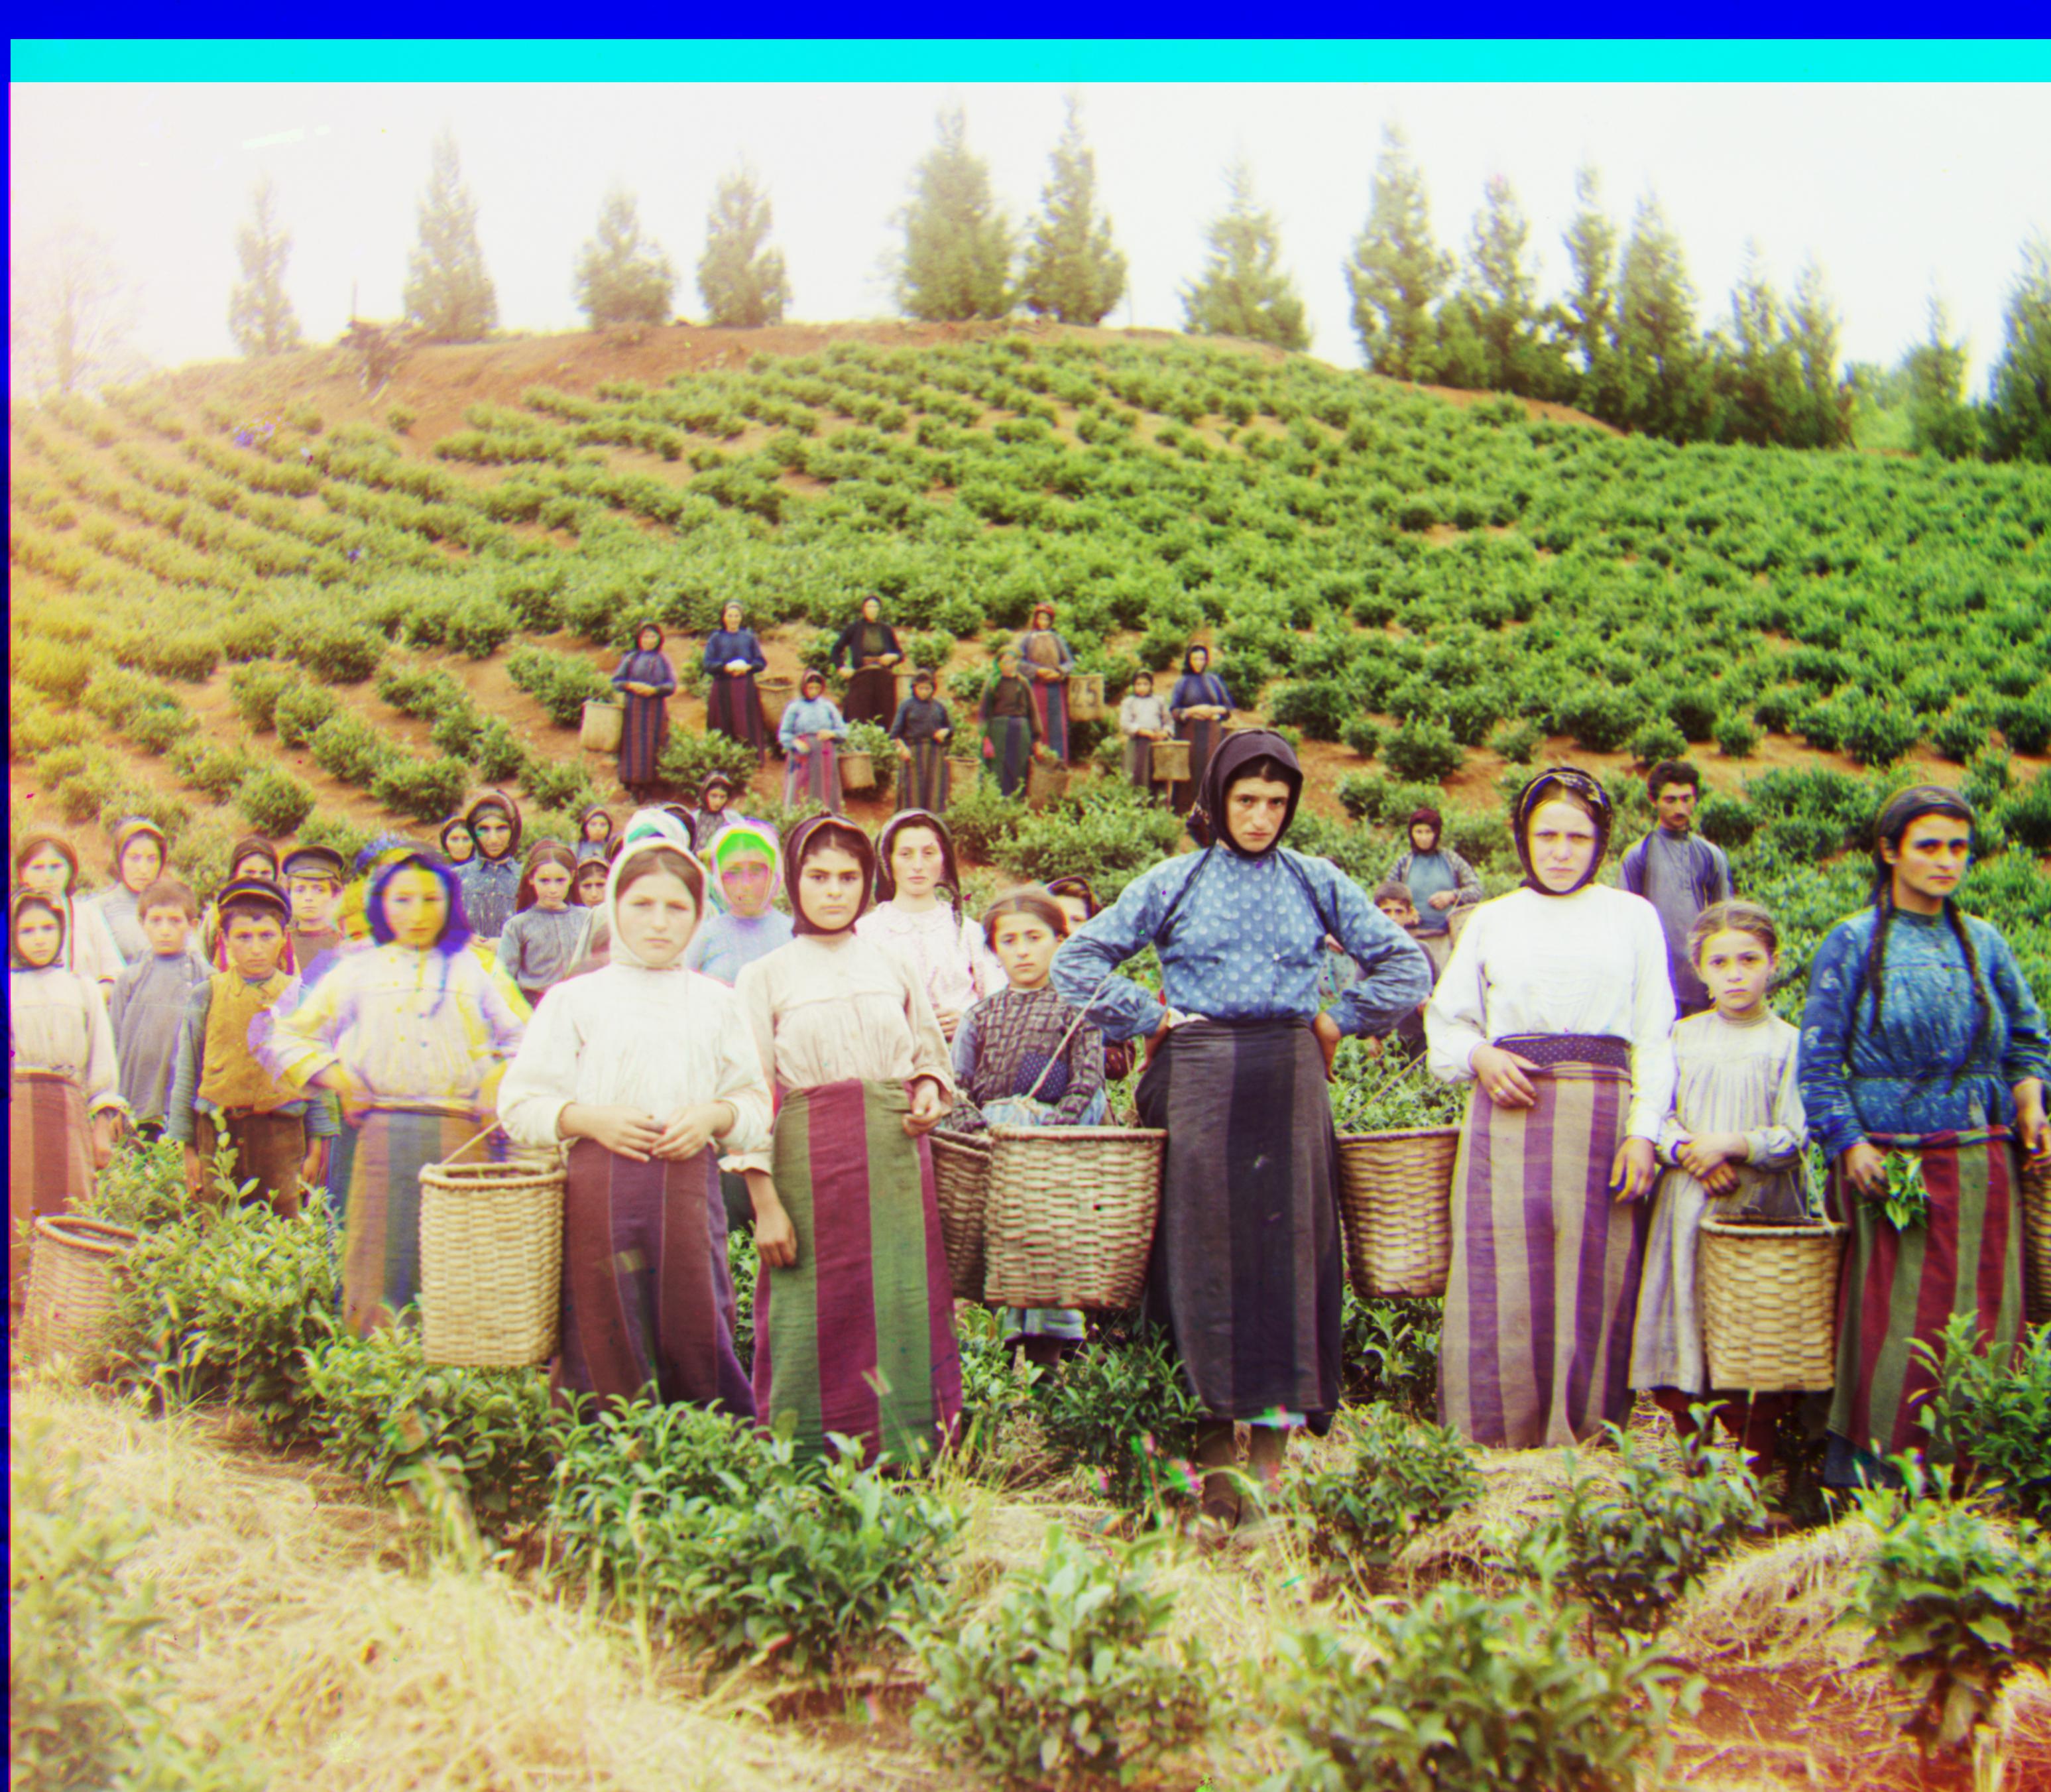
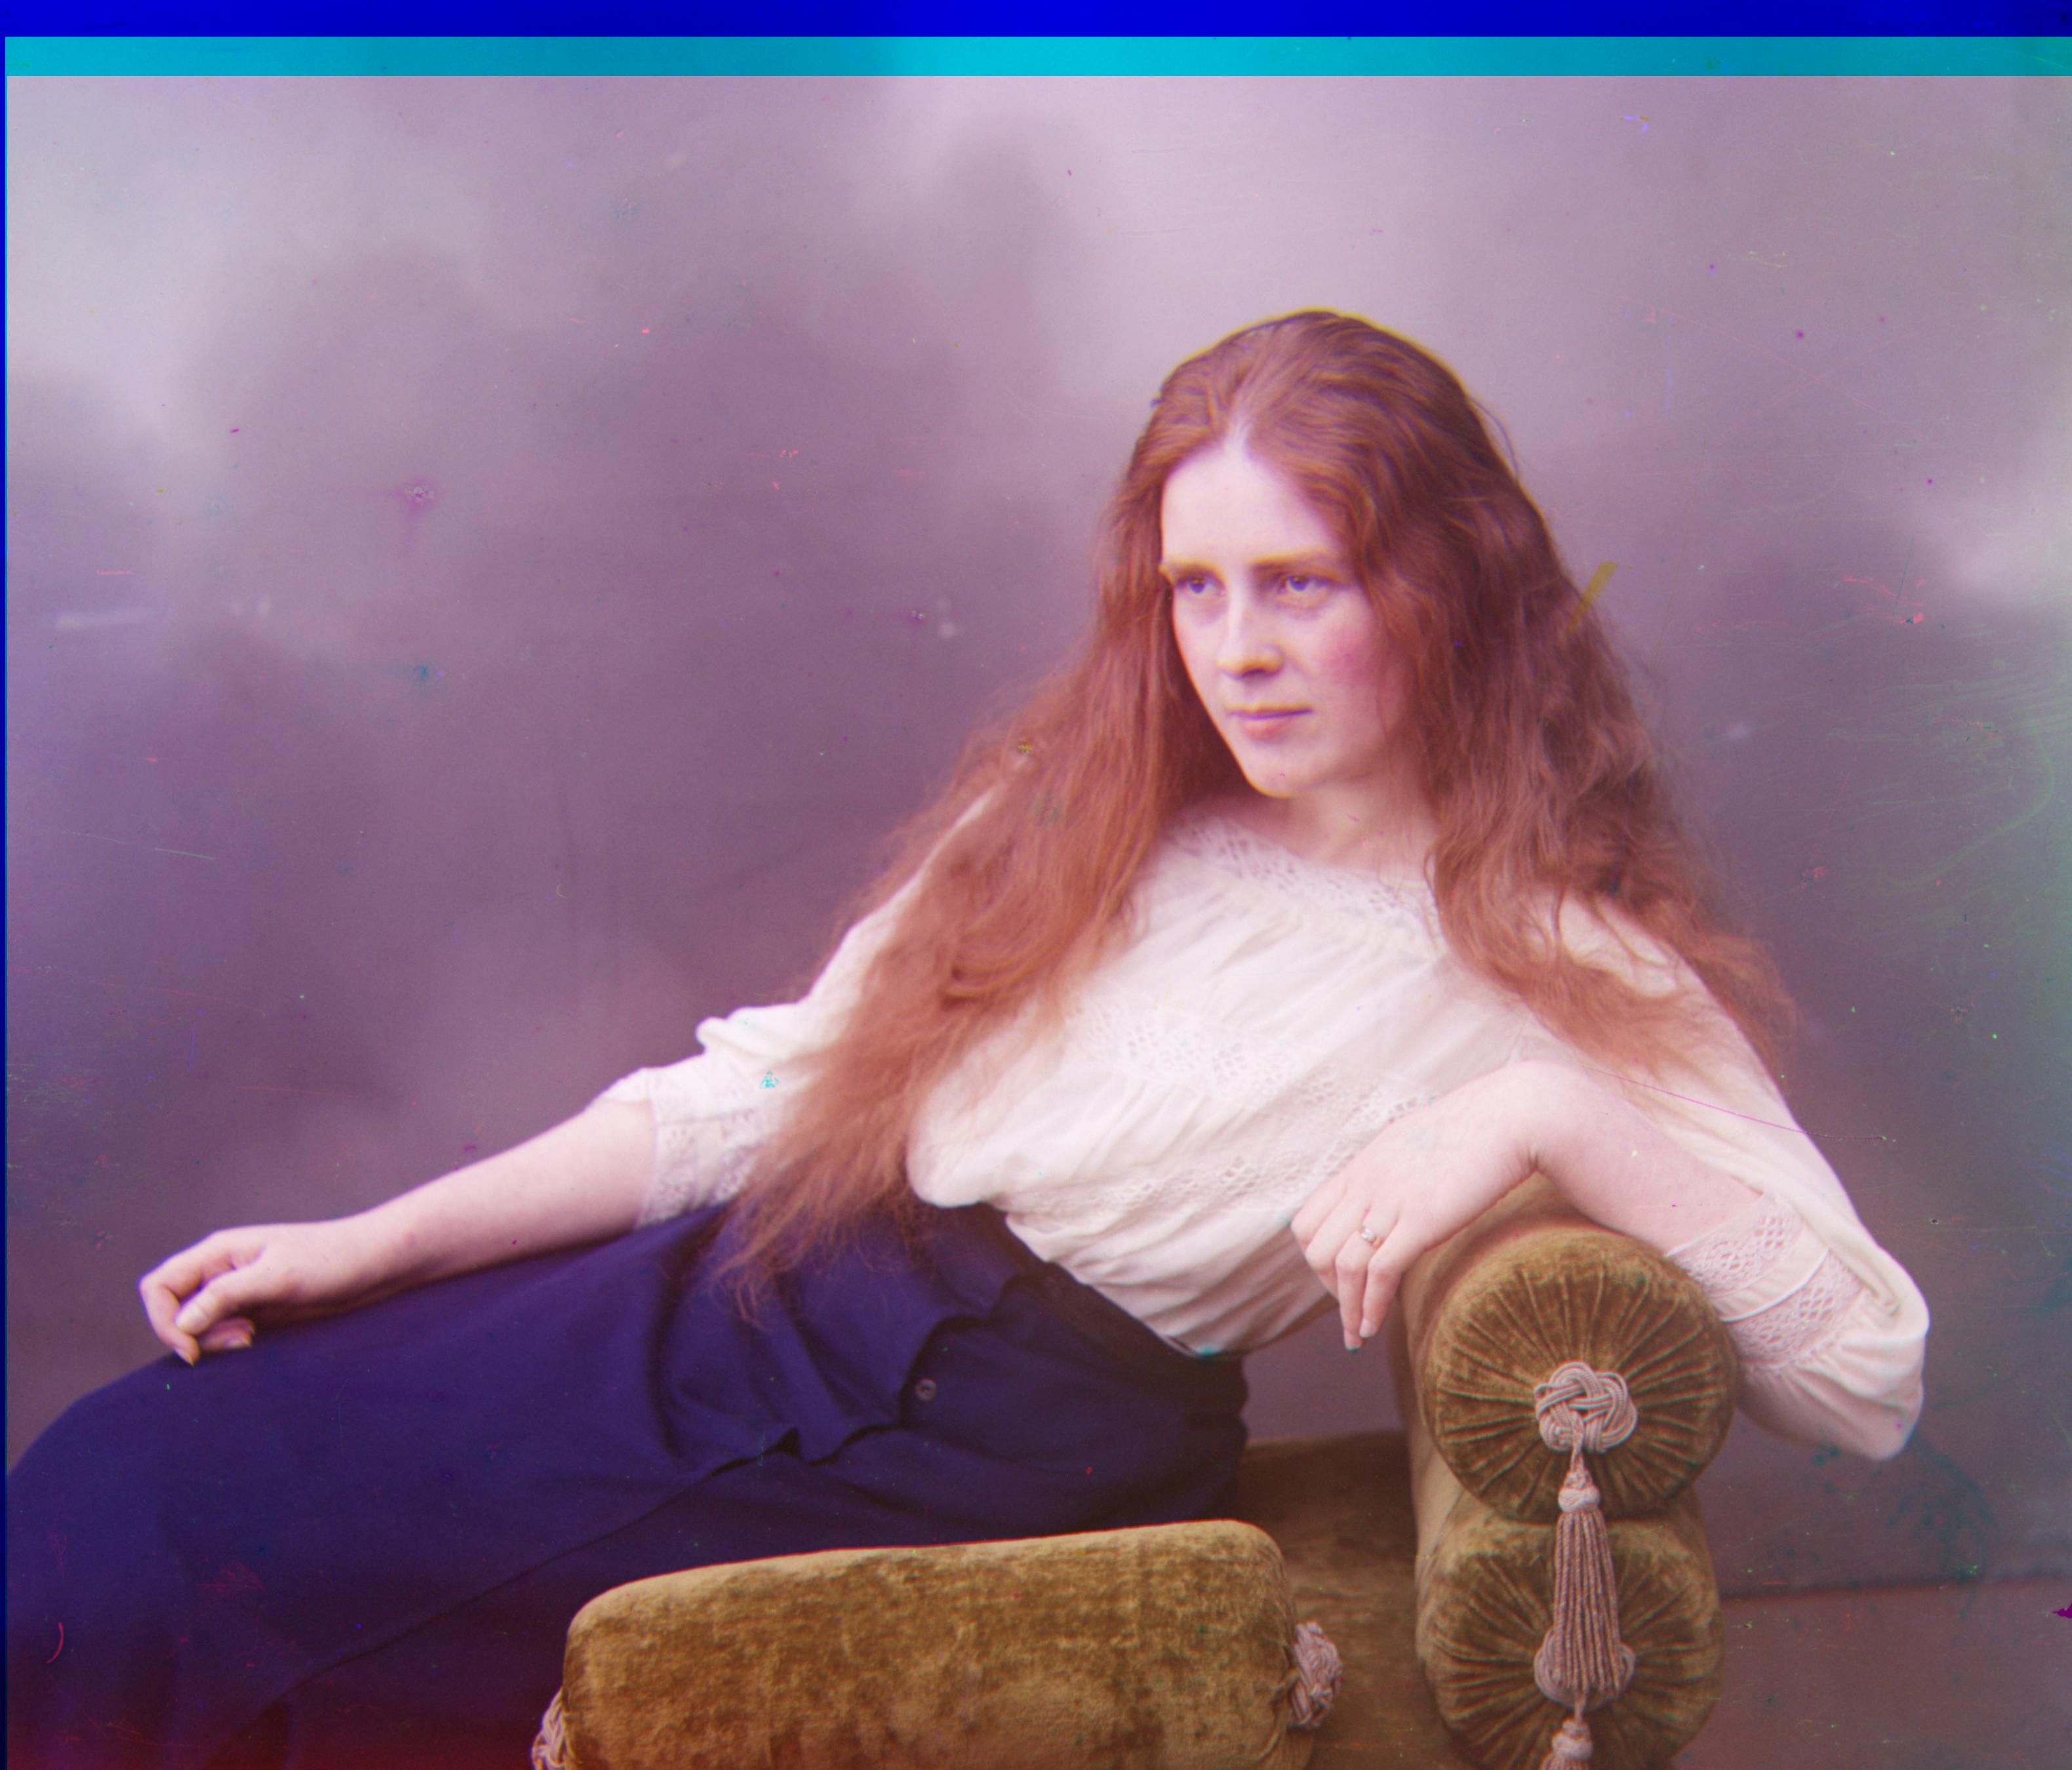

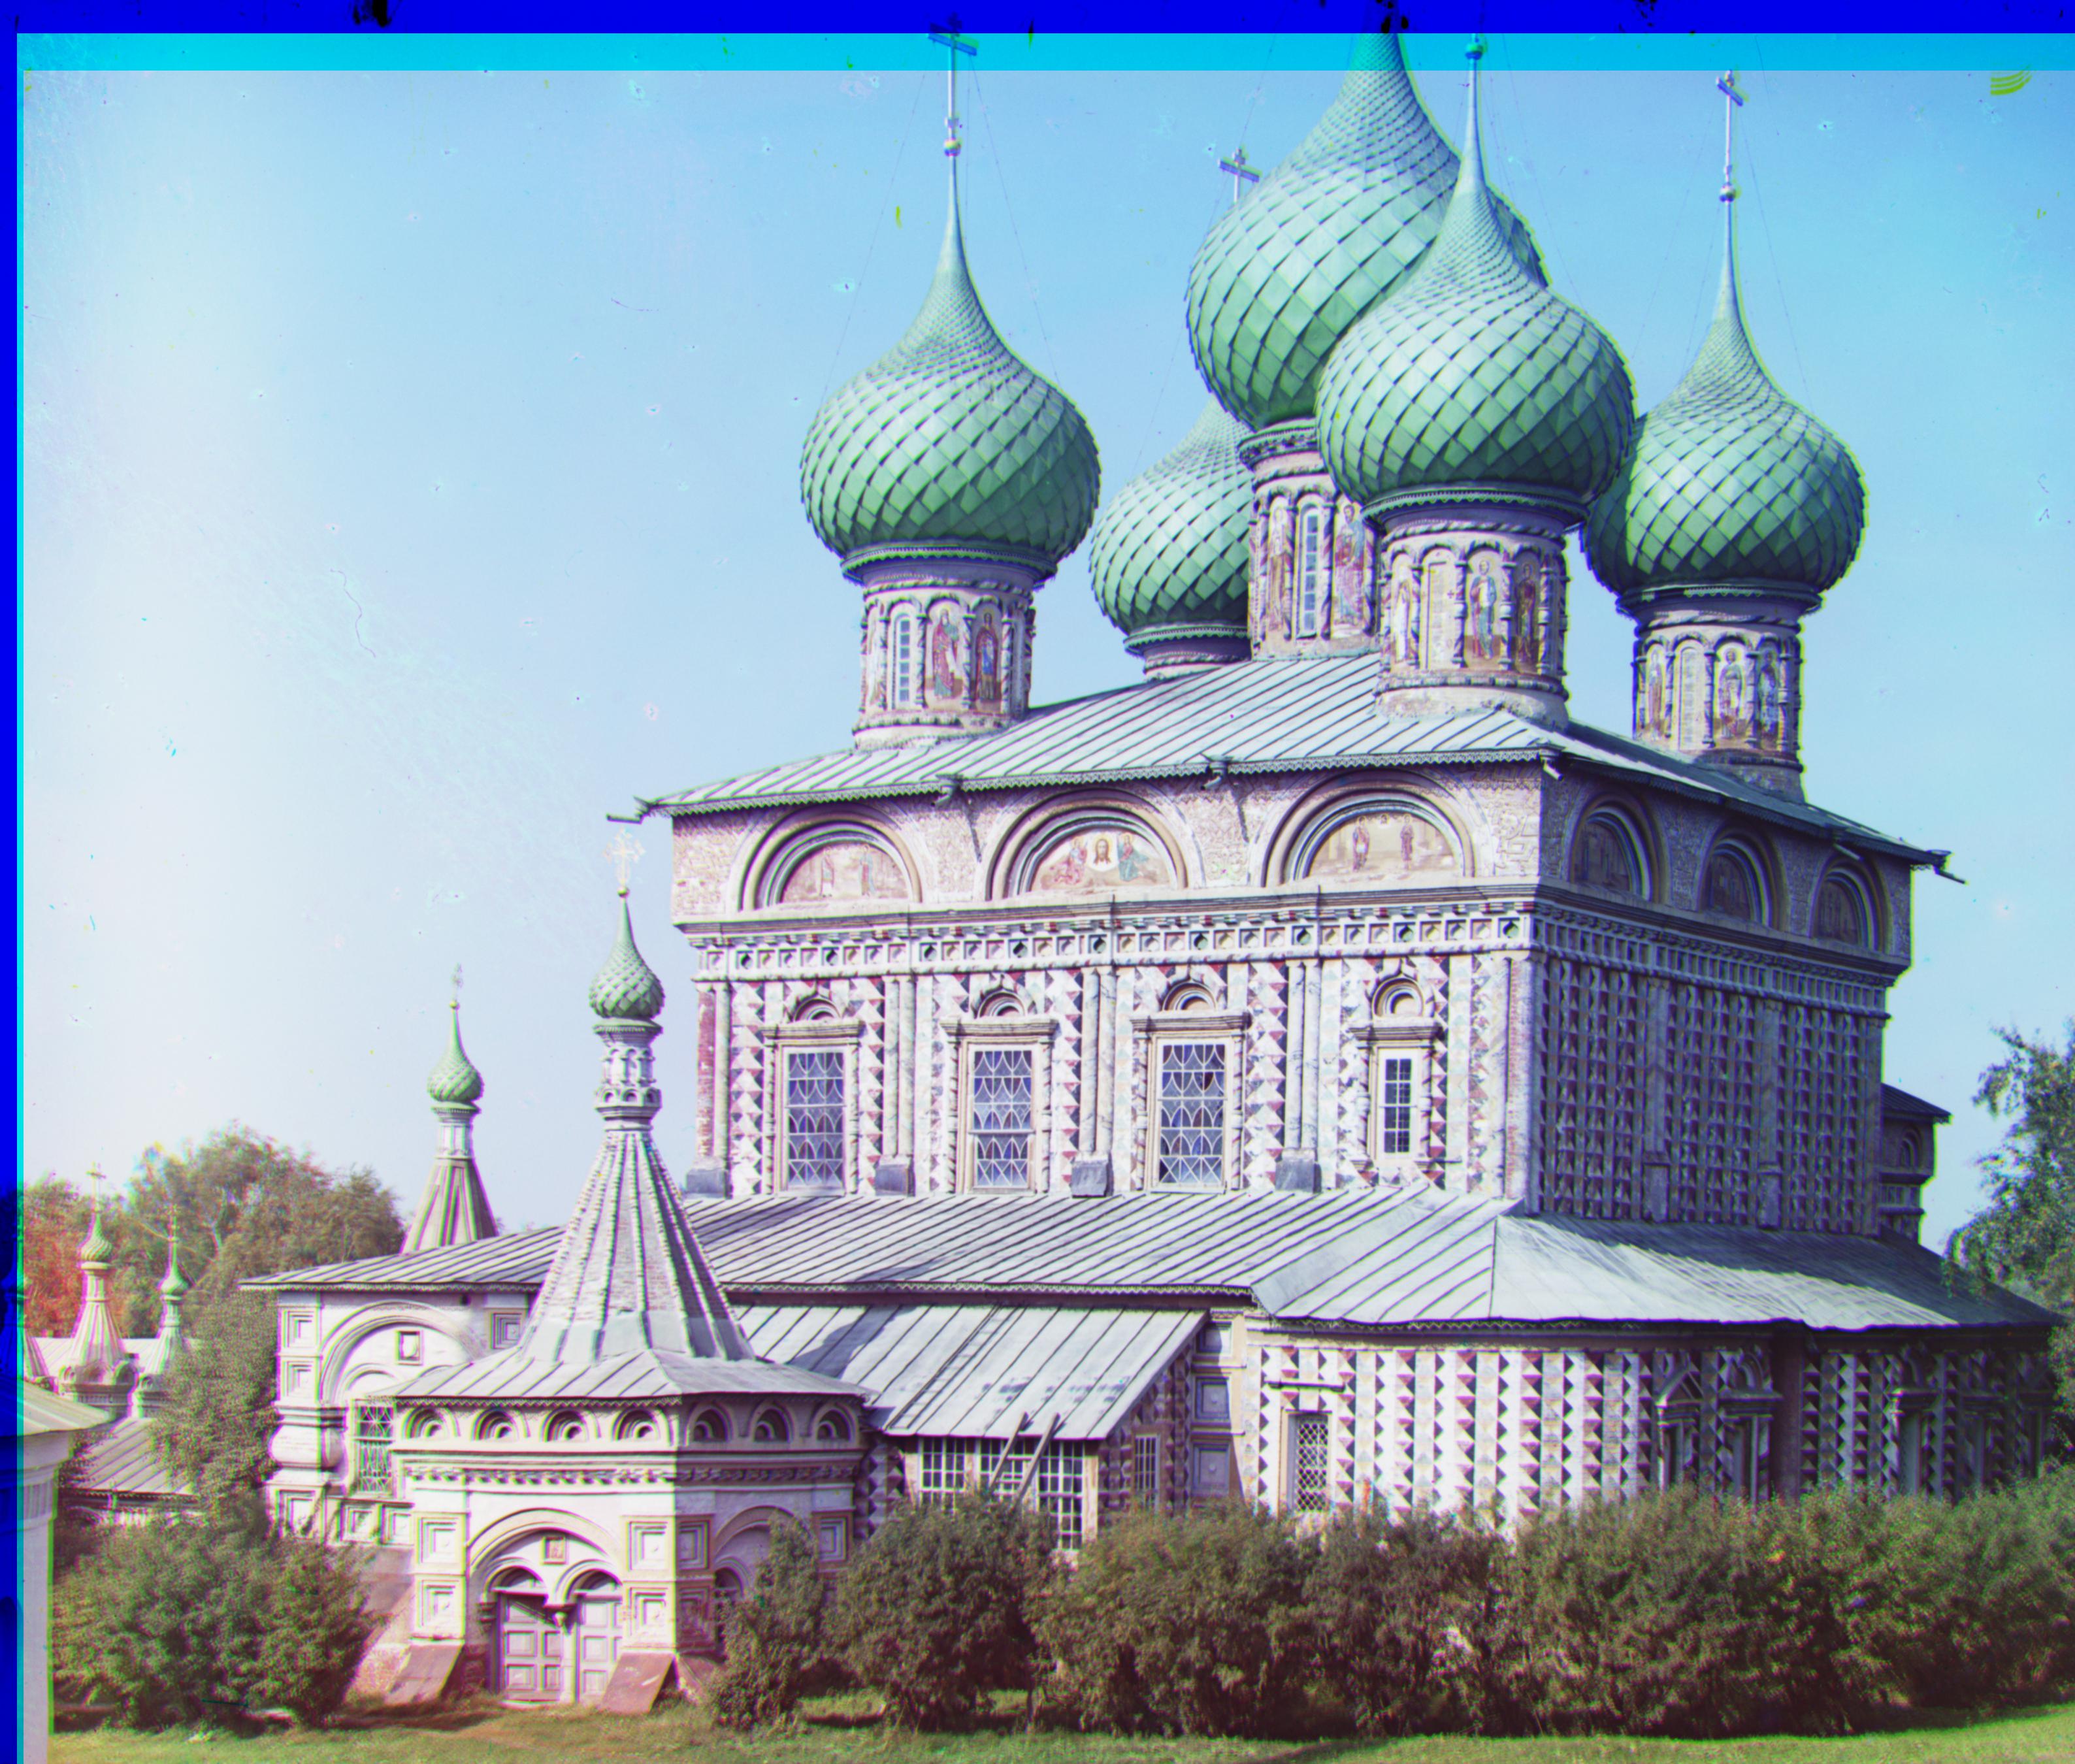
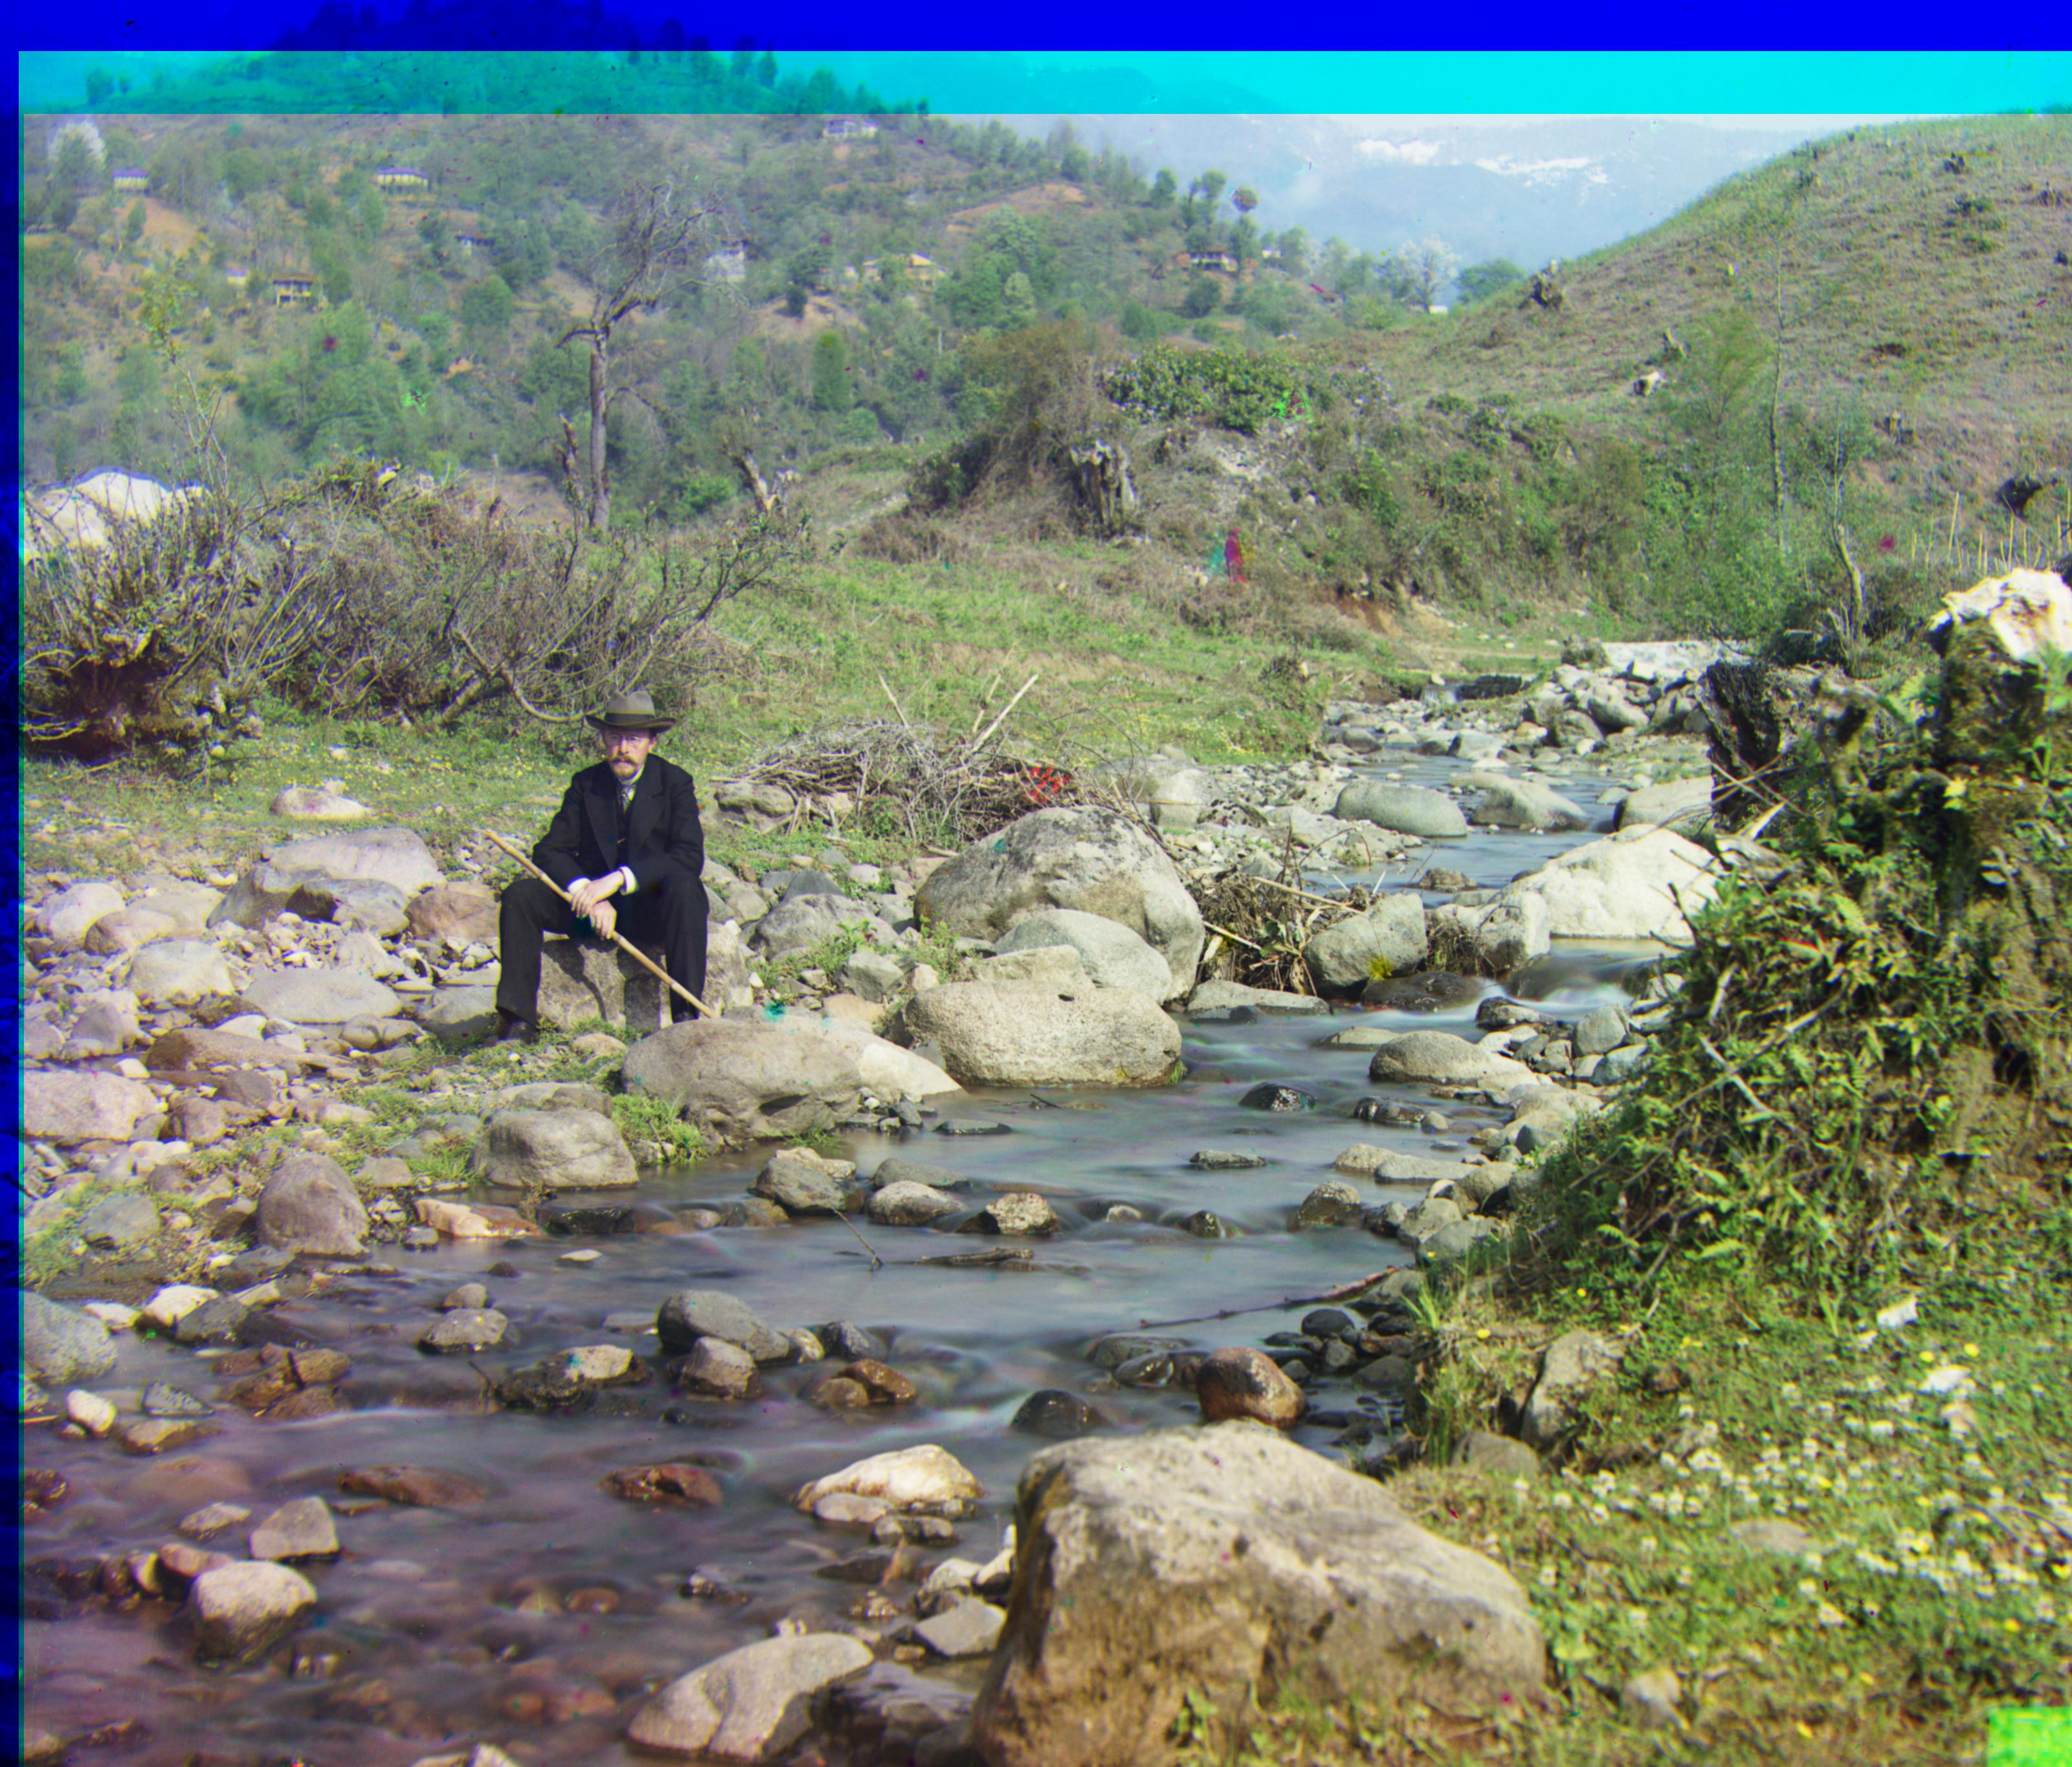
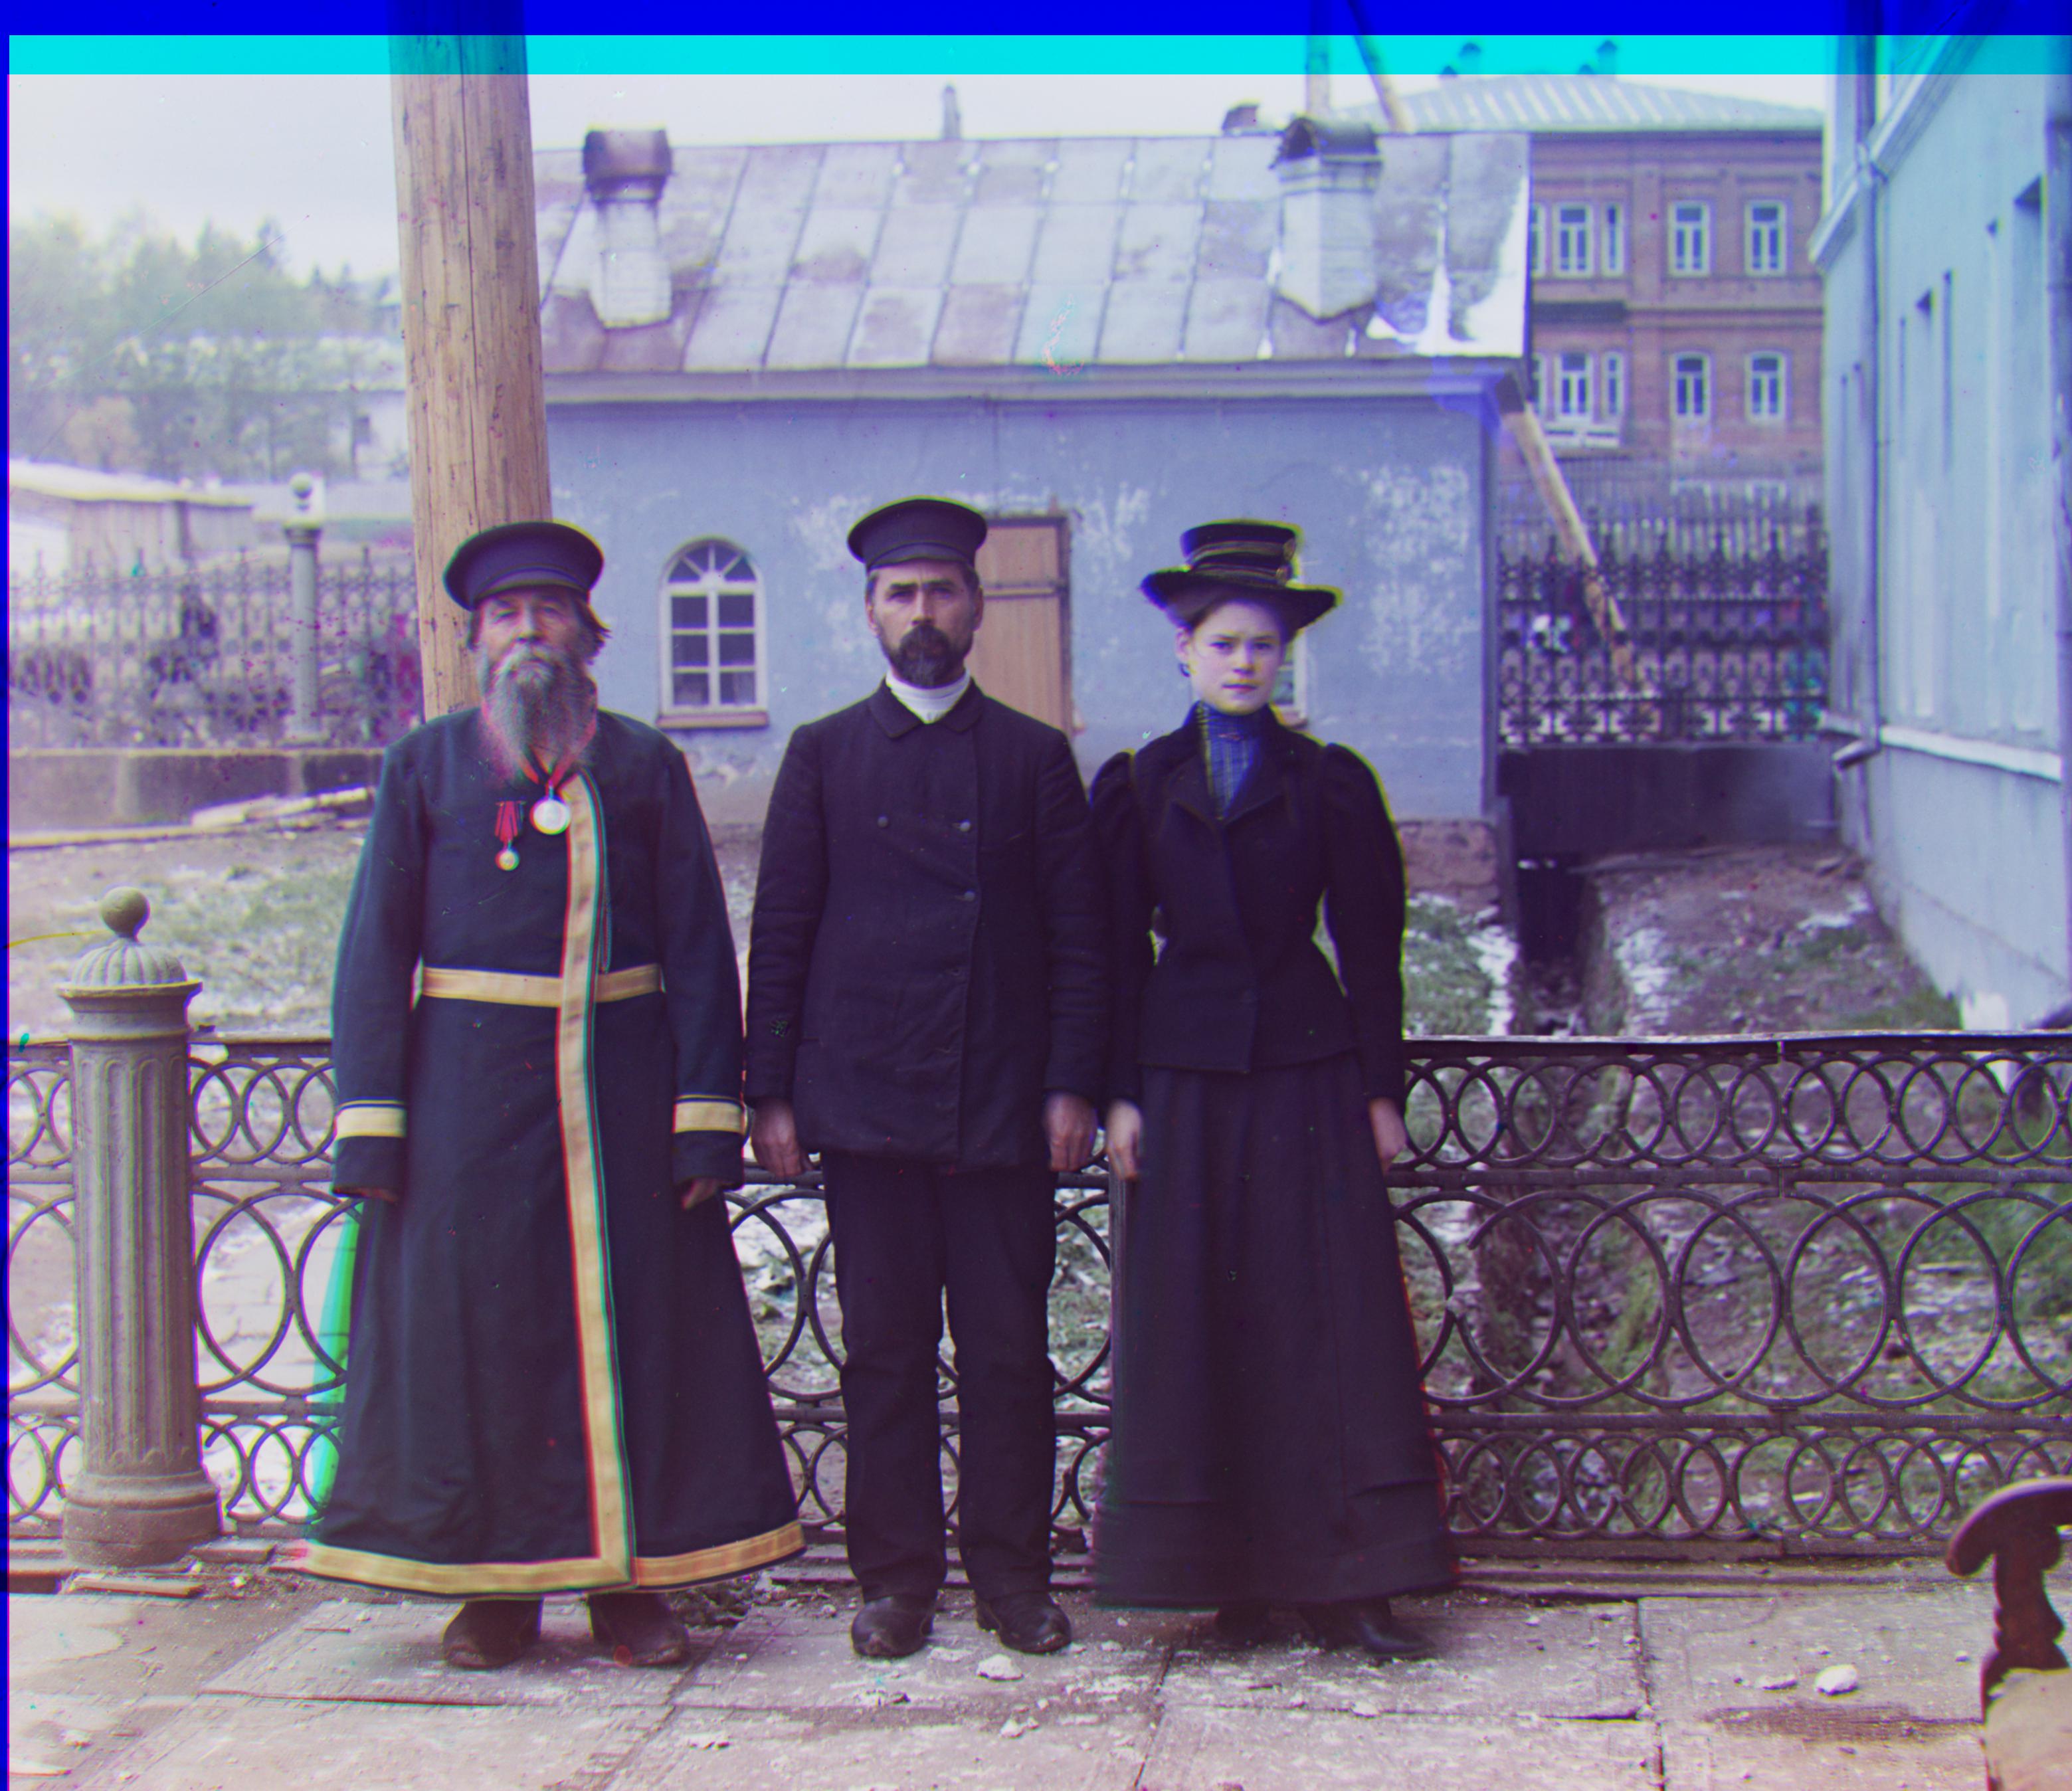

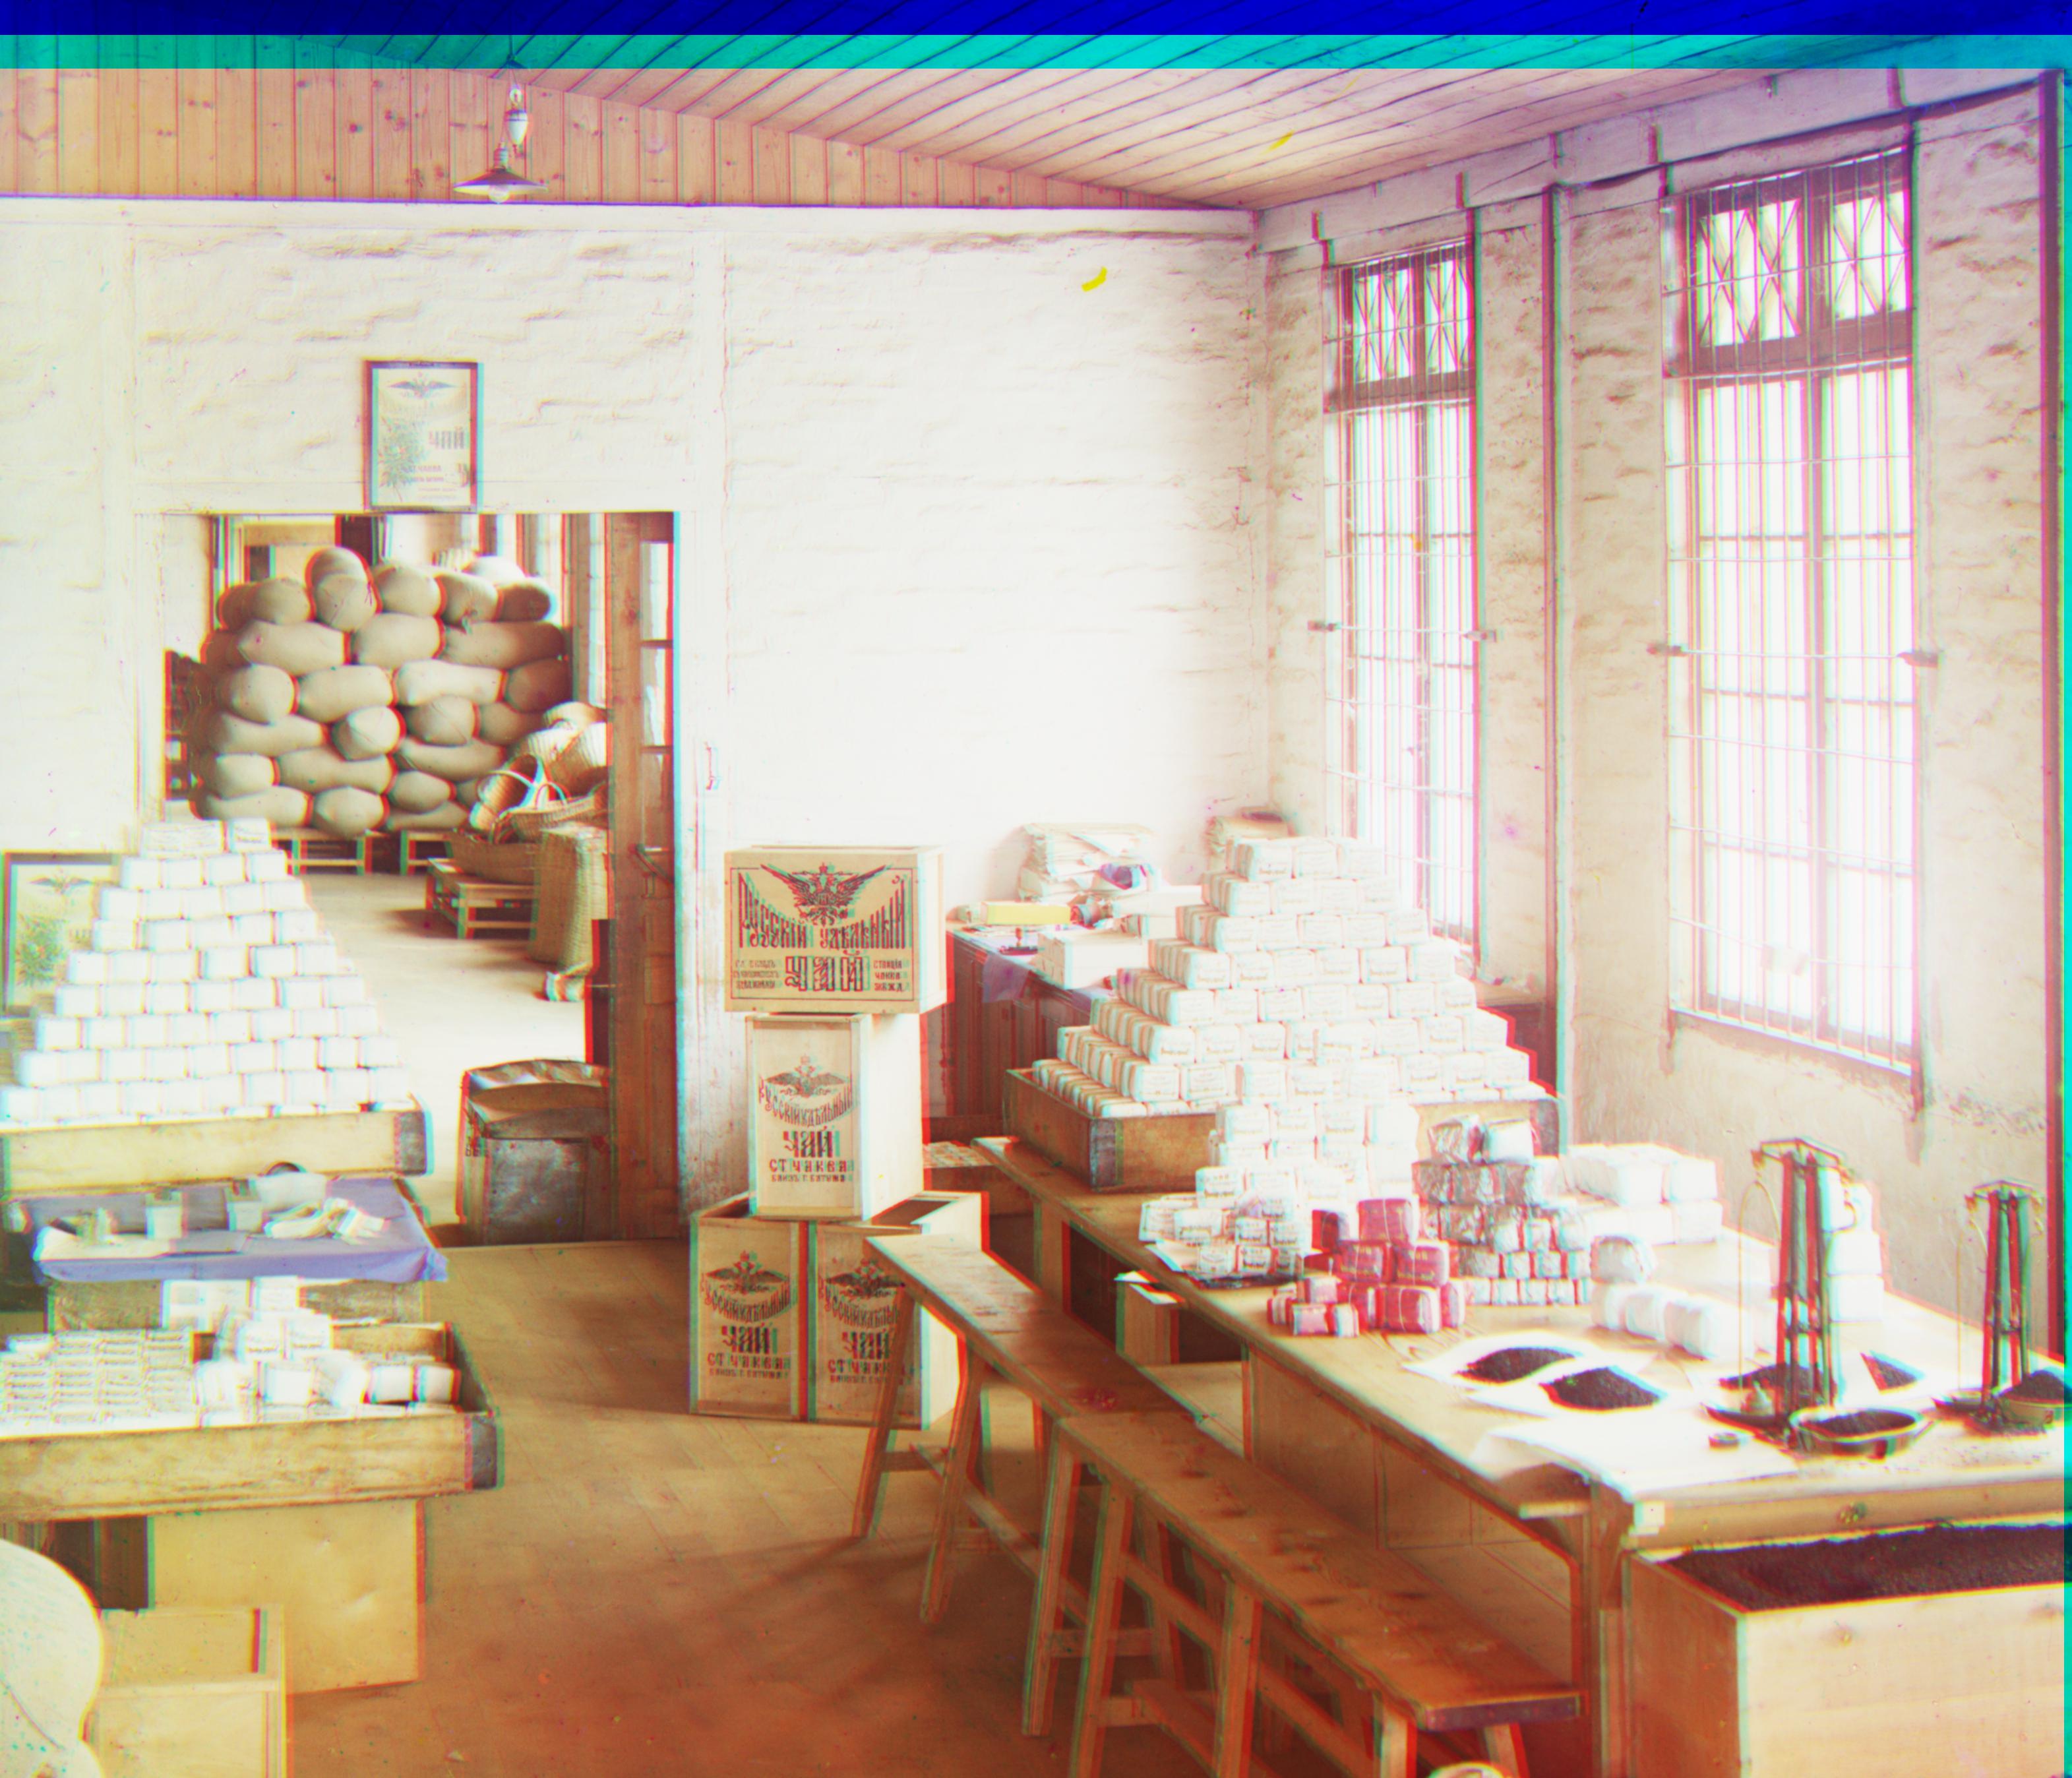
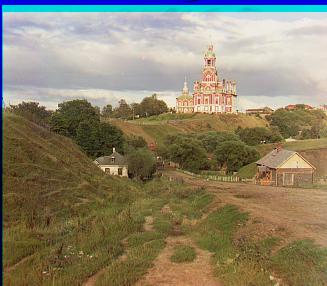
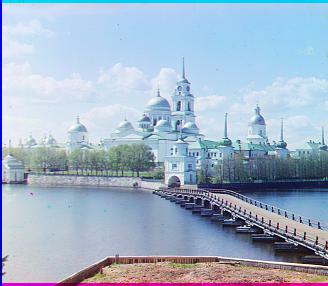
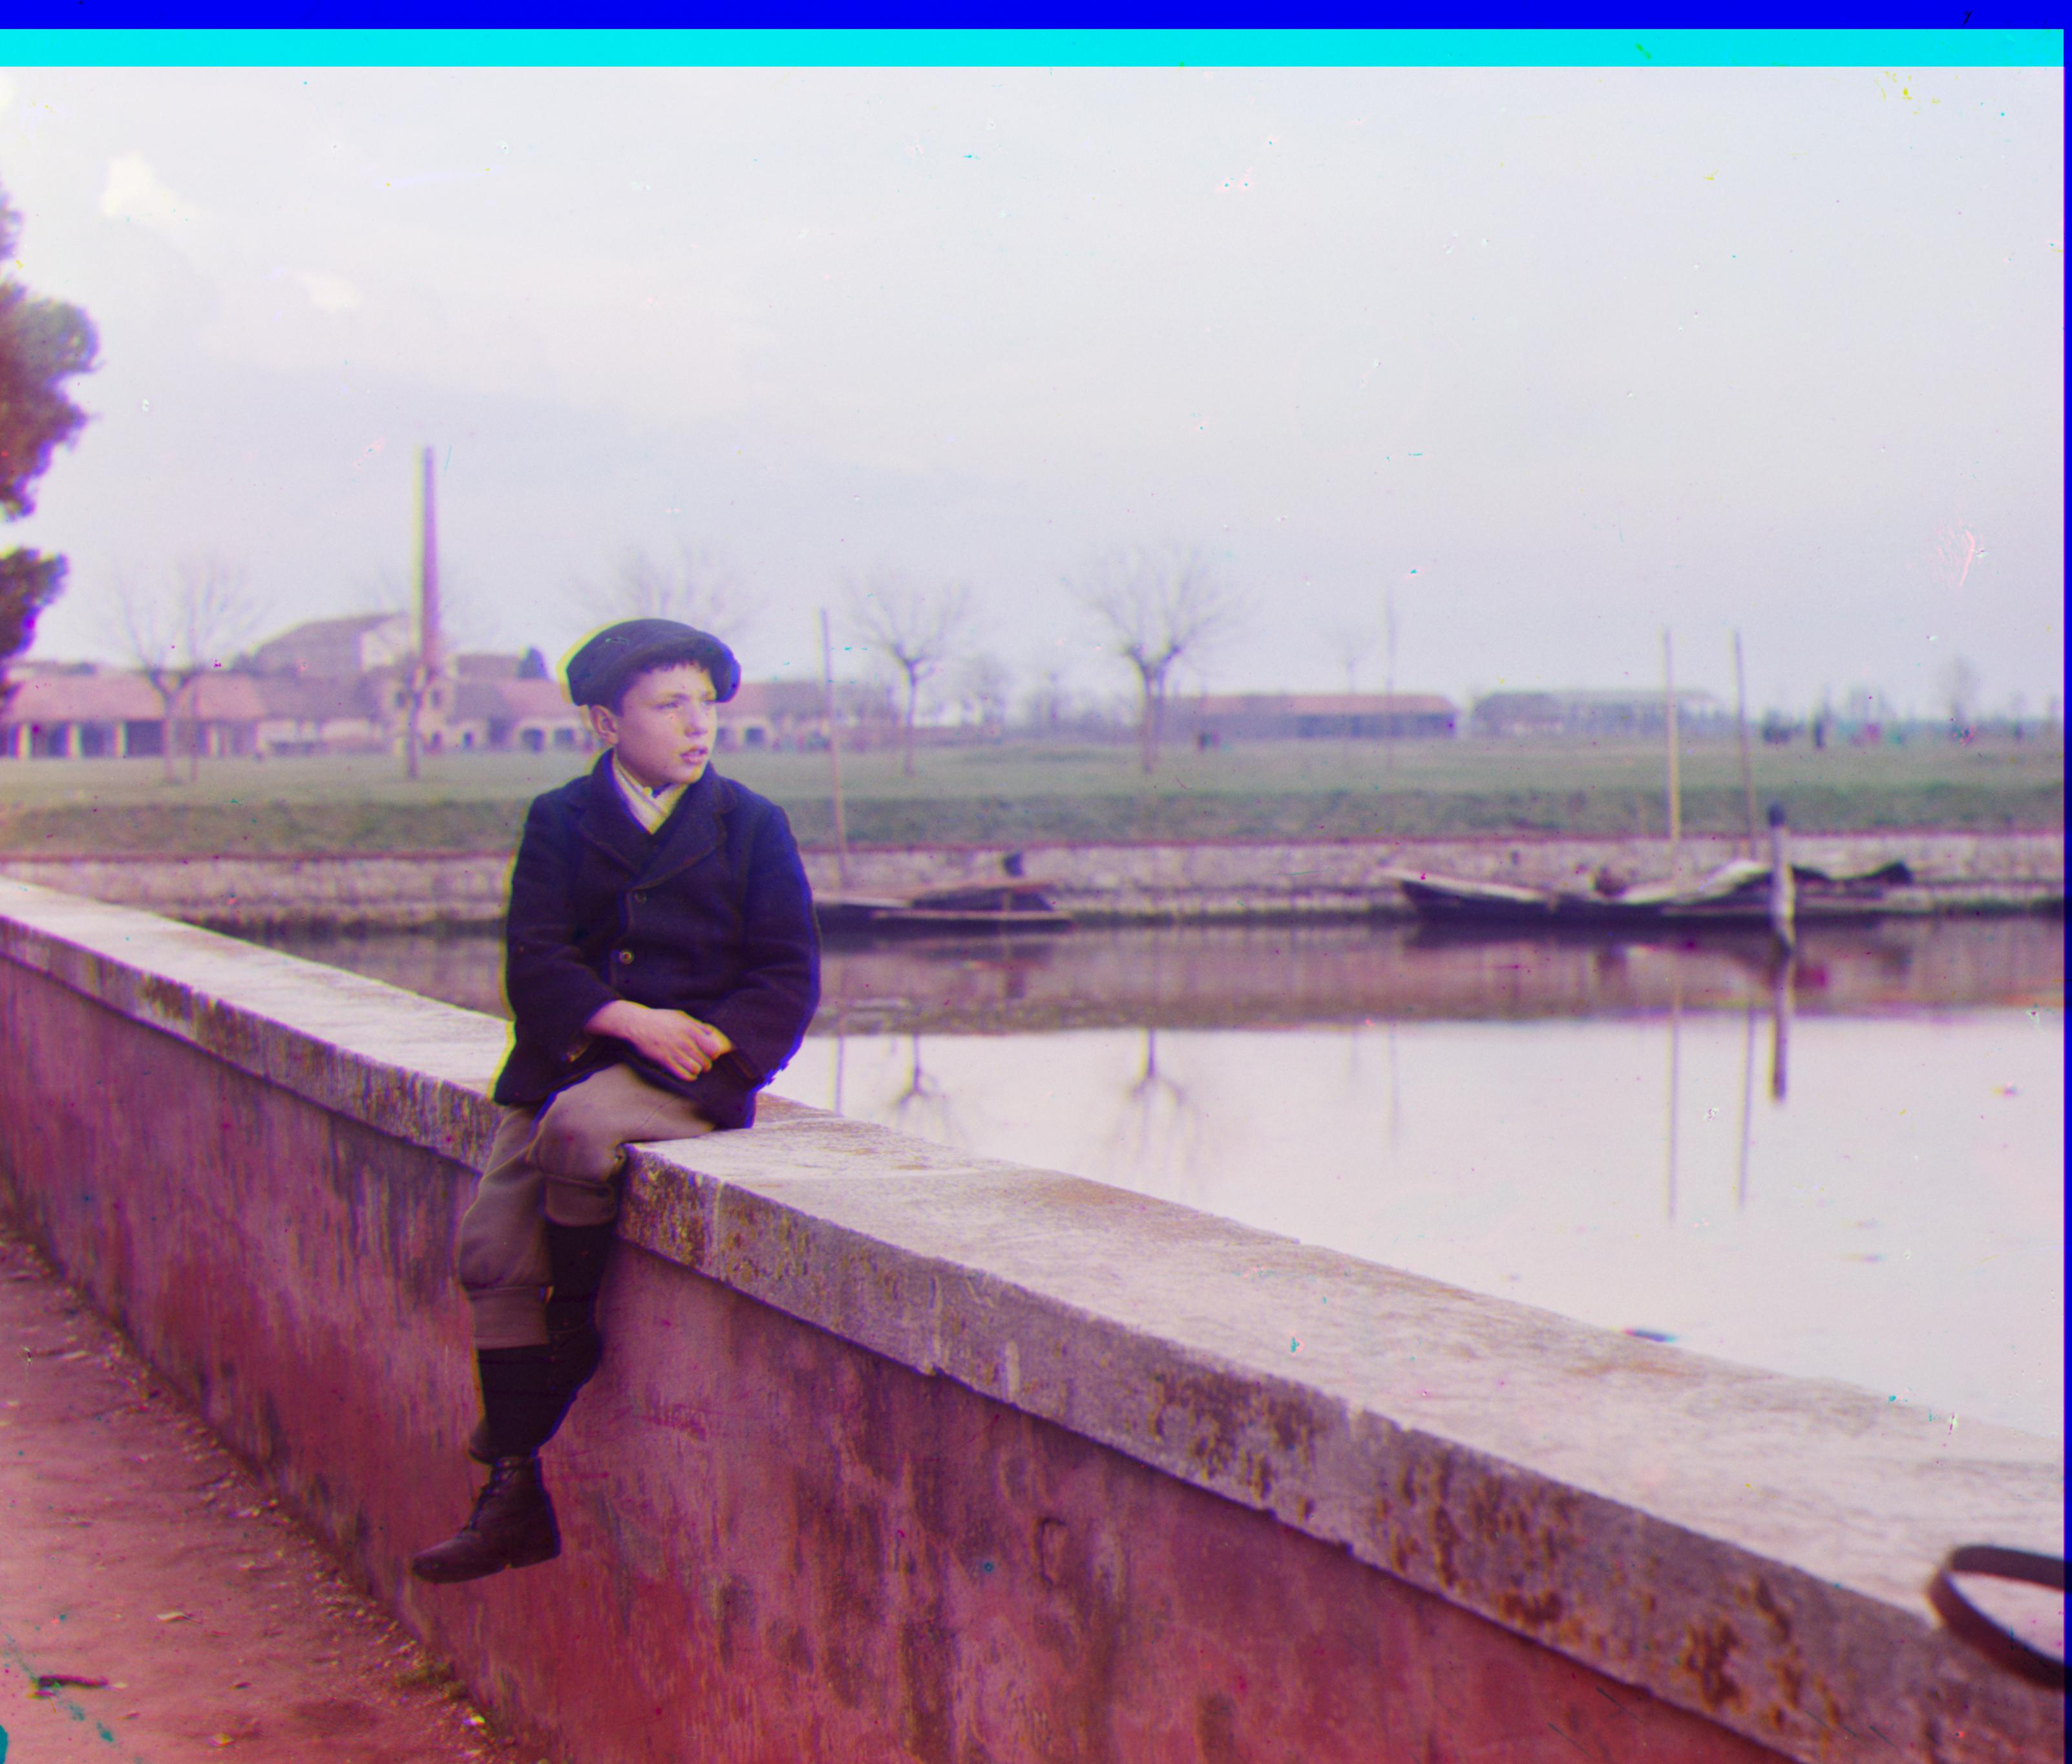
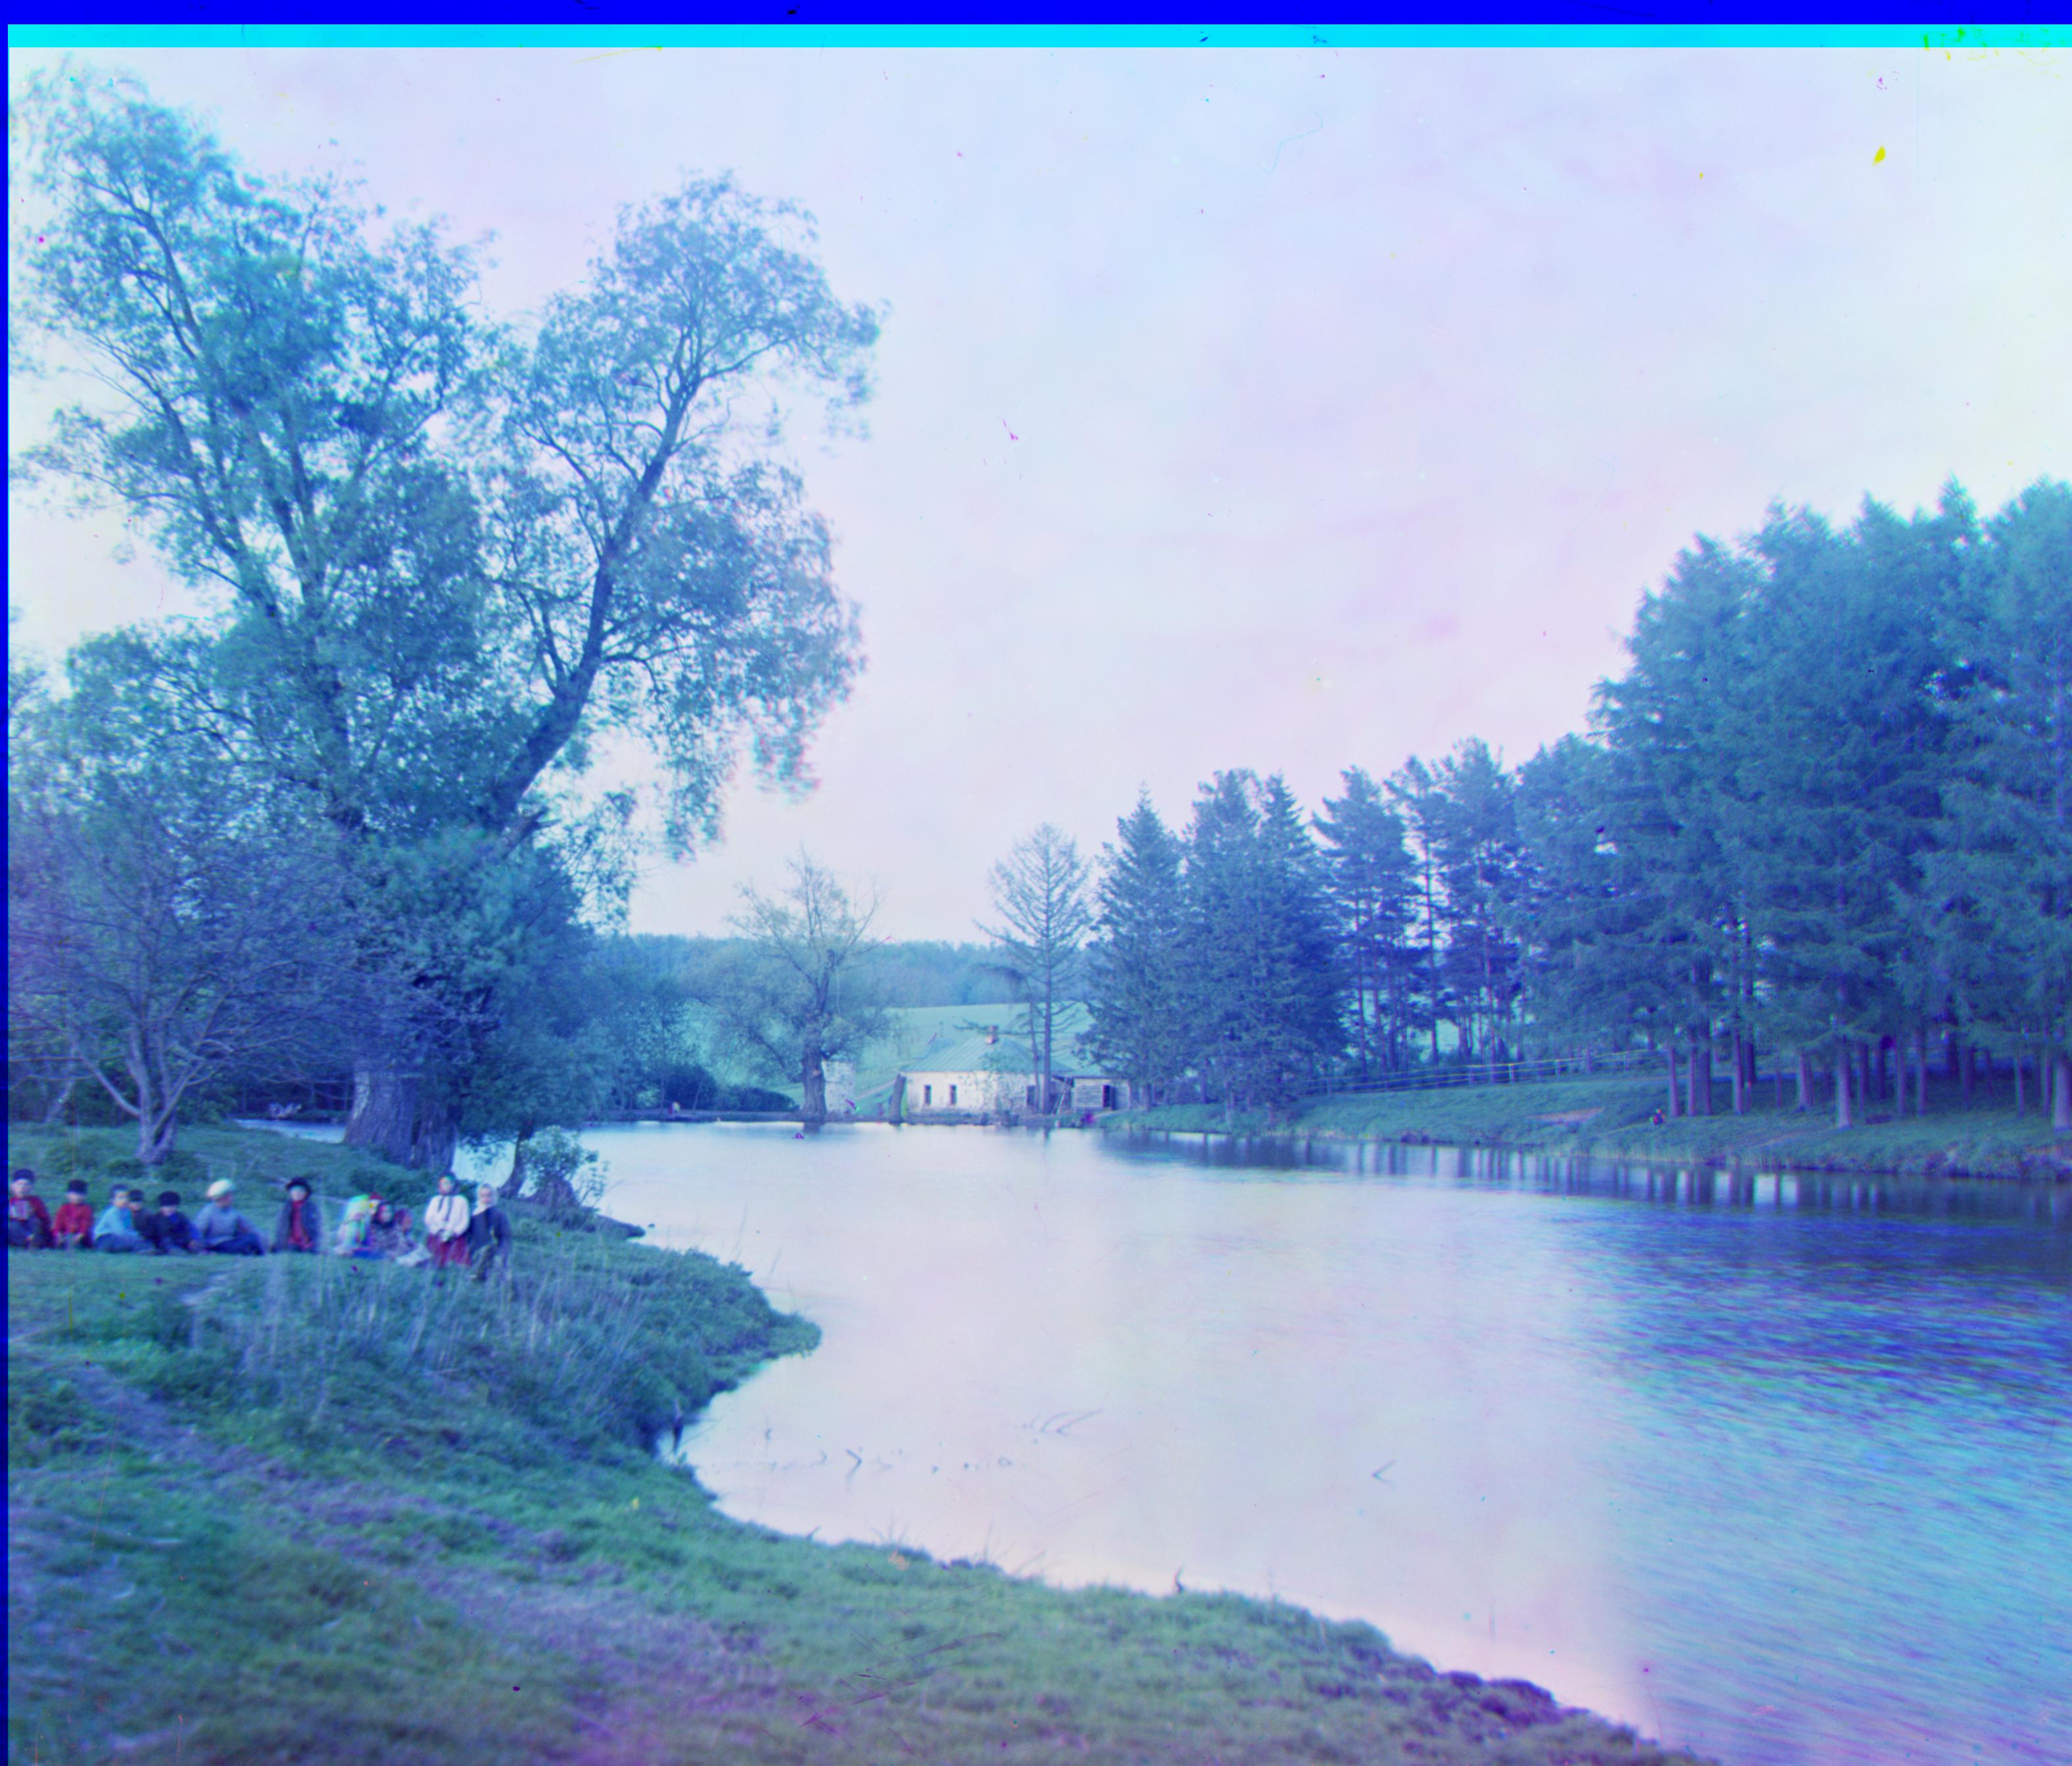
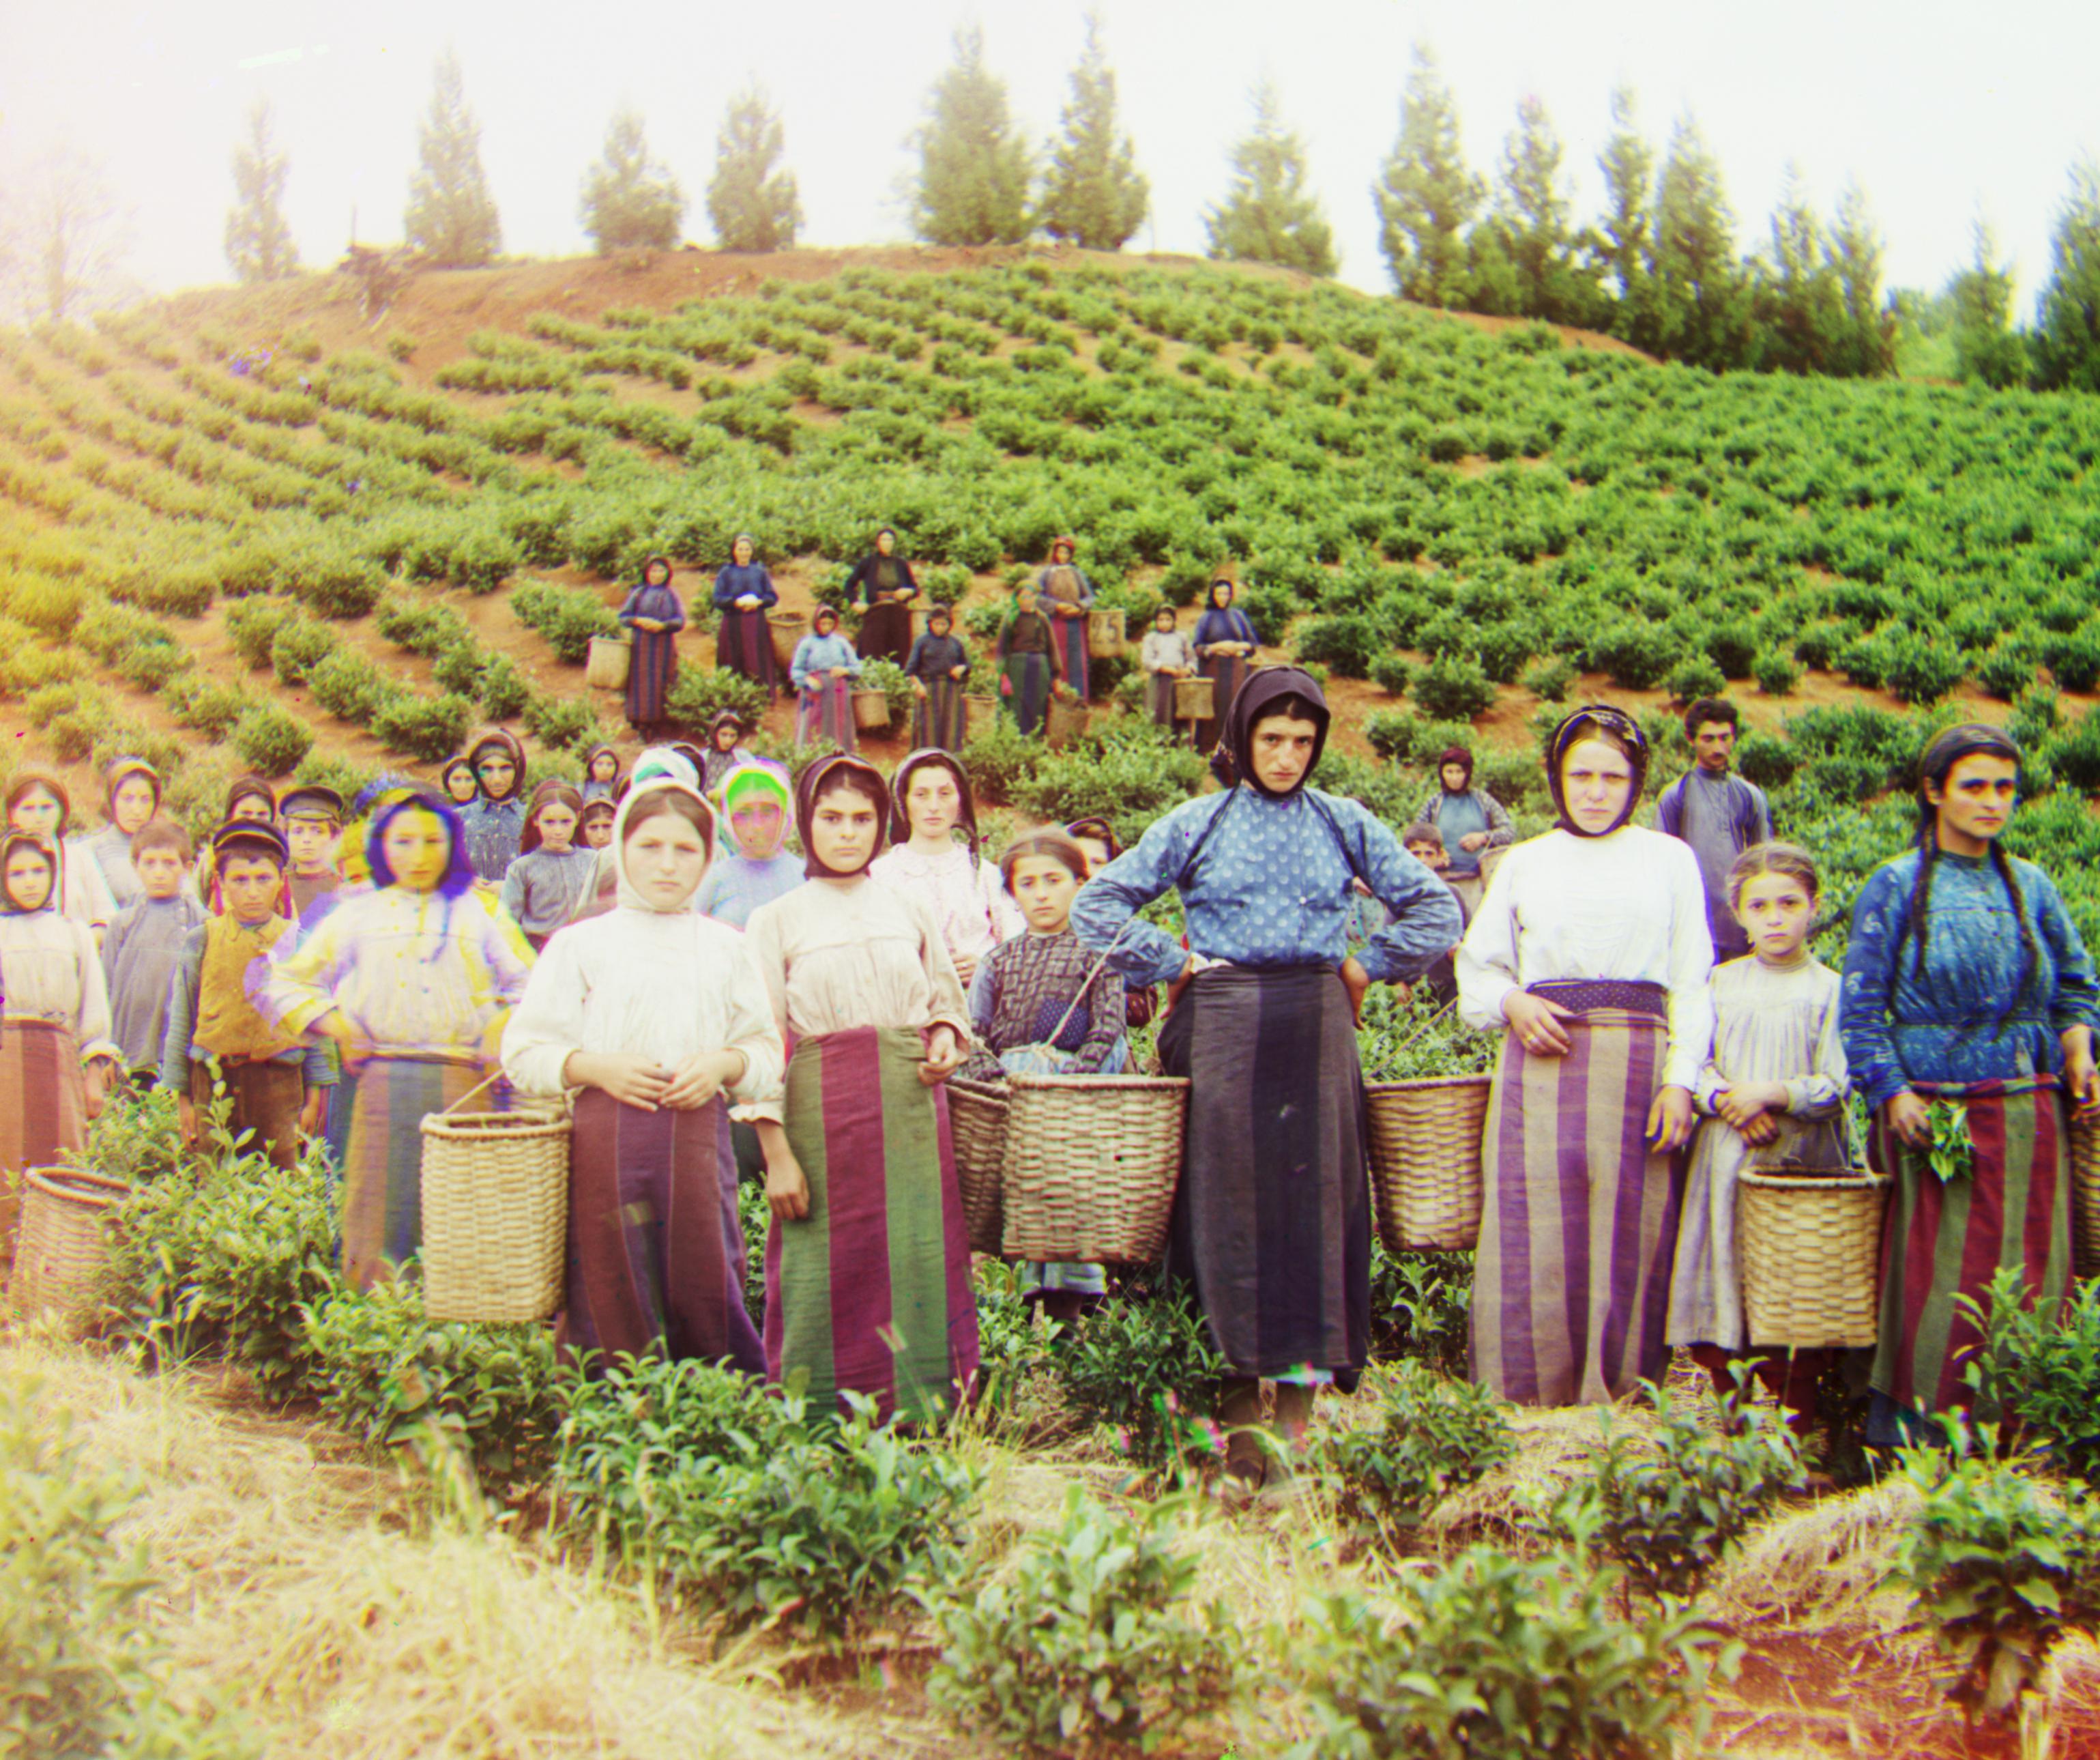
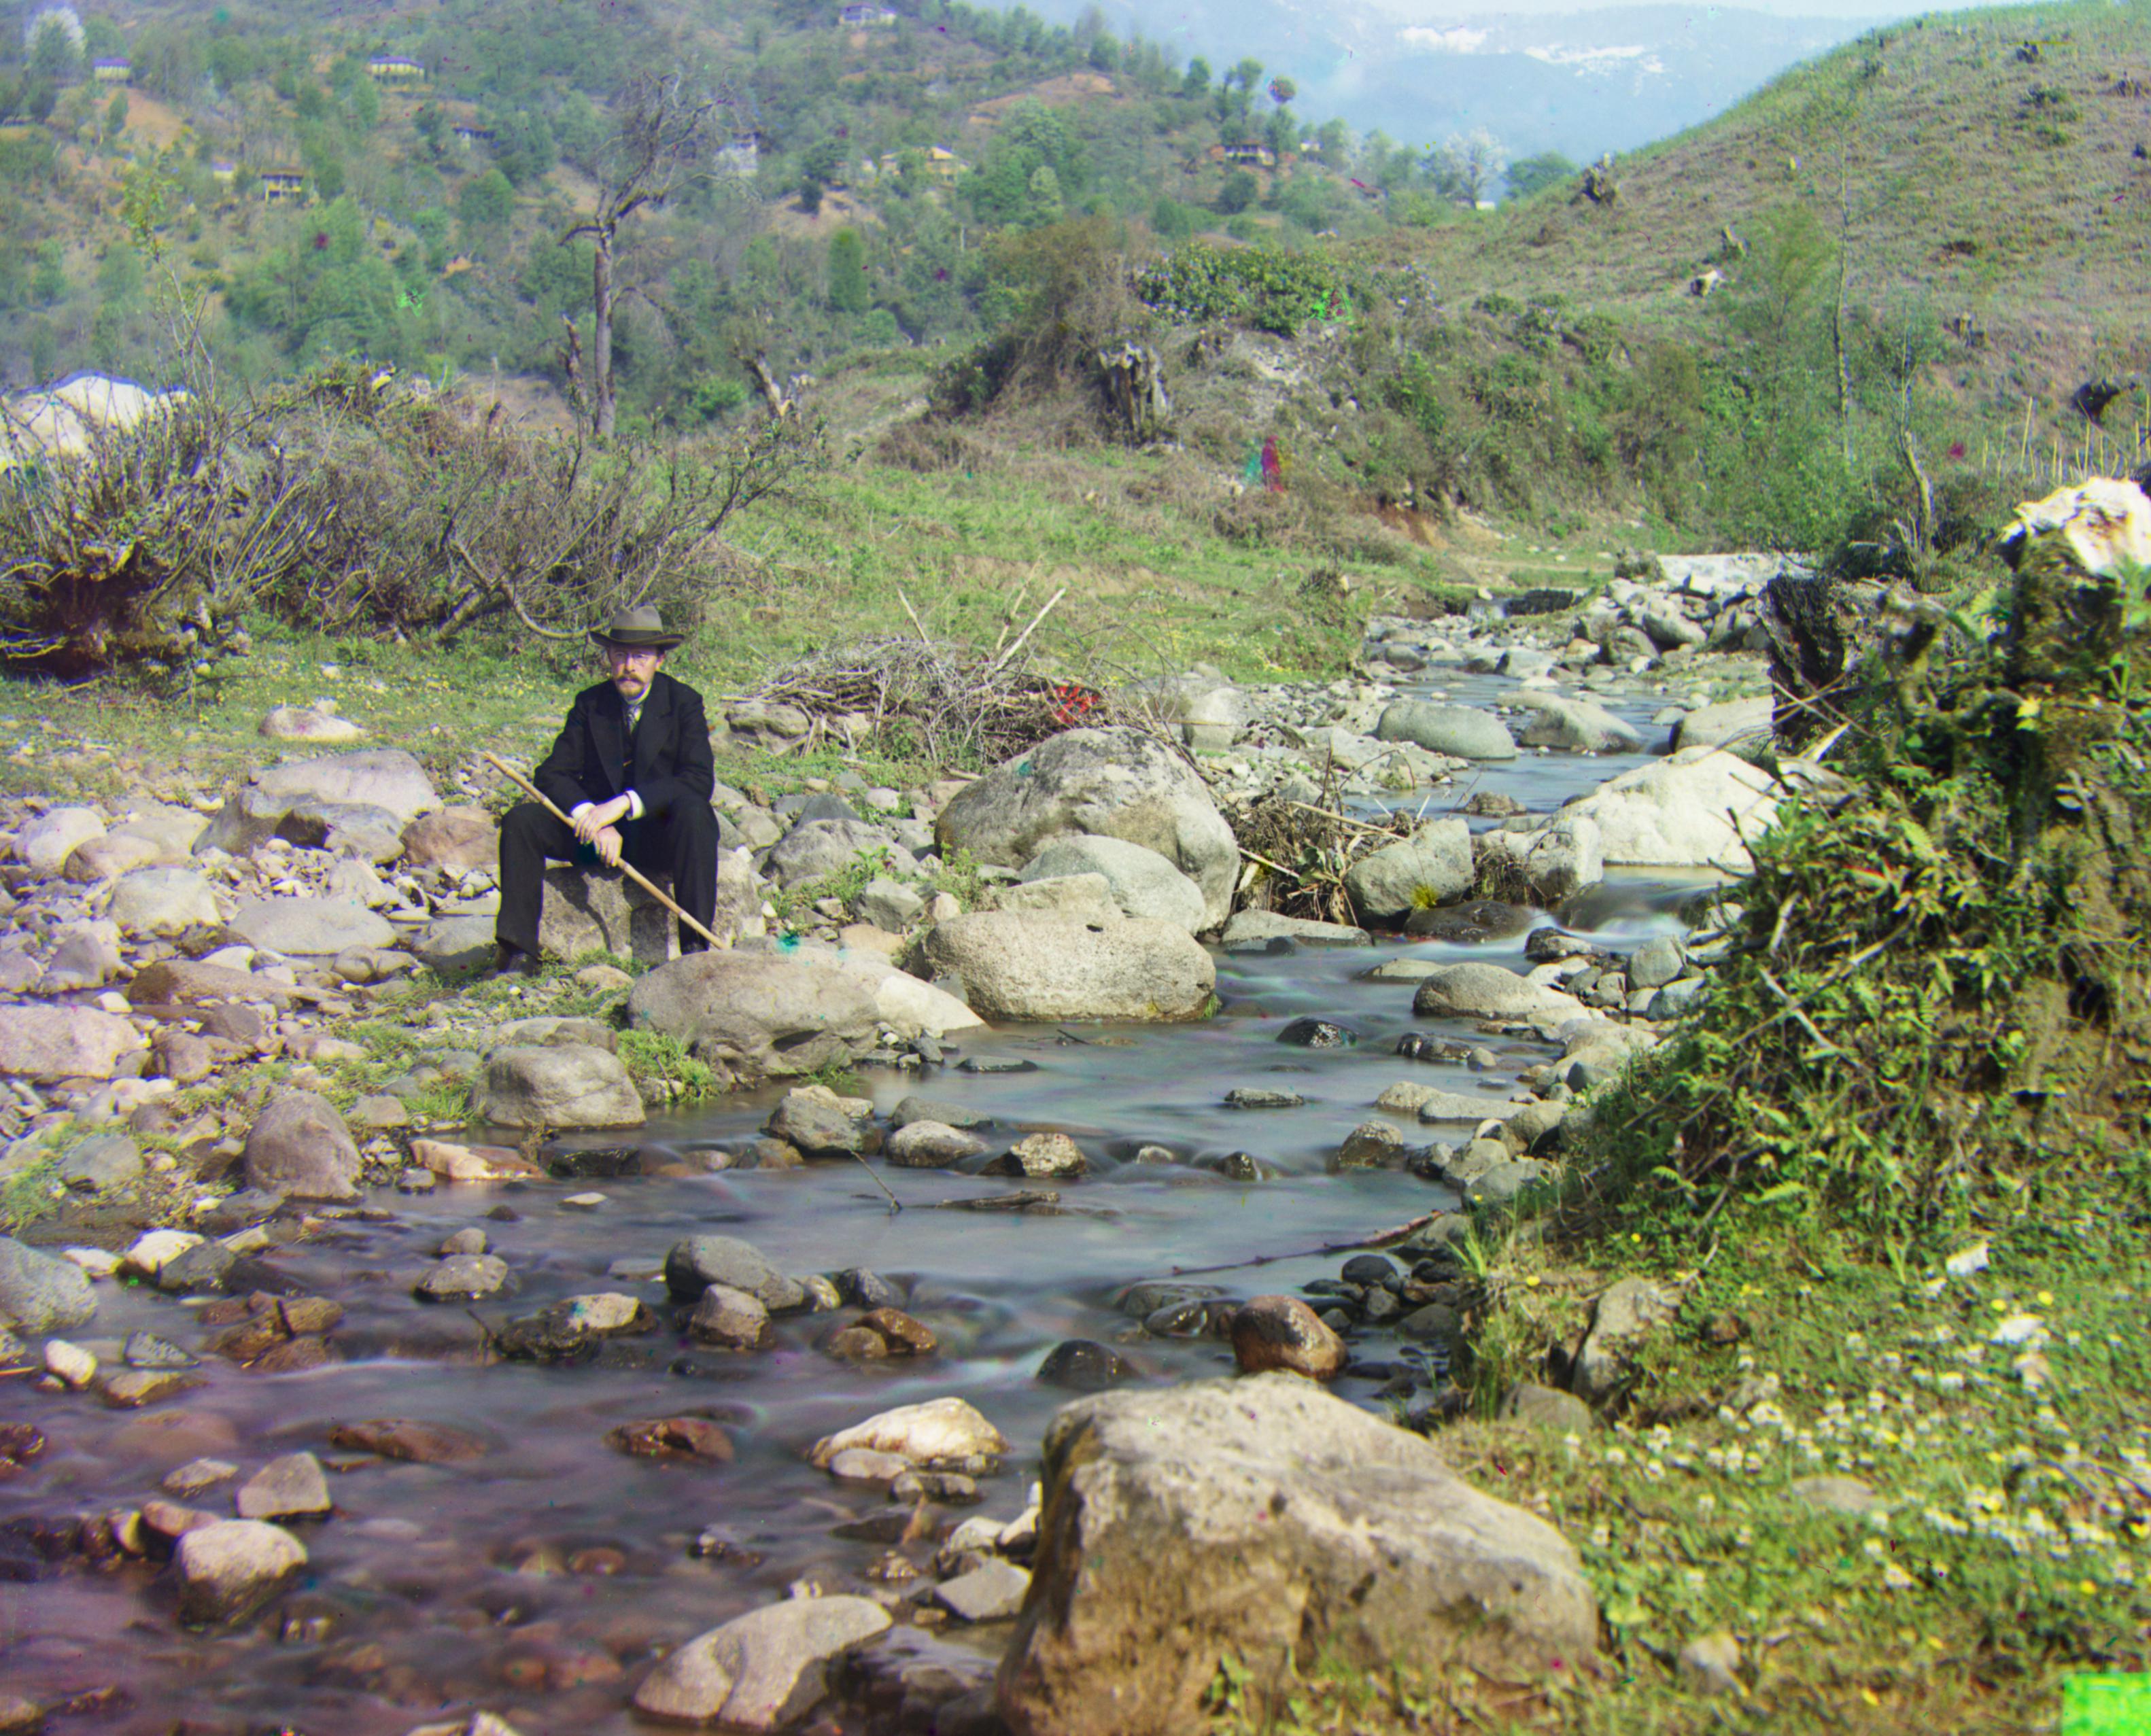
Here is a few examples of my own choosing, downloaded from the Prokudin-Gorskii collection.

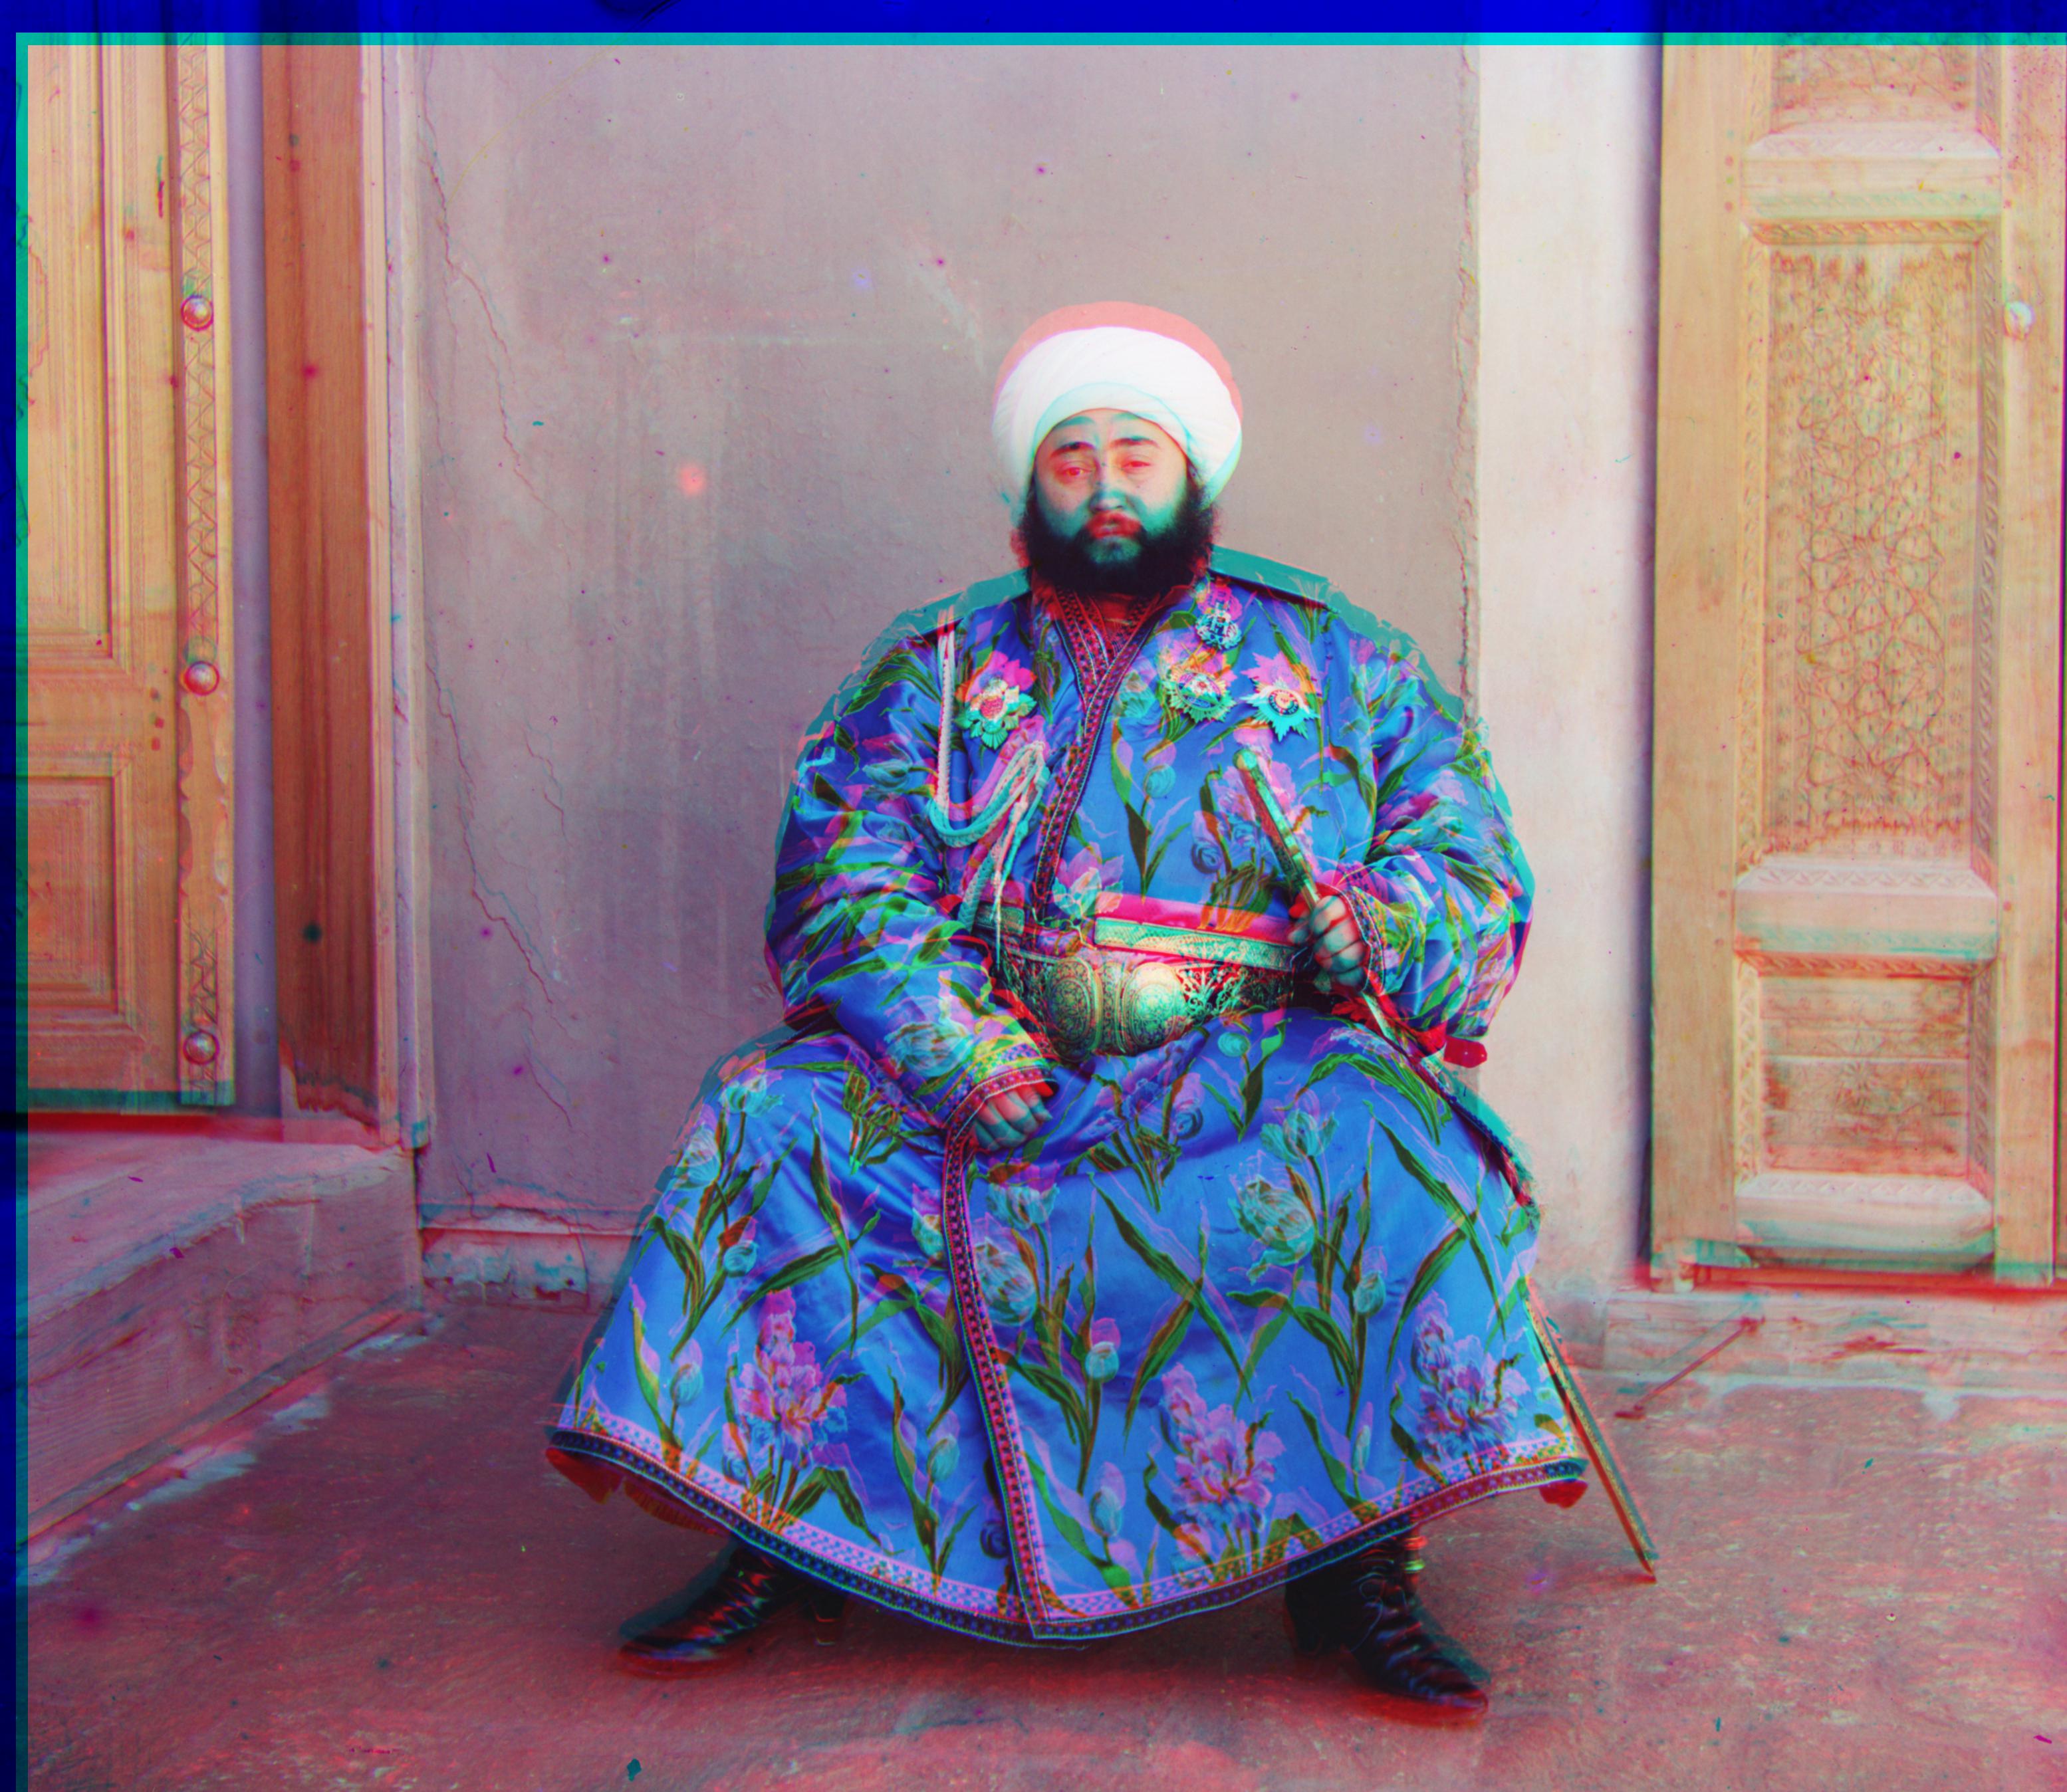
The emir.tif was not be aligned well. Because I used single-scale alignment with SSD but the pixels to align do not actually have the same brightness values. To make a good alignment for it, I tried to use different features instead.
The colorized images usually have strange color borders because not all pixels in an image could be aligned. The images would be looks prettier if I can crop these borders.
To align emir.tif, I use Canny edge detector provided by skimage library. It generates an edge image based on original image. The value of edge image pixel (true or false) which can be used as a feature of original pixel. Then I just did pyramid alignment with edge image instead and got displacement vector. Finally, I stacked original images together to get colorized images based on the displacement vector.

It can crop strange color borders caused by not aligned pixels. Since not aligned pixels have zero value in their rgb channels if they didn’t get corresponding aligned channel. I modified aligning function so that it will fill zero value to the pixel in image if the pixel is not aligned. Then I multiplied rgb value of a pixel for all pixels in colorized images to get a matrix with zero value in its borders. Then I crop the borders and get aligned colorized images.
I do it by enlarge the range of raw pixel value in three images taken with red, green and blue filters. I get the current range first by calculating the difference between the darkest pixel and the brightest pixel. Then I subtract all pixel value with the darkest pixel value so that the darkest pixel value will be zero. Finally let all pixel value divided by the current range so that the darkest pixel value will be one and all pixel value now is mapped to range zero to one.