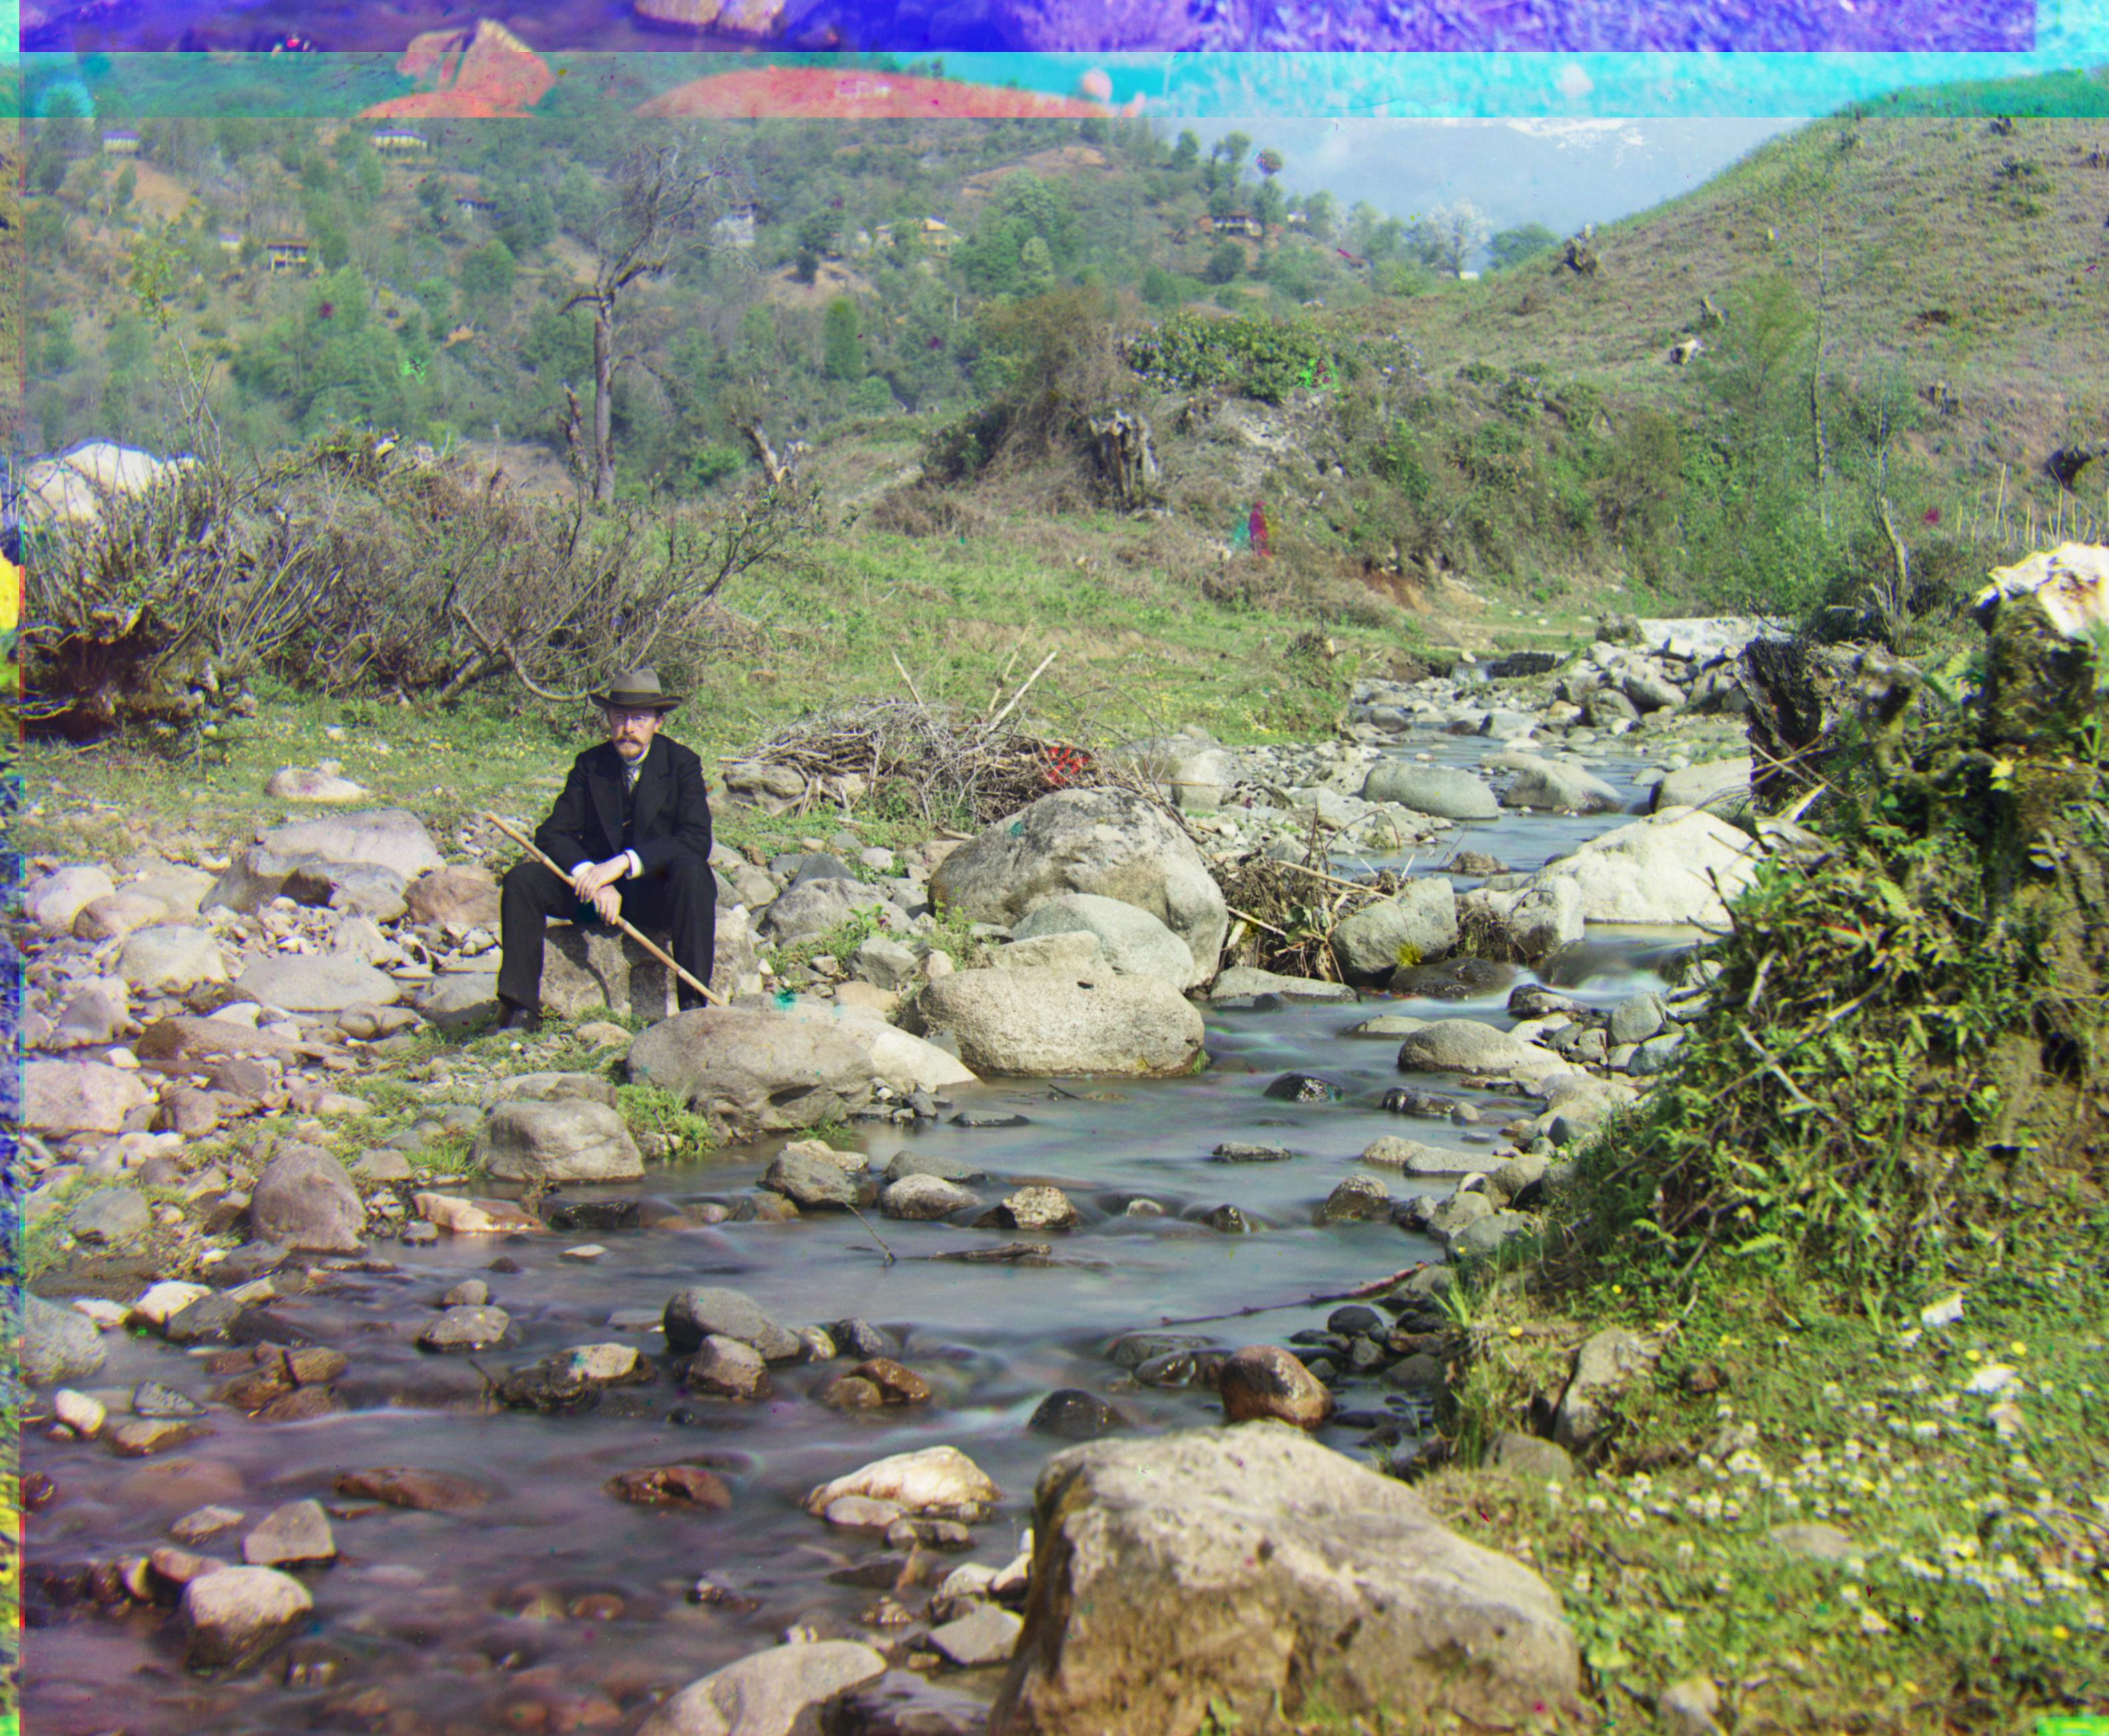
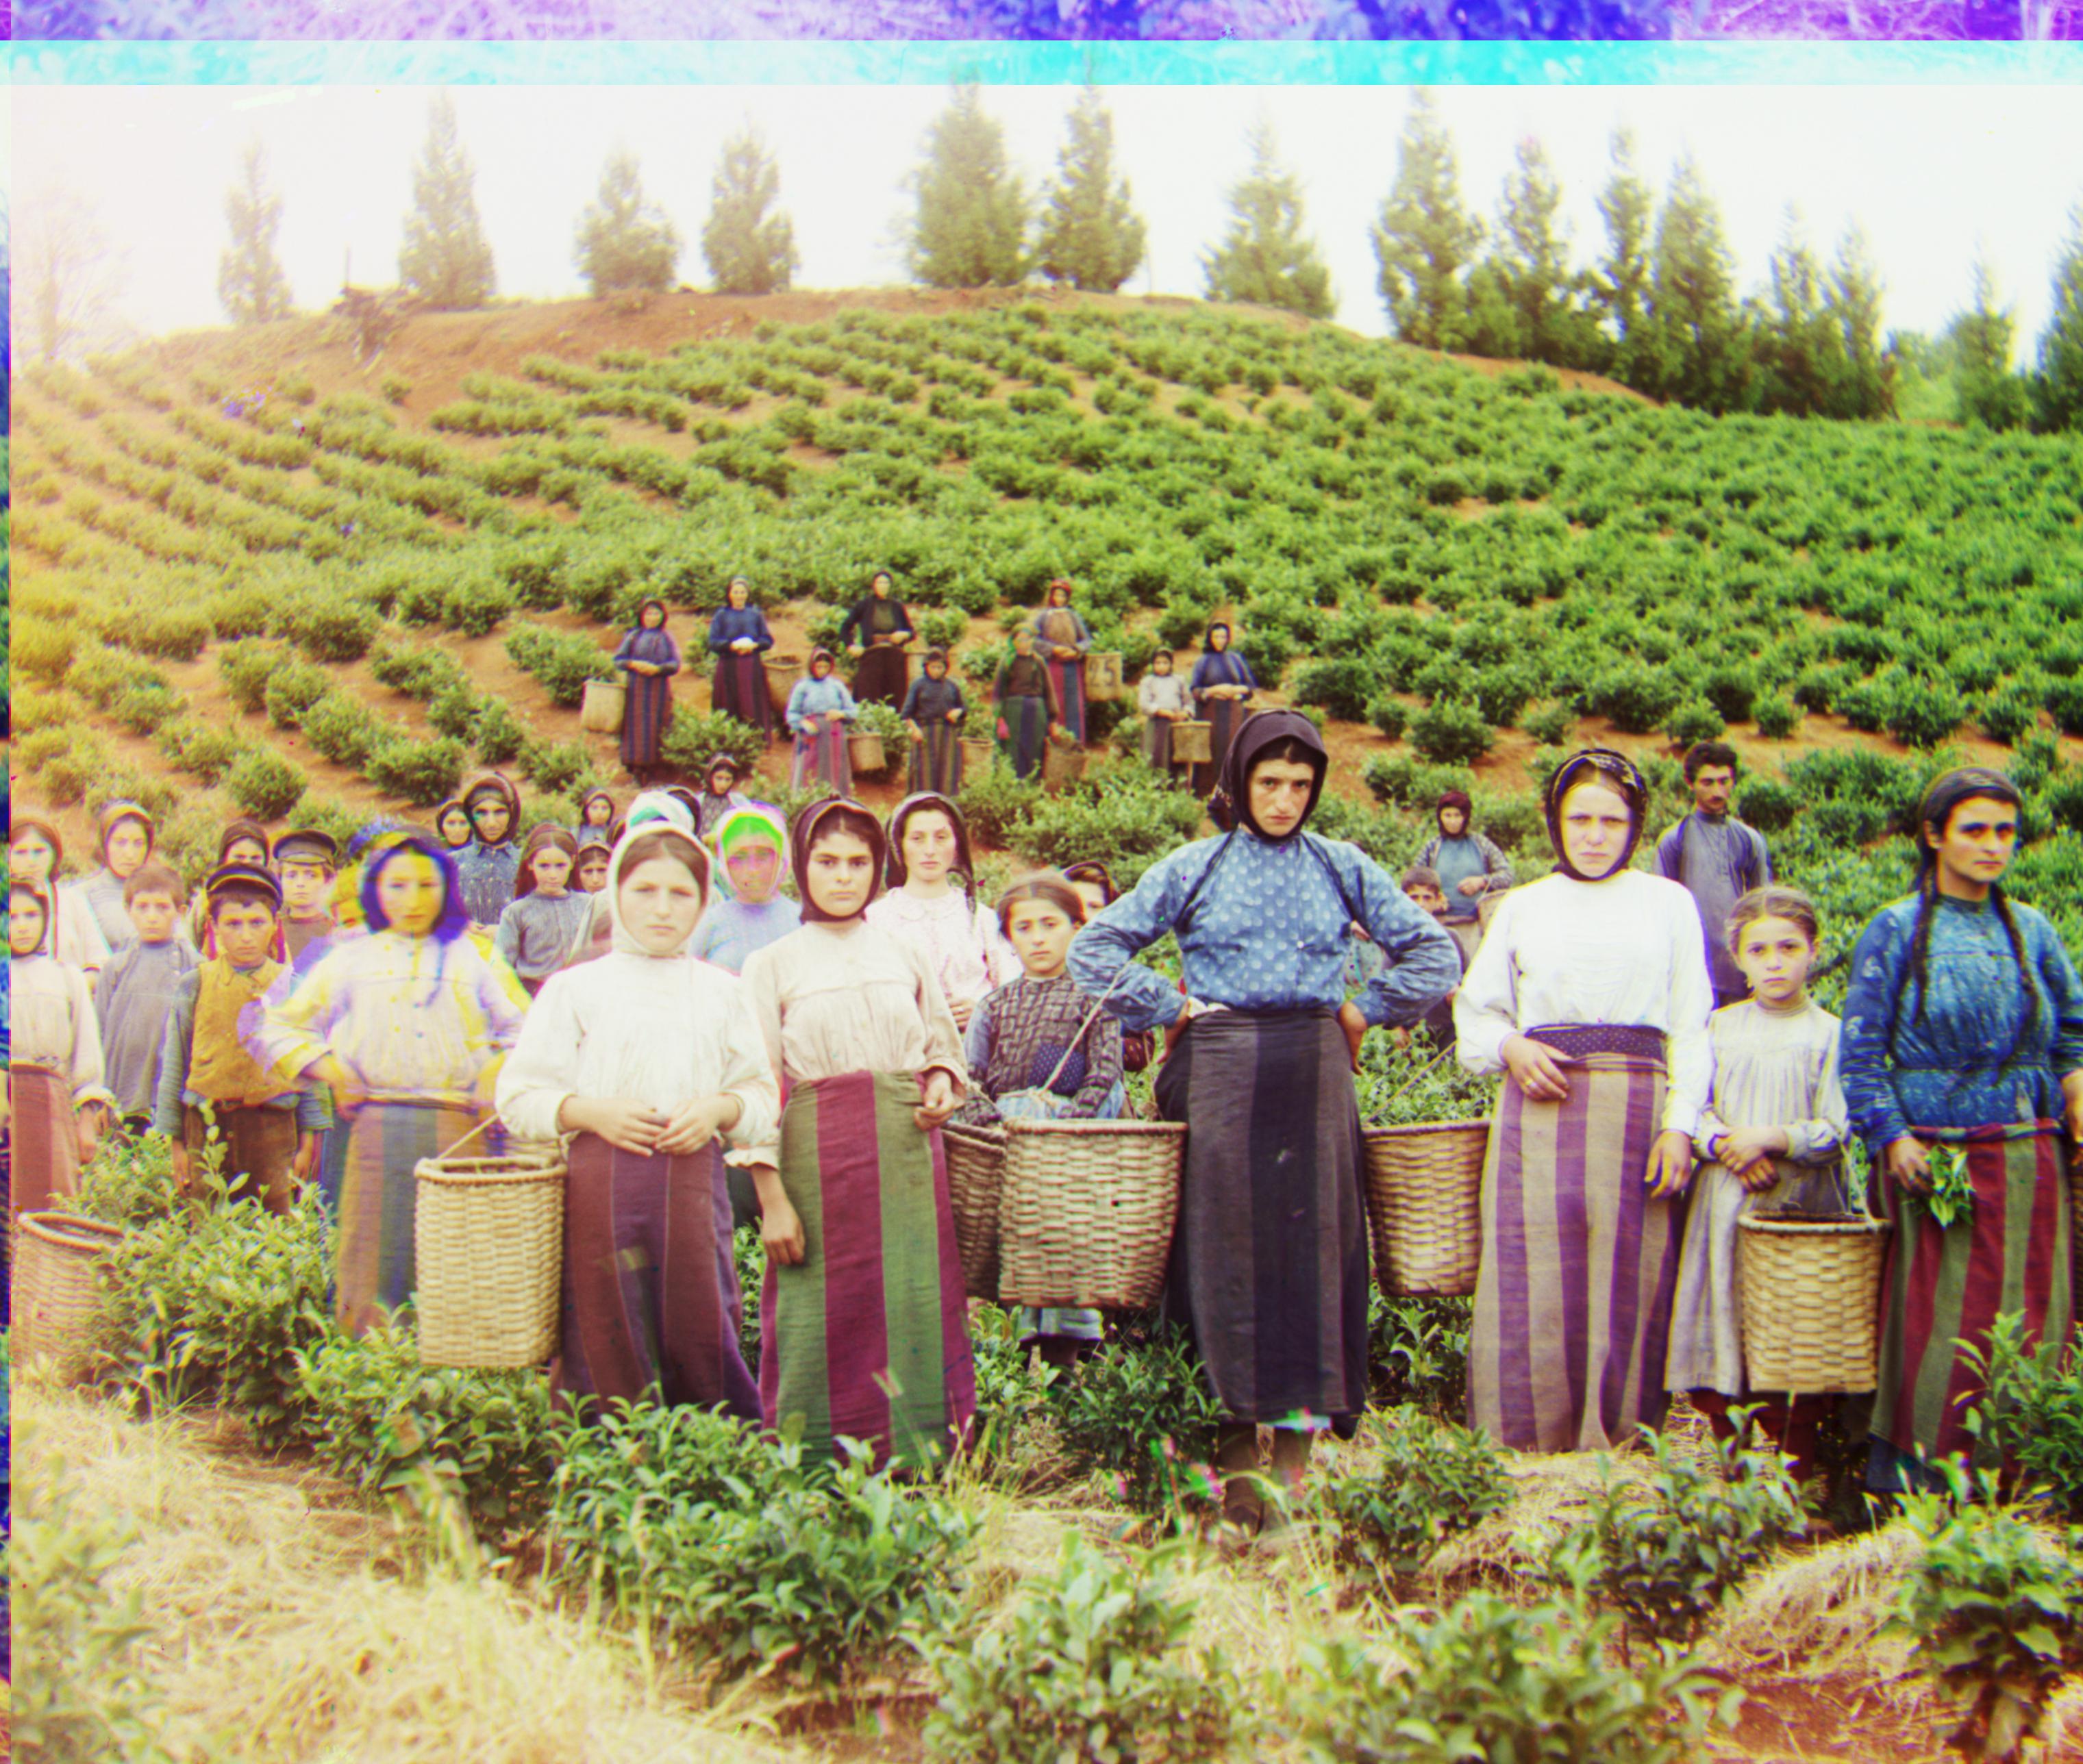
The task of this project is to colorize the Prokudin-Gorskii photo collection. His photo collection consists of 3 separate color channel images that appear to the normal eye as gray. Our job was to combine these separate color channel images into one colorized image output.
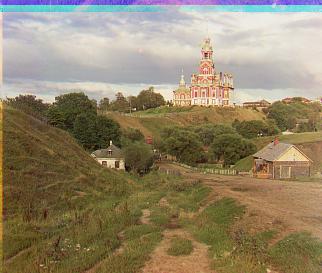
First, the 3 color channel images are separated (blue, red, green) and then cropped with my crop function. Then, they are independently aligned (blue aligned onto red and then blue aligned onto green). My alignment function looks through the images over a -20 by 20 range in both the x and y directions. It then chose the displacement that aligned the images the best. I used the Sum of Squared Differences function as the mathematical tool to do the distance alignment. My alignment function returned the best displacement which the images used to align onto each other with (blue aligned onto red and blue aligned onto green). Then, I stacked those new images onto each other (ar, ag, b) and it produced the final colorized image.
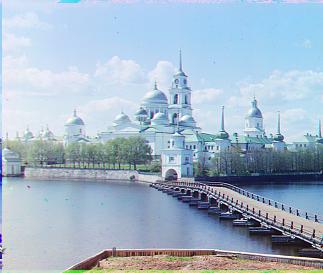
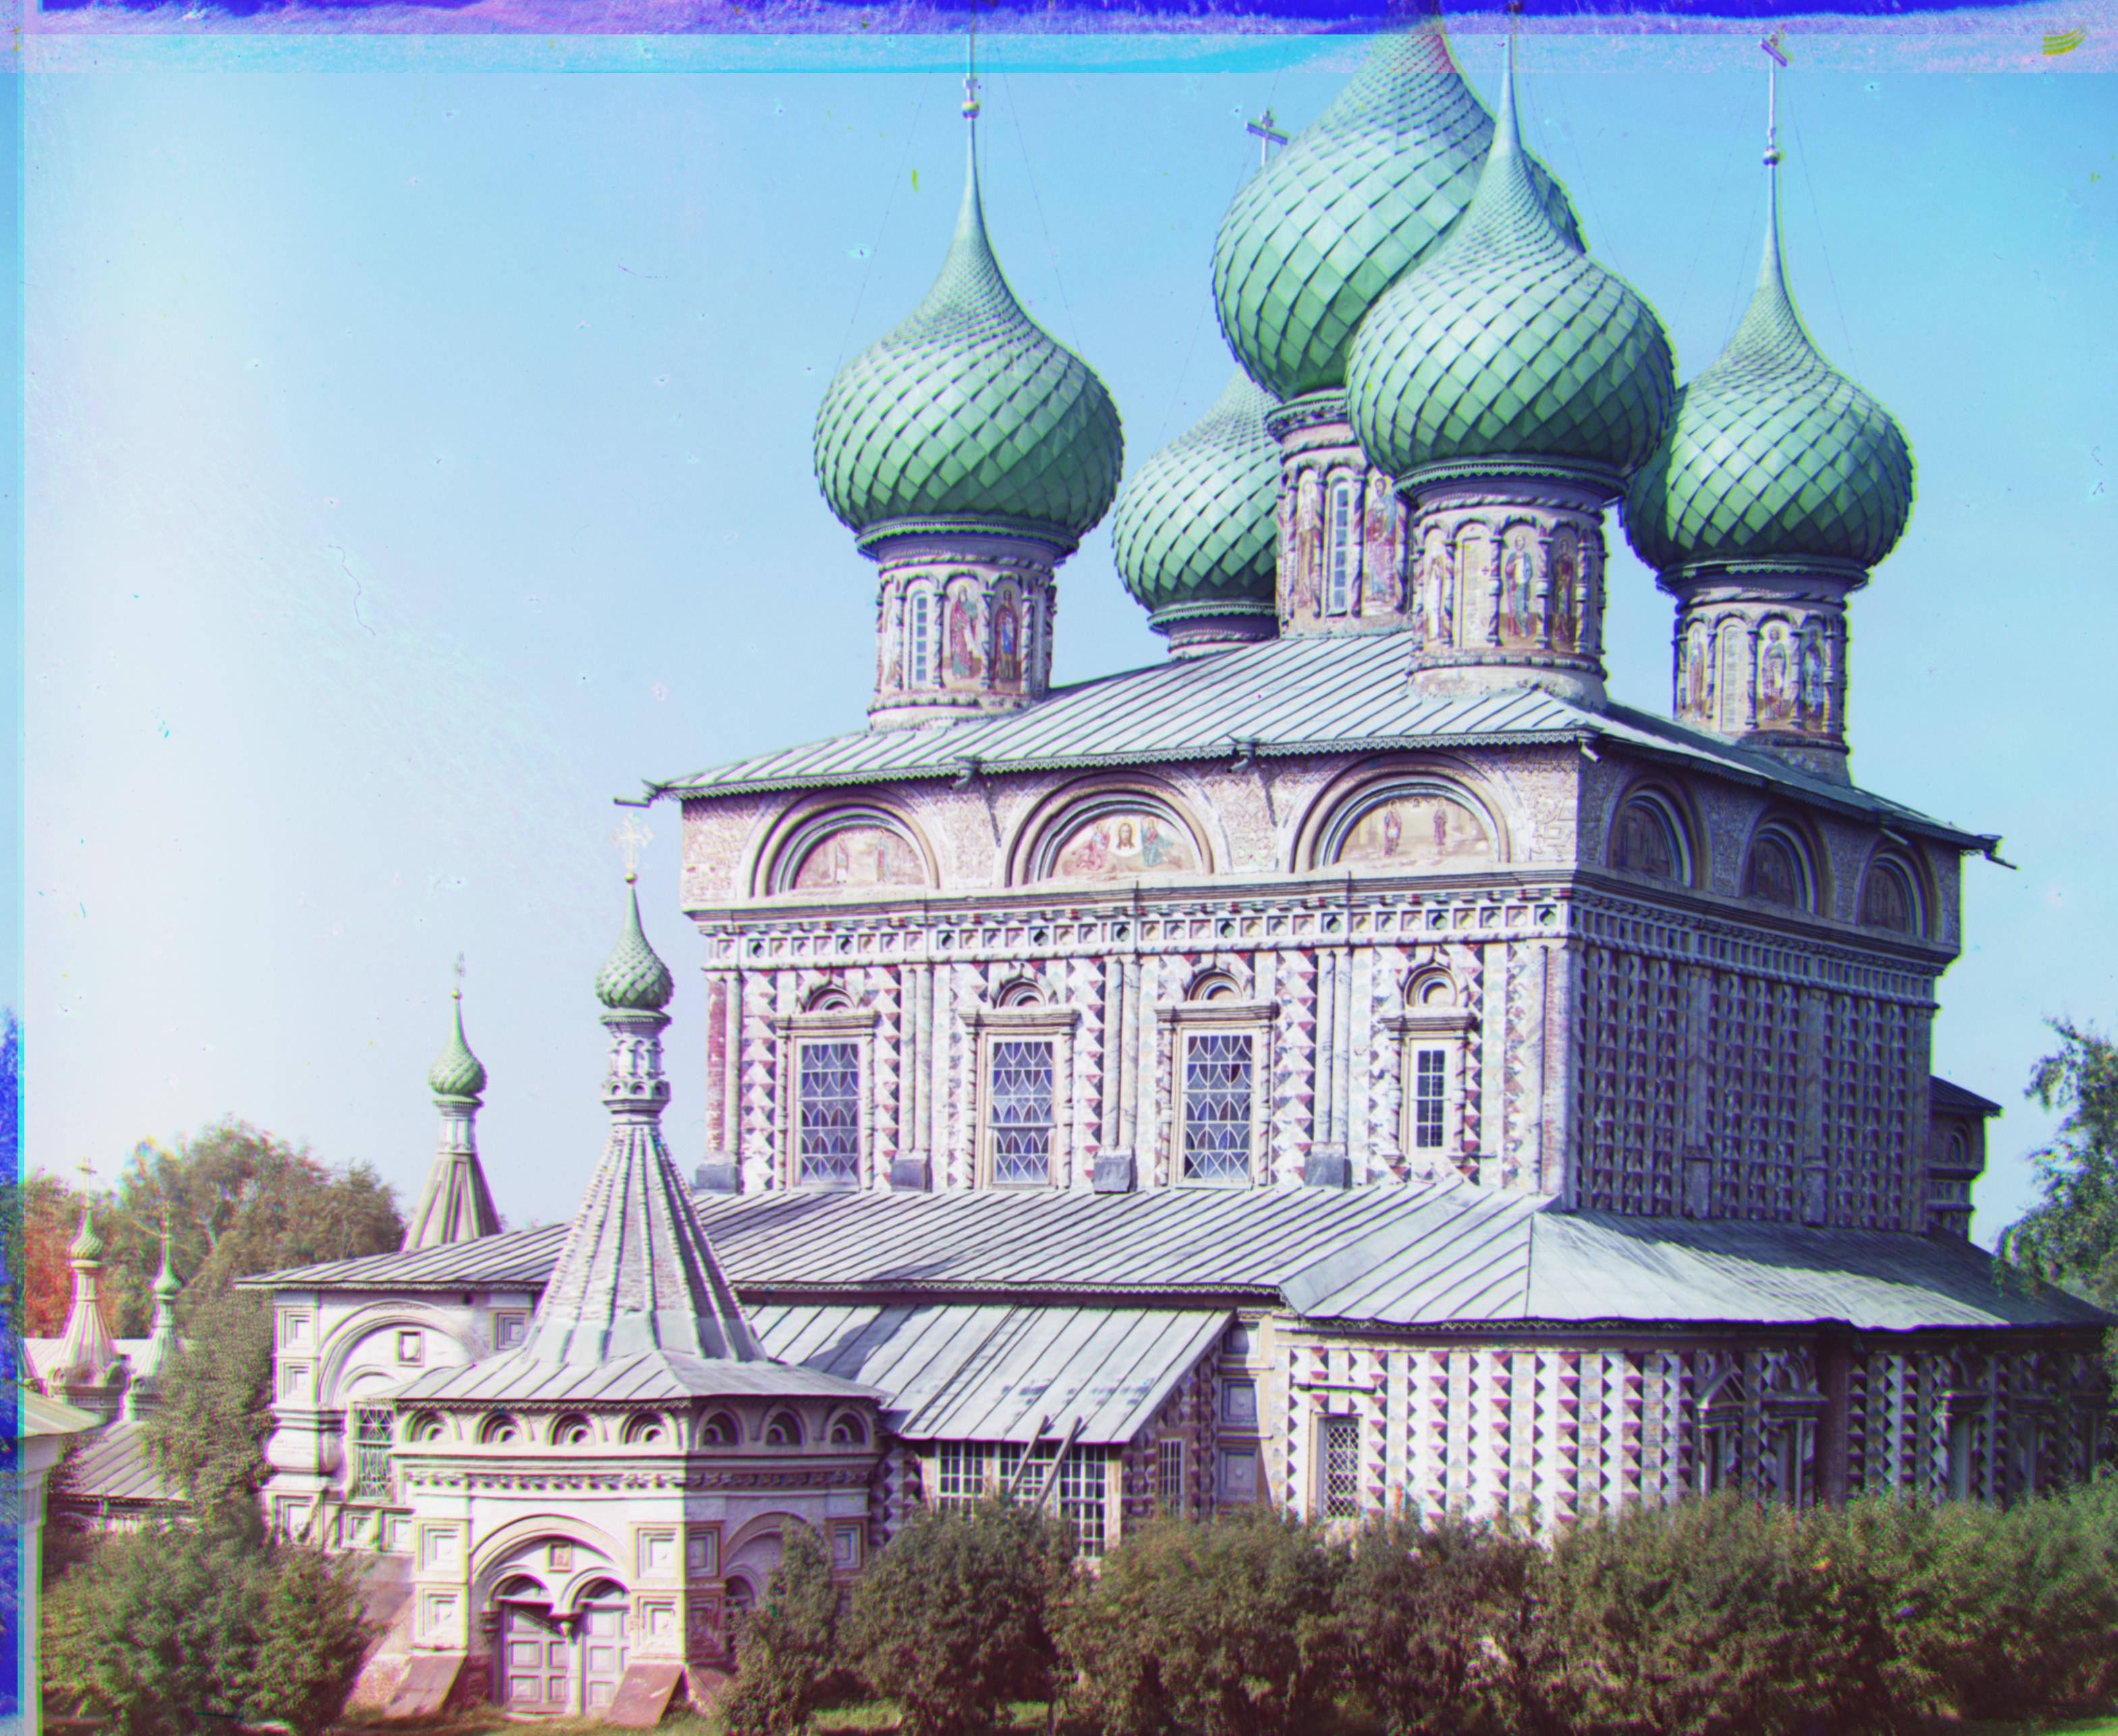
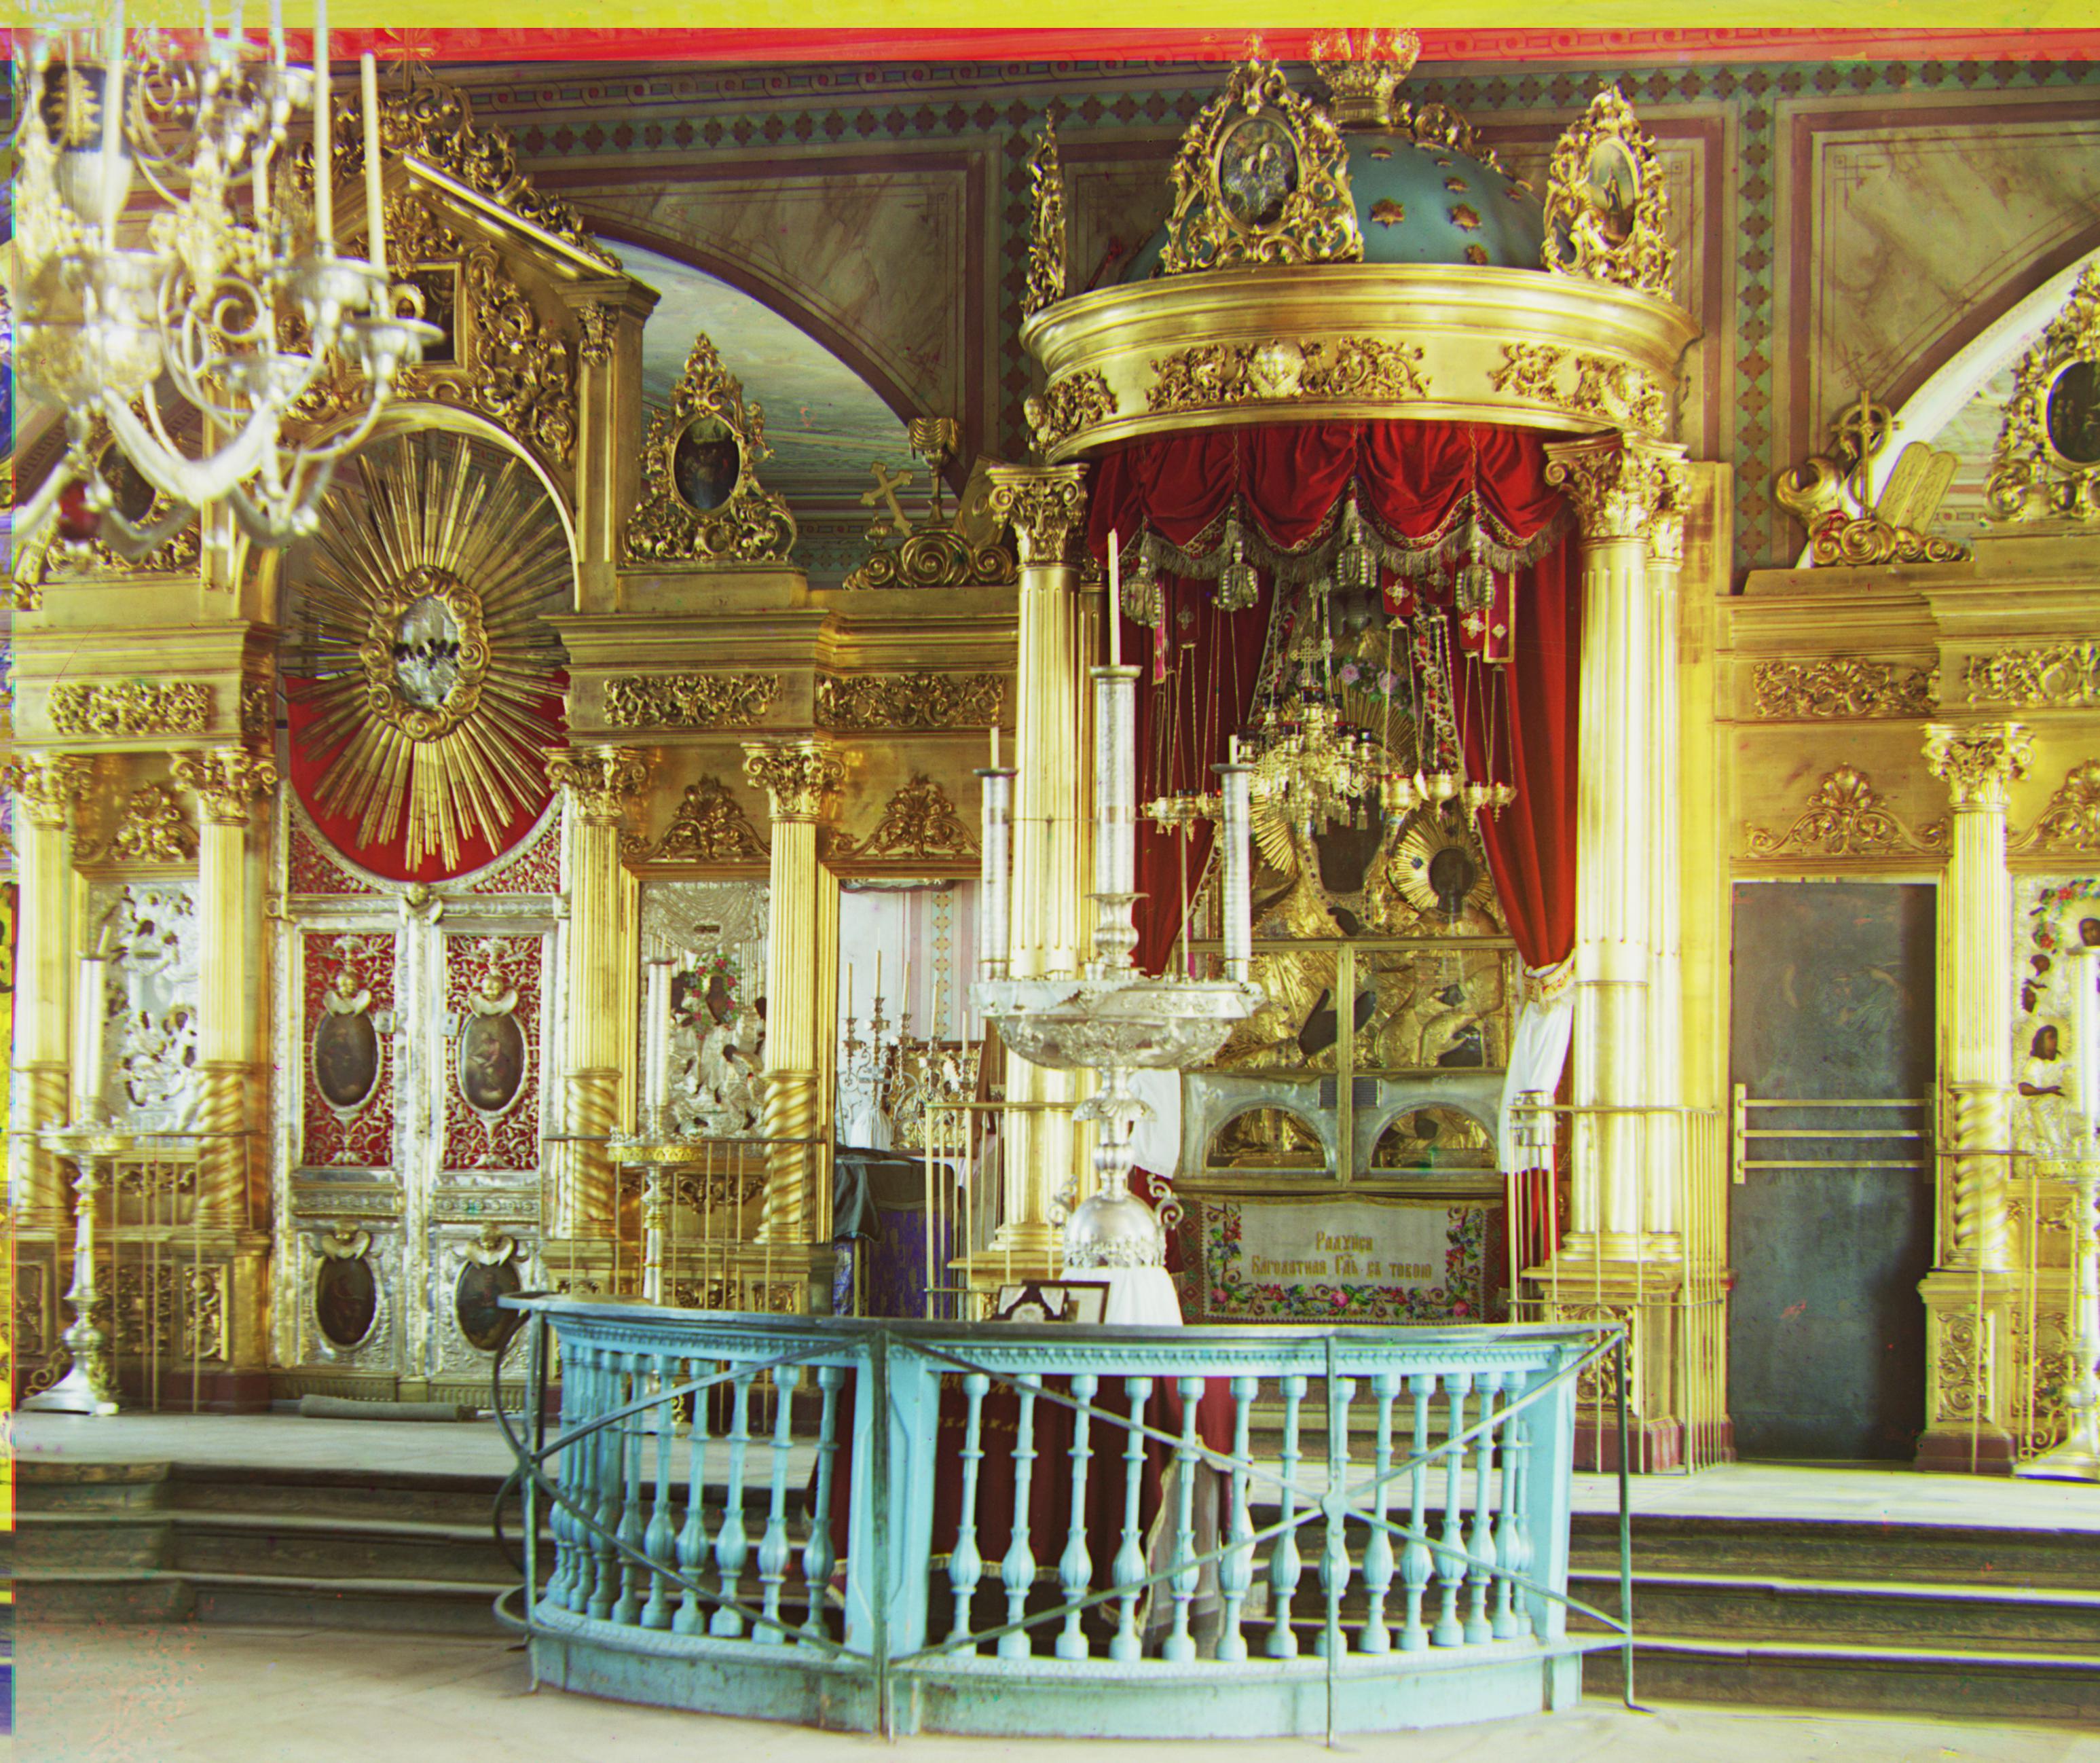
When approaching larger images, like tiffs, I knew my regular align function would not work because the image would be too high resolution to do this function on. Hence, I created a separate function to handle my tiff images. It was similar to my function that handled my jpg/smaller images, however, the one biggest difference was that instead of calling align on these images, I called a function "pyramid" that I created. Within this pyramid function, it operated recursively. It would first check if my image was small enough (the height of the image was less than 500) or it would check if the image level was equal to 0 (I pass in the images with a level of 10). If the image ticked any of these boxes, then I knew it would be small enough to use my align function on. Otherwise, I would rescale the image to be half the size and subtract a level and recursively call this pyramid function. As I'm recursively calling/breaking down this image, it is additively evaluating the optimal displacement across more numbers then our basic range of -20 to 20. I then return this most optimal displacement I found by recursively breaking down the image and adding up the displacements from that. Then I do what I did before with the jpg images and use this pyramid algorithm displacement to align the images onto each other (blue aligned onto red and blue aligned onto green). Then, I stacked those new images onto each other (ar, ag, b) and it produced the final colorized large tiff image.
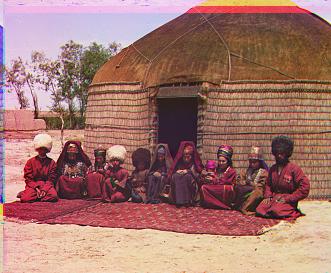
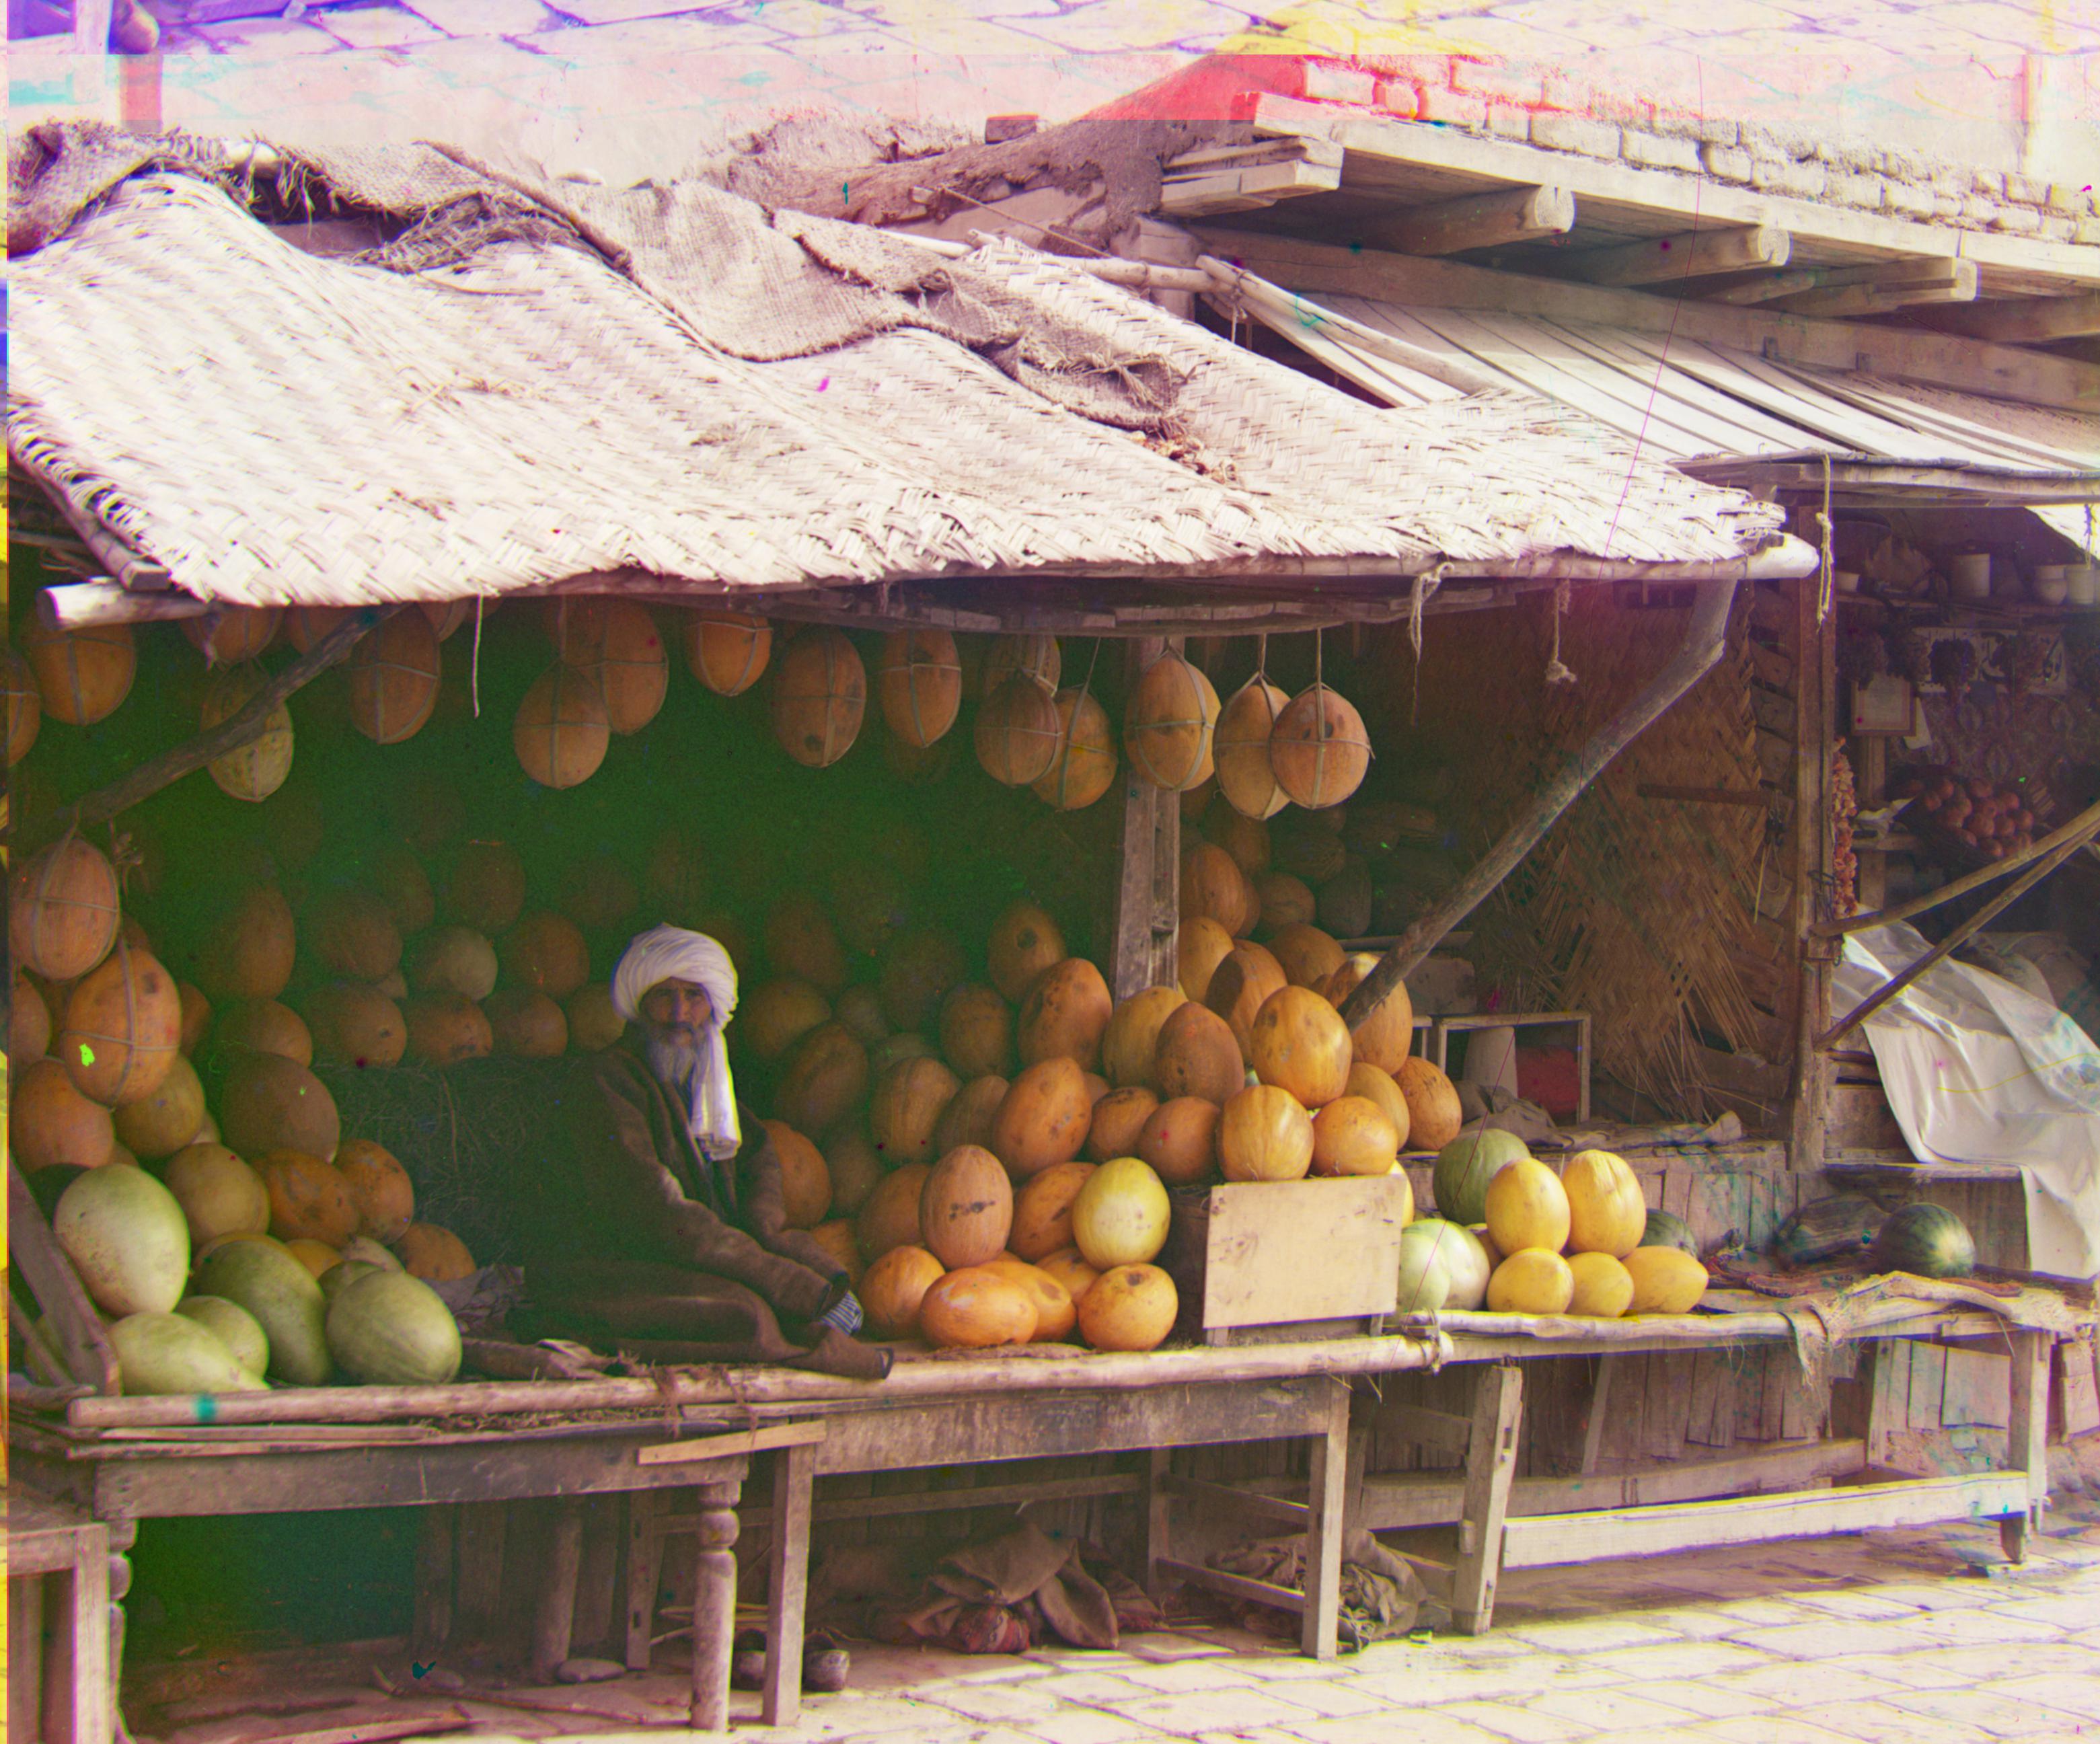
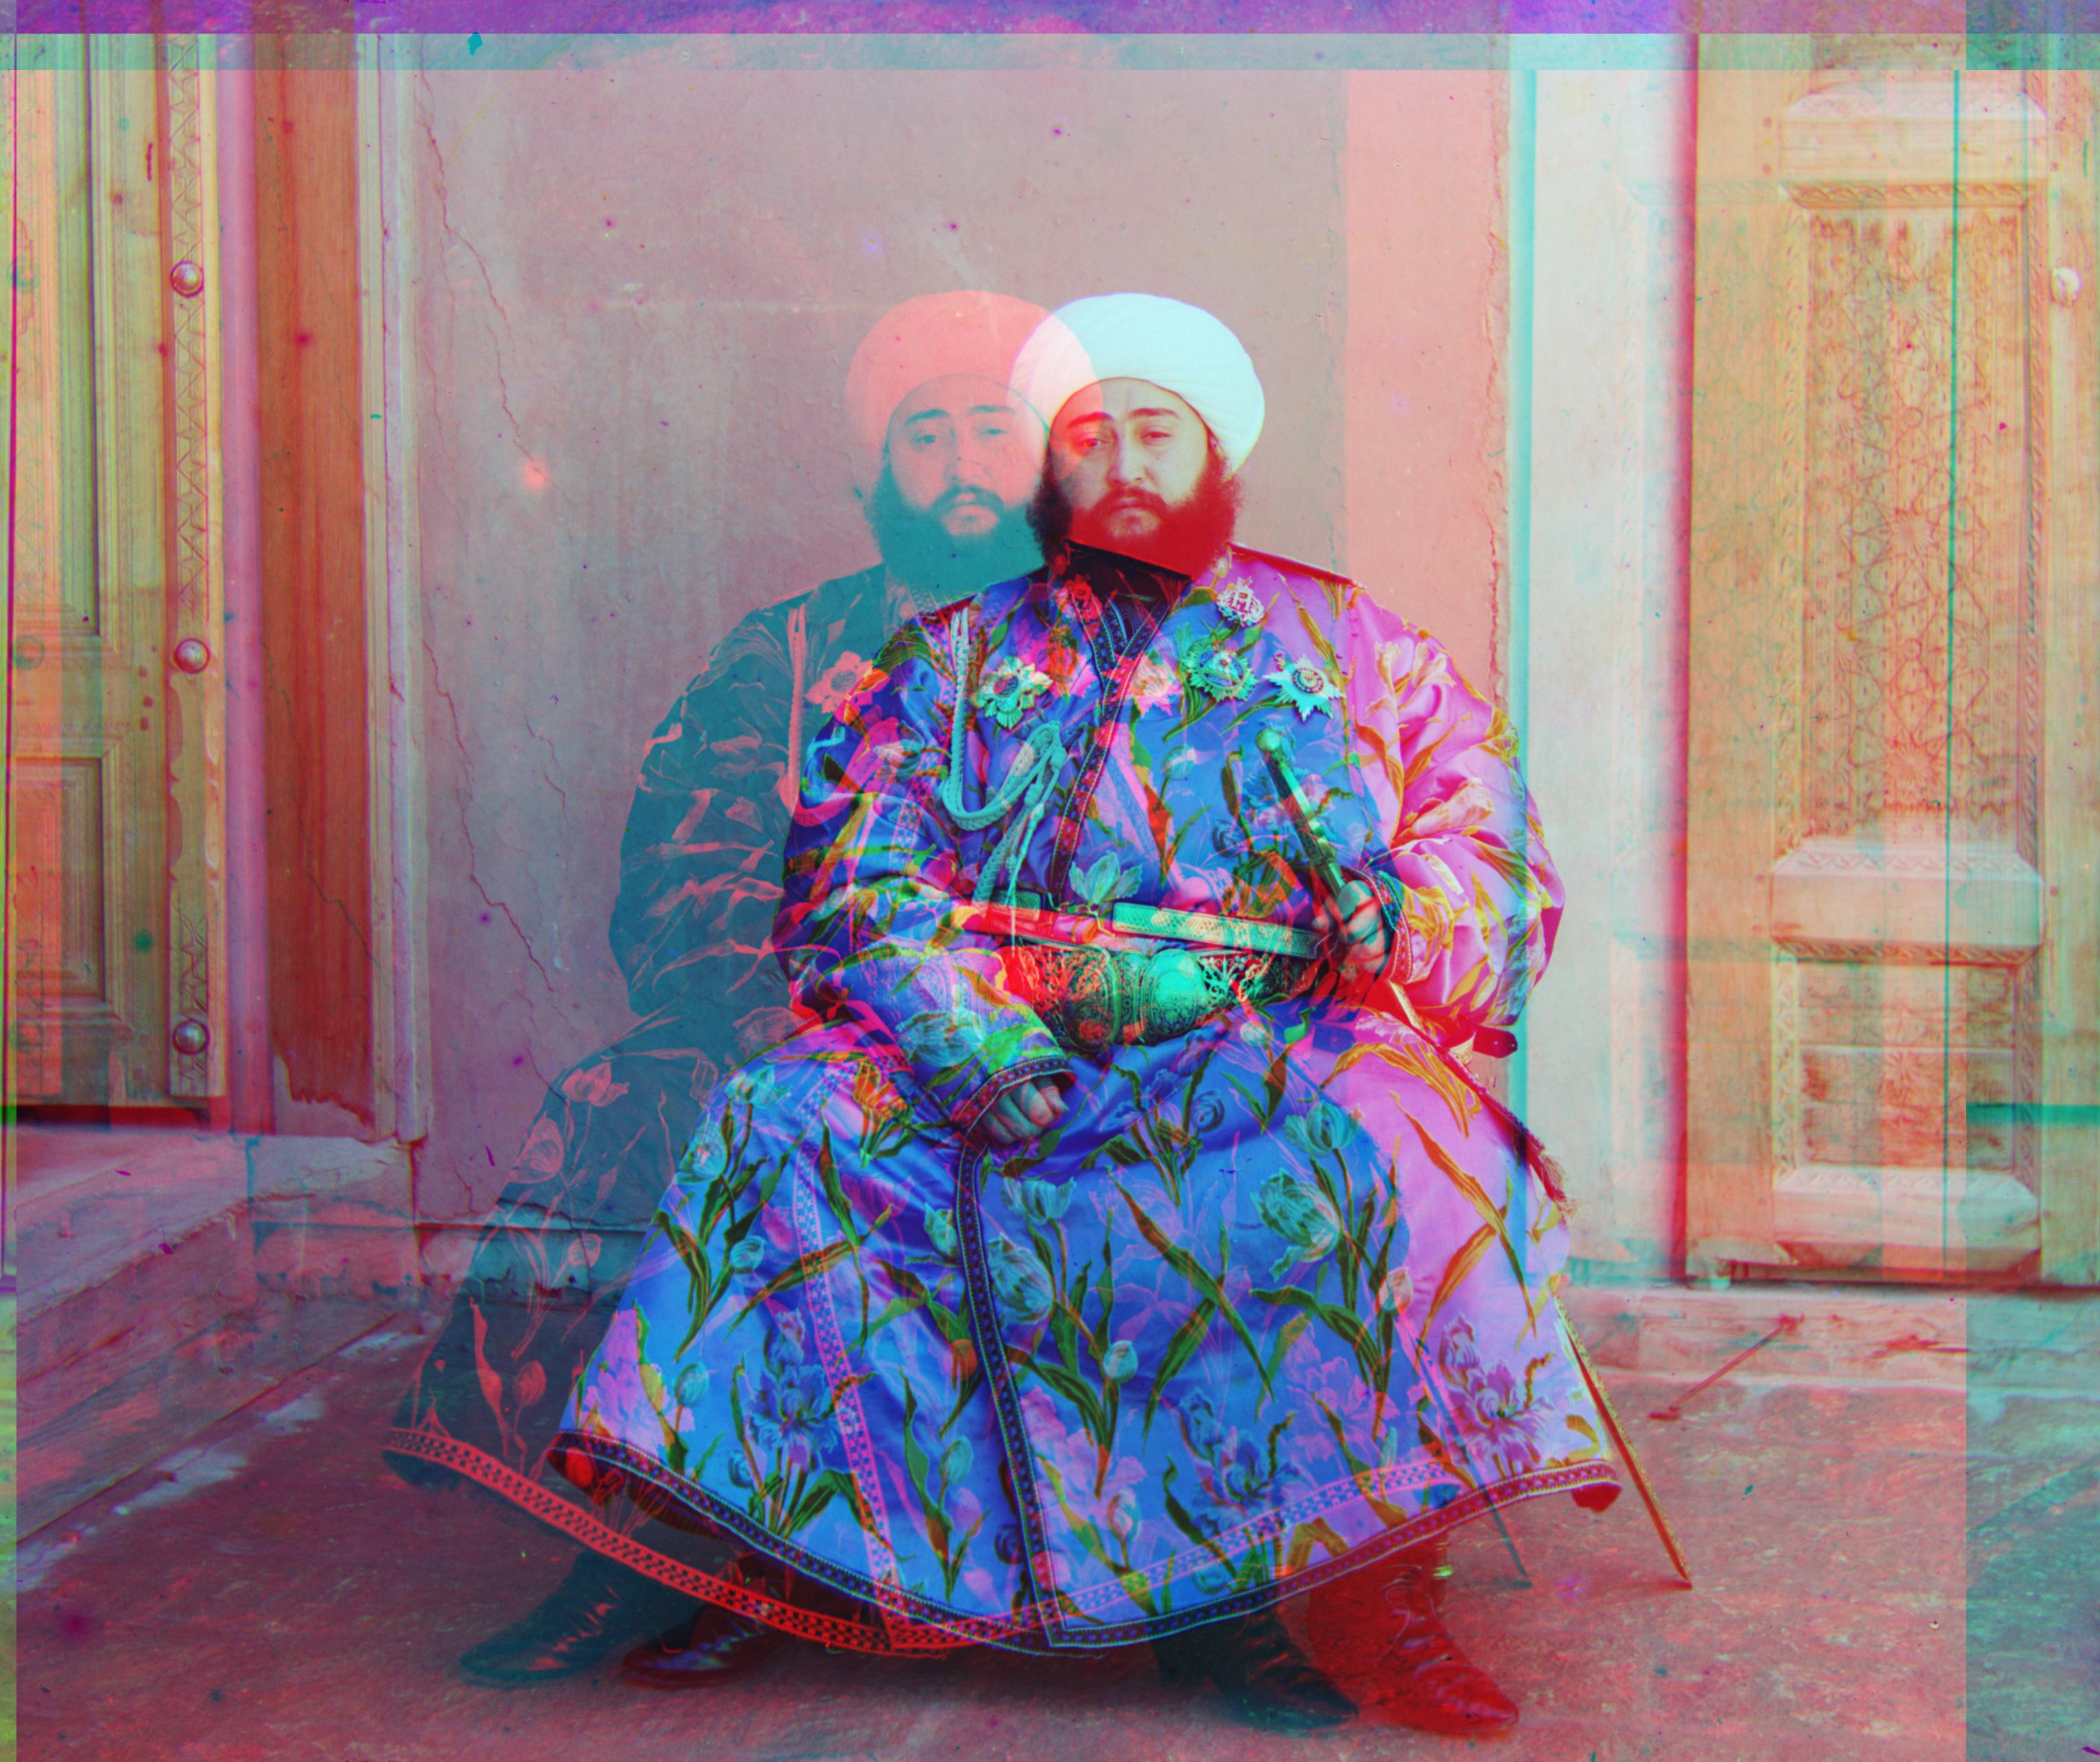
The emir image had difficulty aligning. This is because the nature of the glass plate images. With the way the brightness in each cell differs it does not do well under normal calculations. But the ways I could see this being improved is to either improve the brightness levels or perform the calculations not using the pixels but instead using the gradients
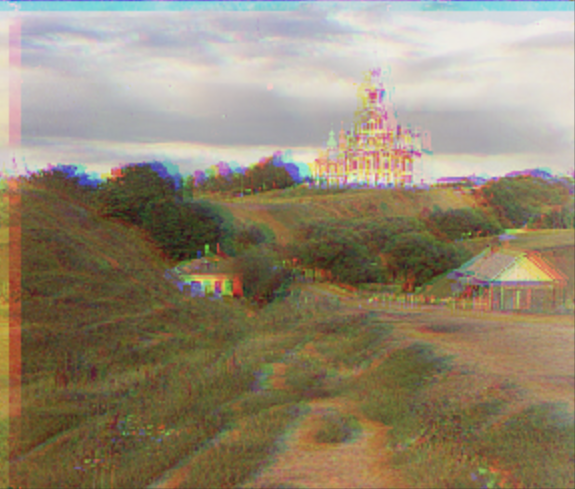
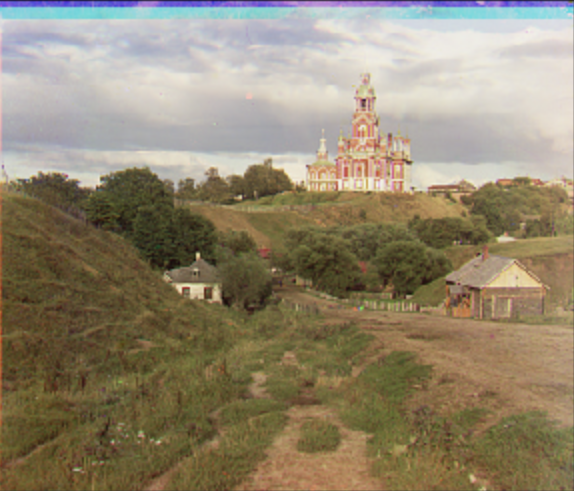
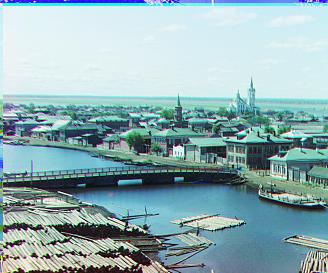
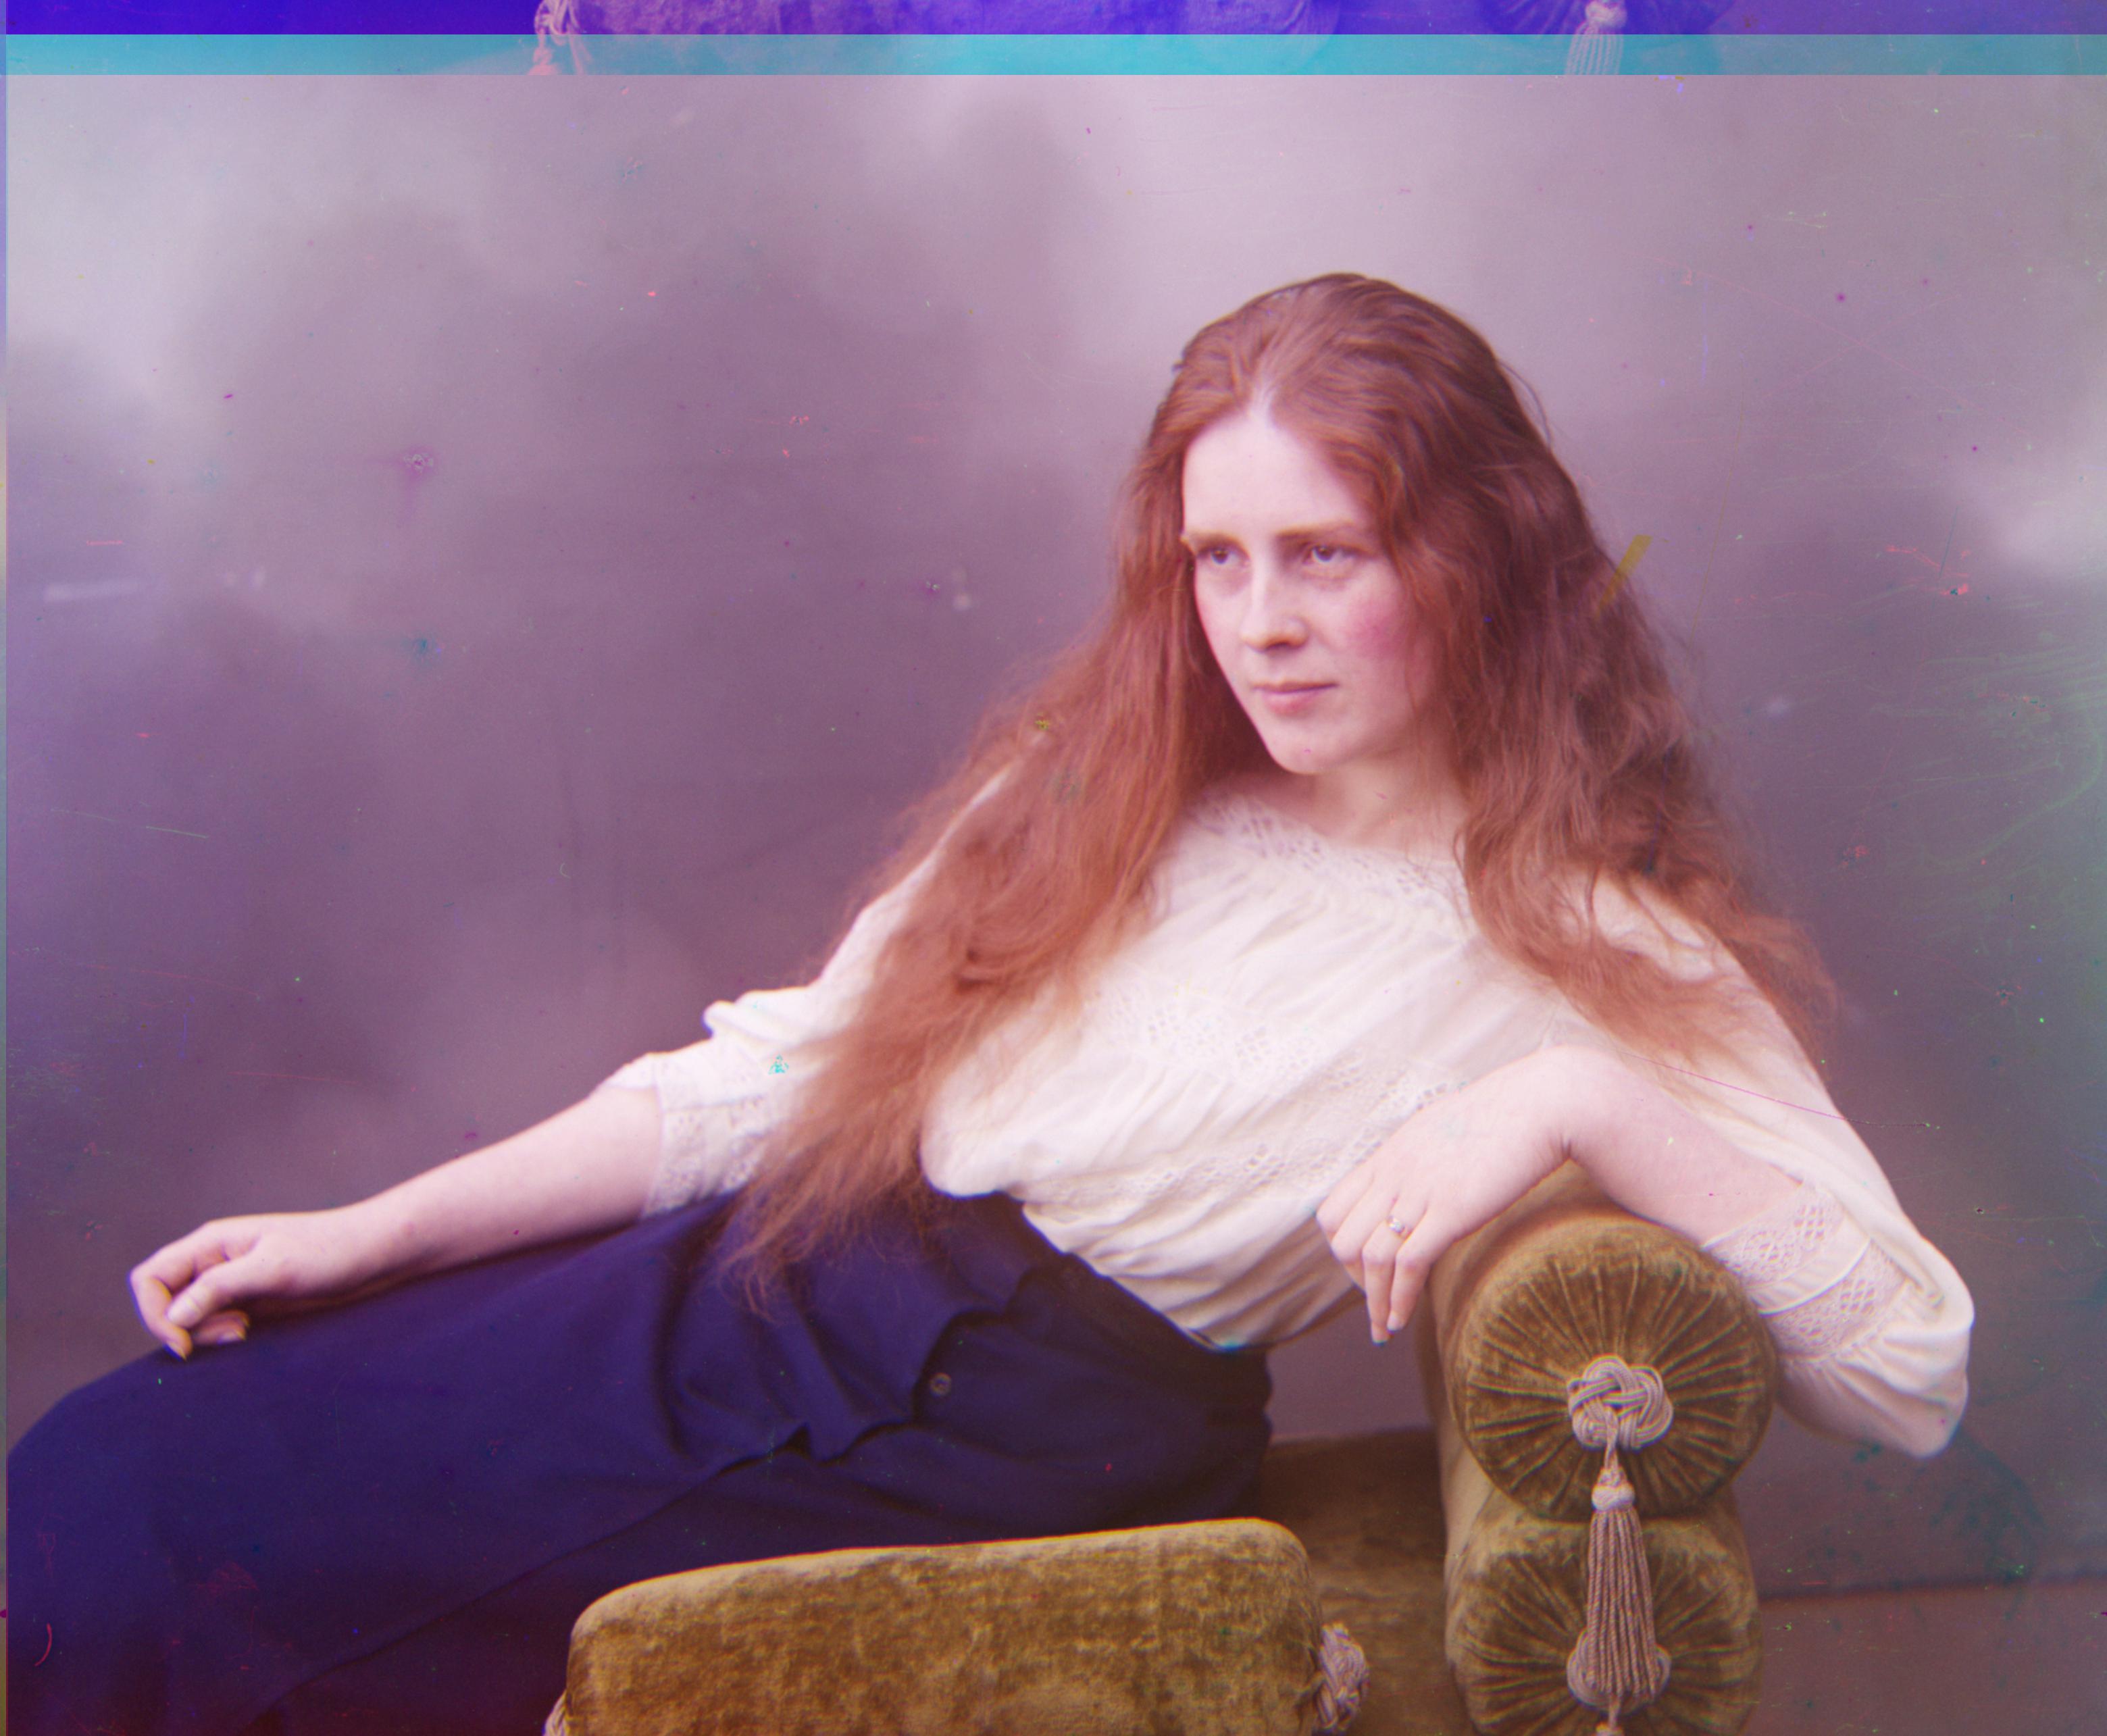
I initially thought my jpg image was super blurry and I was very stuck on what to do. I noticed that I had this weird issue where even though I cropped all the images borders before aligning, when I would try to align the blue onto the red (ar) and the blue onto the green (ag), my ar and ag image would get this random edge problem attached to it. And when I did the final stacking, the image would be a bit blurry, but still colorized. So I wanted to look into something that would help with automatic cropping and edge detection. After looking through the skimage documentation, I found out about a function called roberts that would do the edge detection for me. So, when calling my align function (I still did the manual cropping), I passed in the roberts function being applied to the images instead of just passing in the images to the align function. By doing this, it made my image so much clearer! I was pleasantly surprised that such a simple implementation would make a big difference. (bells and whistles applied on the left image)