CS 194-26 Project 1: Colorizing the Prokudin-Gorskii Photo Collection
Matthew Hallac
Overview
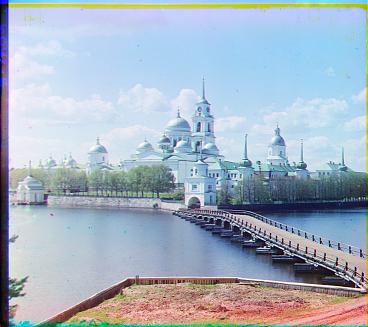
Sergei Mikhailovich Prokudin-Gorskii was a Russian chemist and photographer who pioneered color photography at the beginning of the 20th century. From around 1909 to 1915, he traveled about the Russian Empire, taking color photos of various subjects, including people, religious architecture, historic sites, indusry and agricultry, and views of villages and cities. He produced thousands of these photographs, despite there being no way to print them at the time. He left Russia in 1918 right after the revolution and he plates were sold to the Library of Congress in 1948.
Prokudin-Gorskii's Technique
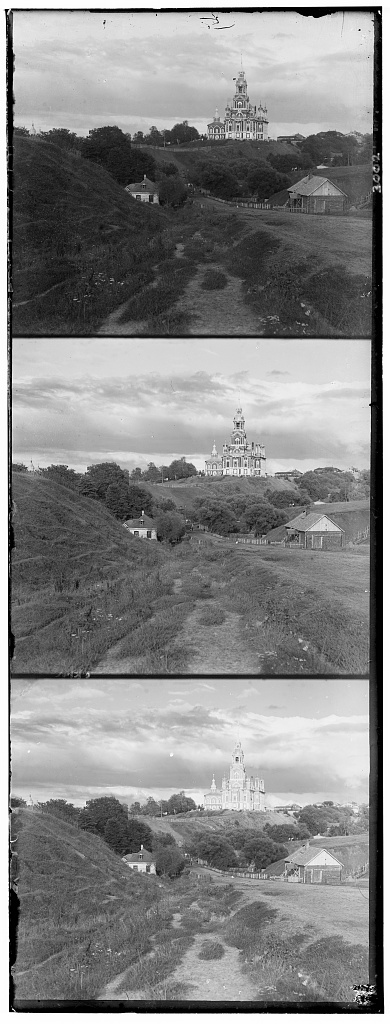
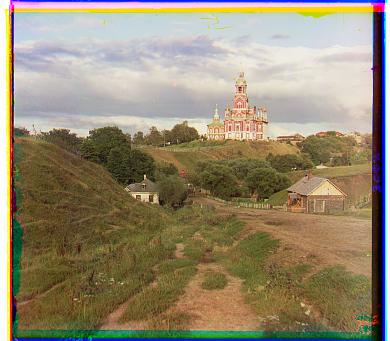
Prokudin-Gorskii used a special camera to take three exposures of the subject simultaneously: one with a red filter, one with a blue filter, and one with a green filter. each exposure represents the intensity of that color in the picture, and when combined the images reveal stunning color photos from the past. His negatives were digitized by the library of congress, and the collection is available here.
Single-Scale Implementation
First, I used an exhaustive search algorithm which took two images and compared them for some metric on shifts ranging from -15 to 15 in both the x and y direction. The metrics I tested were Sum of Squared Differences (SSD) and normalized cross correlation, and both performed similarly and produced similar results. For small images, this was fast and effective.
g=(2,5), r=(3,12)
g=(2,-3), r=(2,3)
g=(2,3), r=(3,6)
Pyramid Speedup
With larger images, however, the exhaustive search method had too long of a runtime. To fix this, I added a coarse-fine image pyramid. The image pyramid starts at a low resolution, figures out the required transformation to align the images, and then moves one level down to the next highest resolution. It shifts the image according to the alignment calculated at the previous level and then calculates a new alignment. My algorithm repeated this process for 7 layers scaling the image down by a factor of 2 each time. This allowed for a maximum displacement of 256 pixels, with a runtime of on average about 12 seconds.
Hover over image to expand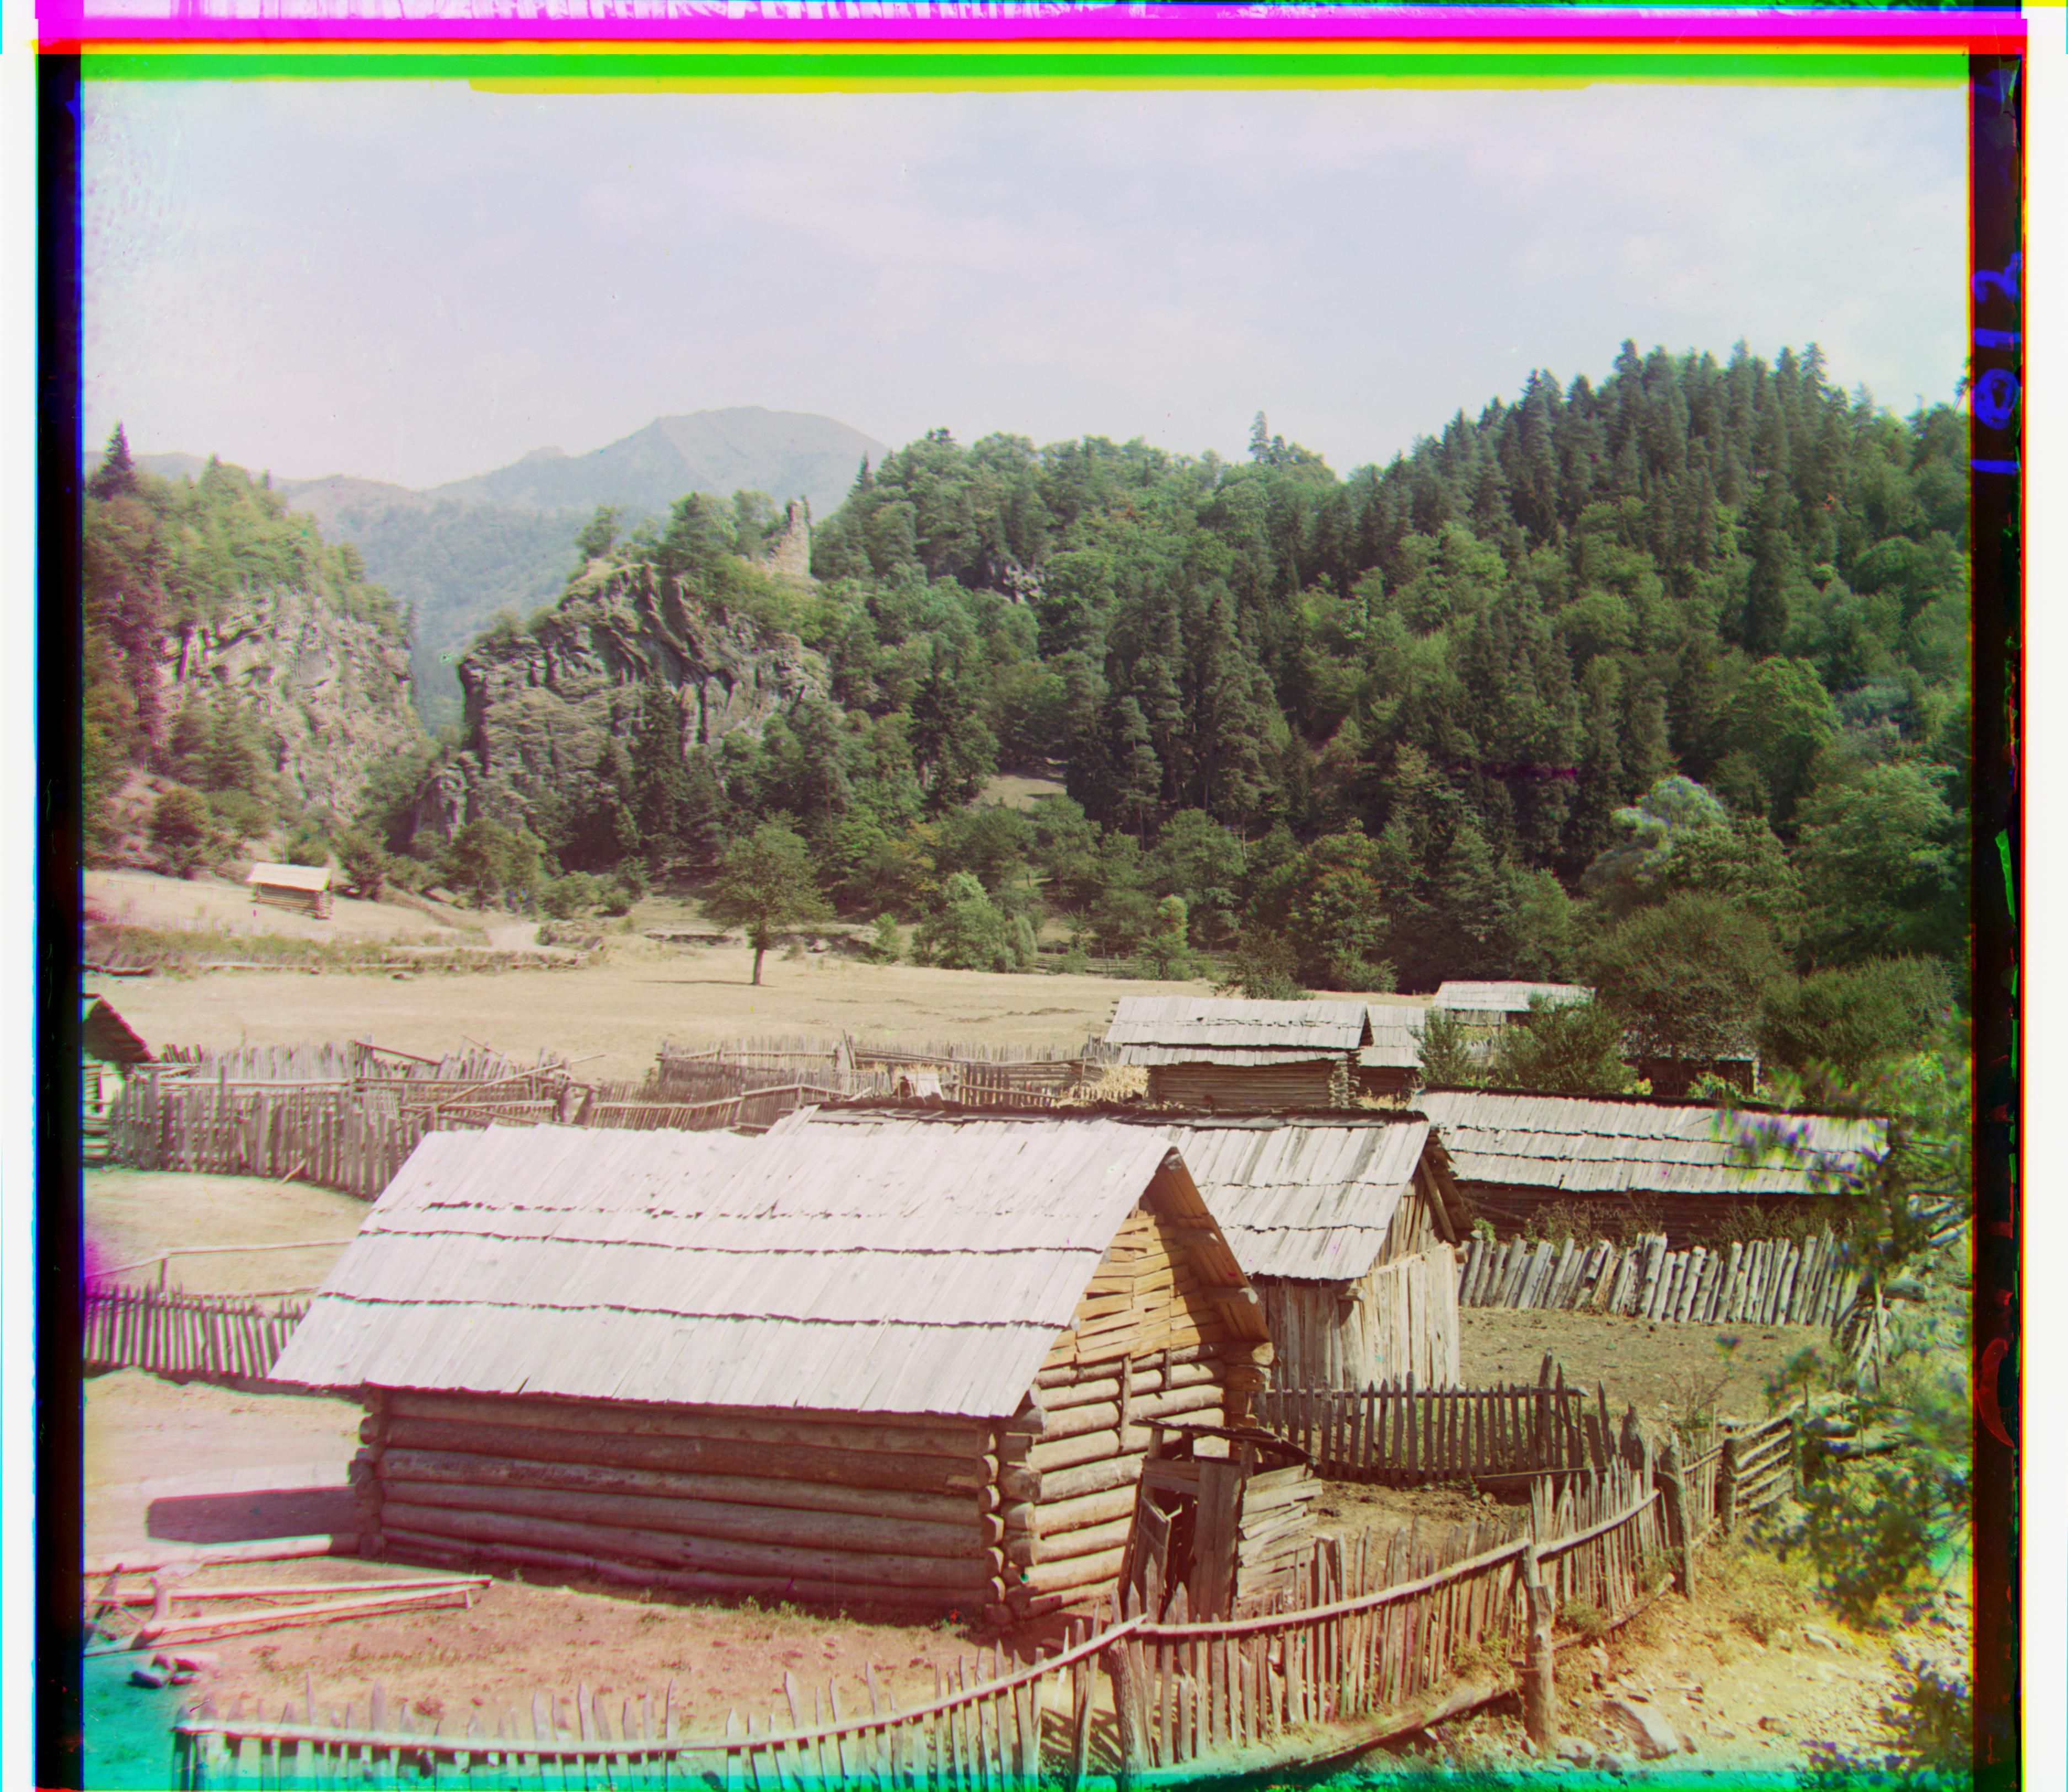
g=(34,3), r=(98,4)
g=(59,17), r=(124,14)
g=(40,17), r=(89,23)
g=(54,9), r=(115,12)
g=(82,11), r=(178,14)
g=(51,27), r=(108,37)
g=(78,29), r=(176,37)

g=(52,14), r=(111,12)
g=(42,6), r=(87,32)
g=(53,0), r=(105,-12)
Problems Encountered
Pyramid speedup
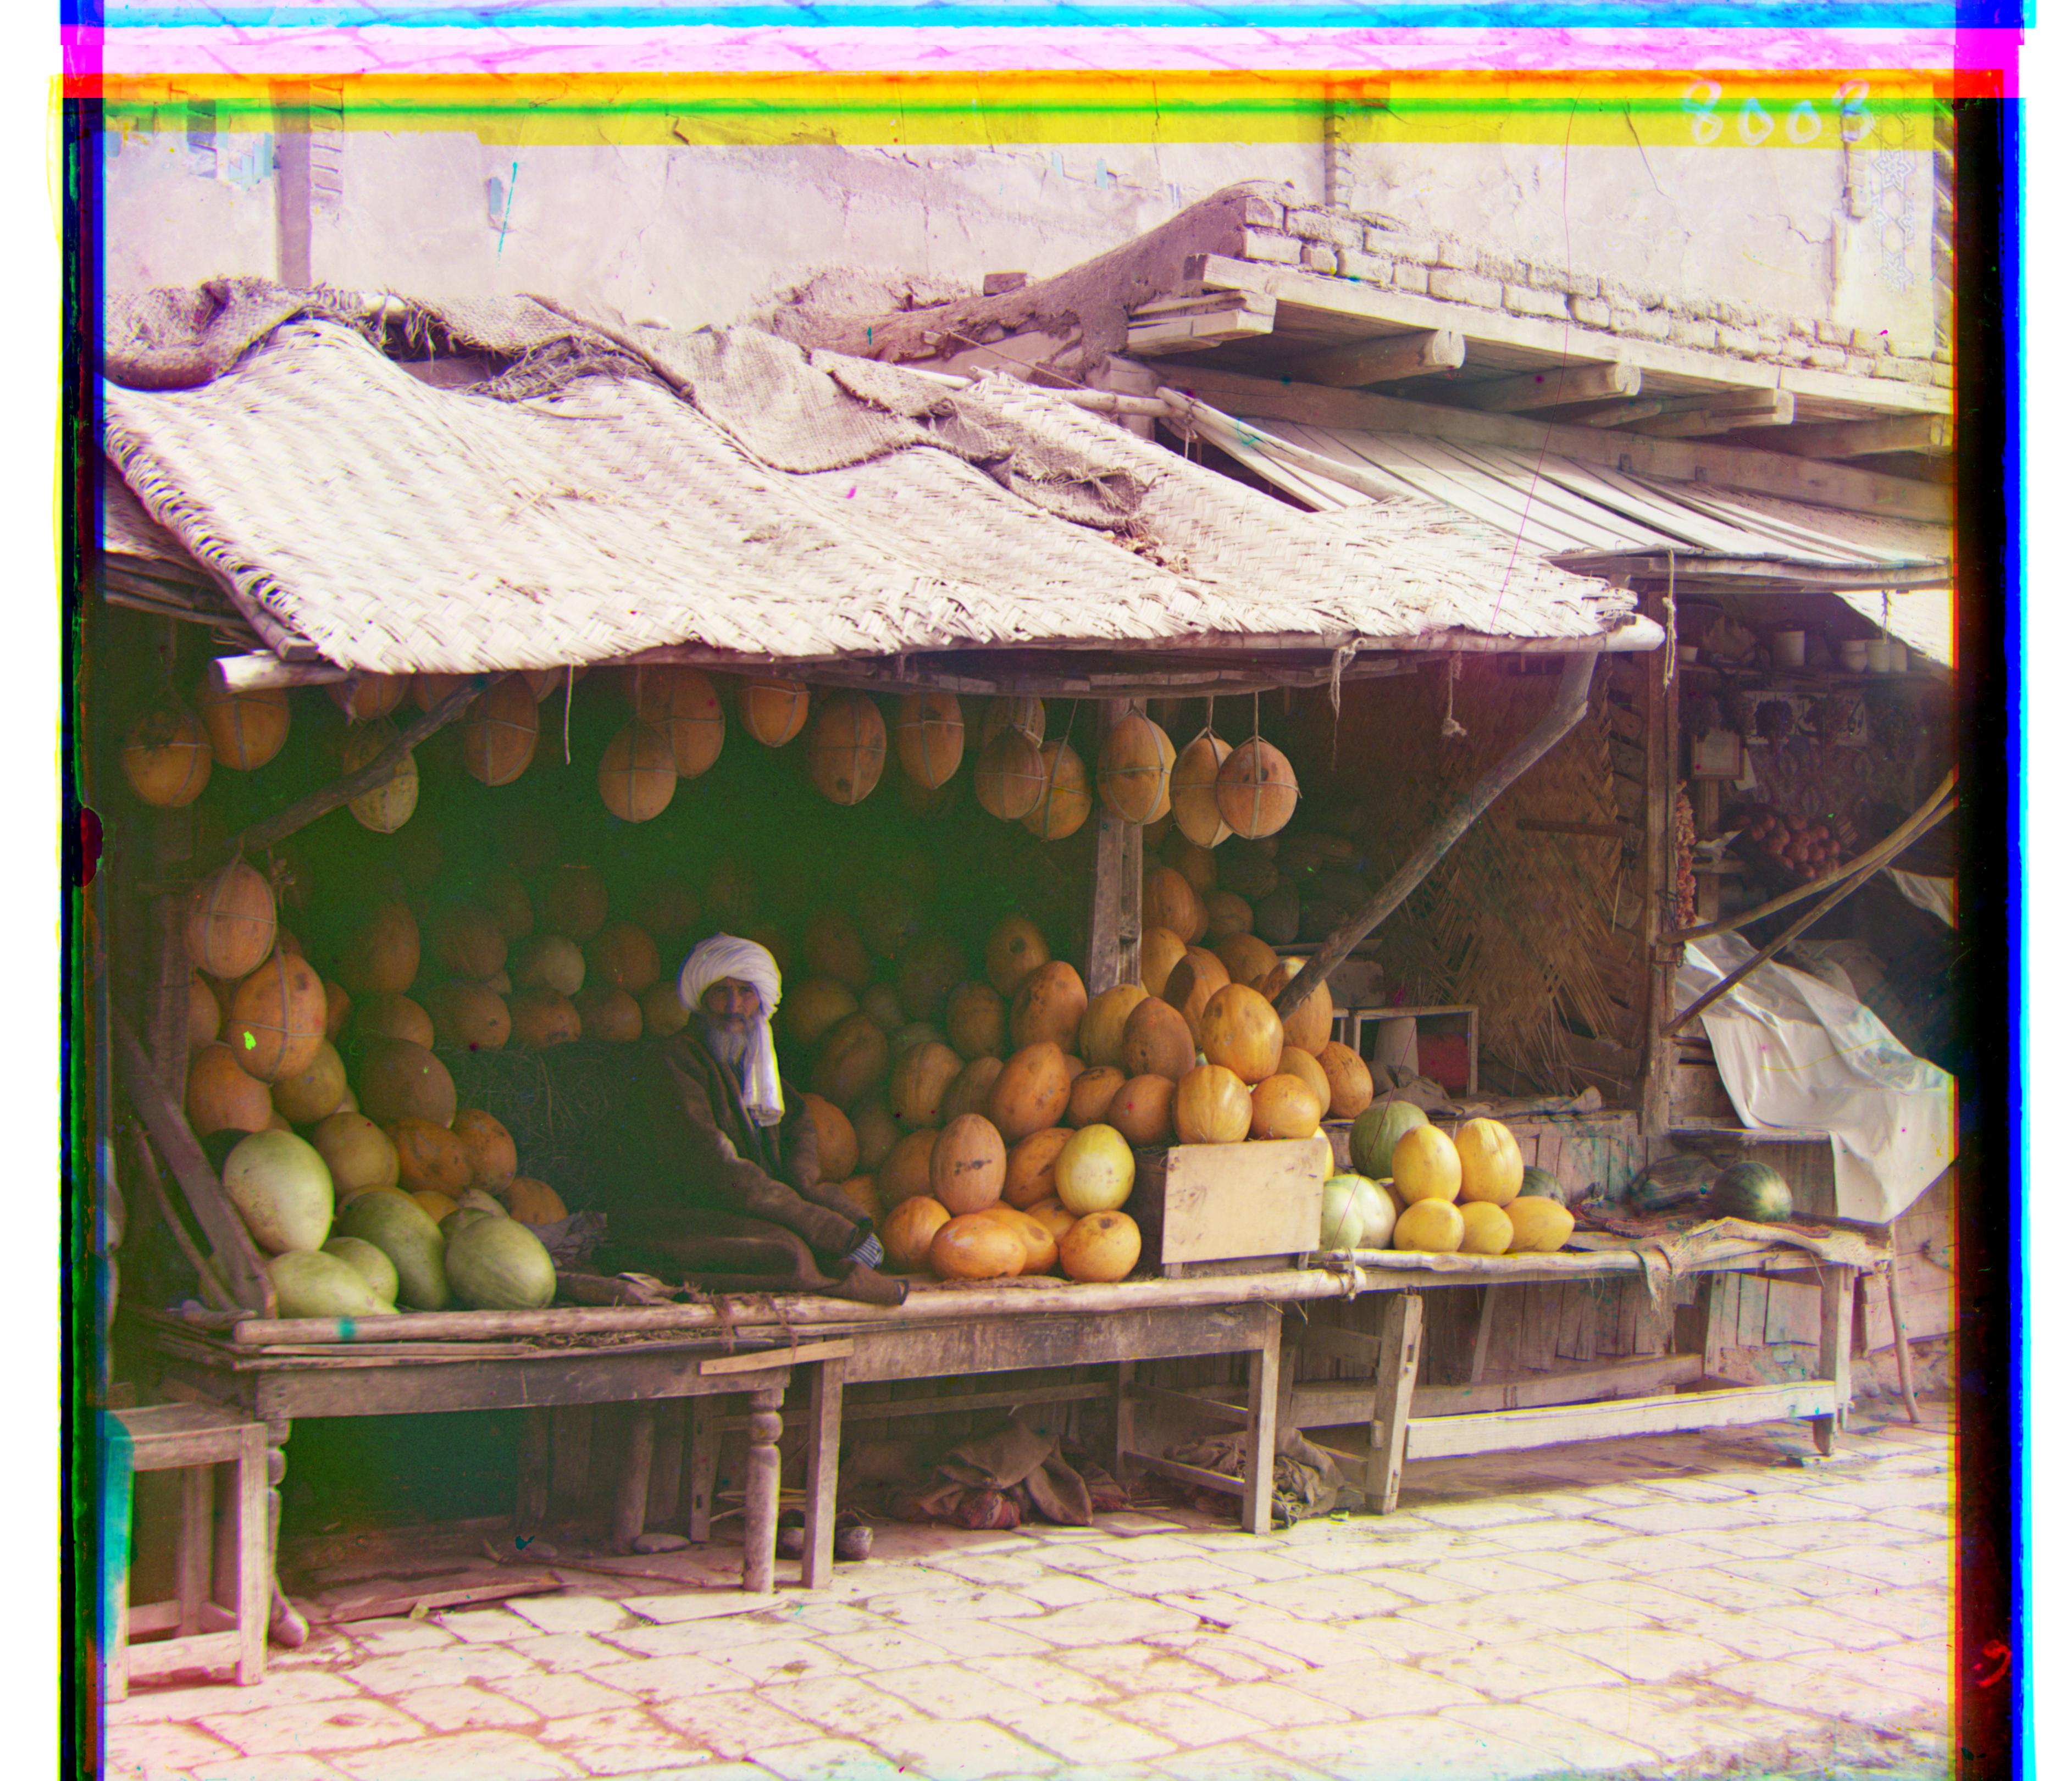
While writing the pyramid speedup, I noticed that it consistantly did not work for images where the displacement required was more than 127 pixels. This was because my pyramid went 7 layers deep, and at each layer the ratio of shrunken pixels to image pixels was multiplied by two. That meant that the maximum displacement that the algorithm could generate was 128 pixels. To fix this, I changed the base case so that it would go one layer deeper, and then I was able to correctly align images such as melons, at a very low cost of time. This meant that at the lowest layer, the images were about 50 pixels wide. My inital concern was that the resolution would be too low for alignment, however it was still enough for the algorithm to produce a good output.
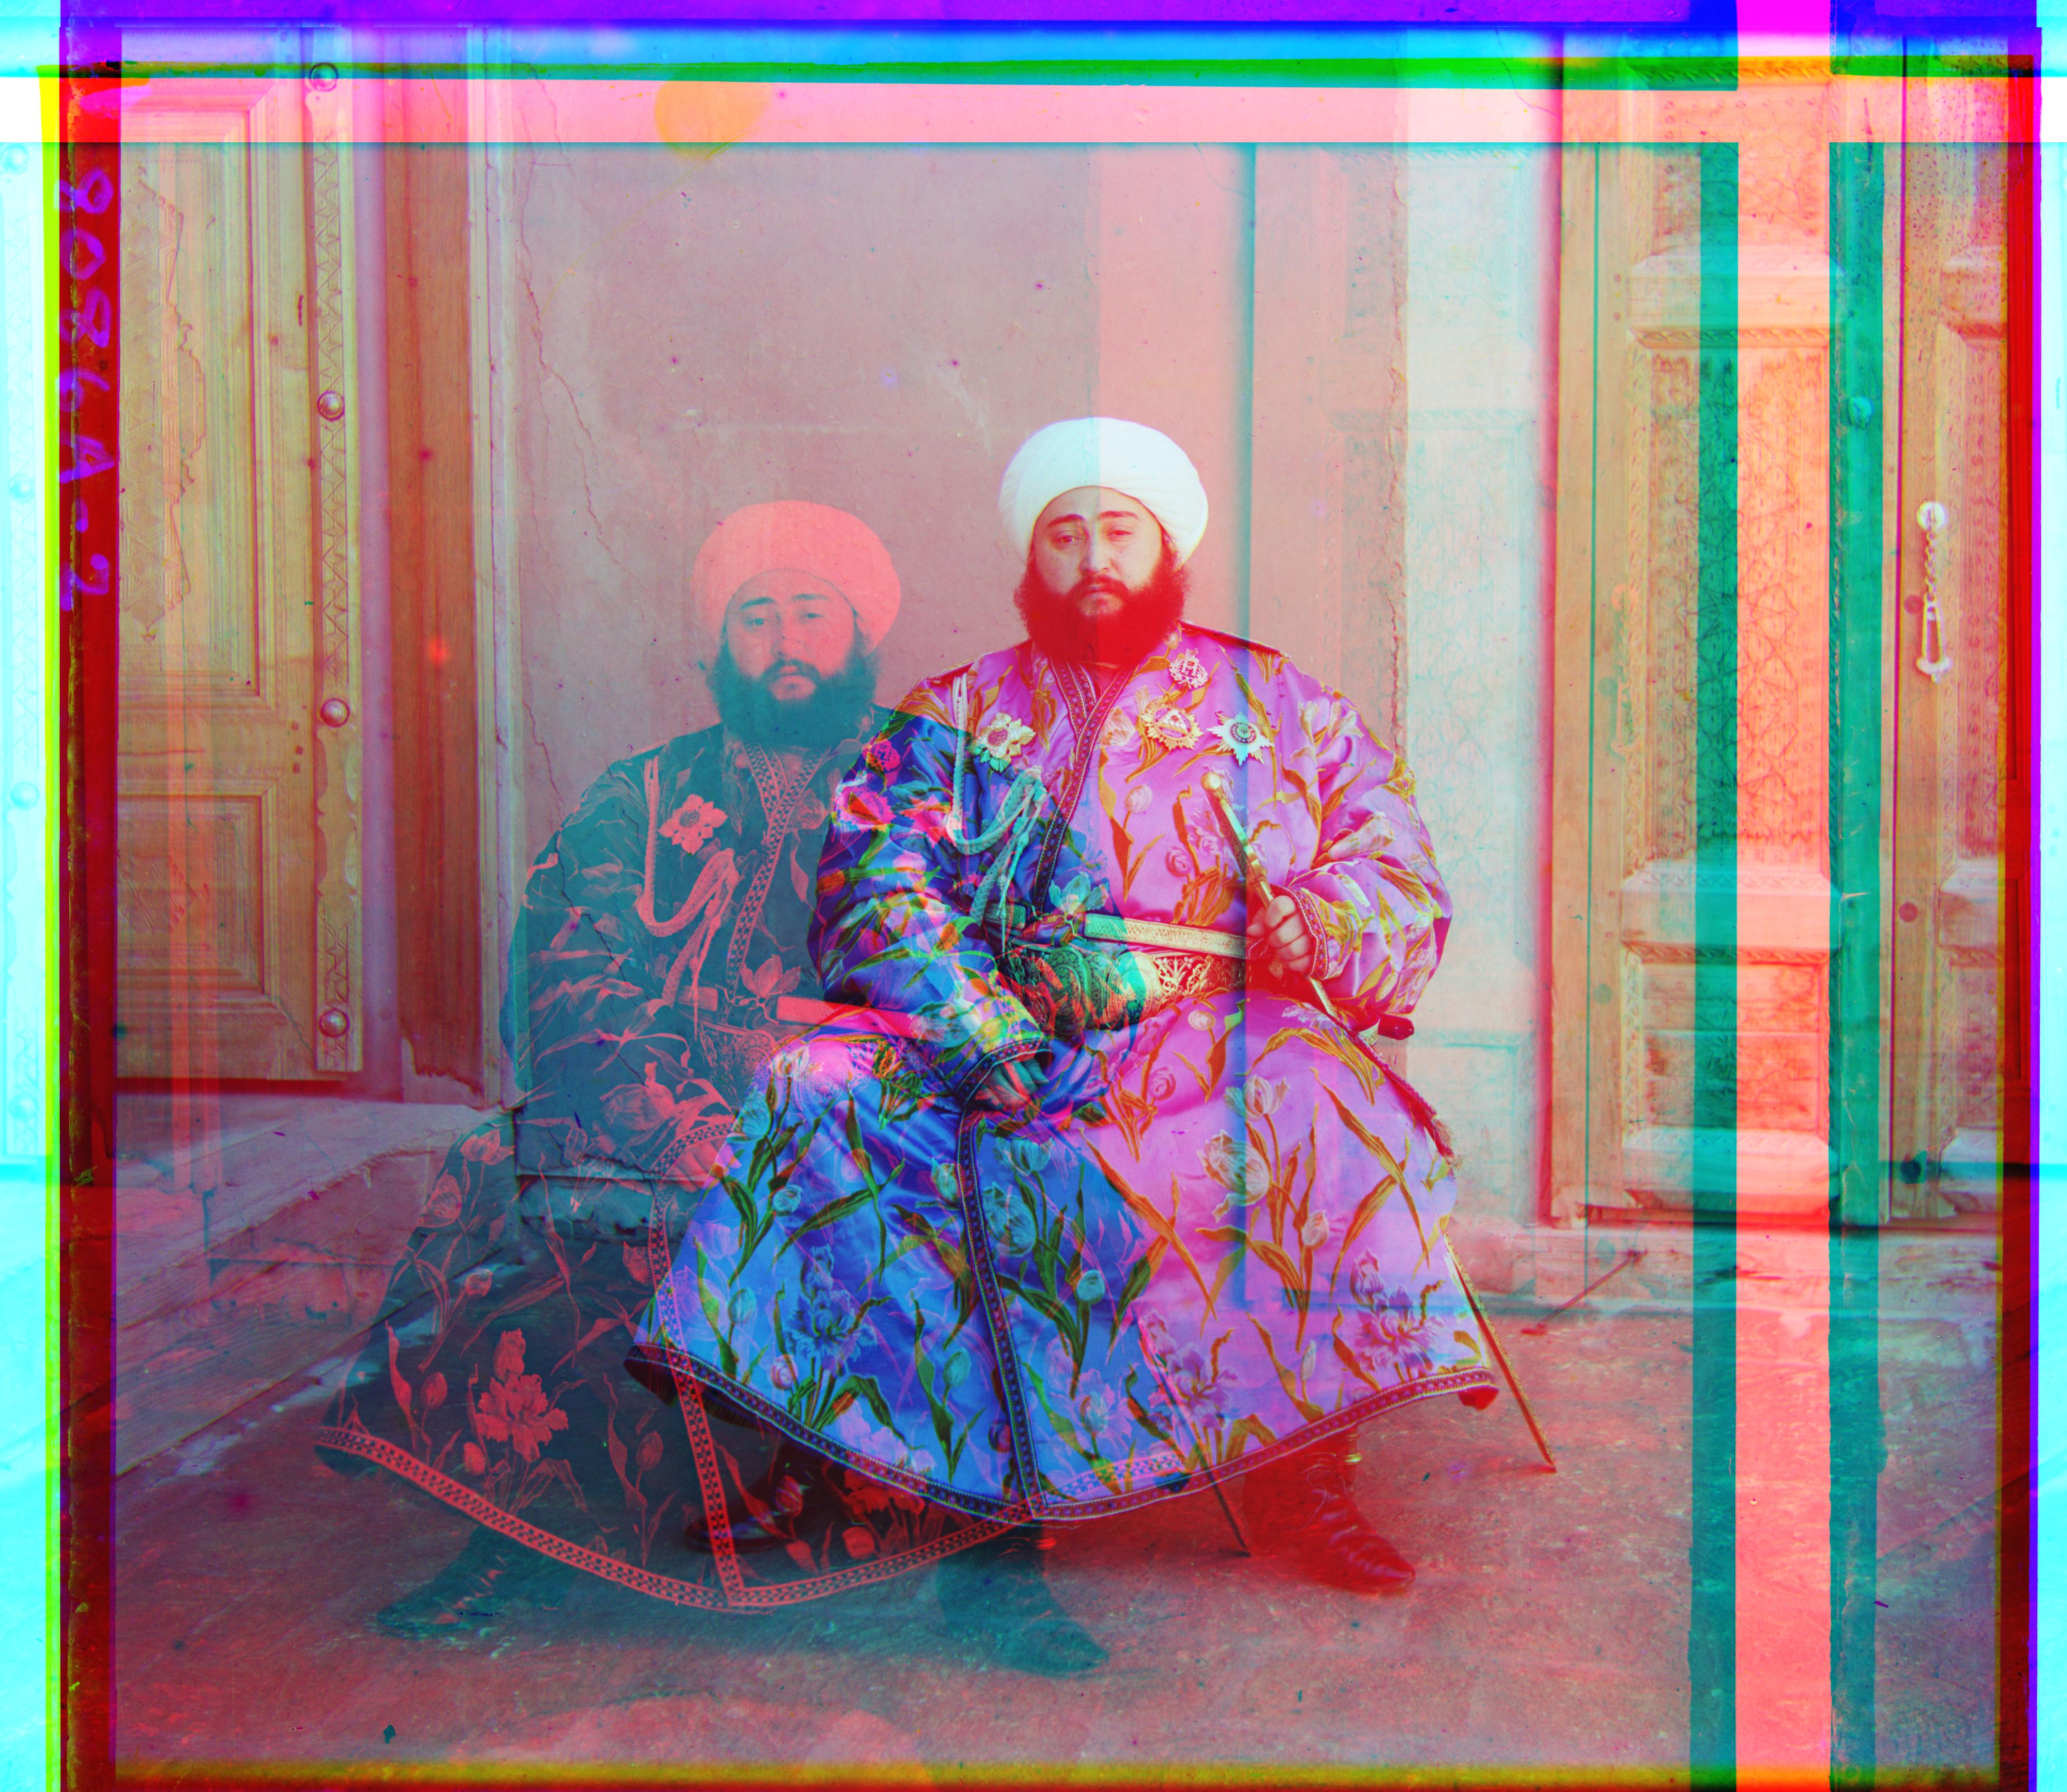
Emir
For the image emir.tif, my initial algorithm did not work correctly, due to the large contrast in brightnesses between the blue and red images. The NCC metric was not maximized when the images were aligned because of the opposite brightness levels for blue and red. I noticed that the outline of the emir on the green panel was a medium shade of gray between that on the red and blue panels. I decided to use the green layer as the base, and aligned the red and blue layers to green and that worked. They were close enough for the metric to be able to capture the correct alignment, and produce the image below.
g=(49,24), r=(255,-510)
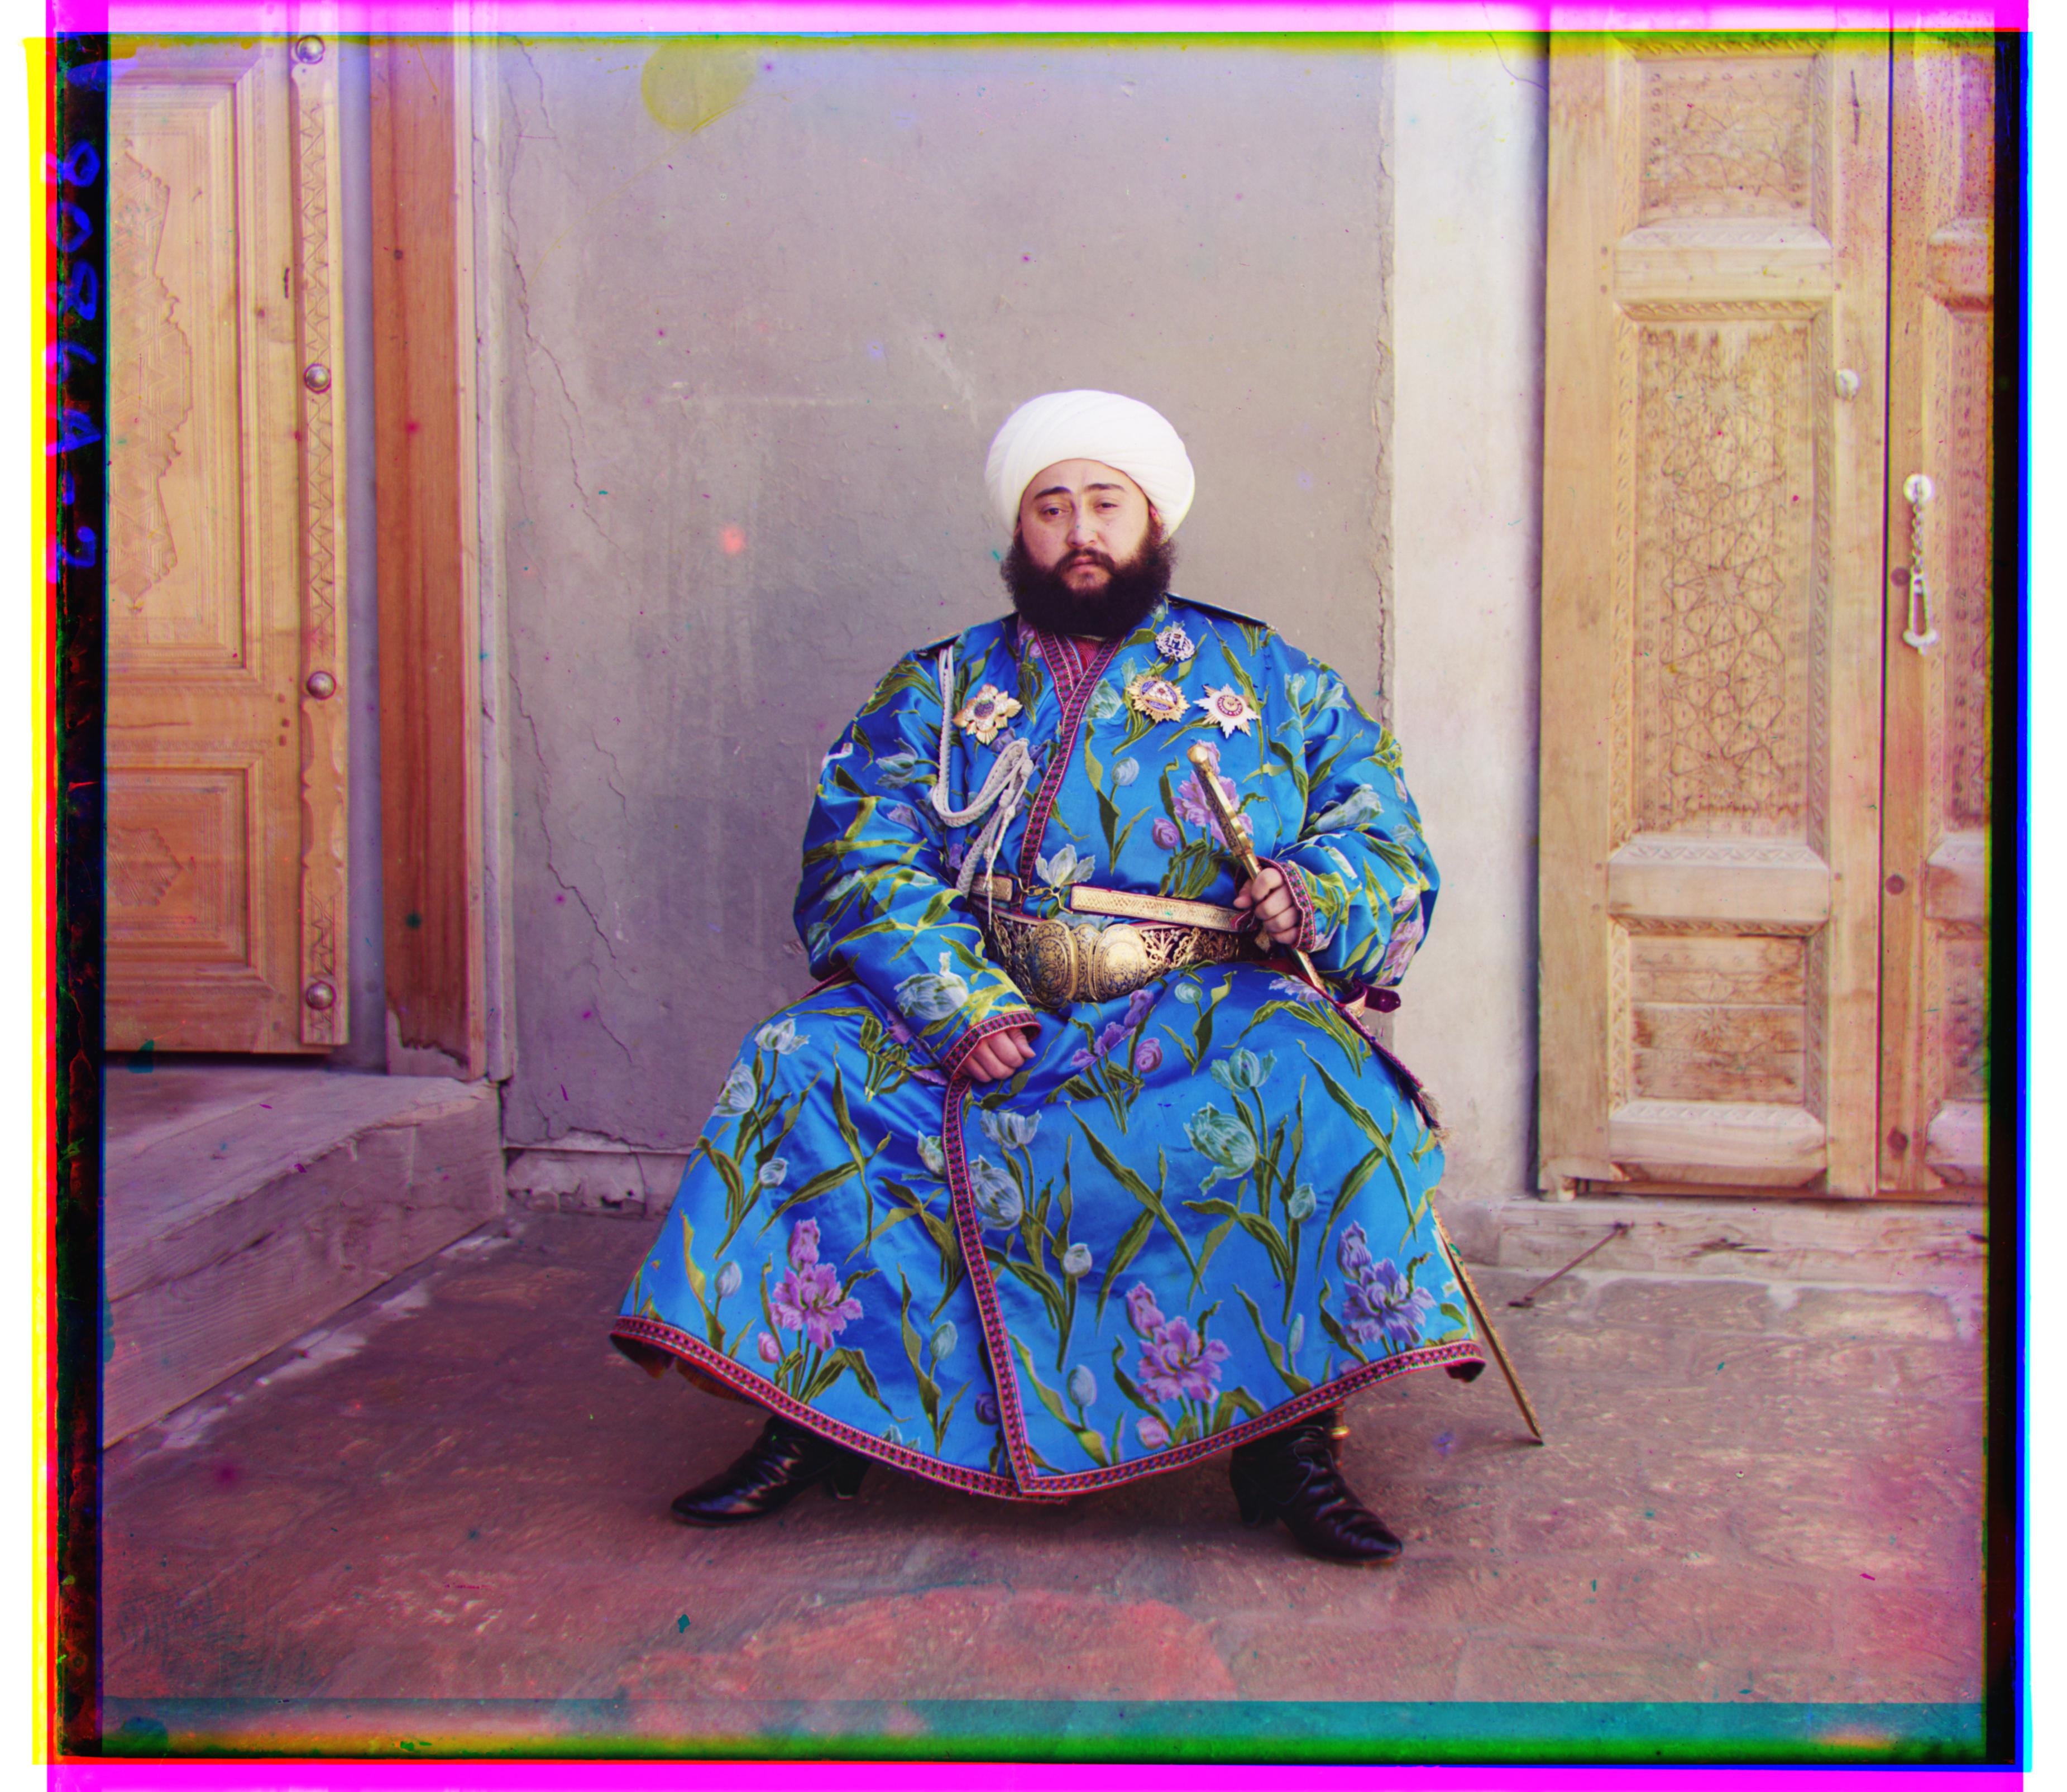
b=(-49,-24), r=(57,17)
Bells & Whistles: Automatic Cropping
In order to automatically crop the images, I started by looking at the edges of each of the individual color channels. Each one has a black or white boundary before the image starts, so my cropping algorithm checked along slivers of the edge moving inward until it hit one who's average color was not white or black. It would record how far it had to go, and after the image was finished it would take the average amount cropped for each side and crop the final image by that much. The threshold for how similar to white or black the edge was was tunable, and the higher it was the more sensitive the algorithm became, and the less was cropped off, as seen in the images below:
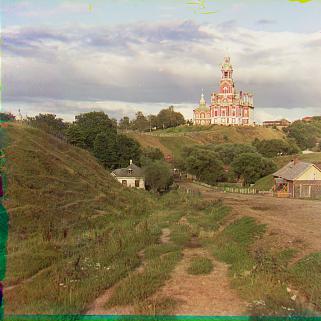
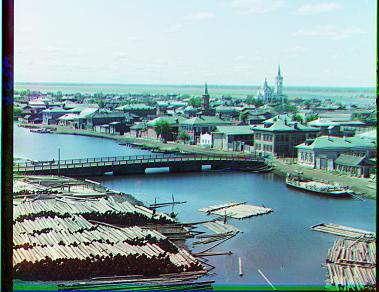
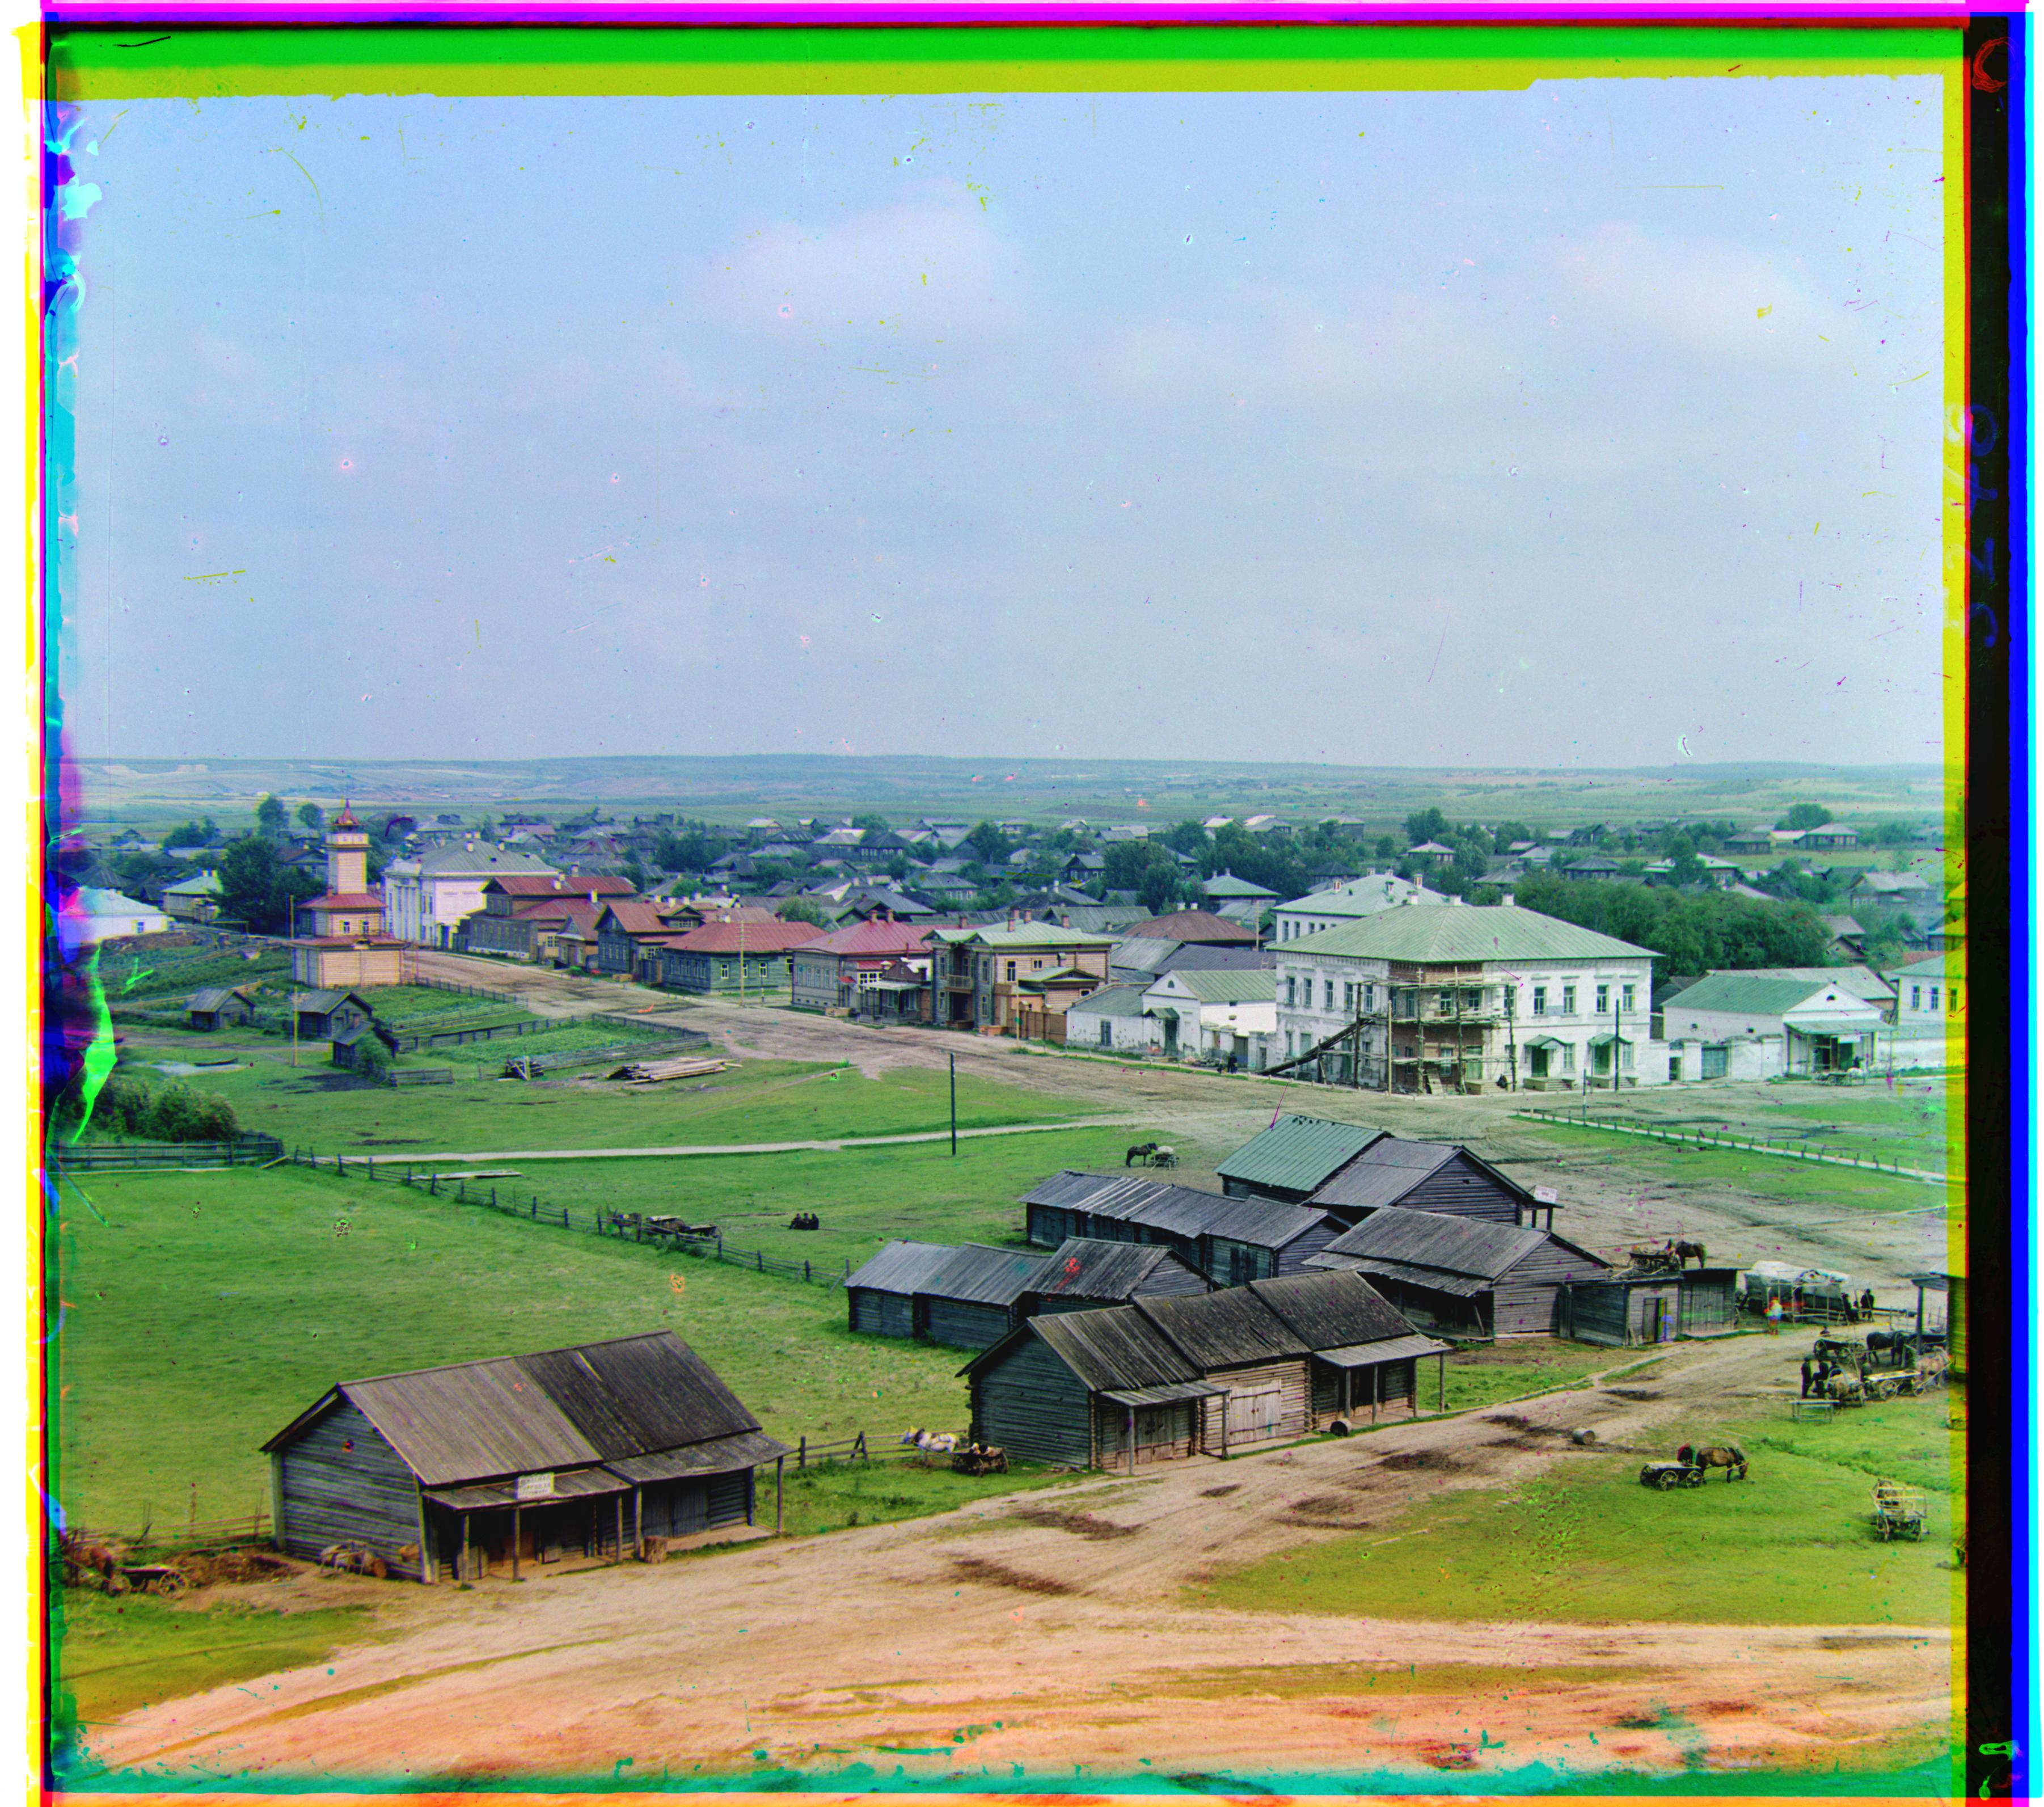
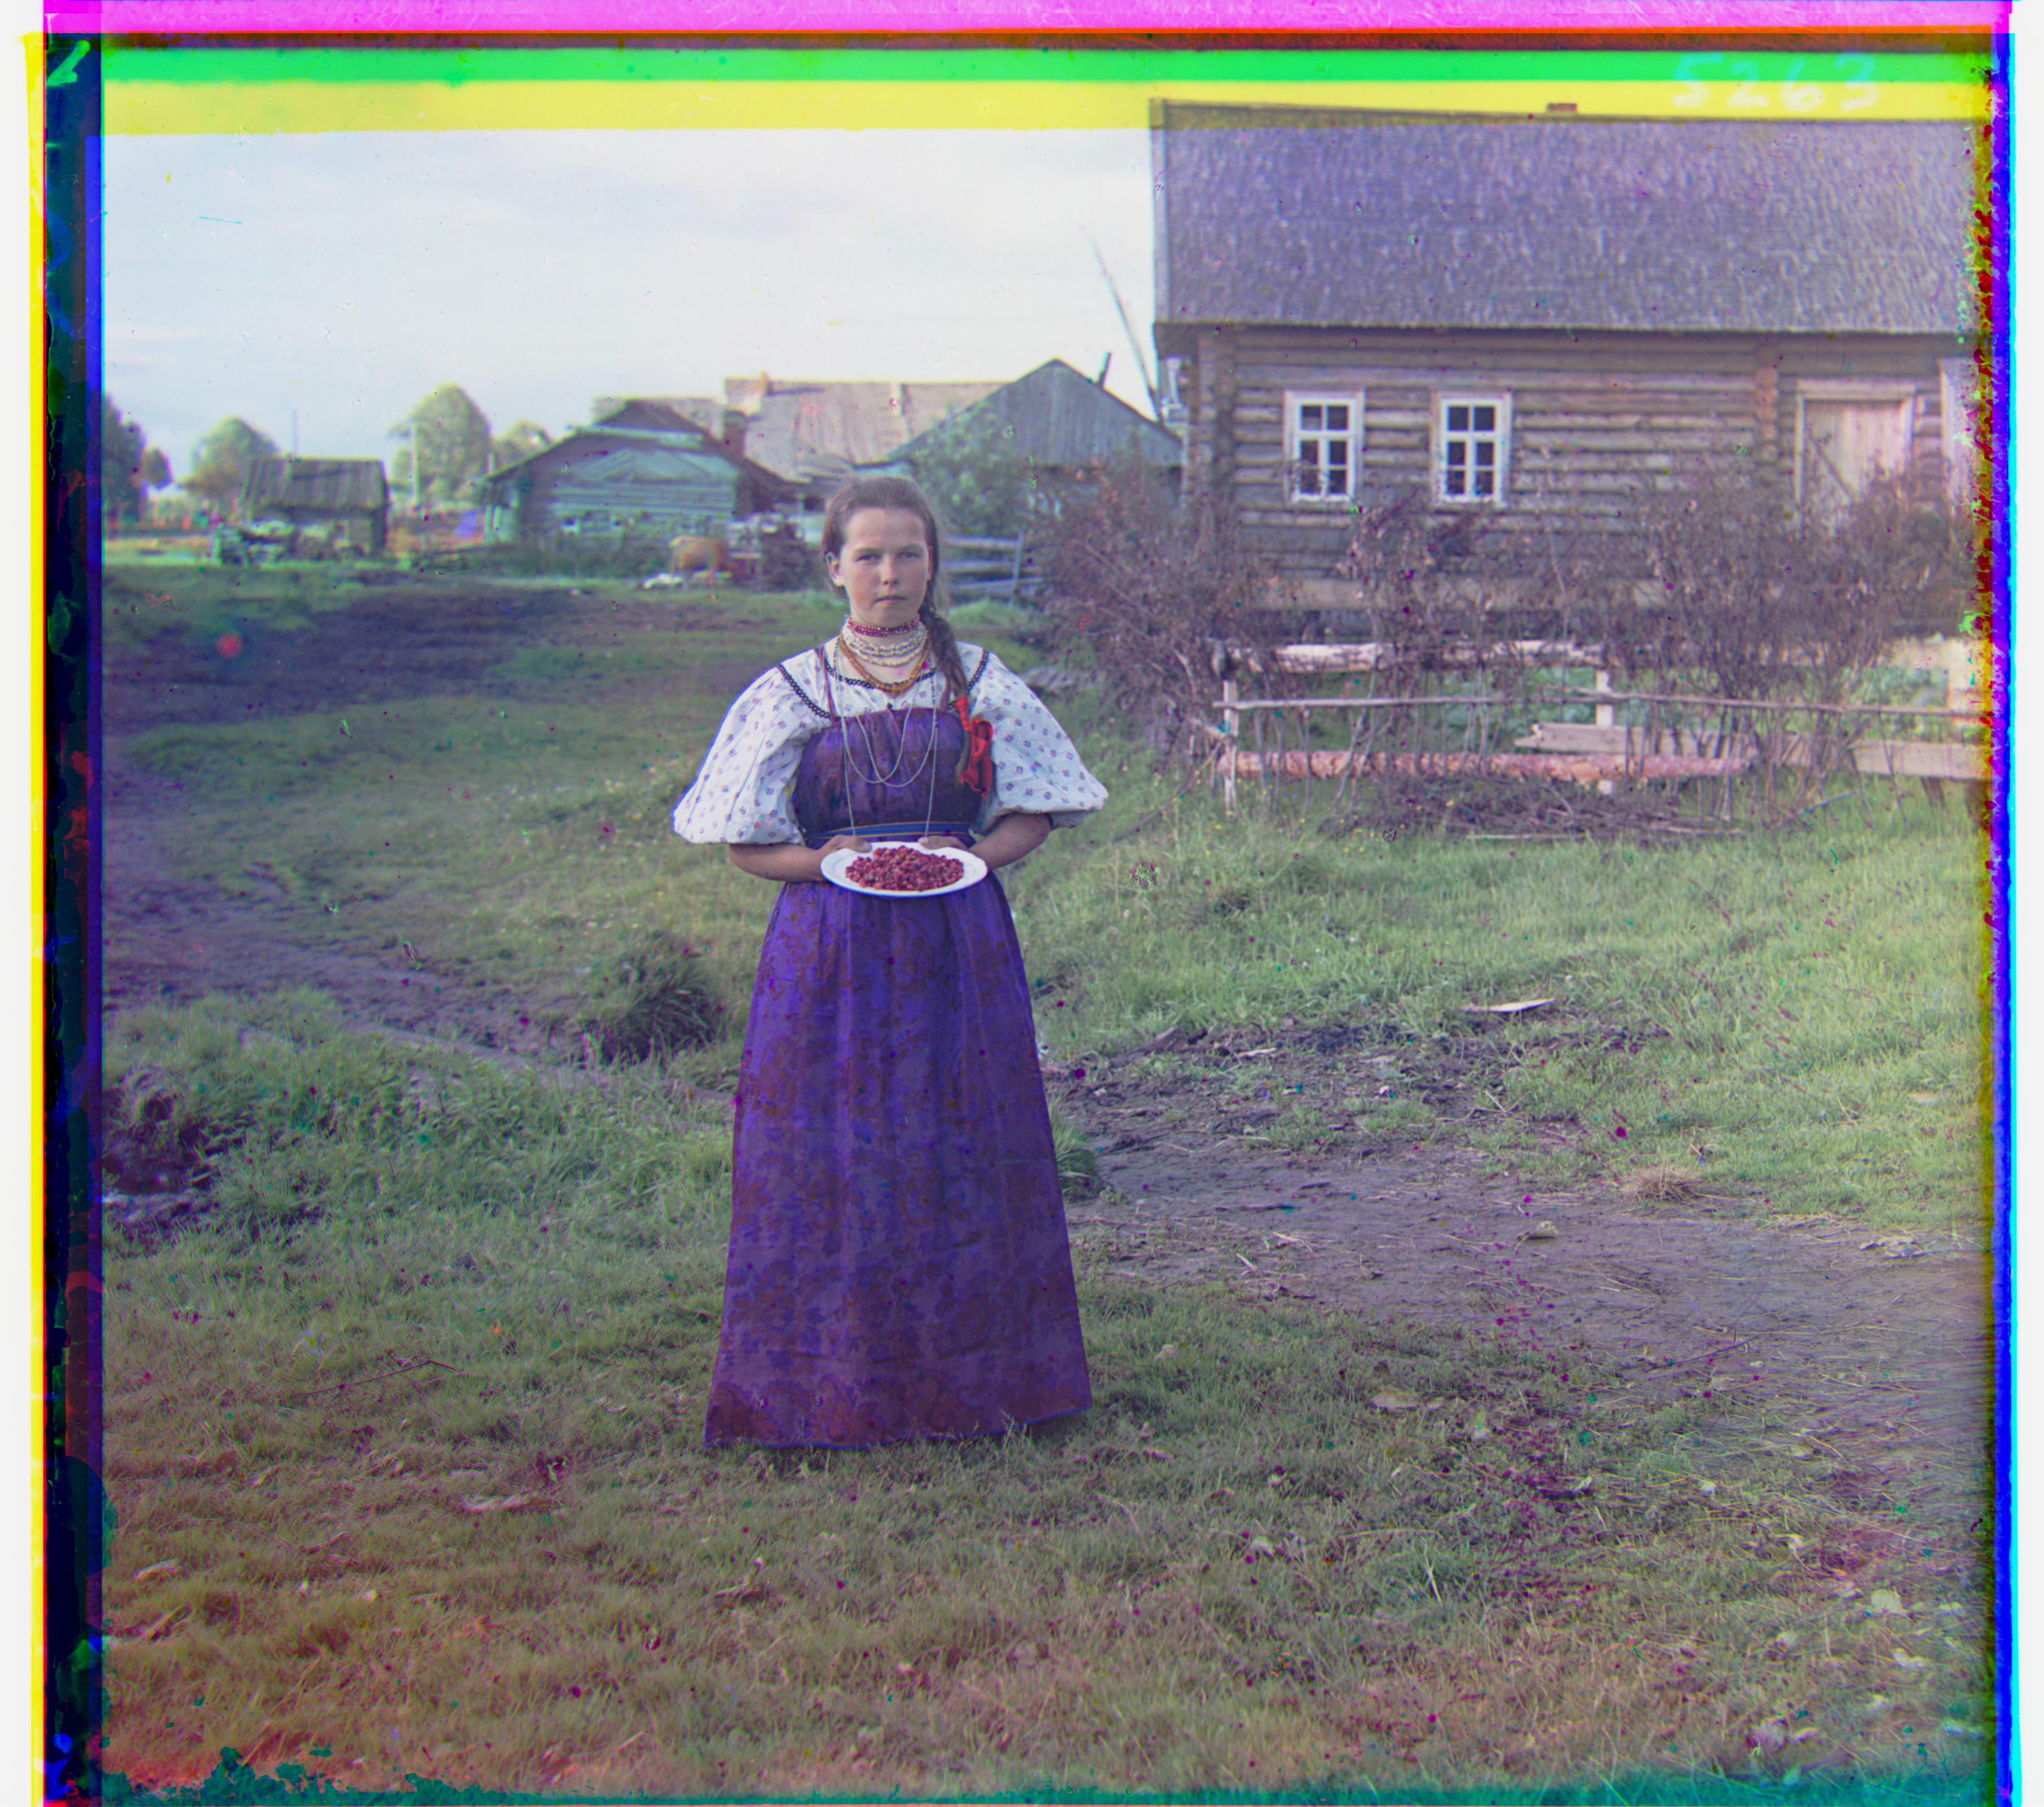
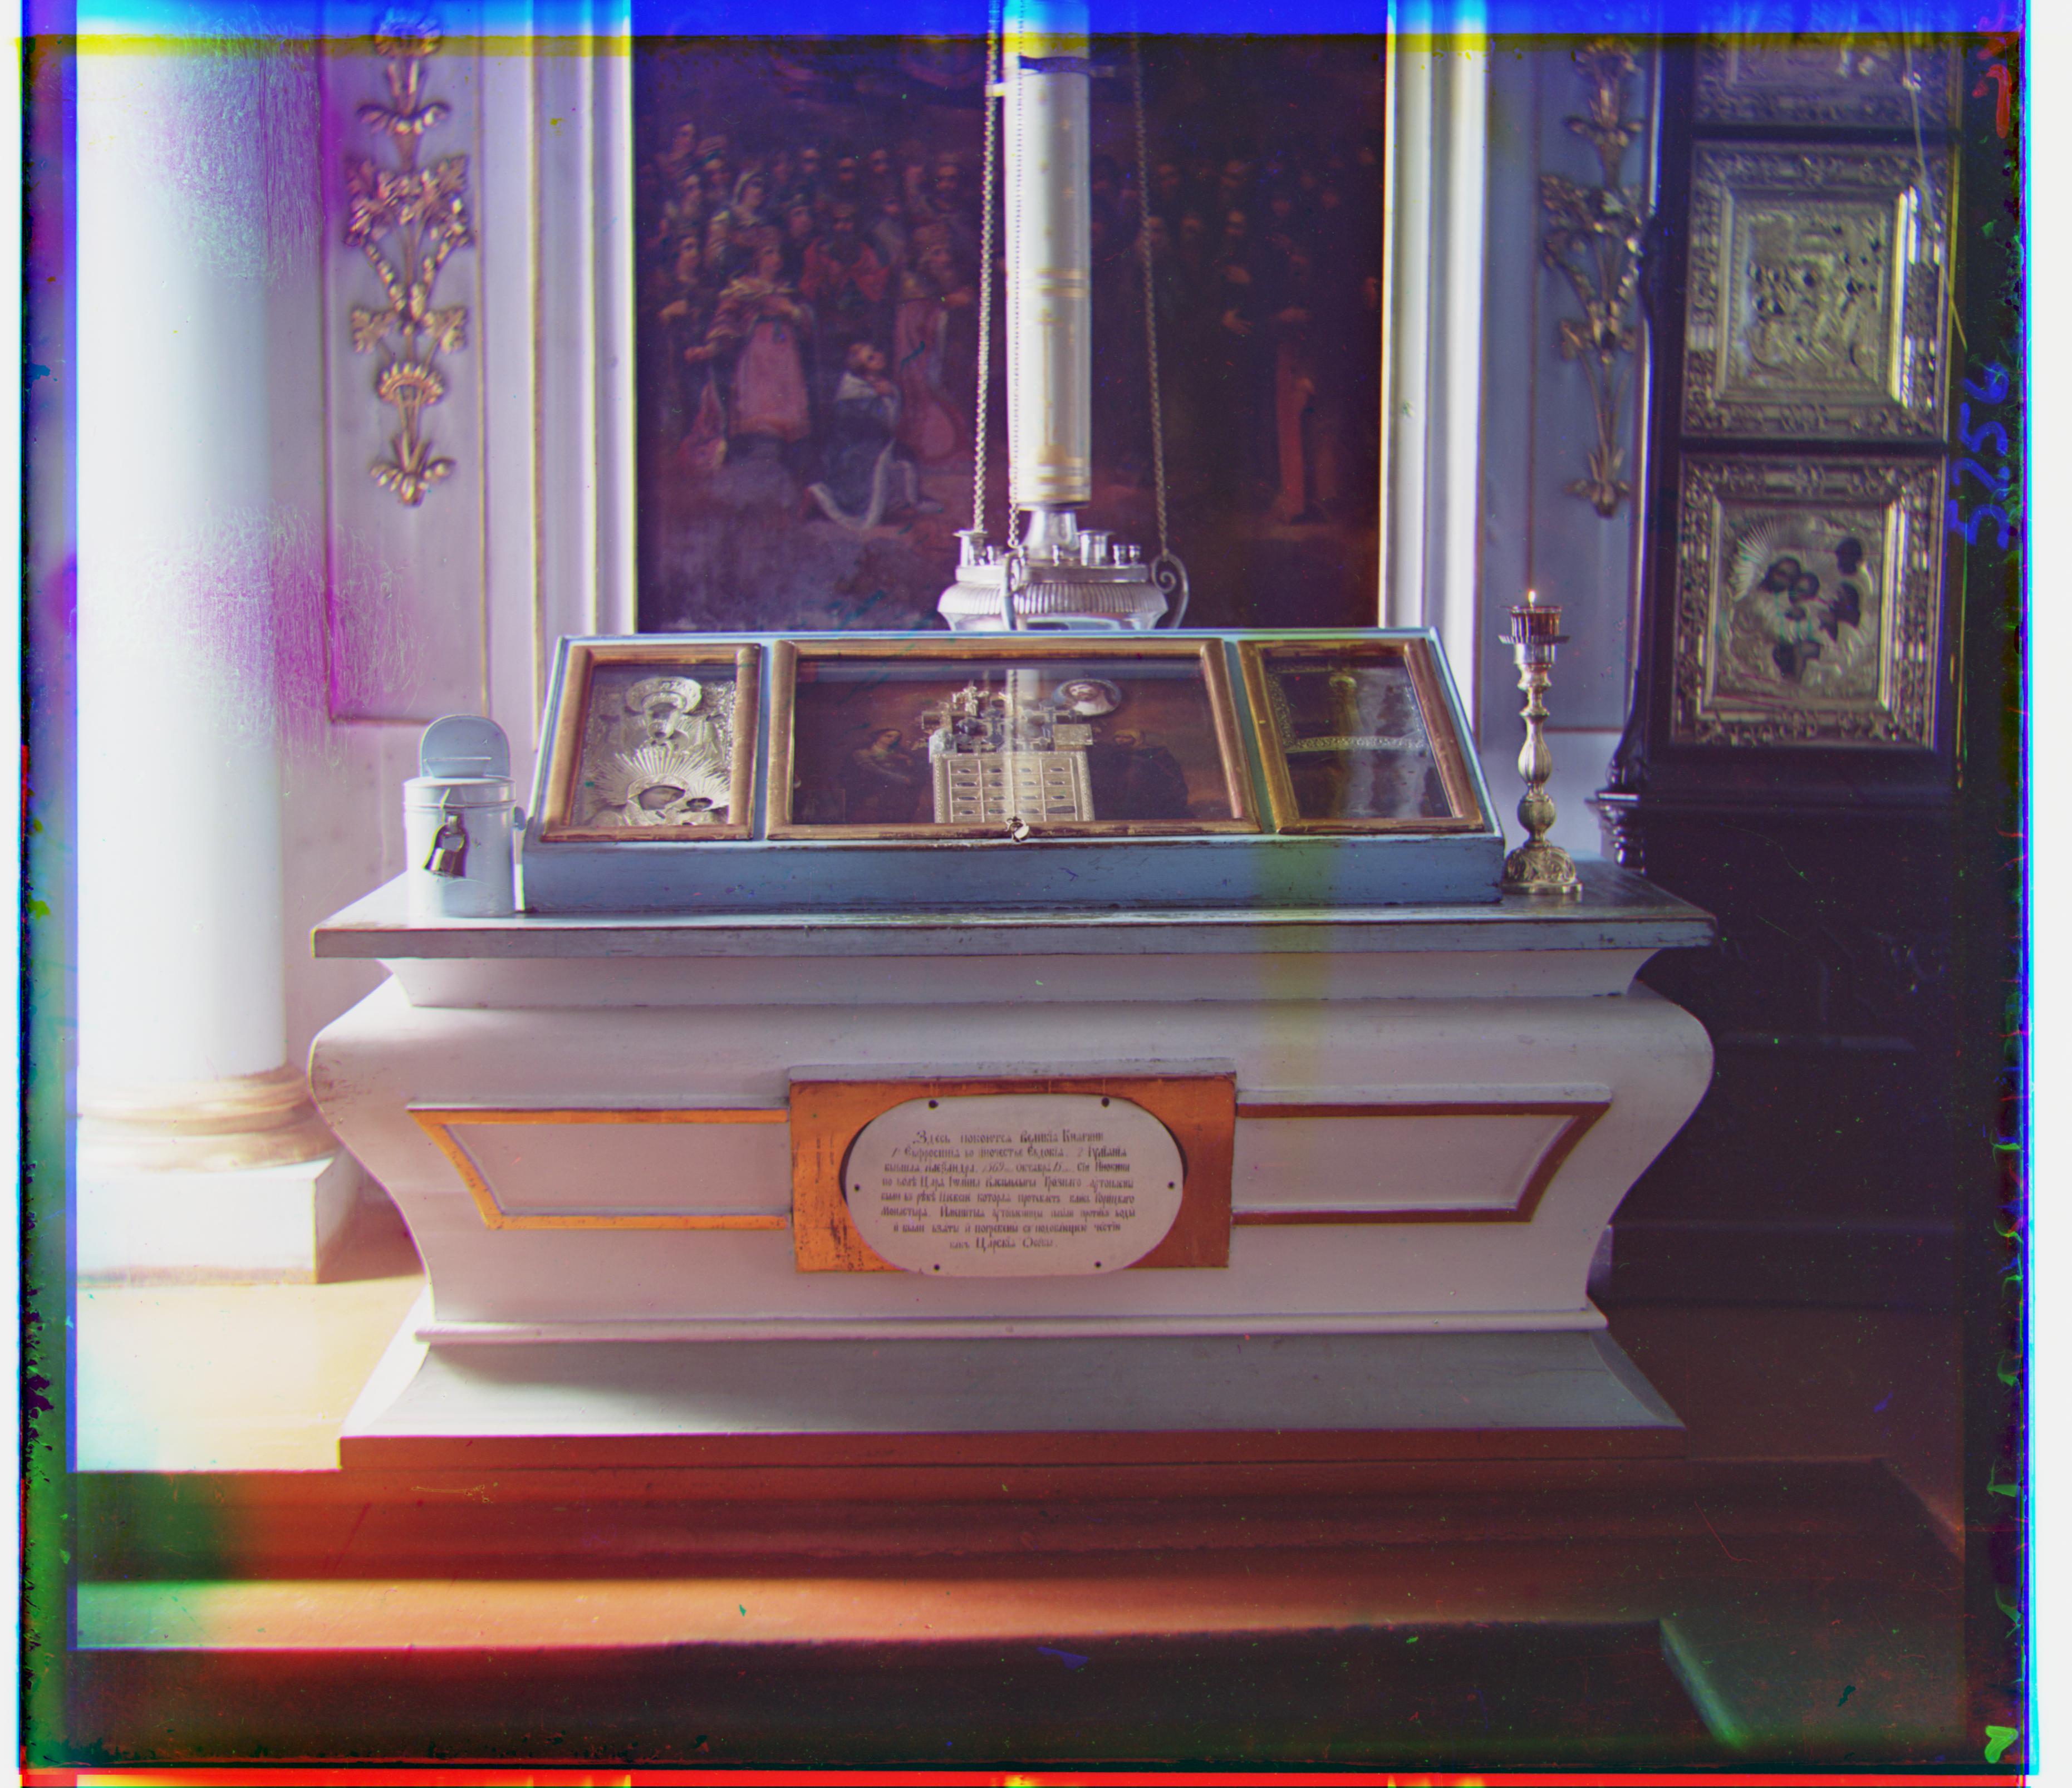
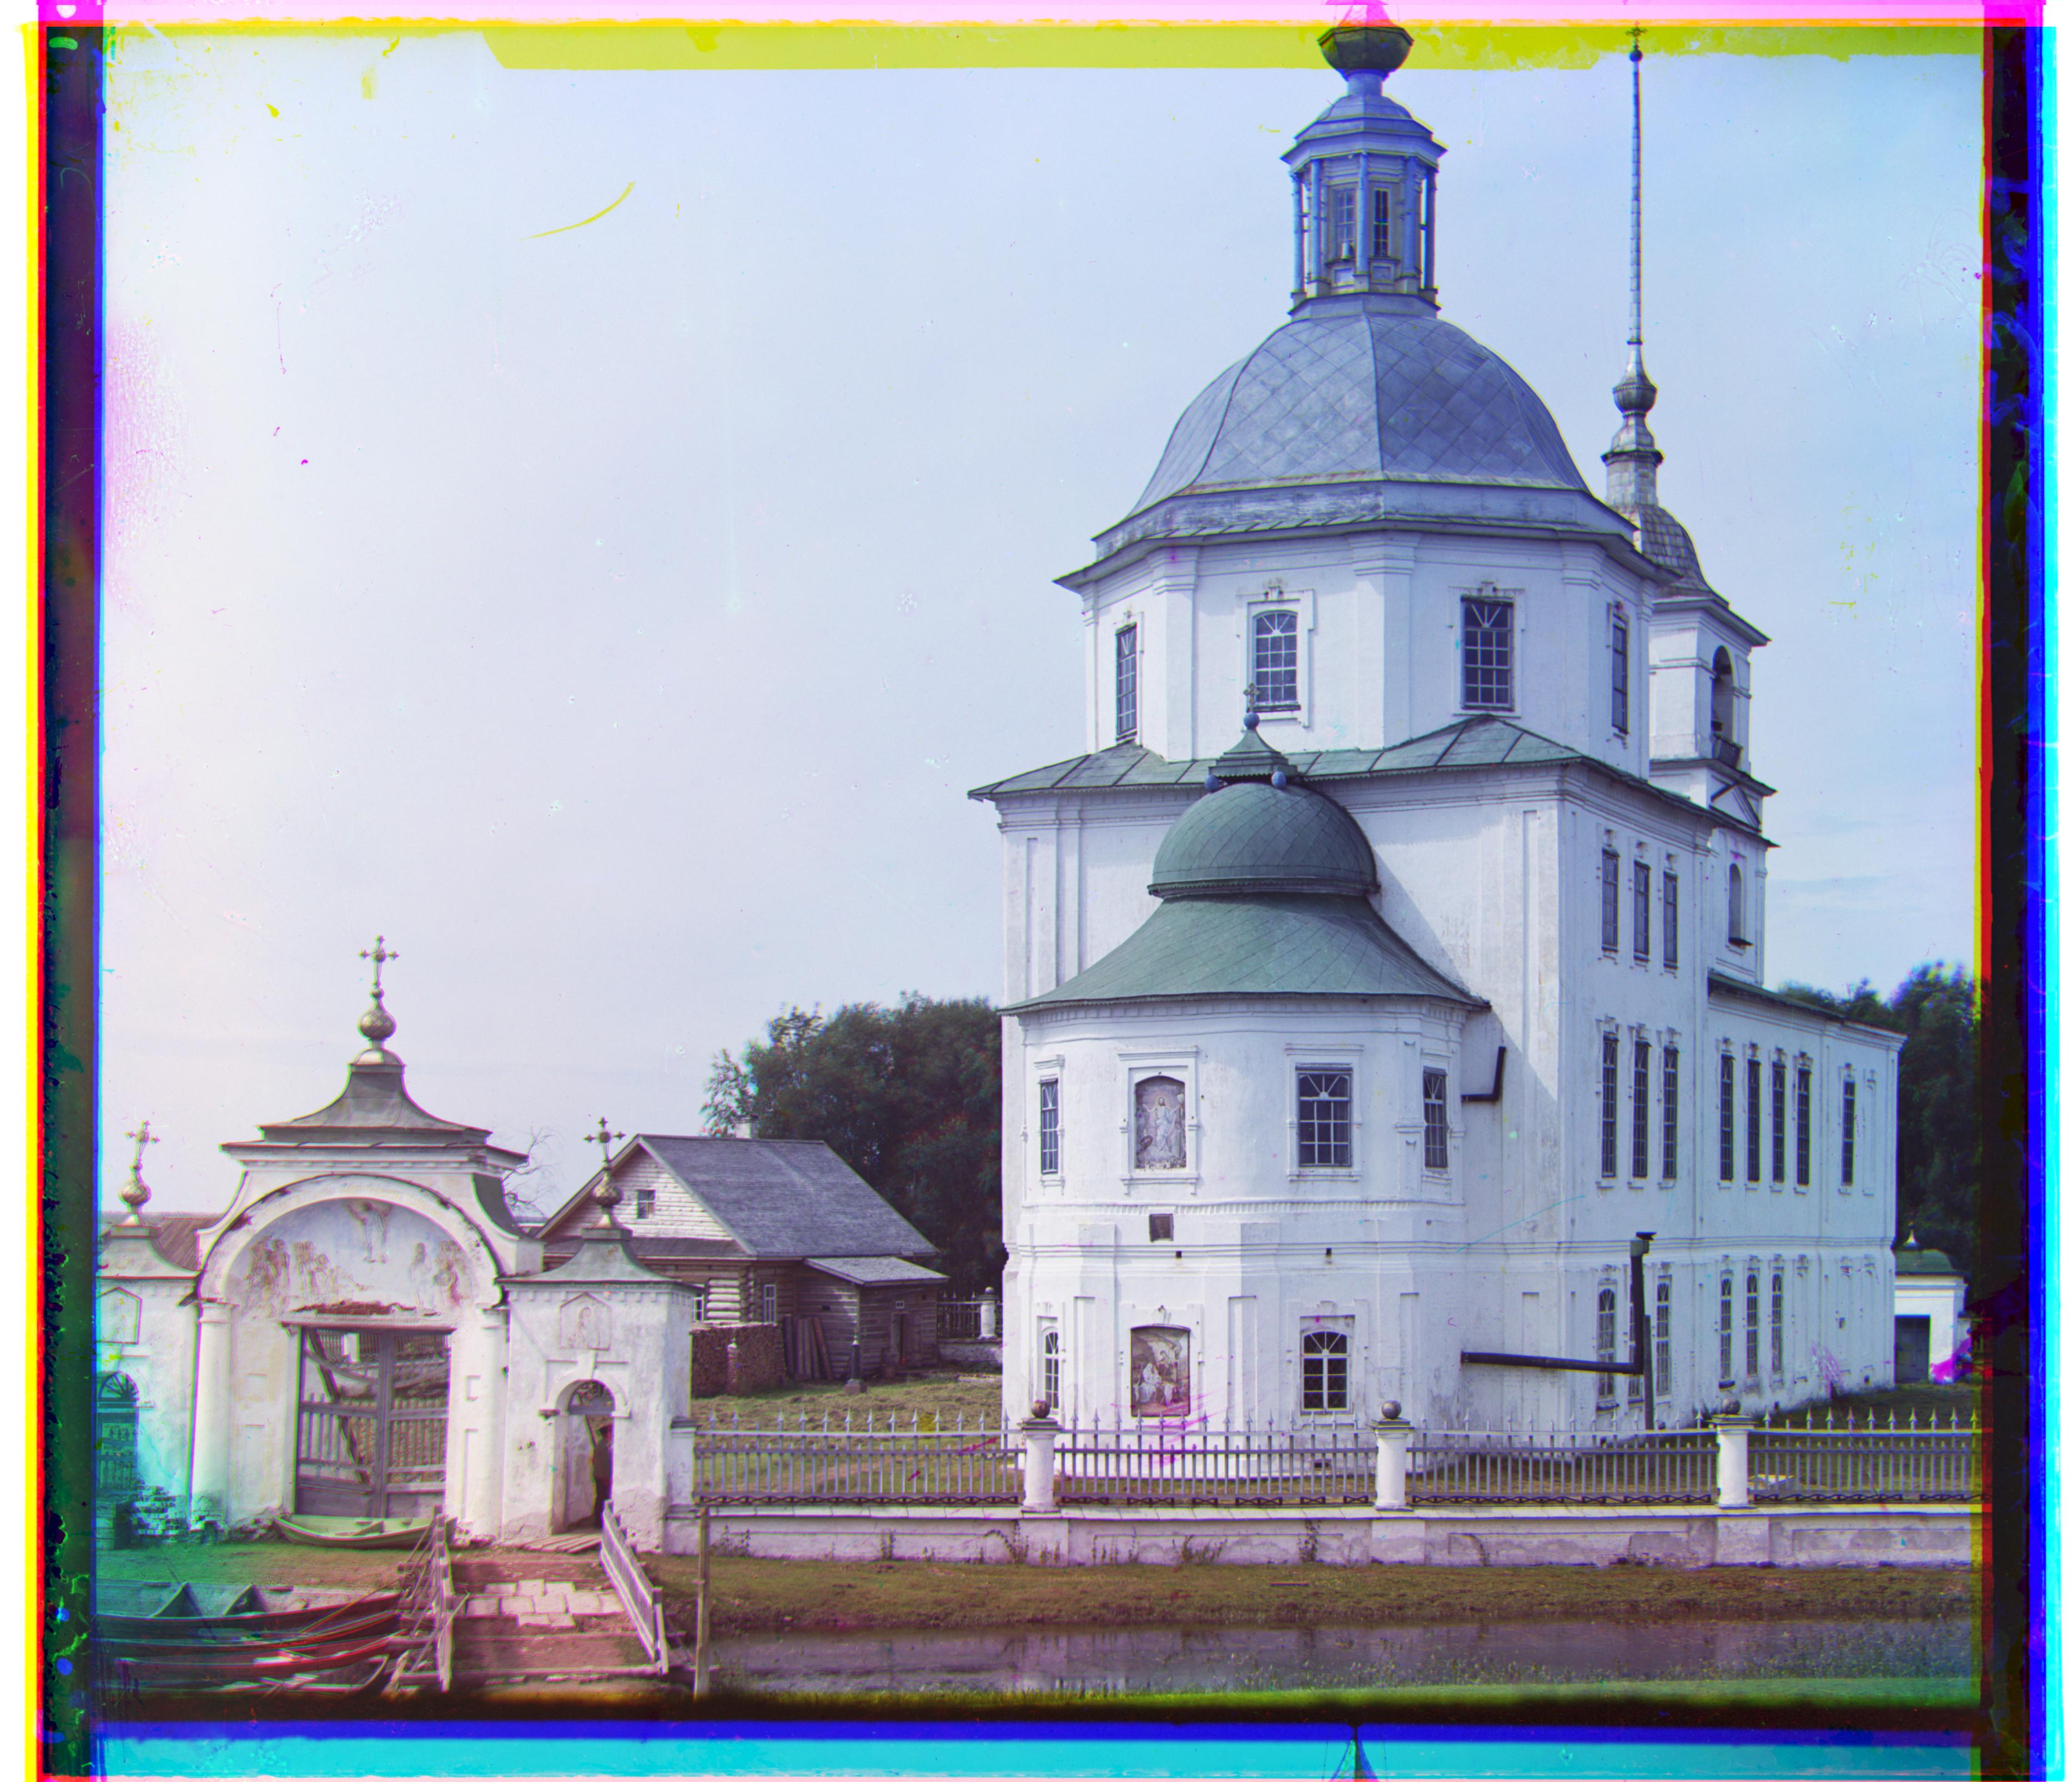
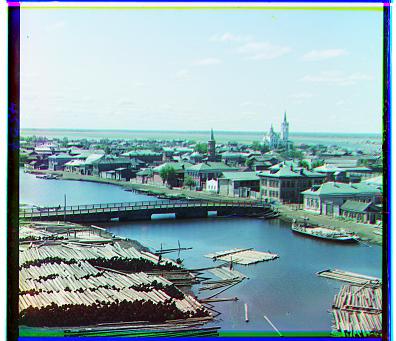
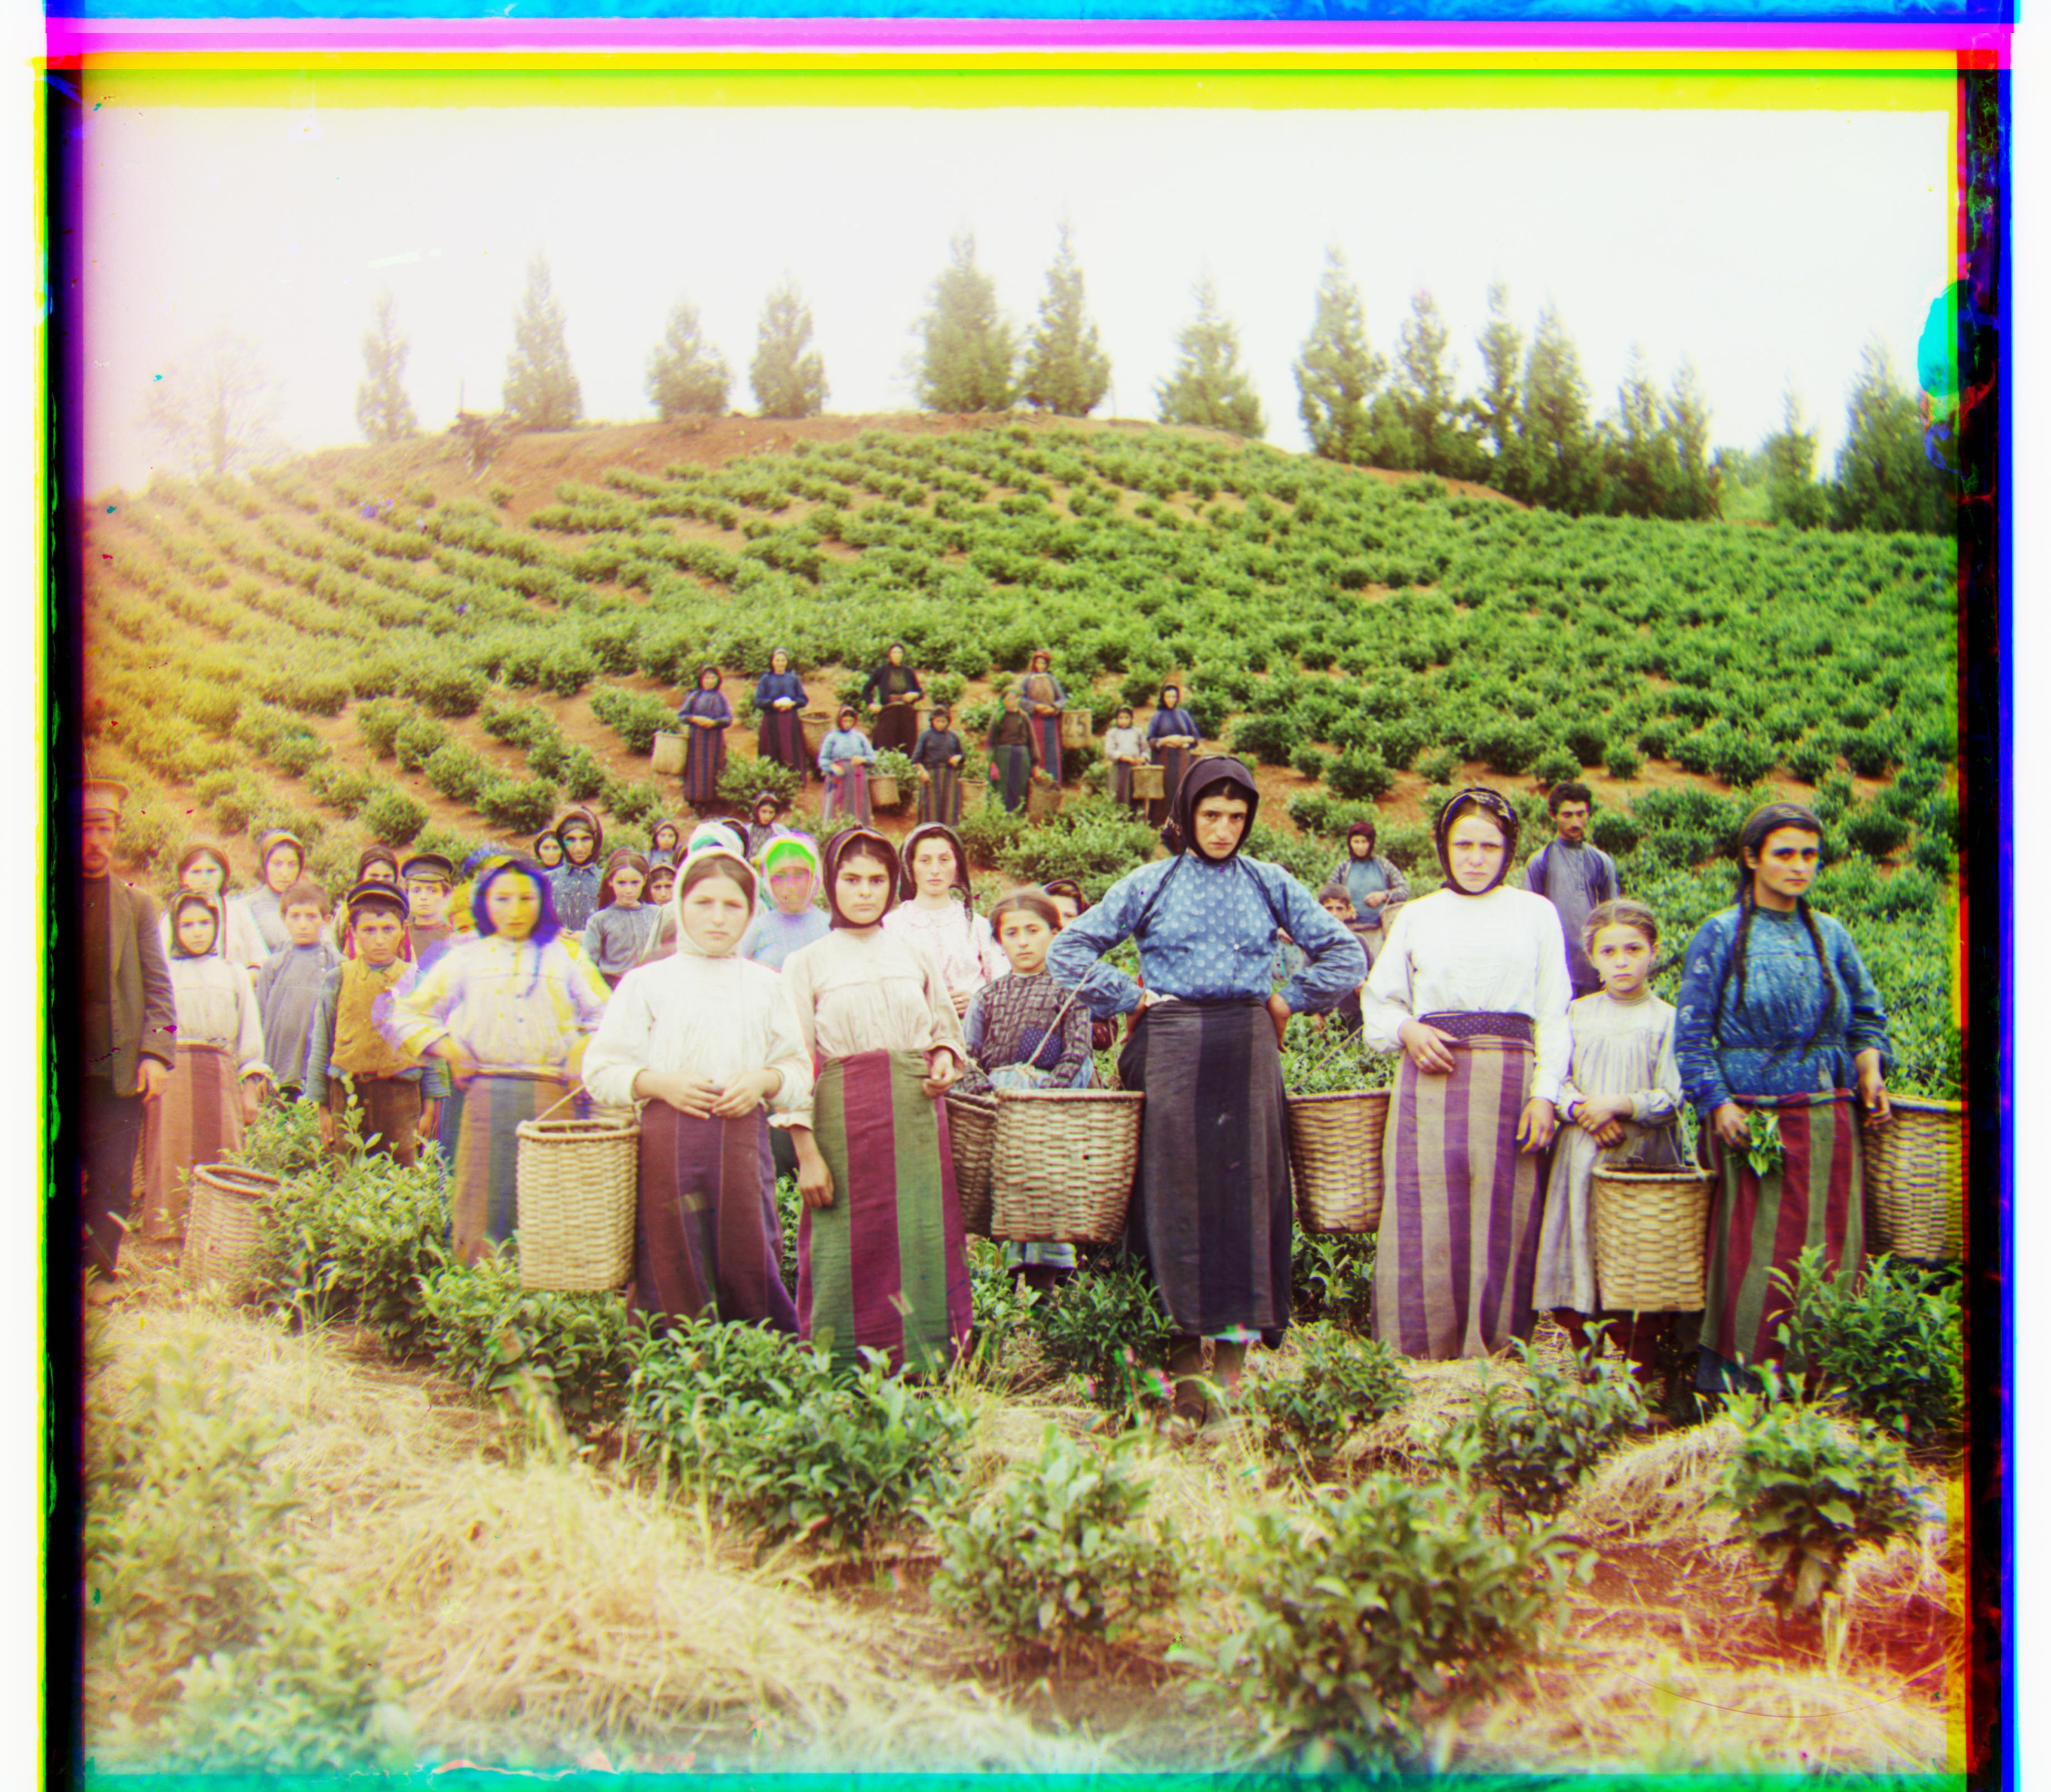
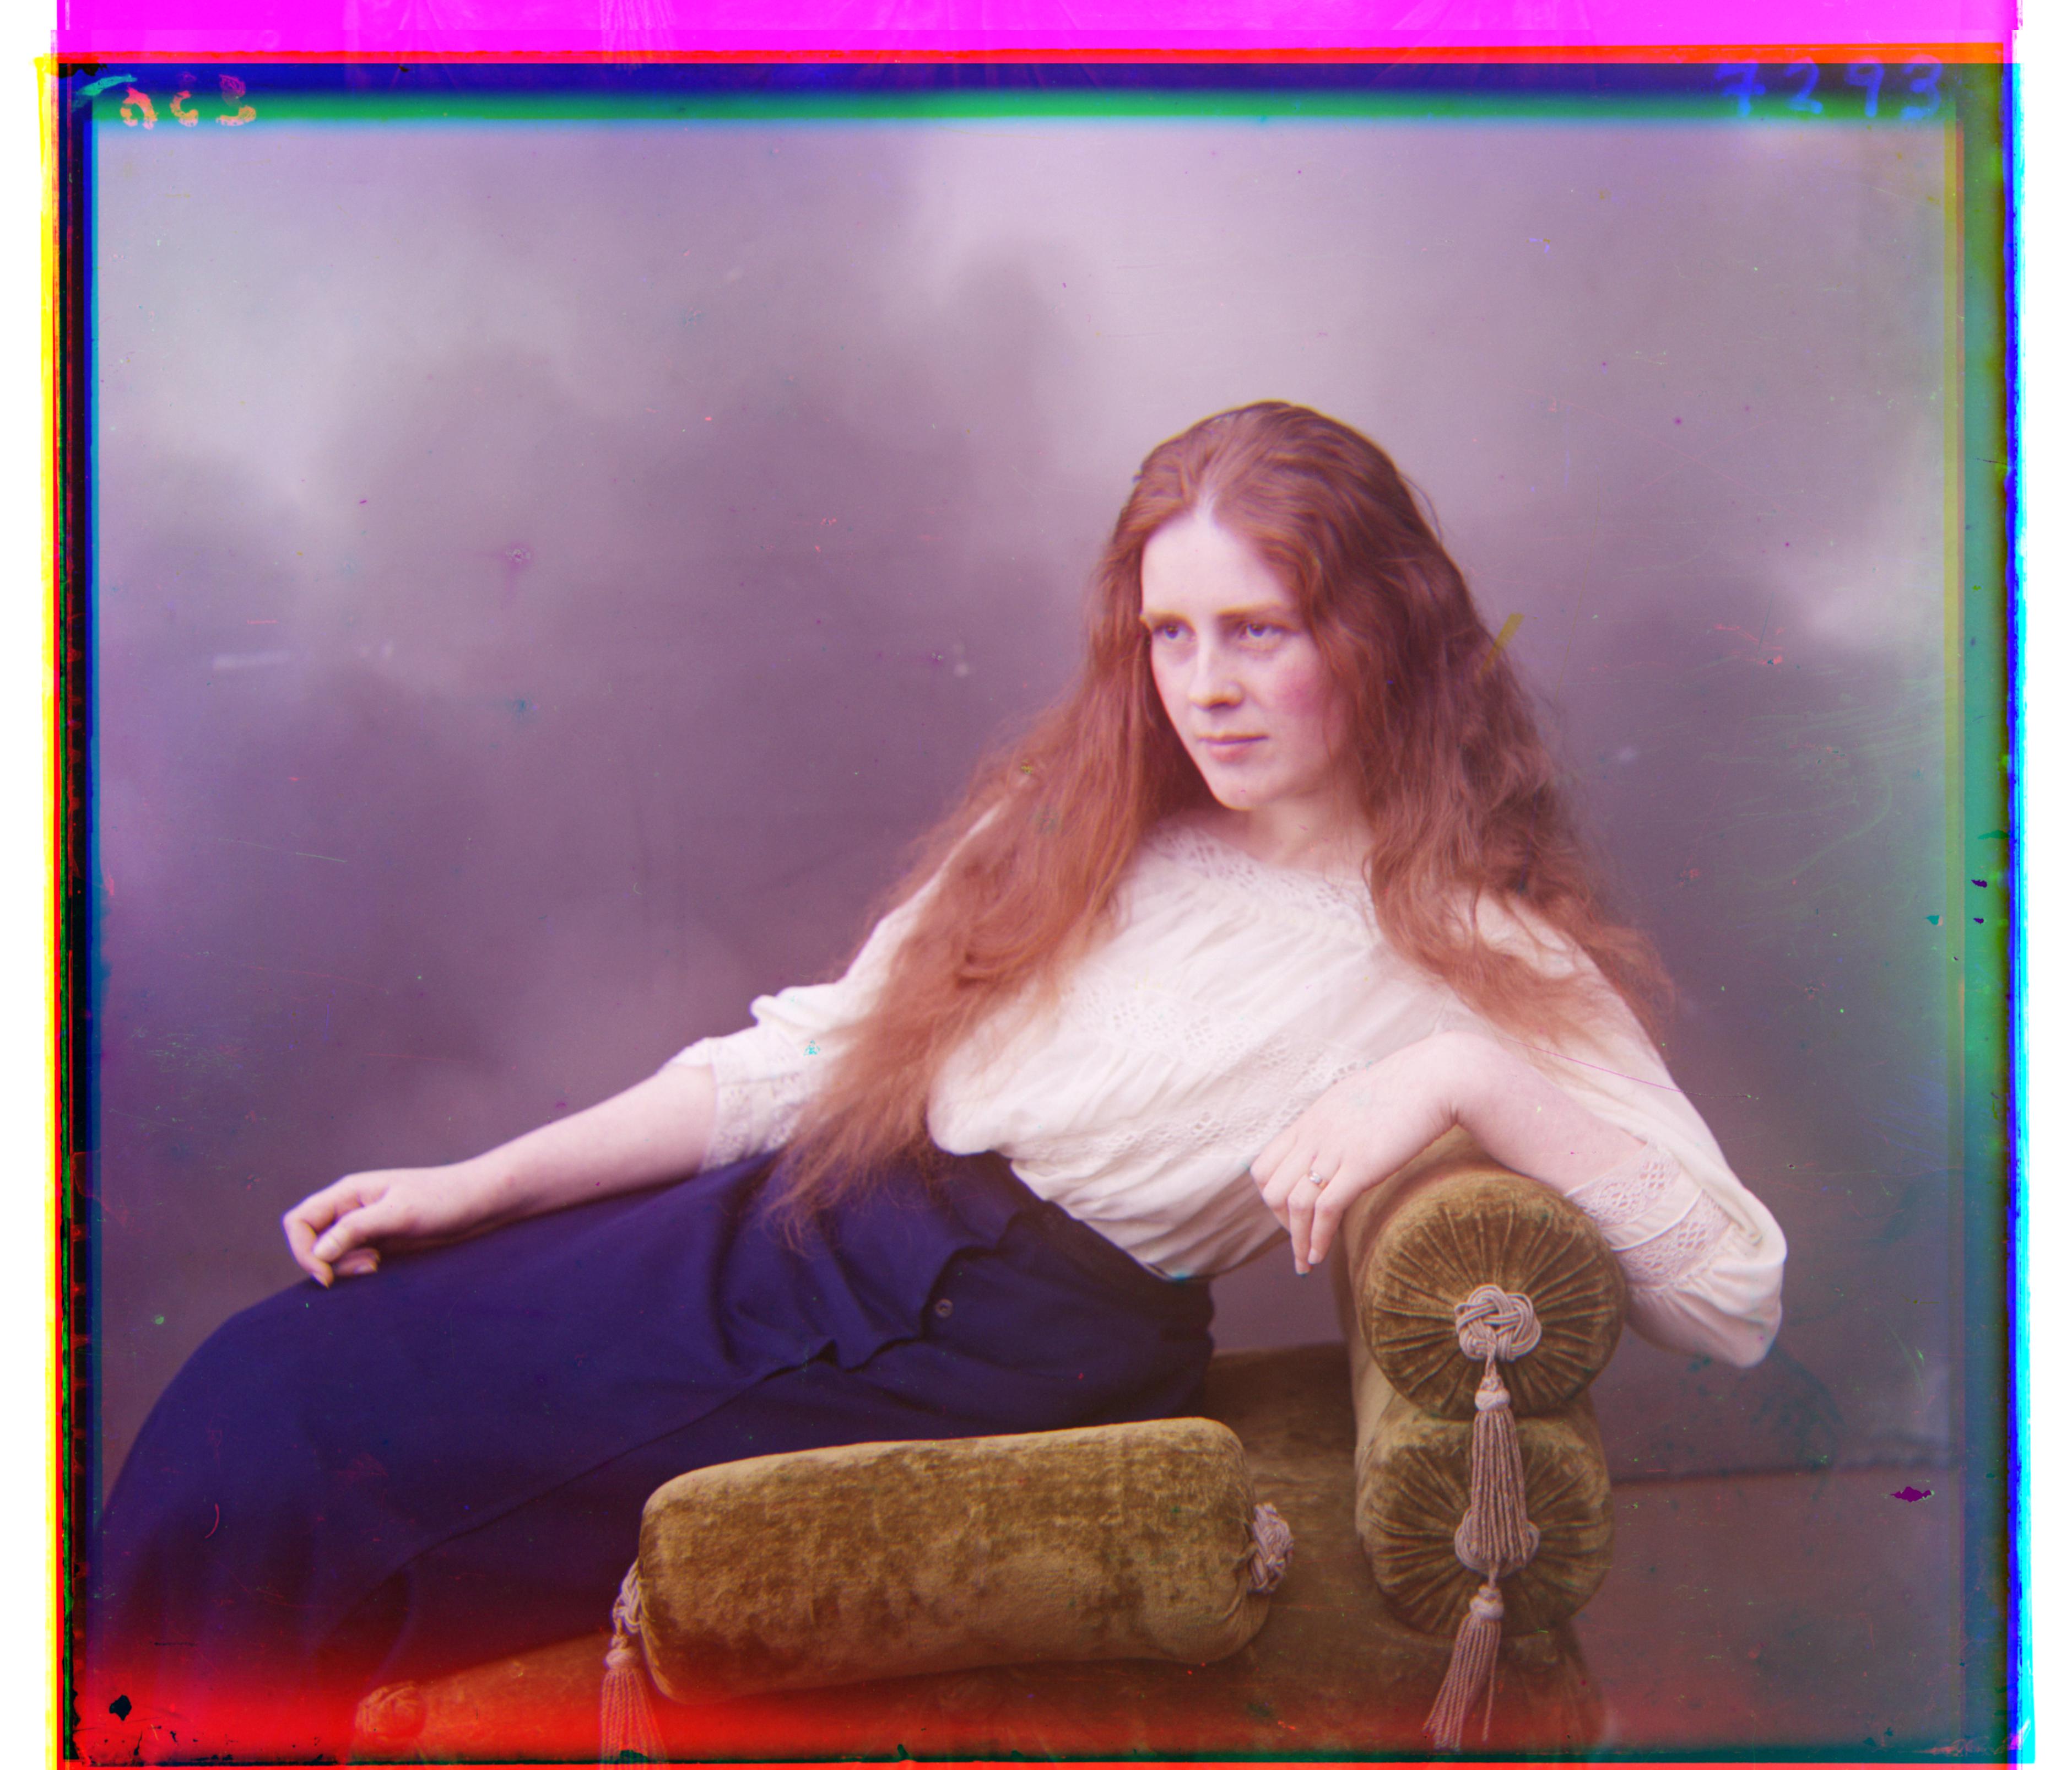
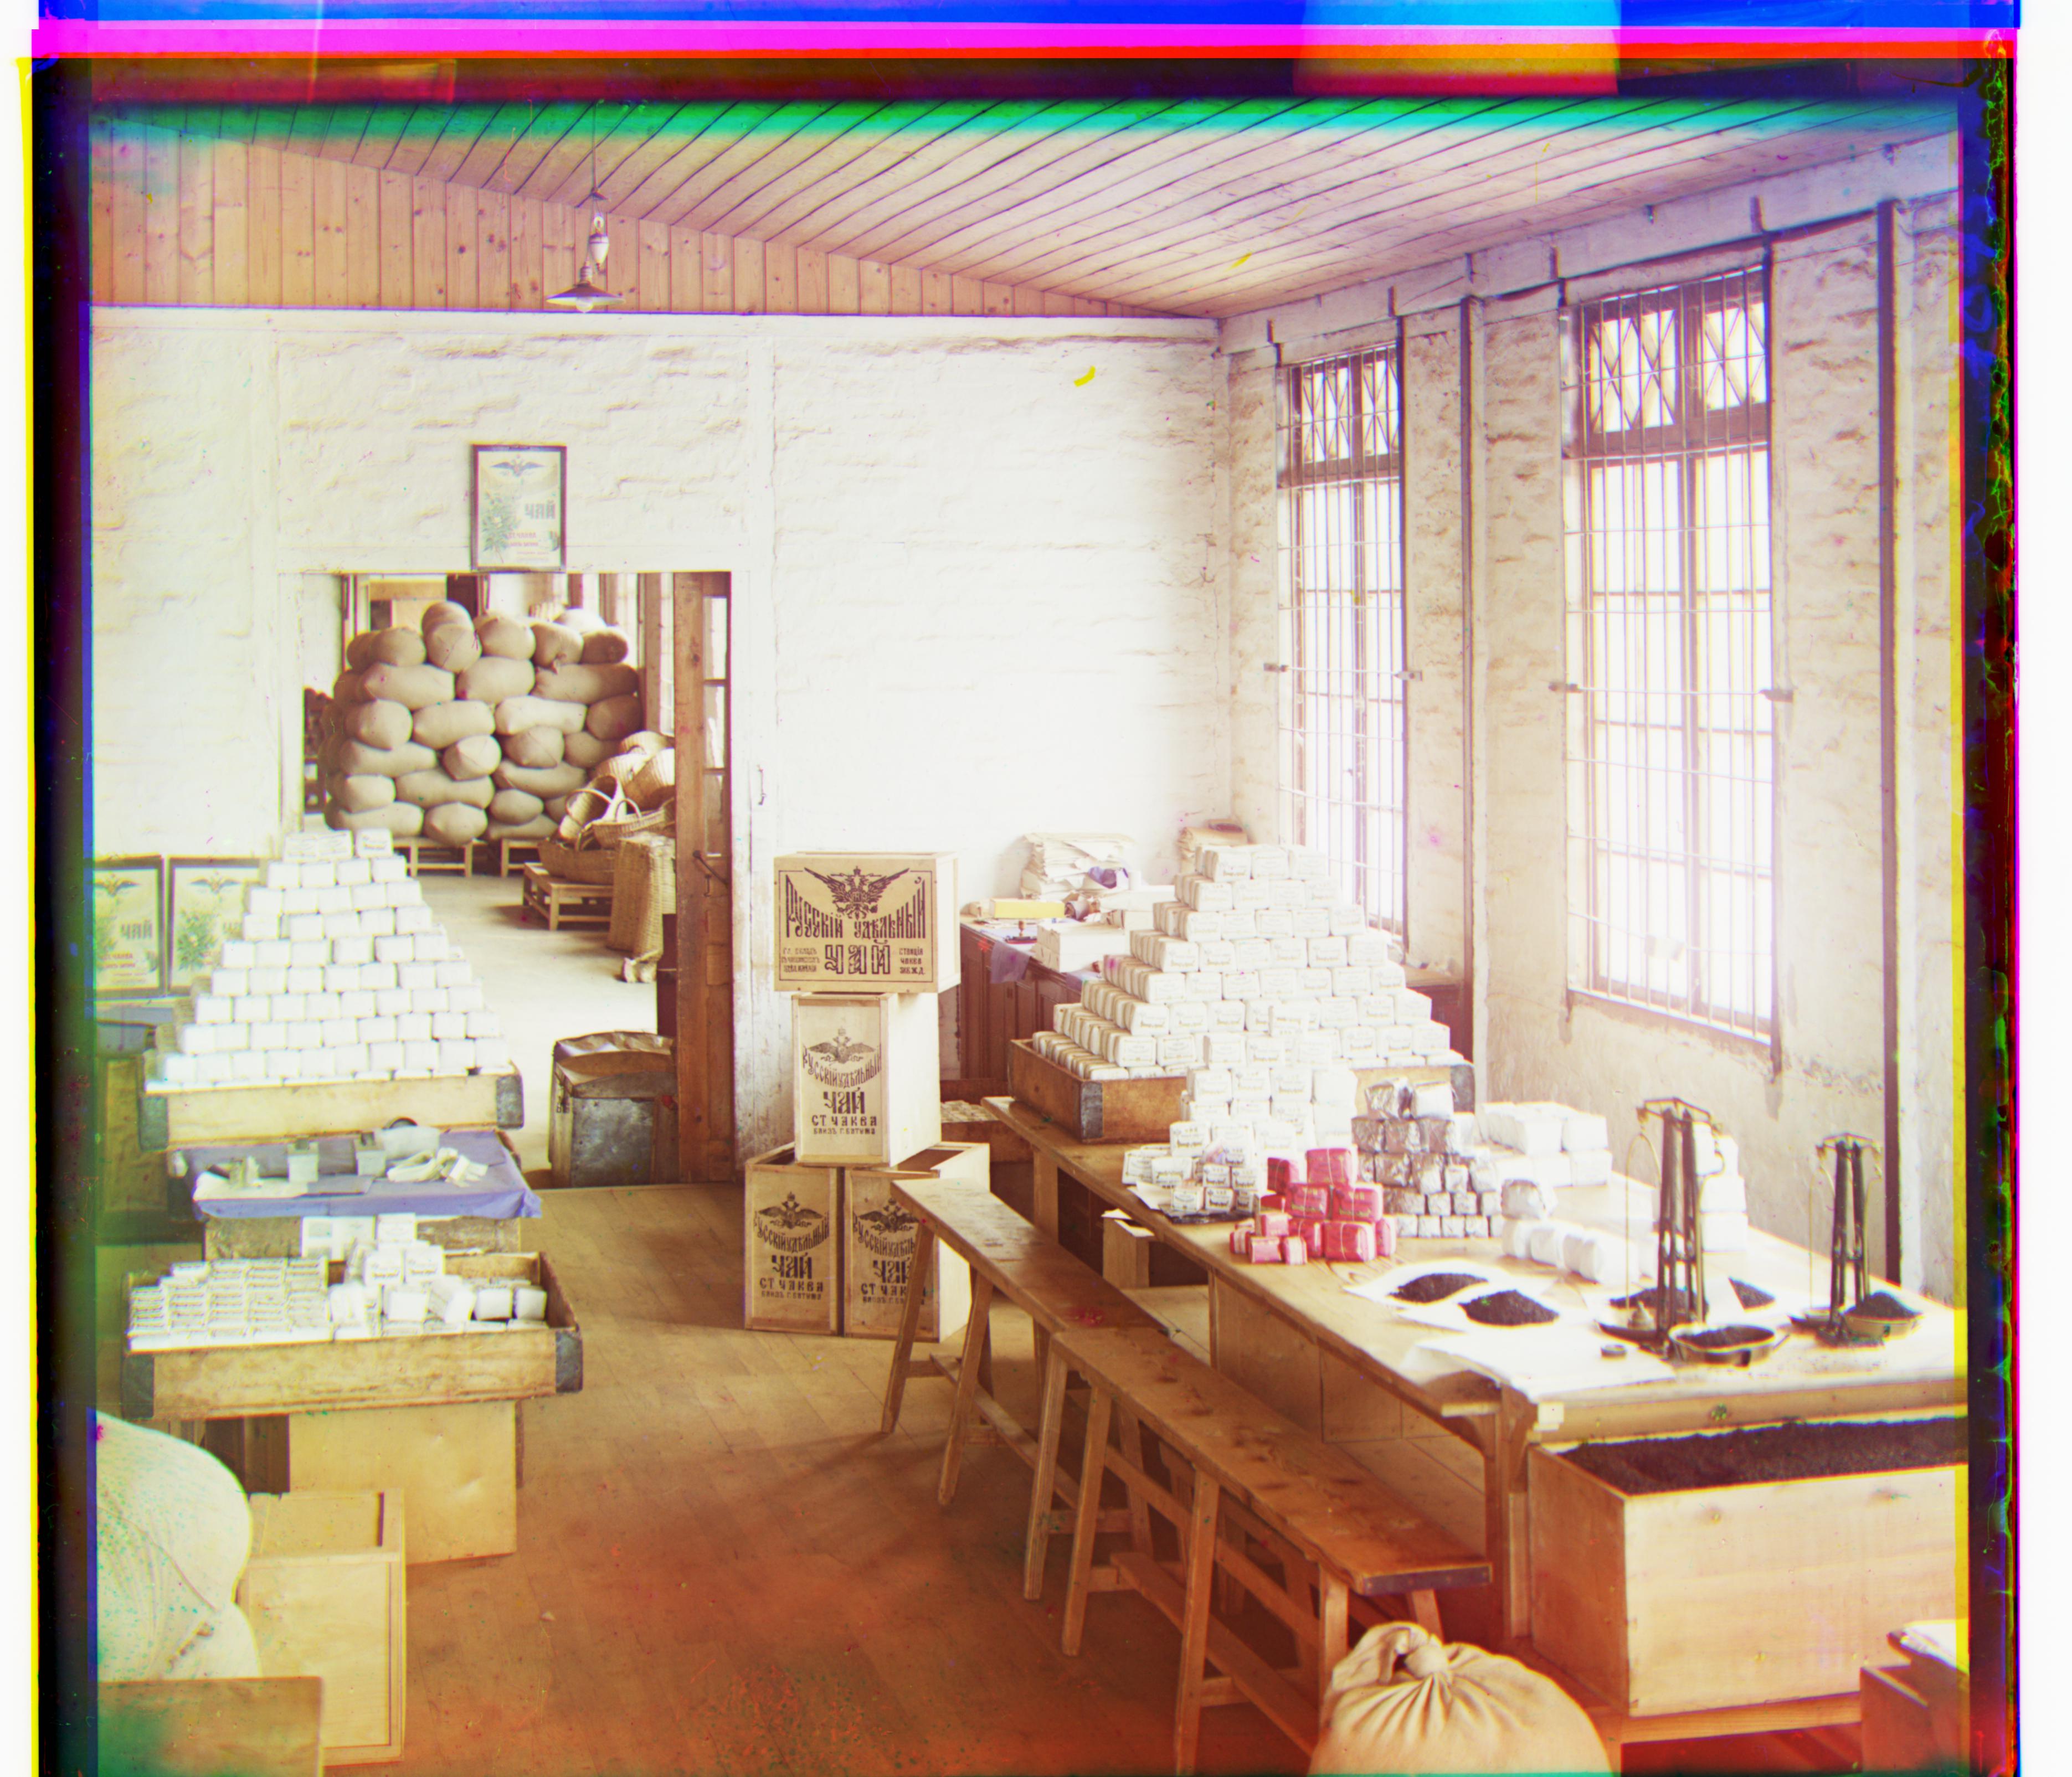
Extra Images
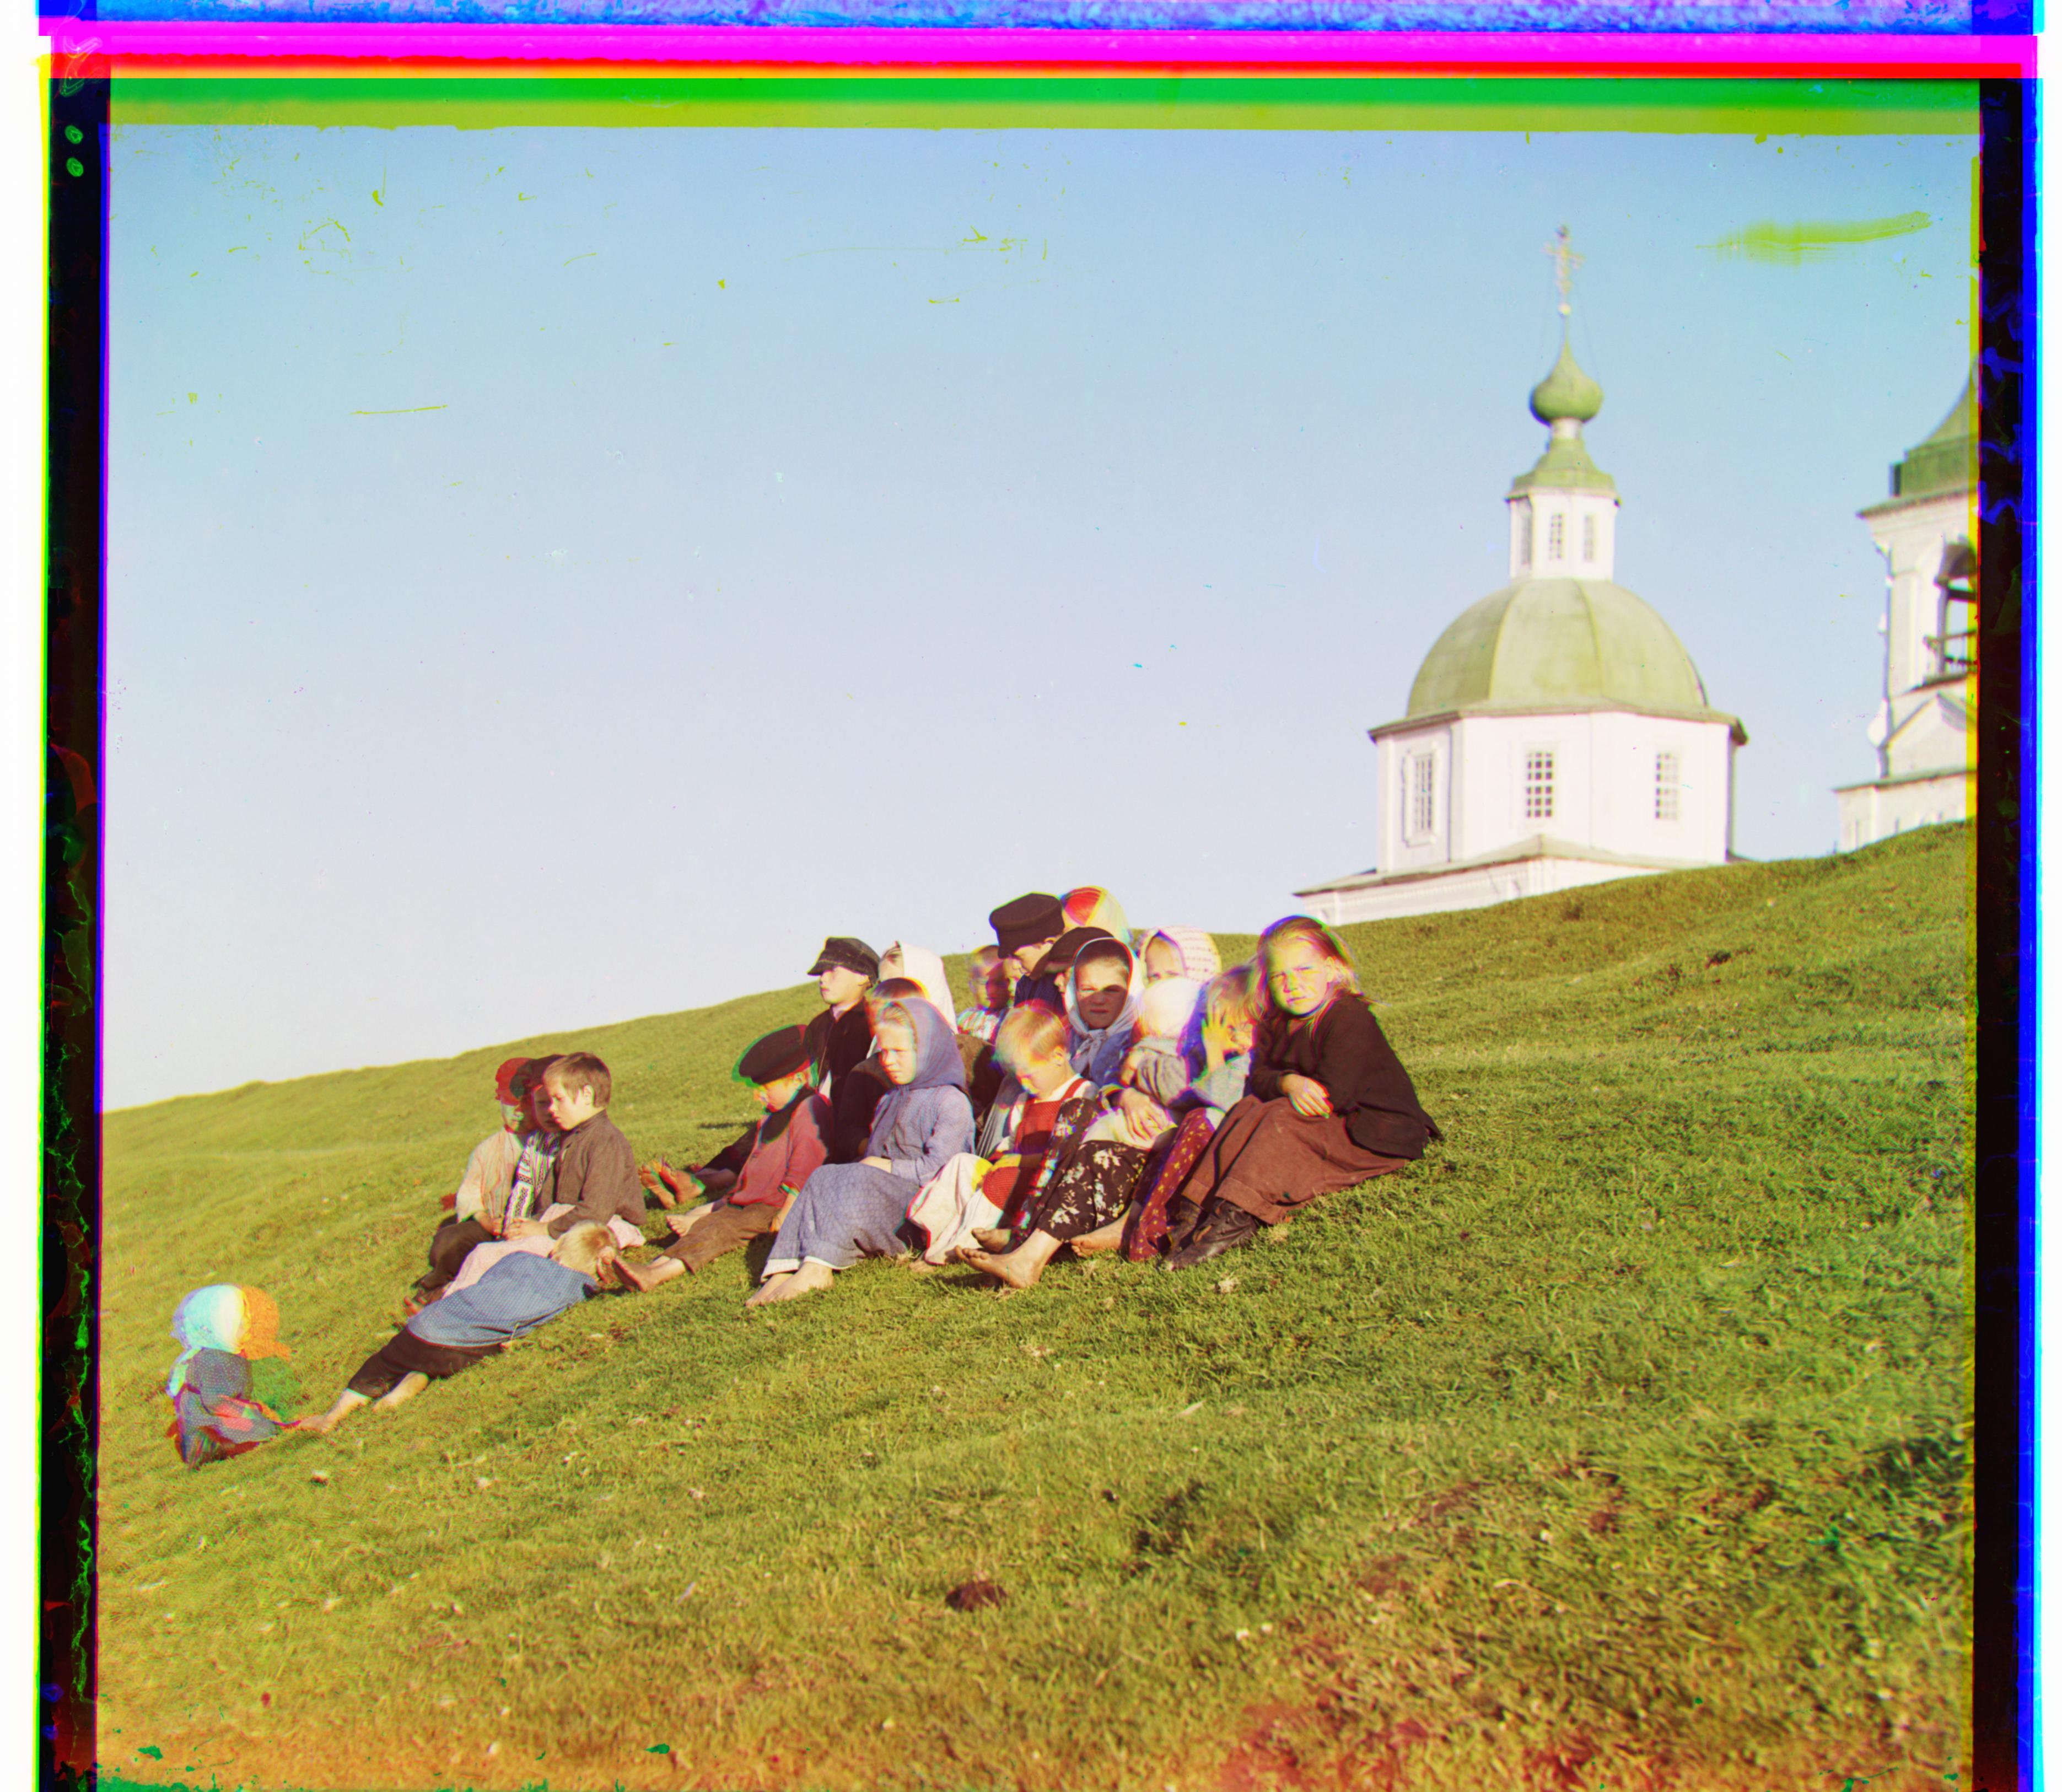
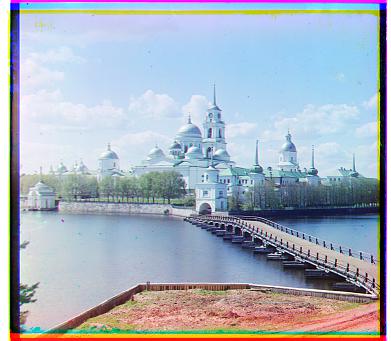
I really enjoyed completing this project, and I ran my code on some extra images from the LOC website as displayed below. Enjoy!