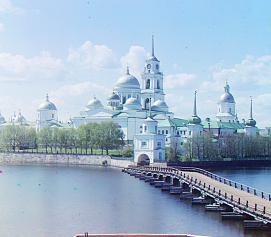
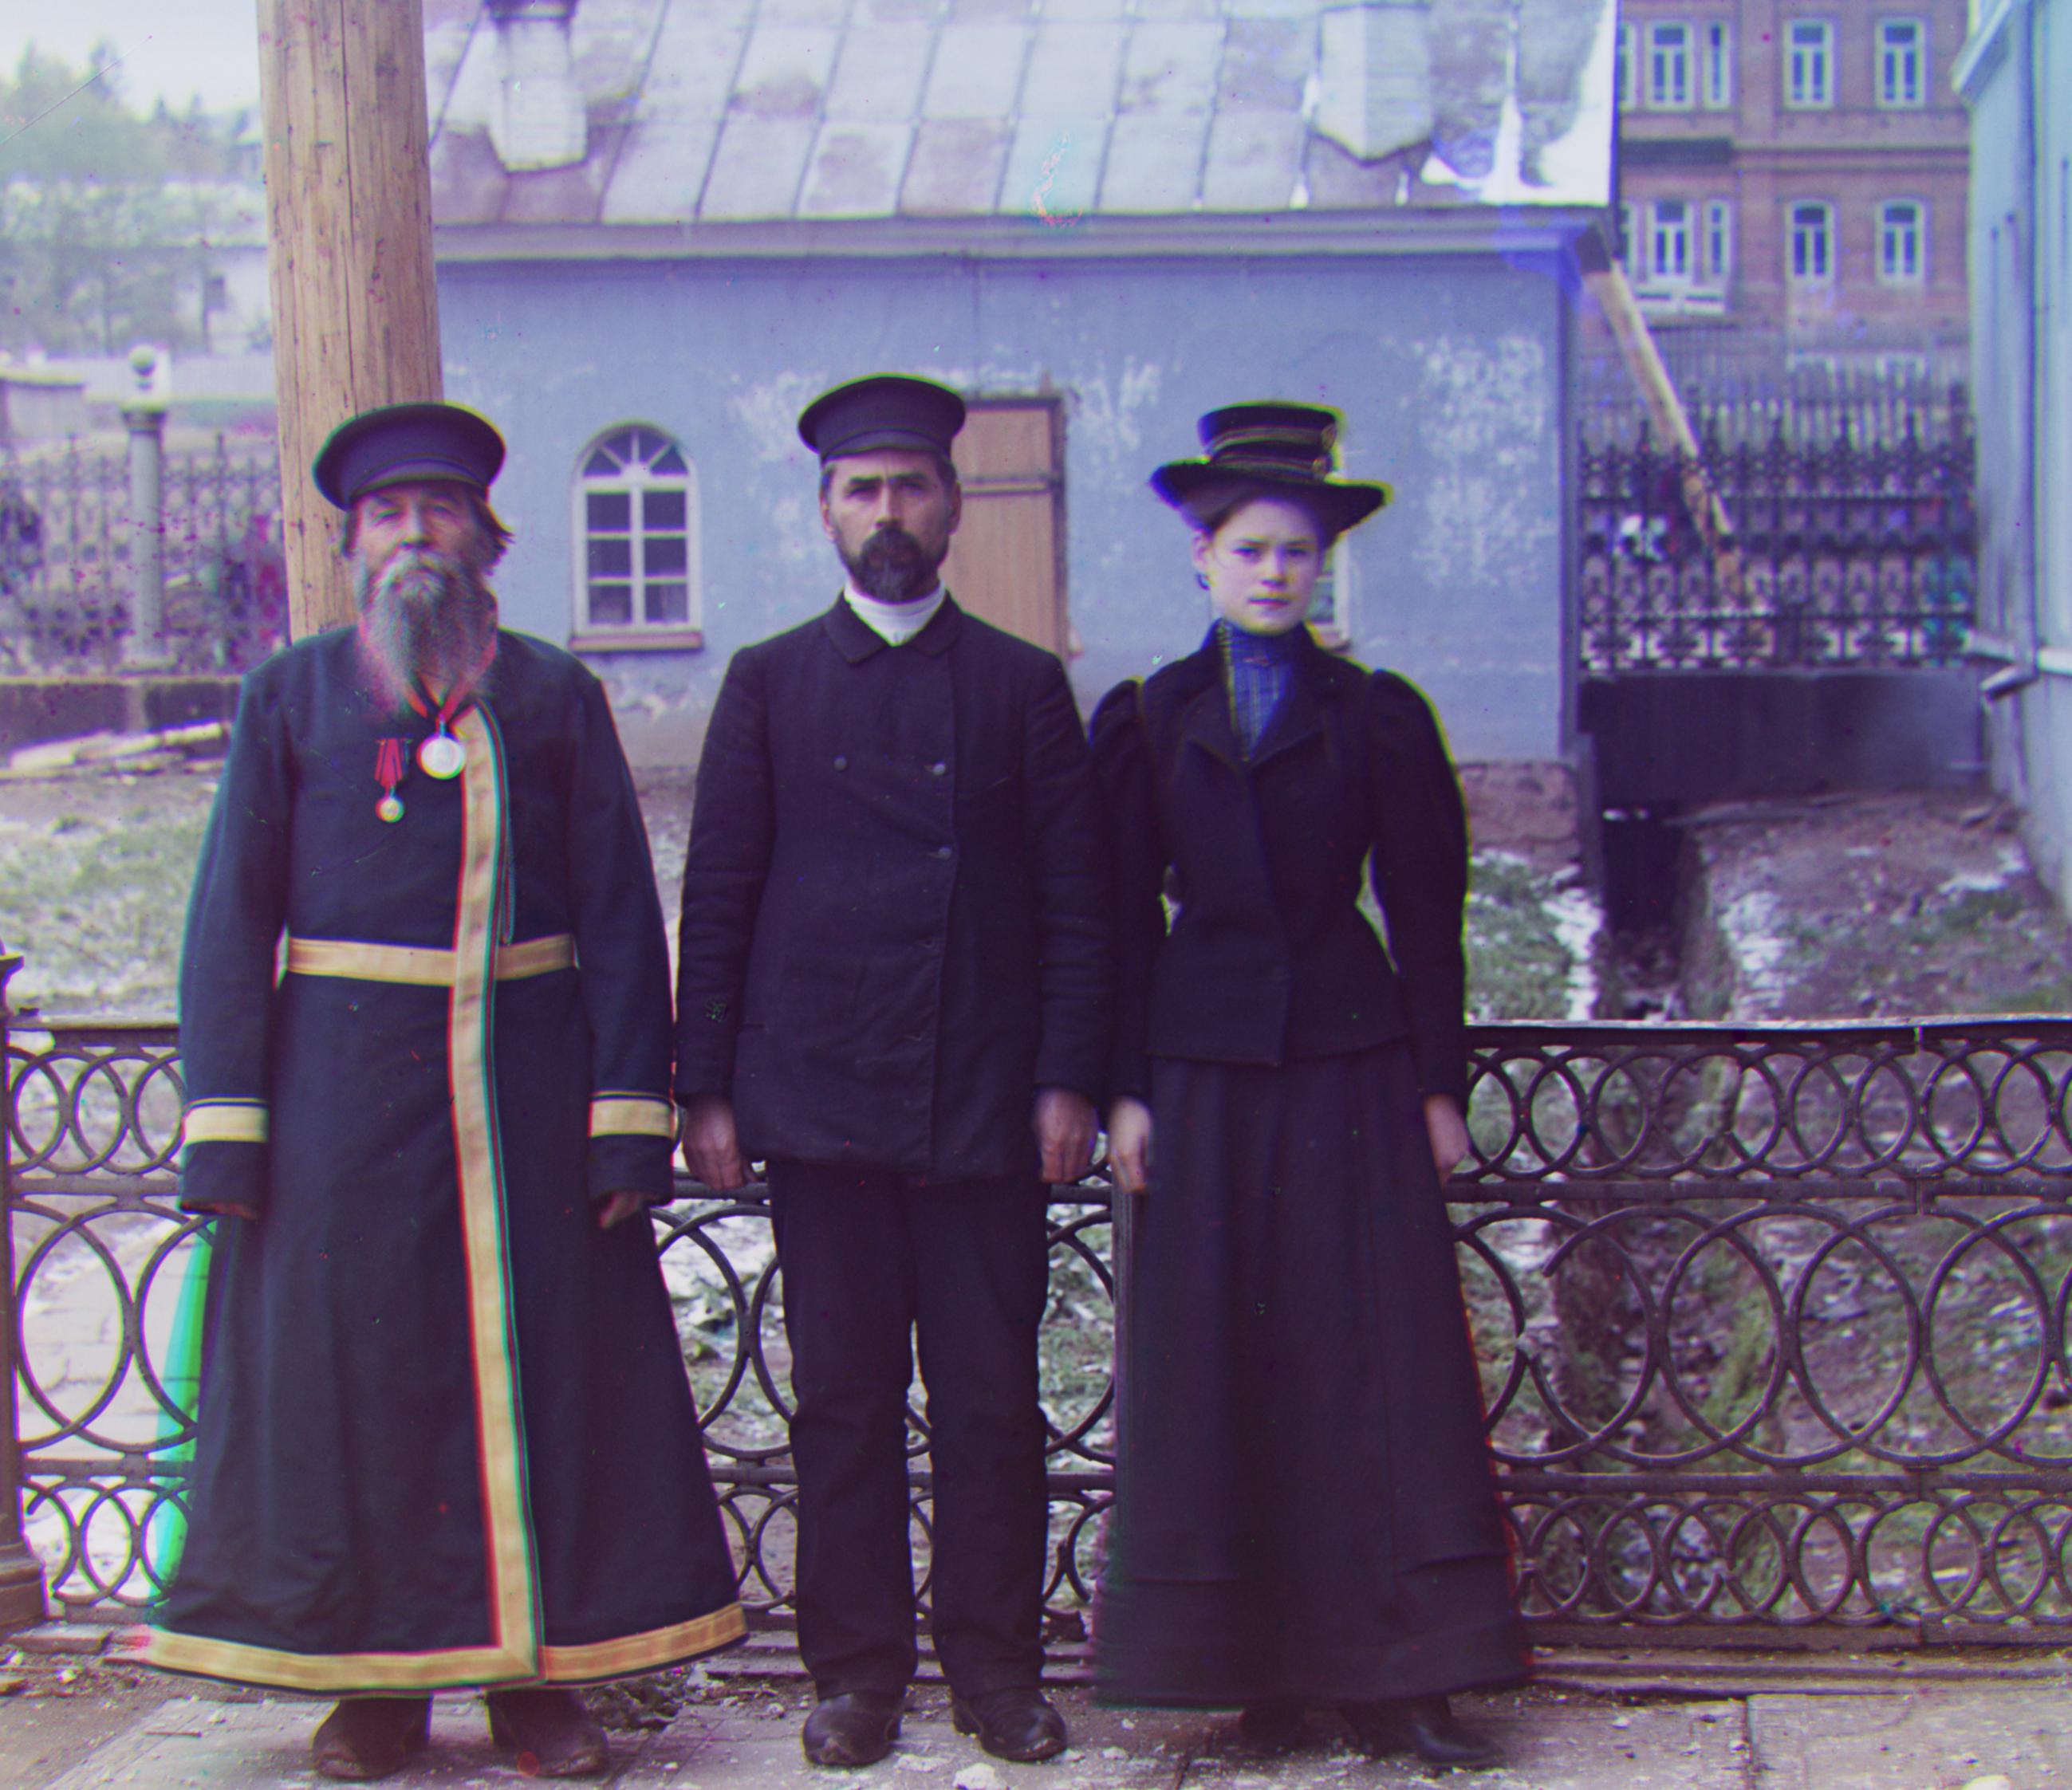
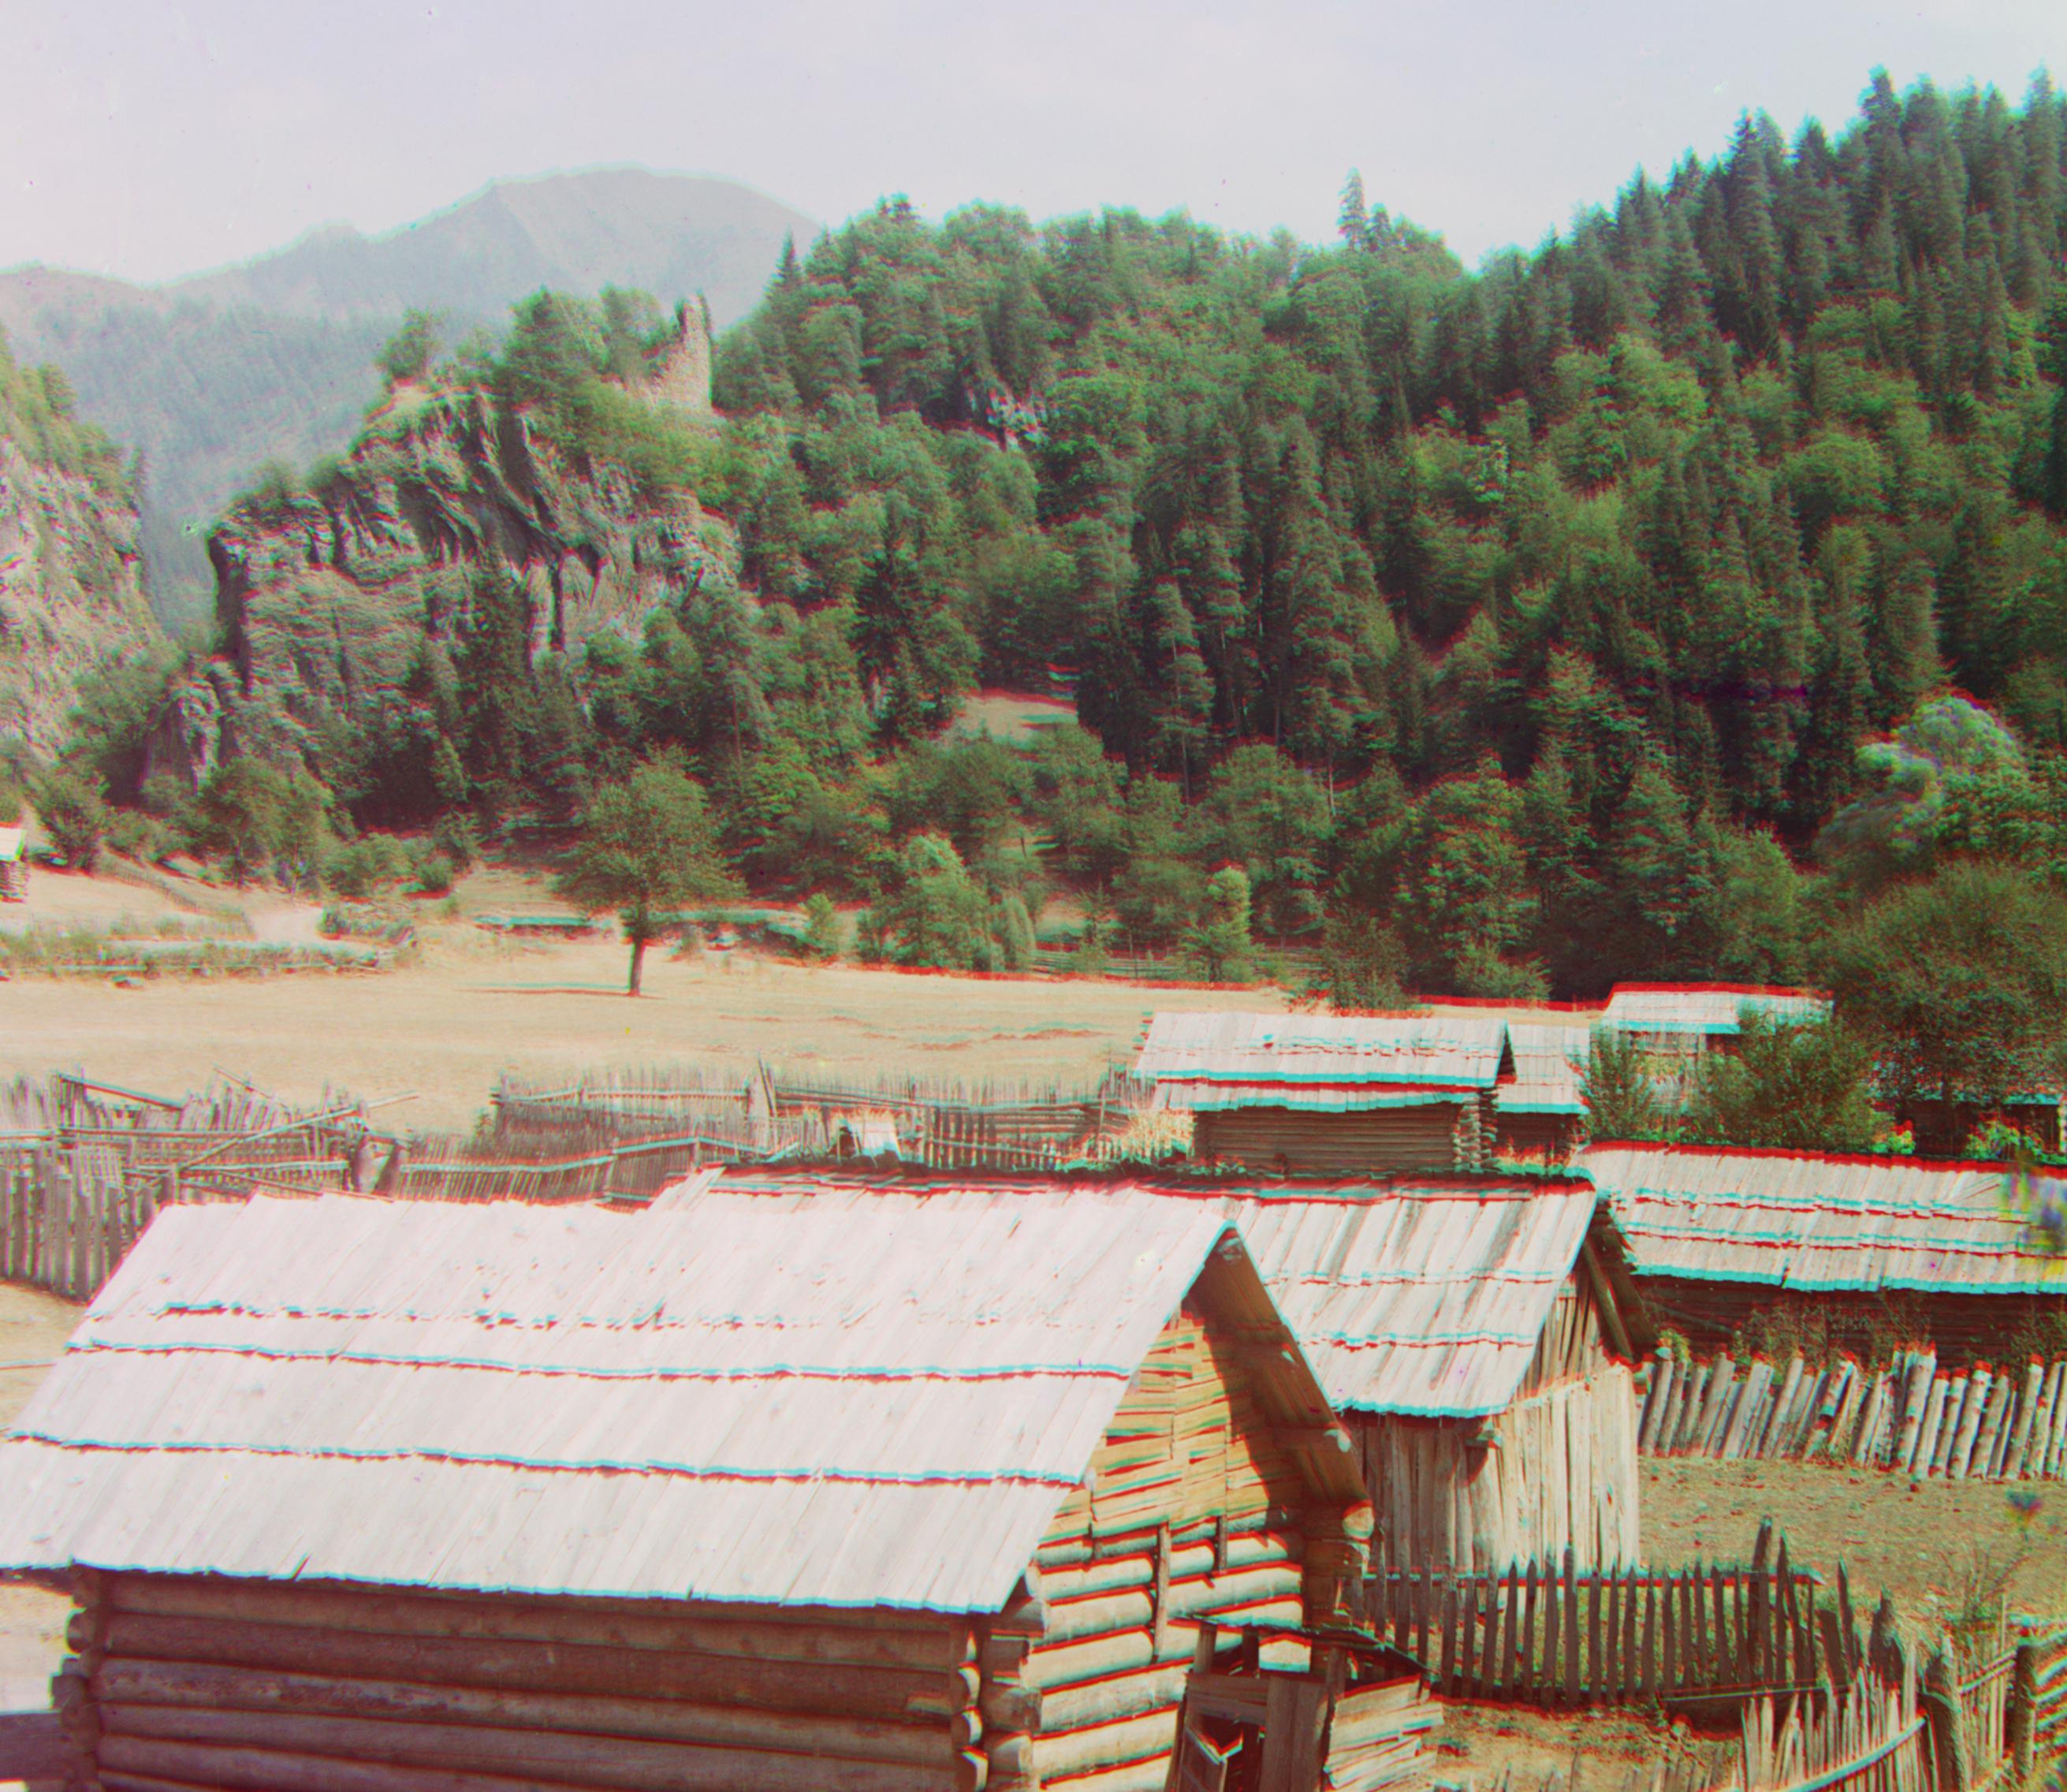
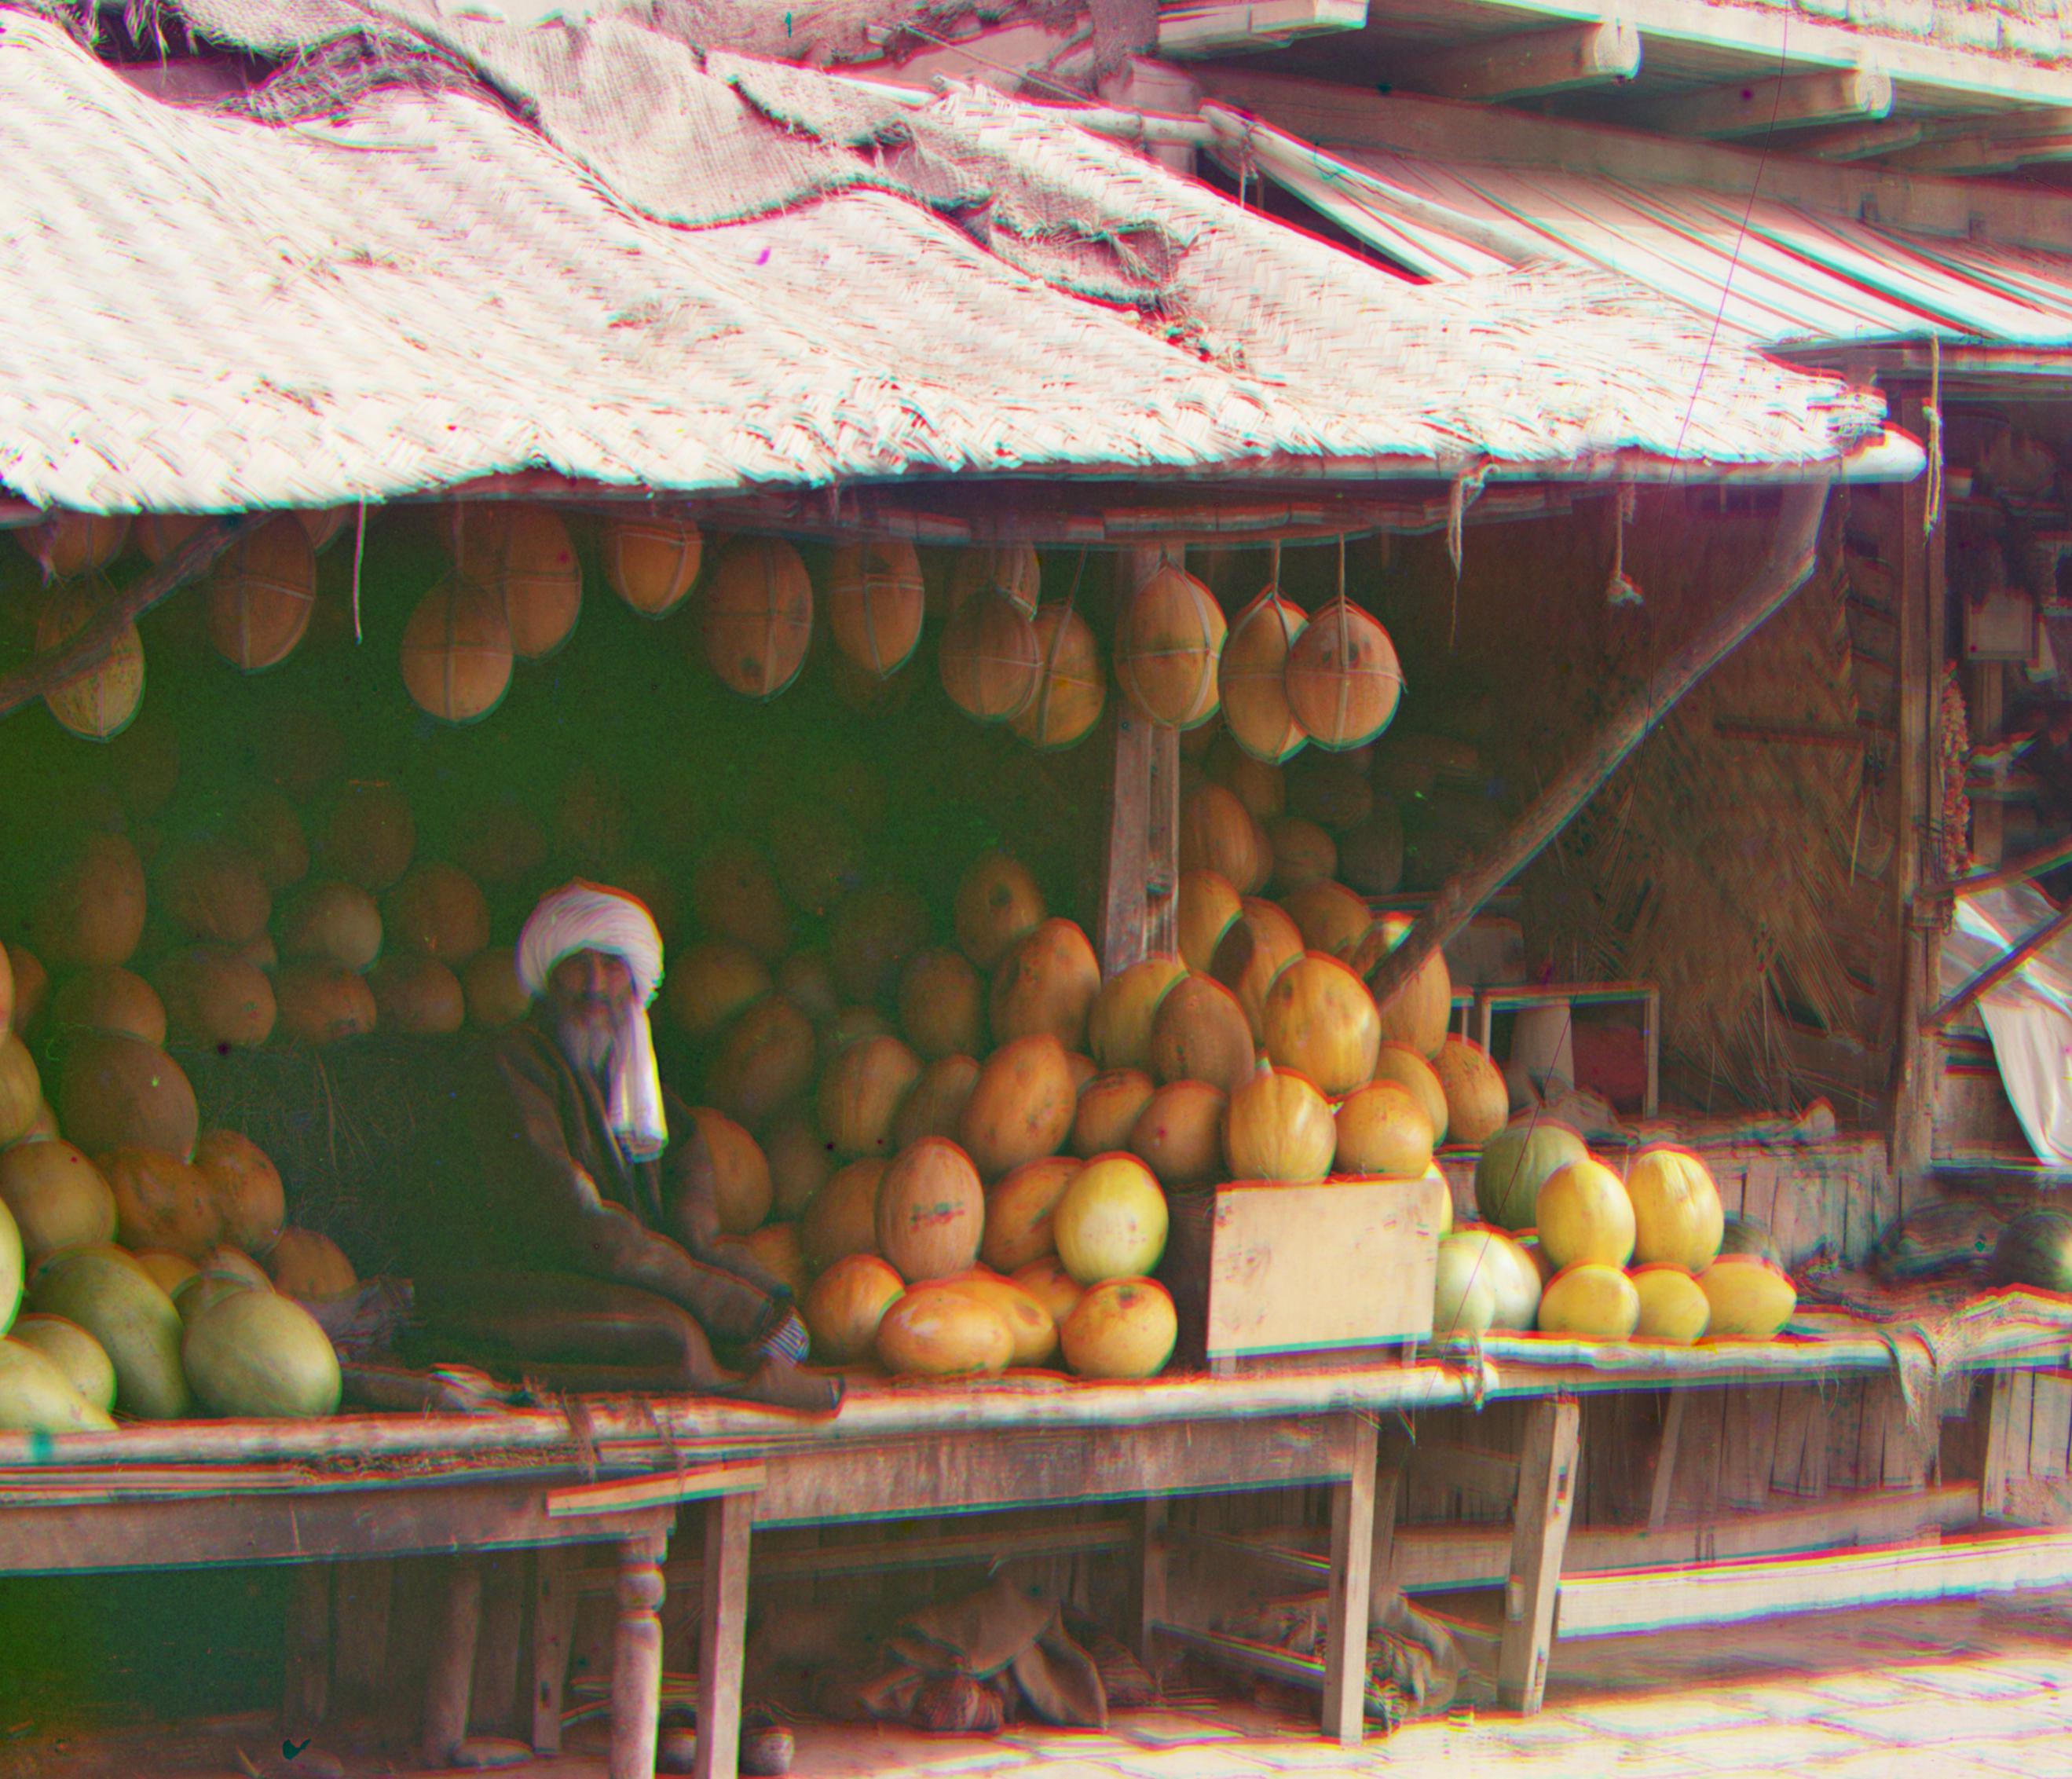
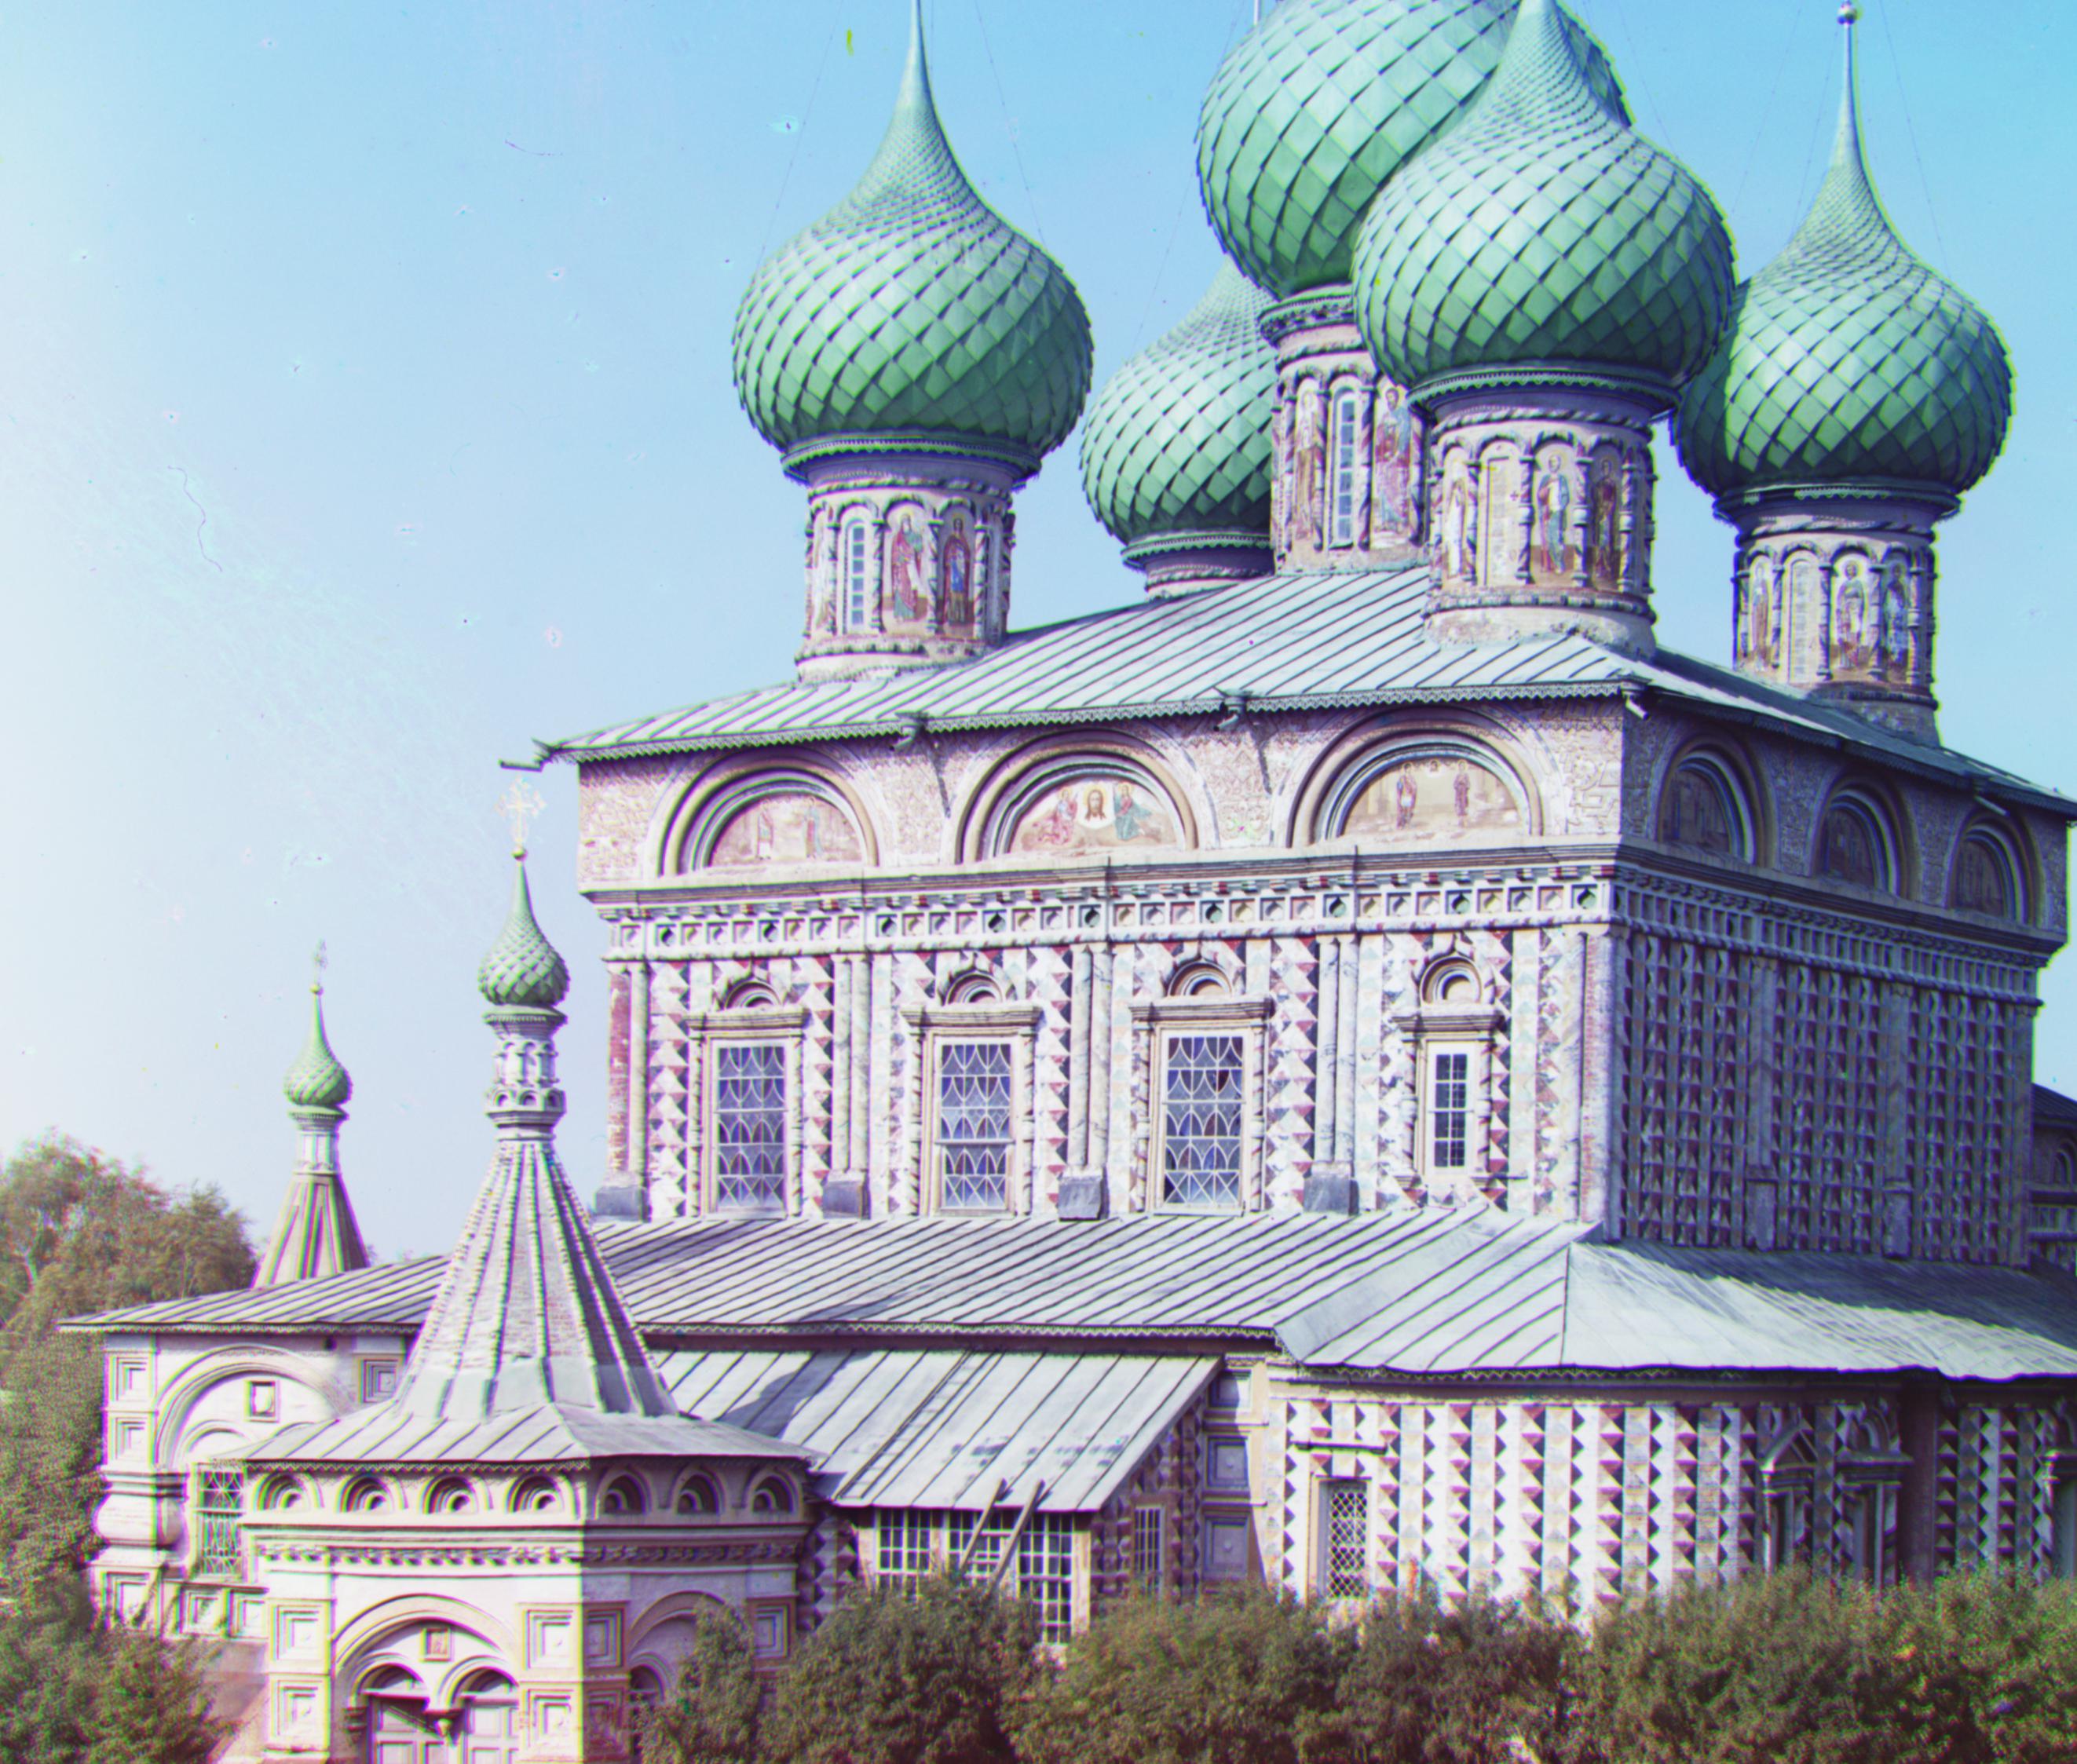
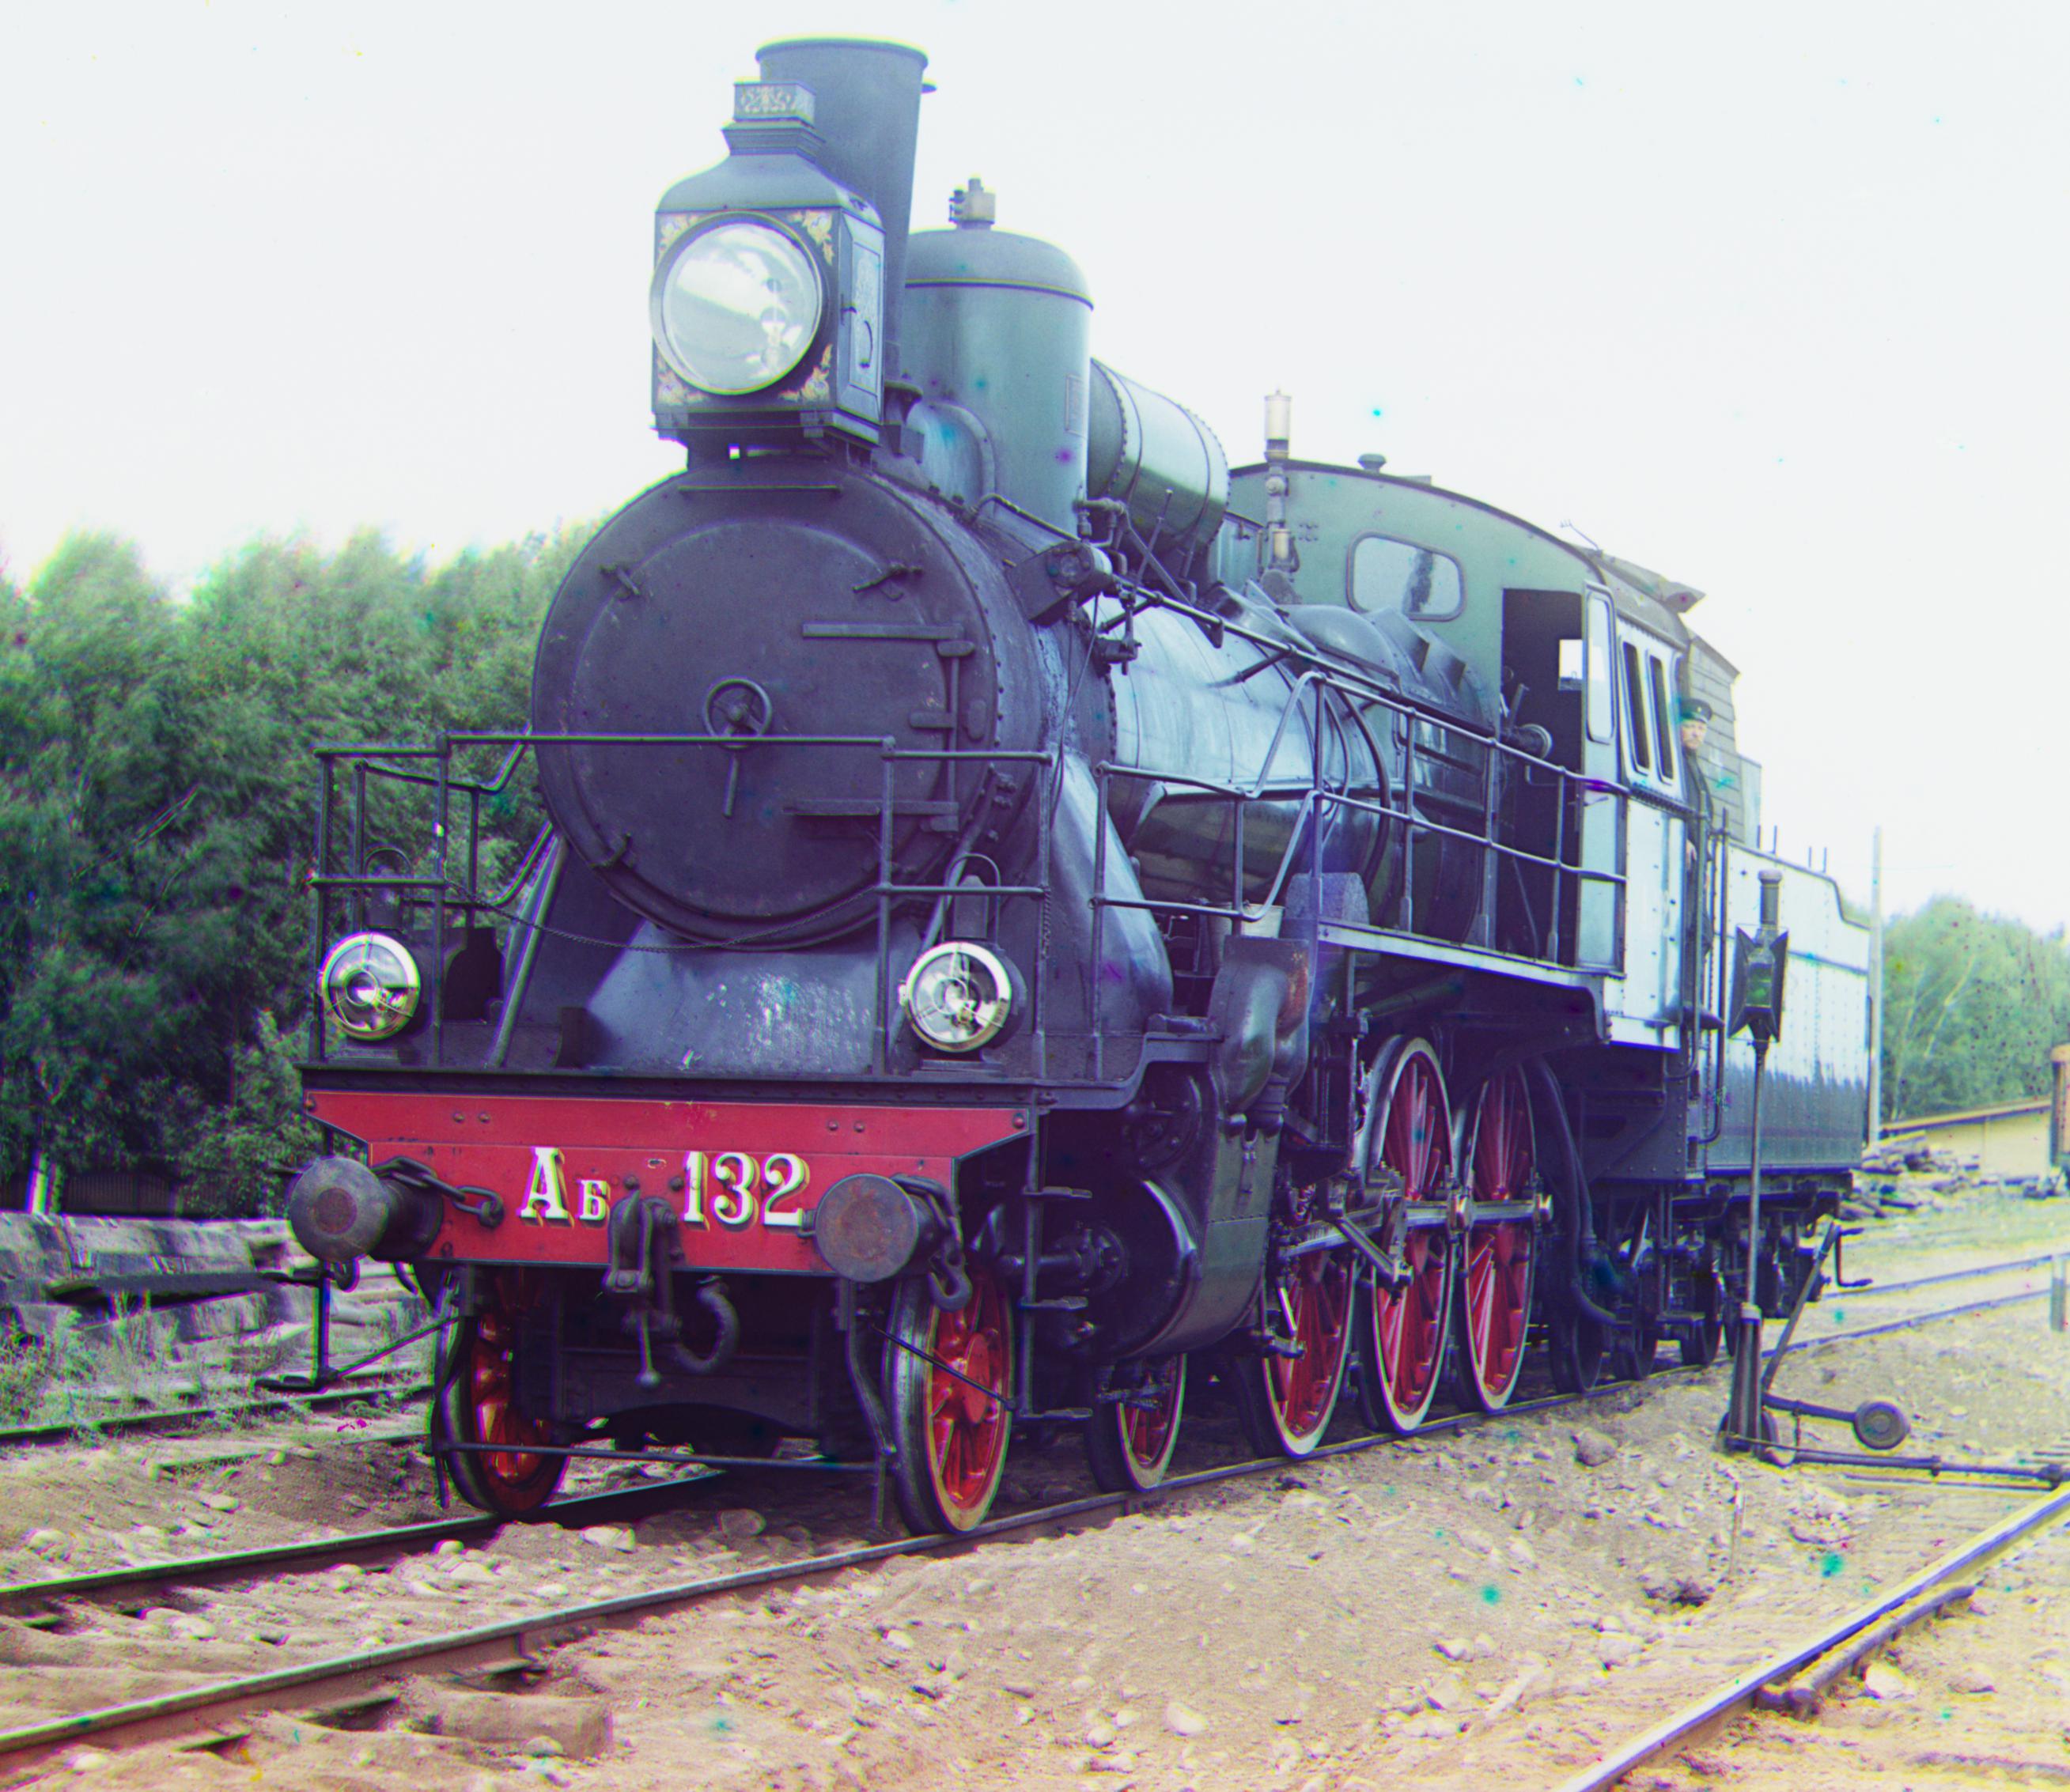
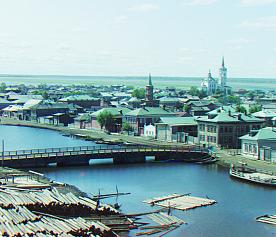
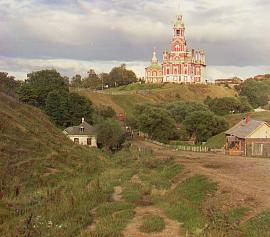
Sergei Mikhailovich Prokudin-Gorskii (1863-1944) was a daring photographer ahead of his time who envisioned ways to capture color in this world prior to the invention of color photography. Recieving the Tzar’s special permission to travel across the Russian Empire, he took greyscale photos of every scene using three exposures on a glass plate using red, green, and blue filters. While at that time there was no way to witness the color in those photos, today we are able to use these photos saved by Library of Congress to restruct the colors behind these beautiful photos.
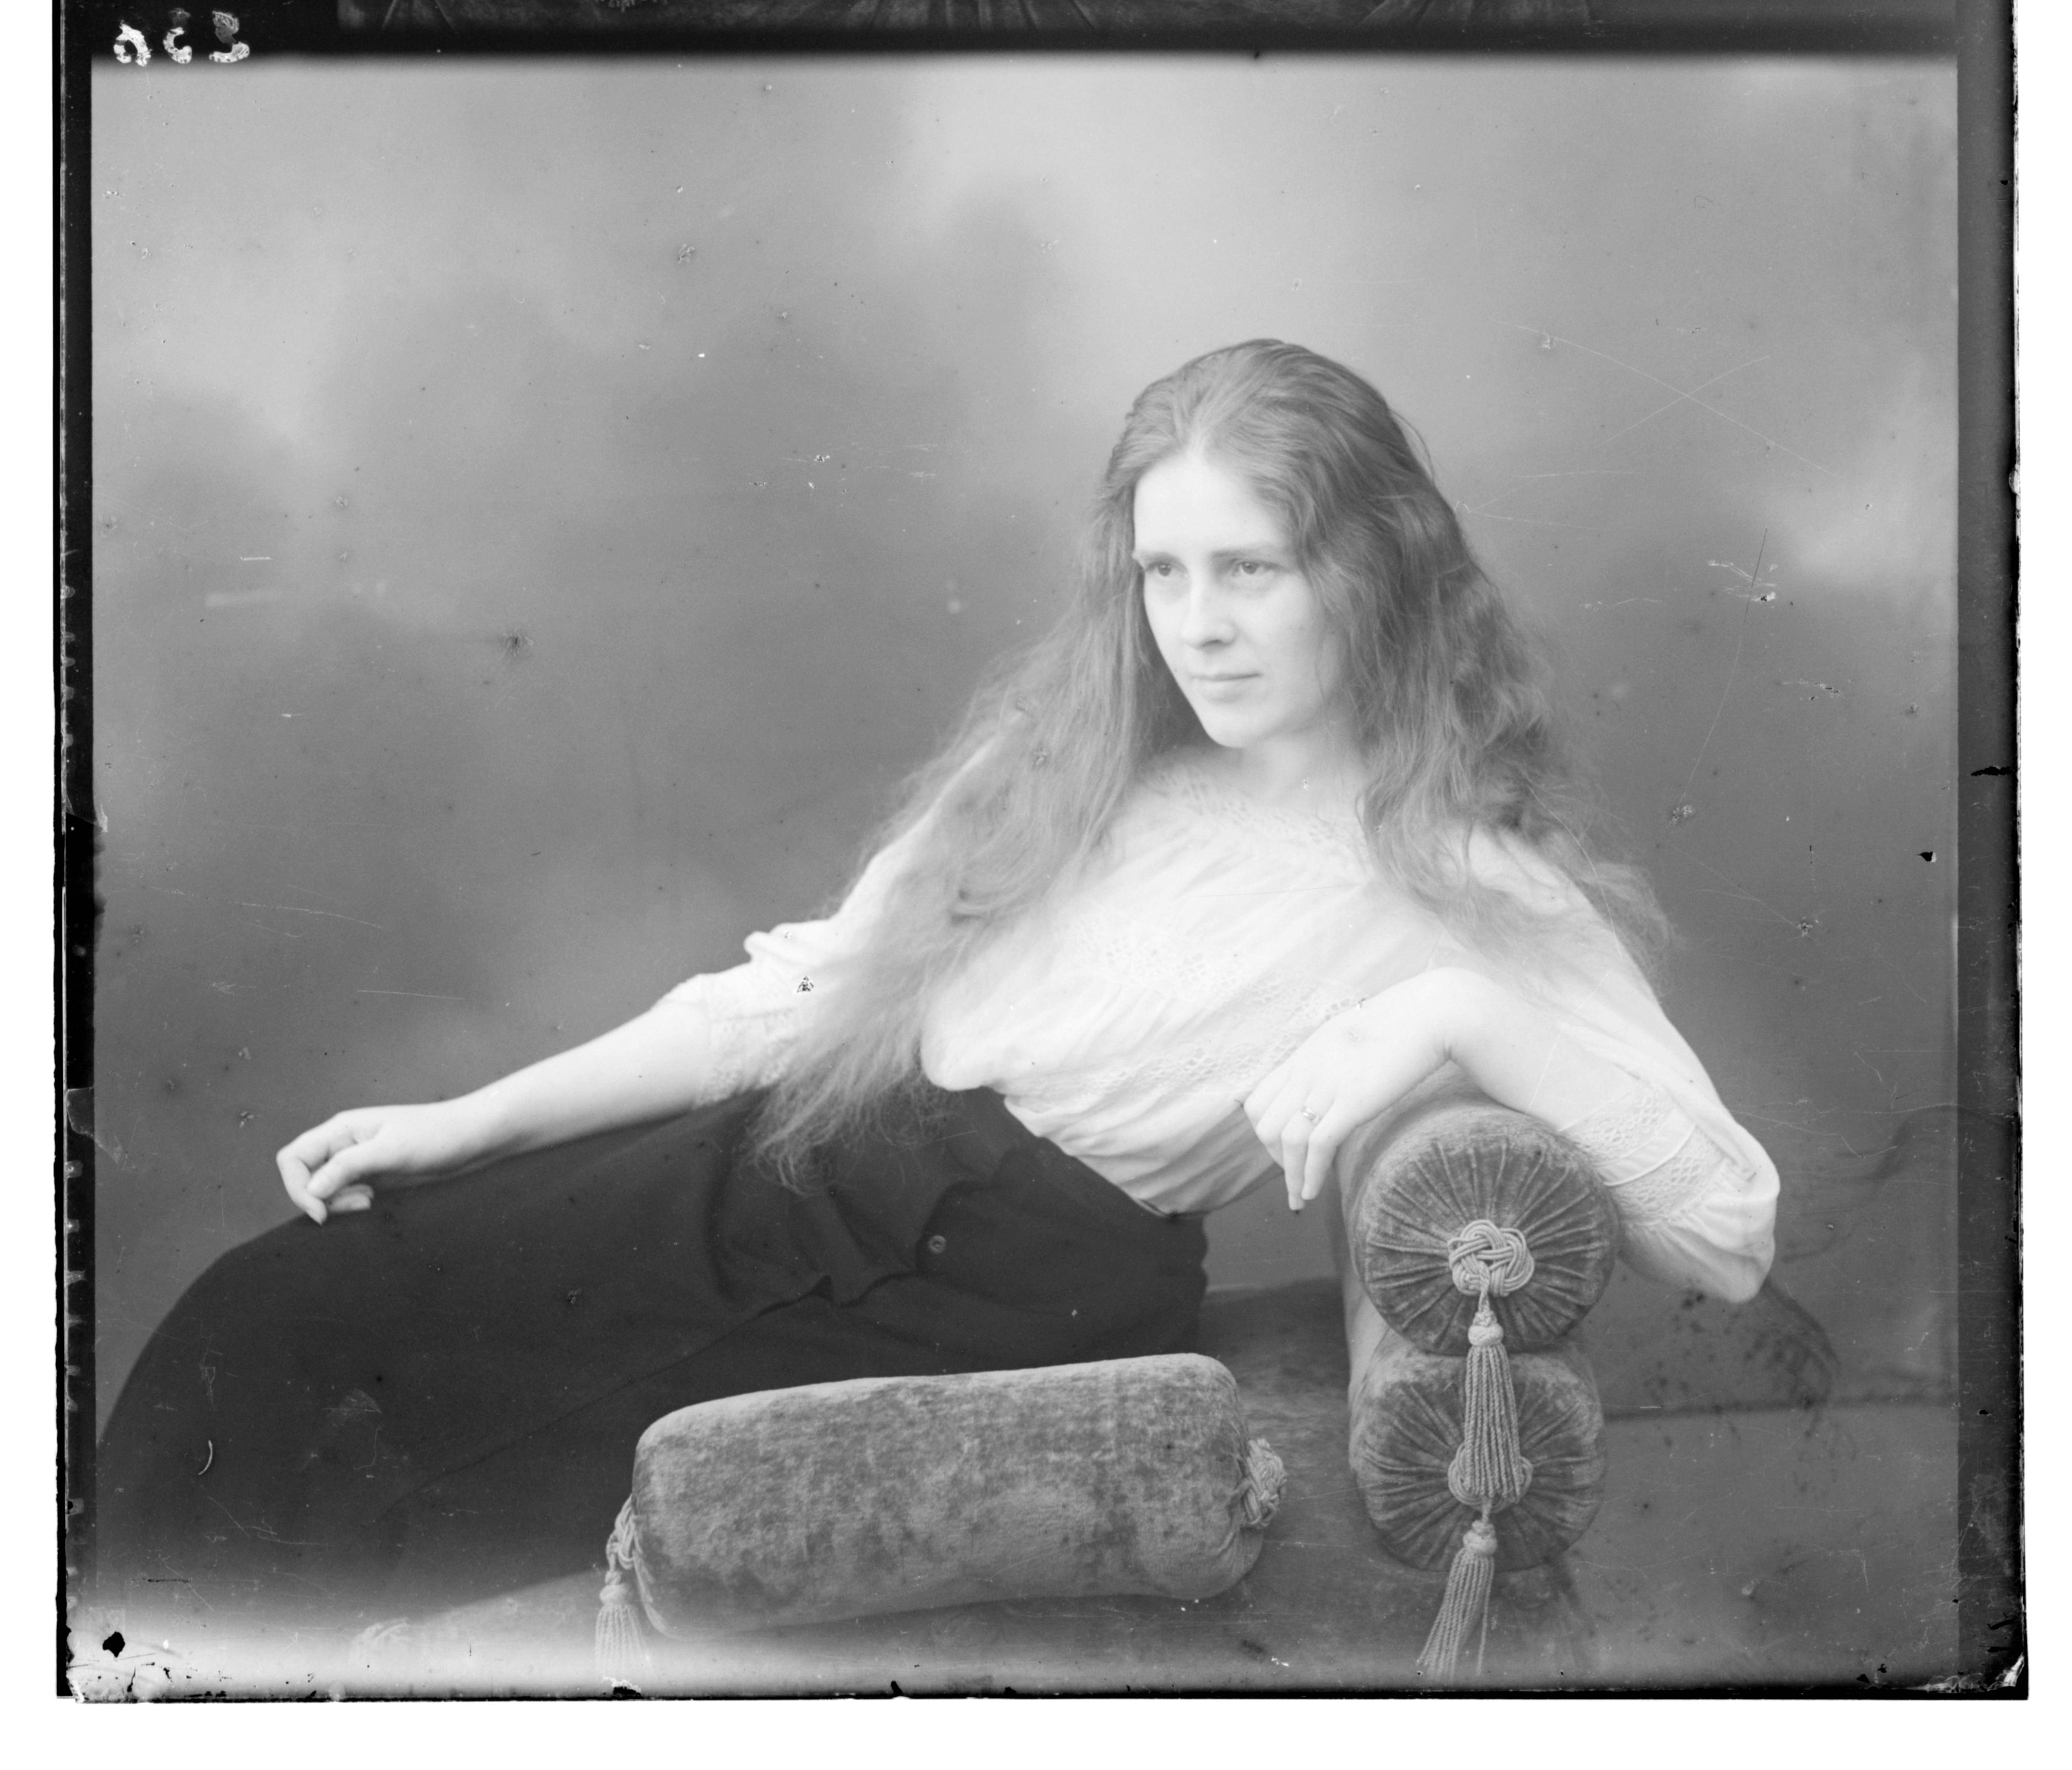
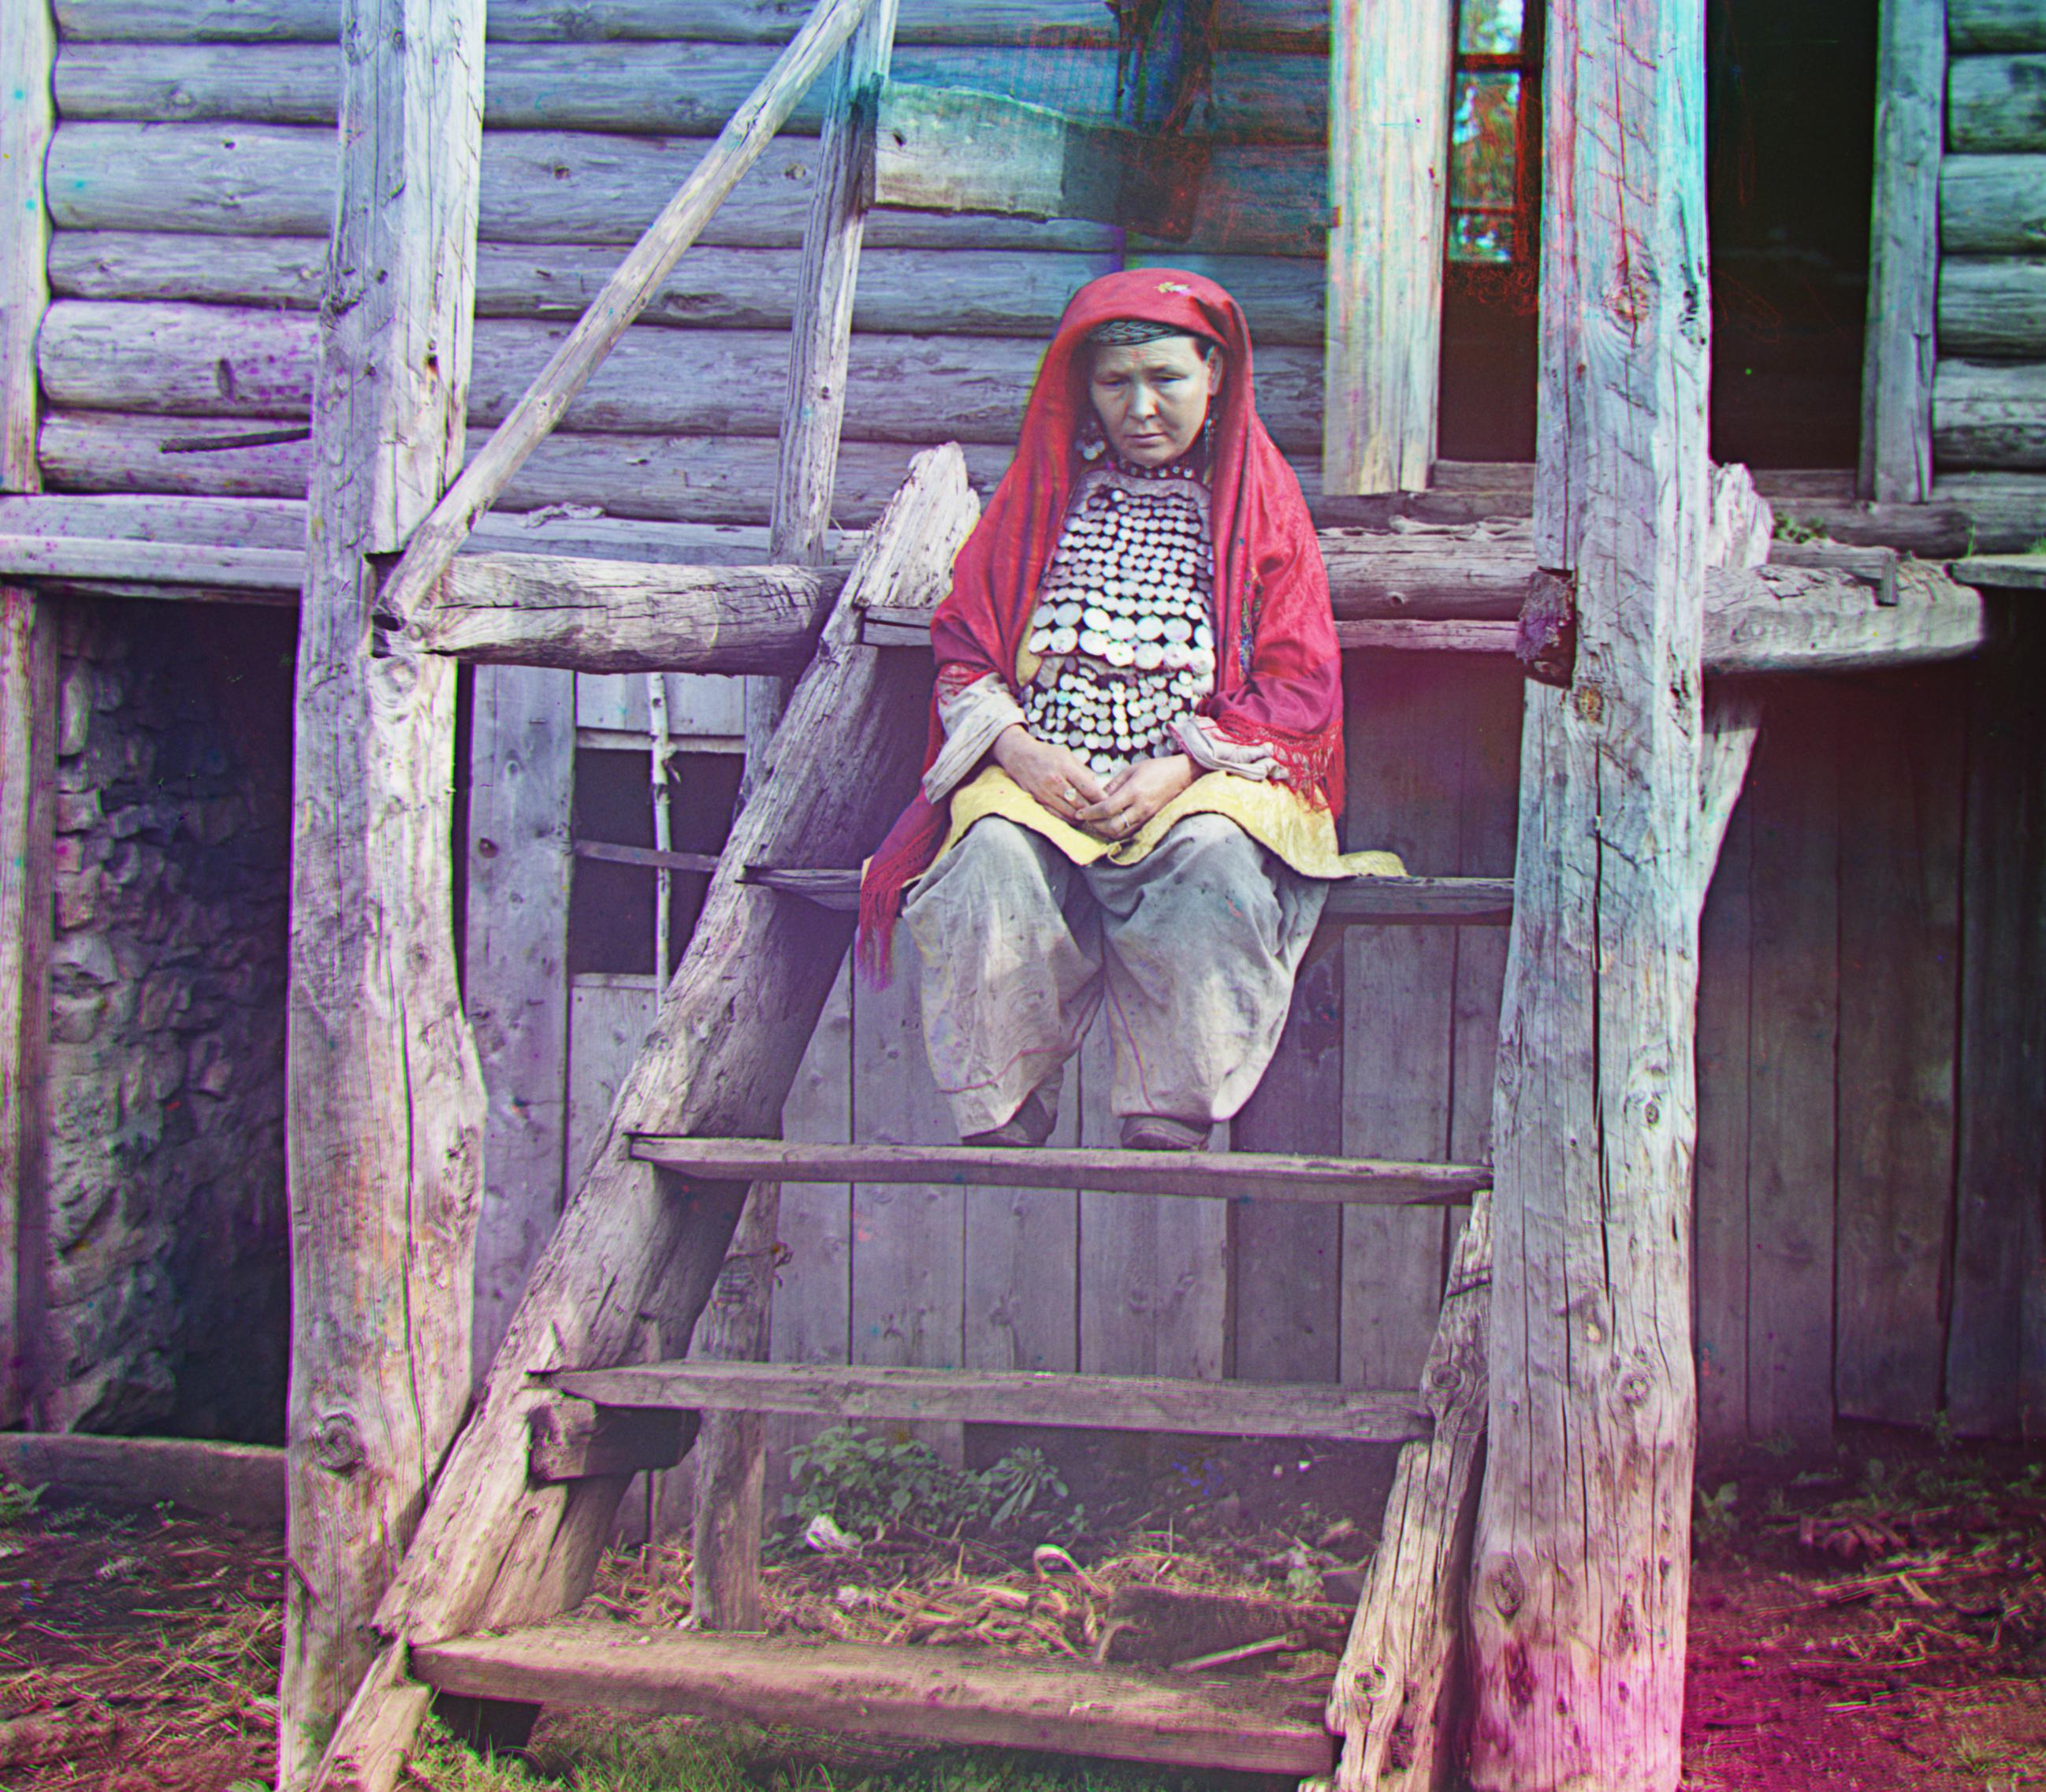
Walking through my strategy, I will use be using the lady.jpg image as an example.
Starting from the original image composed of the three seperate color channels, the first step is to split the original image into 3 seperate images corresponding to the red, green, and blue channel. By looking at the height of the original image, we can split the image into 3 equally to get the 3 color channels
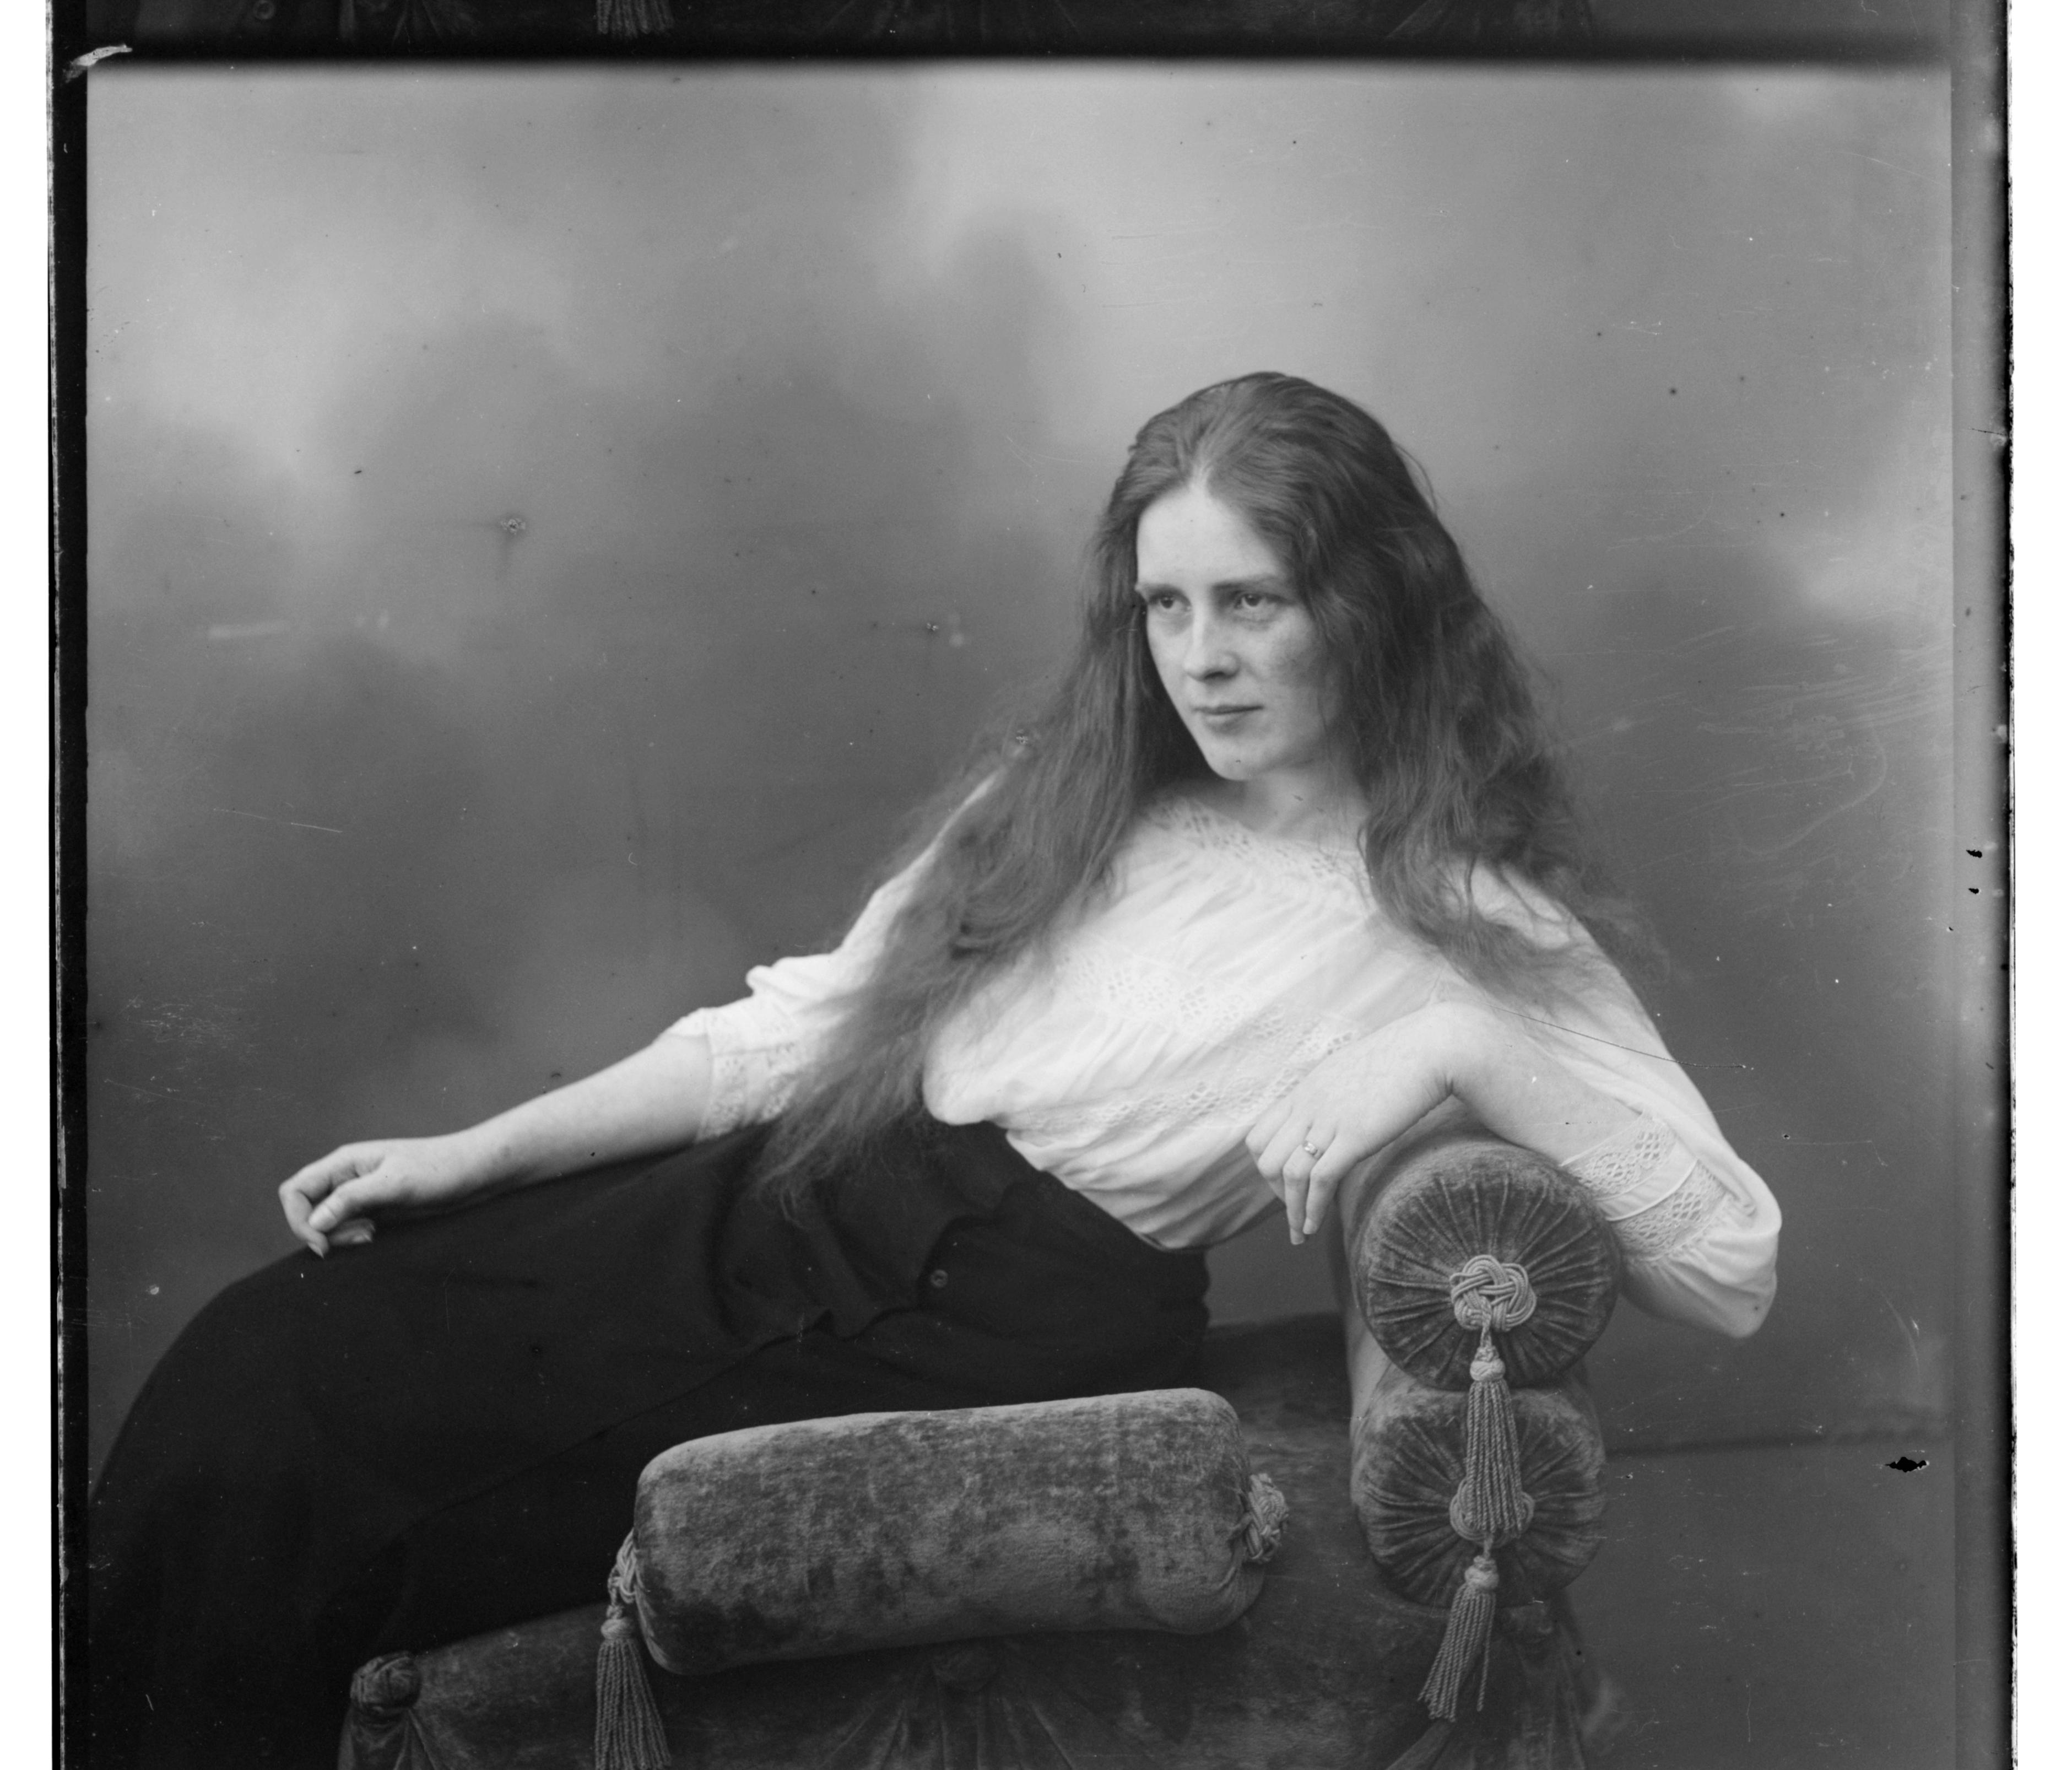
I chose green to be my base color-channel because it was typically the center color-channel (blue on top, followed by green, then red), so the shifts would not need to be as much. I cropped the green channel by 15% all around. This crop was useful for 2 main reasons:
Cropped green base color-channel:

From my cropped base green-channel, I now seeked to find the appropiate blue and red offsets to match best with the base channel. In order to do this, for small images, I iterated through the various possibilities of x values (from 0 to the non-cropped width - cropped width) and of y values (from 0 to the non-cropped height - cropped height). At each of these (x,y) combos, I appropiately cropped the non-base channel and compared the alignment with the cropped base green-channel. I used Mean Squared Error to compare these alignments:

However, for larger images like lady.tif, this approach would not take a reasonable amount of time to complete as running expontential offsets did not bode well for performance. For this performance issue, approach 2 was particularly useful in alleviating the intensive compution from this approach.
The issue for the naive approach is we were iterating through every possibility of (x,y) which is computationally expensive; however, using the image pyramid processing, we can restrict the possibilities of x and y we are exploring to limit the number of computations we do. An image pyramid is a collection of a single image at different resolutions. For example, for an image pyramid with a scale factor of 4, the resolution of lady.tif would be scaled down by 4 at each level AKA the number of pixels used to describe the same image at each level is reduced by a factor of 4.
With this pyramid, our base case is at the top level (level 3 in the example above). In our base case, we can compute what the best offsets are for a low resolution image using our naive approach as it would require iterating over a small list of possibilities as our resolution is low. From the base case, we can then restrict the possibilities we look at as we move down the pyramid indexing on the best offset recieved from the level above. This approach dramatically improved the performance of determining color channel colors for large TIFF images.
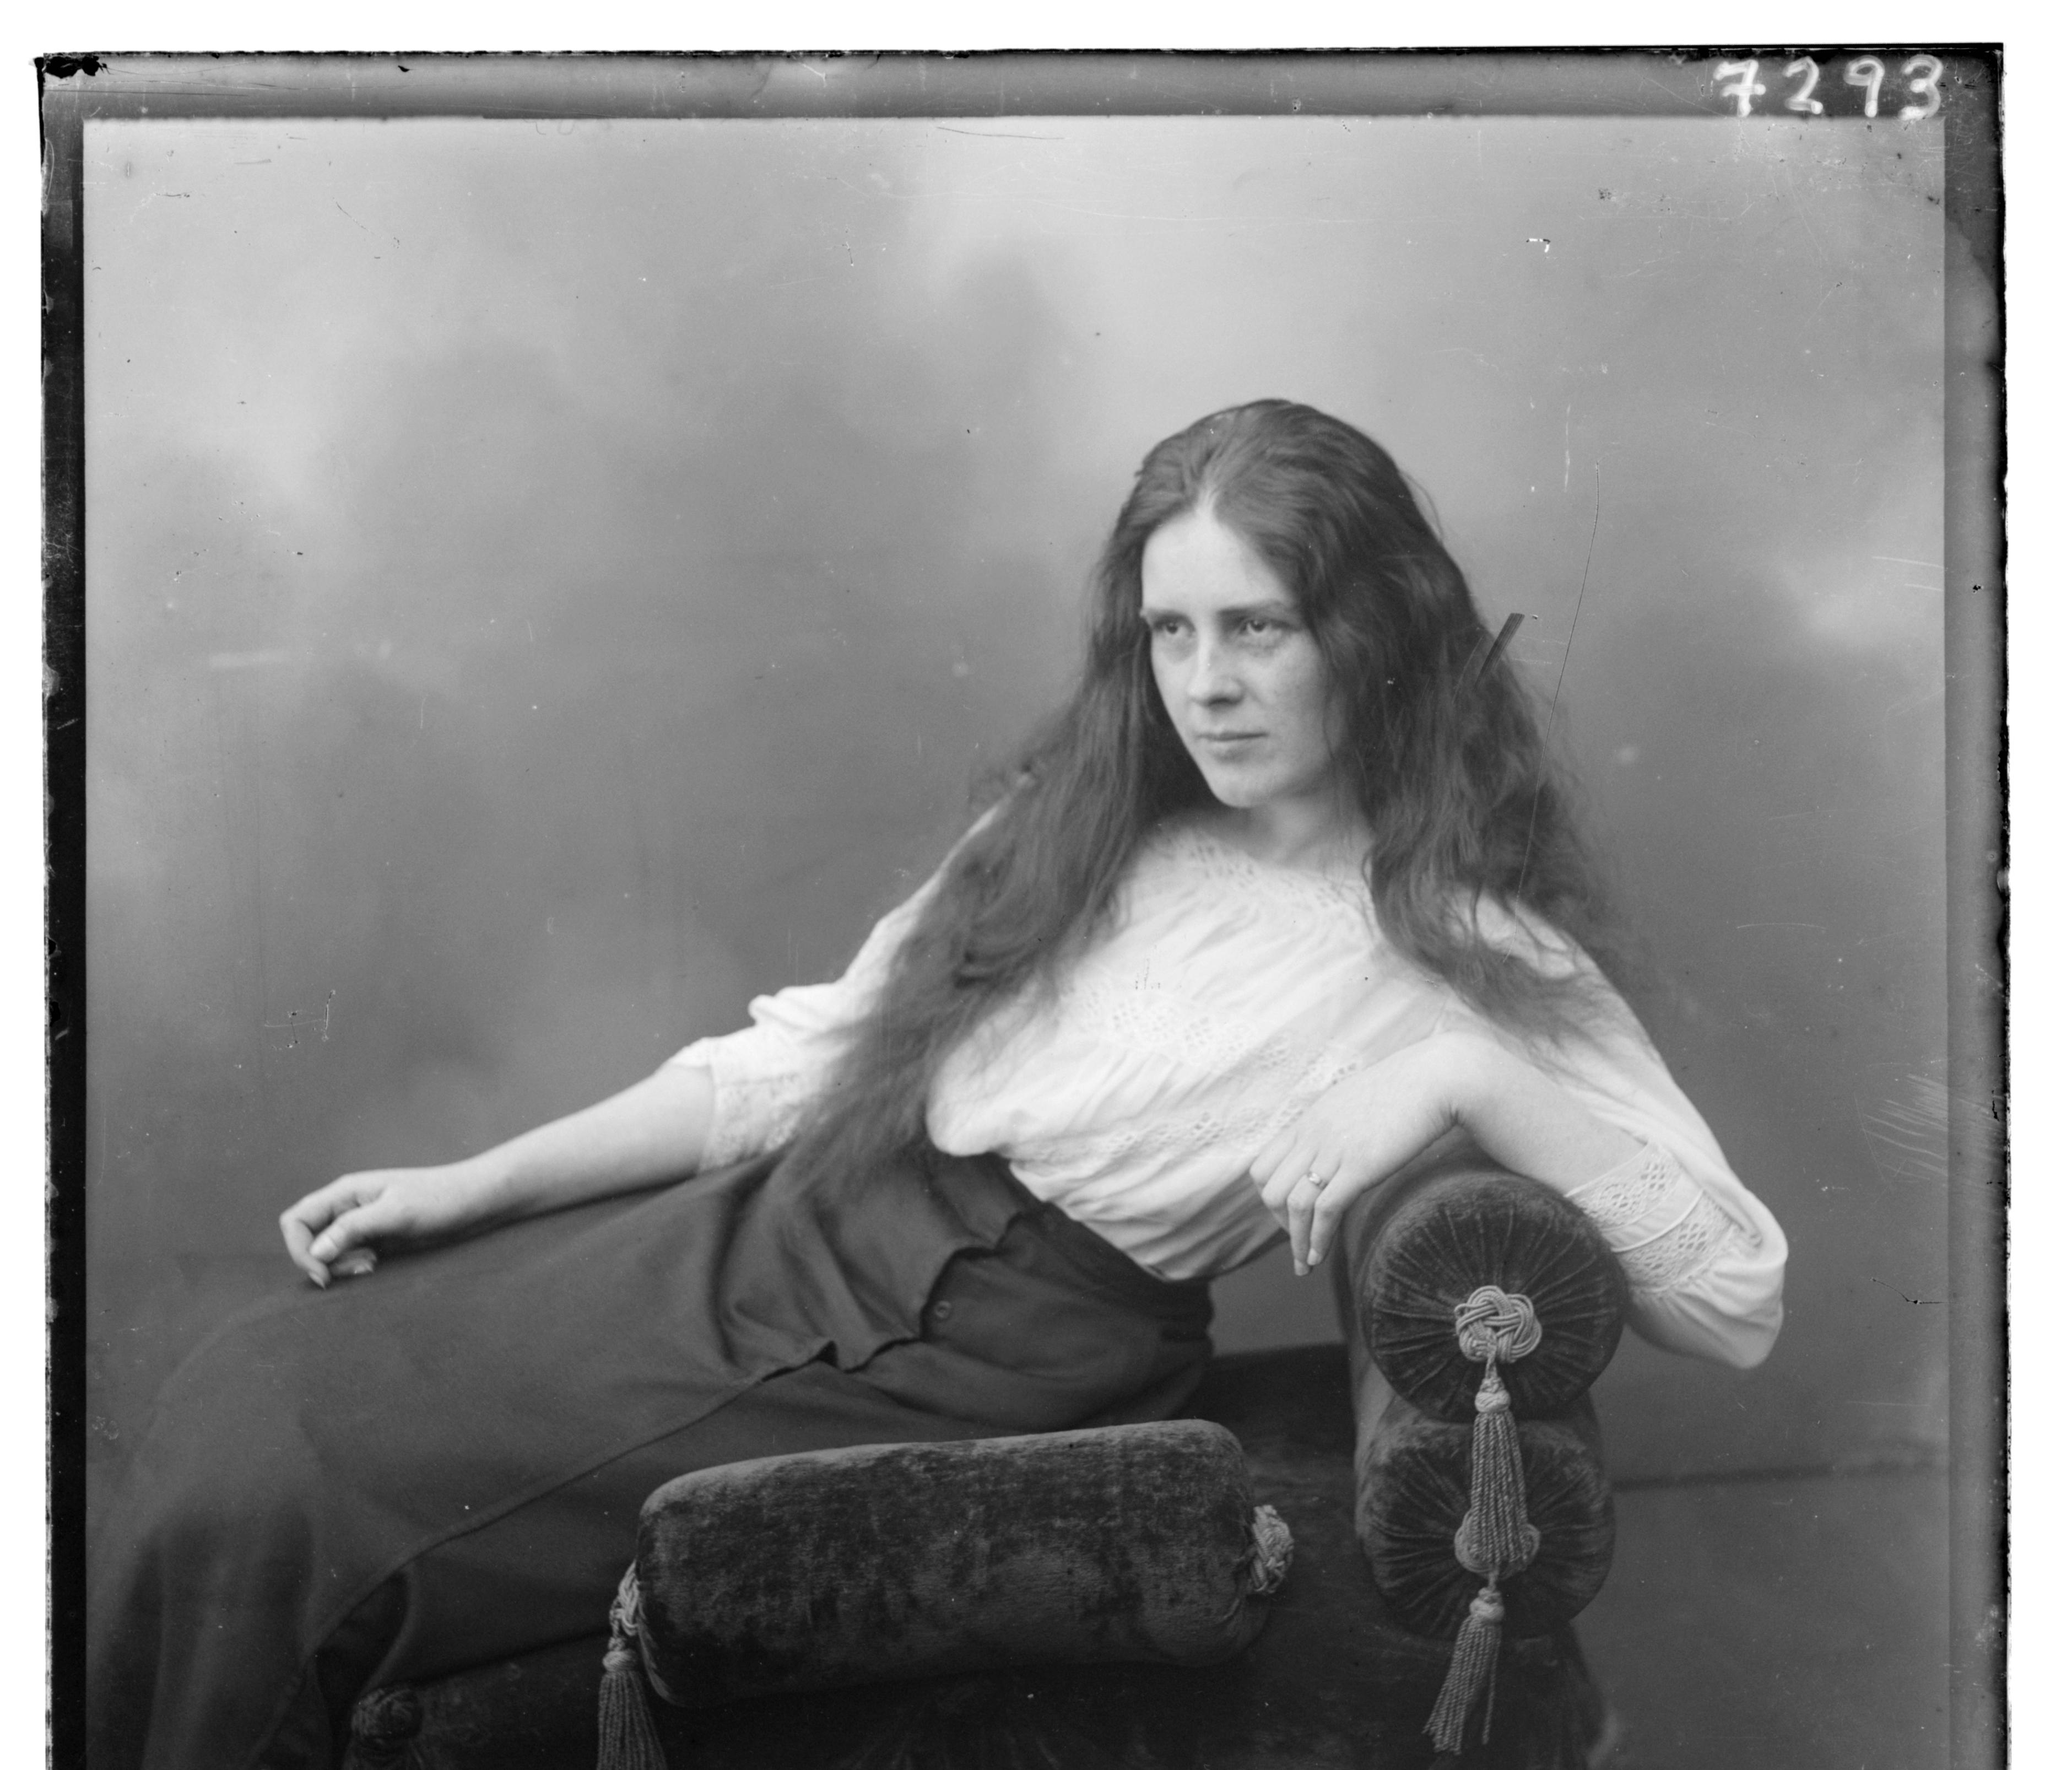
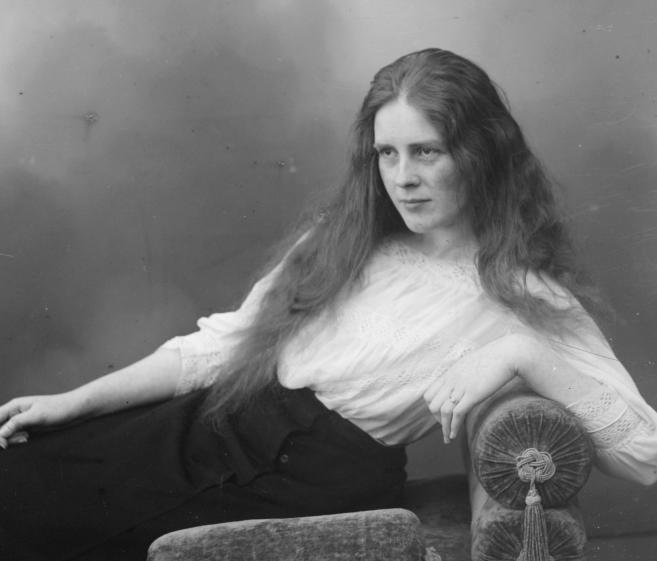
Finally, we can overlay the various color channels now that we have figured out the best alignment from the previous steps. Stitching the various color channels together will result in the colorful version of the image:
blue shift: (x = 0, y = -53)
red shift: (x = -12, y = 52)
blue shift: (x = -24, y = -49)
red shift: (x = 17, y = 52)
blue shift: (x = -2, y = 3)
red shift: (x = 1, y = 6)
blue shift: (x = -14, y = -53)
red shift: (x = -3, y = 58)
blue shift: (x = -3, y = -34)
red shift: (x = 1, y = 54)
blue shift: (x = -10, y = -81)
red shift: (x = 2, y = 86)
blue shift: (x = -27, y = -51)
red shift: (x = 10, y = 57)
blue shift: (x = -8, y = -43)
red shift: (x = 24, y = 42)
blue shift: (x = -3, y = -3)
red shift: (x = 1, y = 4)
blue shift: (x = -17, y = -41)
red shift: (x = 4, y = 38)
![]()
blue shift: (x = -2, y = -5)
red shift: (x = 1, y = 7)
blue shift: (x = -29, y = -79)
red shift: (x = 8, y = 98)
blue shift: (x = -17, y = -59)
red shift: (x = -3, y = 65)
blue shift: (x = -7, y = -55)
red shift: (x = 4, y = 56)
blue shift: (x = 8, y = -57)
red shift: (x = -10, y = 68)
blue shift: (x = -19, y = -59)
red shift: (x = 4, y = 66)
blue shift: (x = 41, y = -75)
red shift: (x = -26, y = 38)

blue shift: (x = -16, y = -67)
red shift: (x = 0, y = 70)
blue shift: (x = 4, y = -60)
red shift: (x = -16, y = 70)
blue shift: (x = 13, y = -45)
red shift: (x = 2, y = 54)