

Sergey Prokudin-Gorsky was best known for his pioneering work in color photography and his effort to photographically capture early 20th-century Russian Empire. Gorsky’s approach involved recording three exposures of each scene onto a glass plate using a red, green, and blue filter. Our project was to combine the result of each of these three filters to produce the most appropriate and sharp colorized image.
I used a naive exhaustive search based approach for low resolution jpeg images to arrive at the optimal alignment. I searched over all possible x,y displacements over the range of (-15,15) of the red and green channels over the blue channels.I chose the optimum displacement based on which displacement had the highest normalized correlation out of the 15^2 possible displacements I was searching over. I then cropped the pictures by a constant factor of 8% to get rid of peculiar looking single colour borders. Here are some before/after pictures with the accompanying offsets corresponding to each channel. I used 3 different image similarity metrics - L2 Norm, Normalized cross-correlation, and Structured similarity(SSIM). Based on a visual check, SSIM and NCC seemed to be performing very similarly but strictty better than the L2 Norm. NCC seemed to be a lot faster which is why I decided to use NCC as my chosen similarity metric.
With pictures with higher resolution, exhaustive search turned out to be too inefficient an approach. I used a pyramid alignment based approach instead that scales down images till they reach a resolution we can perform exhaustive search on and then use the result of that exhaustive search to approximate the optimal displacement in the much larger, higher resolution image.
Displacements are given by (dx, dy)
Low resolution images
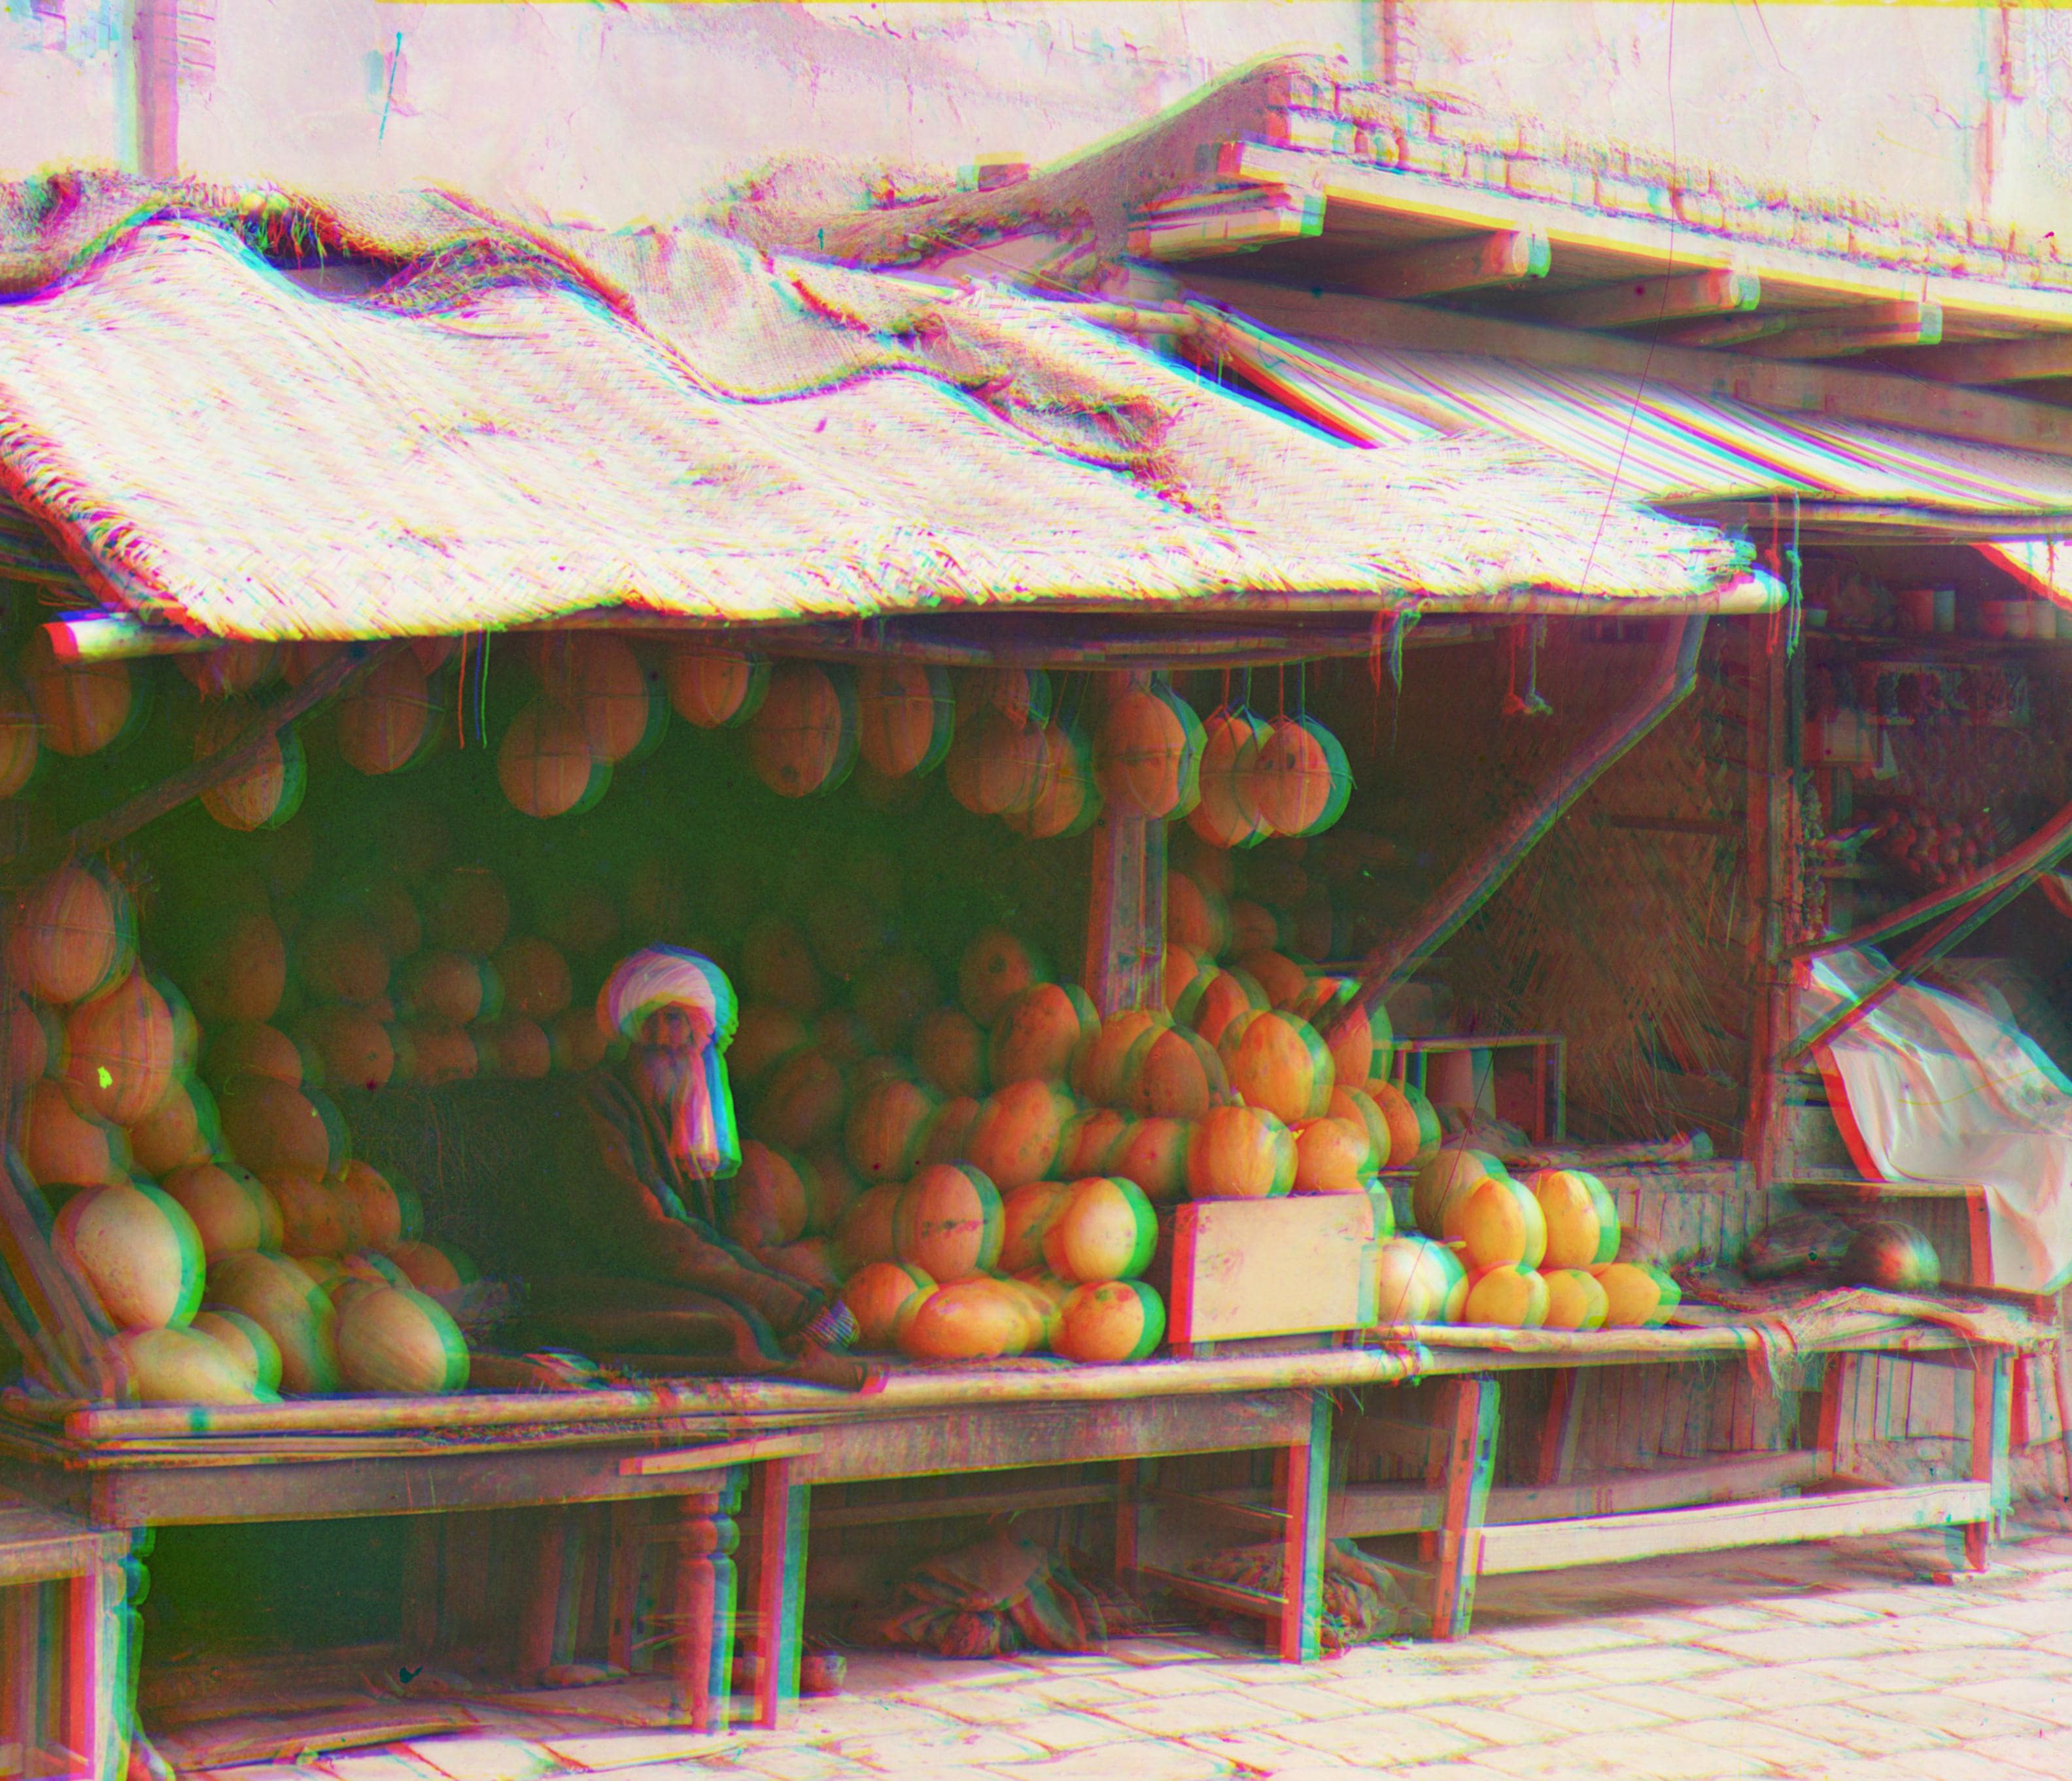

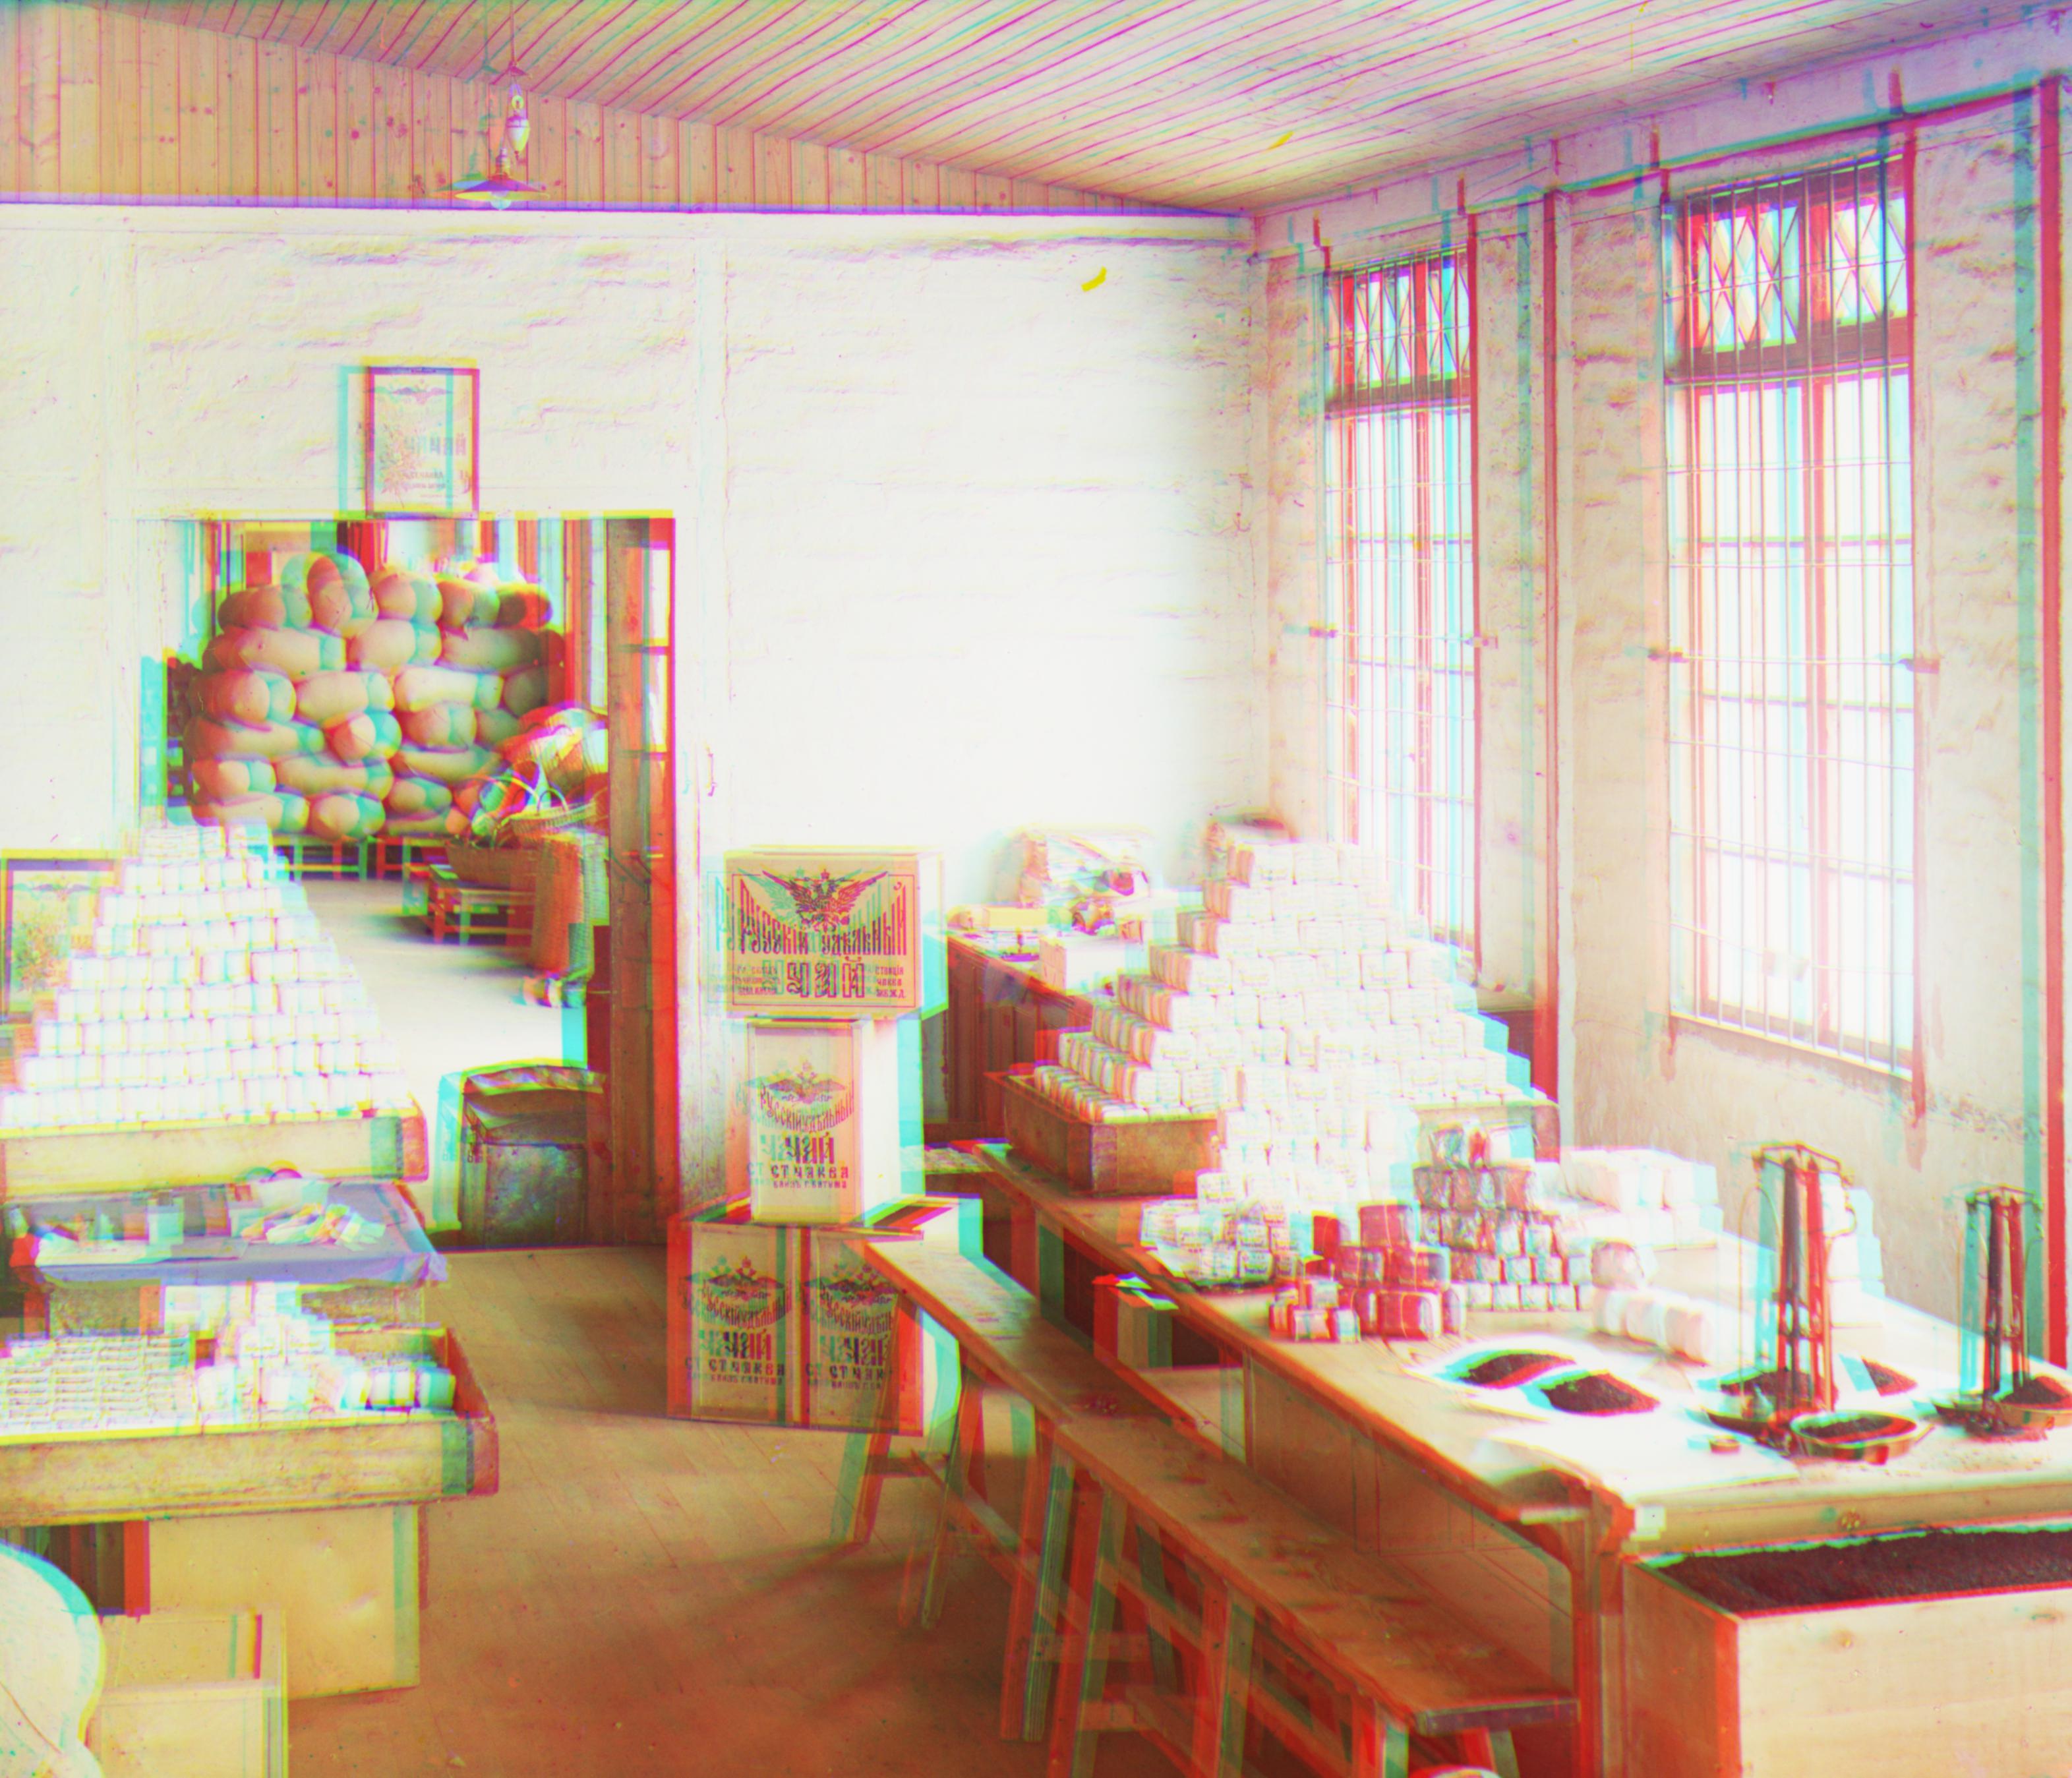


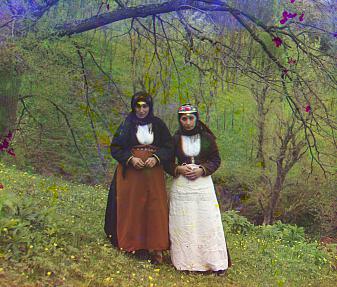
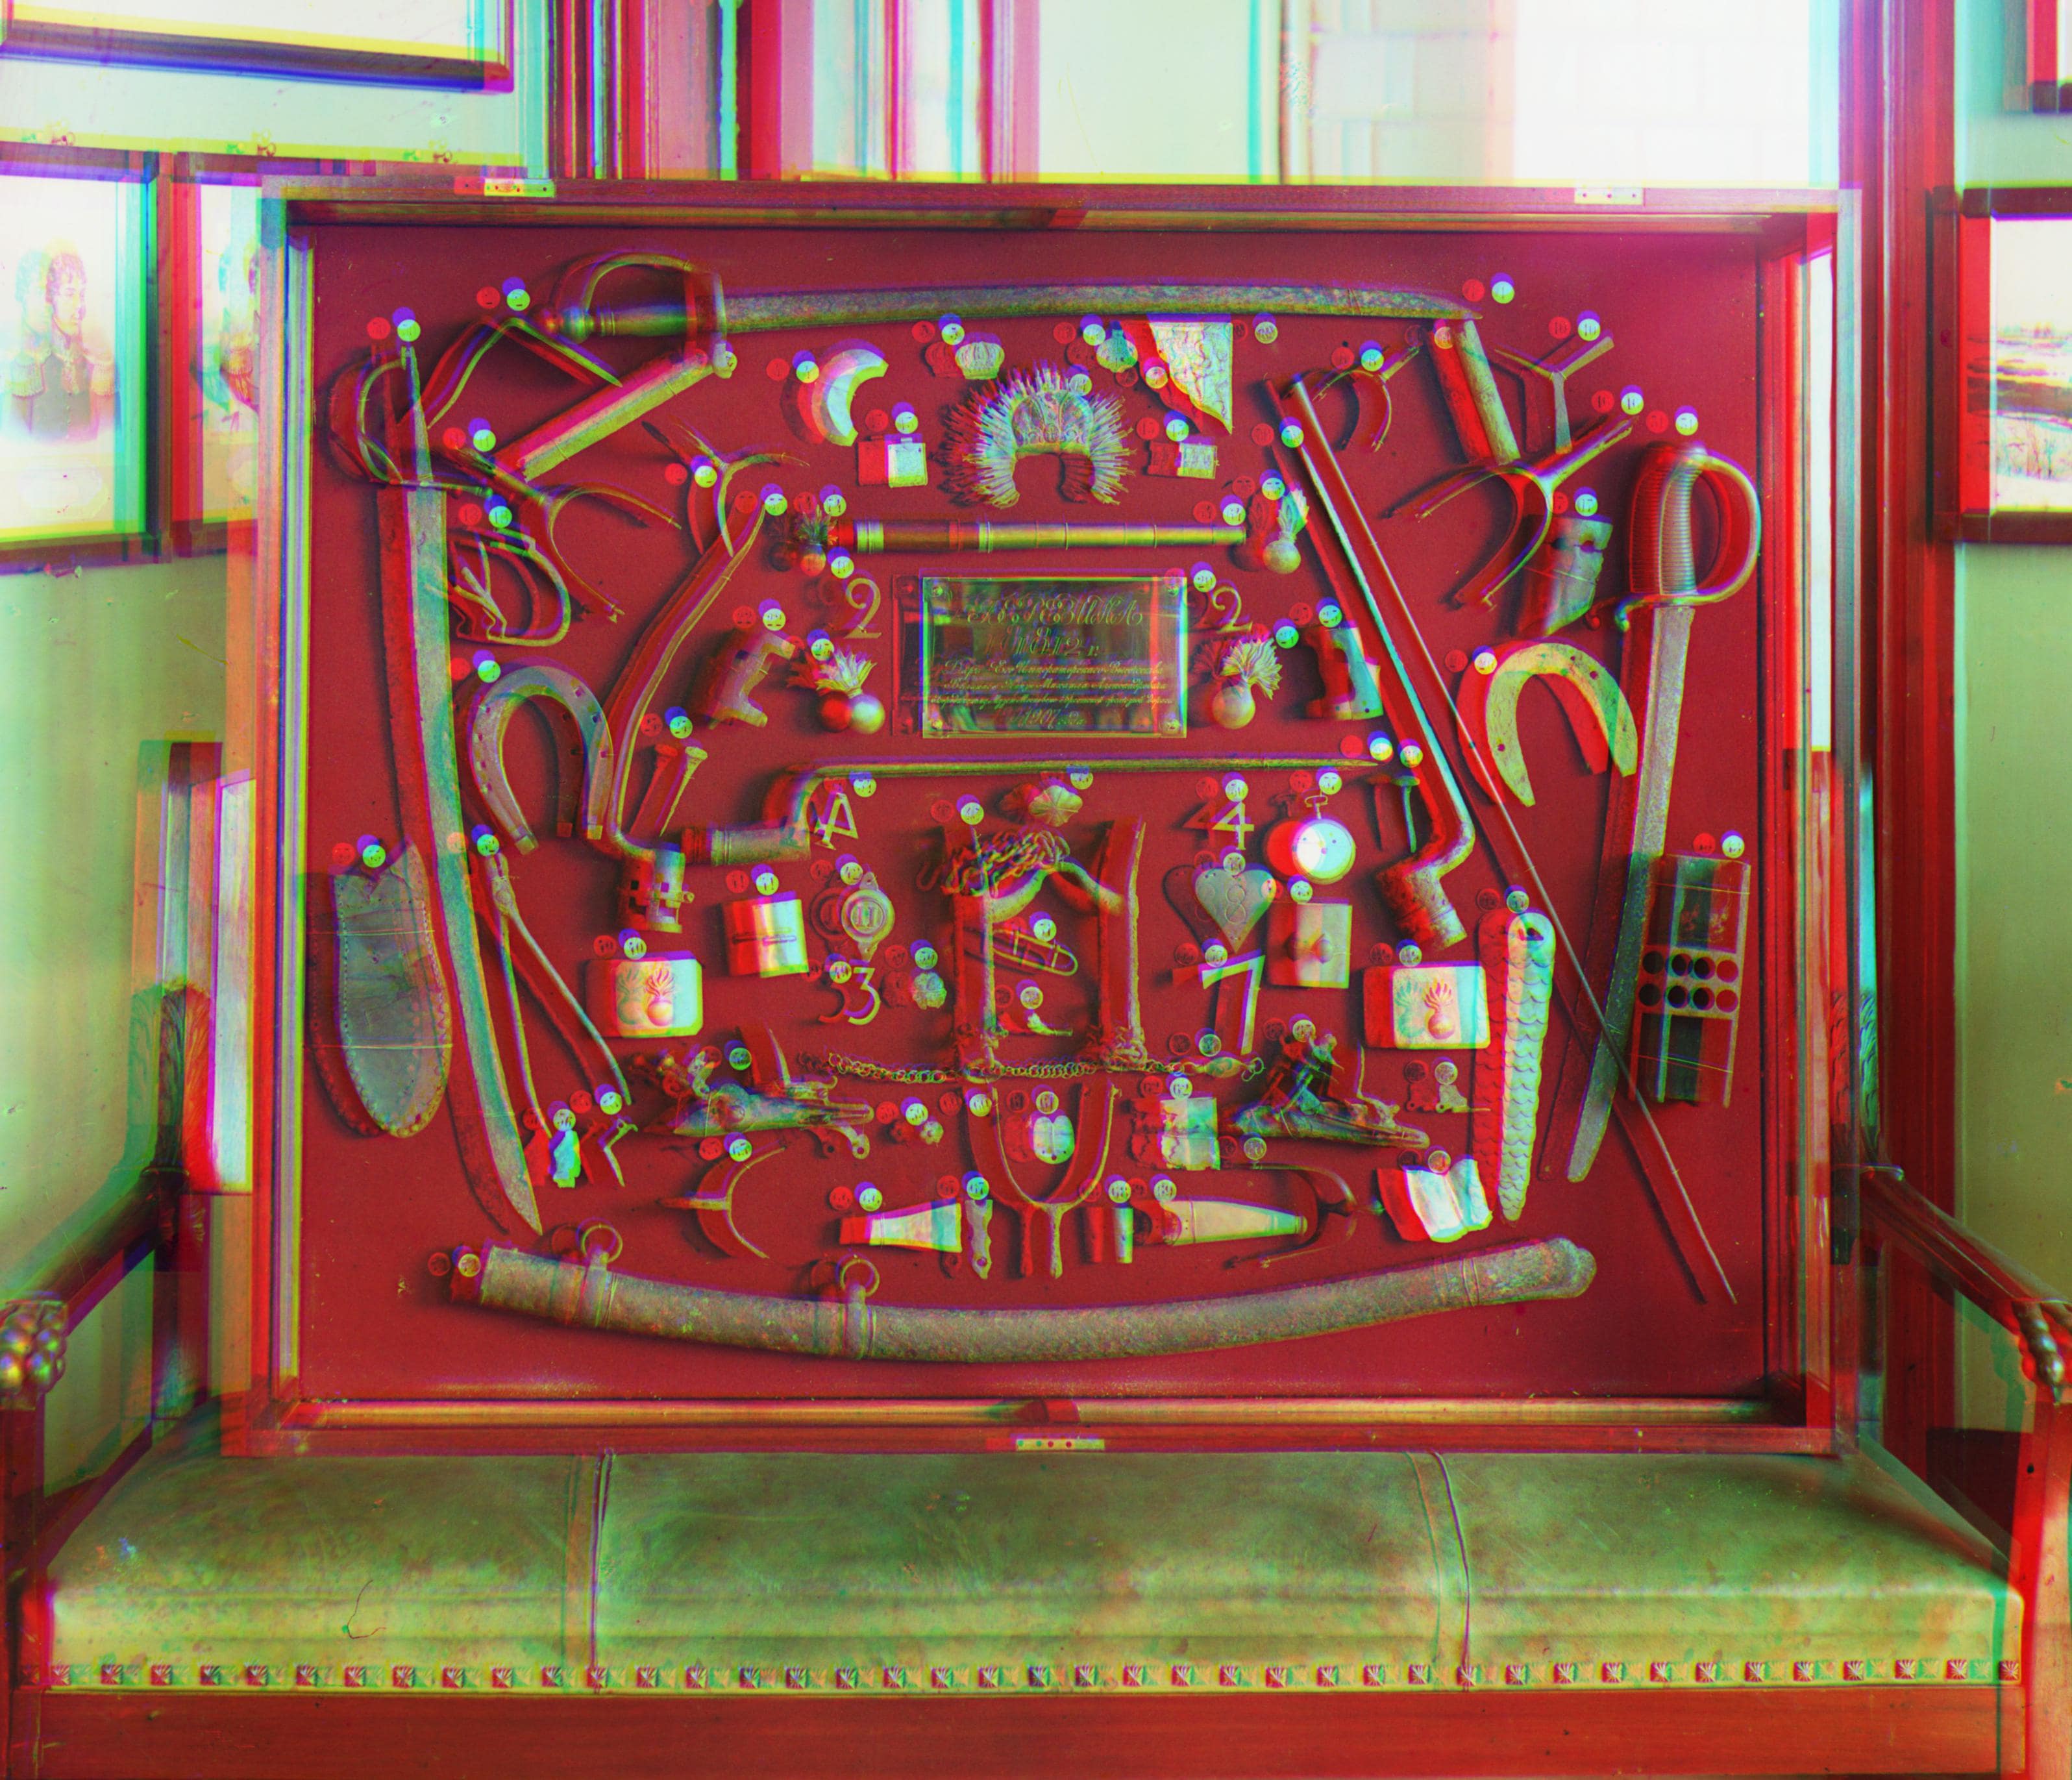
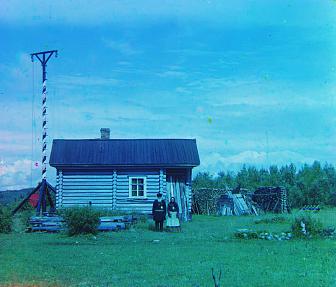
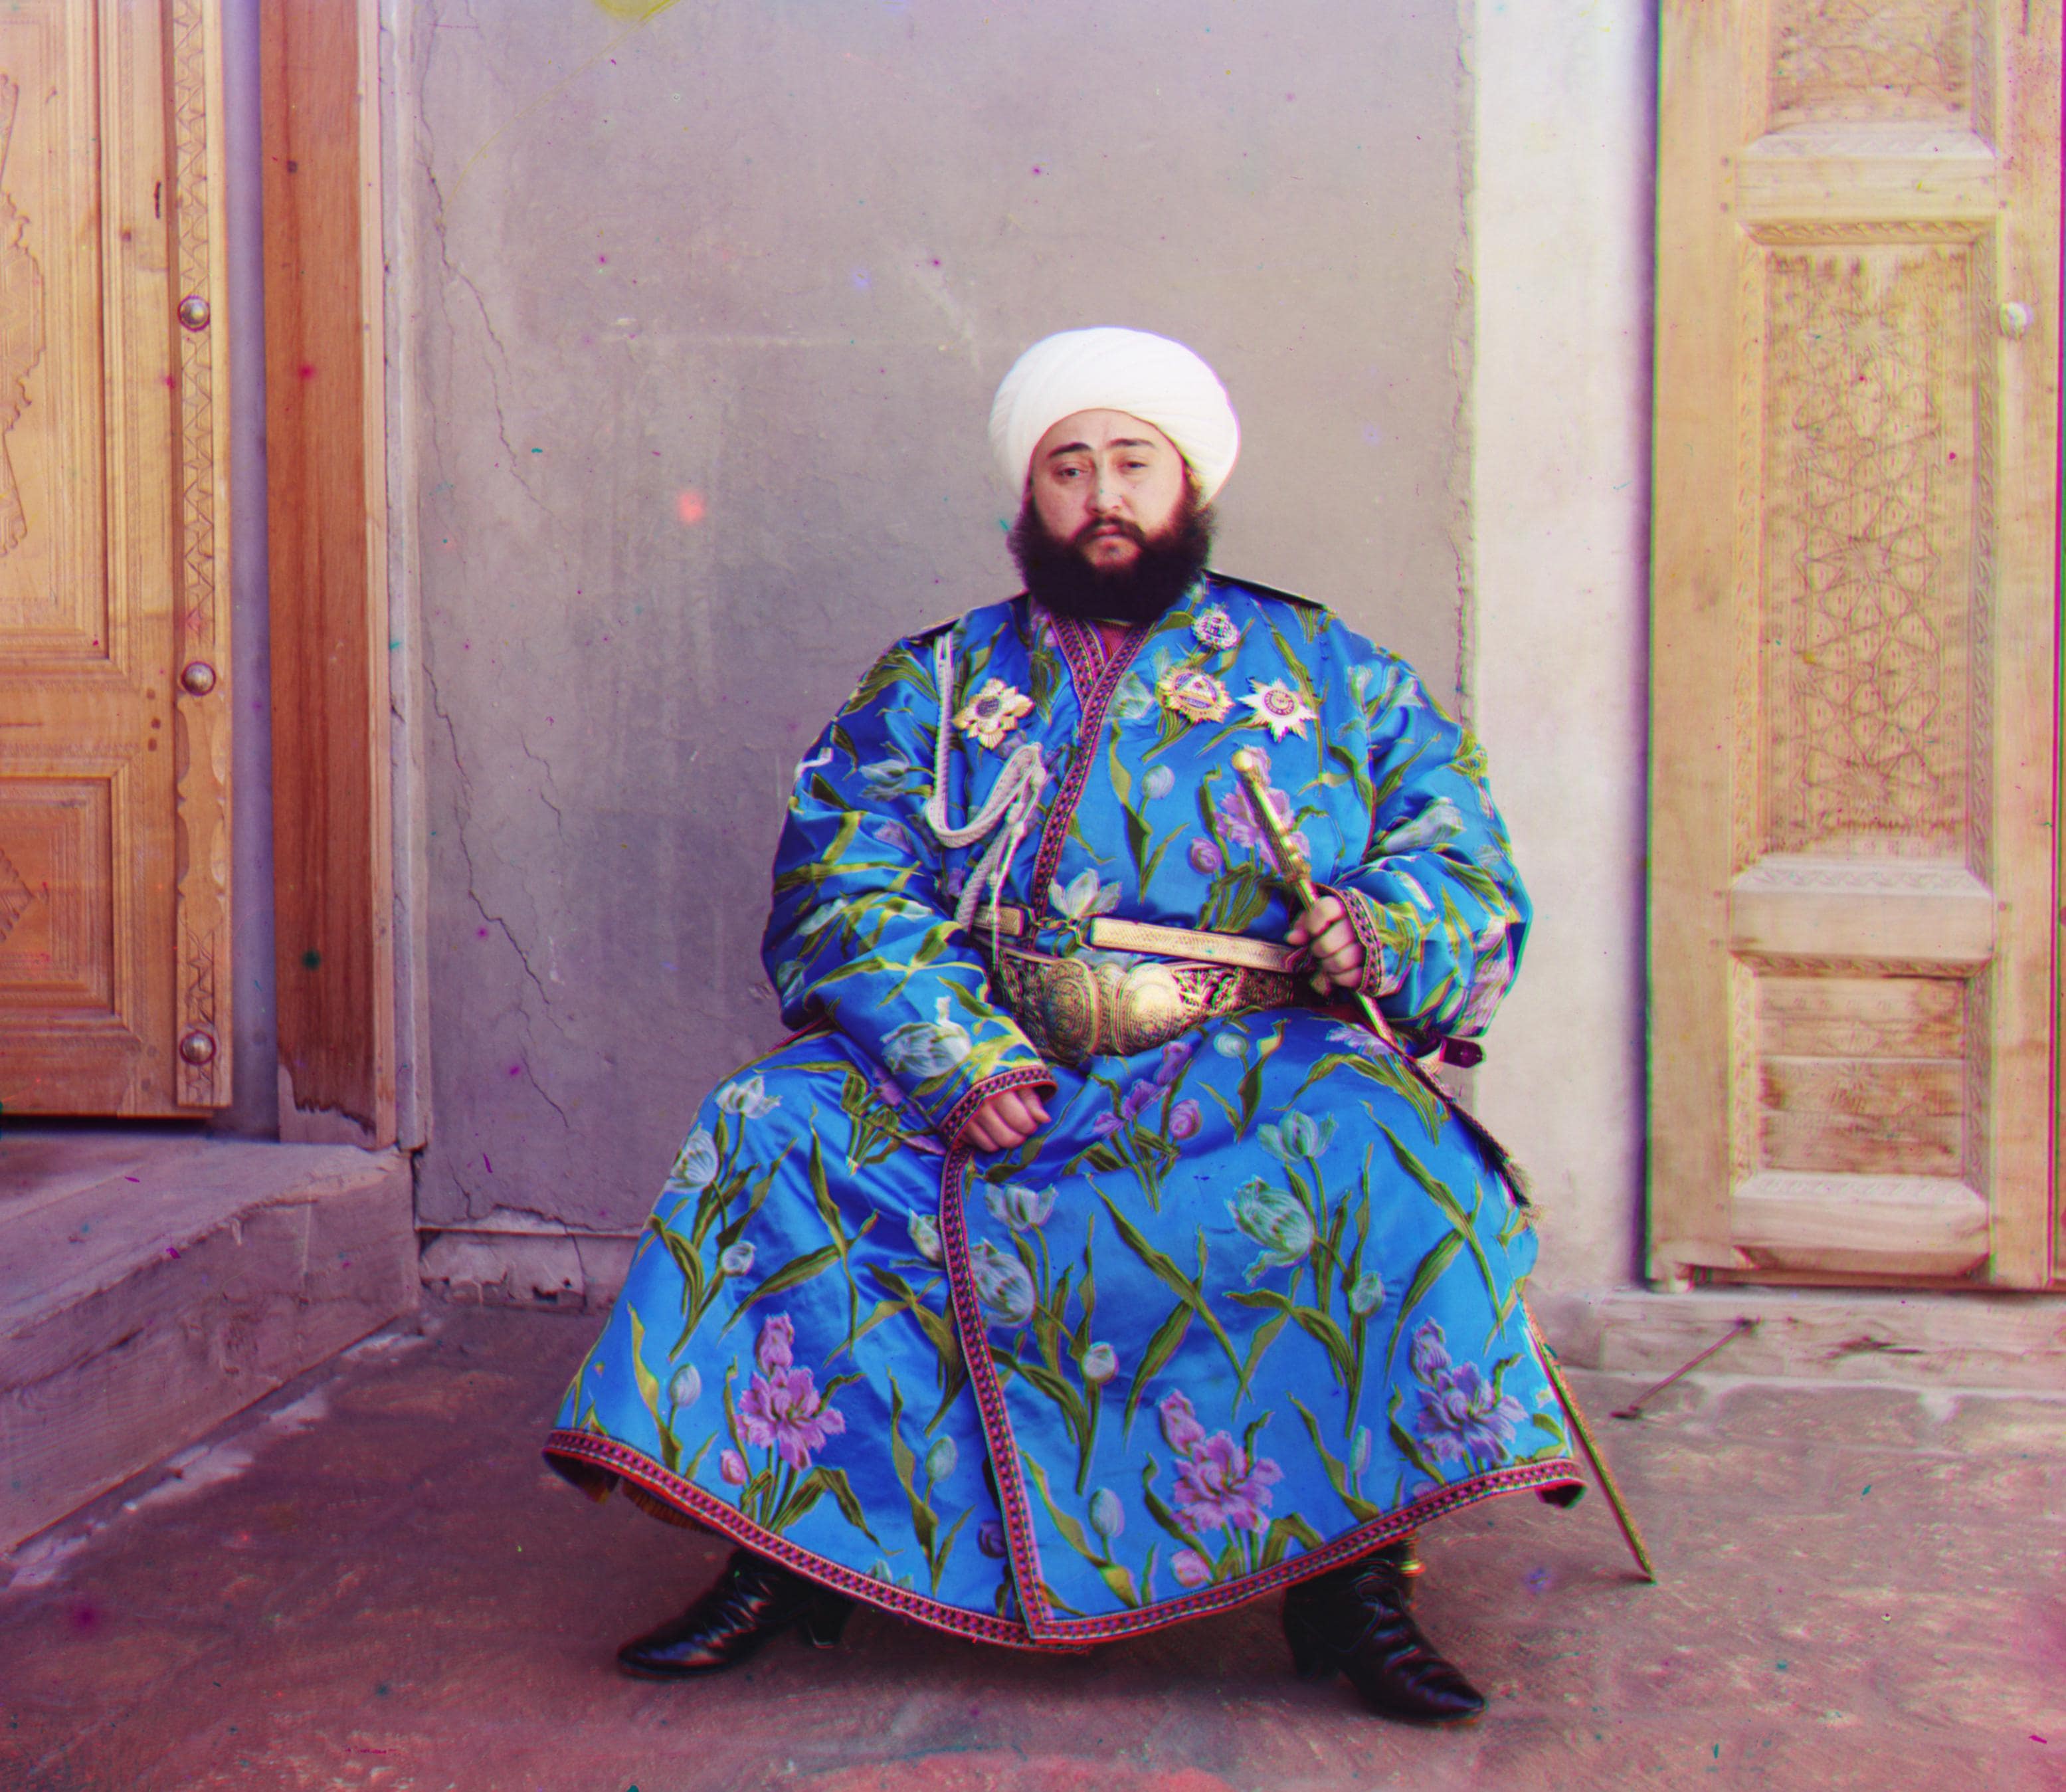
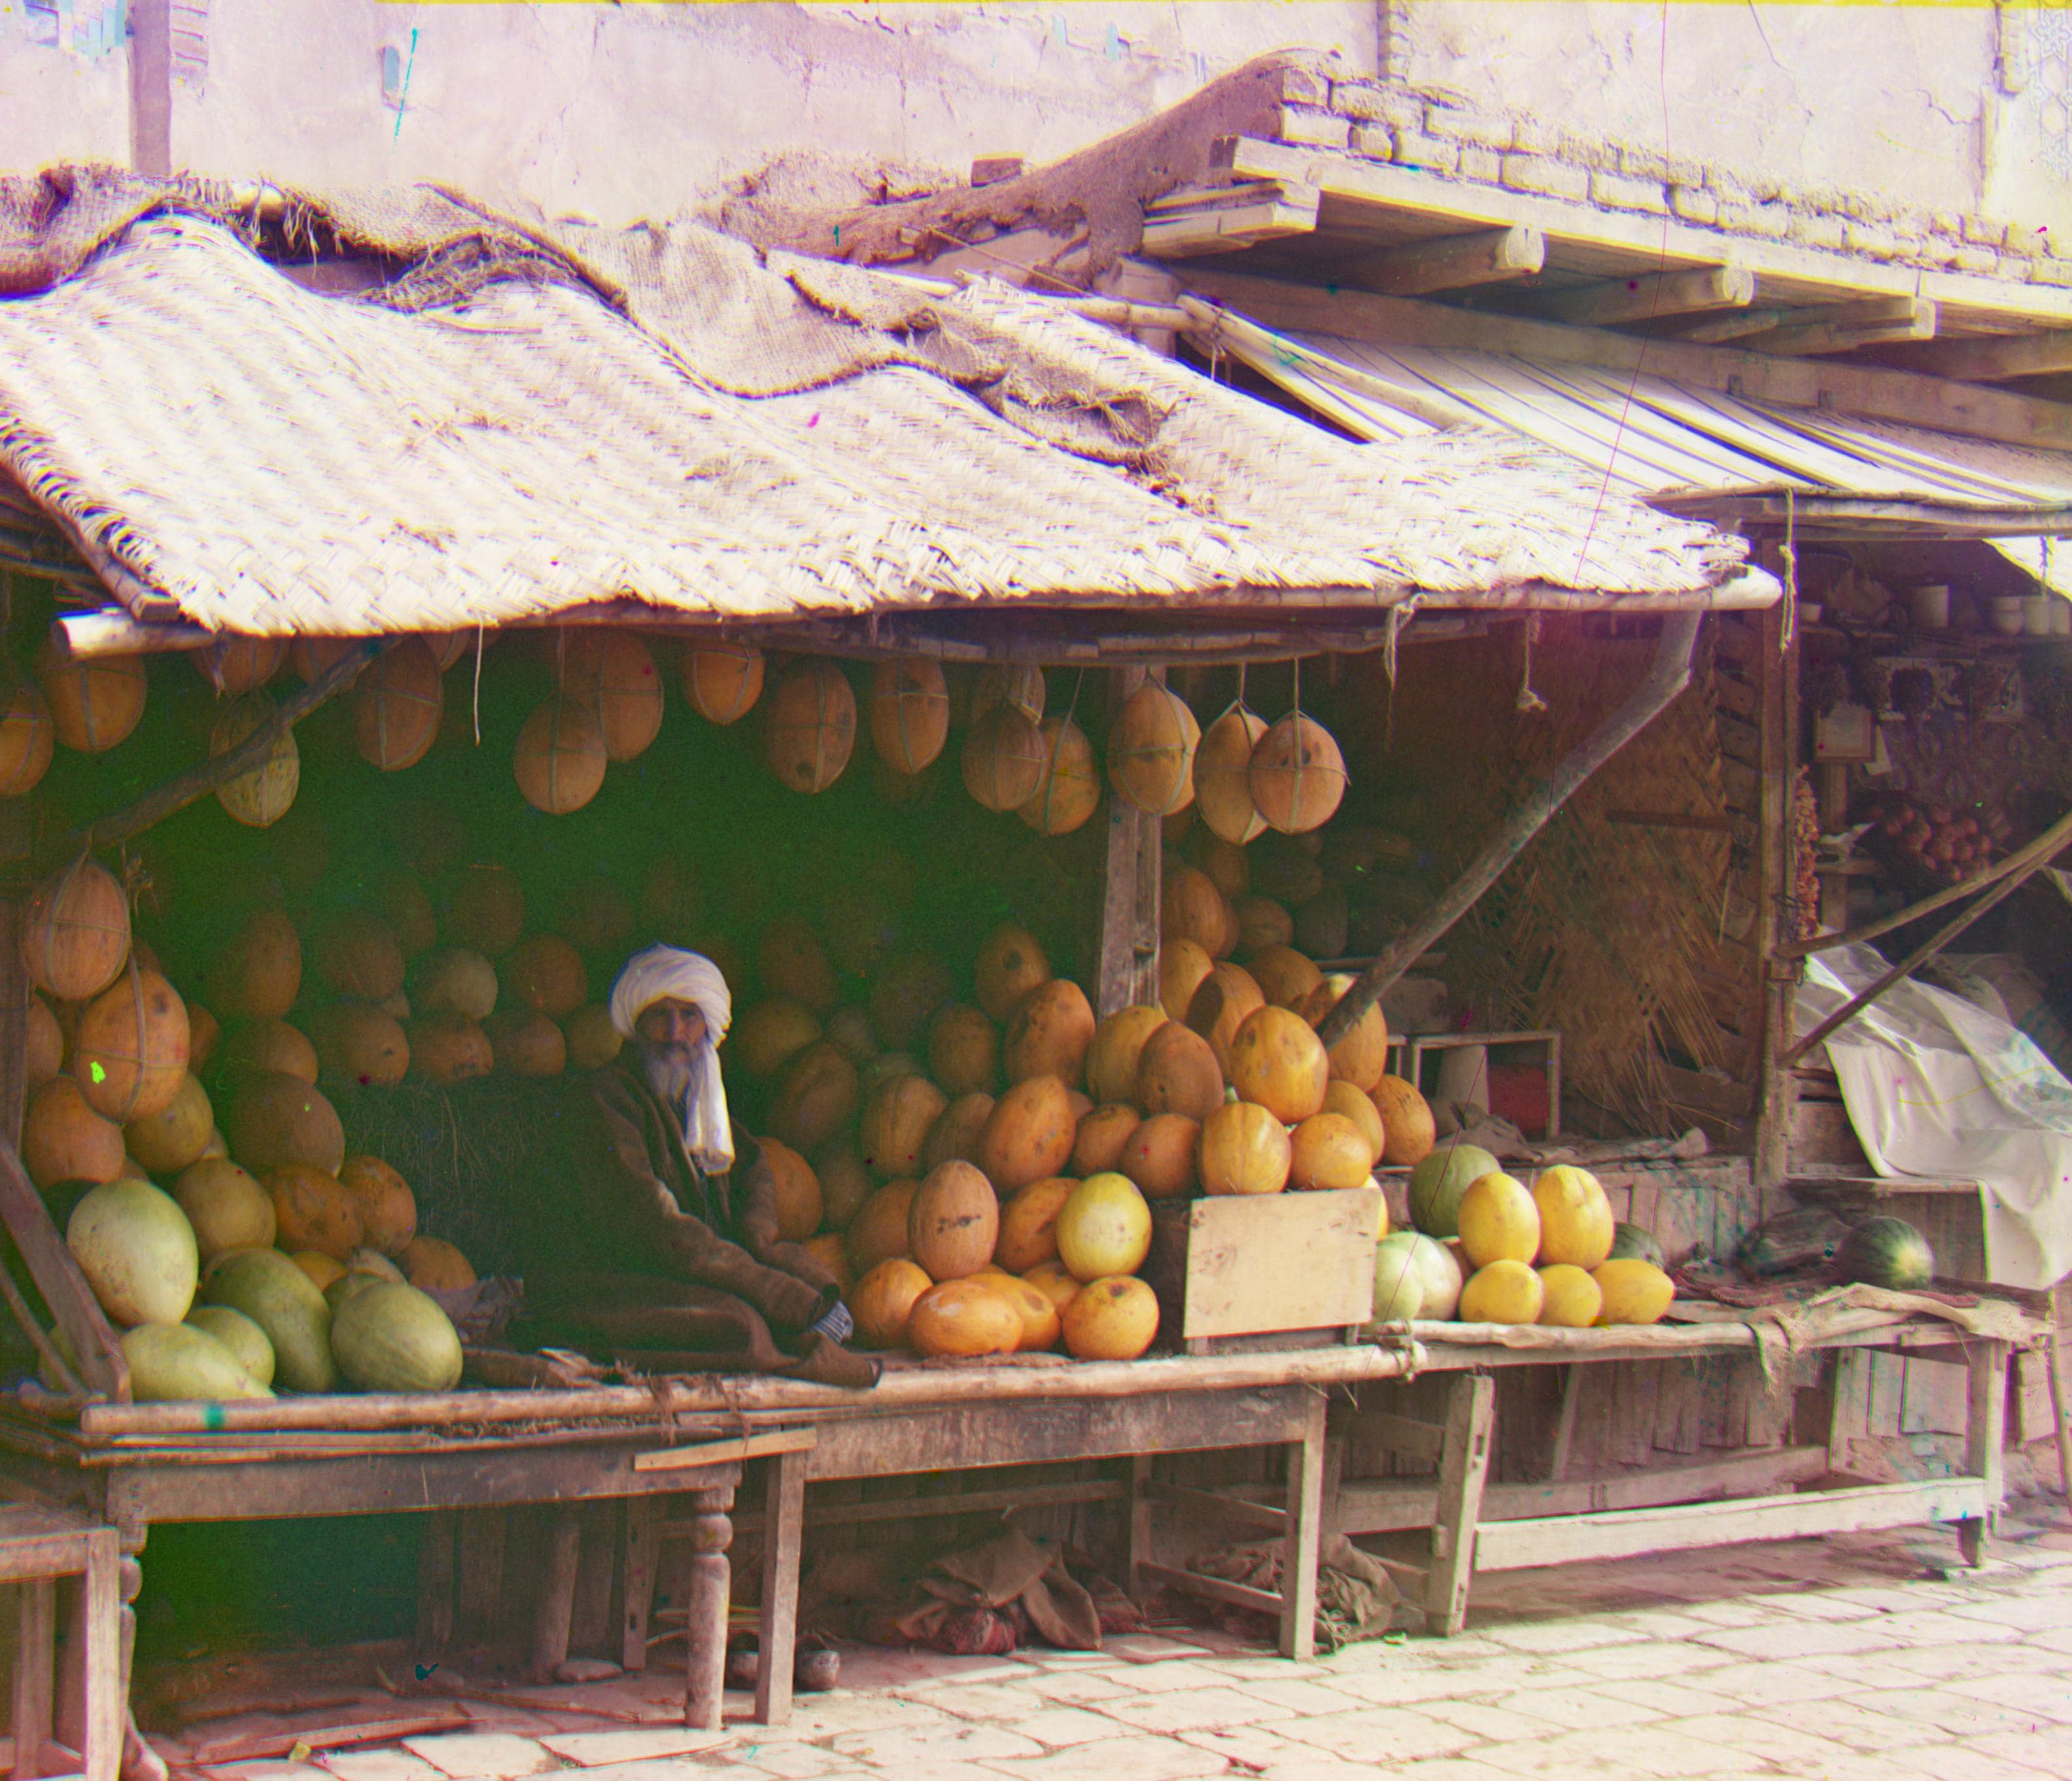
Some pictures look visibly better than the others because of the pyramid alignment algorithm. In particular melons, emir and self portrait look visibly disalligned. To counter this, I used the Canny edge detection algorithm in the OpenCV library . There seemed to be a very visible improvement in these images!
As a further improvement, I tried implementing an auto contrast function of sorts as well. What my function does is it takes the pixel values at the 8.5 percentile and the 91.5 percentile of the entire 2D array and scales the values in the entire array to the range between the 8.5th percentile value and the 91.5th percentile value. This makes the differences between pixels in this range a lot more pronounced which increases contrast. The cost is the clipped pixel values that fall in the top 8.5th percentile and bottom 8.5th percentile
. This contrast seemed to improve some of these images. Here is an example.