Overview
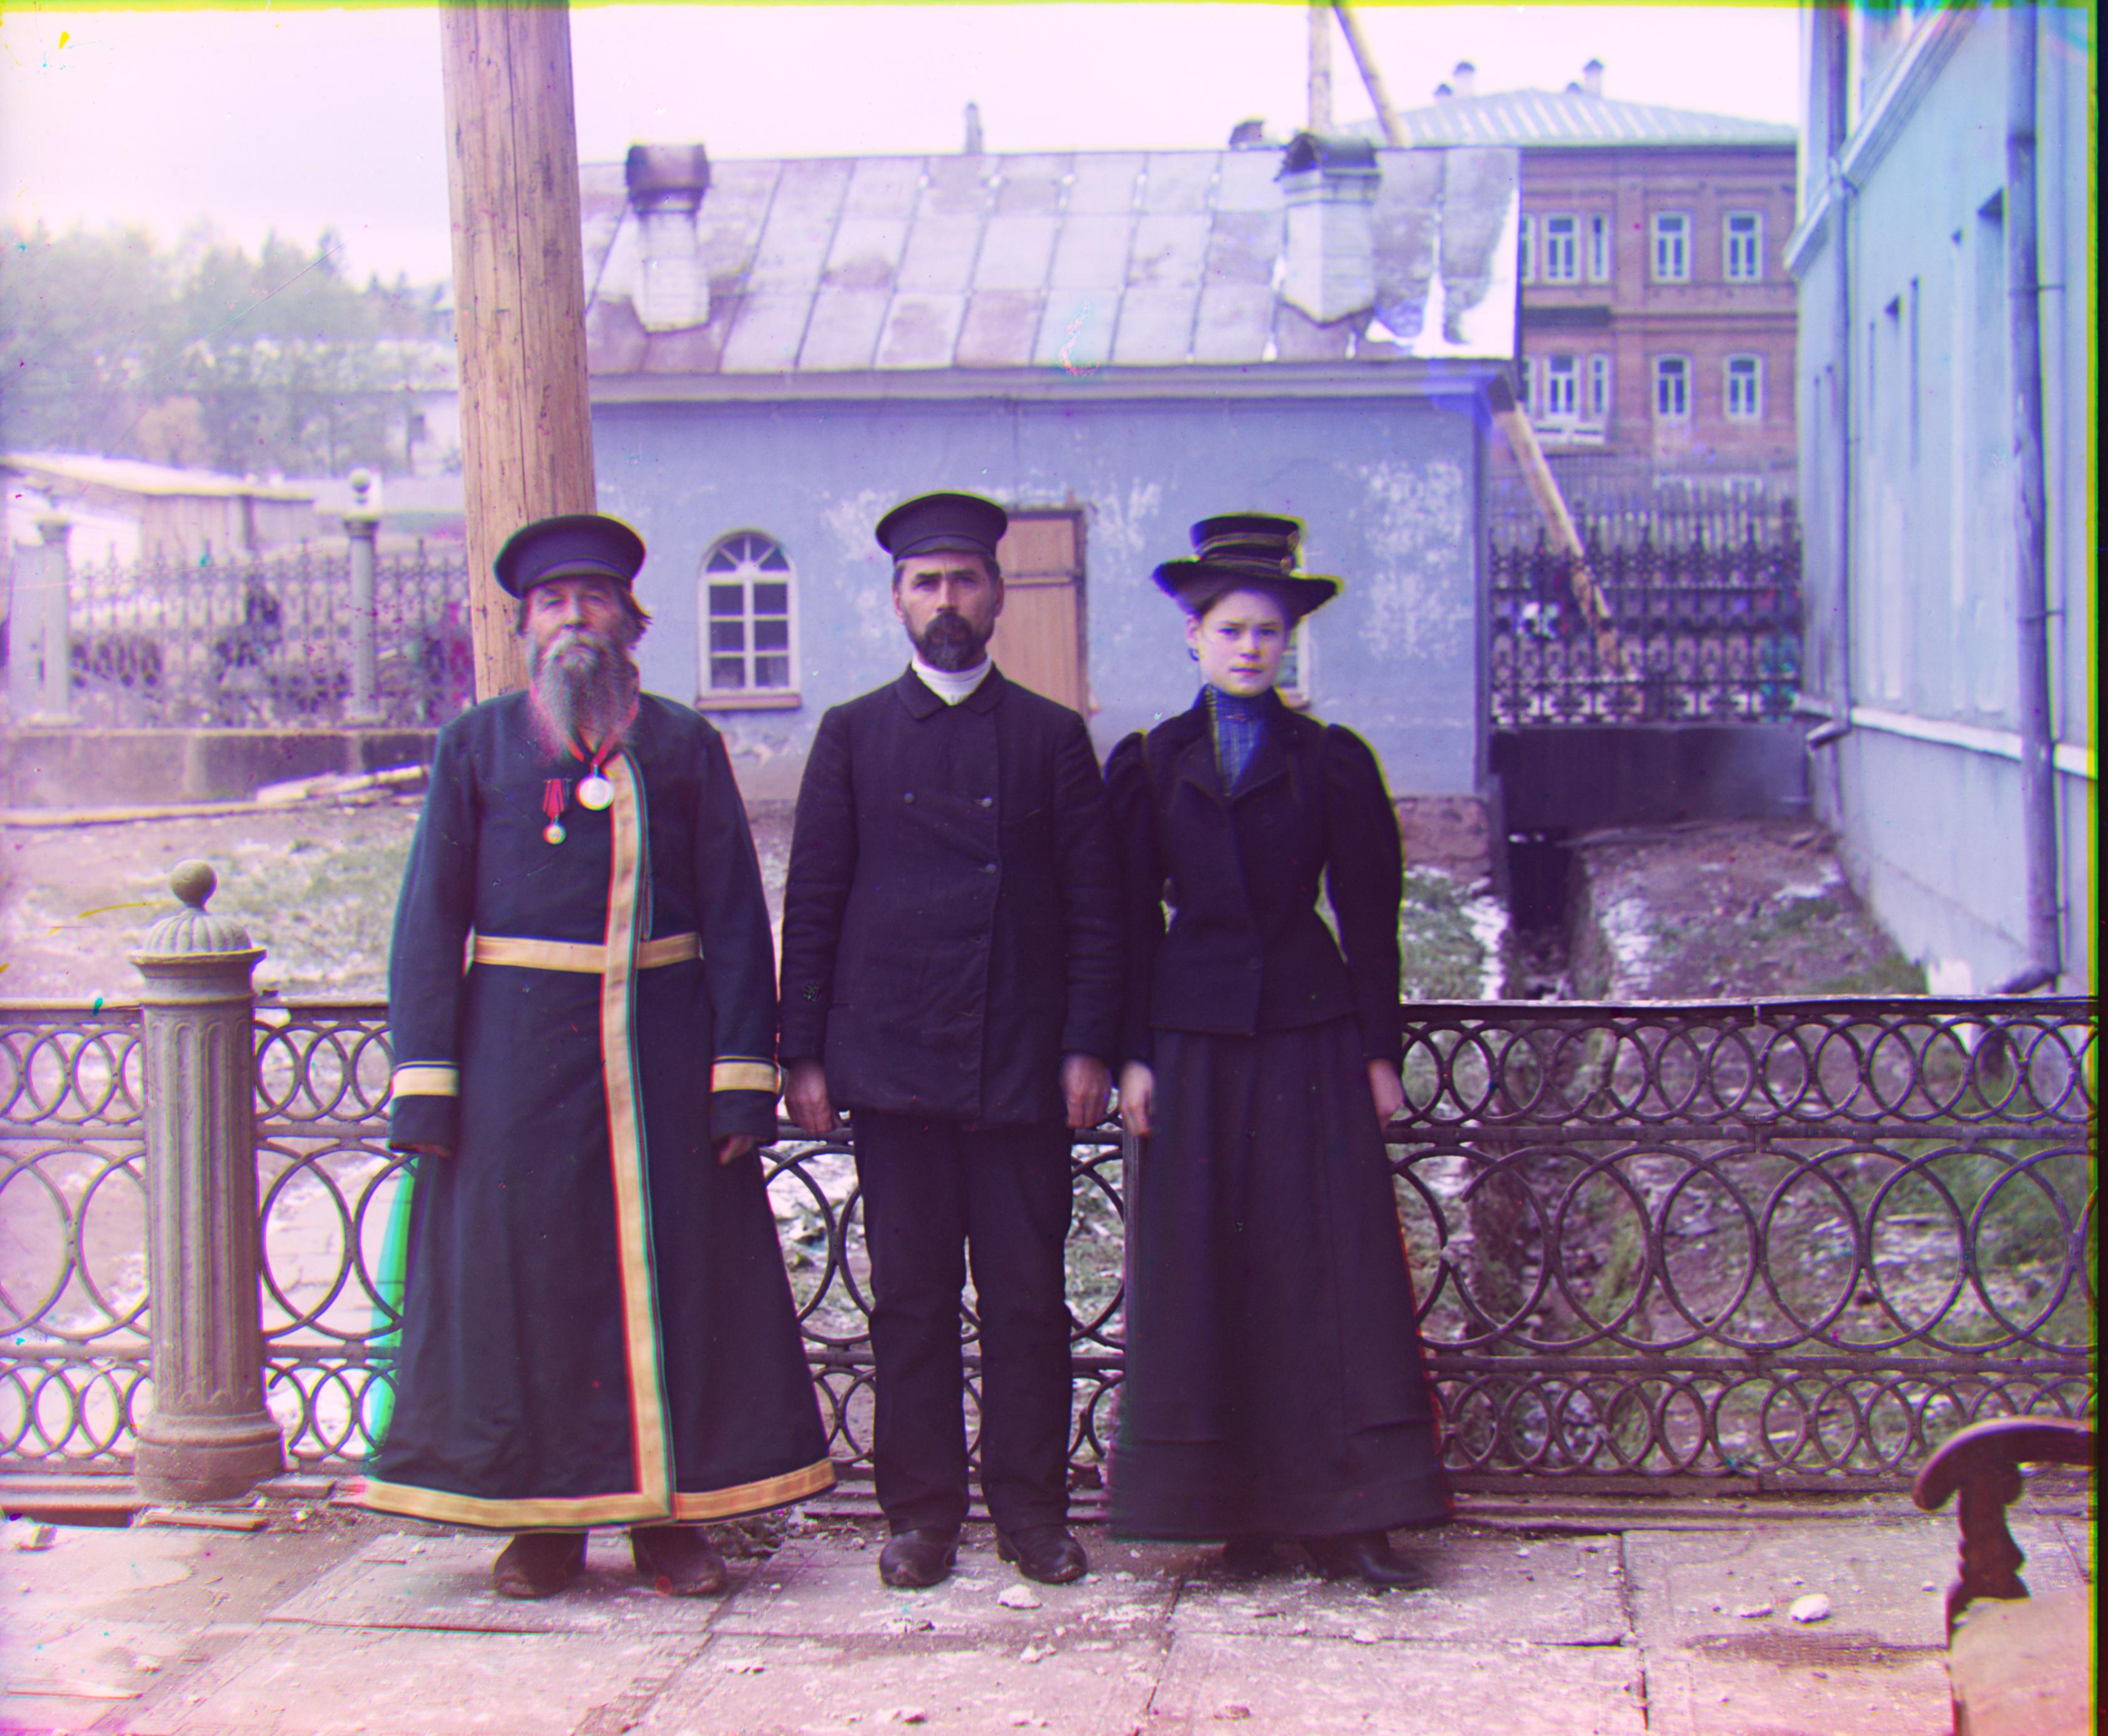
Before color photography existed, Sergei Mikhailovich Prokudin-Gorskii came up with an ingenious way to preserve color in black and white photography. In order to capture color, he took three black and white photos of every scene: one with a red filter, one with a green filter, and one with a blue filter. From these glass plate images, we can recreate color photos by extracting the three color channel images, aligning them, and overlaying them to create a single RGB color image.
Implementation
My implementation was split into three parts: image preprocessing, image alignment, and image overlay. During image preprocessing, I split the original black and white photos into three parts to extract its blue, green, and red channels. To align my image, I exhaustively searched over a range of x and y values to shift my image by. During alignment only, I used a basic crop function to get rid of irregularities at the border of each image, so that my image matching metric would be more accurate. I used the range (-15, 15) to determine the x, y values to displace my image by, and the function np.roll to shift my image. I displaced my image by each (x, y) pair, and used the sum of squared differences as my image matching metric. I found the (x, y) coordinate associated with the minimum SSD to find the best alignment. For larger tiff images, exhaustive search took far too long. To speed up the search, I implemented an image pyramid. In my image pyramid, I rescaled the image using a scale of 0.5 until the image's height was smaller than 300 pixels. I was able to find an estimate for best alignment quickly by searching on the smallest image, and using the estimate to narrow my search for the next largest image of the pyramid. Using estimates at every level, I could then quickly channel back out to the original, large image, and find its best alignment. Finally, I applied the best displacements to each image channel, and overlayed the three channels to produce a color image.
|
Bells & Whistles
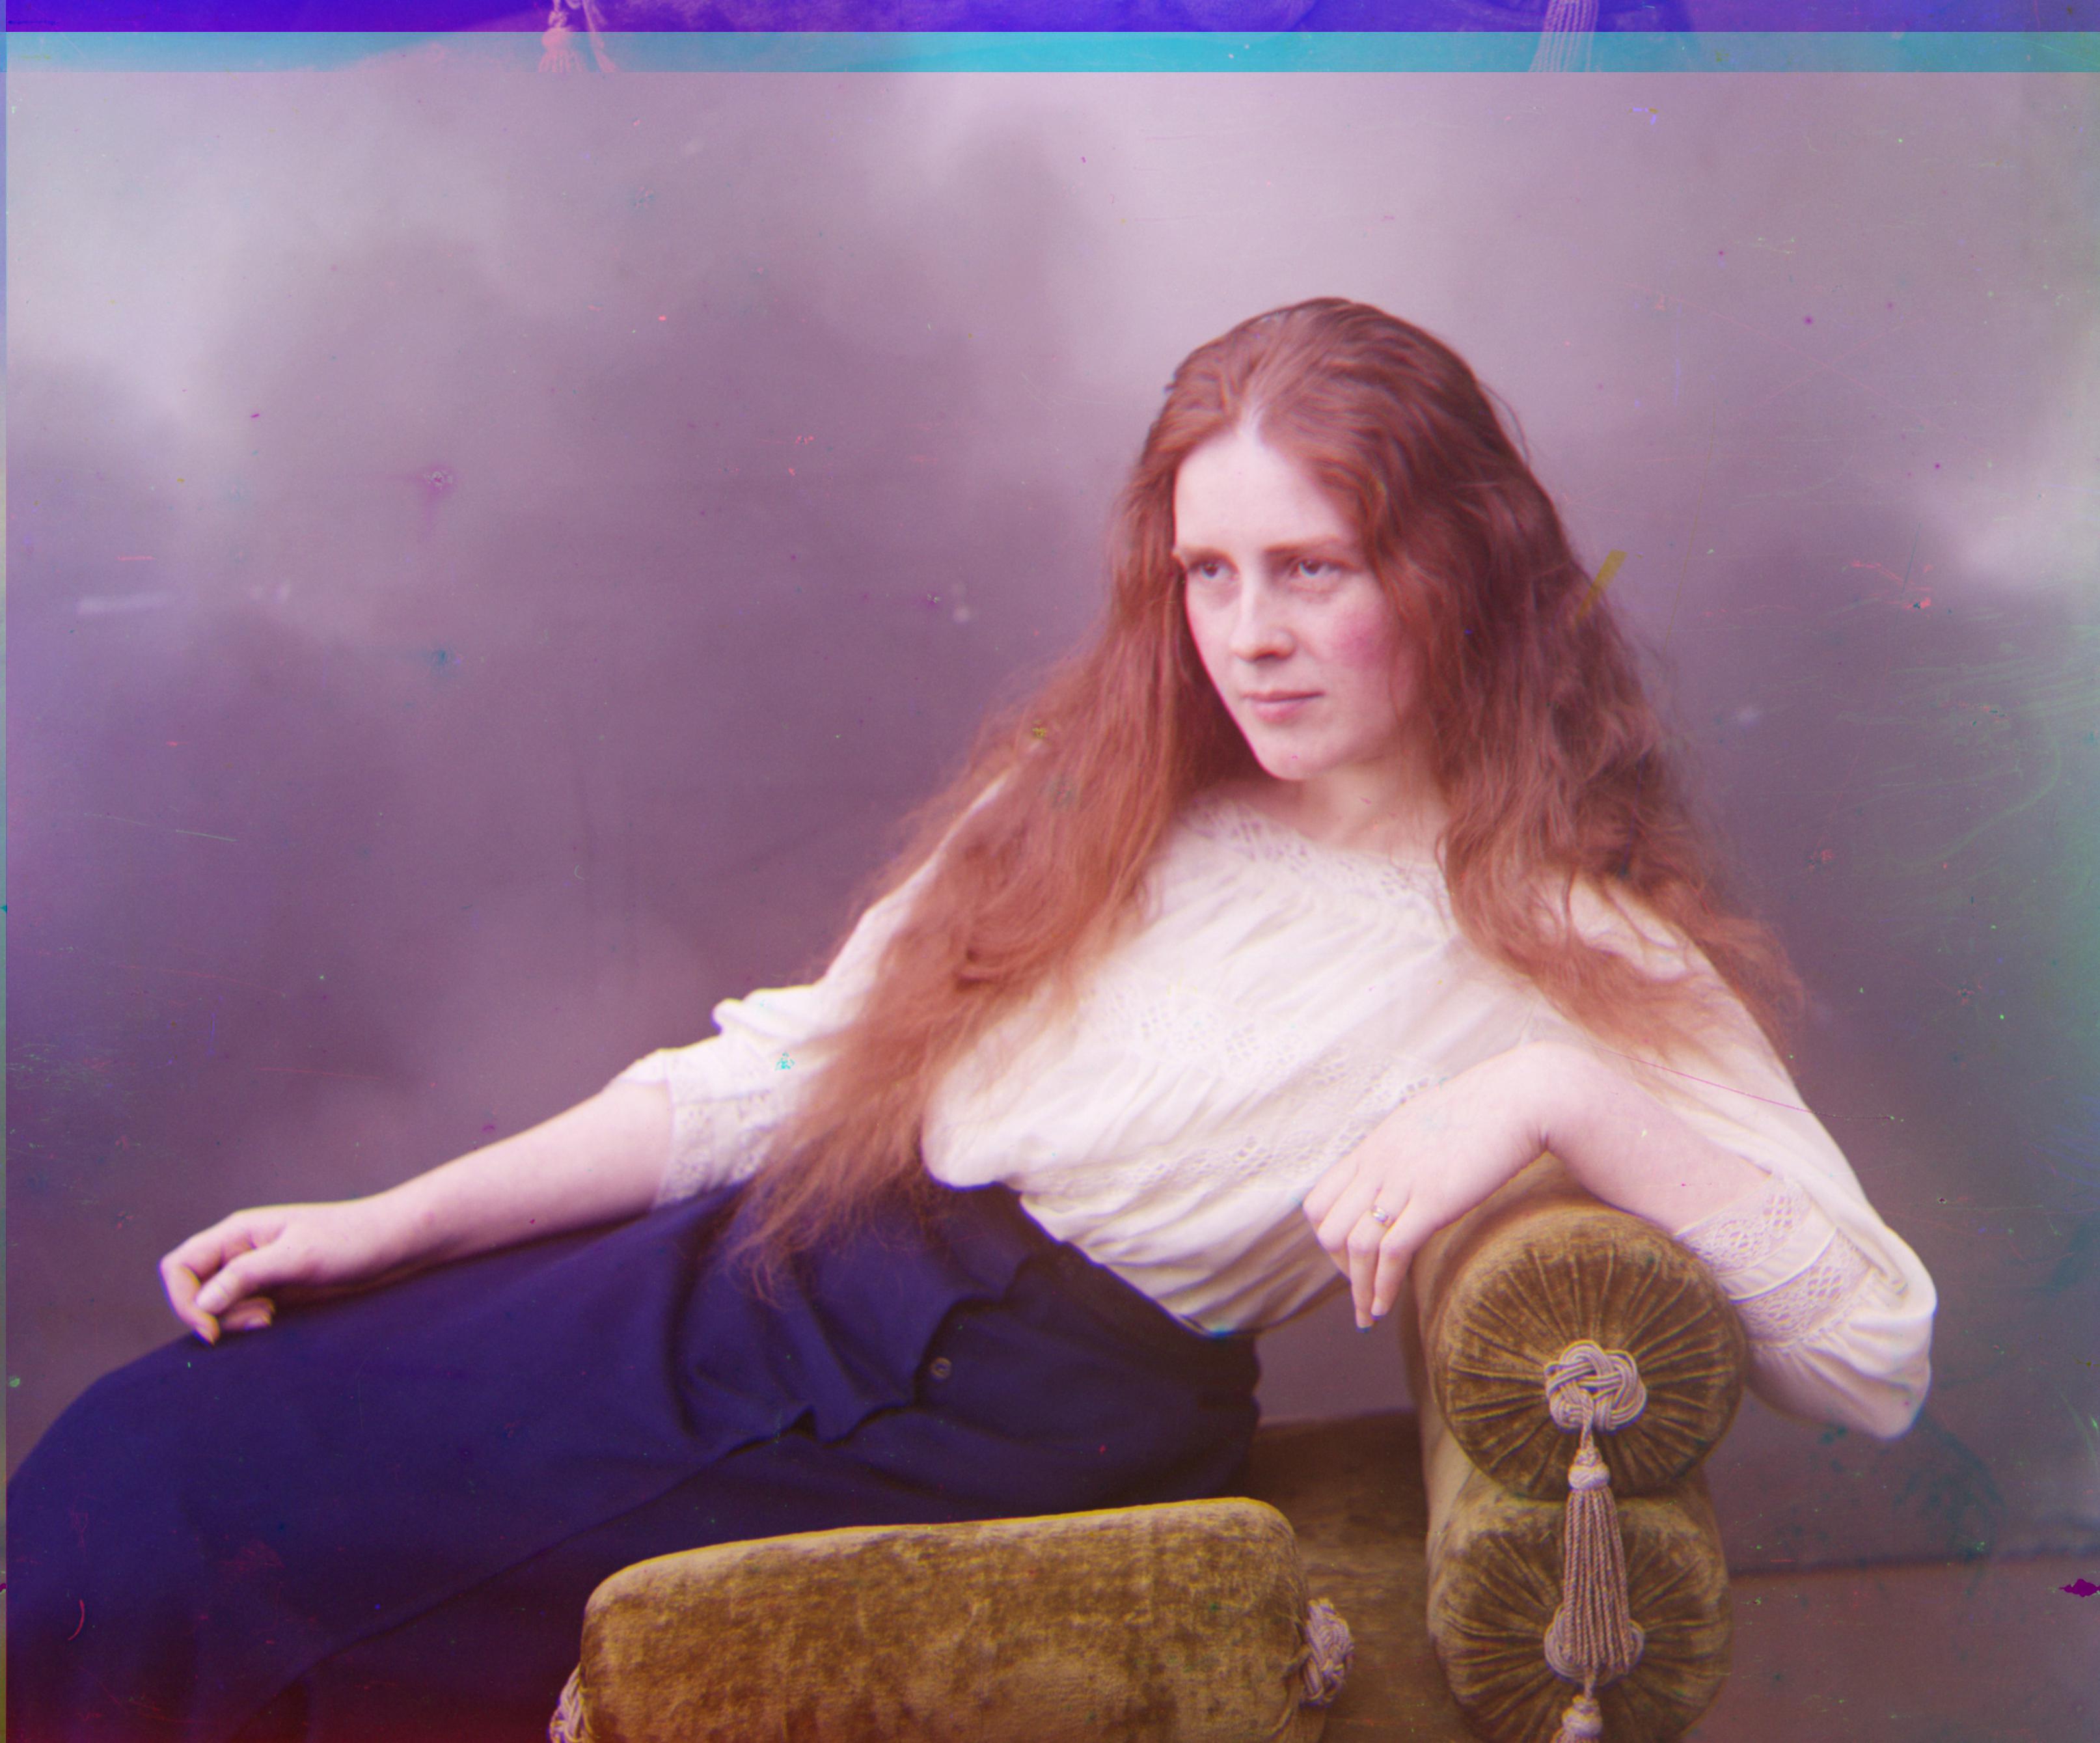
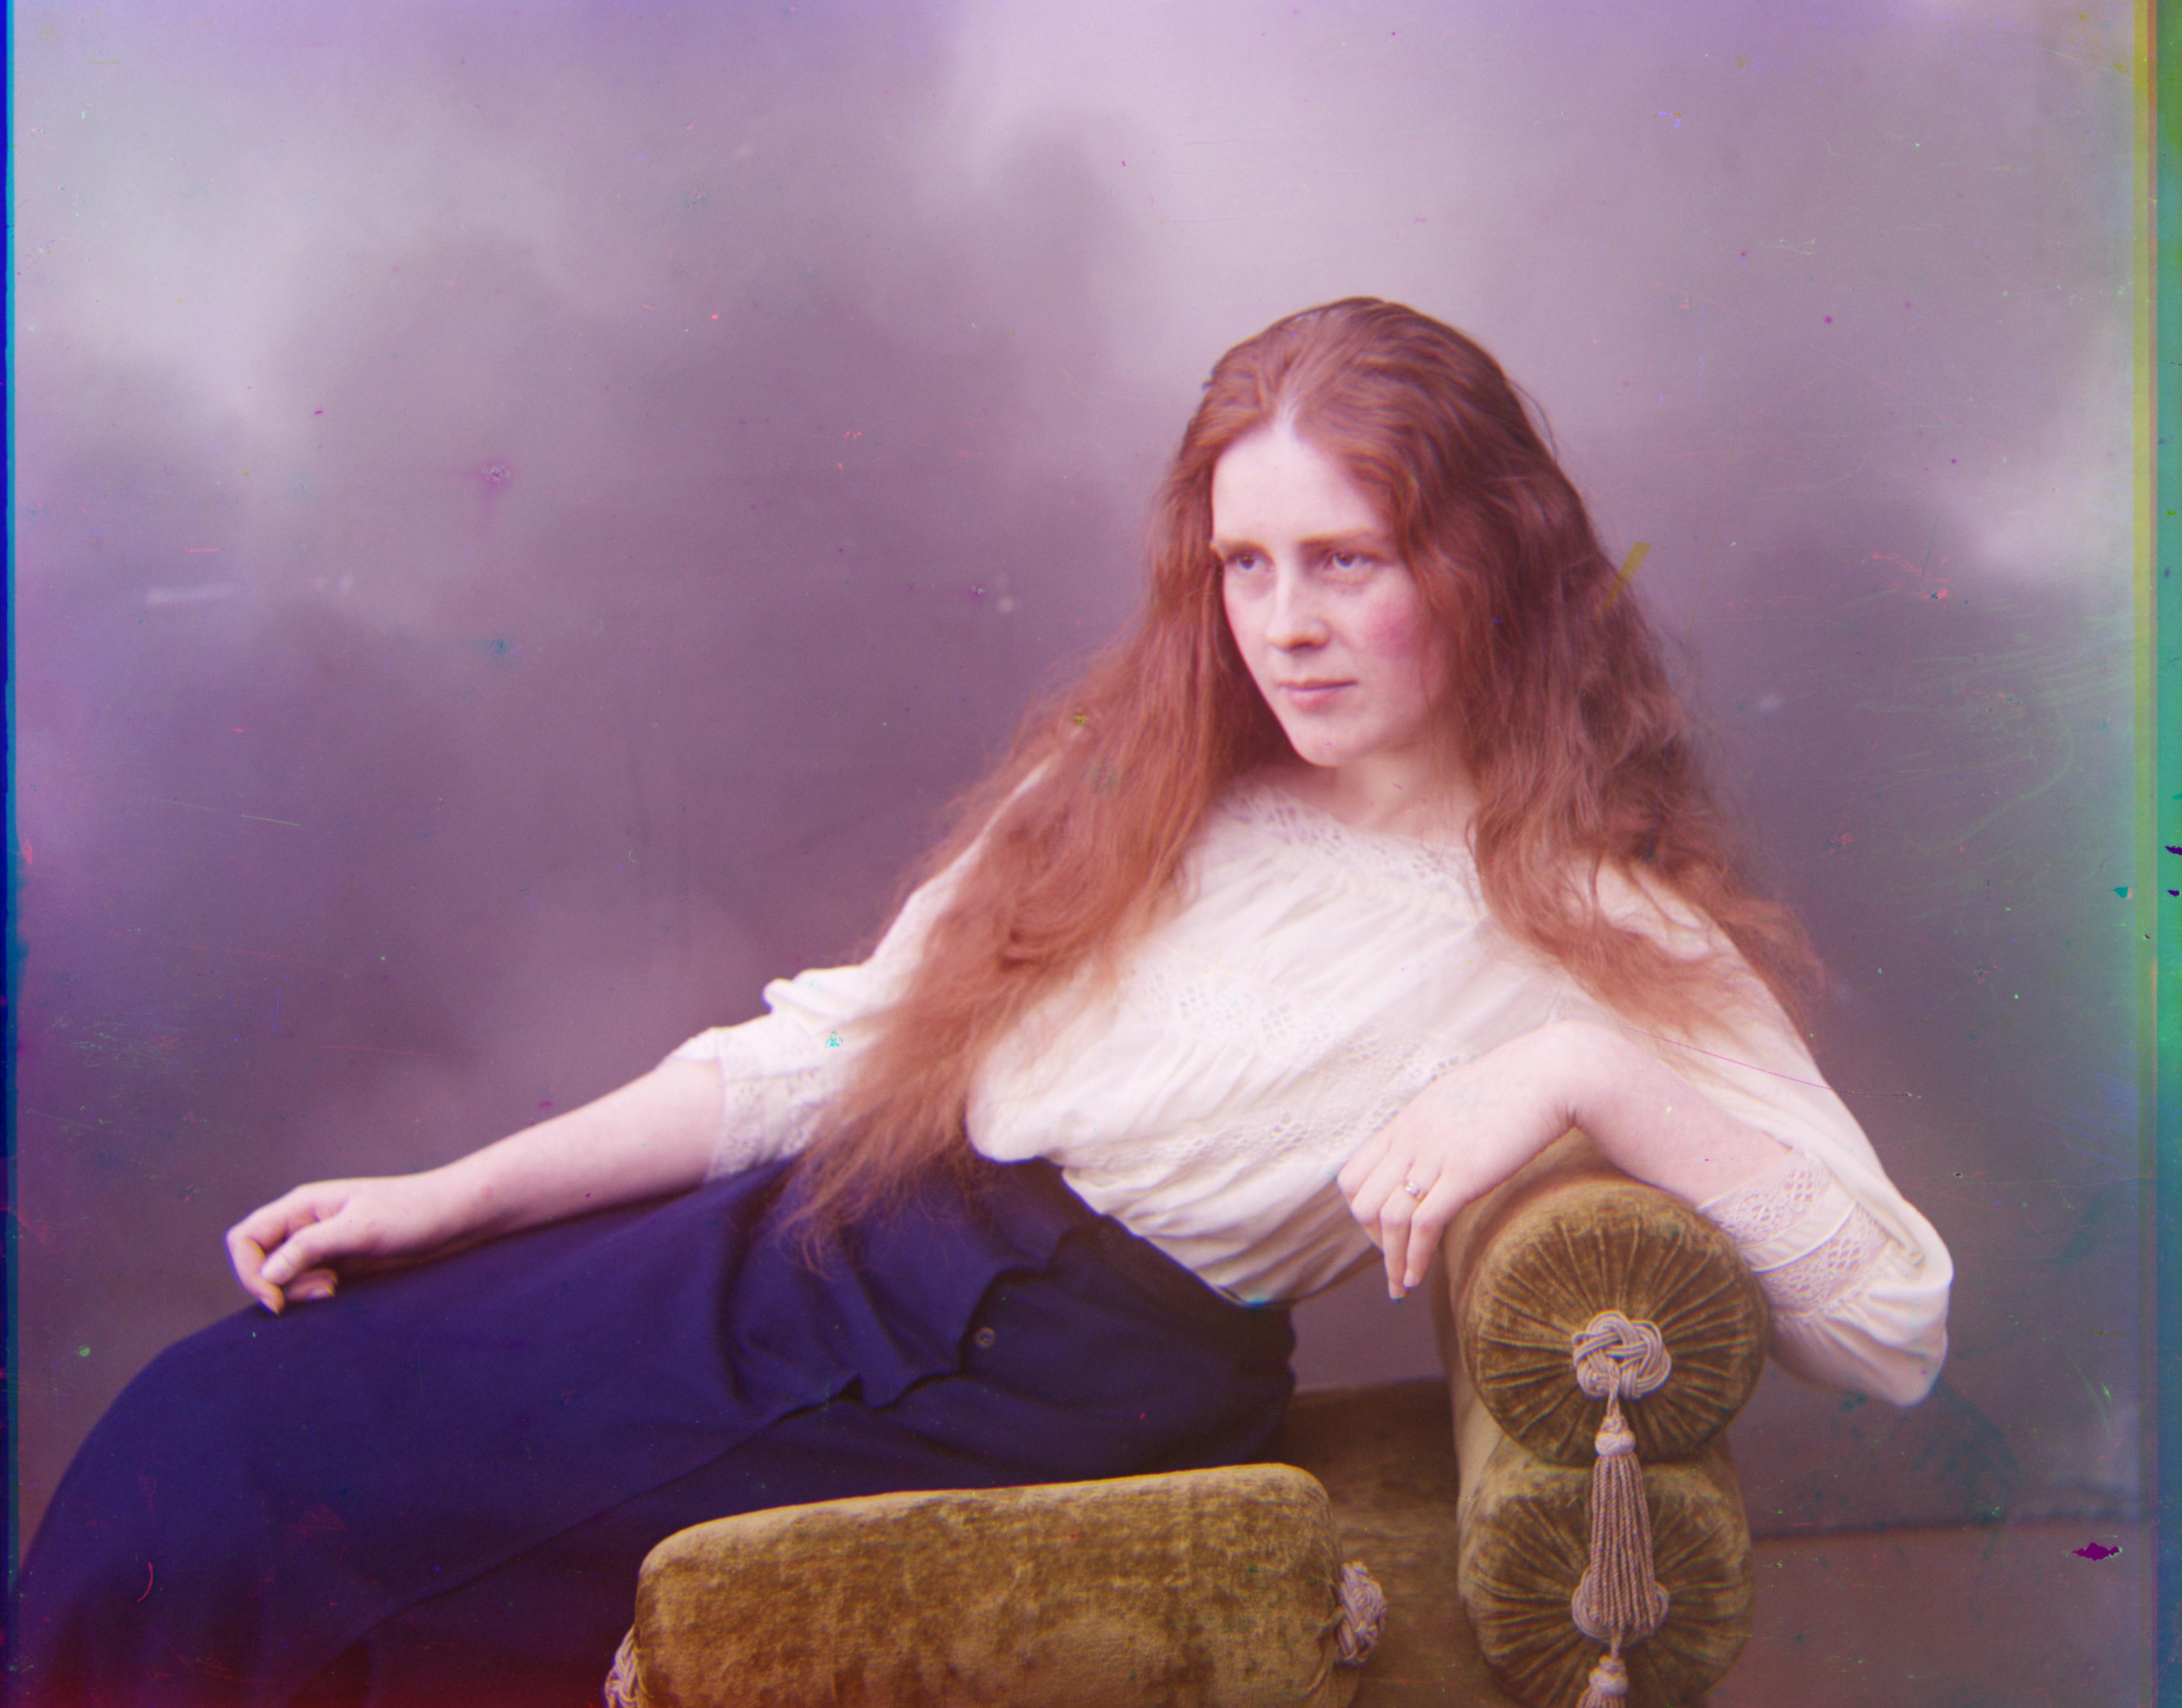
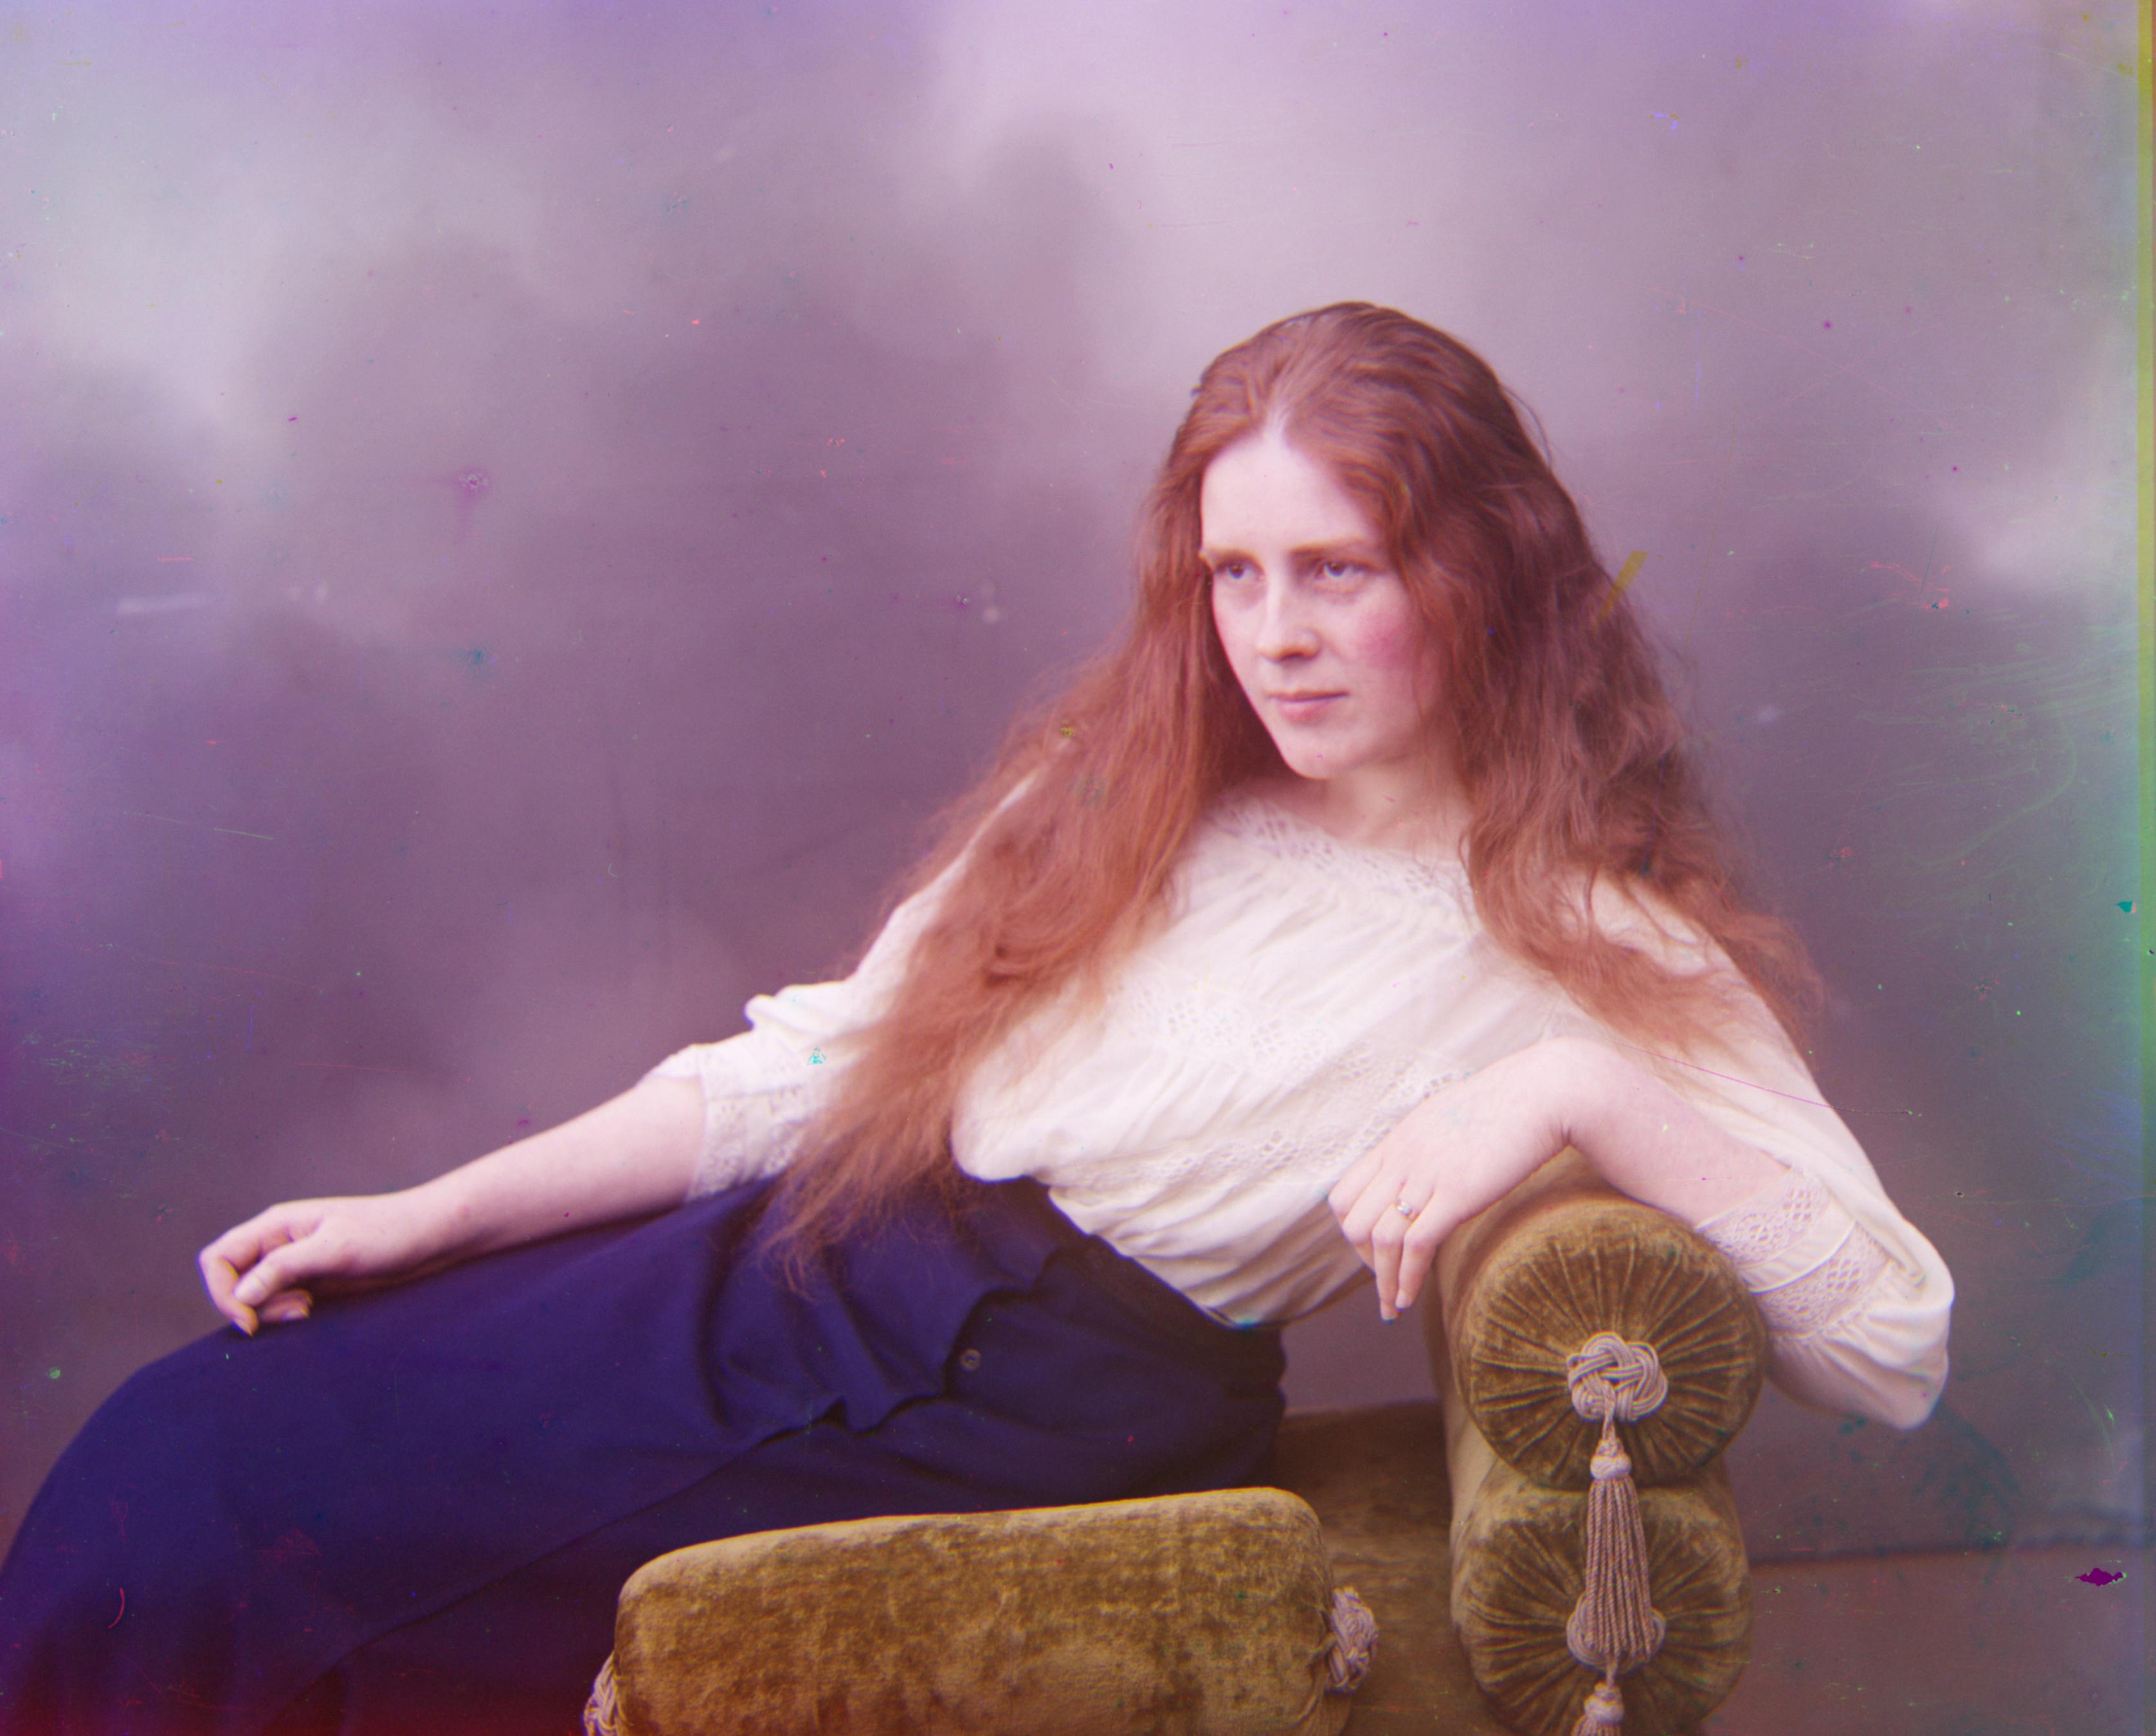
Auto White Balance
To implement automatic white balancing, I converted the image to grayscale and found its brightest pixel. Once I found its brightest pixel, I scaled the pixels of the image in accordance to its brightest pixel, so that the brightest pixel would be white.
|
|
|
|
Auto Crop
At first, I was using a basic crop function, which I utilized during alignment. The basic crop function used the dimensions of the image to take 1/14th of the image out from each border. Since the basic crop often took out more of the photo than necessary, I wanted to use an automatic cropping function to preserve as much of the image as possible. To implement automatic cropping, I began at the corner pixels for each color channel and spiraled inward until the pixel was not white or black (had a value of 1 or 0, with a threshold of 0.1). Then, I found the maximum coordinate value of each corner spiral and each color channel, and cropped all the channels uniformly based on the maximum value. I cropped the channels before alignment to make alignment quicker. After alignment, I implemented a second crop function, a rolling crop, to get rid of any discoloration caused during alignment.
|
|
|
|
|
Difficulties
At first during image alignment, I was searching for the best vertical displacement alone, and then the best horizontal displacement after, instead of searching for all displacements in the (x,y) ranges. Because I was not using an exhaustive search, alignment was inaccurate.
|
|
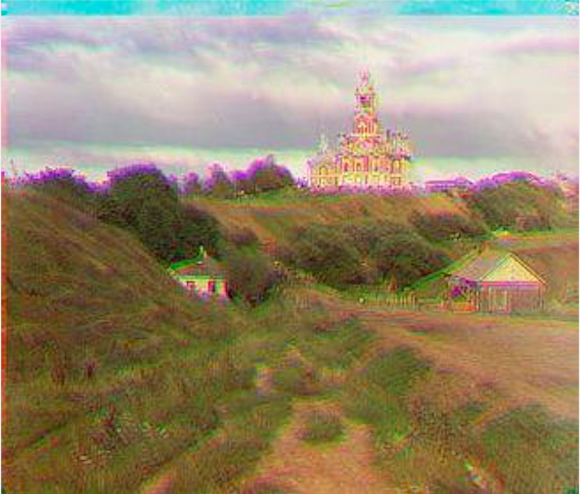
When first implementing autocrop, I was unable to completely remove the black borders from the photos. Upon closer inspection, I realized this was because the borders were not entirely black, likely due to fading or wear on the original, physical image. To compensate for this, I multiplied the horizontal crop dimensions found from my autocrop function by a factor of 1.5, and rounded it to the nearest integer.
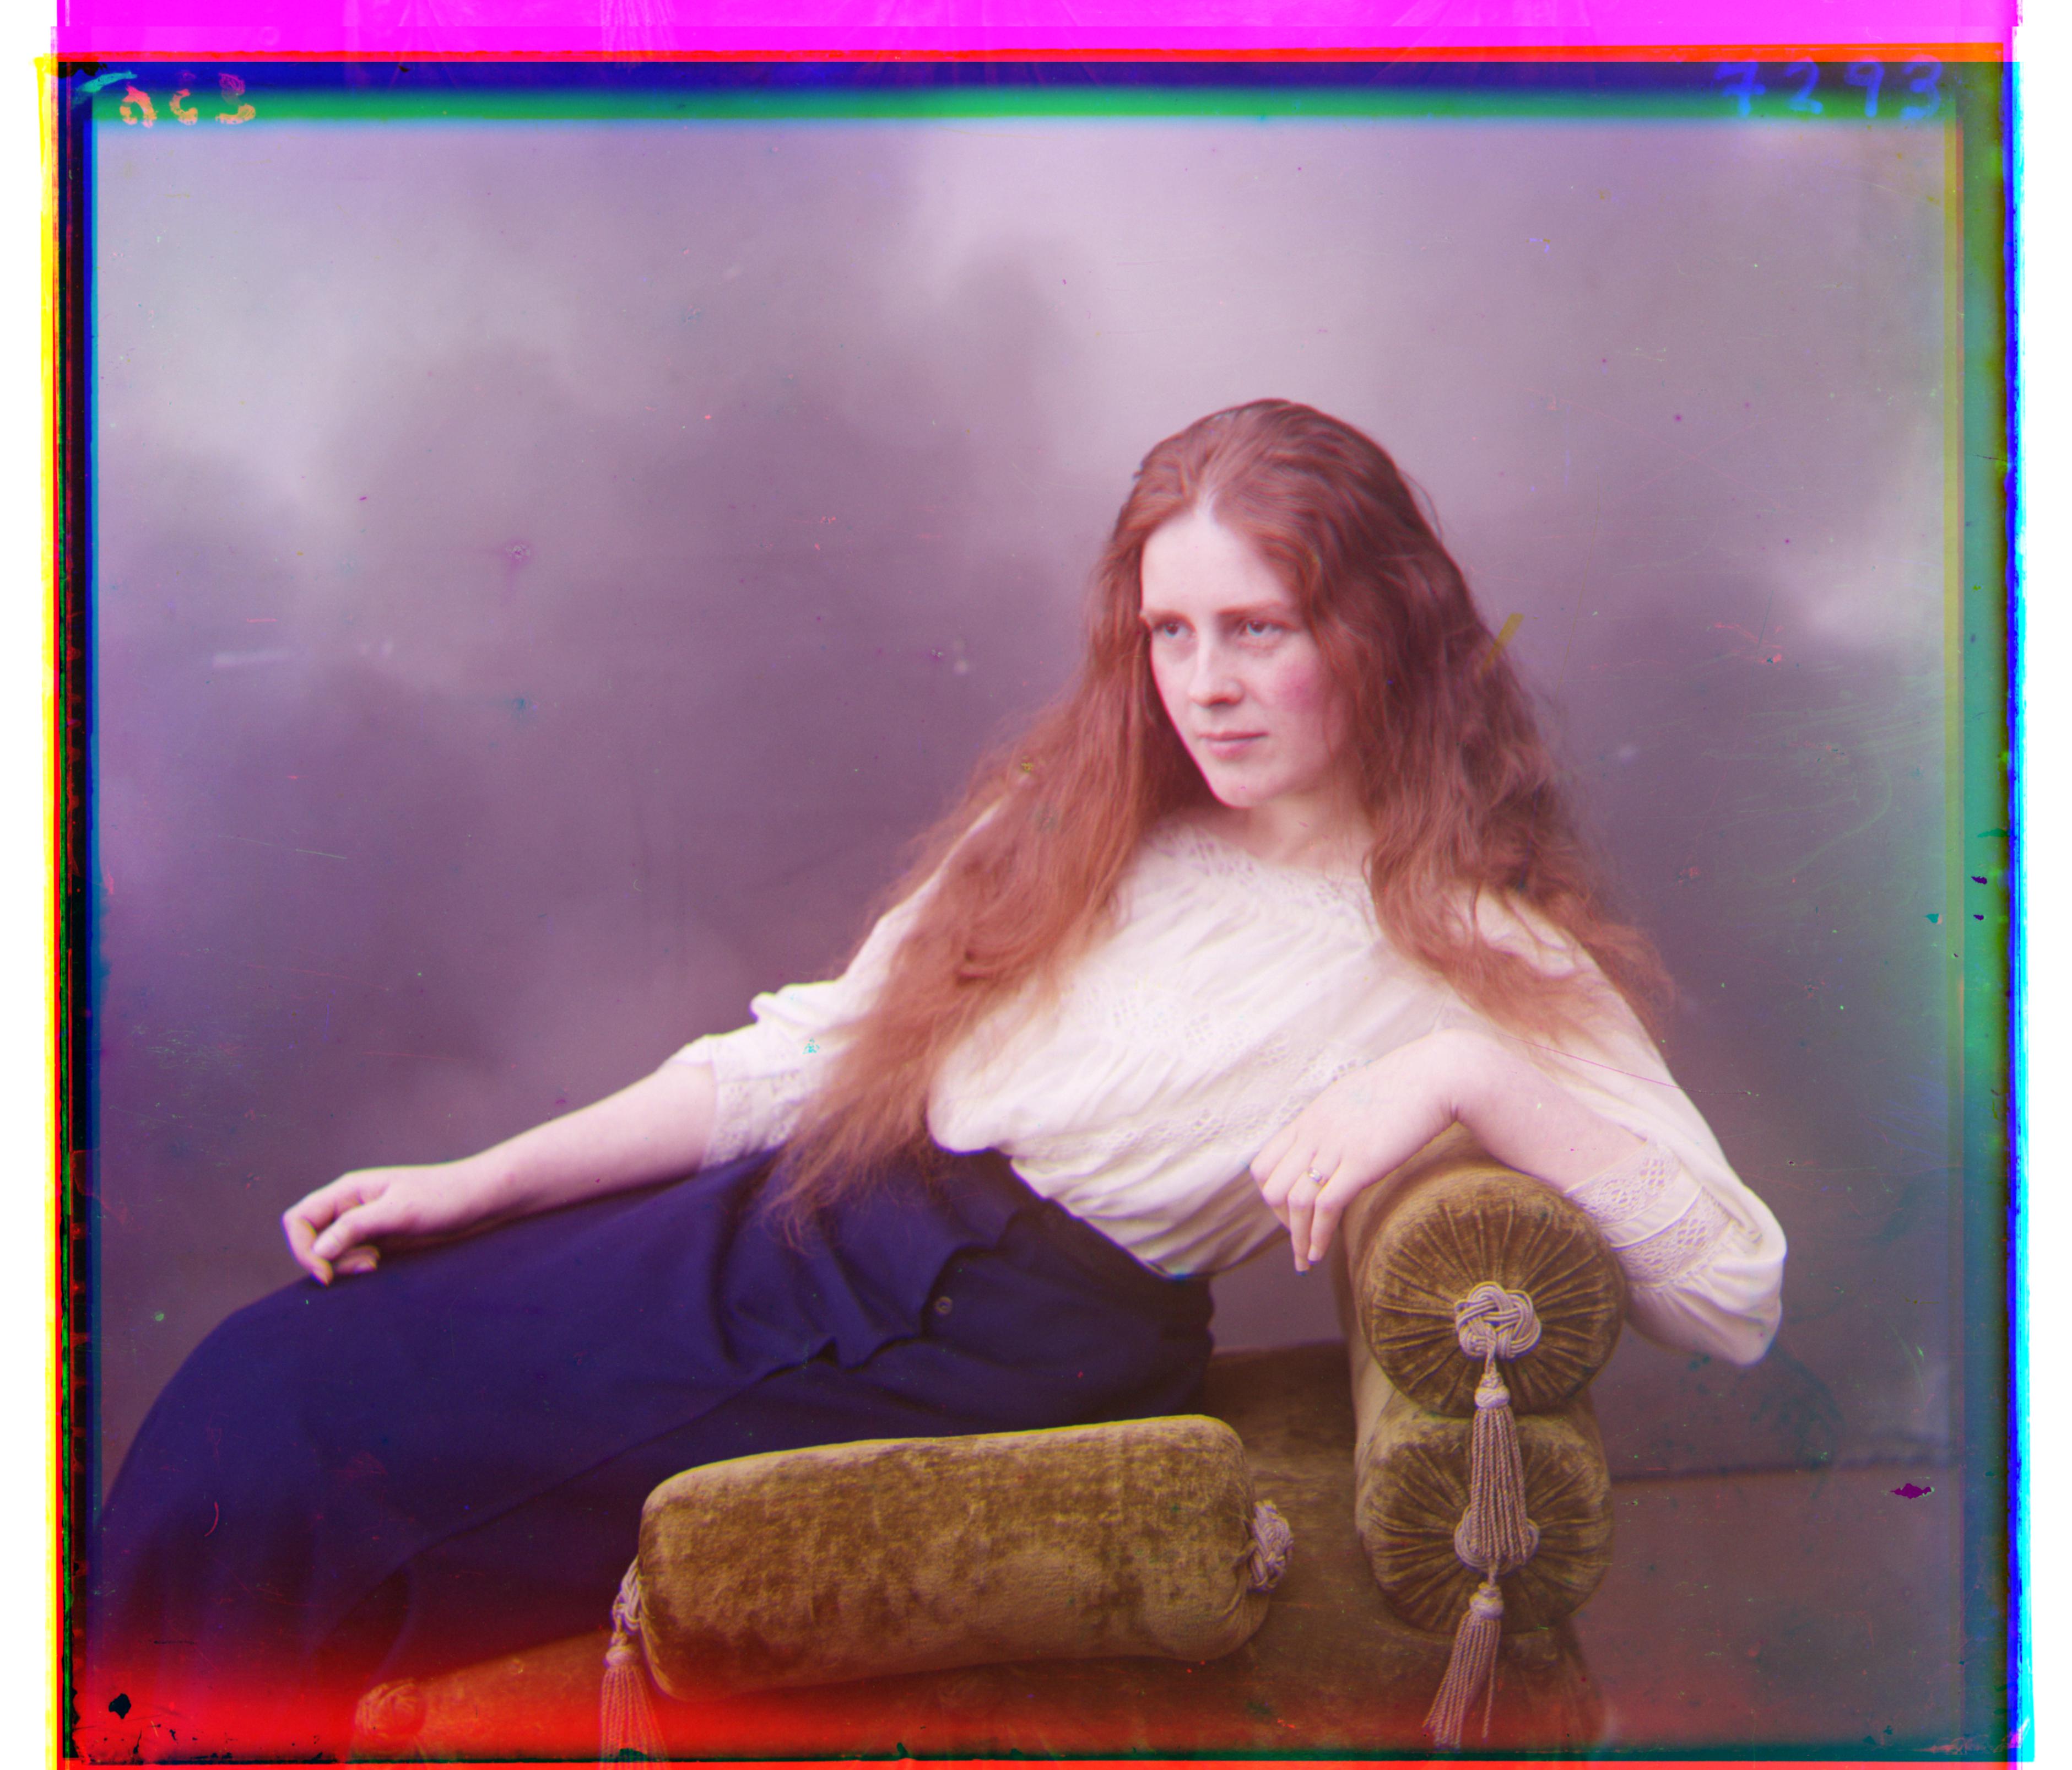
While I was able to quickly resolve the alignment and cropping issues, I could not successfully align the emir.tif image. Because the emir image has different brightness for its channels, and because of the emir's bright and colorful dress, alignment using the SSD metric was unsuccessful and difficult to fix without also adjusting the brightness and color of the three channels.

|
Favorite Photo
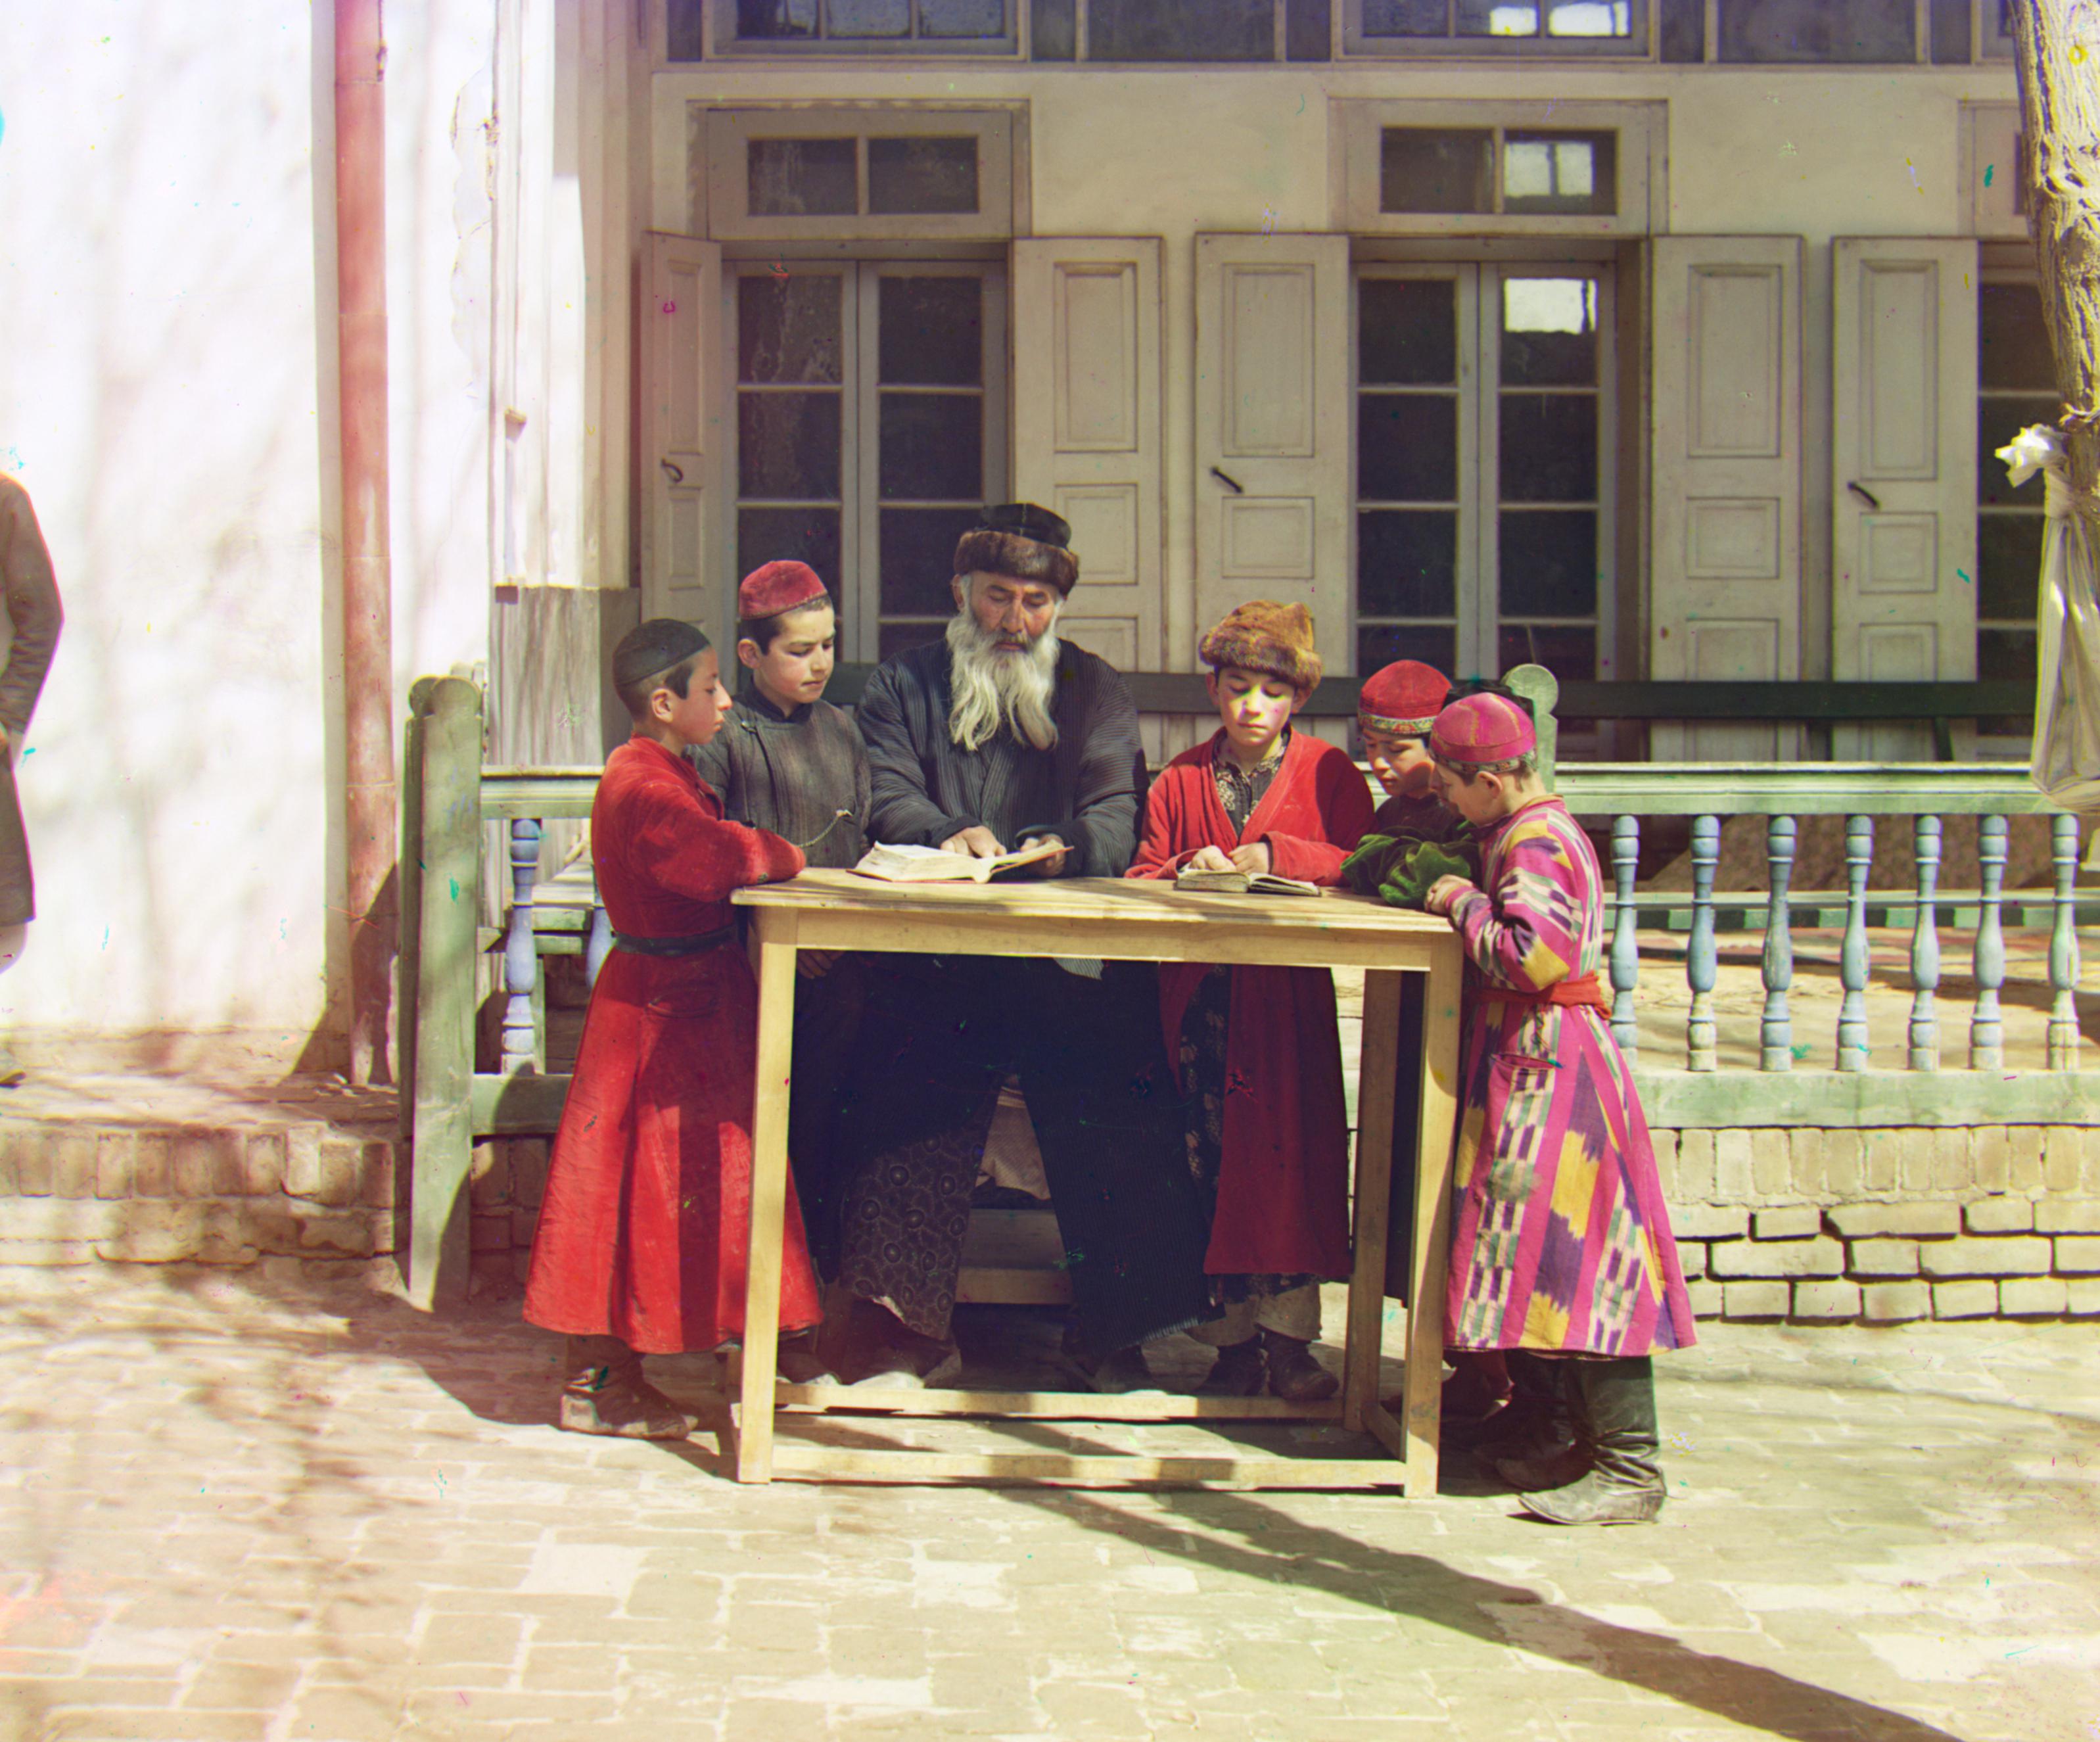
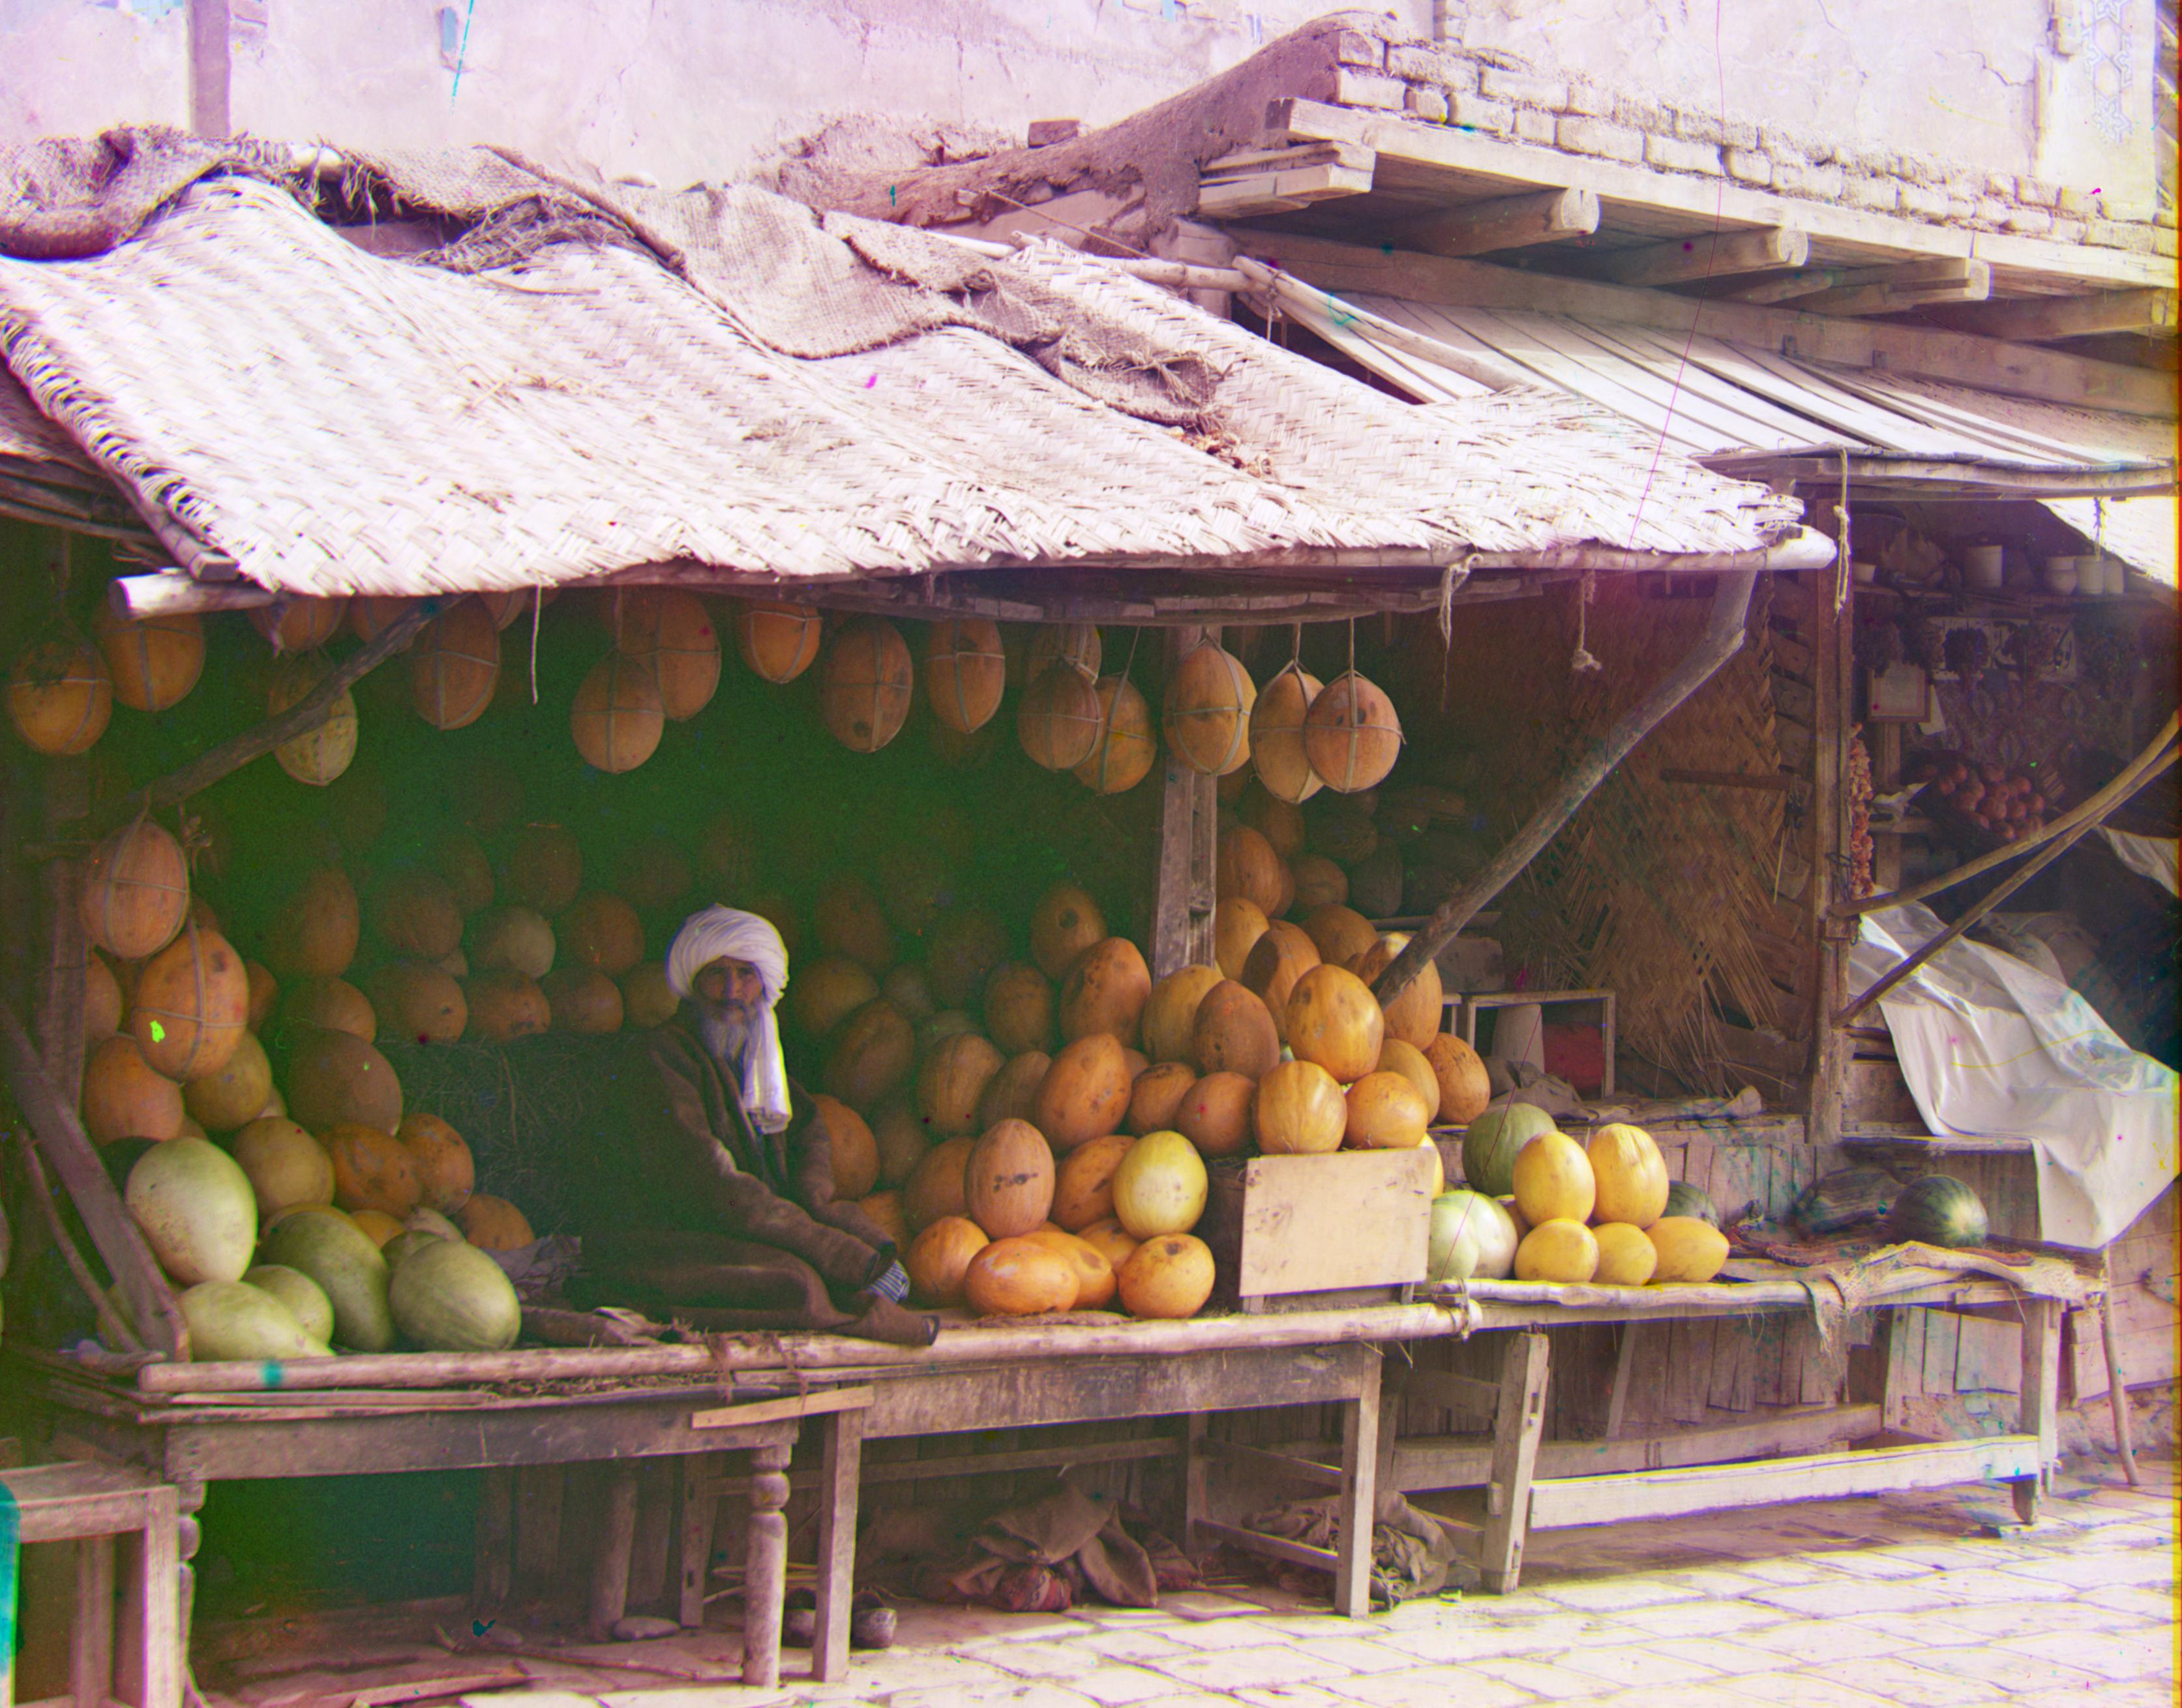
Before working on this project, my housemate had developed a special interest in the Prokudin-Gorskii collection, due to the fact that her family is from Central Asia and the collection demonstrates everyday life prior to Soviet influence. As a Jewish person from Tajikistan, she was drawn to a particular photo because of how it exhibits traditional cultural practices of Central Asian Jews that are often forgetten after Soviet rule and the diaspora of the 1990s. This photo is reproduced below and is my favorite photo that I colorized. Not only does it have a special connection through my housemate's interest in the collection, but the bright colors, crisp lines, and crooked table centered in the photo make it especially aesthetically appealing.
|
Gallery
|
|

|
|
|

|
|
|
|
|
|
|

|
|
|

|