Project 2
By Samuel Sunghun Lee [CS194-26 - Fall 2020]
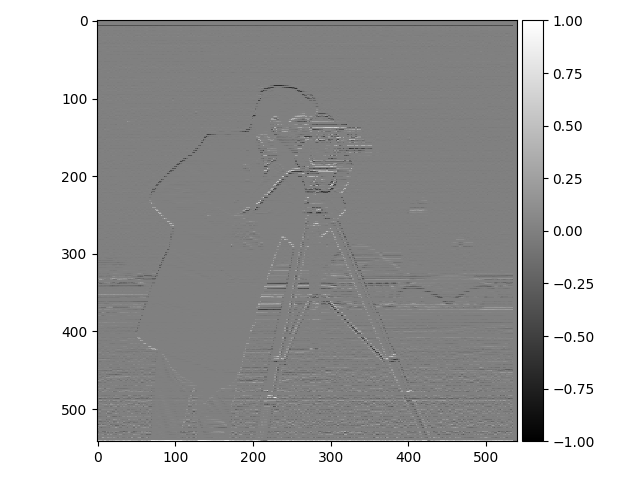
Part 1.1: Finite Difference Operator
We apply both the difference operators for the x (DX) and y (DY) directions. We apply this to the given cameraman photo from the website.
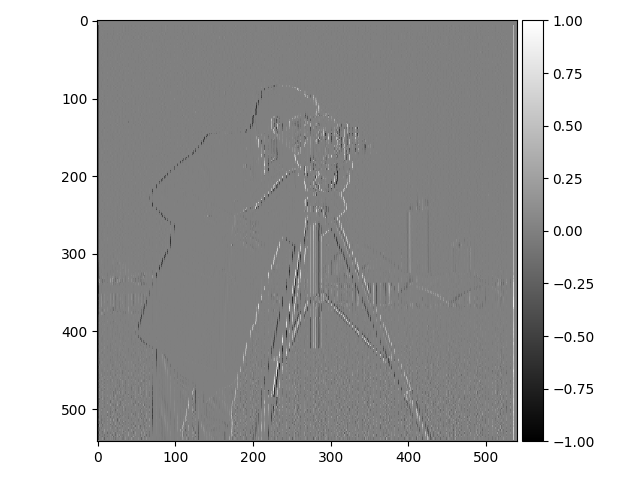
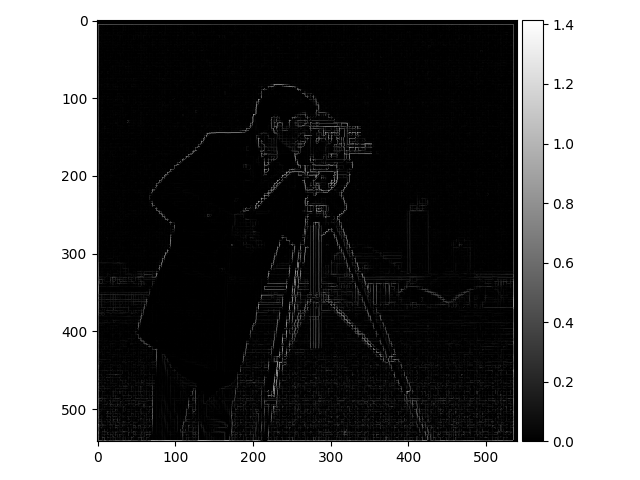
We can use these two difference operators DX and DY to compute the SQRT(x^2 + y^2) to show the follow image
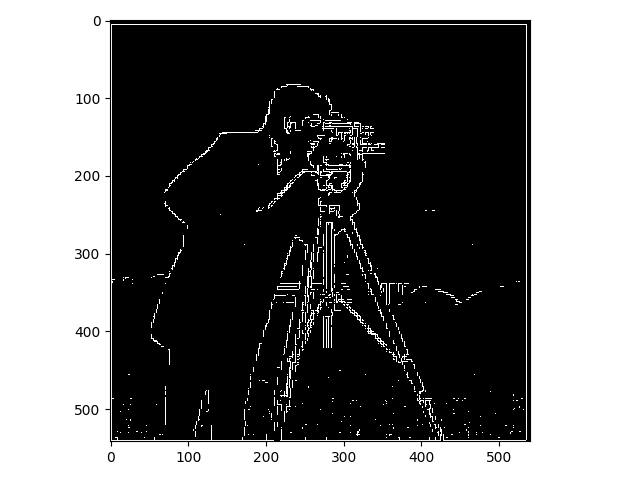
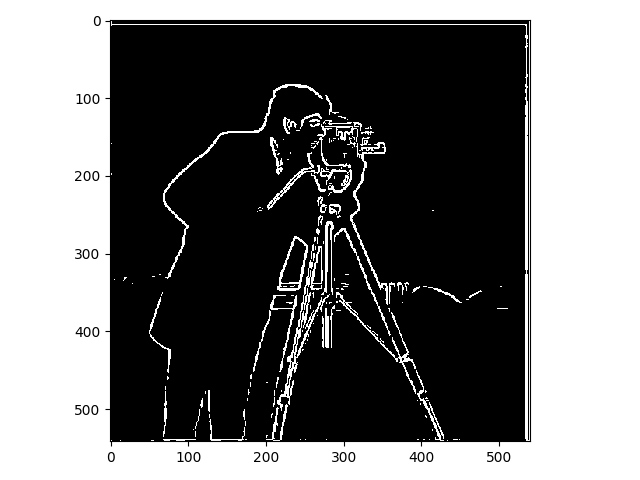
Now can use binarize the image above, by playing around with thresholds. We
use the threshhold 0.14 in this case to maximize and binarize the image so that
we can make the outlines more distinct.
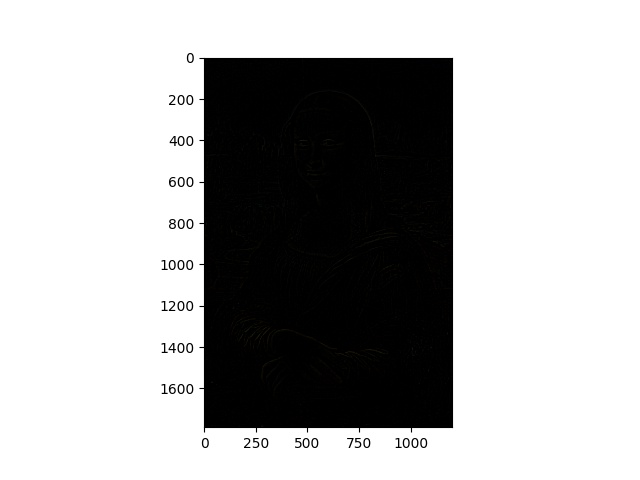
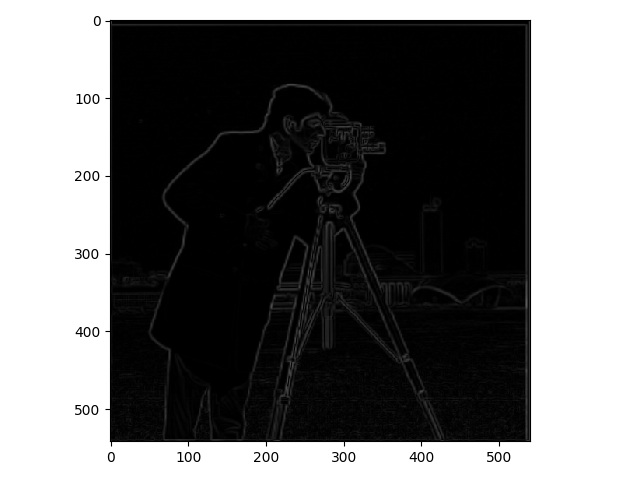
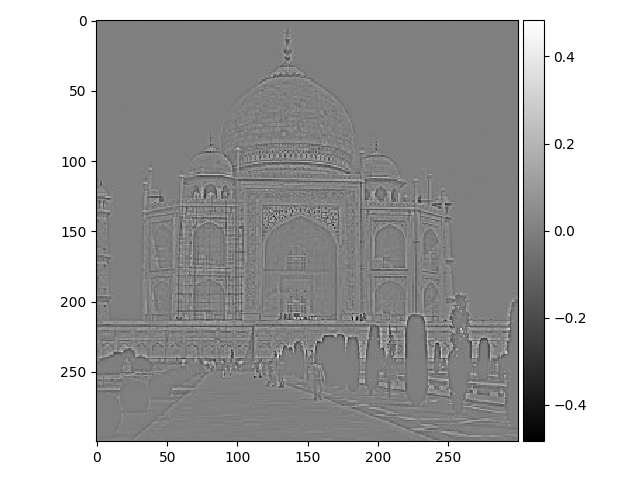
Part 1.2: Derivative of Gaussian (DoG) Filter
Now we will use the Gaussian Kernal by making a 2D Kernal with size 7 and with sigma=1.0. Then, we convolve the image with the same technique as the previous part and see a significant better result due to the smoothing from the Gaussian Kernal. The DIFFERENCE is seen through the smoothing. The smoothing allows
for noisy pixels to be removed and blend in after binarization. This makes
the image more aesthetically pleasing.
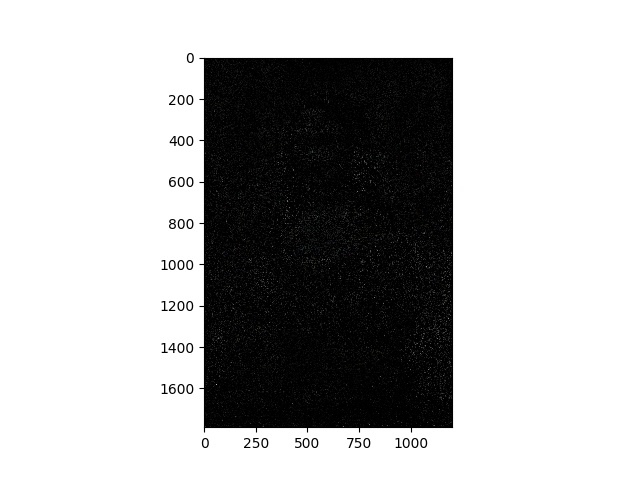
Now we will binarize the photo from above to "Edge" out the picture
to ultimately highlight the edges with a higher value through binariziation
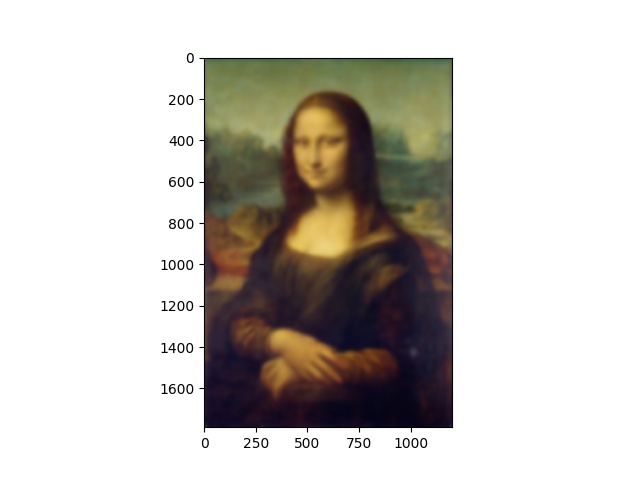
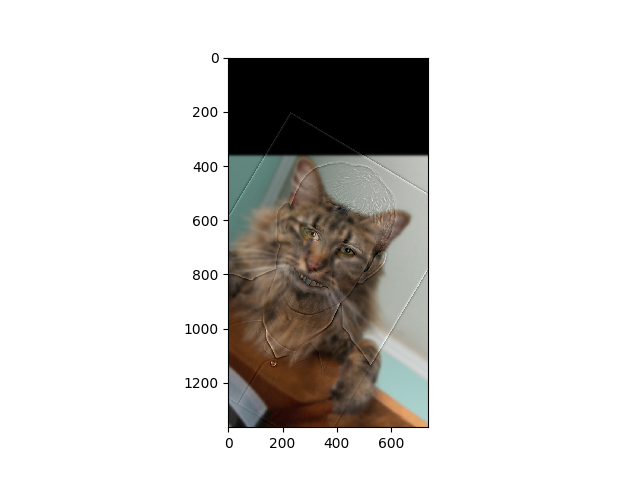
Part 1.3: Image Straightening
Part 2.1: Image "Sharpening"
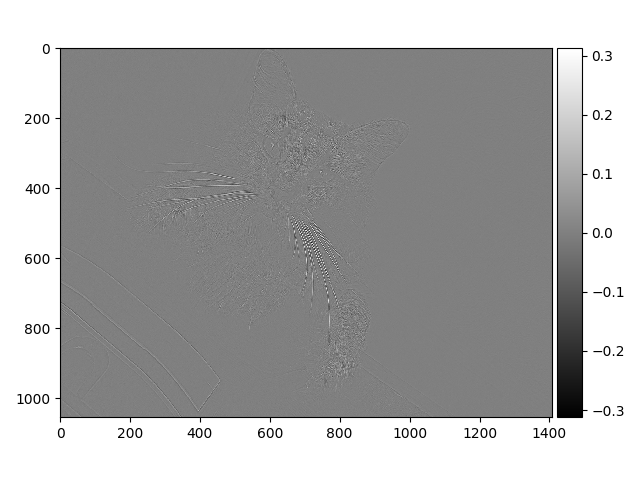
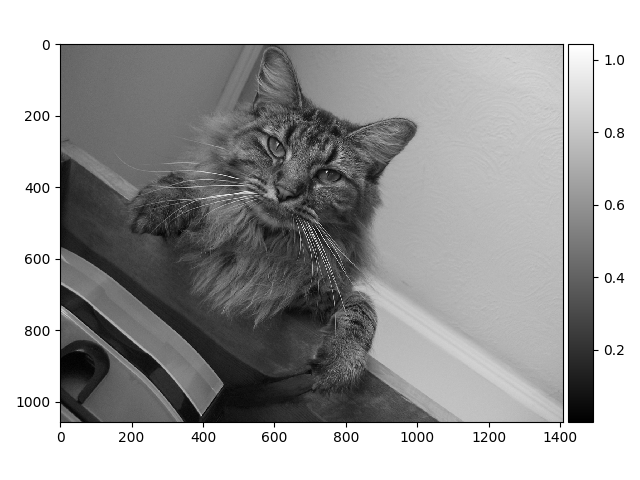
Now we will play around with sharpening. We will first blur the image, and then sharpen the image to see what our improvements are. In the middle, we will show the high frequencies outlines that are used to sharpen the image.
Here we on the left the original image. In the middle we see the high frequency outlines that will be added to the original image to sharpen the image. On the right, we see ALPHA=1 added to the original image. The whiskers of the cat are significantly sharper and the outlines of the face have a more sharp and defined lines.

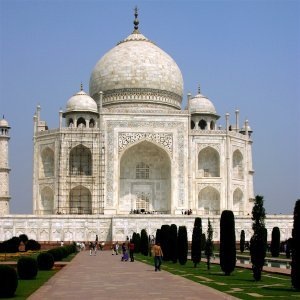
Here we on the left the original image. In the middle we see the high frequency outlines that will be added to the original image to sharpen the image. On the right, we see ALPHA=1 added to the original image. The doors of the Taj are significantly sharper and the outlines of the building are slightly edged.
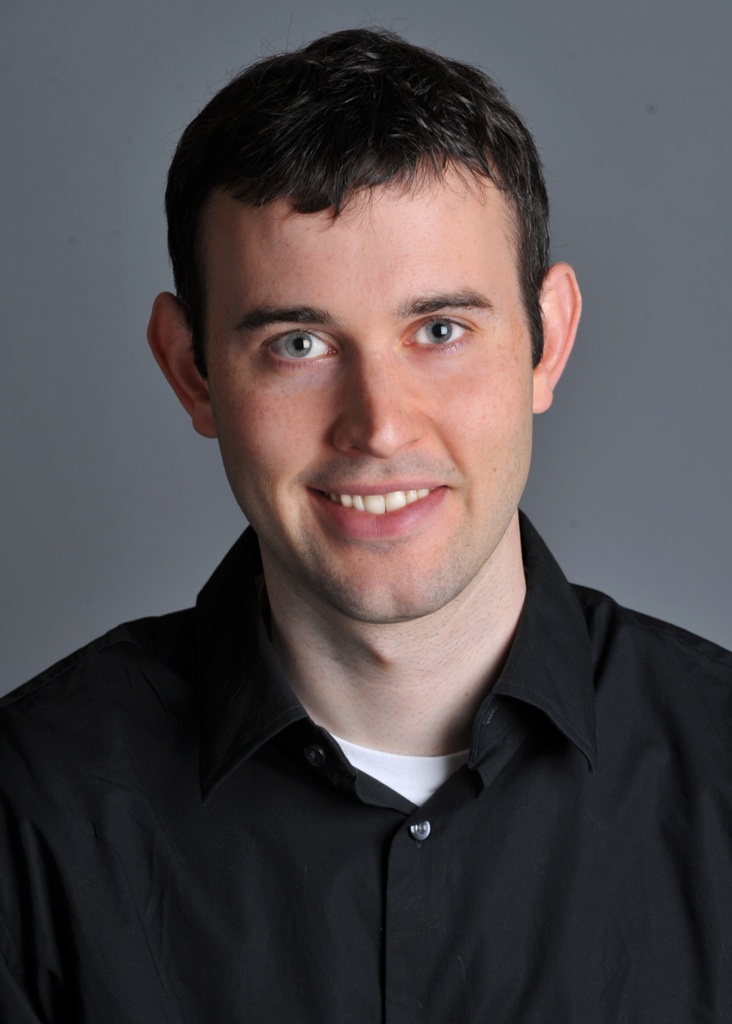
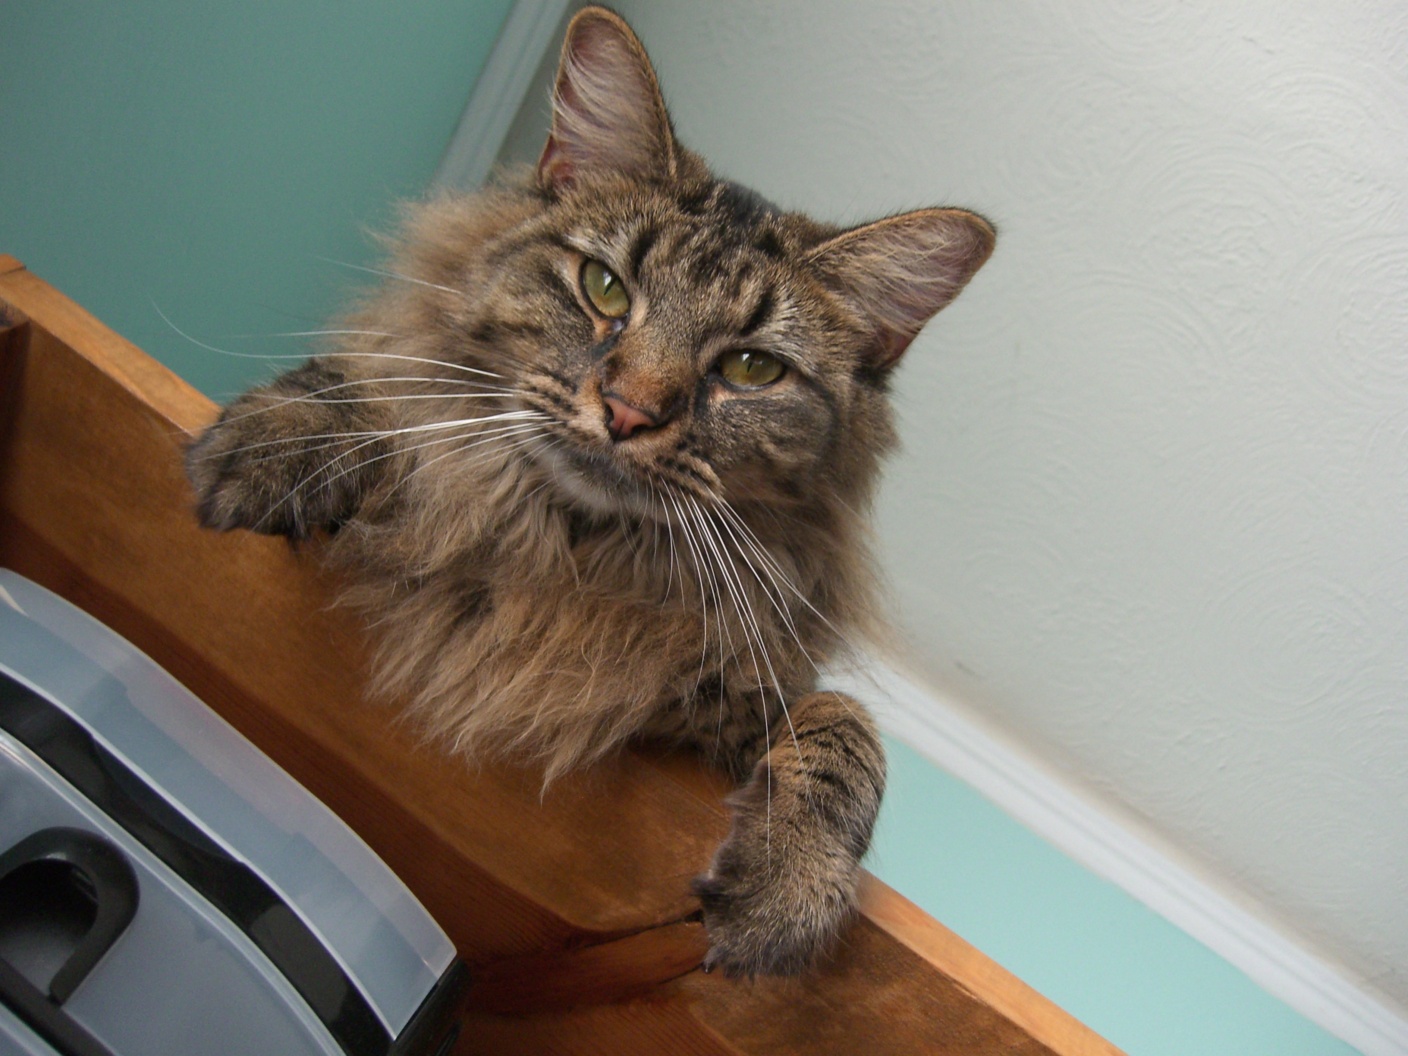
Part 2.2: Hybrid Images
Now we will play around with merging high frequency images with regular images
give the illusion of a merging image. We add the human and the cat together.
Now we will play around with merging high frequency images with regular images
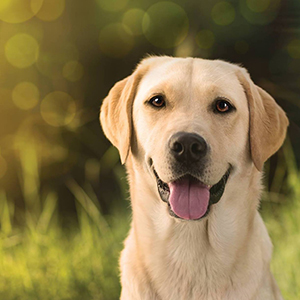
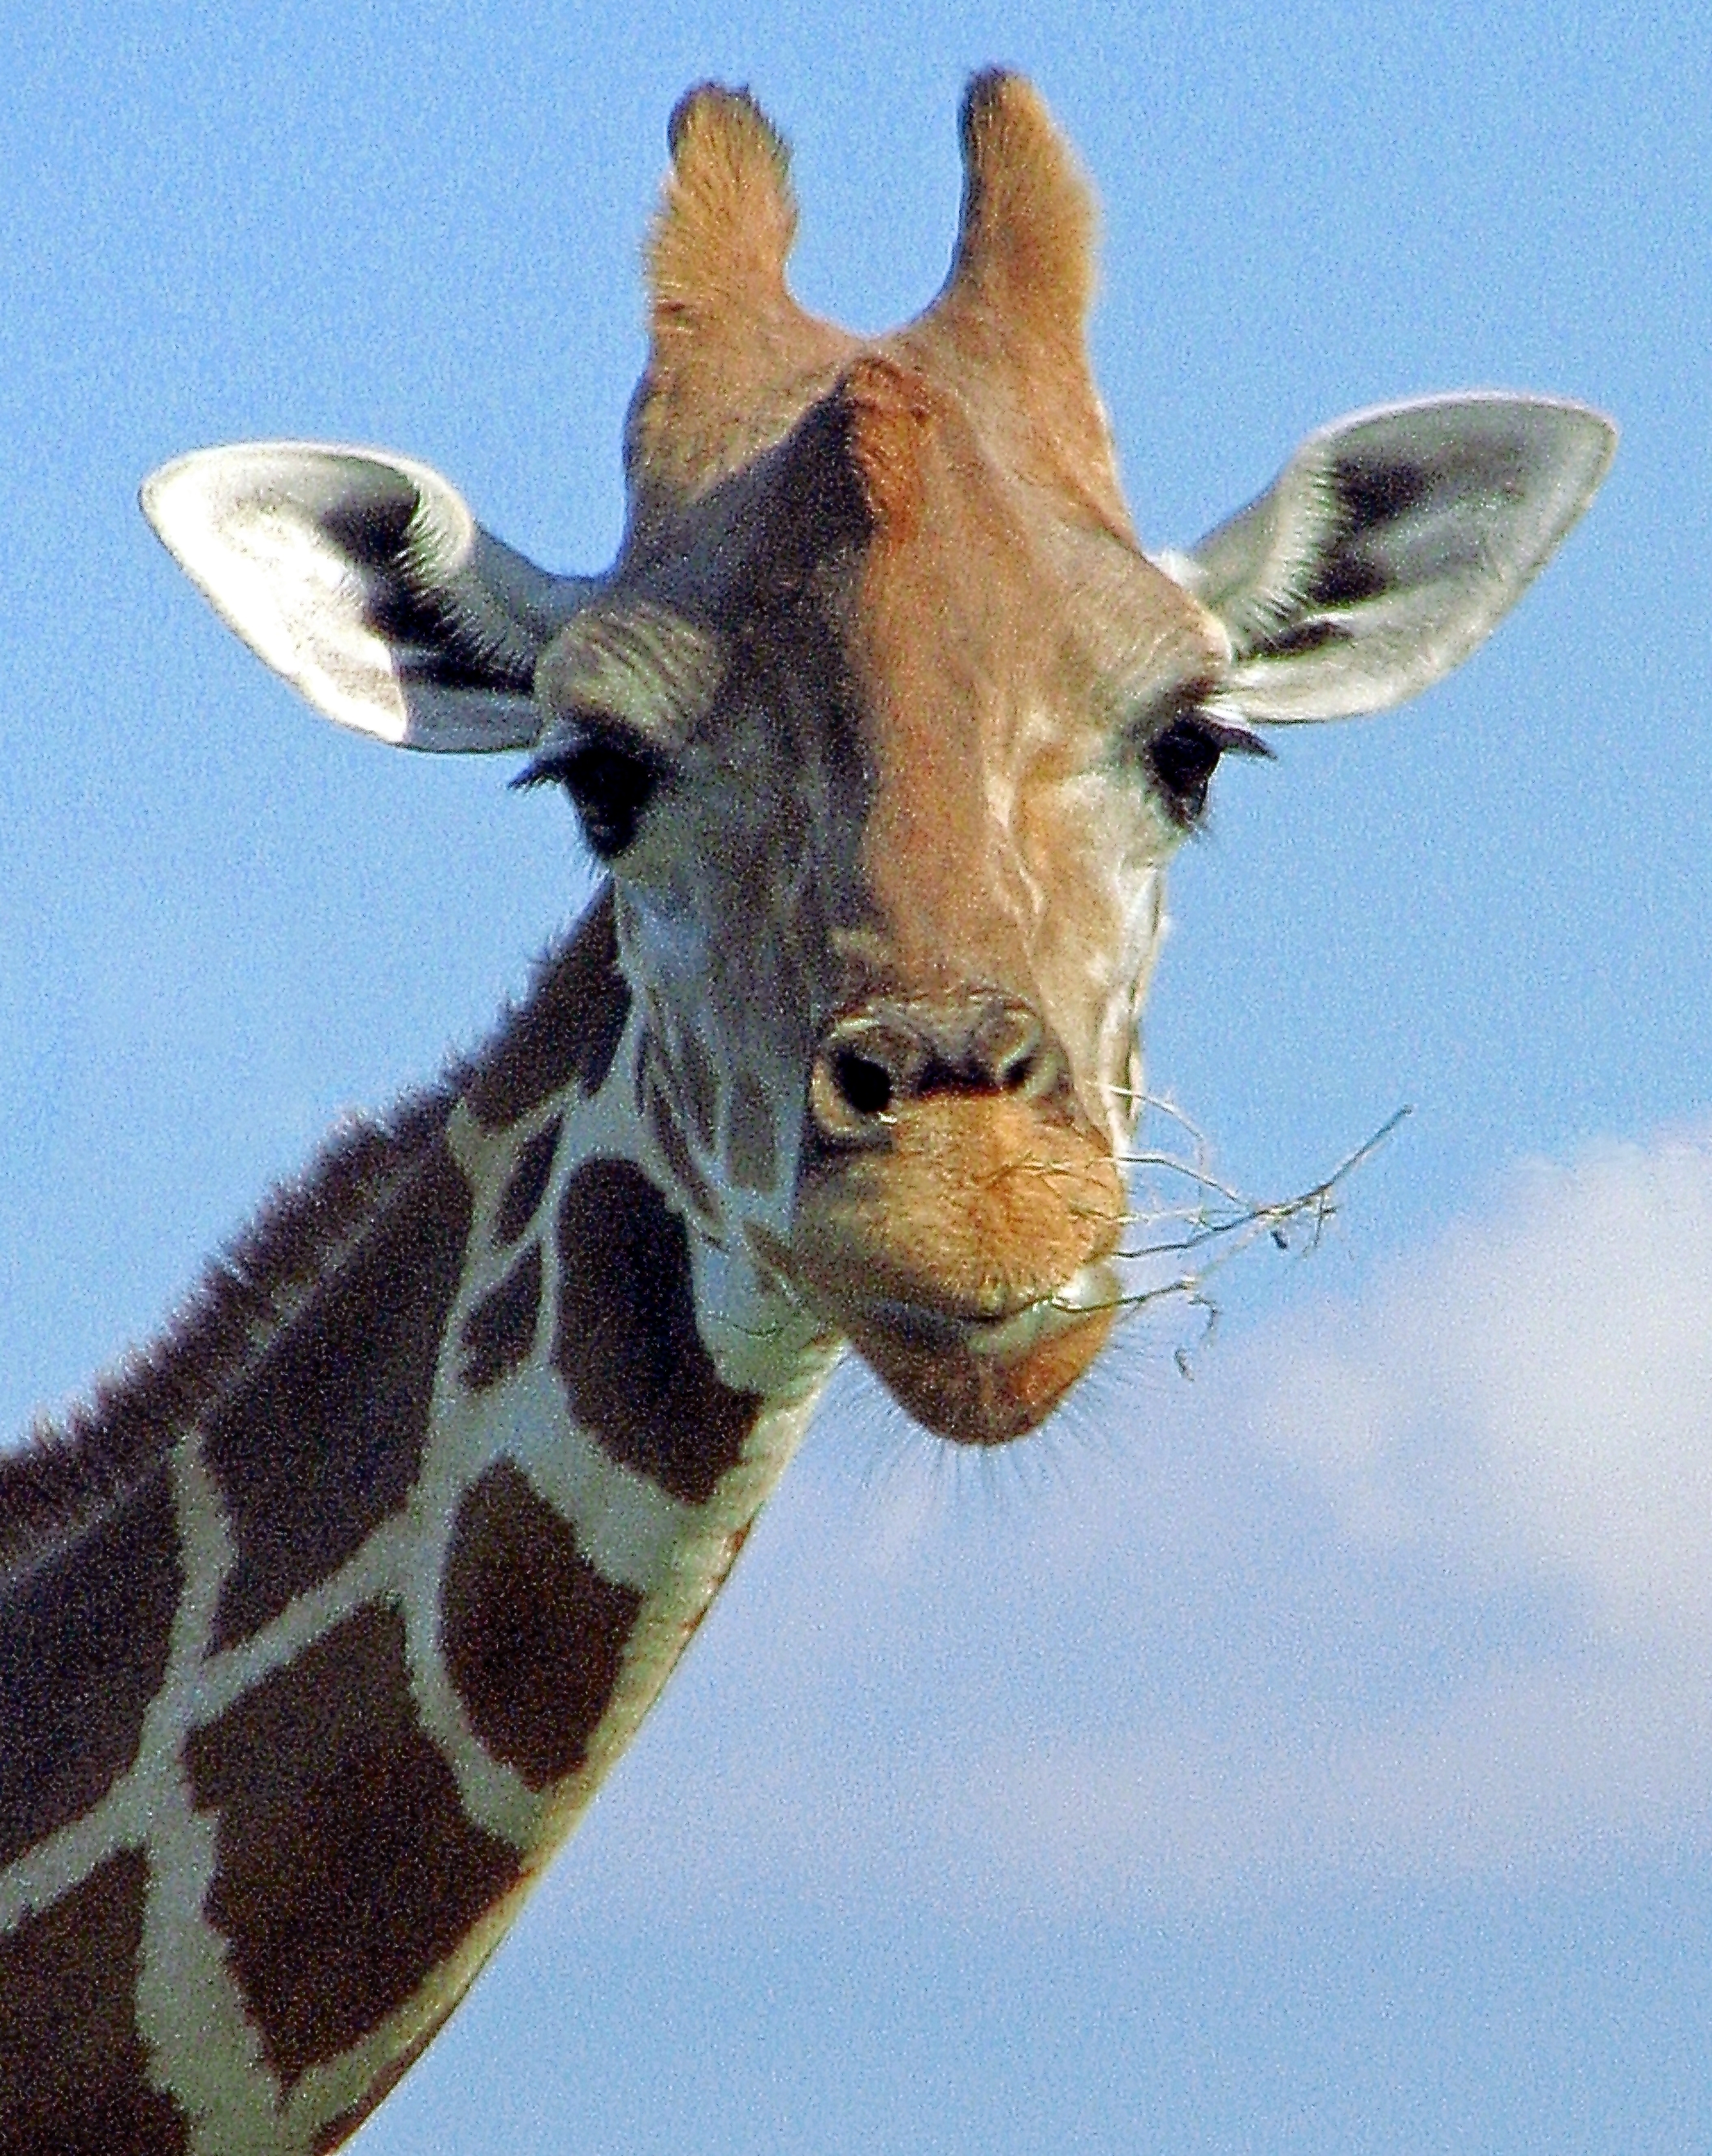
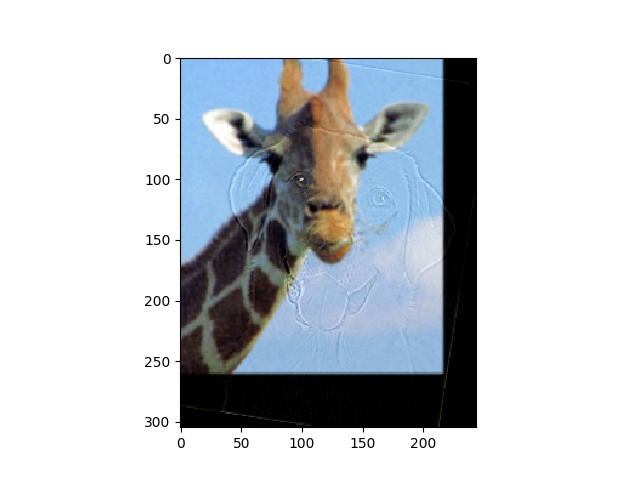
give the illusion of a merging image. We add the dog and the giraffe together.
I added the the Fourier analysis of the combined image to display that colorized fourier analysis.

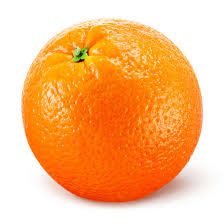
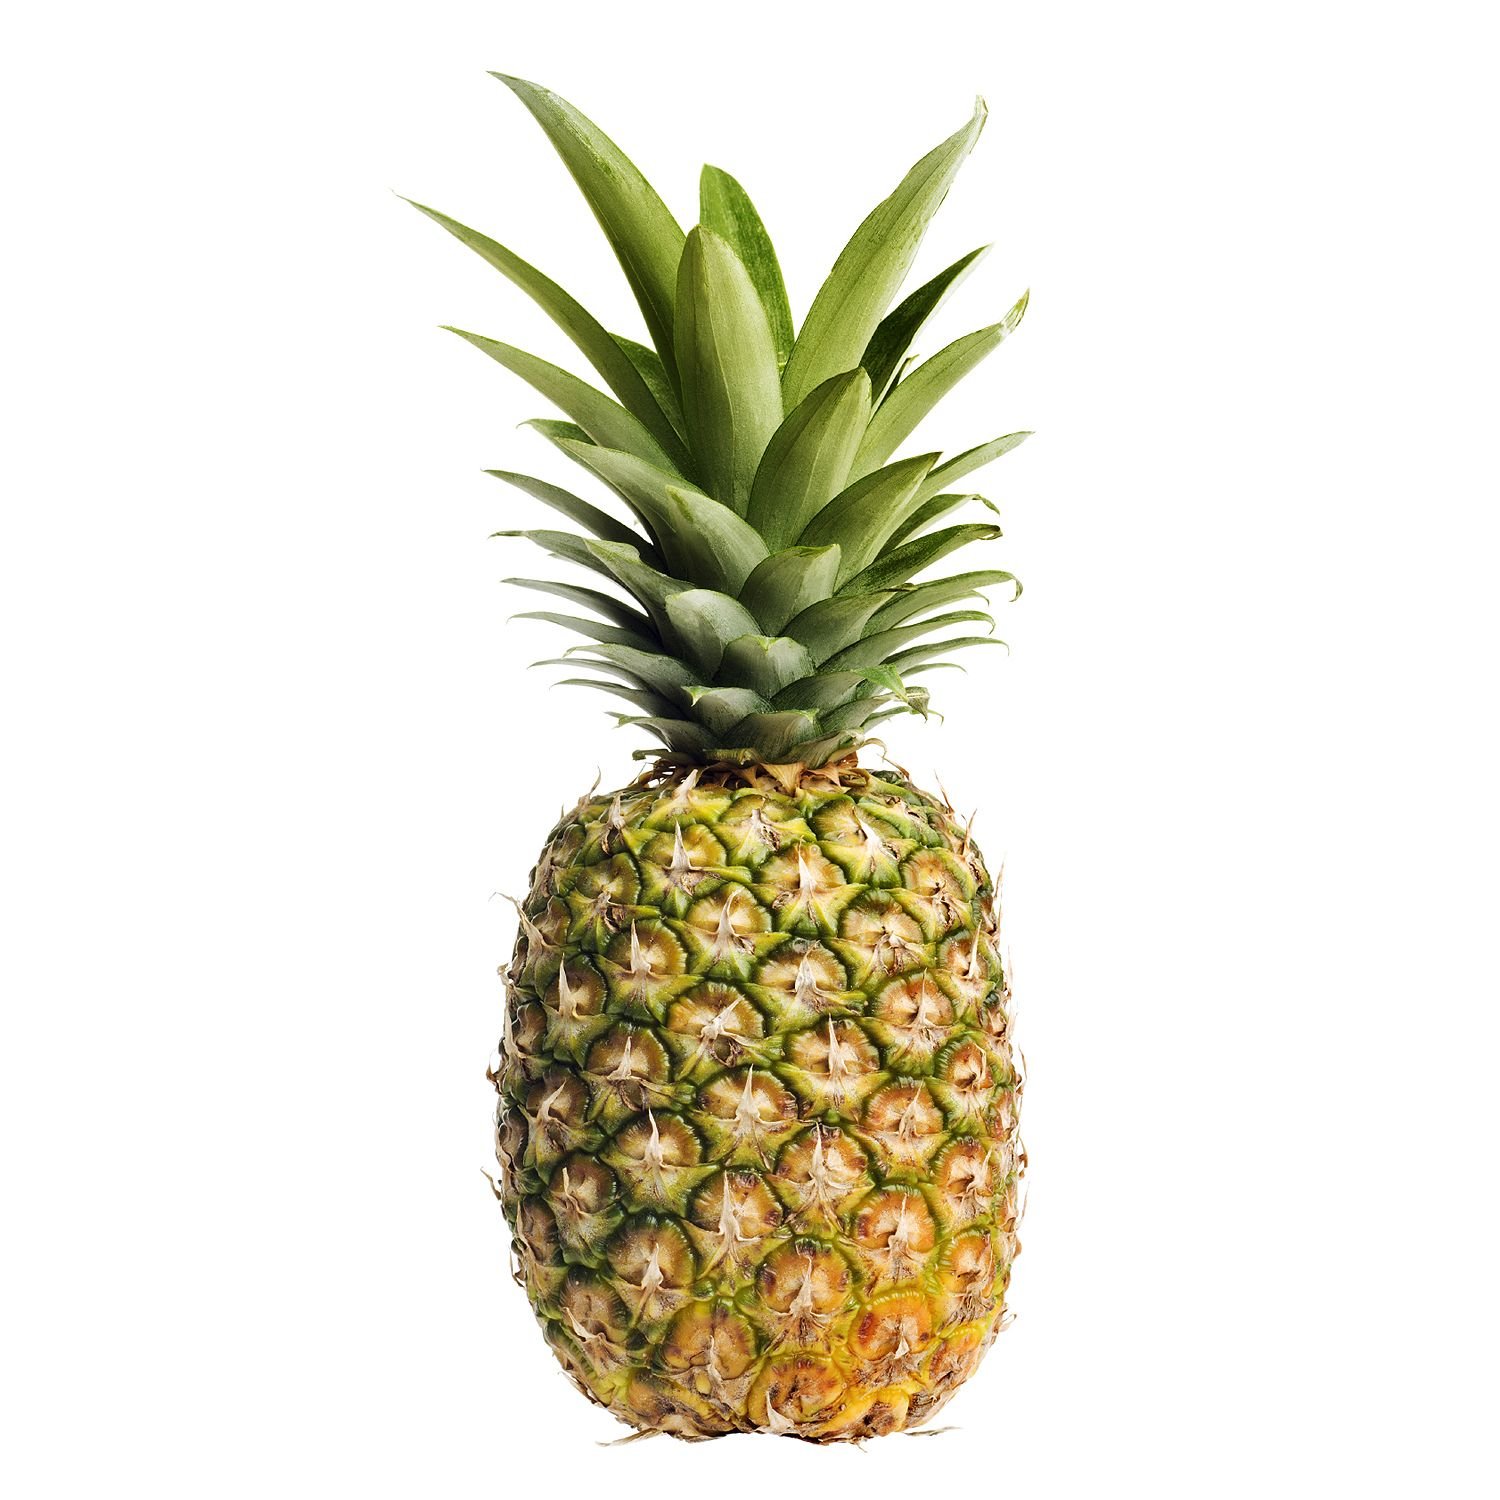
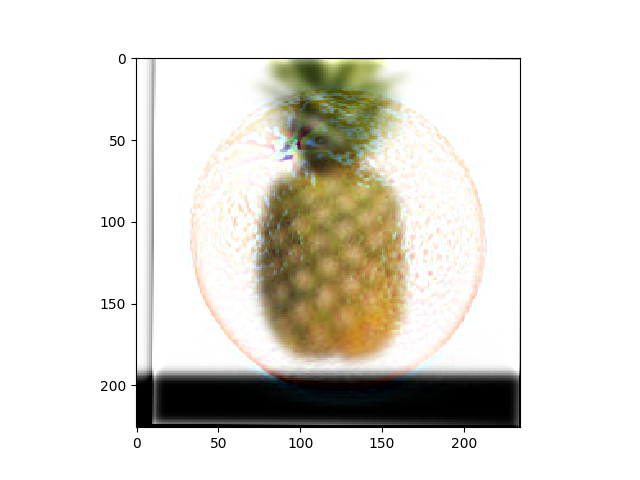
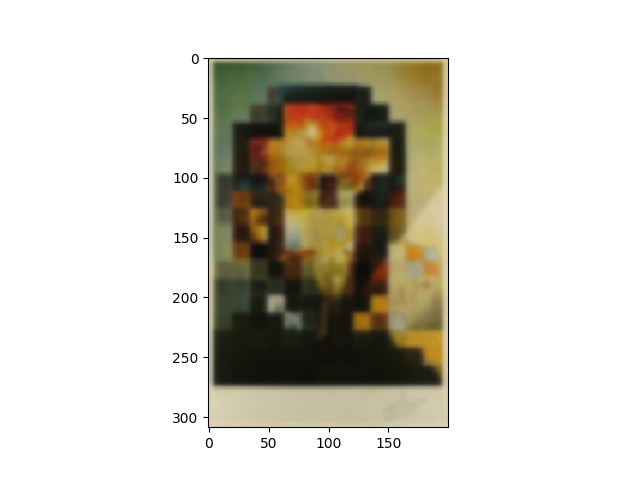
[FAILURE case] Now we will play around with merging high frequency images with regular images give the illusion of a merging image. We add the orange and the pine together. It is clear that things with totally different shape and texture do not merge well together. This may be because the high frequency image of one of the images has highly contrasted with the different shaped and textured image2.
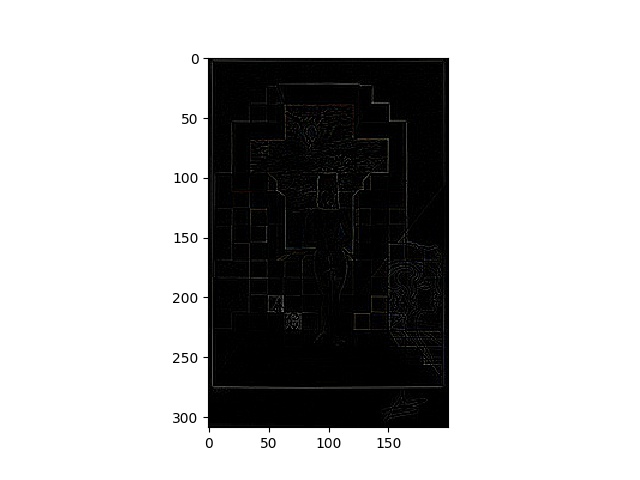
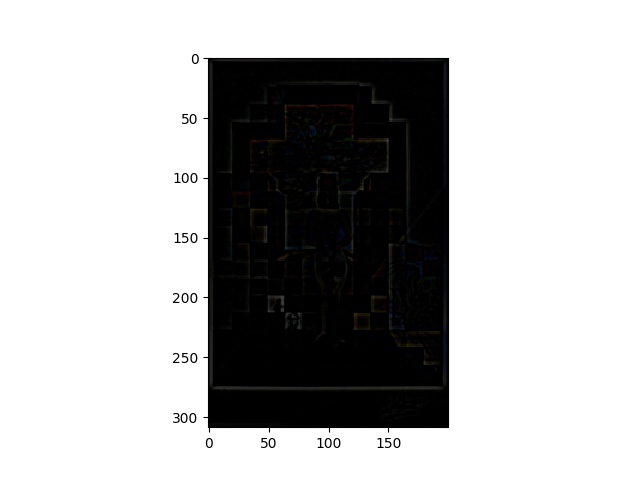
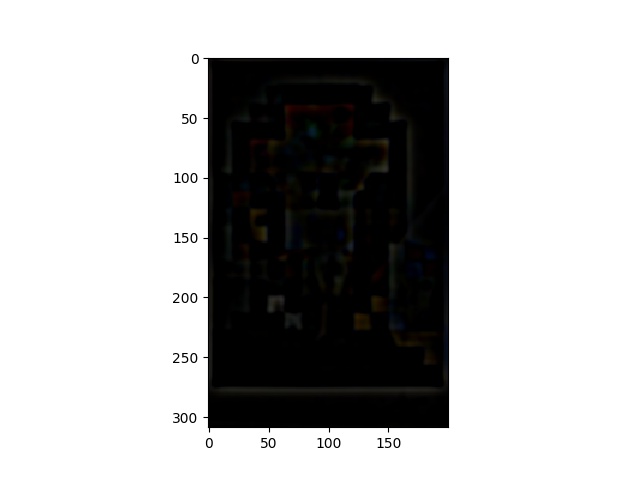
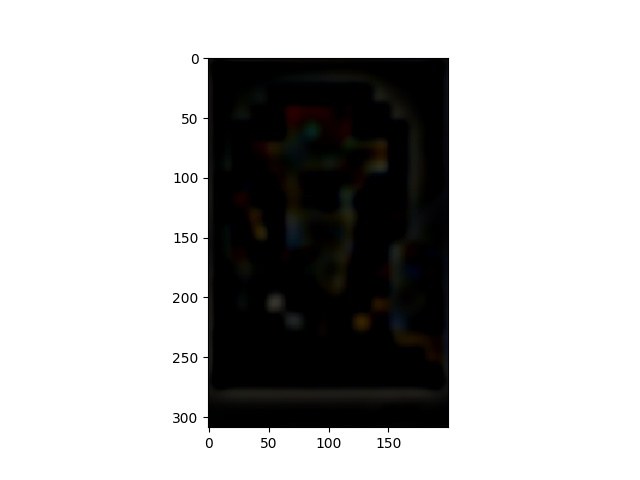
Part 2.3: Gaussian and Laplacian Stacks
Now we will again use Gaussian Kernal filters of size 7 and sigma of 2,4,8,16,32, On top, we see the Lincoln Picture with Gaussian Stacks and we see the Lincoln Picture with Laplacian Stacks in the bottom. We see the progression for both Gaussian and Laplacian Stacks at the different Sigmas.


Now we will again use Gaussian Kernal filters of size 7 and sigma of 2,4,8,16,32, On top, we see the Lincoln Picture with Gaussian Stacks and we see the Lincoln Picture with Laplacian Stacks in the bottom. We see the progression for both Gaussian and Laplacian Stacks at the different Sigmas.