CS194-26: Project 2
Susan Lin
Objective
In this project we worked with filters (like Gaussian filters) and frequencies to detect edges, straighten images, sharpen images, blend images using frequencies, and blend images using masks.
Part 1 [Filters]
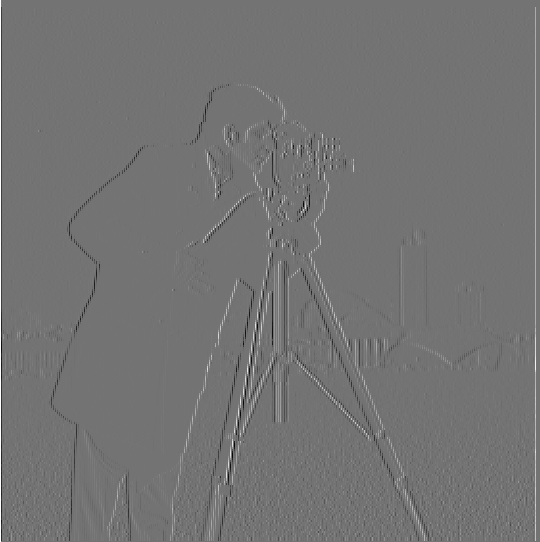
1.1 - Finite Difference Operator
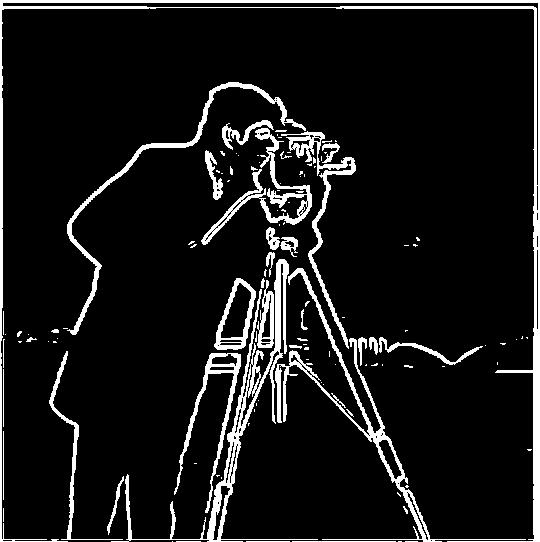
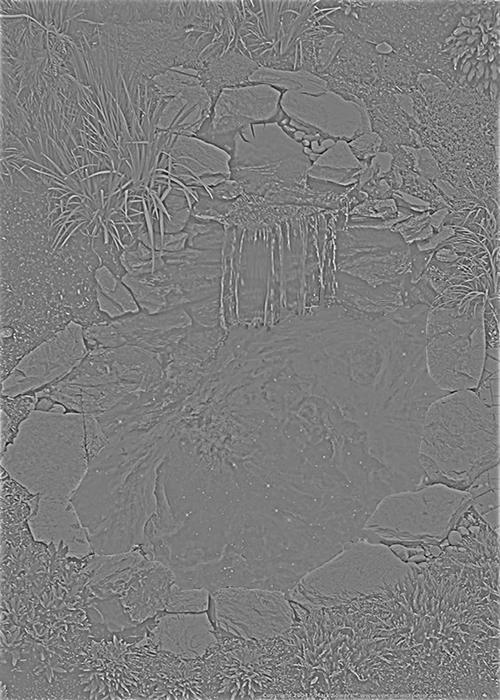
We start off by finding the partial derivatives in x and y by convolving in both the x and y directions (using Dx = [1, -1] and Dy, the transpose of Dx). Then, to find the gradient magnitude, we take the square root of the sum of the squared
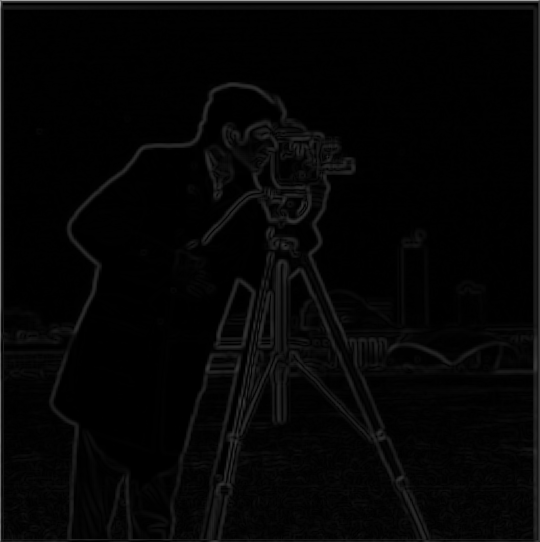
partial derivatives. Then, using a threshold of your choice, binarize the gradient magnitude.
Original Image
Finite Difference Images
 Partial Derivative (Convolved with Dx)
|
 Partial Derivative (Convolved with Dy)
|
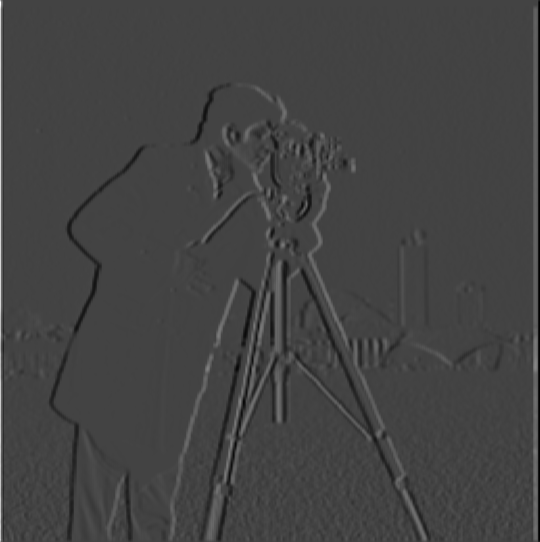
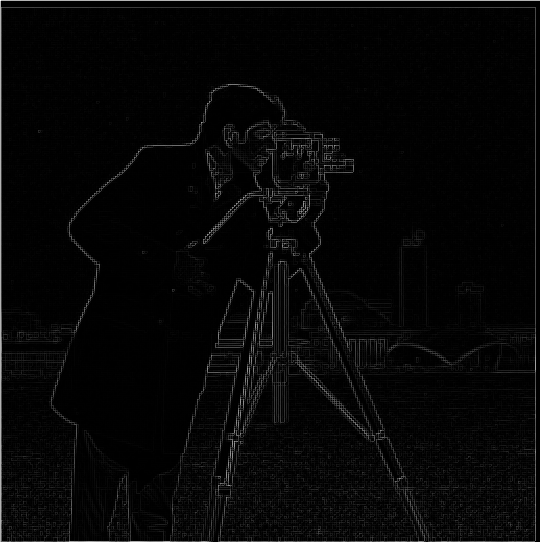 Gradient Magnitude
|
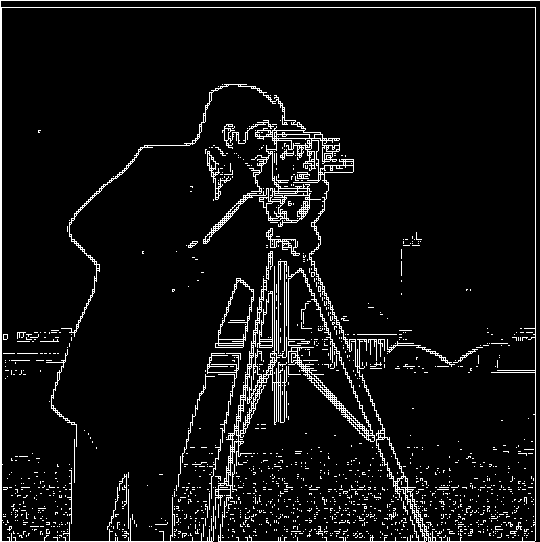 Binarized Gradient Magnitude
|
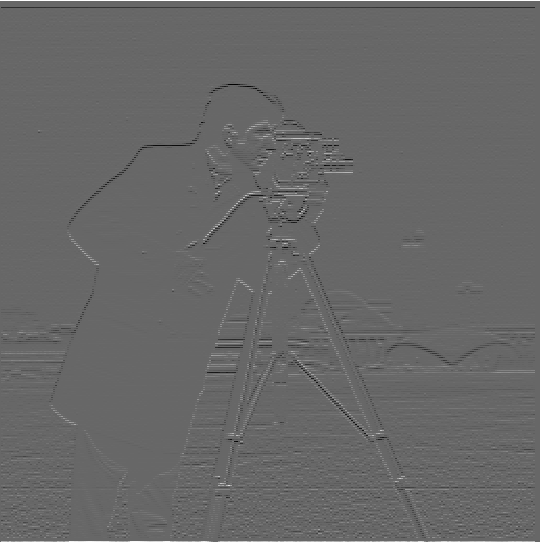
1.2 - Derivative of Gaussian Filter
In this part, we do almost the same thing as 1.1. The only difference is that instead of directly utilizing our original image, we first run it through a gaussian filter, blurring the image a bit. In using a Guassian Filter before finding the
edges, we can note differences such as less noise and thicker edges. These can be attributed to how we smooth out the image, and so while the noise will blur, the edges will also blur, causing our final image to both lack noise and thicken edges.
Gaussian Filter Derivative Image Process
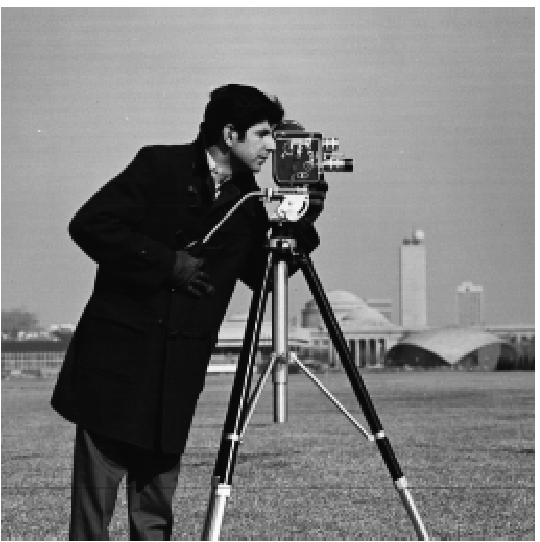 Original Image
|
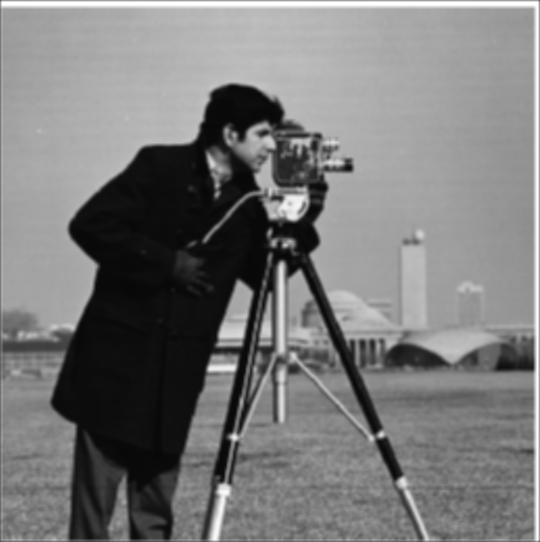 Gaussian Blurred Image
|
 Gaussian Partial Derivative (Dx)
|
 Gaussian Partial Derivative (Dy)
|
 Gaussian Gradient Magnitude
|
 Binarized Gaussian Gradient Magnitude
|
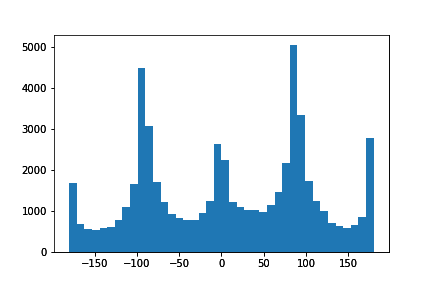
1.3 - Image Straightening
To approach image straightening, we want to maximize the vertical and horizontal edges. For a set number of rotation angles, we try to find the rotation that gives us the highest count of gradient angles that fall near -180, -90, 0, 90, and 180
degrees (vertical and horizontal).
Facade Image [Ideal Rotation was -3 degrees]
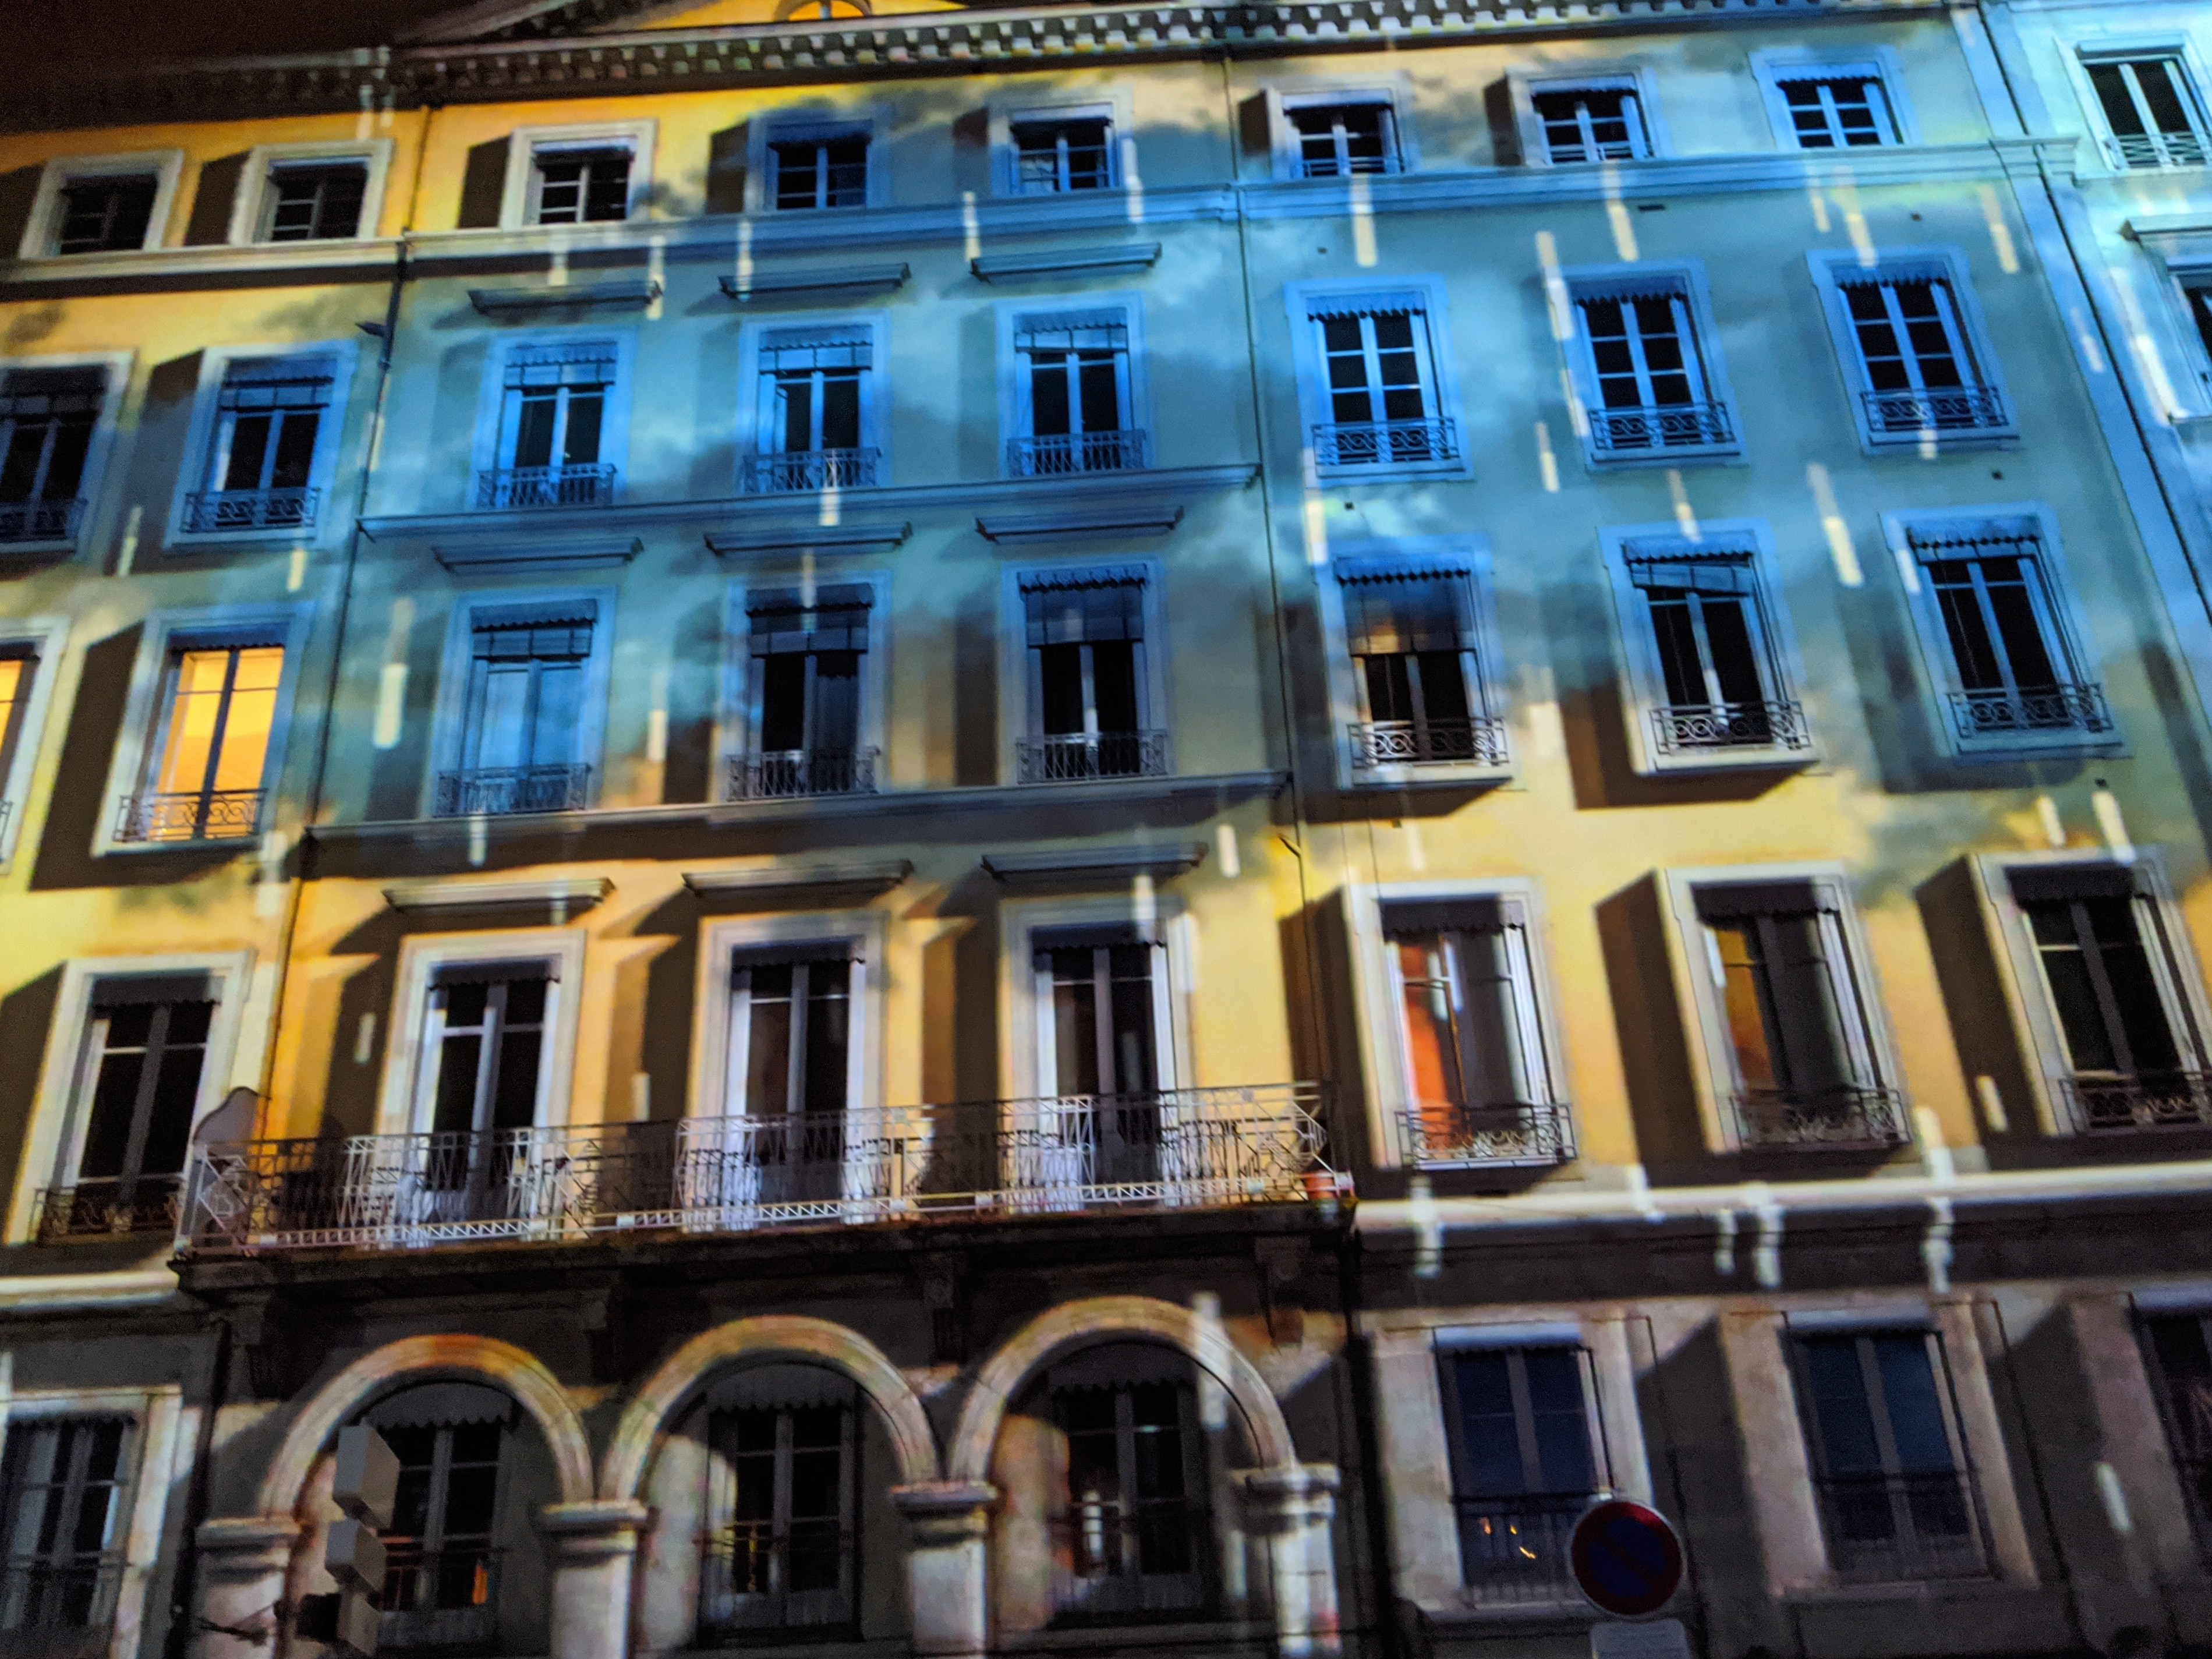 Original Image
|
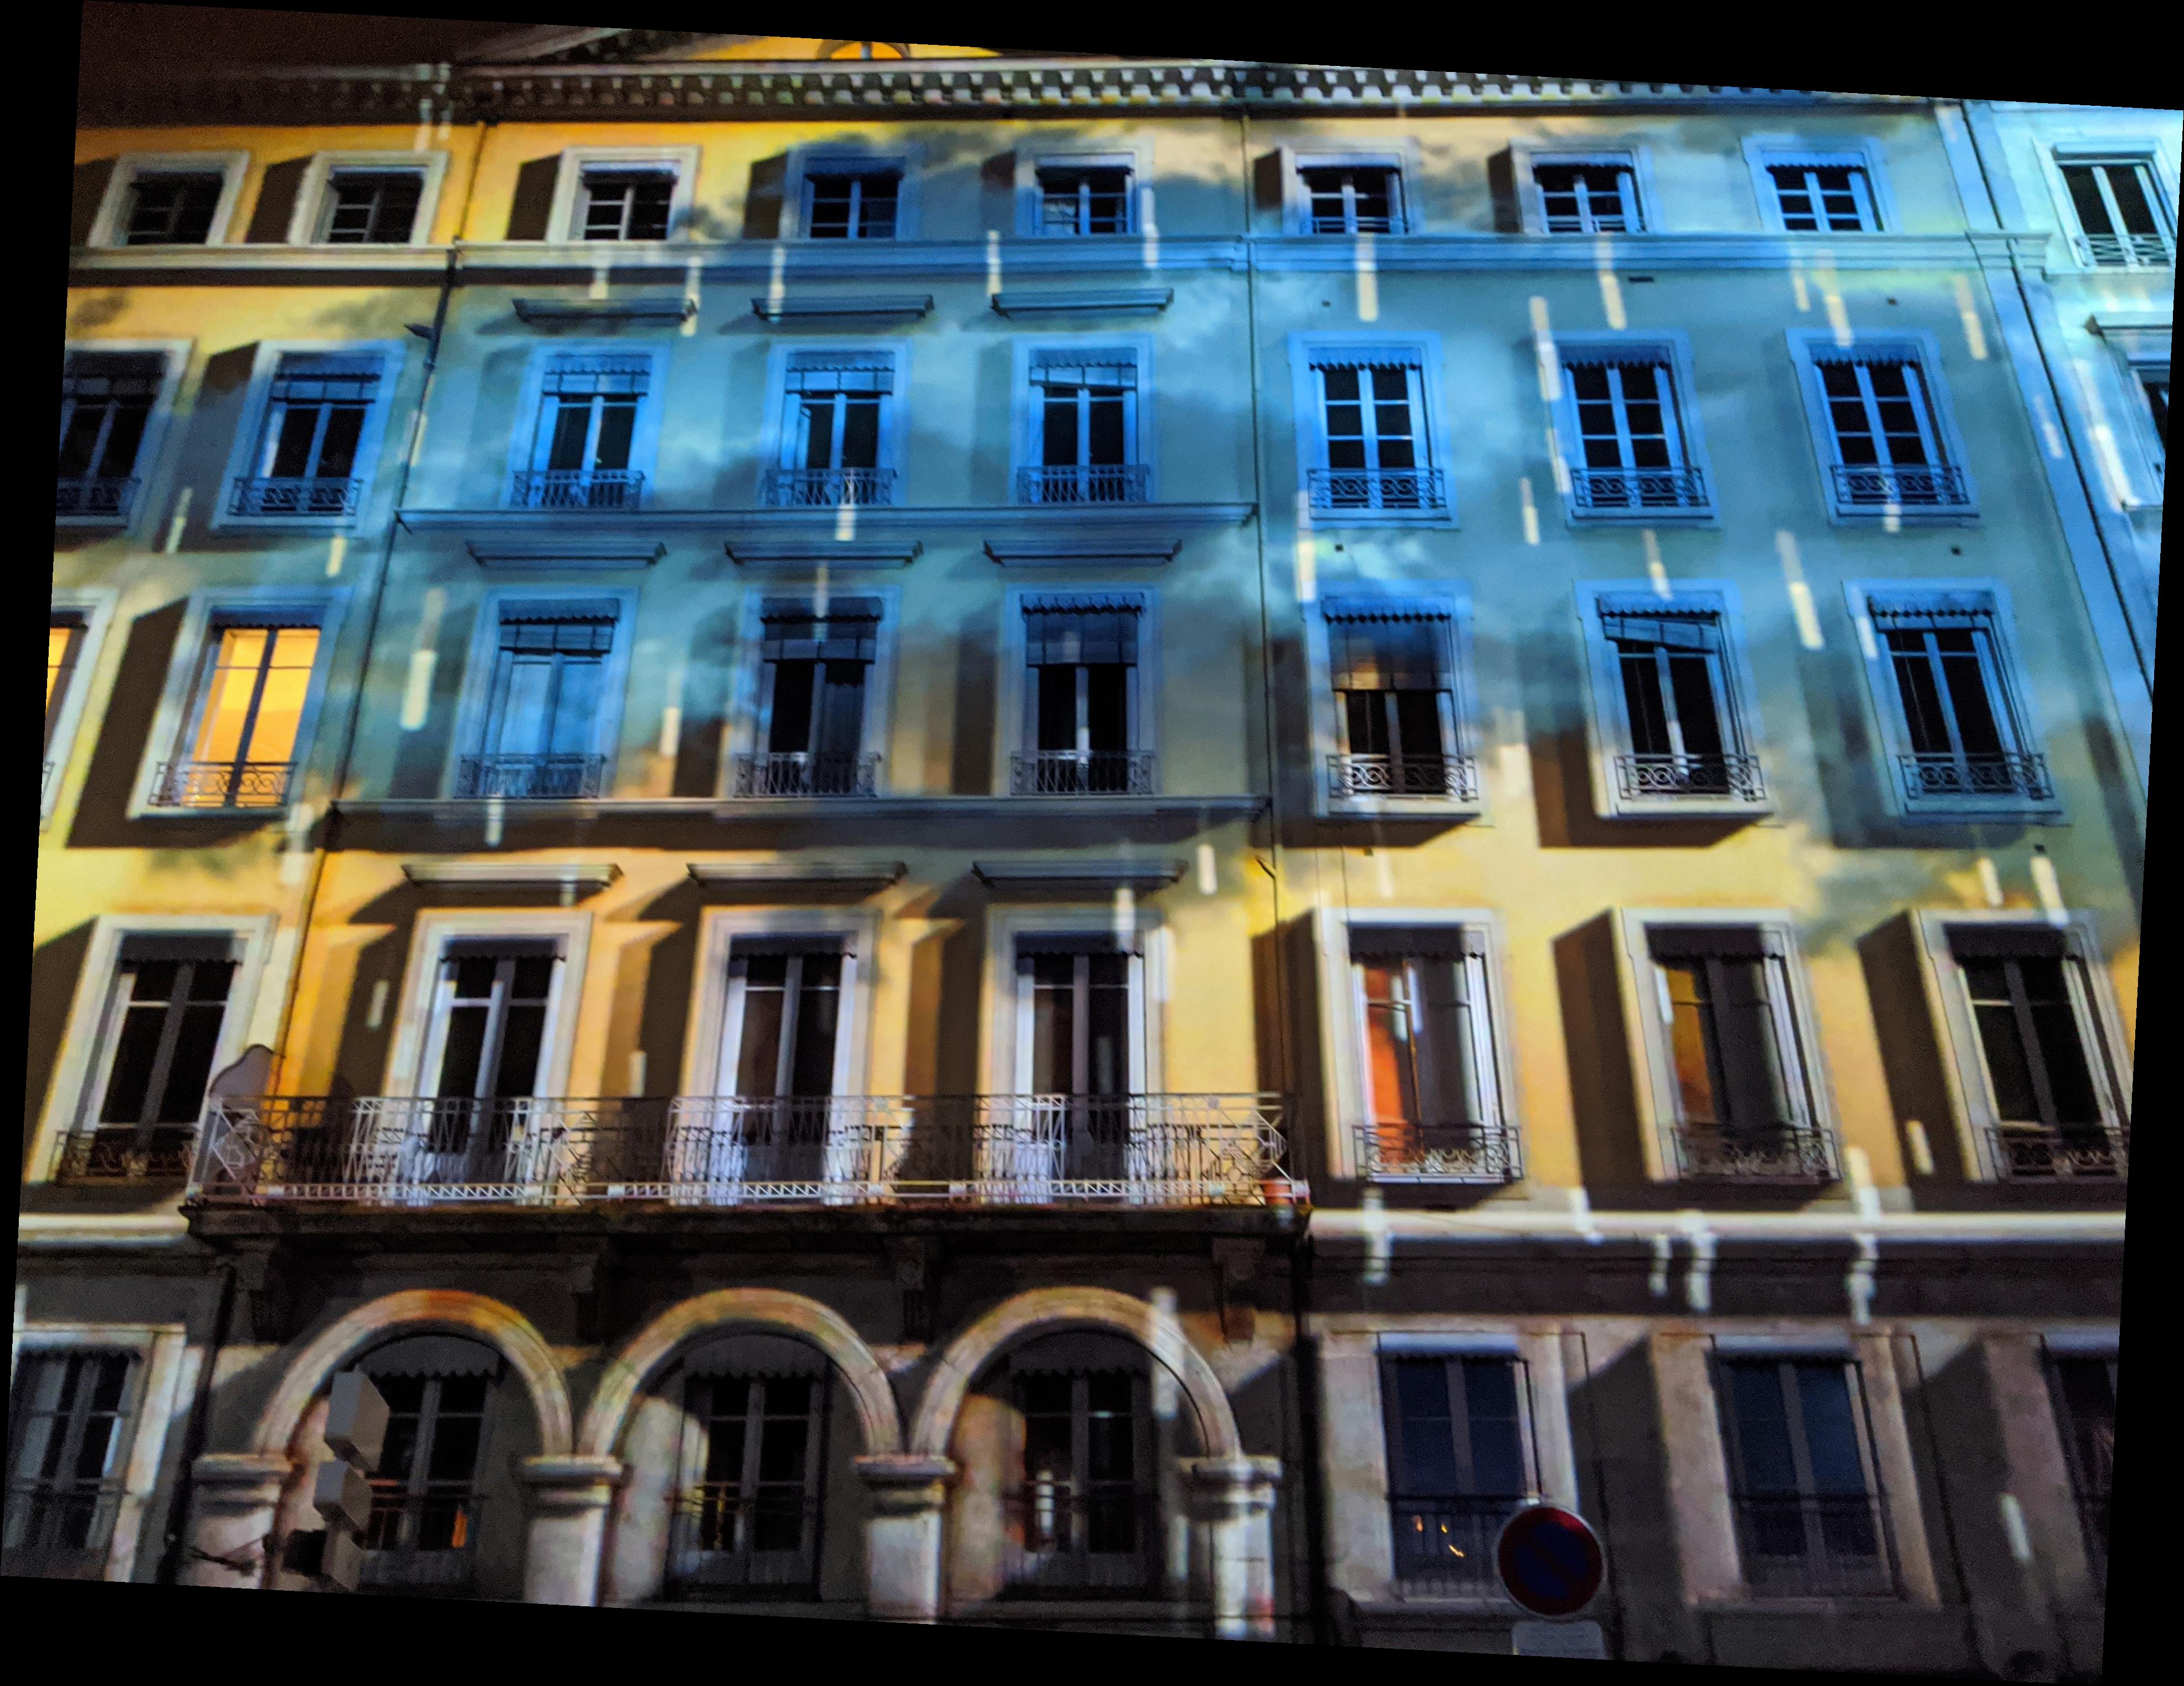 Rotated Image (-3 degrees)
|
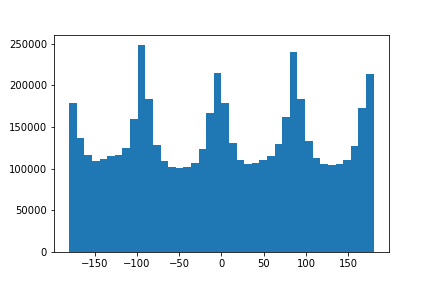 Original Image Histogram
|
 Rotated Image Histogram
|
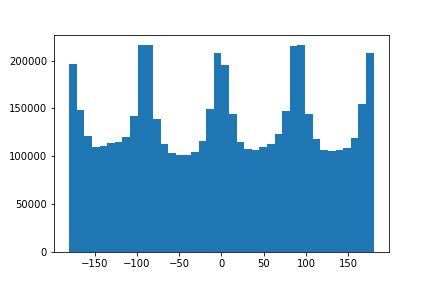
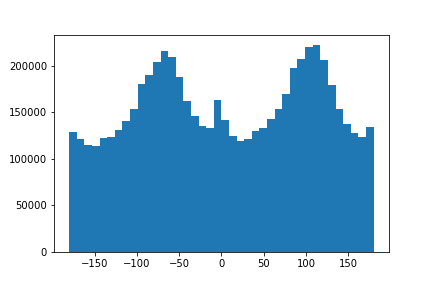
Dessert Image [Ideal Rotation was 20 degrees]
We can see that the algorithm is likely trying to align the edge of the board to be horizontal -- unfortunately it is disregarding perspective (where lines go towards the vanishing point), hence could be considered a failure case.
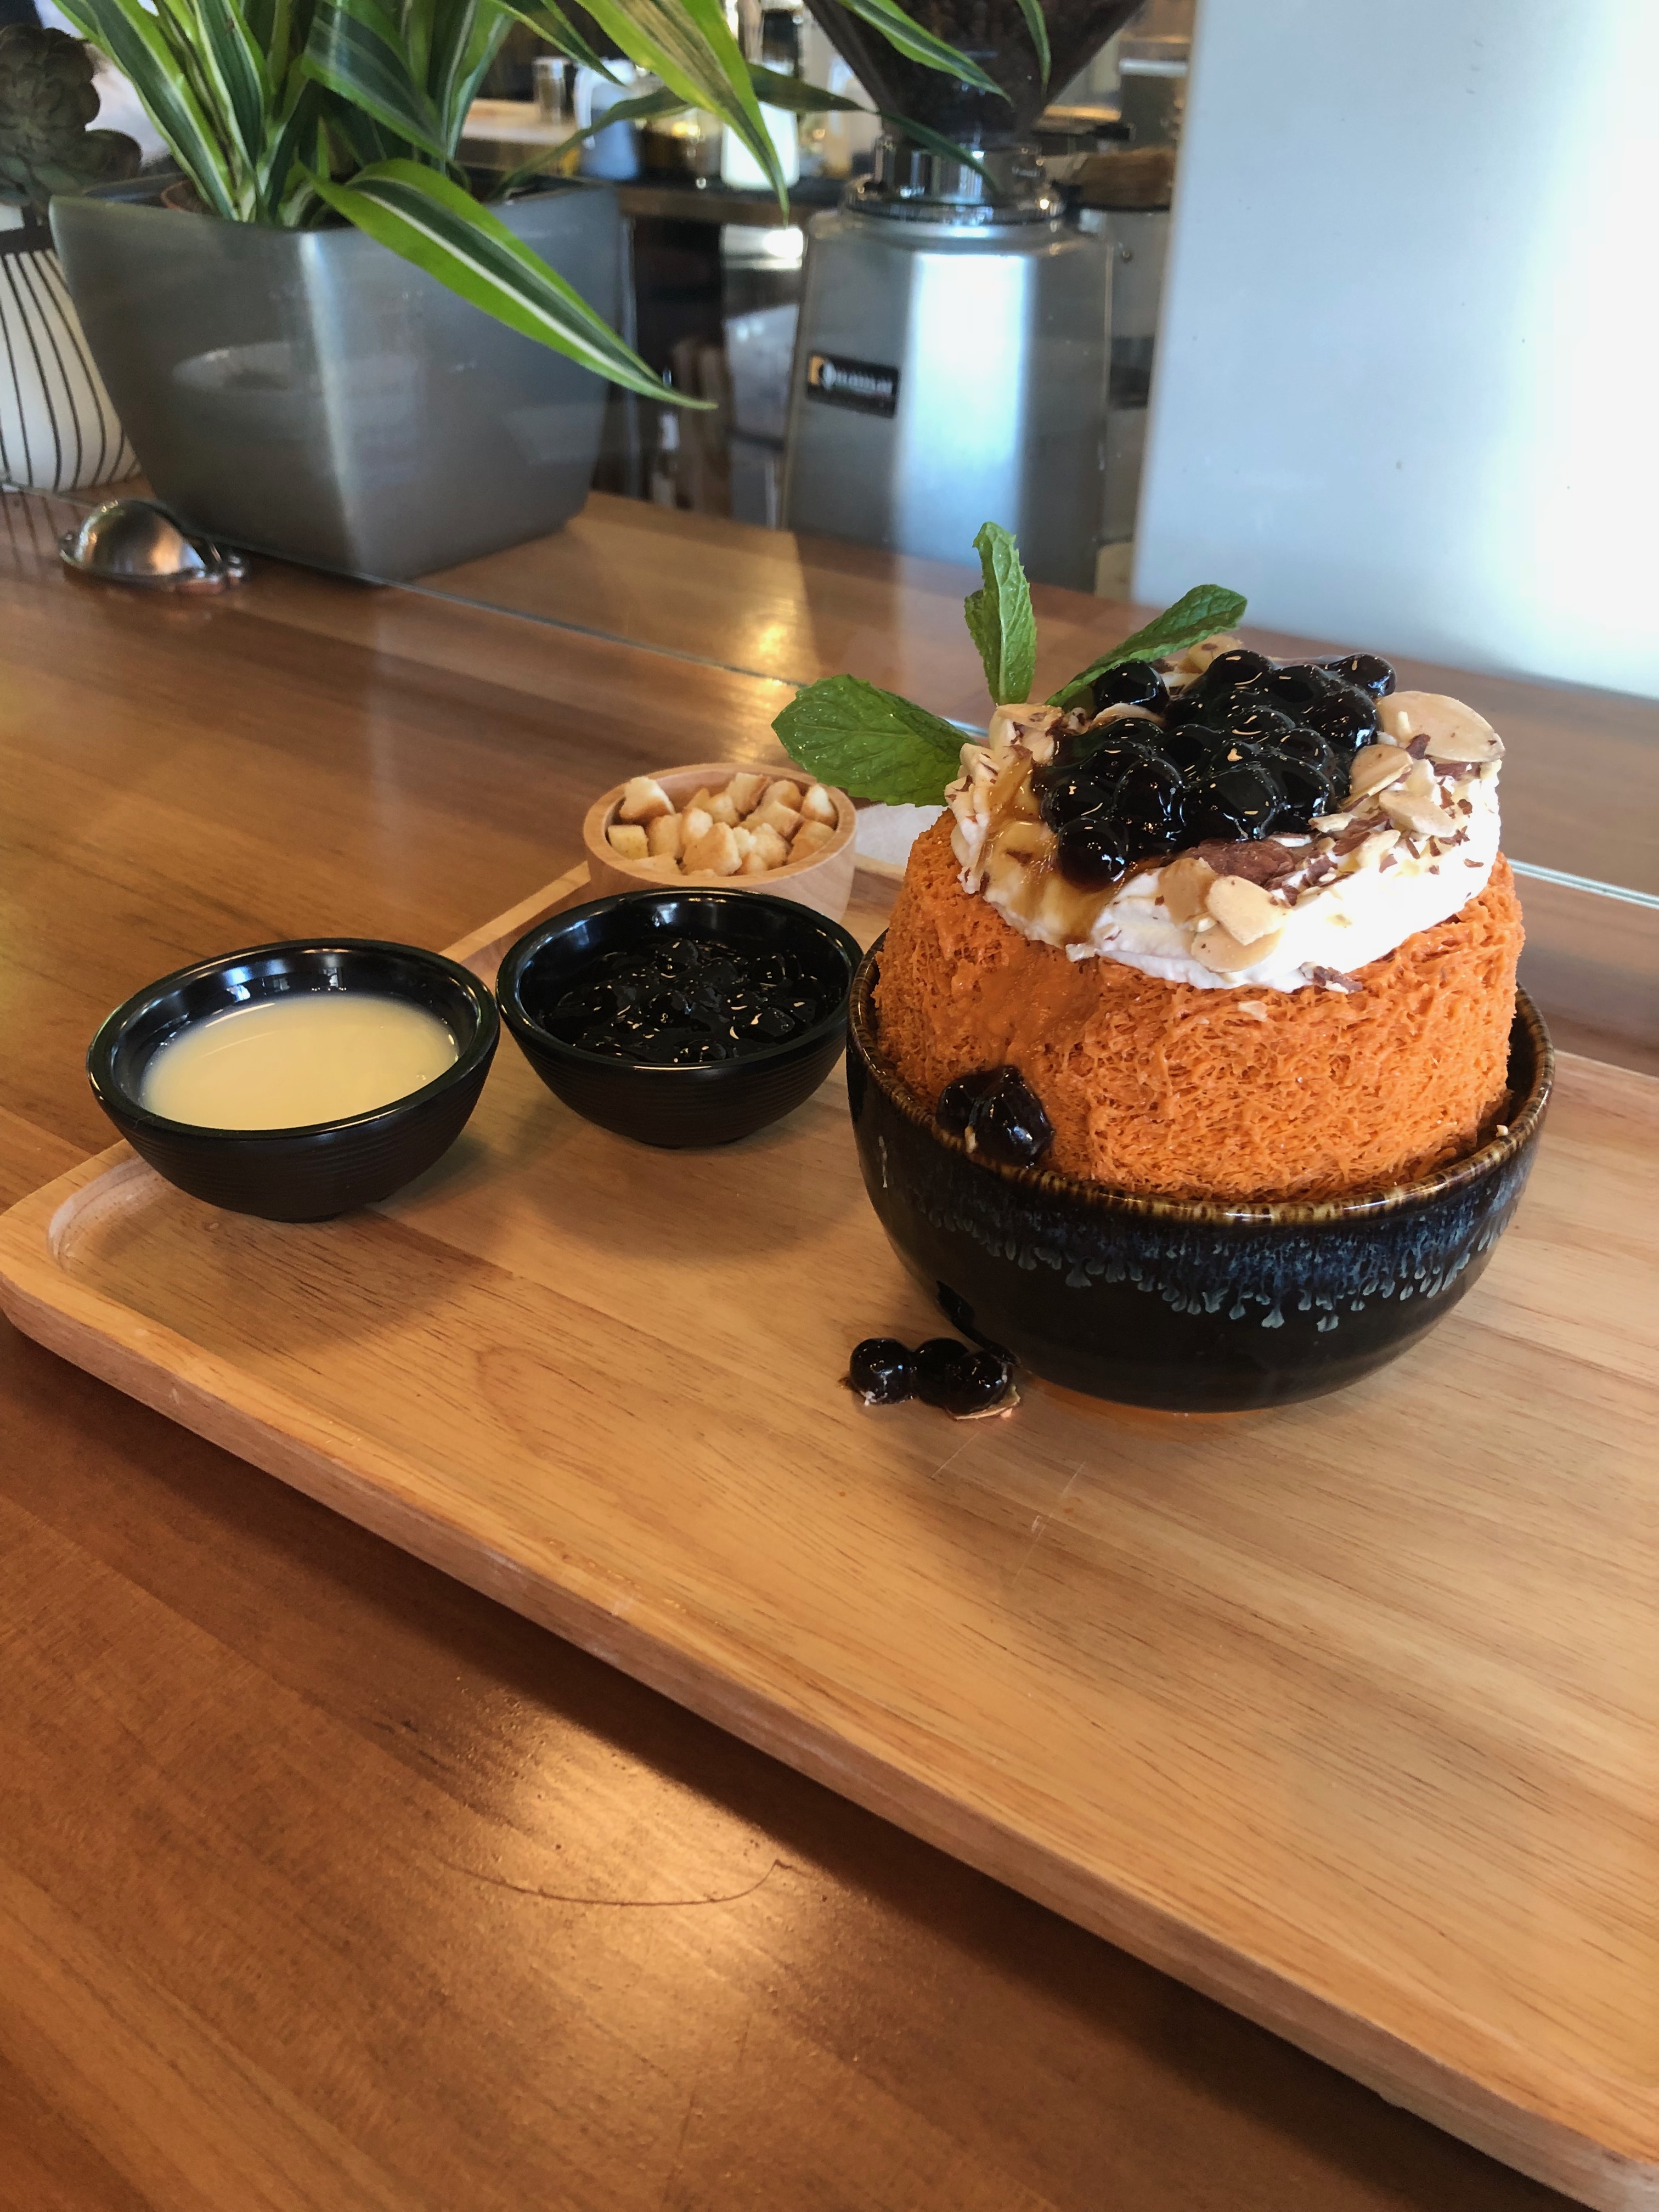 Original Image
|
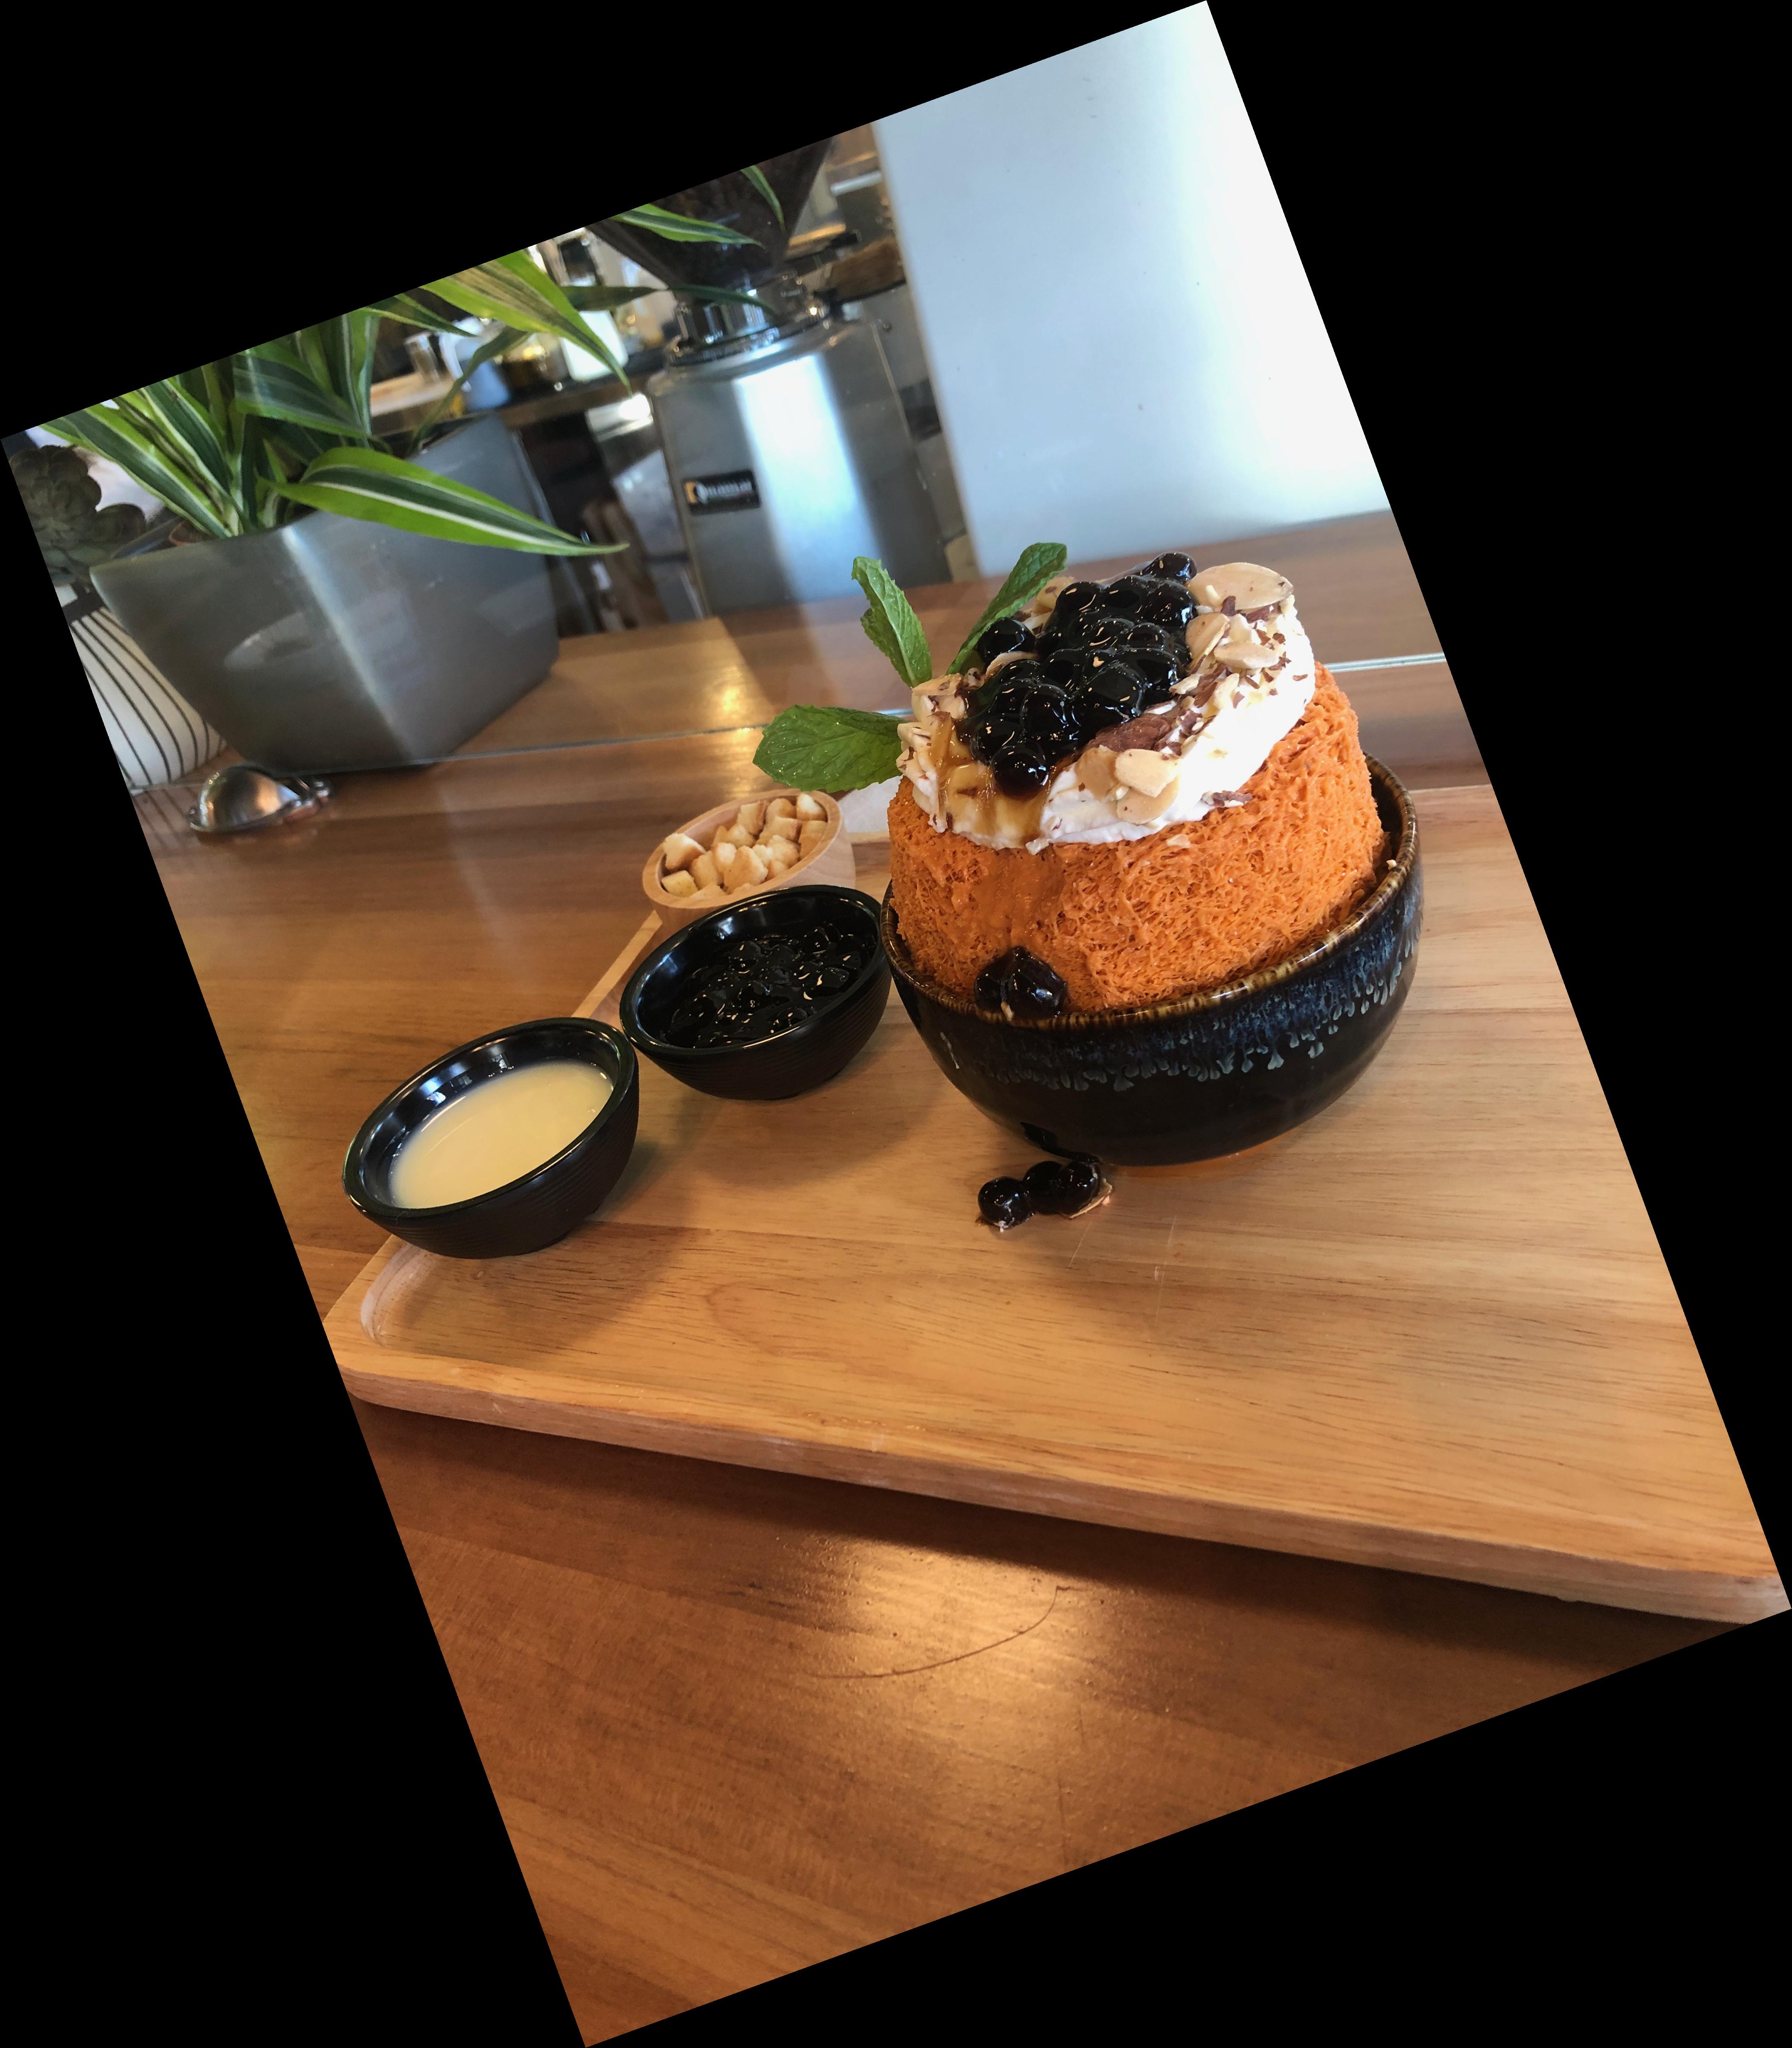 Rotated Image
|
 Original Image Histogram
|
 Rotated Image Histogram
|
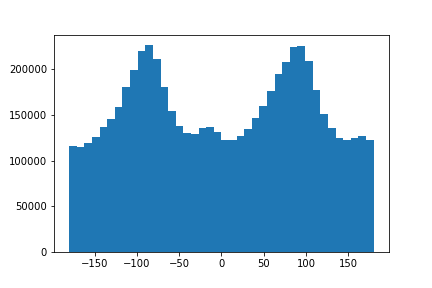
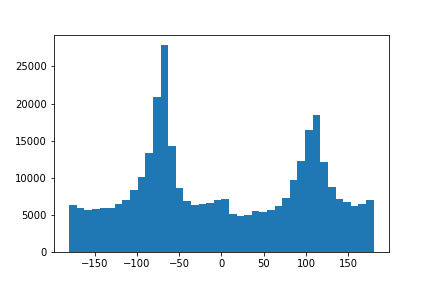
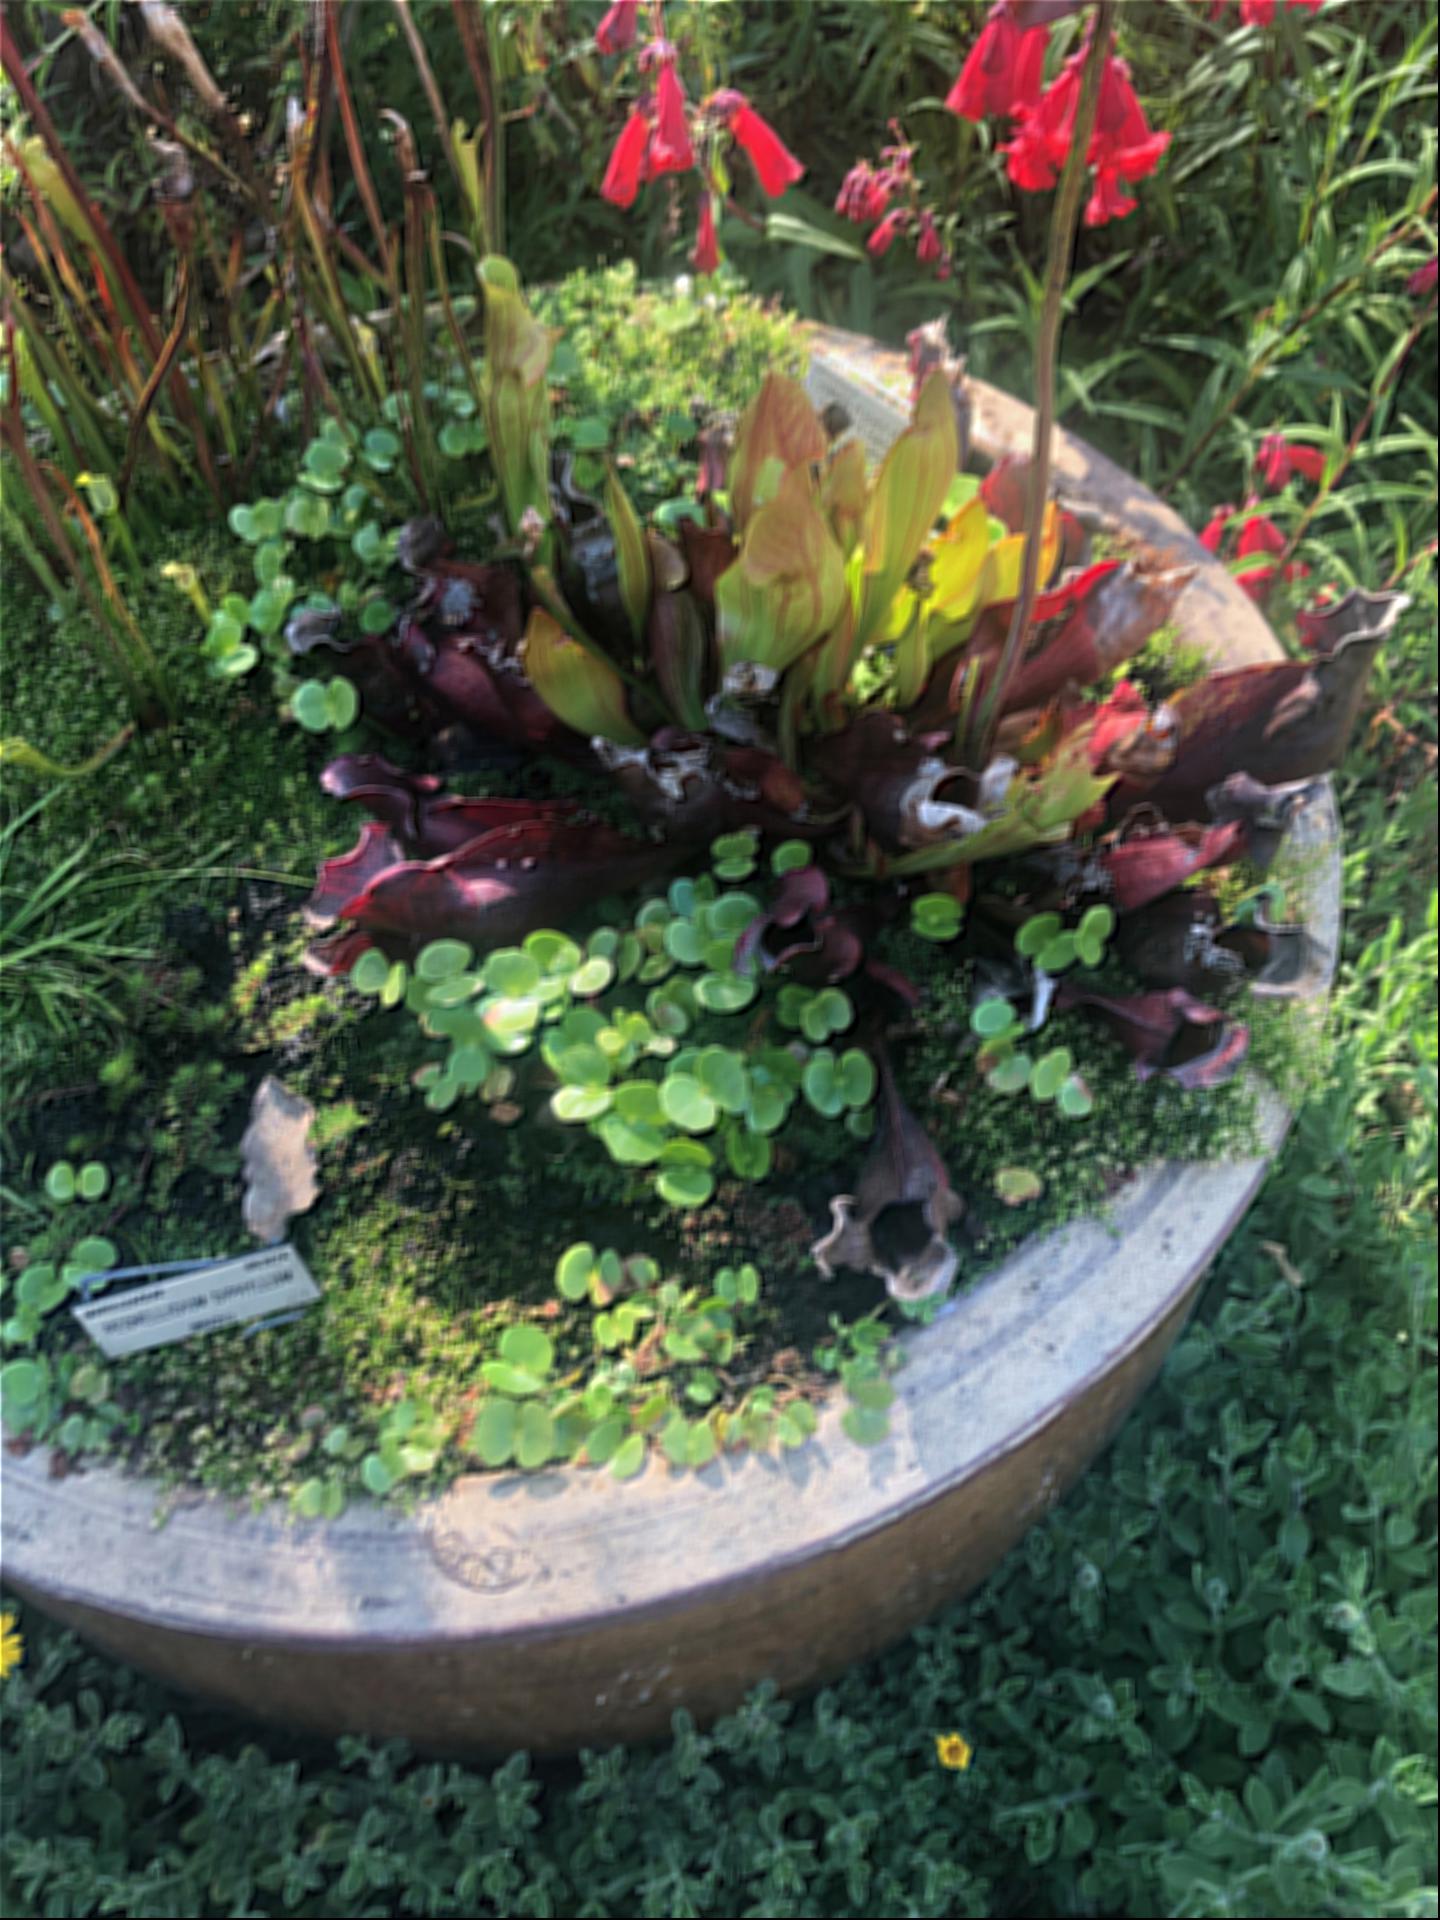
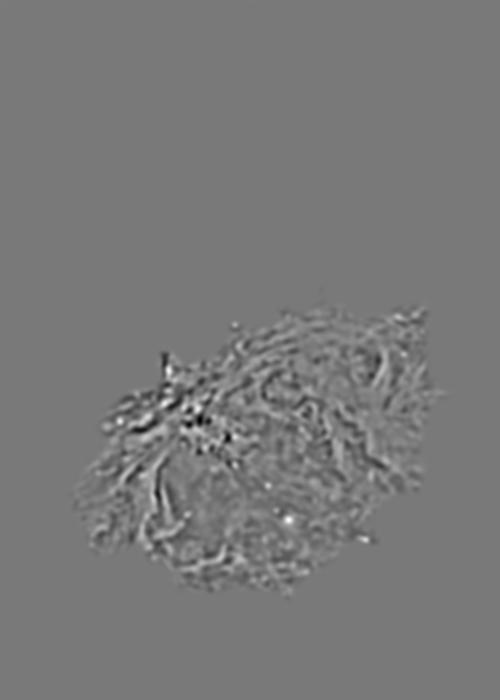
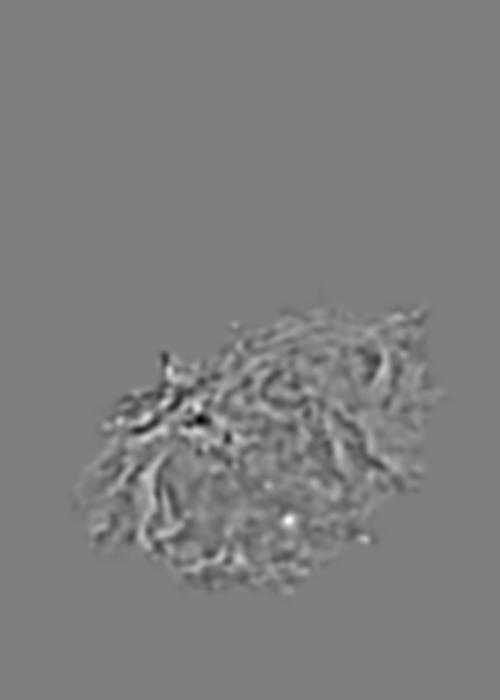
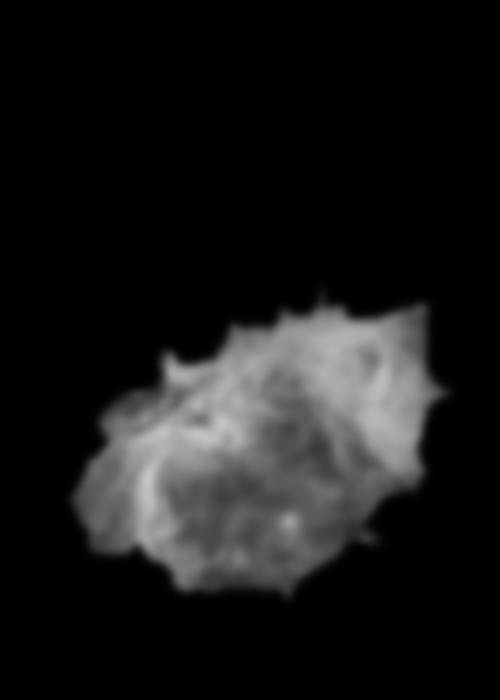
Plant Image [Ideal Rotation was 20 degrees as well]
 Original Image
|
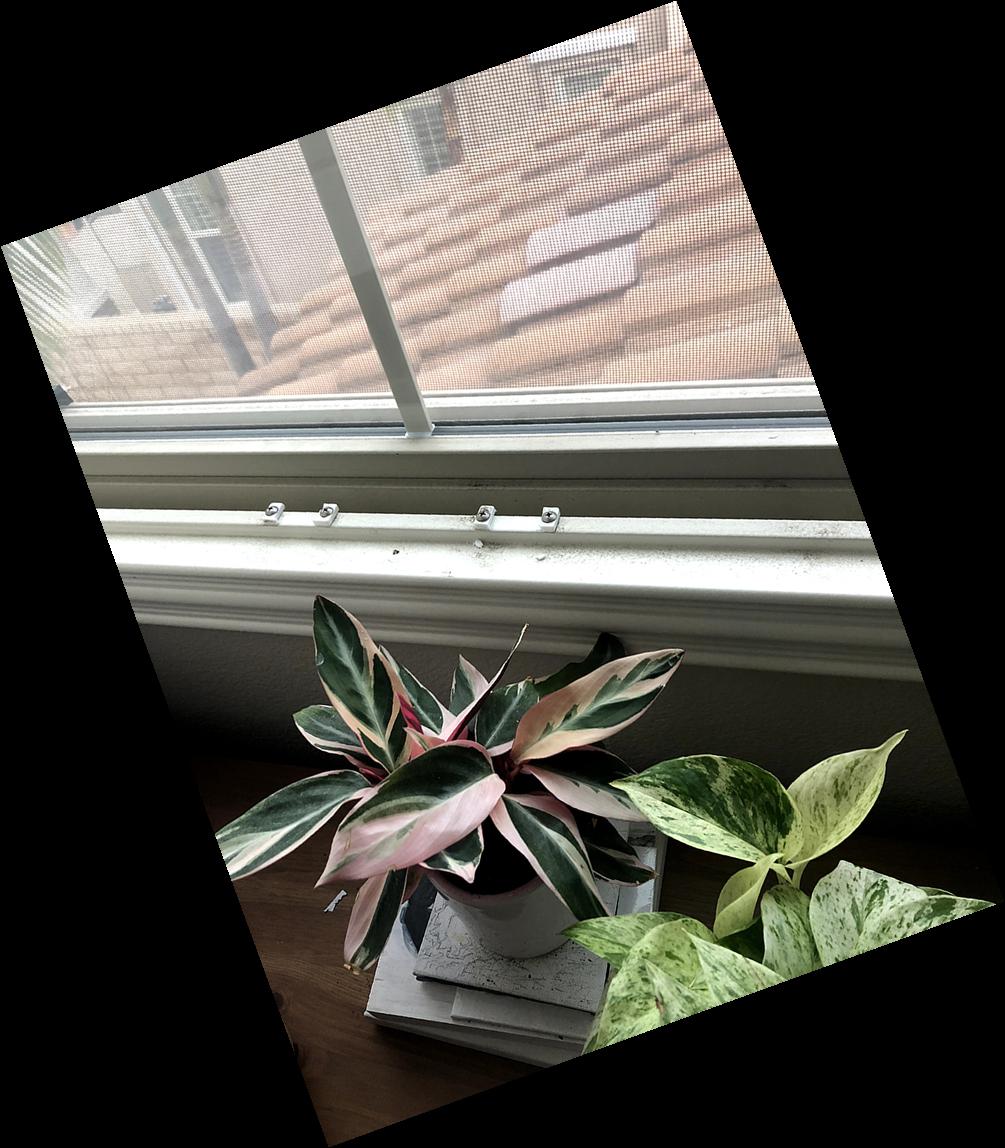 Rotated Image
|
 Original Image Histogram
|
 Rotated Image Histogram
|
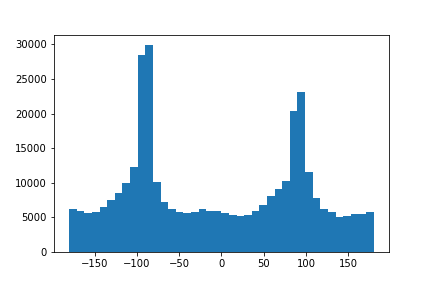
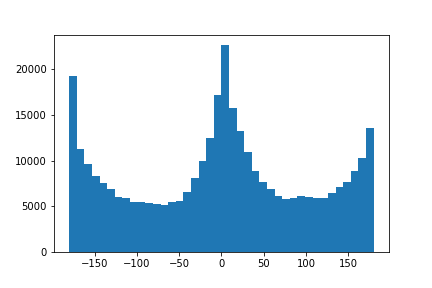
Door Image [Ideal Rotation was 6 degrees]
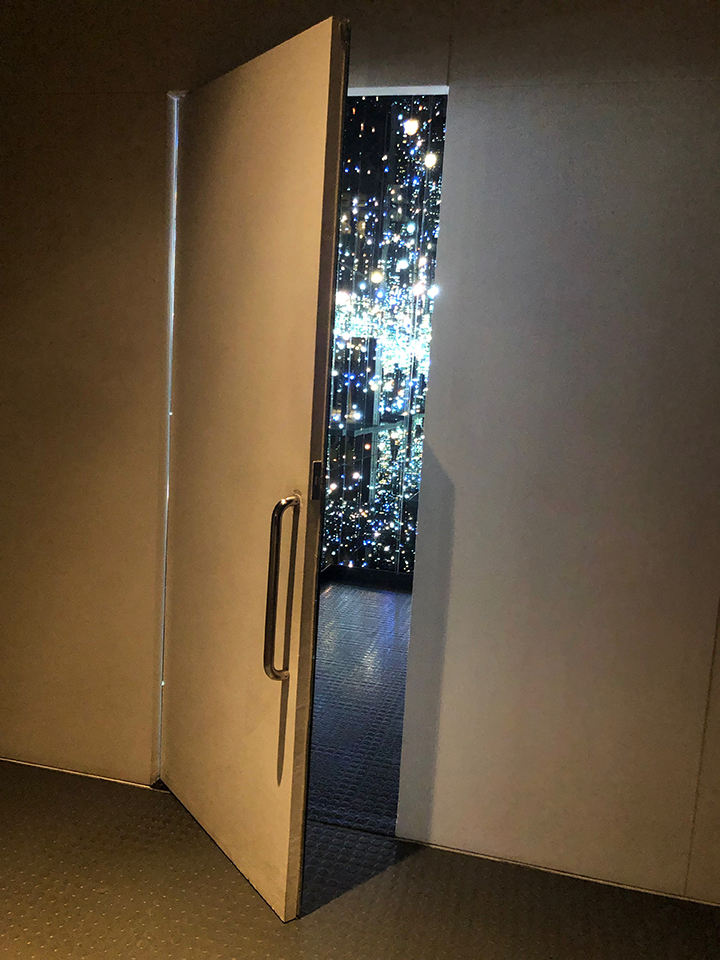 Original Image
|
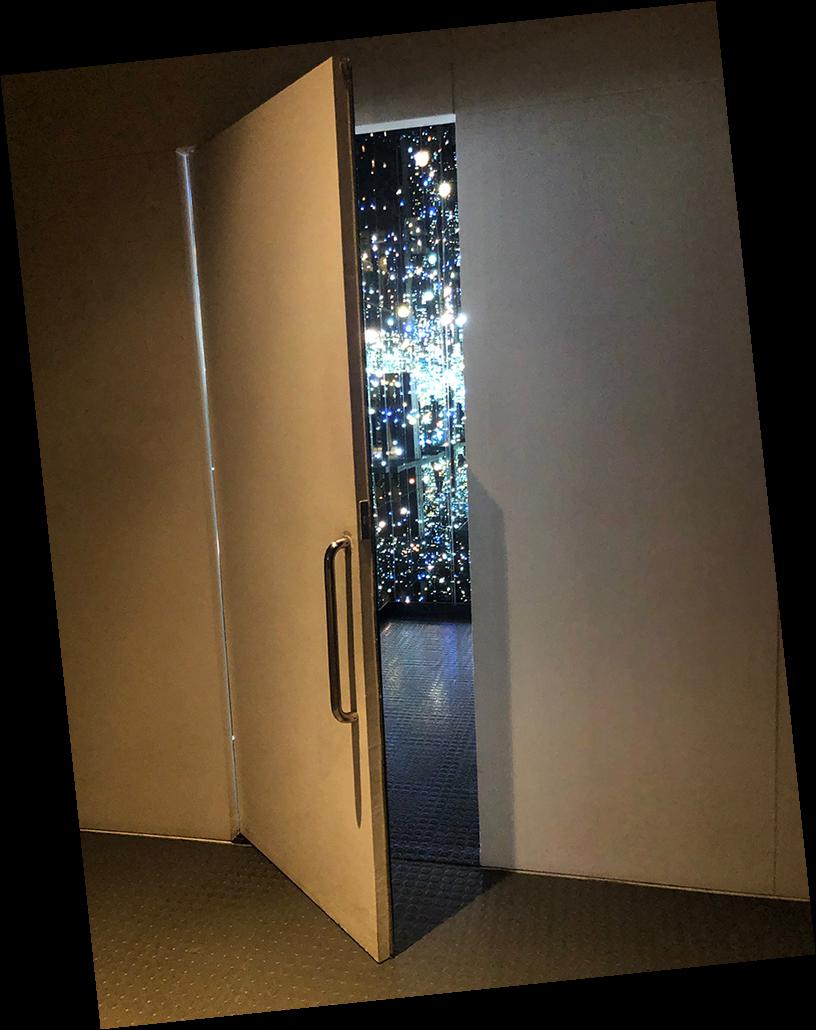 Rotated Image
|
 Original Image Histogram
|
 Rotated Image Histogram
|
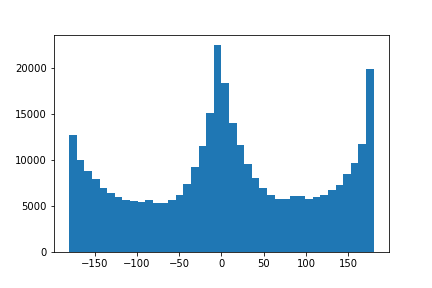
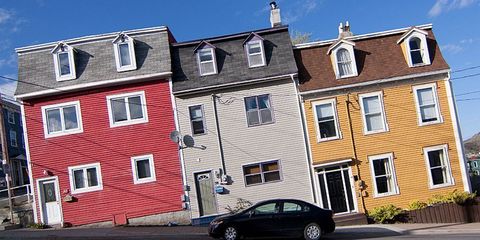
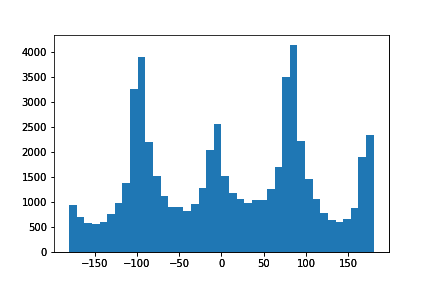
Houses Image [Ideal Rotation was -7 degrees]
This image could be considered a failure, as the houses were built on a slope, so they are "slanted" if taken with respect to the ground, but the algorithm rotates it "upright" if taken in correlation to the walls of the houses.
 Original Image
|
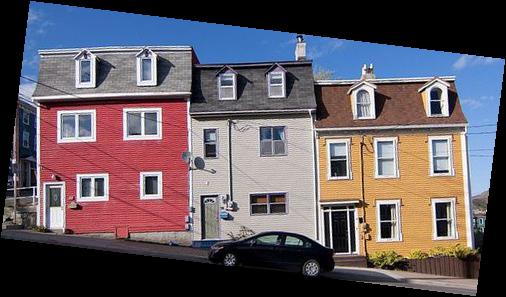 Rotated Image
|
 Original Image Histogram
|
 Rotated Image Histogram
|
Part 2 [Frequencies]
2.1 - Image Sharpening
To sharpen an image without actually getting a higher resolution version of the image, we can emphasize the high frequencies in the image to give a perception of a "sharpened" image. In this case, we used the Unsharp Mask Filter, where we
convolve the image with the filter [(1 + alpha) * unit_impulse - alpha * guassianFilter]. Essentially, this means we are simply adding an alpha proportion of the image's higher frequencies (decided by guassian filter) to the existing image.
 Original, Blurred Image
|
 Sharpened Image
|
 Original, Blurred Image
|
 Sharpened Image
|
 Original, Blurred Image
|
 Sharpened Image
|
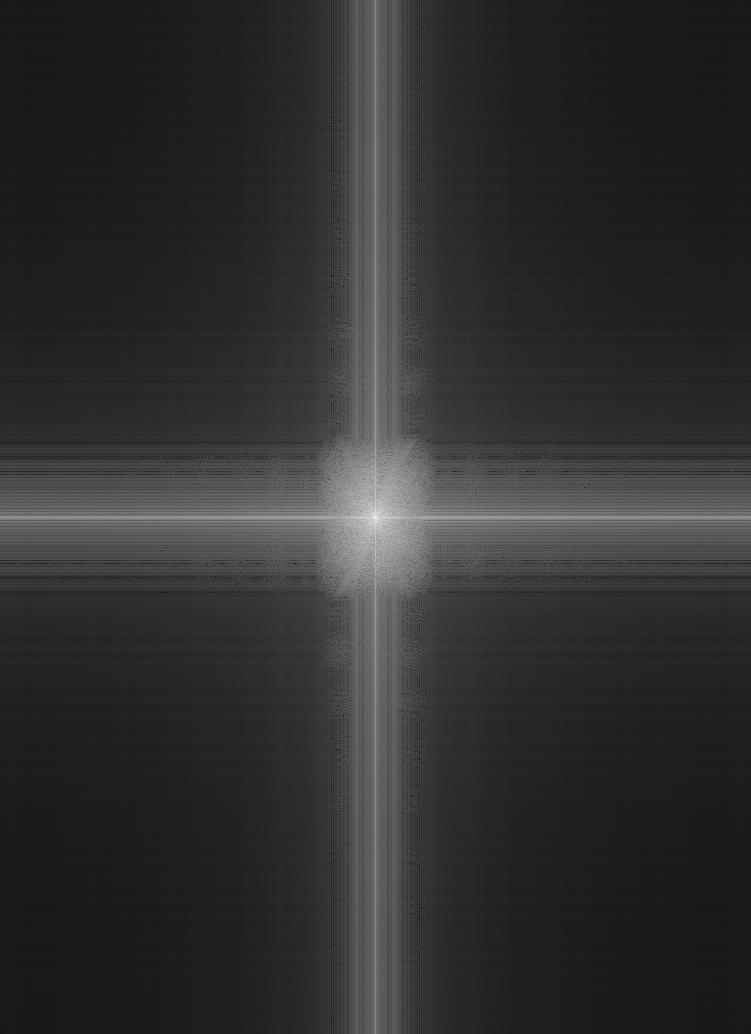
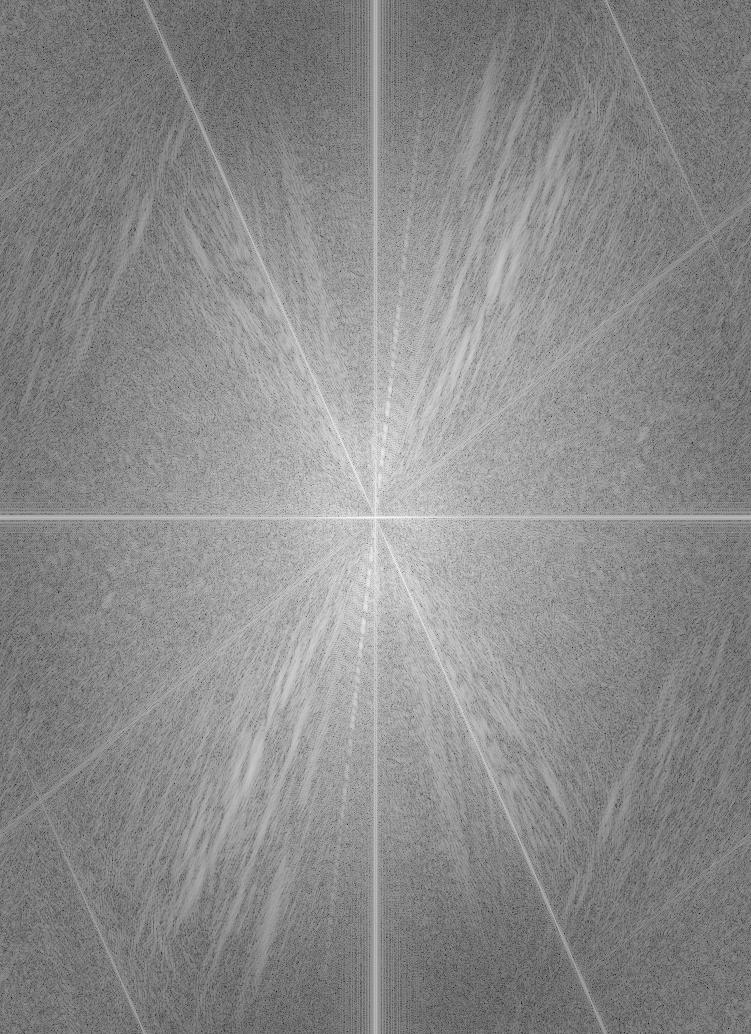
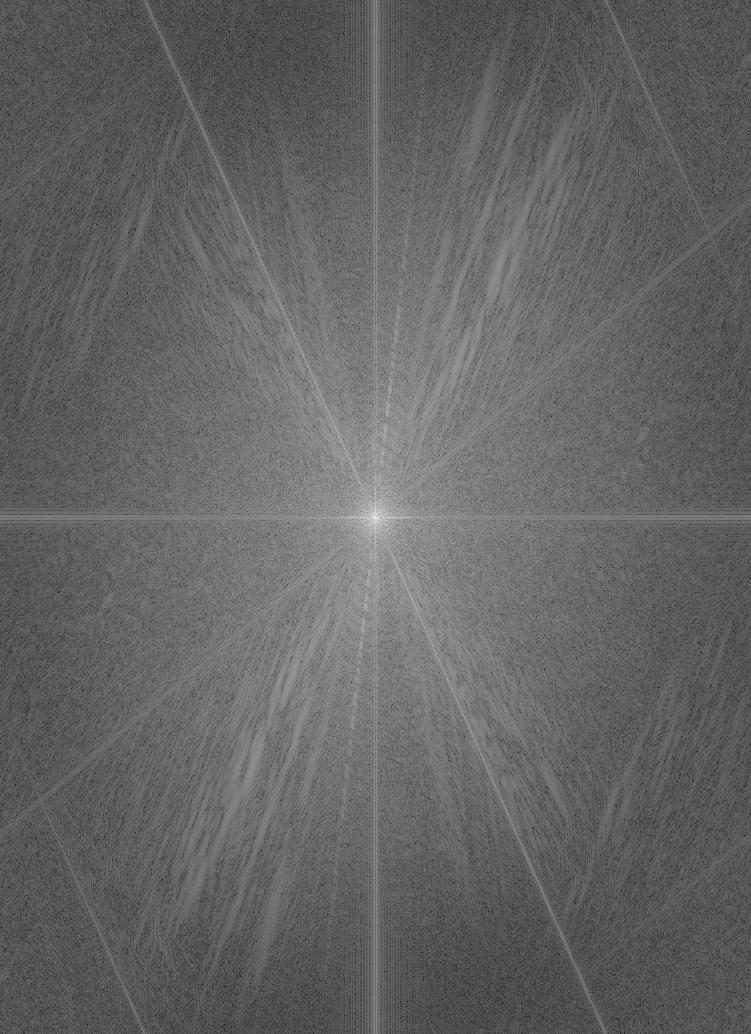
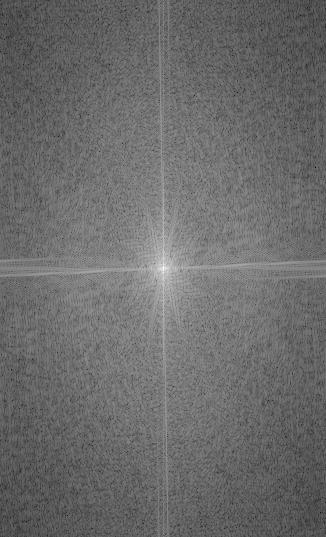
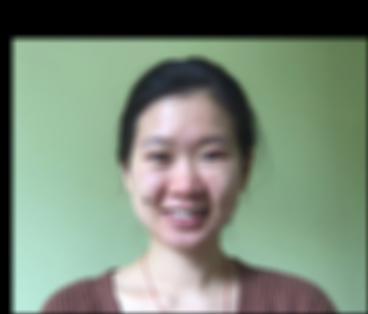
2.2 - Hybrid Images
To create a Hybrid Image, we want one image to be of lower frequencies, and the other to be of higher frequencies. This gives the perception of seeing one image when near, and the other image when distant. In the following images, you can also
see the Fourier Transform of the images as they go through the process of being filtered and then combined.
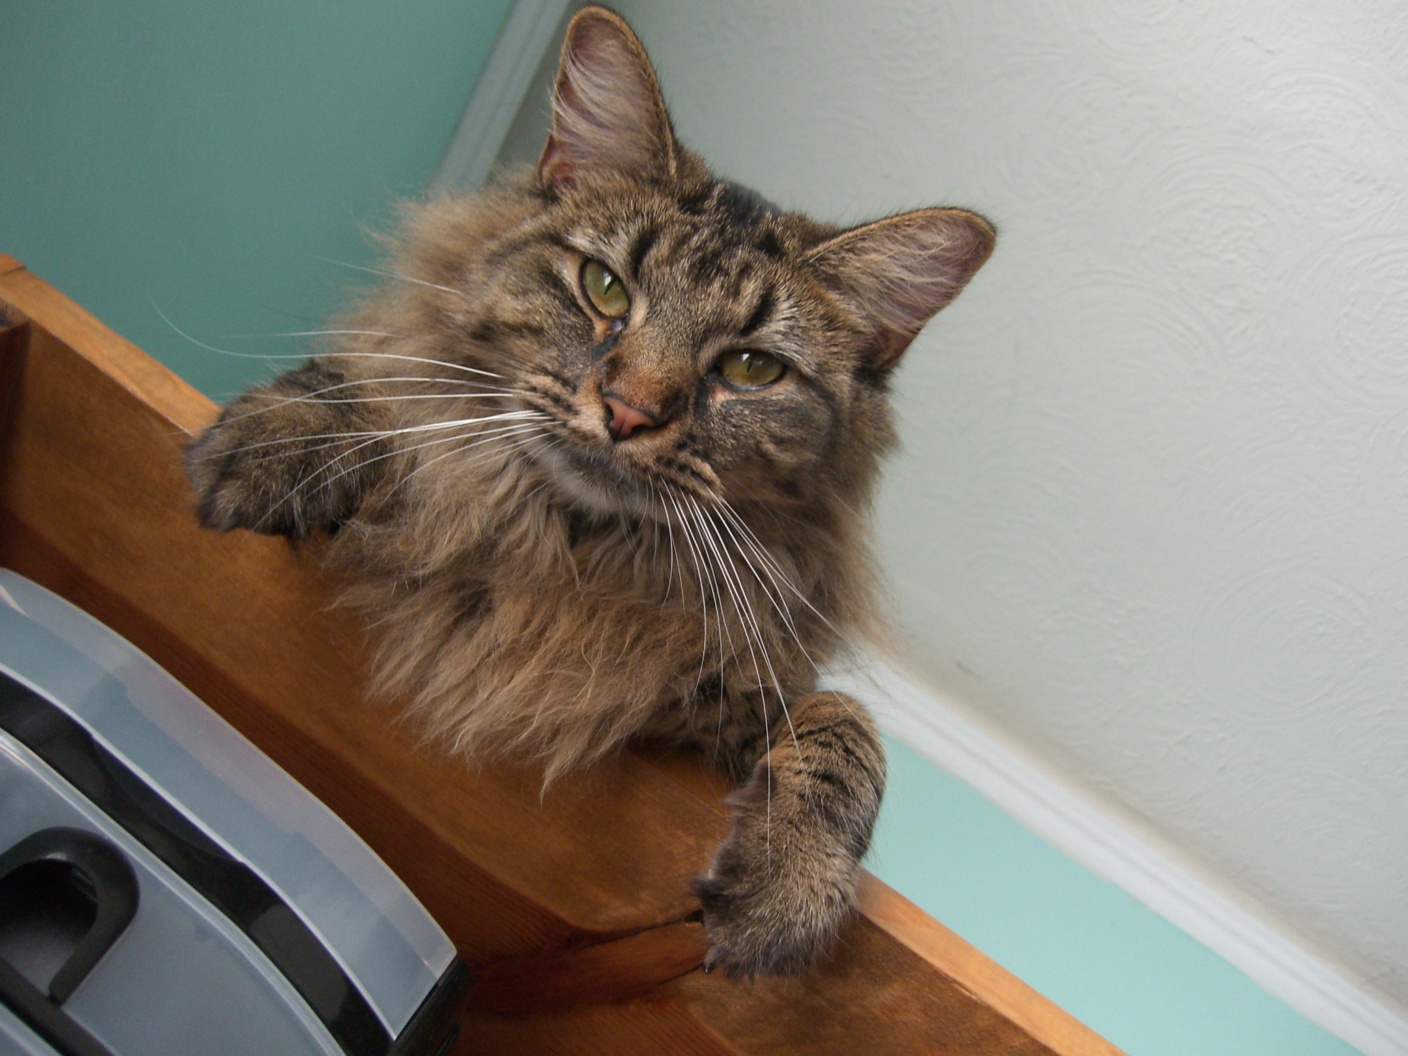
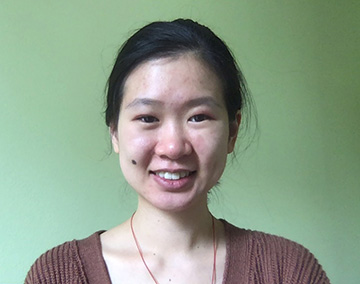
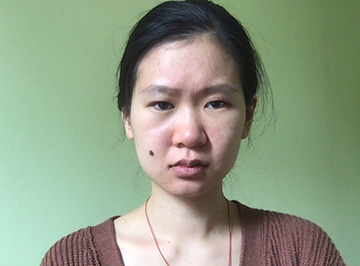
Derek and Cat
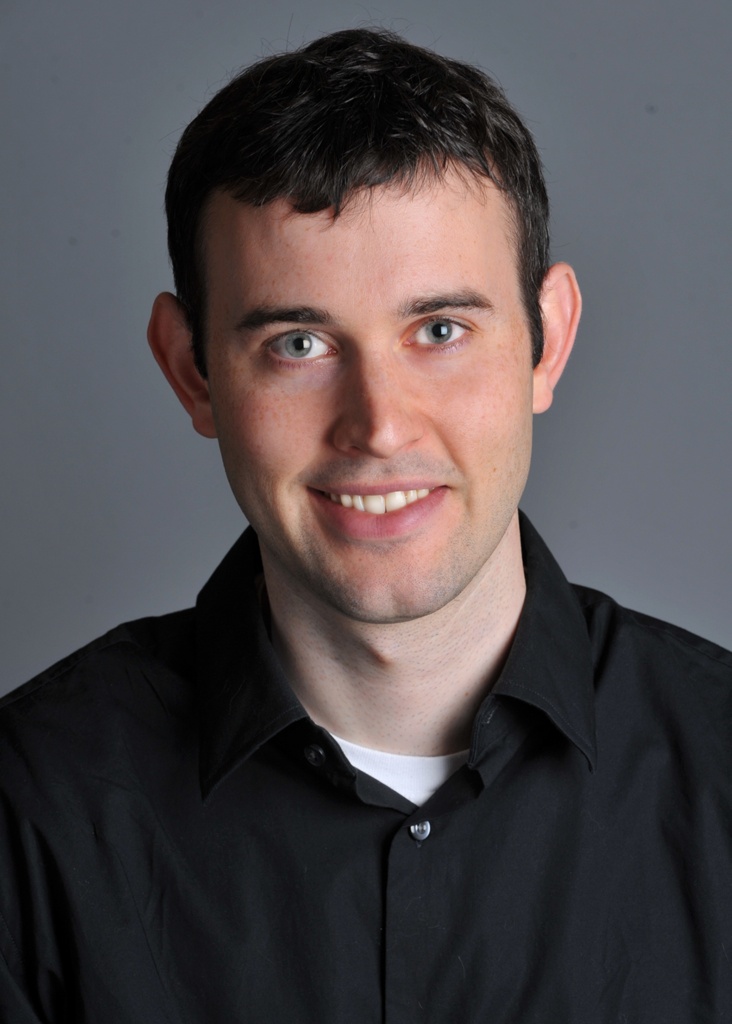 Original Derek Image
|
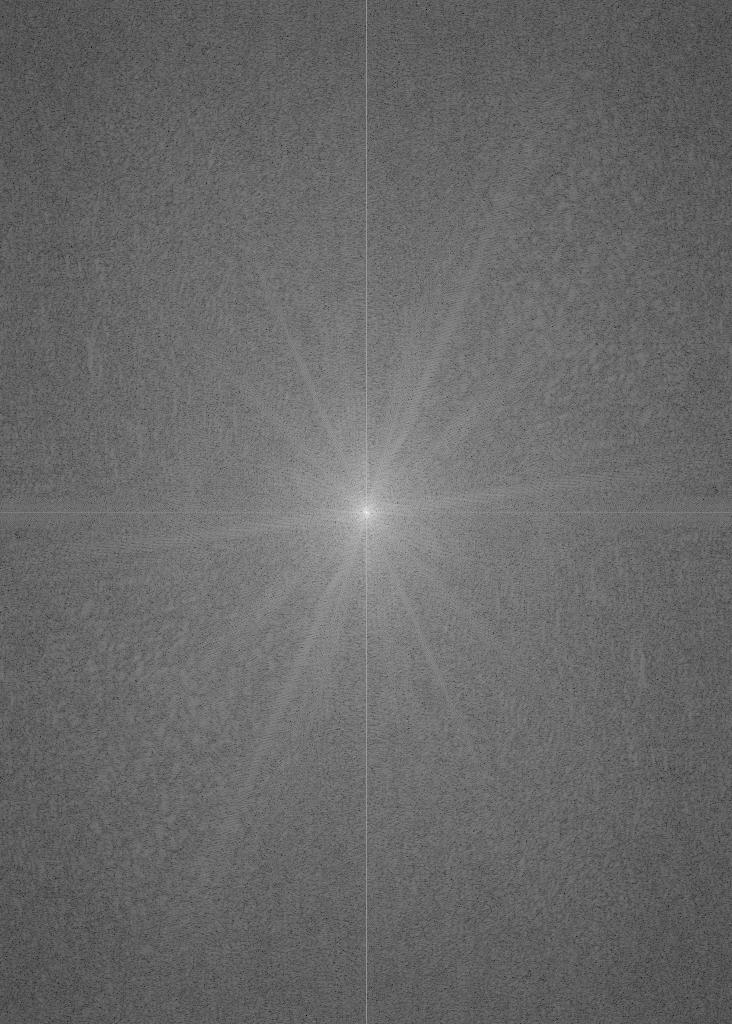 Original Derek Fourier
|
 Original Nutmeg Image
|
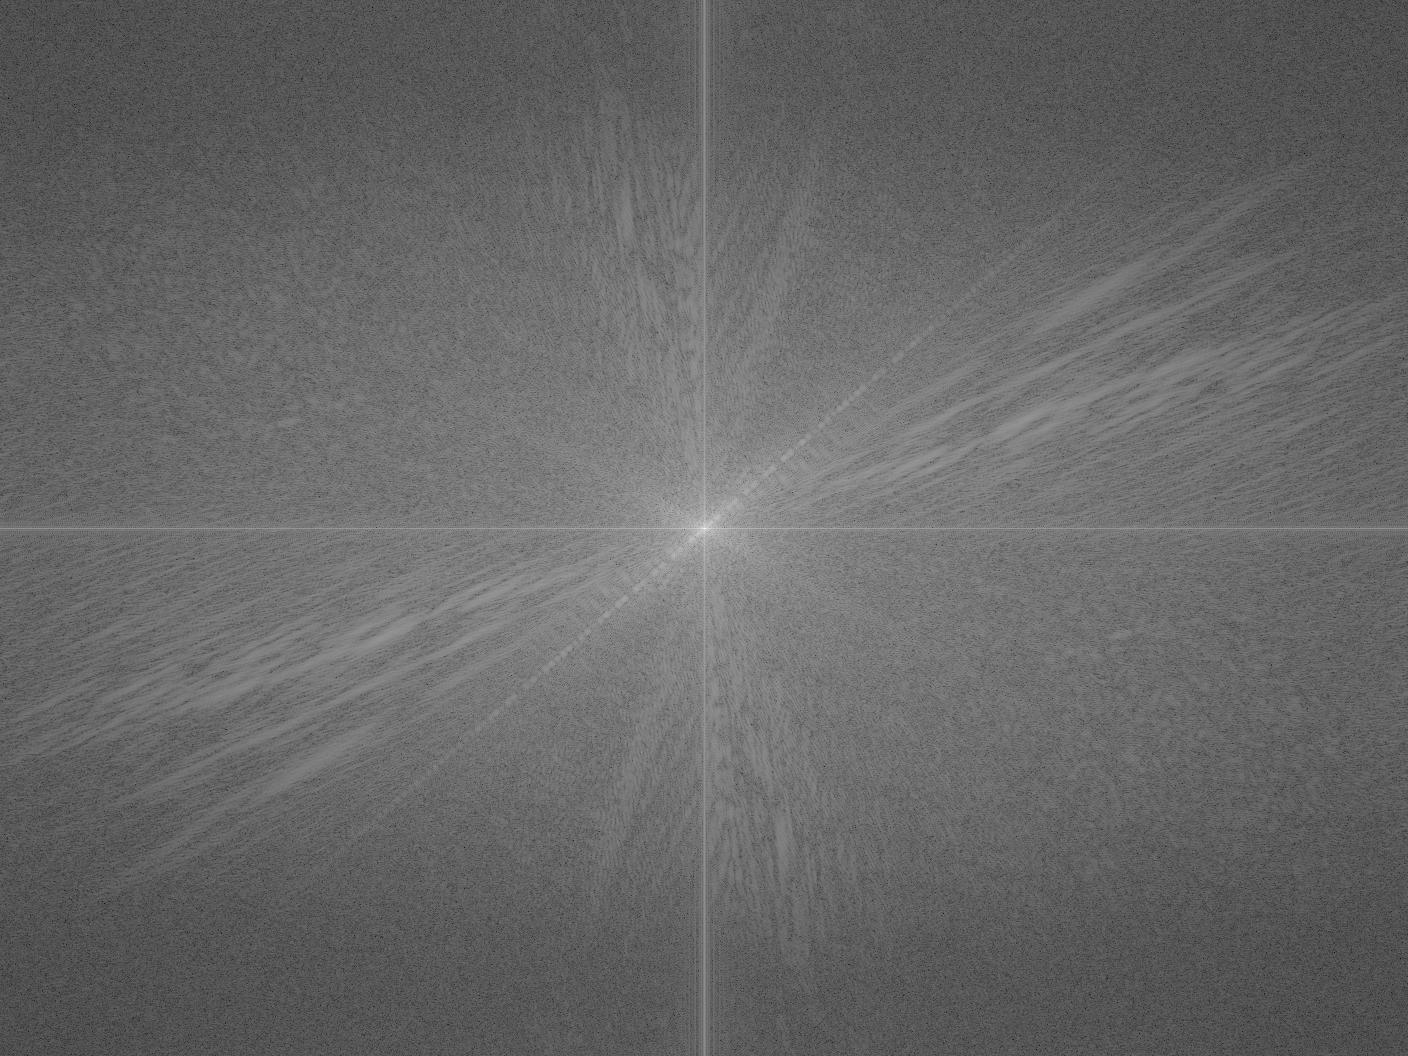 Original Nutmeg Fourier
|
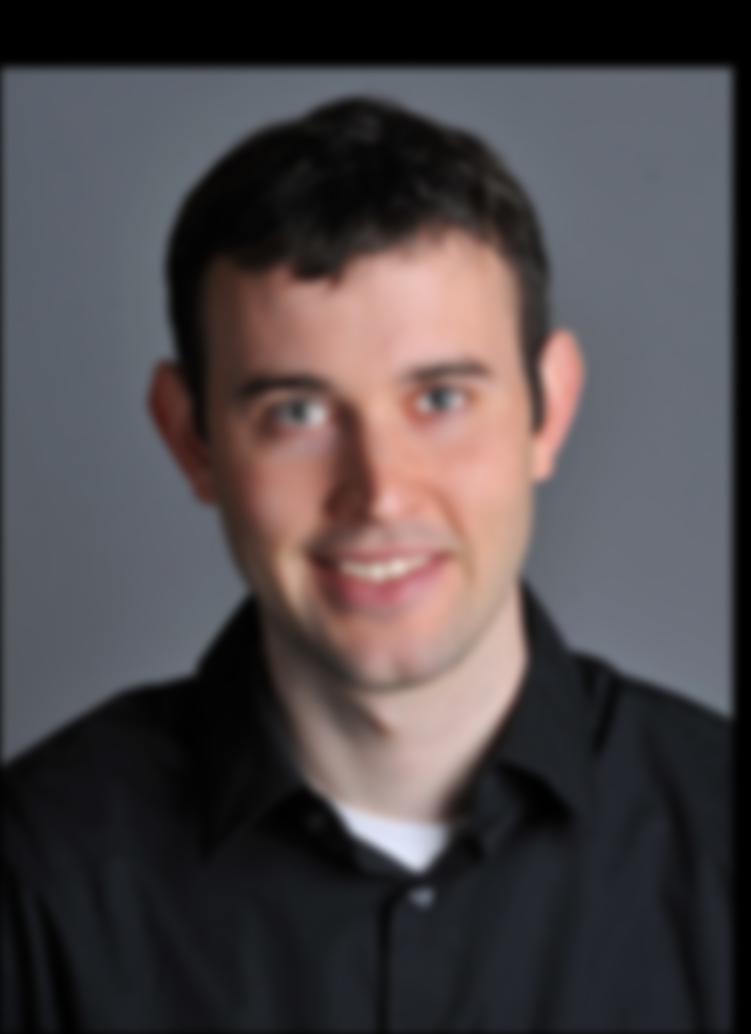 Low Pass Derek Image
|
 Low Pass Derek Fourier
|
 High Pass Nutmeg Image
|
 High Pass Nutmeg Fourier
|
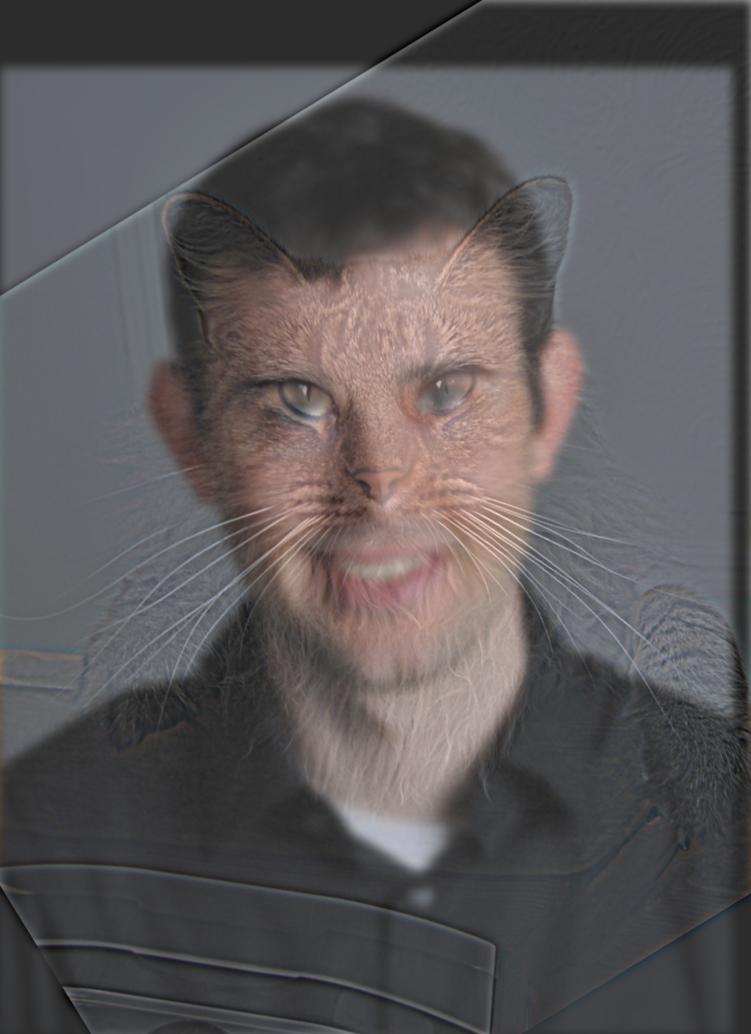 Hybrid Image
|
 Hybrid Image Fourier
|
Harry Potter
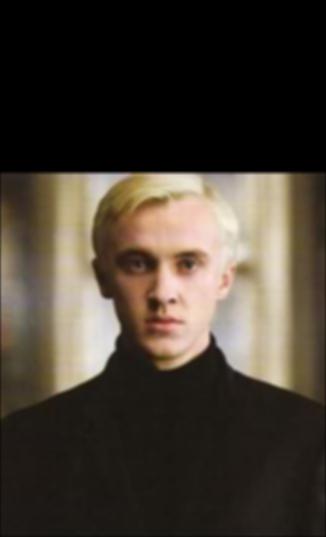
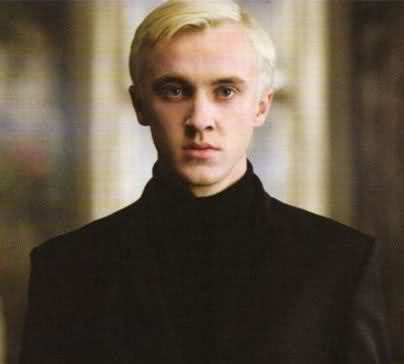 Original Draco Image
|
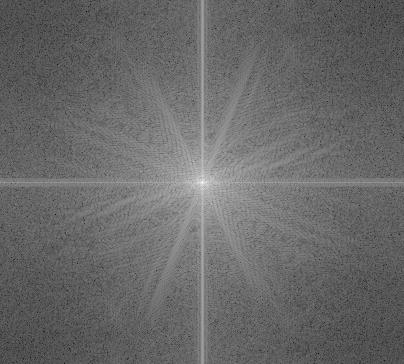 Original Draco Fourier
|
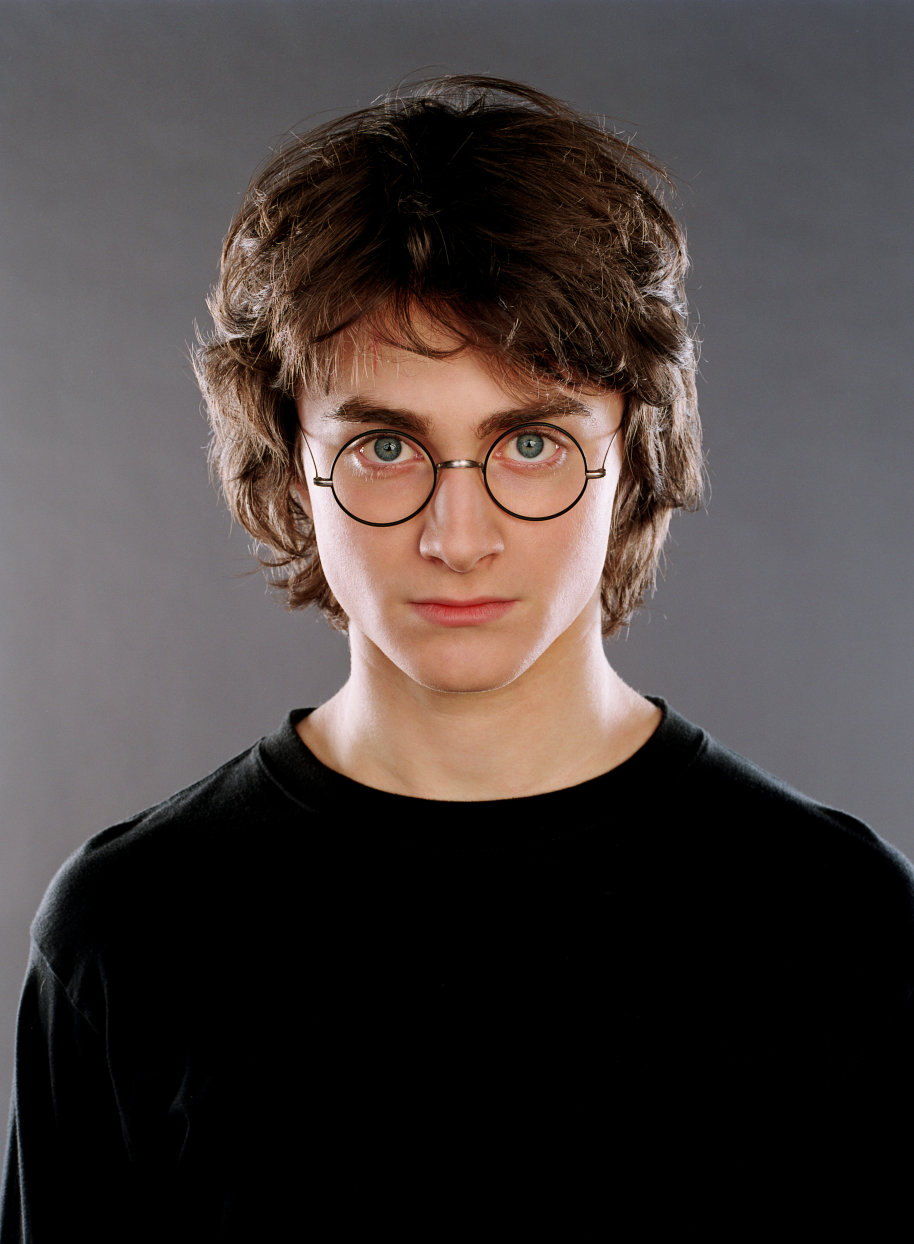 Original Harry Image
|
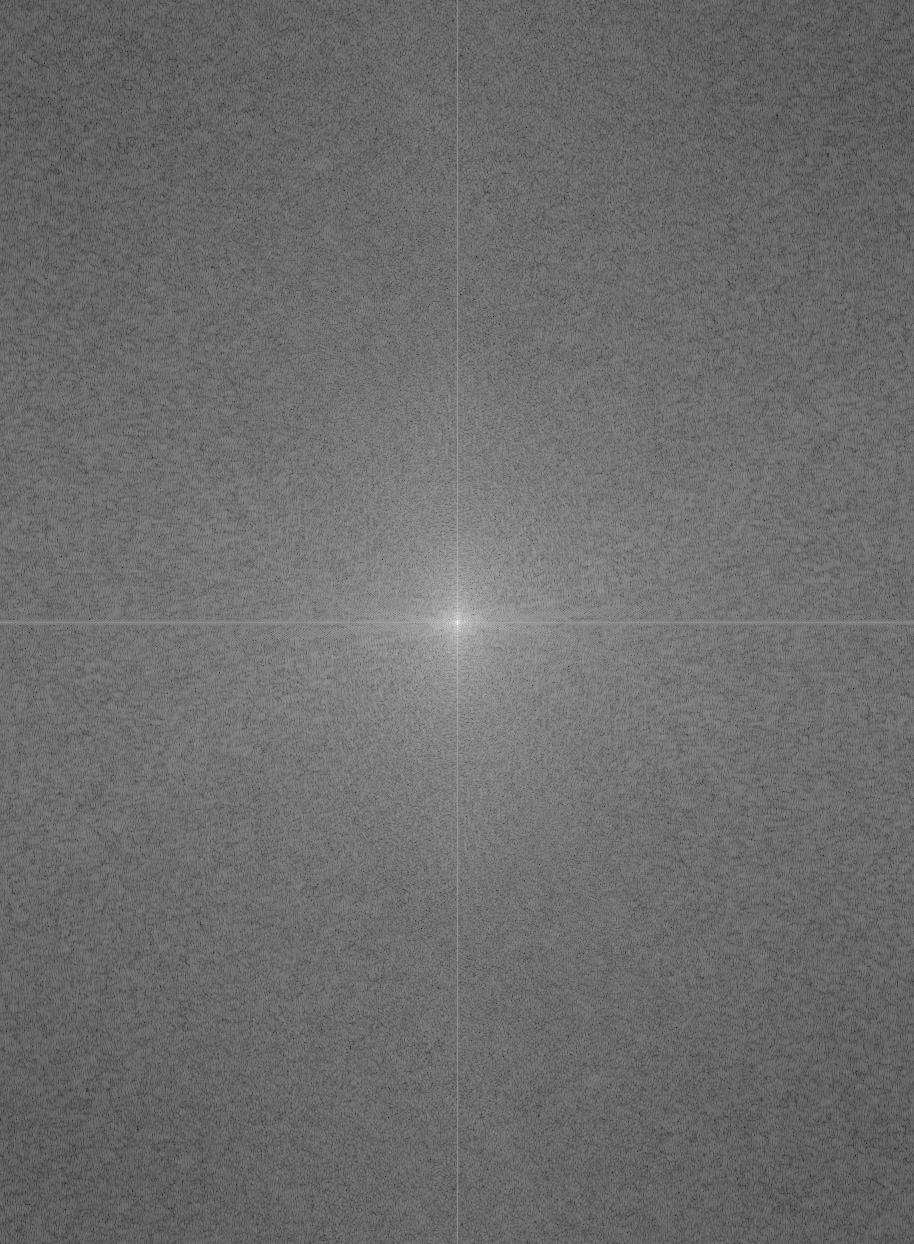 Original Harry Fourier
|
 Low Pass Draco Image
|
 Low Pass Draco Fourier
|
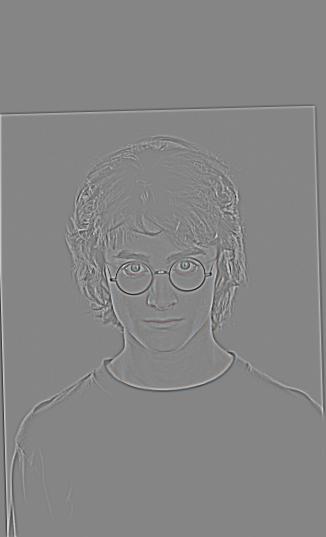 High Pass Harry Image
|
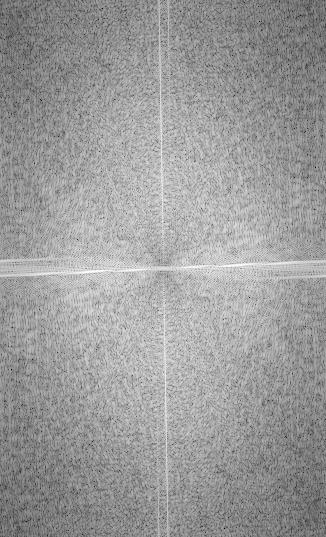 High Pass Harry Fourier
|
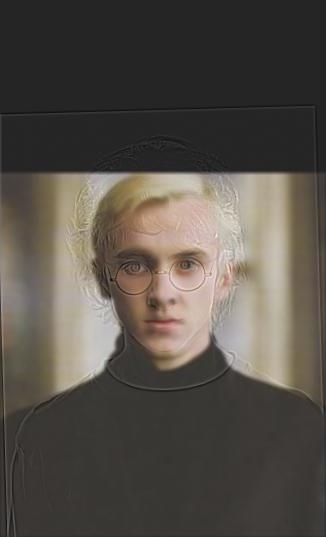 Hybrid Image
|
 Hybrid Image Fourier
|
Smile and Frown
 Original Smile Image
|
 Original Frown Image
|
 Low Pass Smile Image
|
 High Pass Frown Image
|
 Hybrid Image
|
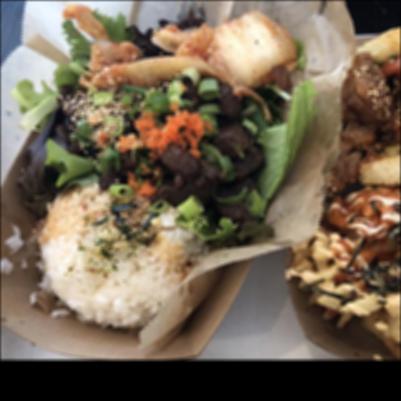
Brunch Foods
This hybrid image is a failure case. Compared the the previous images where you can view the two images apart quite distinctly, in this case because the two original images do not have similar content, the lower frequencies clash with the higher
frequencies a lot more noticeably, and likely confuse the viewer.
 Original Food Image
|
 Original Food Image
|
 Low Pass Food Image
|
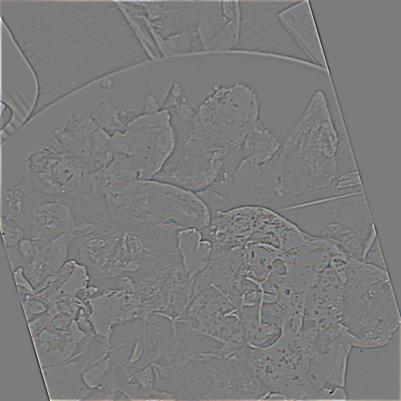 High Pass Food Image
|
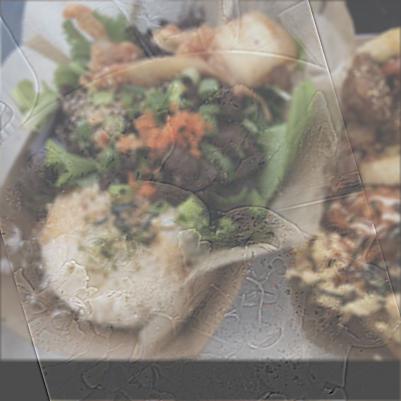 Hybrid Image
|
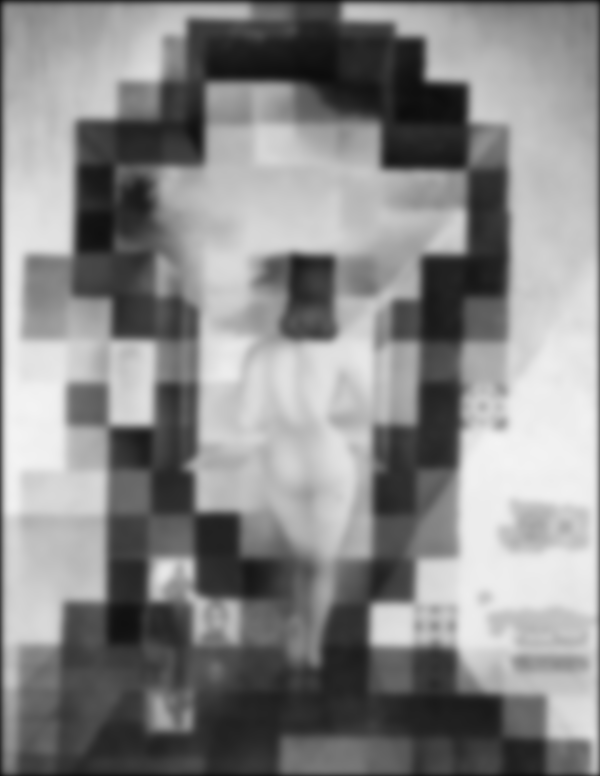
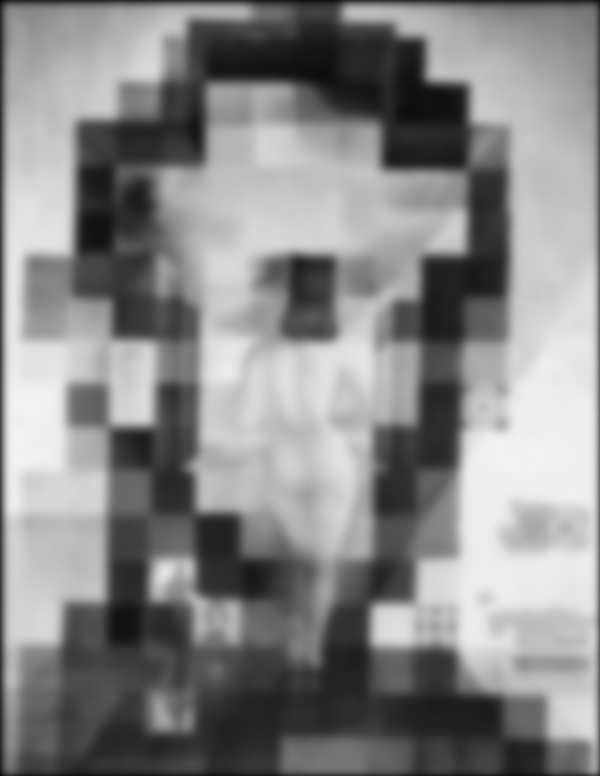
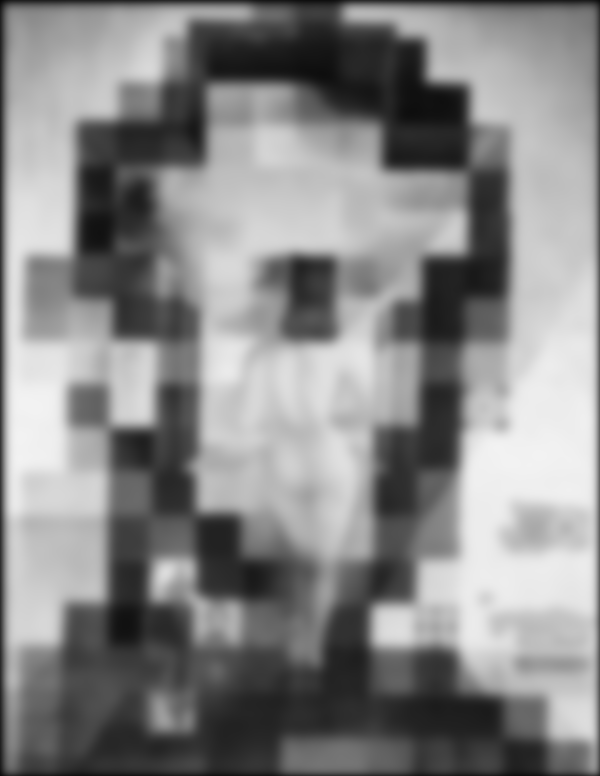
2.3 - Gaussian and Laplacian Stacks
To create a Gaussian Stack, we can simply take the image and pass it through a Gaussian Filter for the number of levels in the stack we would like. To create a Laplacian Stack, we take the difference between two images next to each other in the Gaussian Stack.
Gala Contemplating the Mediterranean Sea
 Original Image
|
 Gaussian Image 1
|
 Gaussian Image 2
|
 Gaussian Image 3
|
 Gaussian Image 4
|
 Gaussian Image 5
|
 Gaussian Image 6
|
|
Original Image
|
 Laplacian Image 1
|
 Laplacian Image 2
|
 Laplacian Image 3
|
 Laplacian Image 4
|
 Laplacian Image 5
|
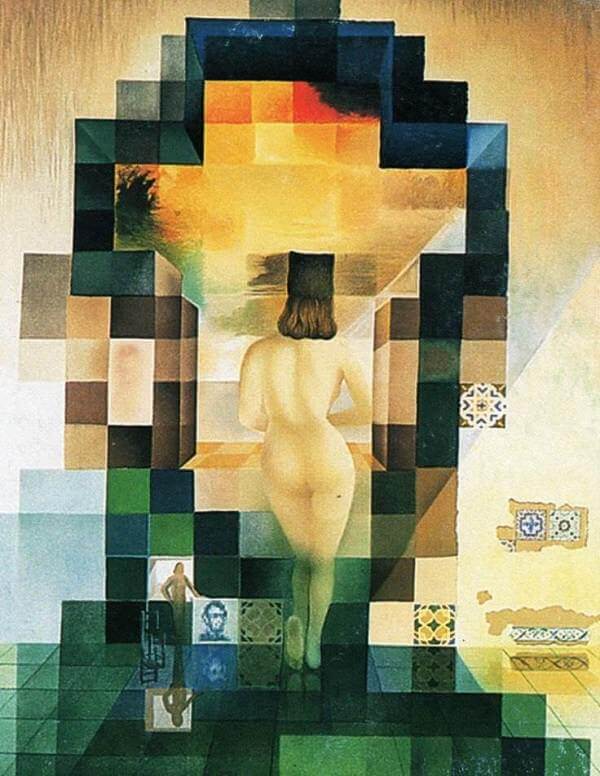
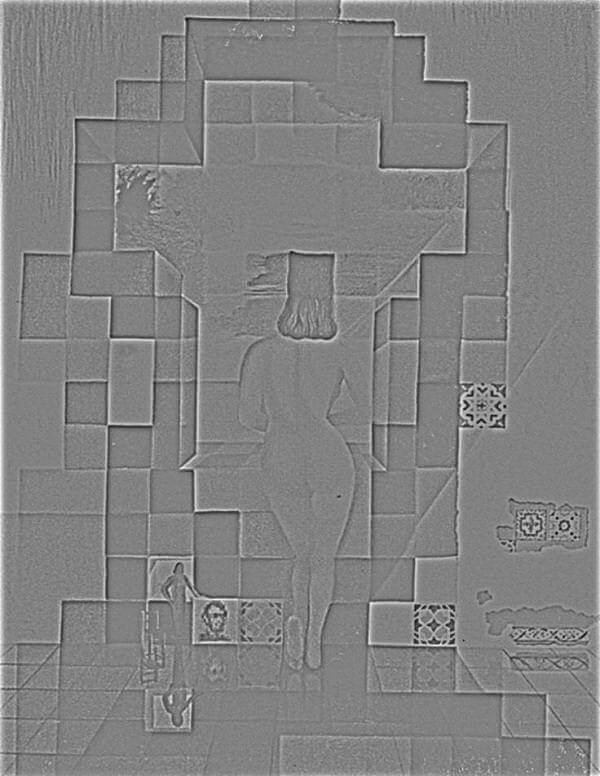
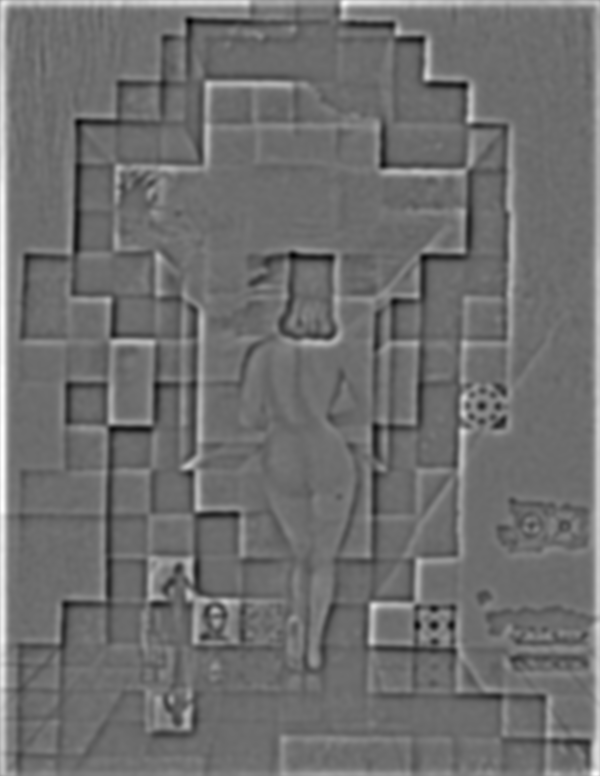
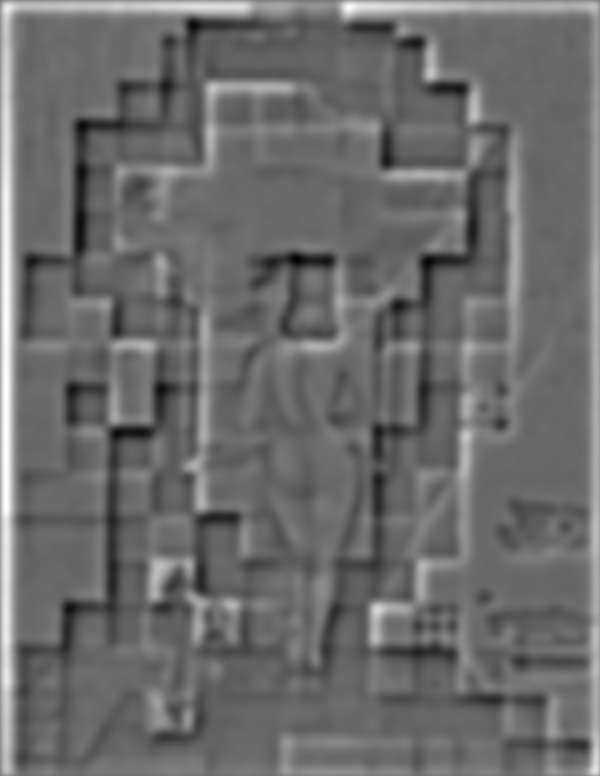
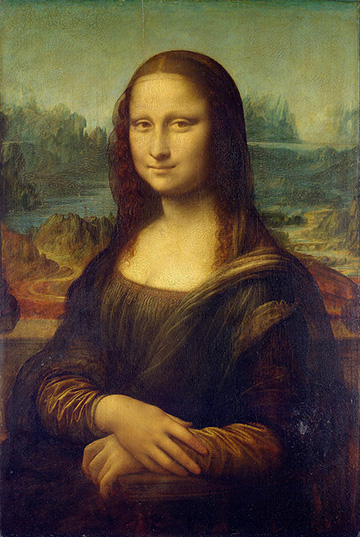
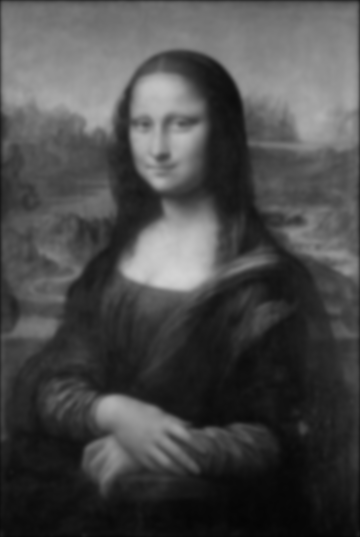
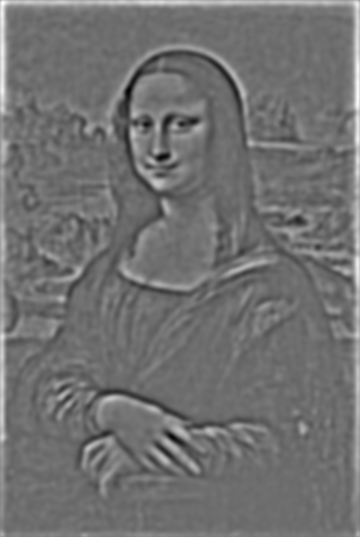
Mona Lisa
 Original Image
|
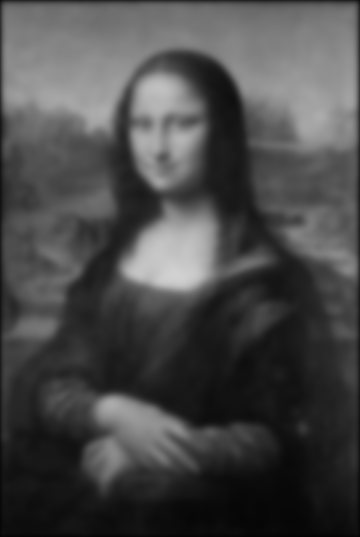
 Gaussian Image 1
|
 Gaussian Image 2
|
 Gaussian Image 3
|
 Gaussian Image 4
|
 Gaussian Image 5
|
|
Original Image
|
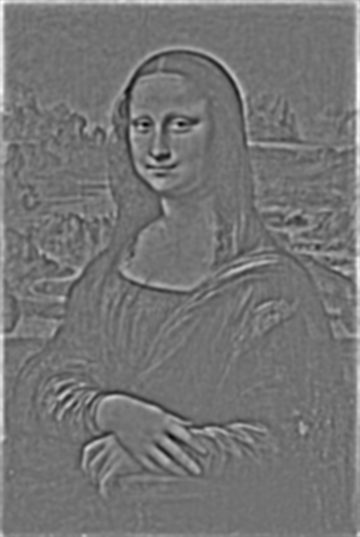
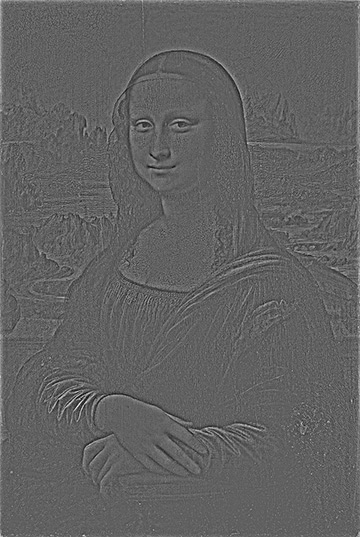 Laplacian Image 1
|
 Laplacian Image 2
|
 Laplacian Image 3
|
 Laplacian Image 4
|
 Laplacian Image 5
|
2.4 - Multiresolution Blending
To do multiresolution blending, we'll start off with two images, A and B, and a mask. To make the blend more seamless, we'll follow these steps.
-
Build Laplacian pyramids LA and LB for images A and B respectively.
-
Build a Gaussian pyramid GM for the mask M.
-
Form a combined pyramid LS from LA and LB using nodes of GM as
weights. That is, for each layer l,
LS[l] = GM[l] * LA[l] + (1 - GM[l]) * LB[l]
-
Obtain the splined image S by expanding and summing the levels of LS.
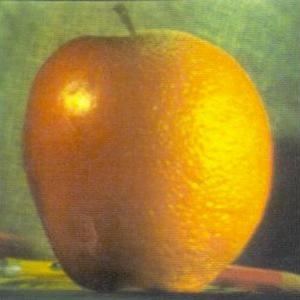
Apple + Orange Color Blending
 Apple Image
|
 Orange Image
|
 Apple + Orange Blended
|
Tree Hand
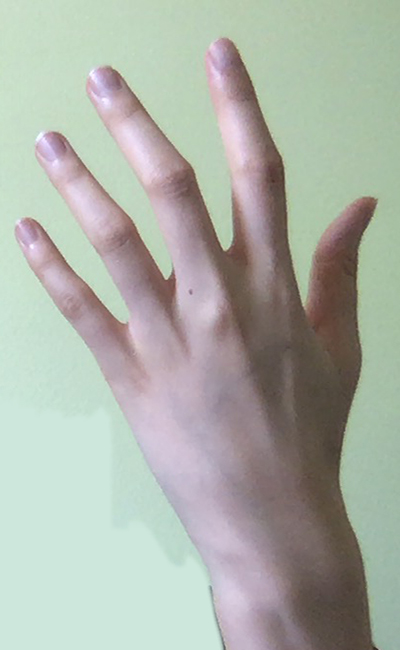 Hand Image
|
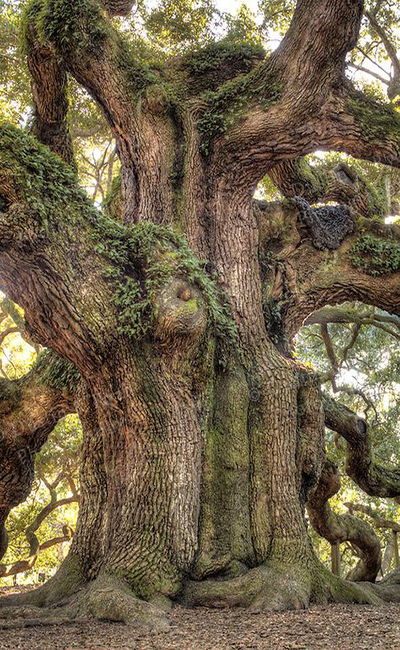 Tree Image
|
 Mask Image
|
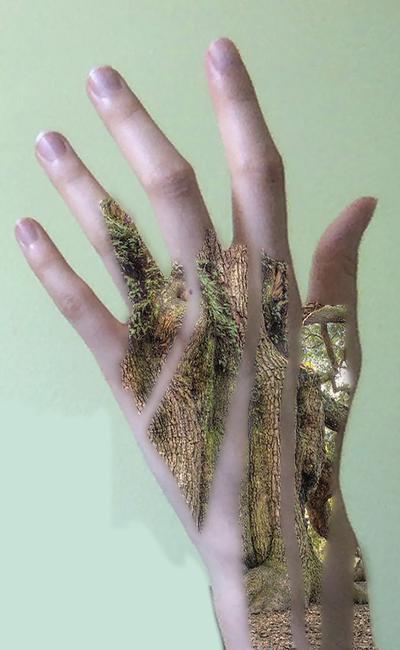 Tree + Hand Blended
|
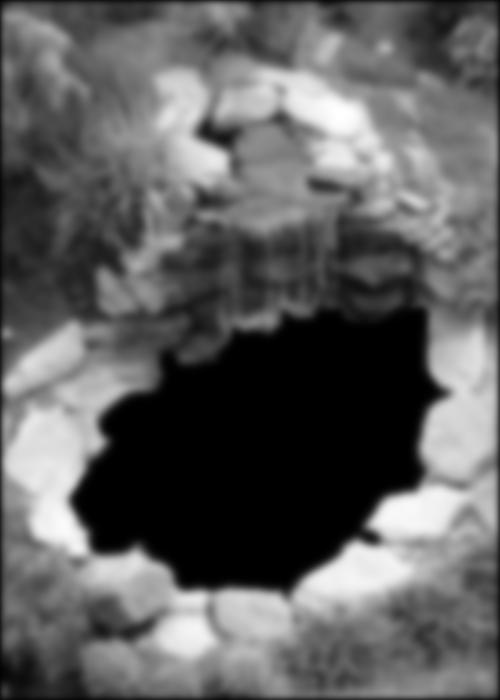
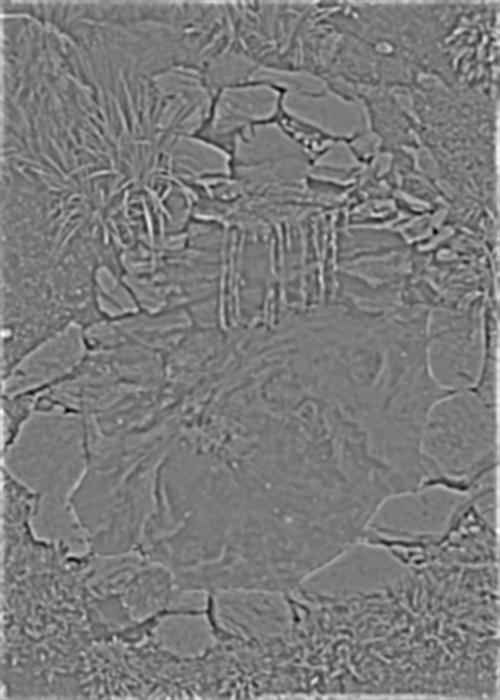
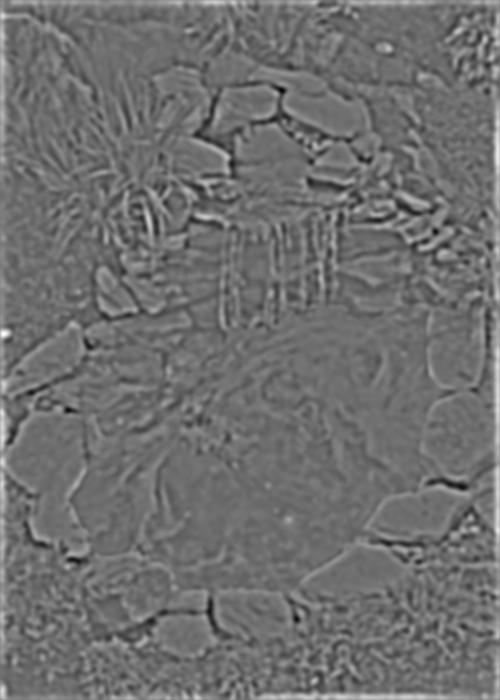
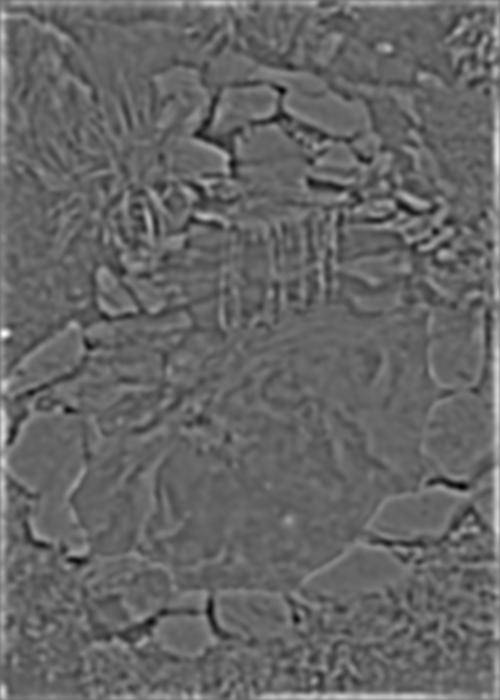
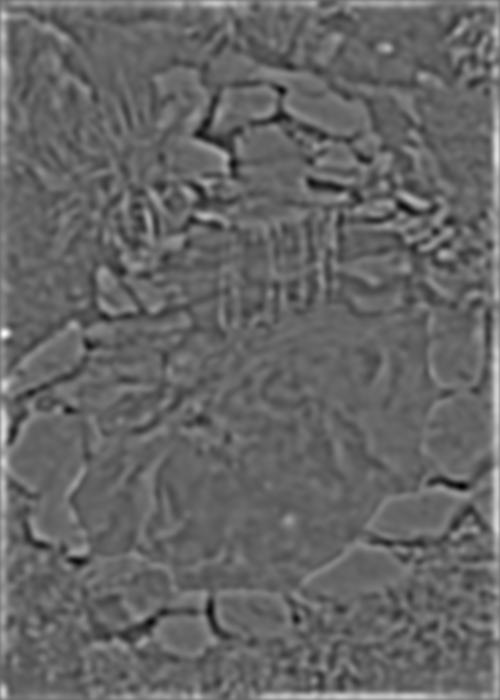
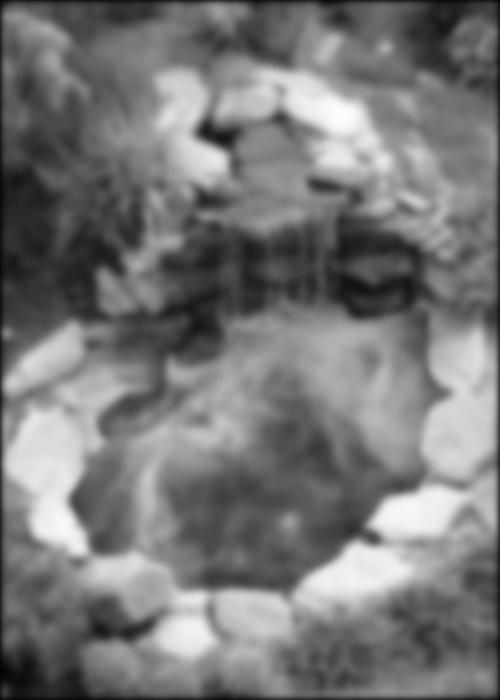
Galaxy Pond
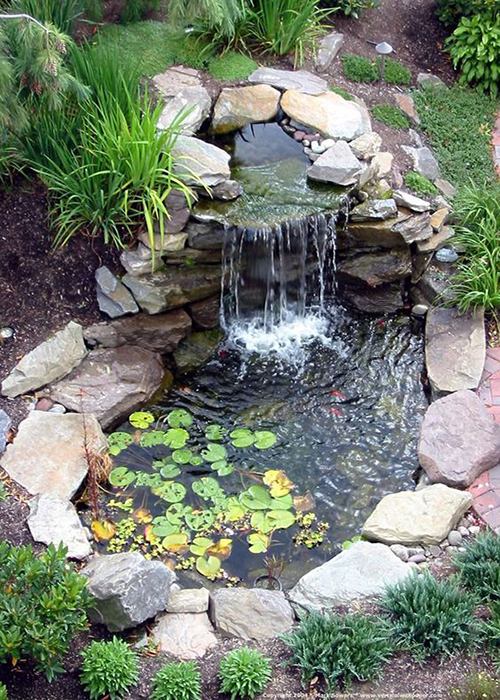 Pond Image
|
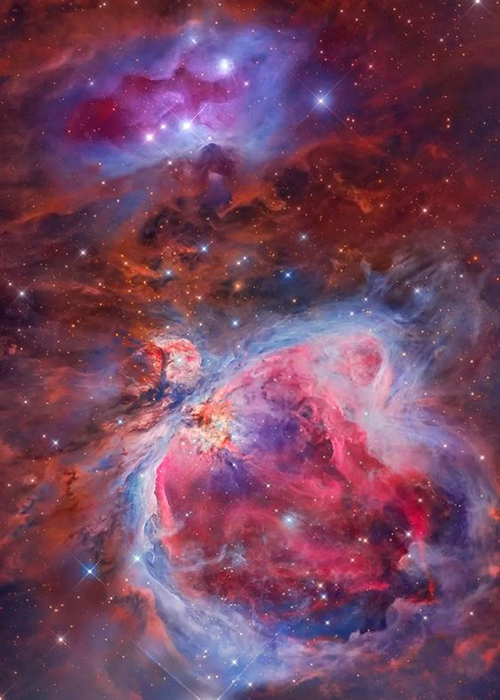 Nebula Image
|
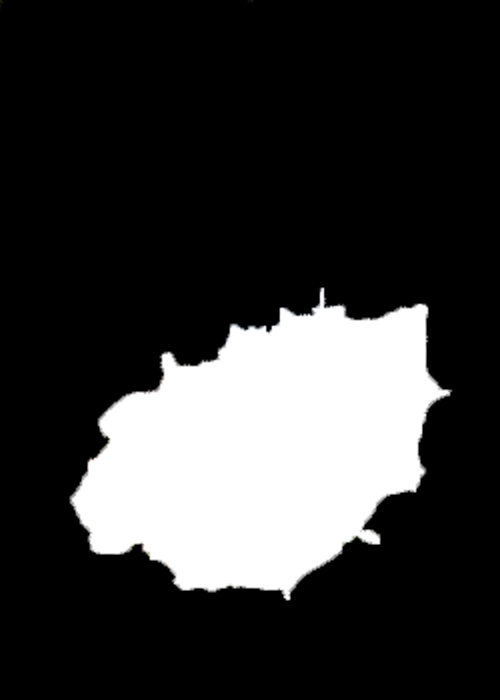 Mask Image
|
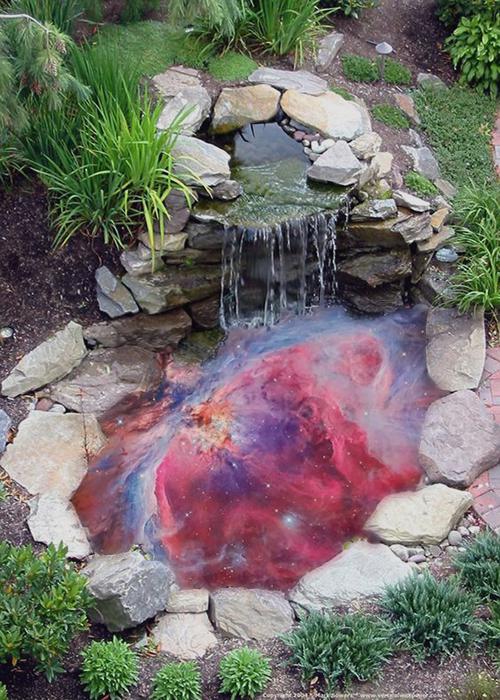 Nebula + Pond Blended
|
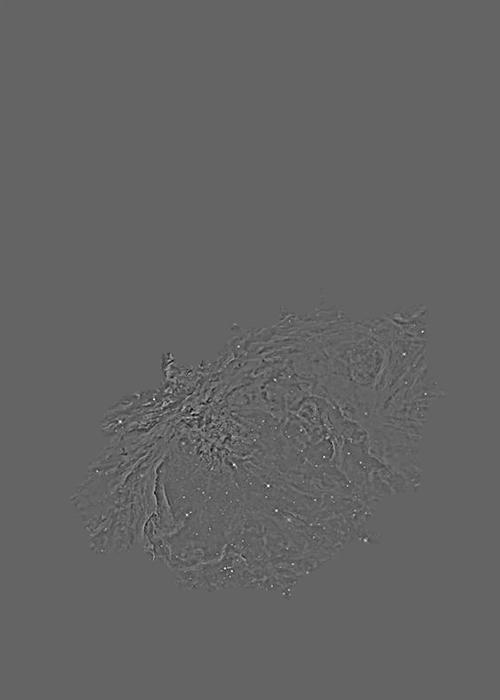
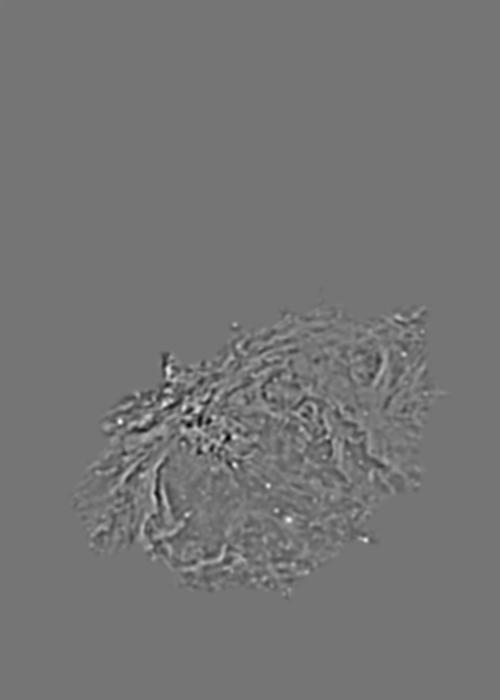
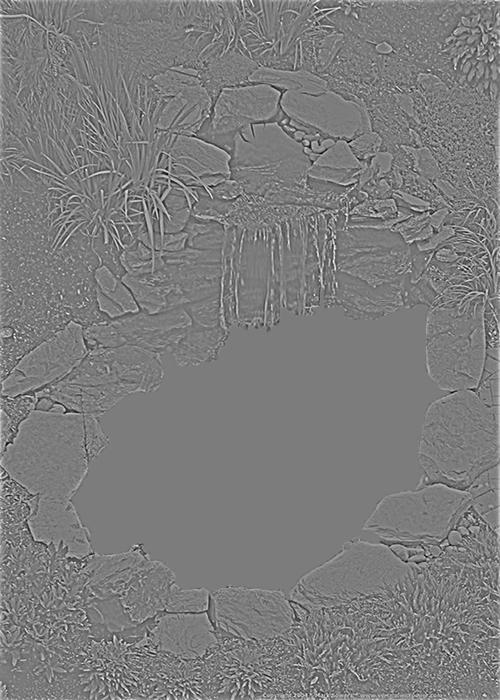 Pond Laplacian Mask 0
|
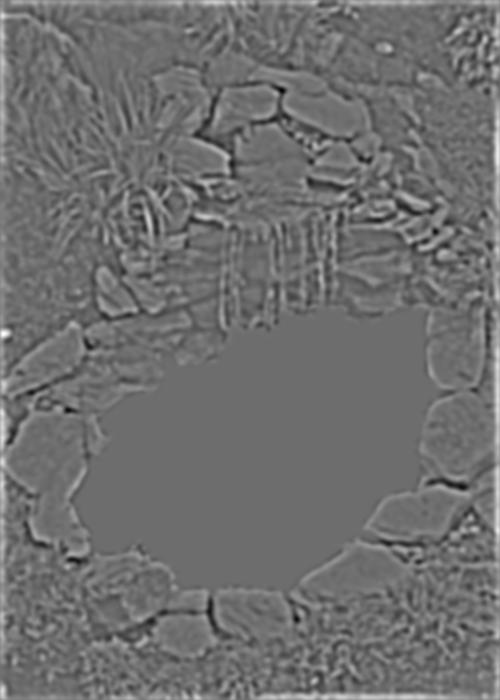
 Pond Laplacian Mask 1
|
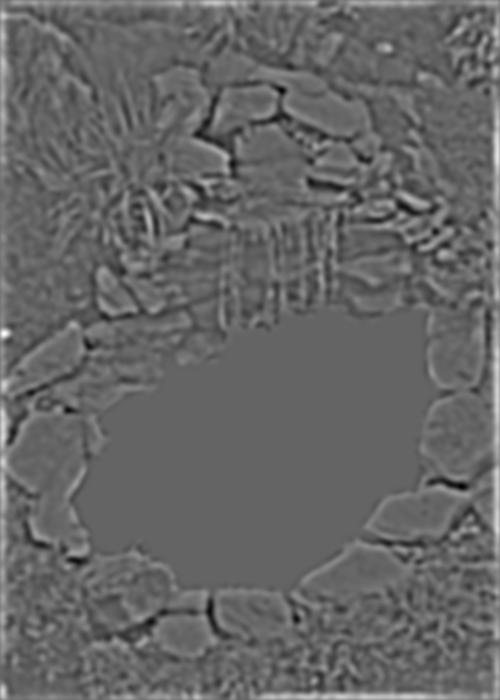
 Pond Laplacian Mask 2
|
 Pond Laplacian Mask 3
|
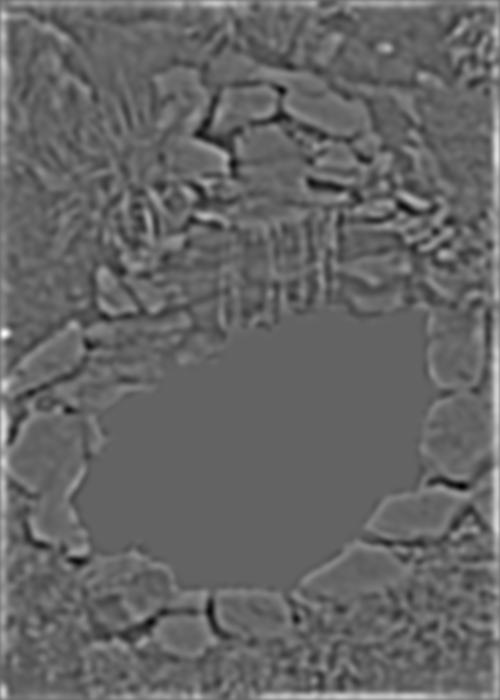 Pond Laplacian Mask 4
|
 Pond Laplacian Mask 5
|
 Nebula Laplacian Mask 0
|
 Nebula Laplacian Mask 1
|
 Nebula Laplacian Mask 2
|
 Nebula Laplacian Mask 3
|
 Nebula Laplacian Mask 4
|
 Nebula Laplacian Mask 5
|
 Added Laplacian 0
|
 Added Laplacian 1
|
 Added Laplacian 2
|
 Added Laplacian 3
|
 Added Laplacian 4
|
 Added Laplacian 5
|
Conclusion
I really enjoyed this project. While it did take me a lot longer than I expected (debugging minor visual artifacts and playing around with parameters until it did what I wanted), I learned a lot about filters and frequencies. The most important thing I learned was to be detail-oriented with my code! There were minor things that would mess with the output. Regardless, it was also super interesting to do the bells and whistles part this time!
Bells + Whistles Mentions
In terms of Bells and Whistles, I implemented both part *2.2 Hybrid Images* and *2.4 Multiresolution Blending* in color.