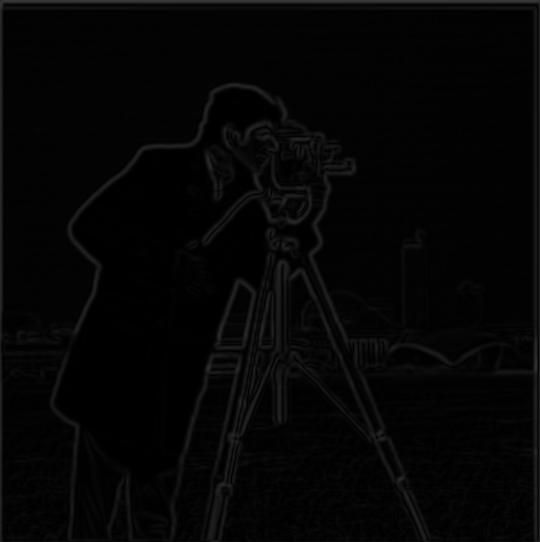
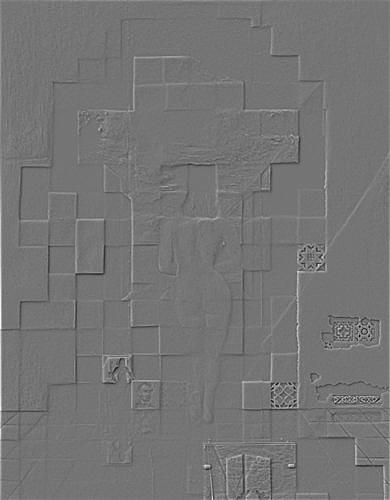
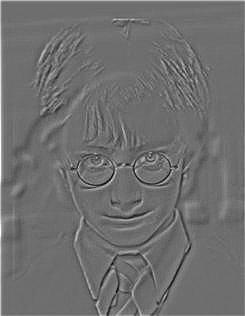
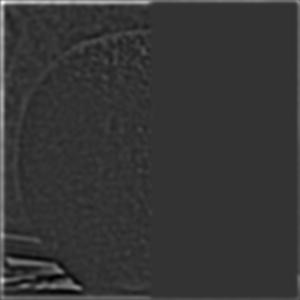
X partial derivative

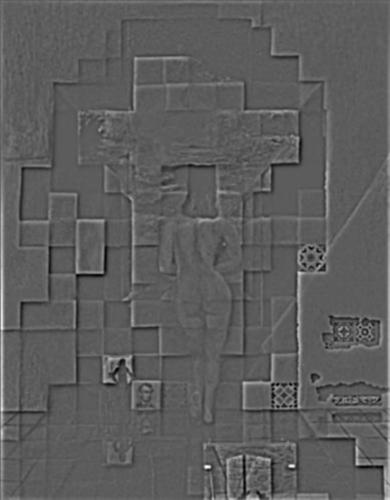
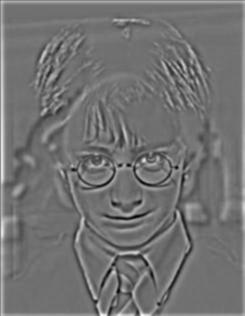
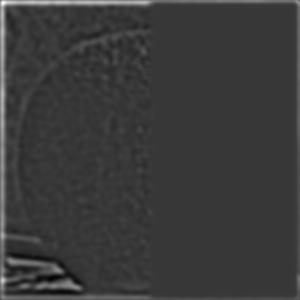
Y partial derivative

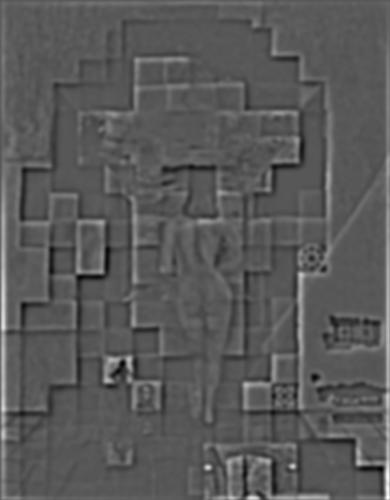
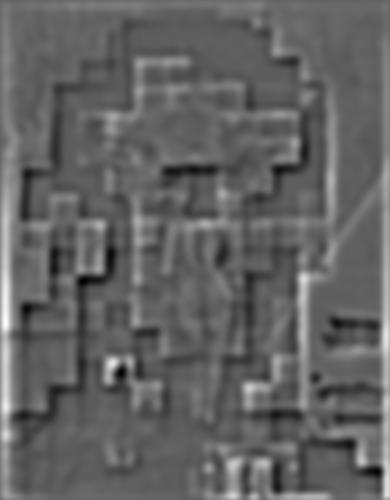
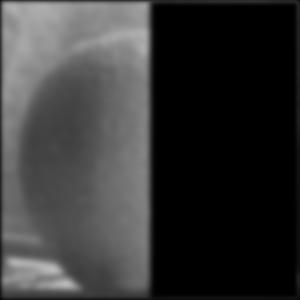
Gradient Magnitude Image

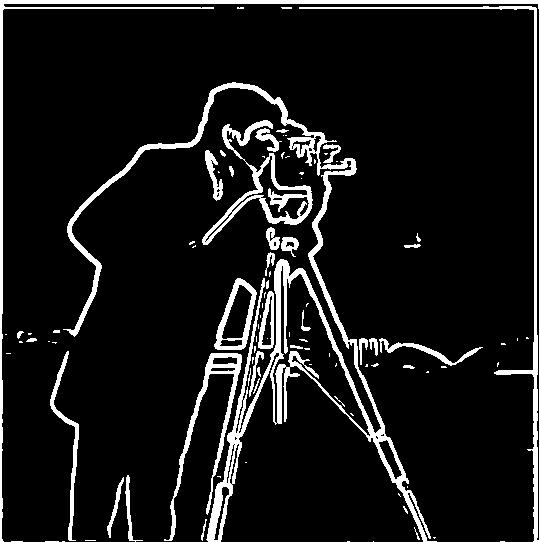
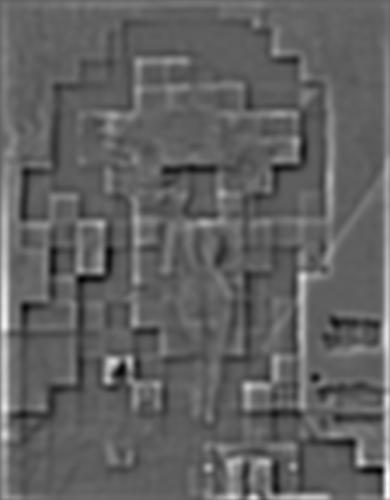
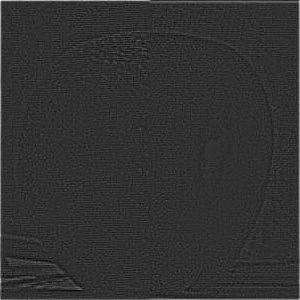
Binarized Gradient Magnitude Image
This project will explore many concepts of different filtering algorithm. Also, the project will play around with frequencies of images and produce cool pictures.
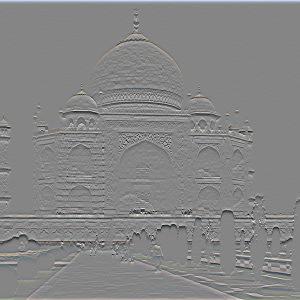
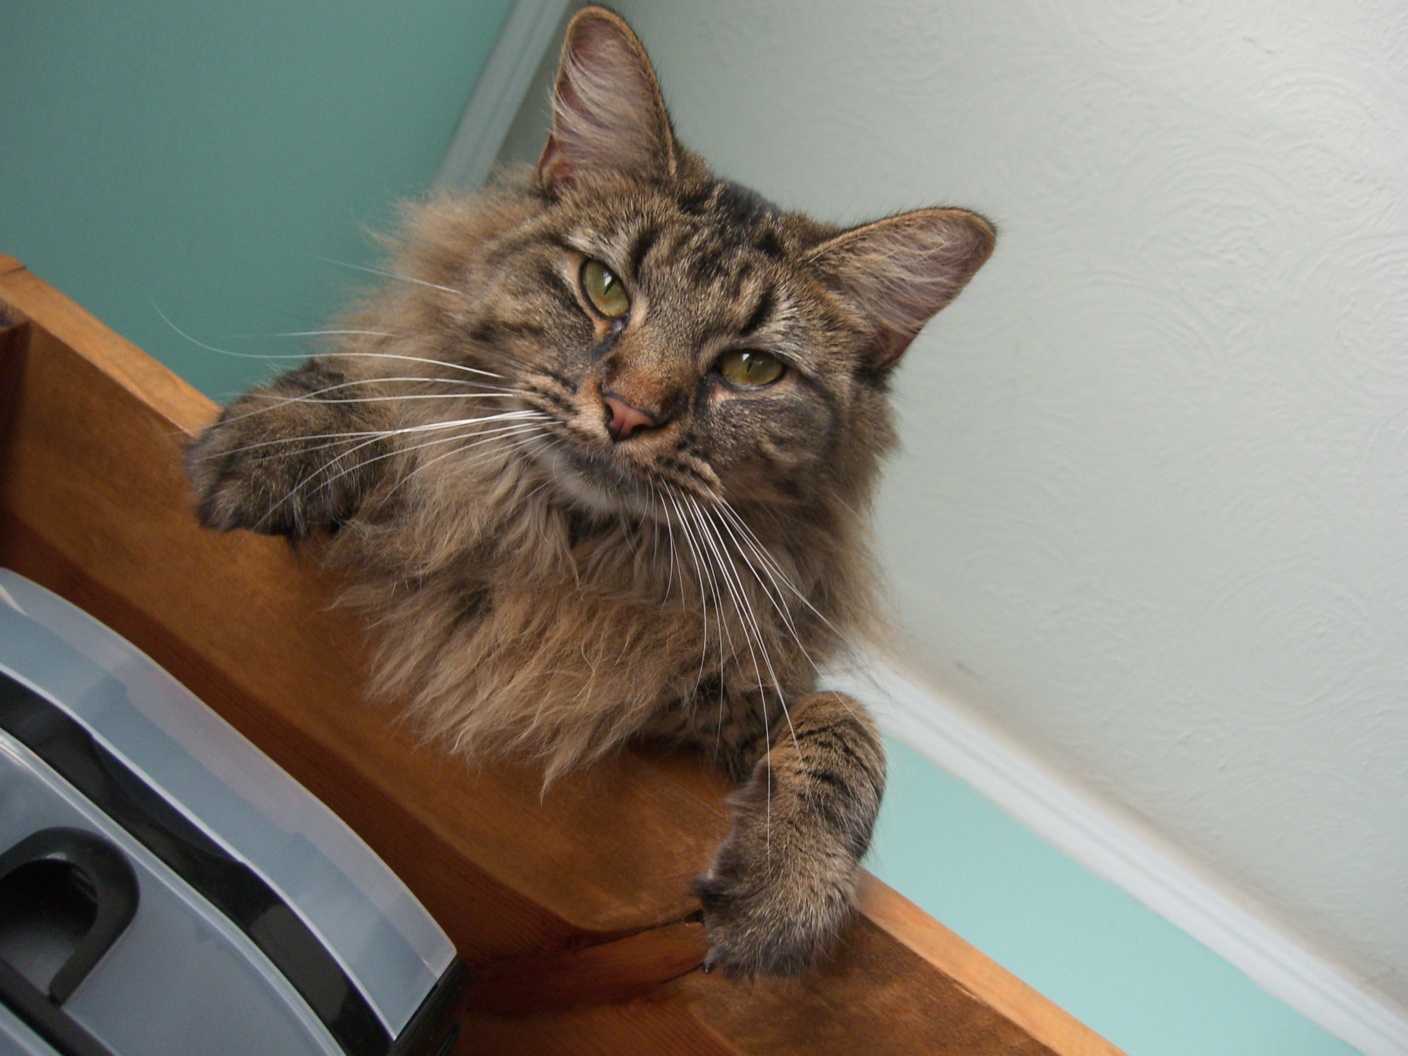
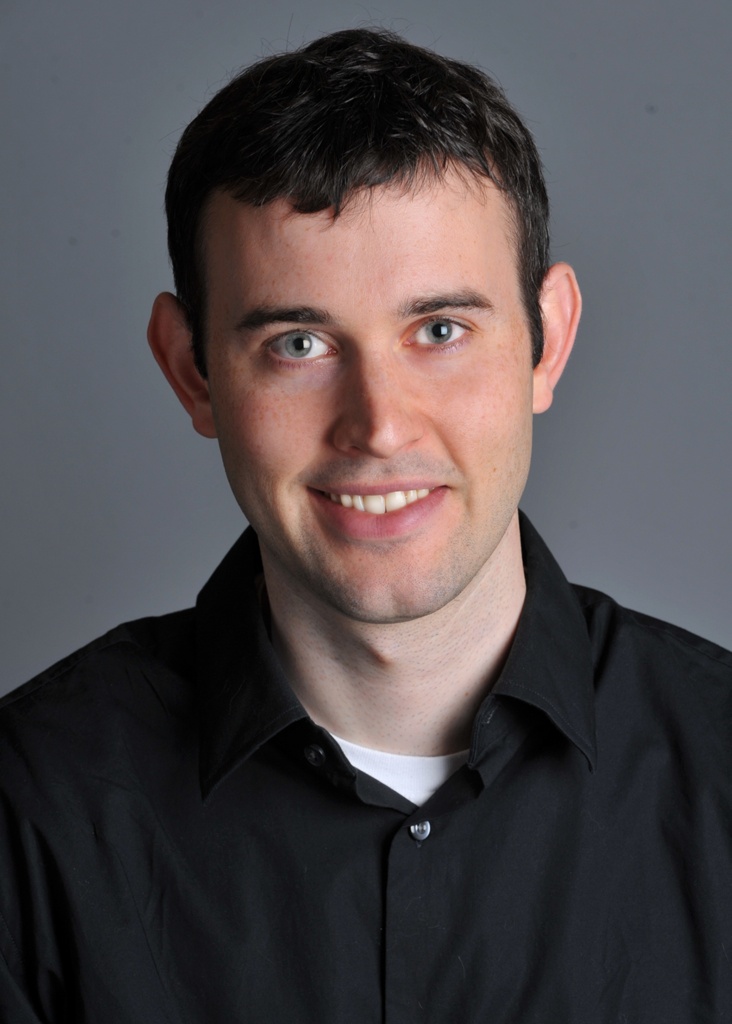
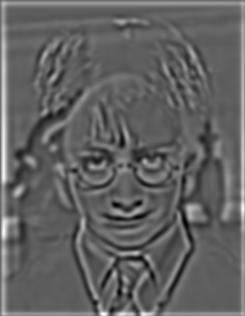
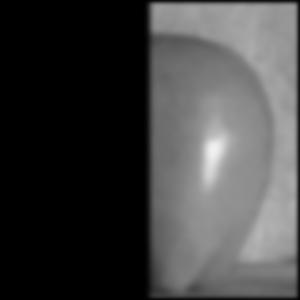
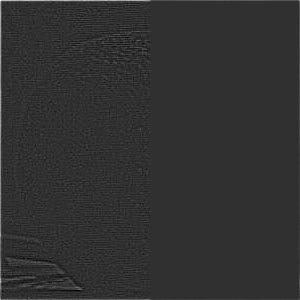
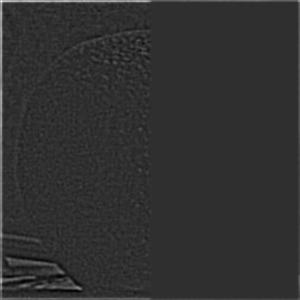
By using the humble finite difference Dx=[1, -1] and Dy=[1, -1]^T, we can get the partical derivative in x and y of the cameraman image. Then we can calculating the gradient magnitude image through the formula sqrt(xPD^2 + yPD^2). Thereafter, we can binarize the gradient magnitude image and show all the real edges. I iterated through 50 values from 0 to 1, and finally decided on value 0.15 as my threshold to produce best image. The resulting images are as follows:
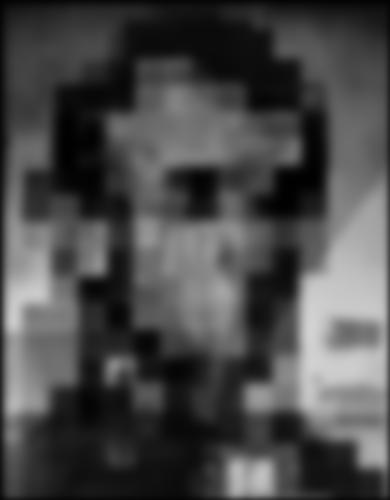
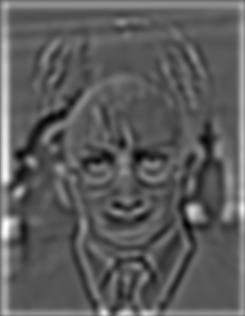
To suppress noises, we decided to use a Gaussian filter G. There are two free parameters of the Gaussian filter, and I tried different value of kernel size and decide the sigma as well as the binarize threshold accordingly. The images are as follows:


As we can see, the gaussian filter made the image blurrier and thus can avoid certain noises and produce better edge image. And the bigger ksize is, the more blurry the resulted image is. Also, the bigger ksize is, the small the binarization threshold is in order to identify the edges.
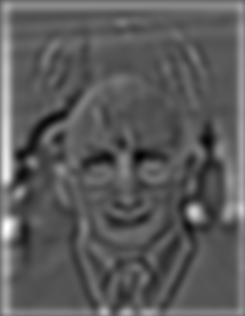
Then we convolve the gaussian with Dx and Dy so that we can do the same with with a single convolution. In the following images, I used kernel size 10 and binarization threshold 0.05. This one-pass procedure produce the same result as before.


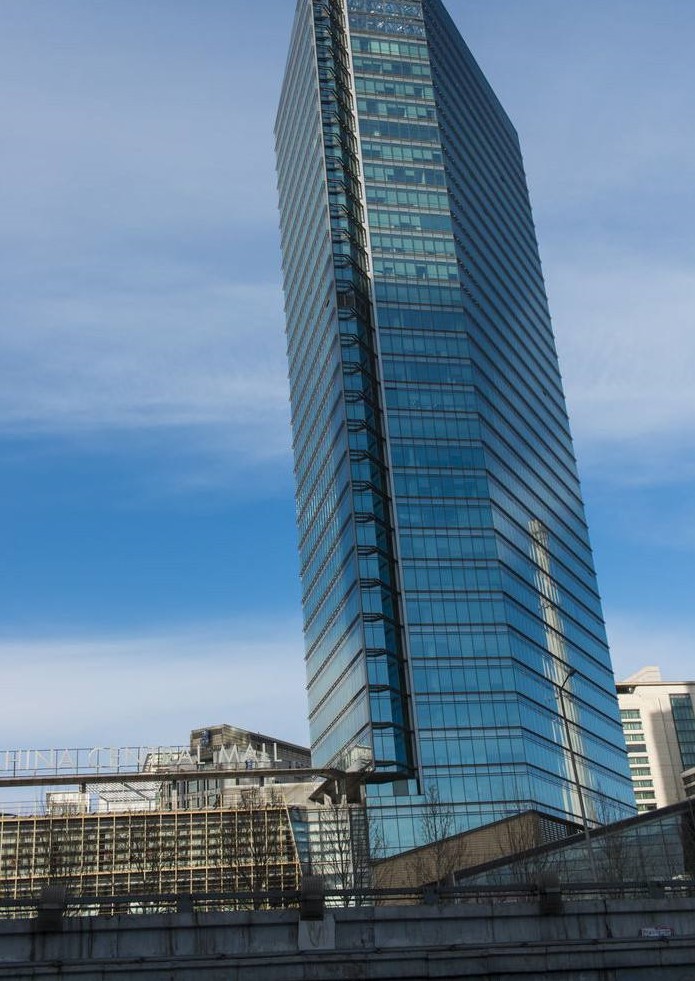
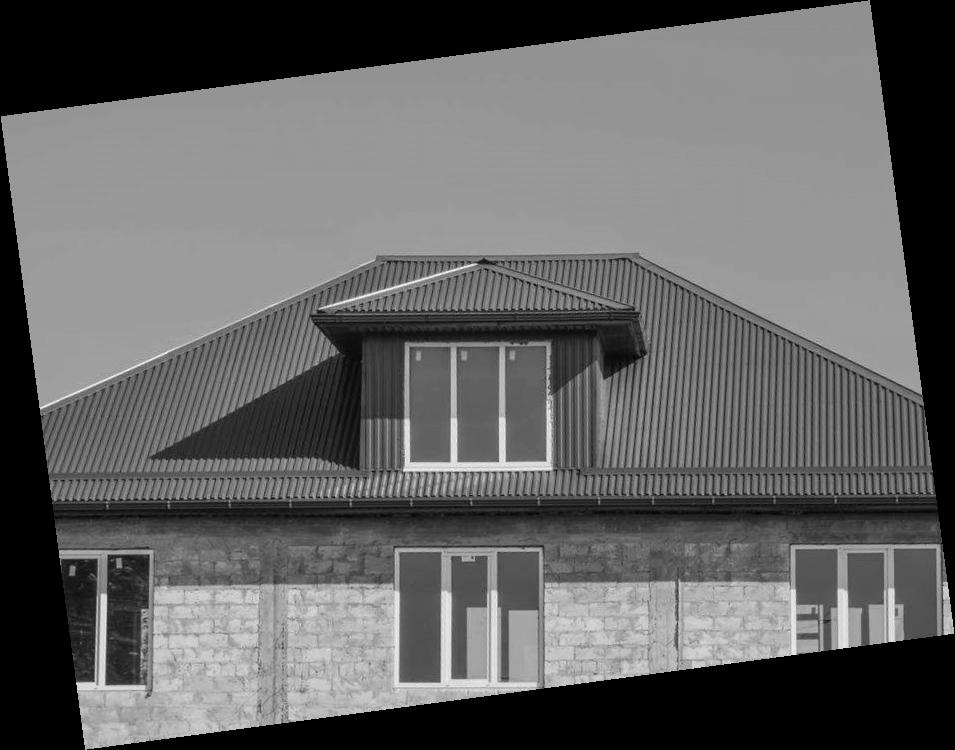
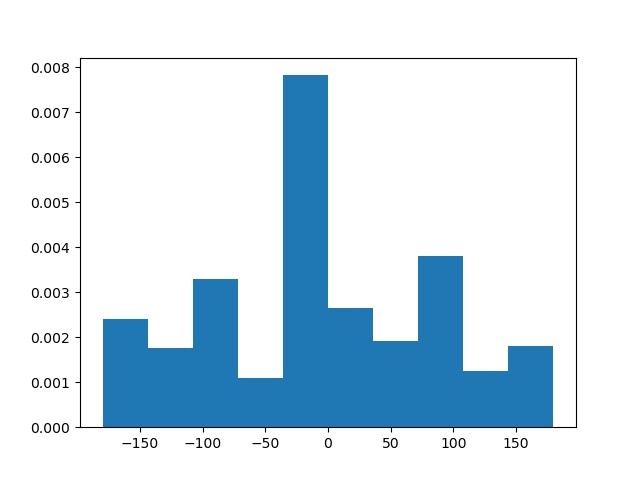
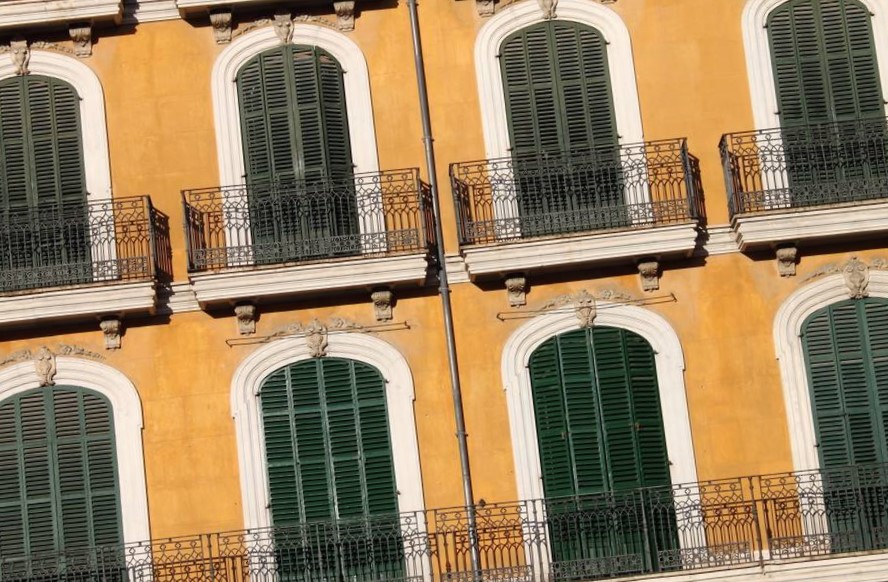
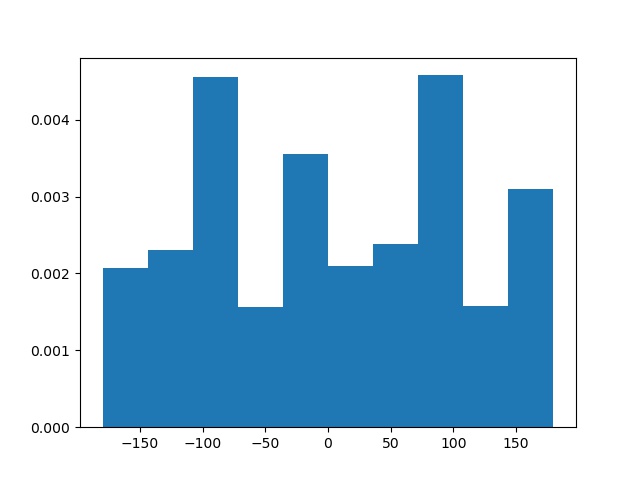
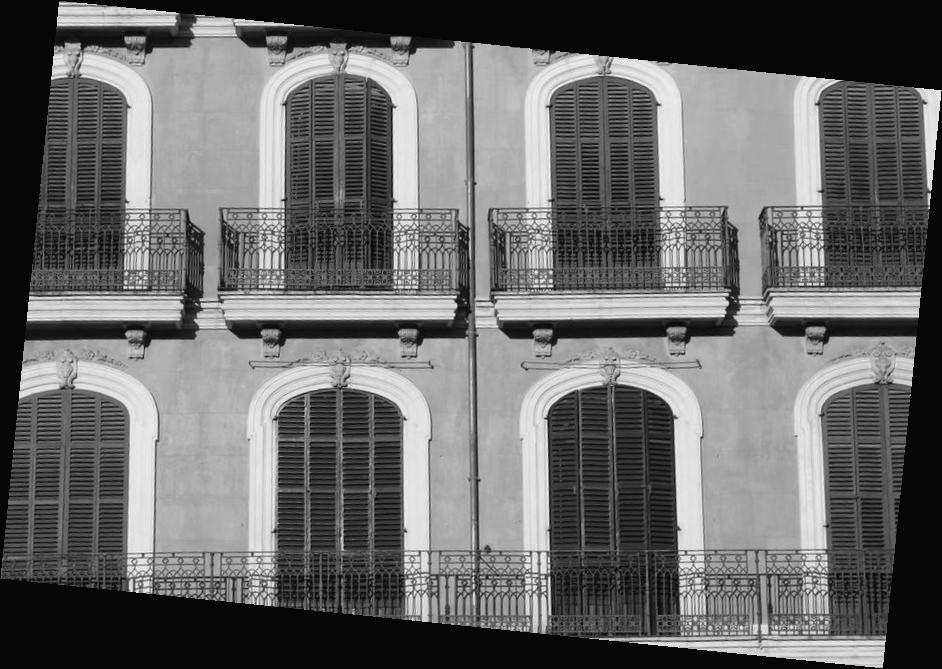
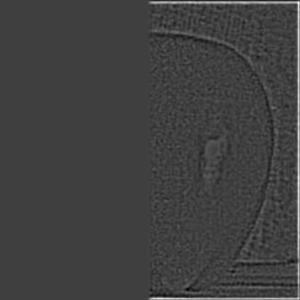
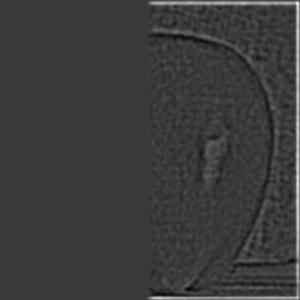
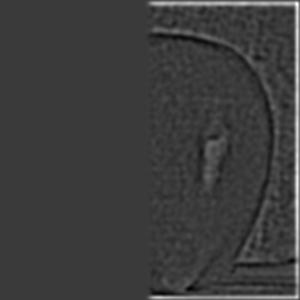
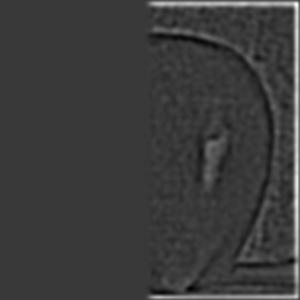
In this part, we would like to auto-straighten an image based on the number of vertical and horizontal edges. In order to do so, I used the edge detection method in 1.2 with gaussian filters. And use arctan(dy/dx) to get the orientation of each pixel. Thereafter, I check the number of pixels whose orientation is close to vertical and horizontal. I tried all angles from -10 to 10 with step 0.2 degree. After rotation, I cropped the image to only consider the orientation of pixels at the center of the image. My final choice is the rotation angle that maximize the number of vertical and horizontal edges. The results are as follows:
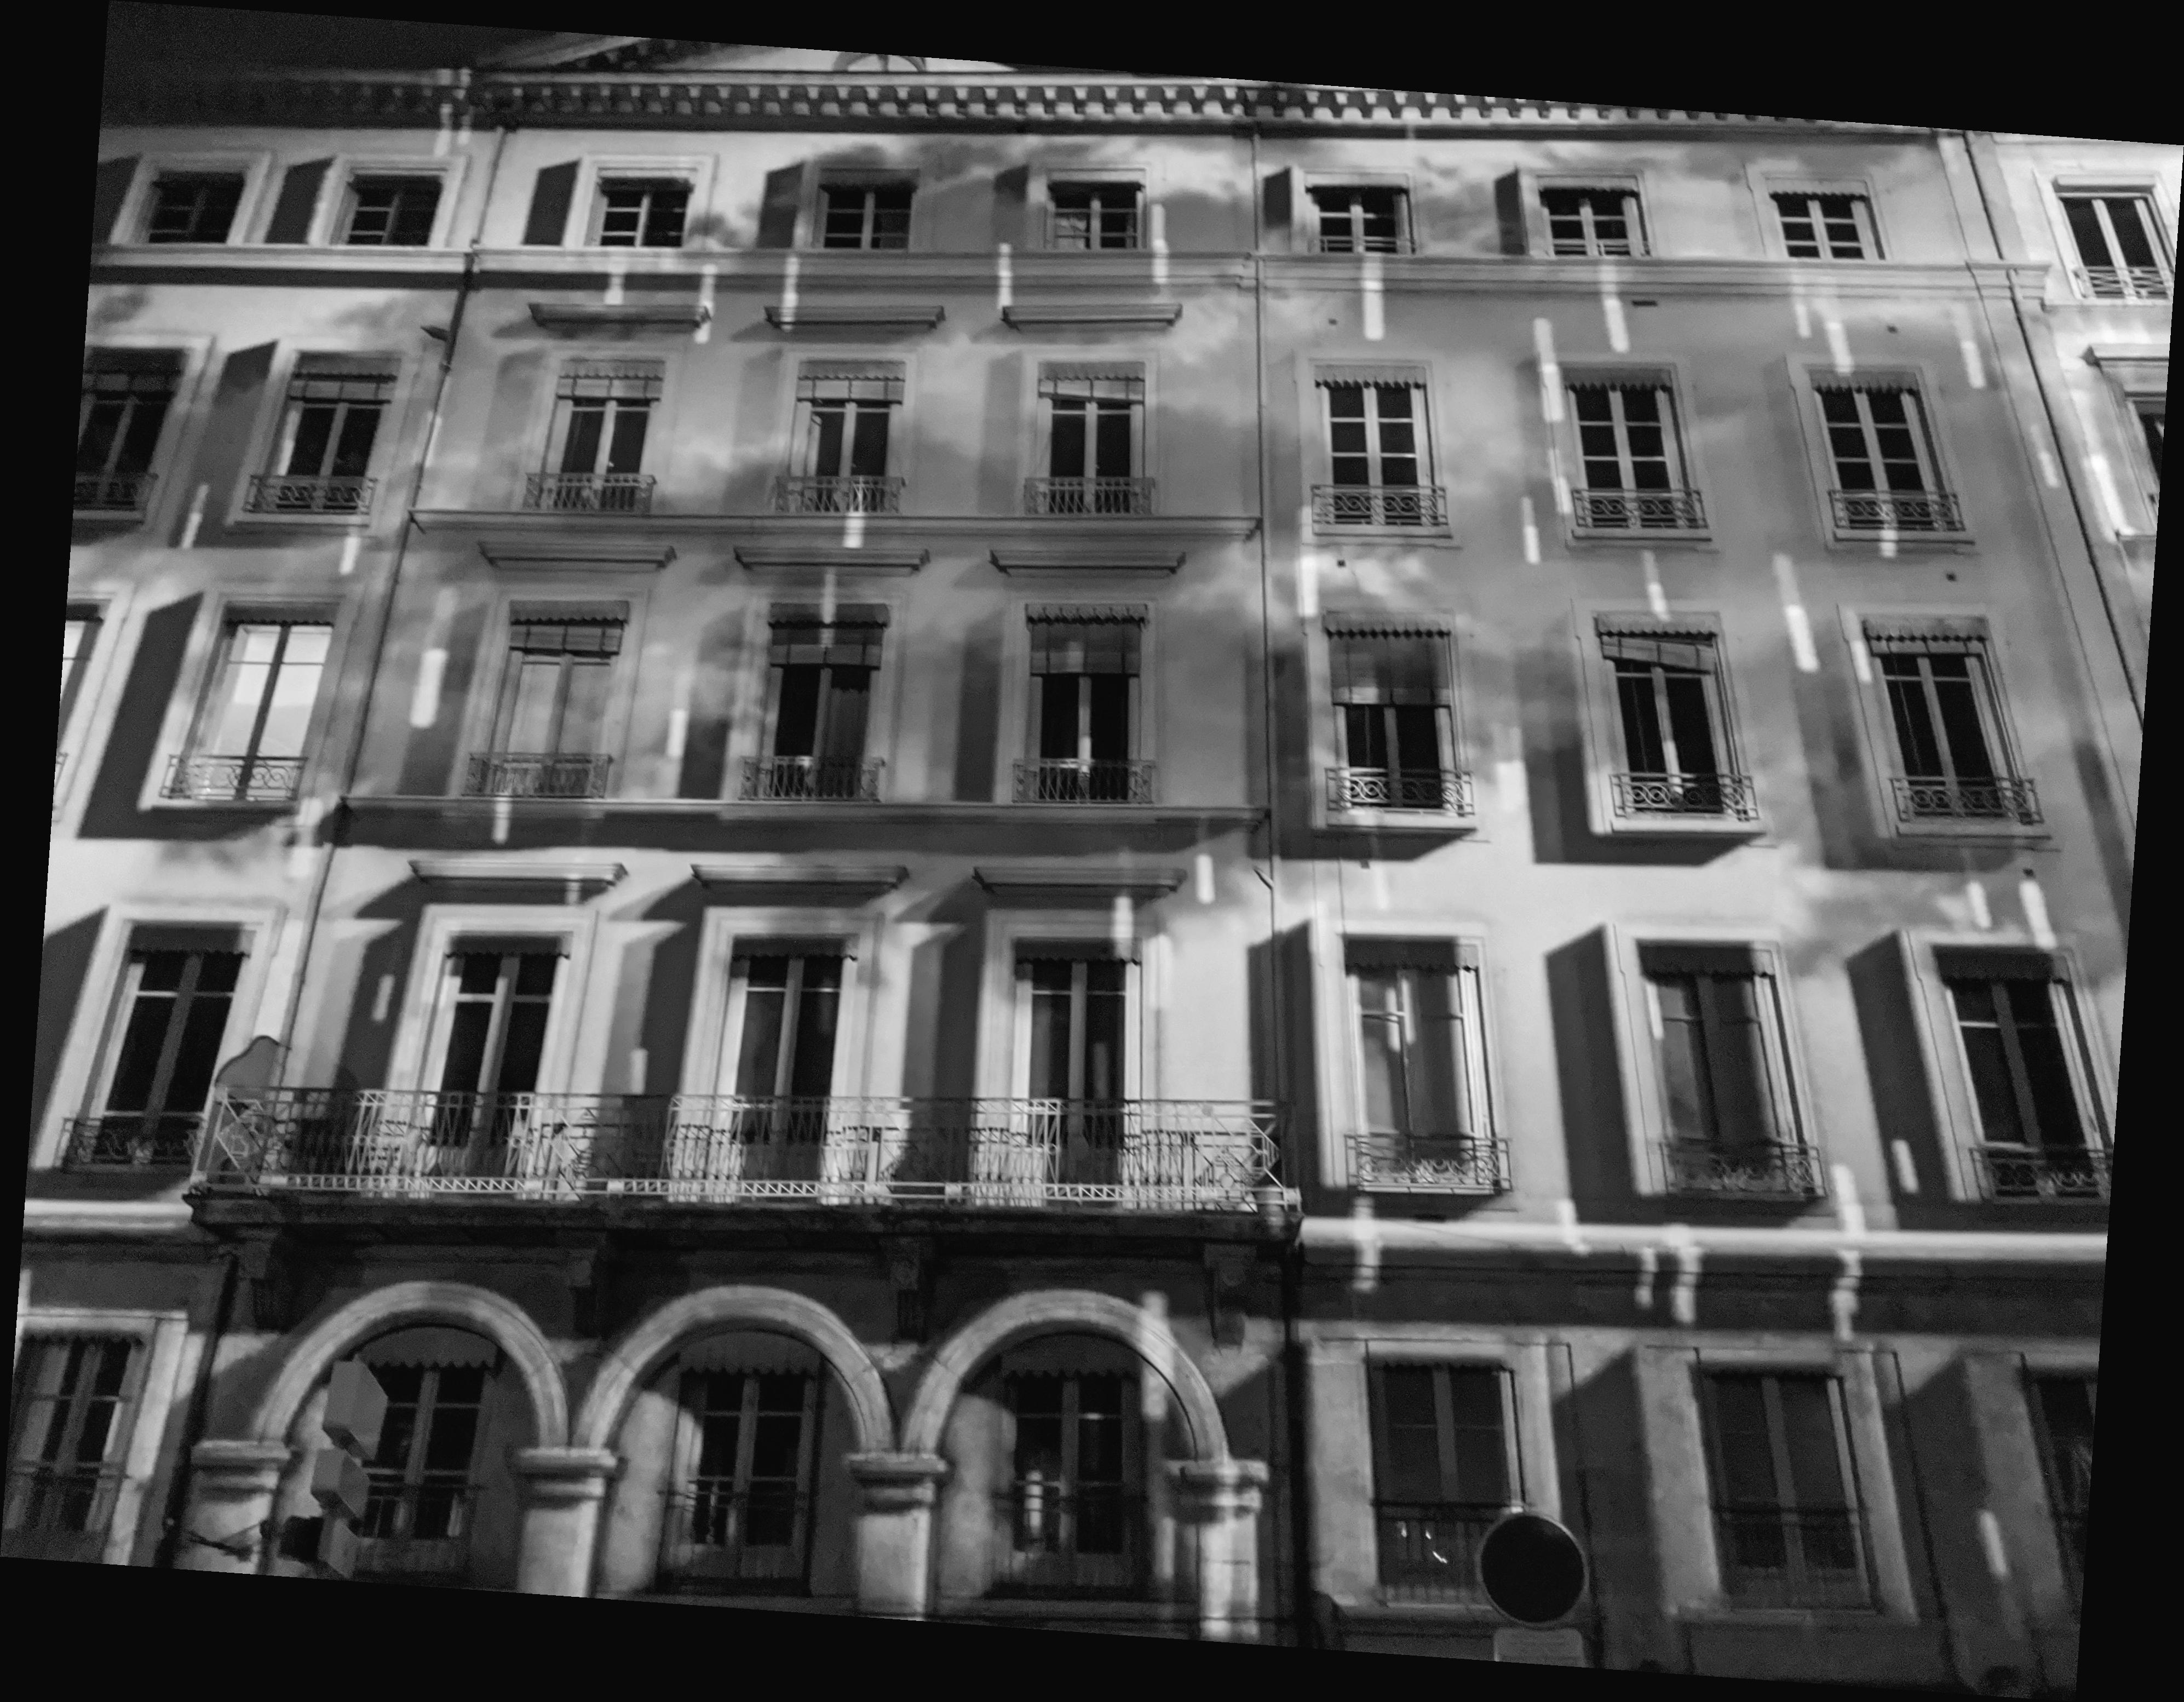
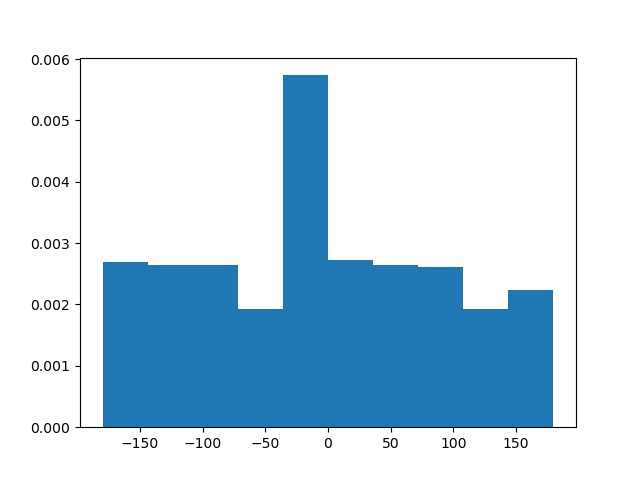
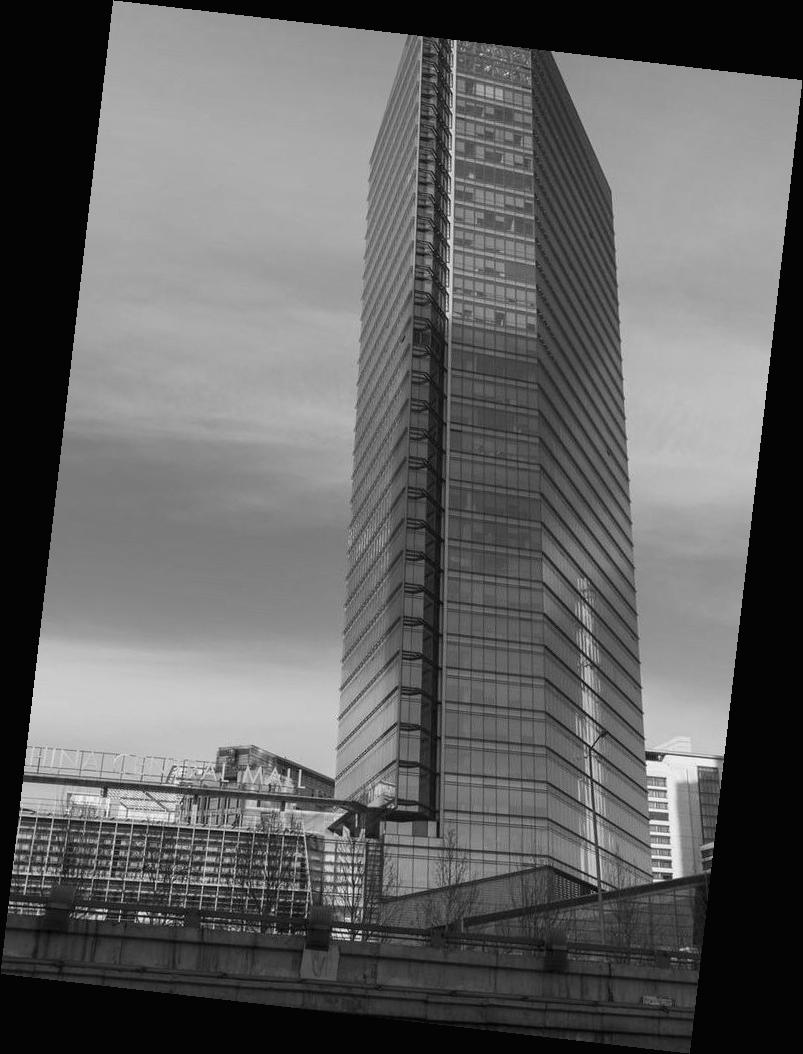
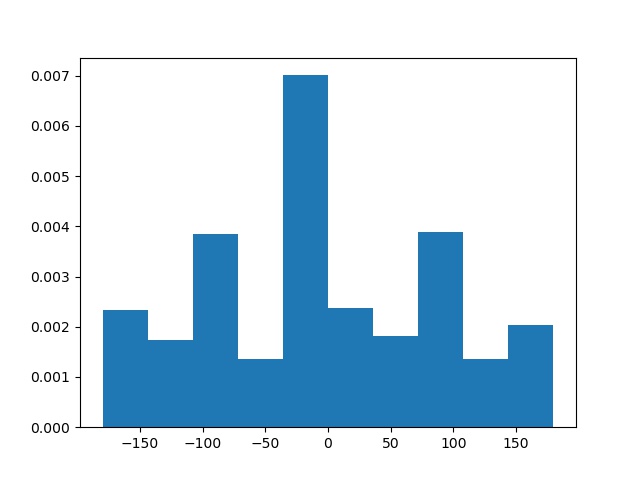
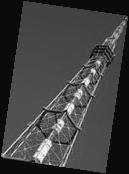
Among many of the successful changes, there are also failures. For example, in the tower image below, The auto-straightening algorithm failed a lot. I think there are two main reasons. First, the original picture does not have straight edge. For example, the edge of the tower won't be vertical even when the picture is straightened. Also, this image's center area has too many thin lines (noises) that can hardly be smoothened by guassian filters. Therefore, the edge detection process is hard as well.


In this part, we implemented the sharpening algorithm. To do sharpening, we first get a blurry image after applying gaussian filter. We then get the "important contents" by subtracting the blurry image from the original one. Then, we add the "important contents" back to the original image with a factor alpha. I experimented by setting alpha = 1. The progress of the original image to the sharpened image is shown as follows:


Thereafter, I tried to blur the image first and resharpen it. From the results, we can see the resharpen process does work, but is slightly different from the original ones. Potentially, a better choice of alpha will produce a better image that is closer to the original one. The results are as follows:


Also, we notice that the bigger alpha is, the sharper the resulted image is.
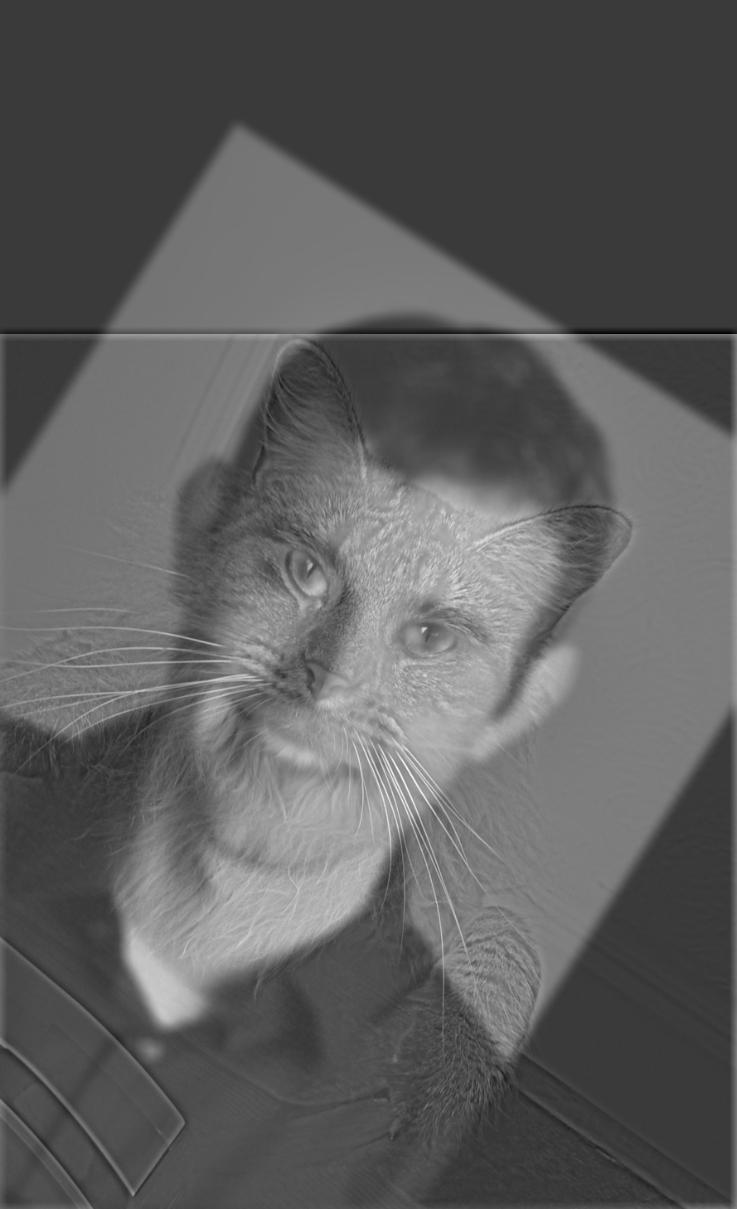
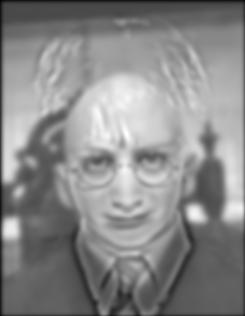
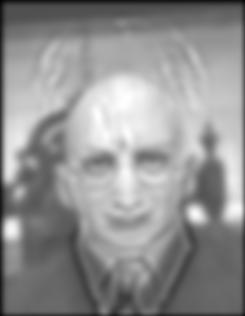
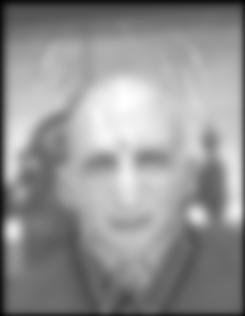
In this part, we tried to create hybrid image using approach described in the paper by Olivia. The process is to use a low-pass filter and a high-filter to filter two images respectively. Thereafter, we combine the two filtered image, which will produce a hybrid image that leads to different interpretations at different distances.
Both the low-pass filter and the high-pass filter are implemented through gaussian filter, so deciding on the kernel size and sigma (frequency) is a very important part. To decided on which ksize and sigma I should use, I experimented by controlling variable and got the following conclusions:
Following such conclusion, I decided on the cutoff-frequency, sigma, and kernel size by deciding whether I need the low/high frequency porpotion to be more/less clear. The resulted pictures are shown as follows
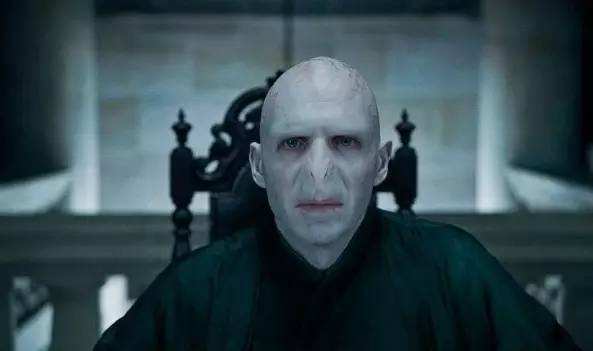
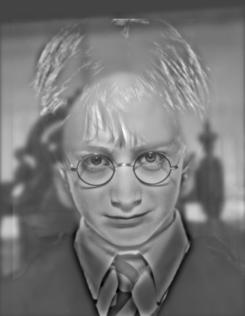


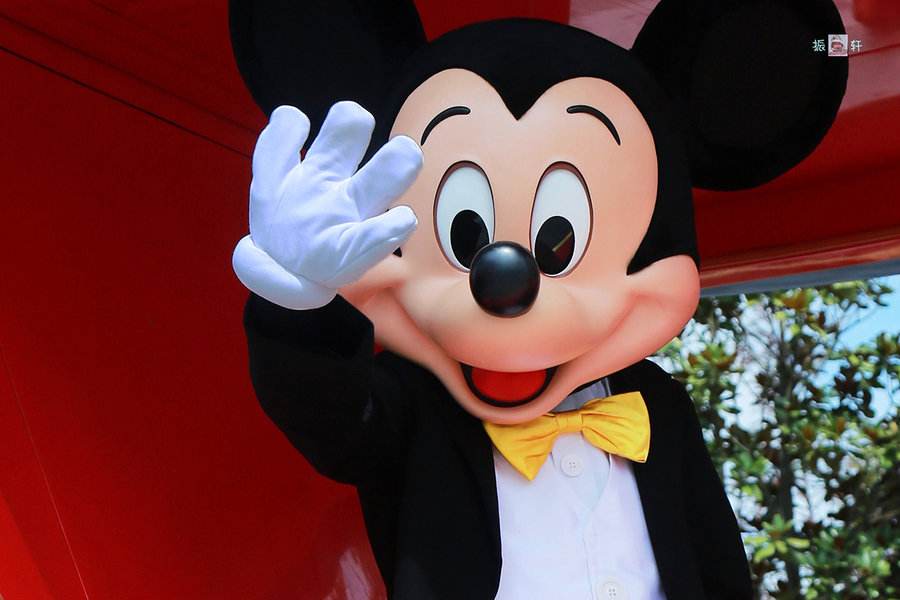
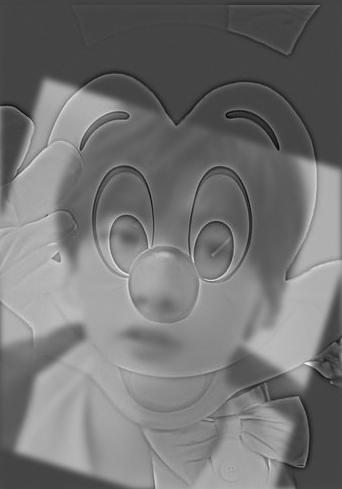
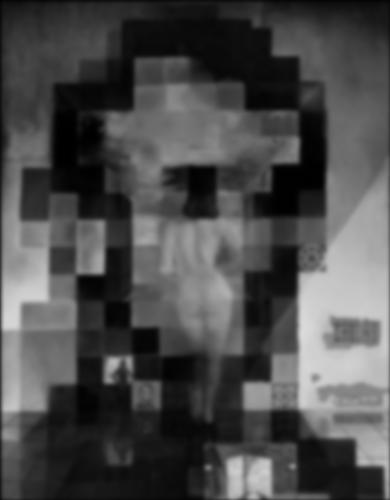
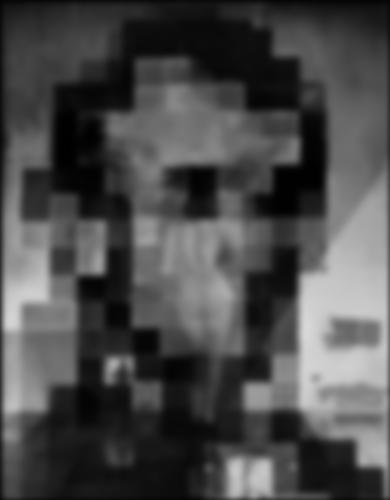
Among all picture pairs I tried, the following picture is a failure example. I think reason why this fails is that the edge of Miki is too strong while that of bill is not. As a result, combining them will make bill very hard to appear.

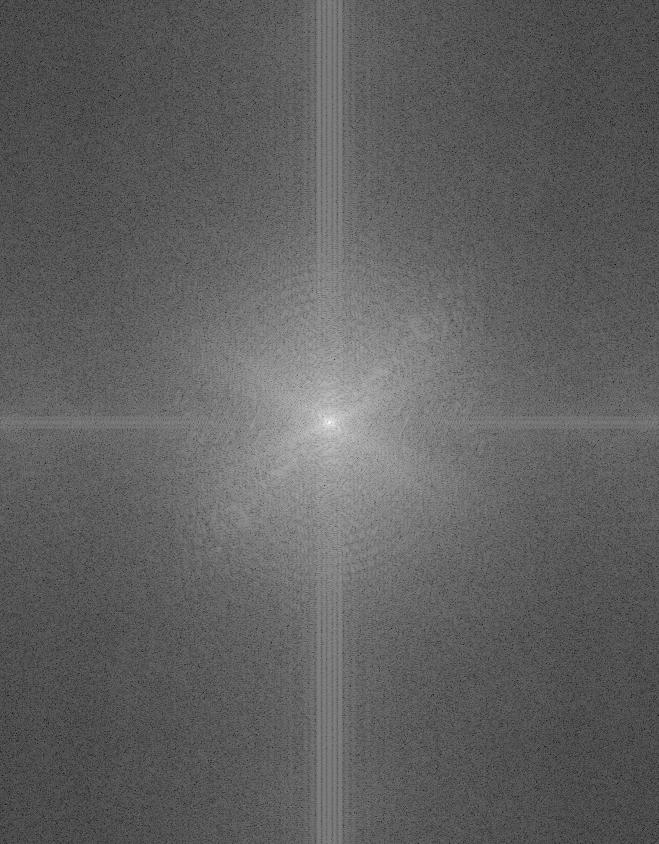
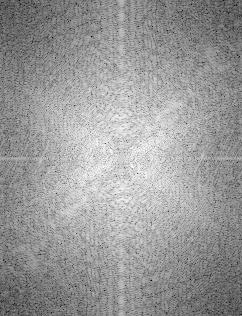
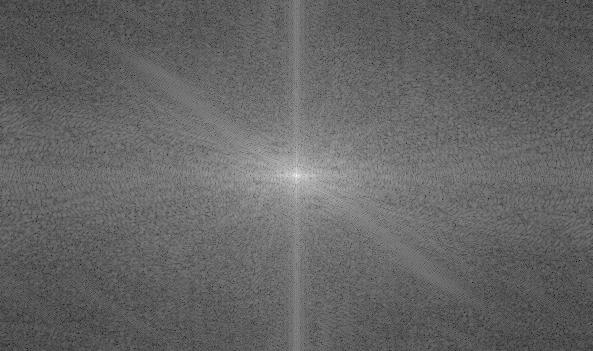
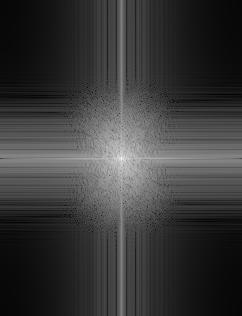
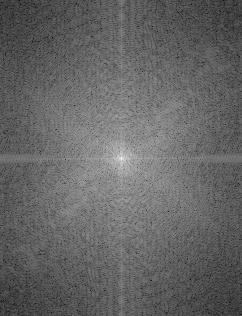
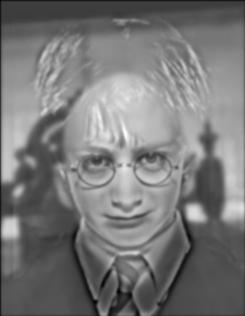
For the Voldemort-harry picture, I created a frequency analysis, and the log magnitude of the Fourier transform plot is shown as follows
For Bells & Whistles, I tried out use color for different component and see which result in best effect. As we can see in the results, the best way to enhance the effect is to use gray-scale picture for the one we use for low-frequency and use colored picture for the one we use for high-frequency.


The Gaussian and Laplacian Stack results are shown as follows


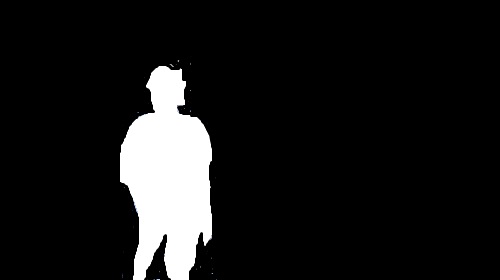
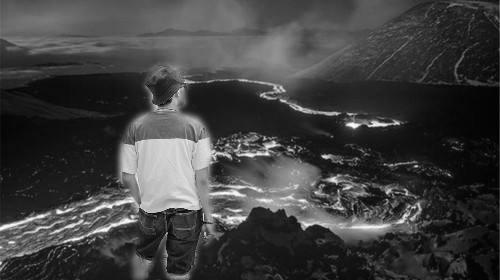
In this part we implement multiresolution binding. The process includes building the laplacian stack for each of the image and a gaussian stack for the mask image. Thereafter, we combine the two masked images. The process can be illustate by the pictures below:


The following are some crazy ideas and irregular masks