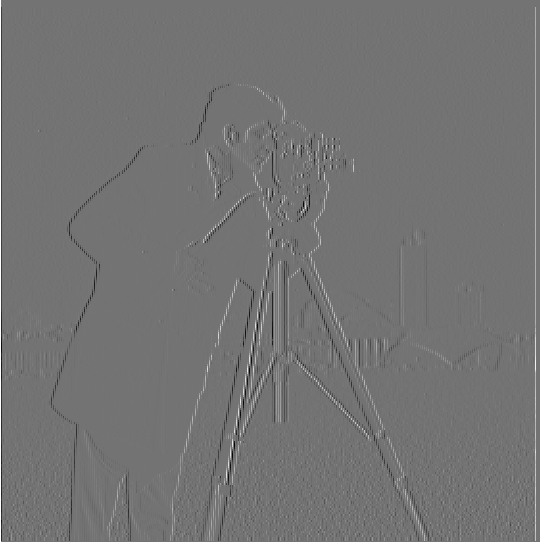
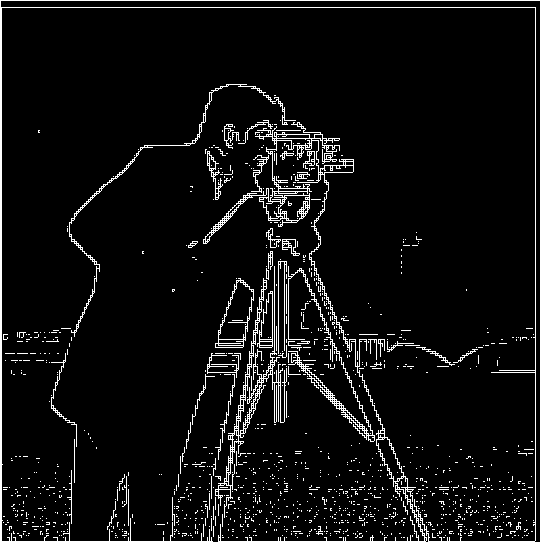
1.1 Finite Difference Operator
In this part of the project, I computed the gradient magnitude of image by first computing its partial derivatives dy and dx, then combine them to form the edge image (dx, dy) = sqrt(dx^2 + dy^2).
|
|
|
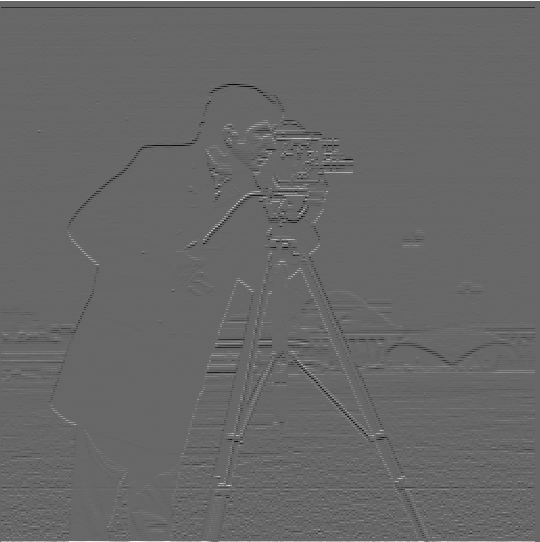
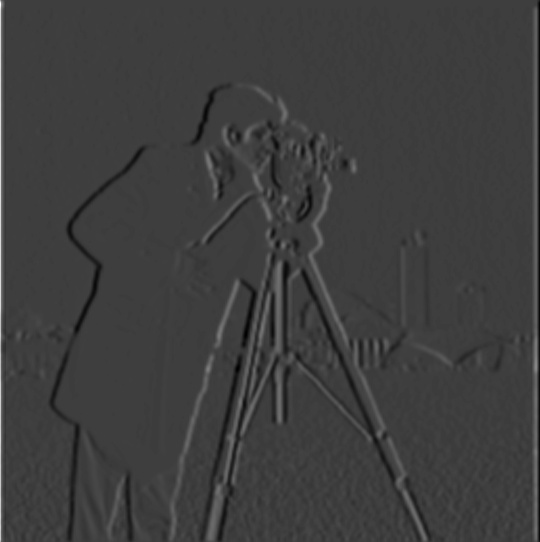
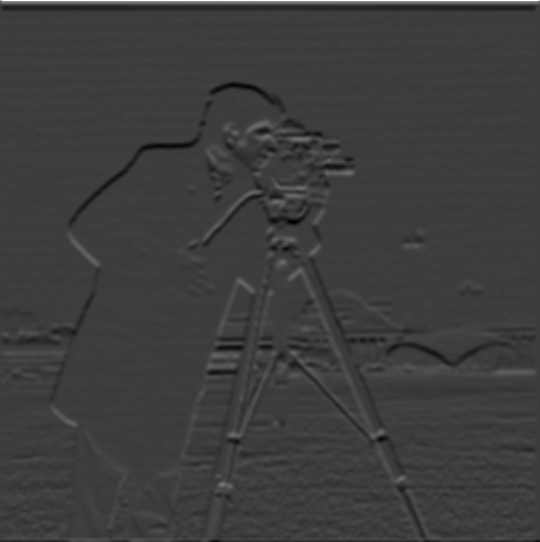
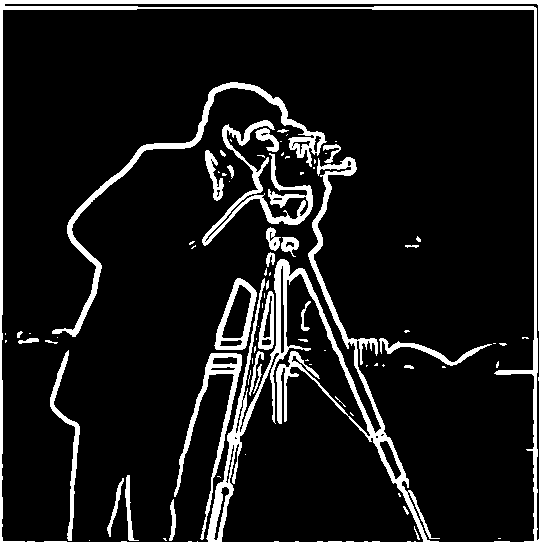
1.2 Derivative of Gaussian Filters
Simply taking the derivate of image gives noisy result, therefore we could first apply a Gaussian filter to remove random noises, then apply the difference operator. First I chose a Gaussian filter with kernel_size=8, sigma=2 and apply to the image, then I run the same procedure as in 1.1. The resulting images are much more clean:
|
|
|
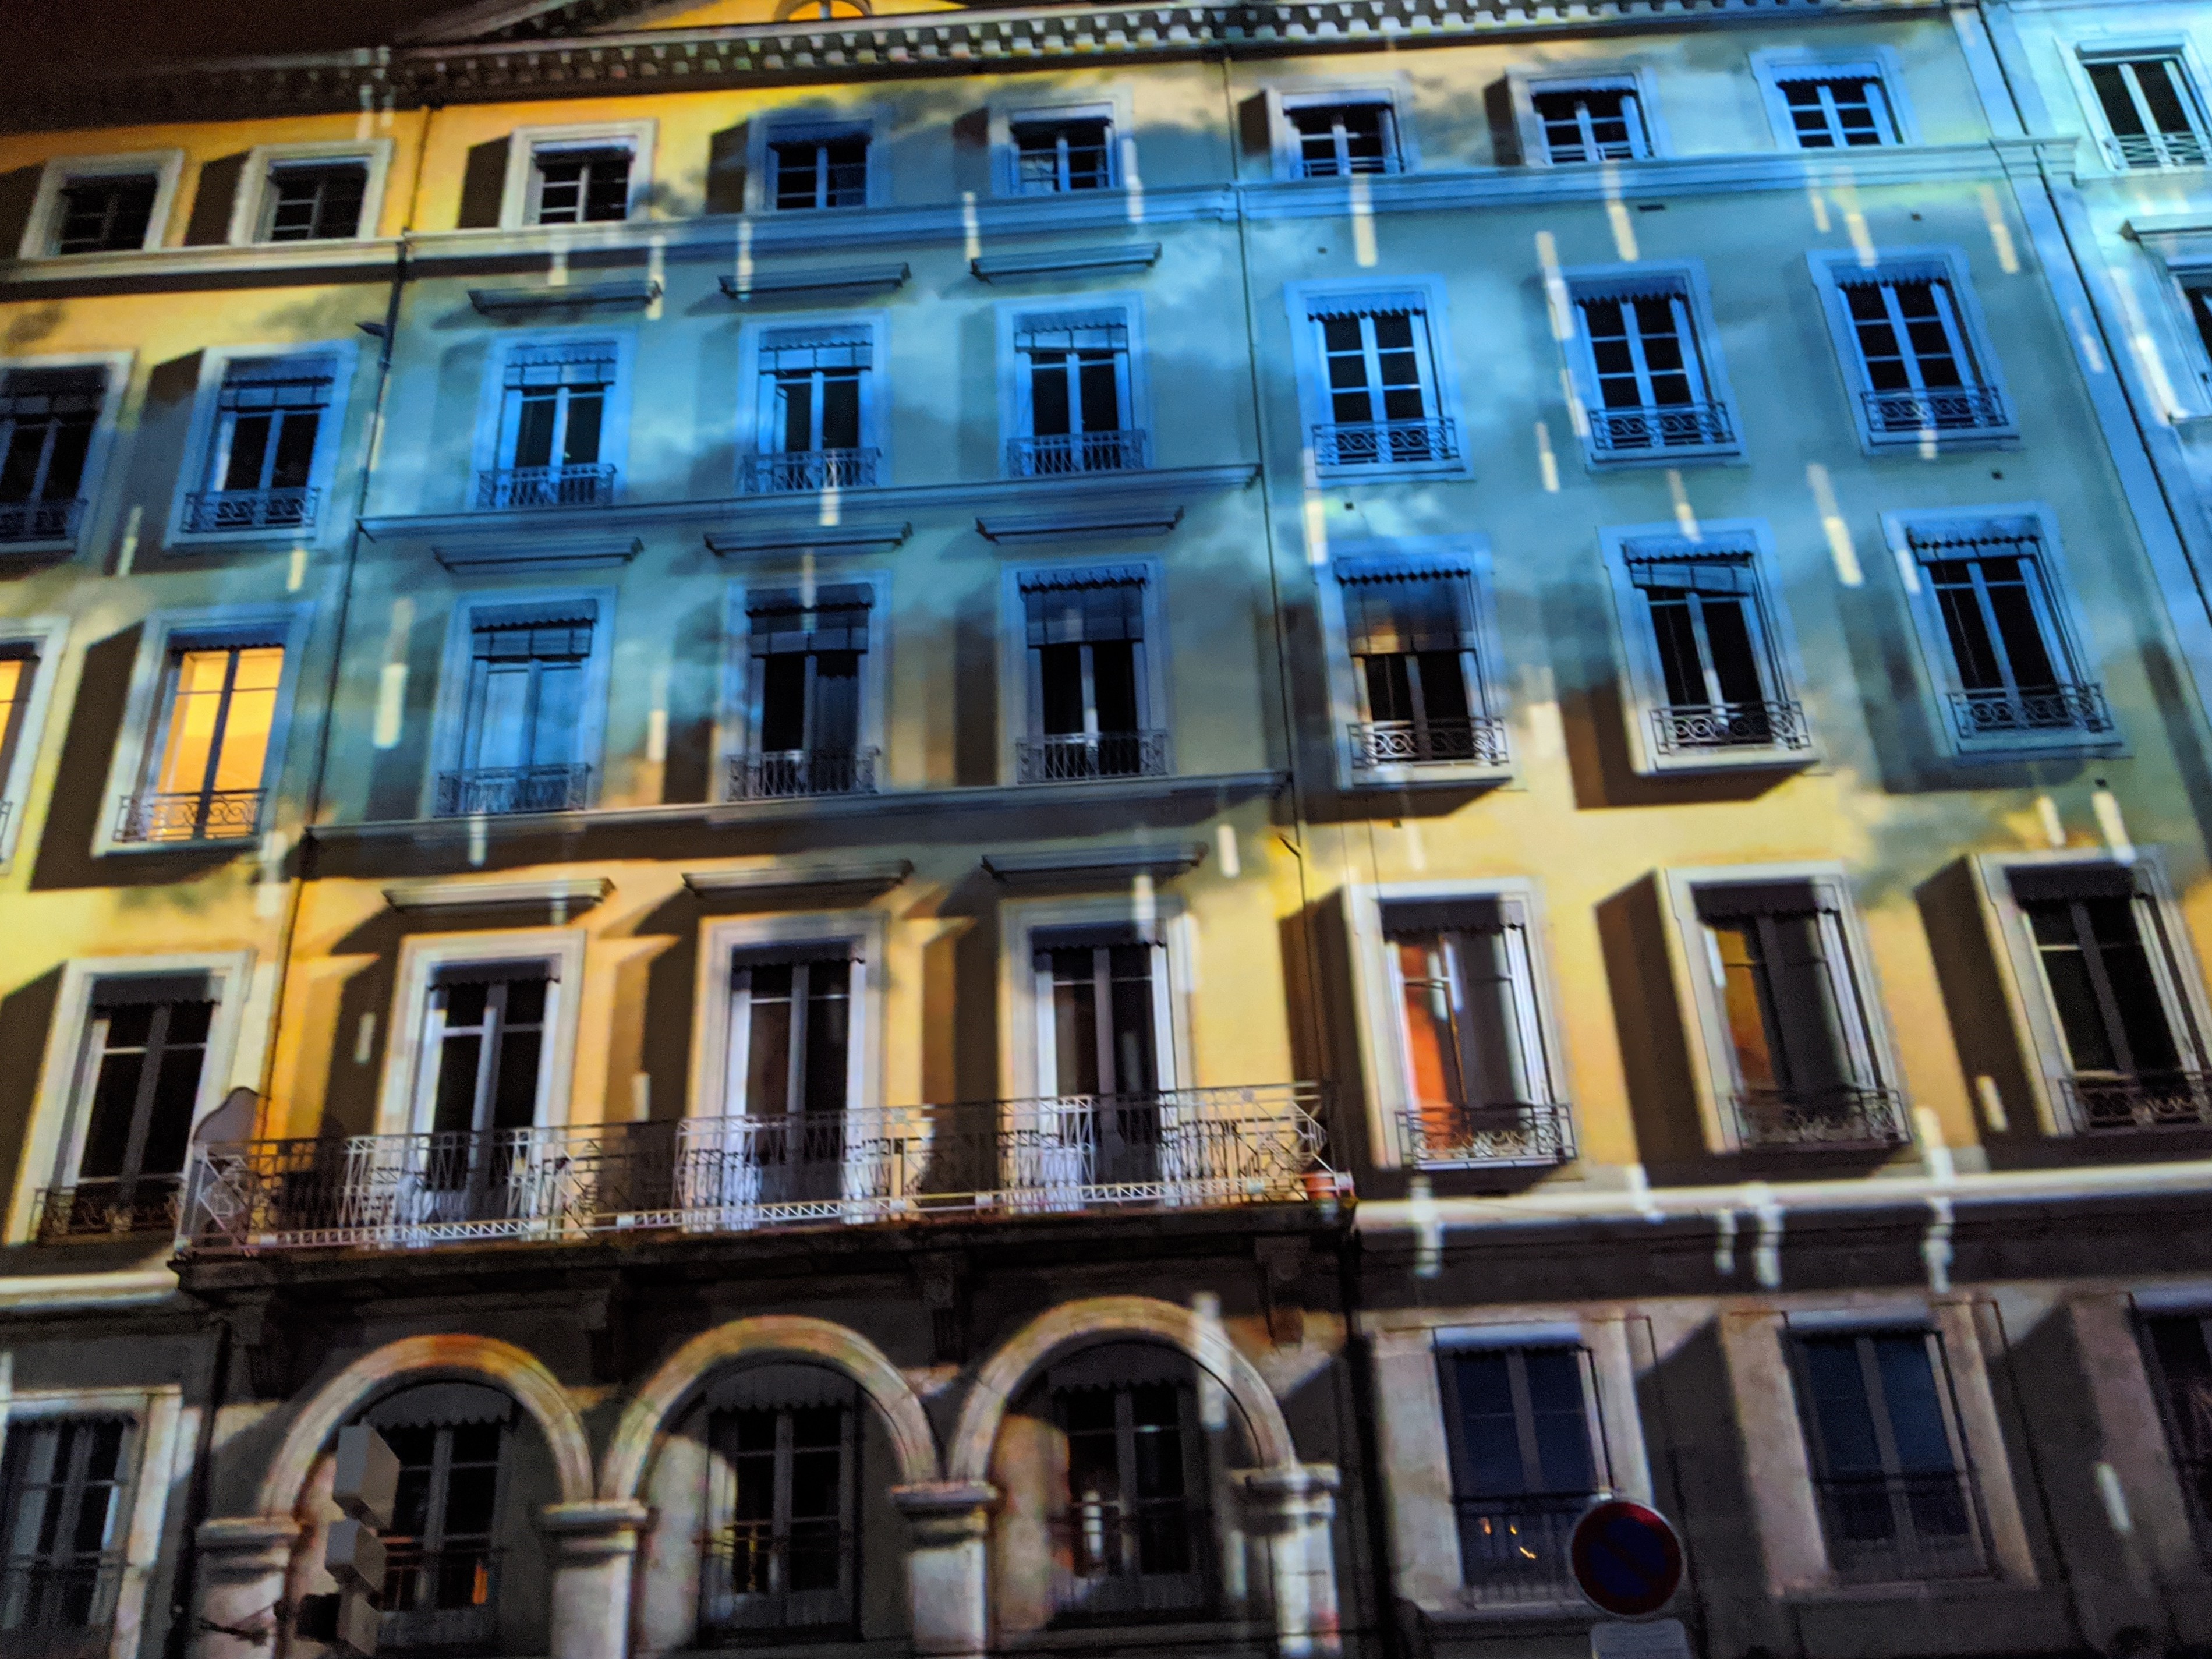
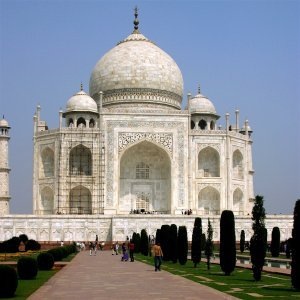
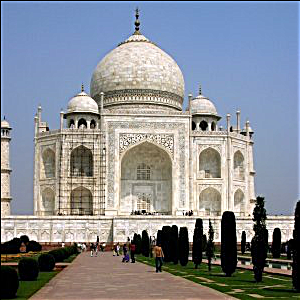
1.3 Image Straightening
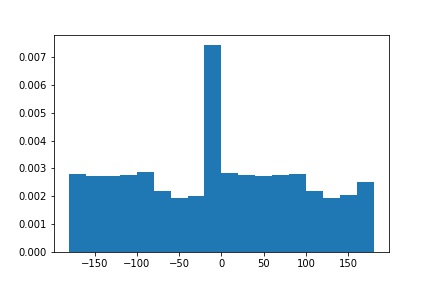
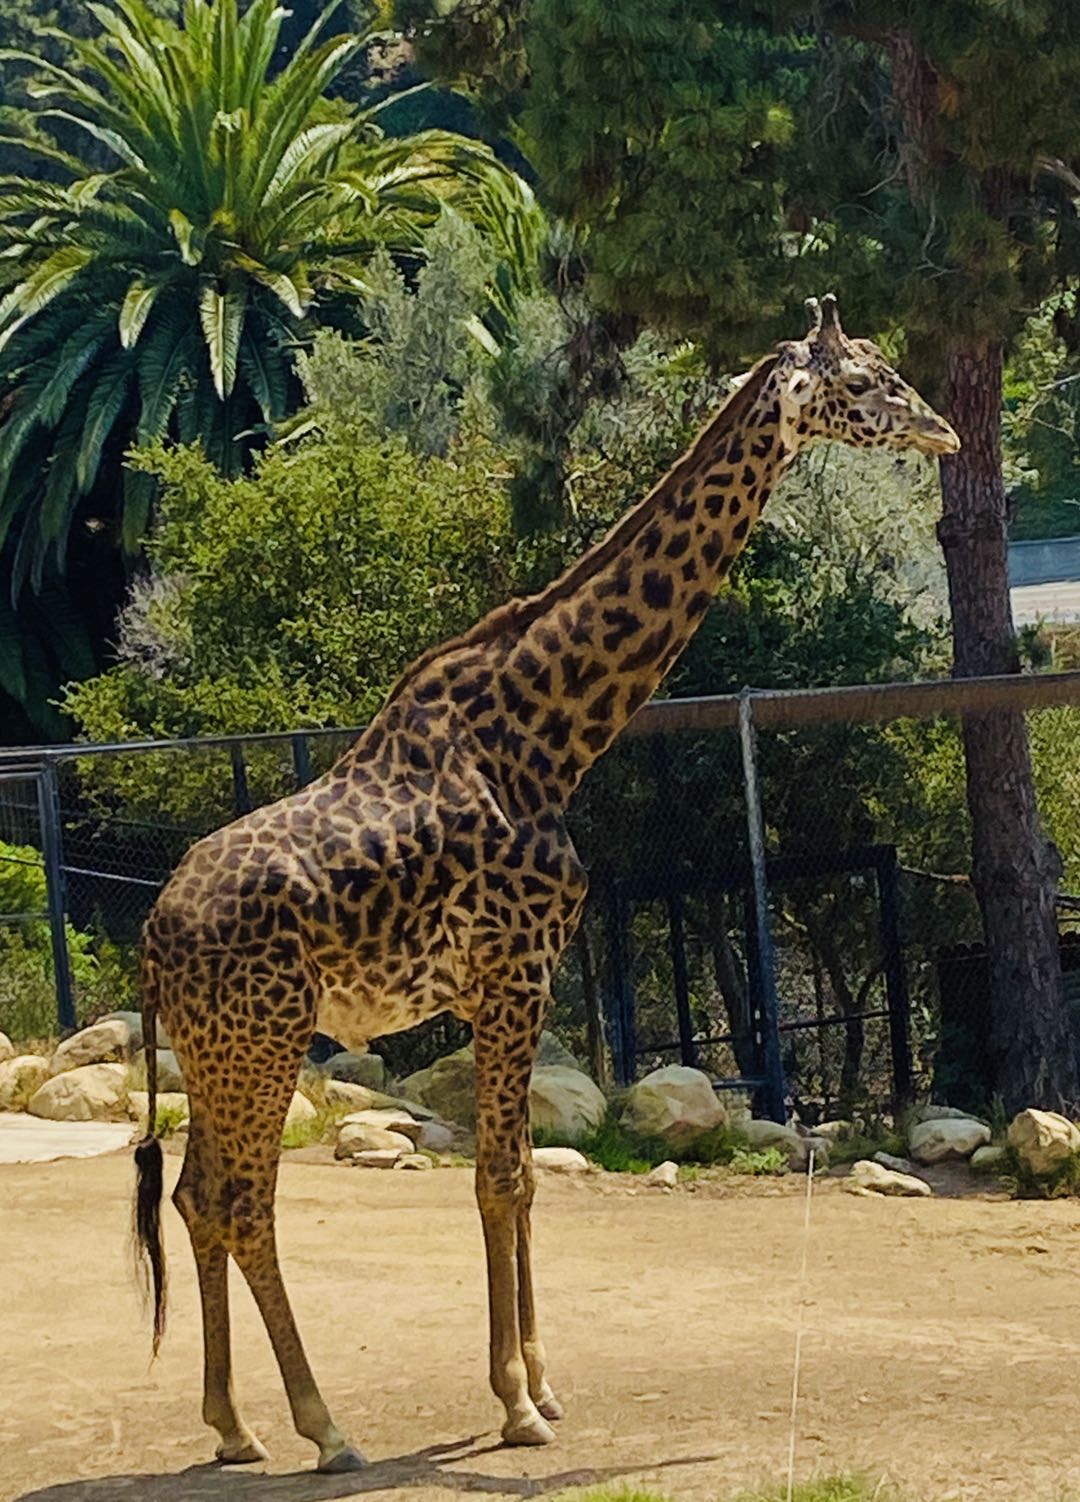
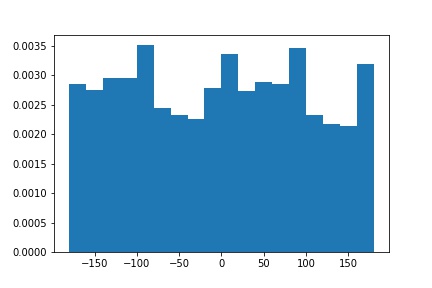
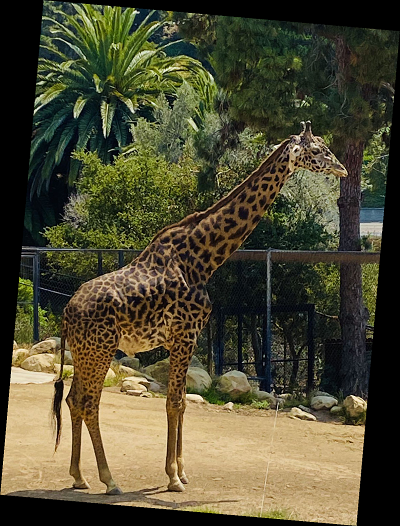
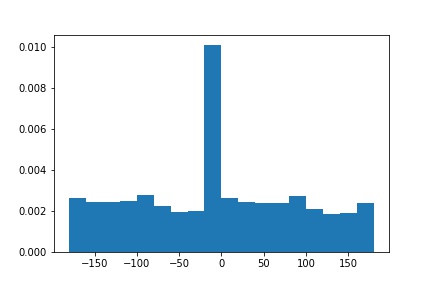
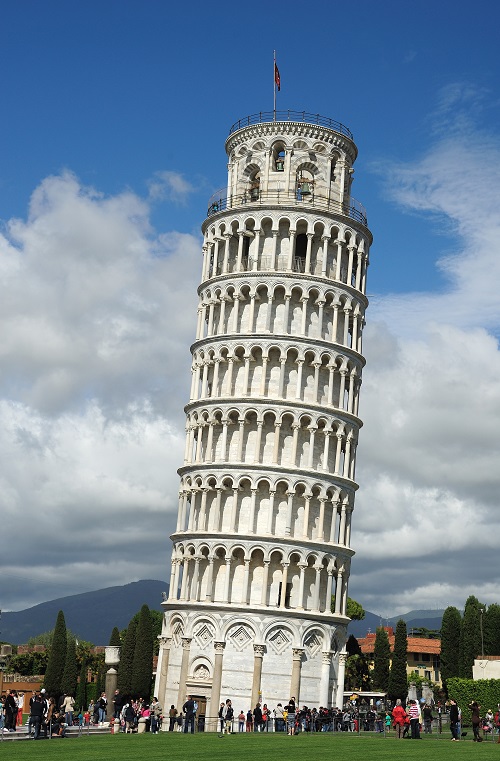
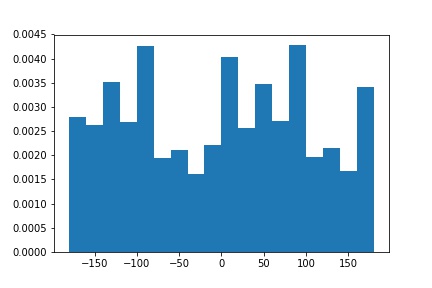
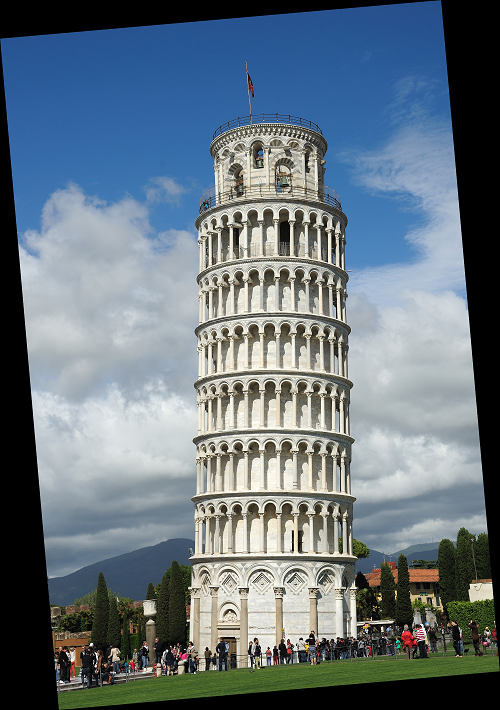
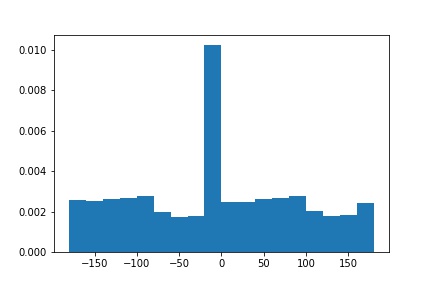
In this part, I explored automatic image straightening technique, which finds the totation angle that yields the maximum number of straight horizontal/vertical edges. The steps are below:
- Rotate the image by the proposed rotation angle
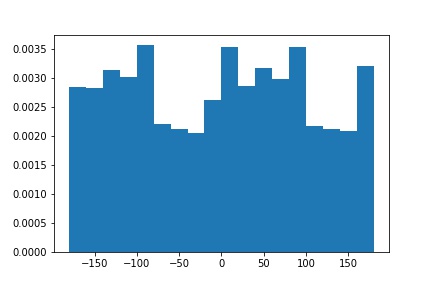
- Crop the center of the image, then compute the gradient angle of the edges in the image
- Compute a histogram of these angles
- Finally, pick the rotation with the maximum number of horizontal and vertical edges.
|
|

|
|
|
|
|
|
|
|
|
|
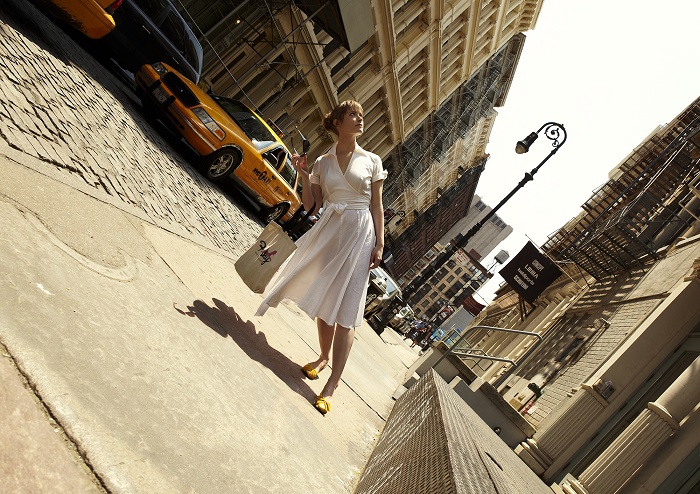
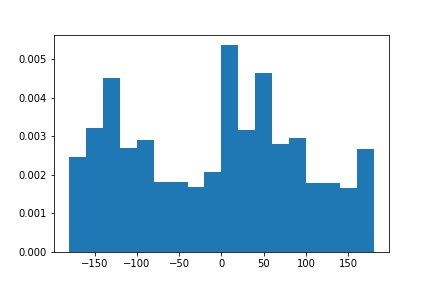
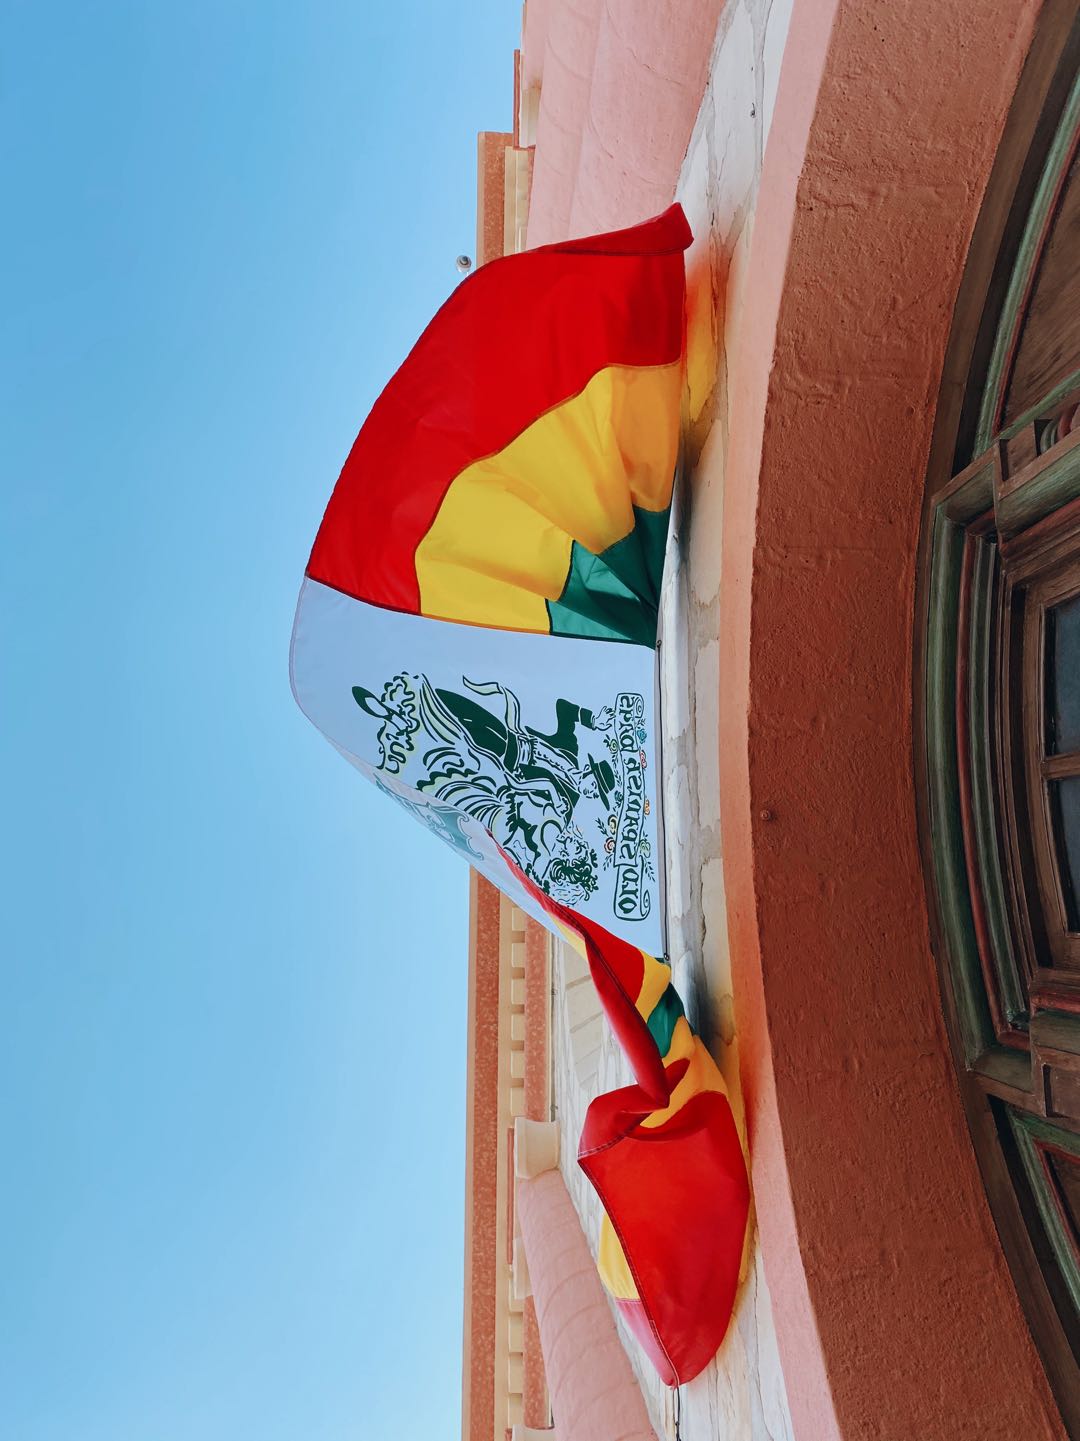
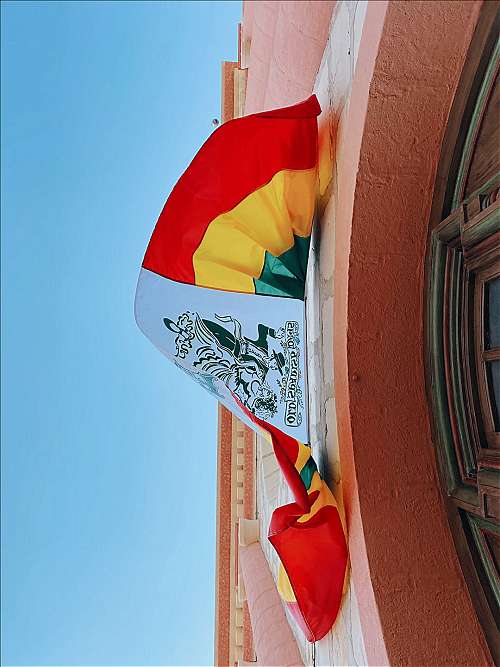
Failure Case:
The algporithm failed in the case of the lady image, as it detects that the image is already straight. This might due to image cropping before alignment. If the cropped image is too small, it will detect that it's already straight, therefore fail to rotate the image properly.
|
|

|

|
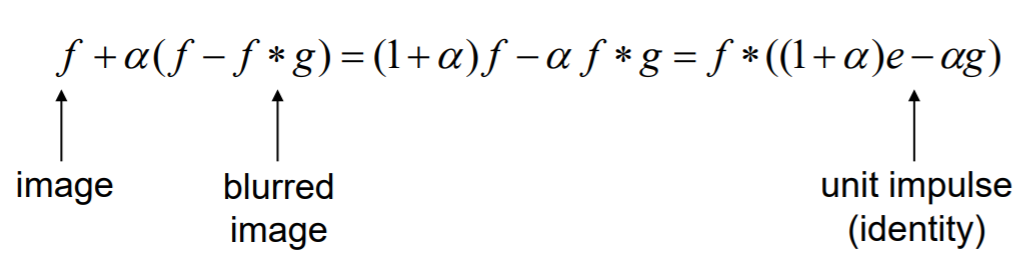
2.1 Image Sharpening
Image sharpening is another technique that we often need. Here, I implemented an unsharp mask filter with the formula below to sharpen the image. We first produce a gaussian filter g, which is a low pass filter that blurs the image. Then we subtract the blured image from original image to get a high frequency image. We finally add the high frequency image back to original image to produce a "sharpened" effect.
|
|
|
|
Blur Then Sharpen
However, the "sharpening" effect does not actually sharp the image, since it didn't add additional information to the image. It's more of a visual effect that allows human to see the image as sharper. As shown below, if we take an originally sharp image, blur it, then try to apply the same sharpen technique, we can see that the image is not as sharp as before.

|

|
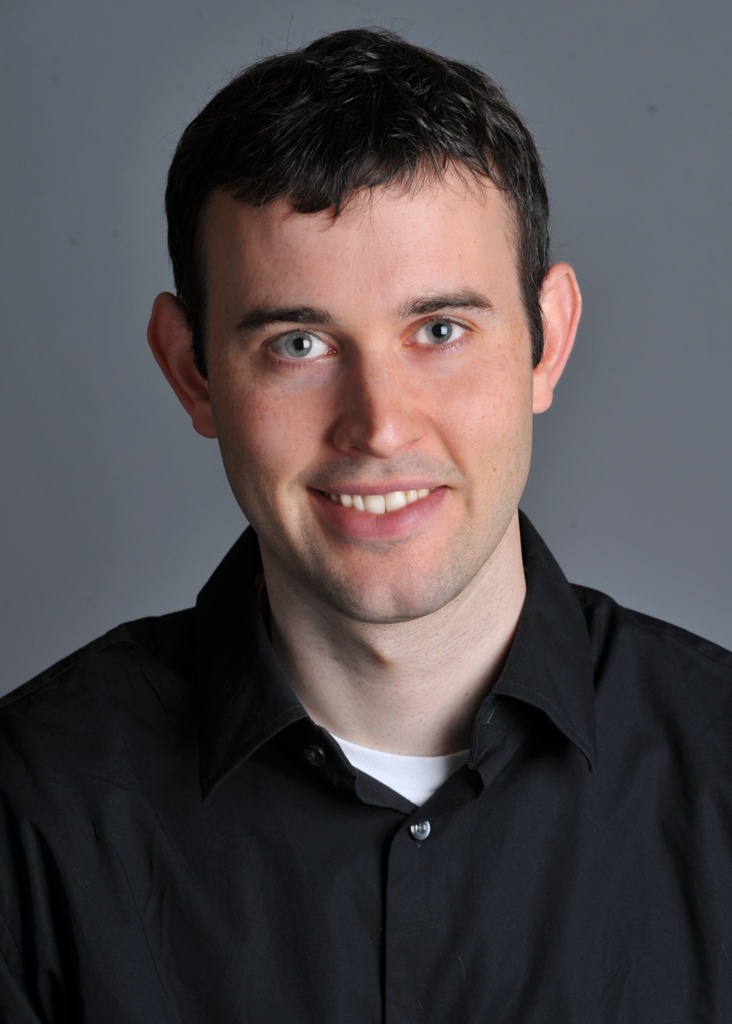
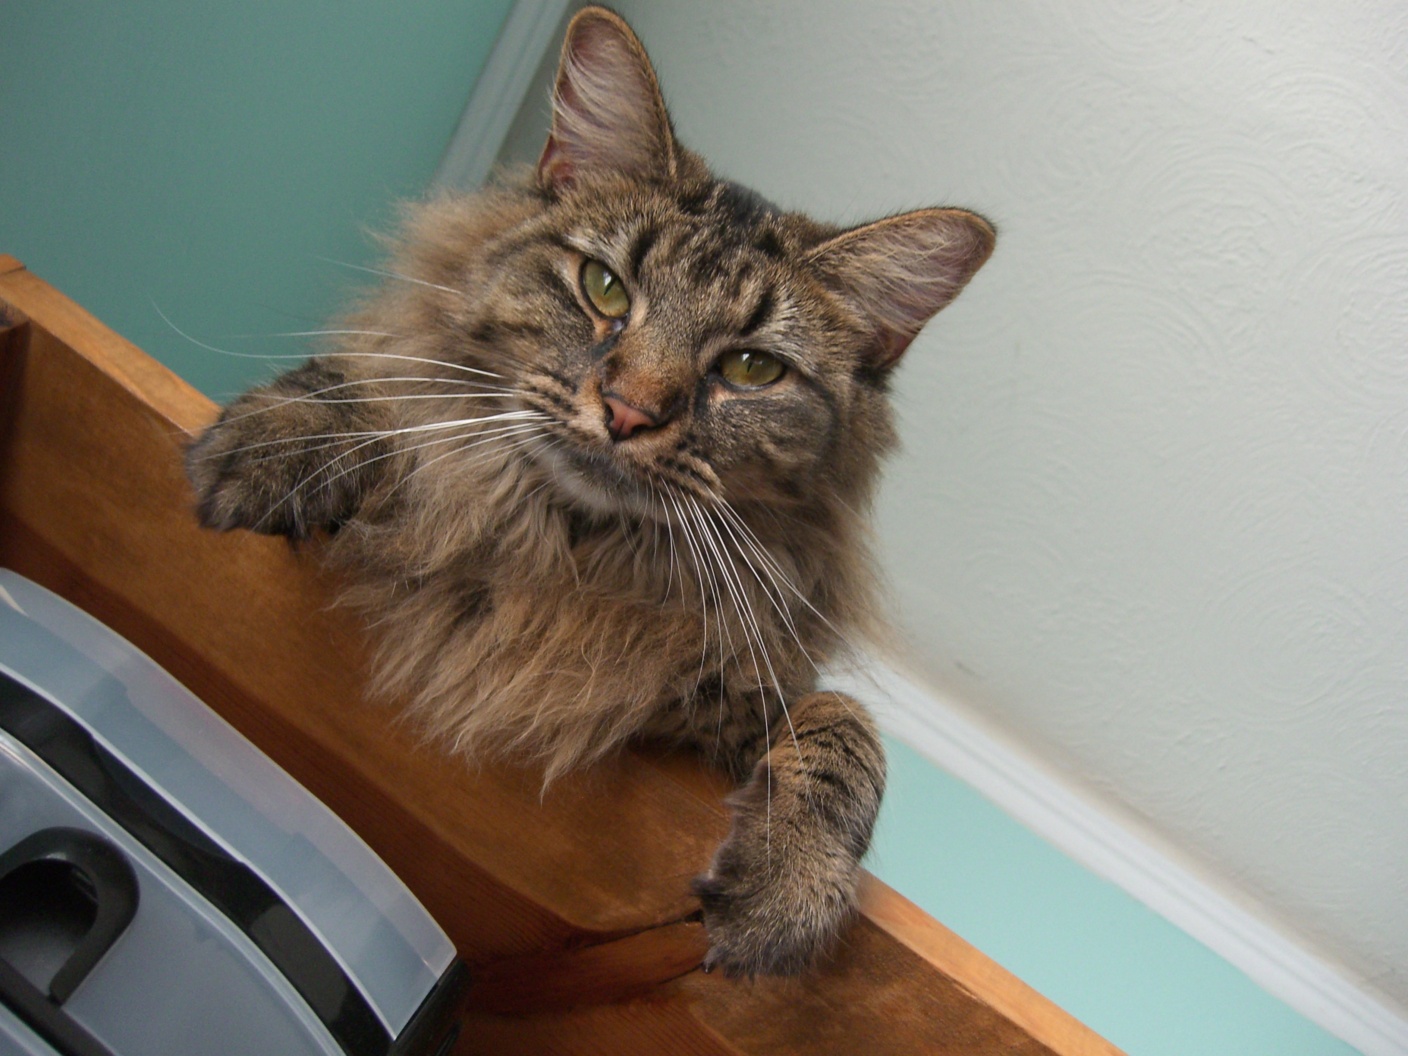
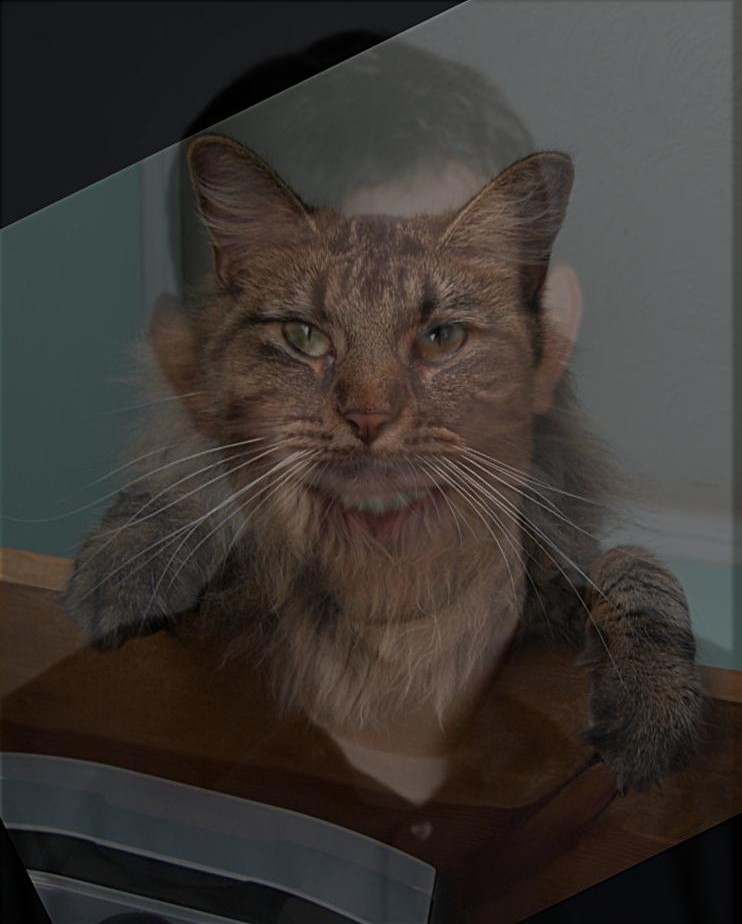
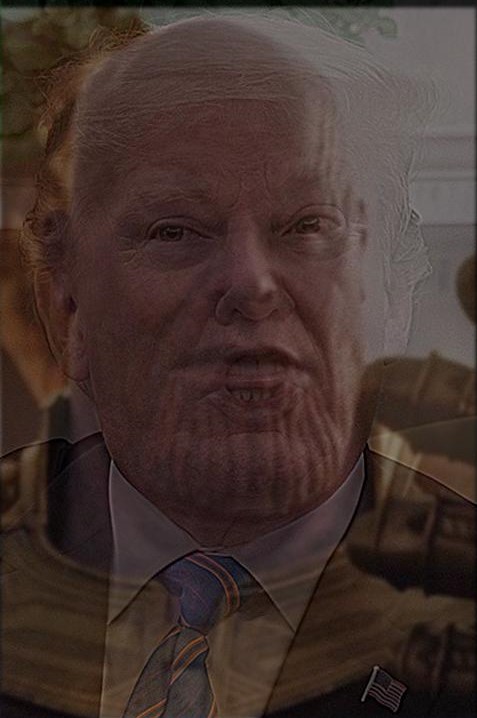
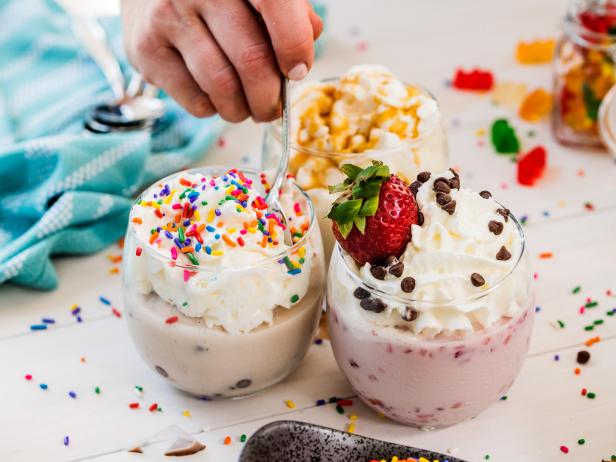
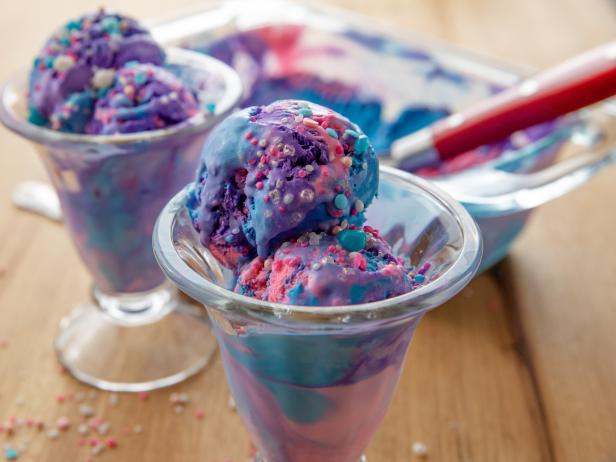
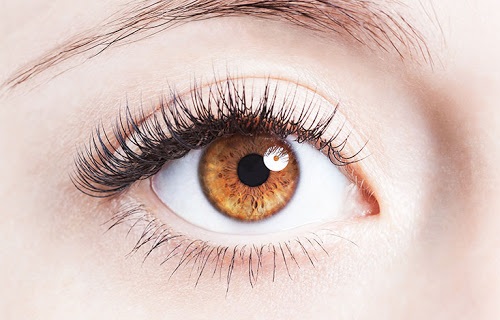
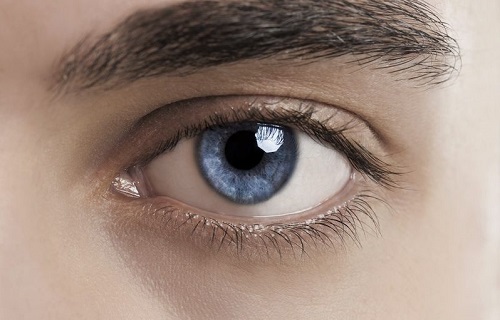
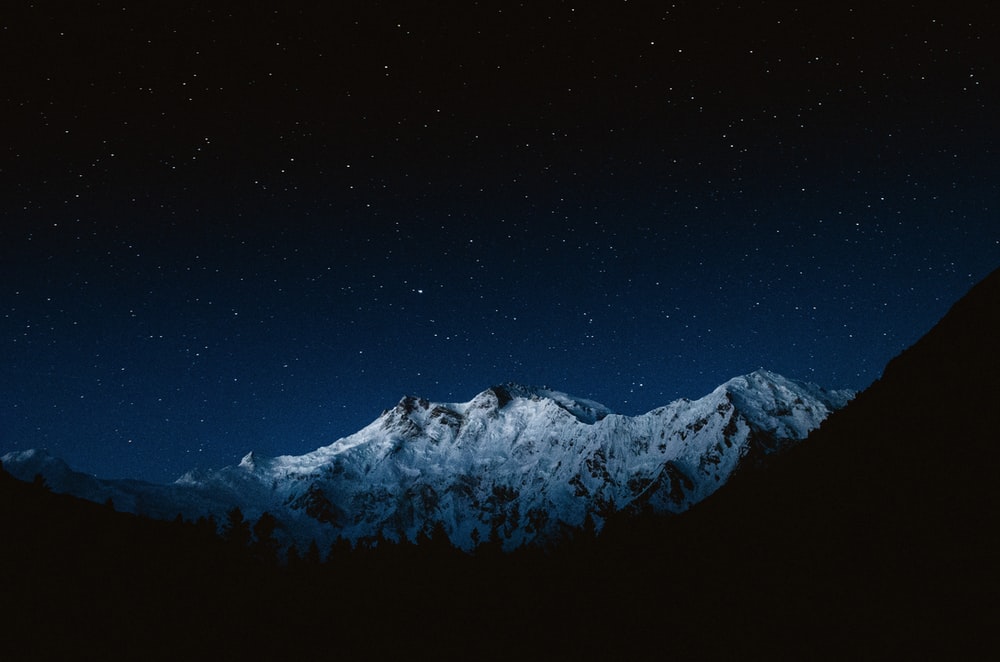
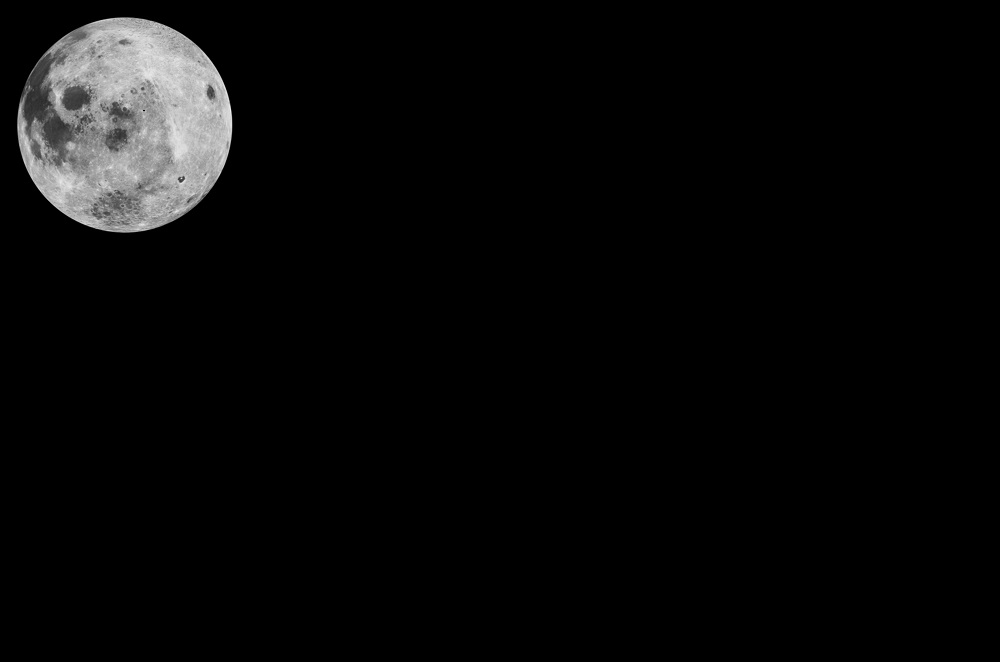
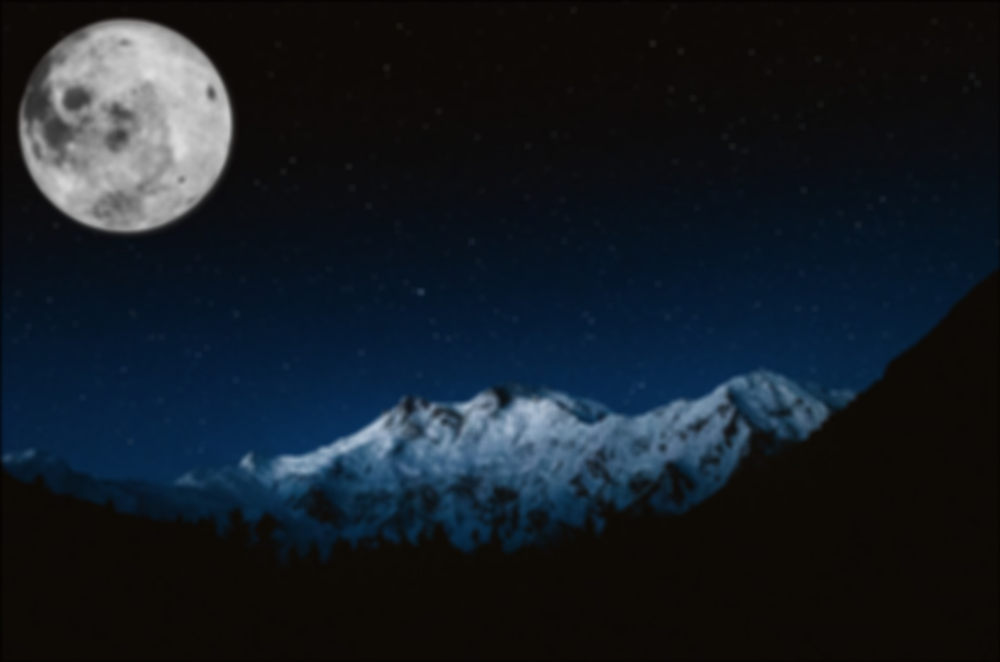
2.2 Hybrid Images
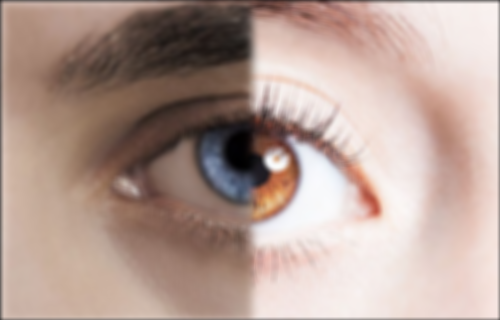
In this section, I created images using the approach described in the SIGGRAPH 2006 paper by Oliva, Torralba, and Schyns. As human perception is more sensitive to high frequency at a shorter distance but is more sensitive to low frequency at a farther distance, we can create images that leads to different interpretations at different distances. Given two images, I first applied low-pass filter one image, then applied high-pass filter from another image. Then aligning them using distances between eyes, and average these two images to create a hybrid image. If you view the hybrid images closely, you can see the high-pass filtered image, then if you step away a bit, you can see the low-pass filtered image.
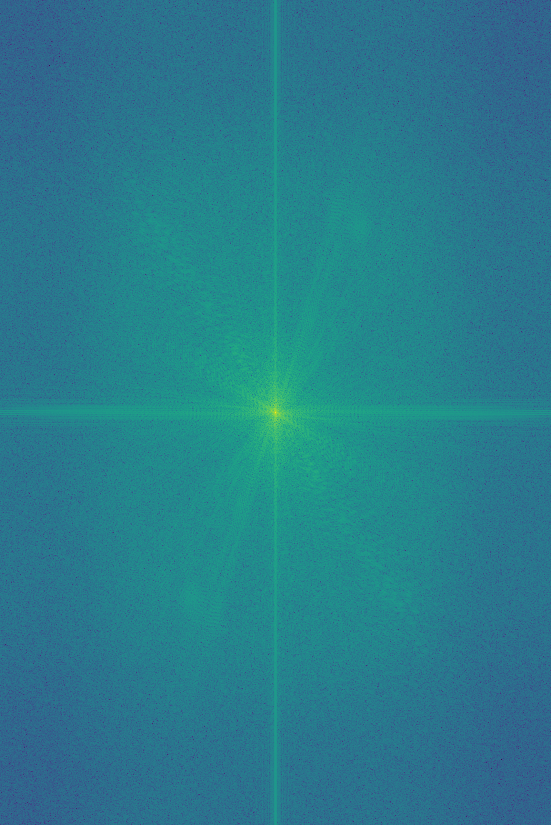
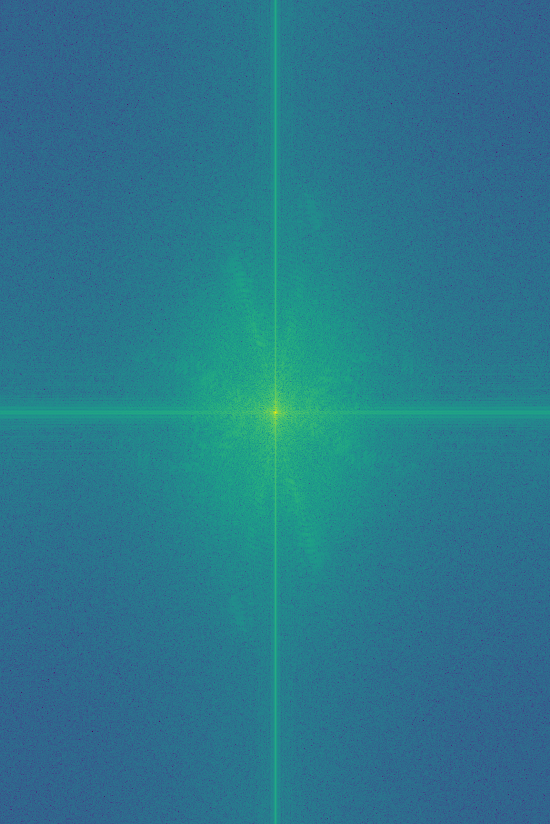
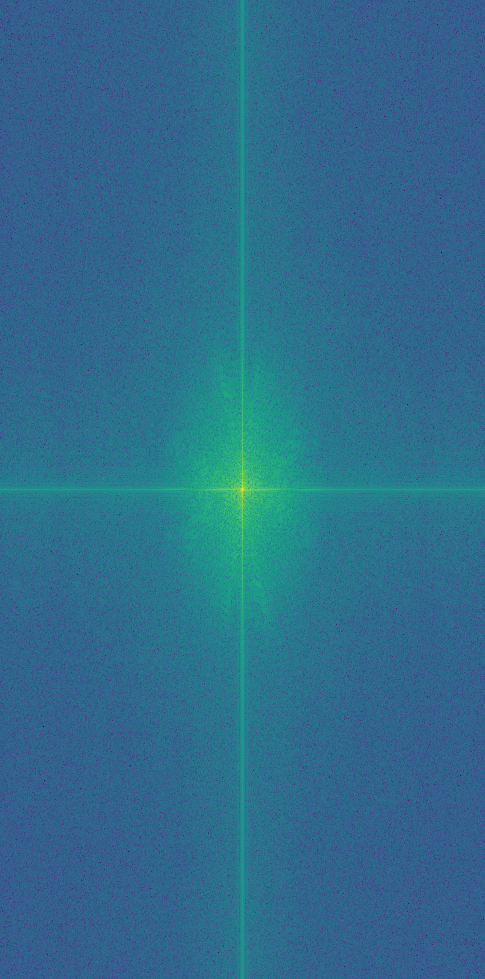
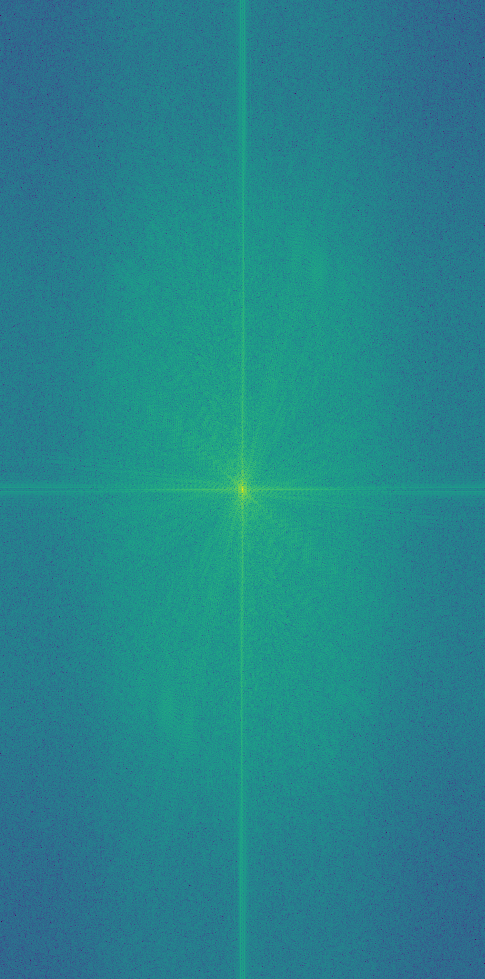
For one of the images, I've also included the Fourier Transform graph for frequency analysis. You can see that in the hybrid images, it's a combination of high-frequency and low-frequency images.
Here are some of my hybrid images:
|
|
|

|

|

|

|

|
|
|
|
|
|

|
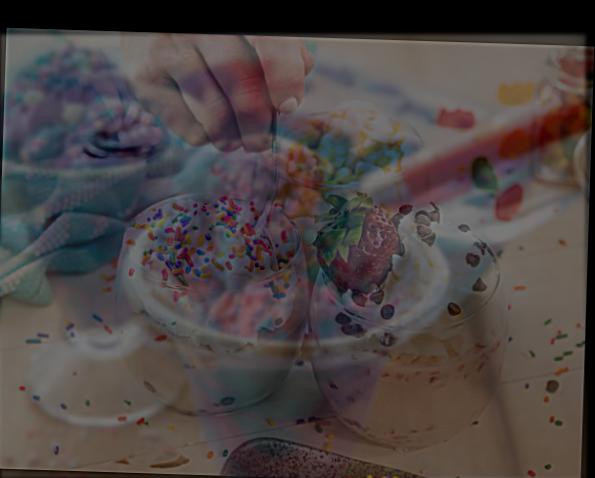
Failure Case
Our hybriding algorithm doesn't work for the case below, mainly because there are no points could be used to align properly. The two images are simply too diverse to be blended well together.
|
|
|
Bells & Whistles
I added color effects to the images, and I discovered that it's better to use color in low-pass filtered images, high-pass filters are unable to retain color well.
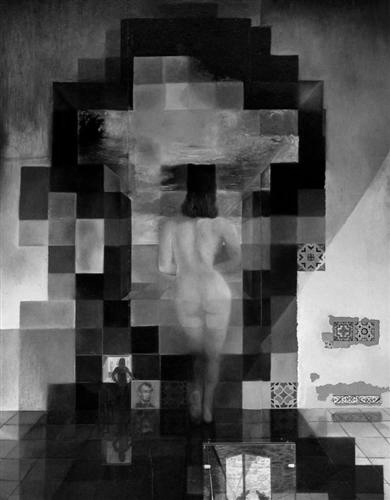
2.3 Gaussian & Laplacian Stacks
Here, I implemented Gaussian and Laplacin stacks, which are high-frequency and low-frequency images extracted in different degrees. If I apply it to an image with multiresolution, we can see that the image starts from high frequency, then gradually shift towards low frequency. These stacks are useful tools when analyzing image beldnings.
Lincoln: Gaussian Stack
|

|
|
|
|
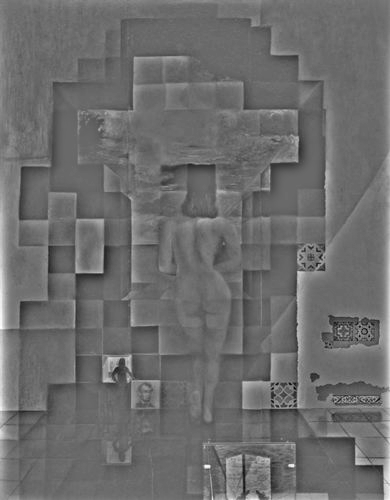
Lincoln: Laplacian Stack
|
|
|

|
|
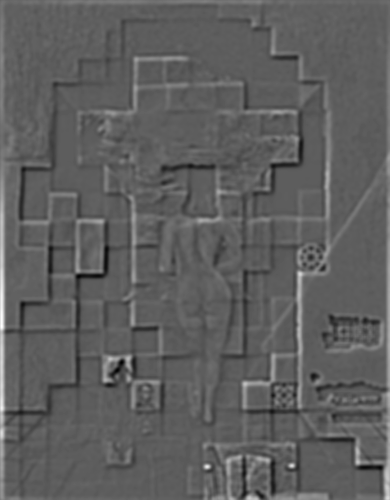
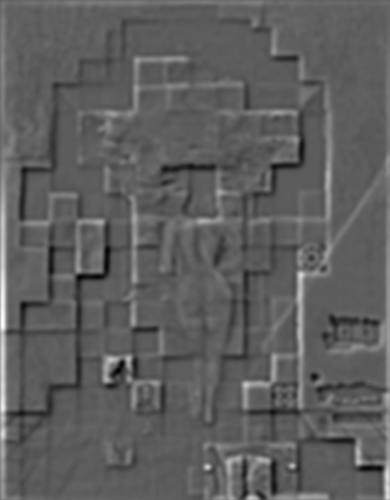
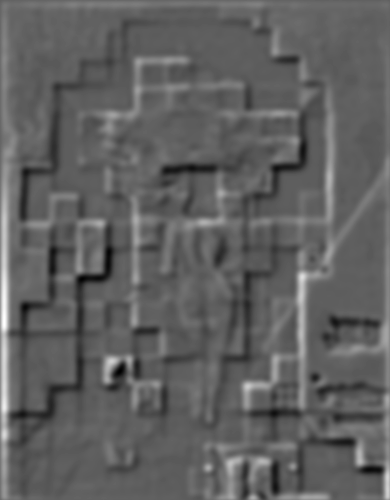
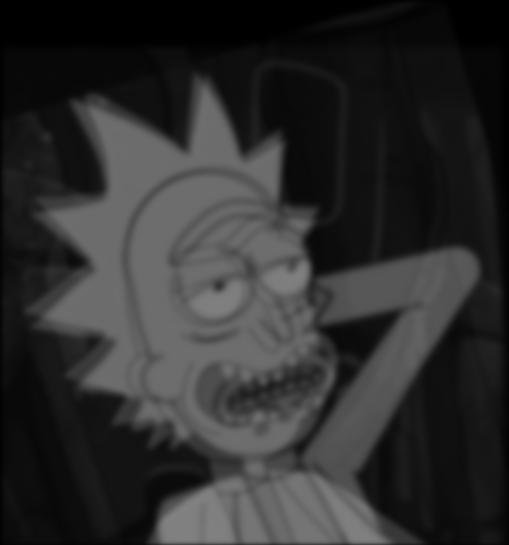
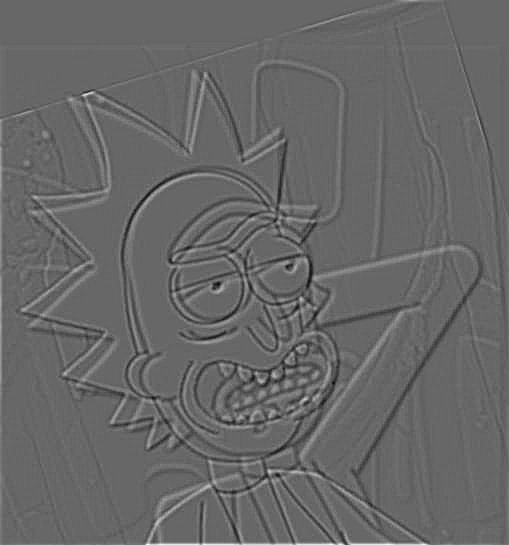
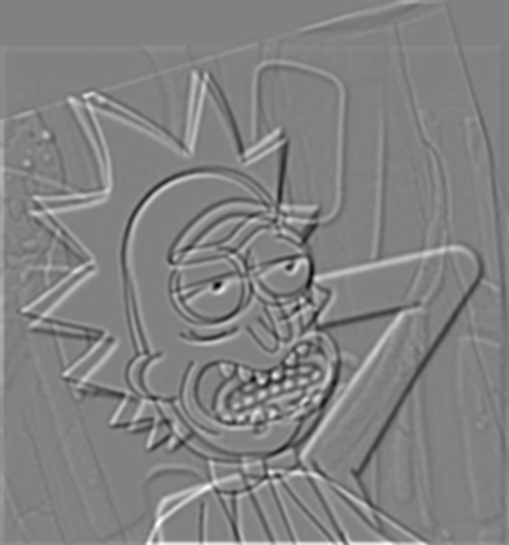
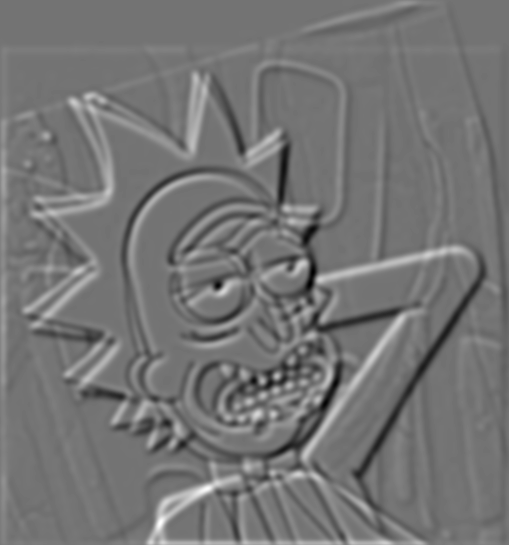
Rick: Gaussian Stack

|

|
|

|

|
Rick: Laplacian Stack
|
|

|
|

|
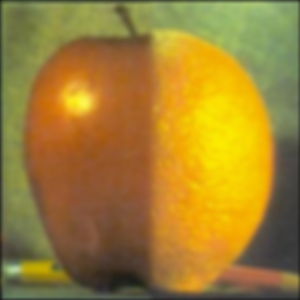
2.4 Multiresolution Blending
In this part, I implemented algorithms to blend two images seamlessly using a multi resolution blending as described in the 1983 paper by Burt and Adelson. I first computed Laplacian stacks for each individual image, then created a mask specifying which part of the image I want to blend. (The mask can be irregular, resulting in interesting effects). I then use the following formula to mask the image for each Laplacian Stack. I finally combine all layers together through summation. The results are reproduced below:


|
|
|

|
|
|
|

|
|
|
|
|
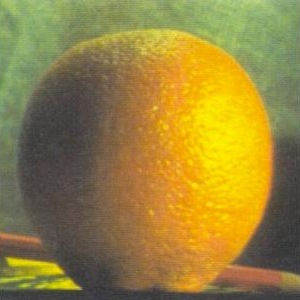
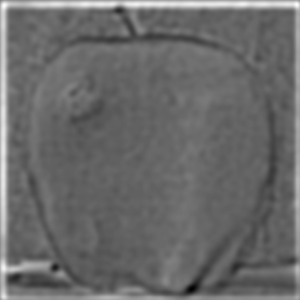
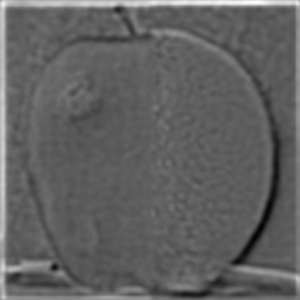
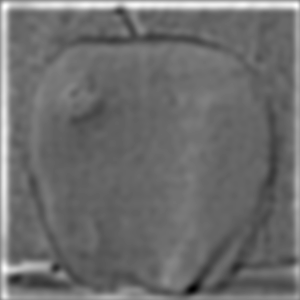
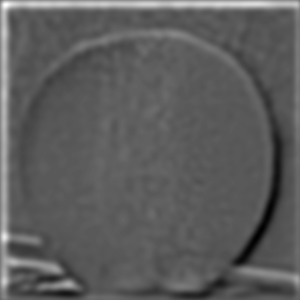
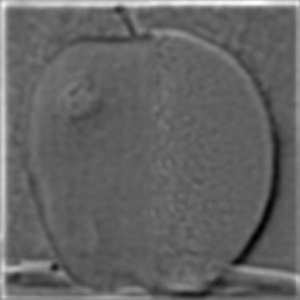
Here is a Lapacian stack for Oranple image:

|

|

|
|

|
|
|
|
|
Bells & Whistles
I implemented the multiresolution blending in color by first producing laplacian stacks for each color channel, masks them individually, finally combine them together. Image blending is very cool as now I can concatenate my favorite characters together and it looks nice!