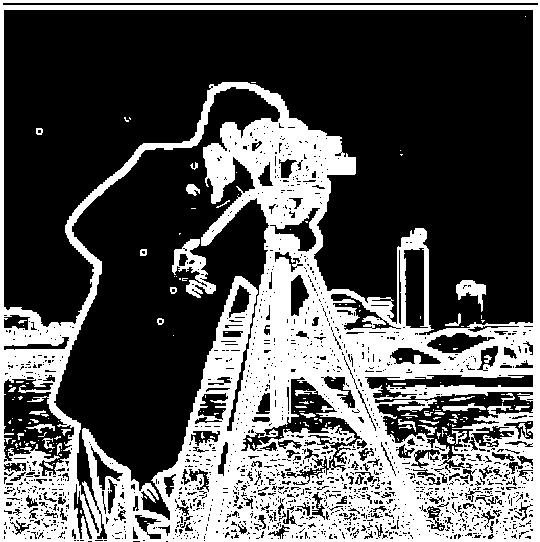
In this part we took a look at the finite differnece operator on the following image.
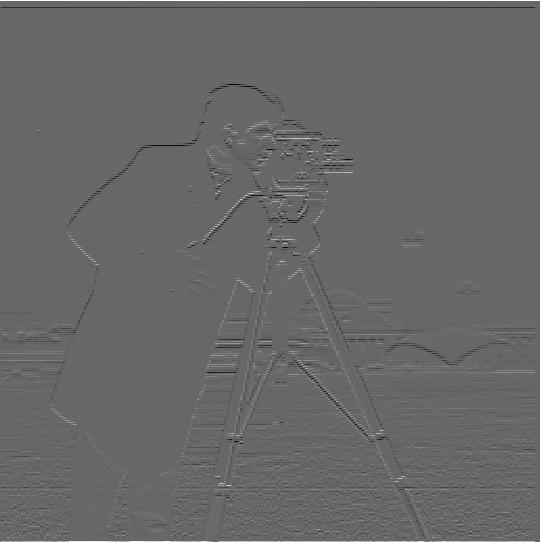
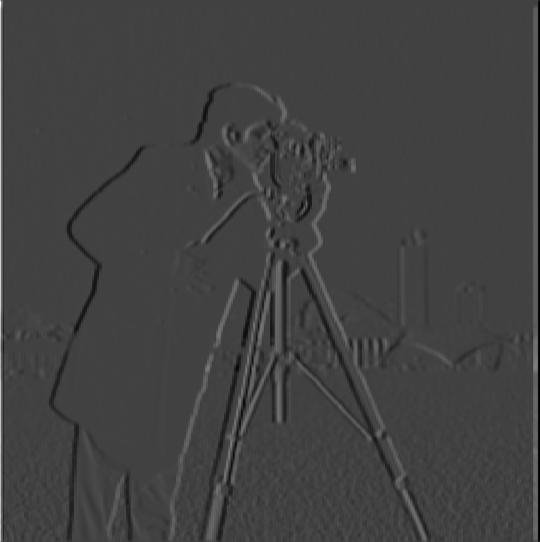
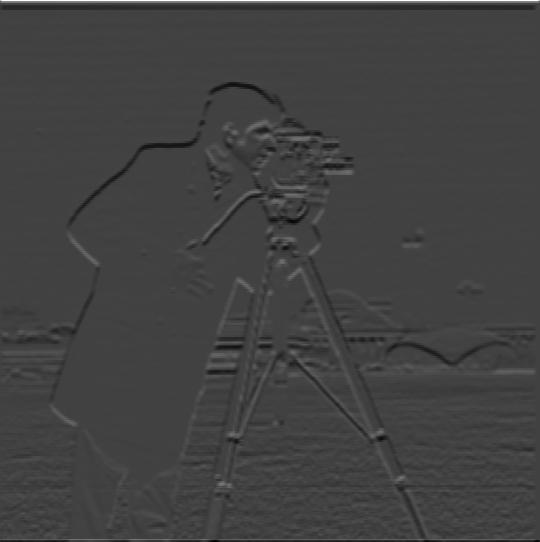
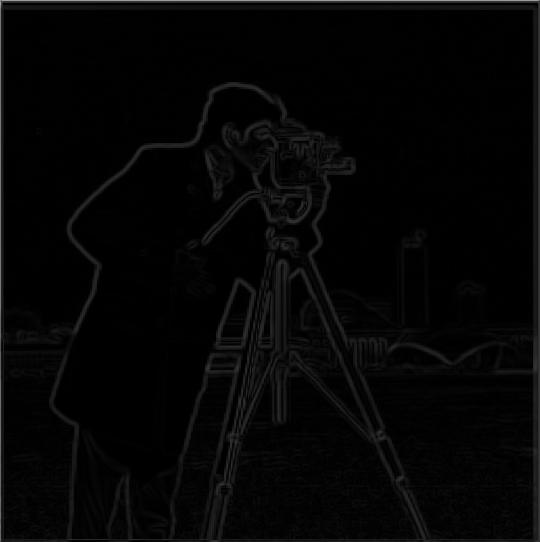
Below are the different results I received on computing the dx, dy, gradient magnitude, and binarized gradient magnitude.

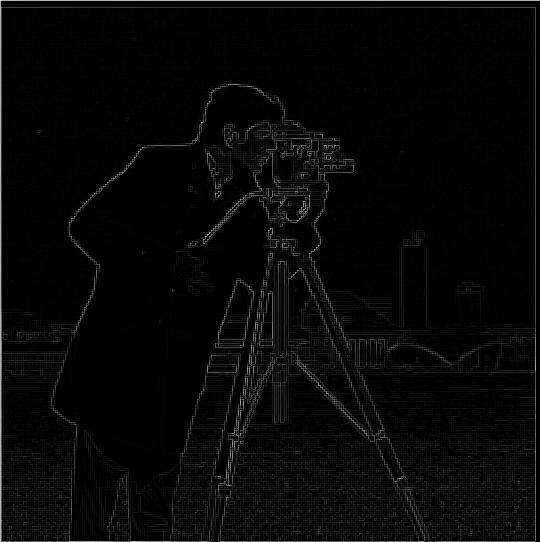
With this approach it was slightly harder to get all of the edges while leaving out the noise, as a result we need to apply some other image processing technicques in order to get better results
pOne approach we can try is applying a guassian filter to the camperman image first and then computing the the partial derivatives
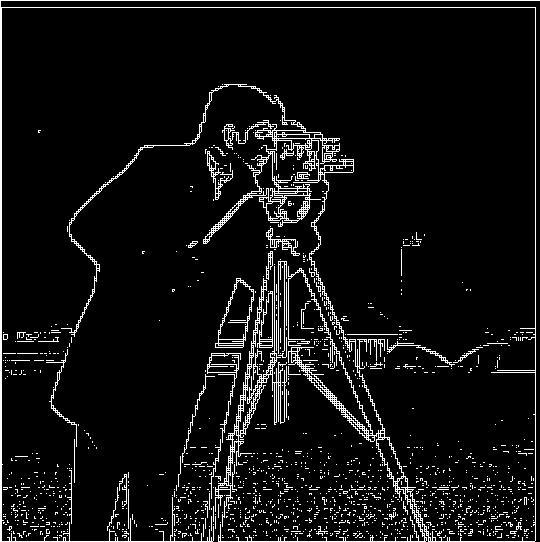
Below are the different steps in the process of applying the guassian and then finding the edges and also the output images of taking a derivative of the guassian filter itself before producing the same result. The gradient magnitude image was calculated by taking the square root of the sum of squares of the partial derivatives: ((df/dx)^2 + (df/dy)^2)^1/2
The major differences between this model and the previous one was that we were able to capture more of the buildings in the background and the binarized gradient had a much thicker outline for the edges. The reason this happened is because when we blurred the image, we also blurred the edges a bit so it's signal get's picked up. As a result, during the binarization process that smudged edge gets picked up and amplified into a thick outline.
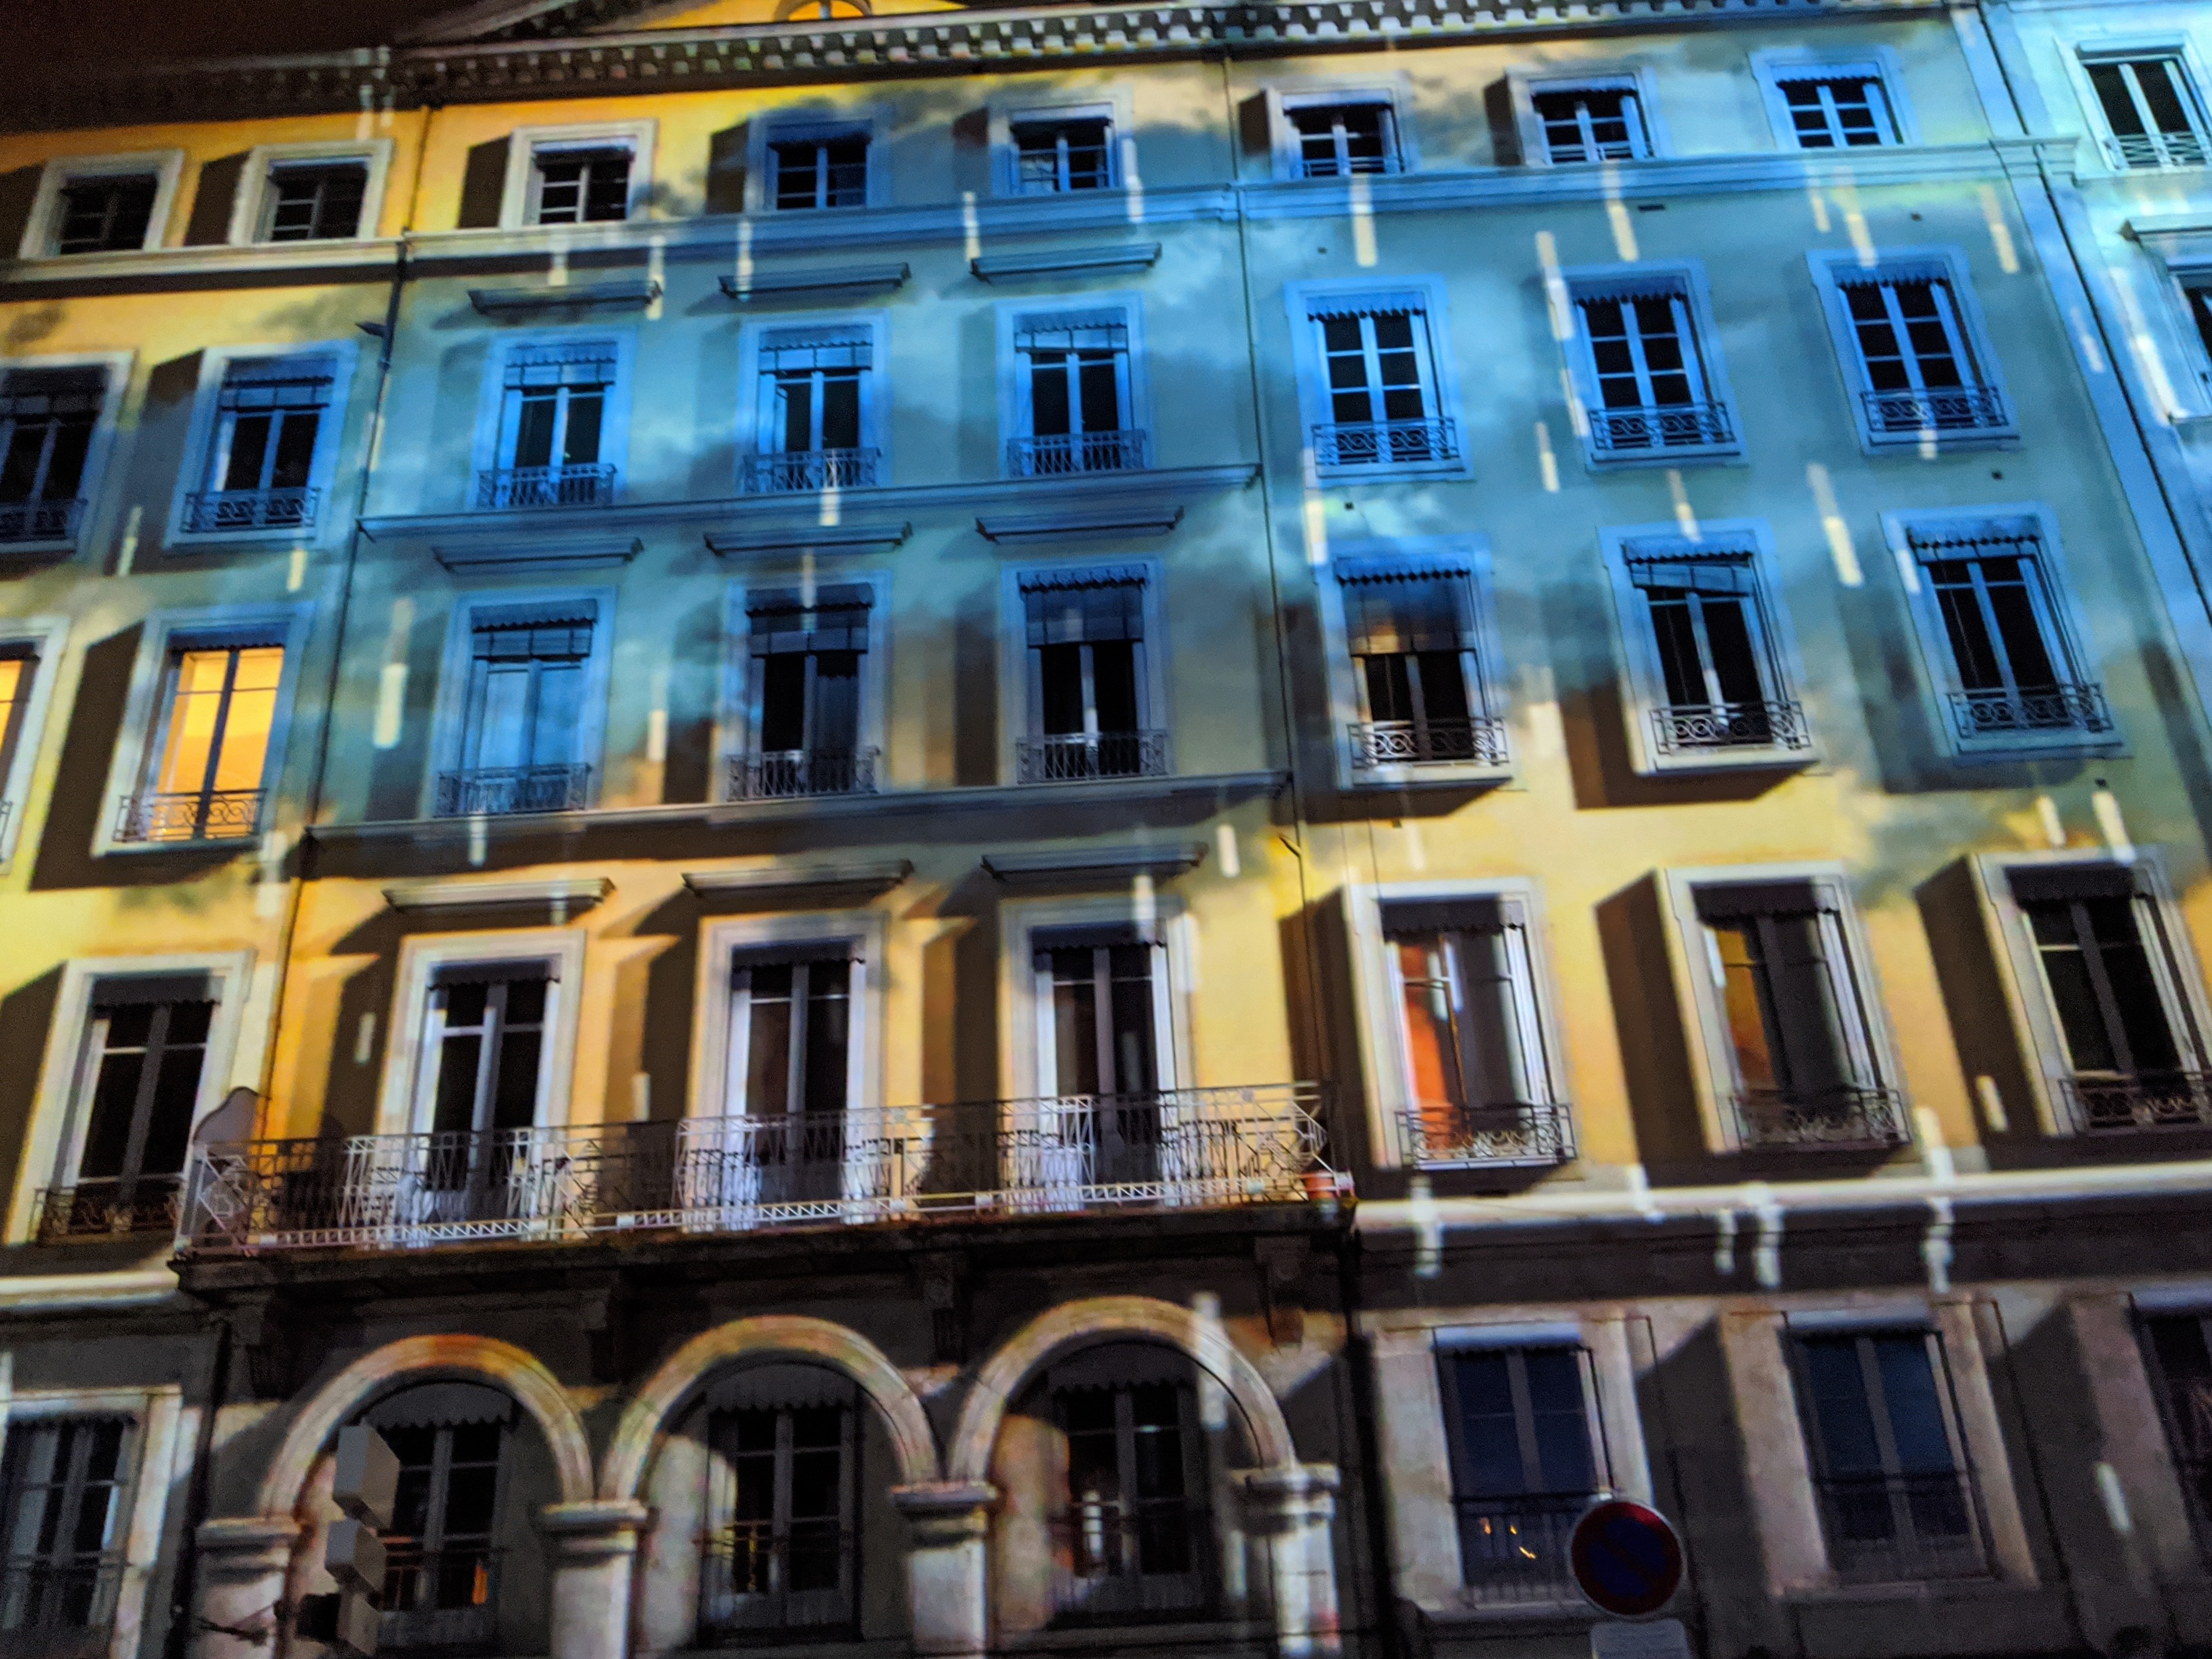
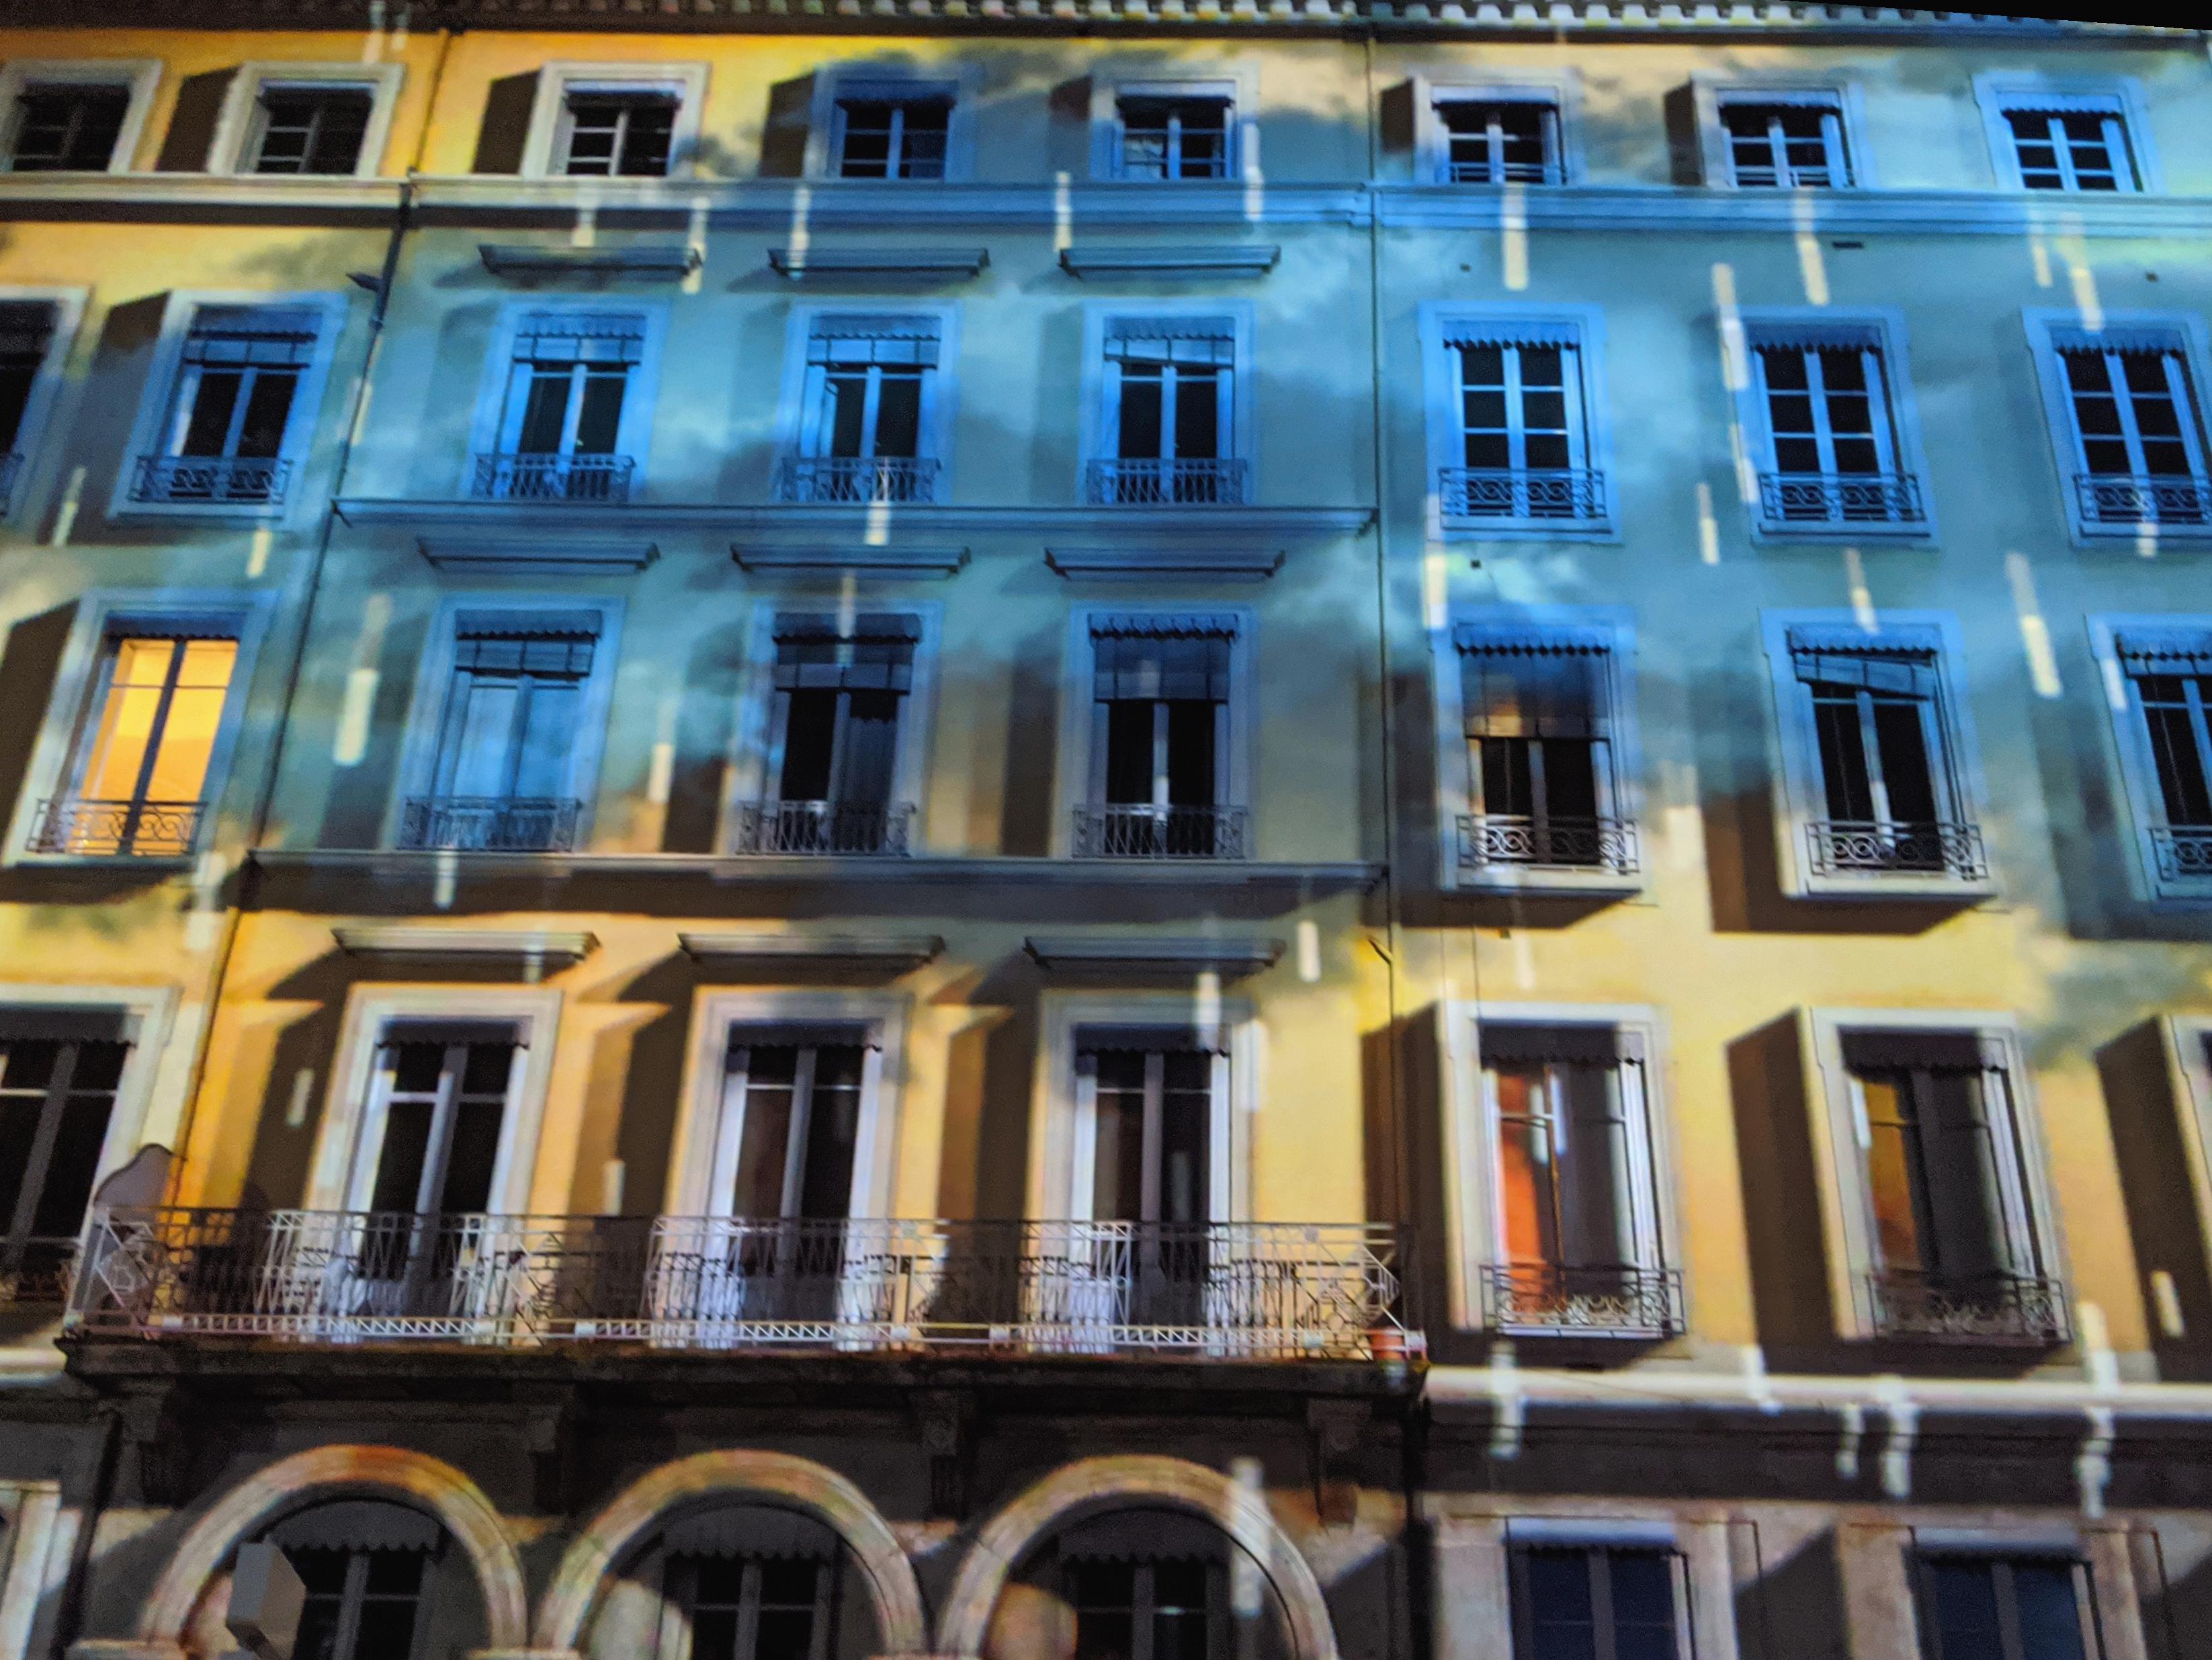
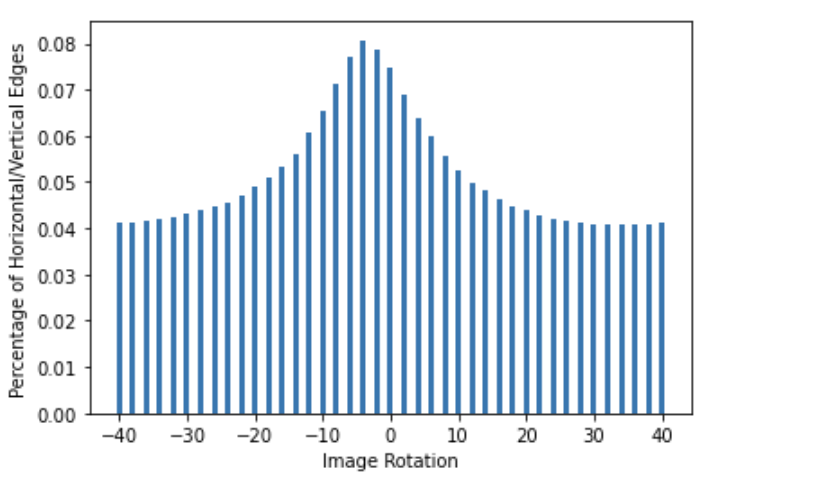
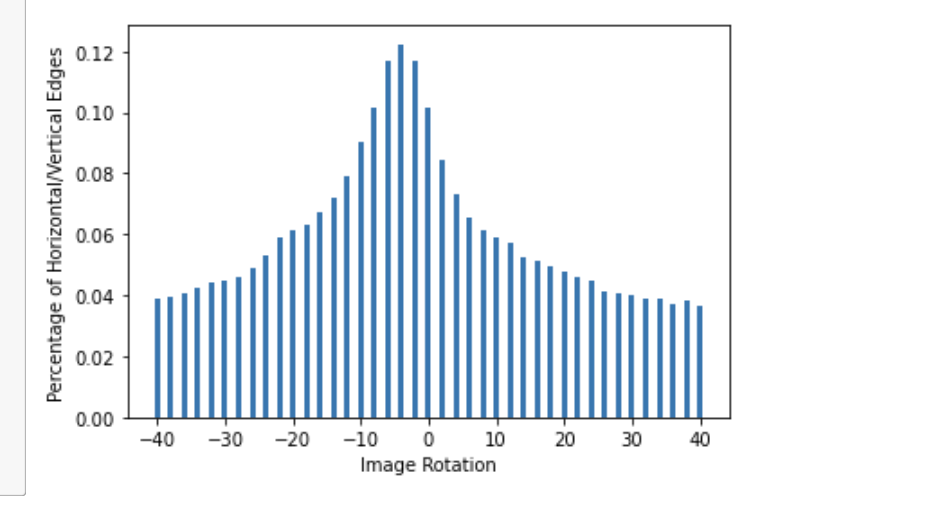
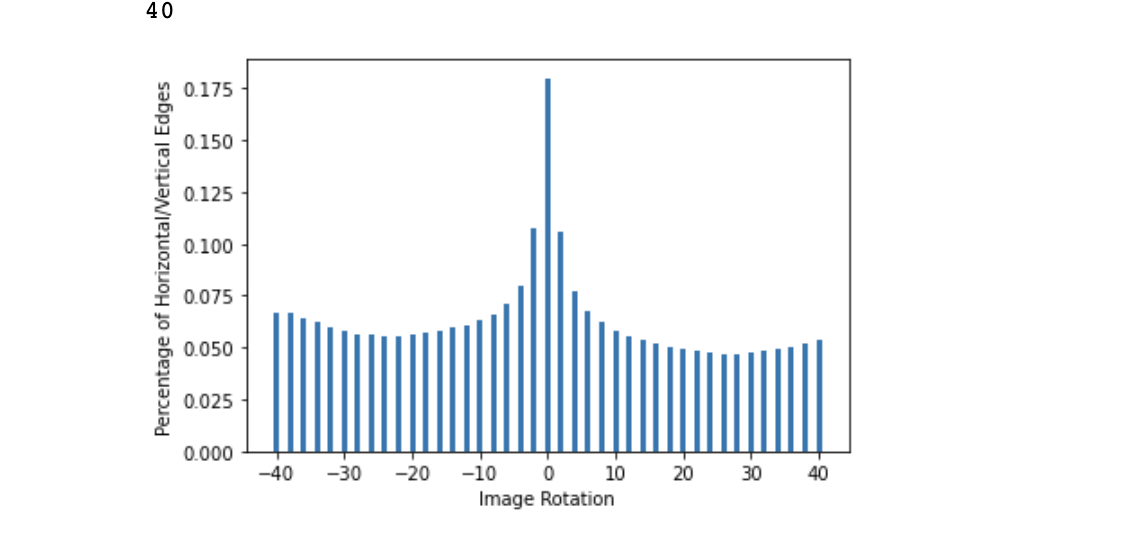
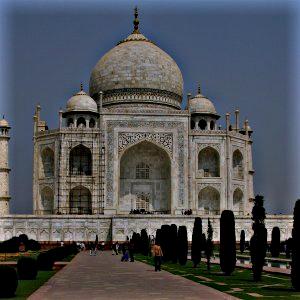
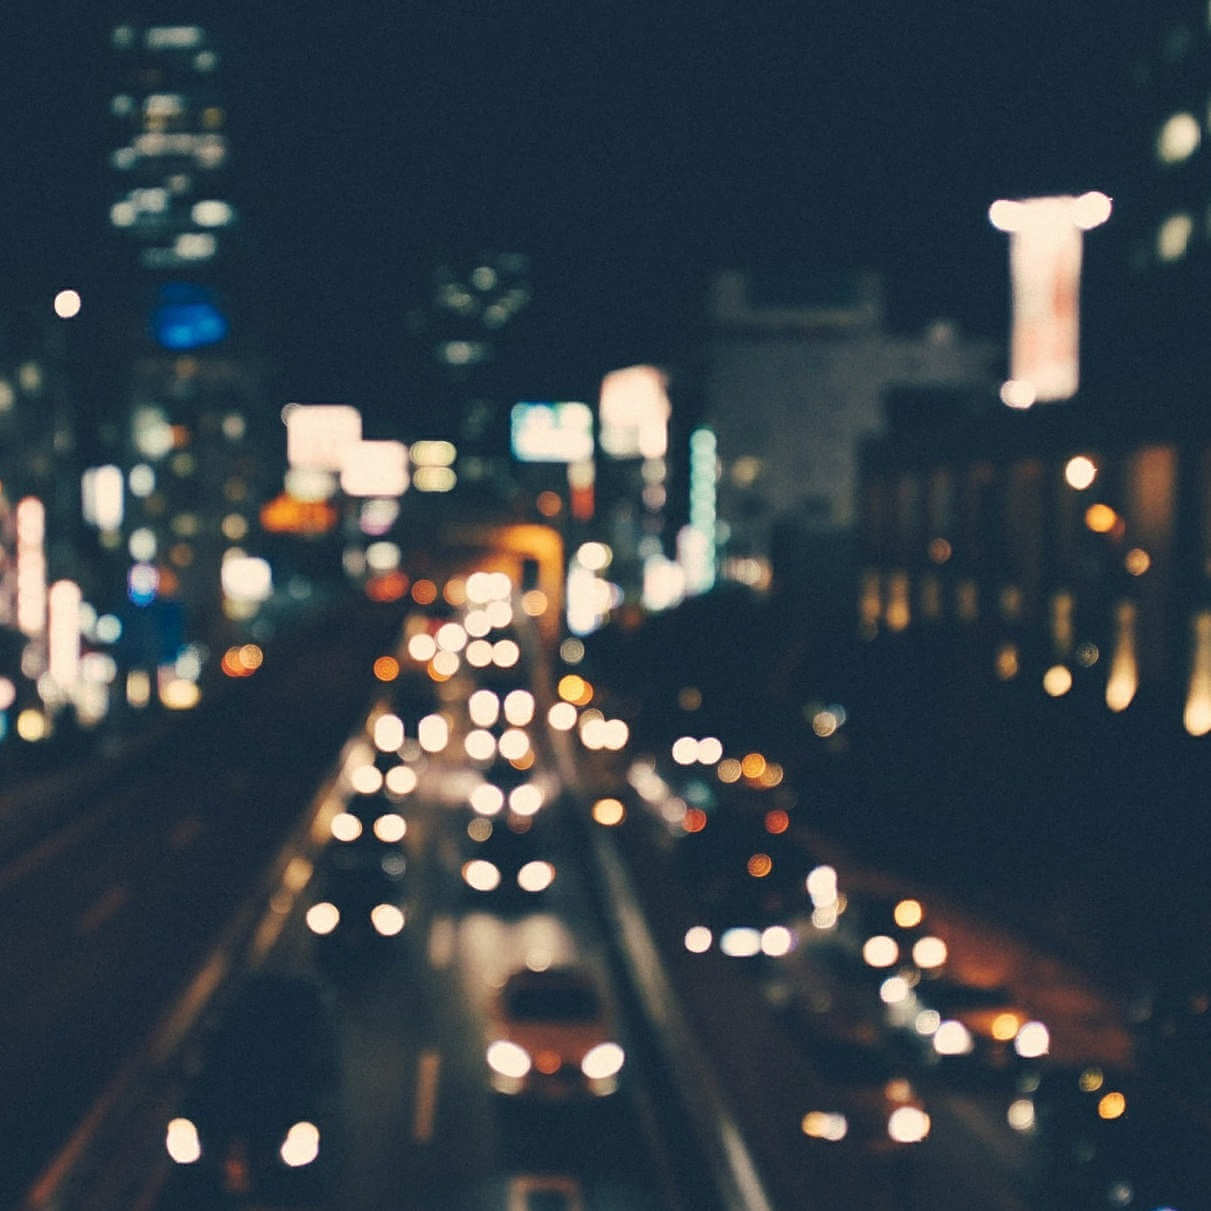
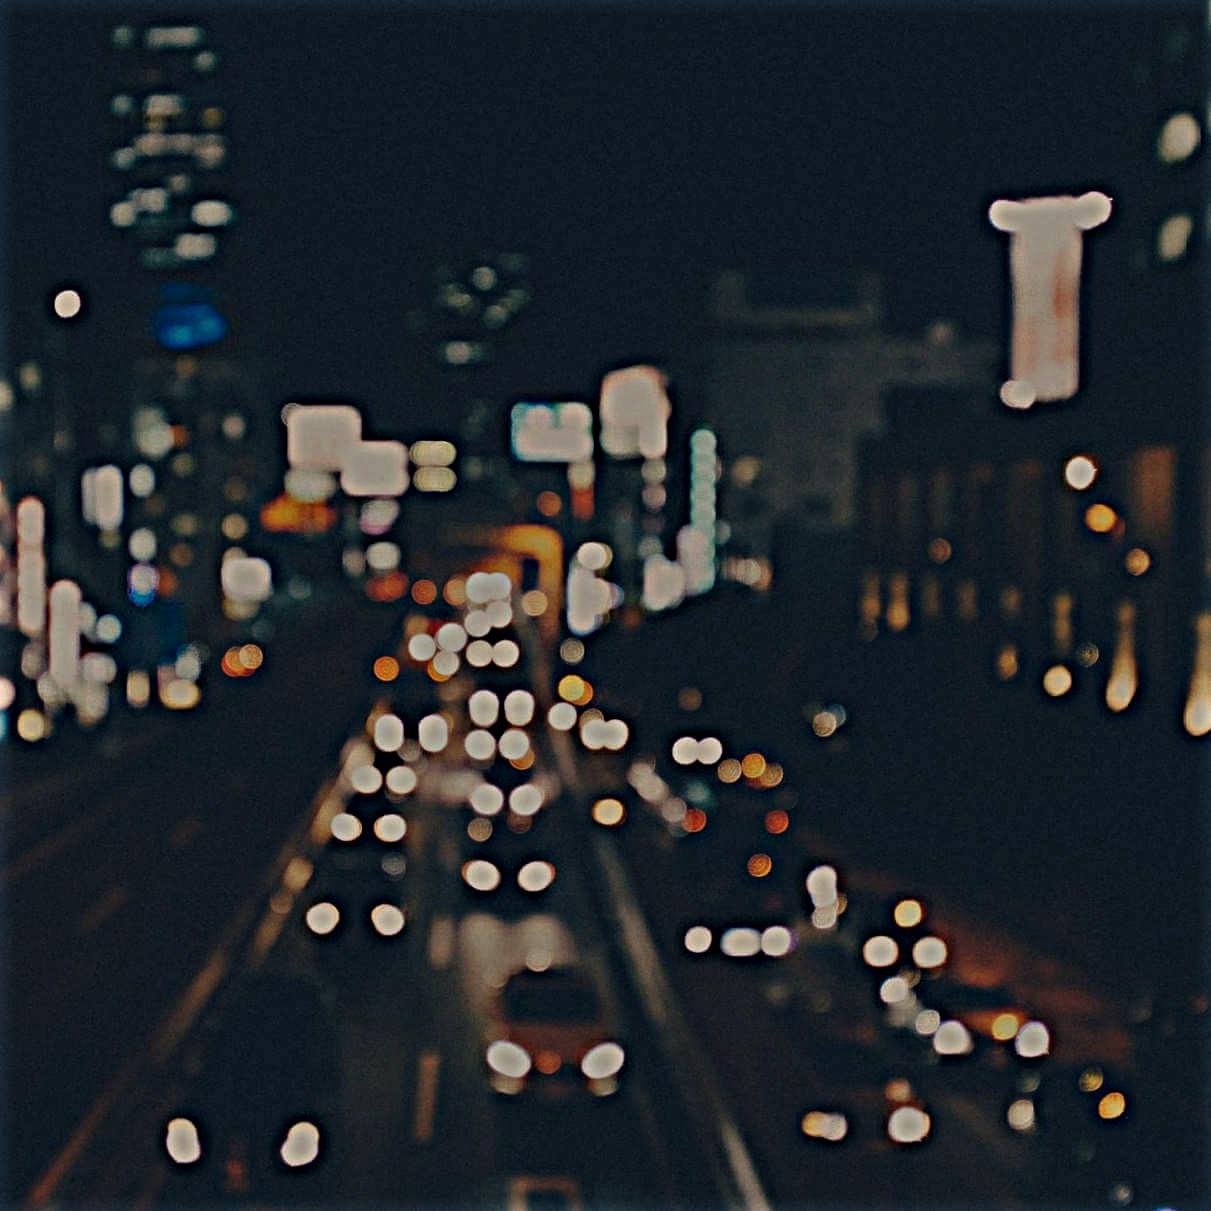
In this part we created image rotations in order to straighten images.
Test Image - Success
Bus Image - Success

House - Succcess


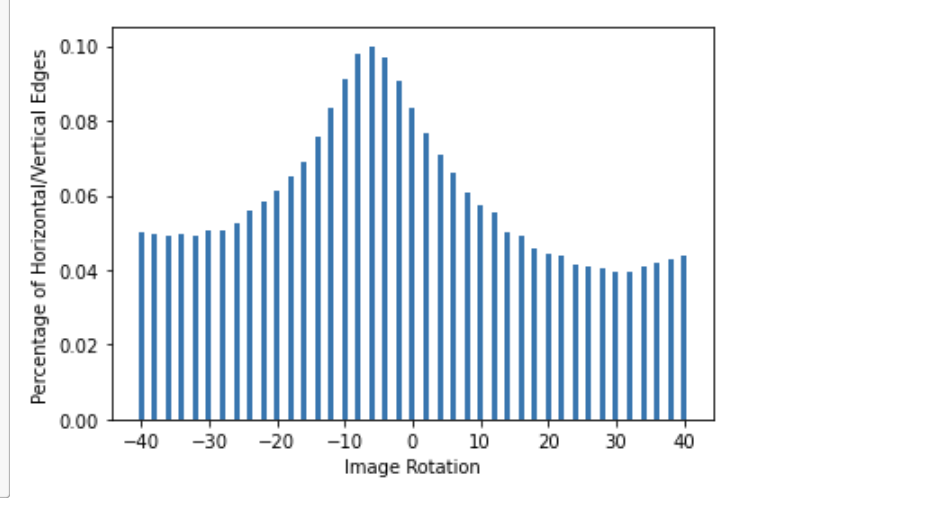
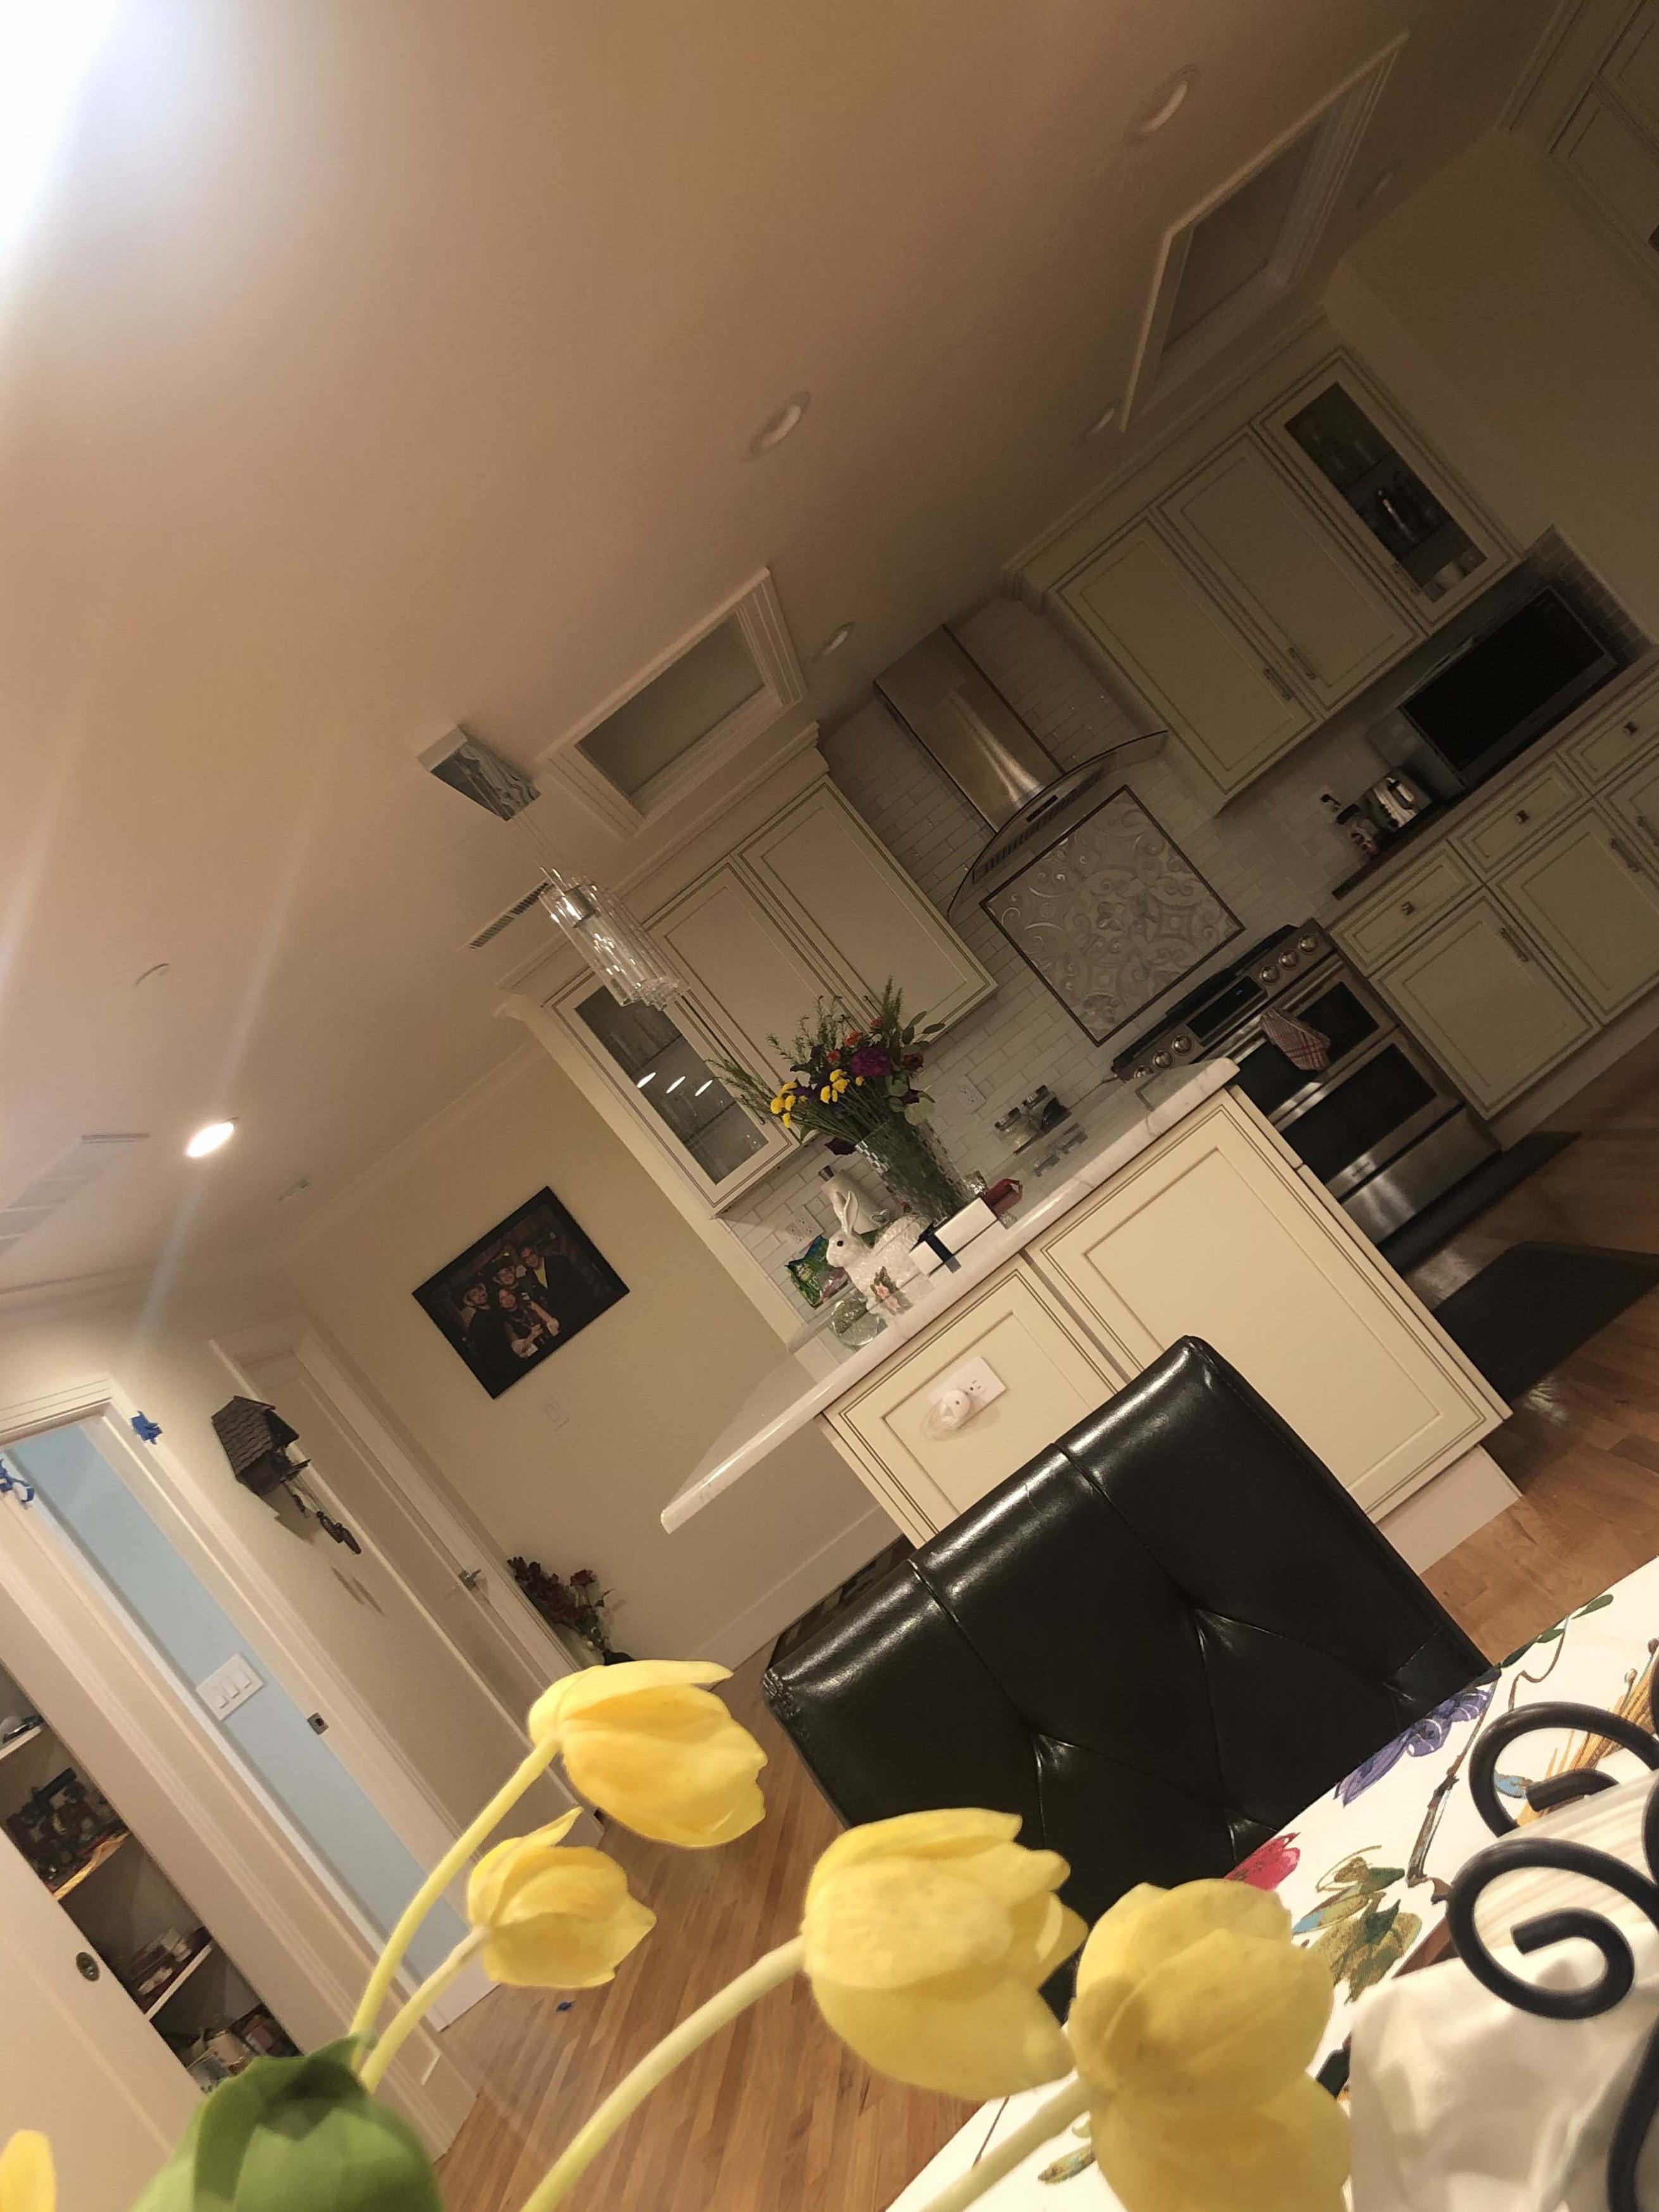
Living Room - Fail

In this part focused on shaprning images by adding in more high frequencies into the images, Below are the results on one sharp image, one blurr image, and one normal test image

In this part we combined images in order to produce hybrid images, such that we have the low frequencies from one image and the high frequencies for another iamge
This is the combination for the test images.
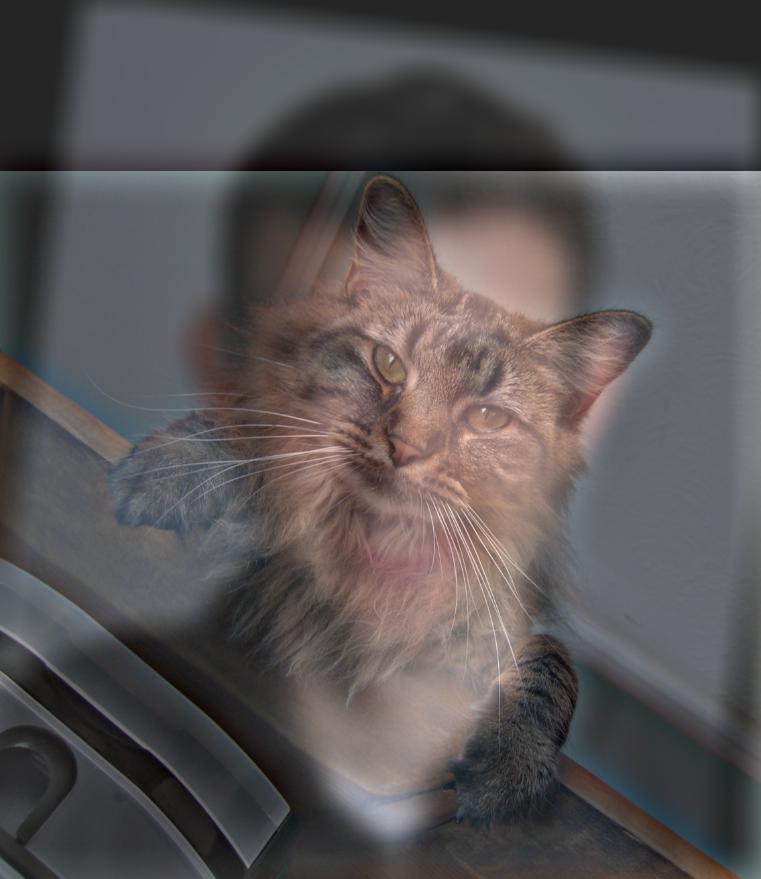
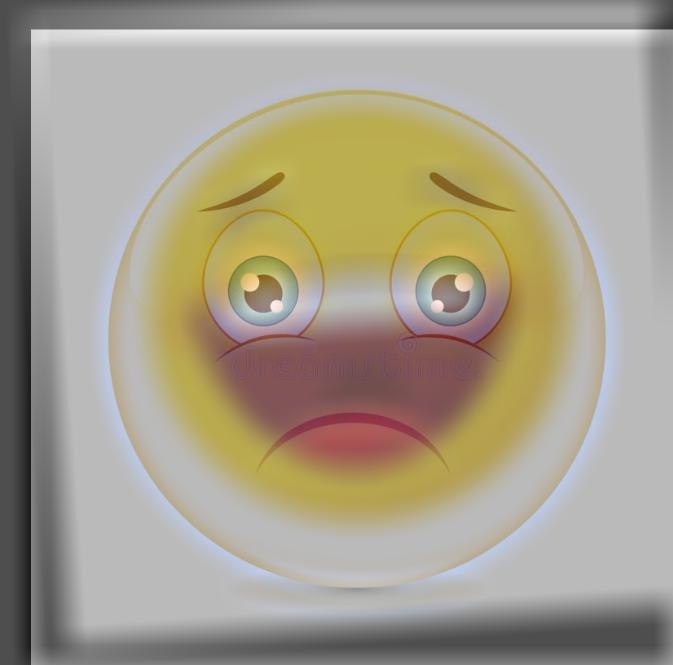
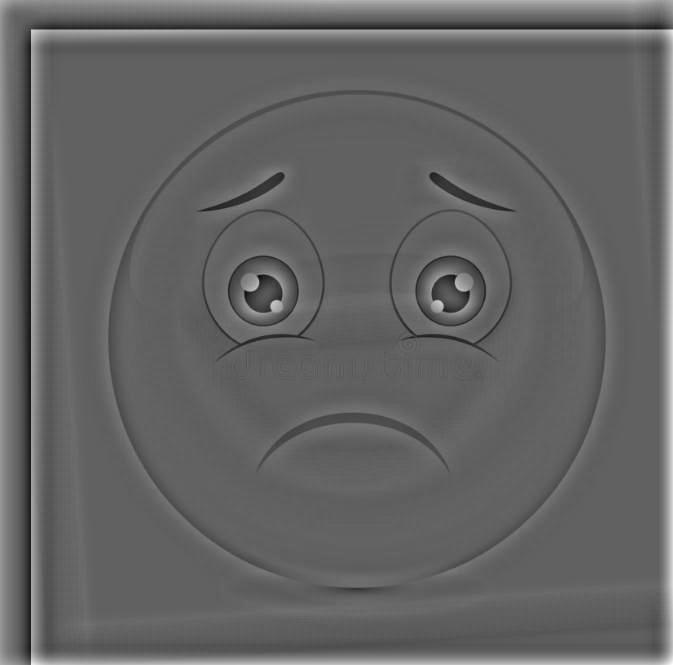
This is a combination of a happy emoji and sad emoji


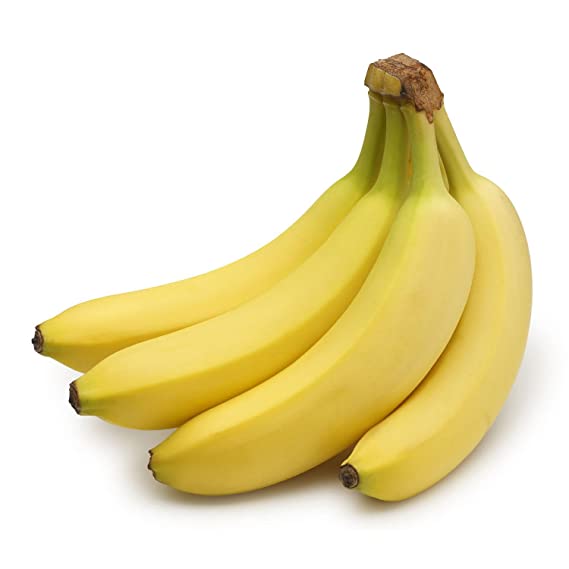
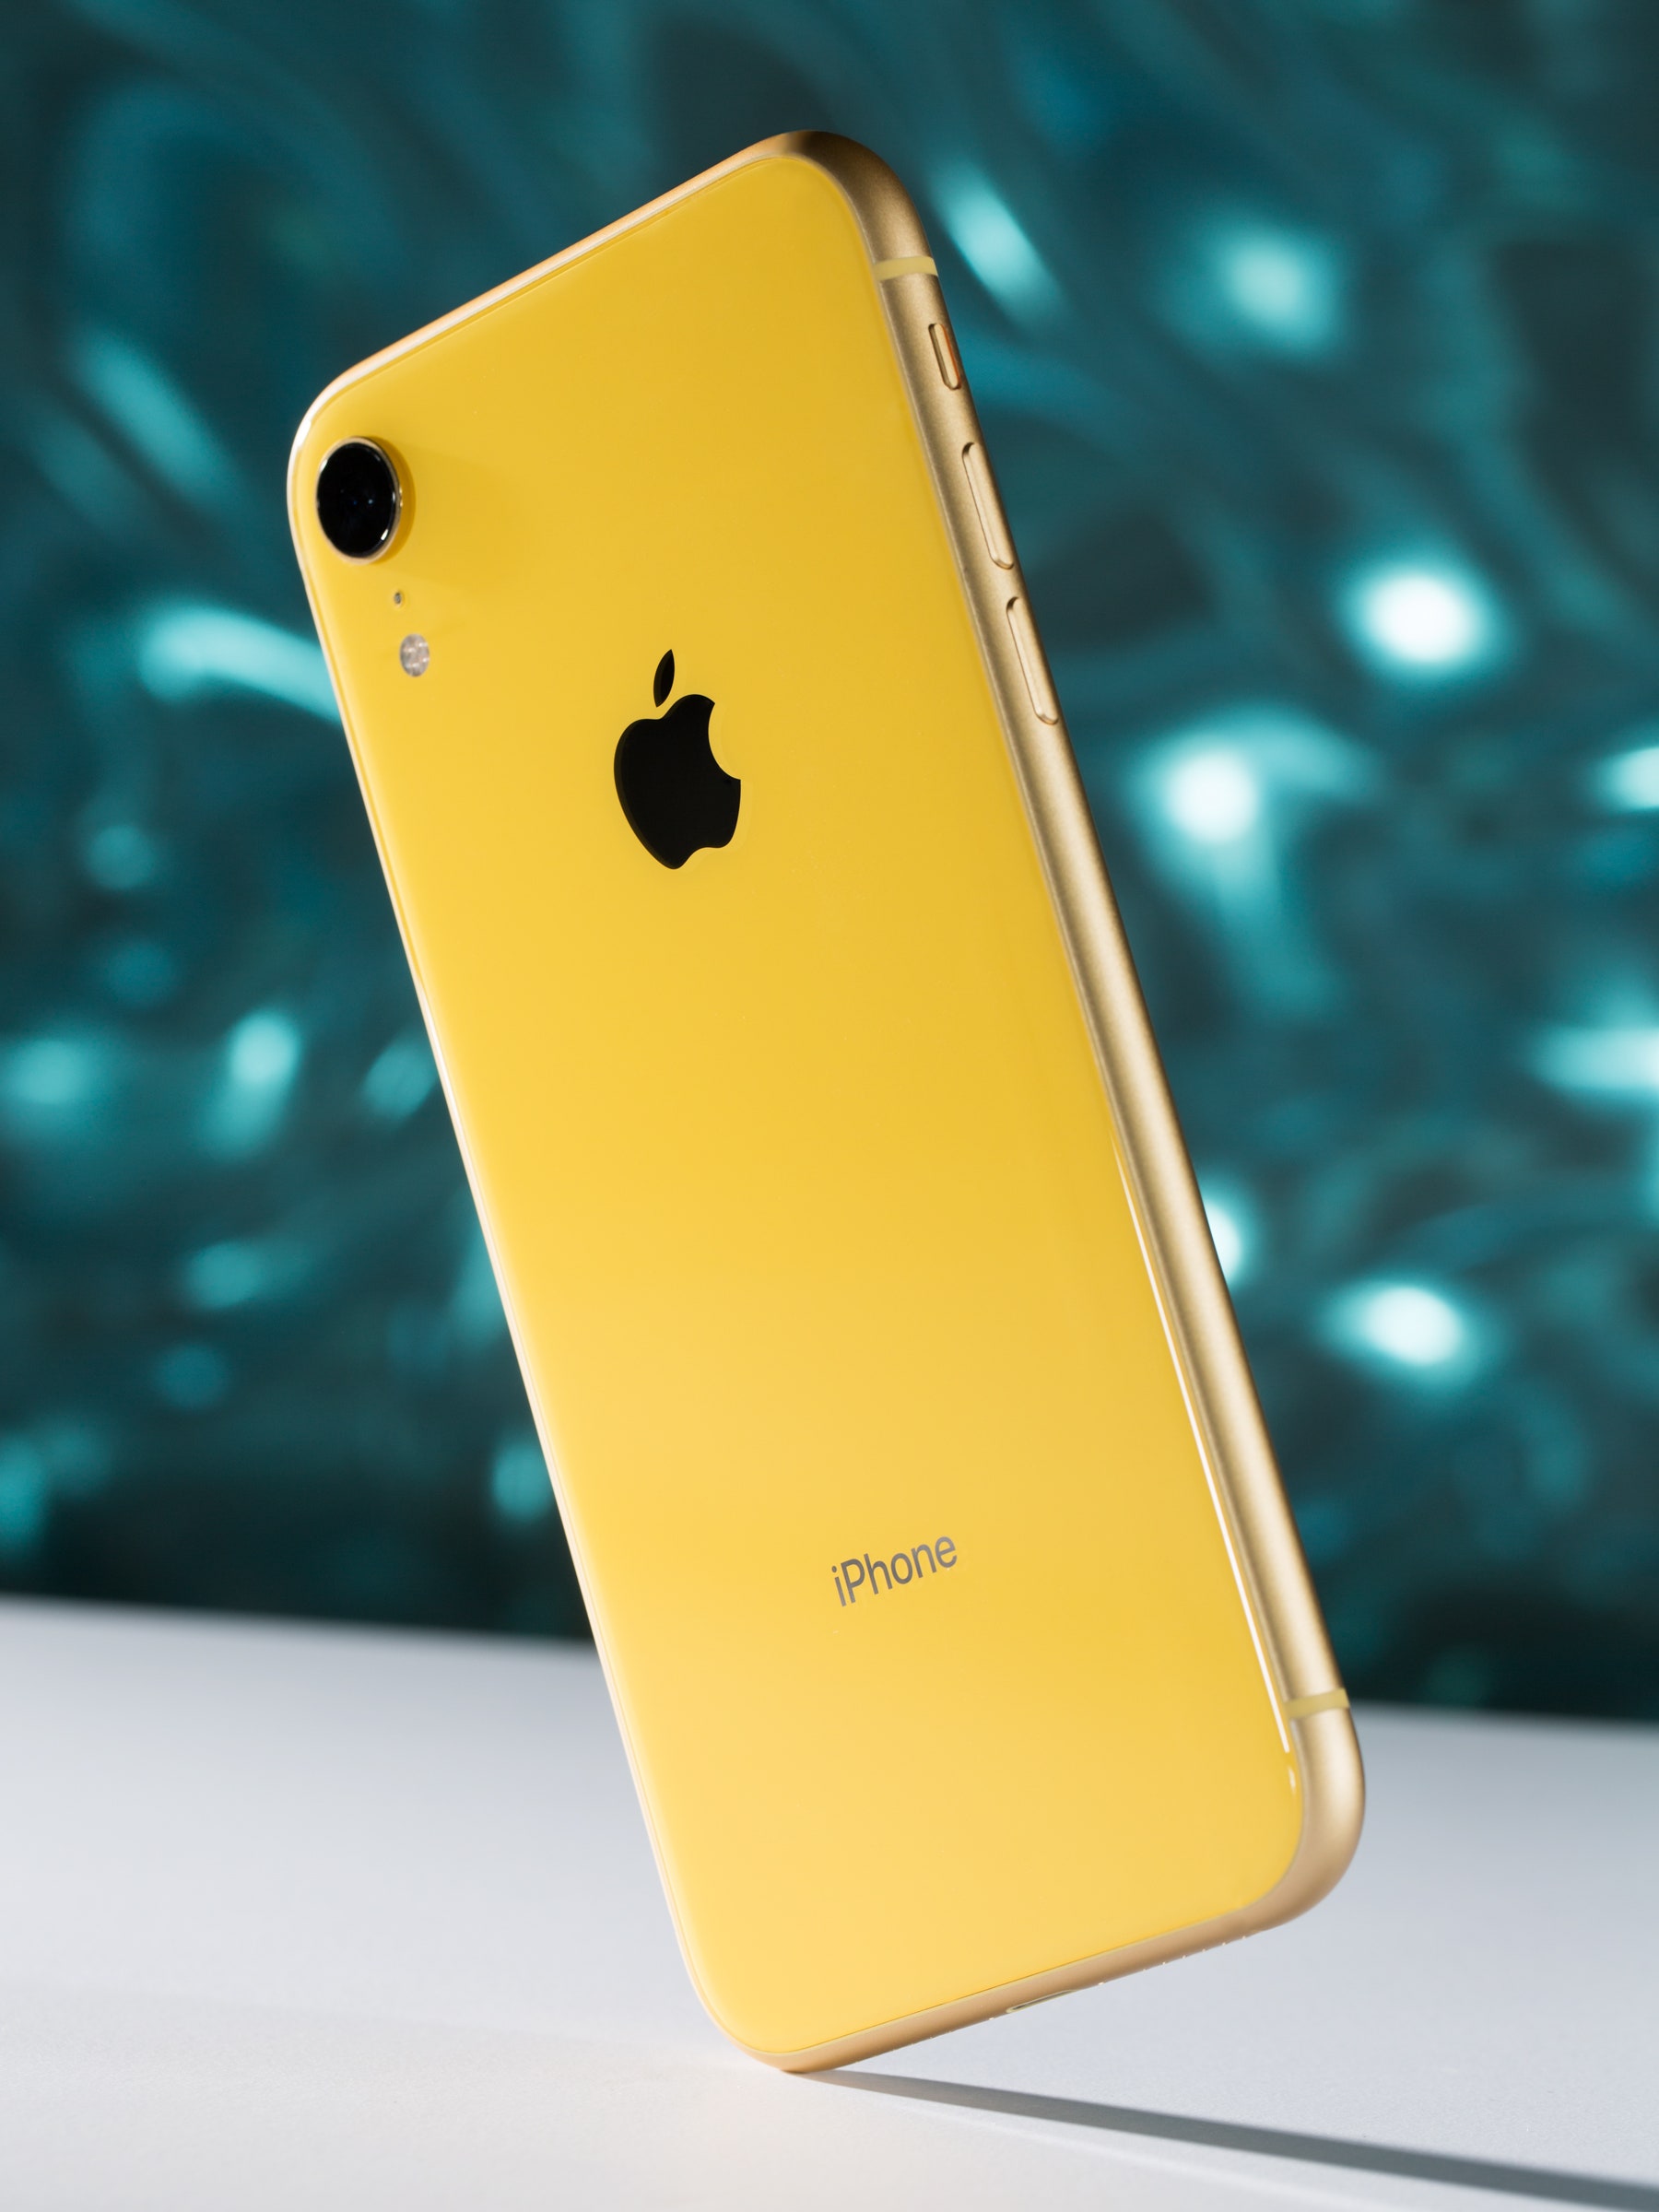
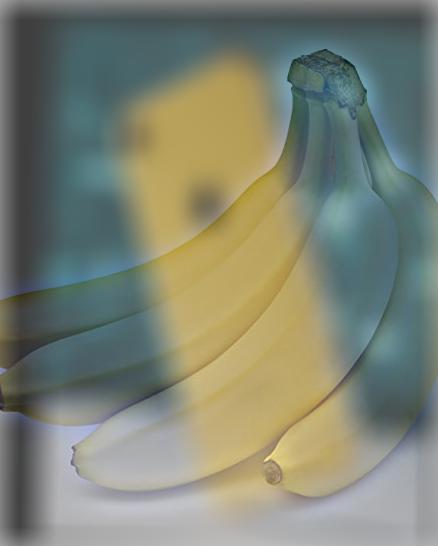
This is a combination of a phone and a bannana
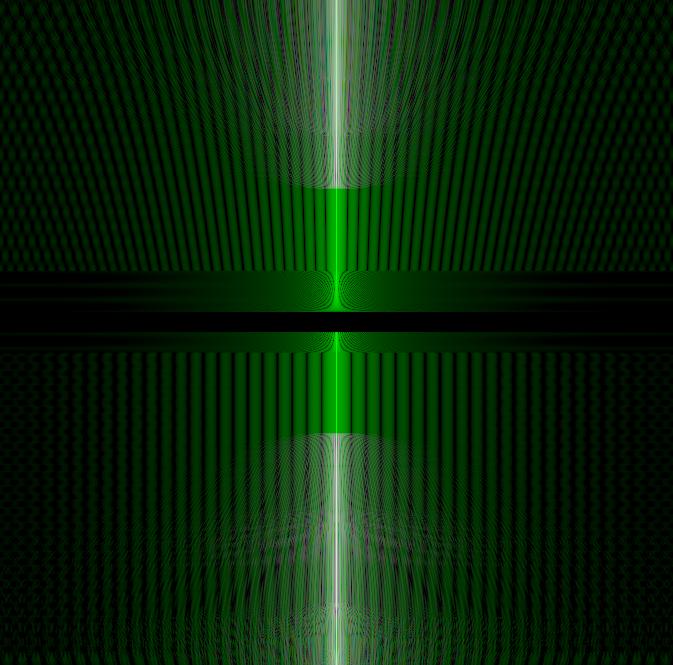
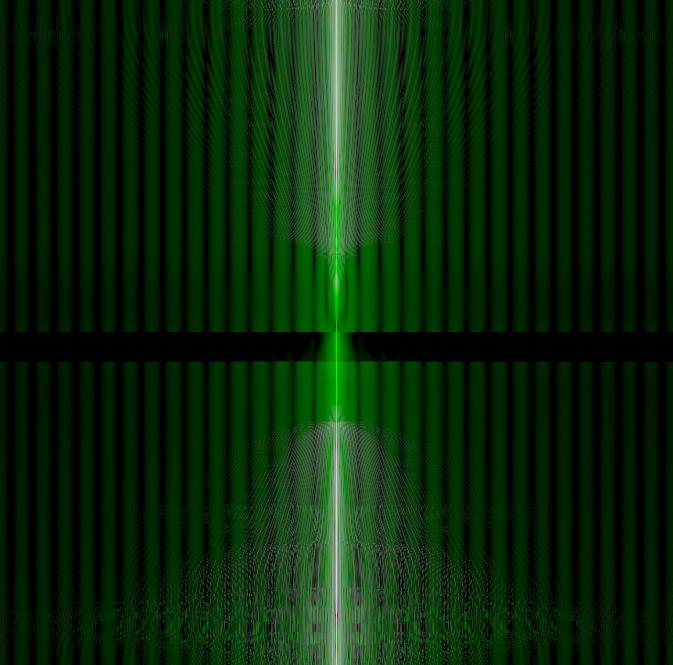
Below are the FFT domains of the happy, sad, and combined emoji pictures

In this part we focused on creating both Laplacian and Guassian stacks.
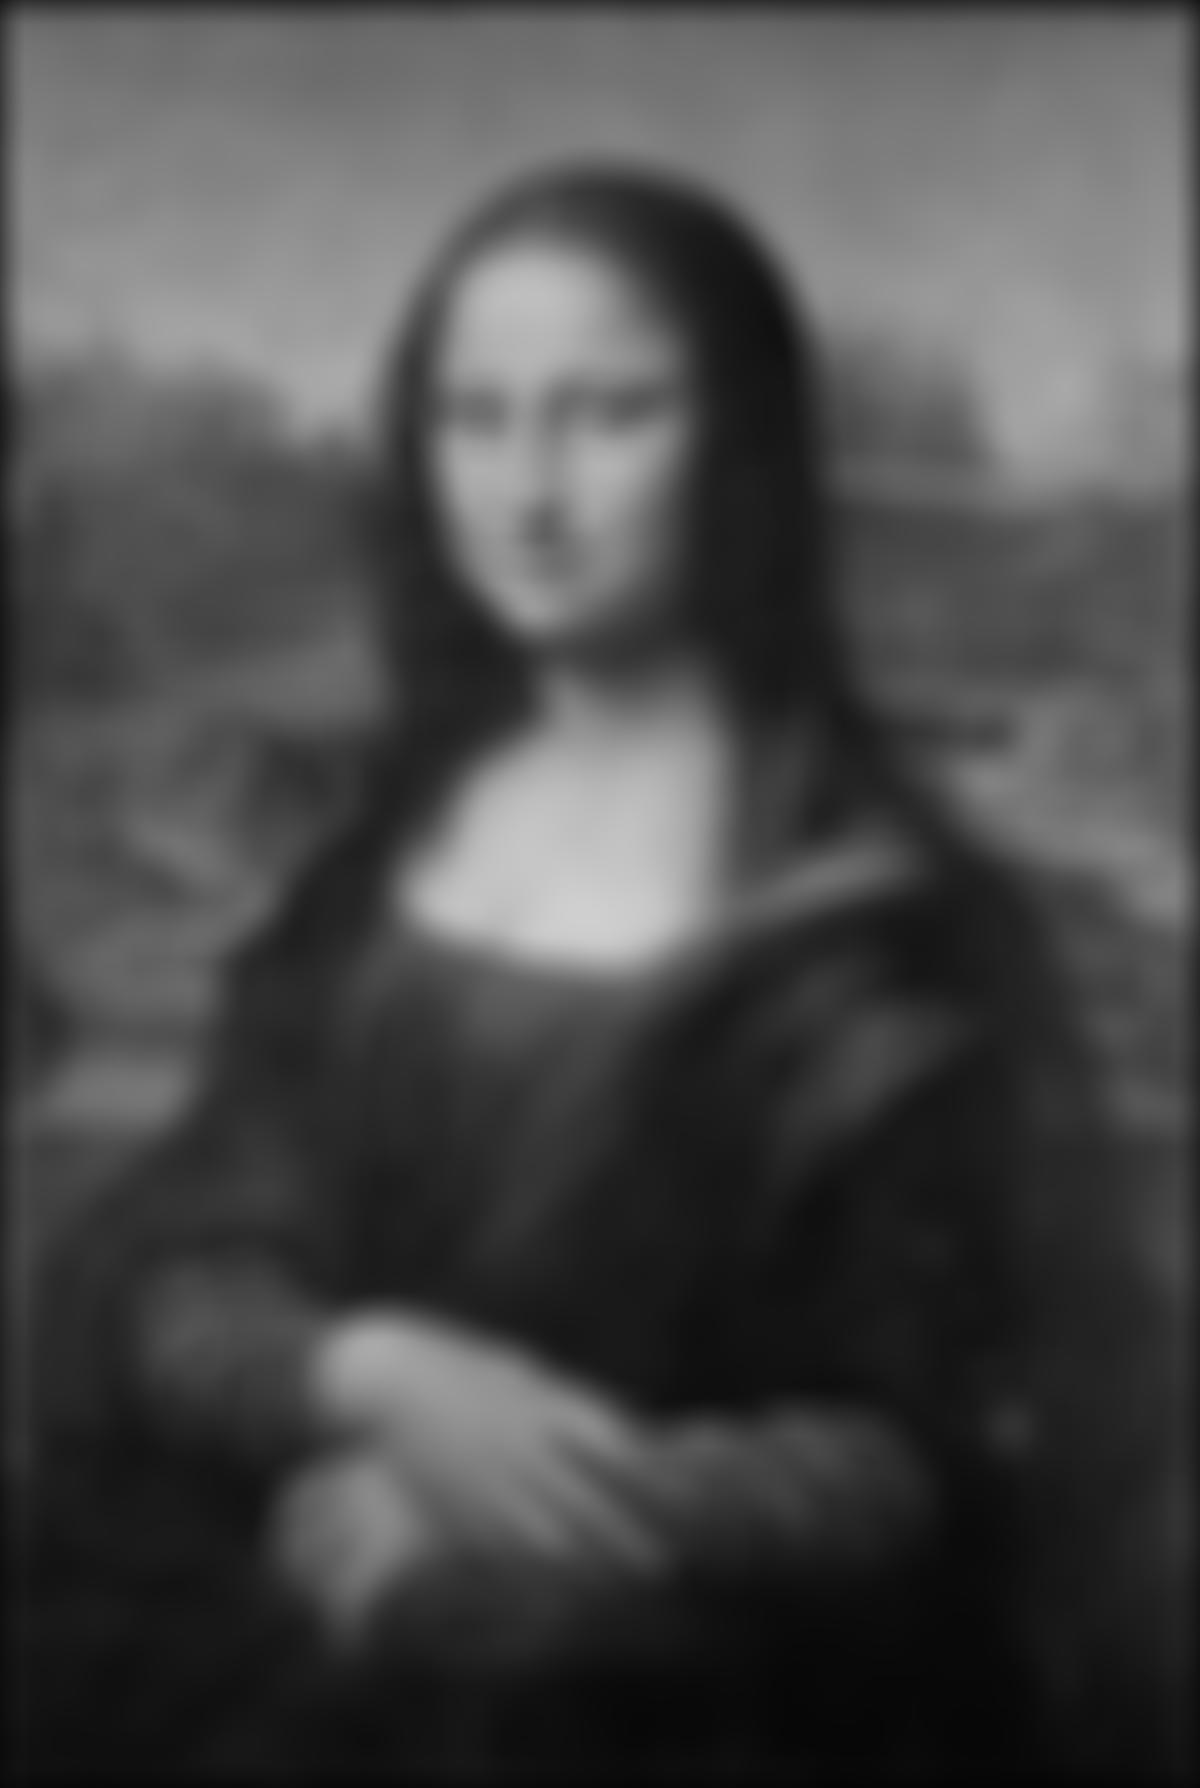
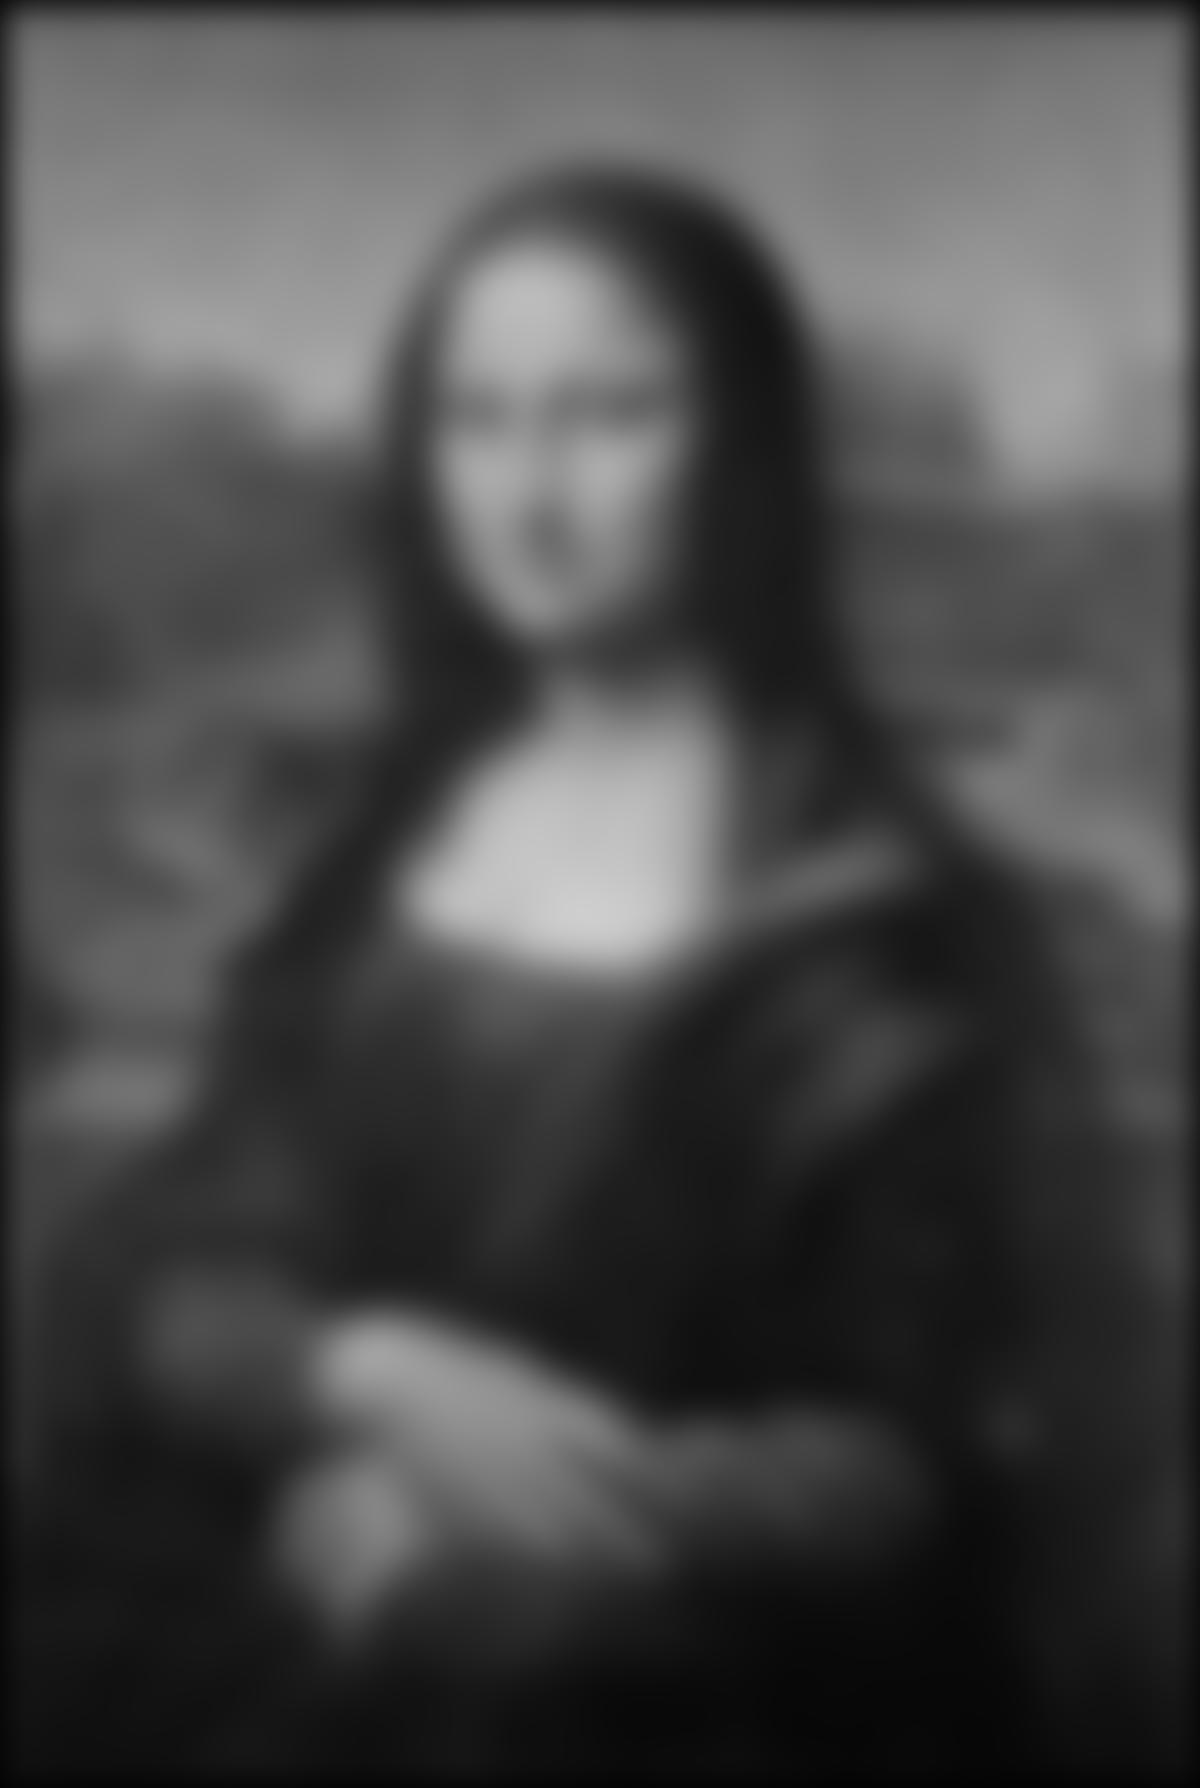
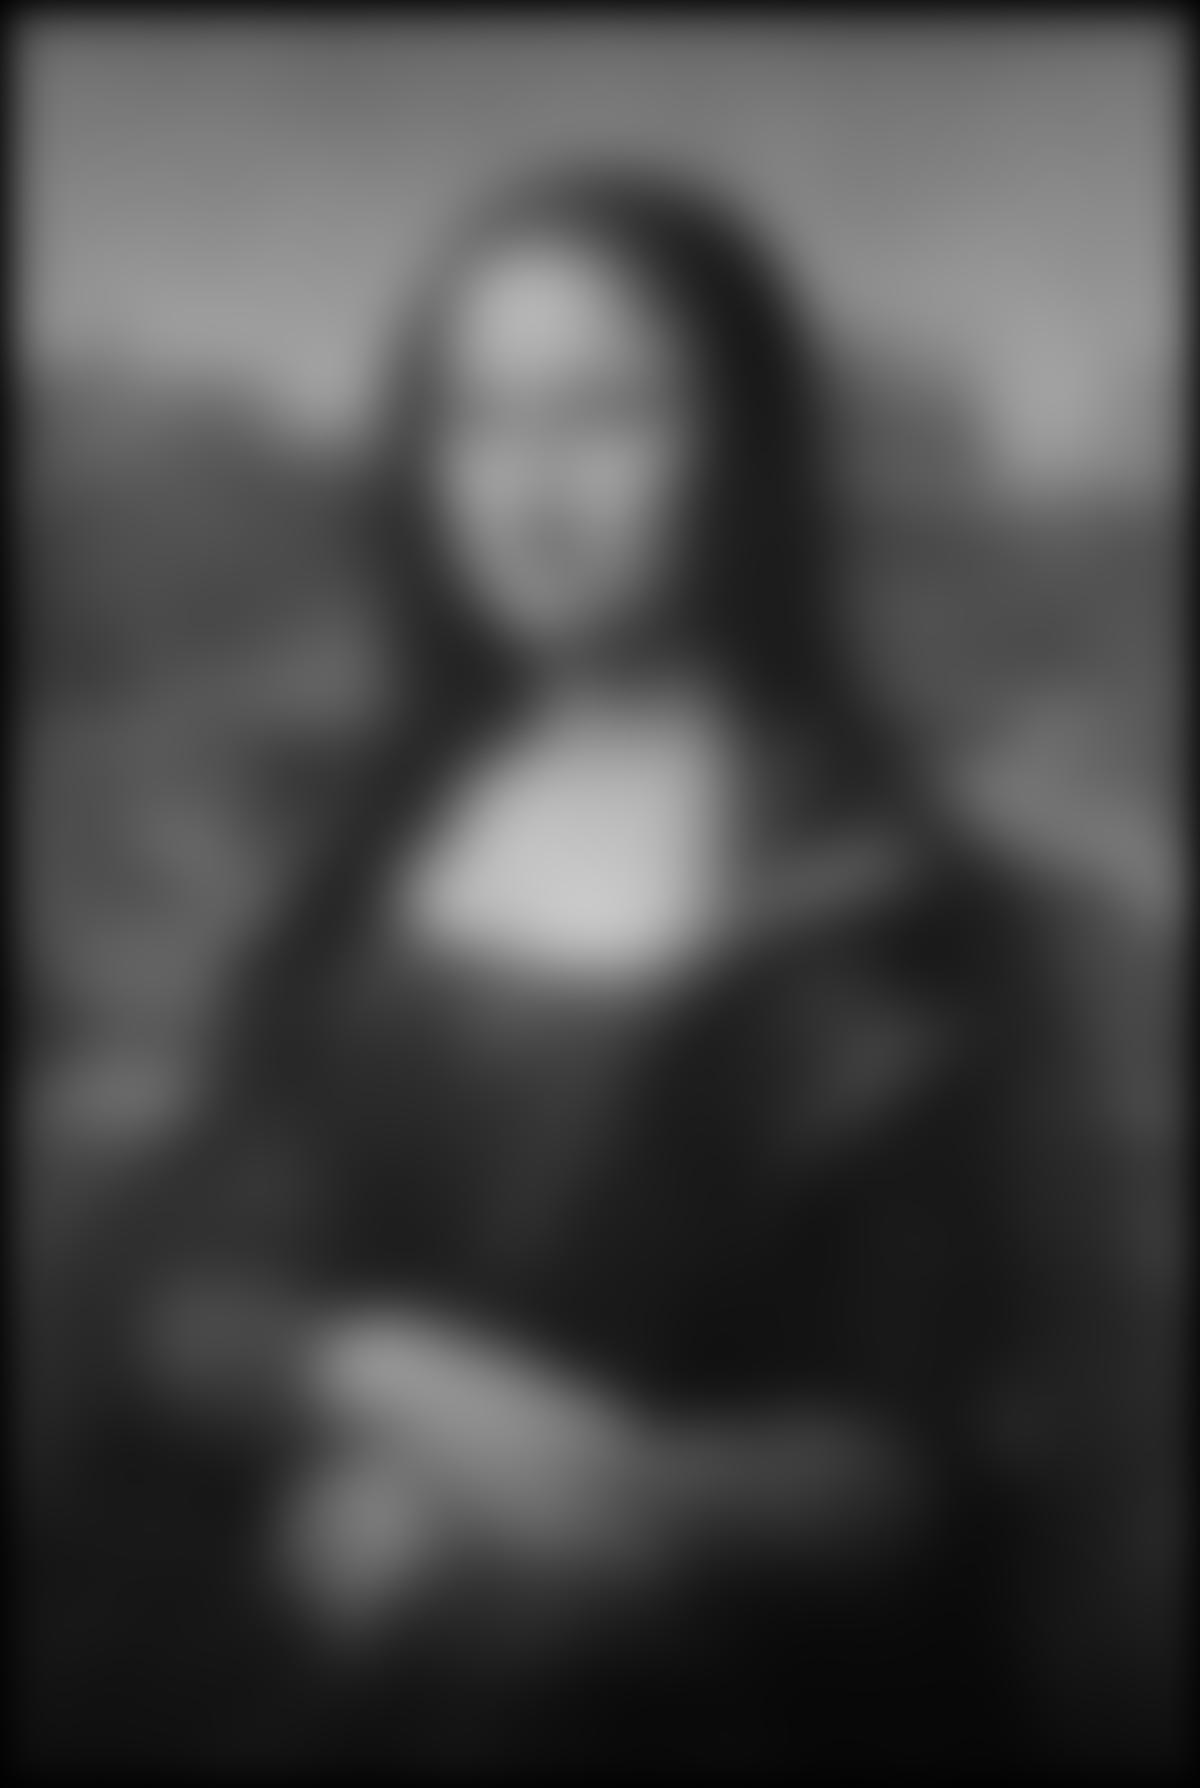
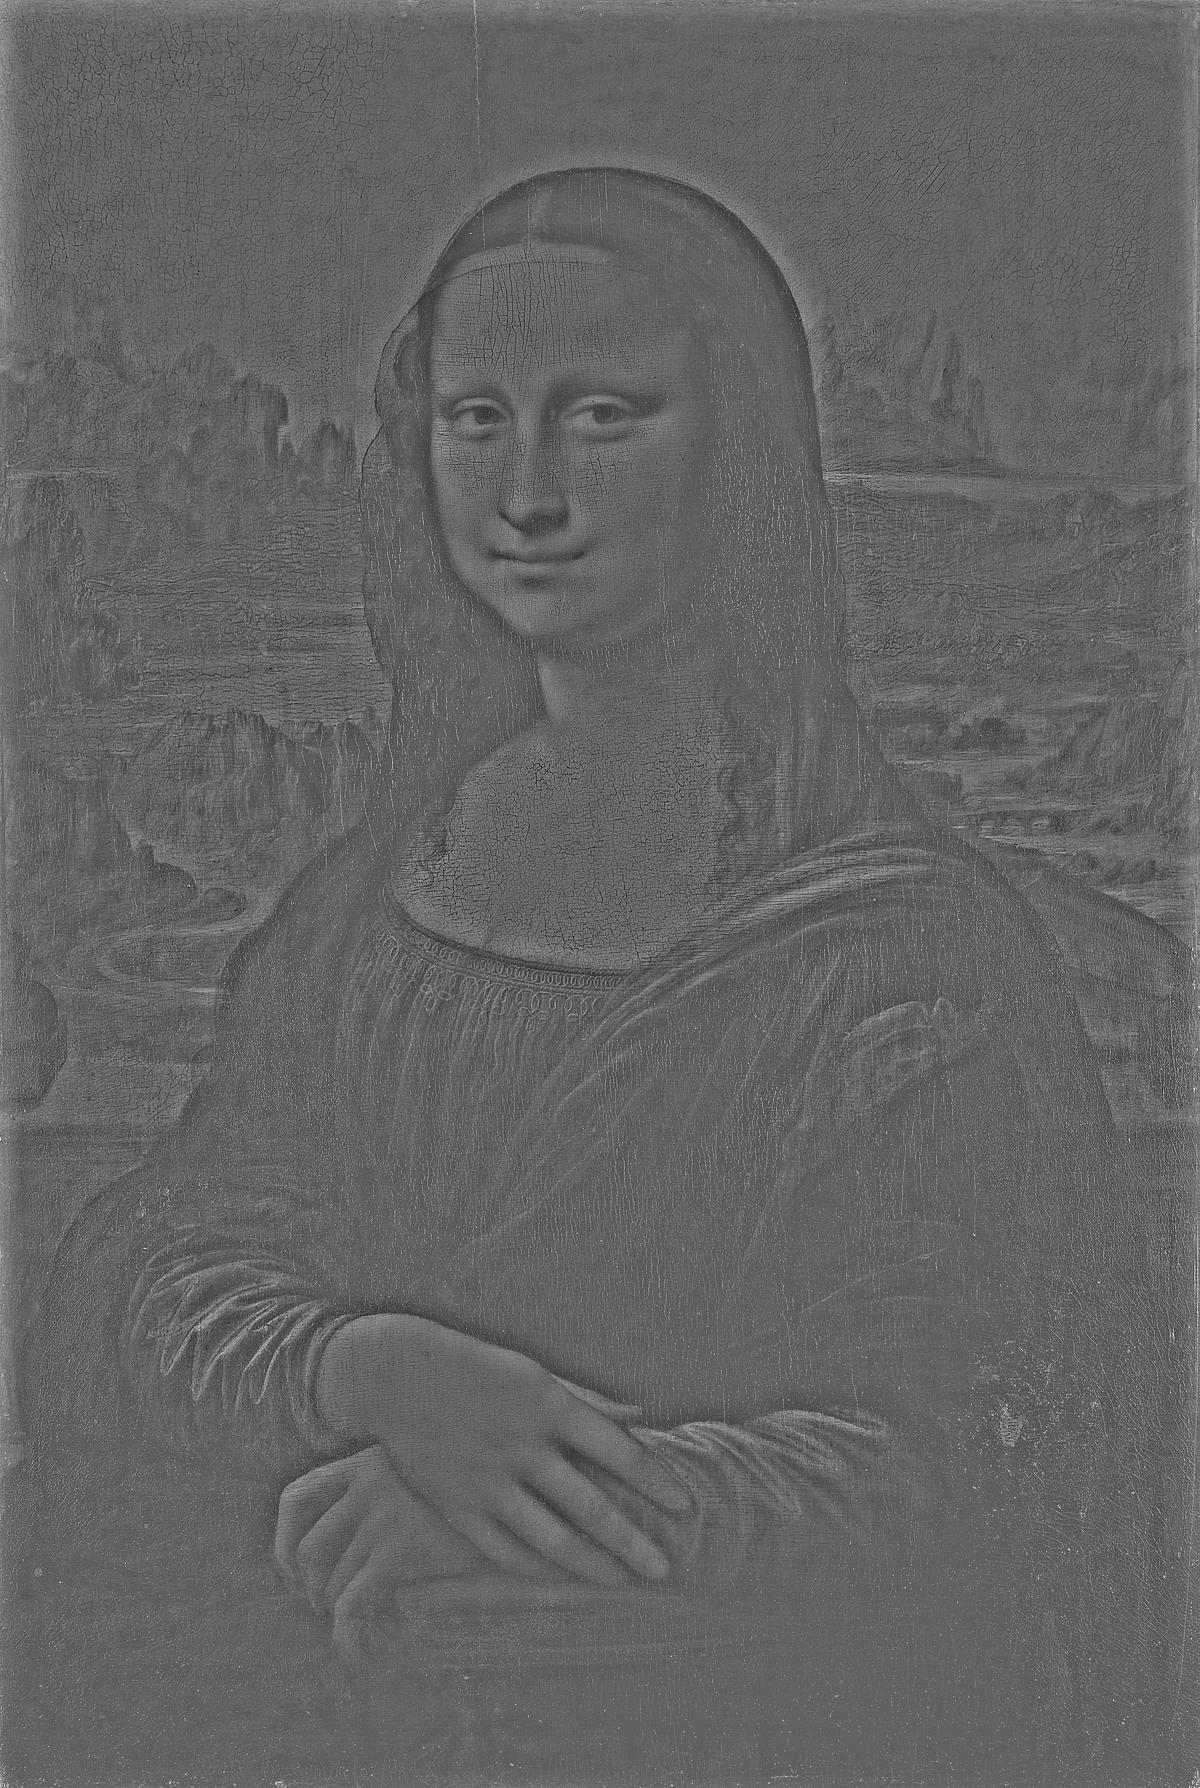
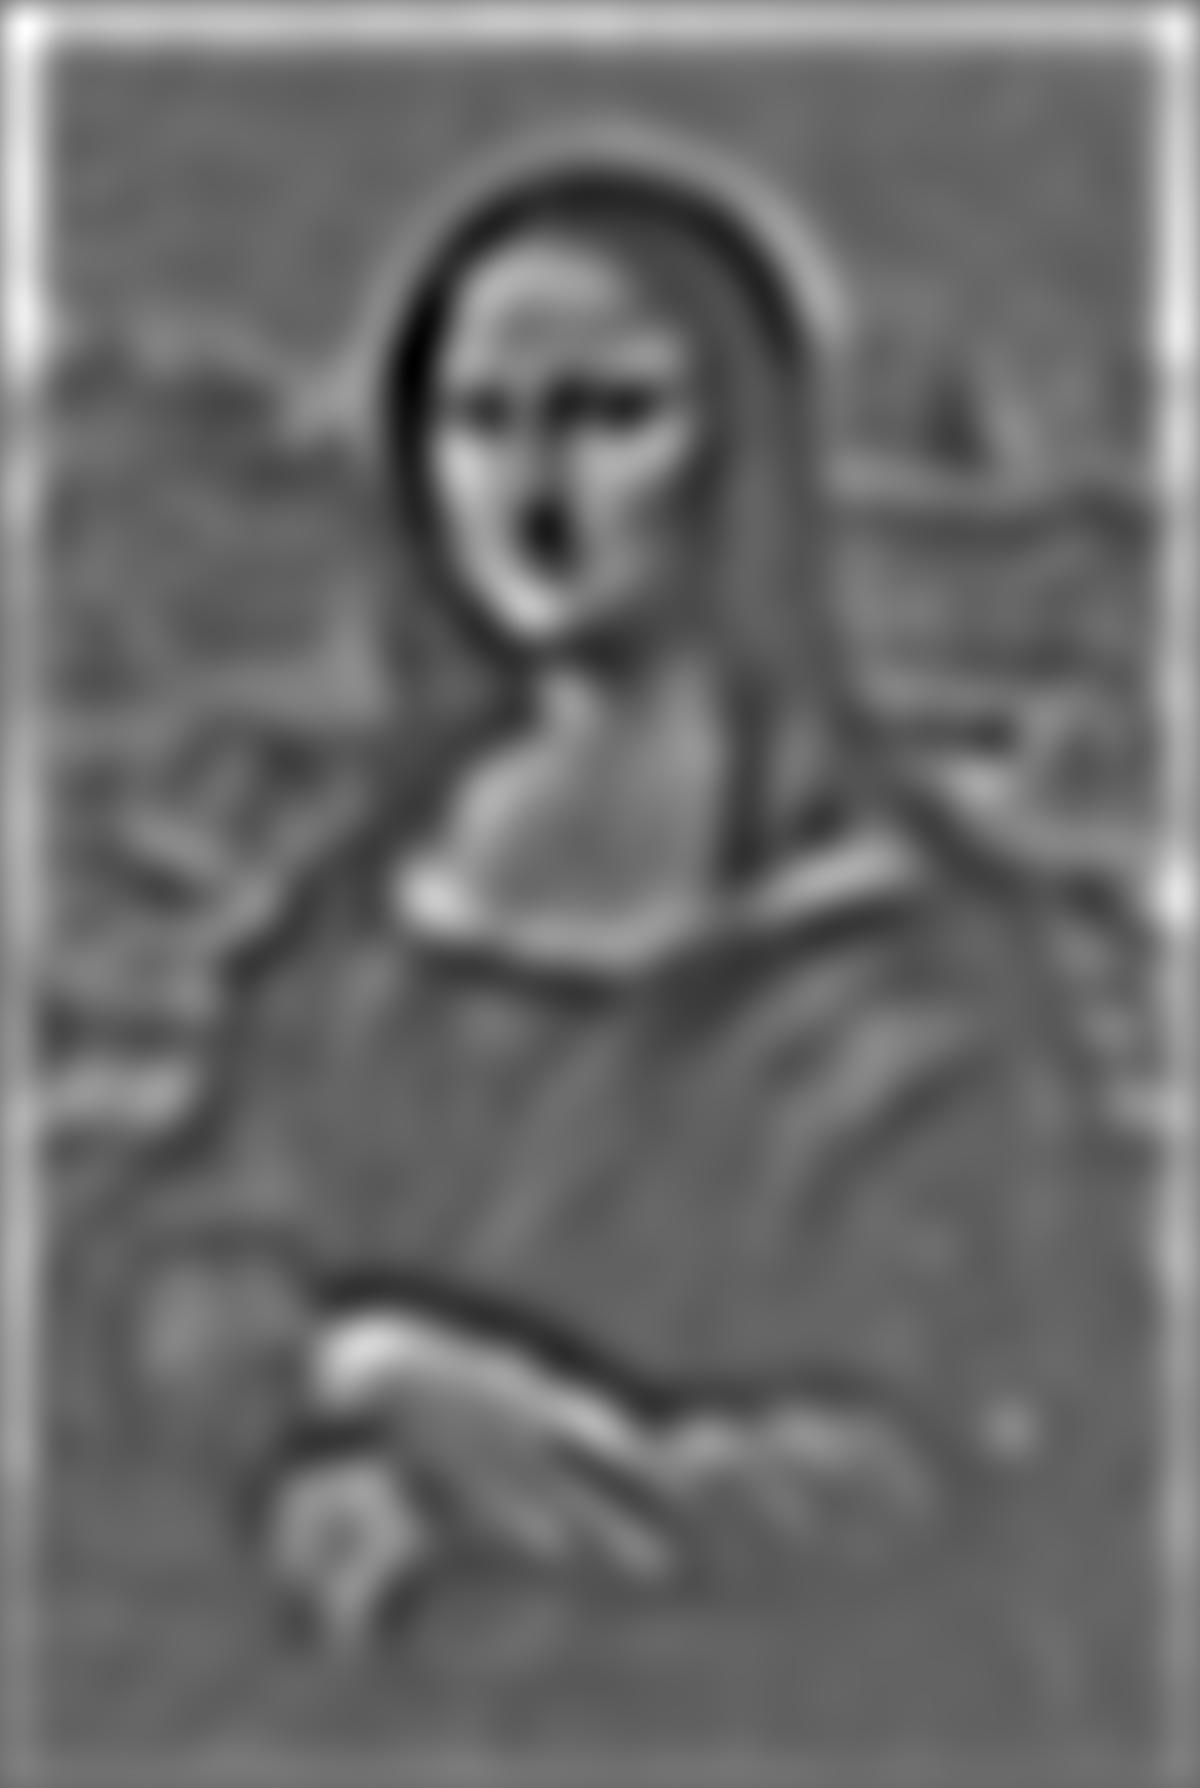
This is the Guassian stack for mona lisa


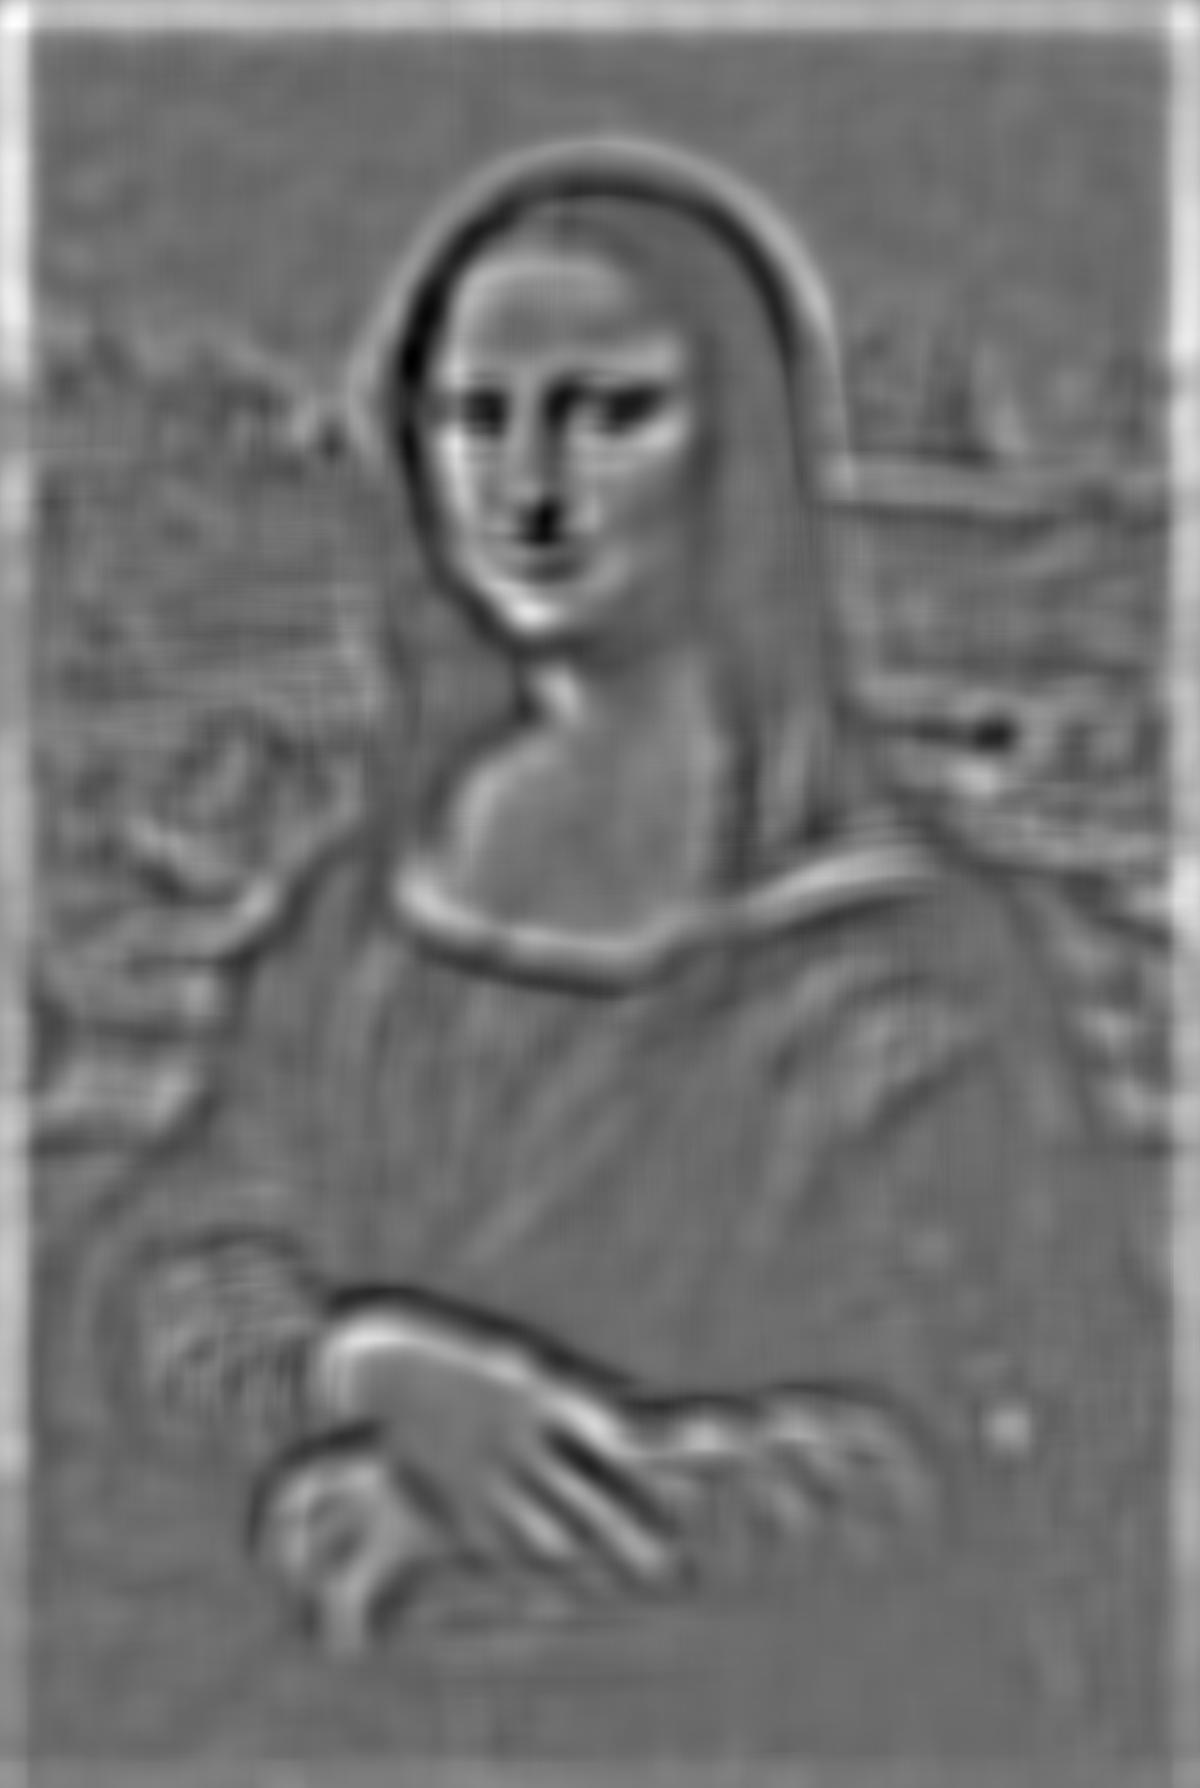
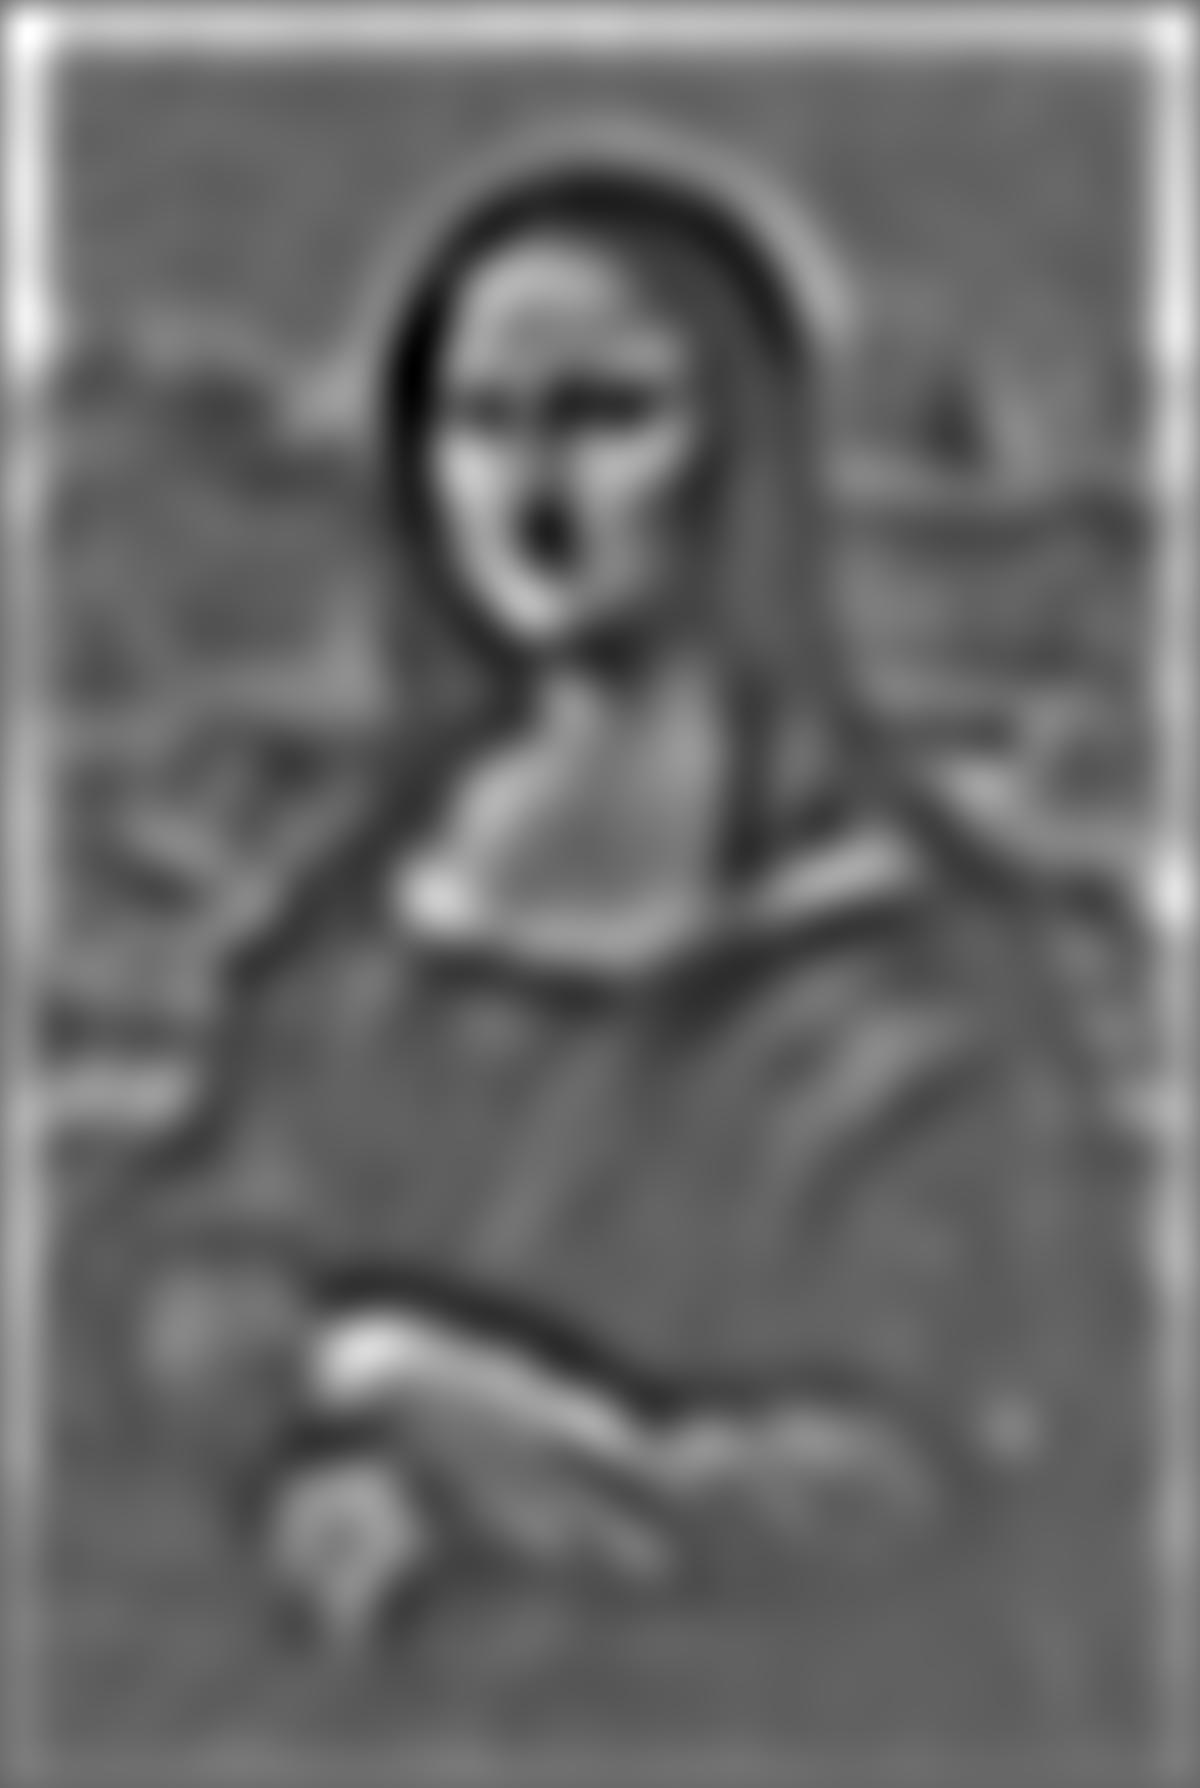
this is the Laplacian stack for Mona Lisa

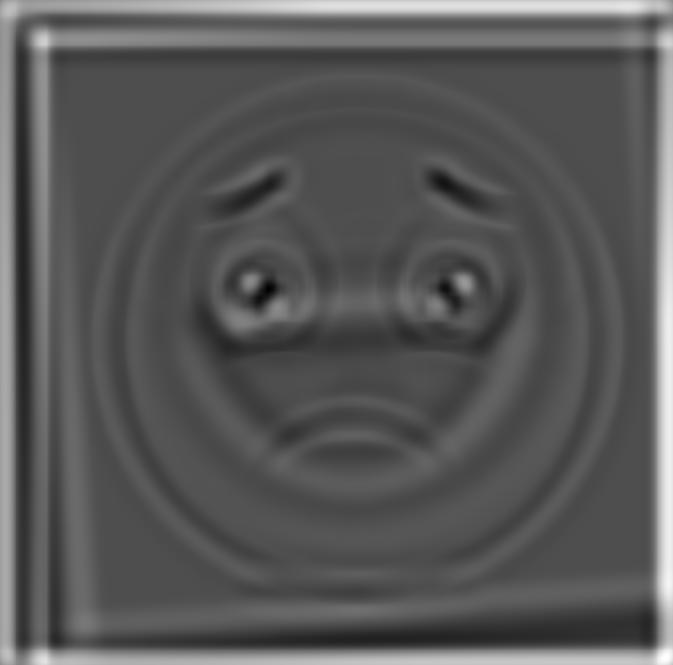
this is the guassian stack for the hybridized emoji picture


This is the Laplacian stack for the hybridized emoji picture


Finally, I combined images together so that they could blend together
Oraple - Test images with normal mask


Emoji transition with normal mask


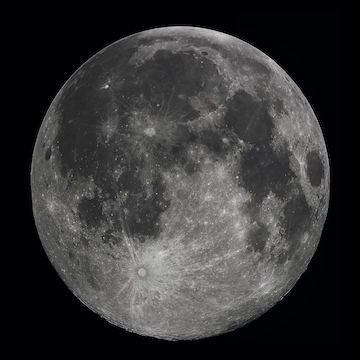
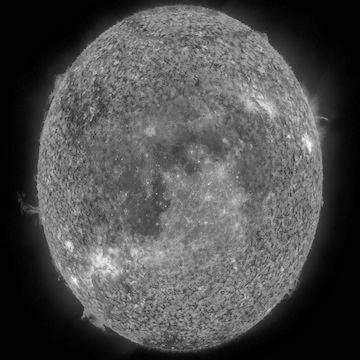
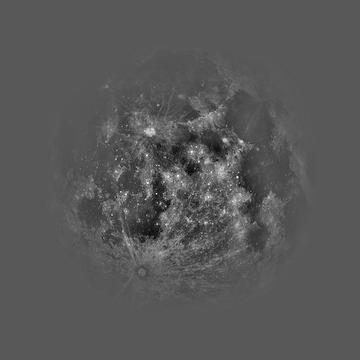
Sun + the moon in the center
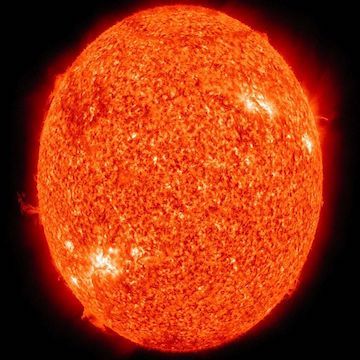

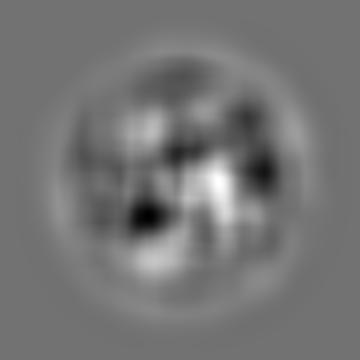
Finally below is the laplacian images that constructed the image at each level. First off for the sun

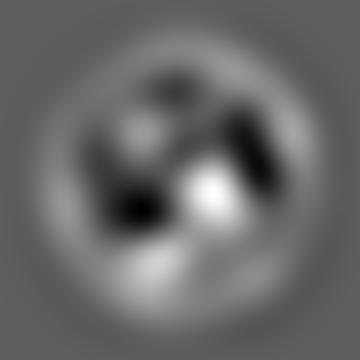
Next is the moon


Overall I learned a lot with this project espescially about how frequencies and filters work. In particular, I think I udnerstand the use cases of a Guassian Filter and definitely got a chance to much better understand low pass filters and high pass filters and how they affect the way in which we perceive images.