CS 194 - 26: Computational Photography Proj 2
Ritika Shrivastava, cs194-26-afe
Background
This project is a really fun project for image manipulation. I was playing around with the frequencies in images and applying masks to get some really cool results. The most important thing I learned from this project was about how the different frequencies can be manipulated in ways to get interesting outputs.
Project
Part 1.1: Finite Difference Operator
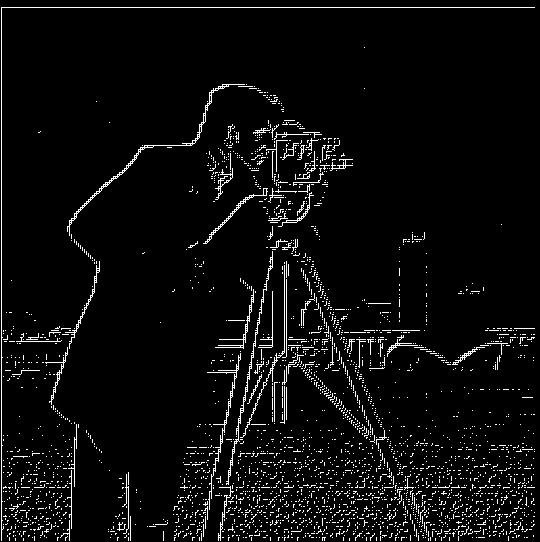
For this section of the project, I got the partial derivative of the cameraman image (right) in the x and y direction, by convolving the image with finite difference operators (below).
D_x = [1,-1] D_y = [1,-1].T
My threshold for this image was < -0.09
Part 1.2: Derivative of Gaussian
In the result above, there is a lot of noise. So to remove the noise let's take two approaches. The first approach is to is to take the original image and convolve it with a gaussian and repeat the procedure from part 1.1.
The second approach is to do a single convolution instead of two by creating a derivative of gaussian filters. To do this I convolved the gaussian with D_x and D_y and applied that to the cameraman image.
Using both approaches I get the same result.
The difference between part 1.1 and part 1.2 is the noise. This can be seen by observing the bottom of the images.


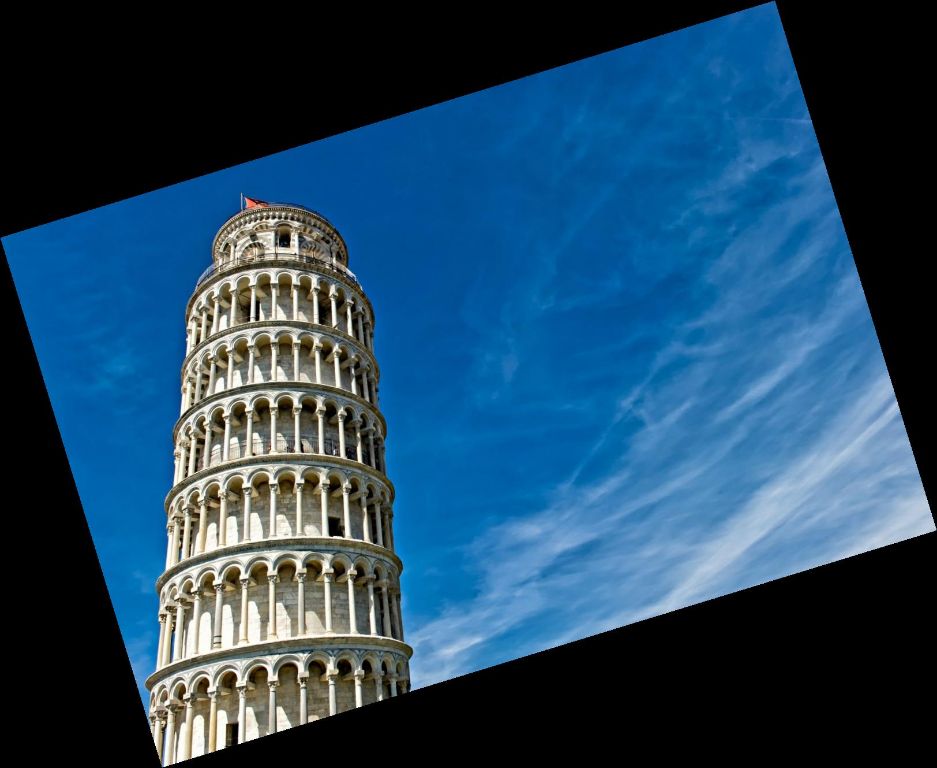
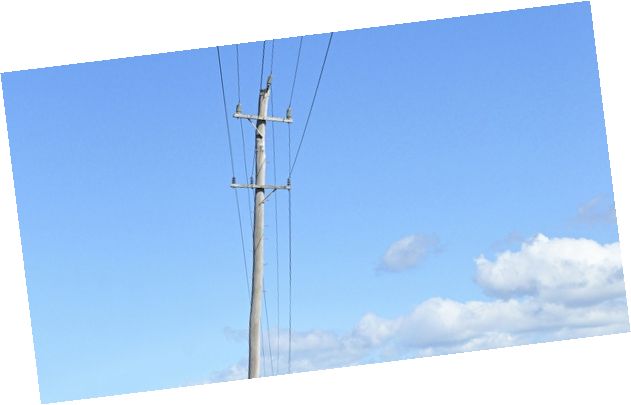
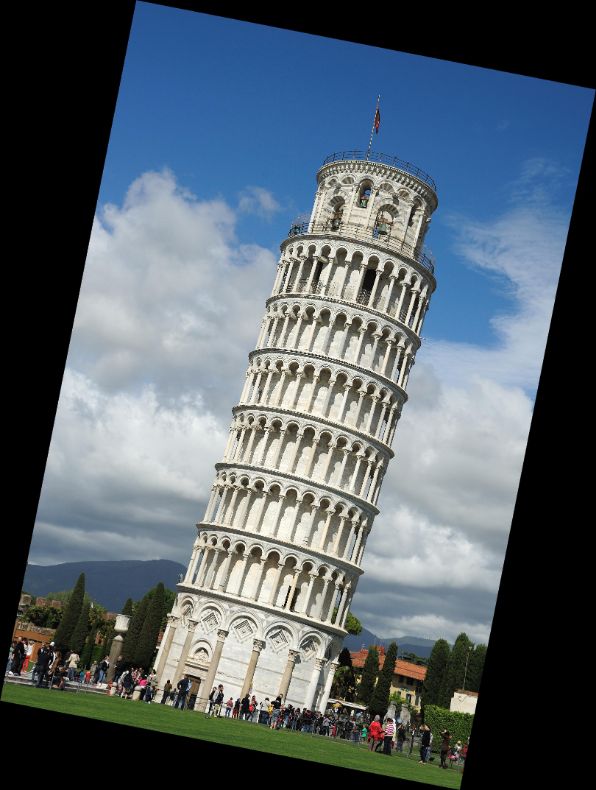
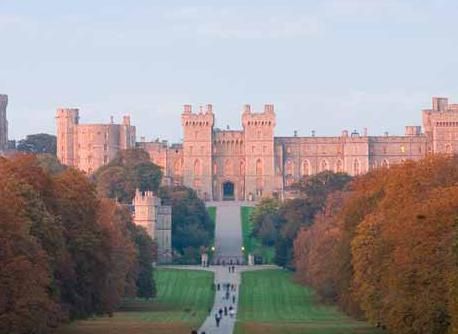
Part 1.3: Image Straightening
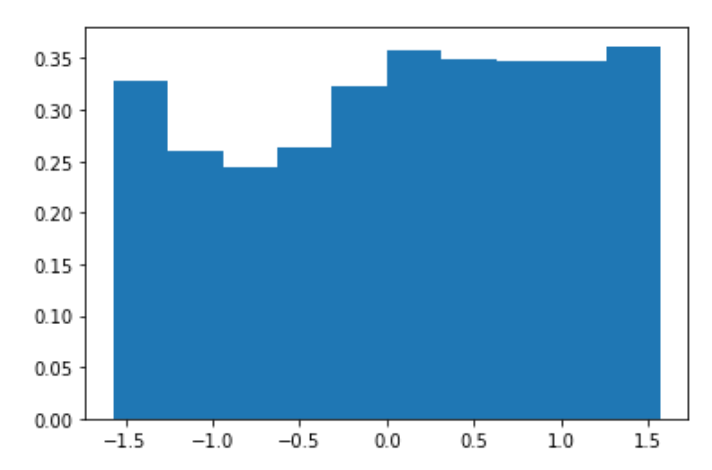
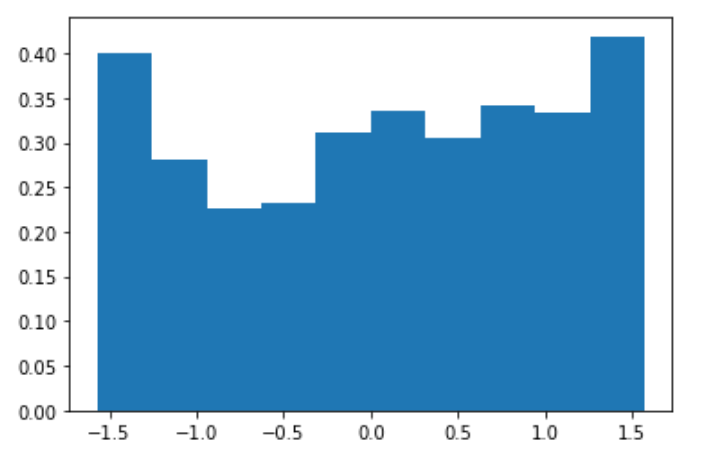
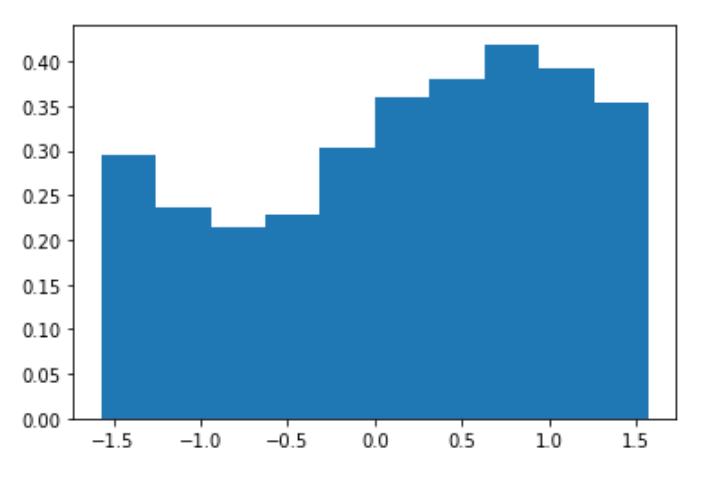
Often times the images we take are not straight. So, for this part of the project I wrote code that could straighten the image for you. In order to do this I set upp a list of proposed angles and computed the gradient angle of the edges in the rotated image. Then I took the difference of the range and divided sum of the different angle. Lets call this the range average. To straigthen the image, I found the rotation with the minimum range average.
The image on the left is the original, followed by the histogram of the angles. Then there is the rotated image.
.jpg)
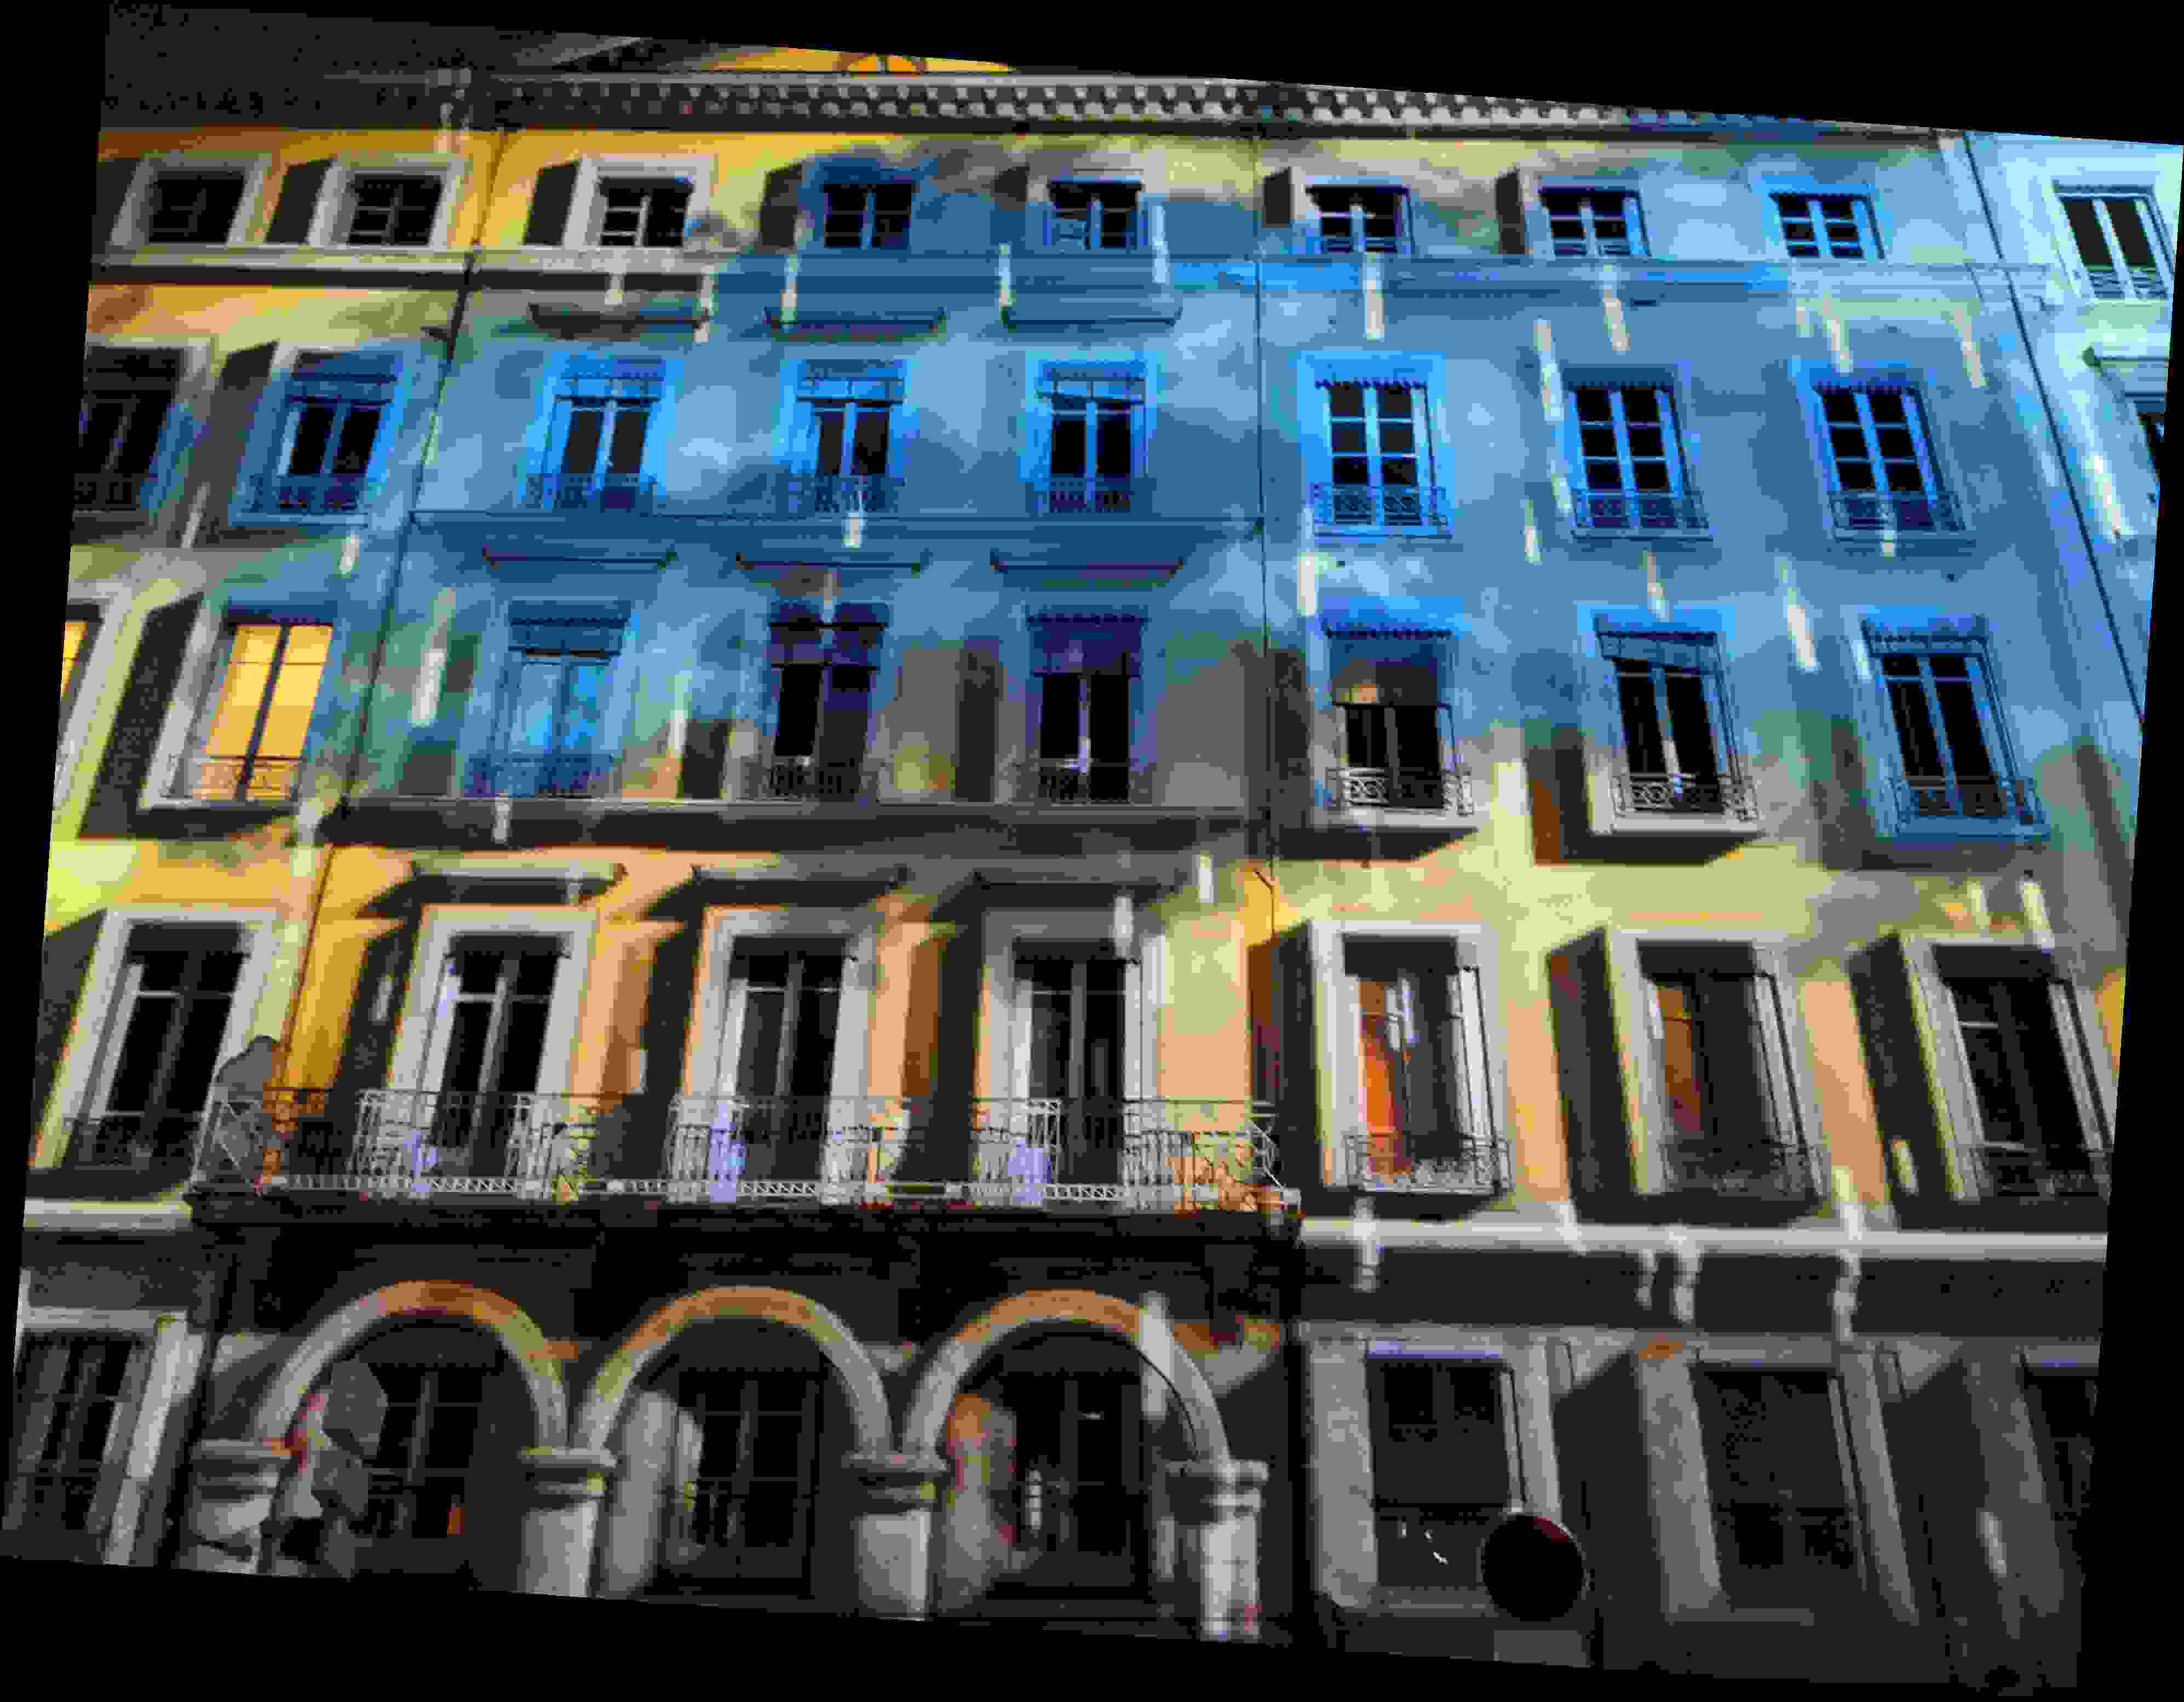
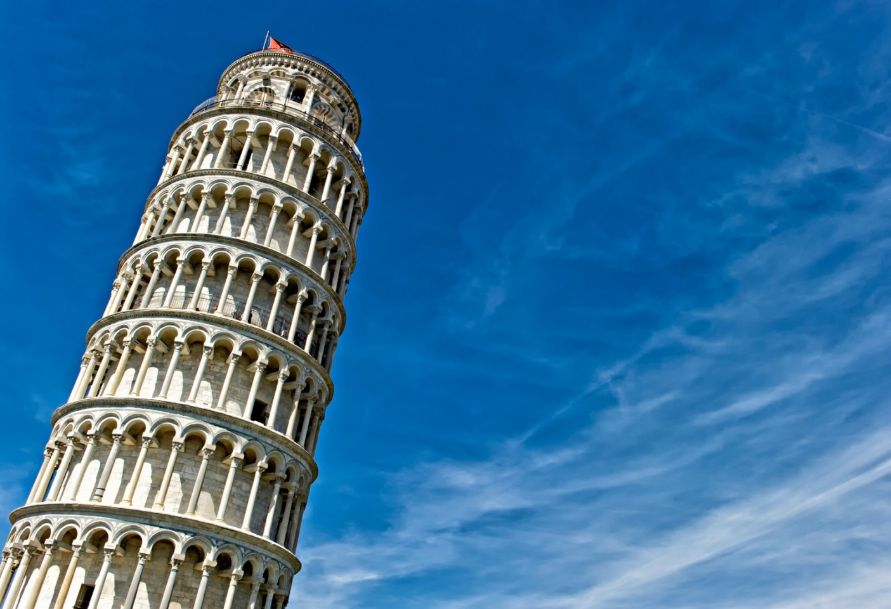
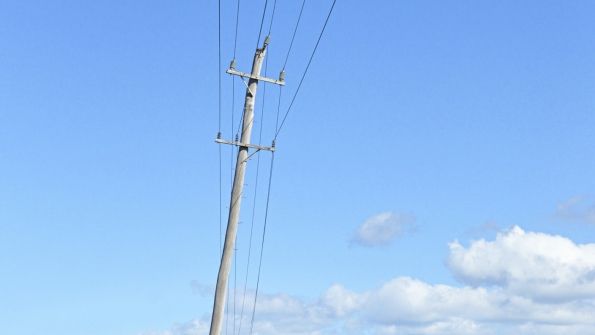
Failure case:

Note: This image has a lot going on in the background. My guess is that due to the clouds, people, and arches in the image it was not able to straighten.
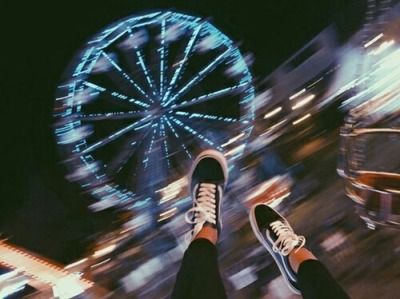
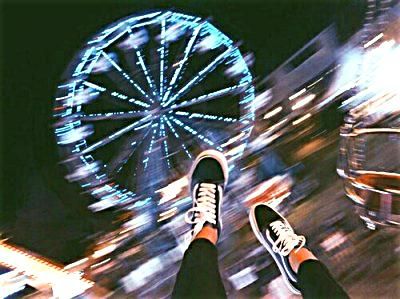
Part 2.1: Image Sharpening
Images can be blurry! To fix this I used unsharp masking. What this means is, I took a unit impulse and subtracted it with a gaussian to get an approximation for a laplacian. This was then added onto the original images to enhance the edges and makes the images less blurry.
Observations: For most of the images this technique worked, however, it fails on the dog. It made the image brighter and further blurred the image. It worked really well on the image of the ride, where the seat on the right of the image can be viewed clearer.
Before images are on the left and after is on the right.

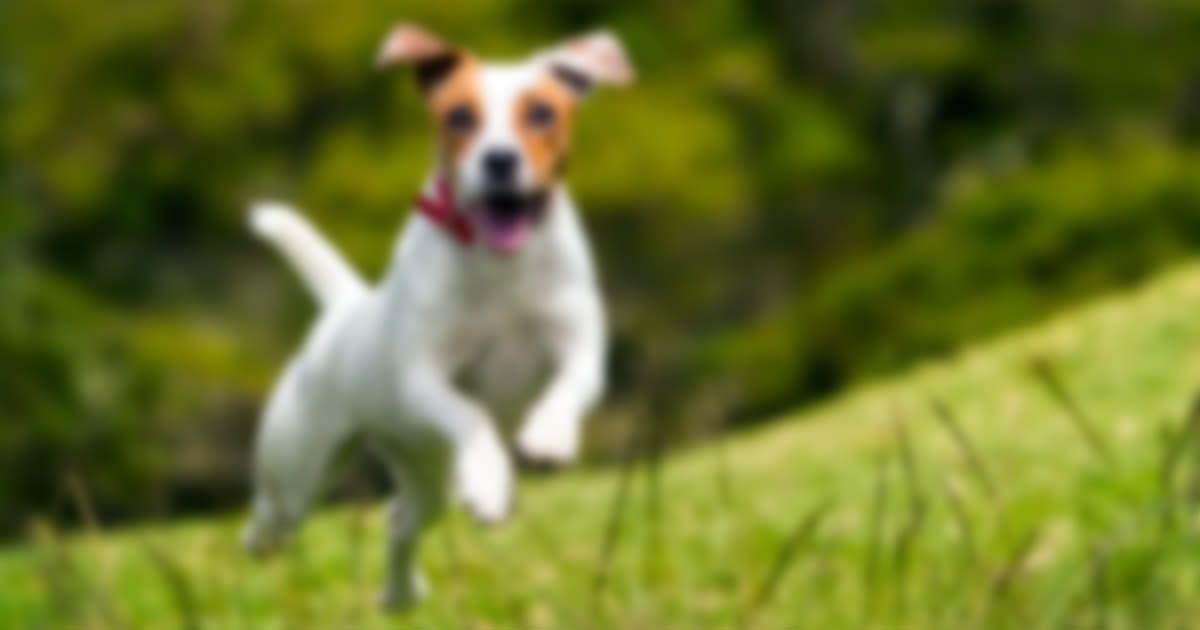
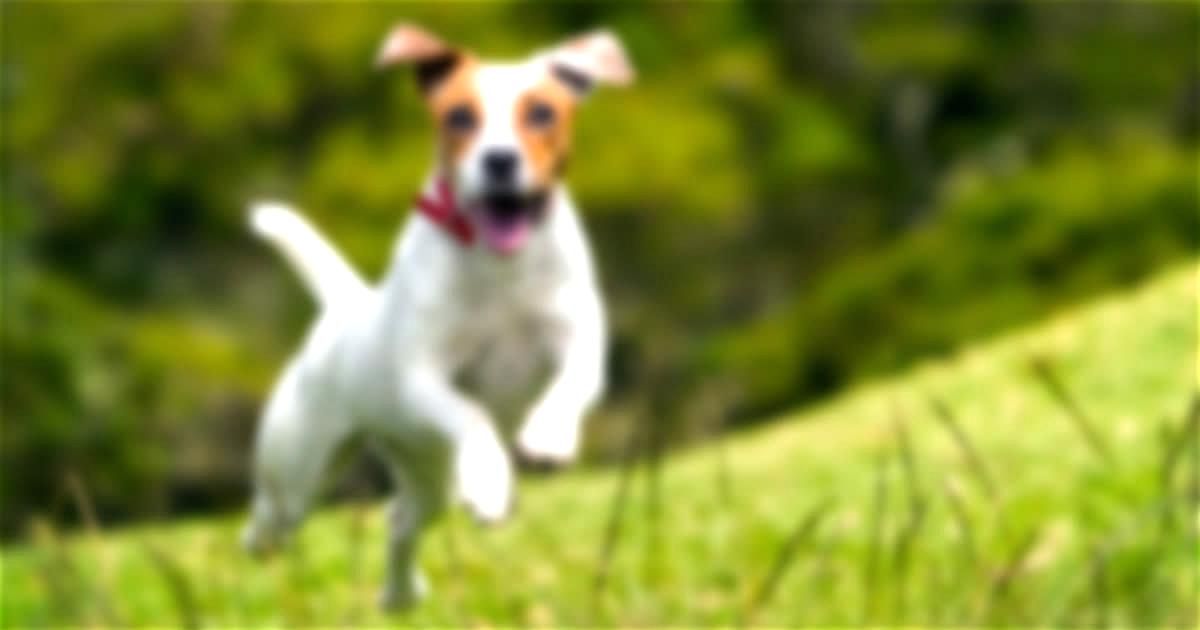
This one was a failure.
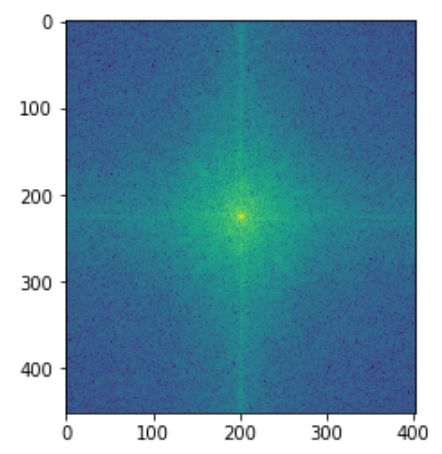
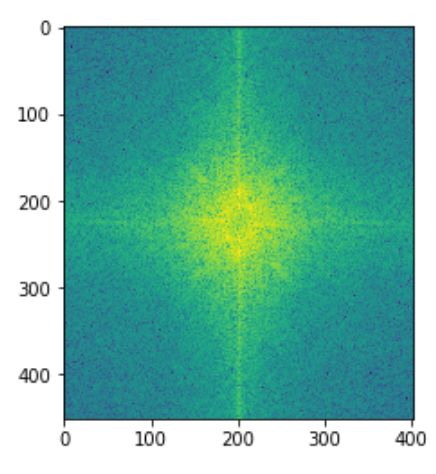
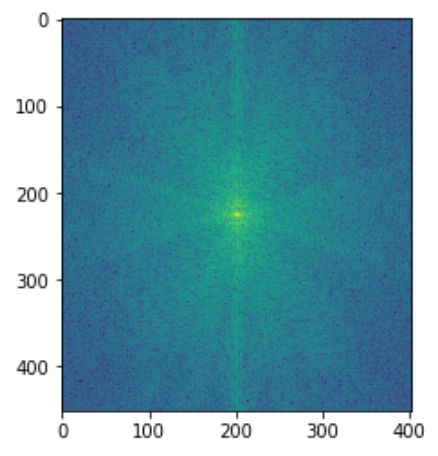
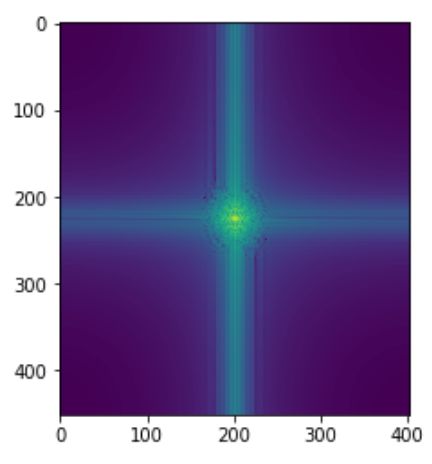
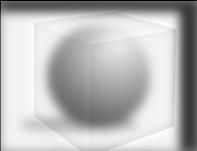
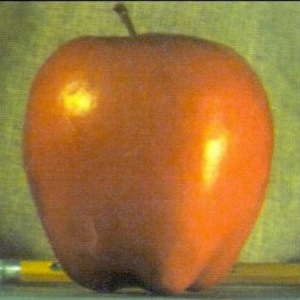
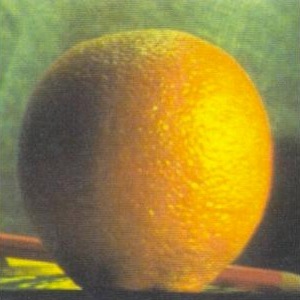
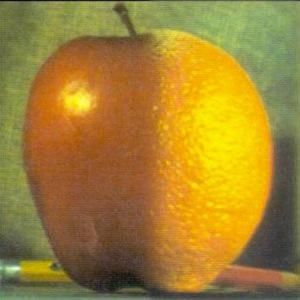
Part 2.2: Hybrid Images
The goal of this part of the assignment was to create hybrid images using the approach described in the SIGGRAPH 2006 paper by Oliva, Torralba, and Schyns. Hybrid images are static images that change in interpretation as a function of the viewing distance. The basic idea is that high frequency tends to dominate perception when it is available, but, at a distance, only the low frequency (smooth) part of the signal can be seen. By blending the high-frequency portion of one image with the low-frequency portion of another, you get a hybrid image that leads to different interpretations at different distances.
To do this, I applied a gaussian filter on one image and applied a laplacian on another image. I summed the two together with some threshold to get the final solutions.
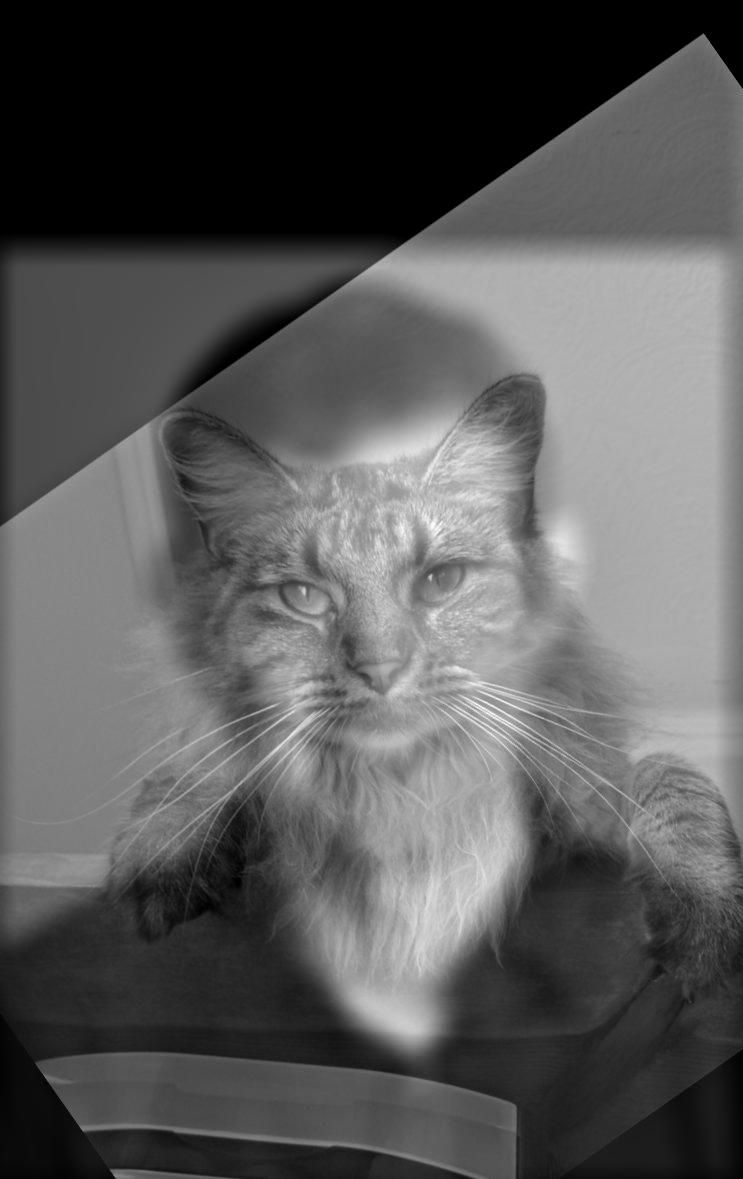
Cat
Professor

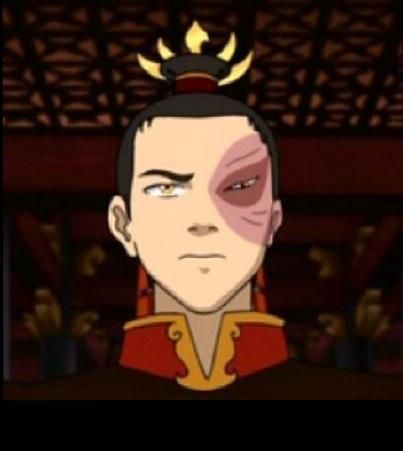
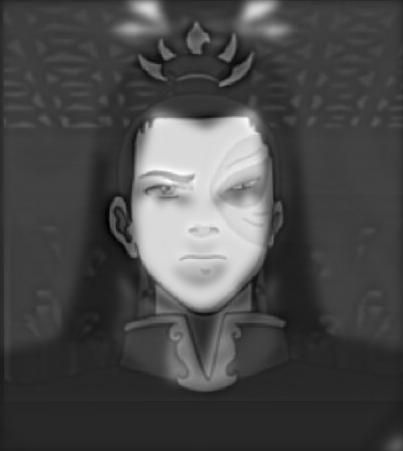
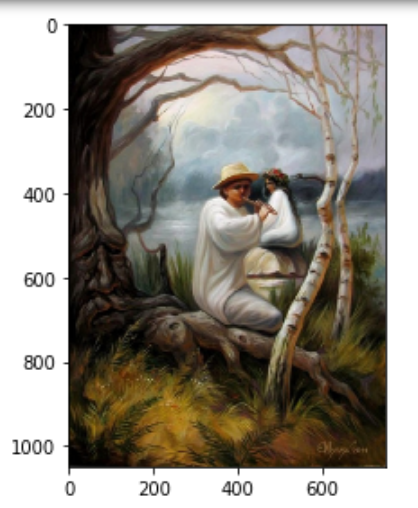
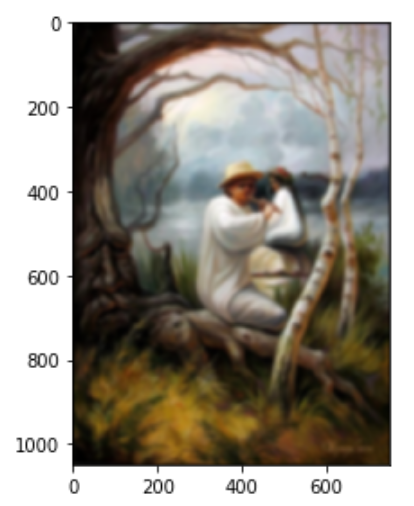
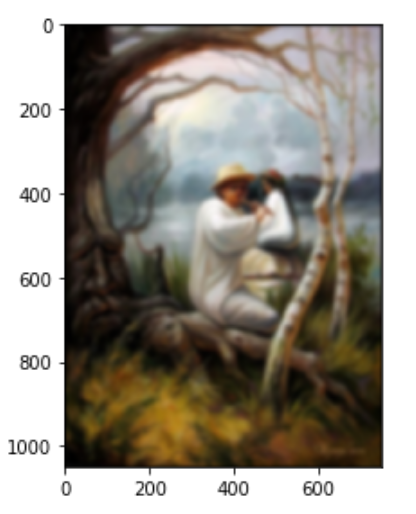
Zuko from up close and Azula from afar
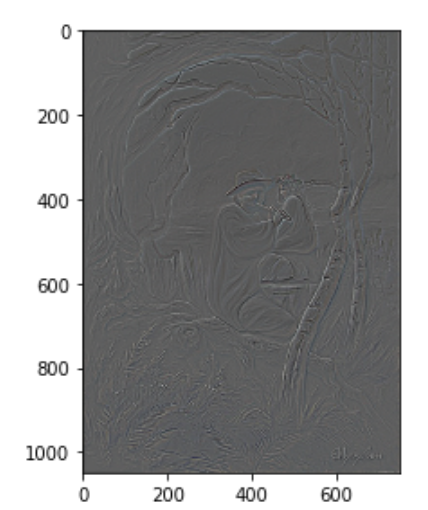
Fourier Analysis for this image
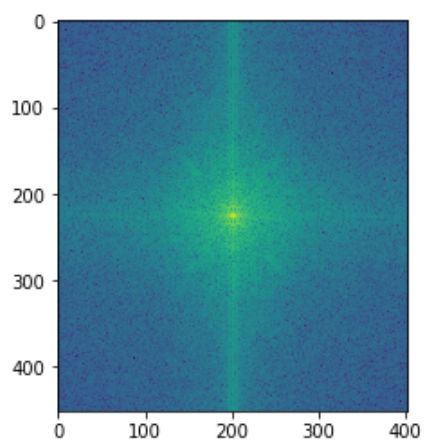
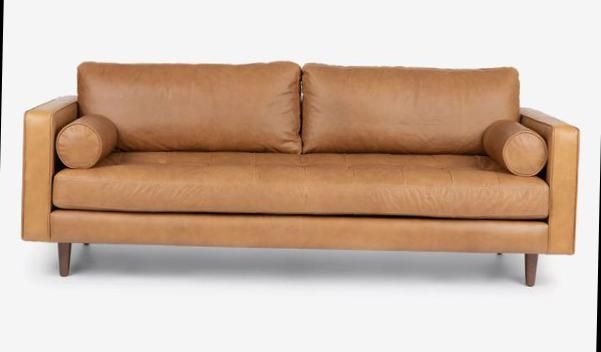
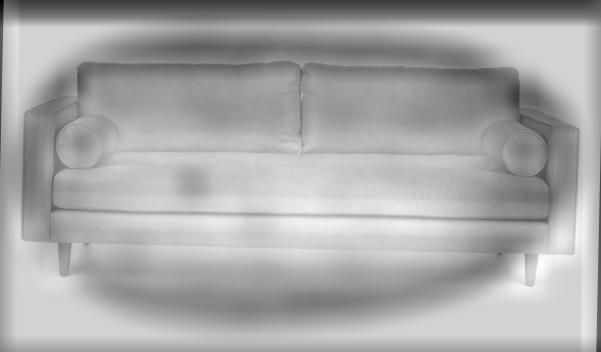
Couch from up close
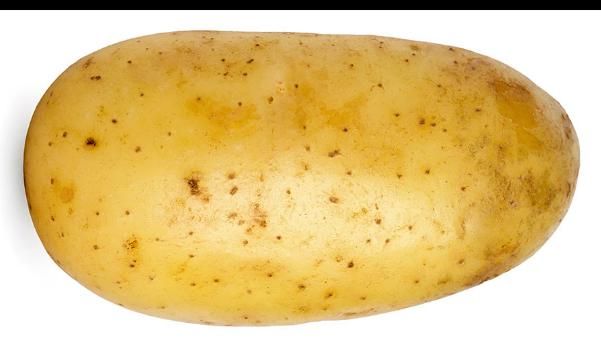
Potato from a far
Failed Image :(
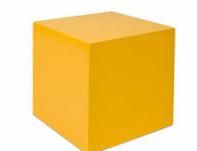
Cube is seen the same amount from far and near
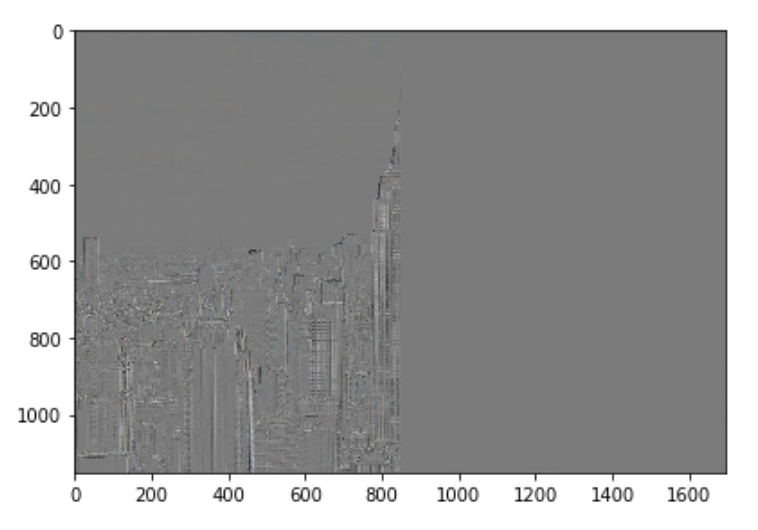
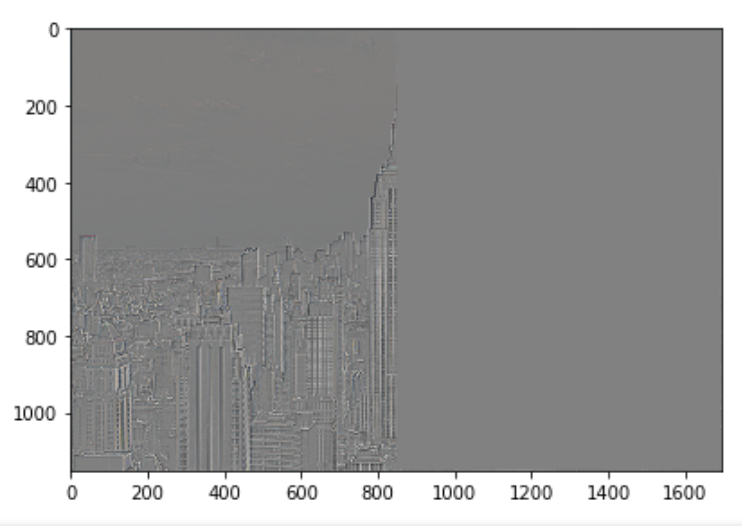
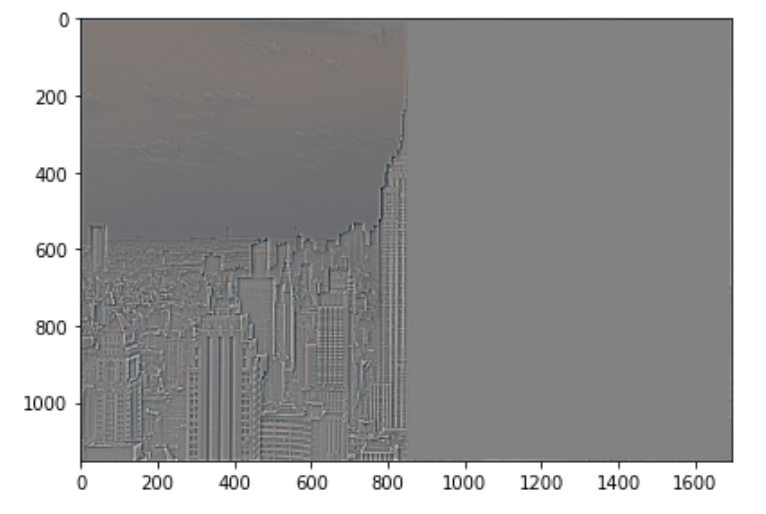
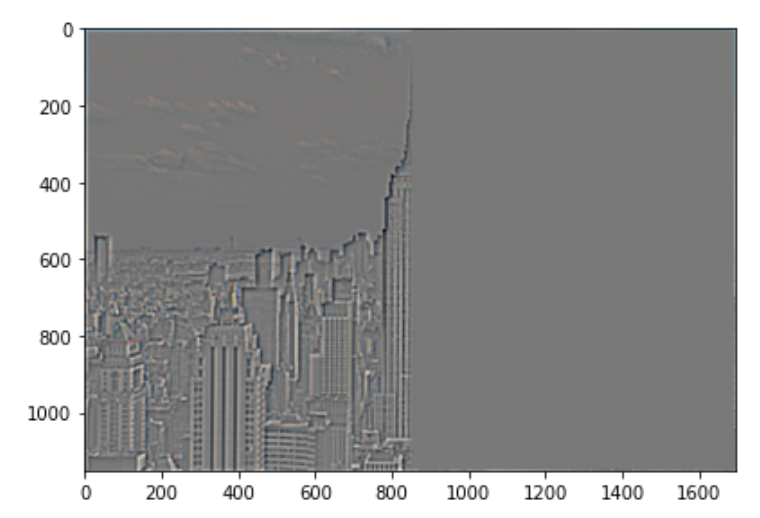
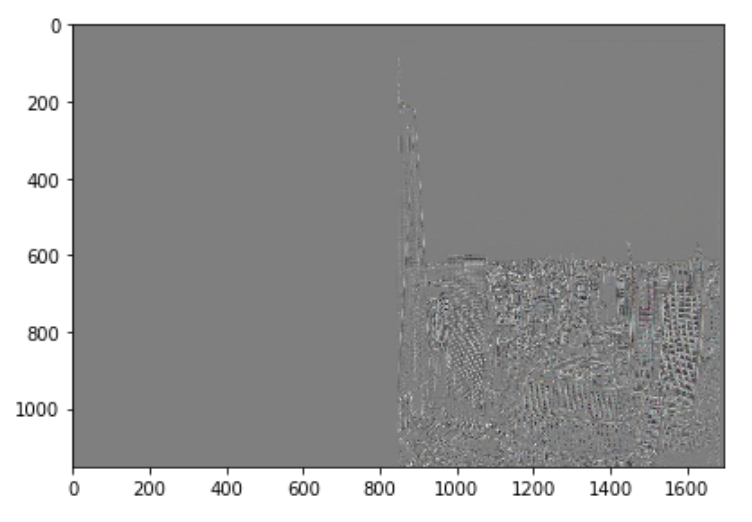
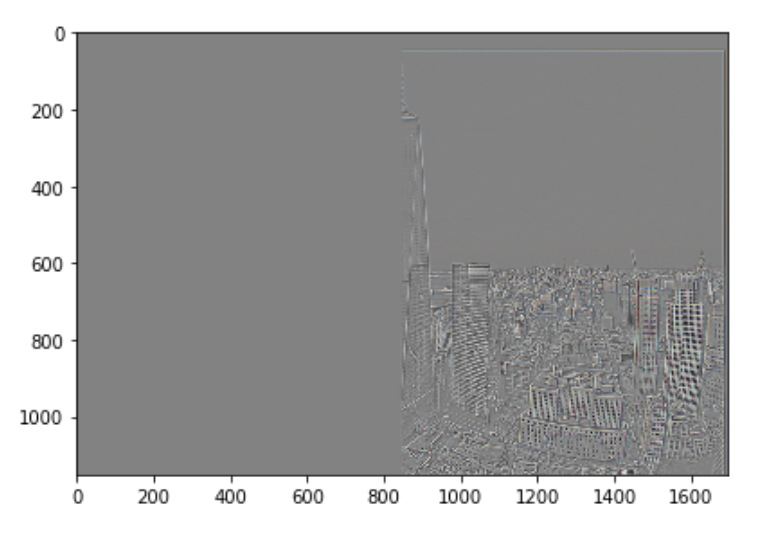
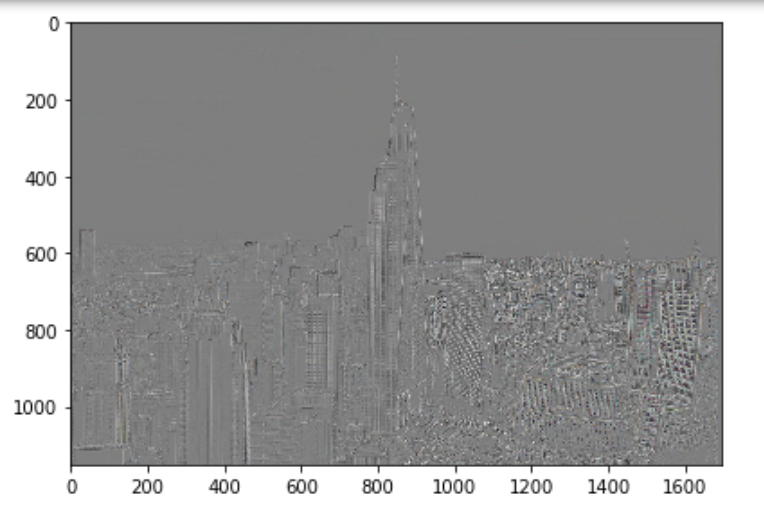
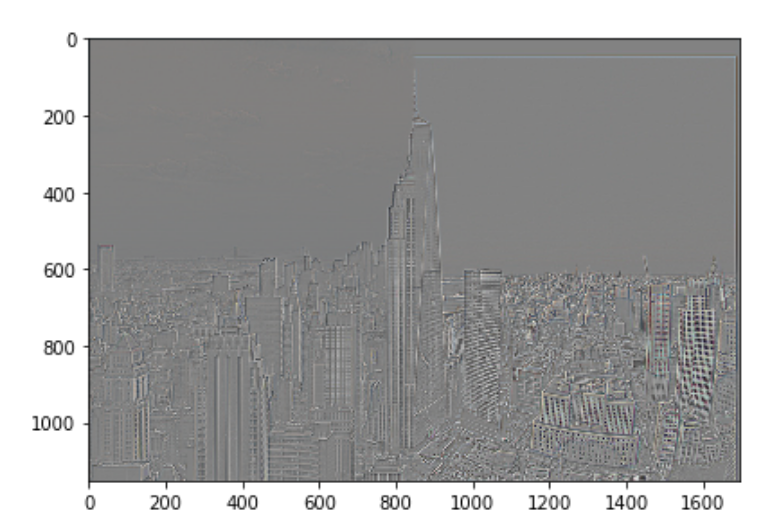
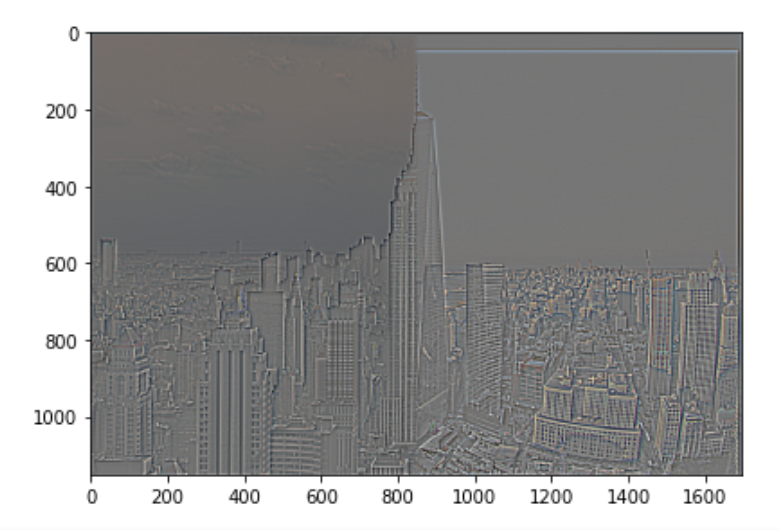
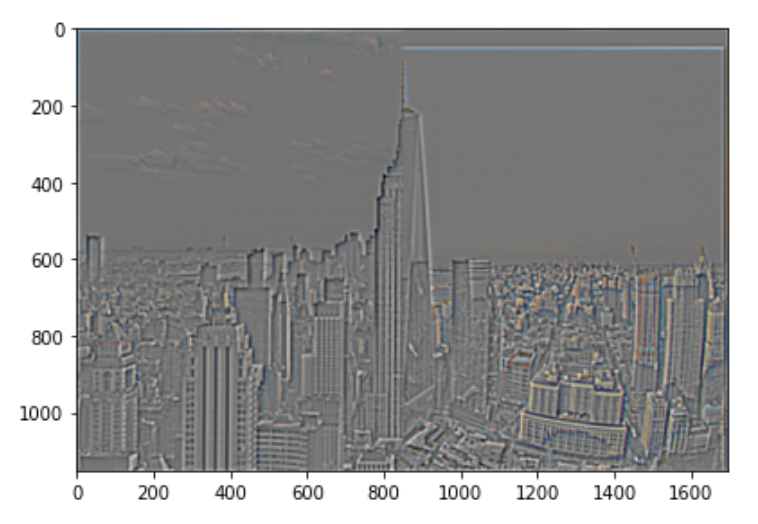
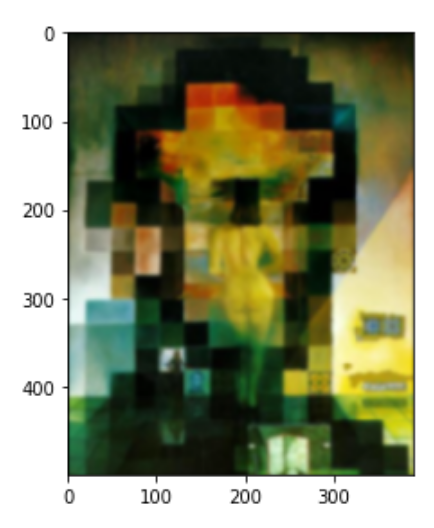
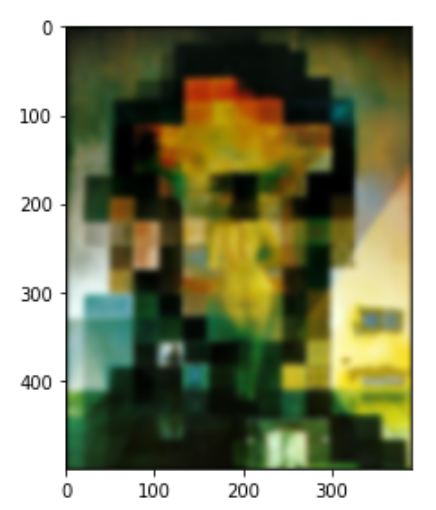
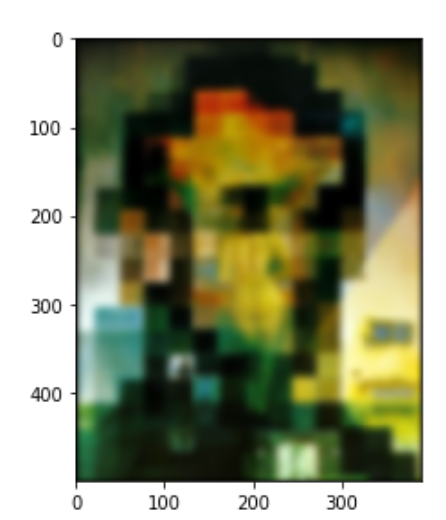
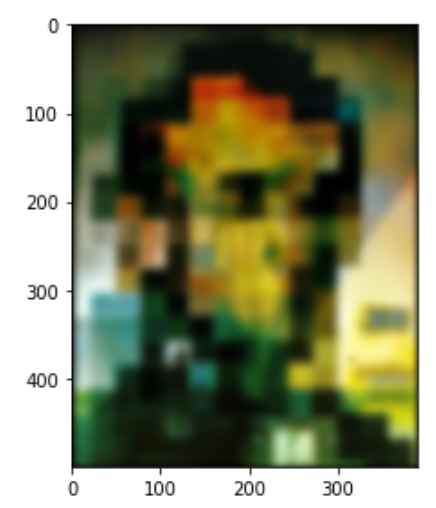
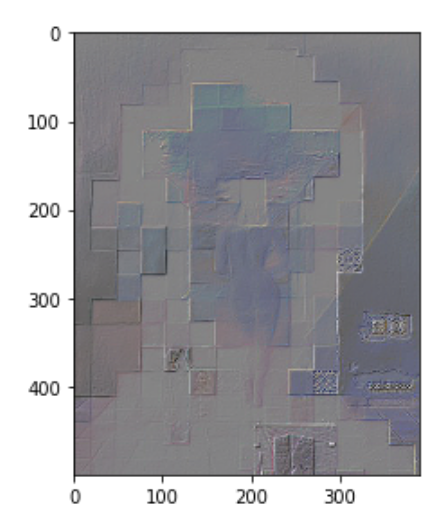
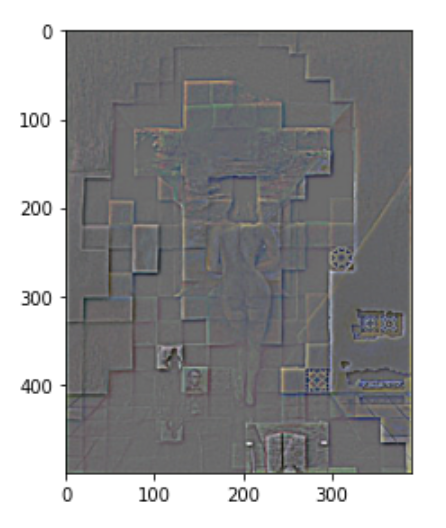
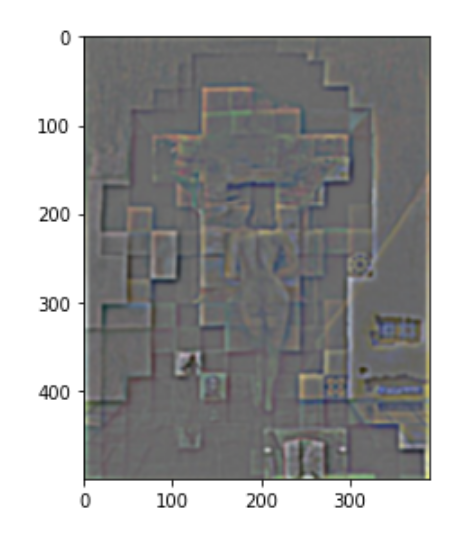
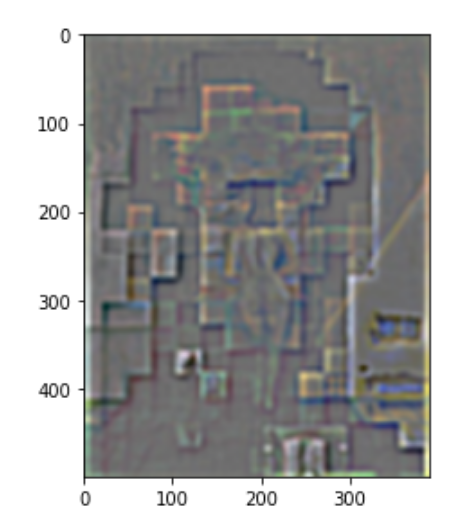
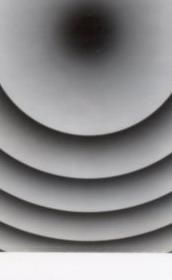
Part 2.3: Gaussian and Laplacian Stacks
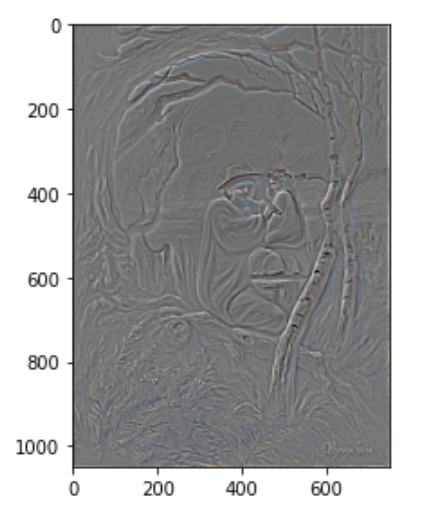
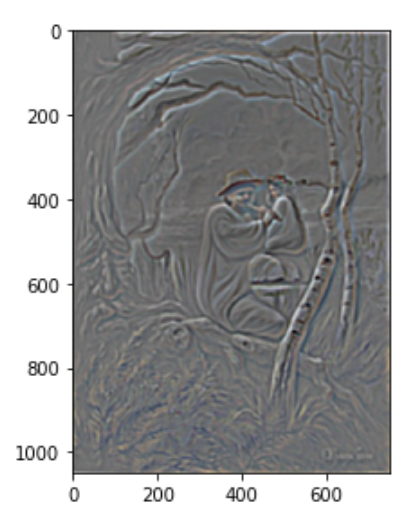
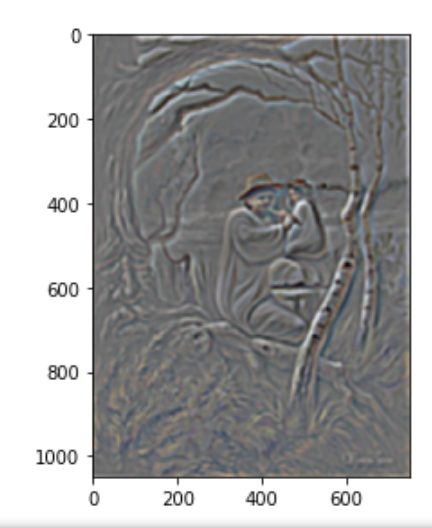
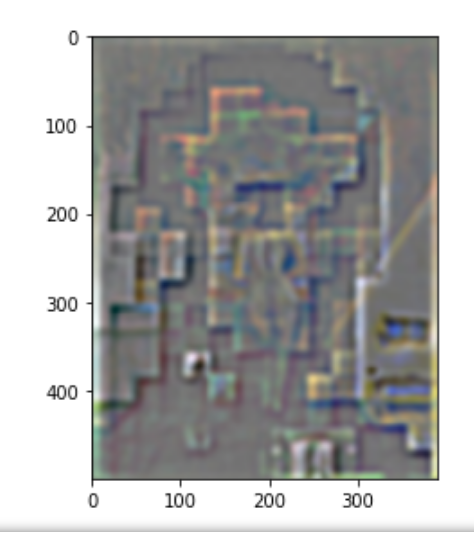
For this part of the project, I visualized the Gaussian and Laplacian Stacks for Lincoln and another image where I found a hidden image at a different frequency.
The colored stack is the gaussian stack. Notice that the image gets blurry as we go deeper into the stack. The stack below that is the normalized laplacians.
For this part, I attempted the bells and whistles by working with color.


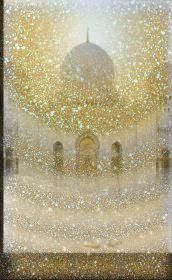
Part 2.2: Multiresolution Blending
The goal of this part of the assignment was to blend two images seamlessly using a multi resolution blending as described in the 1983 paper by Burt and Adelson. An image spline is a smooth seam joining two image together by gently distorting them. Multiresolution blending computes a gentle seam between the two images seperately at each band of image frequencies, resulting in a much smoother seam.
For this part, I attempted the bells and whistles by working with color.
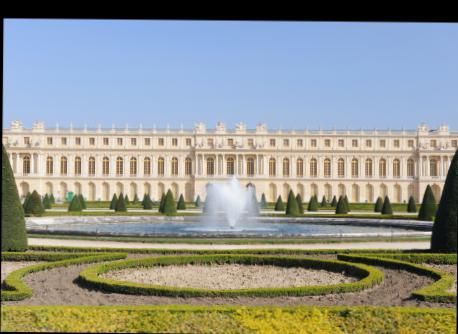
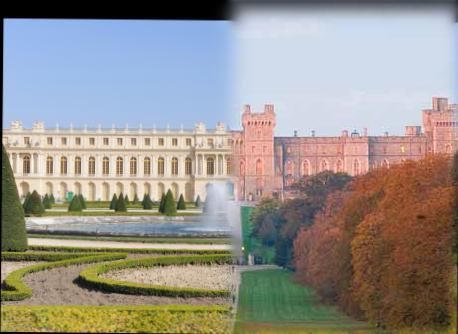
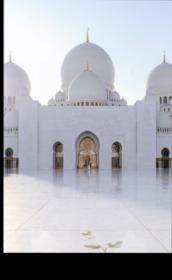
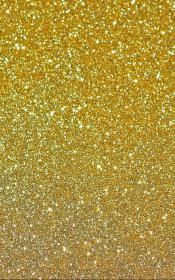
The Mosque and gold is the image with the irregular mask
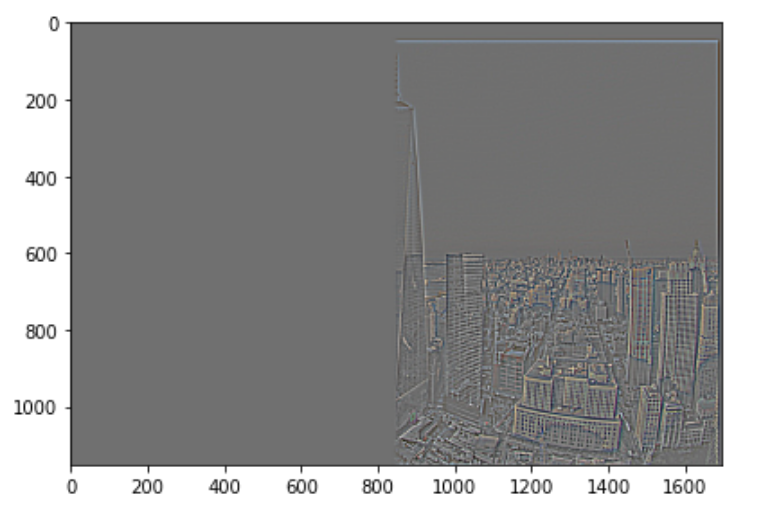
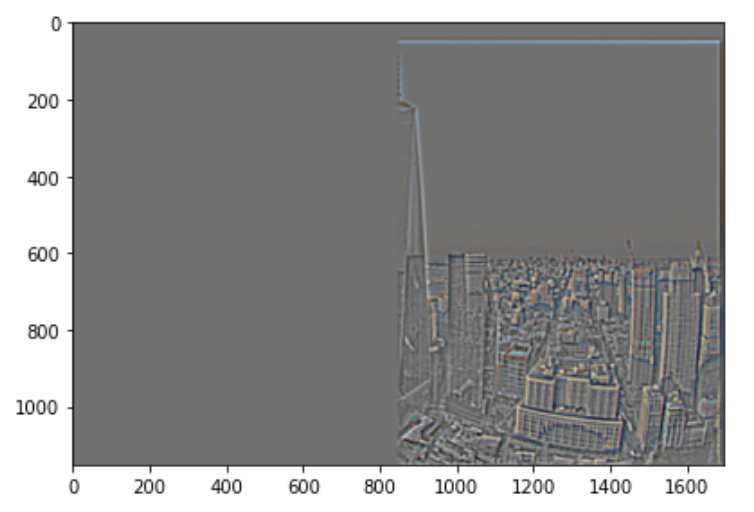
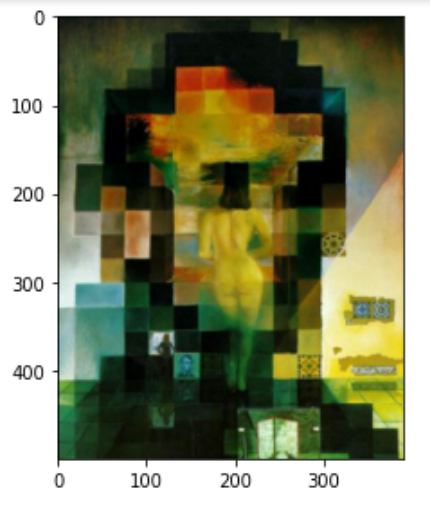
More Detailed look into 2.3
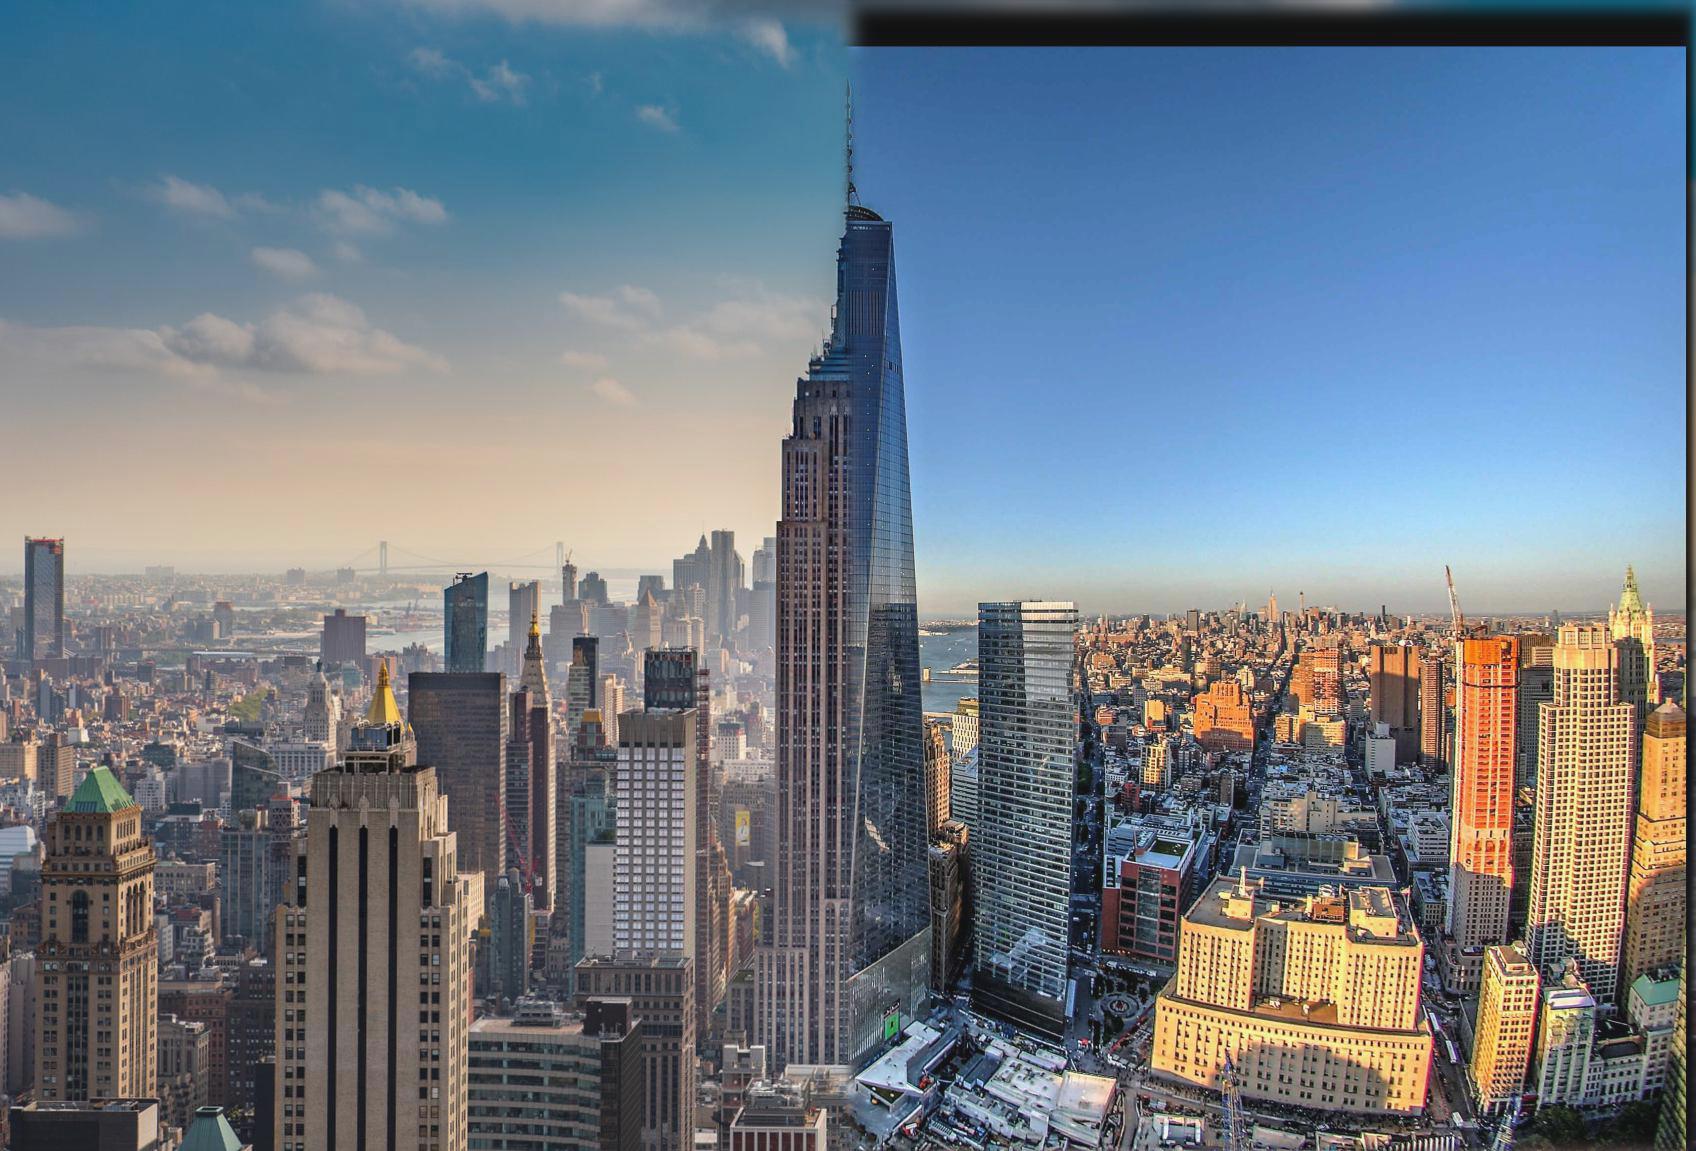
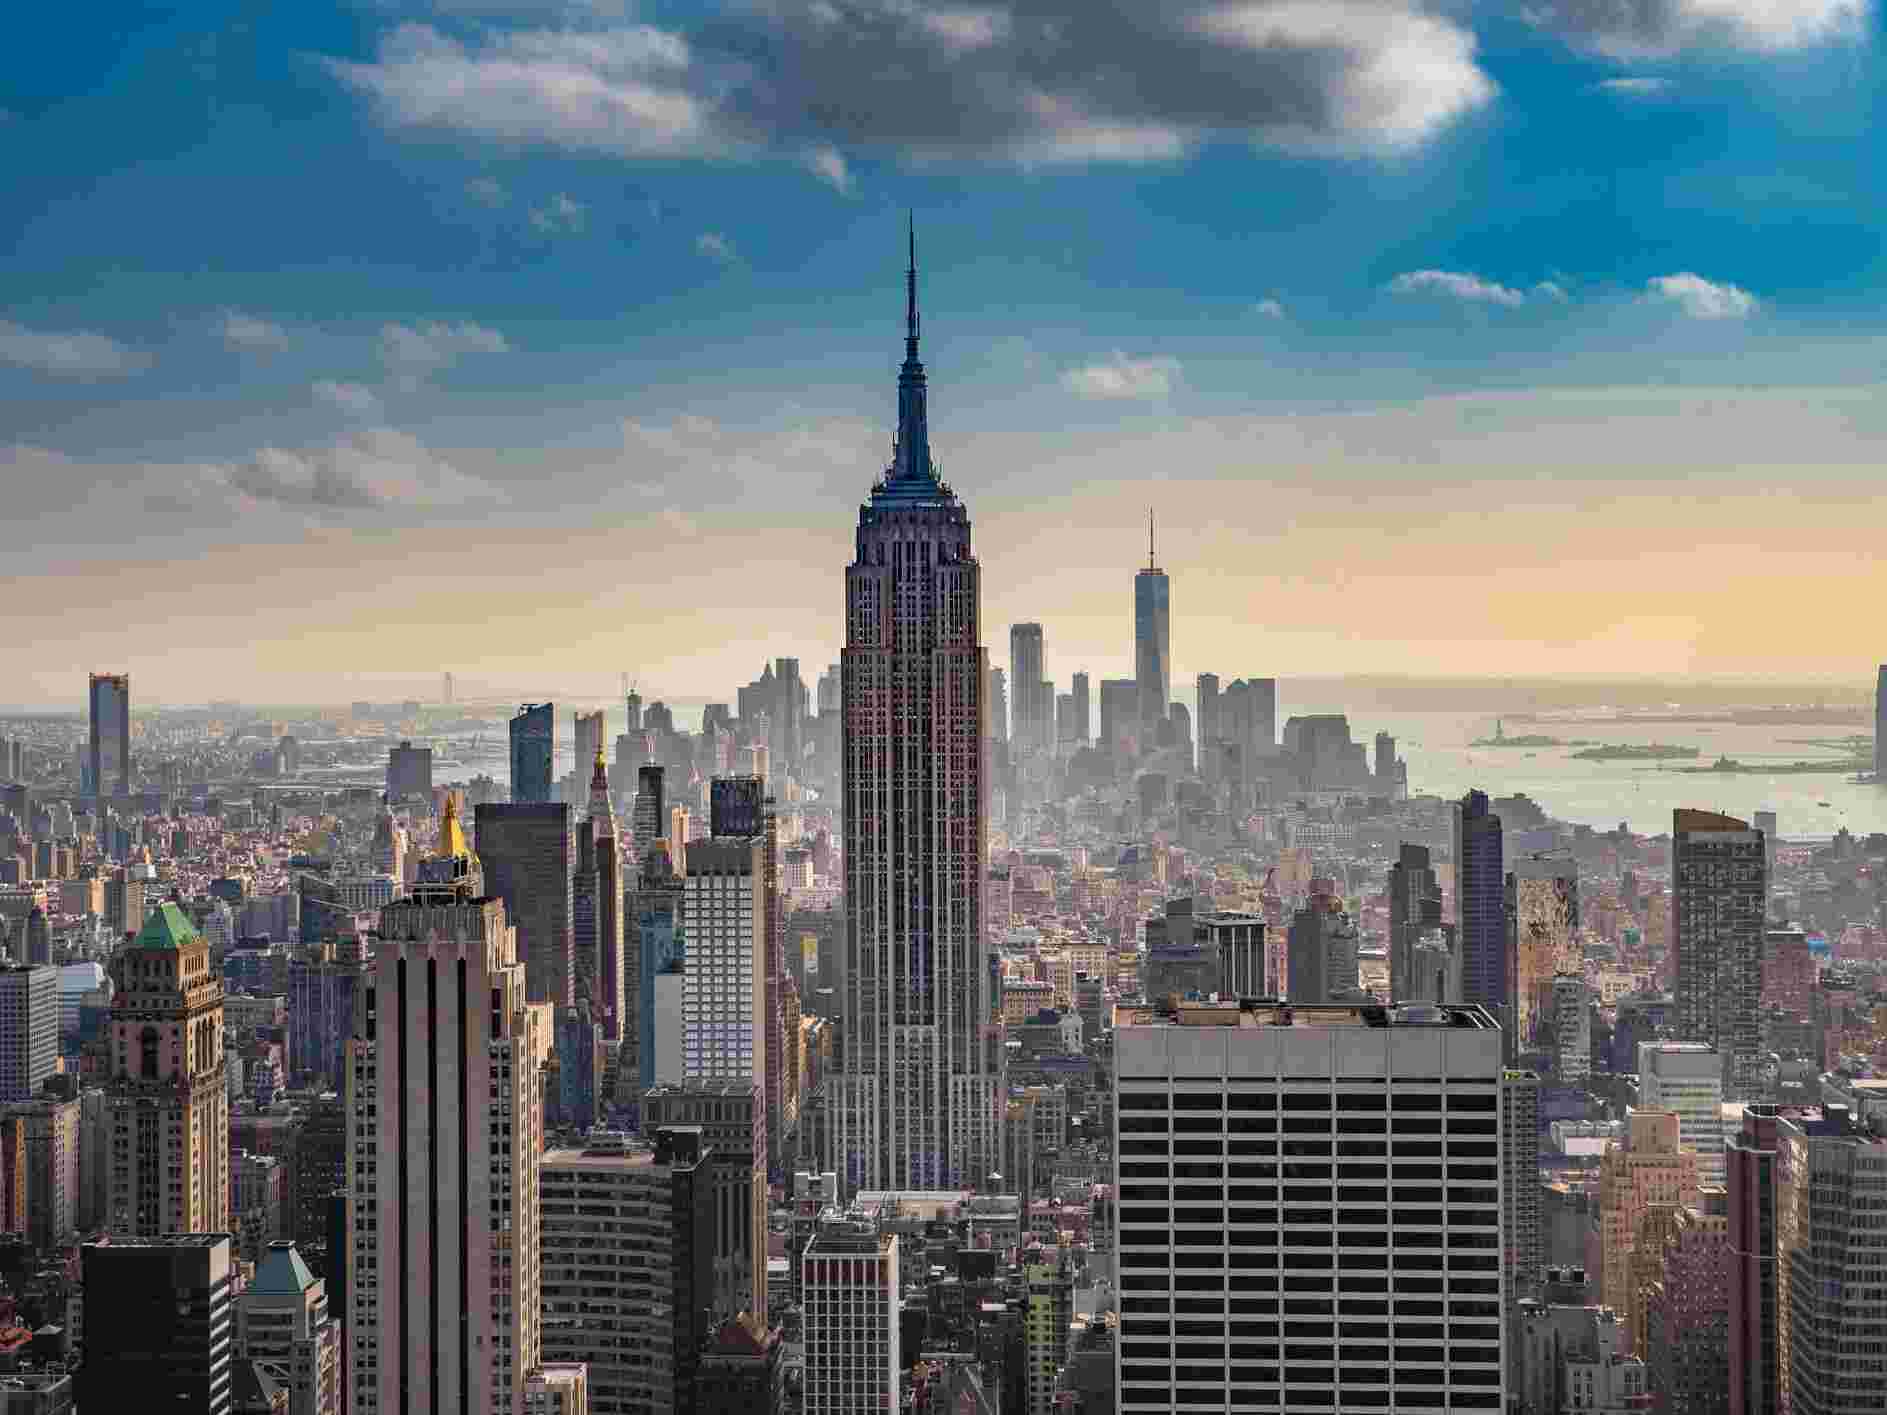
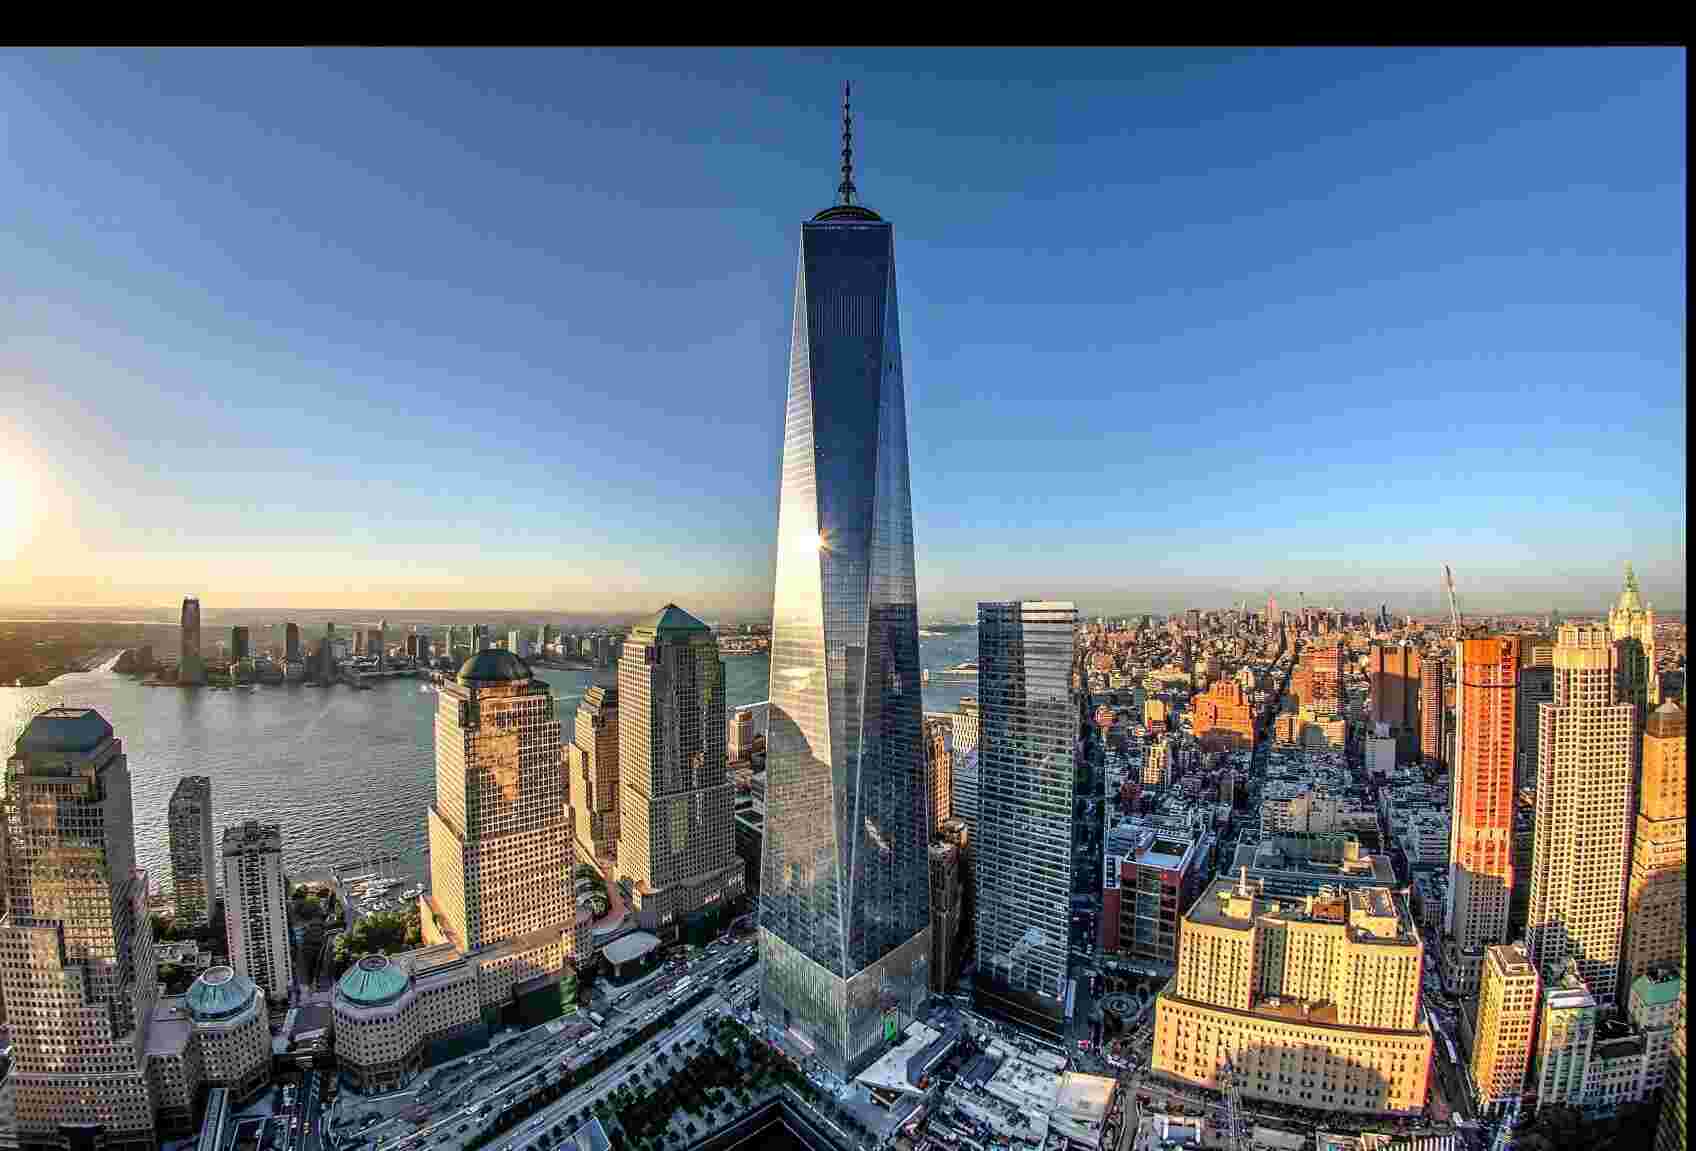
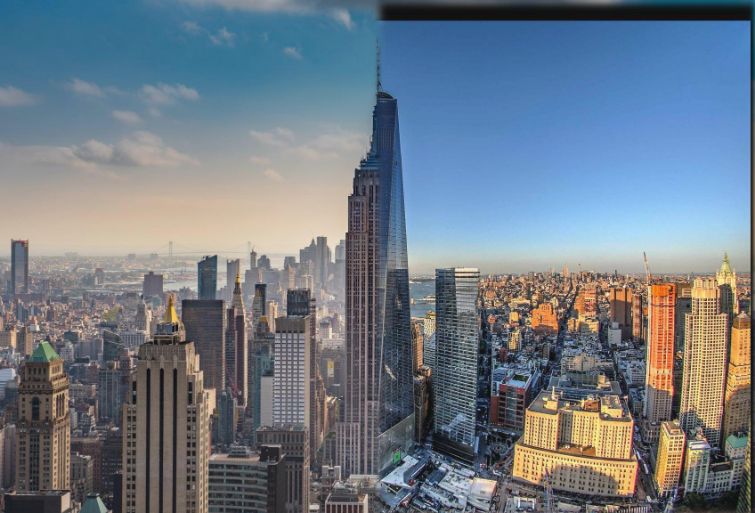
Here is the breakdown of the laplacians of the my favorite image which was a combination of the Empire State and the One world Trade Center