Part 1 Overview In the part, I build some filters and use them to detect edges and straght up images.
Finite Difference Operator
Approach First, I used two simple filter D_x and D_y D_x=[1, -1] D_y=[[1],[-1]] Here are the results after convolving our cameraman.jpg with these two filters.
To compute the gradient magnitude image, I summed the squre of above 2 images (original convolved with D_x and D_y) and take the square root how the summation. You can see the result image on below left. It is sort of noisy because there are some dots on the right bottom corner.
To fix the nosiy output, I set up a threshold 70, which changes pixel value between (-70, 70) to be zero. This results in an better edge image, see below right.
gradient magnitude
edge image
Derivative of Gaussian (DoG) Filter
First, I first blur our cameraman image with a Guassian filter, the I process the image with the same process stated in the former part. Here are the results.
blurred image convolved with Dx
blurred image convolved with Dy
blurred image gradient magnitude
edge image with blur
What are differences between here and results from previous part?
I see the edge is much more clear after we apply a gaussian blur filter before doing convolutions.
Next, I convolved the gaussian with D_x and D_y, so we have 2 derivative of gaussian filters (DoG filters) See below
We reach the same result becasue convolution operation can be combined.
Image Straightening
To sreaight up an image, I first rotate the gray image by a list of angles. Then for each rotated iamge, I use np.arctan2() to evaluate number of verticall/horizonal edges.
original
original
Failure case
For this image, the code finds the best rotate is not rotating at all. which is false.
Part 2 Overview Fun with Frequescies. I played around the frequencies of images to create different visual effects.
Image "Sharpening"
I make a image looks more clear by substracting low frequency image from the original image. The "sharpening" is in quotes because we are not actually adding more infomation to the image.
I created a single filter to achieve above process. A unsharp mask filter using the formula in lecture: ((1 + α)*(unit impluse) − α * g)
original
sharped with unsharp mask
original
sharped with unsharp mask
Evaluation: I pick a sharp original image, blur it, and then use my unsharp mask filter image to sharp it back.
original sharp
blurred with gaussian
unsharp filter result
I can see that the unsharp filter result looks more clear then the blurred image. However, it is not much clearer than our original image. I think this is because our sharpen techique does not include new info.
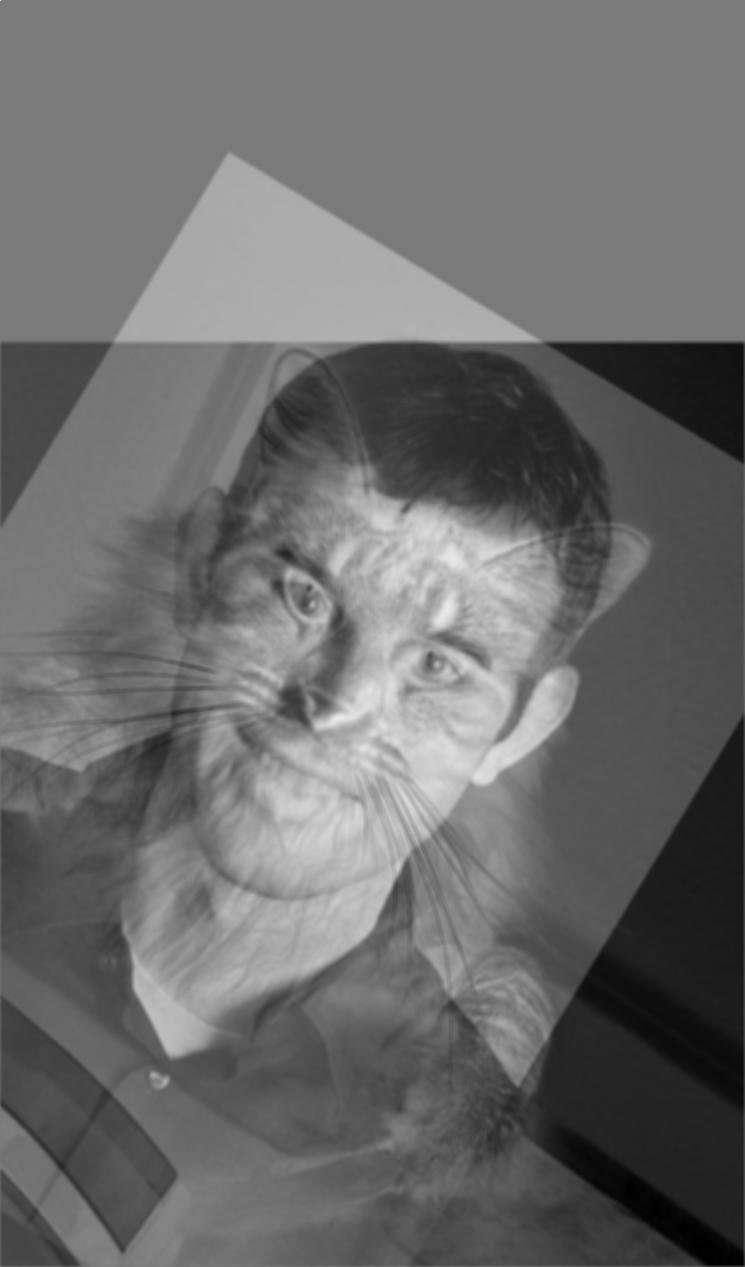
Hybrid Images
In this part, I apply low-pass filter and high-pass filter on two images and add the results to create a hybrid image.
Here is the is the example image, cutoff1 = 12, cutoff2 = 10
high_pass
low_pass
hybrid
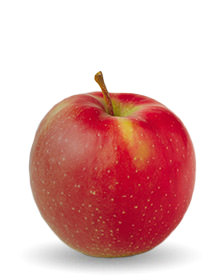
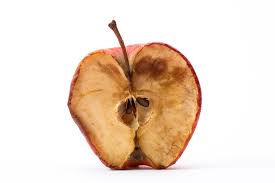
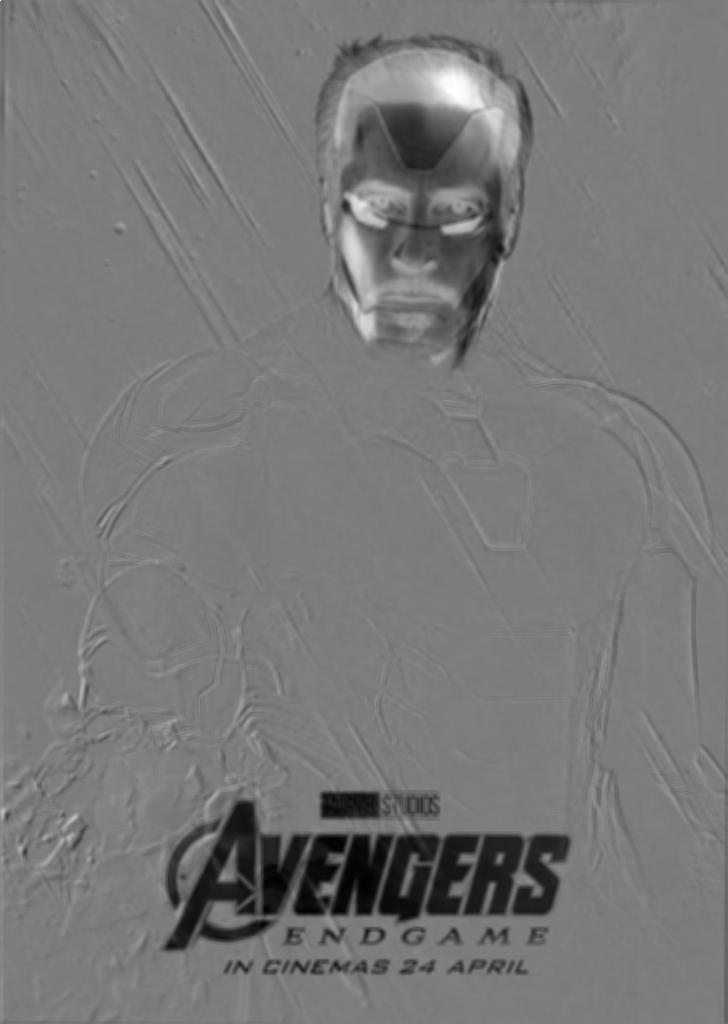
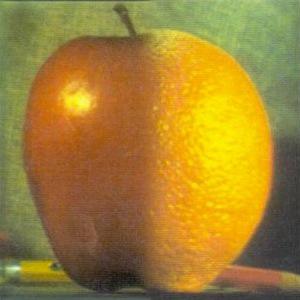
Here is another two examples, mixing good and eaten apple, and Iron Man mask on and off.
high_pass
low_pass
hybrid
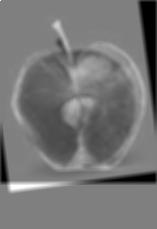
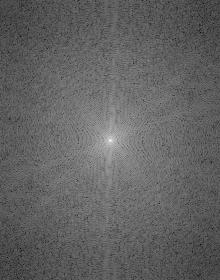
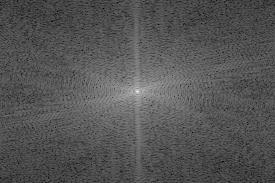
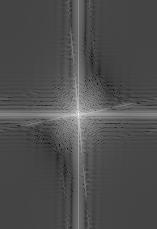
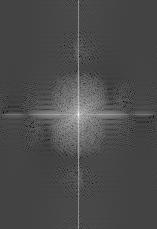
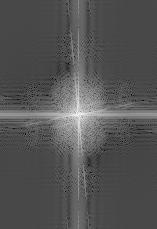
Here are the log magnitude of the Fourier transform of the apple group image
high_pass image
low_pass image
filtered high_pass image
filtered loq_pass image
hybrid
high_pass
low_pass
hybrid
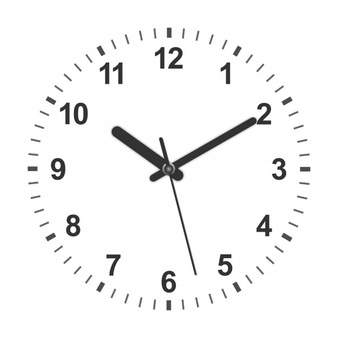
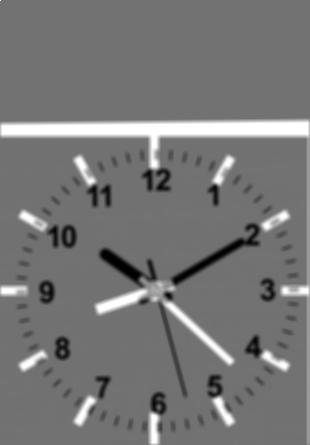
Here is another example, but I consider it a failure case.
high_pass
low_pass
hybrid
I think it fails because most of the numbers on the clock match to the blank area on another. So it looks like folding 2 images together.
Gaussian and Laplacian Stacks
Gaussian stacks is made by apply a Guassian filter level by level. Laplacian stack is the difference between the i-th and (i + 1)th layer of the Gaussian stack.
I applied my stacks on the lincoln image. filter size = 5, sigma = 10
gaussian stack
lapalcidan stack
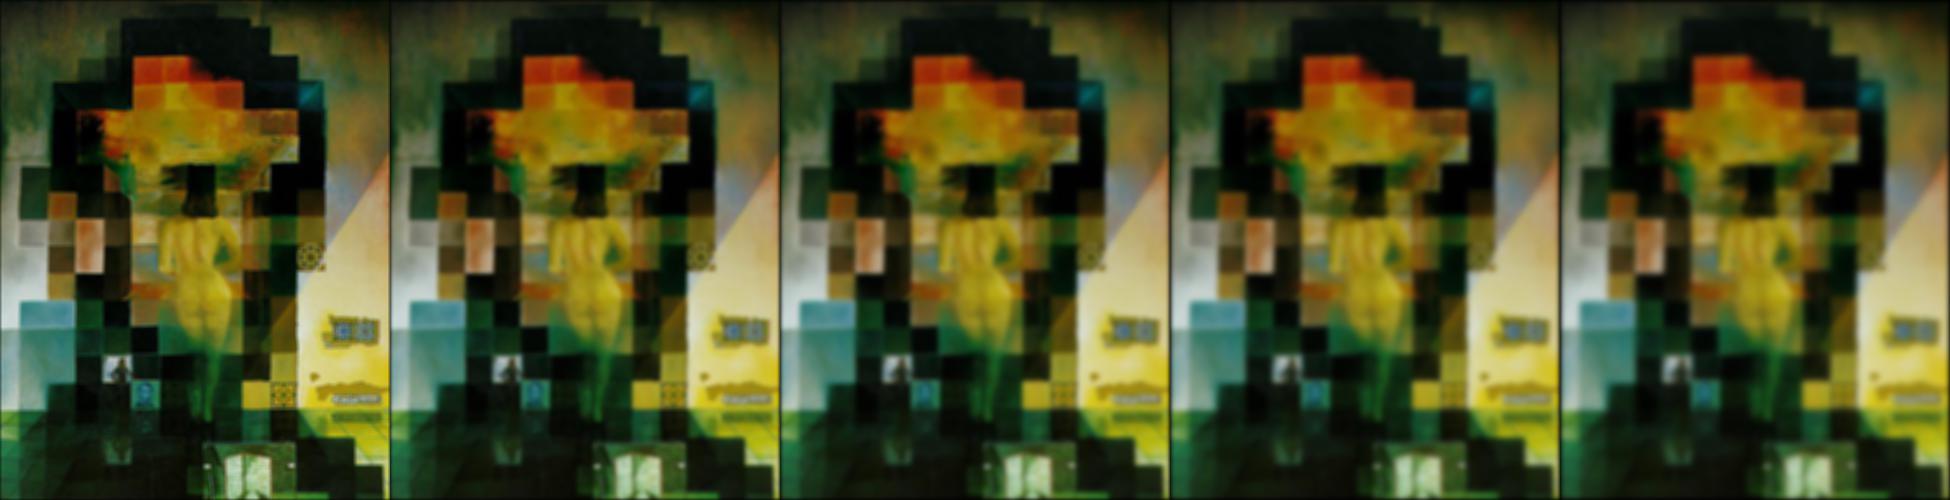
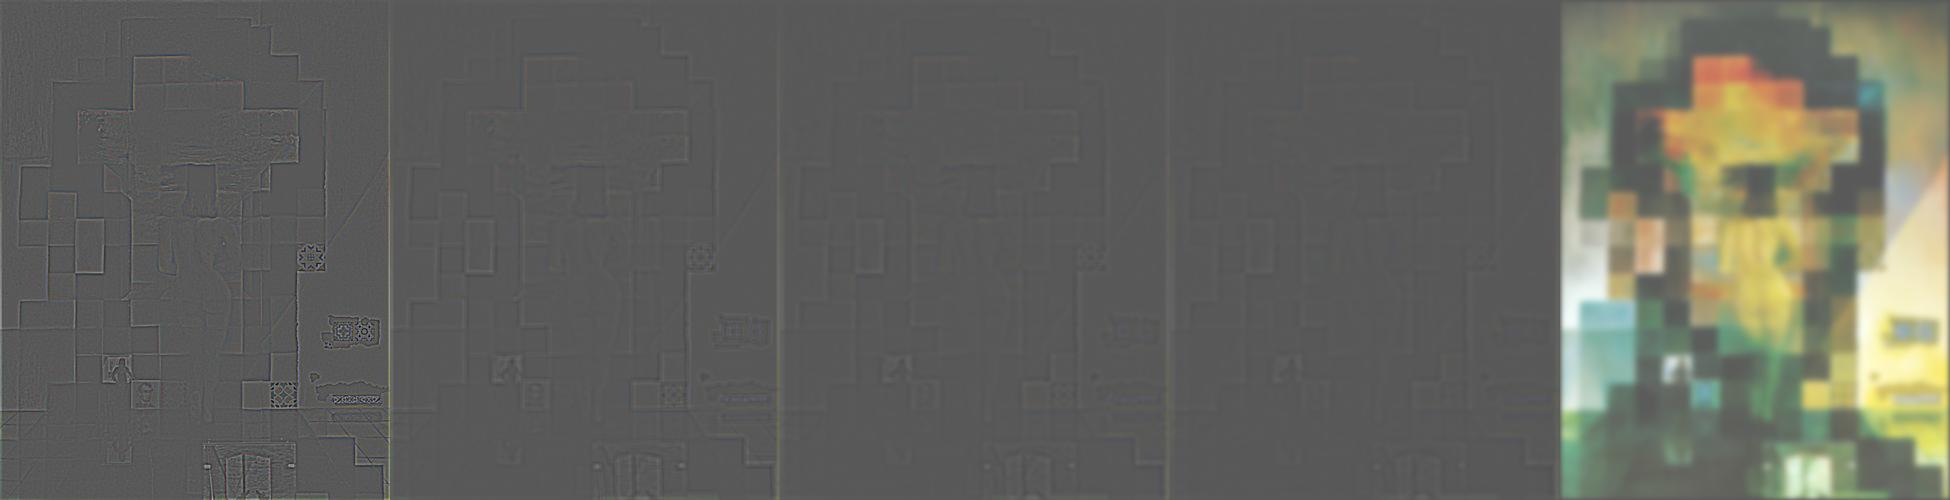
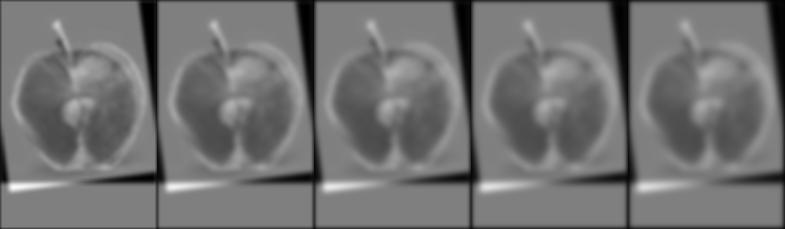
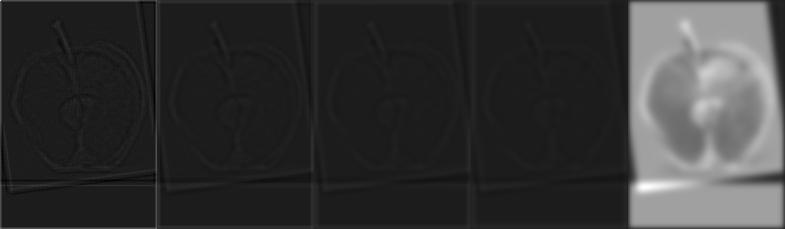
Here I will explain my process in part 2.2 on apple image with the help of these stacks.
gaussian stack
lapalcidan stack
Here we can see as gaussian stack goes along, my low pass image (eaten apple) is getting more obvious. This is because we are continully applying low pass gaussian filter to the image, so we can see the low frequency image hidden in my hybride image.
Multiresolution Blending
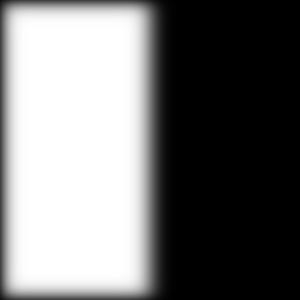
In this section, I use the gaussian and lapalcidan stacks to create blending images. I calculate a lapalcidan stack for the 2 images for blending (LA, LB). Then I generte a mask use np.zero() and by handdrawing, and create a gaussian stack for the mask as well (GR)
Then I apply the formula in the RESULT_STACK = (GR*LA) + (1-GR)*LB
Here is the oraple and another image
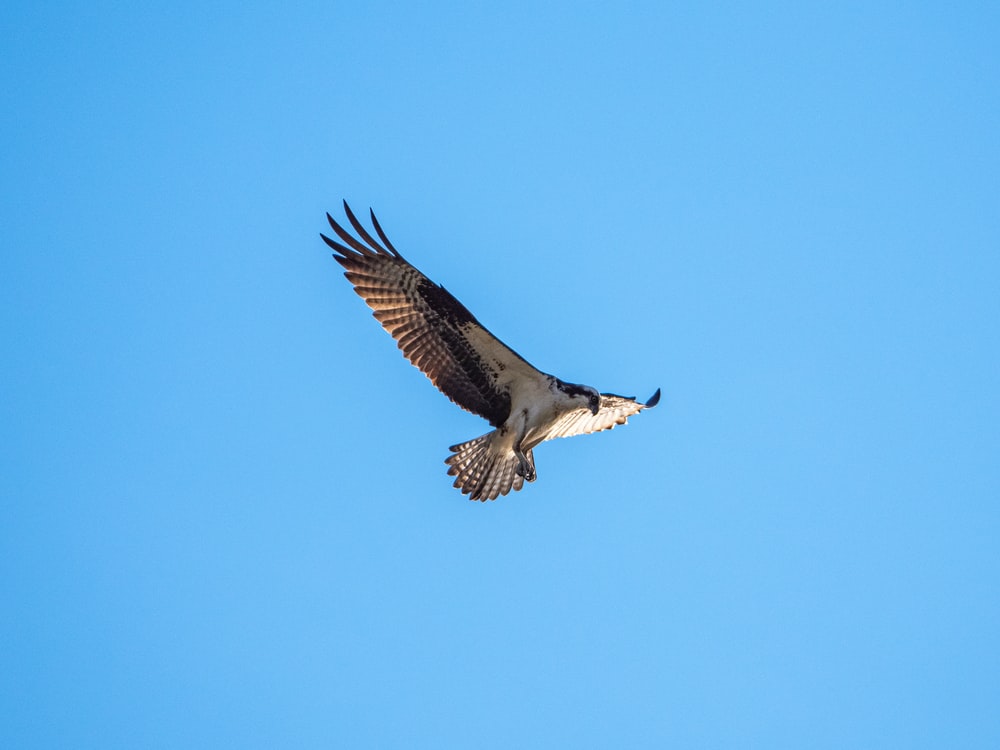
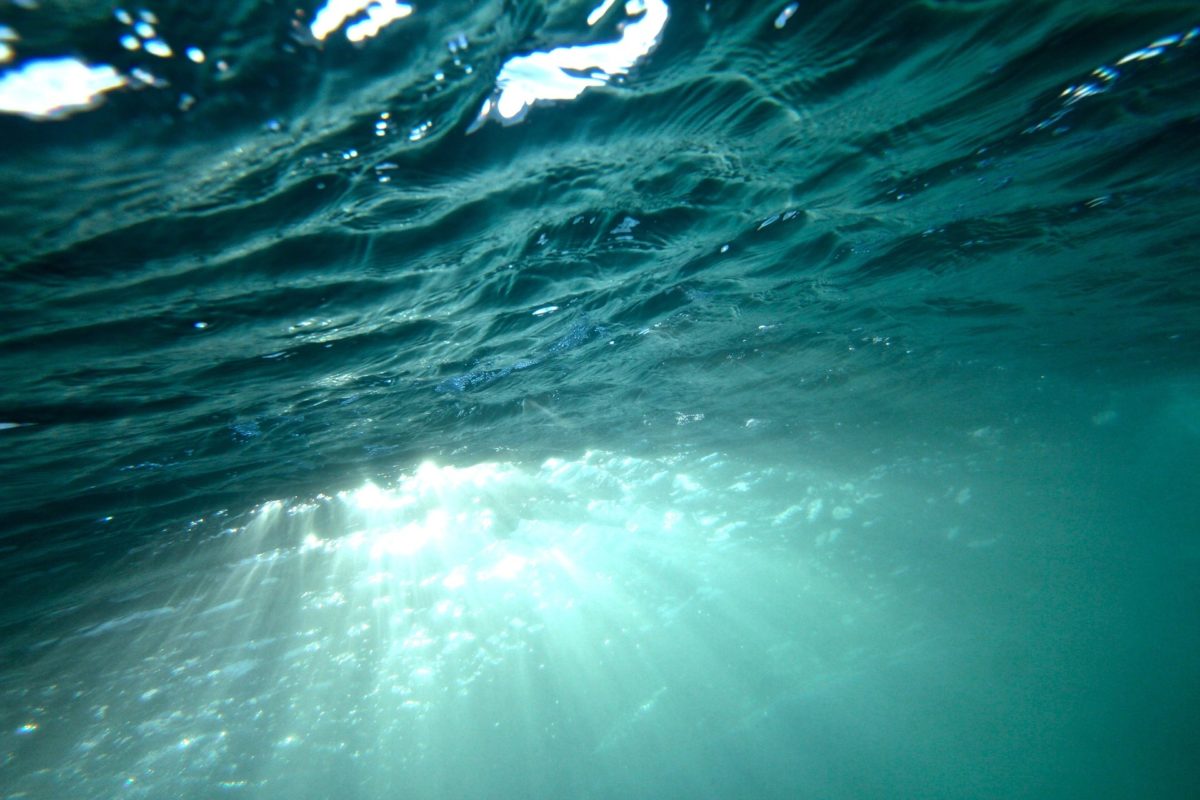
Here is the one with ireegular mask, bird flying in sea