Fun with Filters and Frequencies!
Part 1: Fun with Filters
Part 1.1: Finite Difference Operator
In this part, we find partial derivatives of the image by convolving the original image with the given operators (dx, dy). The second image is the gradient magnitude found using the convolution. By applying an appropriate threshold to the image, a binarized image consisting of edge was found. To preserve the essential contour, a relatively large threshold was used, which led to the noises shown at the bottom of the edge graph
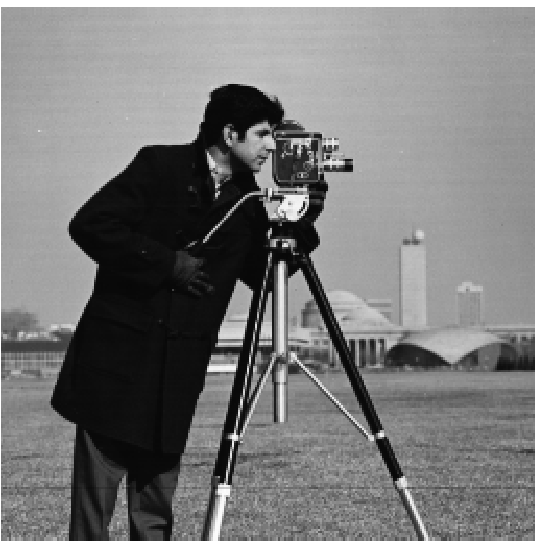
Cameraman original
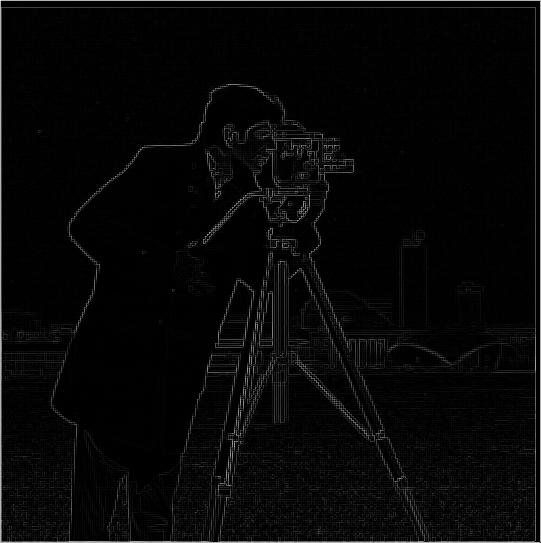
Cameraman_Gradient_Magnitude
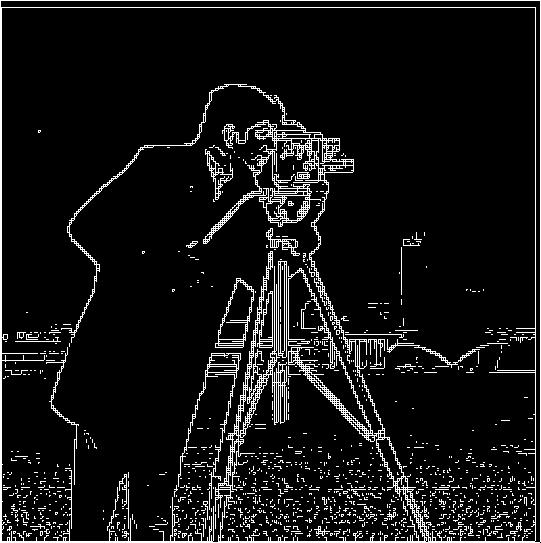
Cameraman_Edge
Derivative of Gaussian (DoG) Filter
Part 1.2: Derivative of Gaussian (DoG) Filter
In the second part, a Gaussian filter is used to eliminate noises. A 2D Gaussian filter was constructed using its 1D outer-product. To remove noises, the original image is convolved with the gaussian filter first and then with the operators given (dx, dy). An alternative approach is to convolve gaussian kernel with (dx, dy) and then convolve the original image with the differentiated gaussian filter. Based on results, we could tell that these 2 approaches could significantly remove noises and they actually yield the same results
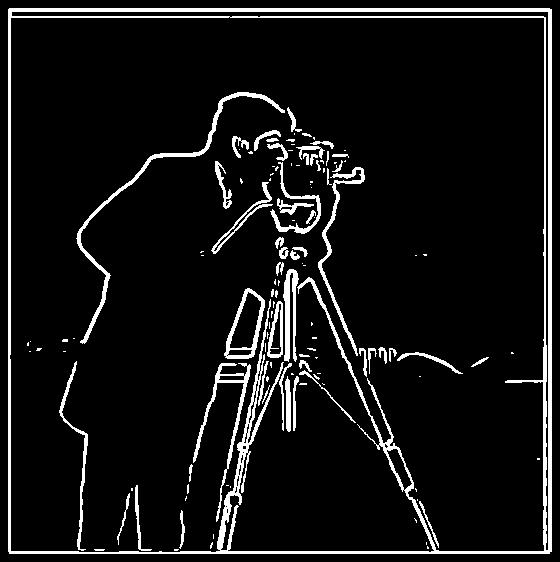
camerman DoG

camerman using convolved gaussian kernel
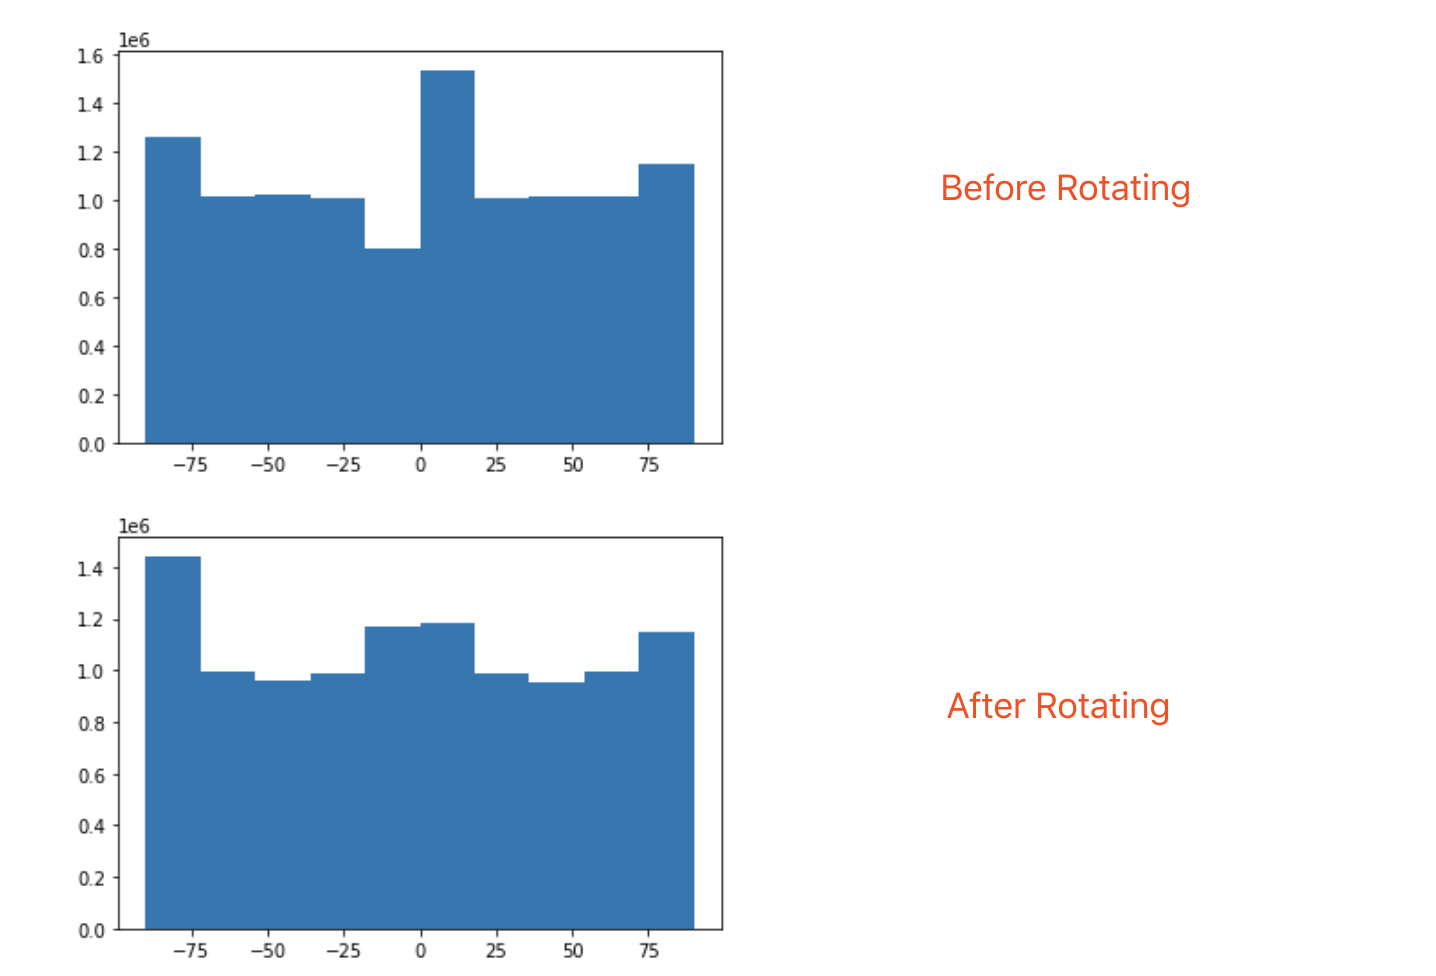
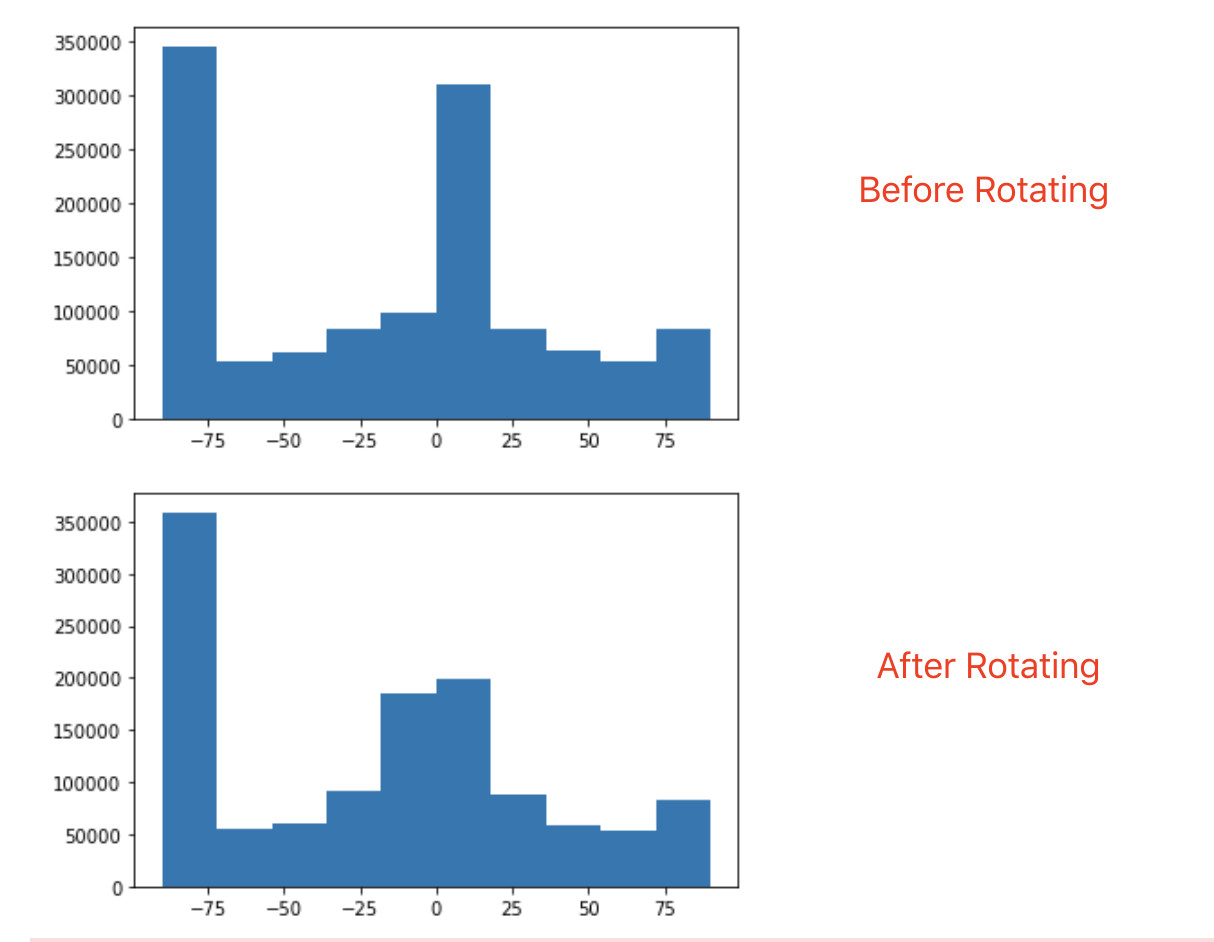
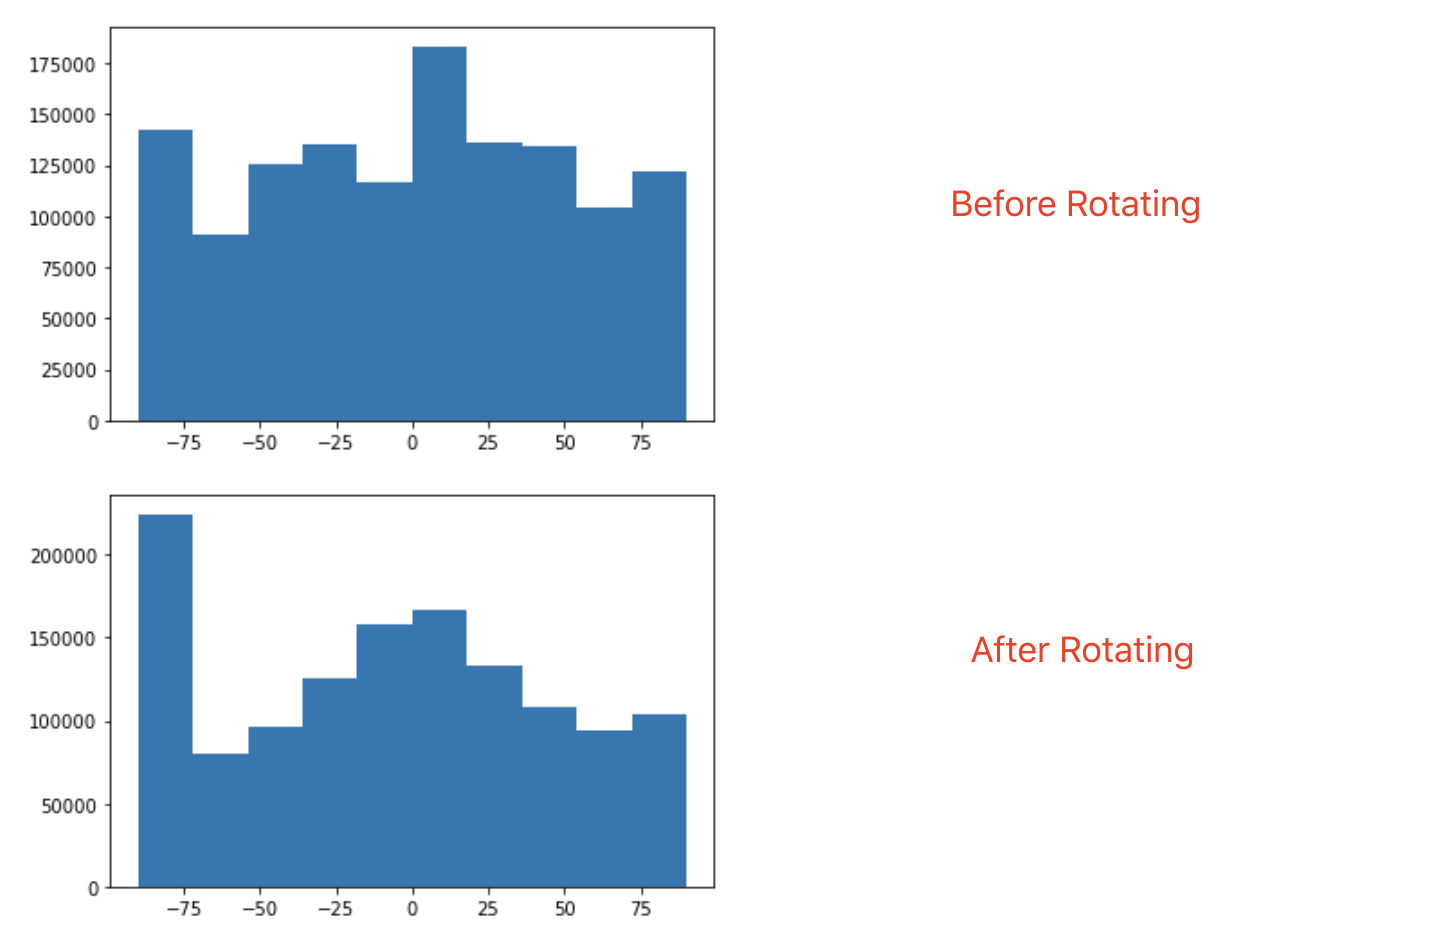
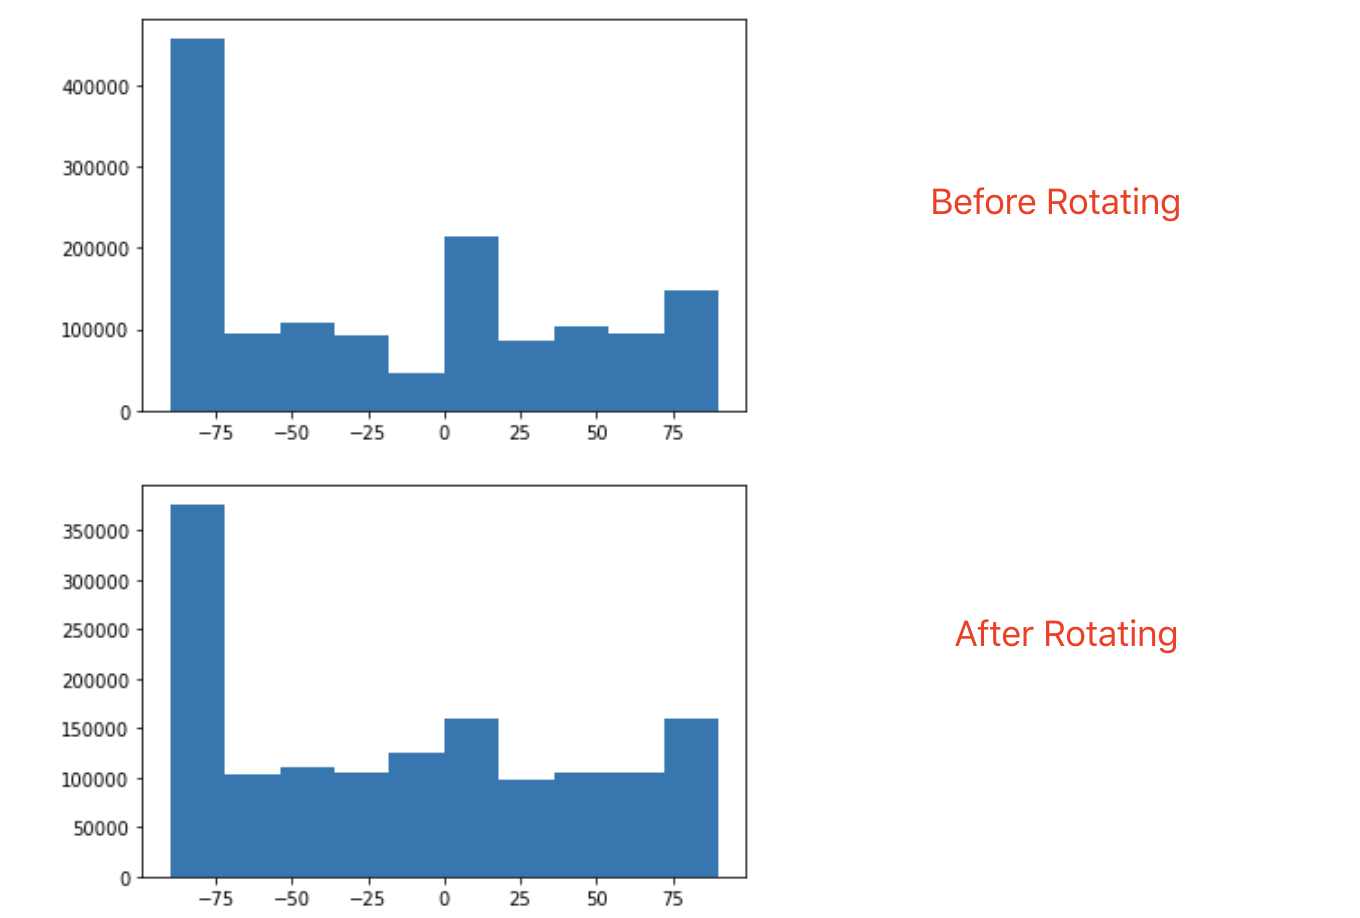
Image Straightening
The concept of gradient could also be used to straighten a tilted image. In this part, I used a scoring function based on the sum of horizontal edges and vertical edges that could be found in an image. After iterating through a set of feasible rotations, I kept the image with best score as a straightened image. However, this approach only works well for images with sharp and sensible edges. For images with no distinct edges, other metrics need to be used to find the correct rotations (Failure example: Galaxy)

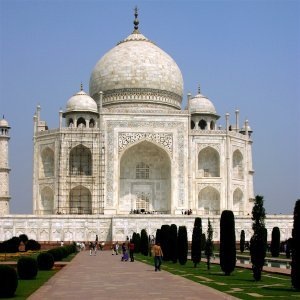
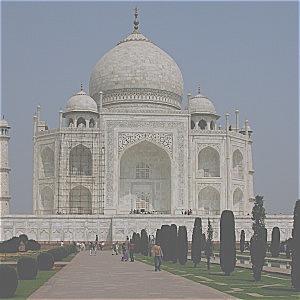
Original Image
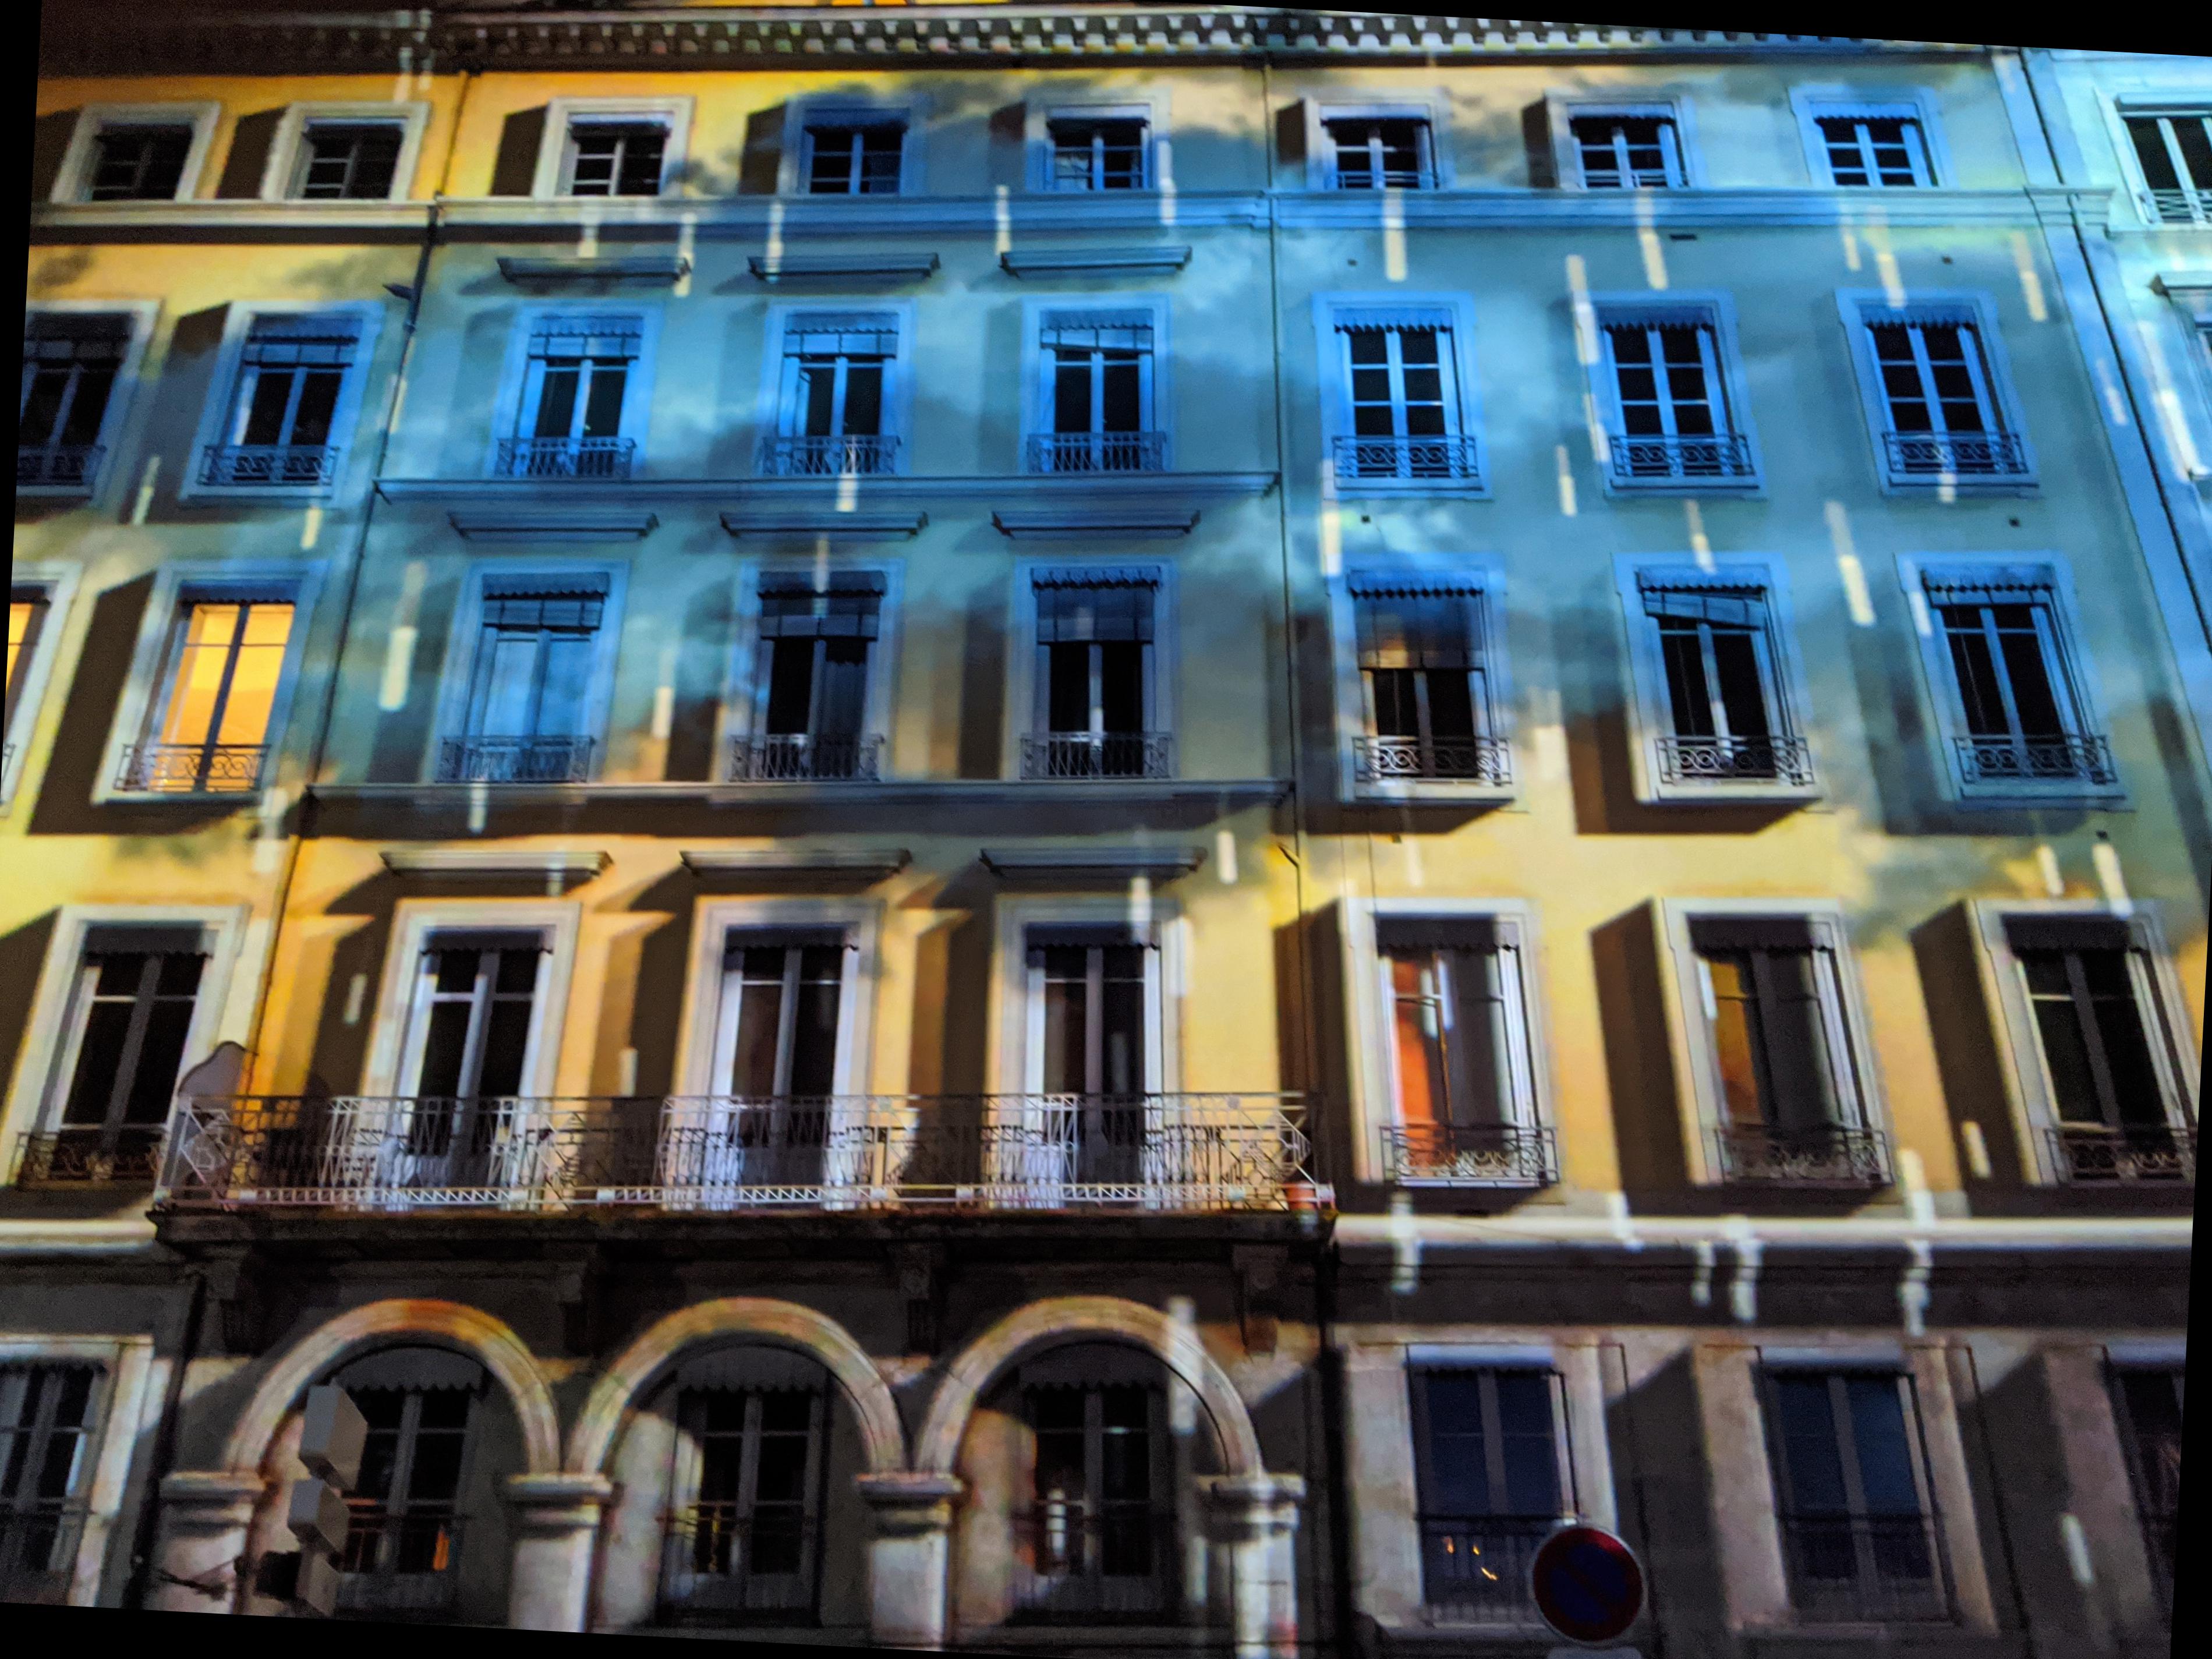
Straightened Image (-3 degree)
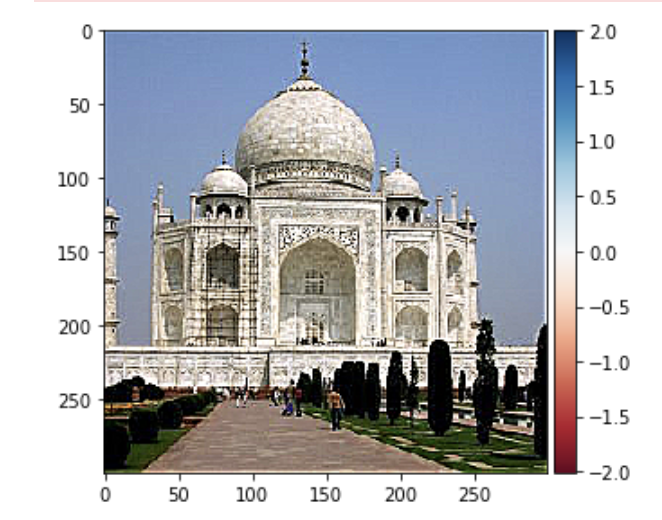
Original -> Straightened
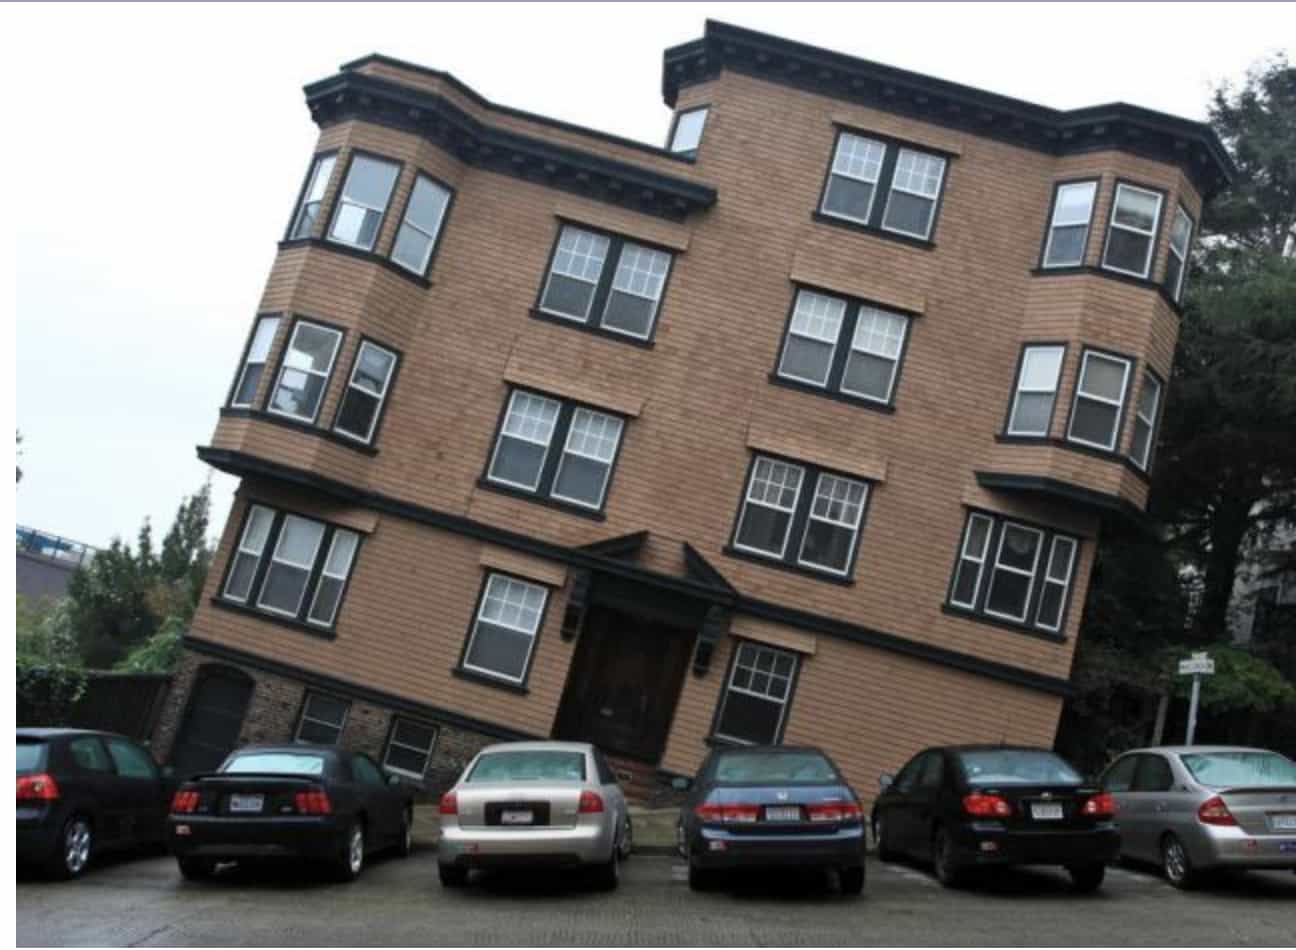
Original Image
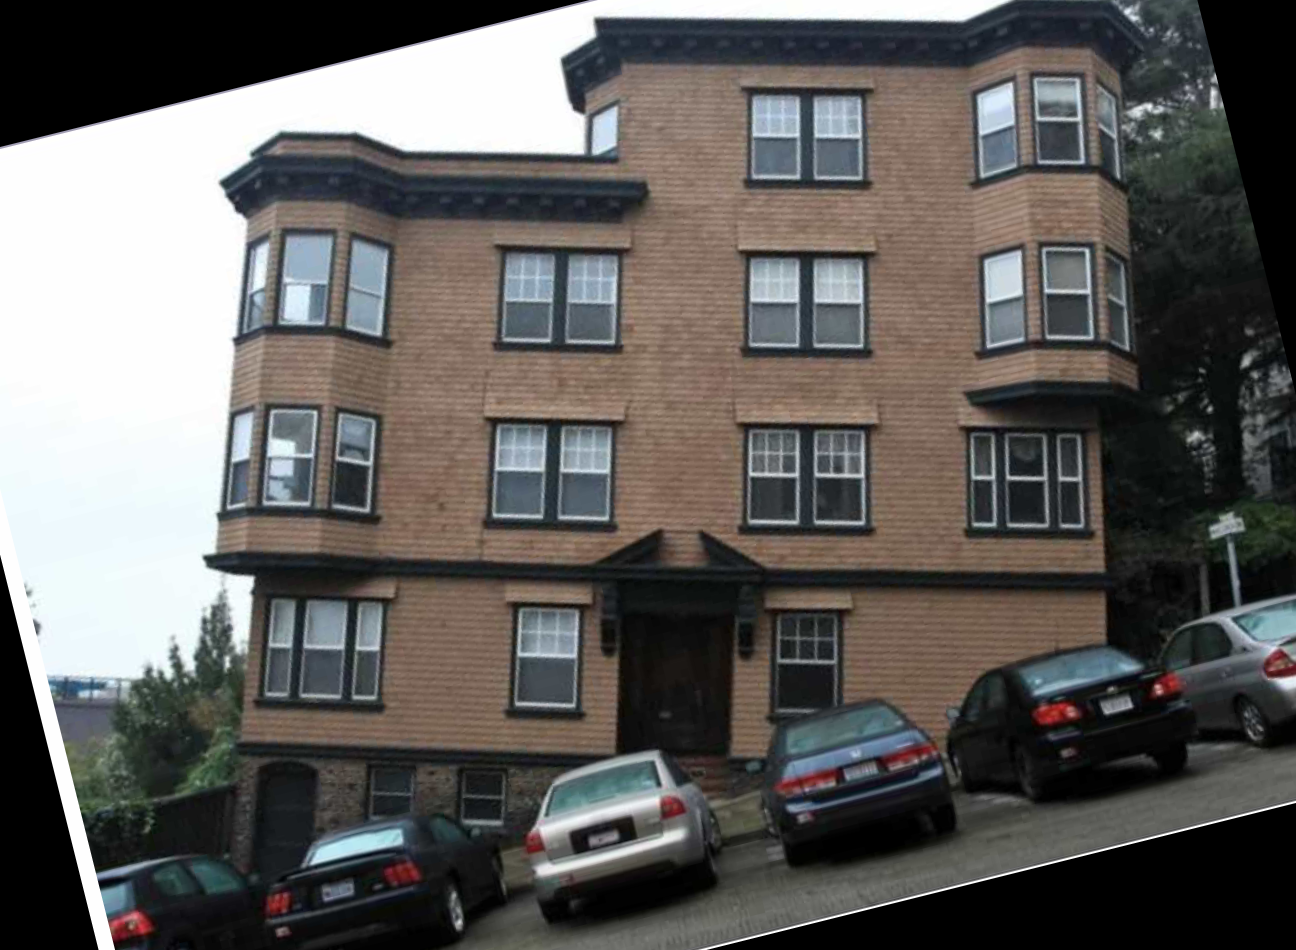
Straightened Image
Original -> Straightened

Original Image

Straightened Image
Original -> Straightened
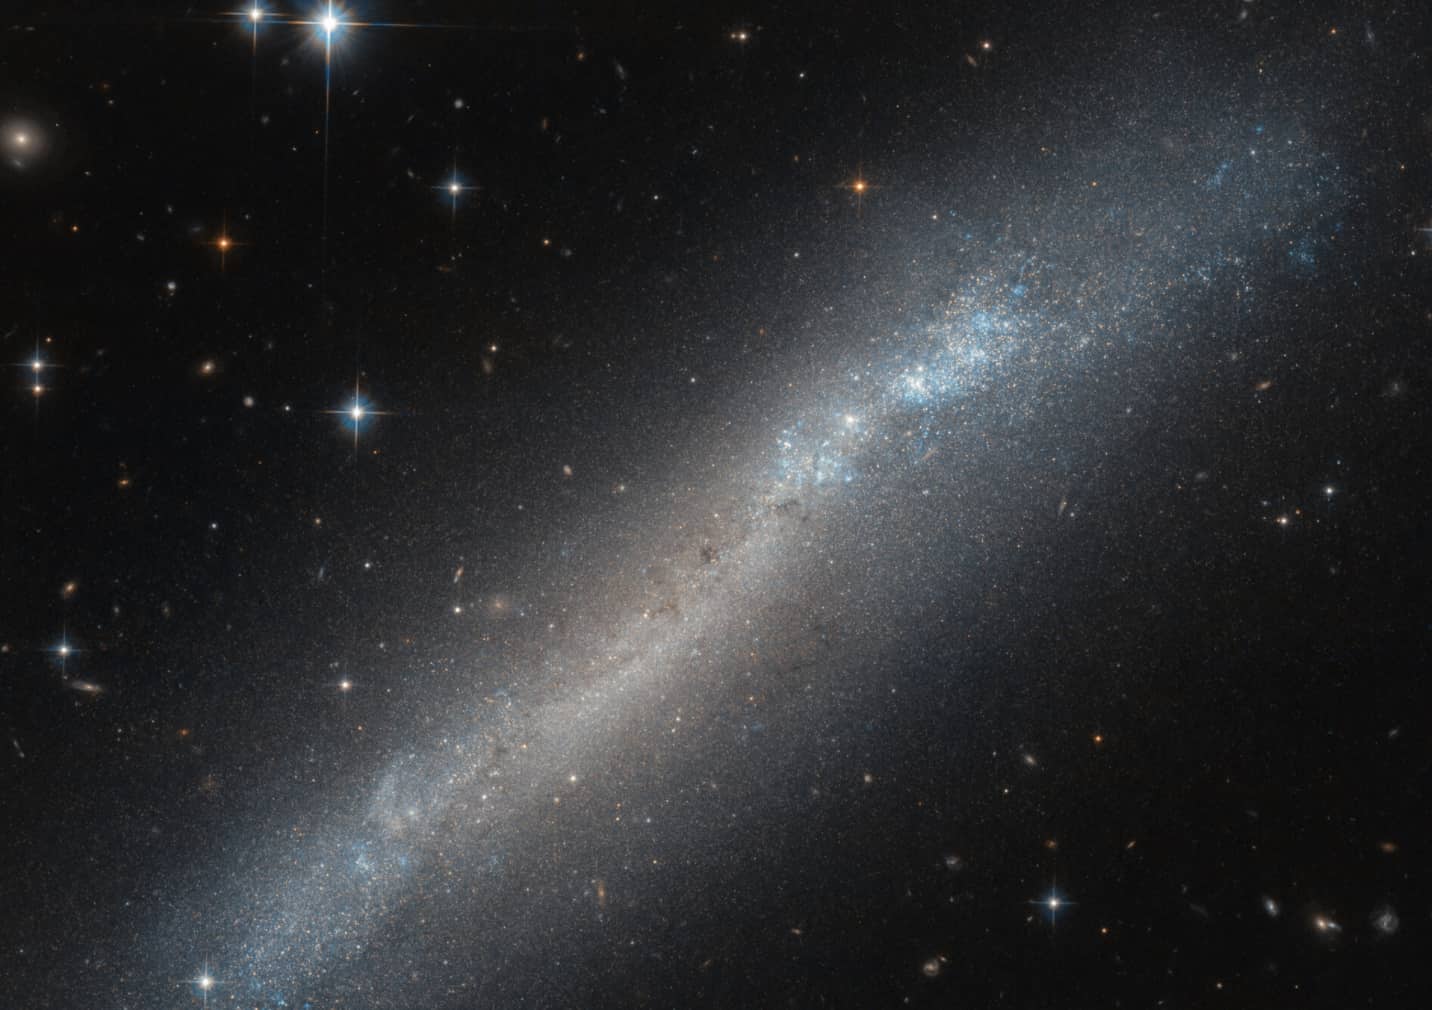
Original Image
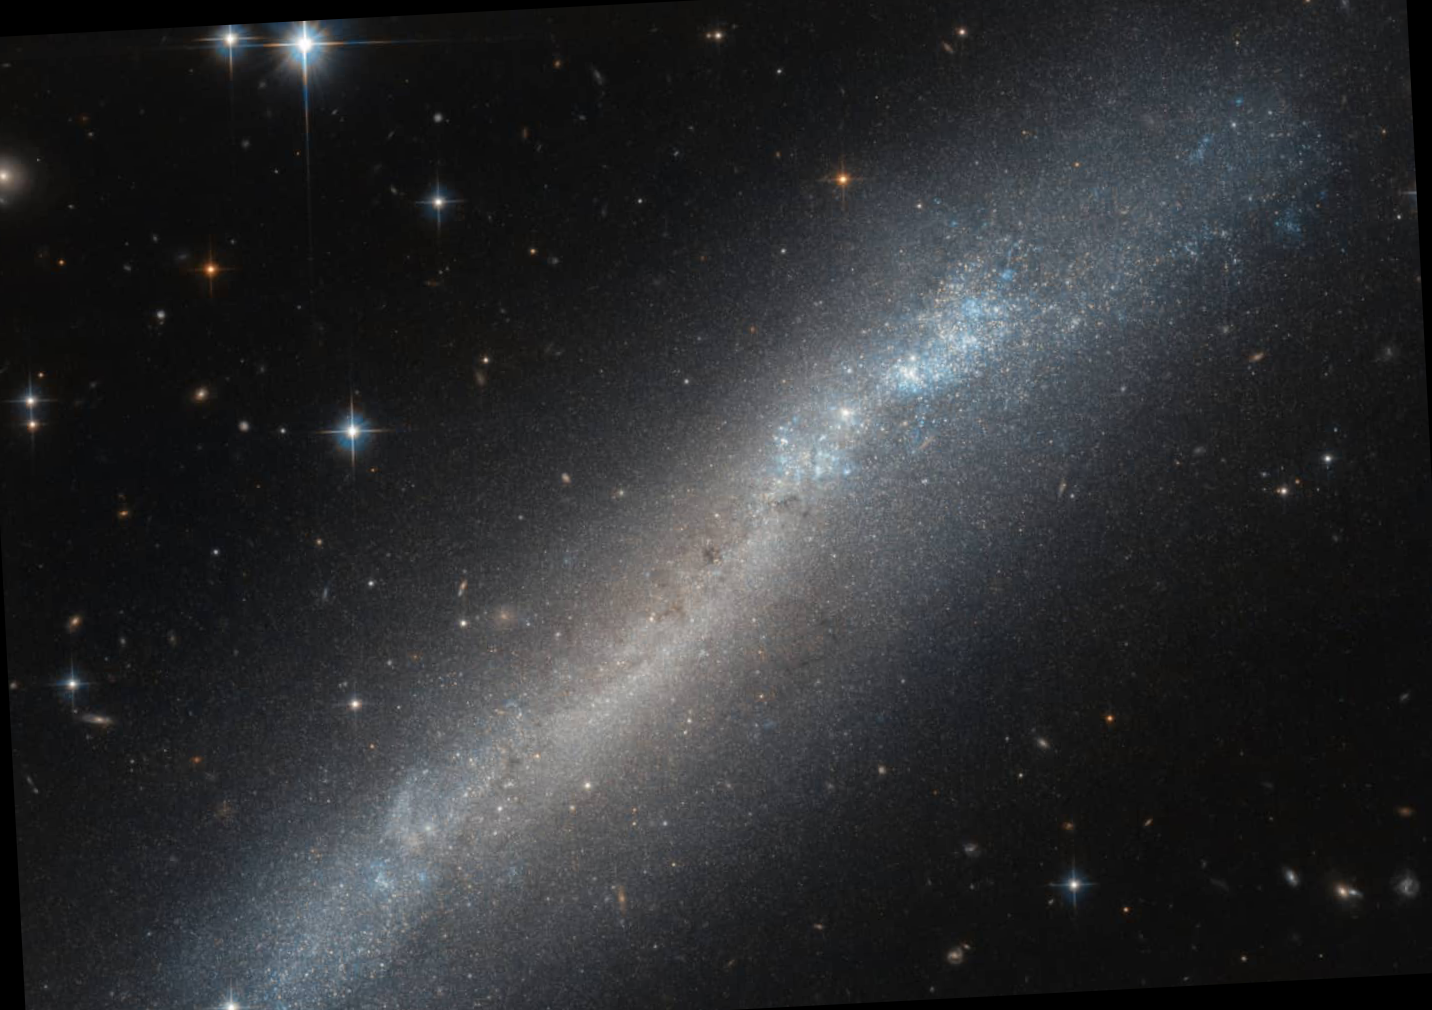
Straightened Image (Failure)
Original -> Straightened
Image "Sharpening"
Since the convolution between a gaussian filter and original image would yield the low-frequency part of an image, we could use it to perform a preliminary sharpening on a blurred image. By subtracting low frequency part of the image from the original image, we are left with only high frequency part of the image. Although we may lose some information during this process, the image would look sharper to our eyes.
Blurred taj
Sharpened taj (Unnormalized)
Sharpened taj (Normalized)
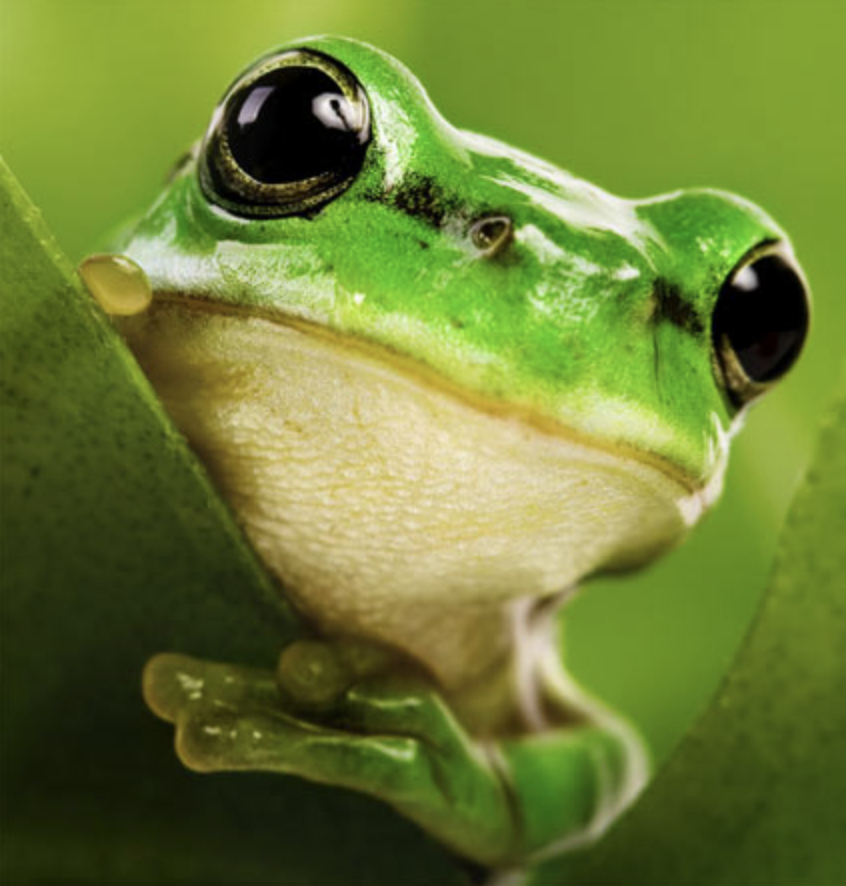
Blurred Frog

Sharpened Frog (Unnormalized)
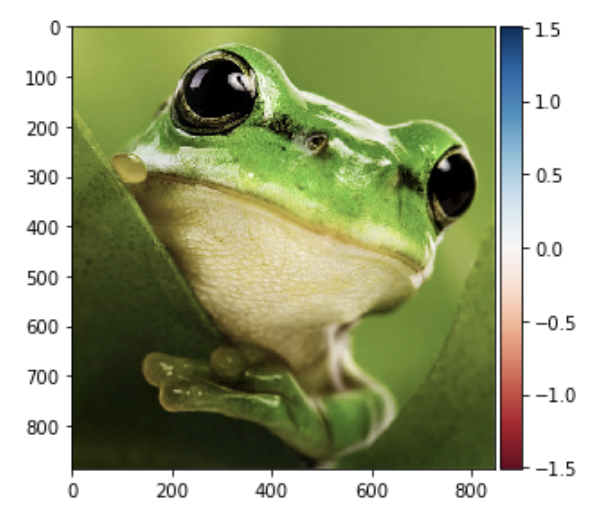
Sharpened Frog (Normalized)
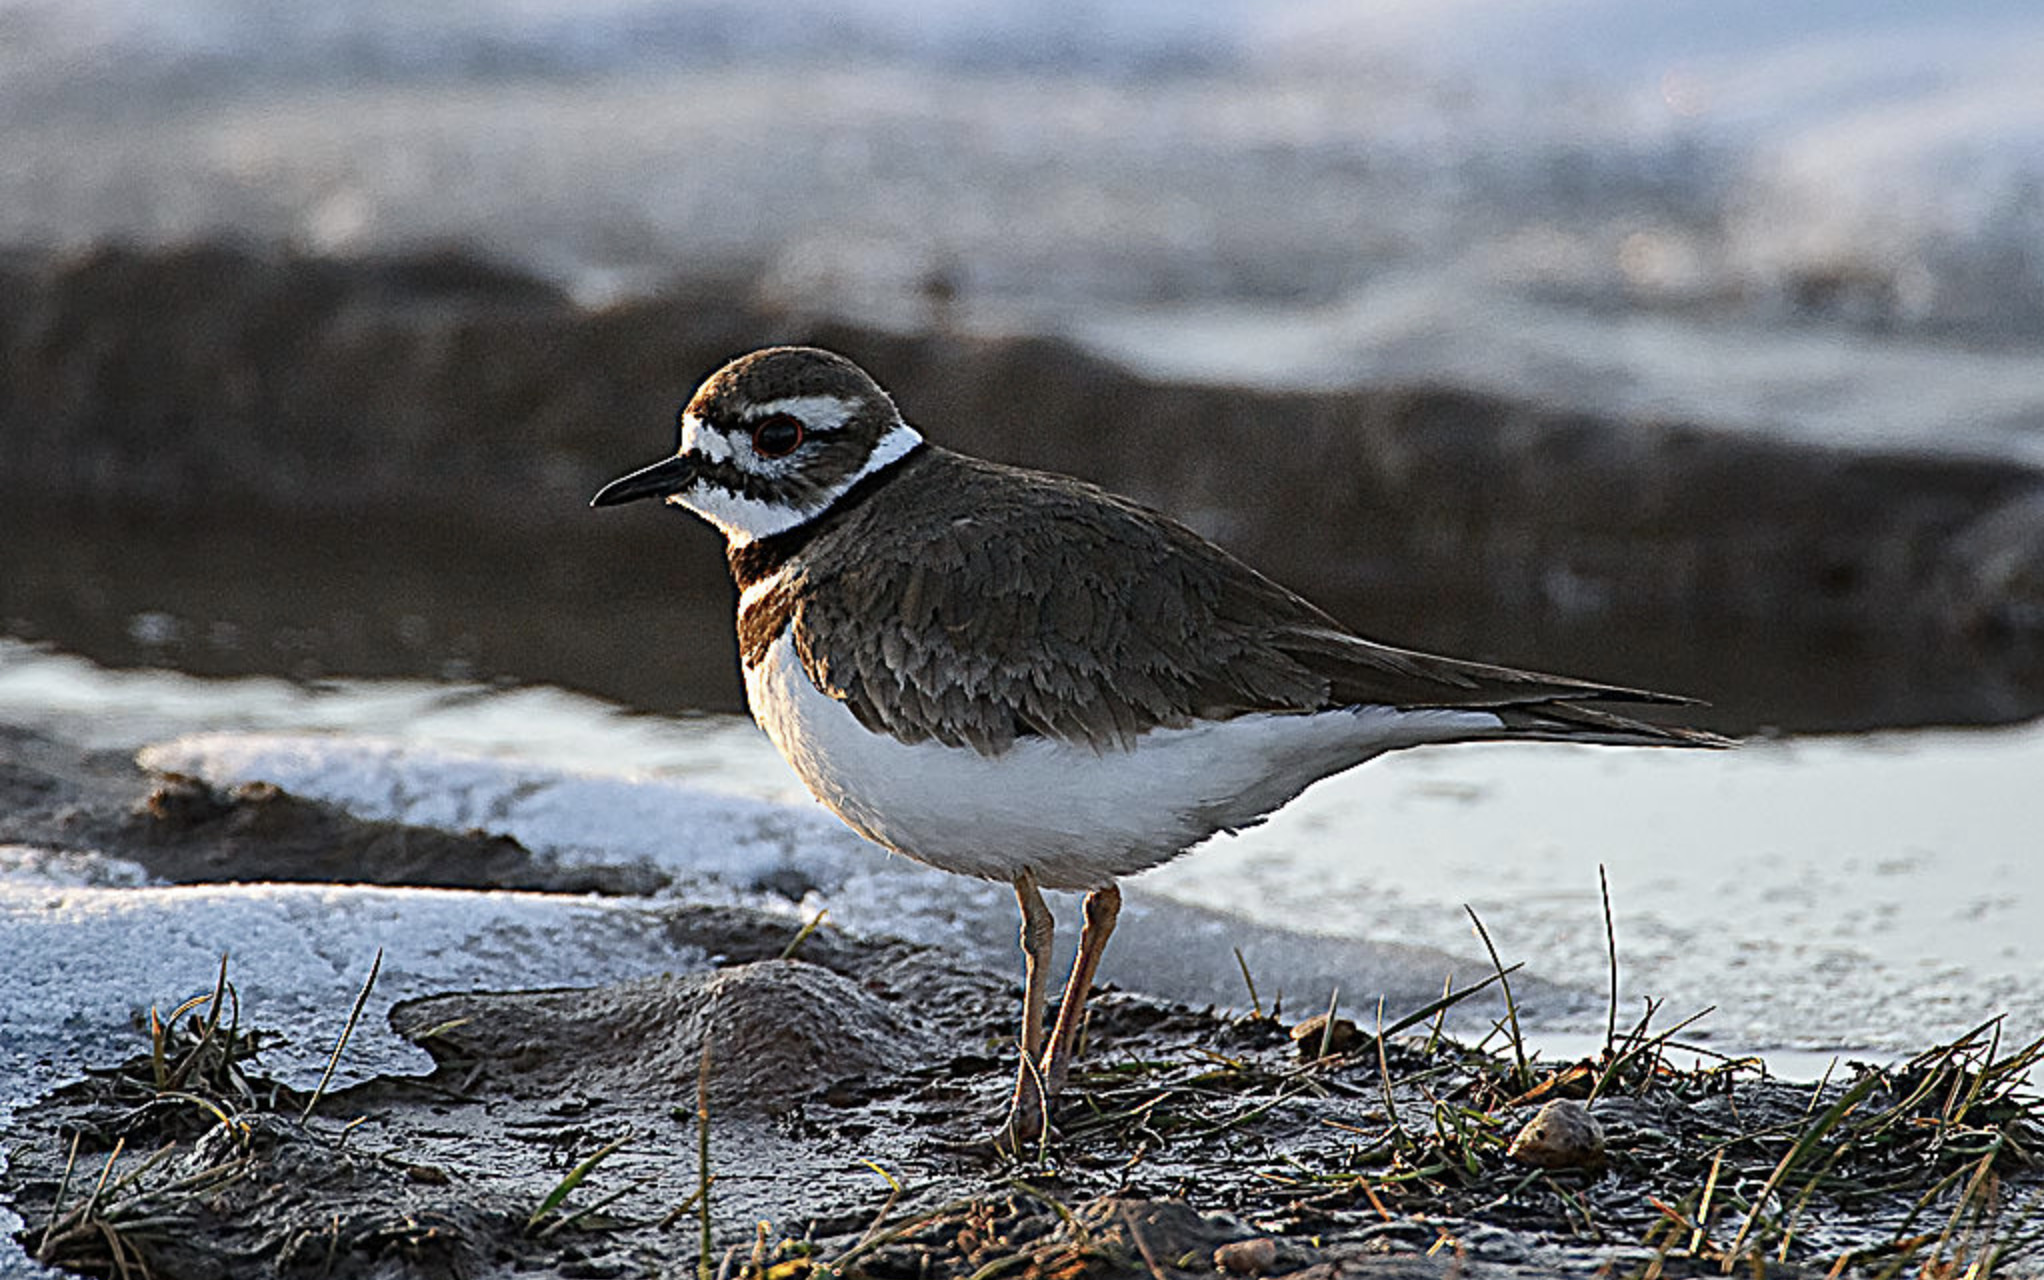
Bird (Original)

Bird (Blurred)
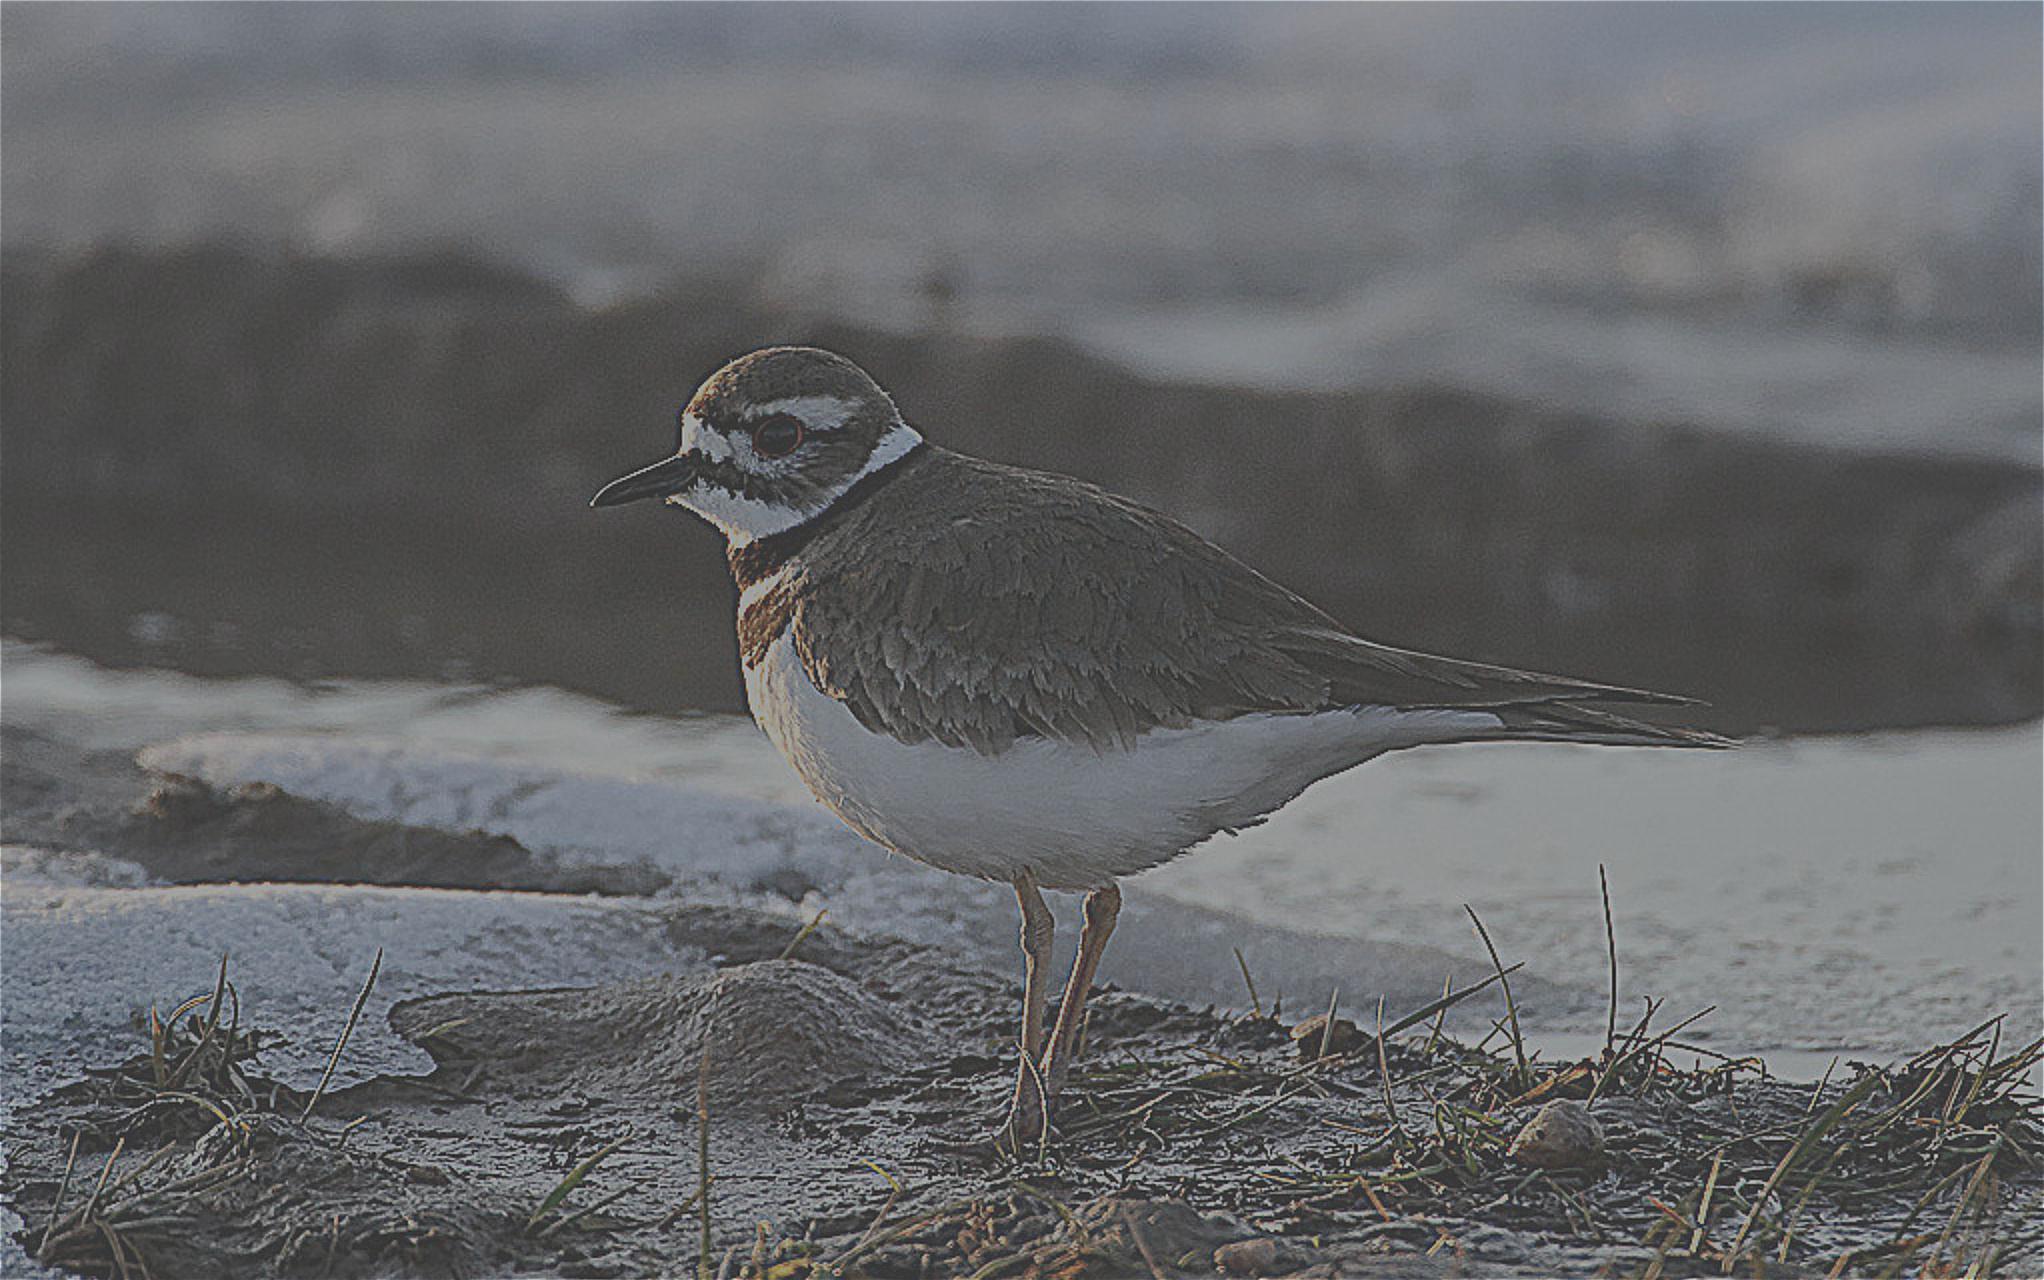
Bird Re-Sharpenend (Unnormalized)
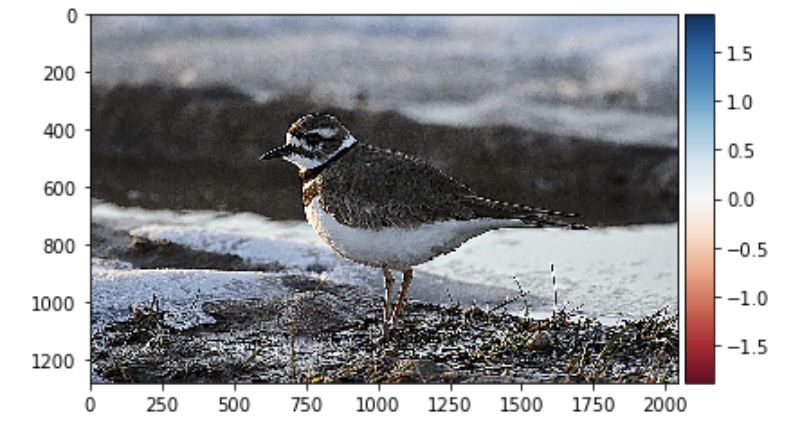
Bird Re-Sharpenend (Normalized)
Hybrid Images
In this part, we use gaussian and laplacian filters to generate hybrid images . After making perceptual alignment for two images, we extract low-frequency part from one of the image and the high frequency part of the other by applying corresponding filters. By combining parts with different frequencies, we would see one image at close while see another image in distance as our sensitivity to image frequency changes. This approach works well for images taken from the front and images with similar background brightness; however its effects is not ideal when images are taken from other angles or with various background brightness, of which more tweaking is neededto show a better result.
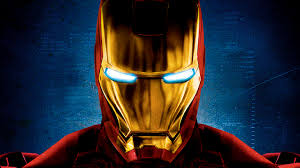
Iron Suit
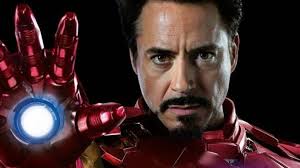
RDJ
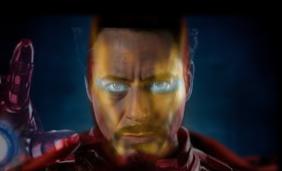
Iron Man
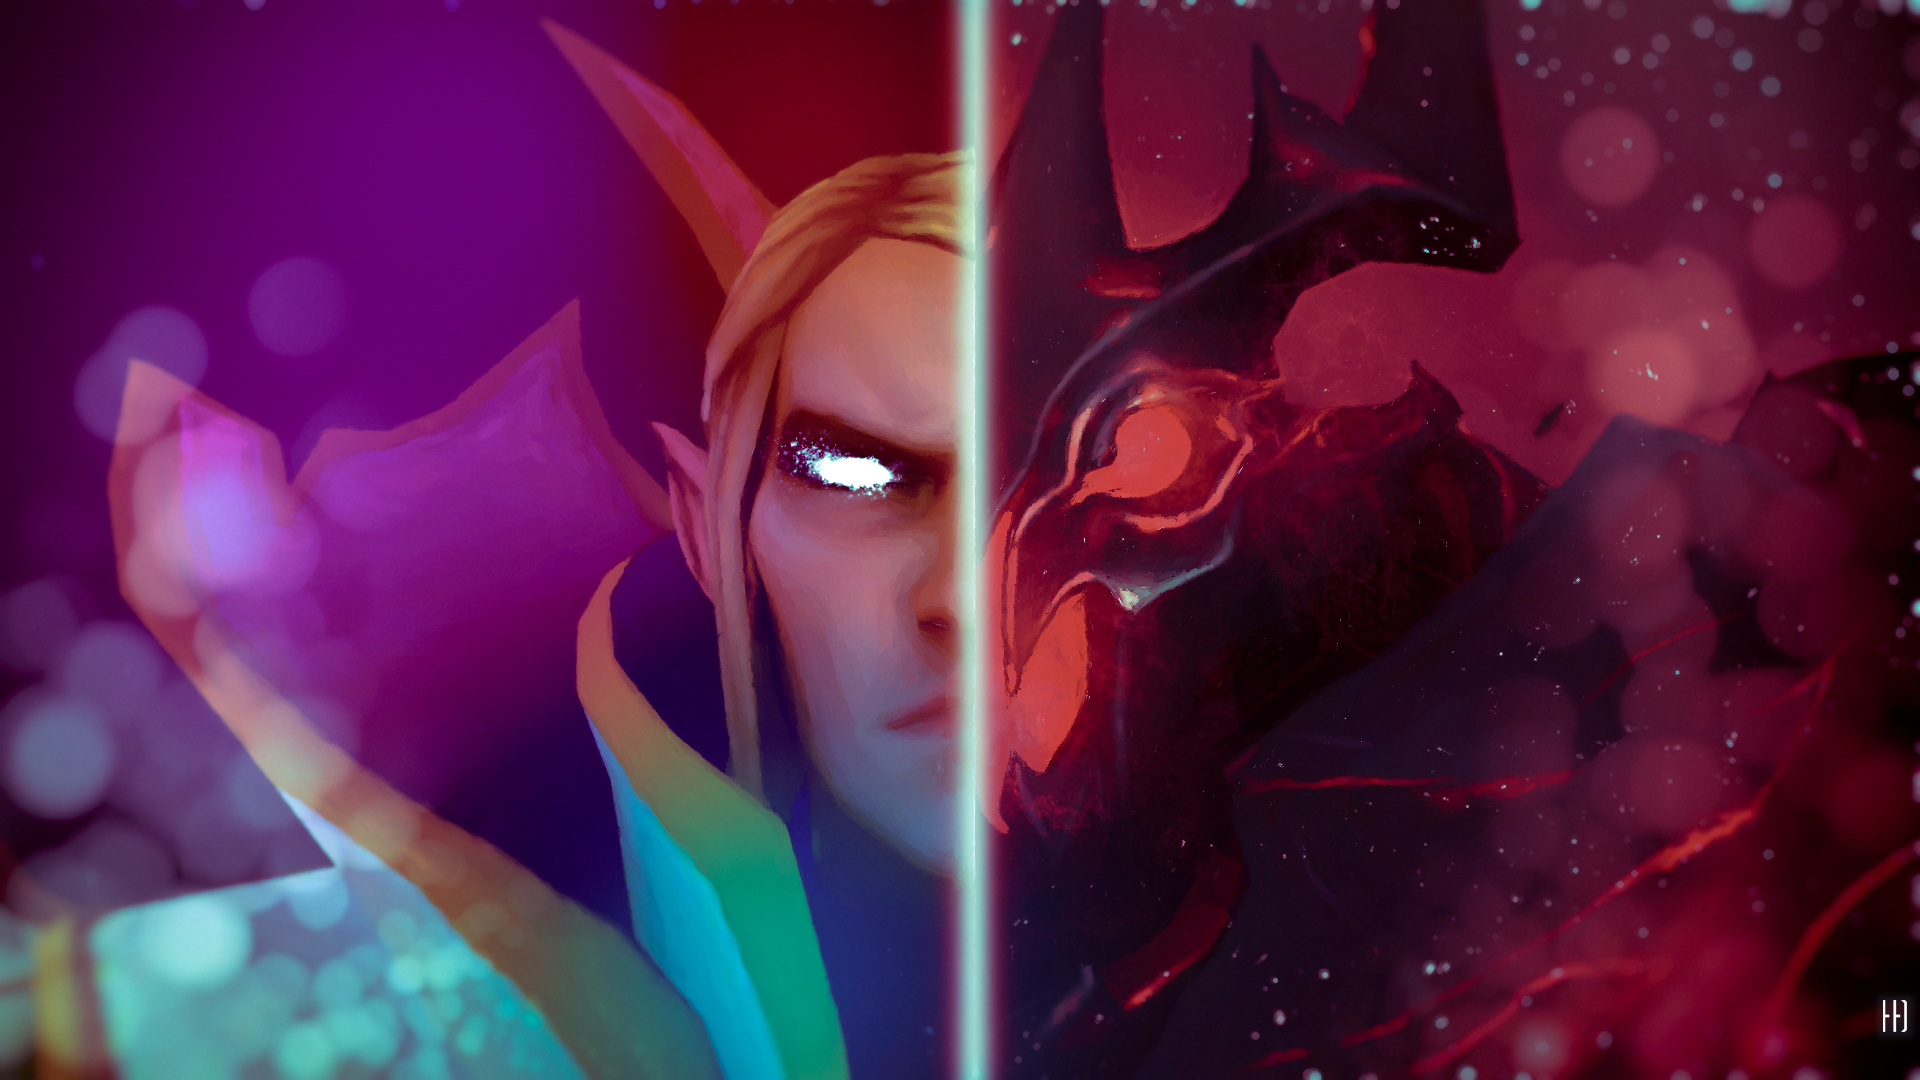
Invoker & SF
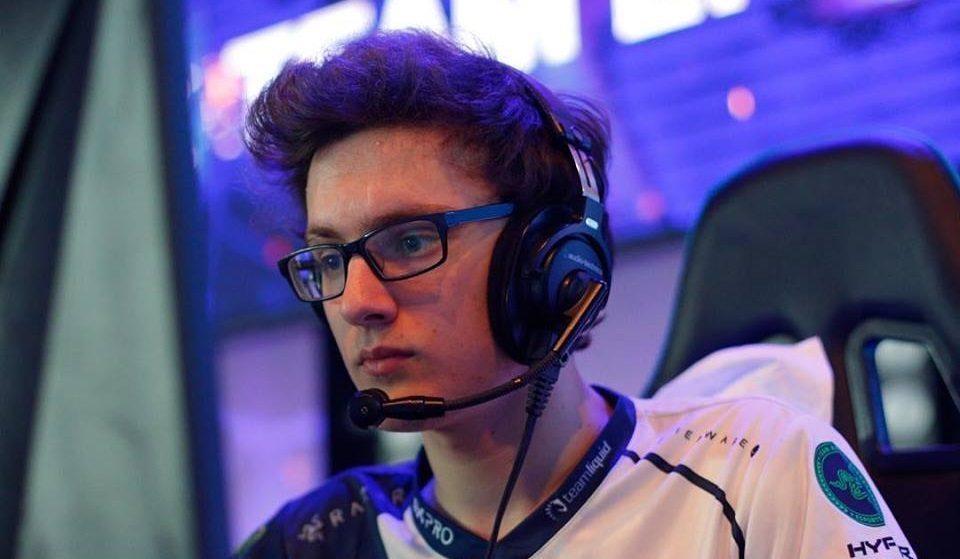
Miracle
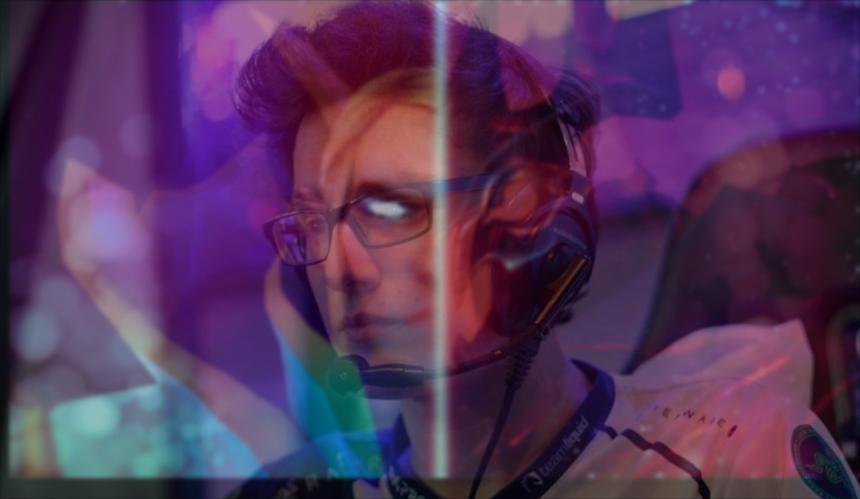
As One! (But failed..)
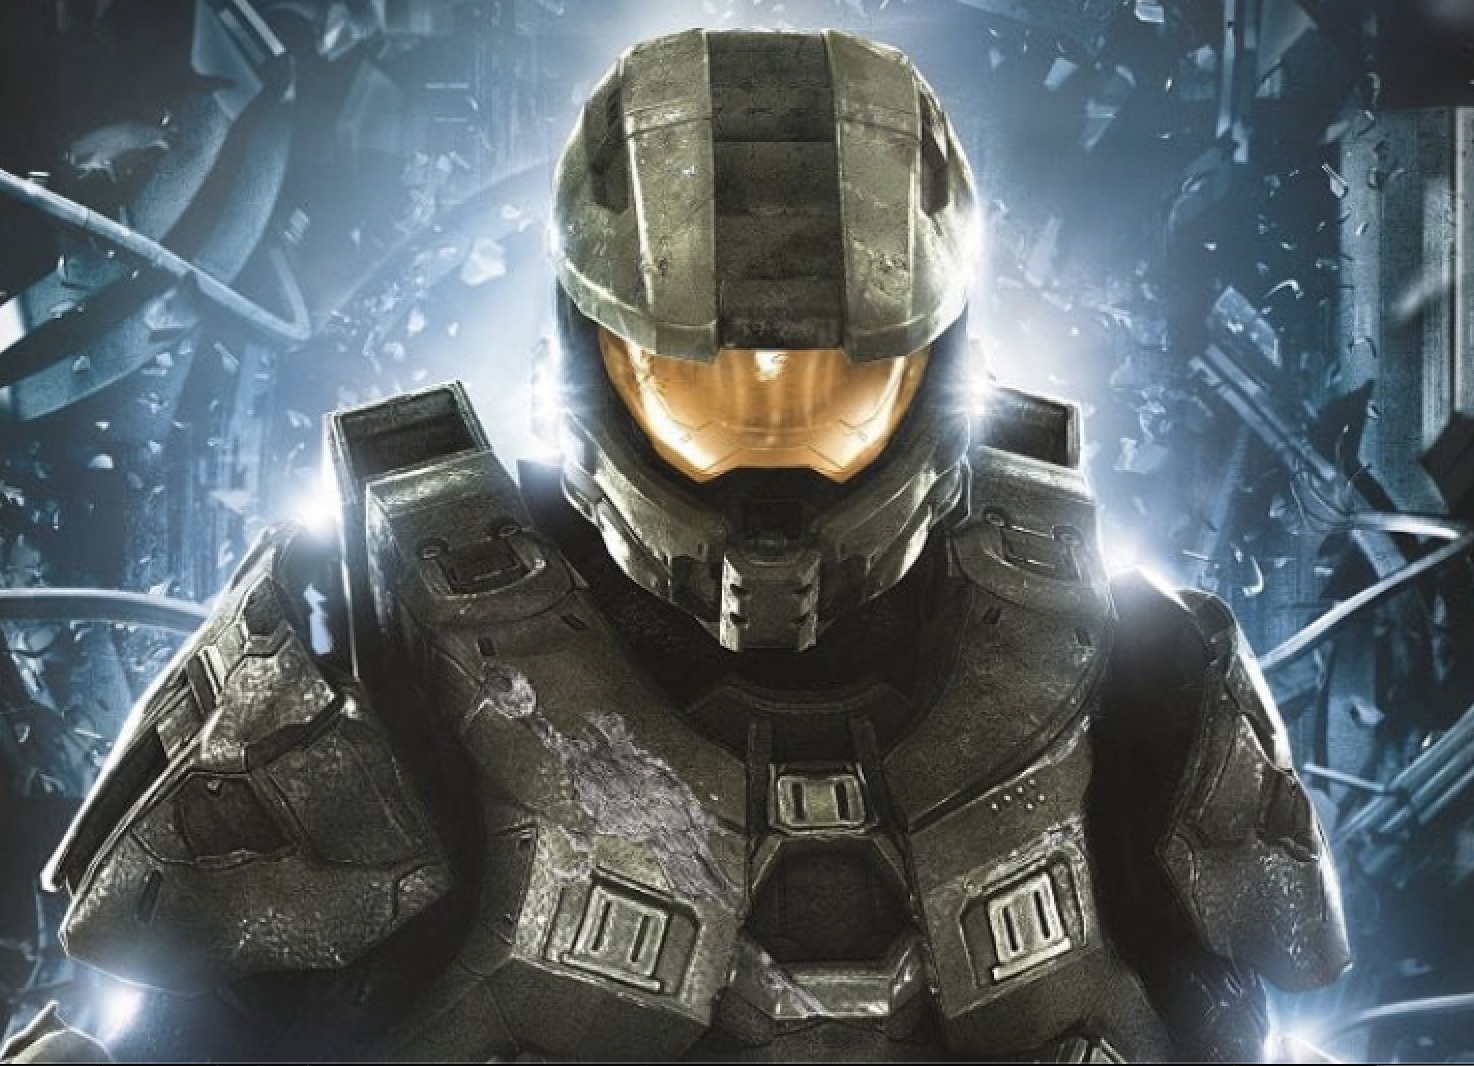
Master Chief
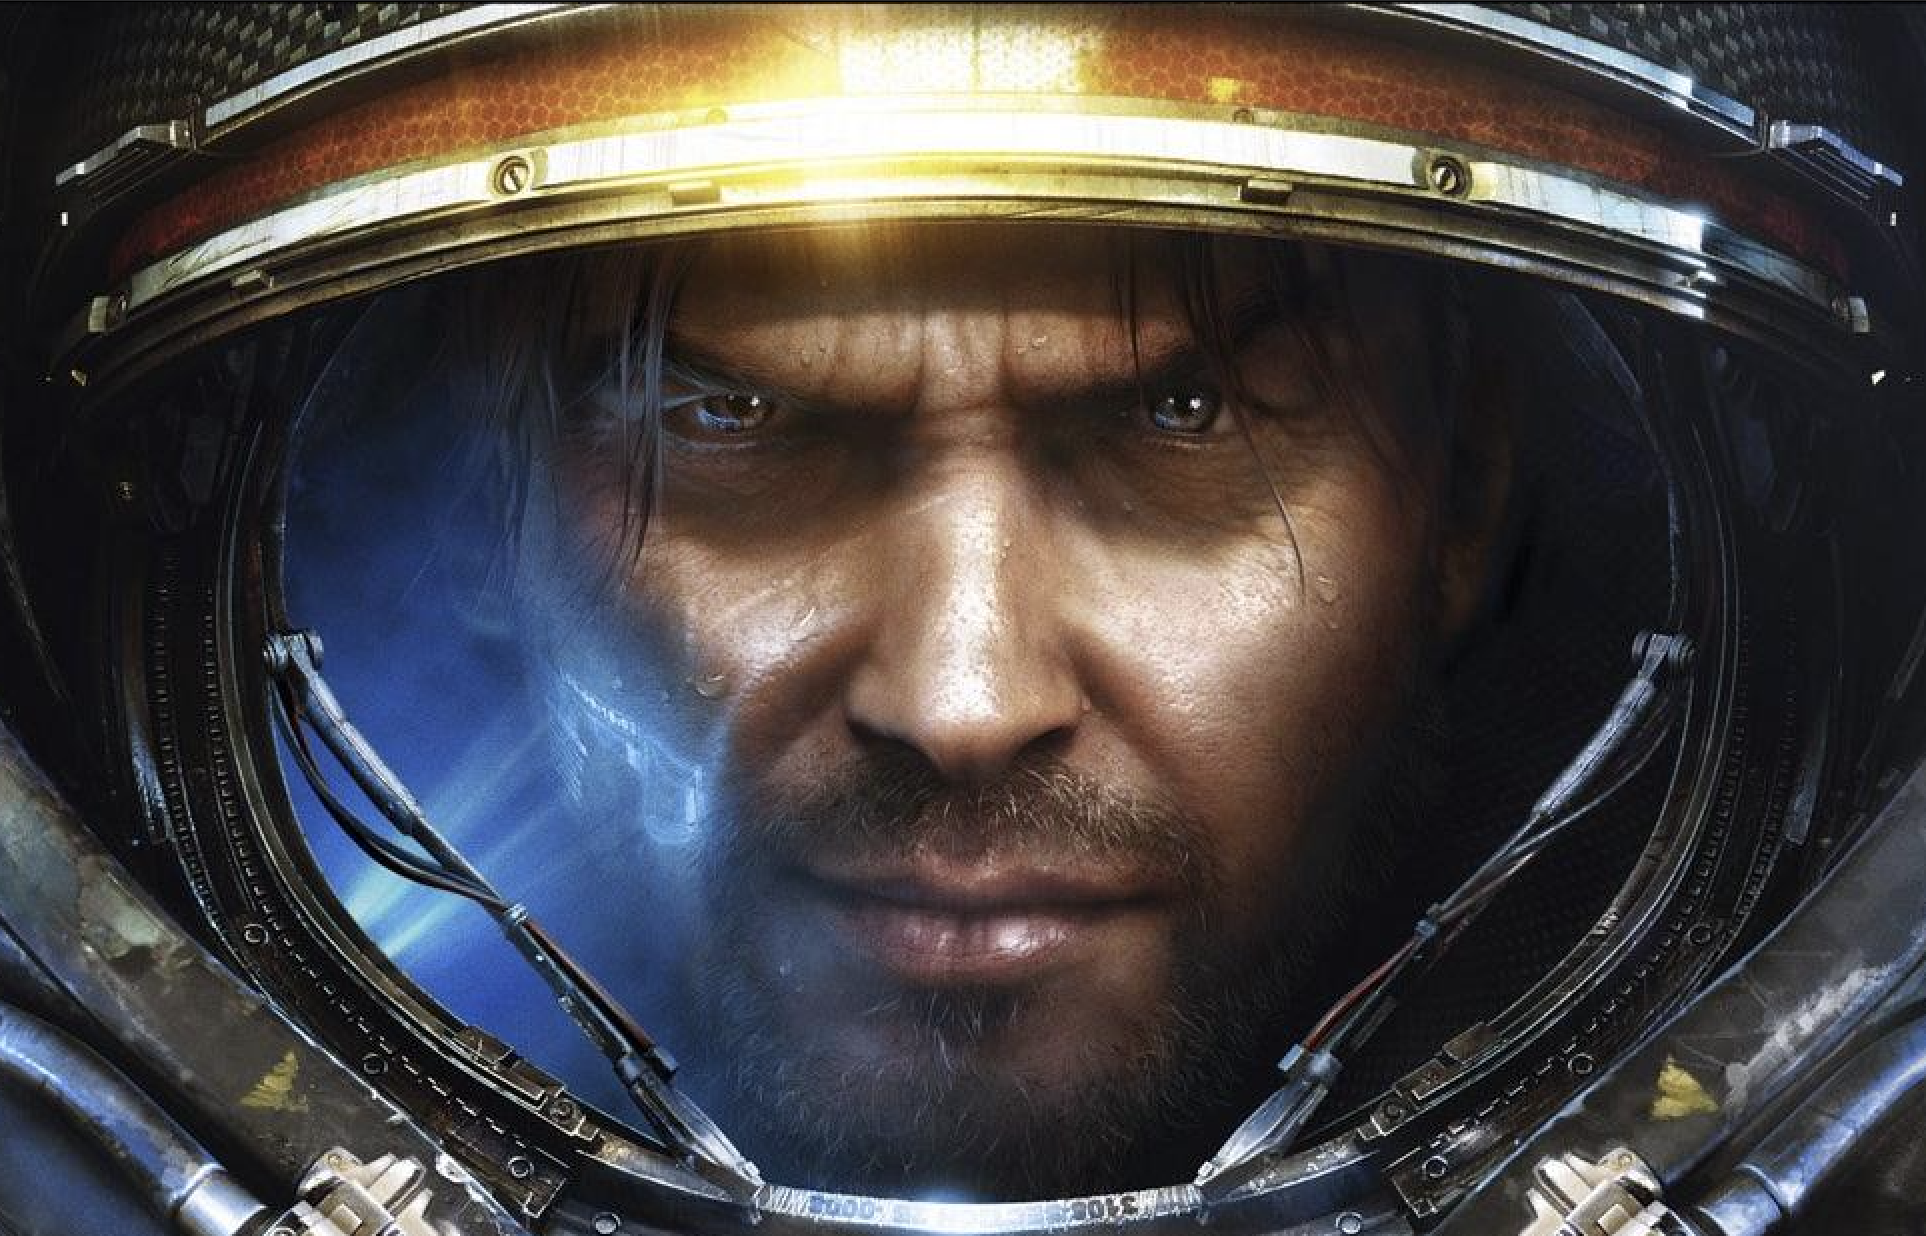
Jim Raynor
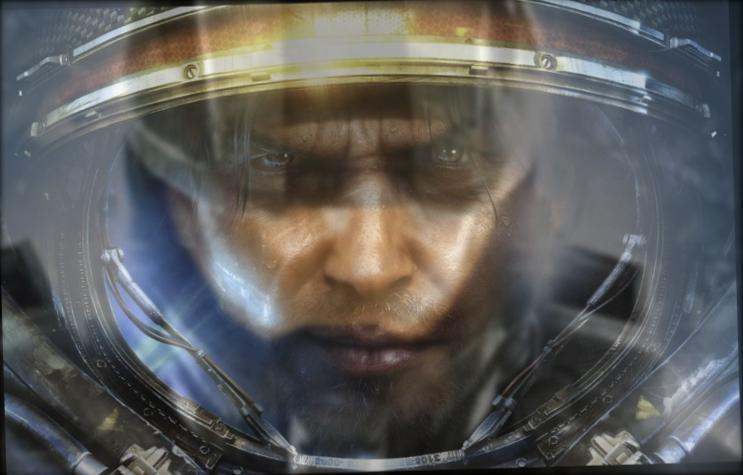
It's about time
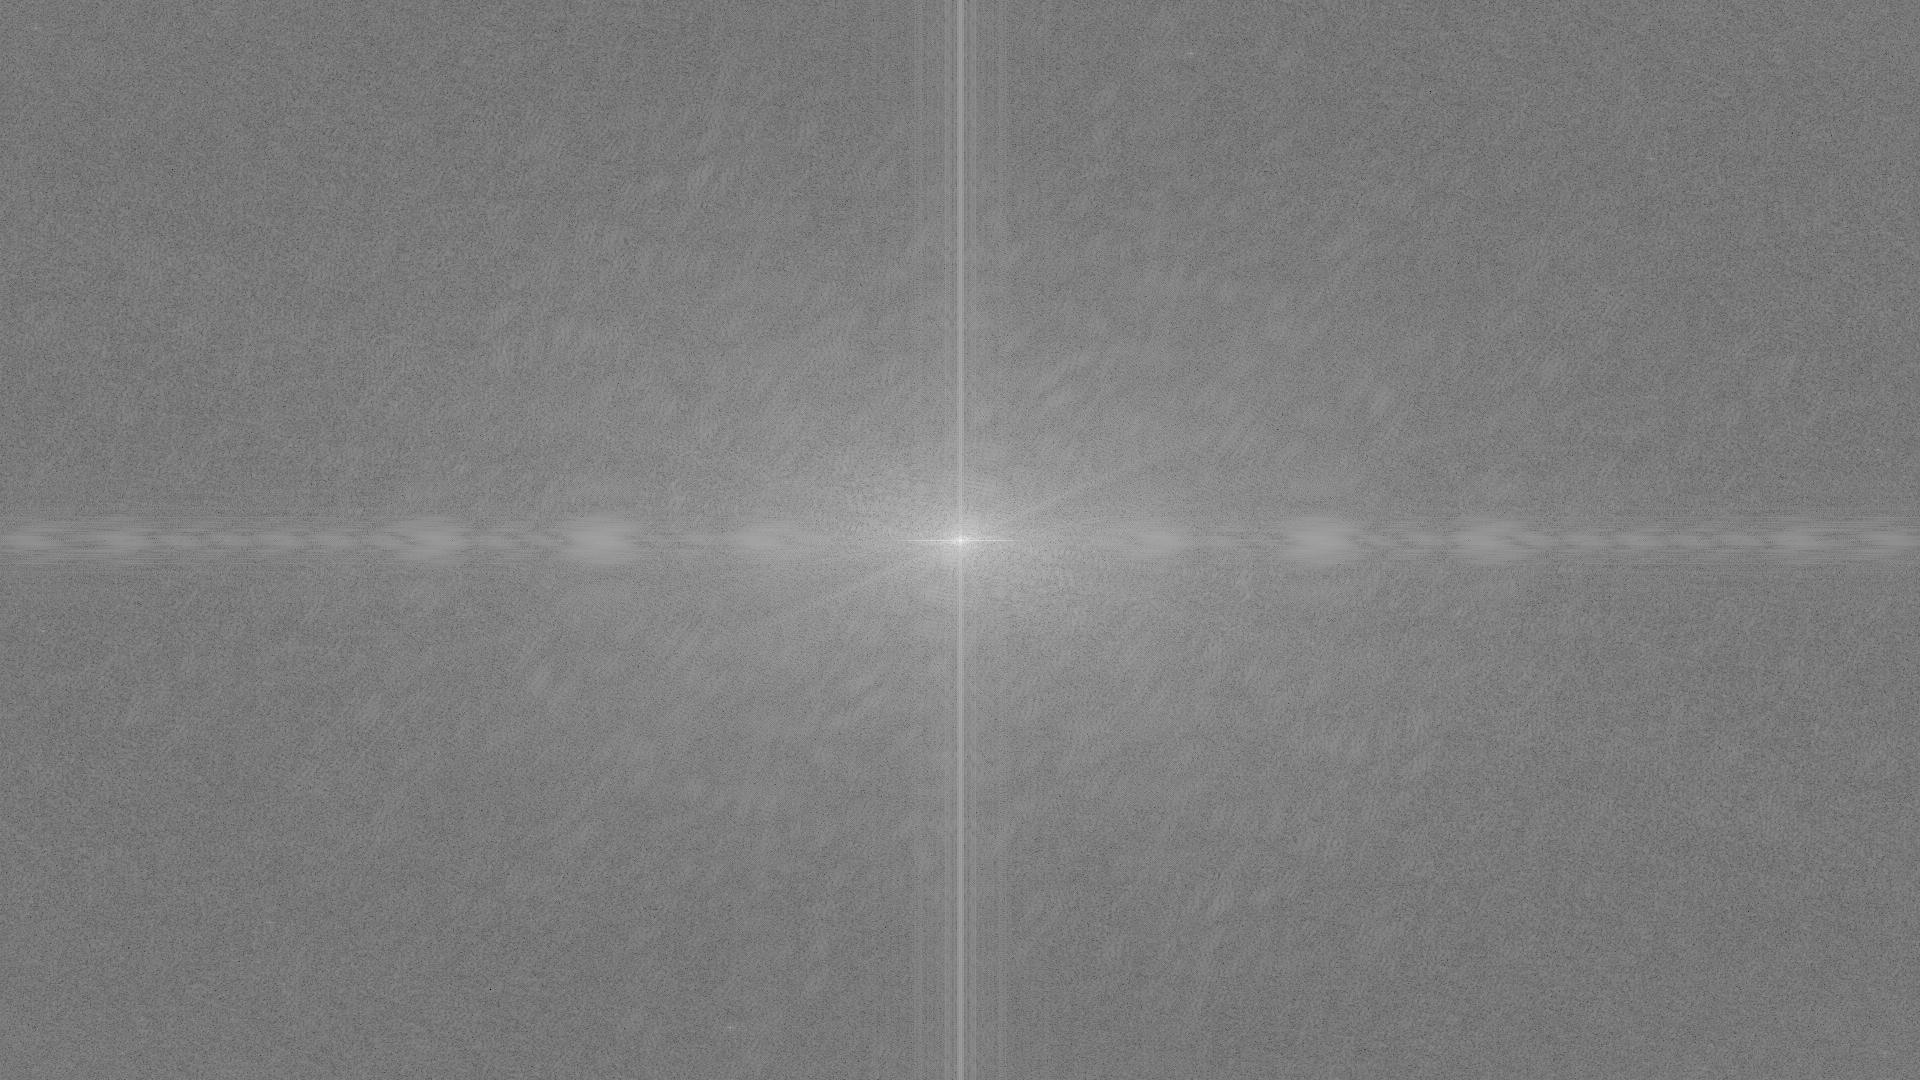
FFT of Image-1
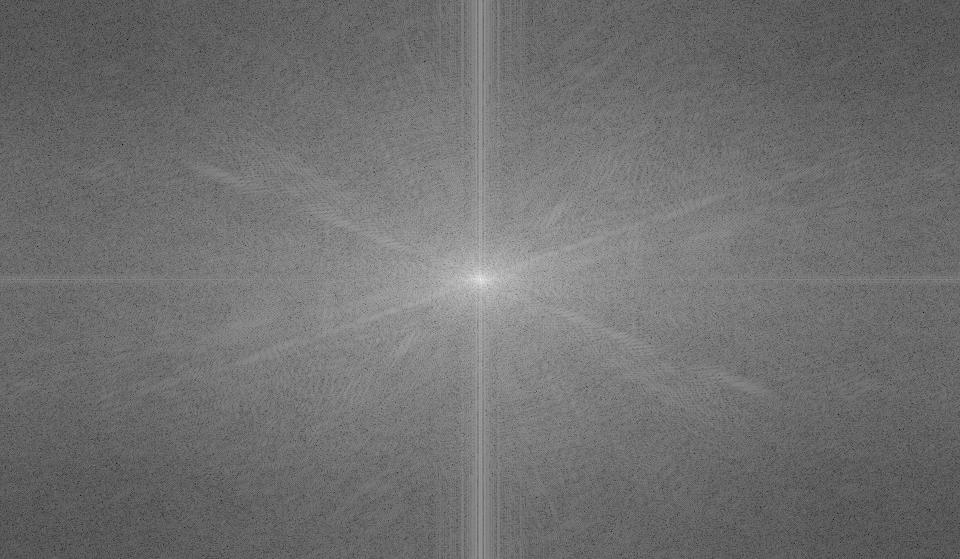
FFT of Image-2
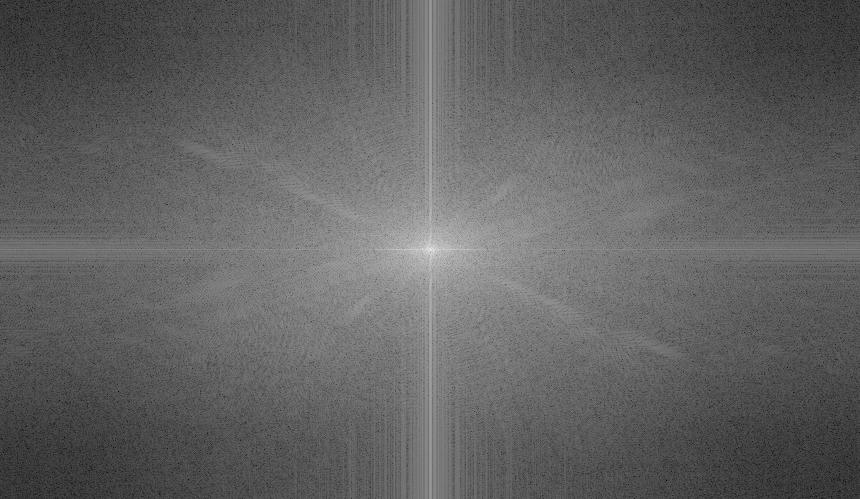
FFT of Hybrid Image
Gaussian and Laplacian Stacks
In this part, we are asked to find the gaussian and laplacian stack for images. The Gaussian stack is created by consecutively applying gaussian filter over previously created image while the laplacian stack is constructed by finding out the difference between images in the gaussian stack. In my code, a gaussian filter of size 20 and sigma 2.5 is used to create images listed below. Gaussian filter and the origin,
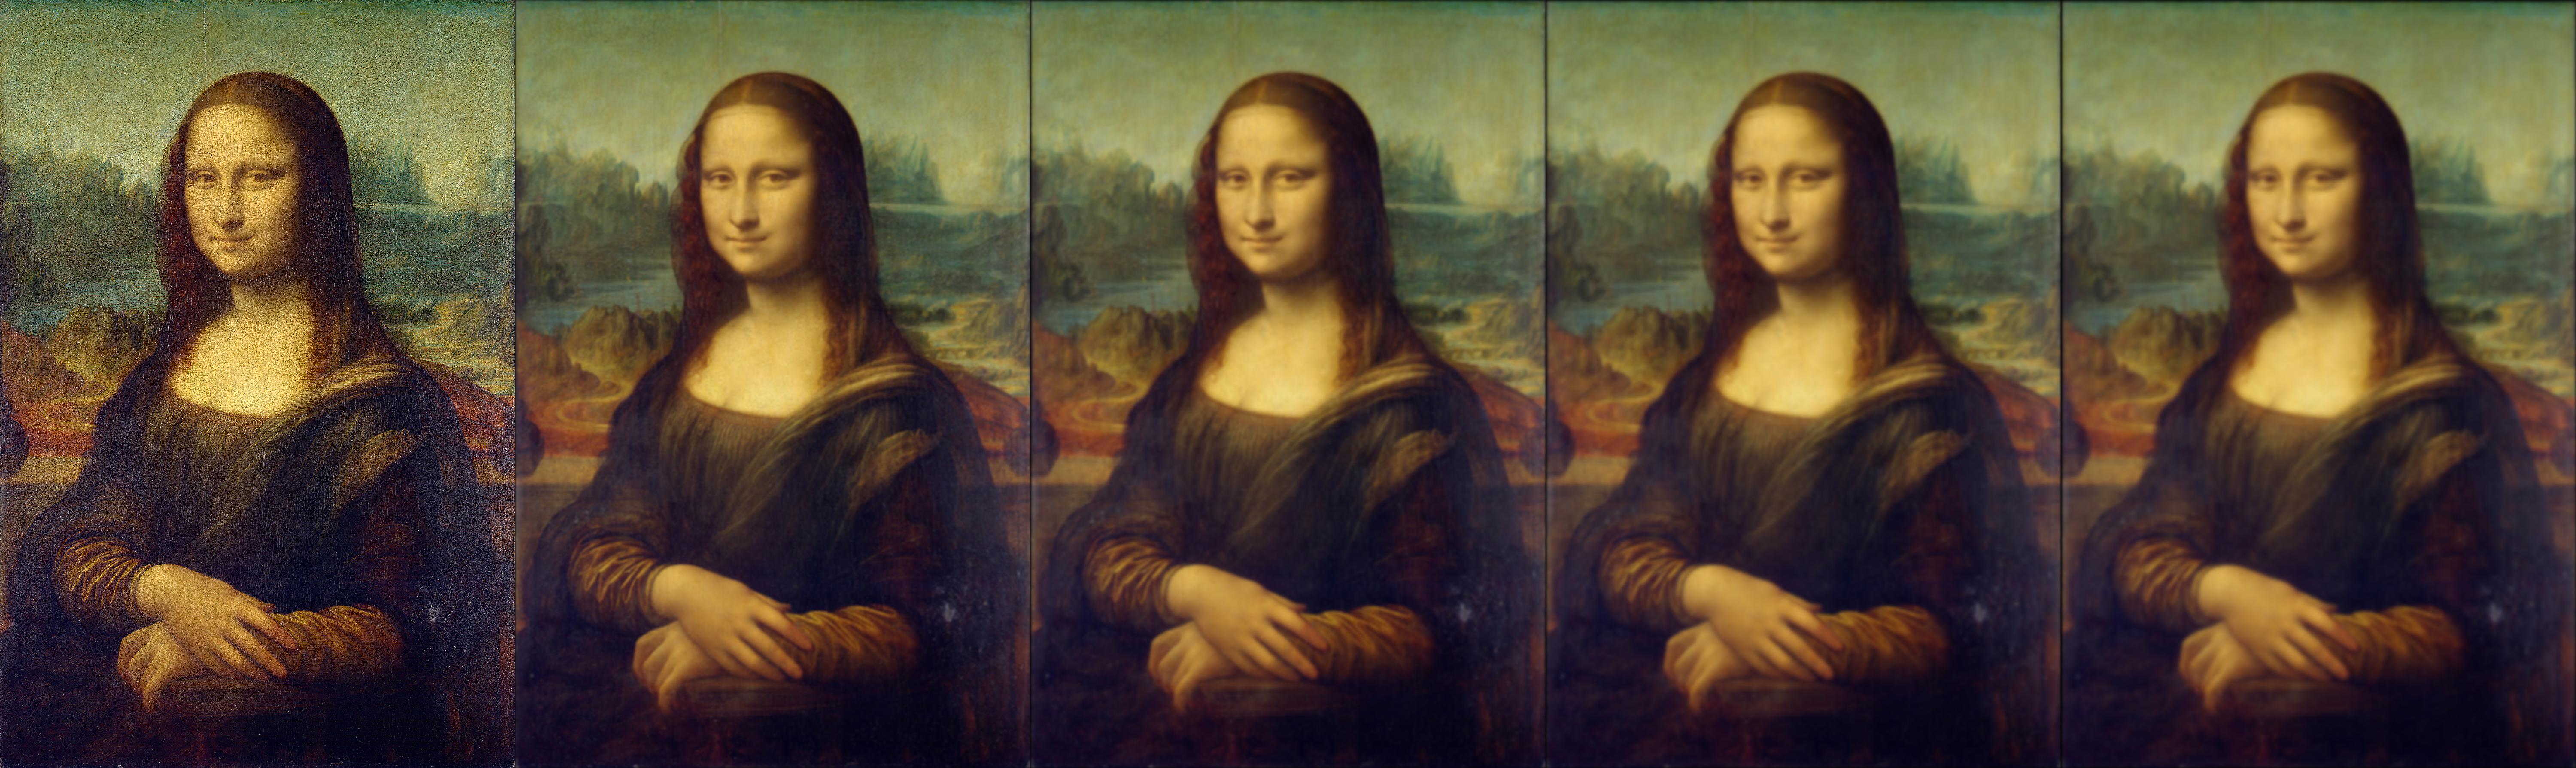
Gaussian Stack of Mona Lisa
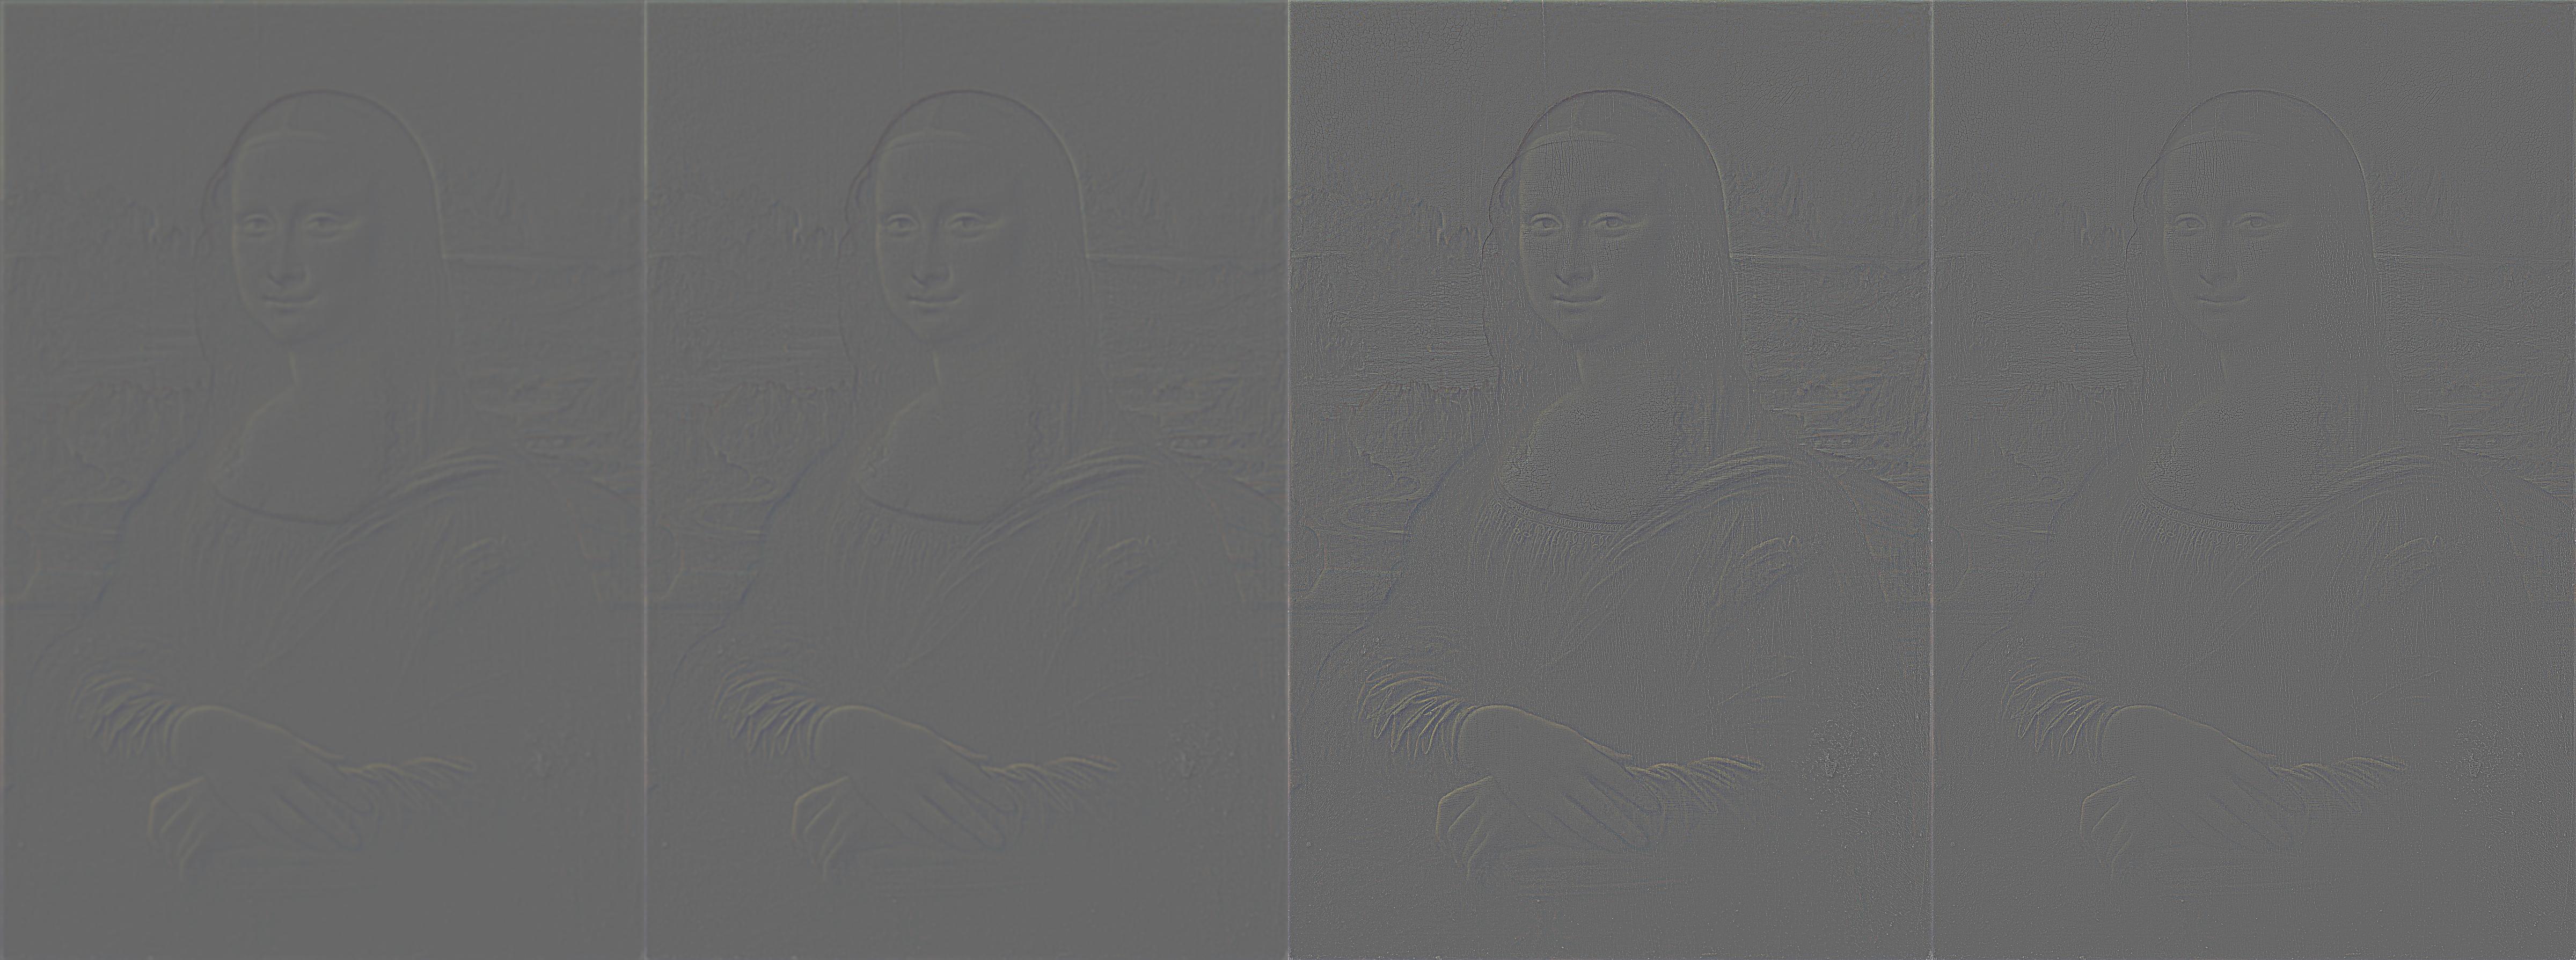
Laplacian Stack of Mona Lisa

The Gaussian stack of Lincoln
The Laplacian stack of Lincoln

The Gaussian stack of Iron Man

The Laplacian stack of Iron Man
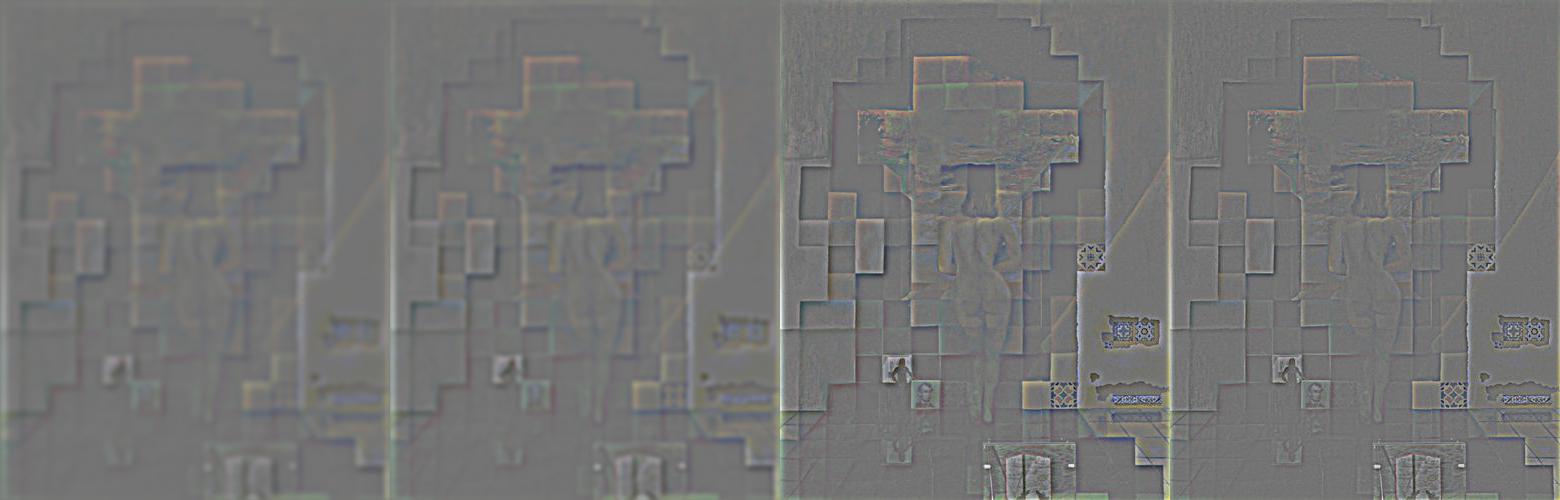
Multiresolution Blending
In this part, we are asked to use the gaussian stack and laplacian stack created in Part 2.3 to do the image-blending. To blend images, we need to find the laplacian stacks as well as the gaussian stacks for both images; we also need to find out the gaussian stack for the mask we use to blend images. With all information collected, we simply use the formula from Burt and Adelson's 1983 paper to compute comprehensive information needed to blend images and then wrap the summed results together with the last stack from both images' gaussian stack, which guides the contours for colors.

Apple

Orange
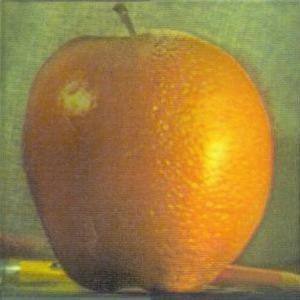
Apple-Orange-blend!

Sea
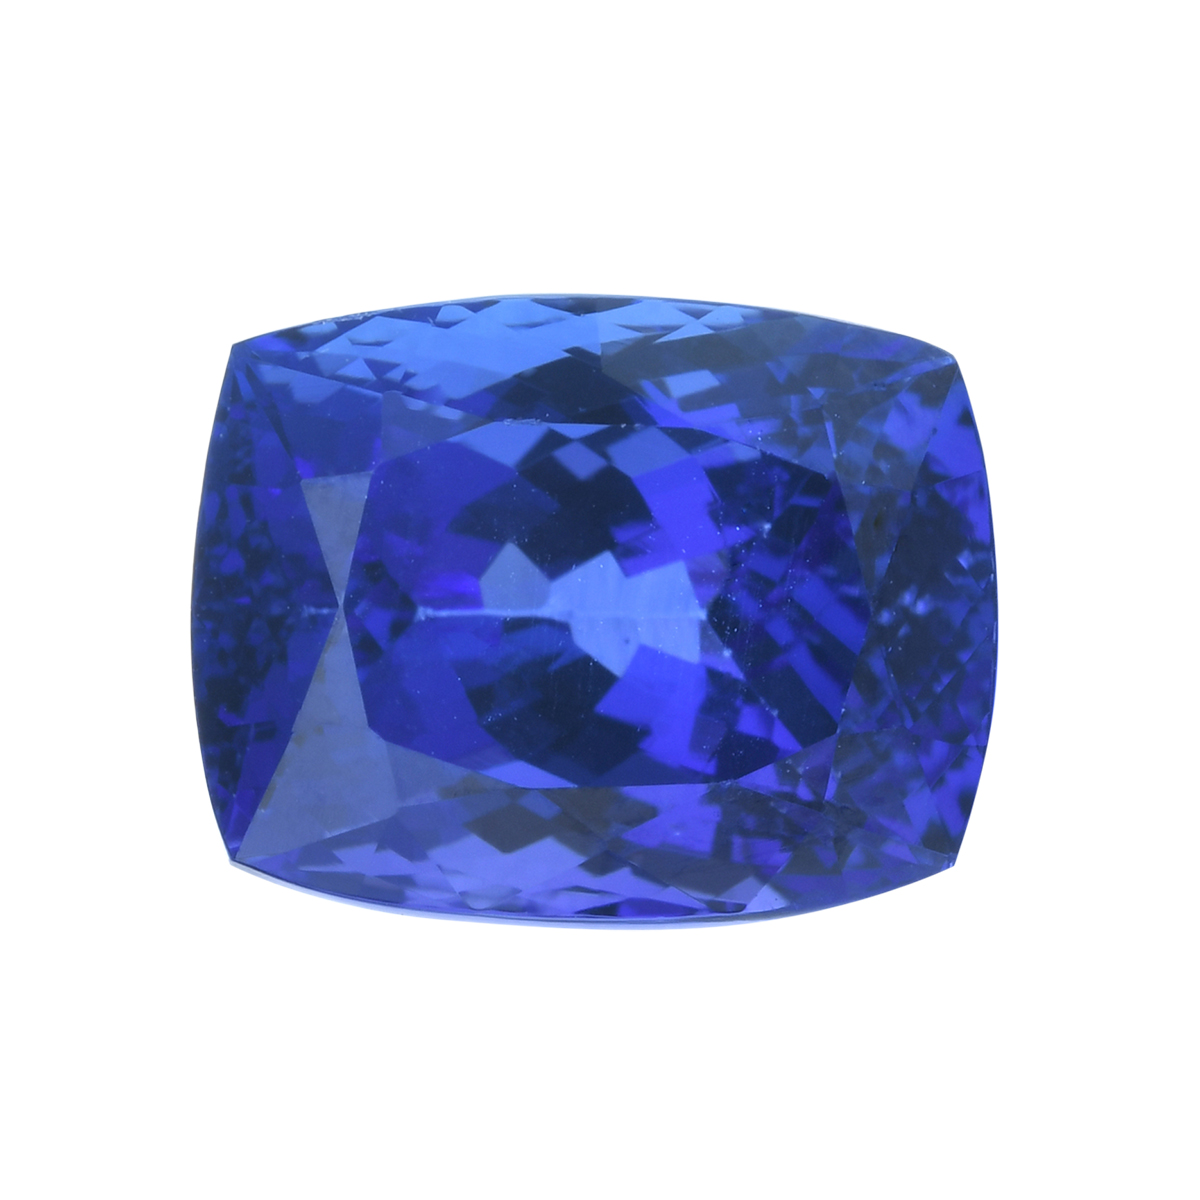
Sapphire
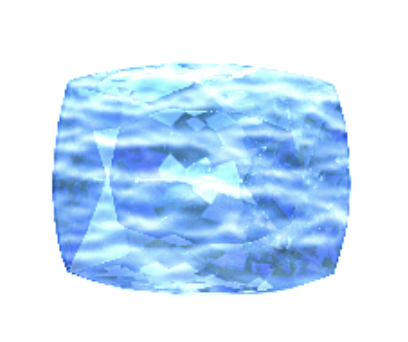
Flowing Gem!

The Apporange Mask
The Sea-Sapphire Mask
Conclusion
By interacting with images and techniques introduced in this project, I had a more thorough understanding towards human's visual perception: it relies heavily on the images' frequencies and orientations. By altering frequencies over different parts of the images, we would be able to change what audiences see and understand. Its applications over image compressing would also be profound.