Overview
When it comes to photo manipulation, filters are versatile tools we can use to quickly extract and alter image features. In this project, I will showcase how filters can be used to find edges, implement auto straightening, and isolate frequencies to blend photos together.
Part 1: Fun with Filters
1.1: Finite difference Operator
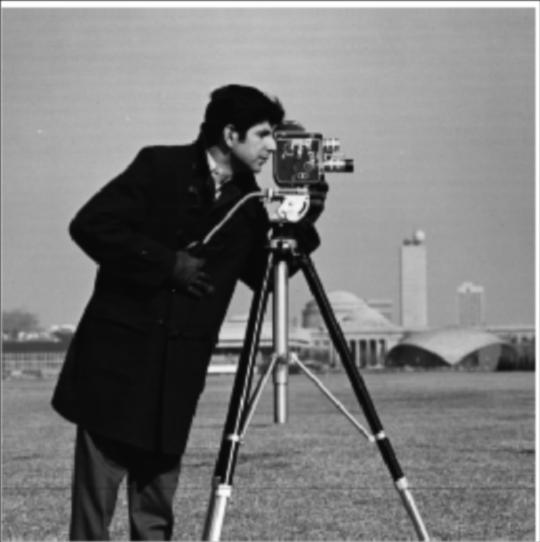
First, we apply the finite difference operators Dx and Dy to our image. By using convolution, Dx and Dy act as filters to extract the vertical and horizontal edges from the photo, respectively. Convolution with Dx and Dy yields the partial derivatives of the photo, and will reveal where large changes across pixel values occur in the image, i.e around edges.
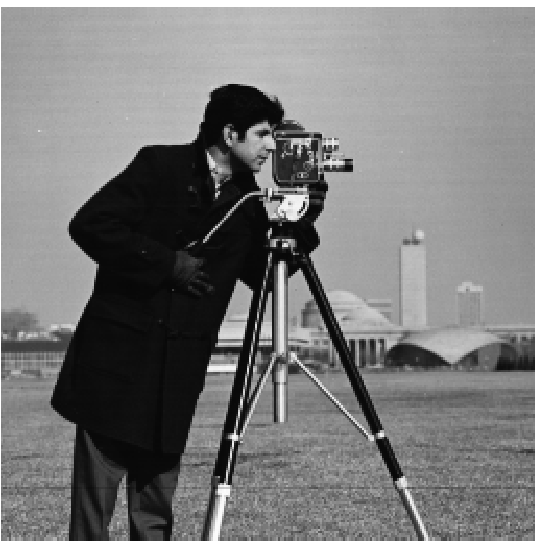 Original image.
|
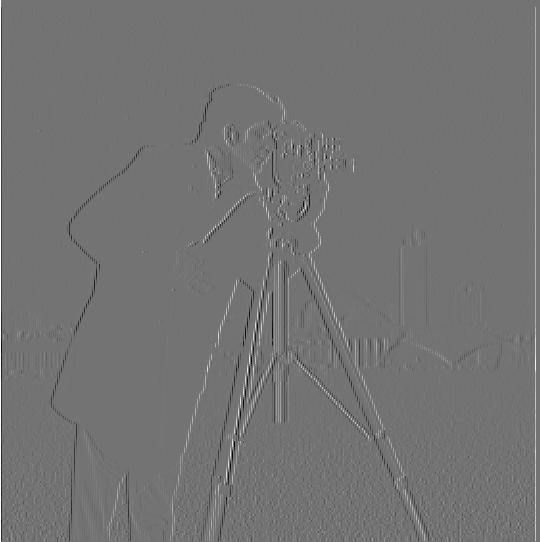 Dx convolution (vertical edges).
|
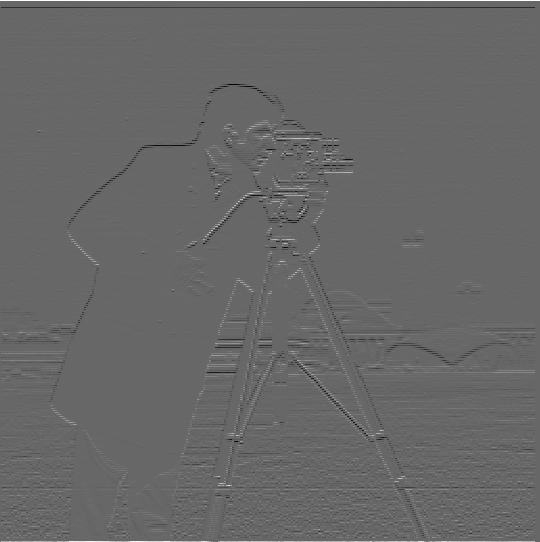 Dy convolution (horizontal edges).
|
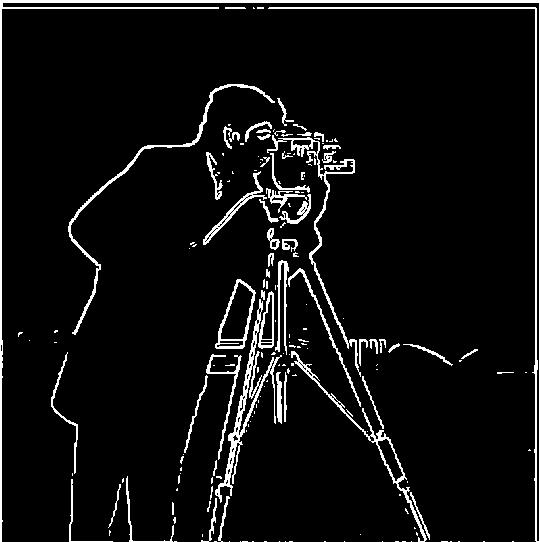
We use our results with Dx, Dy, to find the gradient magnitude of the image, which shows us the largest rate of change of intensity around each pixel. While this shows us the edges of the image, there is still noise included as well. To get rid of the noise we binarize the image.
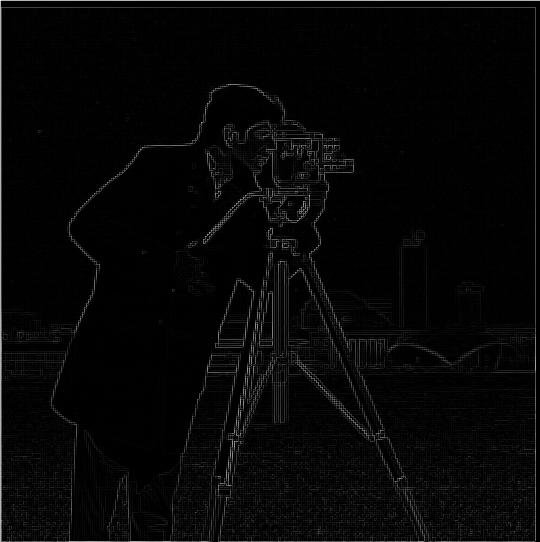 Gradient magnitude.
|
 Binarized.
|
1.2: Derivative of Gaussian (DoG) Filter
To get an even clearer image of the edges, we blur the image with a gaussian filter before applying the difference operators, again using convolution. Due to the associativity of convolution, we can convolve the gaussian with the finite difference operators before convolving with the image to get the same result. Again, we find the gradient magnitude and binarize the image.
 Blurred image.
|
 First gaussian, then dx dy.
|
 Gaussian and dx dy.
|
 Dx with gaussian.
|
 Dy with gaussian.
|
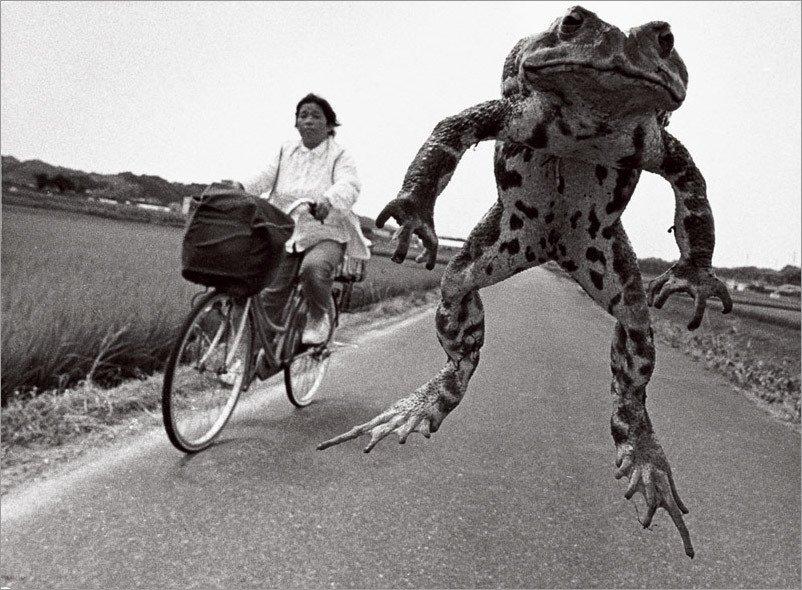
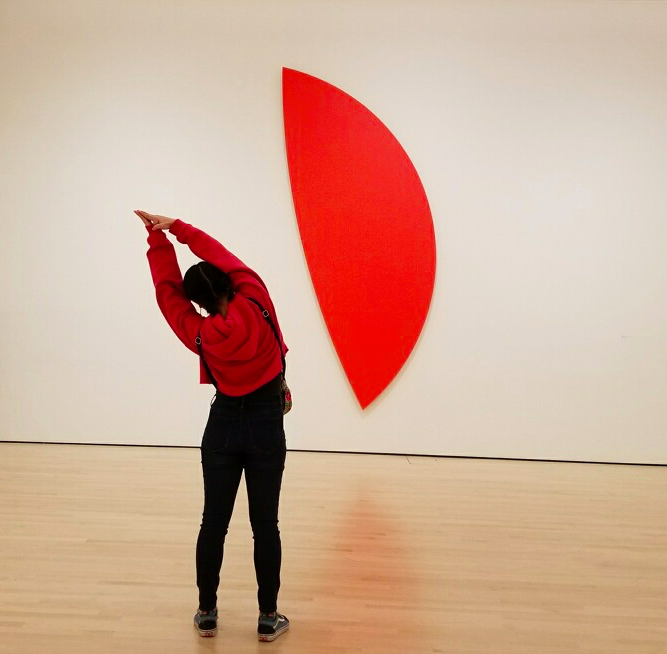
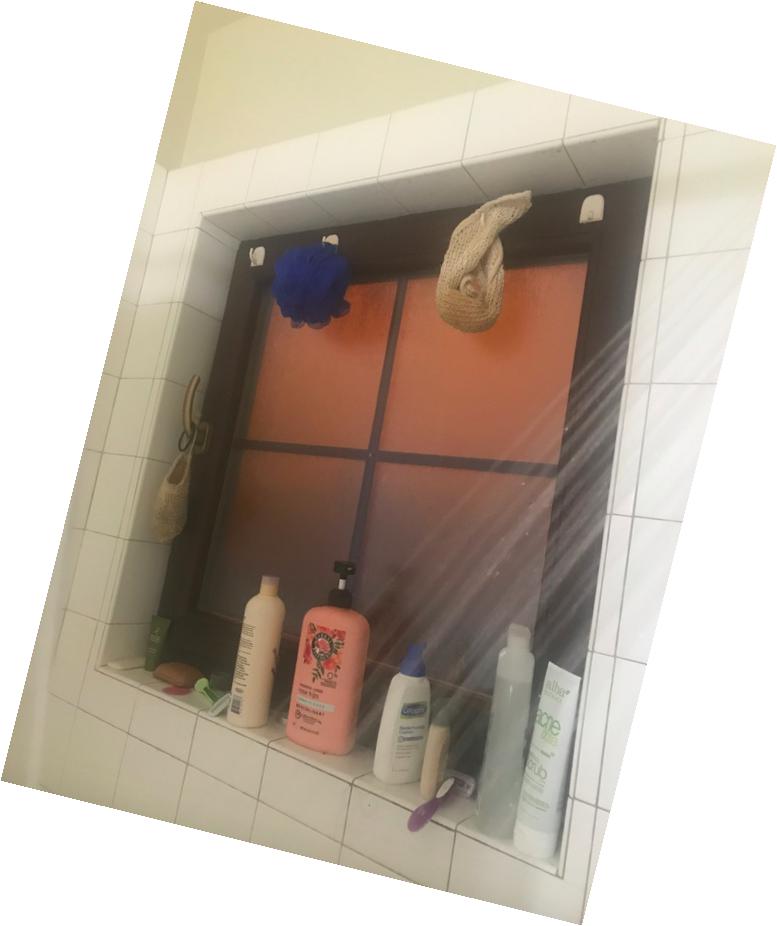
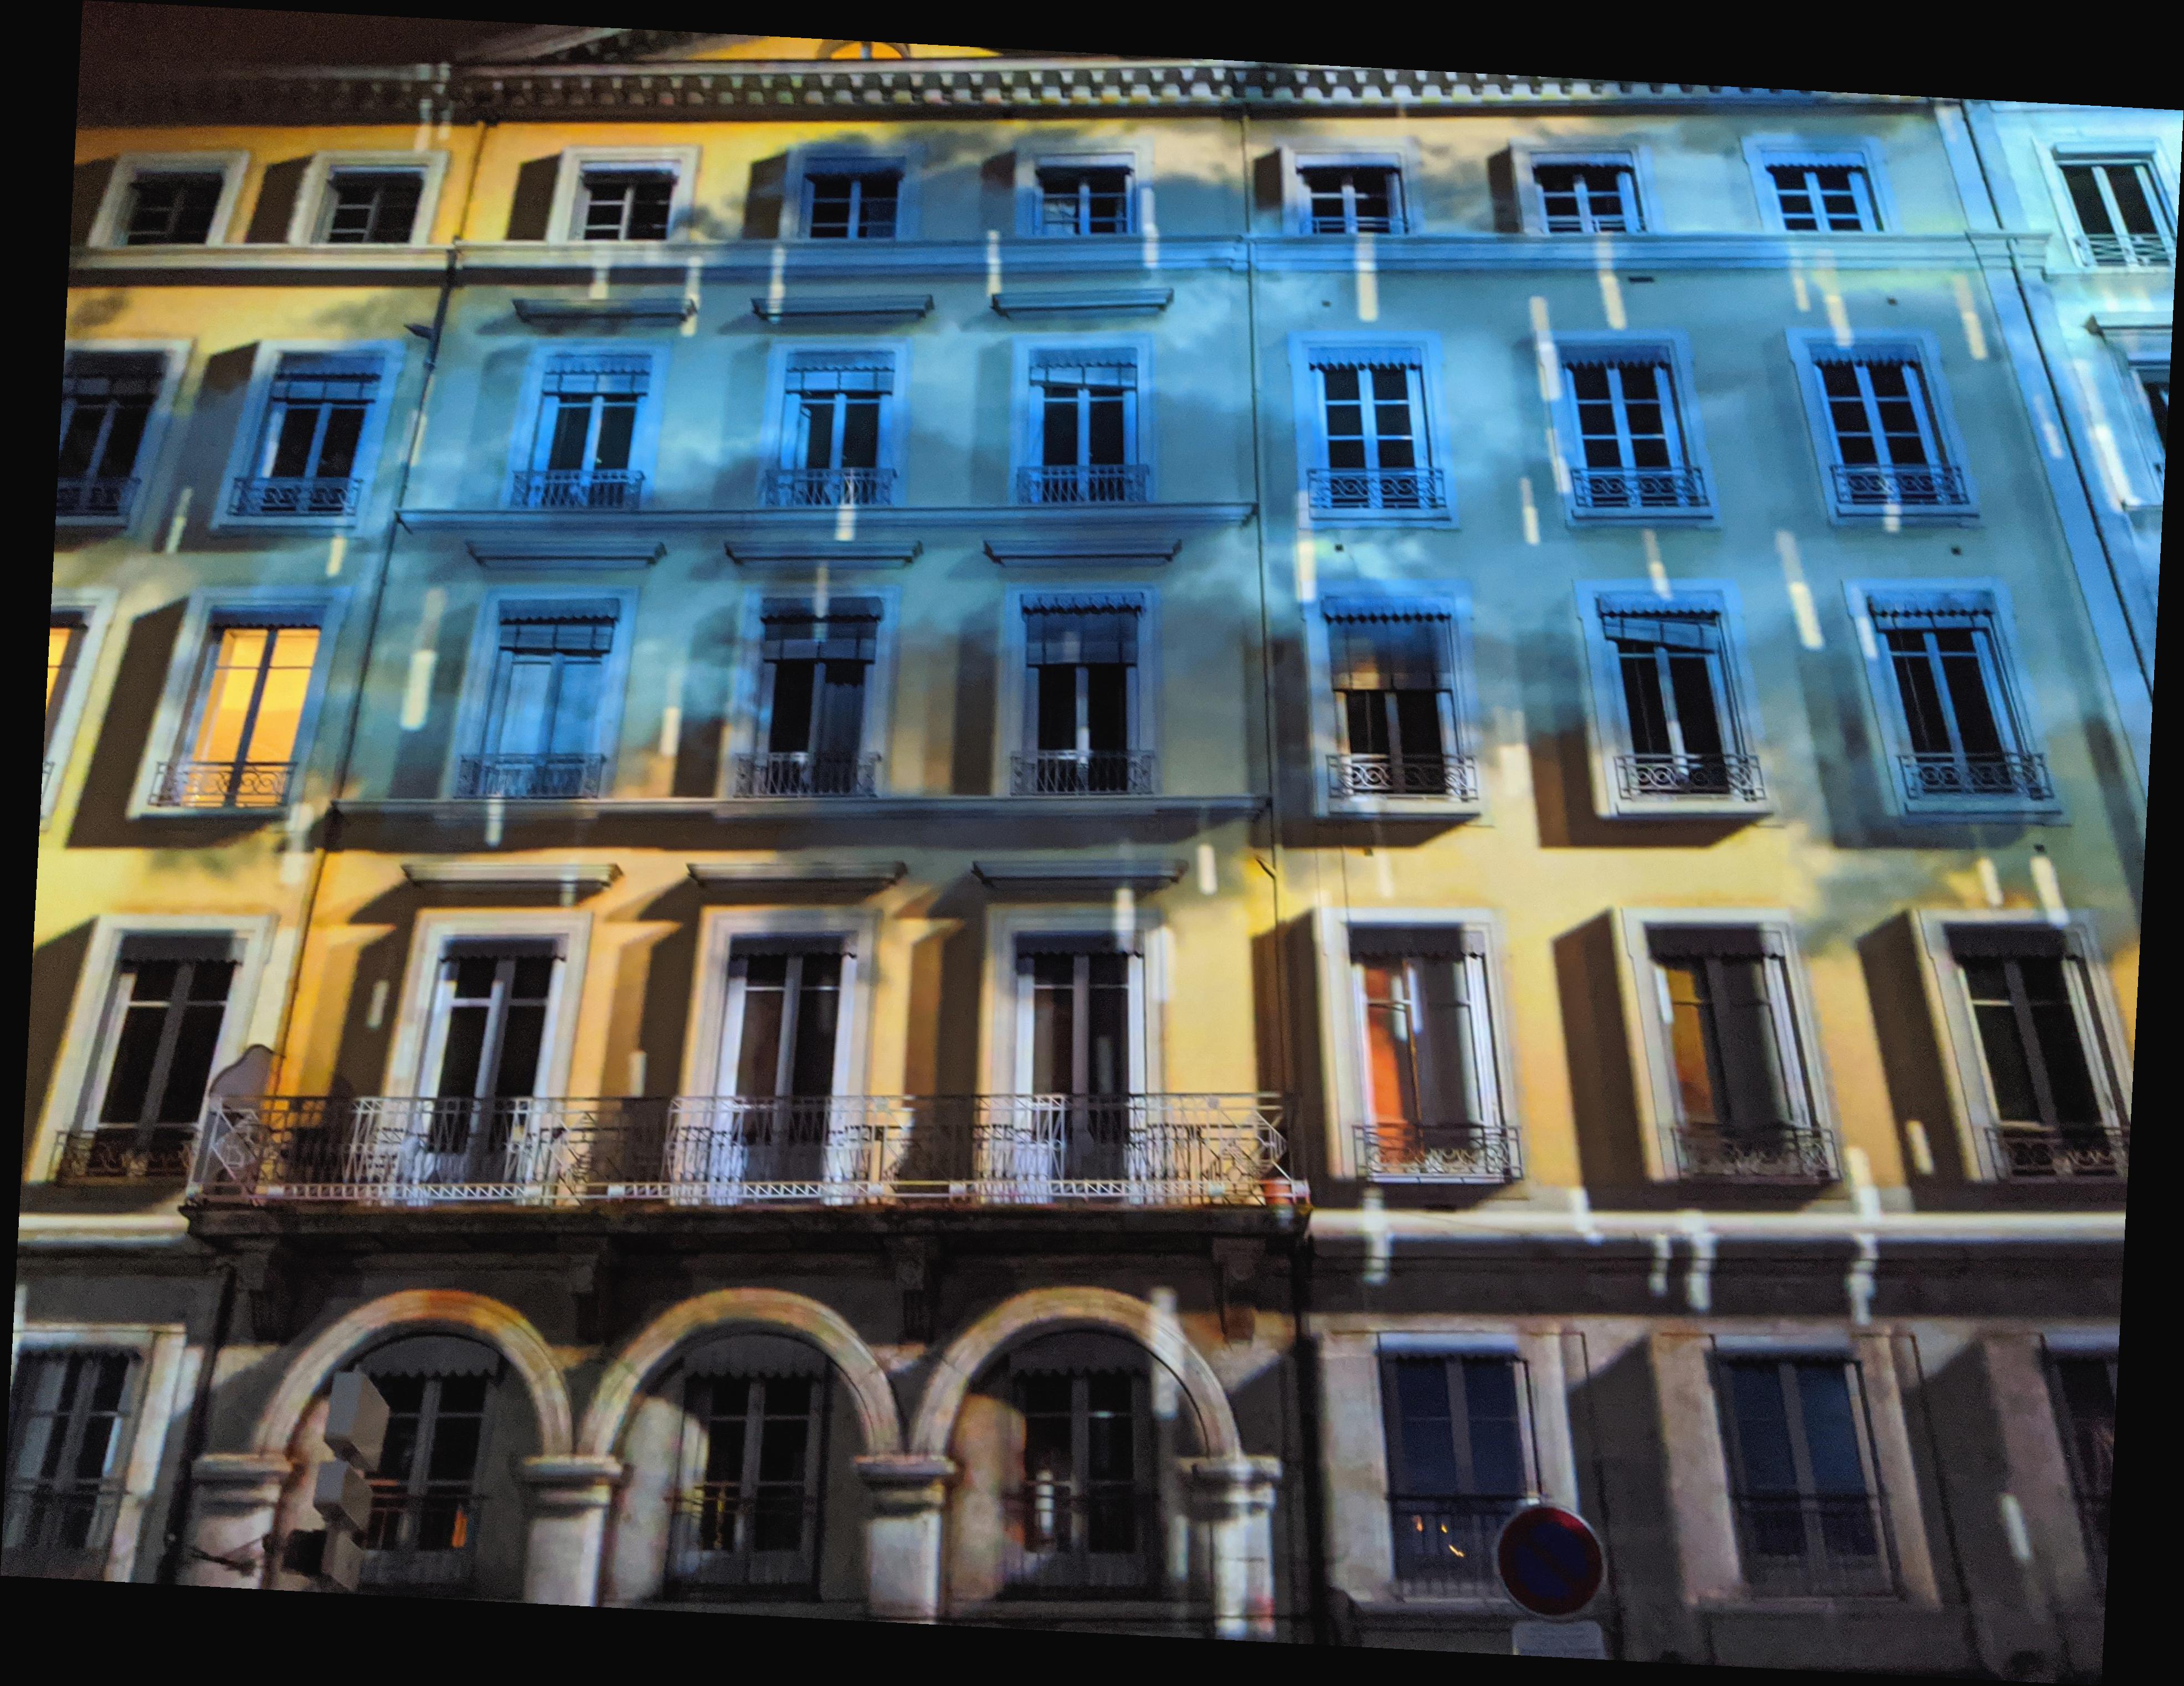
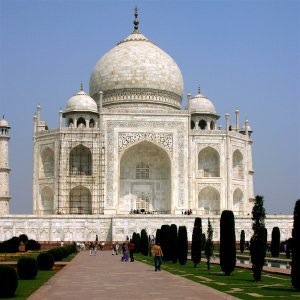
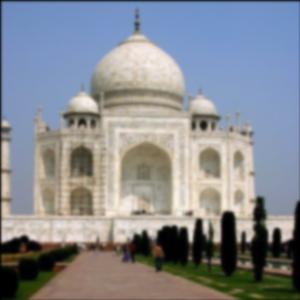
1.3: Image Straightening
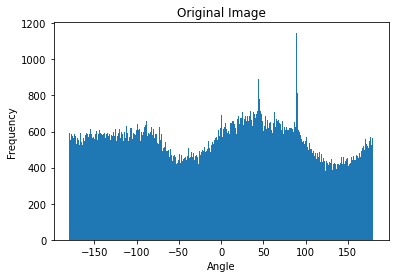
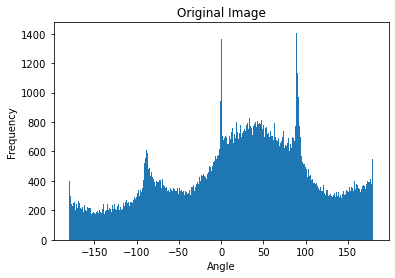
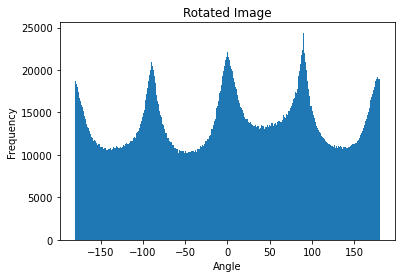
Now that we know how to find the edges of an image, we can implement automatic straightening. The main idea behind automatic straightening is finding an orientation with the largest percentage of vertical and horizontal edges. To find this best orientation, my proposed angle search range was (15, 15). For each rotation, I computed the gradient angle of the edges, which represents the direction of the largest rate of change, or the direction perpendicular to en edge. Using the gradient angle, I summed the number of edges at -, -90, 0, 90, and degrees and found the ratio to the total angle count. The rotated image with the largest ratio is the most 'straightened'.
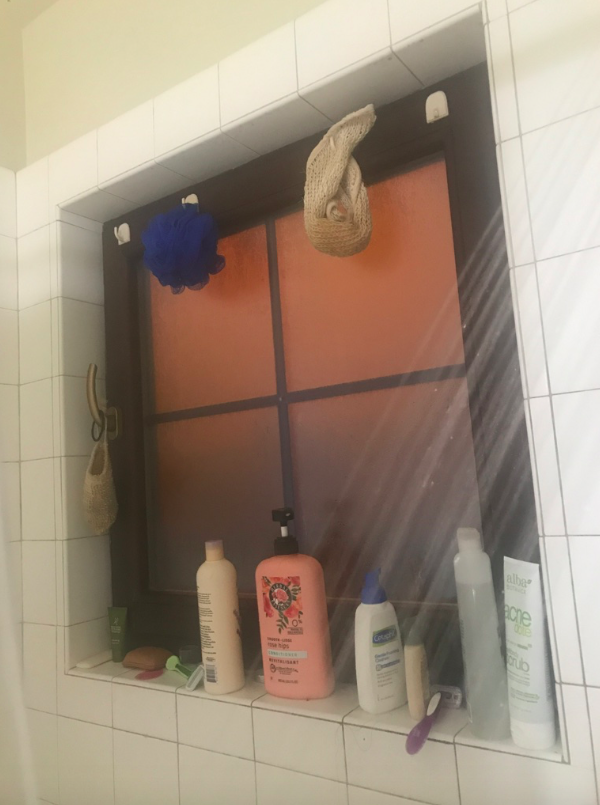
Original images
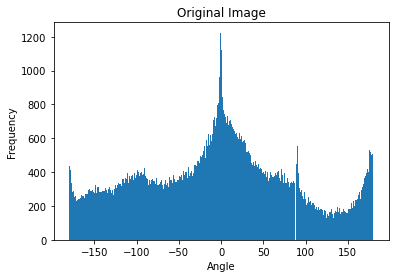
Original histograms

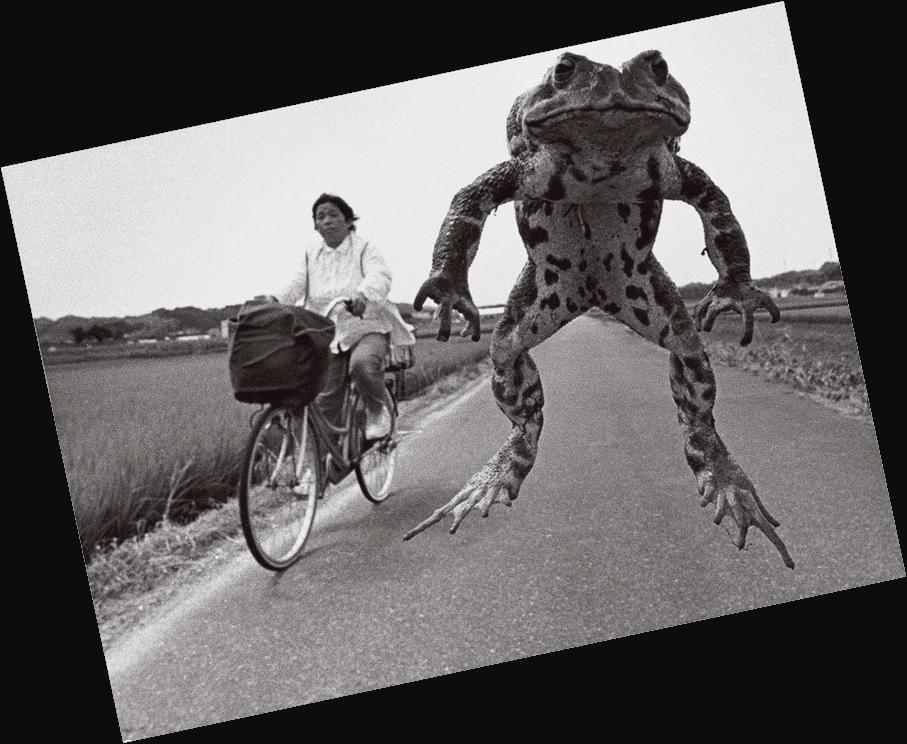
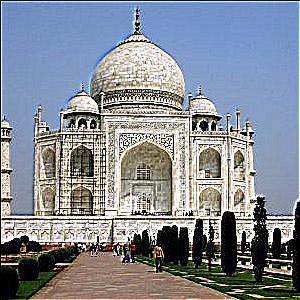
Rotated images
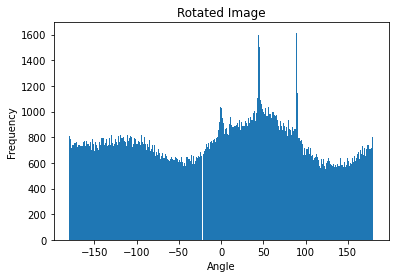
Rotated histograms
The photos were rotated -3, 12, 2, and 14 degrees respectively. The last bathroom photo is a failure case because the tiled walls and water from the shower are all edges that the algorithm will try to straighten, even though they are naturally at a slanted angle.
Part 2: Fun with Frequencies
2.1: Image "Sharpening"
Before, I used the gaussian to blur our image so I could extract cleaner edges. To sharpen my image, I used the gaussian to again obtain the low frequencies of the image. I subtract the low frequencies from the original image to get its high frequencies. The operation is done in a single convolution to the image, by convolving it with the gaussian subtracted from a unit impulse. When I add the high frequencies back, the image will appear sharper.
 Original image.
|
 Alpha = 1.
|
 Alpha = 2.
|
 Alpha = 5.
|
 Original image.
|
 Alpha = 1.
|
 Alpha = 5.
|
 Alpha = 10.
|
Below is the result of the image when we blur it and resharpen it. Because of the frequencies lost in blurring, the image does not look exactly like the original.
 Blurred image.
|
 Resharpened image.
|
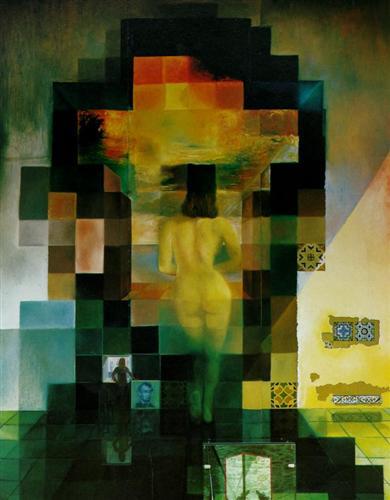
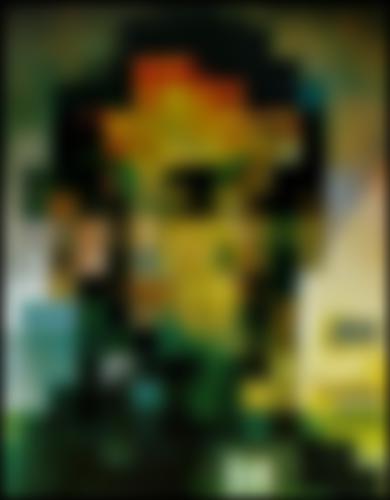
2.2: Hybrid Image
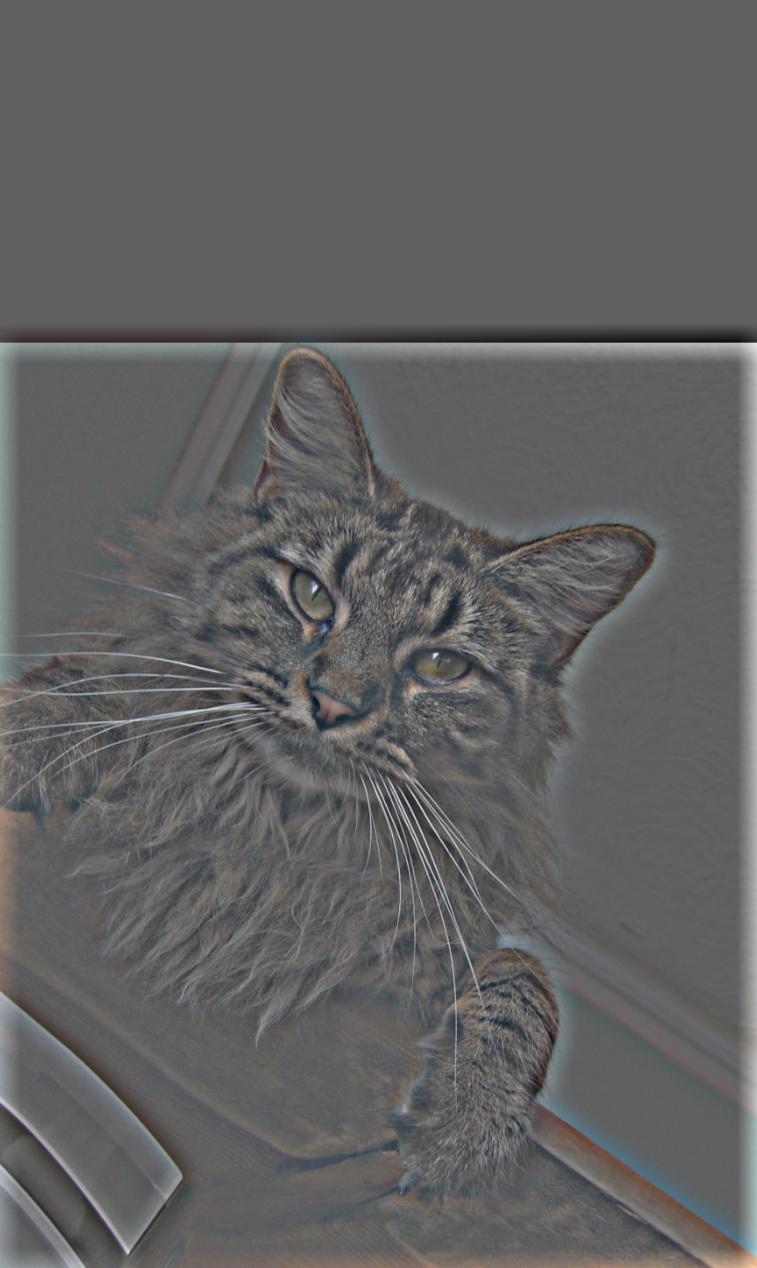
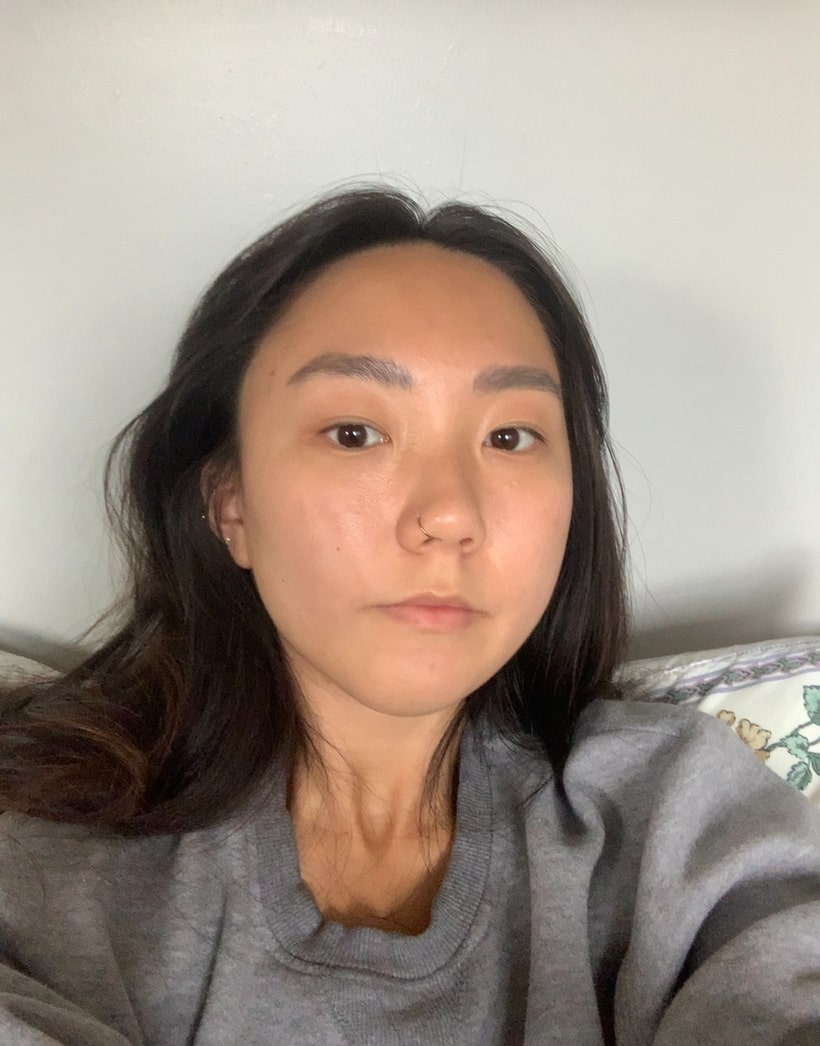
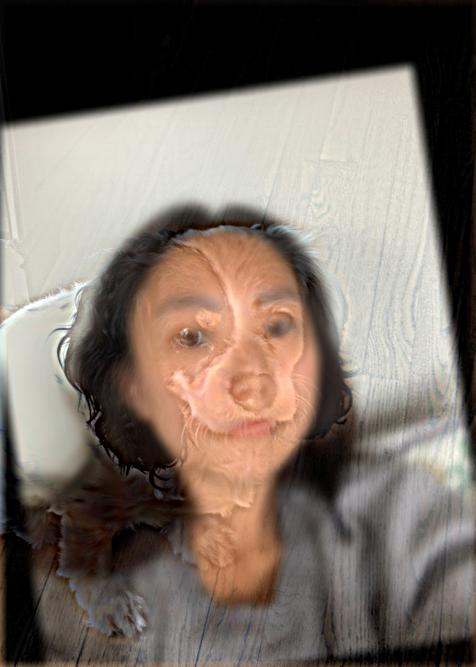
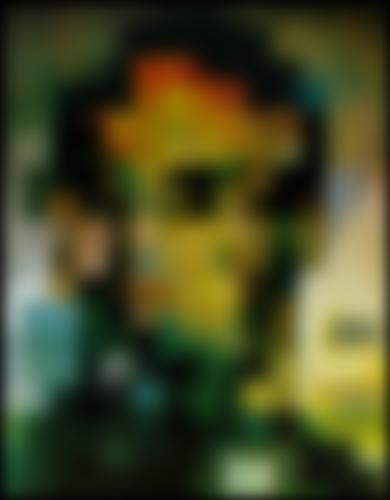
A hybrid image uses the high and low frequencies to hide two images in one place. While up close, its fine details paint one clear picture, from far away the image is completely transformed. Up close the high frequency details of the image are more perceptible, while far away the low frequencies stand out. Using this knowledge to my advantage, I created hybrid images by extracting the high frequencies of one image and adding it to the low frequencies of another. Hover over the images below to see what they look like from far away.
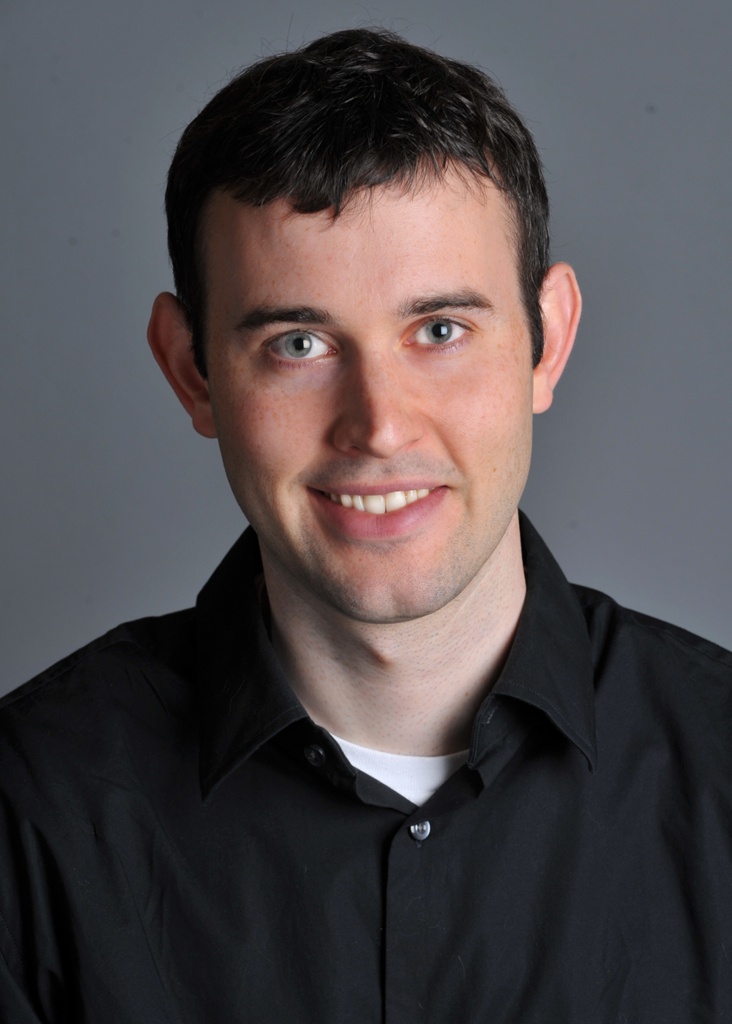 Image 1
|
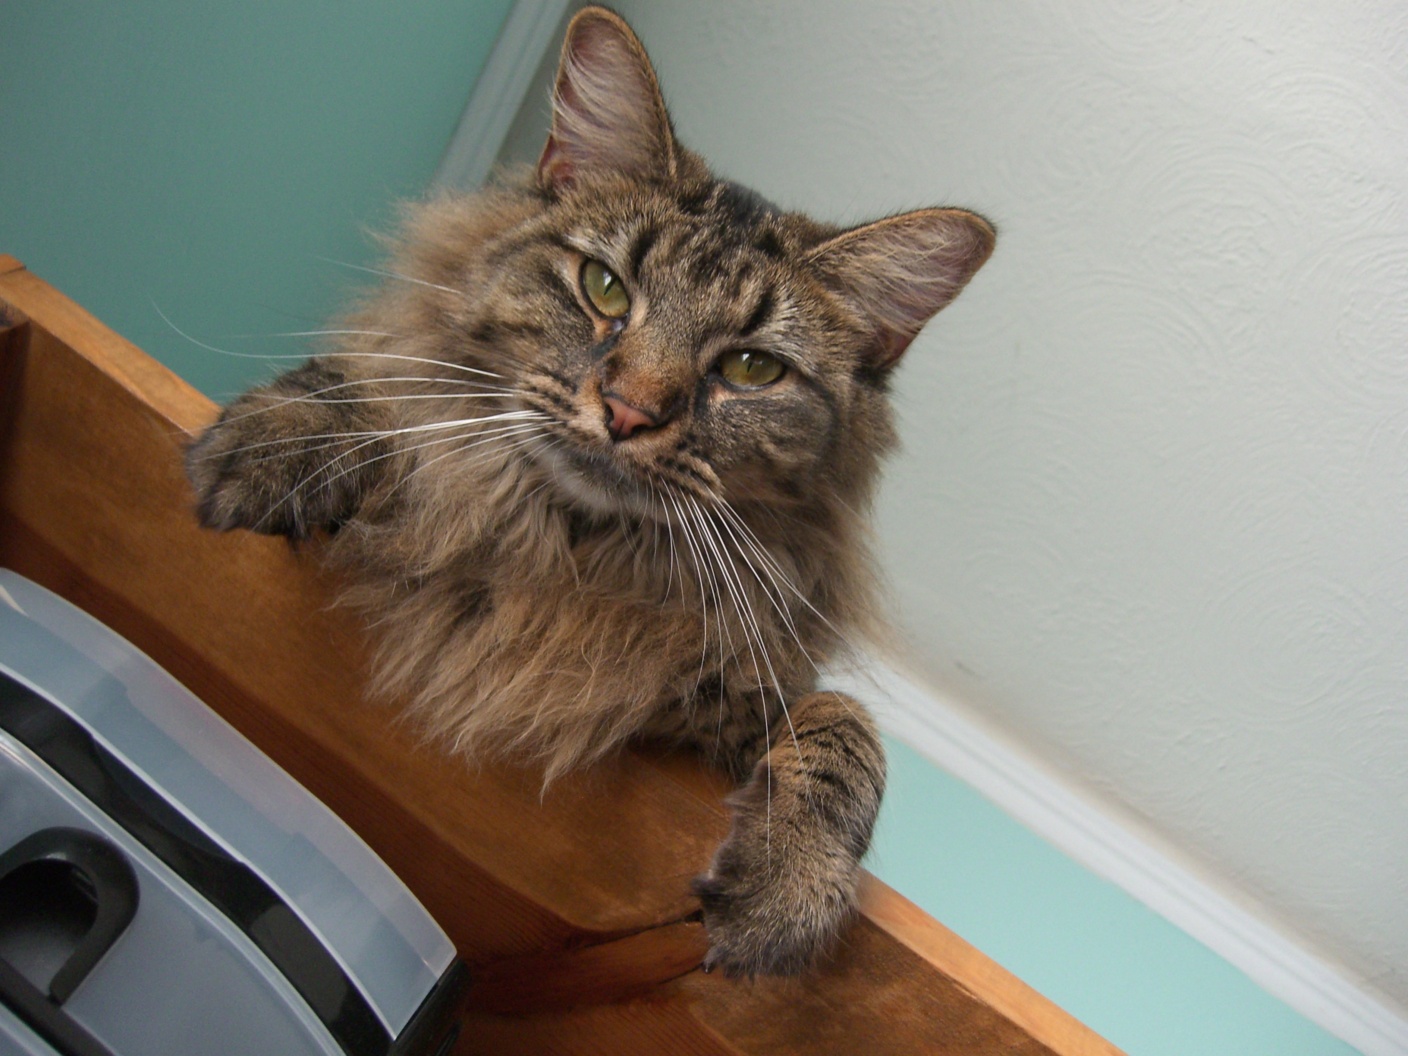 Image 2
|
 Low frequencies
|
 High frequencies
|
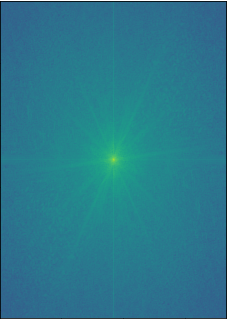 Image 1 FFT
|
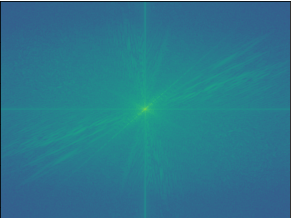 Image 2 FFT
|
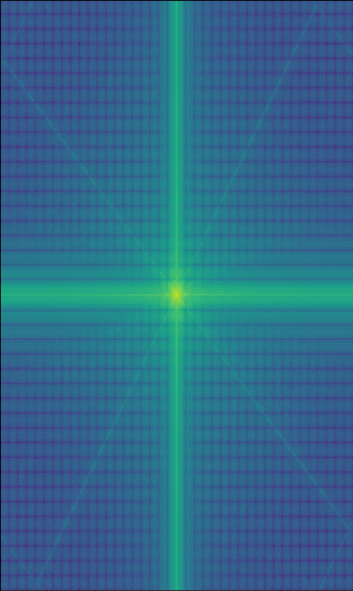 Low FFT
|
 High FFT
|
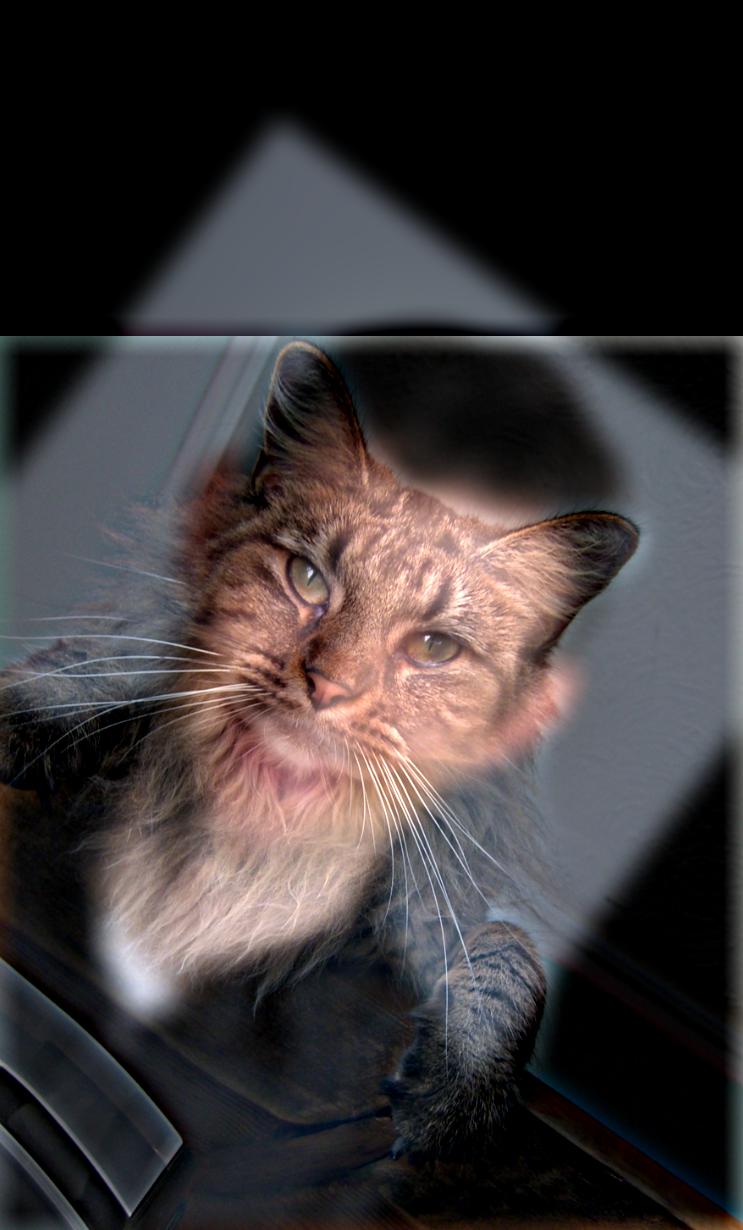 Hybrid
|
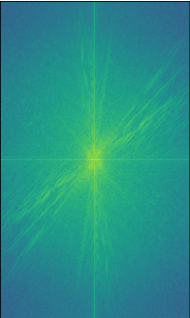
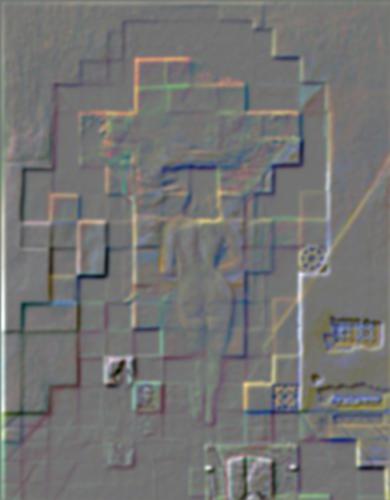
 Hybrid FFT
|
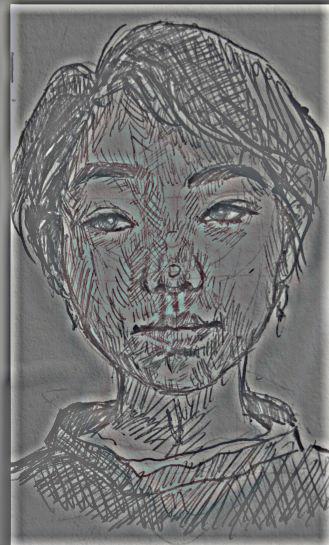
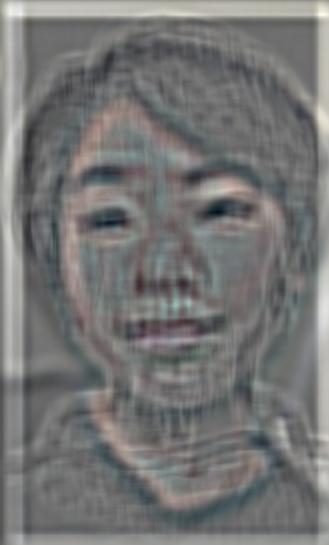
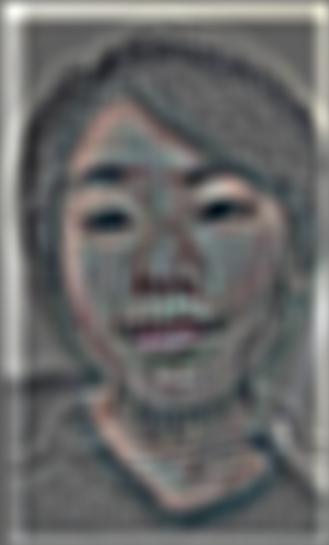
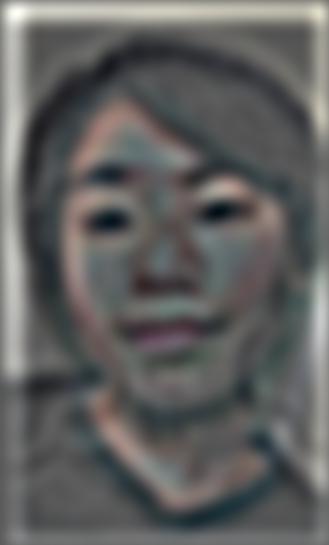
Here are more examples below! Hover over the hybrid photos to see them from a different perspective.
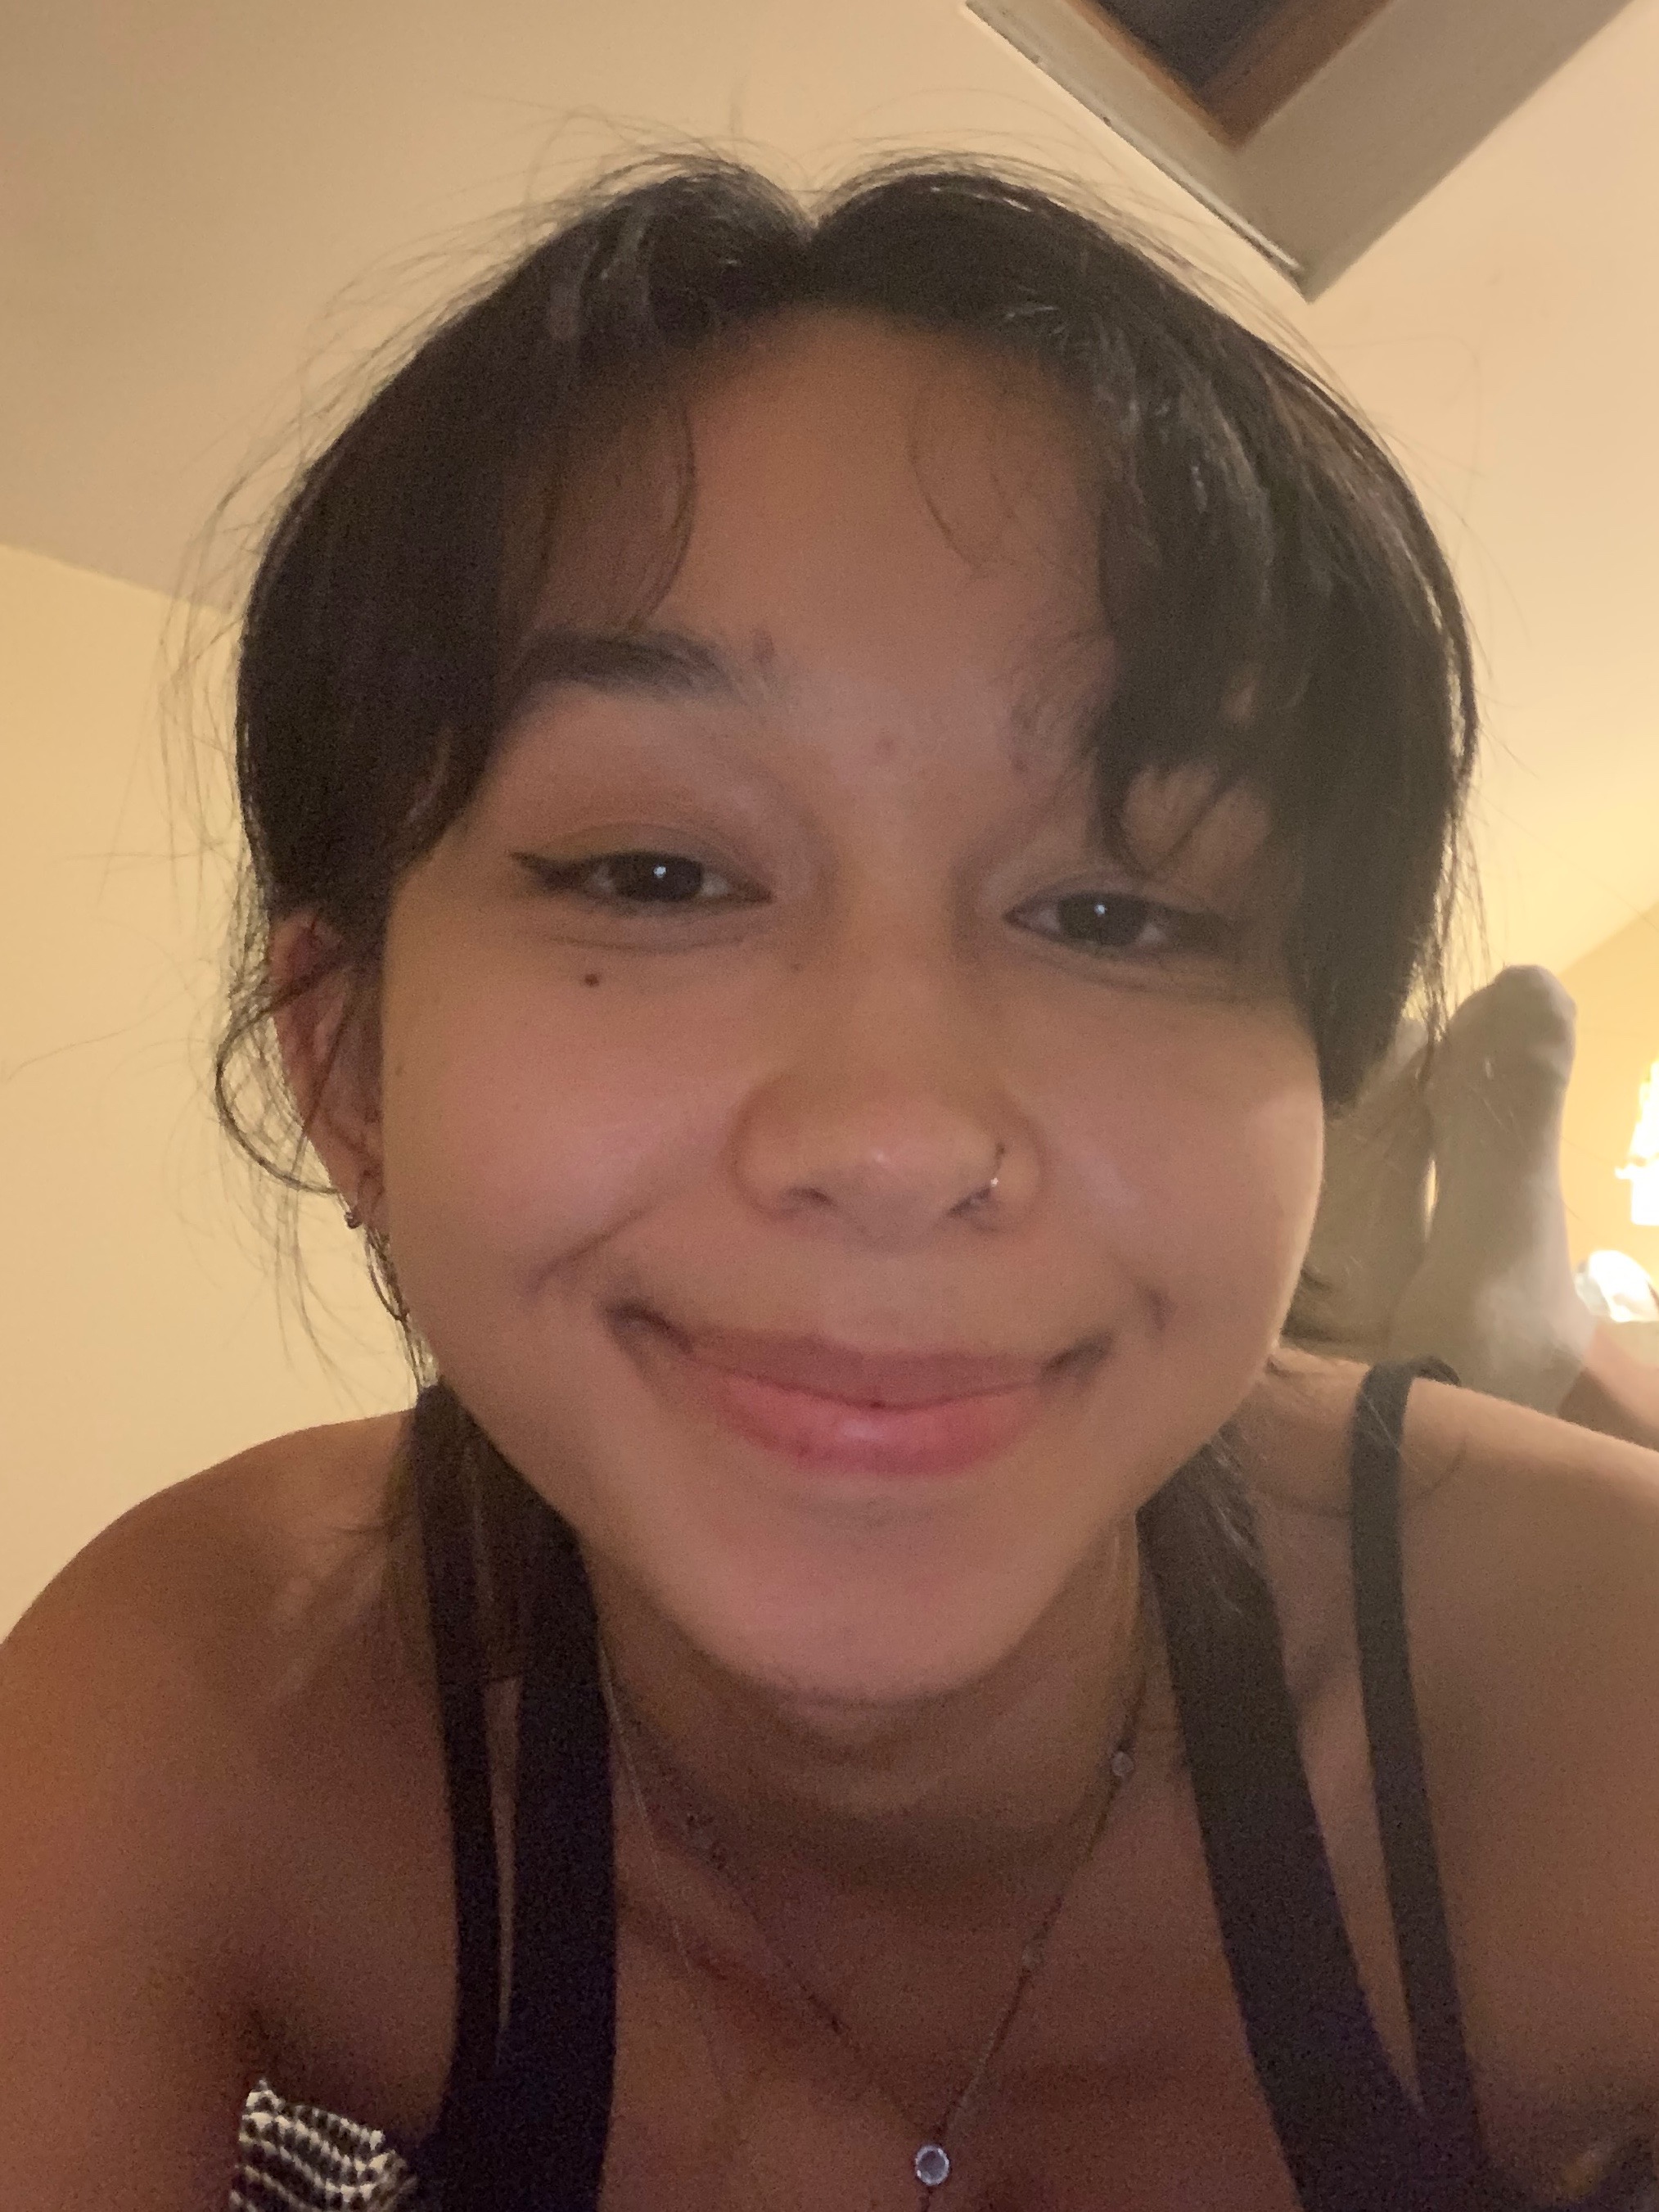
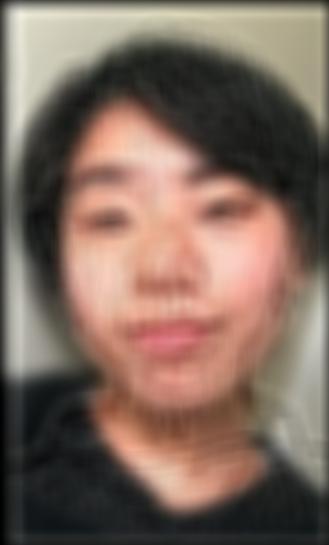
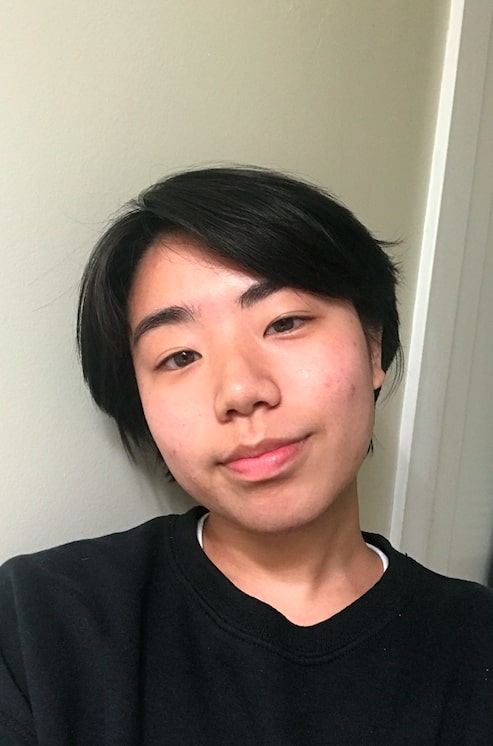 Me
Me
|
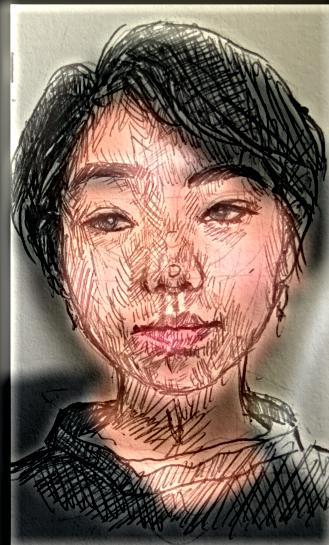
 Drawing
|
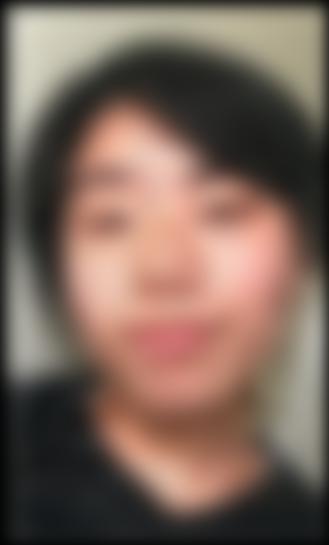
 Drawing IRL
|
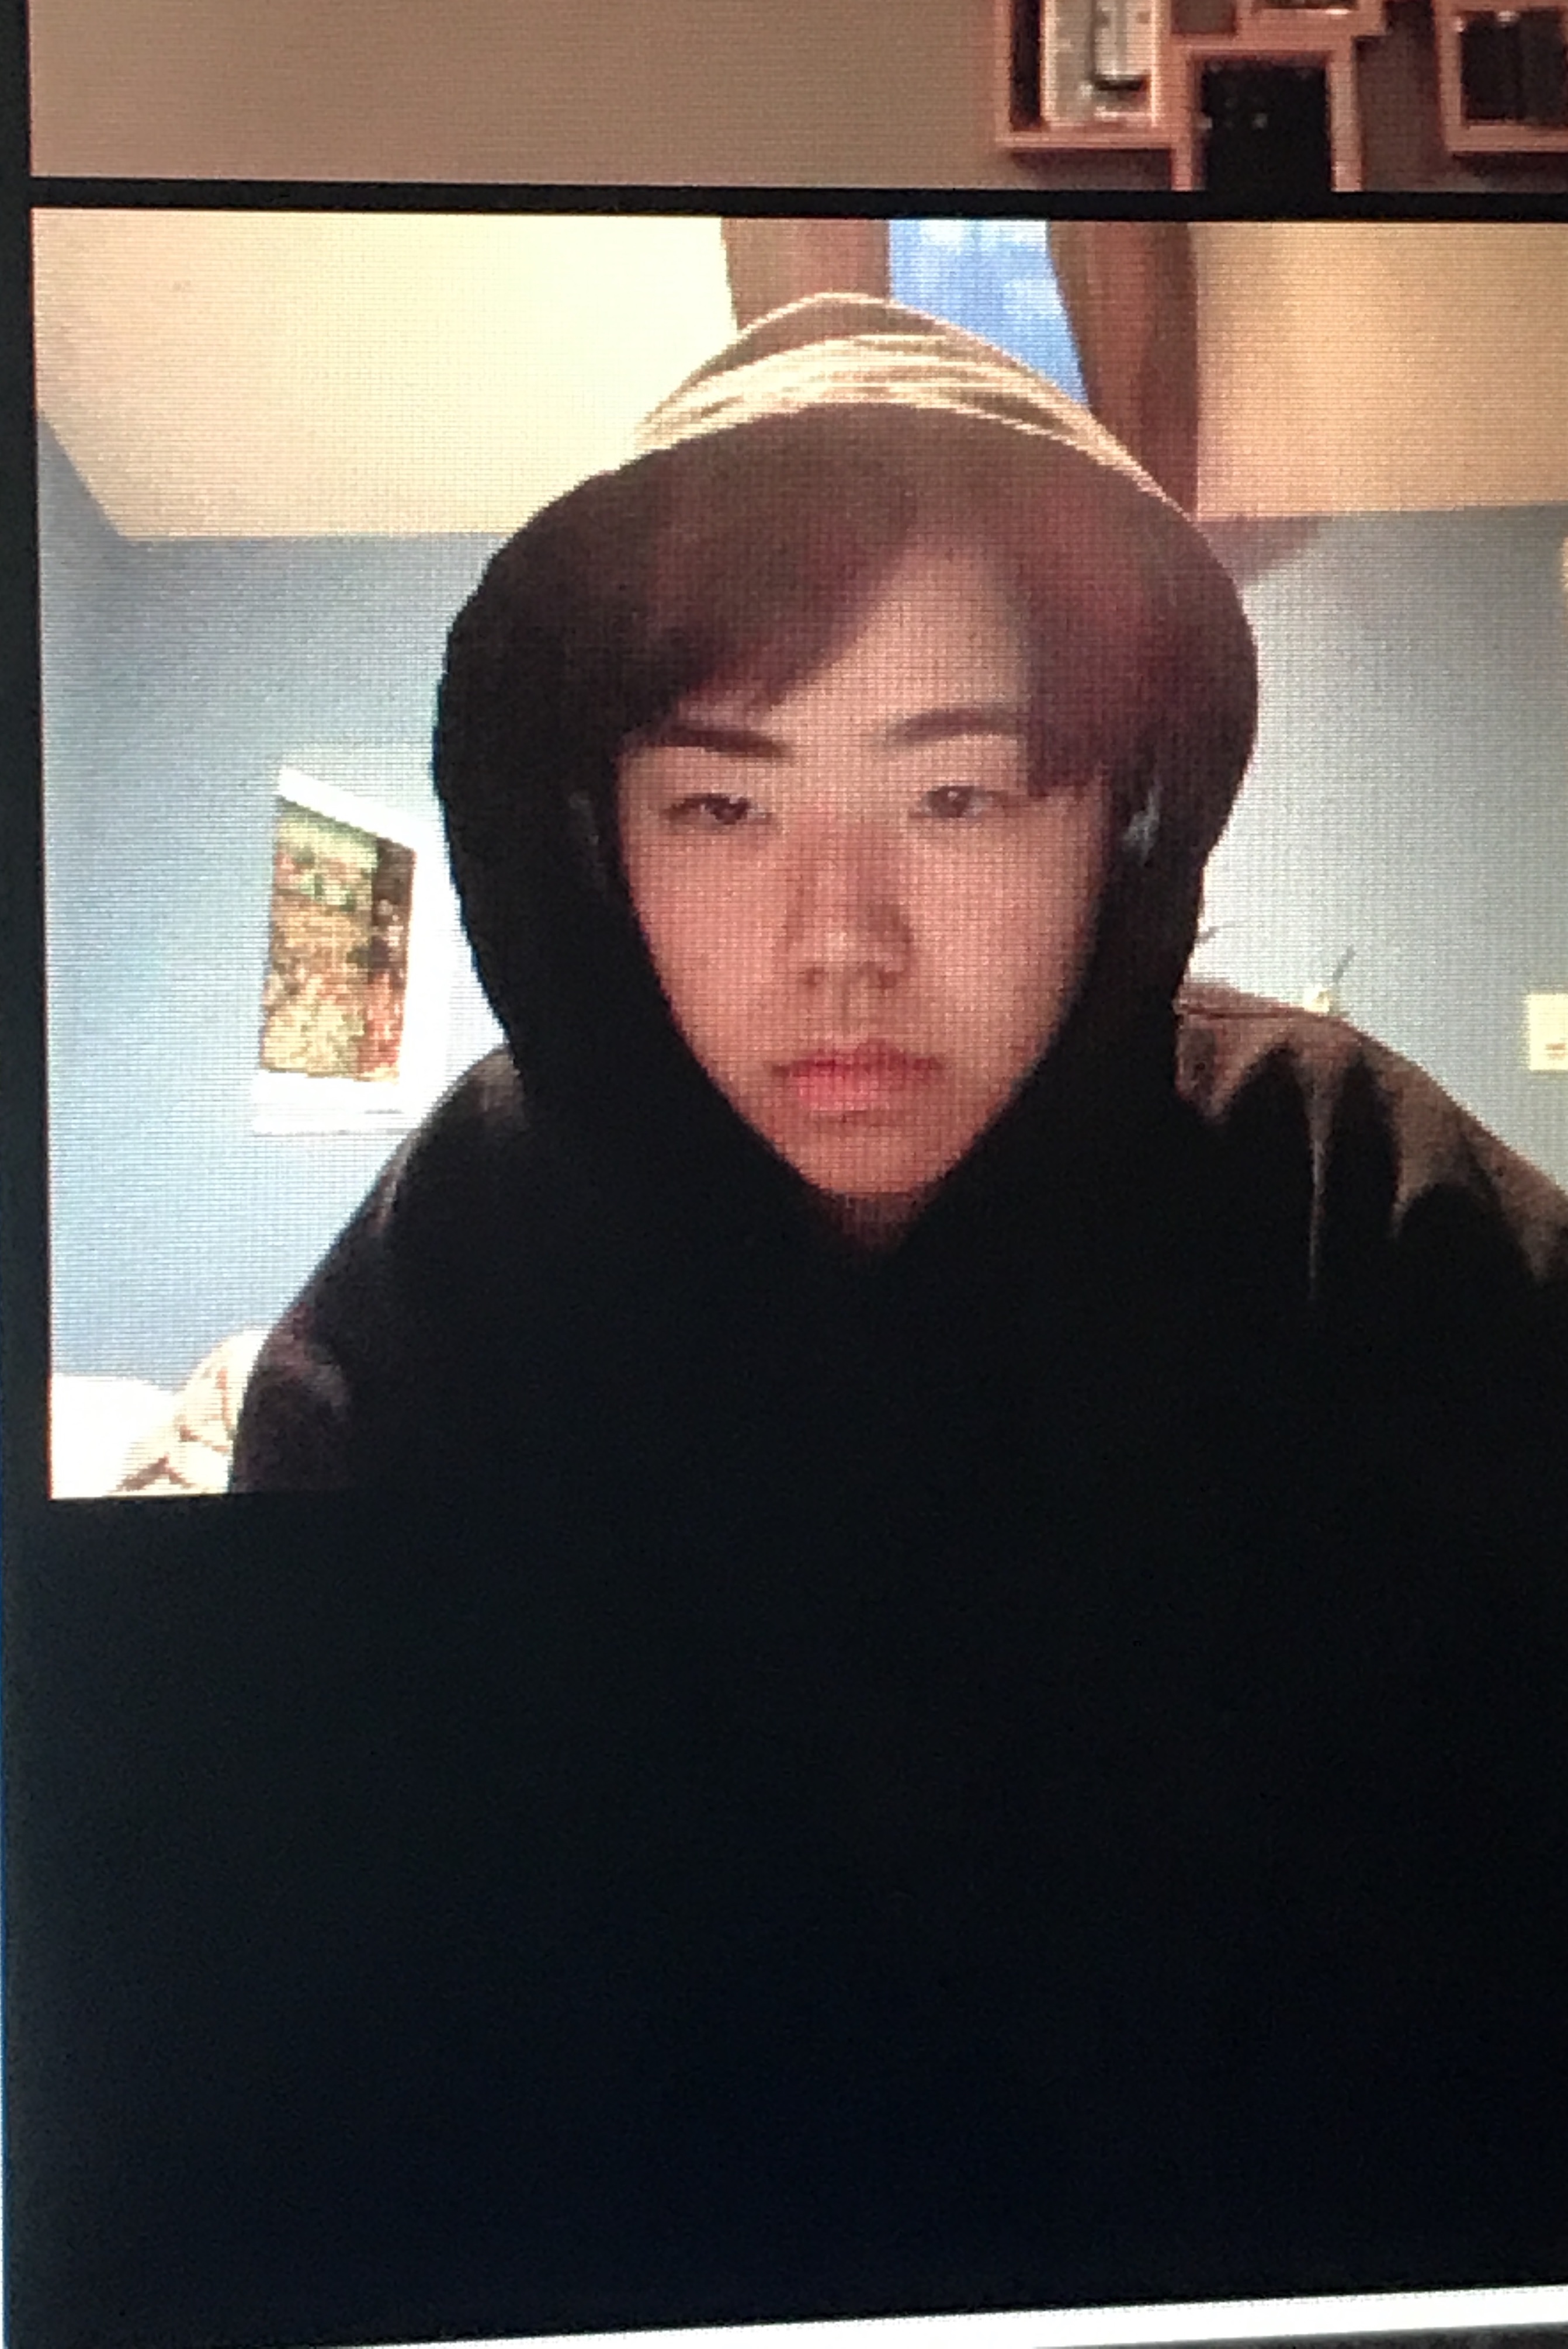 Me
Me
|
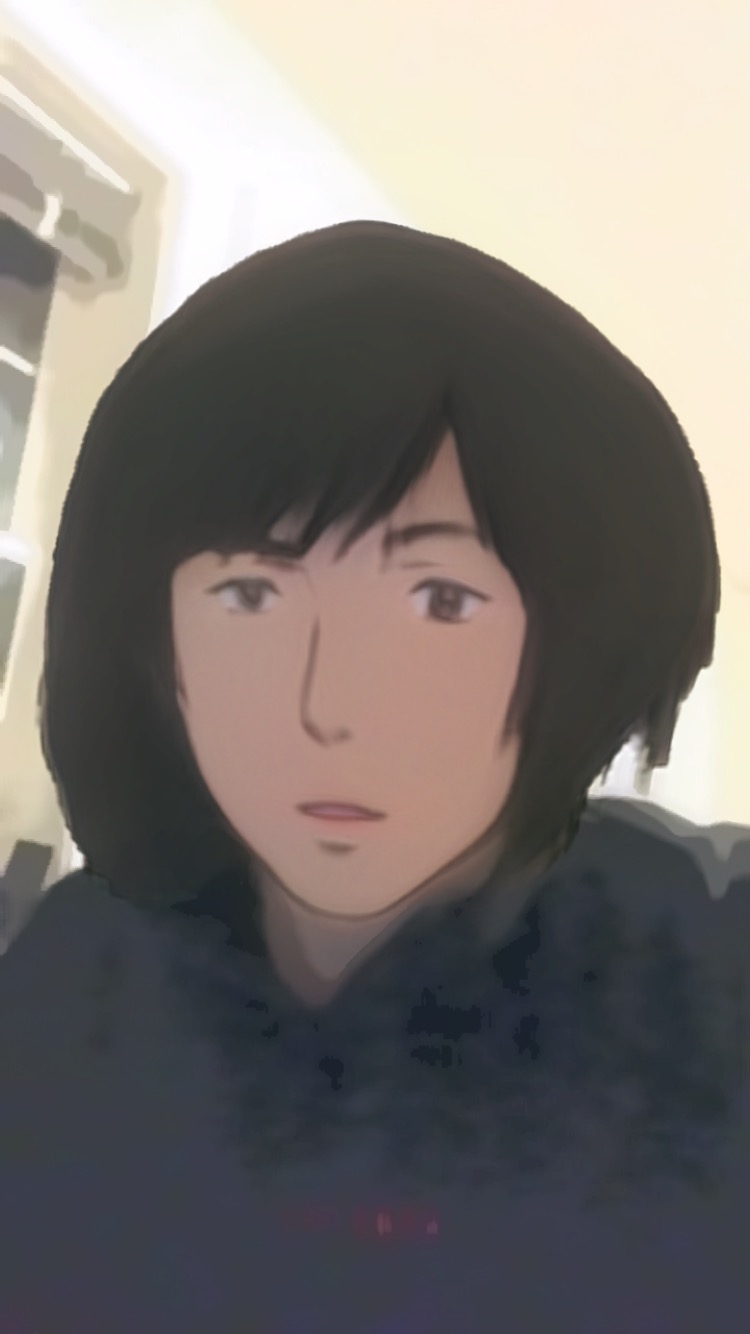 Anime filter
|
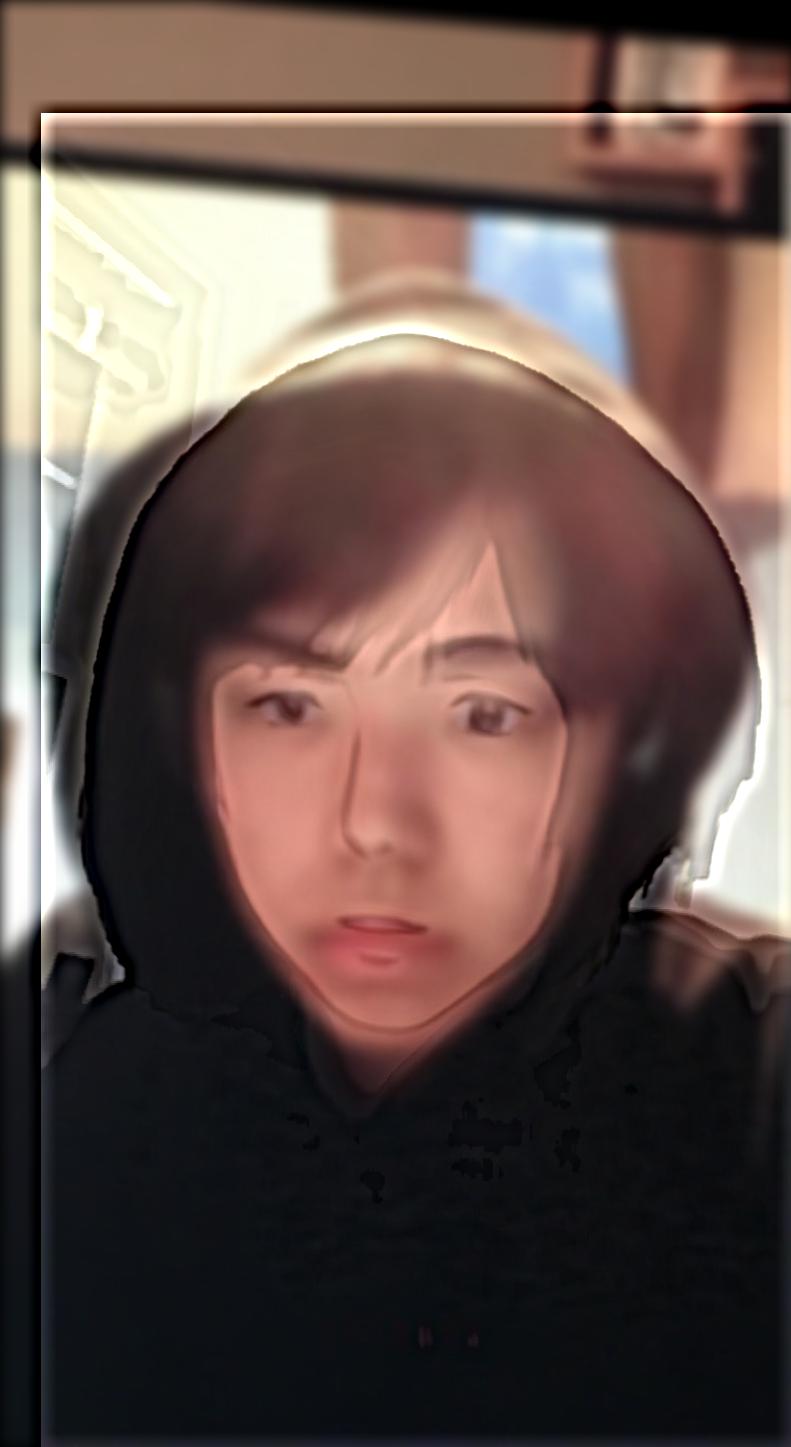 Anime IRL
|
 Lauren
|
 Frodo
Frodo
|
 Fro-ren
|
 Nusheen
|
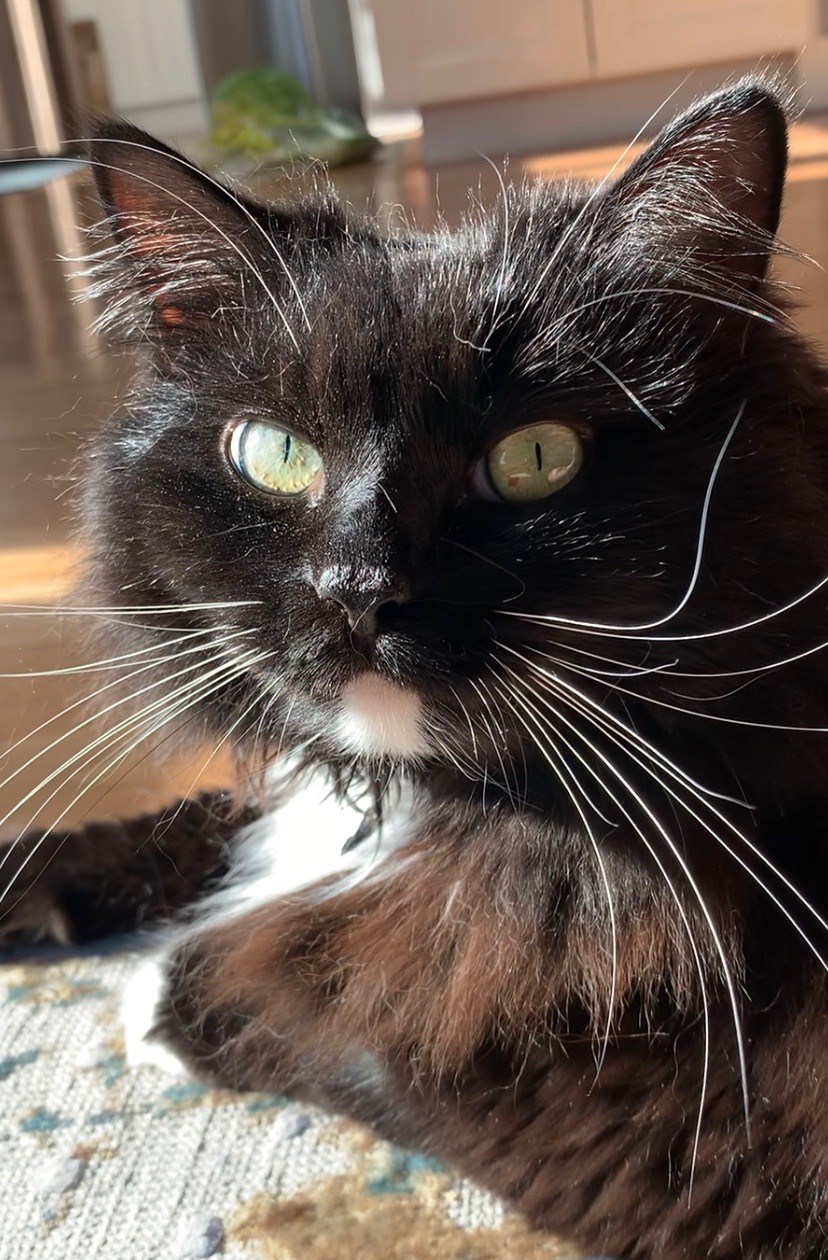 Lola
Lola
|
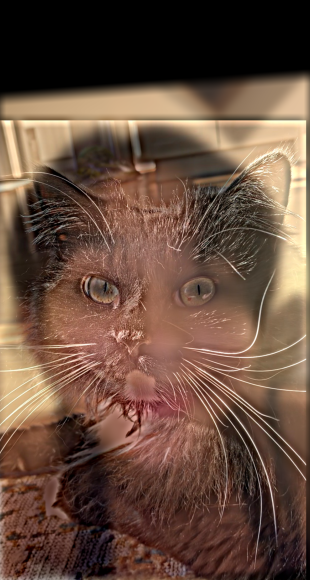 Nu-la
Nu-la
|
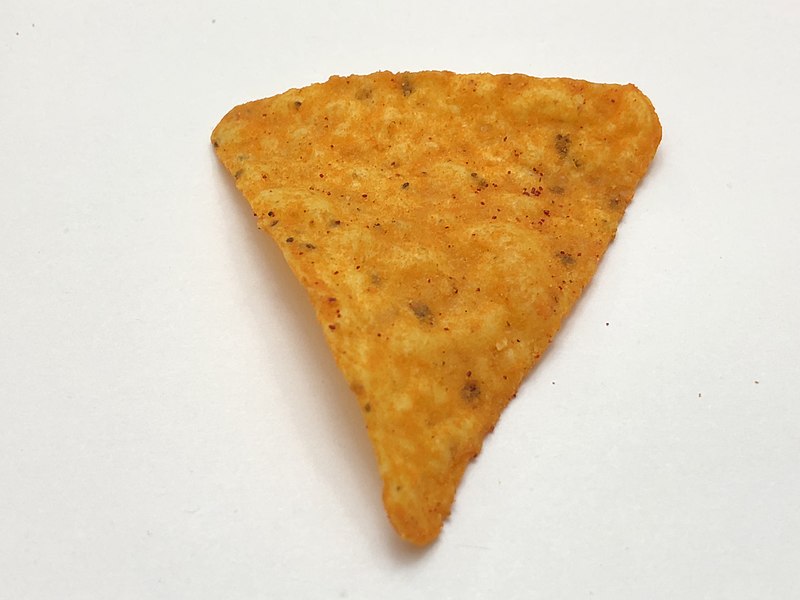 Dorito
|
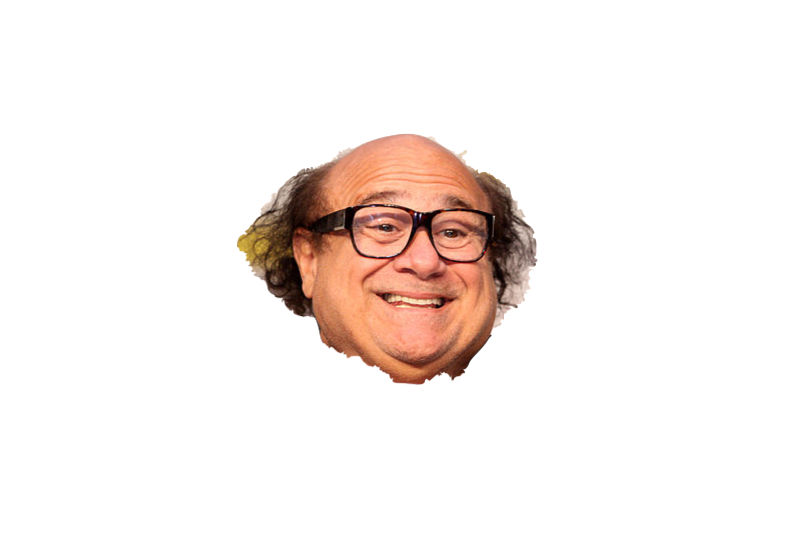 Danny Devito
|
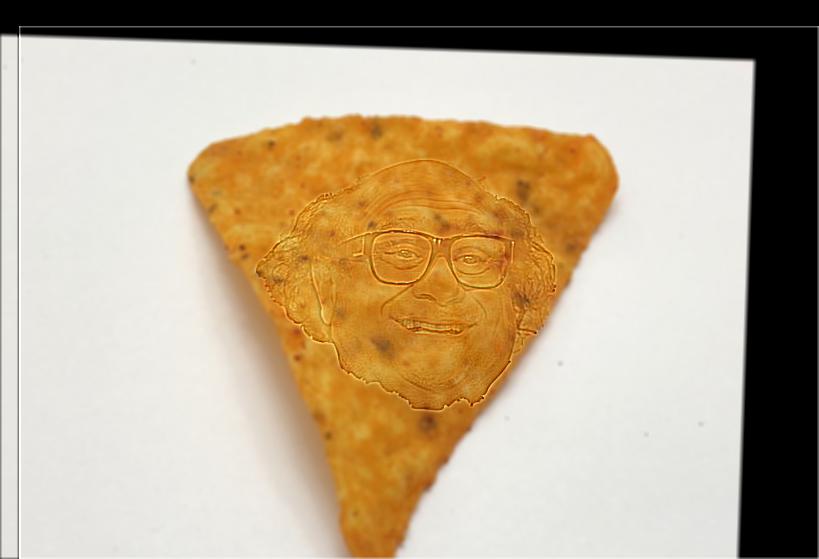 Danny Dorito
|
I consider the anime blend to be a failure case, since the linework was too simple and had very little detail in the high frequencies.
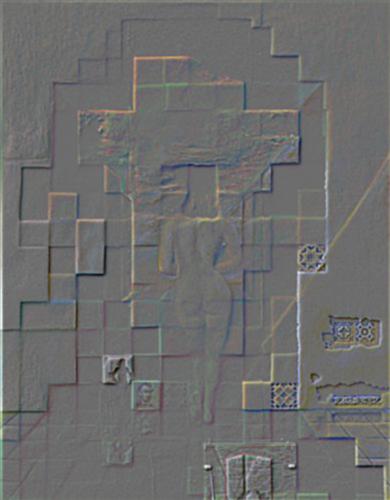
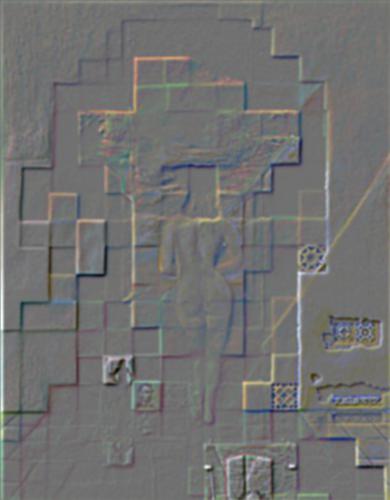
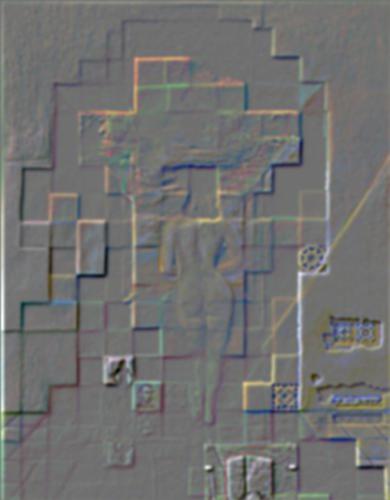
2.3: Gaussian and Laplacian Stacks
A Gaussian stack is created by applying the Gaussian filter at each level. A Laplacian stack is created by subtracting each successive level of the Gaussian stack from the previous level. By obtaining the Gaussian and Laplacian stacks of our hybrid images, we can see the different frequencies isolated and how they are used to create a cohesive image.
 Gaussian level 0.
|
 Gaussian level 1.
|
 Gaussian level 2.
|
 Gaussian level 3.
|
 Gaussian level 4.
|
 Laplacian level 0.
|
 Laplacian level 1.
|
 Laplacian level 2.
|
 Laplacian level 3.
|
 Laplacian level 4.
|
 Gaussian level 0.
|
 Gaussian level 1.
|
 Gaussian level 2.
|
 Gaussian level 3.
|
 Gaussian level 4.
|
 Laplacian level 0.
|
 Laplacian level 1.
|
 Laplacian level 2.
|
 Laplacian level 3.
|
 Laplacian level 4.
|
2.4: Multiresolution Blending
To blend images, we create a new stack. At each level we use the Gaussian stack of a mask over the Laplacian stacks of two images to blend them together, and add in the last level of the images' Gaussian stacks. The quick filtering and seamless blending of images yields super fun results!
 To get this beautifully blended image of an "Orple," we add the layers of the mask's Gaussian stack and the image's Laplacian stacks, shown below.
|
 Apple laplacian 0
|
 Apple laplacian 1
|
 Apple laplacian 2
|
 Apple laplacian 3
|
 Apple laplacian 4
|
 Orange laplacian 0
|
 Orange laplacian 1
|
 Orange laplacian 2
|
 Orange laplacian 3
|
 Orange laplacian 4
|
 Mask gaussian 0
|
 Mask gaussian 1
|
 Mask gaussian 2
|
 Mask gaussian 3
|
 Mask gaussian 4
|
 Blended stack 0
|
 Blended stack 1.
|
 Blended stack 2
|
 Blended stack 3
|
 Blended stack 4
|
I really wanted to try the Pan's Labyrinth eye blend, and reproduced that using an irregular mask below. While the orple mask was easily coded, the irregular mask was a bit more complicated. Conceptually, I figured that I could use a find contours function to find an edge of an area I wanted to mask. For the sake of time, I used an external editor to quickly make my masks.
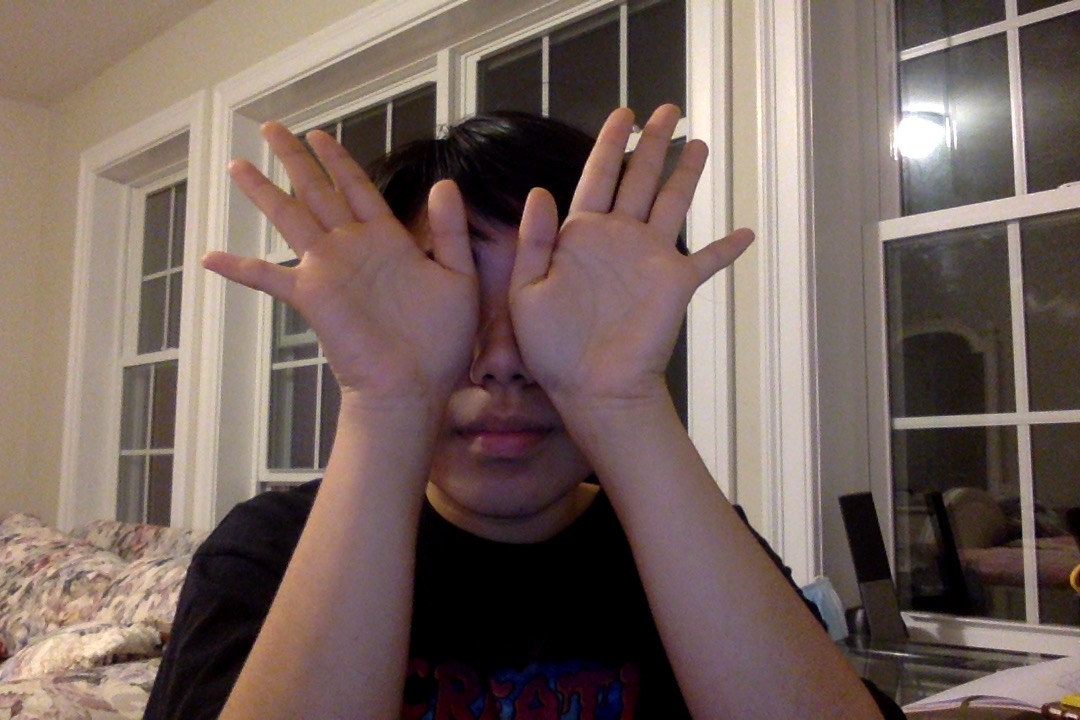 Hands
Hands
|
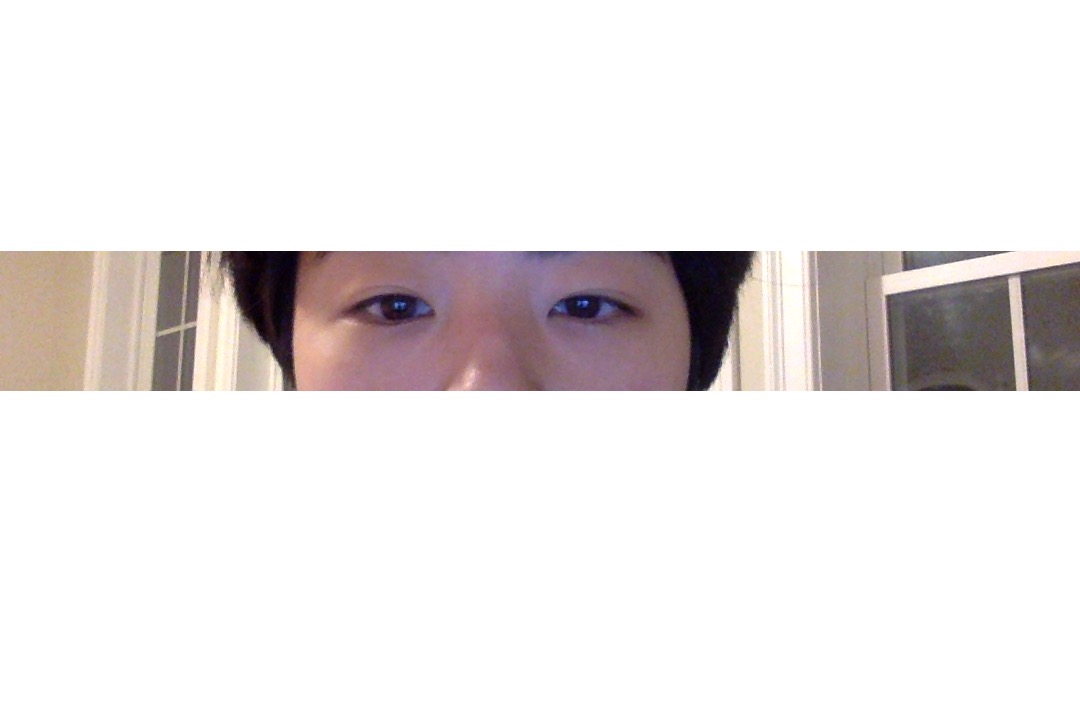 Eyes
Eyes
|
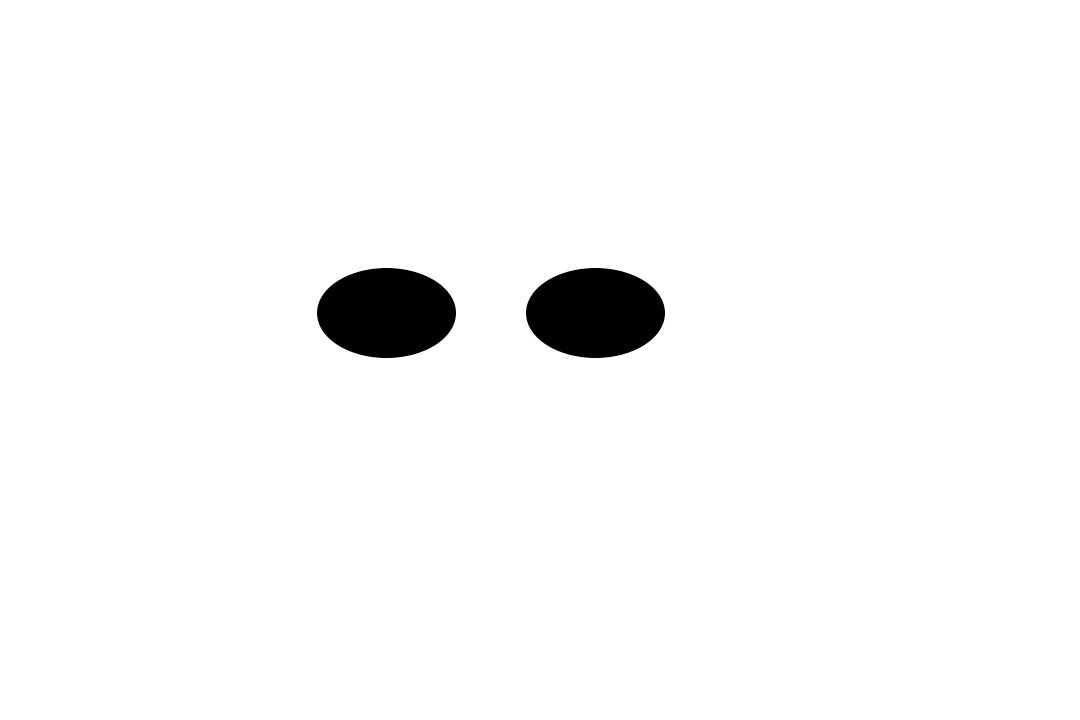 Irregular mask
|
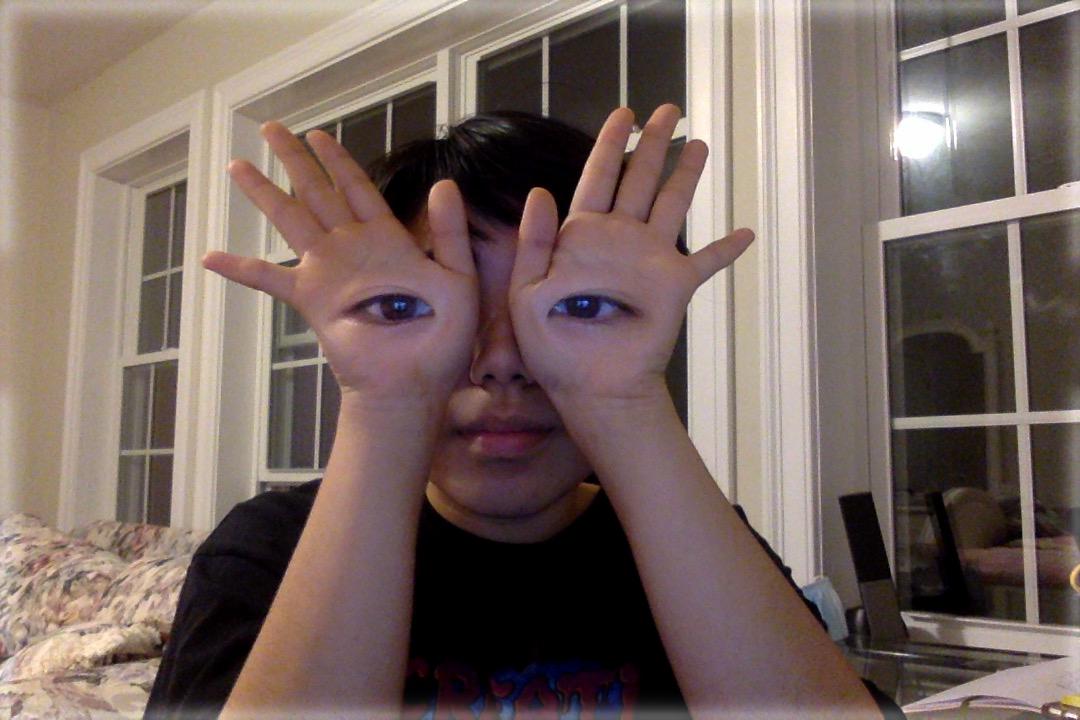 The result!
|
For the following images, I used the align function in part 2.2 to align my photos, so that finding a compatible mask would be easier. I also inverted the mask to see what the opposite blend would look like.
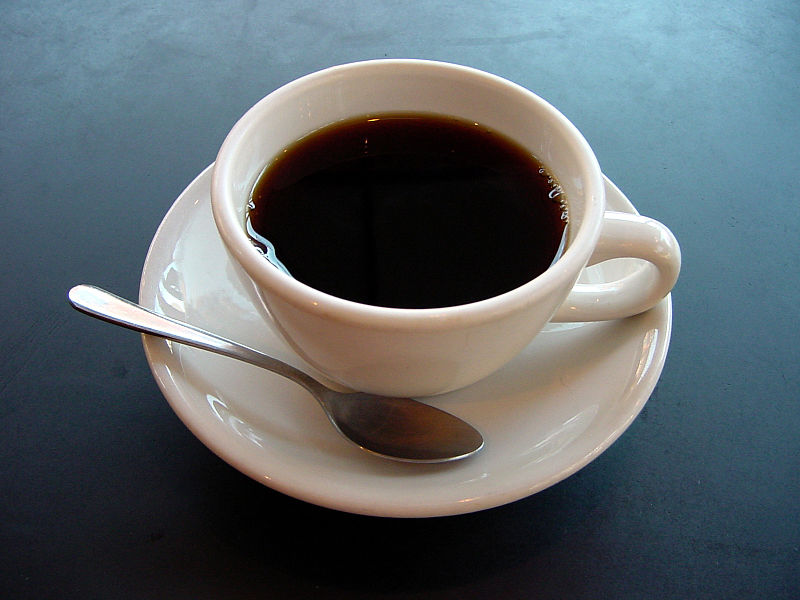 Coffee
|
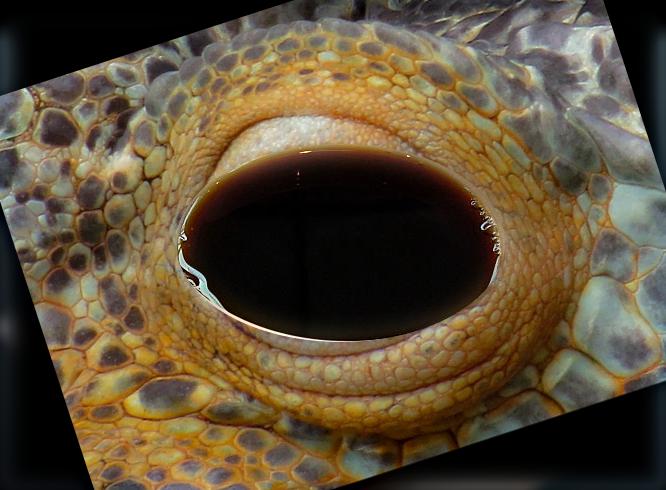
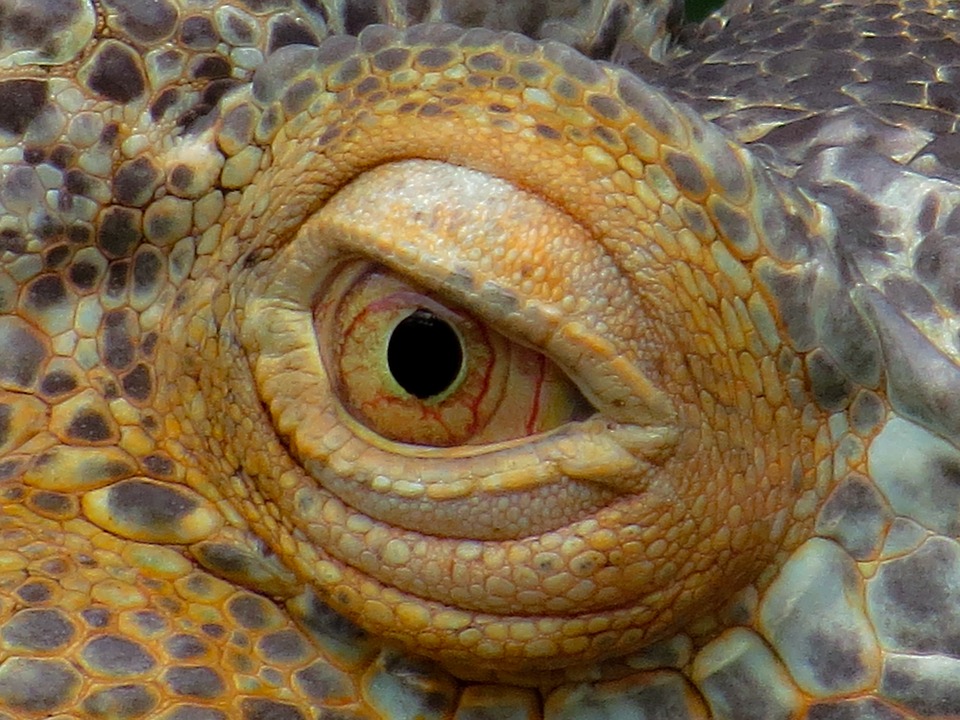 Dragon eye
|
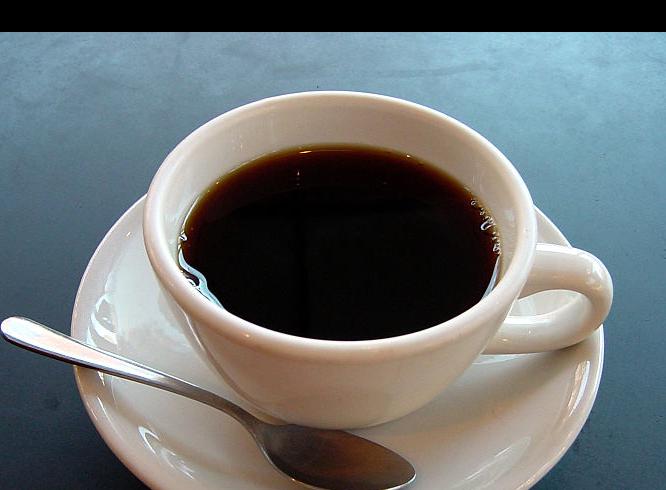 Aligned coffee
|
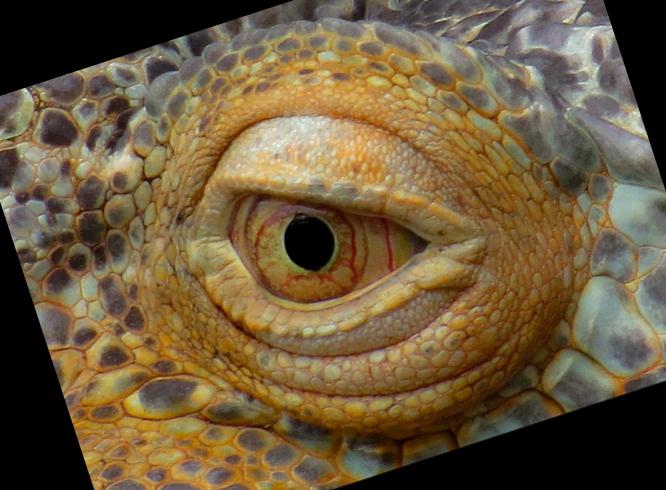 Aligned dragon eye
|
 Mask 1
|
 Mask 2
|
 Scary!
|
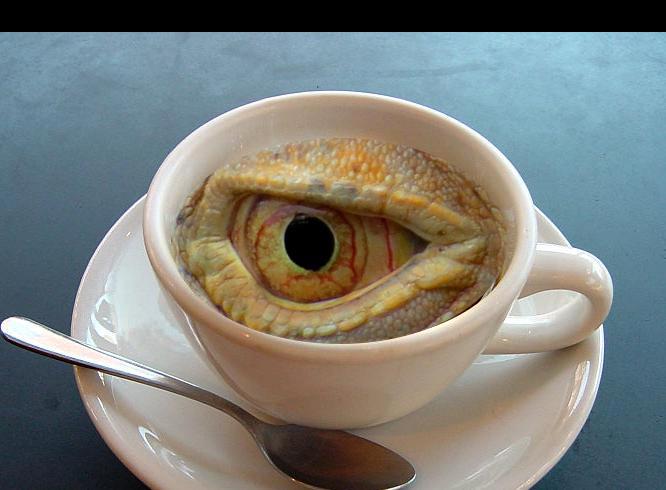 Terrifying!
|
And since the process was so quick and fun, I decided to make a couple more blends.
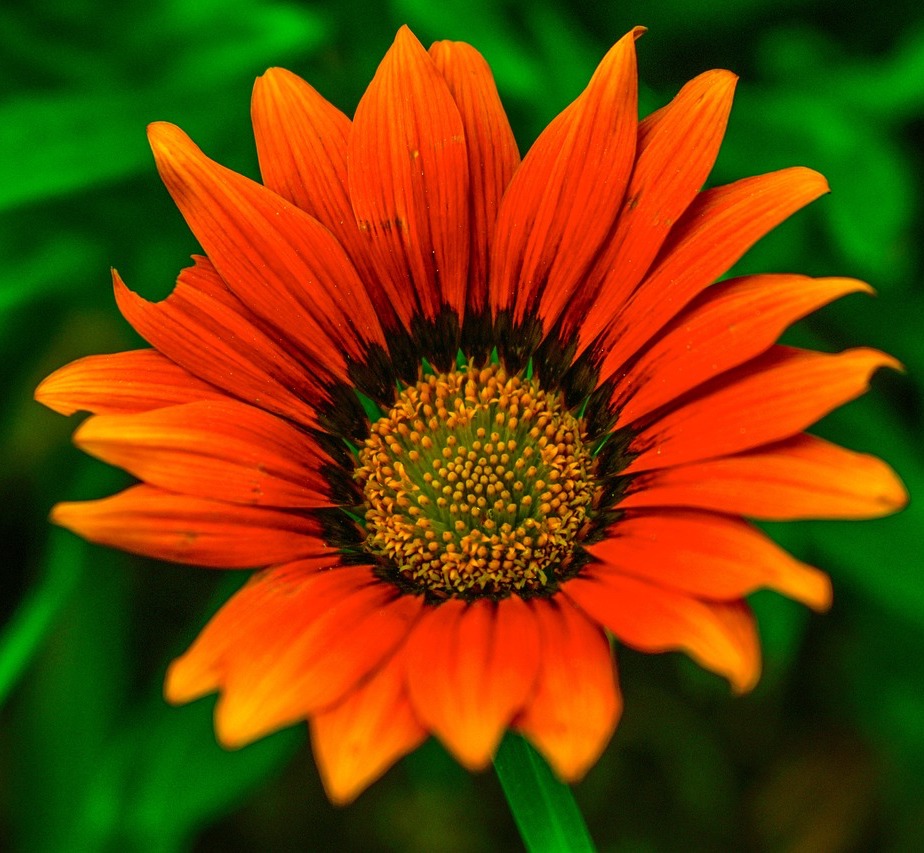 Flower
|
 Frodo
Frodo
|
 Mask
Mask
|
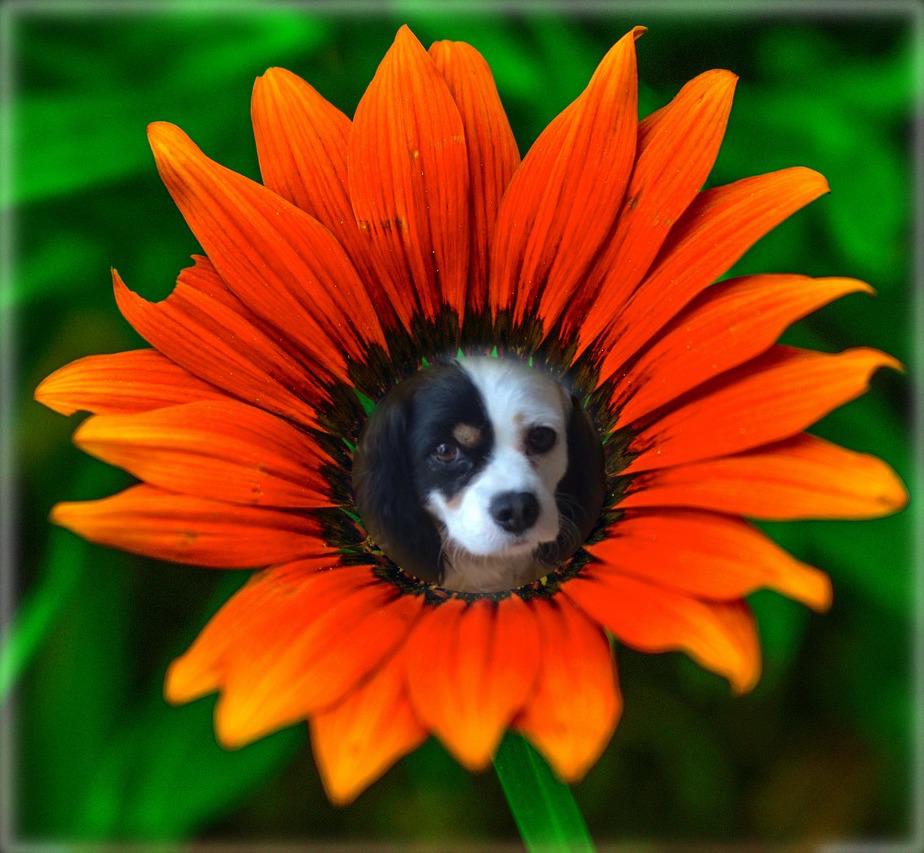 Flower Frodo
|
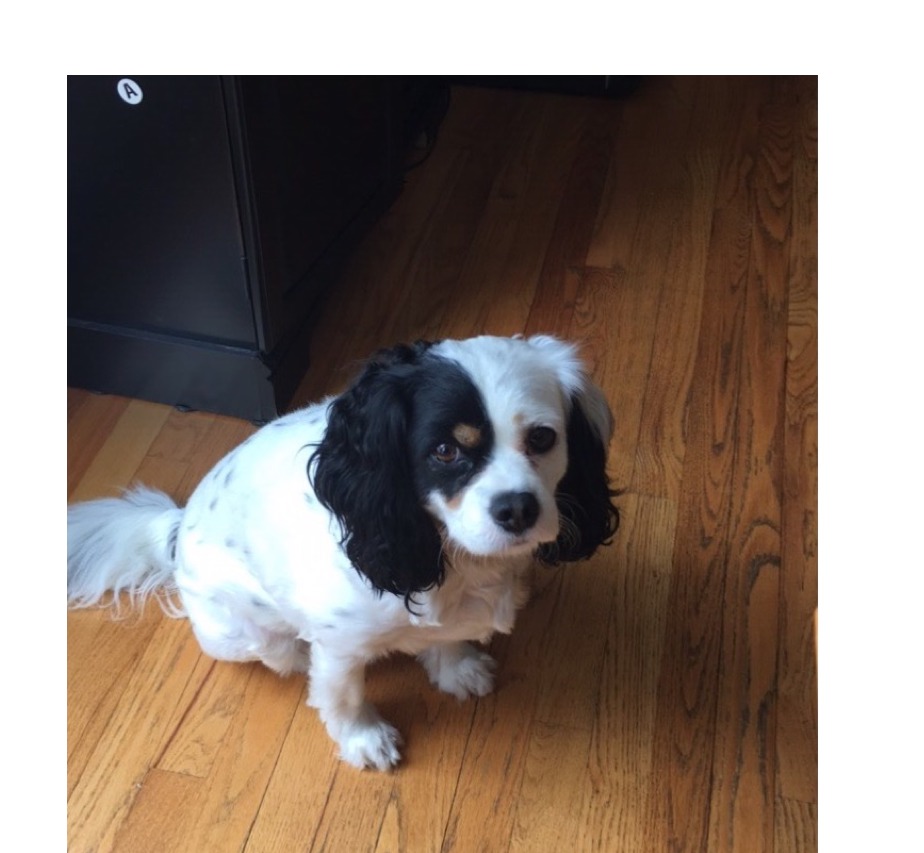
 Flower
|
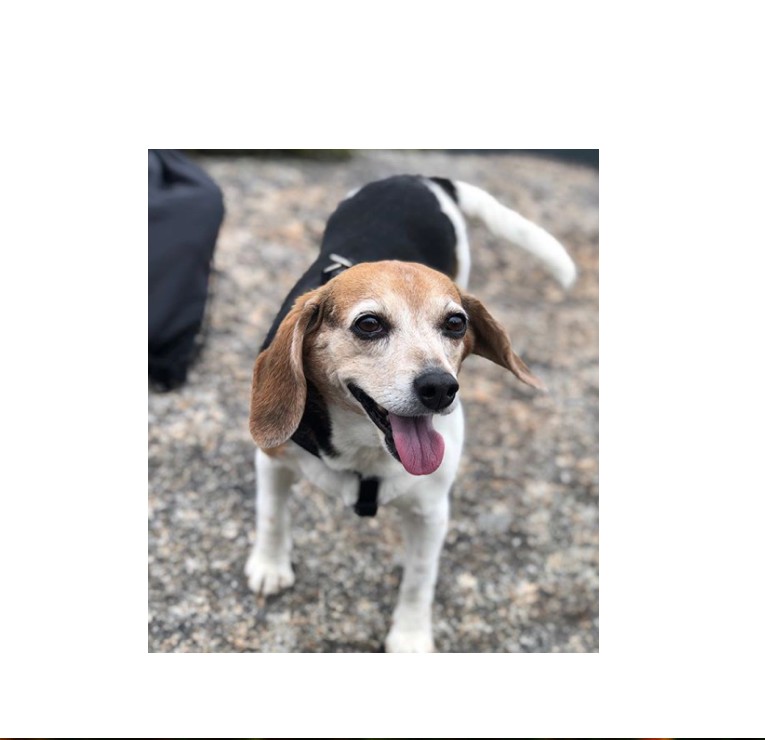 Molly
Molly
|
 Mask 2
|
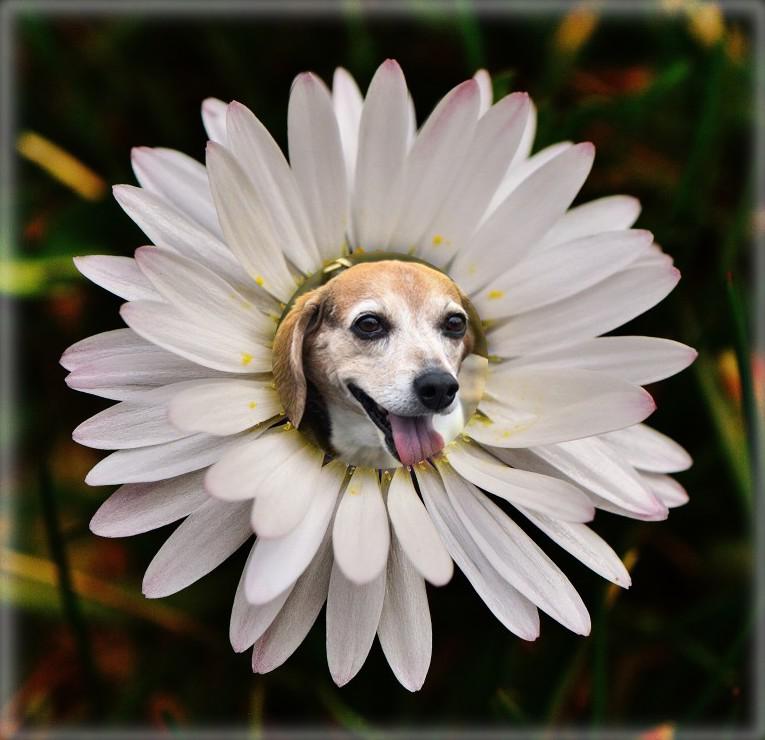 Flower Molly
|