CS194-26 Project 3: Face Morphing
Michael Park - Fall 2020
Objective
The main objective of this project is to devise an algorithm to define facial features of portrait images to use them for image manipulation. A "morph" can be defined as a simultaneous warp of an image's shape and a cross-dissolve of its colors. While correctly mixing image colors is simple, performing an image warp to make the animation look smooth and "natural" is difficult. Throughout the project, I walked through a systematic process to define features from images, generate morphs using my warp algorithm, and apply it to produce several interesting results.
Defining Correspondences
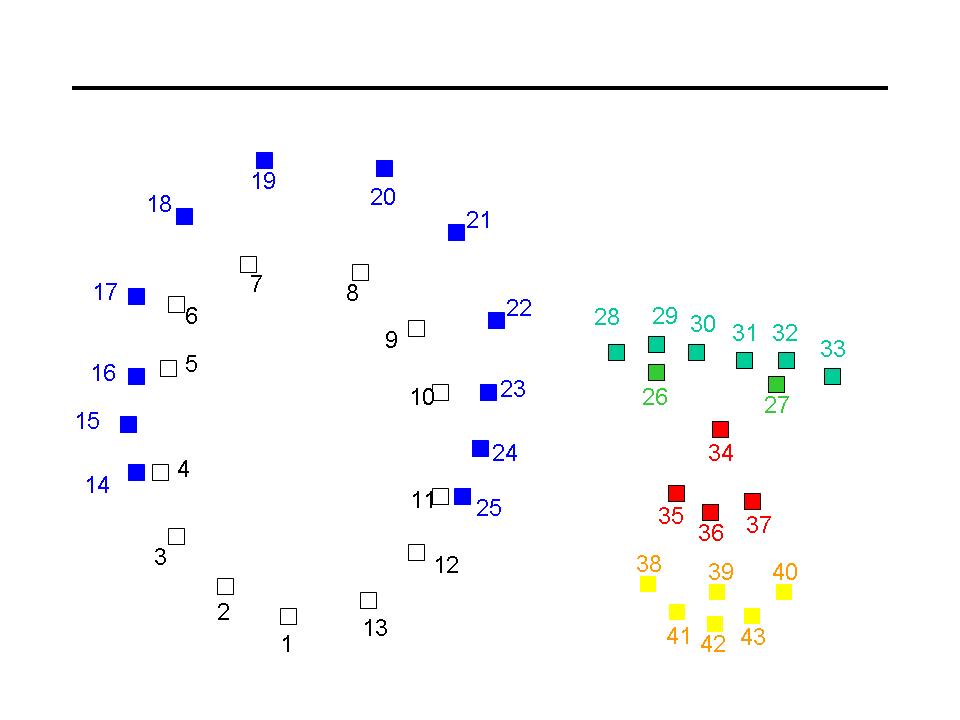
Before jumping into warping, I first defined a set of points for my images to use as guiding coordinates. This
is a tedius, but a necessary process to produce natural-looking warps. Without such guiding points, a morph
will more likely be a fade-in, fade-out transition. For the points, I placed an emphasis on specific facial
features such as eyes, nose, ears, etc. so that the features are directly morphed during transition. I
followed the exact ordering and locations of 43 points as defined by Prof. Efros's example. While more points
generally produce better results, I decided to keep using 43 points for faster computation. I used
matplotlib.ginput so that I can define the correspondences by hand. Also, I saved the points once
I plotted them so that I do not need to repeat the process again.
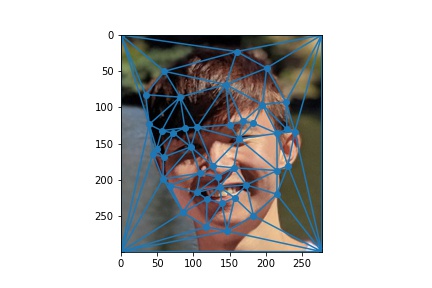
Using the correspondences, I then generated a triangulation of the points. Triangulation provides polygons that serve as features to be morphed from and into. For best results, I needed to find a way to triangulate without creating "skinny" polygons, as having them will lead to stretched, distorted morphs. I ended up using the Delaunay triangulation to address this issue.
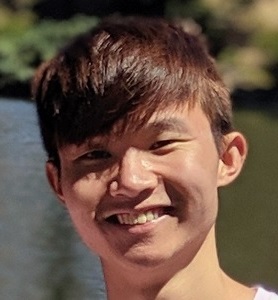
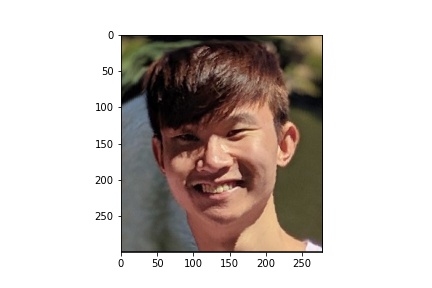
Below are the correspondences:
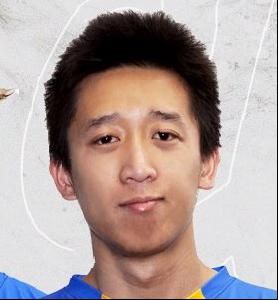
Robert
|
Triangulation
|
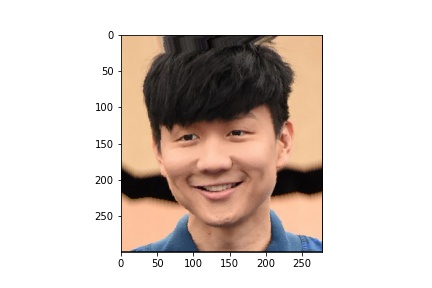
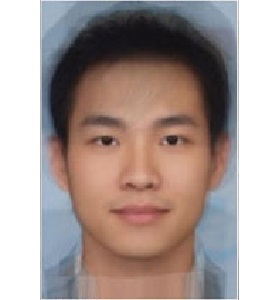
JJ Lin
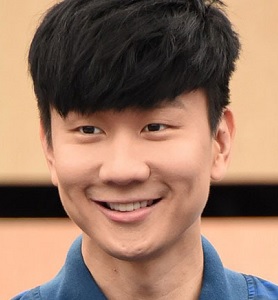
|
Triangulation
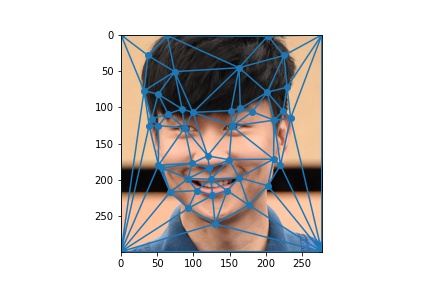
|
Data Points
|
Computing the "Mid-Way Face"
The main objective of this task is to come up with an affine warp function to "warp" an image to another at varying degrees. With the polygons created with triangulation, I can now use affine transformation to warp each polygon to its corresponding polygon.
For the affine transformation, I found the tranformation matrix using numpy.linalg.solve of two
corresponding triangles. I padded each triangle matrix with 1's so that I end up with an invertible
transformation matrix. I made this decision to implement "inverse" warping instead of "forward" warping. While
both produce numerically similar results, multiplying the coordinate matrix with affine transformation matrix
creates floating points (pixel landing between two pixels), which leads to splatting. This produces unnatural
holes within warped images. Inverse warping addresses this issue by starting from the destination image first.
It calculates the corresponding points of the first image using the inverse of affine transformation matrix,
and then matches them with the first set of points. This leads to smoother looking results without noticeable
holes.
For the inverse warp function, I looped through each corresponding pair of triangles to generate a section at
a time. I first created polygon objects from the triangulations using skdraw.polygon. Using the
polygons, I created a mask to separate a section to be warped in each image. Lastly, I applied the affine
transformation matrix, and then stiched the image back together.
Before creating an entire morph sequence, I first computed the mid-way point between image A and image B. I applied the inverse warp function on both images, and then calculated the average. Below are the results:
Robert Midway
|
JJ Lin Midway
|
Midway Image

|
The Morph Sequence
With the inverse warp technique, I produced a morph sequence from image A to image B. For the morph function,
I used two different parameters. c was used to control the ratio of images to create the average
shape, and d was used to control the dissolve ratio of images morphed to the average shape. I
computed the warps for 45 different ratios to generate frames used to create the morph animation.
Below are the results:
|
Robert
|
JJ Lin
|
Morph Sequence
|
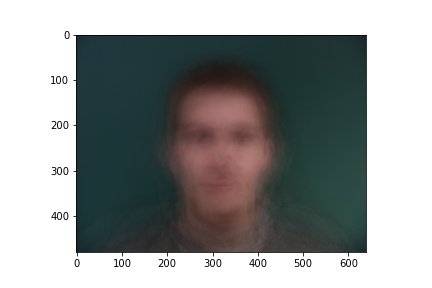
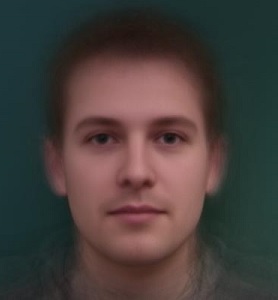
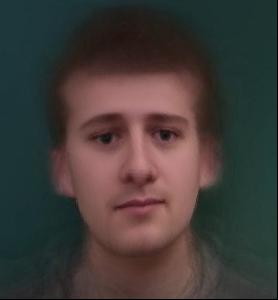
The "Mean Face" of the Population
For this task, I used the publicly available
Danes dataset to generate the "mean face" of
Danish people. To do this, I first computed the average shape of the population with np.mean.
Then, I morphed each image to the average shape using my inverse warp function. Lastly, I took the average of
the morphed images to generate the "mean face".
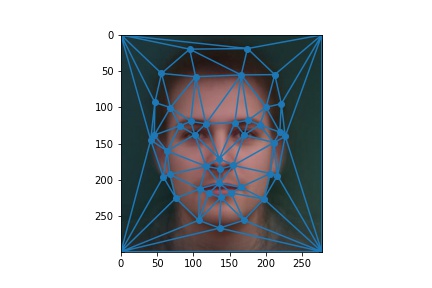
Instead of hand-plotting the correspondences, I decided to use the annotations included in the dataset.
However, instead of using the polygons defined in the asf files, I used my own Delaunay
triangulation for the sake of consistency.
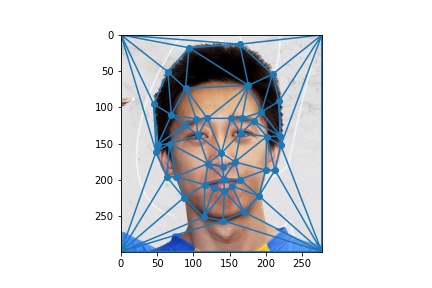
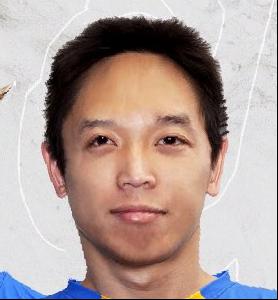
Lastly, I re-defined correspondences of the generated mean face so that I can use it for my previous images. I attempted to warp my image into the mean, and vice versa. Below are the results:
Danes "Average"
|
Danes "Average" Triangulation
|
Example Image
|
Example Image Triangulation
|
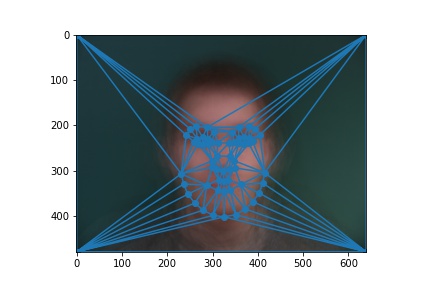
Danes "Mean"
|
Danes "Mean" Triangulation
|
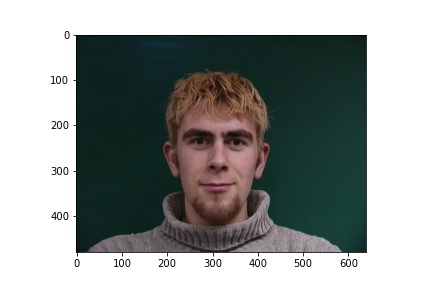
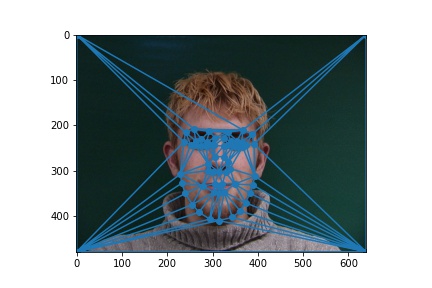
Mitchell

|
Mitchell Triangulation
|
Mitchell to Danes
|
Danes to Mitchell
|
Morph Sequence

|
Caricatures: Extrapolating from the Mean
For this task, I took a step further and modified the morph function to support extrapolation. By extracting features from the warp and applying them to the original image, I could generate images that look more or less like the other image. To do so, I simply took the difference between the input image and the averaged image. I then added back the features to the original image after adjusting the ratio of how prominent the features will look.
I used the Danes mean face for this part. I set the ratio to 0.5. Below are the results:
|
Mitchell
|
Danes Mean
|
More Danish

|
Less Danish

|
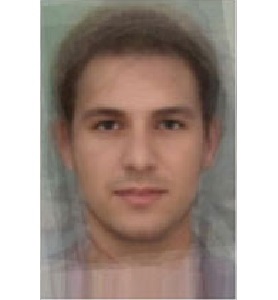
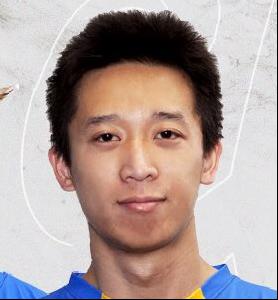
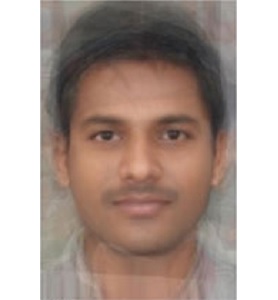
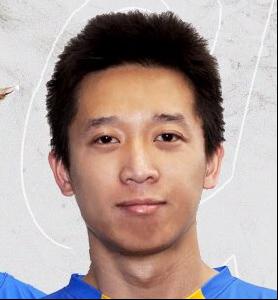
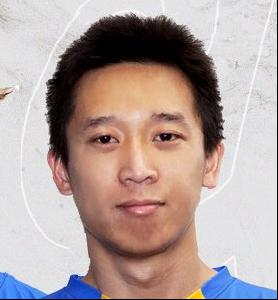
Changing the Ethnicity
For this task, I attempted to produce caricatures with mean images other than Danes. Below are the results:
French Mean
|
More French
|
Less French

|
Indian Mean
|
More Indian
|
Less Indian

|
Puerto Rican Mean
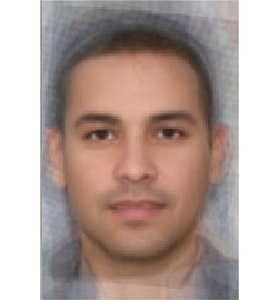
|
More Puerto Rican
|
Less Puerto Rican

|
South African Mean
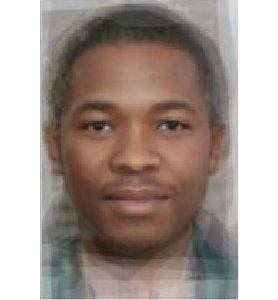
|
More South African

|
Less South African

|
Taiwanese Mean
|
More Taiwanese

|
Less Taiwanese
|