In this project, I used CNNs to train models that would detect facial keypoints on images
Before we train our model, we need a dataloader and some transform functions to parse our asf files into a dataset. We load each image into memory only when we want to use them, and extract the relevant keypoint (nose, -6) from it.
This gave us the following photos:
For our CNN, we used 3 convolutional layers applying maxpool2d and relu after each layer. Our layers had 12, 24 and 32 output channels respectively. Following the convolutional layers, we had 2 fully connected layers with 120 and 2 output features respectively. The resulting 2 features correspond to the x and y of our output. Through playing around with various learning rates (0.001, 0.01, 0.0005), the default rate of 0.001 yielded the best results for us.
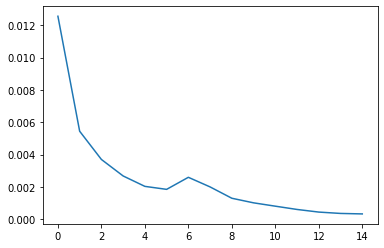
Training for 15 epoches, we got the following graphs of our training and validation loss
Training loss:

Validation loss:
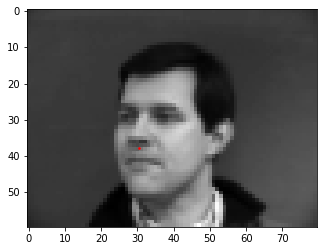
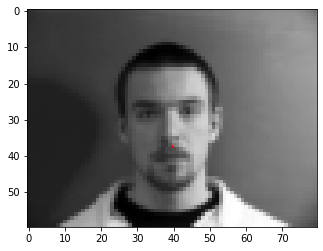
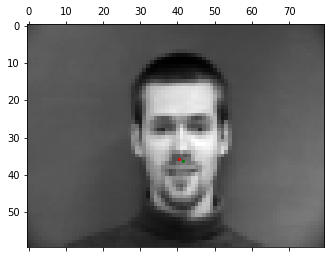
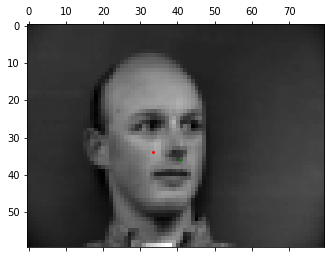
Our nosetip model was fairly successful, yielding the following good results:
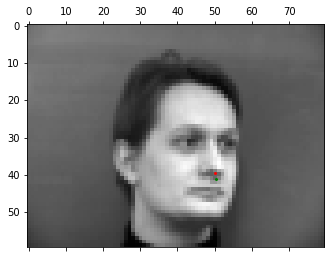
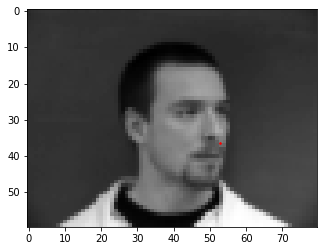
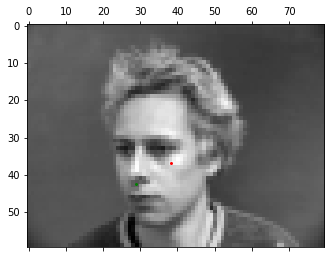
However, it fared poorly on less conventional faces, especially when heads were tilted at an angle: In both photos, the model seems to have mistook a curved difference in brightness for the nose-point.
For the full facial keypoint detector, we added some transform functions that would try to prevent overfitting by giving variance to the images. We implemented a rotate transform function, which rotated the image and the corresponding points, as well as a translate function which would translate the image in some direction and move all corresponding points.
This gave us the following samples:
For our CNN, we used 5 convolutional layers applying maxpool2d and relu after each layer. Our layers had 12, 18, 23, 28 and 32 output channels respectively. Following the convolutional layers, we had 3 fully connected layers with 1000, 540 and 136 output features respectively. The resulting 2 features correspond to the x and y of our output. Through playing around with various learning rates (0.001, 0.01, 0.0005), the default rate of 0.001 yielded the best results for us.
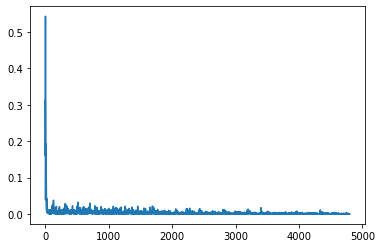
Training for 25 epoches, we got the following graphs of our training and validation loss
Training loss:
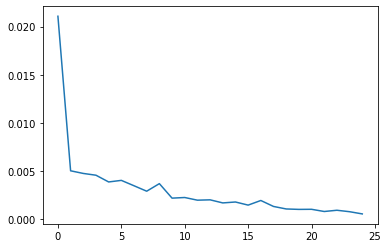
Validation loss:
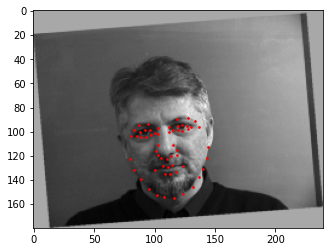
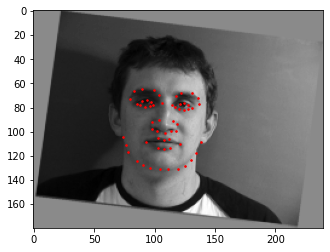
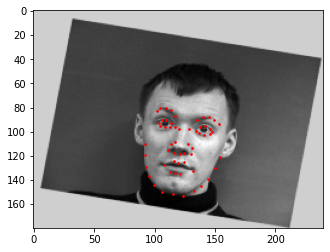
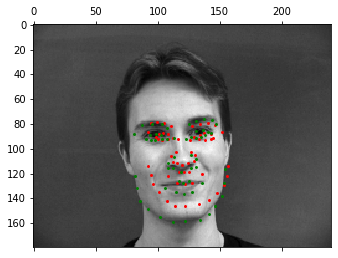
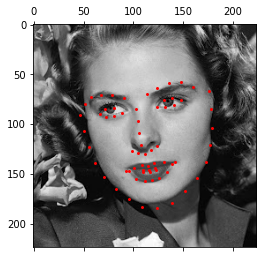
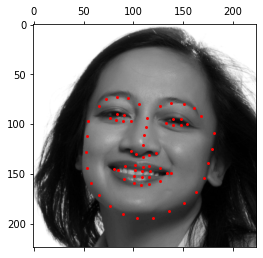
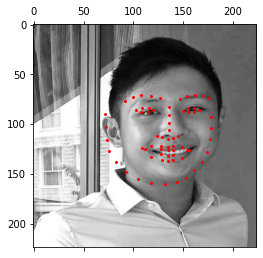
Our full facial model fared better than our nosepoint model, yielding the following good results:
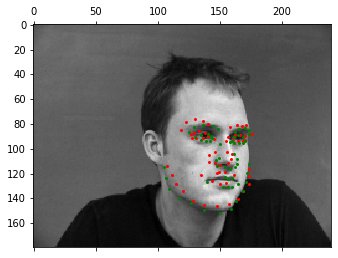
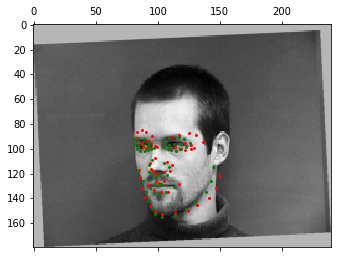
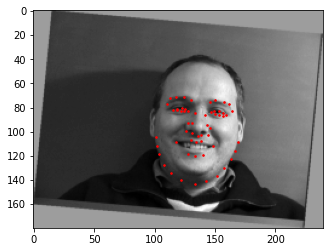
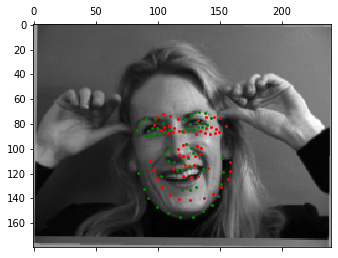
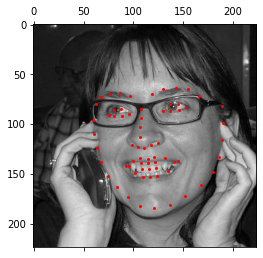
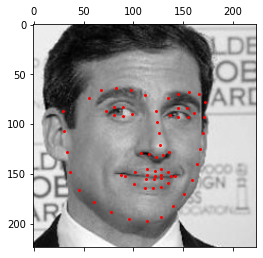
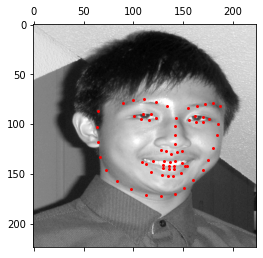
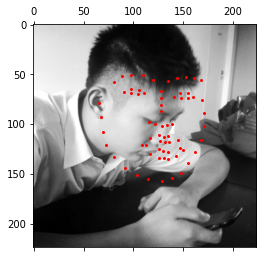
However, our model still occasionally fared poorly on rotated faces, as well as faces with odd expressions: In this photo, our model largely managed to pick up the eye and nose keypoints, but failed to properly shape the mouth and jawline
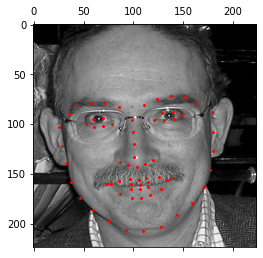
In the following photos, our model was again off by a large translation, possibly due to the unique facial expression
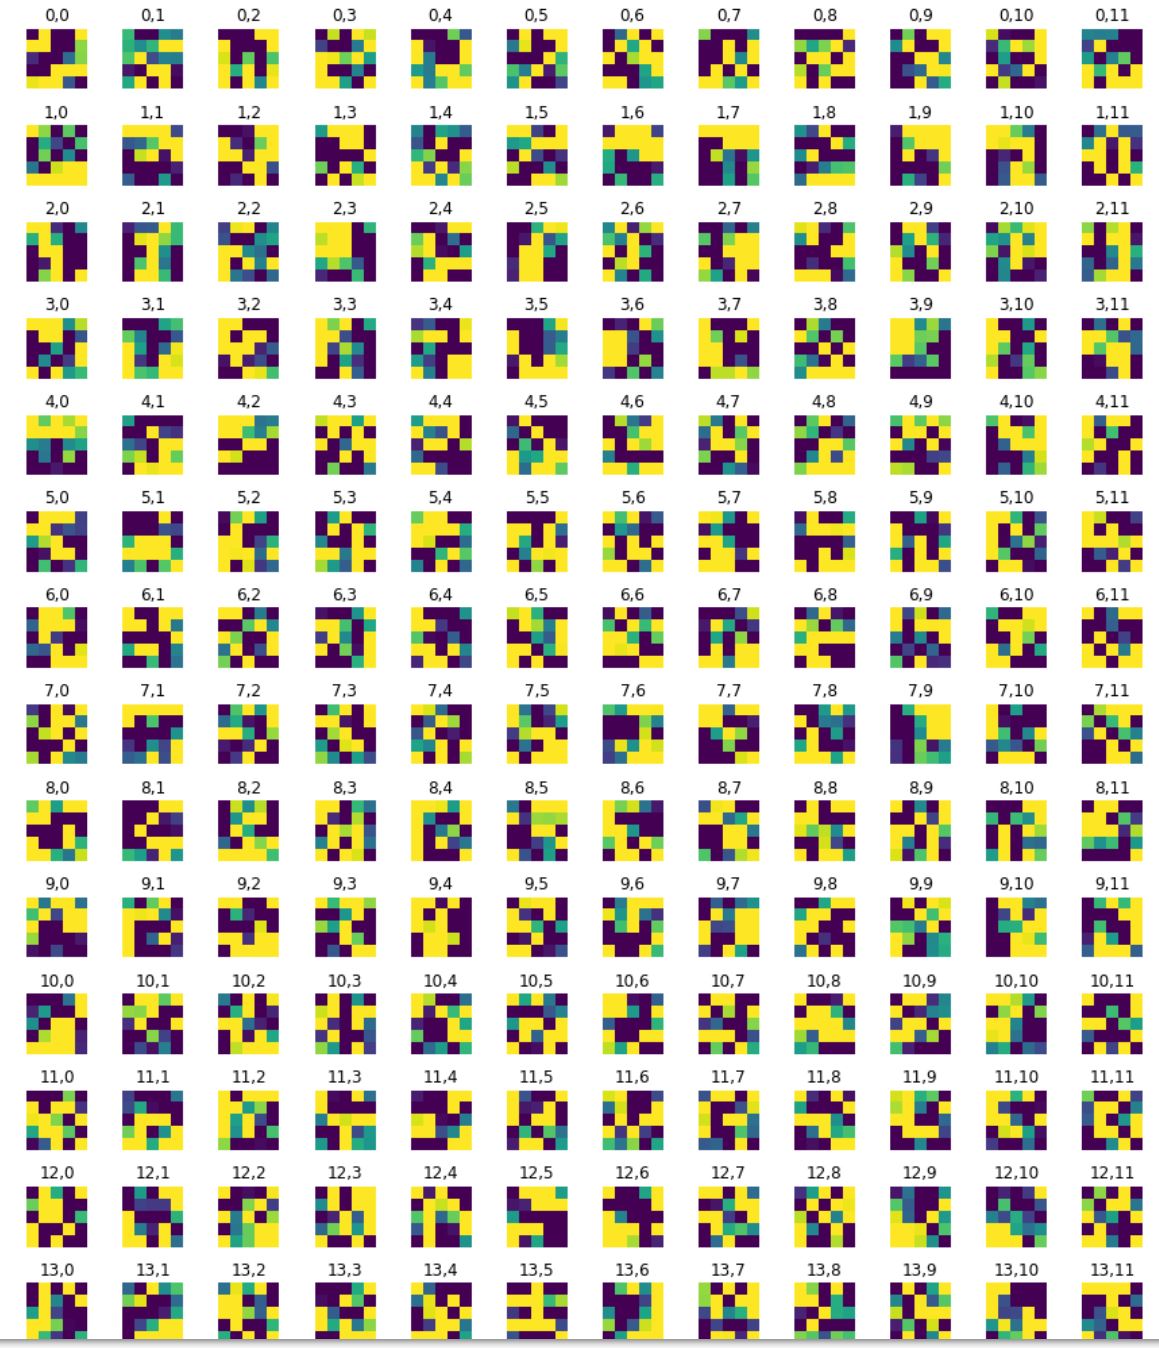
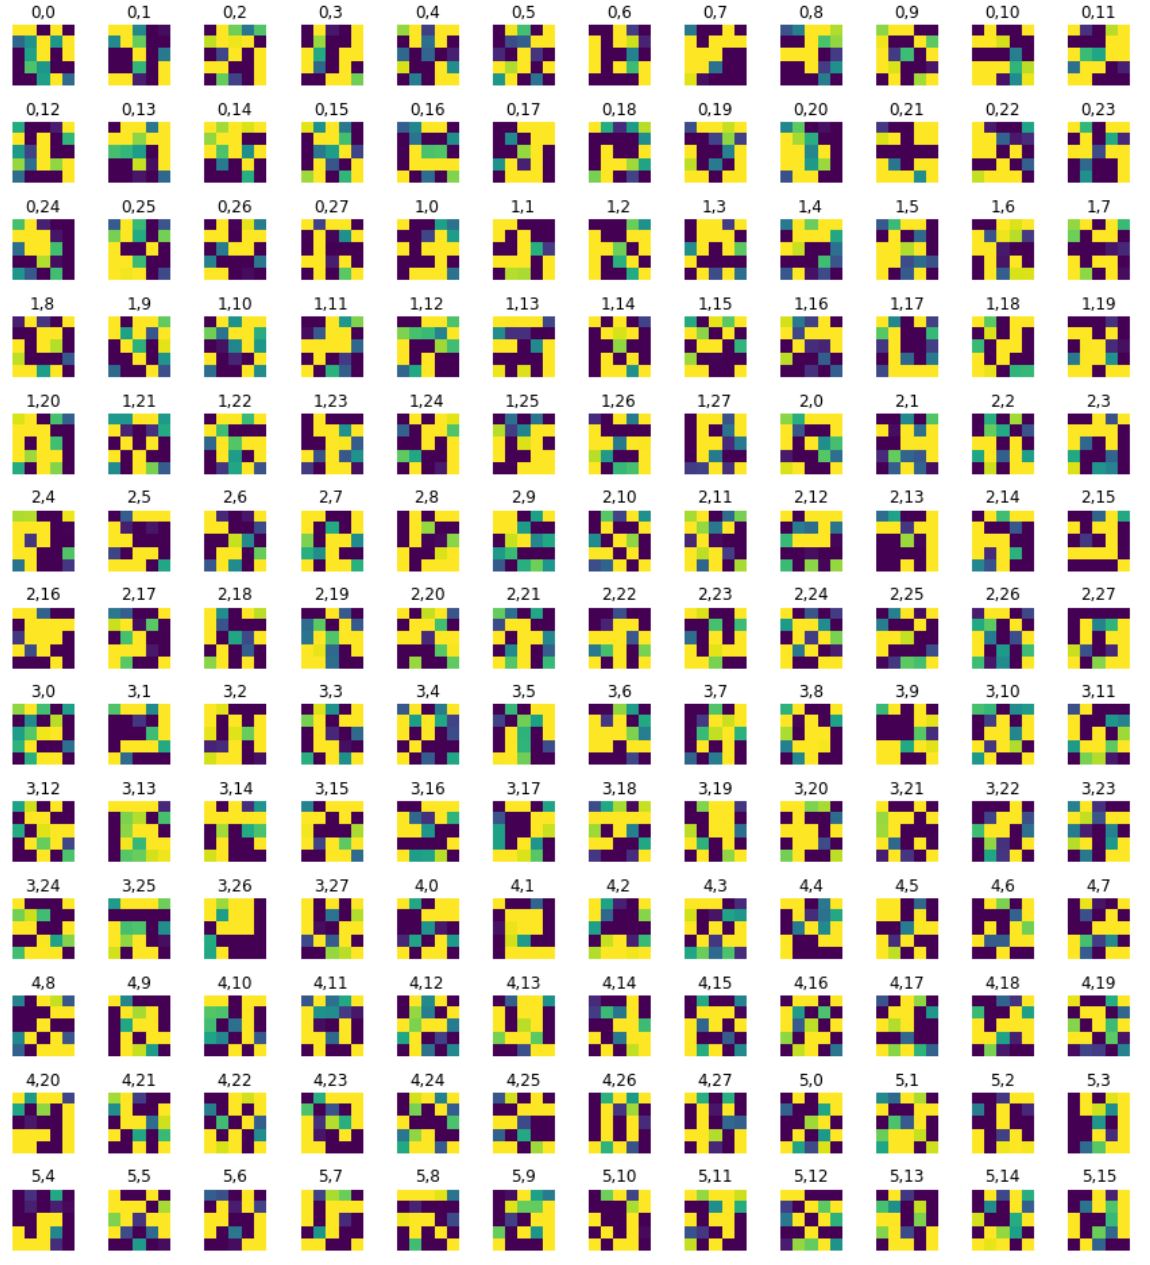
We visualized some of the layers of our model, but due to the small convolution size (5x5) could not make out many distinct features.

On top of the augmentation transformations, we added a transformation that would crop the image to the bounding box, multiplied by some factor (1.7), so that we could recognize each face. We also saved the bounding box we used so we could scale the points back to their original coordinates
For our CNN, we used ResNet18, setting the first conv layer to receive 1 input channel and 64 output channels with a convolution size of 7x7. Our fully connected layer outputs 68x2 points to correspond to the points we need. We tried a learning rate of 0.001 and 0.01 for this, and found that we got a smaller training loss with a learning rate of 0.001.
We trained our model on 80% of the data, using the remaining 20% for validation. To keep metrics consistent with previous sections, we checked our loss by converting points to their proportional (float) values. We got the following graphs of our training and validation loss
Training loss:
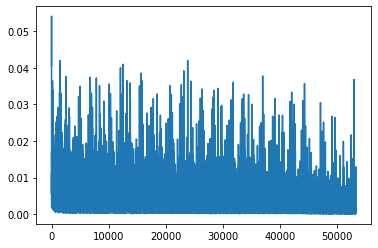
Validation loss:

Our model managed to obtain a mean absolute loss of 21.5. We see the following samples from the test set:
When rescaling to the original image:
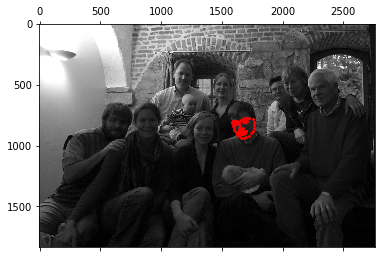

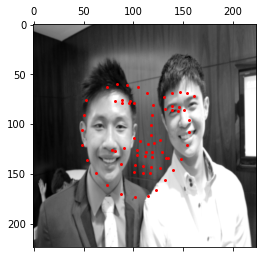
Lastly, we tested our model on some of my own images. We did not use a bounding box and simply input the image to the detector. The model performed well on conventional, zoomed in images of the face.
However, the model did not perform well on zoomed in images where the face was tilted at a large angle.
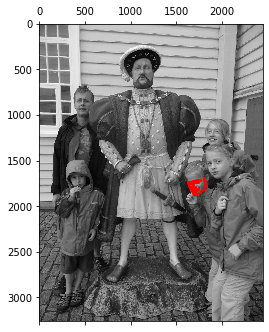
Presented with multiple faces, the model also struggles, drawing a box over both faces instead. This makes sense as this was not what the model was trained to do.